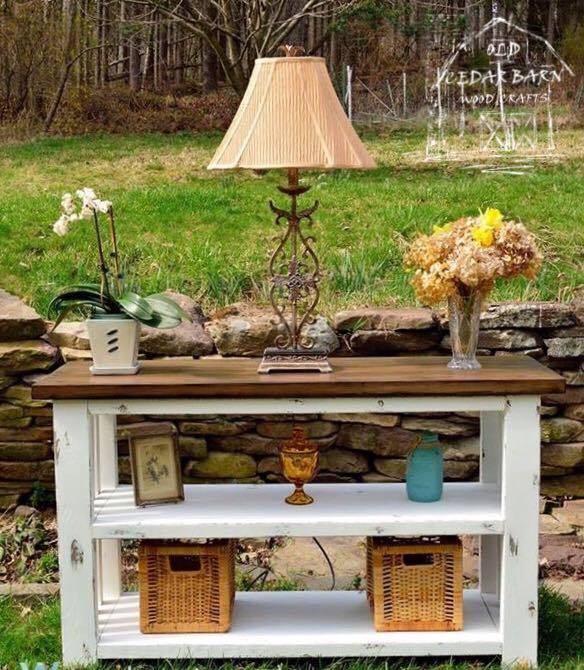
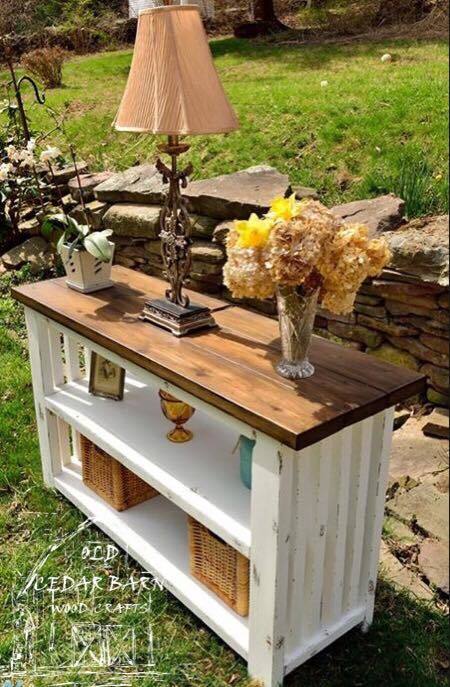
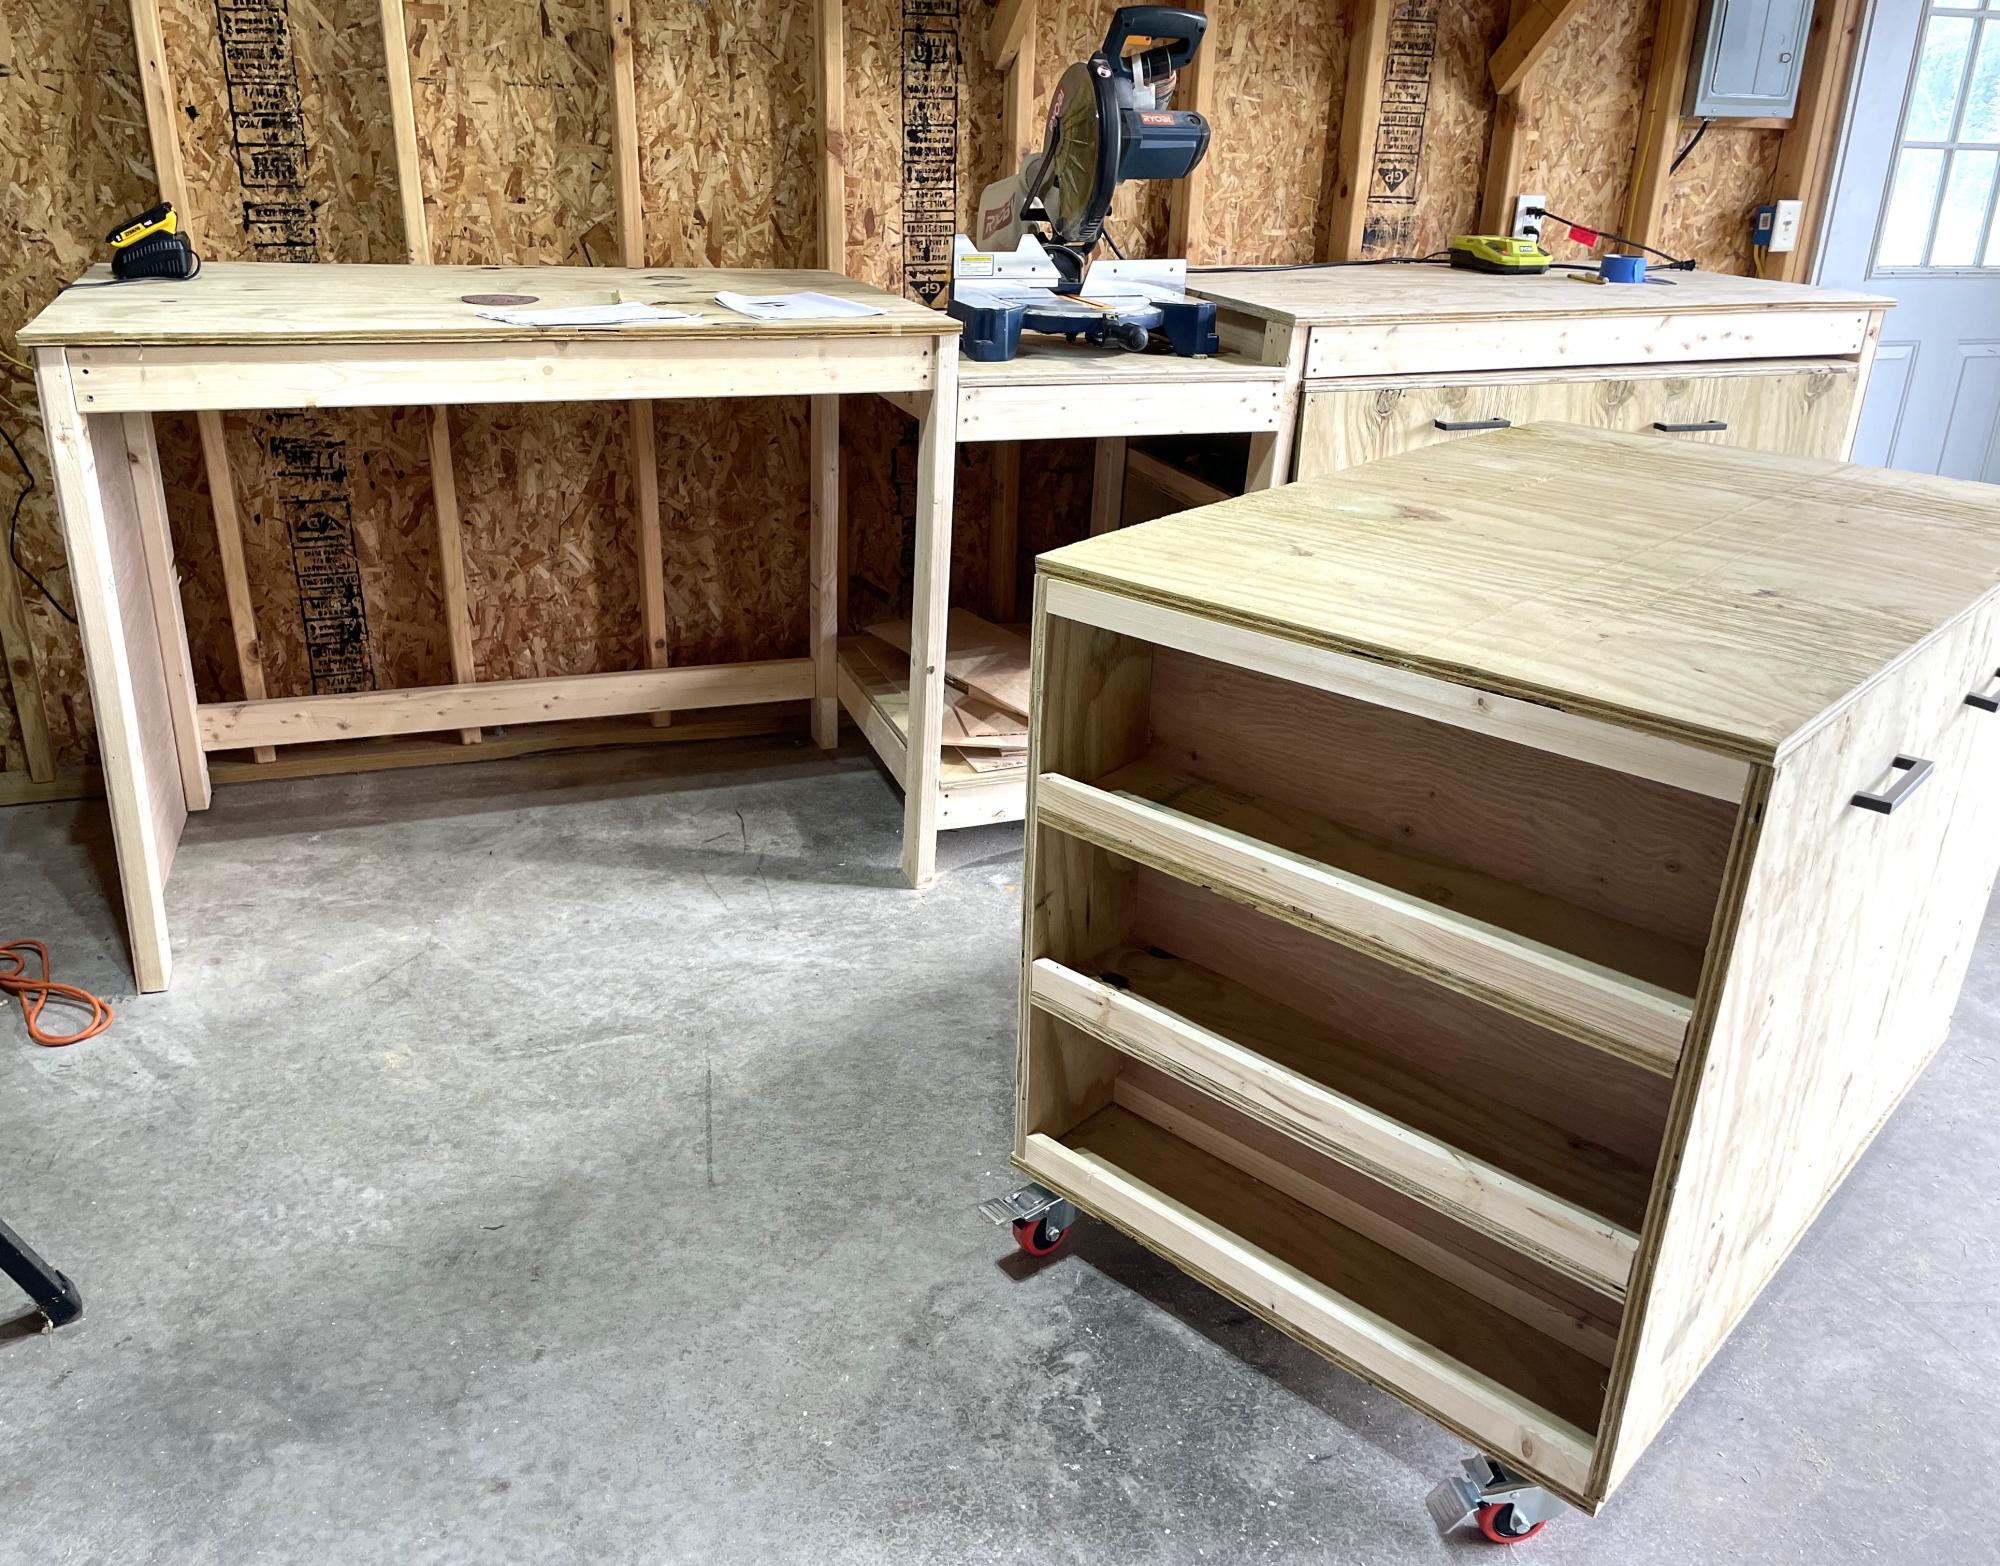
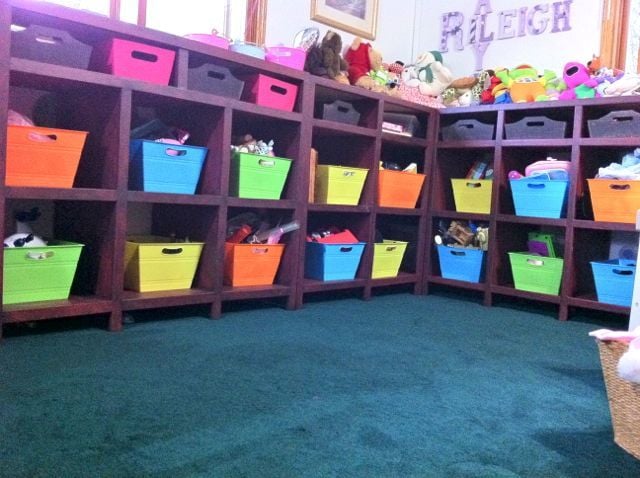
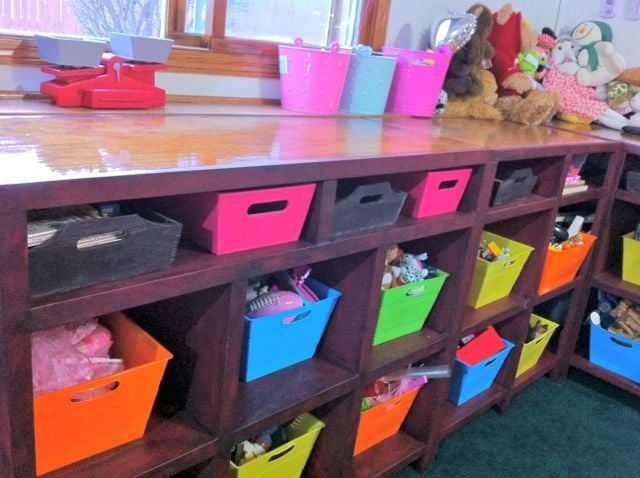
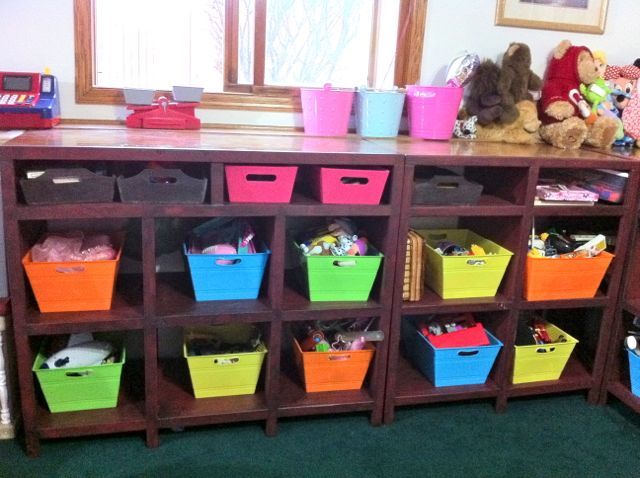
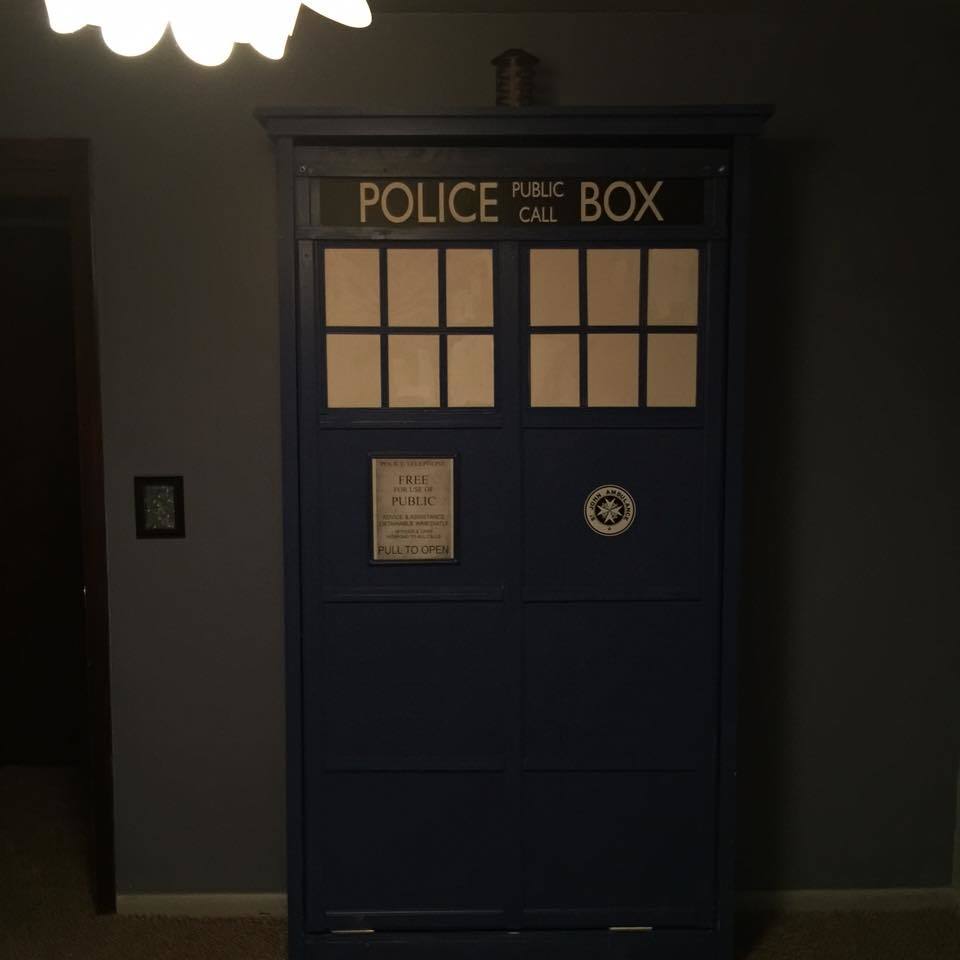
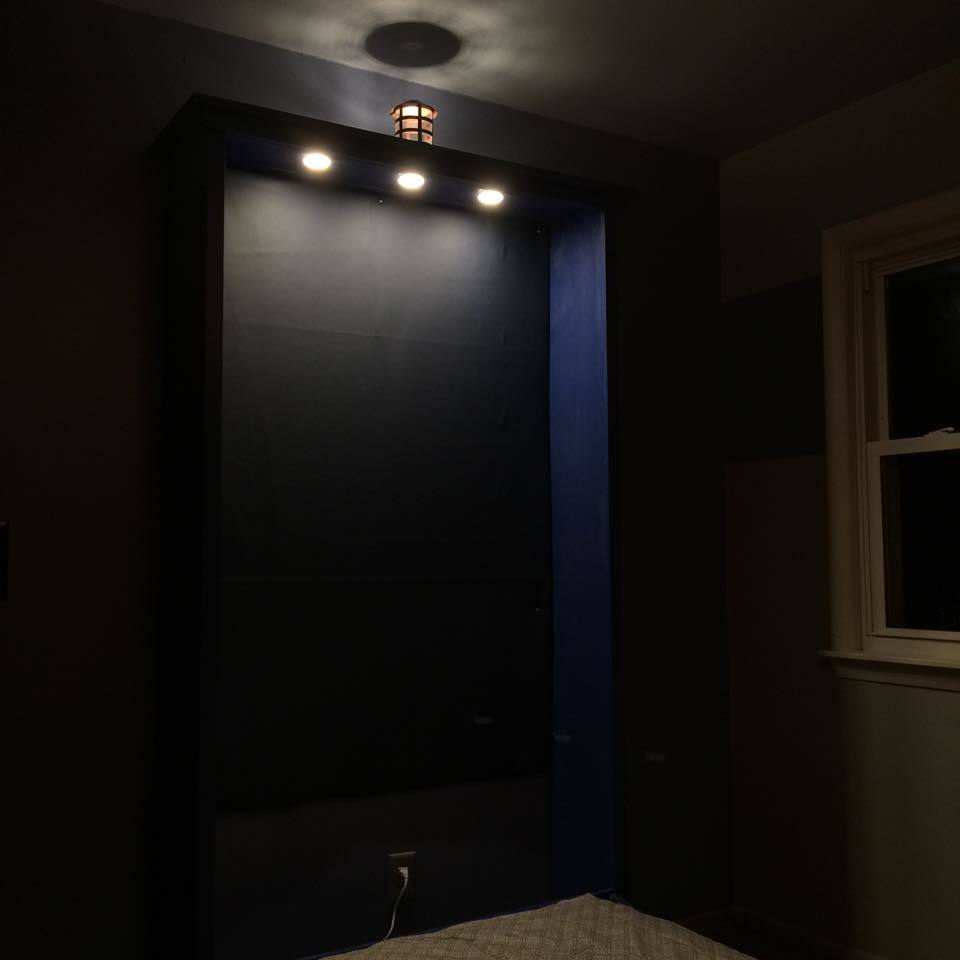
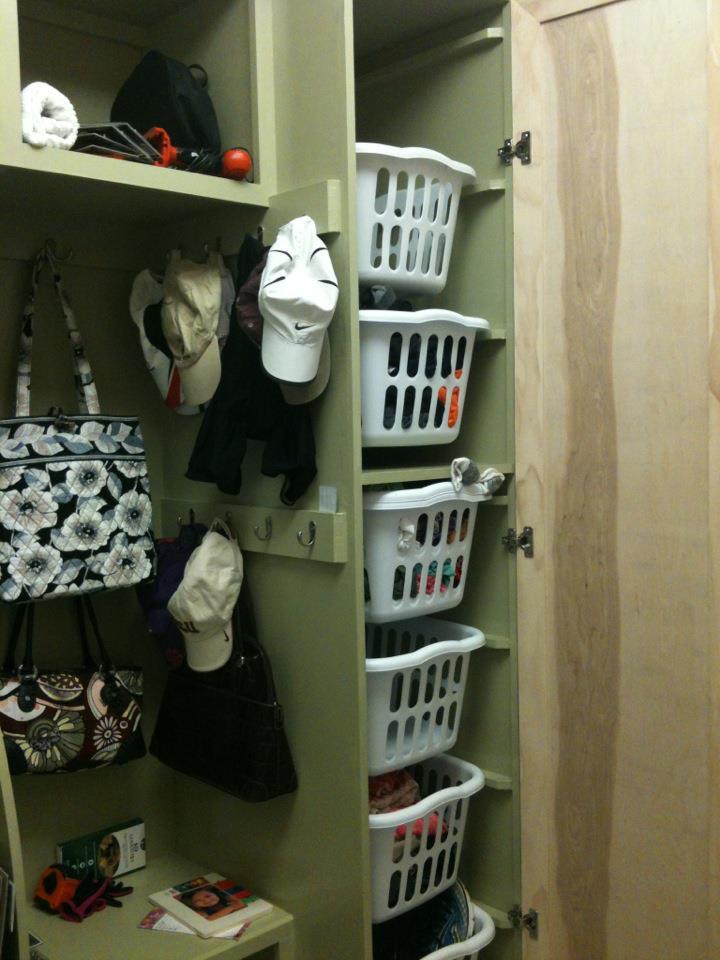
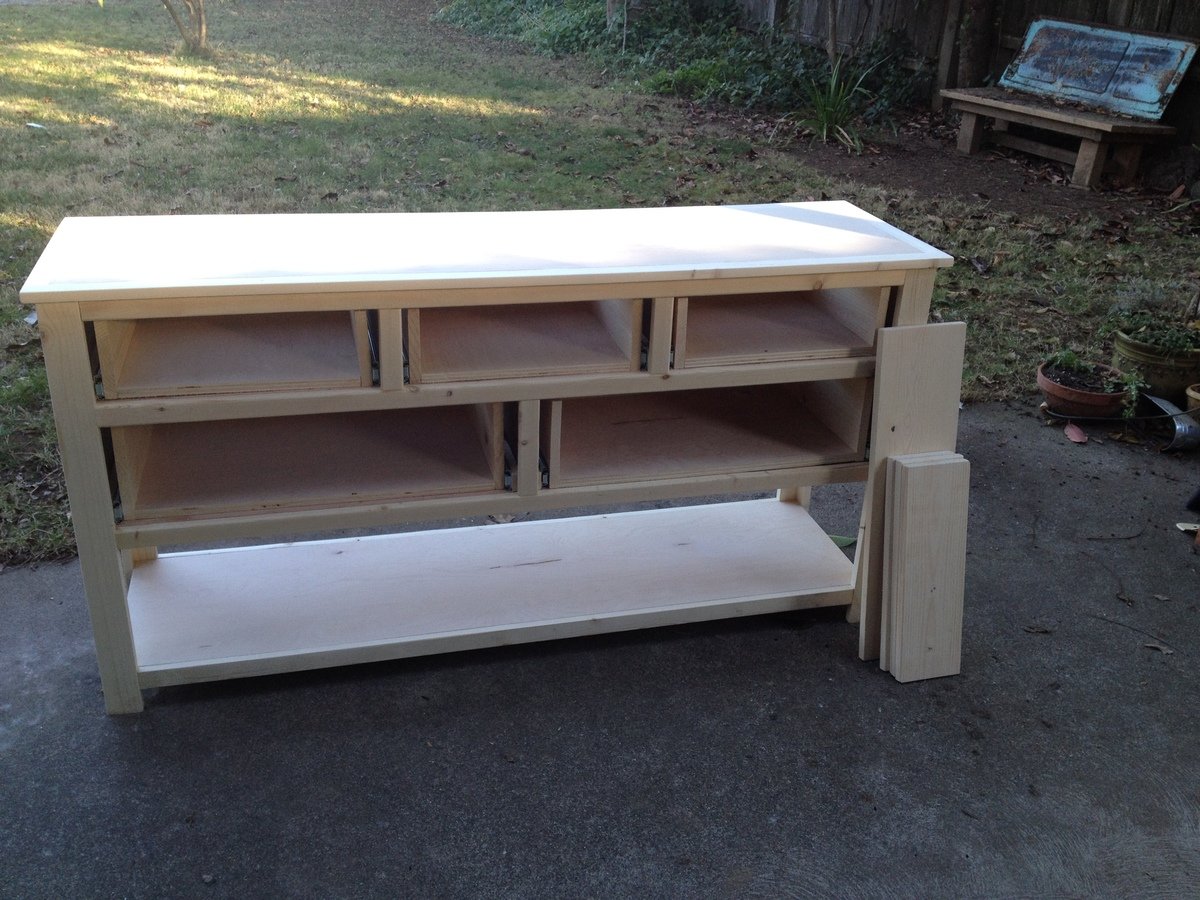
Dresser With Open Bottom Shelf
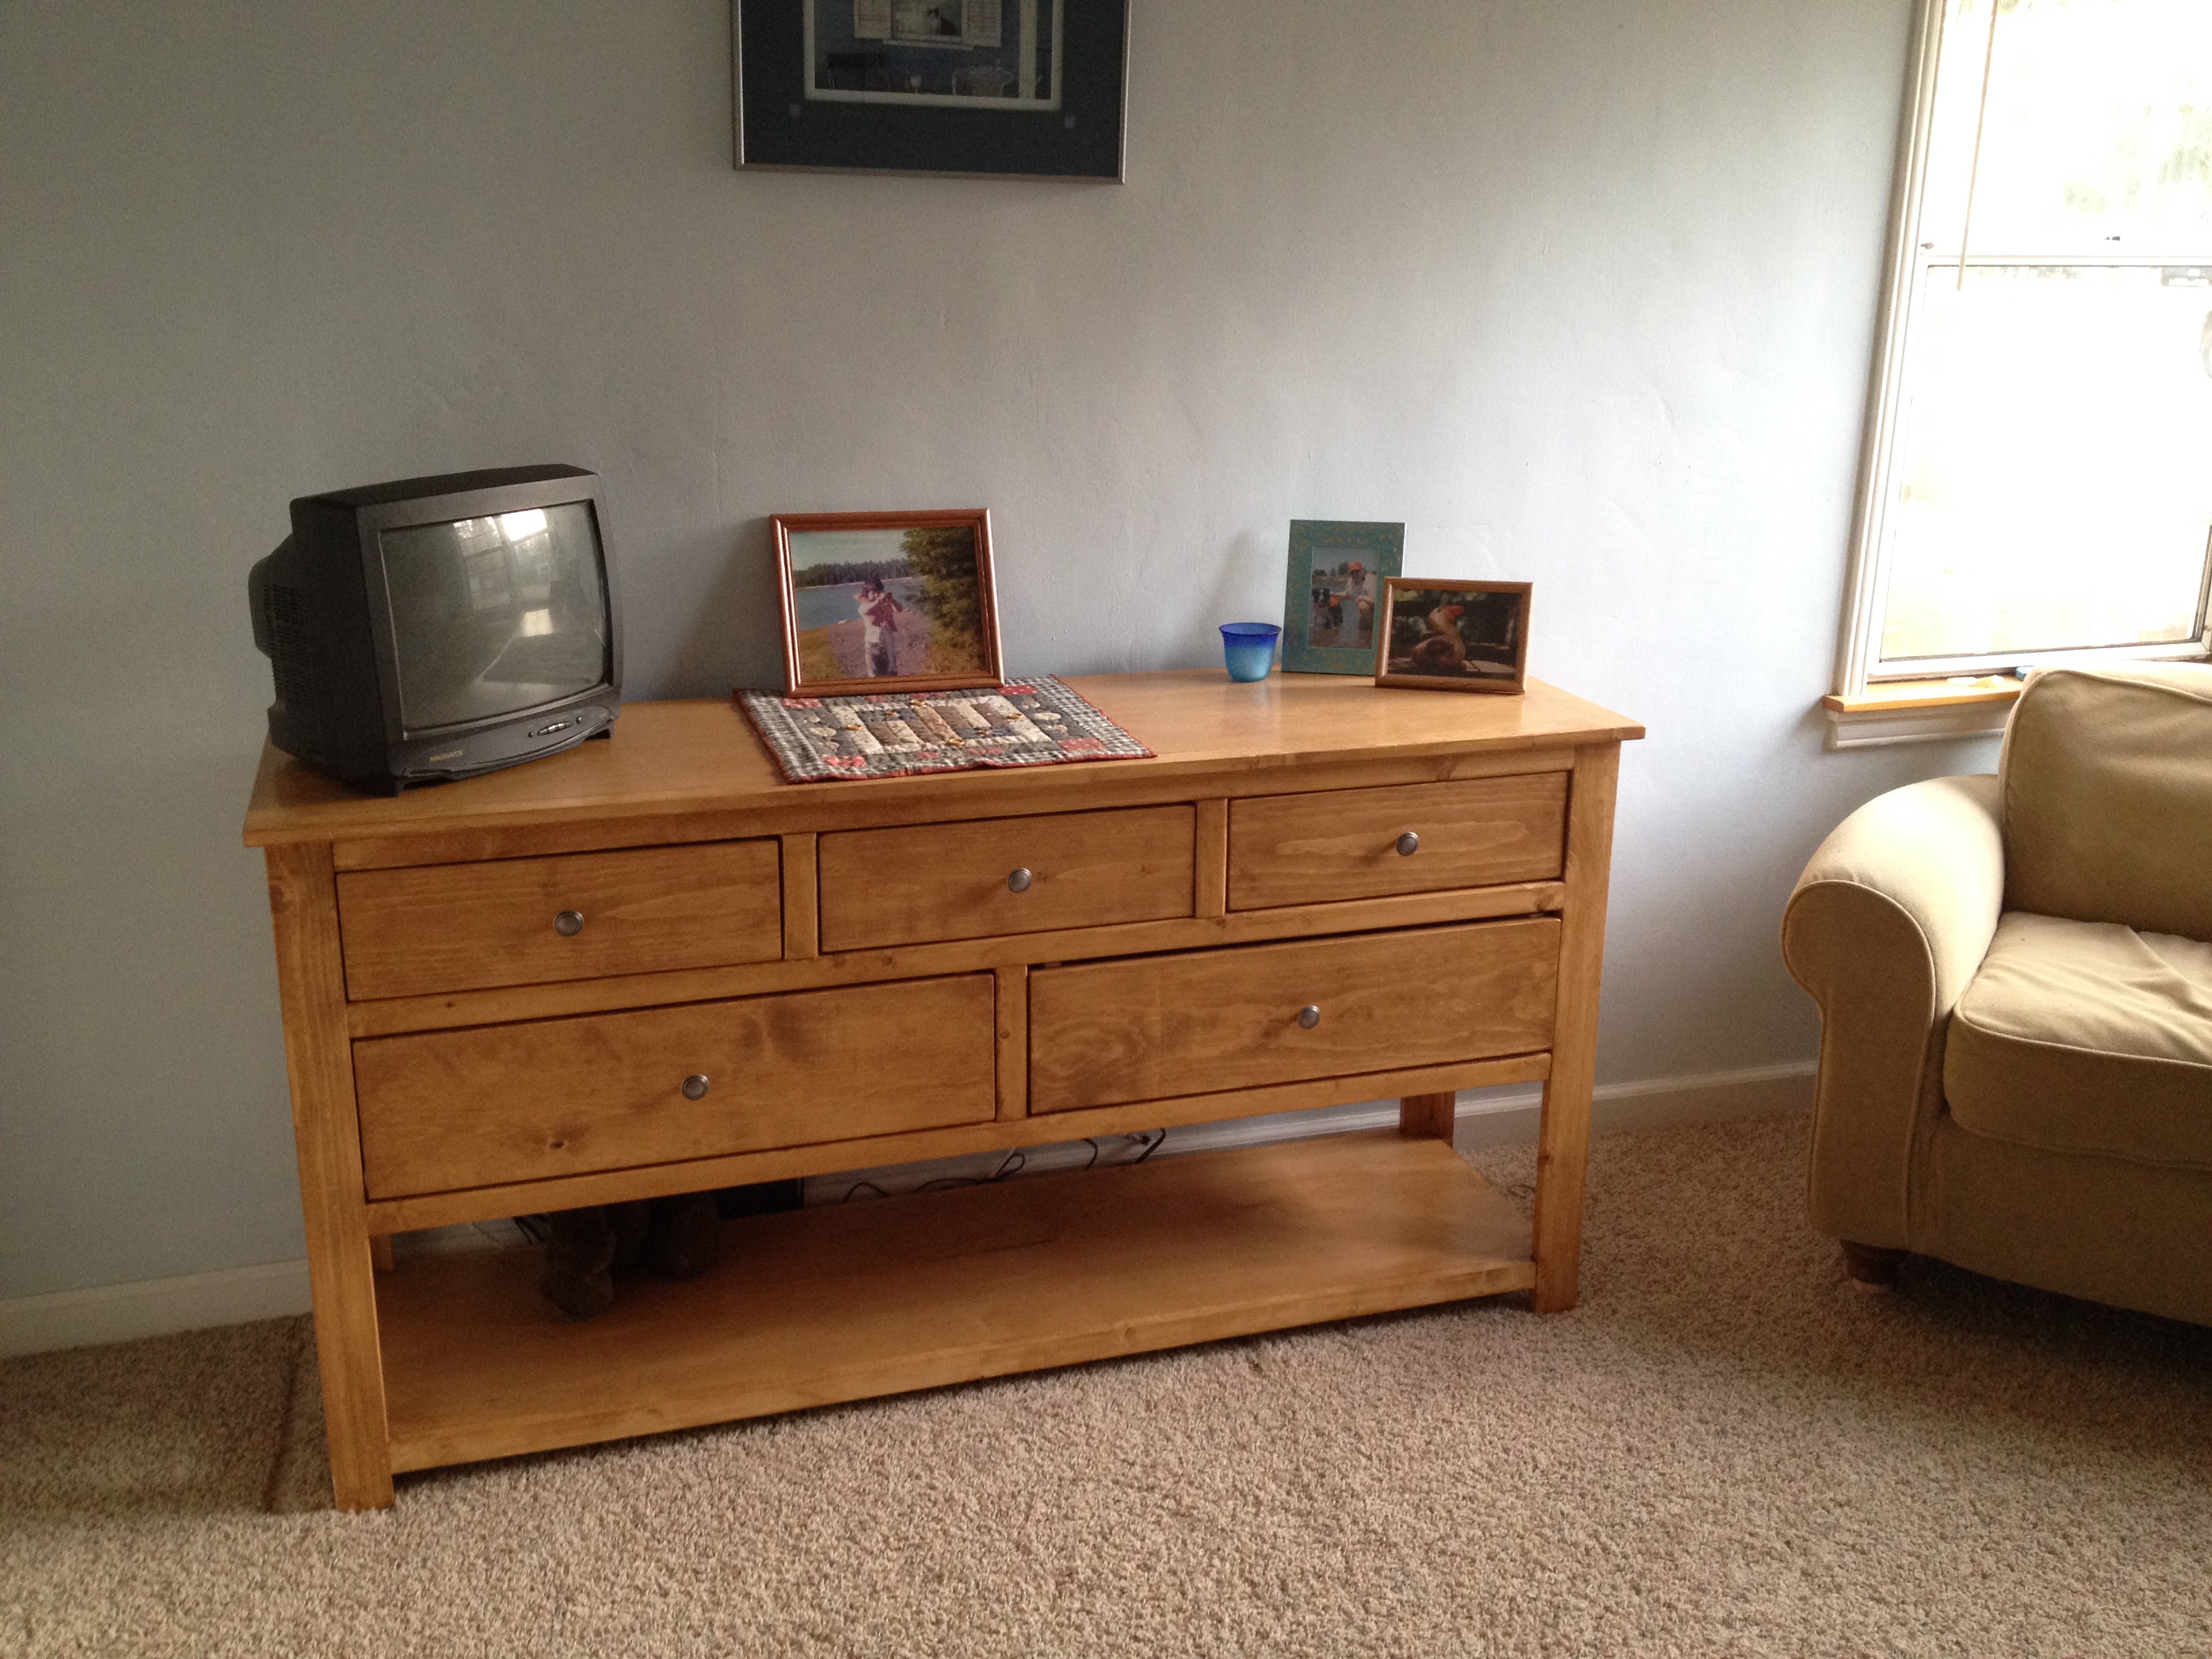
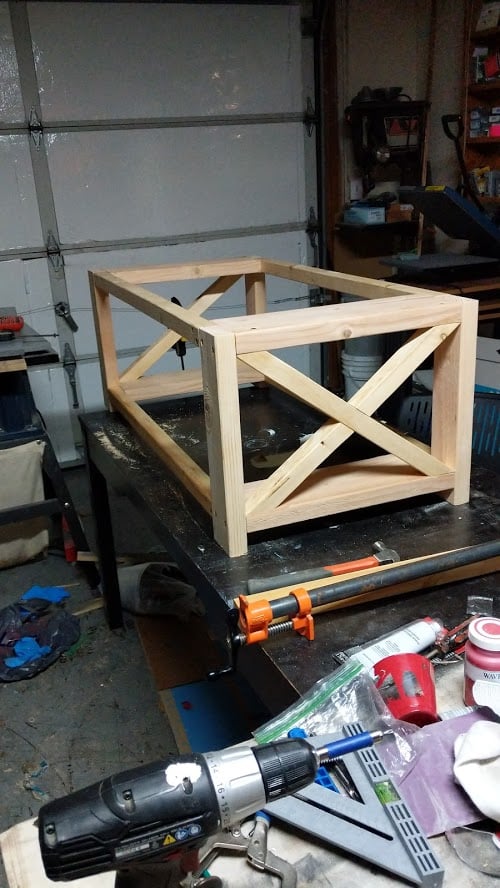
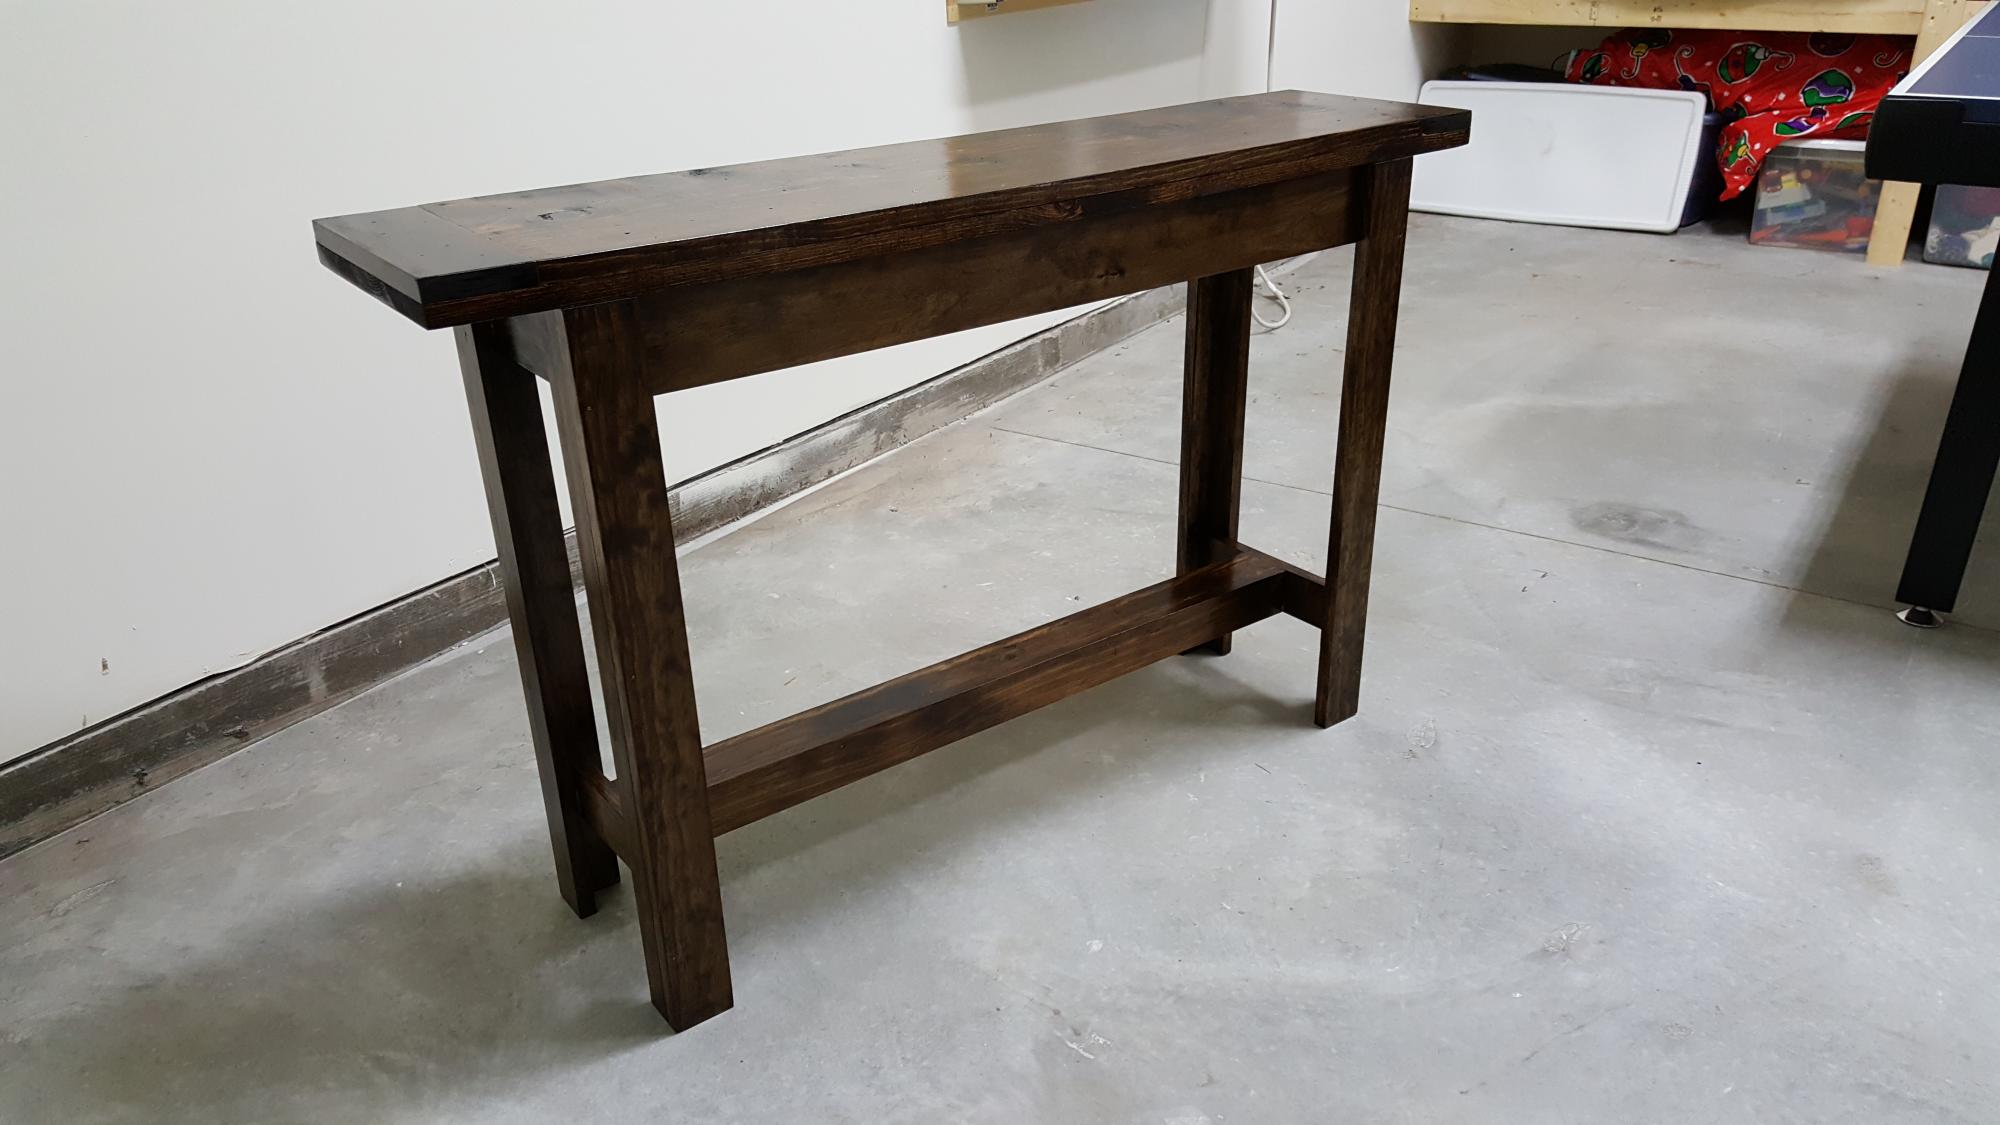
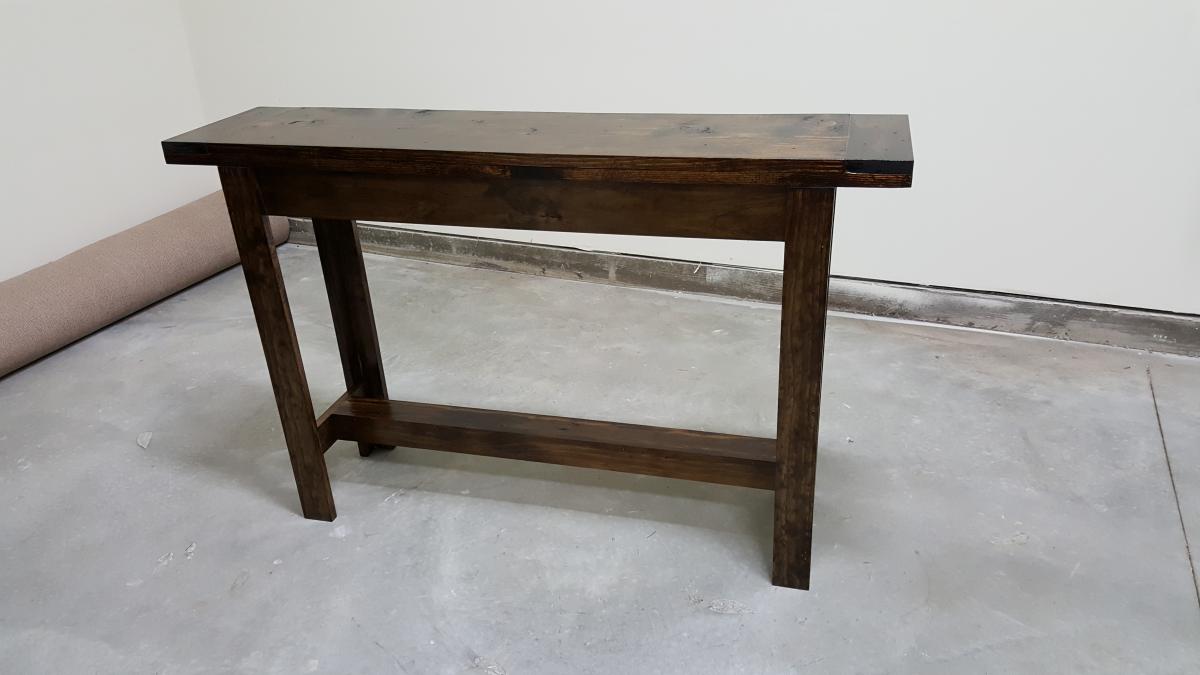
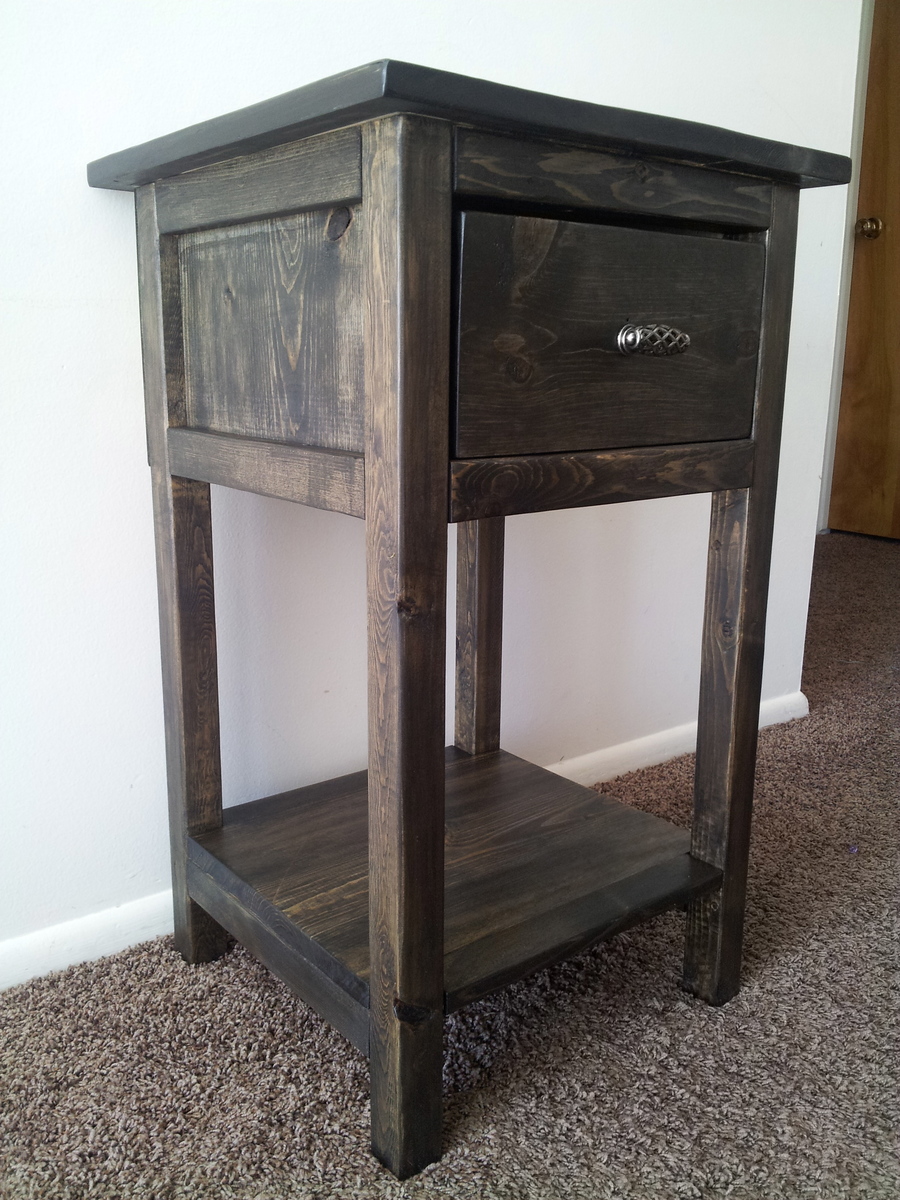
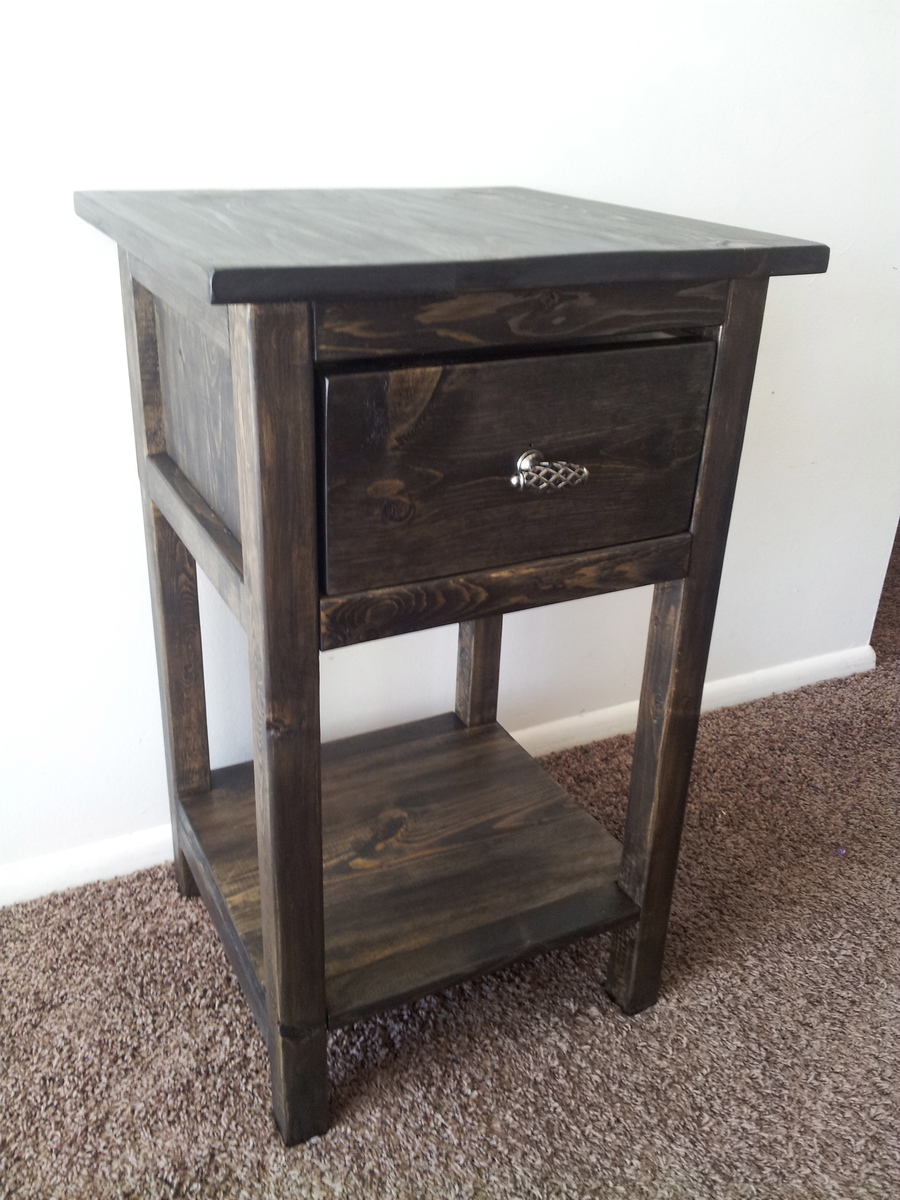
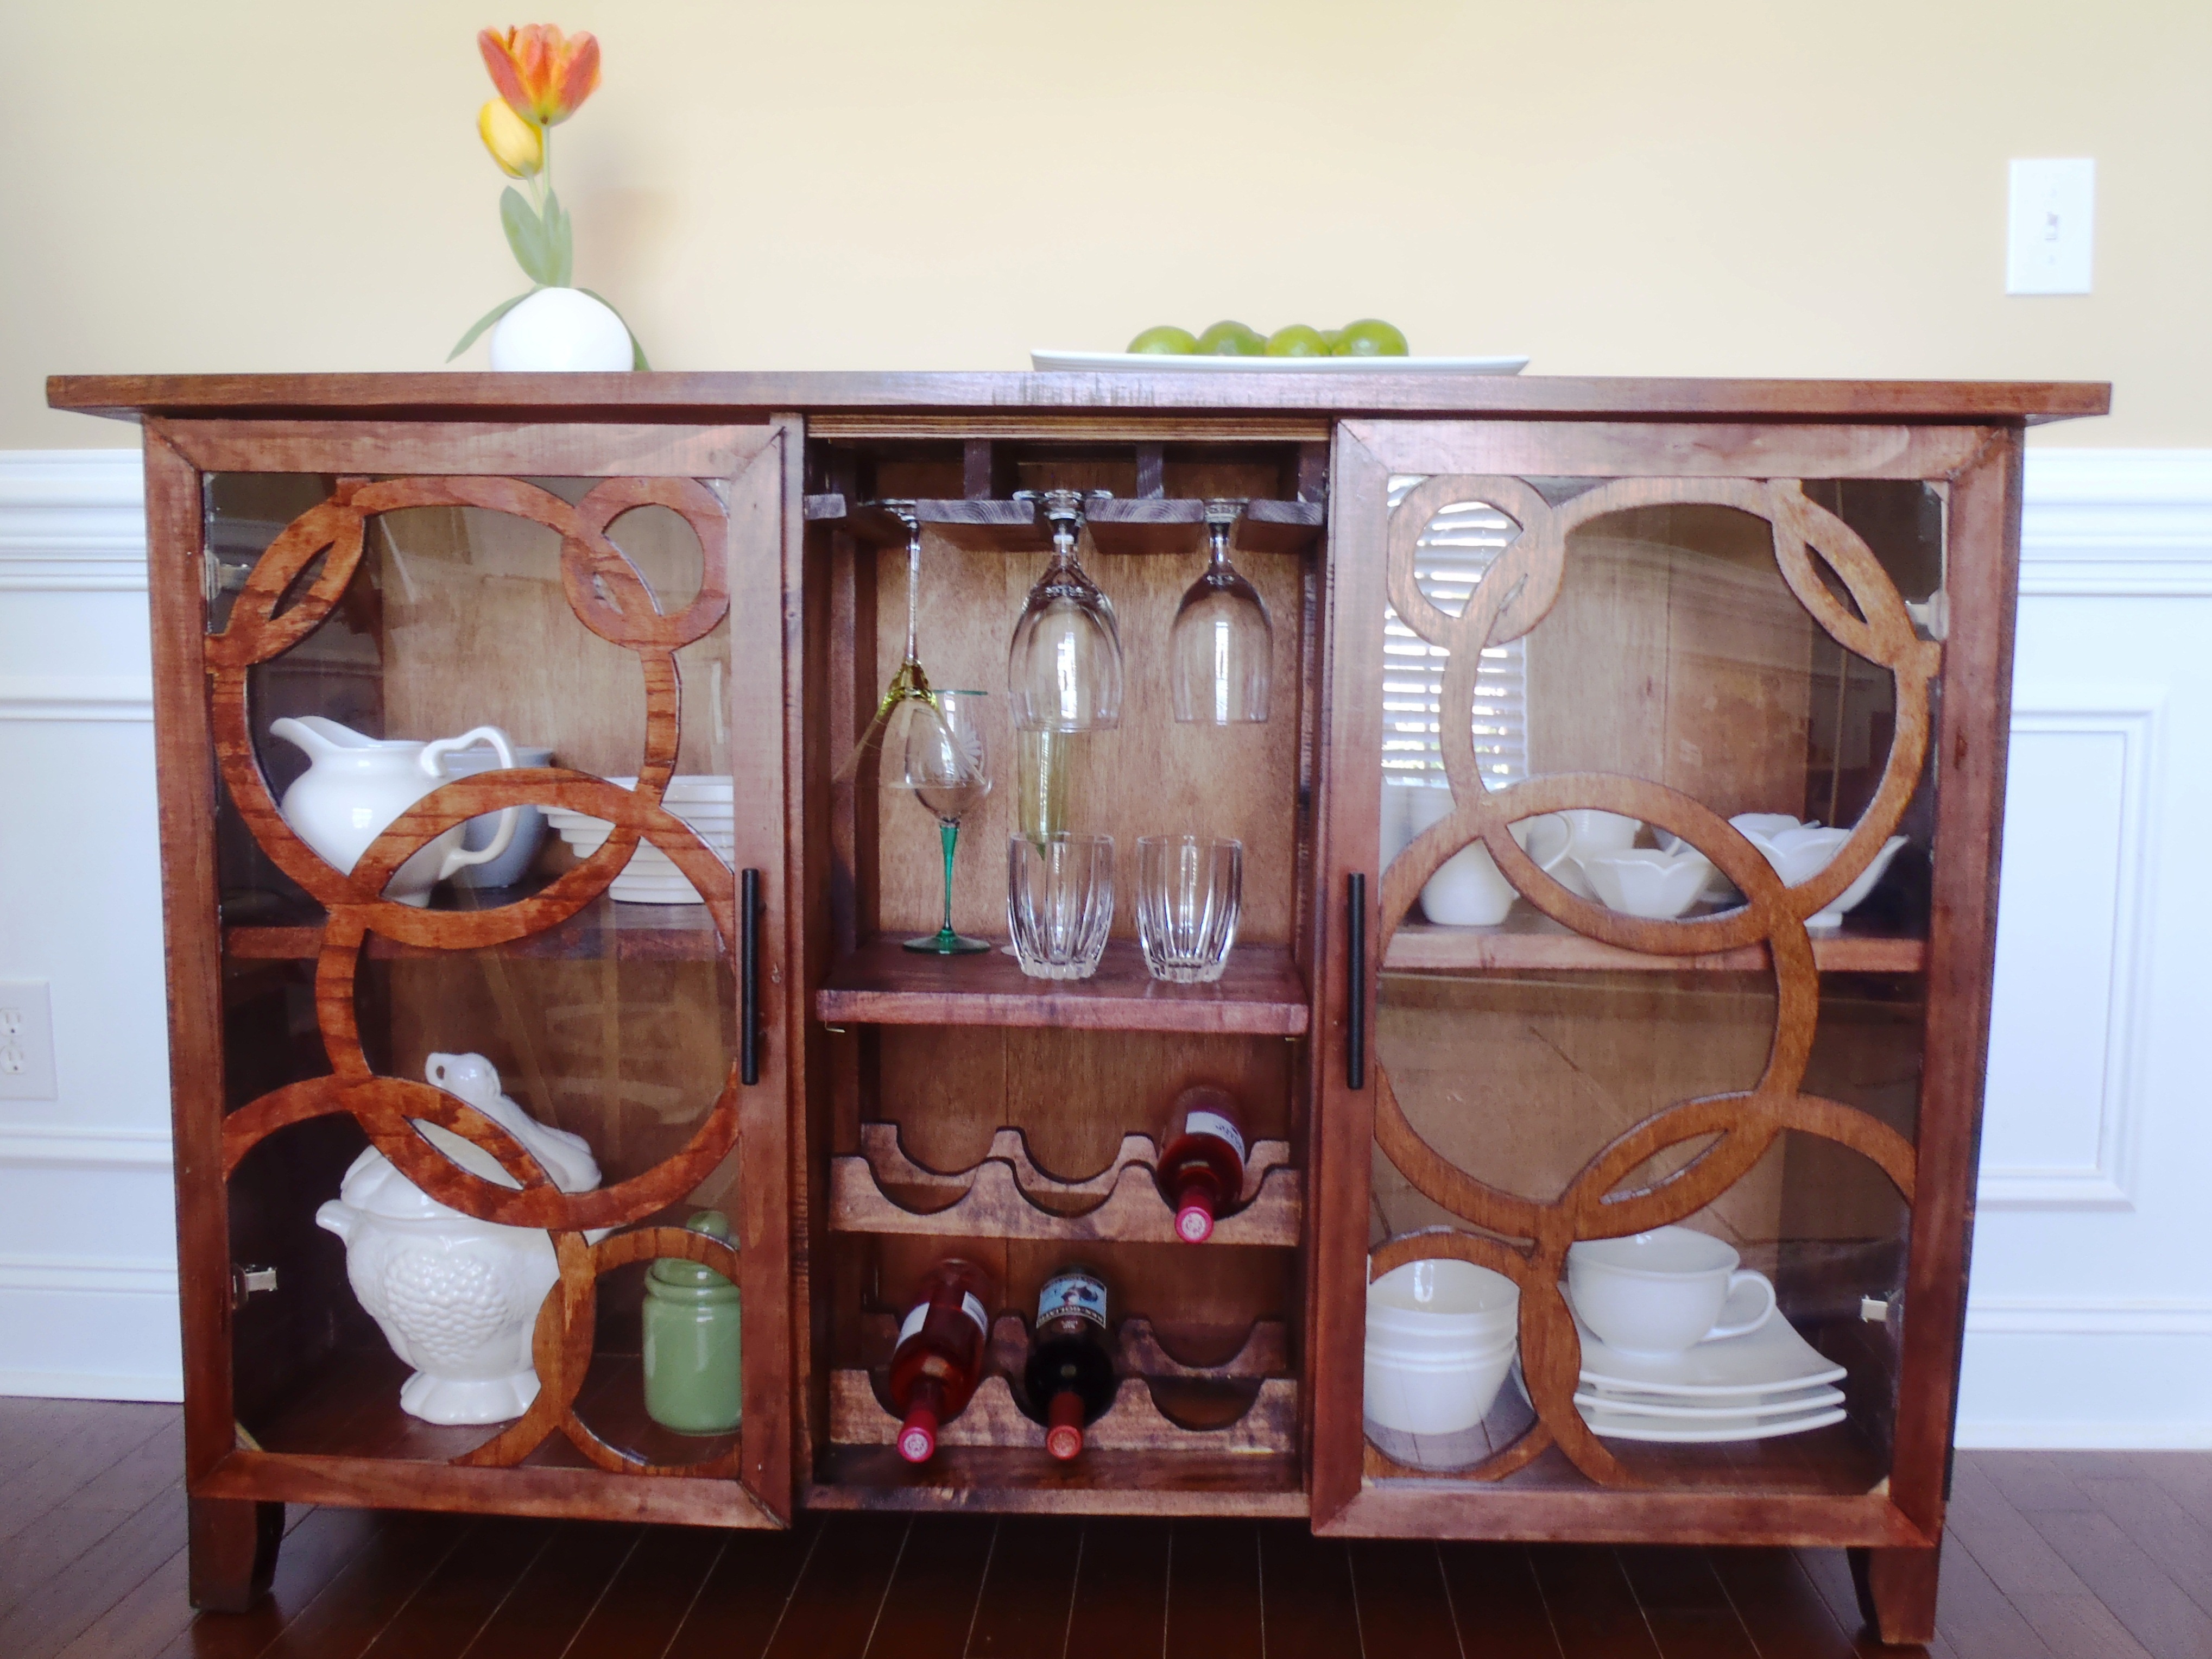
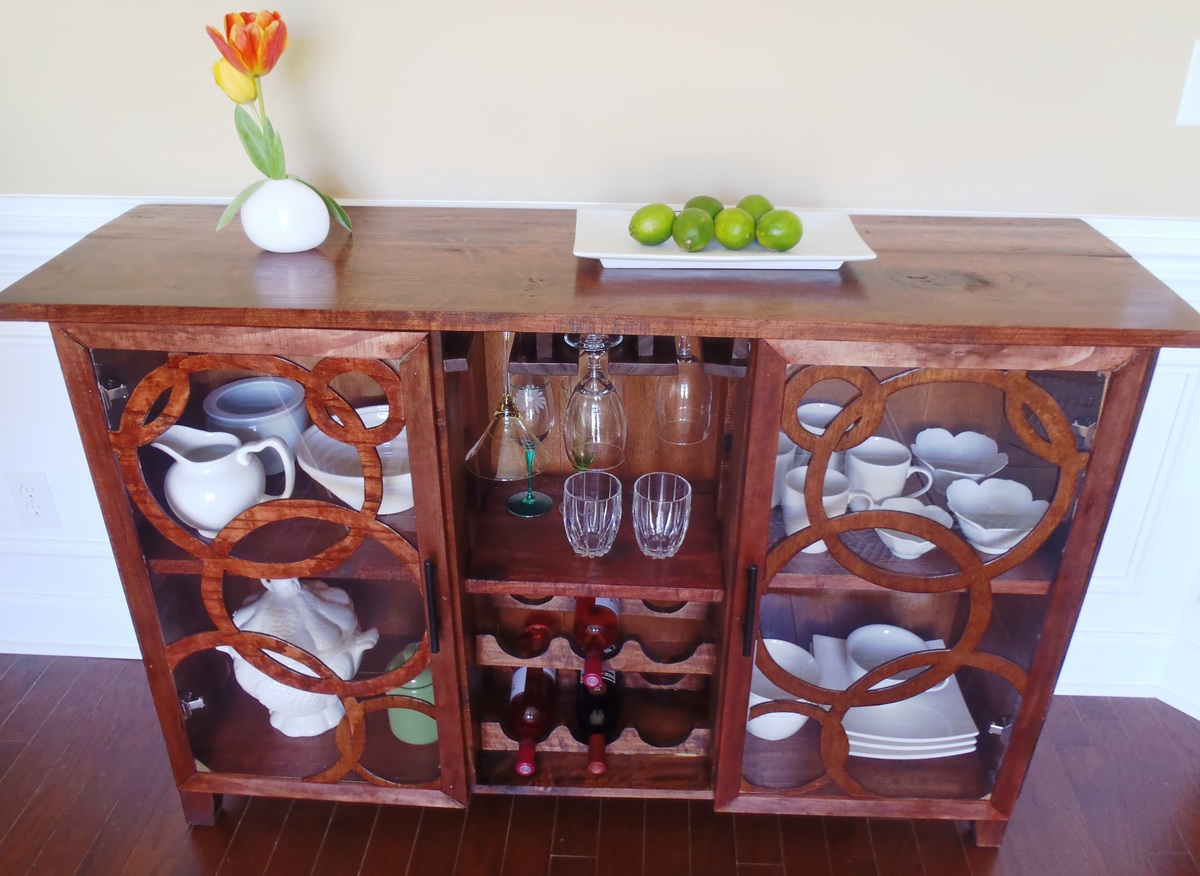
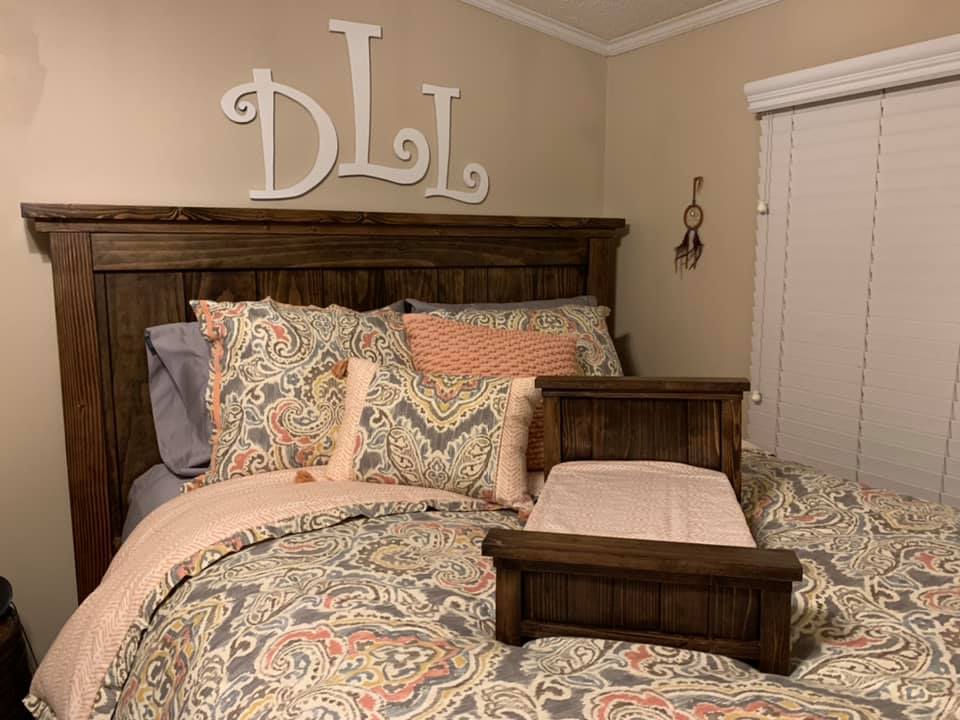
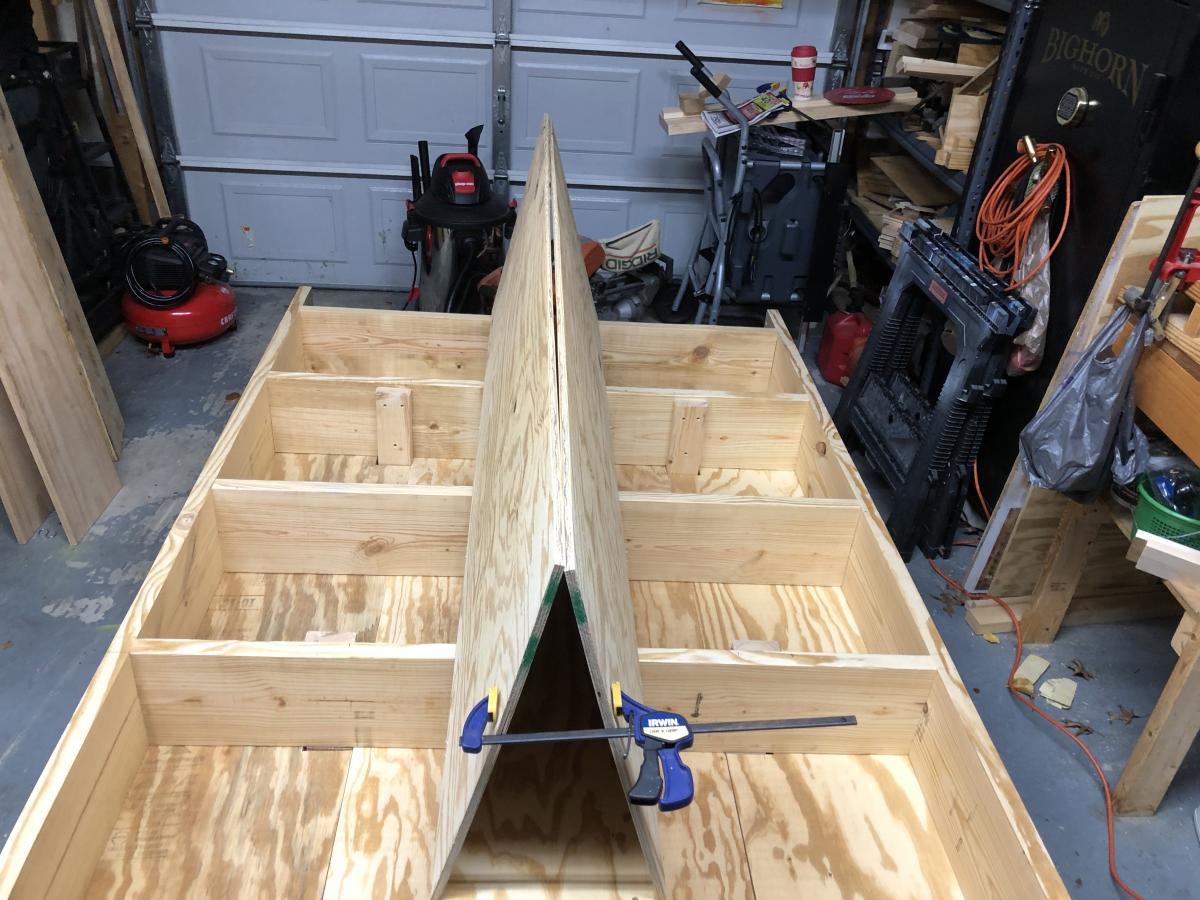
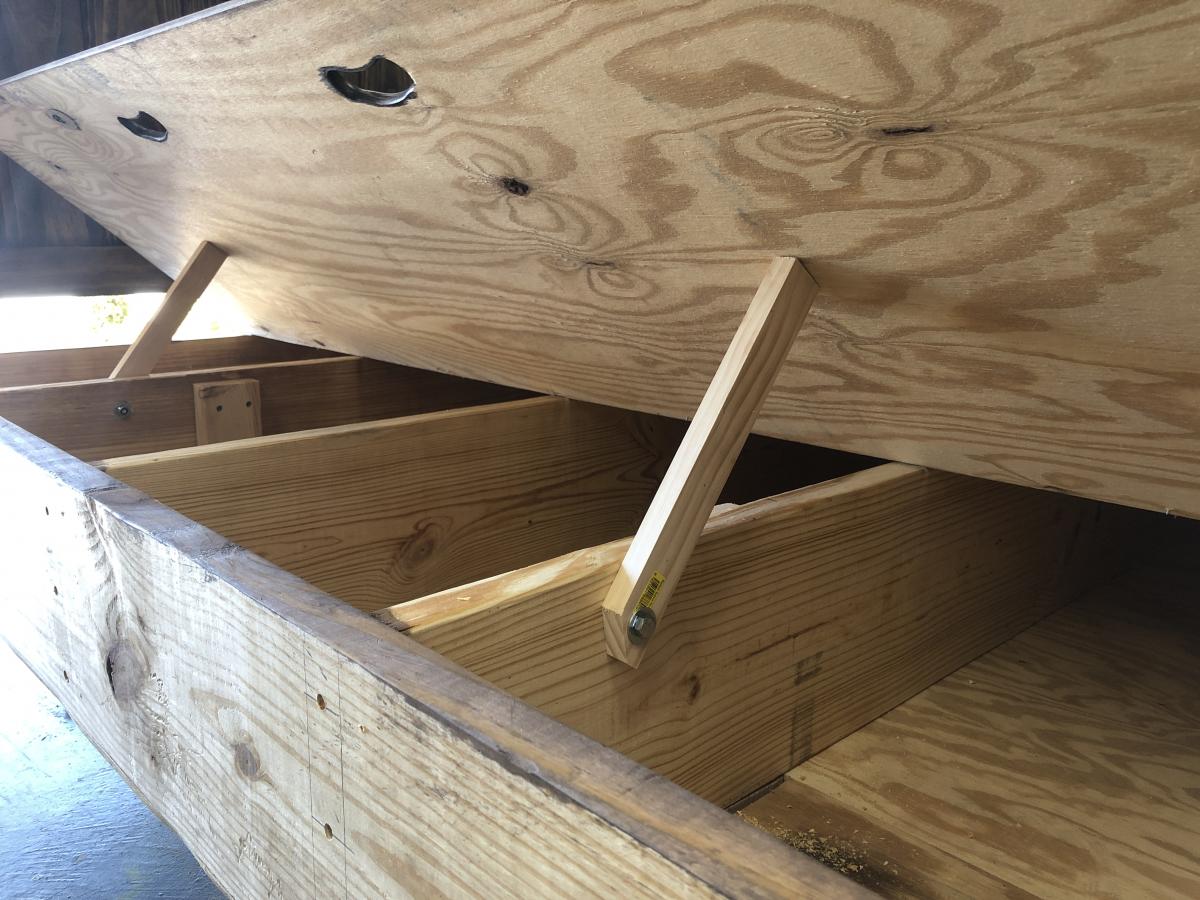
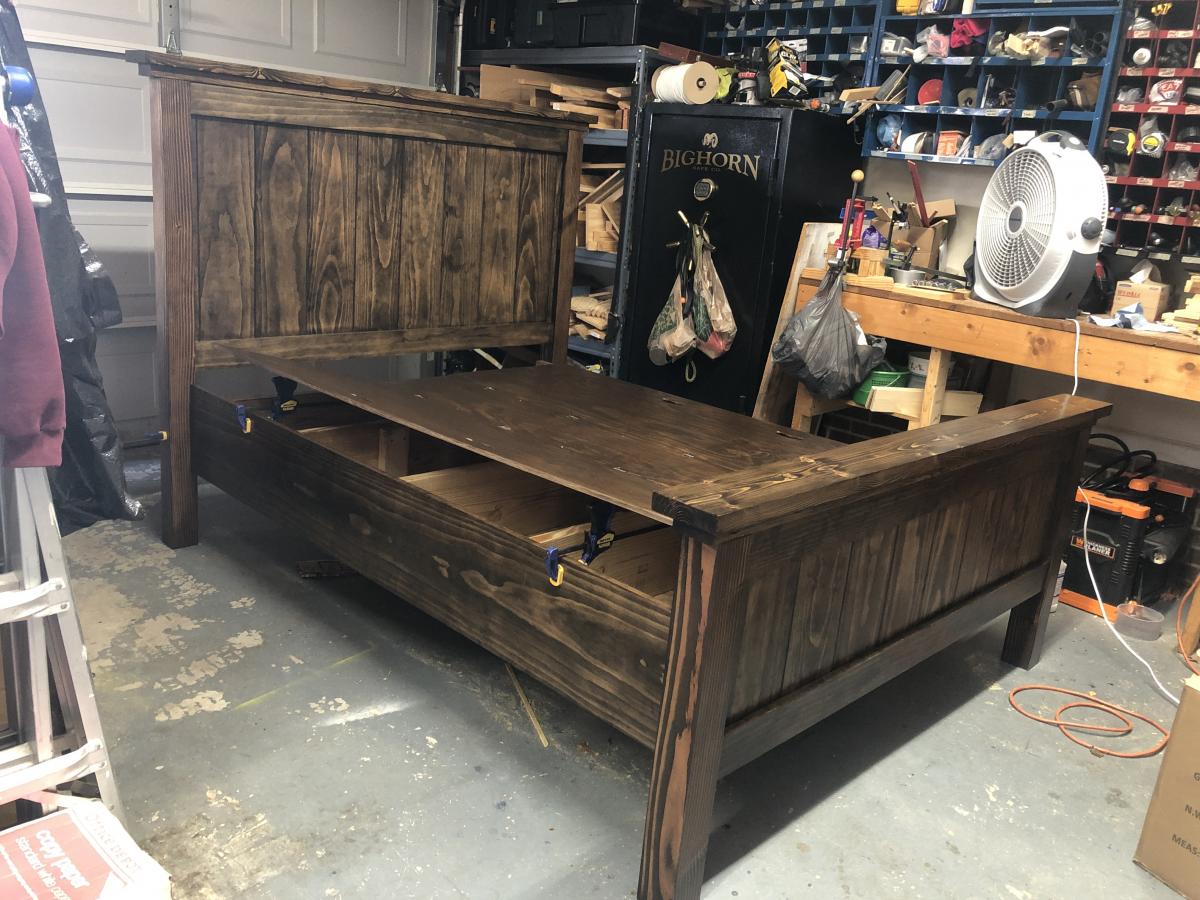
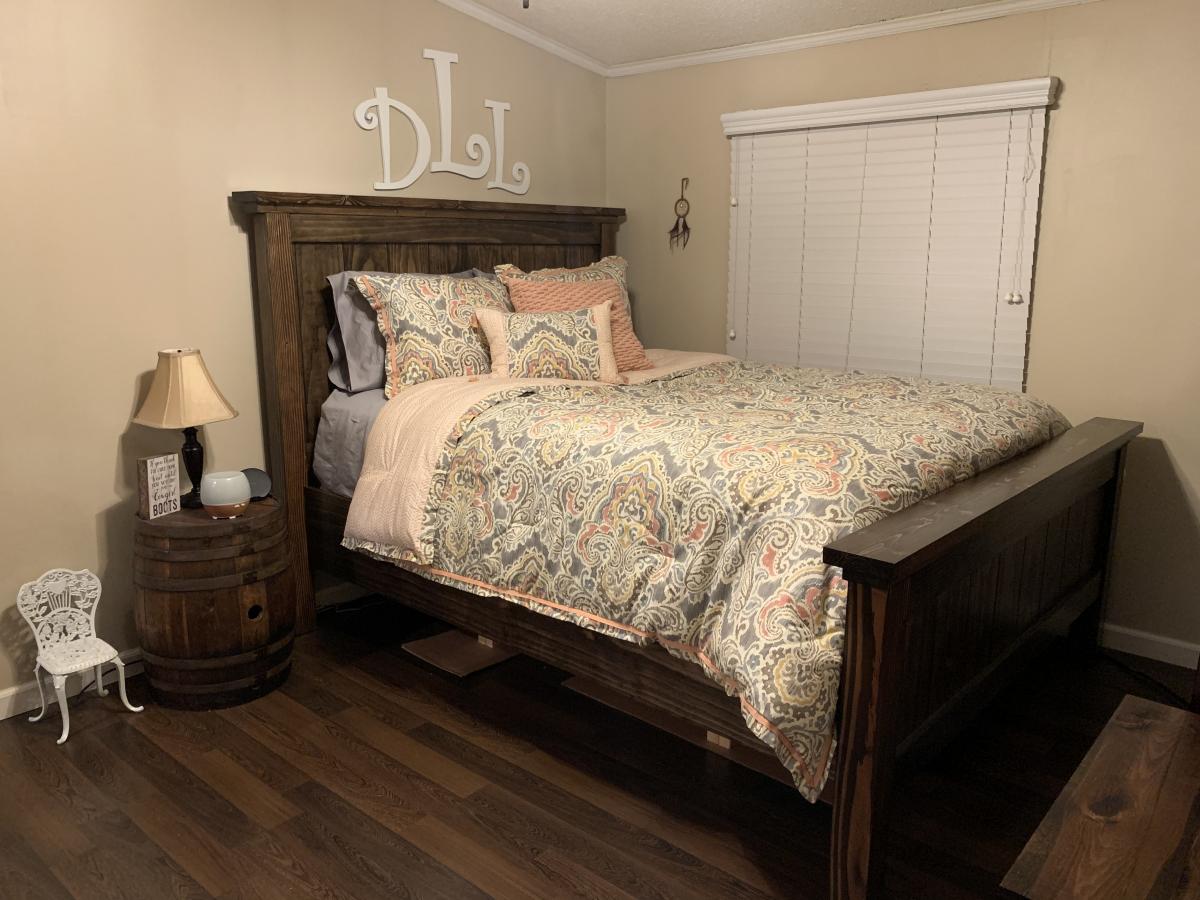
I needed a dresser to match the two farmhouse sidetables I built for the room and this design fit the bill. I really had to take the time to figure out where to place the pocket holes. Finishing is my least favorite part of the process, but I'm glad to have really taken my time. This was a really challenging project and I'm so pleased with the end product. By far, my favorite build yet!
Estimated Cost
$225 - $250
Estimated Time Investment
Weekend Project (10-20 Hours)
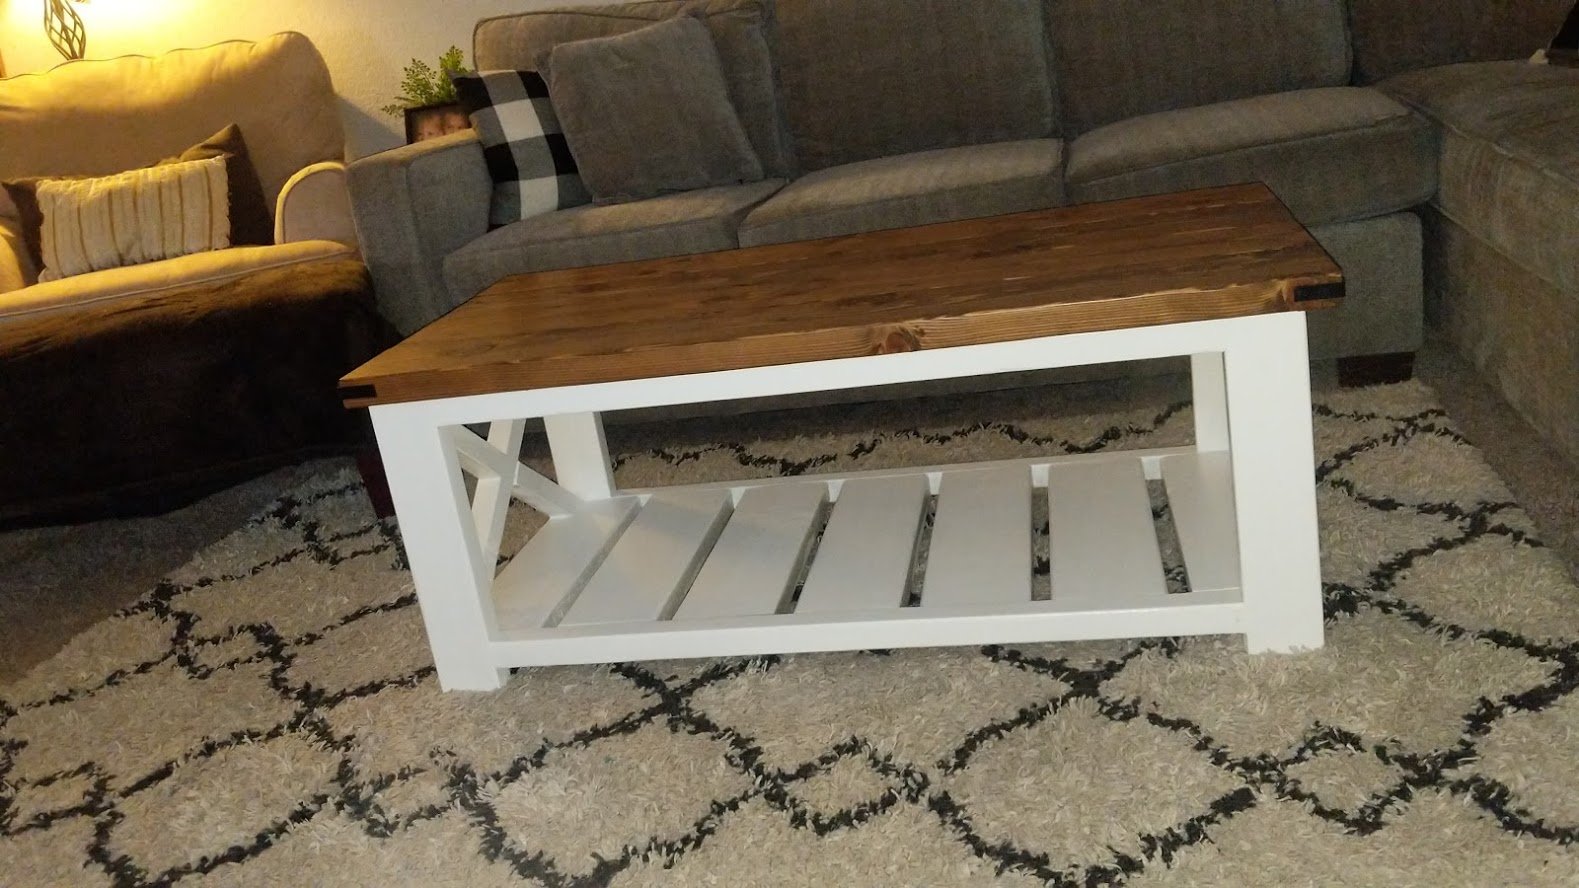
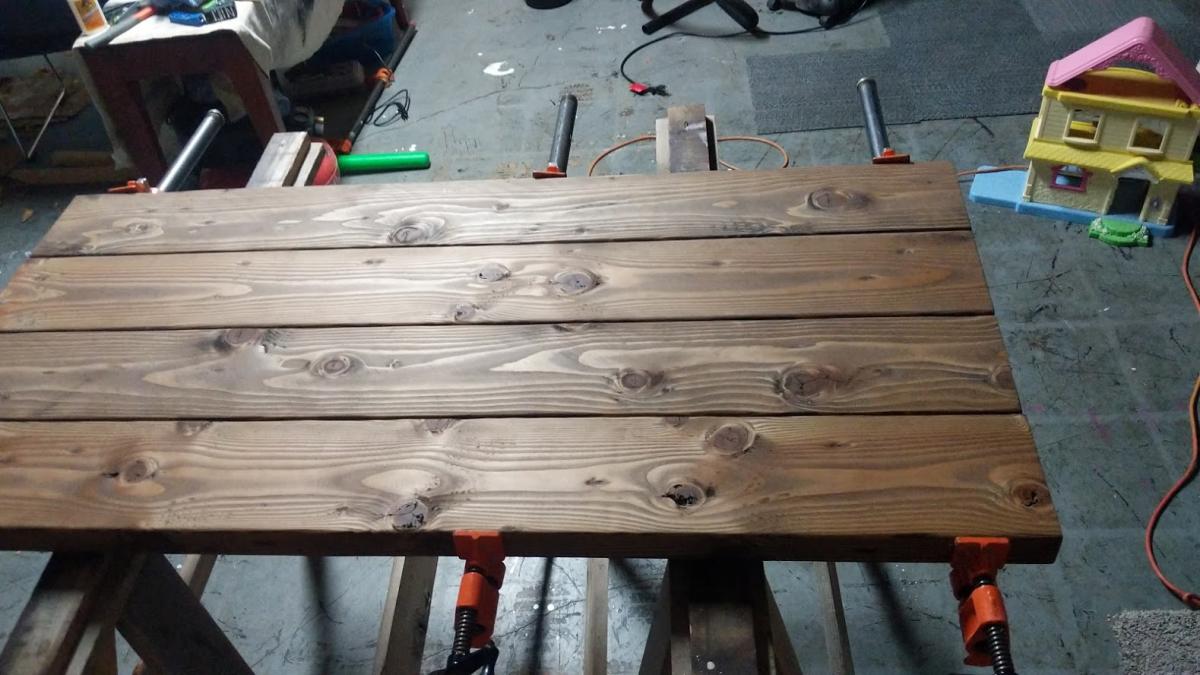
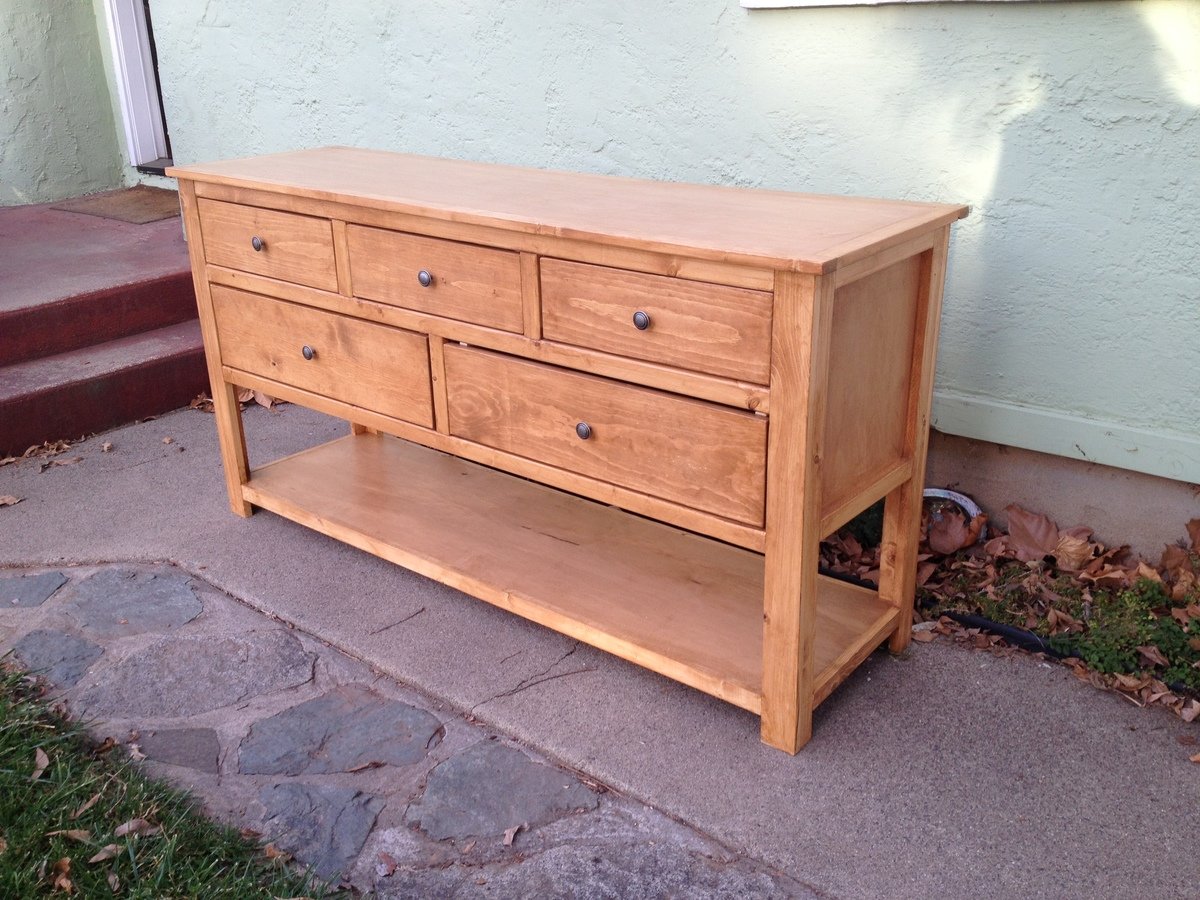
Finish Used
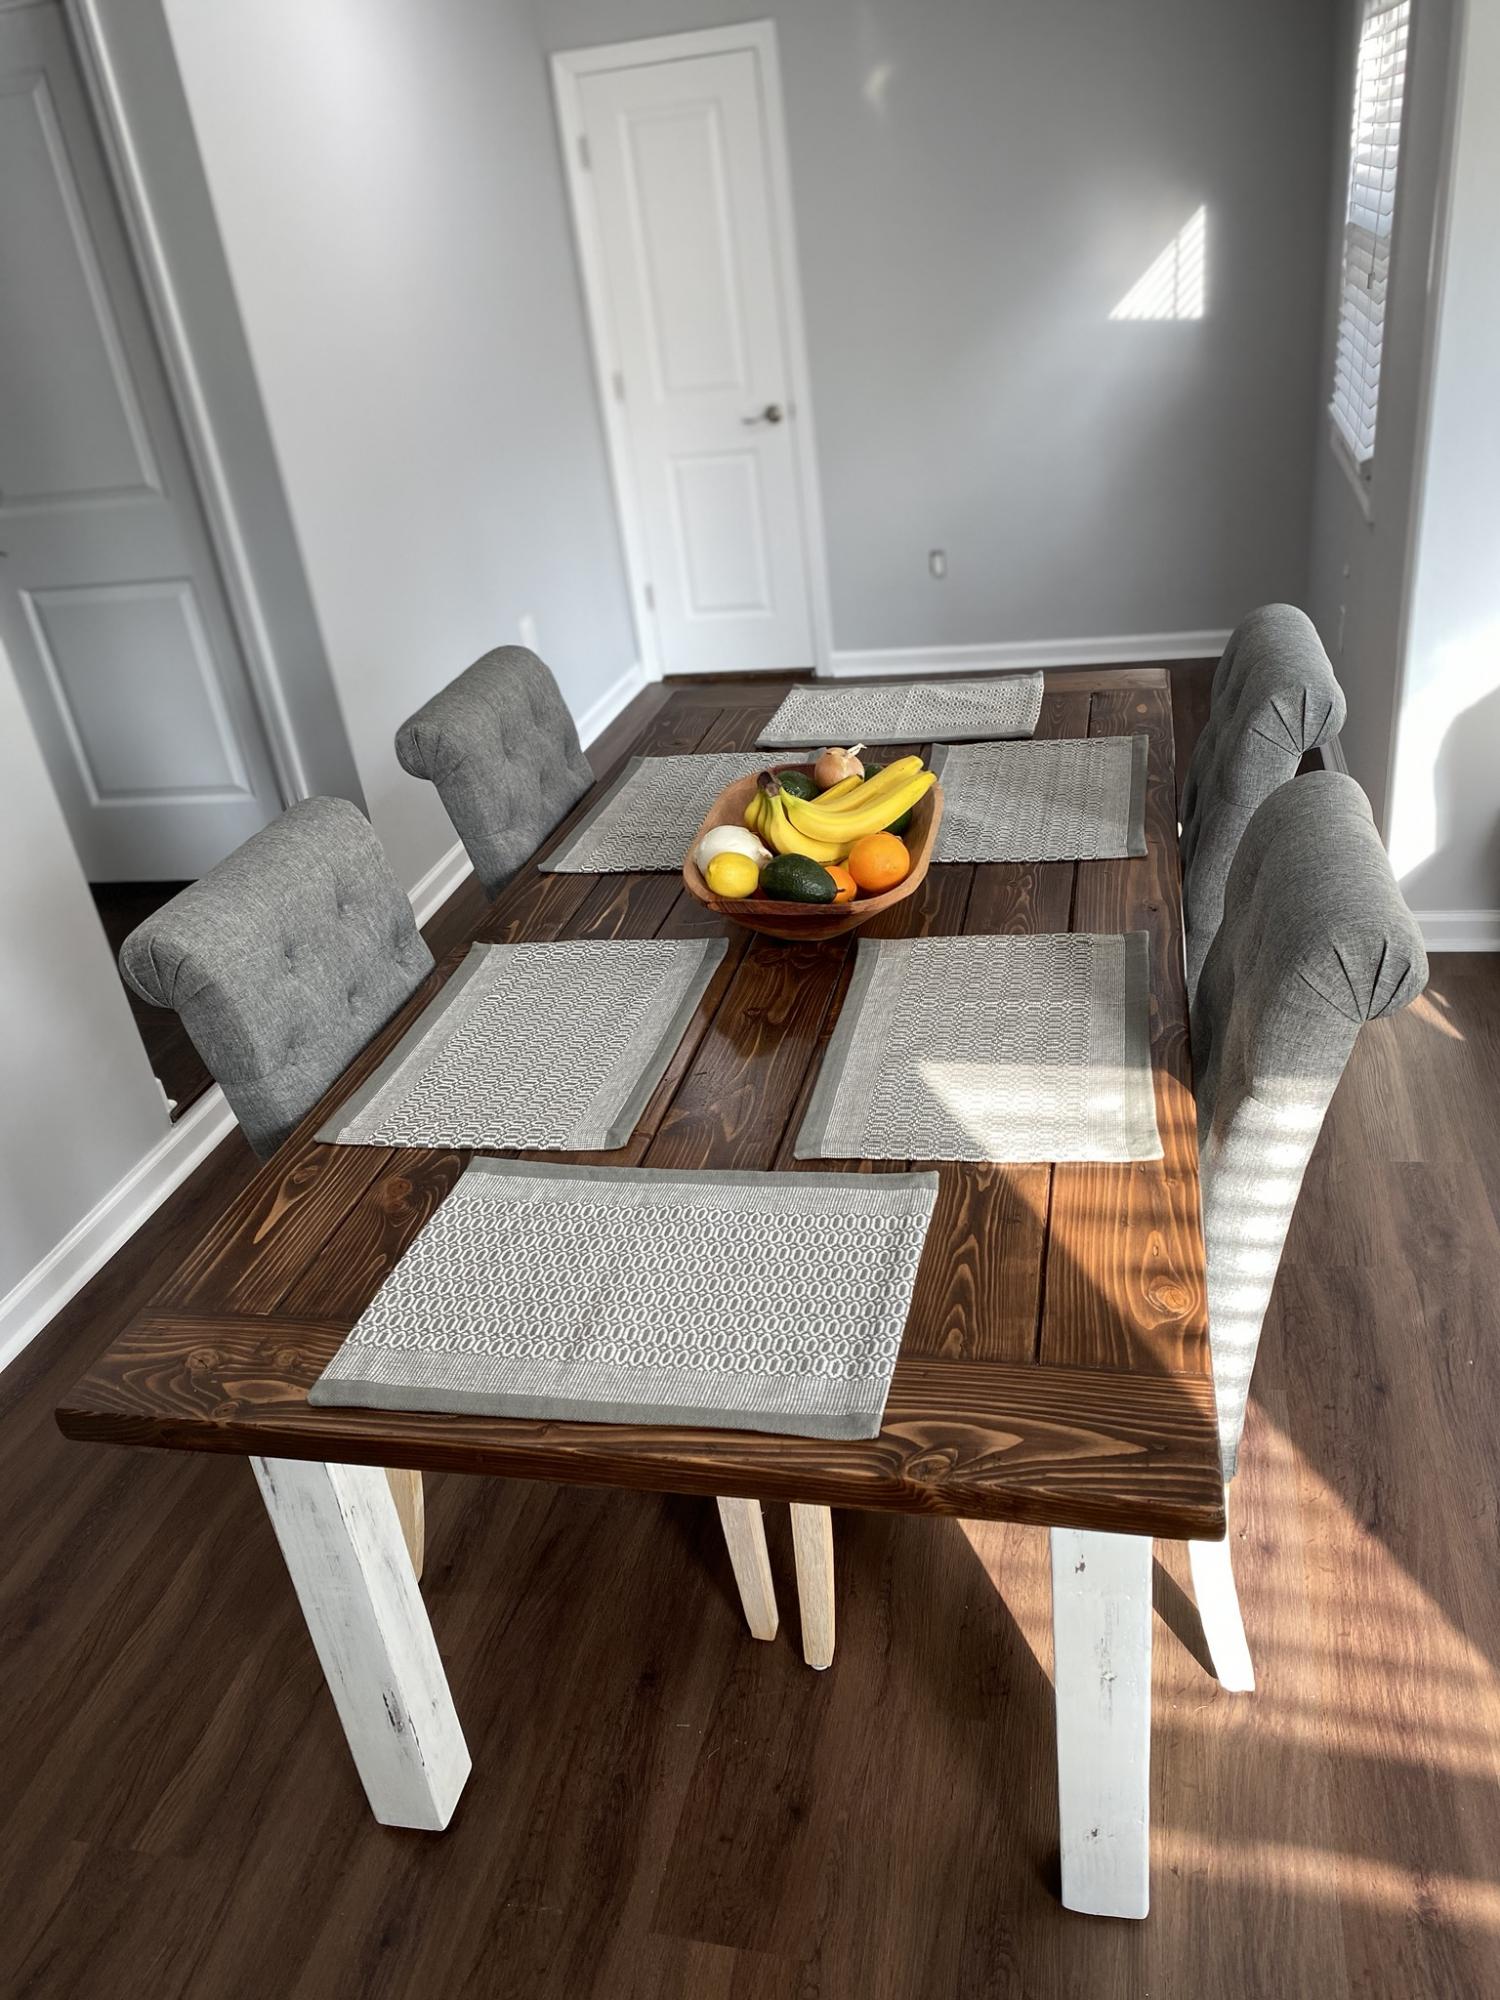
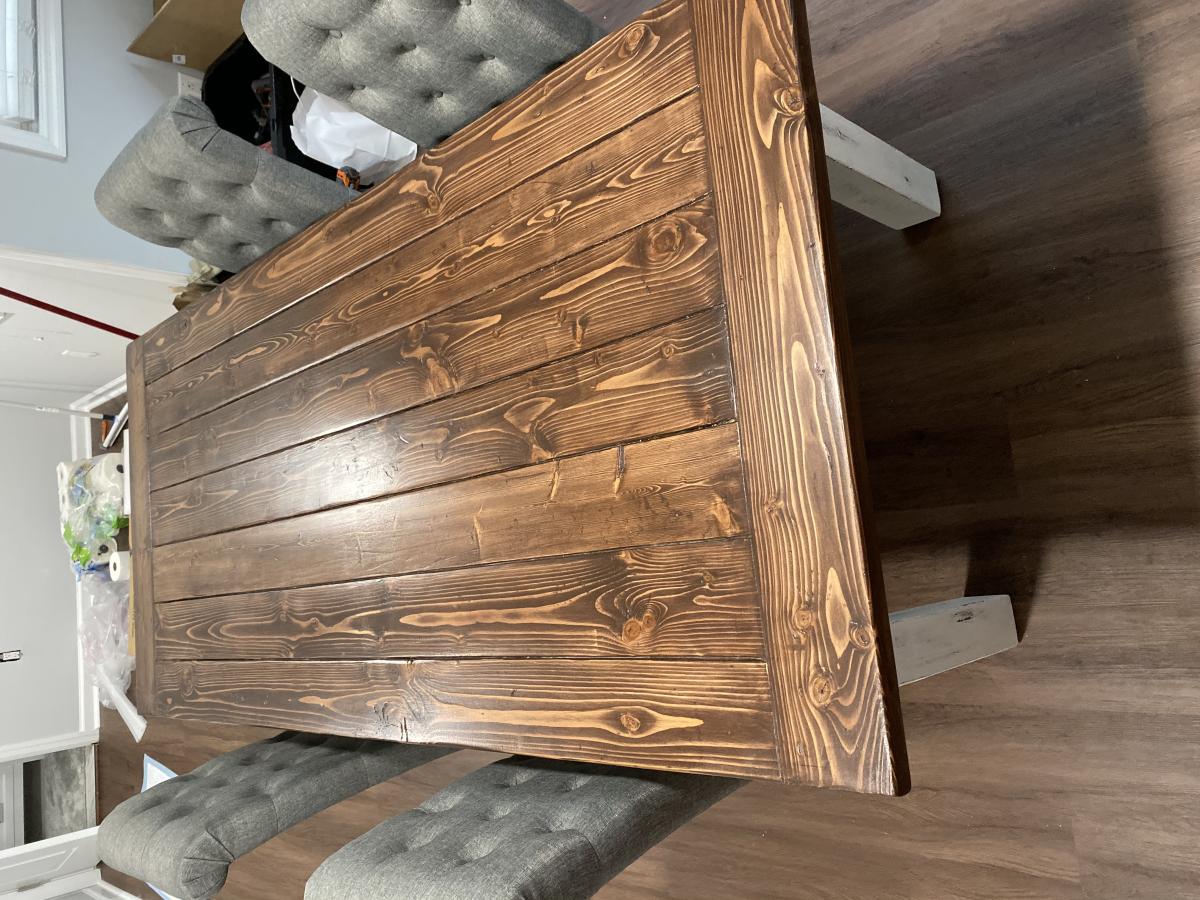
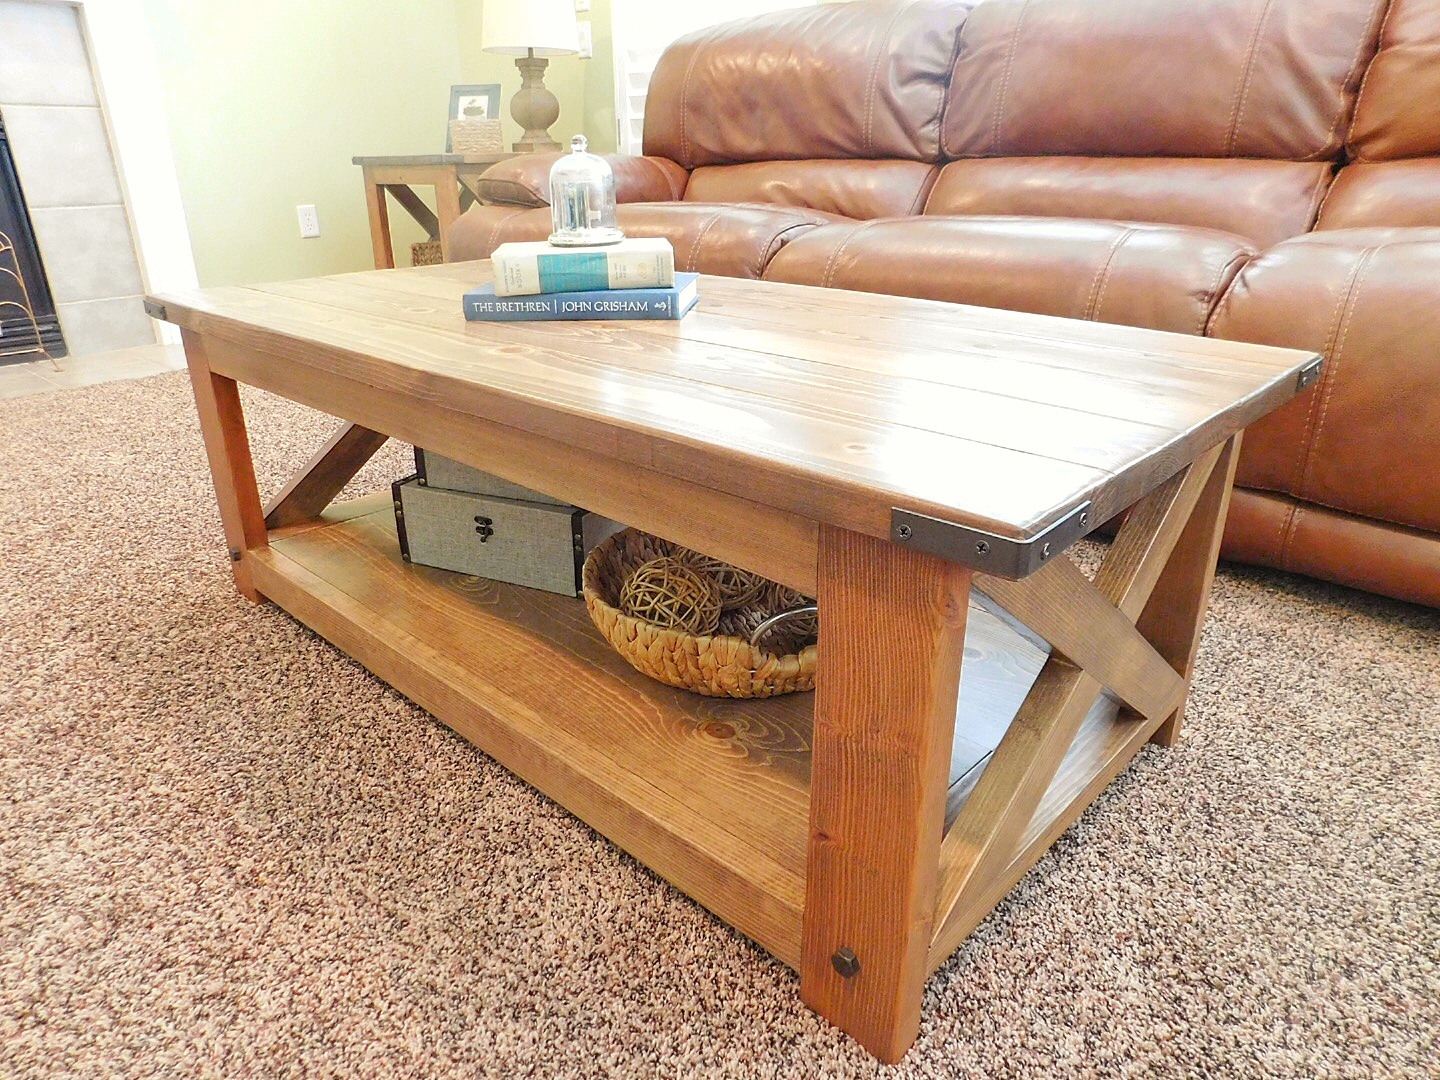
Cabot Fruitwood stain and four coats of polyurethane satin finish. Last sanding was with 600 grit.
Recommended Skill Level
Intermediate