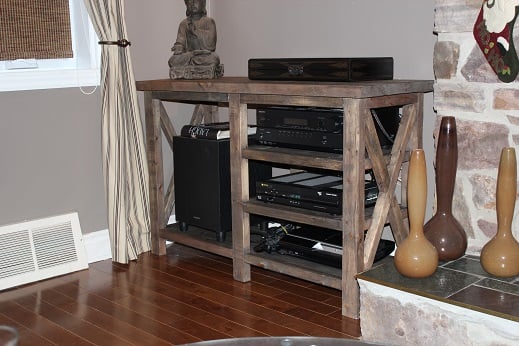
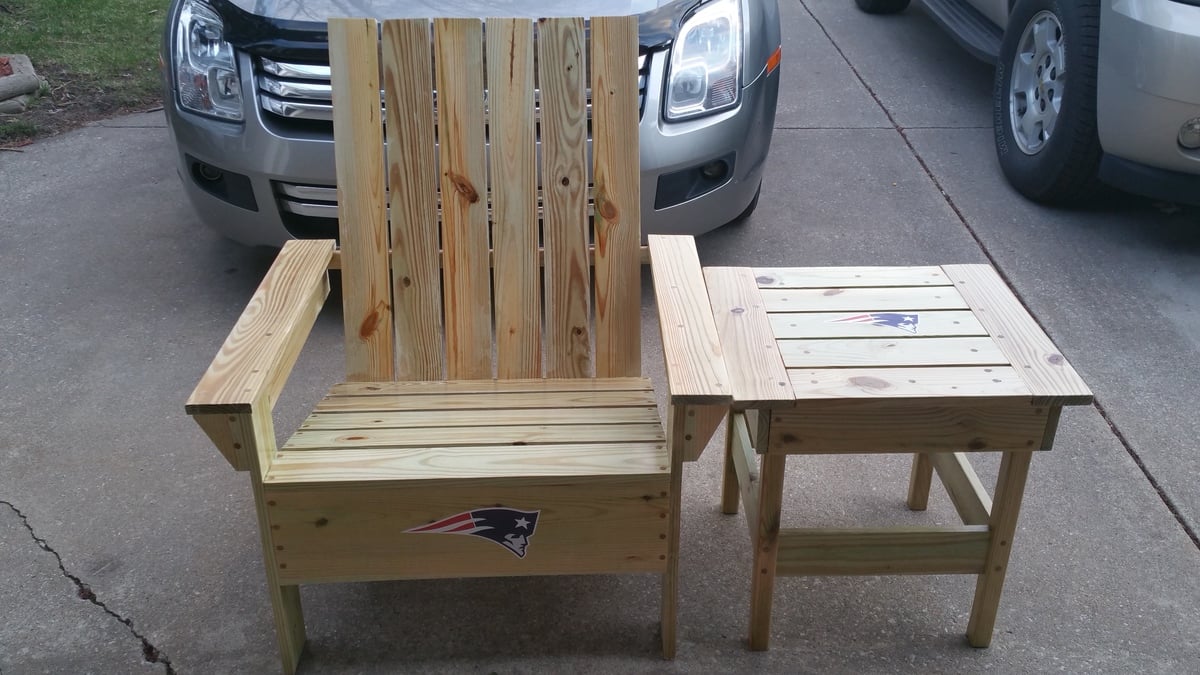
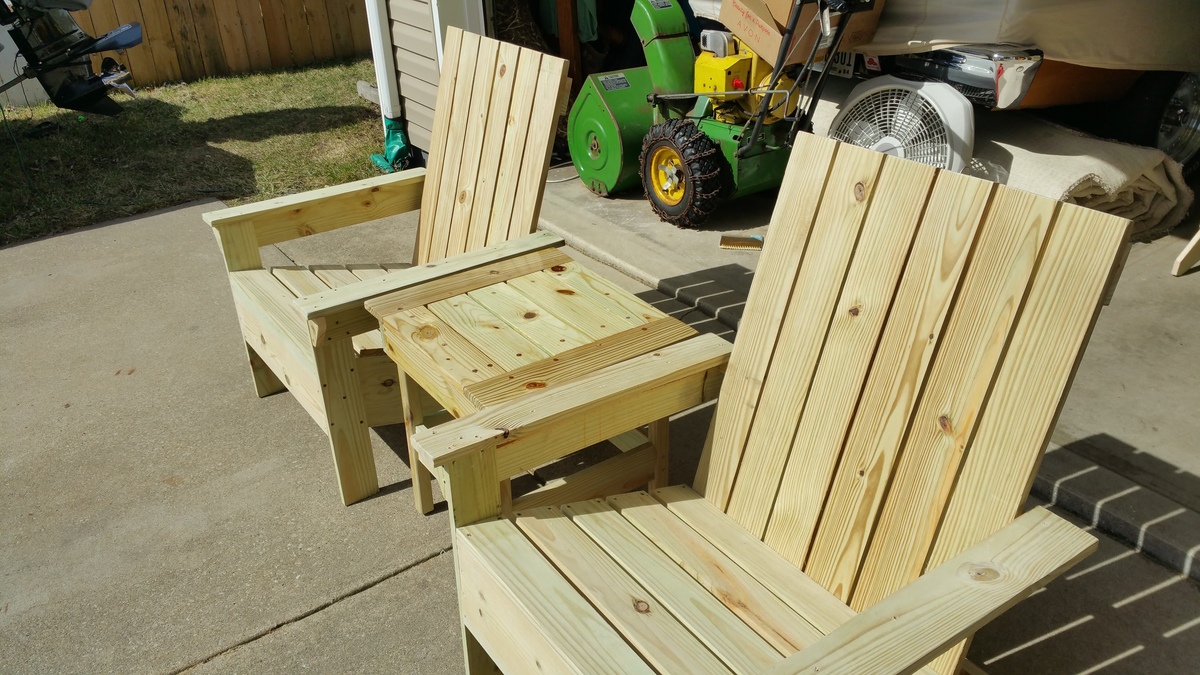
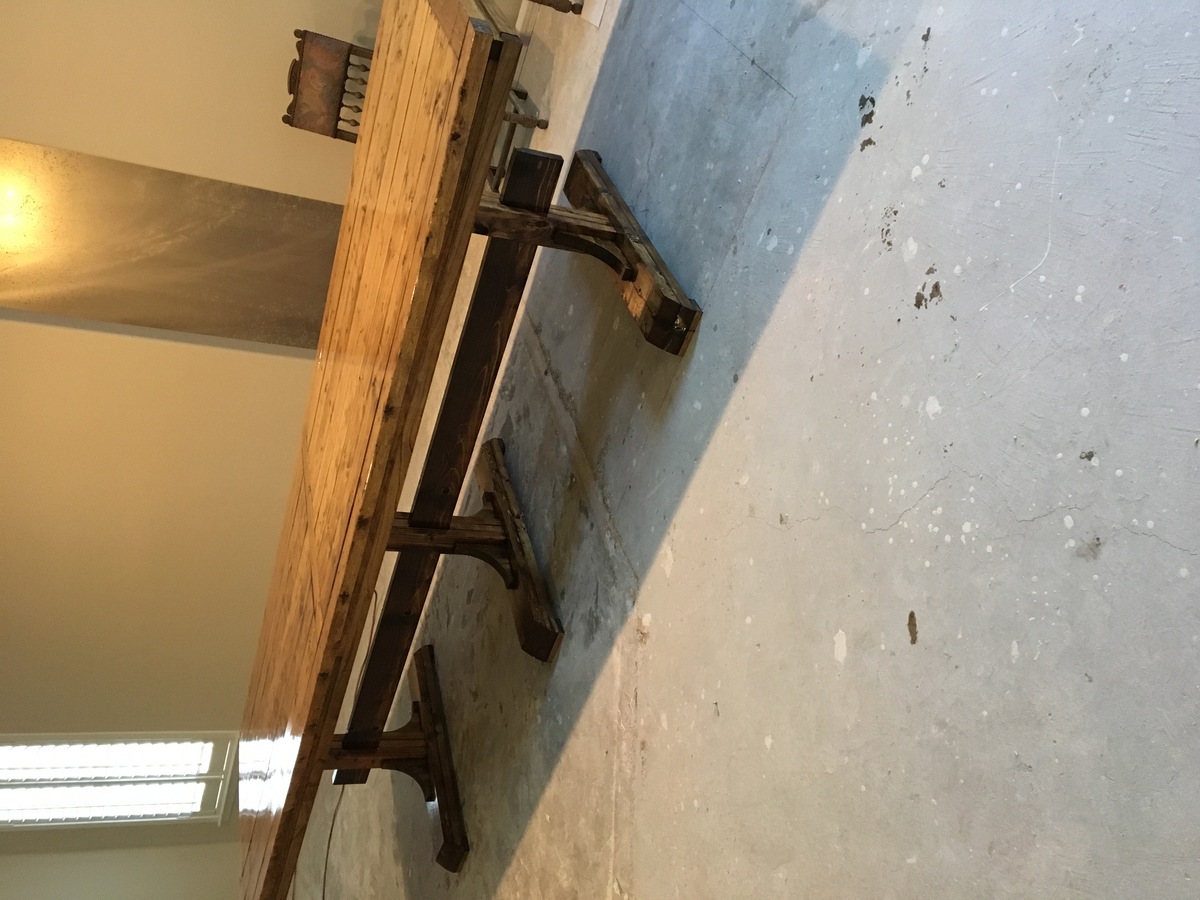
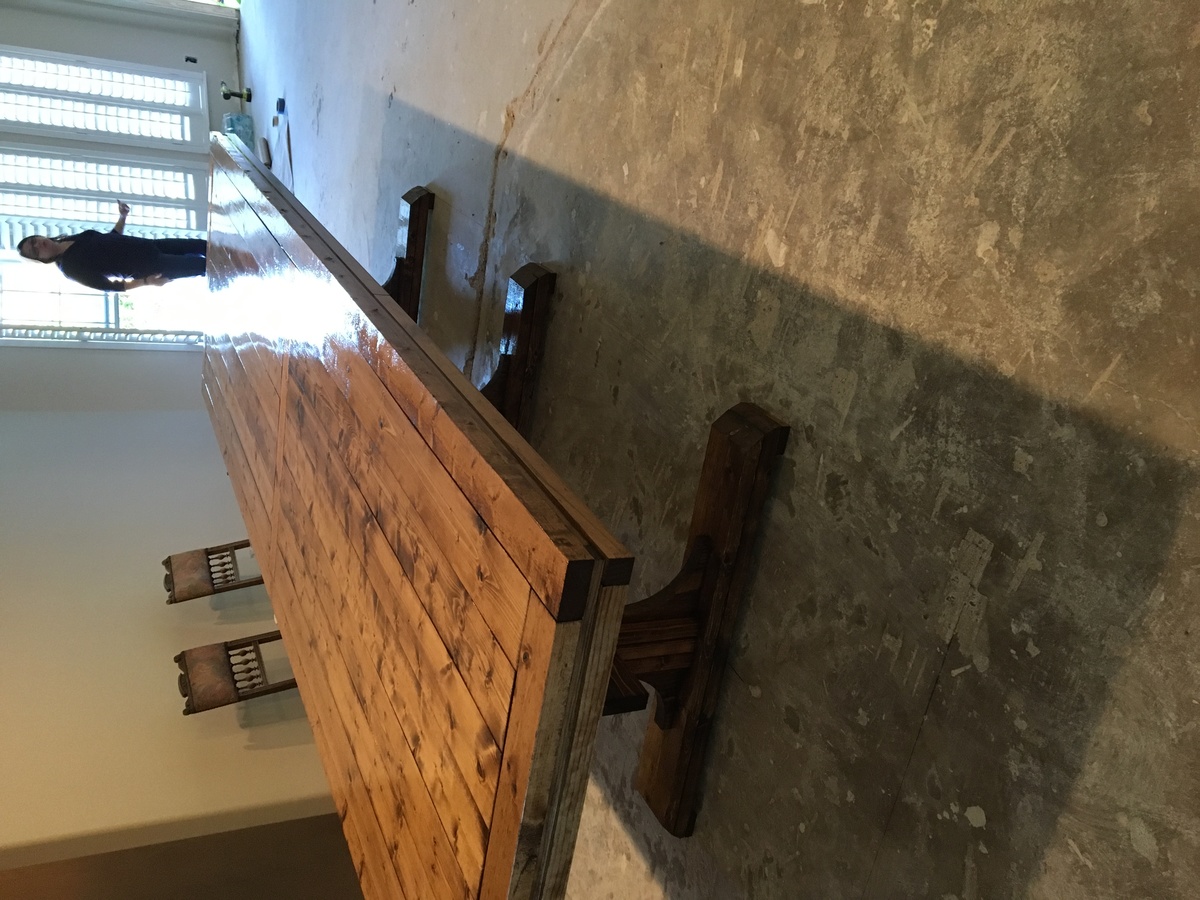
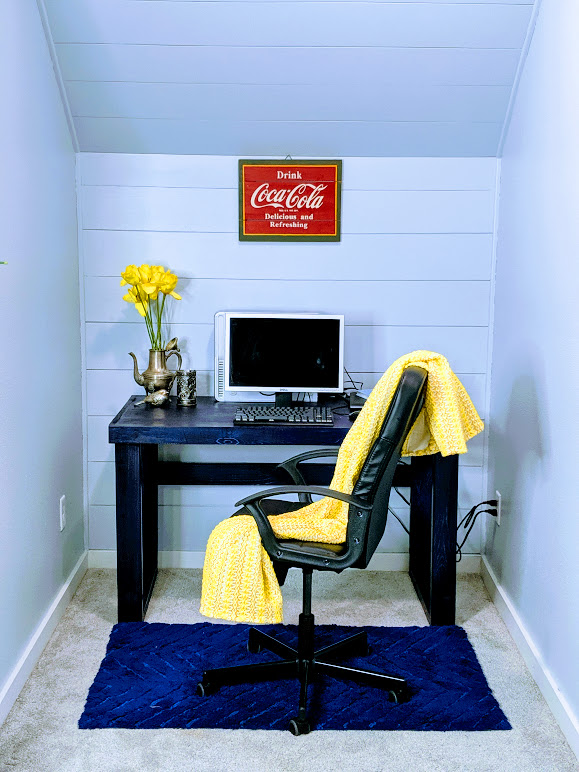
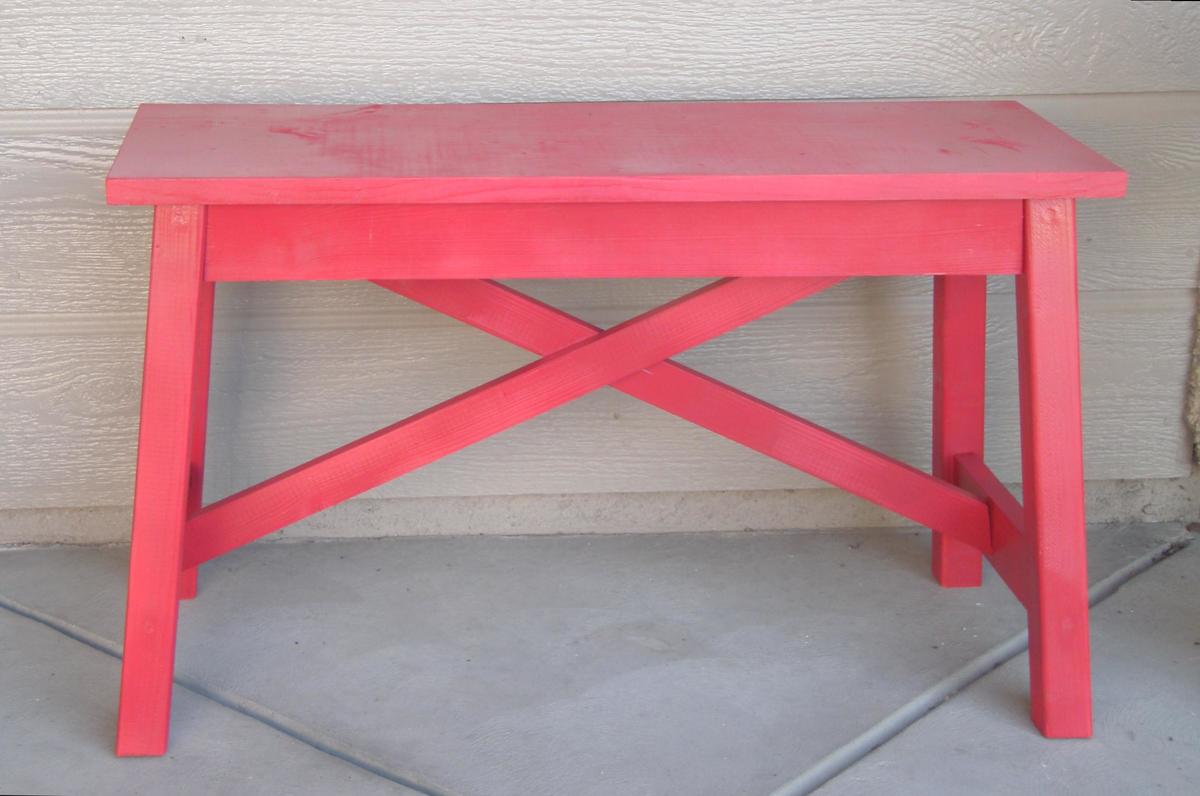
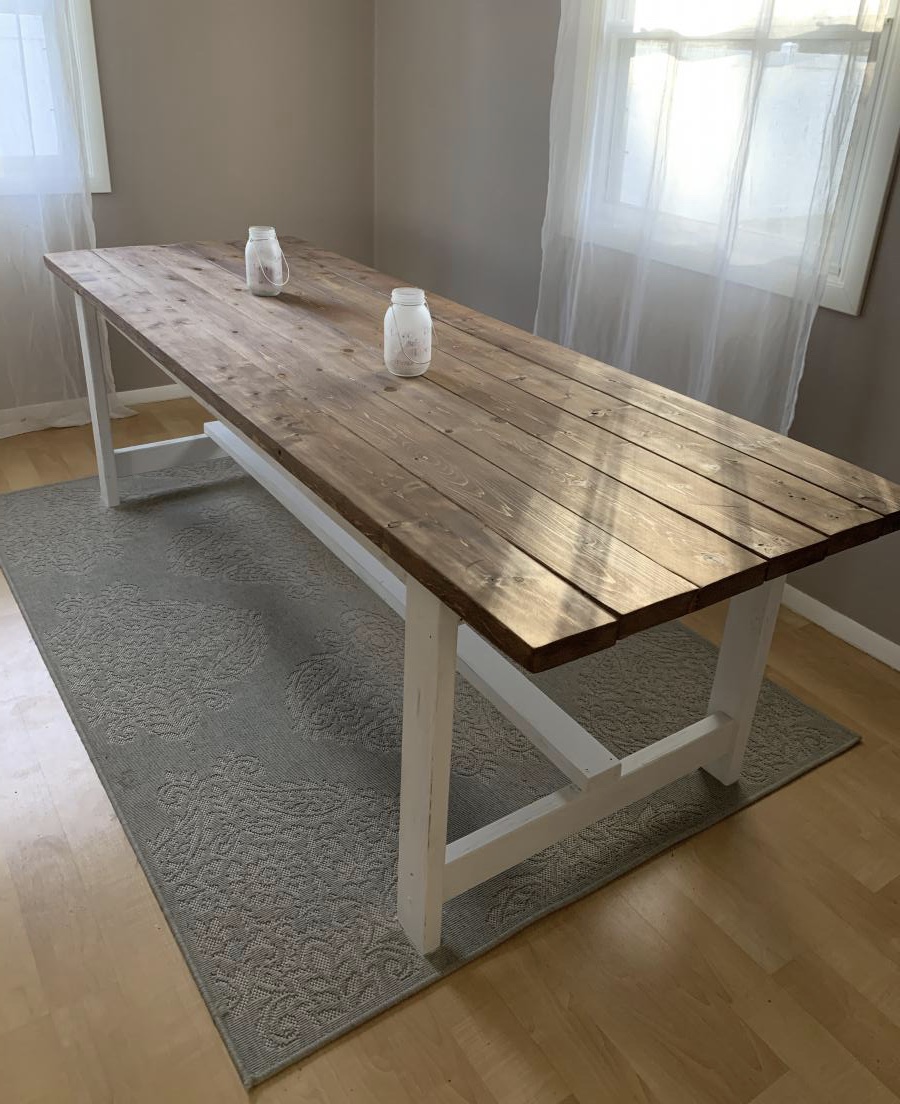
We were looking for a table with custom dimensions for our little office nook, but it was really hard to find. Most of them were very expensive, too. We decided to make our own table and share it with all of you as well. It's an easy project to do and minimum tools are required. You can also always use substitute tools as opposed to using the exact one we did in the project.
Step-by-Step Tutorial
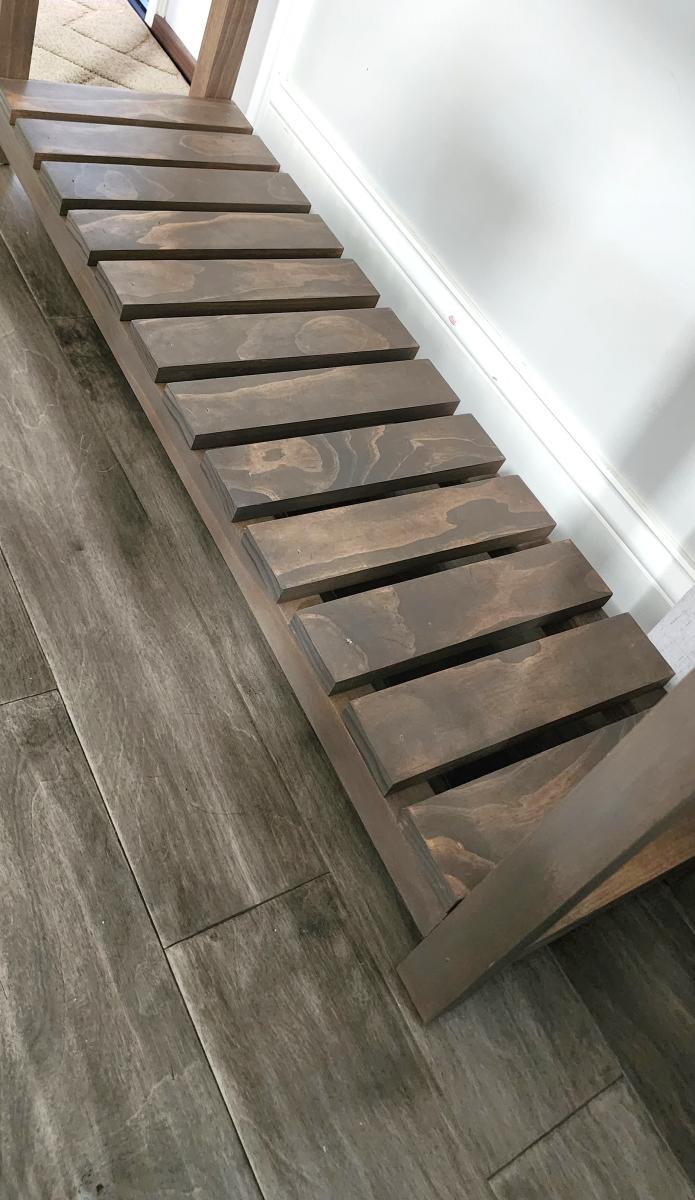
Step one: Cut the Wood
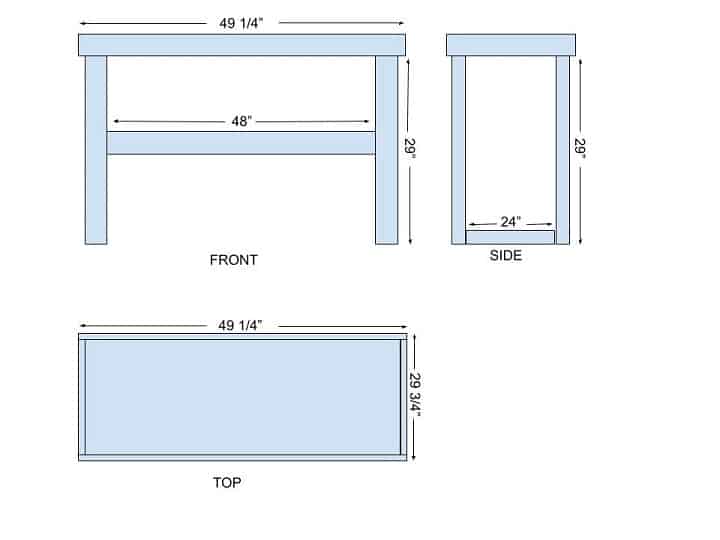
You need to cut 4 (2 x 4's) pieces for the legs using a miter saw, or you can have The Home Depot or Lowes cut it for you. You can adjust your own measurements according to the plan above. The plan is according to our space. We drew it in Google Drawings, and you can get that idea and draw your own.
Step Two: Pocket Holes
Drill pocket holes in the legs using a Kreg Jig but if you don't have that tool it's okay too. Tou can use regular nails as well. I am in love with the Kreg Jig though, and I highly recommend the product to everyone as it makes your joints stronger.
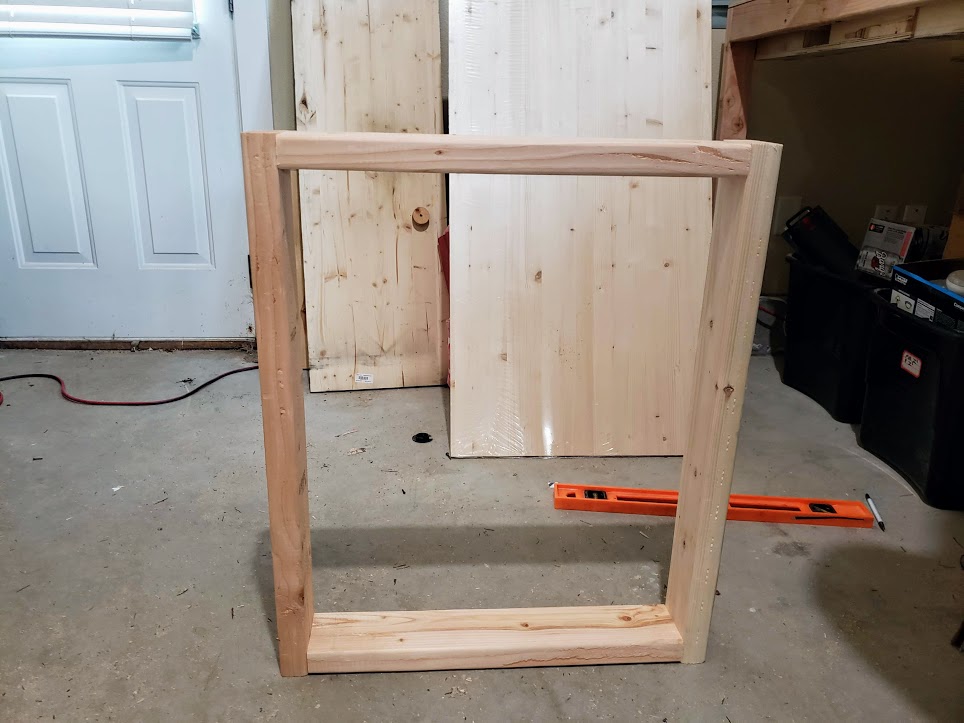
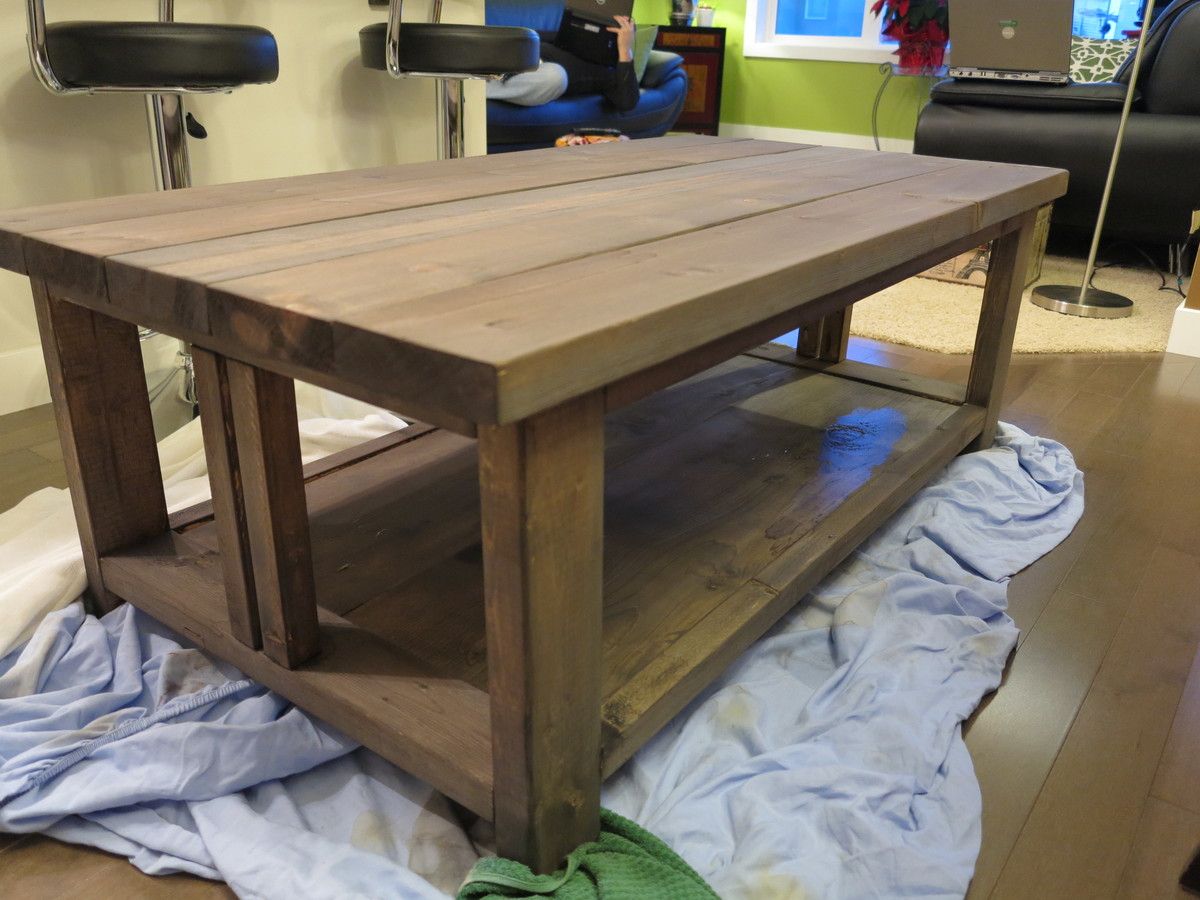
Step 3: Put The Leg Together
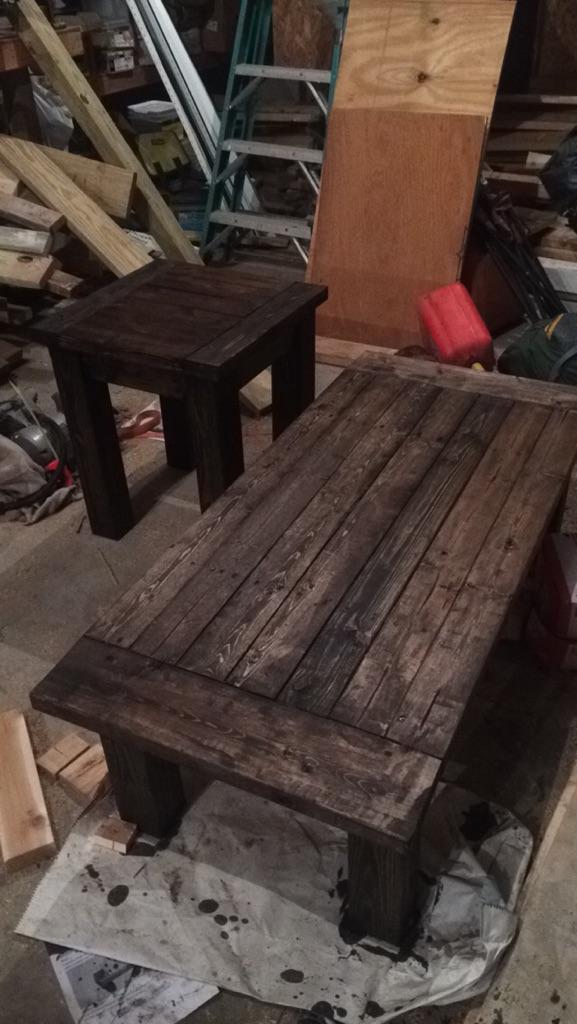
Once you are done with making the joints, it's time to screw the legs together to make it like a frame. See the picture. It should look like a rectangular box. We also placed scrap wood in the middle just to give extra support to the table, so it will not go wobbly.
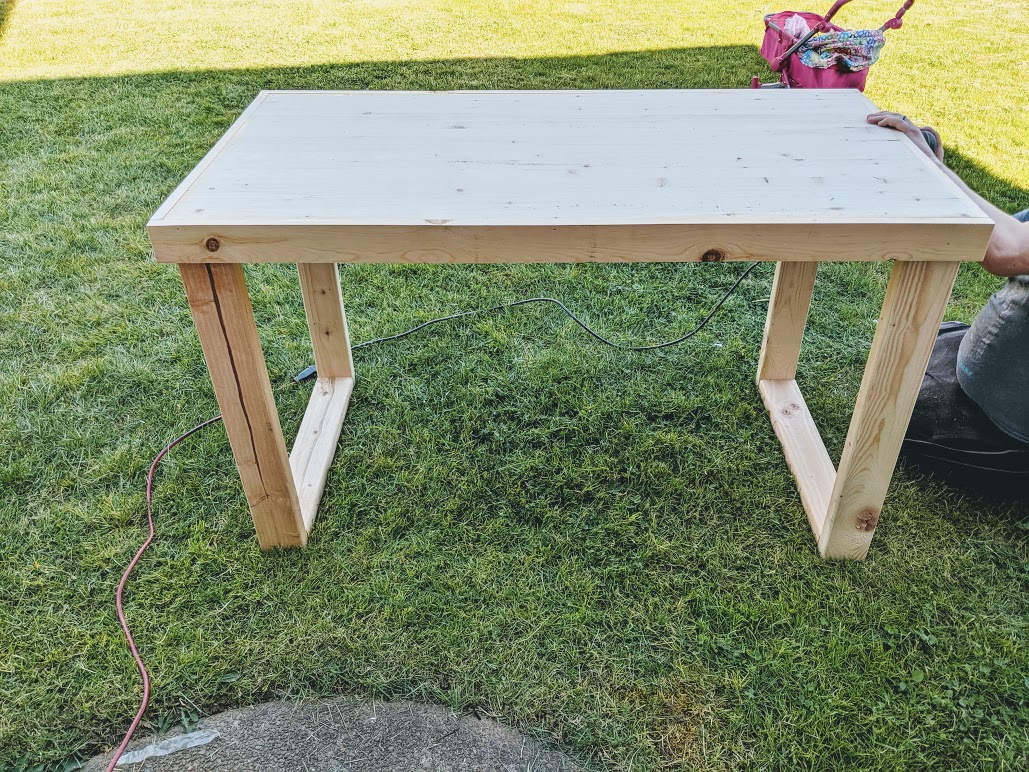
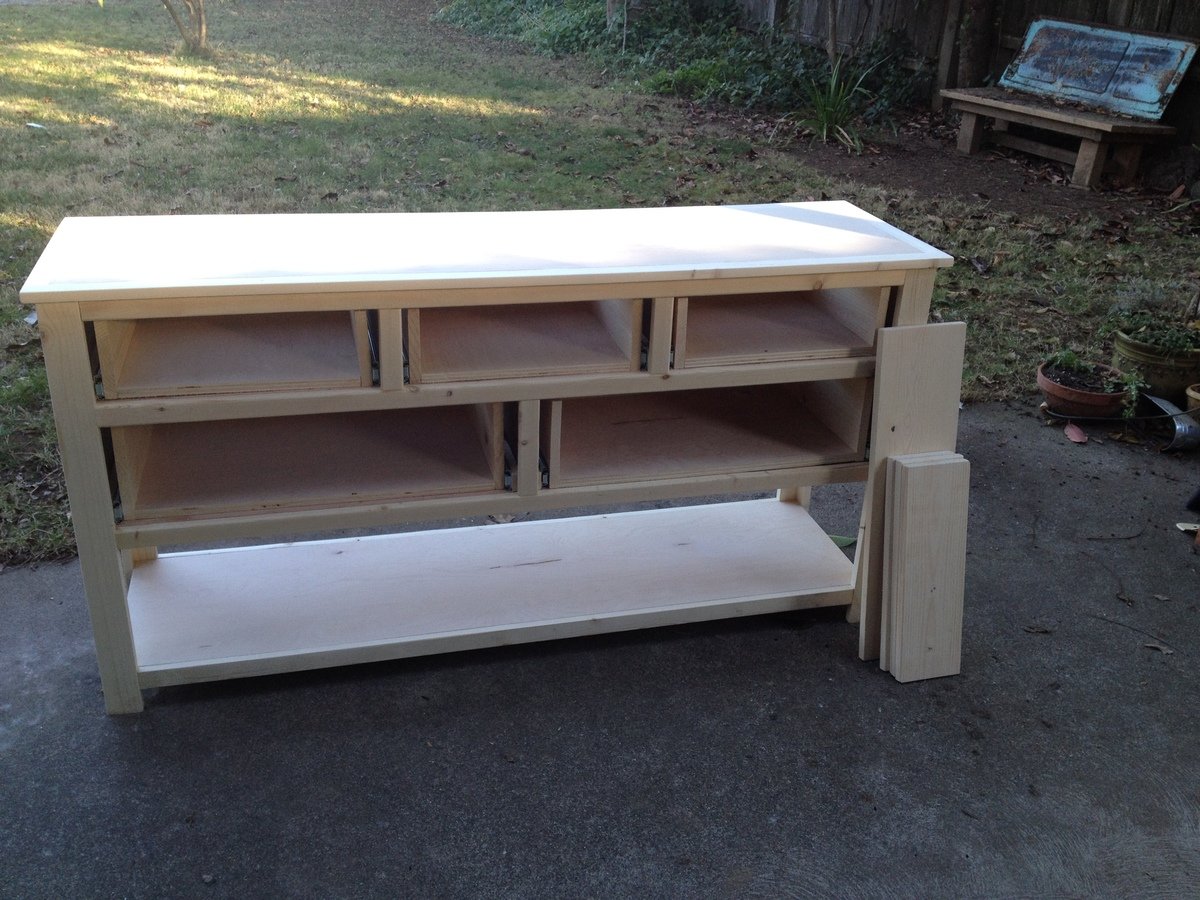
Step 4: Attach The Top
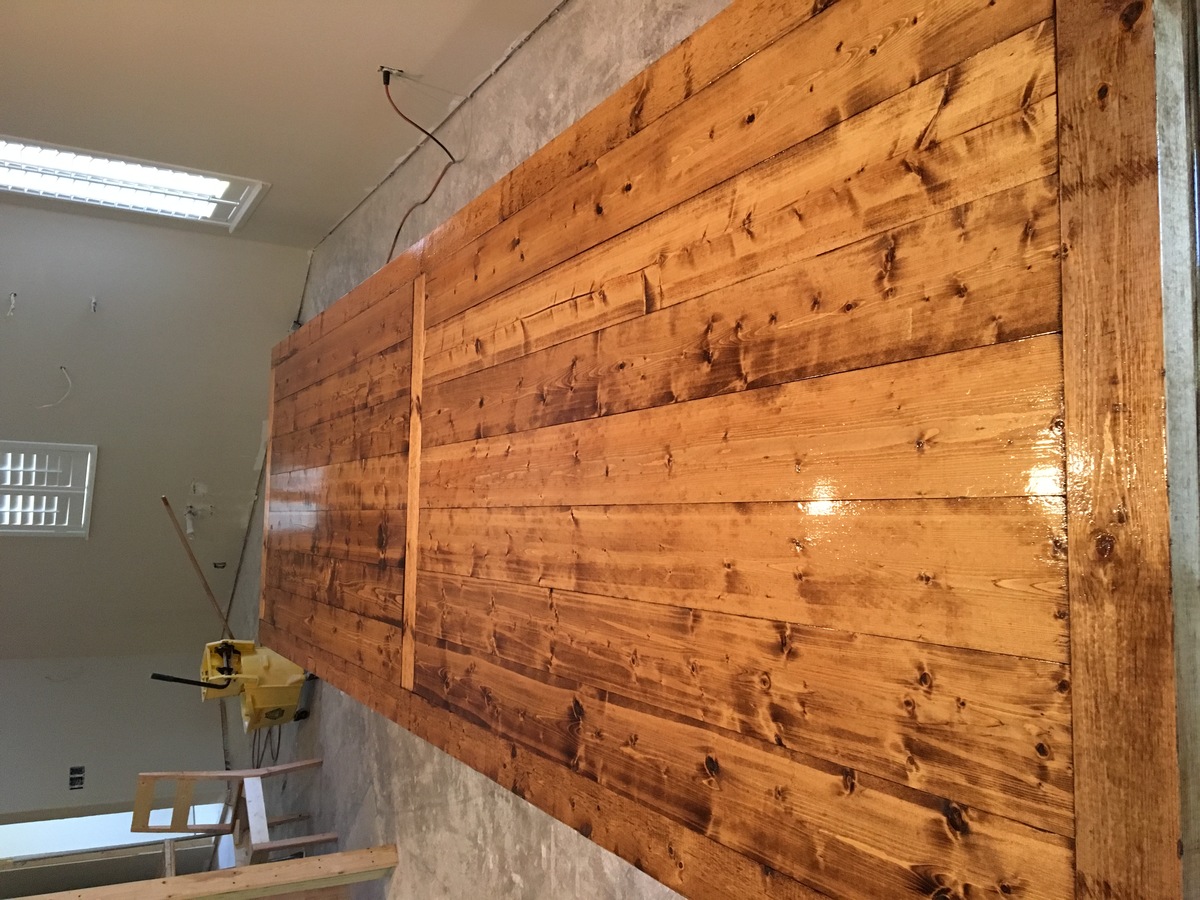
Now, since your legs are ready, it's time to attach the top onto the legs, which is also an easy process. You can attach them using a brad nailer or regular nails. We just happened to have those tools but you don't have to buy everything.
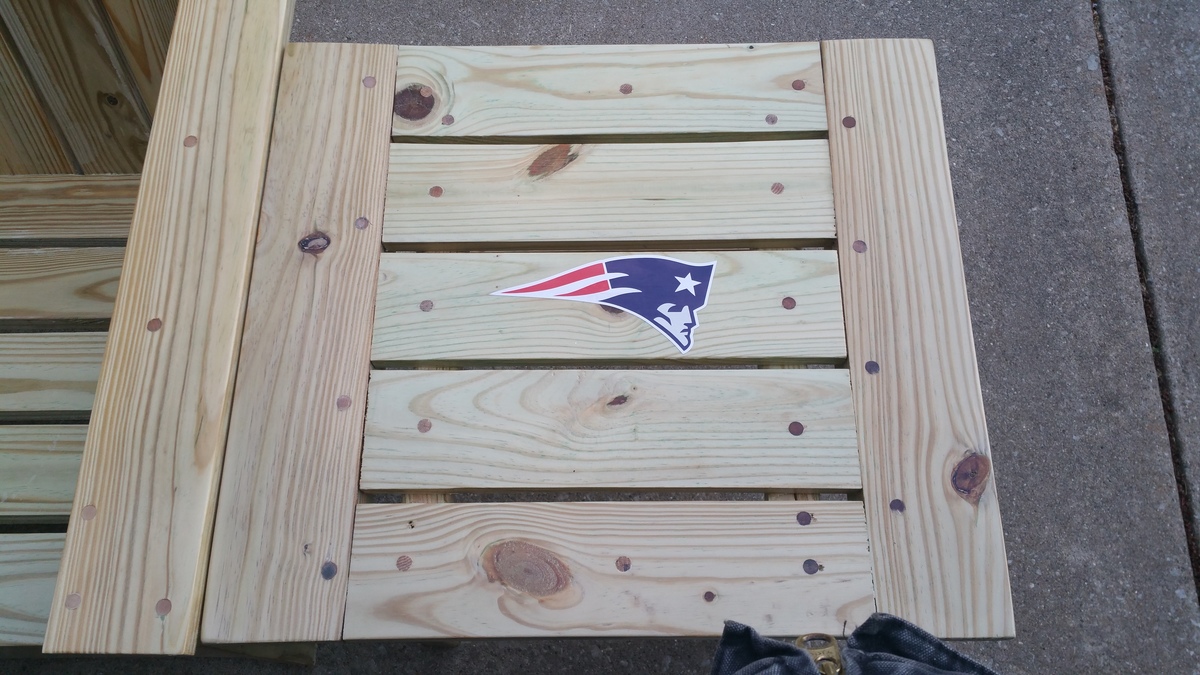
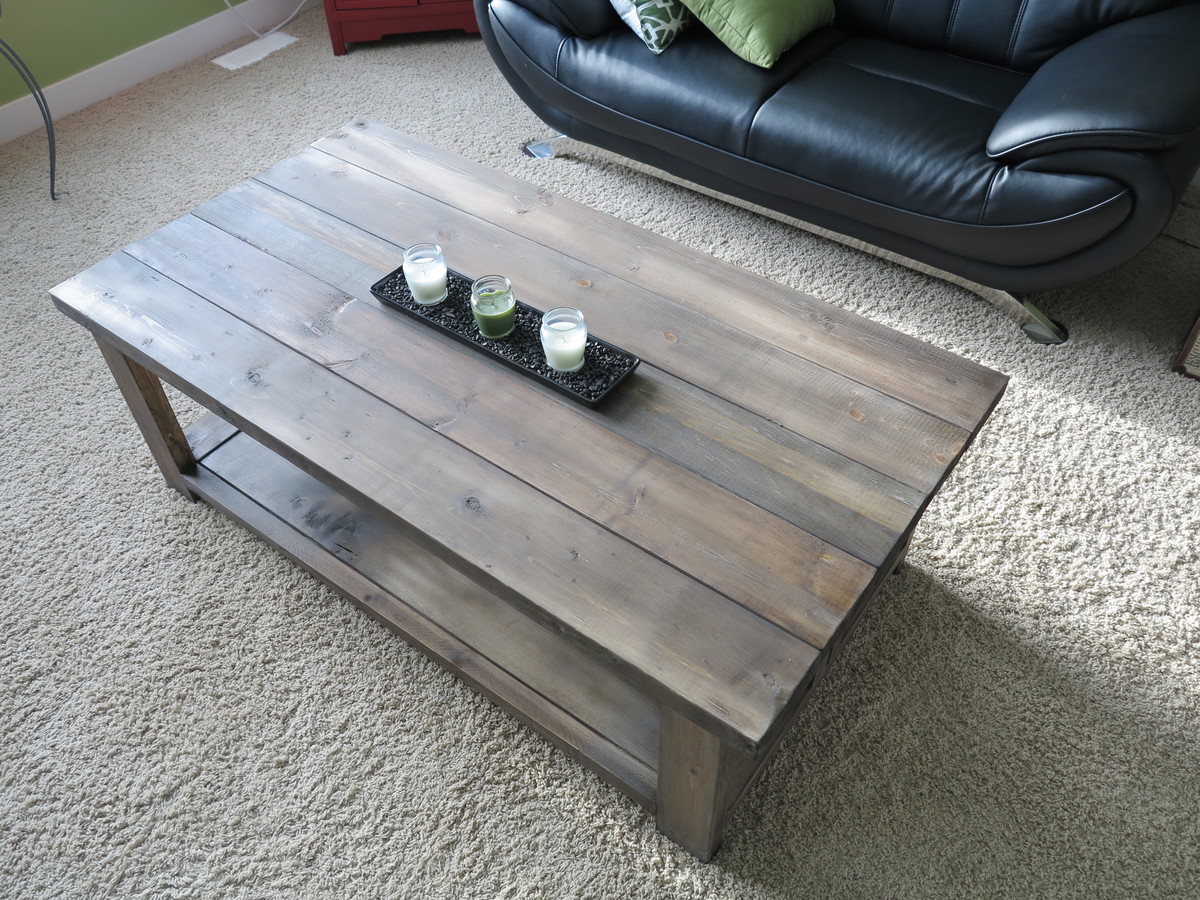
Step 5: Cut the lips
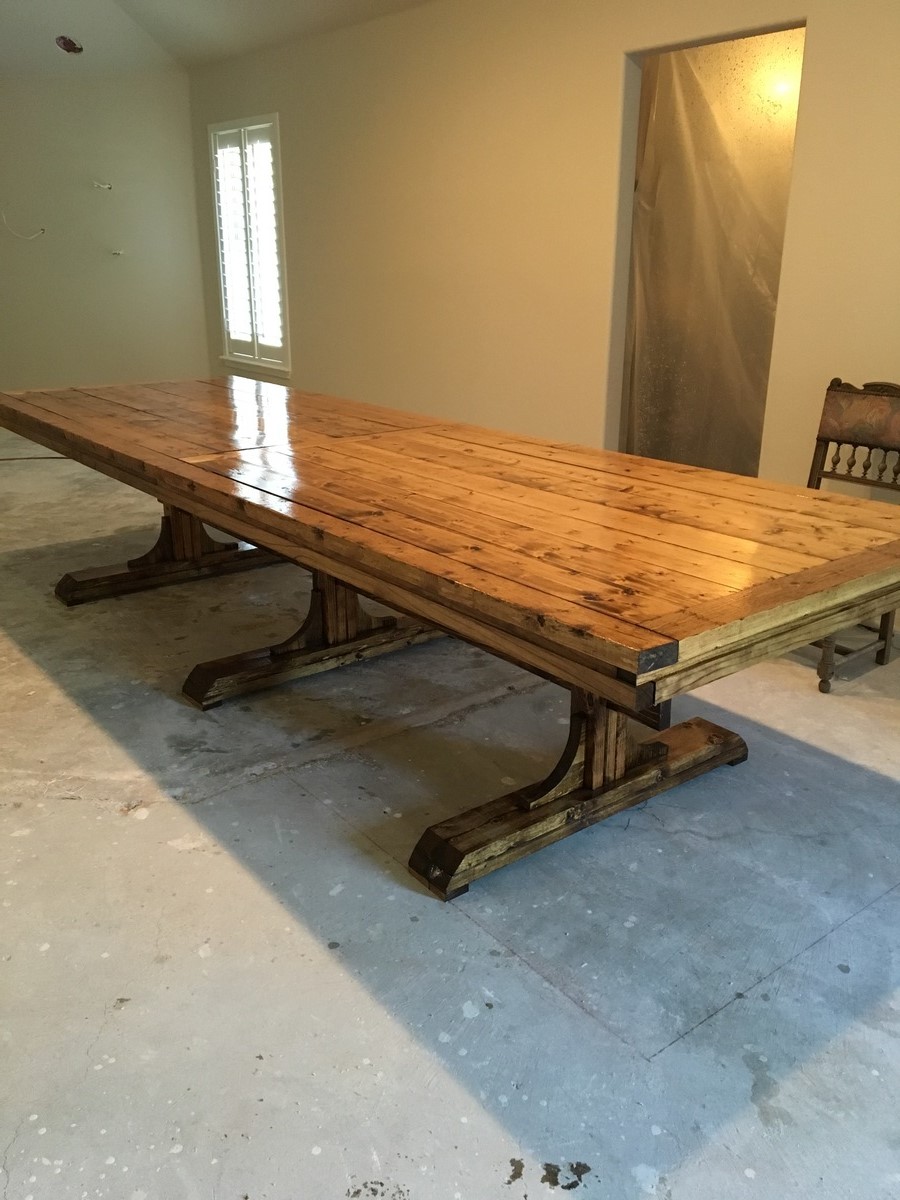
In the end, we placed lips or edges around the table to make it both more sturdy and prettier.
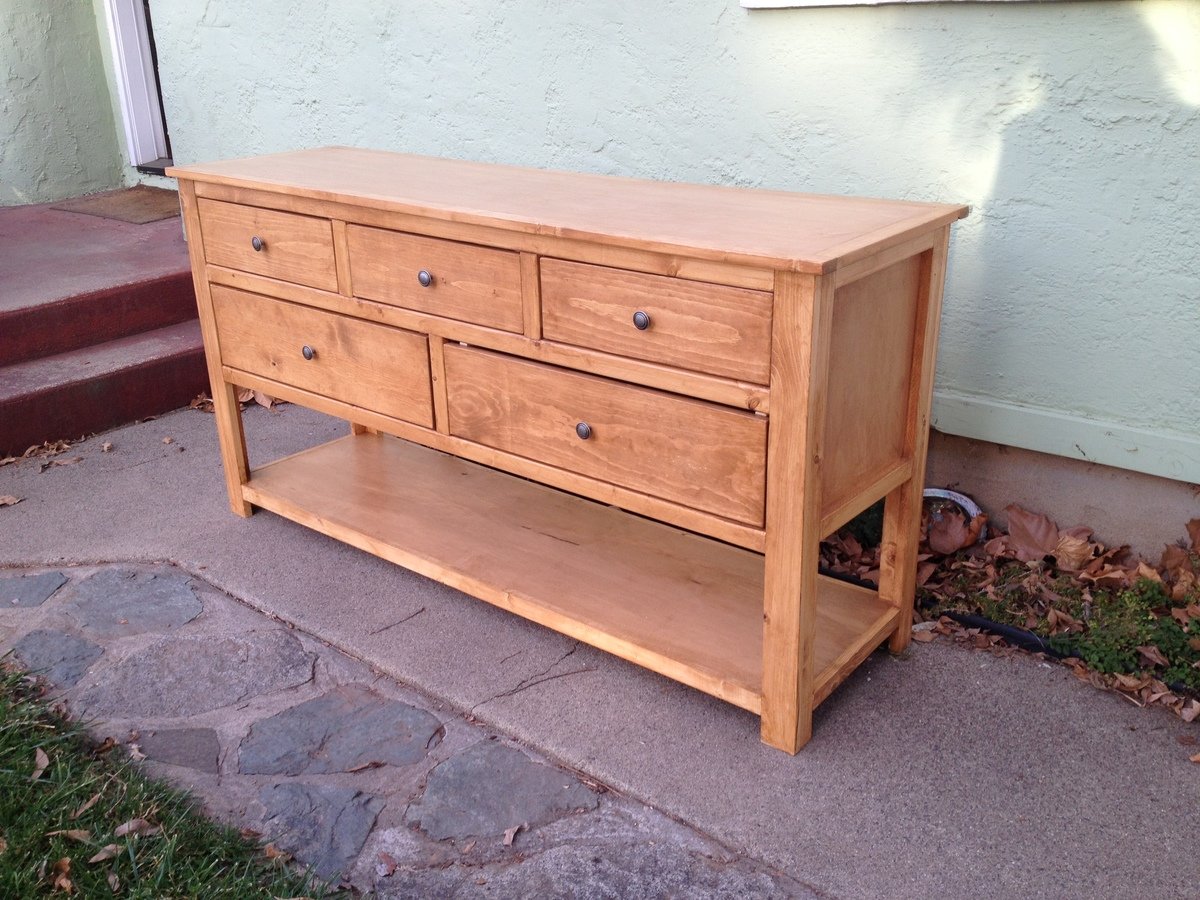
Step 6: Sand It
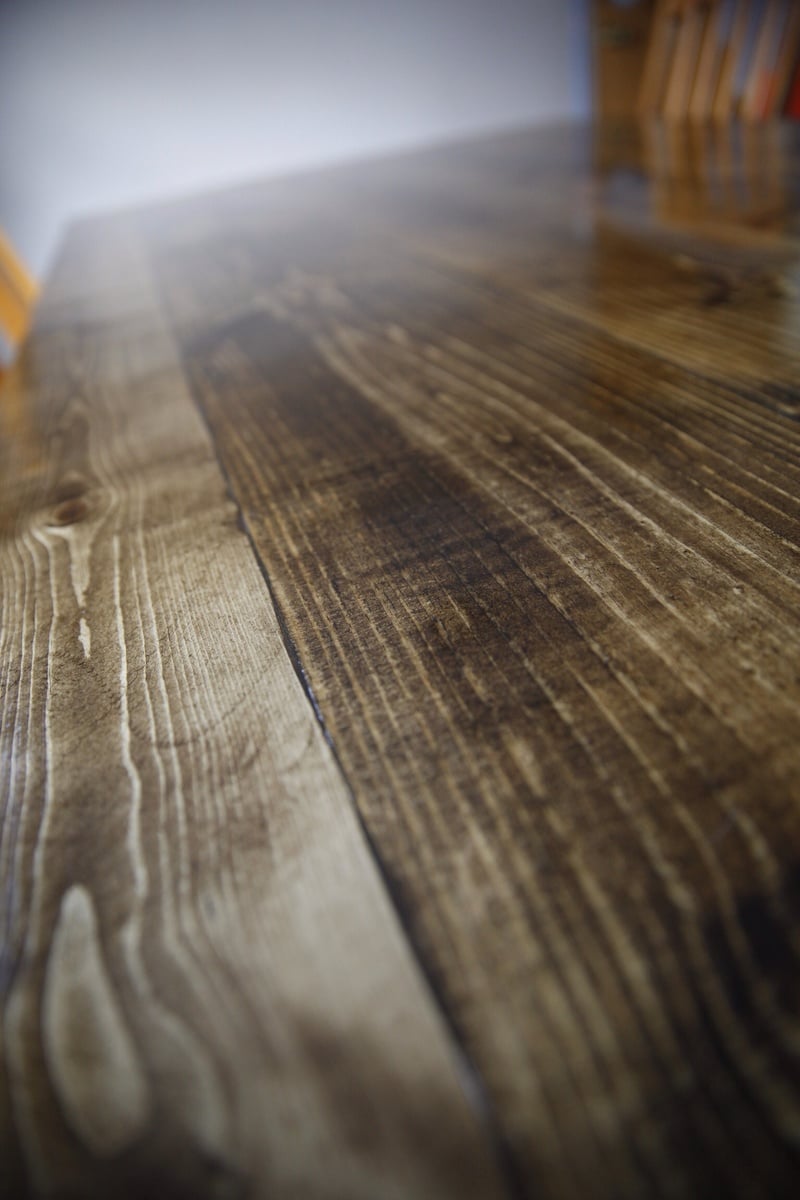
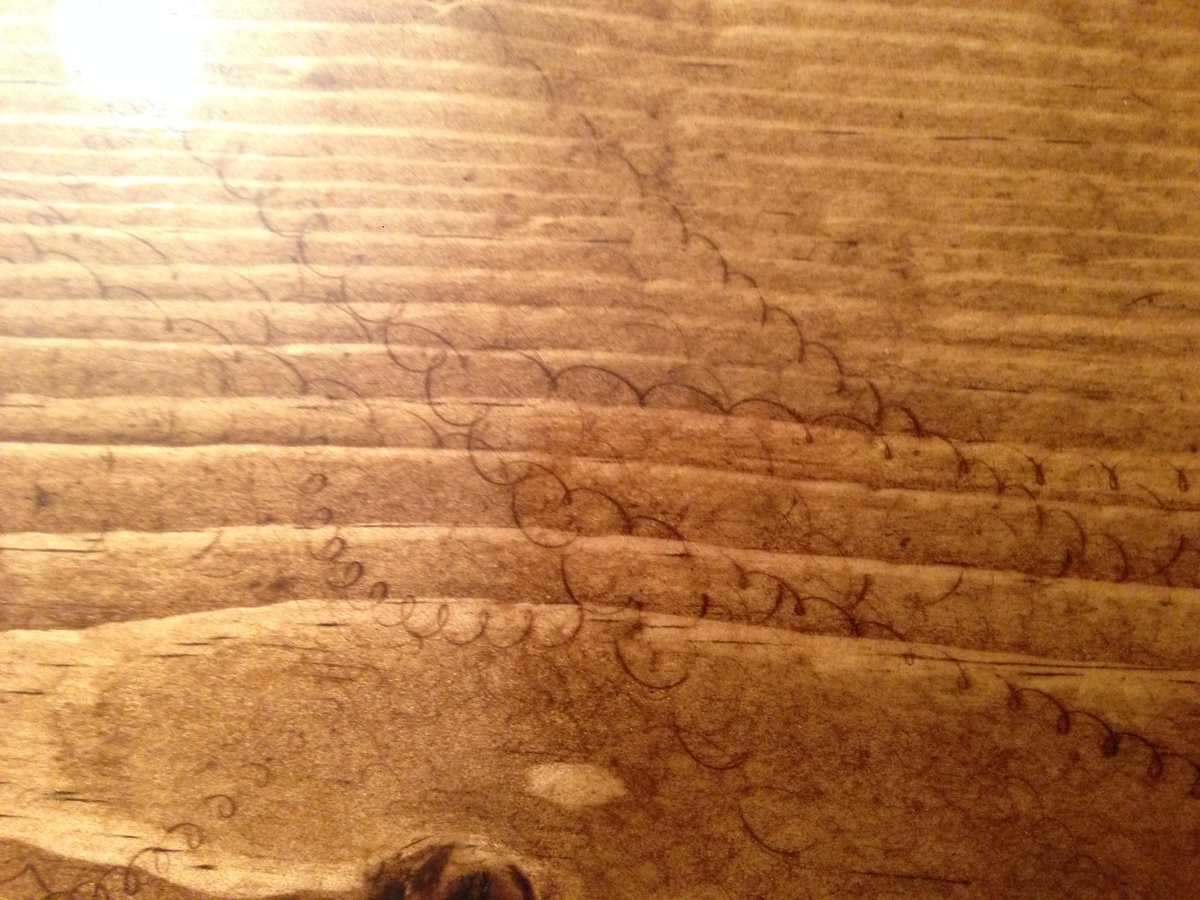
Now, since your table is ready, you need to sand it to paint or stain it. Sanding is a very important part. Otherwise, your paint won't adhere to the wood unless you are chalk painting. We used an electric sander but you can use any 120 grit sanding block from your local store. Just use your elbow grease to sand it nicely.
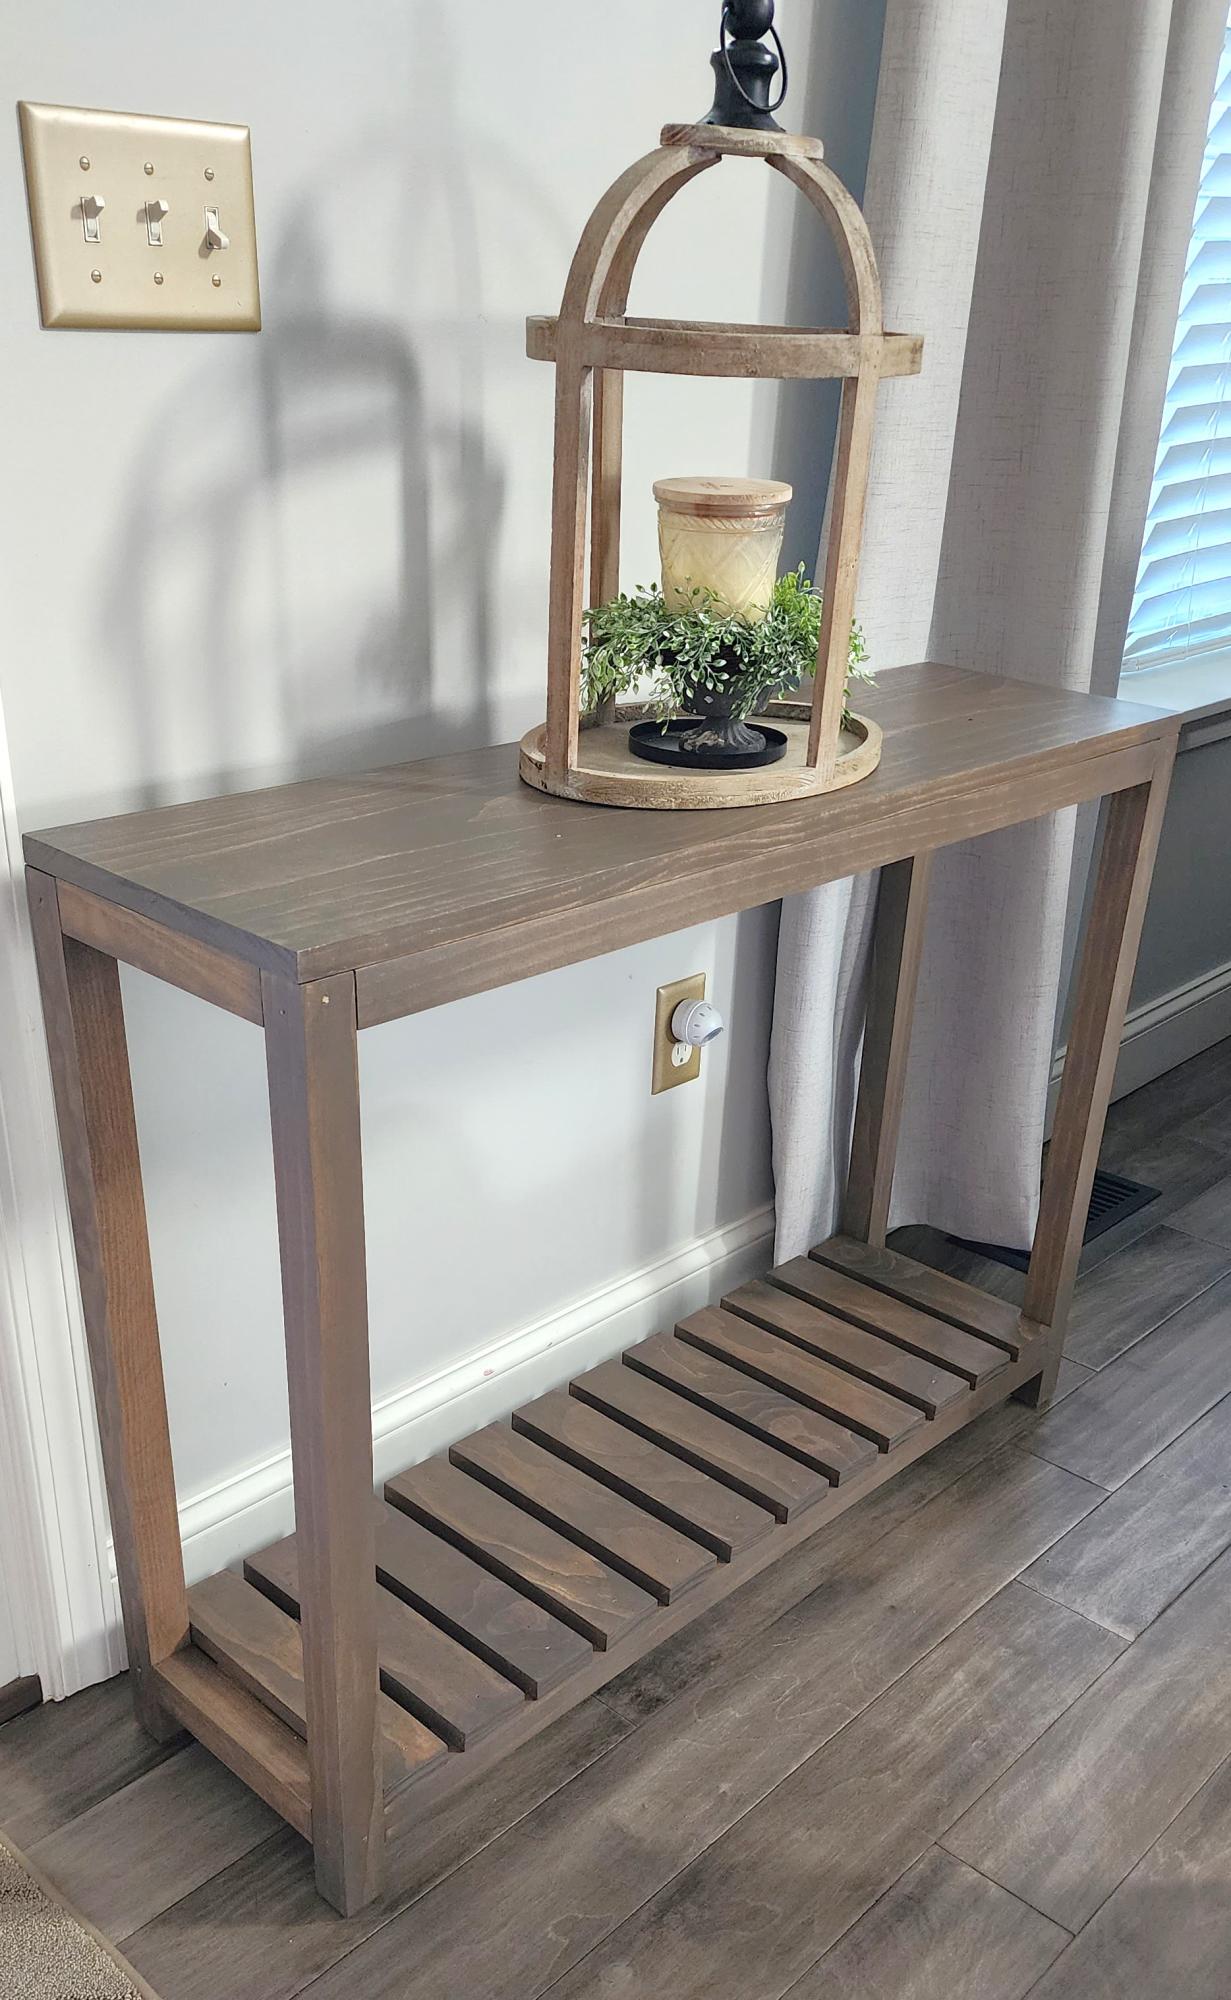
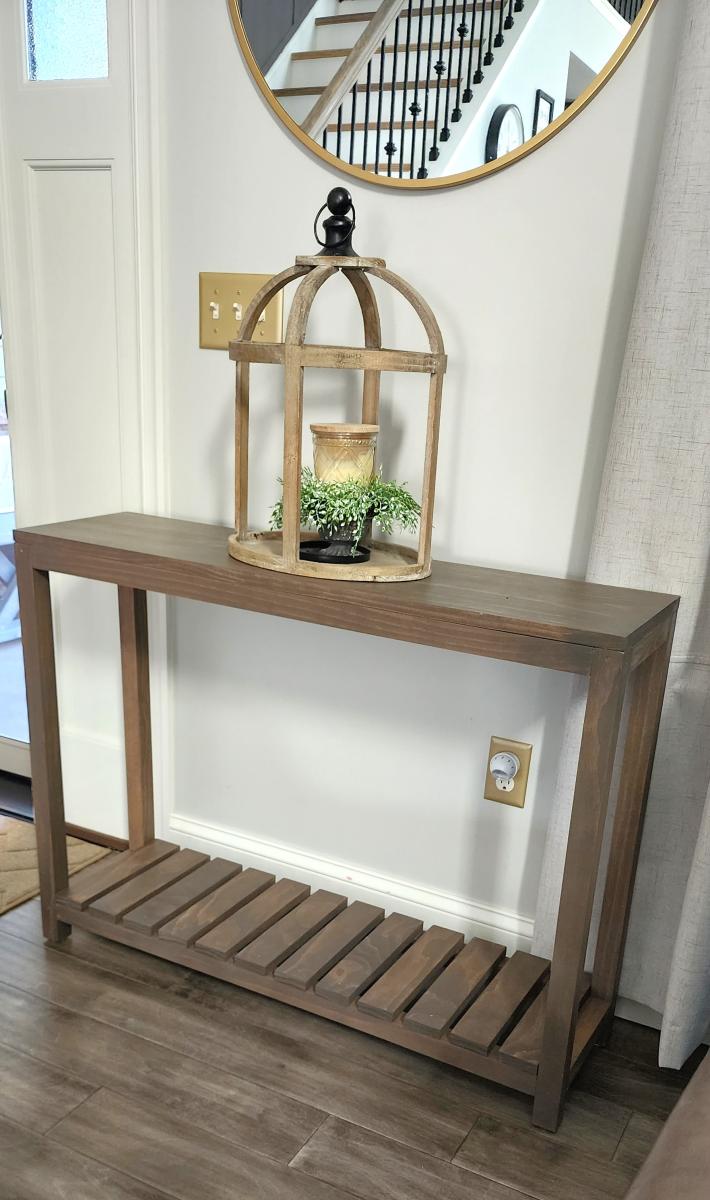
Step 7: Paint or Stain It
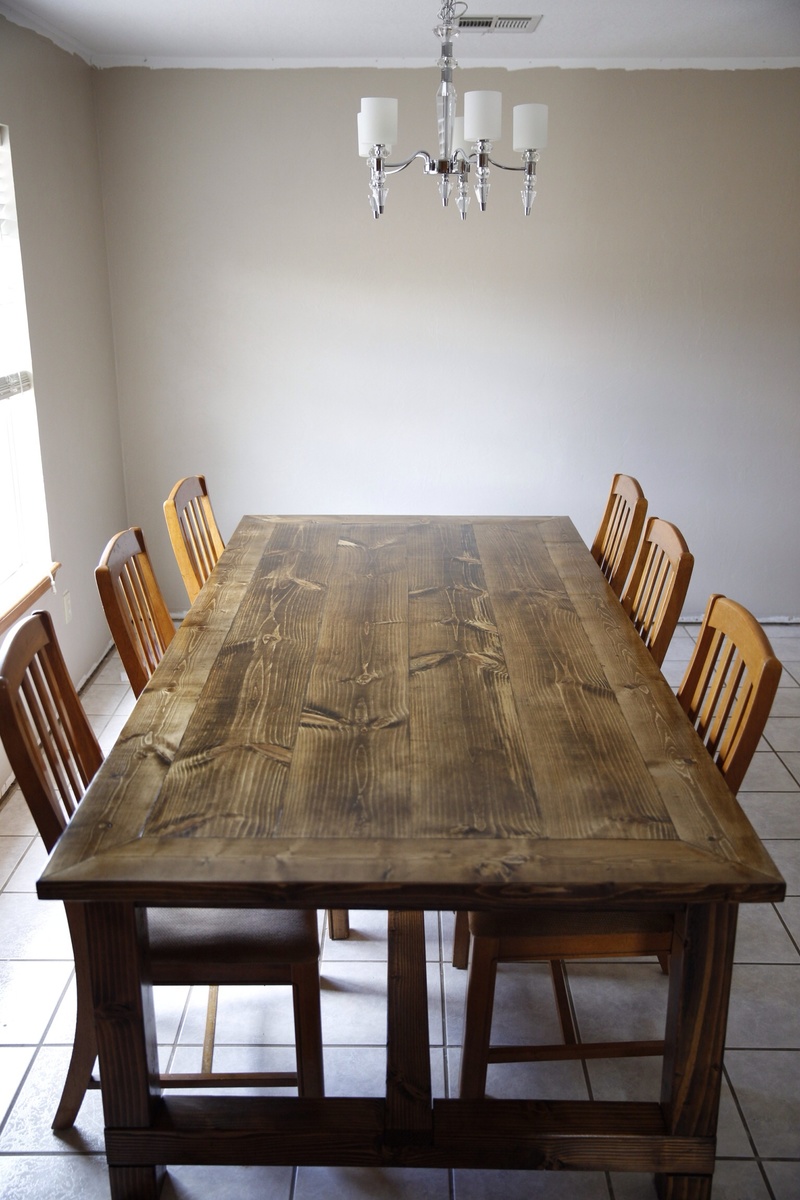
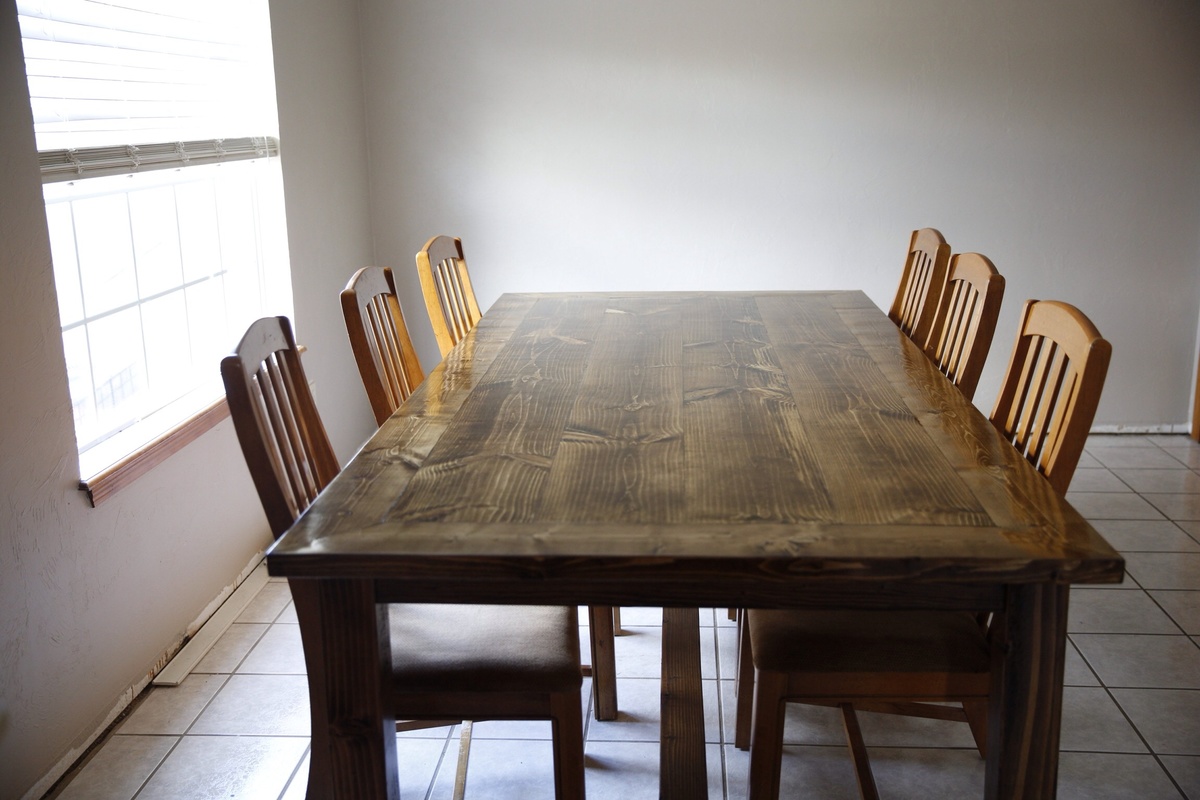
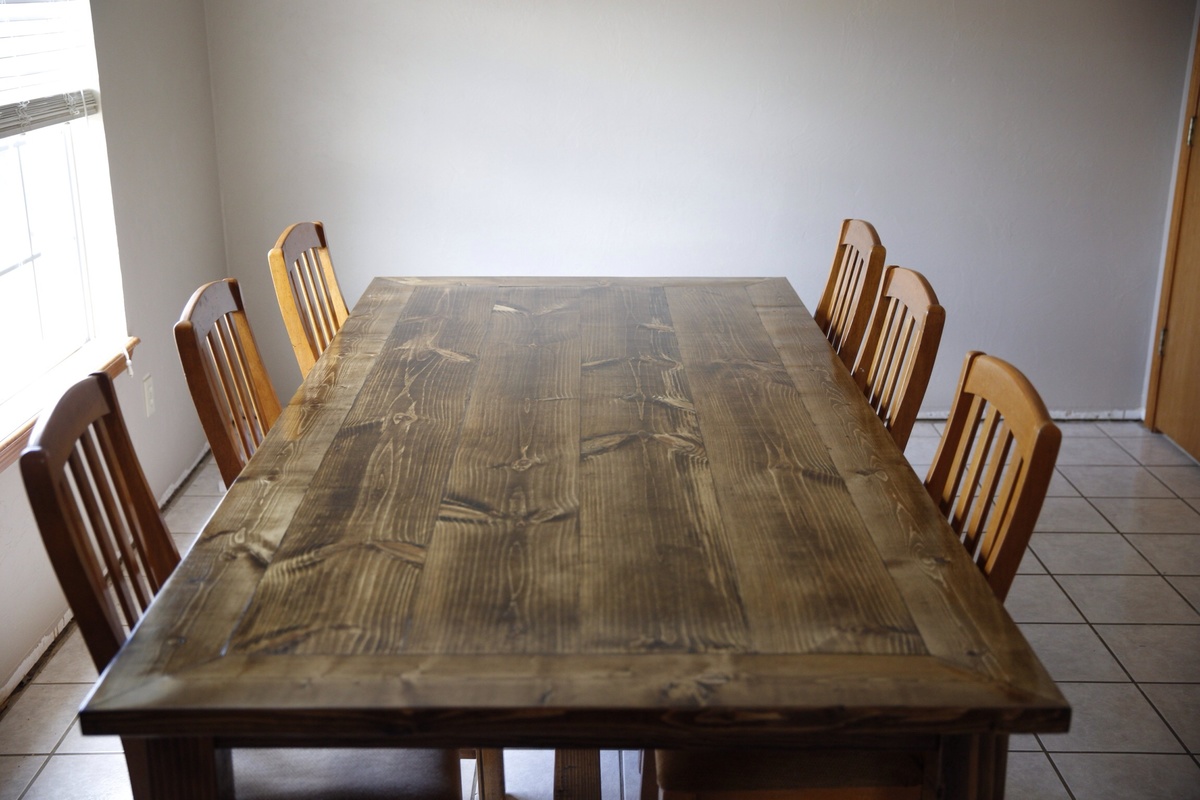
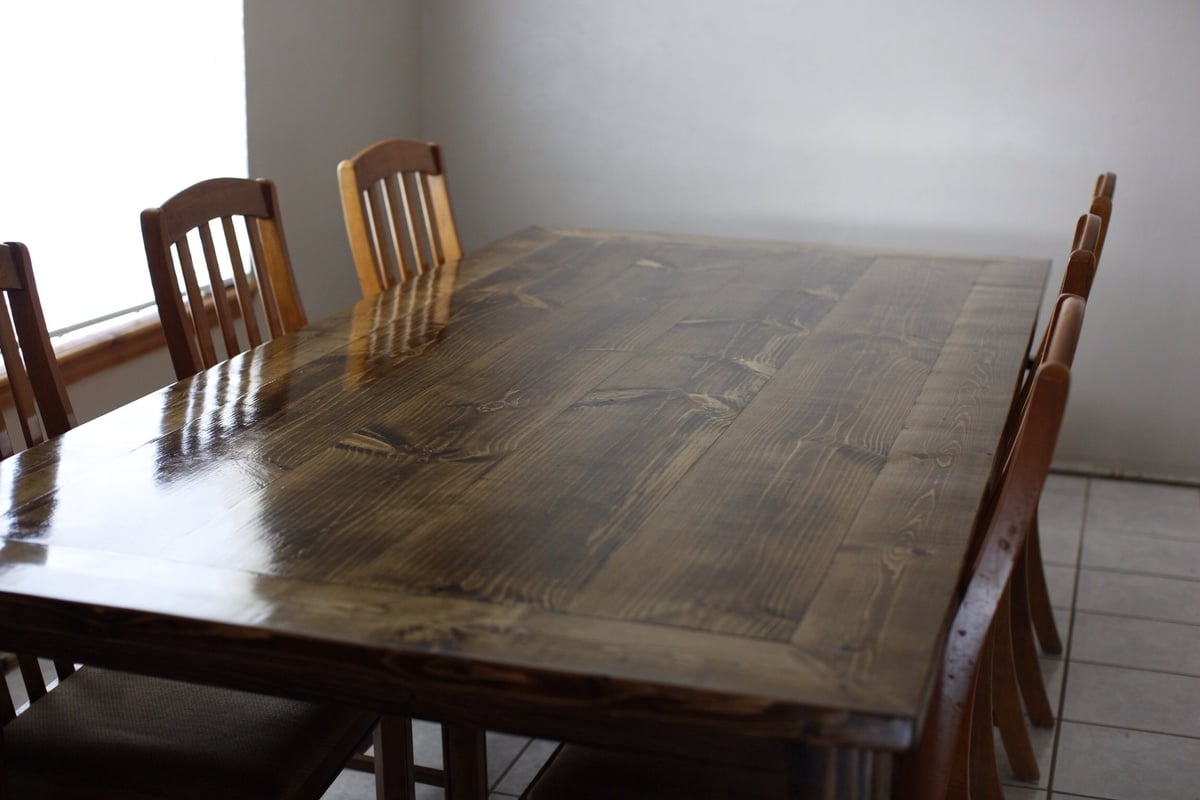
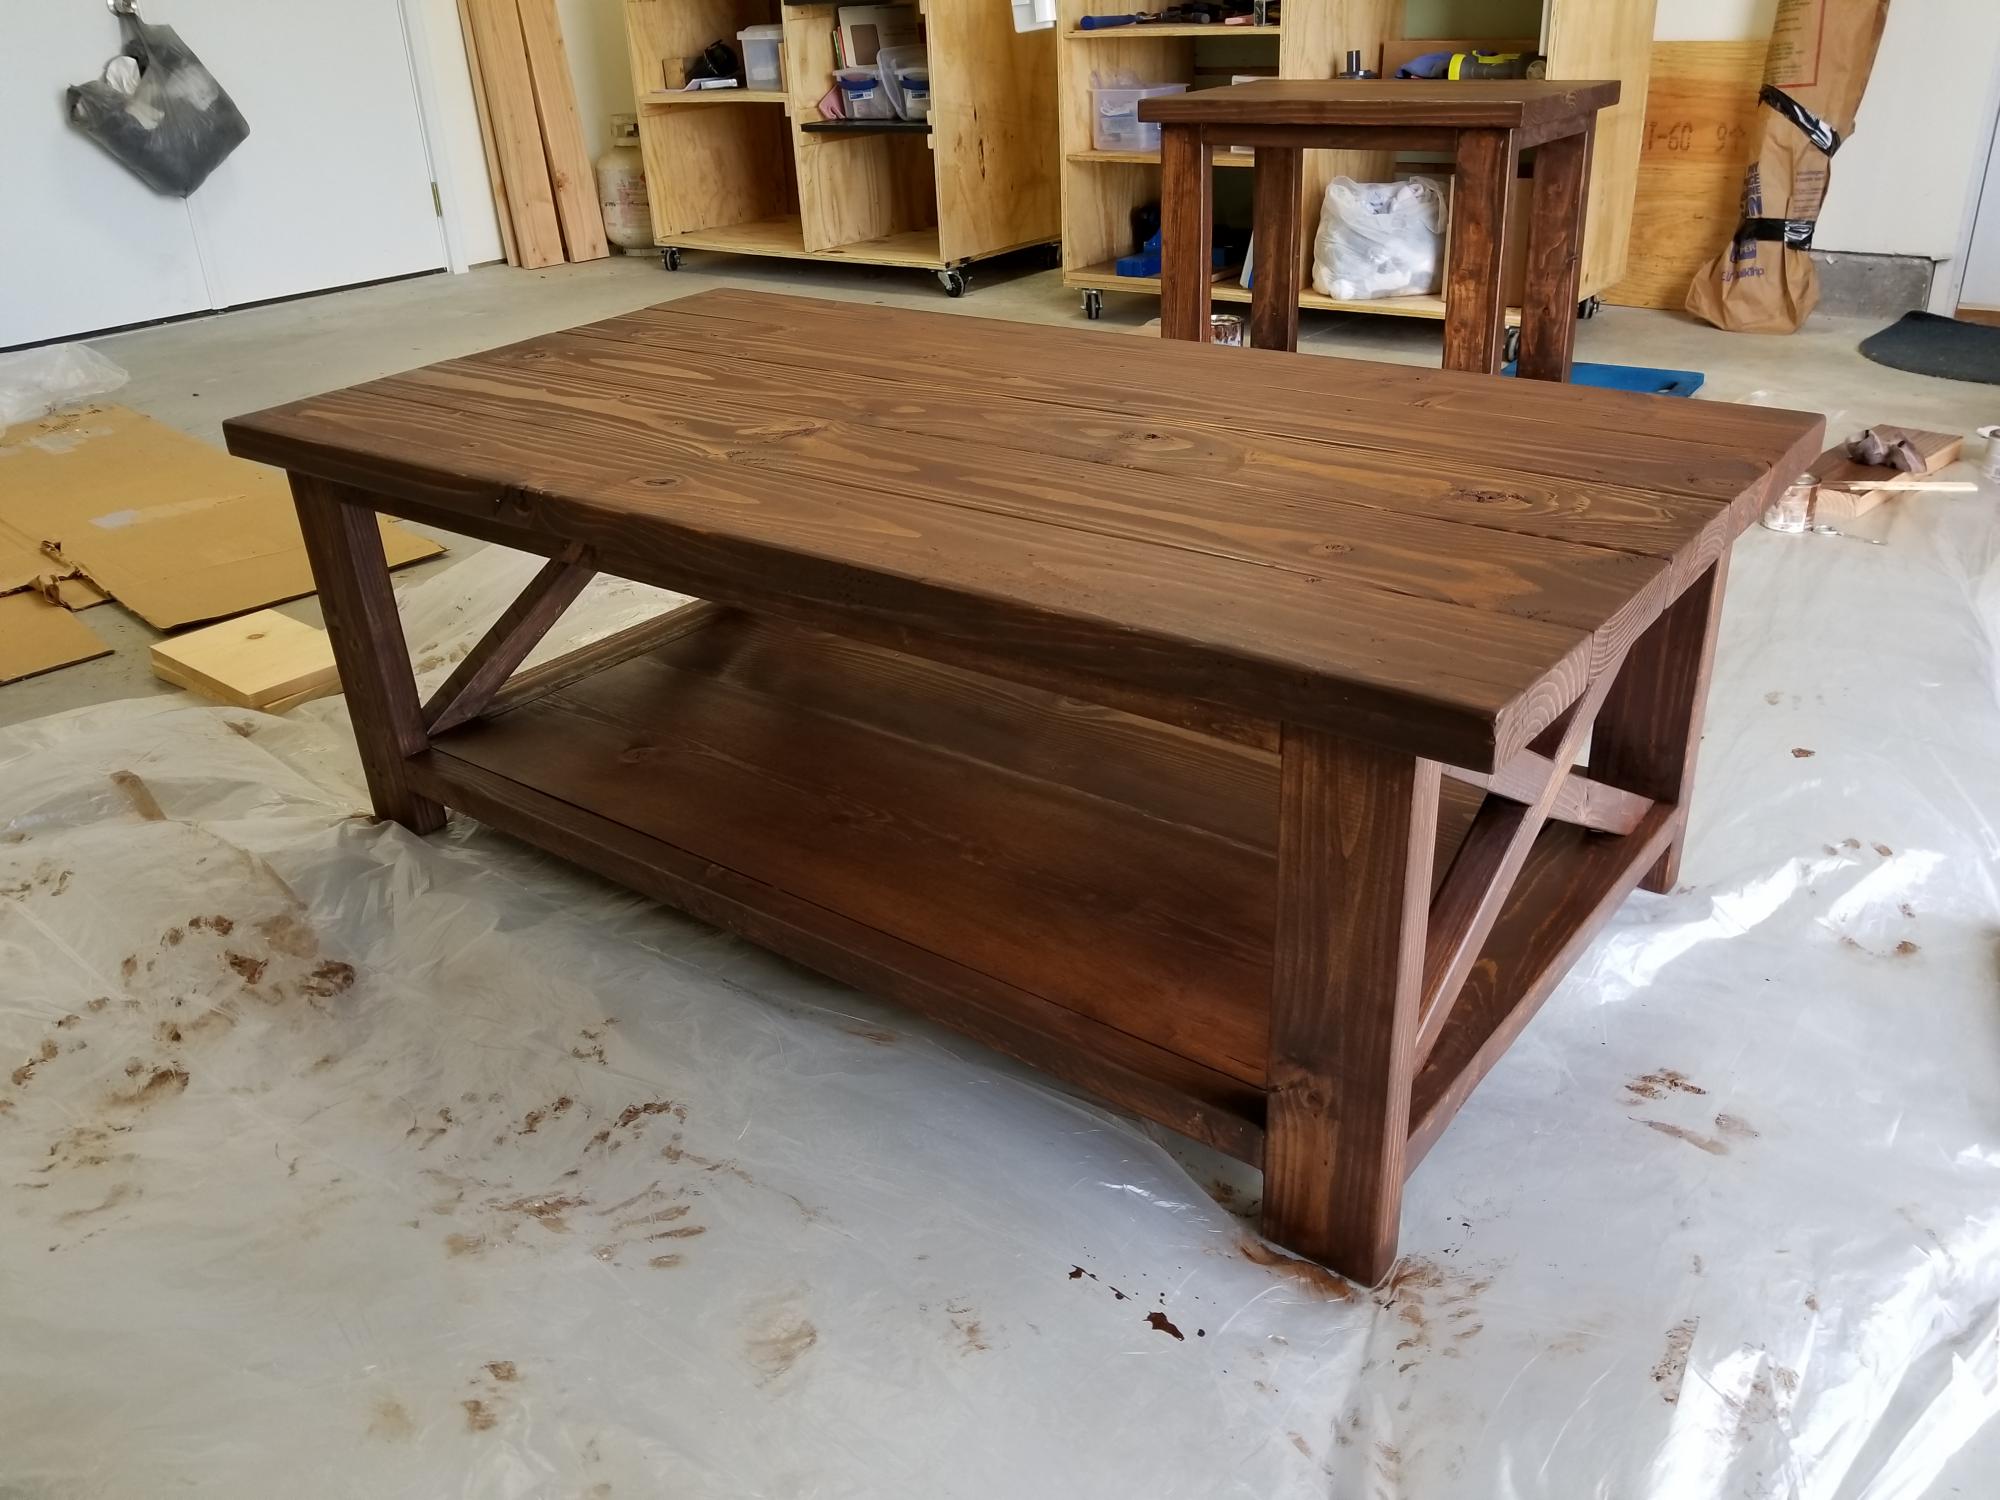
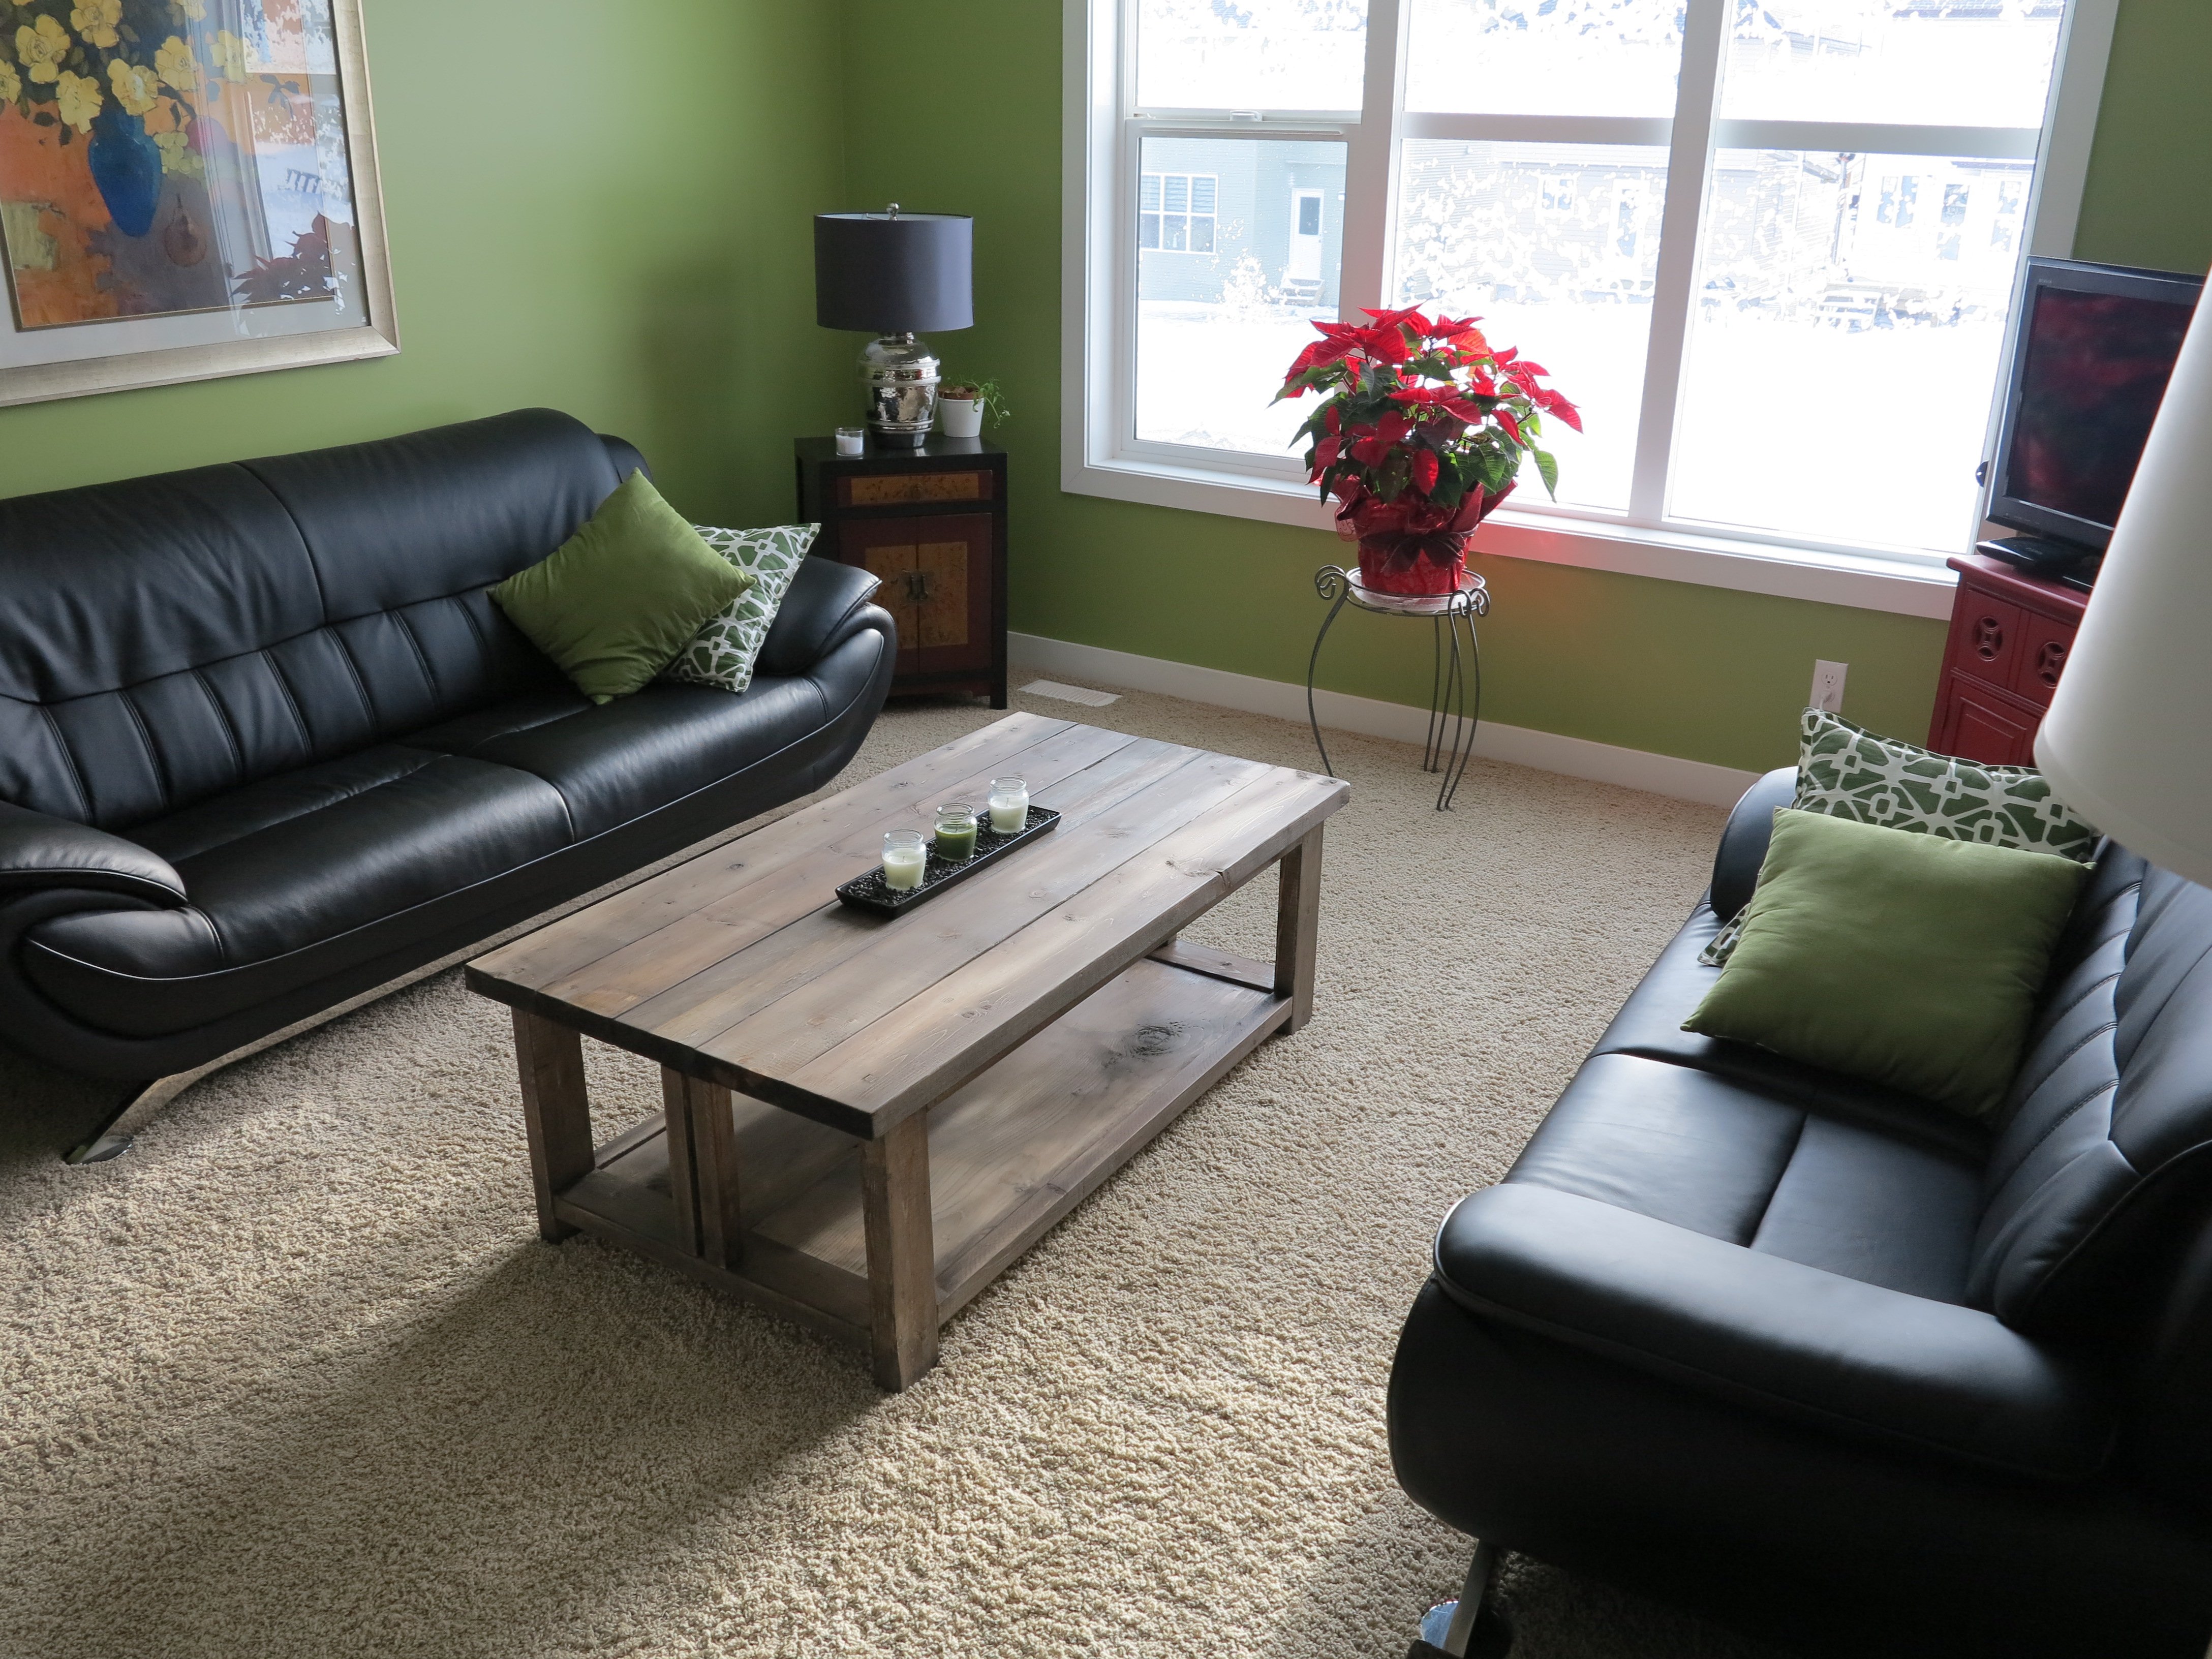
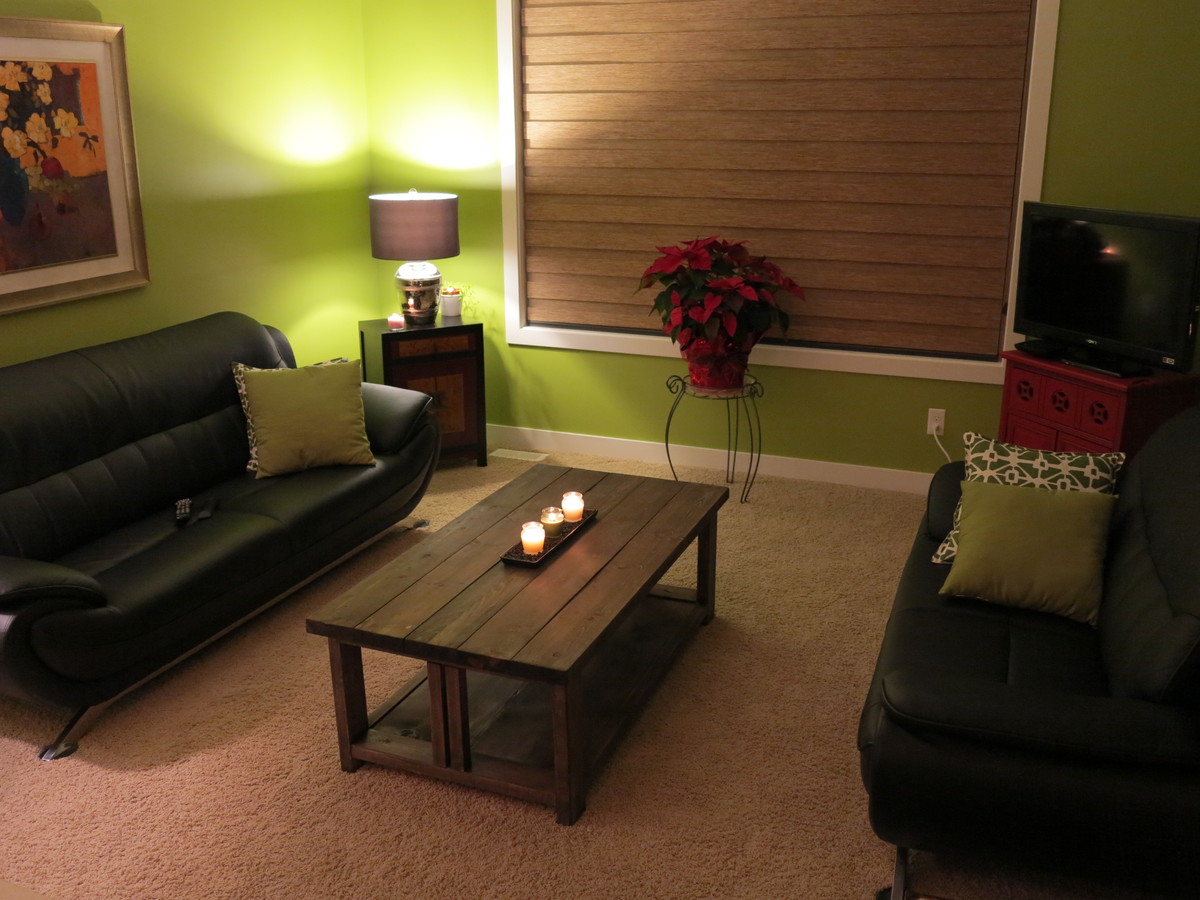
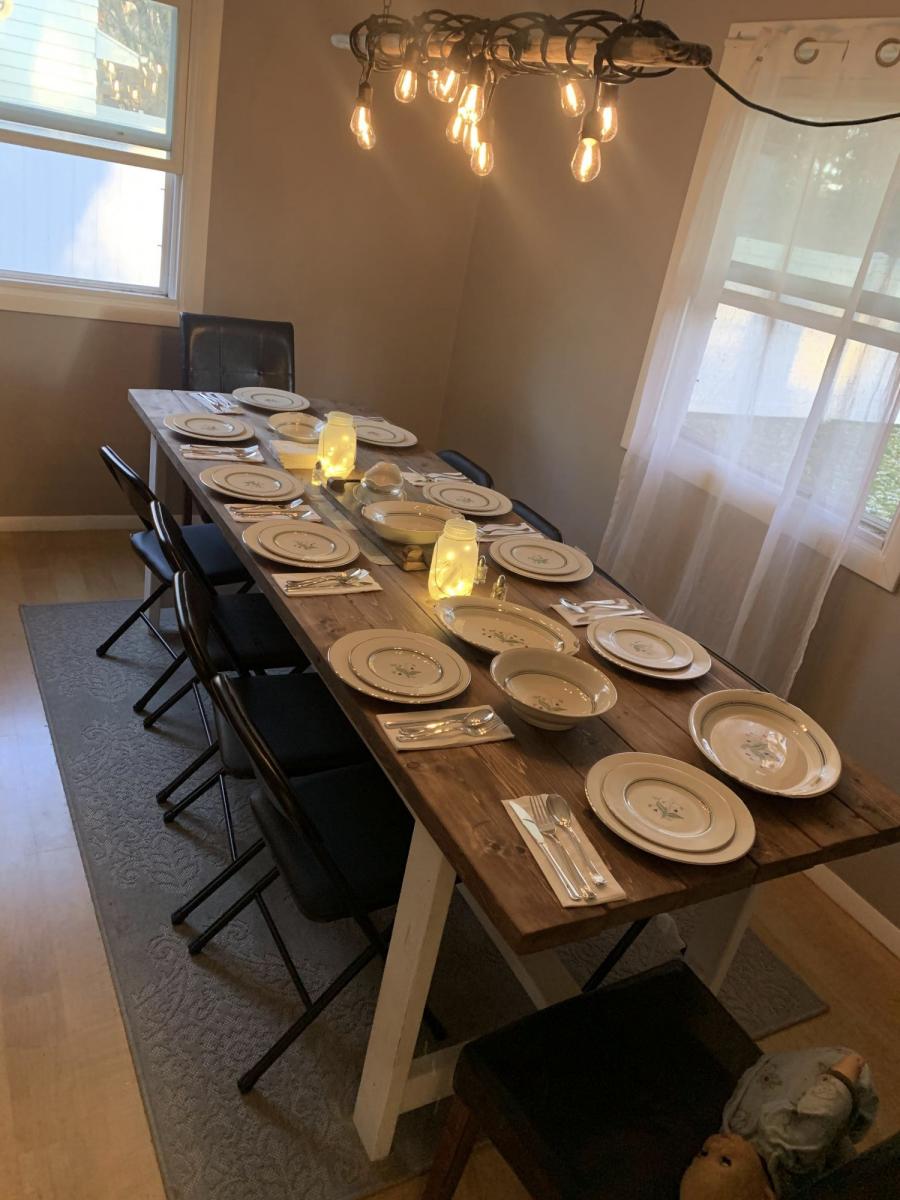
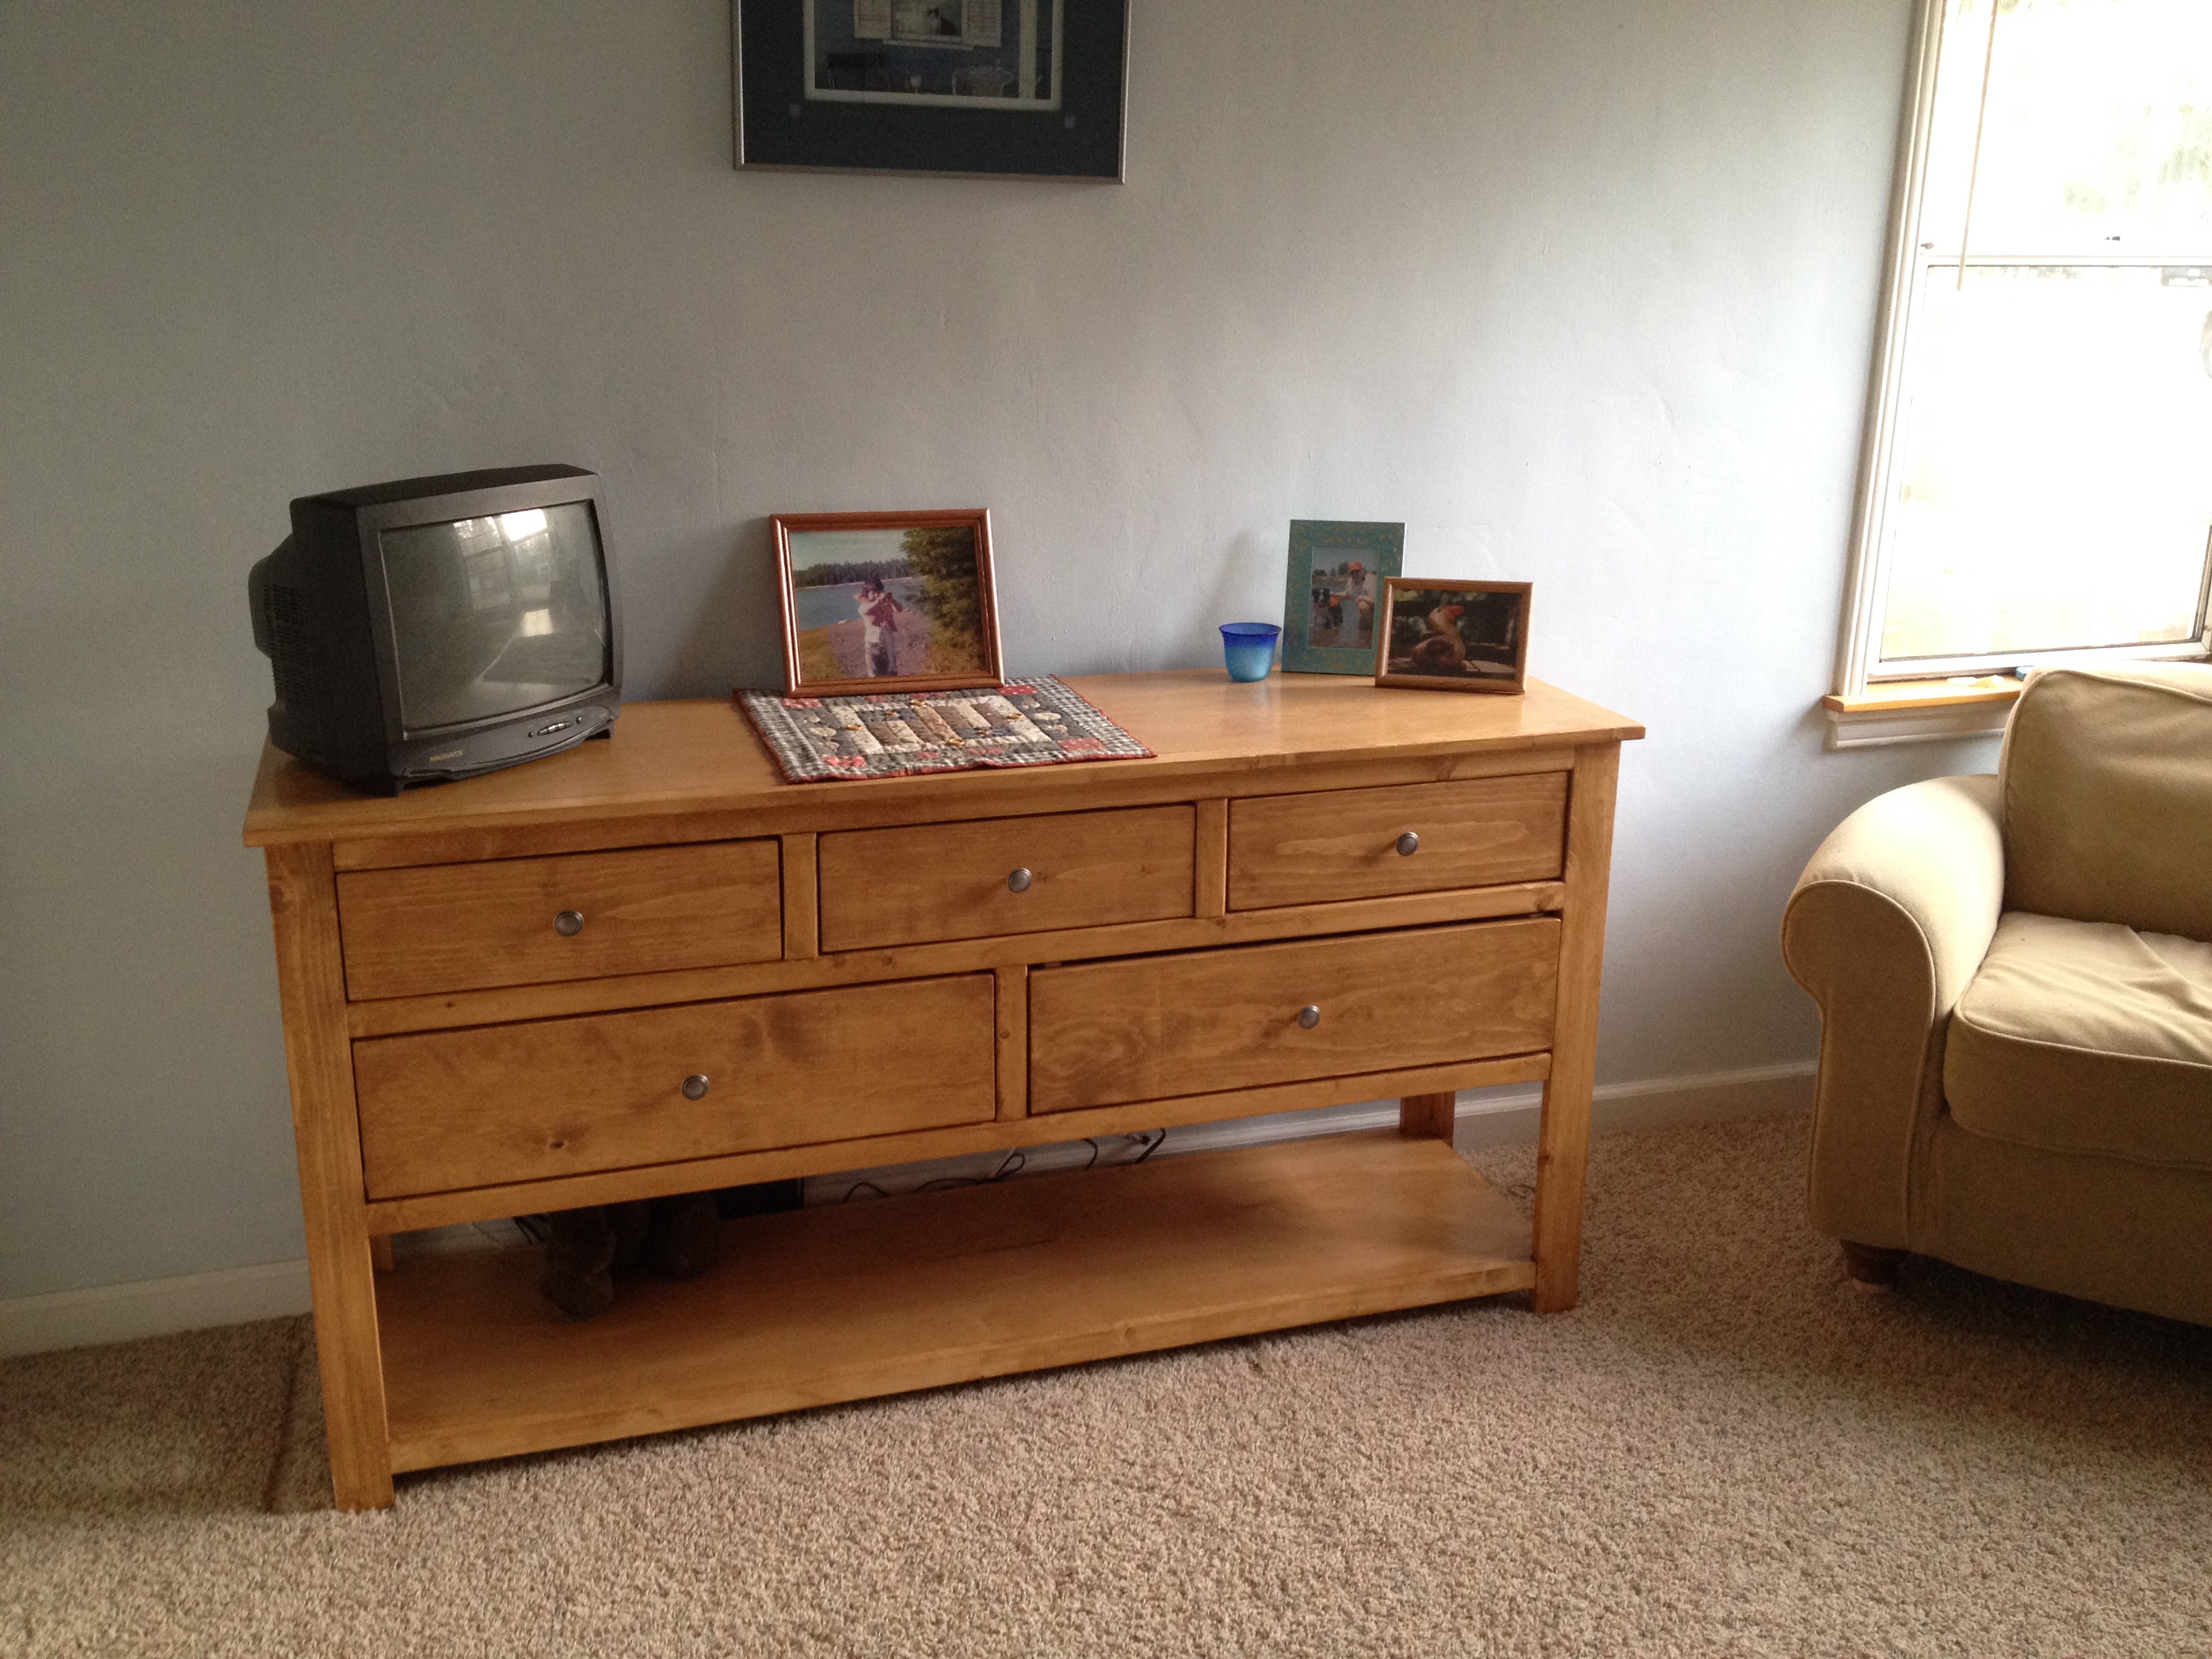
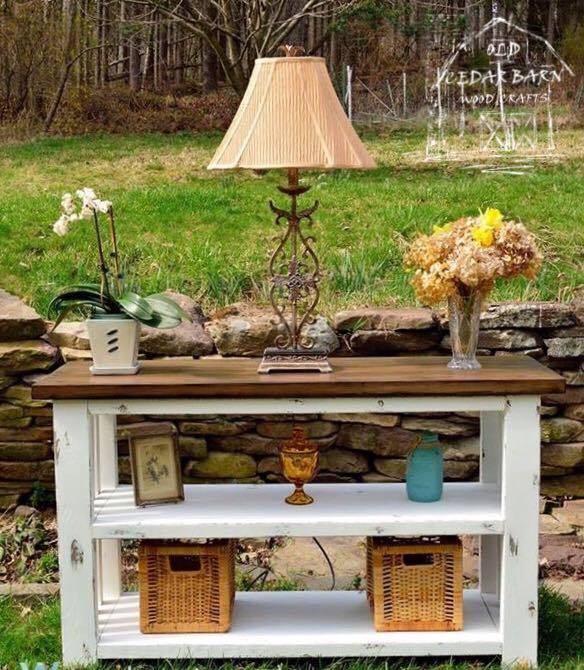
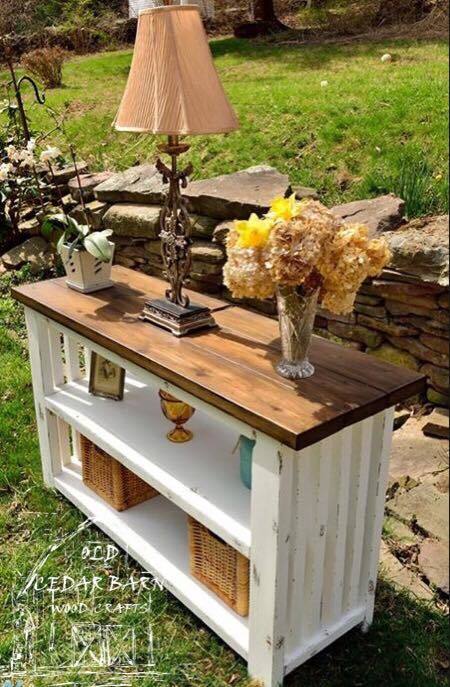
Paint it with whatever paint you would like We wanted to stain it so we used color stain to match with other furniture in the room. We are pretty happy with the project turned out. It saved us tons of money and looks nice in the room as well.
Hope you liked it and I would love to see your project using my plan. You can read the whole blog post in-depth on my blog. Let me know if you have any questions or concerns.
Happy DIY'ing! Love,
Bushra


Comments
ehays216
Fri, 01/03/2014 - 10:11
great job!
this looks so pretty!