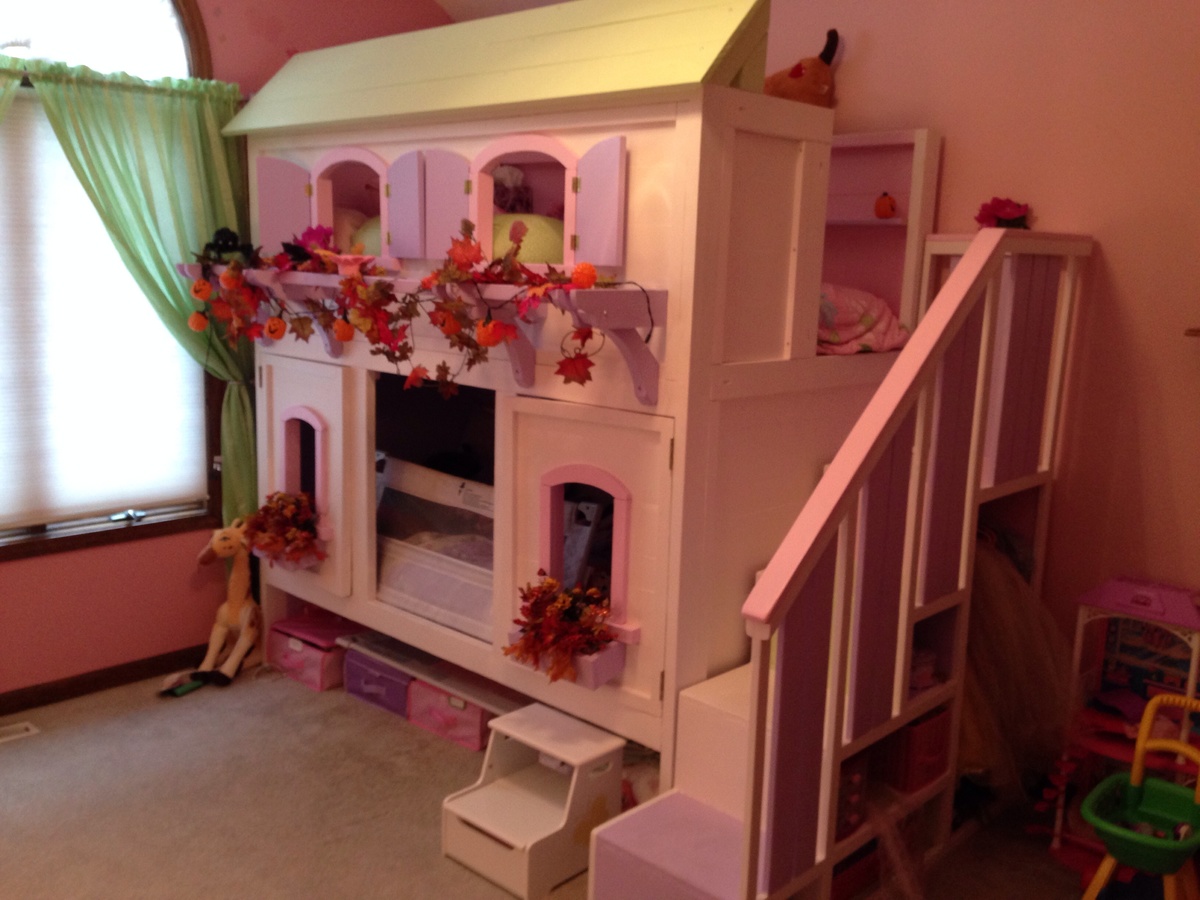
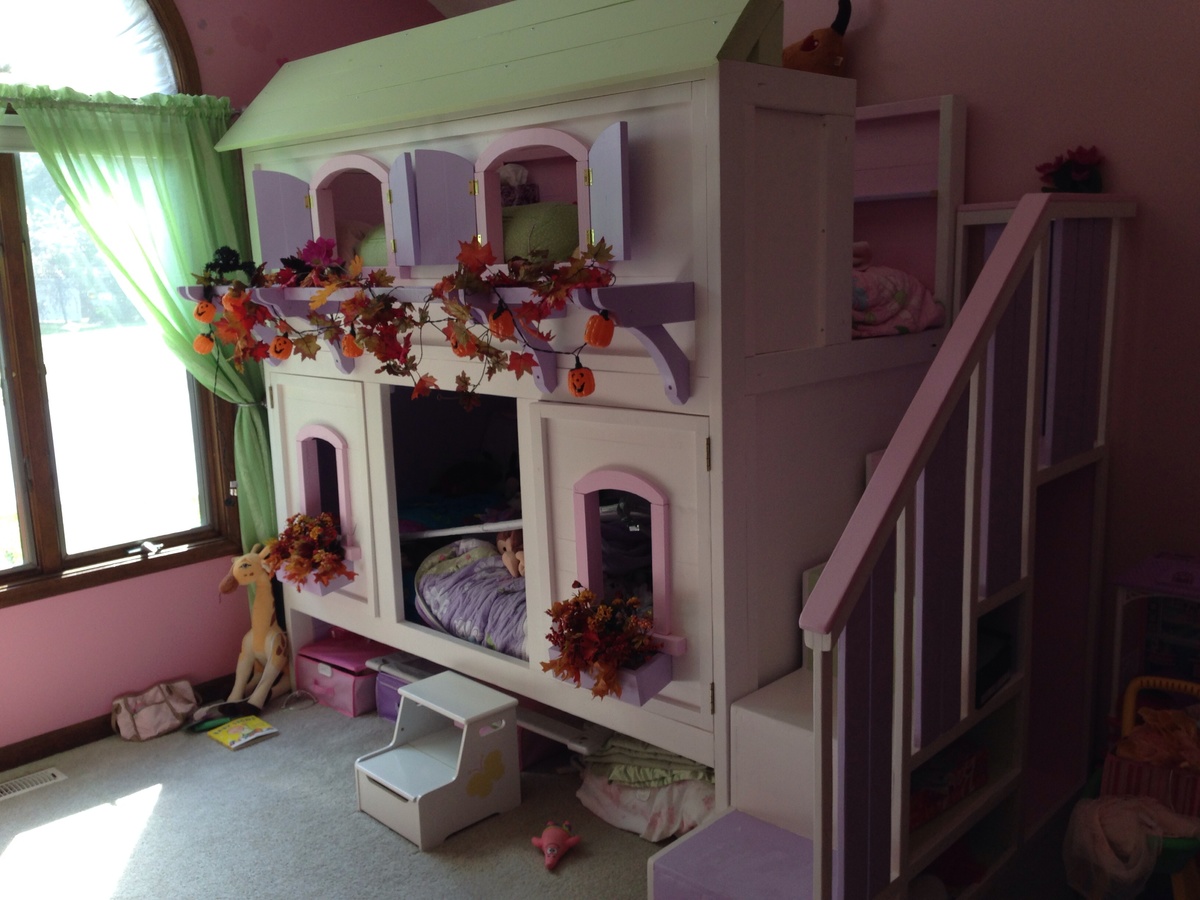
Trimmed and ready for Christmas - Dollhouse
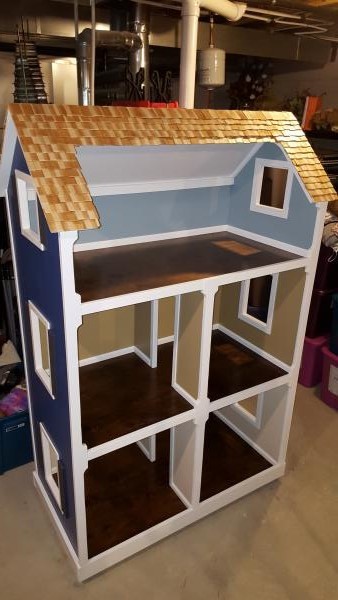
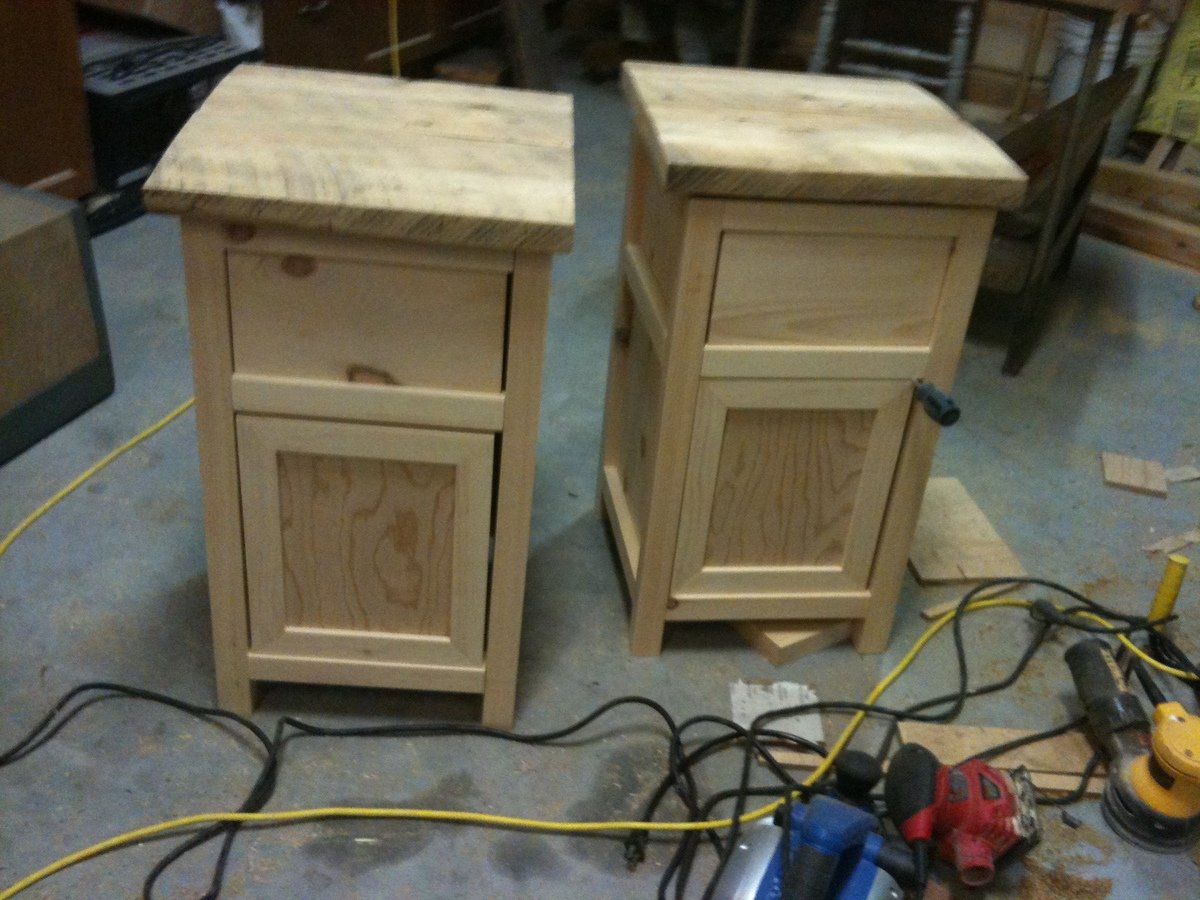
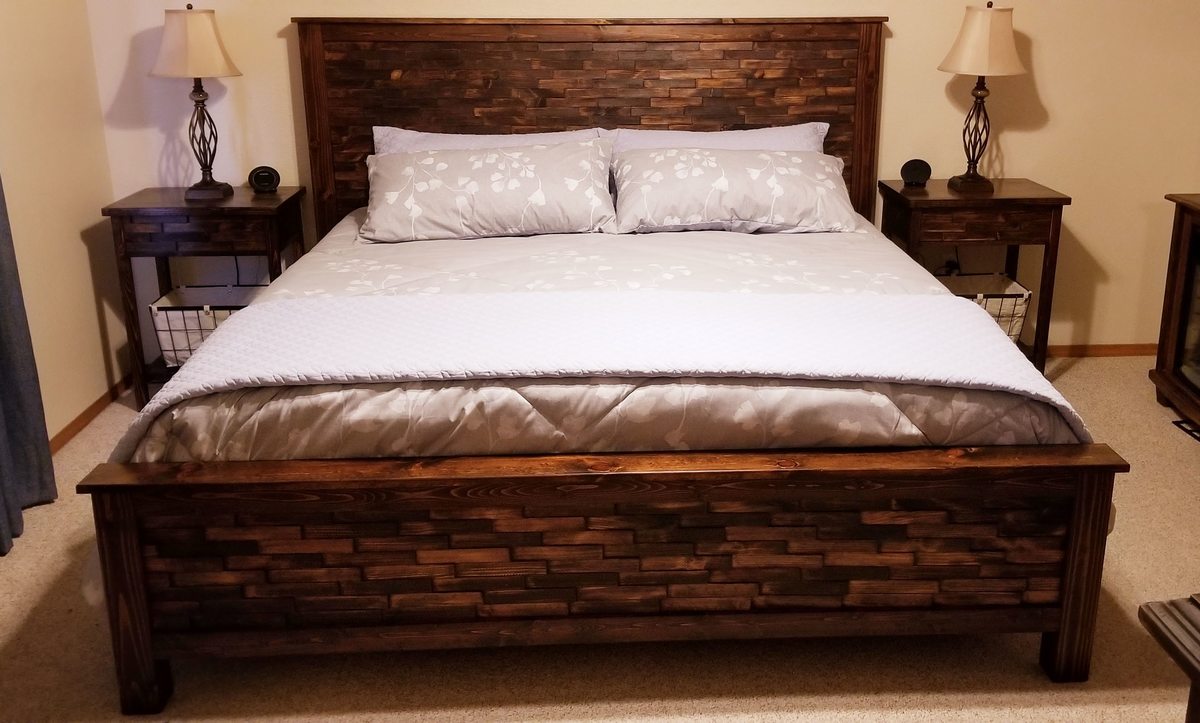
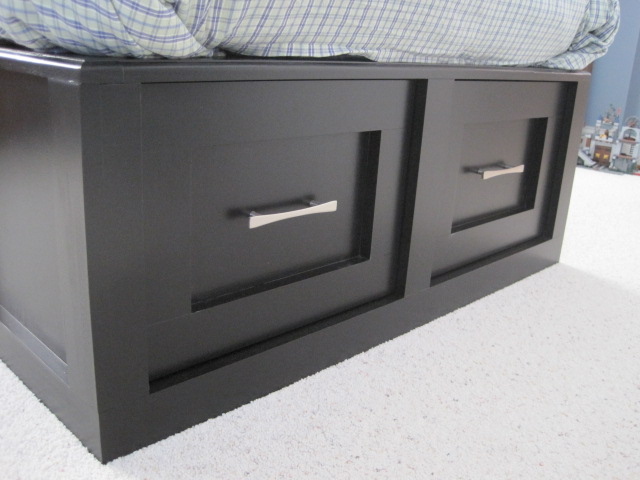
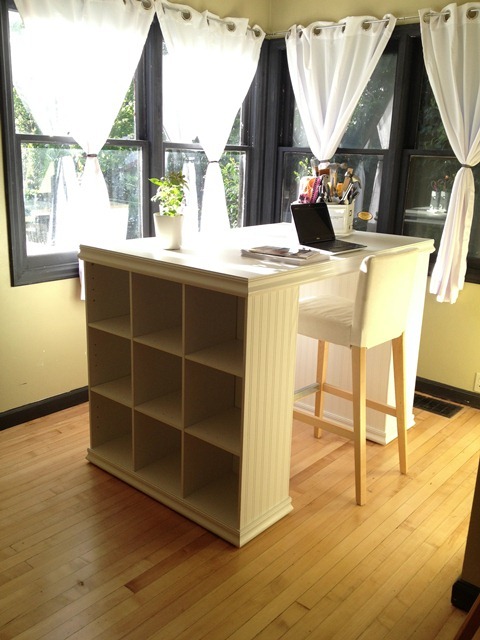
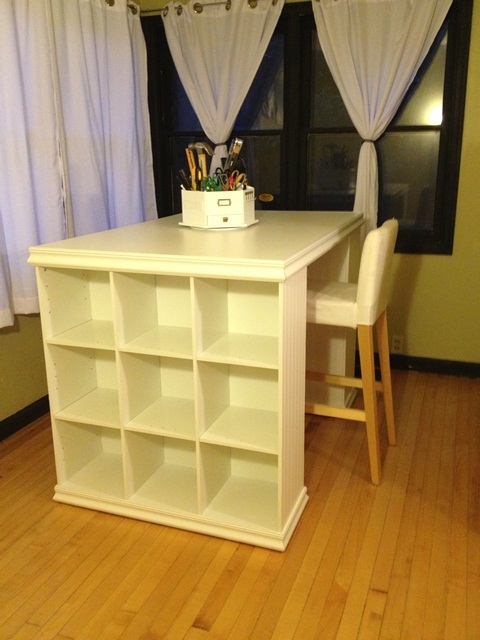
Built this from Ana's plan. Made a few small floor changes and added casing, baseboard, trim and cedar shake shingles.
Built from Plan(s)
Recommended Skill Level
Intermediate


Comments
handmadewithash
Mon, 12/21/2015 - 15:22
I love all the attention to
I love all the attention to details here. It's a beautiful dollhouse.
Ana White Admin
Tue, 12/22/2015 - 11:11
WOW!
You knocked this out of the park, so excited for the recipient! Thanks for sharing:)
shanebernskoetter
Wed, 12/23/2015 - 15:07
Thank you!!
Thank you for the kind comments. I really appreciate your work putting the plans out there for others to follow, Ana! My father is a high end custom homebuilder and made a house for my 3 sisters 20 years ago for Christmas. I thought if I'm going to do this, I might as well go all in and try to make something grandpa would be proud of. It is for my 2 girls, ages 8 and 11. The 11 year old still plays with dolls. I'm trying to hold onto her youth as long as I can! Again, many thanks. -Shane
shanebernskoetter
Wed, 12/23/2015 - 15:12
Thank you!!
Thank you for the kind comments. My father is a high end custom home builder and made a house for my 3 sisters 20 years ago for Christmas. I thought that if I was going to make a house I should go all in on something to make grandpa proud. I am very grateful, Ana, for your posting of the plans on the web for others to imitate! The house is for my 8 and 11 year old daughters. The 11 year old still plays with dolls and we are trying to hold on to her youth as long as we can. With thanks and gratitude, Shane
JLynn
Fri, 12/25/2015 - 13:51
Plan Question
I love the corners on the rooms, how did you do that?