Community Brag Posts

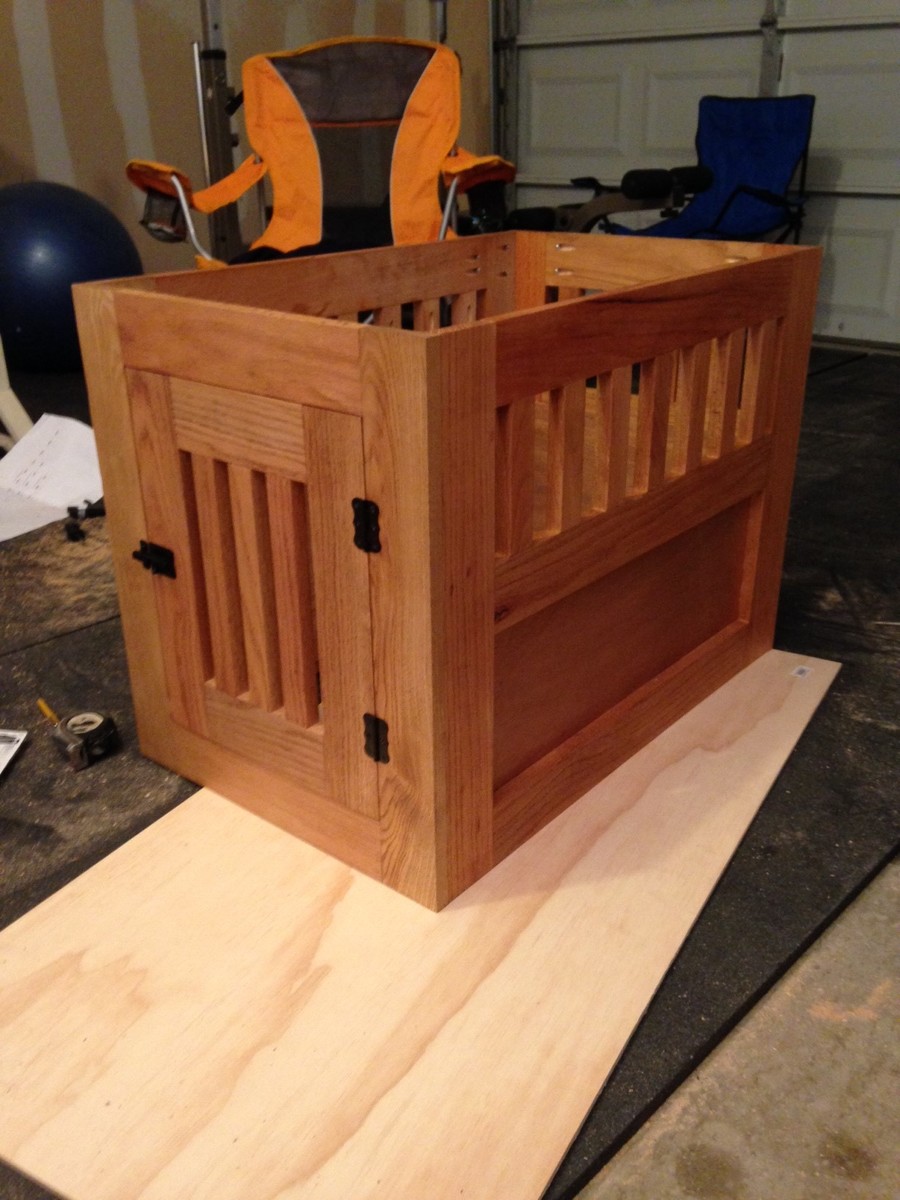
Oak Pet Kennel End Table

Submitted by zjlawlor on Tue, 01/06/2015 - 12:36

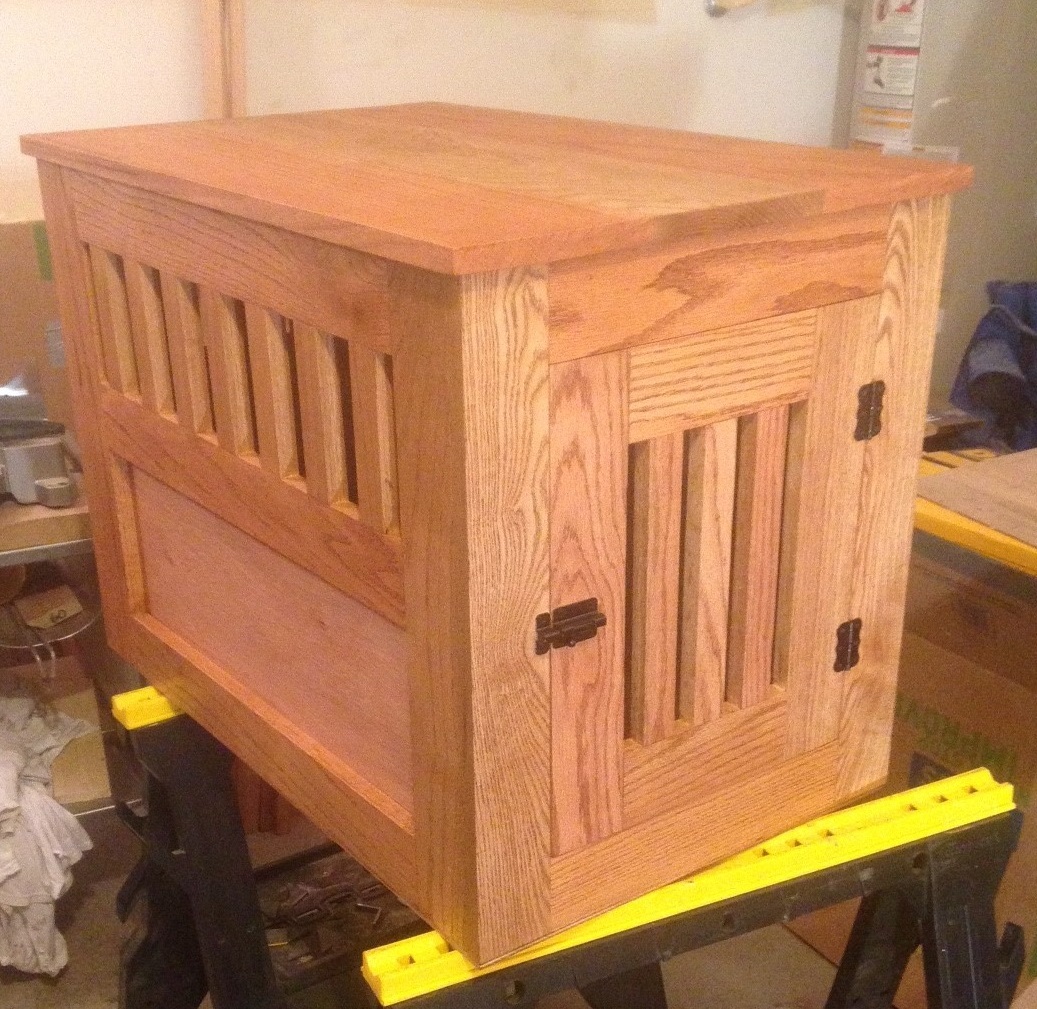
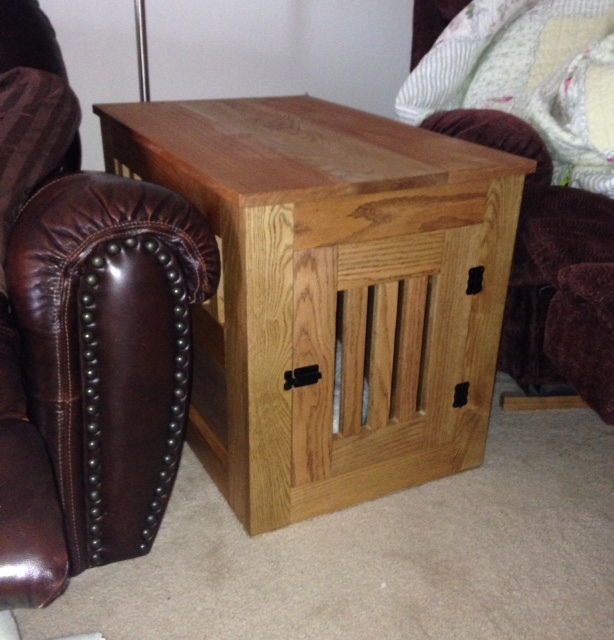
Built this pet kennel end table from Ana's plans for my dad for Christmas. Only changes I made were to the dimensions to better fit my dads mid-sized dog and the top which I made by laminating a few boards rather than sheet material. Everything but the side panels is oak. Plans were really simple and I'm really happy with the finished product. As soon as I revealed it on Christmas morning his dog knew who it was for and ran right in and laid down with his new bone. Very awesome payoff to say the least.

Built from Plan(s)
Estimated Cost
~$100 bucks or more depending where you get your oak. I got my for a steal from a guy emptying his shop otherwise I would've used cheaper wood.
Estimated Time Investment
Weekend Project (10-20 Hours)
Finish Used
Danish Oil - Dark Walnut, several coats. The oak doesn't absorb the dark color very much but gives a really nice smooth finish.
Recommended Skill Level
Intermediate

Farmhouse bench

Submitted by Anonymous (not verified) on Thu, 04/06/2017 - 19:11

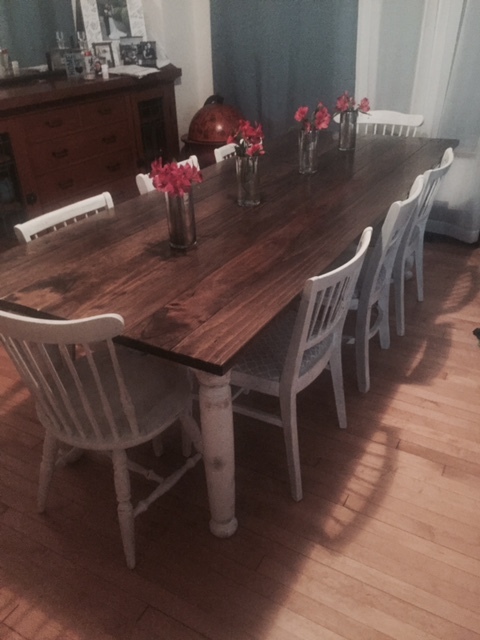
This built was easy with Ana white blue prints I used 2x10 for the top and also made the matching bench.

thanks Ana white 

Estimated Cost
200 for both table and bench
Estimated Time Investment
Week Long Project (20 Hours or More)
Finish Used
Minwax wood finish weathered oak 270
Recommended Skill Level
Intermediate

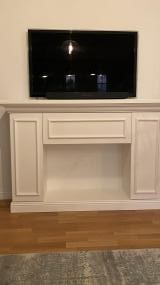
My Faux fireplace

Submitted by Rafal on Tue, 03/02/2021 - 09:03

I am so satisfied I managed myself. Thank you Ana for the inspiration!

Estimated Cost
290 Eur
Estimated Time Investment
Week Long Project (20 Hours or More)
Finish Used
I followed the plans od Ana and one movie on YouTube and adapted them to my vision.
Recommended Skill Level
Intermediate

see saw

Submitted by aplexis on Sun, 03/03/2013 - 16:24

had lots of fun building this project for my grandauther, she's only a year and a half old and I'm pretty sure she will enjoy this see saw for a long time.

Estimated Cost
$50.00
Estimated Time Investment
Day Project (6-9 Hours)
Finish Used
paint
Recommended Skill Level
Beginner

Comments

Husky Farmhouse Table

My Dad came to visit for Christmas and he knew for months that all  I wanted to do was have him build this table!! We used pine and found really cheap legs on amazon that were being discontinued. They were $15 each!! We plan on having a large family so we made this to fit 8 people. There is enough room to add chairs to seat 12 for parties and events though.I got all of the chairs off Craiglsist for free and just painted and recovered the seats. I am totally in love with this table! Thank you Ana White for the plans and my Dad for his hard work! 

Built from Plan(s)
Estimated Cost
$250
Estimated Time Investment
Day Project (6-9 Hours)
Finish Used
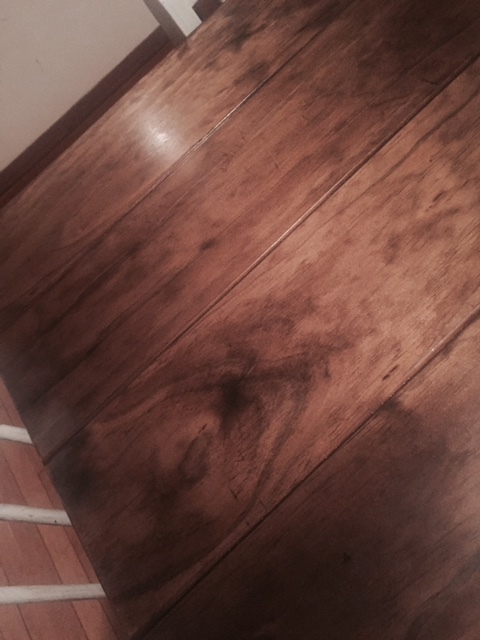
We used one coat of Minwax stain in Dark Walnut. we then added three coats of clear spar urethane in a satin finish. I didn't want the table to be too glossy looking. After that dried we applied a coat of wax and viola!! The chairs and legs we painted with primer in a slightly off white color. Then we dabbed a paintbrush in the tiniest amount of stain and went around the legs and chairs really lightly to give them a worn look. I love how it turned out!!
Recommended Skill Level
Intermediate

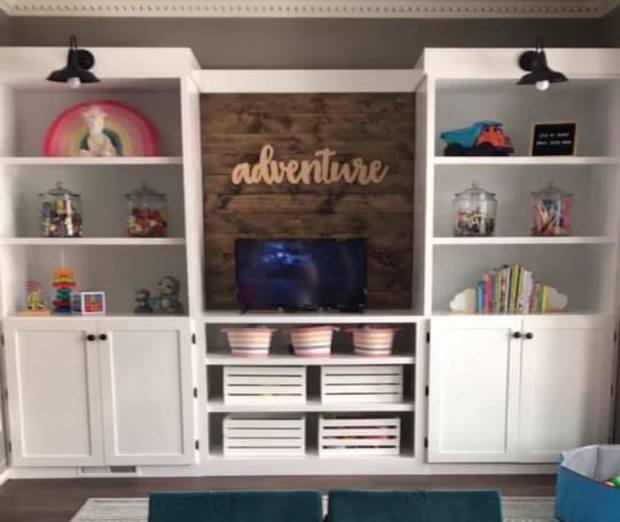
Family Project & Entertainment Center

Submitted by Anonymous (not verified) on Mon, 03/08/2021 - 16:30

My son and daughter in law had an unpurposed room in their home and wanted to turn it into a play area for their three kids. She came to me with an idea and it turned into their Christmas present. 8' tall and 140" wide. Now the kids don't want to come out of the room. Papa and Mimi helping them make memories

Comments

"Grow" Stool

I built this step stool for my son's new "big boy" bed. I built the bed and ended up being a little high for him. So I decided he'd probably like to have a little stool to use to help him get up in the bed. He loves it.

I made it with scrap wood that I had from making his bed. I love the simple design and it is very easy to build. I did use a set of metal stamps and stamp "GROW" onto the stool. We used milk paint and then sealed it with Hemp Oil.

Thanks for all of the plans, love to create stuff!

Estimated Cost
3 bucks
Estimated Time Investment
An Hour or Two (0-2 Hours)
Finish Used
Miss Mustard Seed's Milk Paint (curio color), sealed with Hemp Oil
Recommended Skill Level
Beginner

Concrete top rustic x end tables

Submitted by Anonymous (not verified) on Thu, 04/13/2017 - 21:03

I took the rustic x base and decided to put a concrete top on it. 

Estimated Cost
$50-$100
Estimated Time Investment
Weekend Project (10-20 Hours)
Finish Used
Oxidized wood with brown furniture polish.
Recommended Skill Level
Intermediate

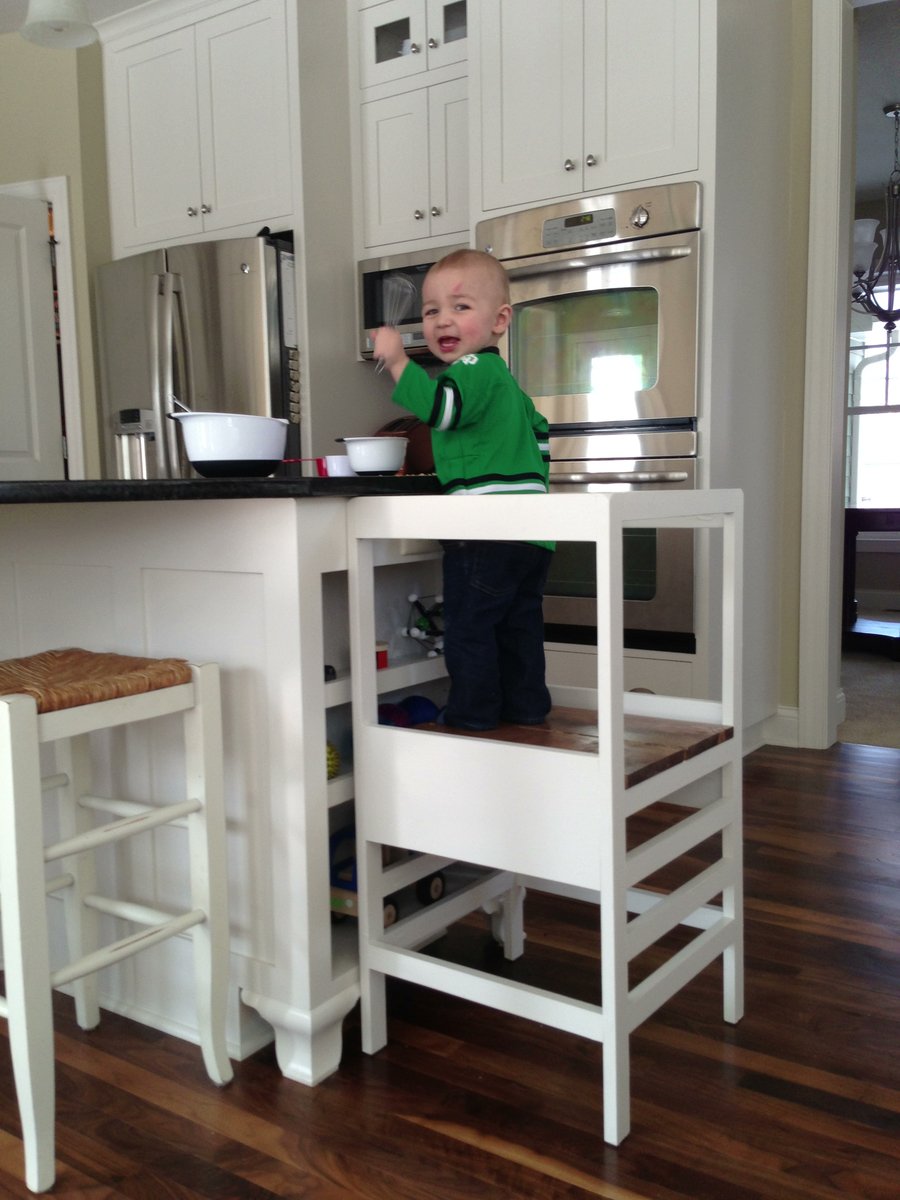
Simple under-counter helper tower

This was our first time using the kreg jig. We bought the recommended $99 one and boy was it worth it. Can see a lot of kreg jigging in my future! :) We cut the legs at 35" and omitted the arches so it can be stored under the kitchen counter. The crawl-in space is definitely a little tight, but he's getting the hang of it after just one day of practice. We built the tip resisters, but haven't added them yet. It seems sturdy enough without them for our cautious 17-month-old, but I suspect we'll have to attach them when he gets bigger and more rambunctious. We sanded the edges liberally, and notched the top four corners to avoid taking eyes out. We also added felt pads to the bottom of each leg so it doesn't damage our wood floors.

Built from Plan(s)
Estimated Cost
40
Estimated Time Investment
Day Project (6-9 Hours)
Finish Used
Tower is painted with Behr self-priming interior enamel color-matched to my kitchen cabinets. Platform is stained, then painted with a simple clear coat. I wanted them to blend in with the cabinets and coordinate with my bar stools.
Recommended Skill Level
Beginner

Comments

Arialvetica

Tue, 06/18/2013 - 20:07

The tower gets constant daily use. My son is now 20 months and pushes the tower around the kitchen to access counters and light switches. Definitely the #1 most used baby item in our home!

Rustic X End Table

Submitted by Anonymous (not verified) on Sun, 04/16/2017 - 08:49

Not too bad for a beginner. We couldn't find the bolds, but we did add the L brackets.


Here's our experience: http://wearegrownupsnow.blogspot.com/2017/04/diy-rustic-x-end-table.html

Built from Plan(s)
Estimated Cost
$60
Estimated Time Investment
Weekend Project (10-20 Hours)
Finish Used
Pre-Stain Wood Conditioner (Minwax) and Dark Walnut Stain+Poly (Varathane).
Recommended Skill Level
Beginner

Comments

Lunar2

Fri, 04/21/2017 - 12:02

The L brackets look great on your fab rustic end table.  As for the bolts, I've seen that some people use upholstery tacks instead.  Superficial, but they can look good - there are different finishes to complement your brackets

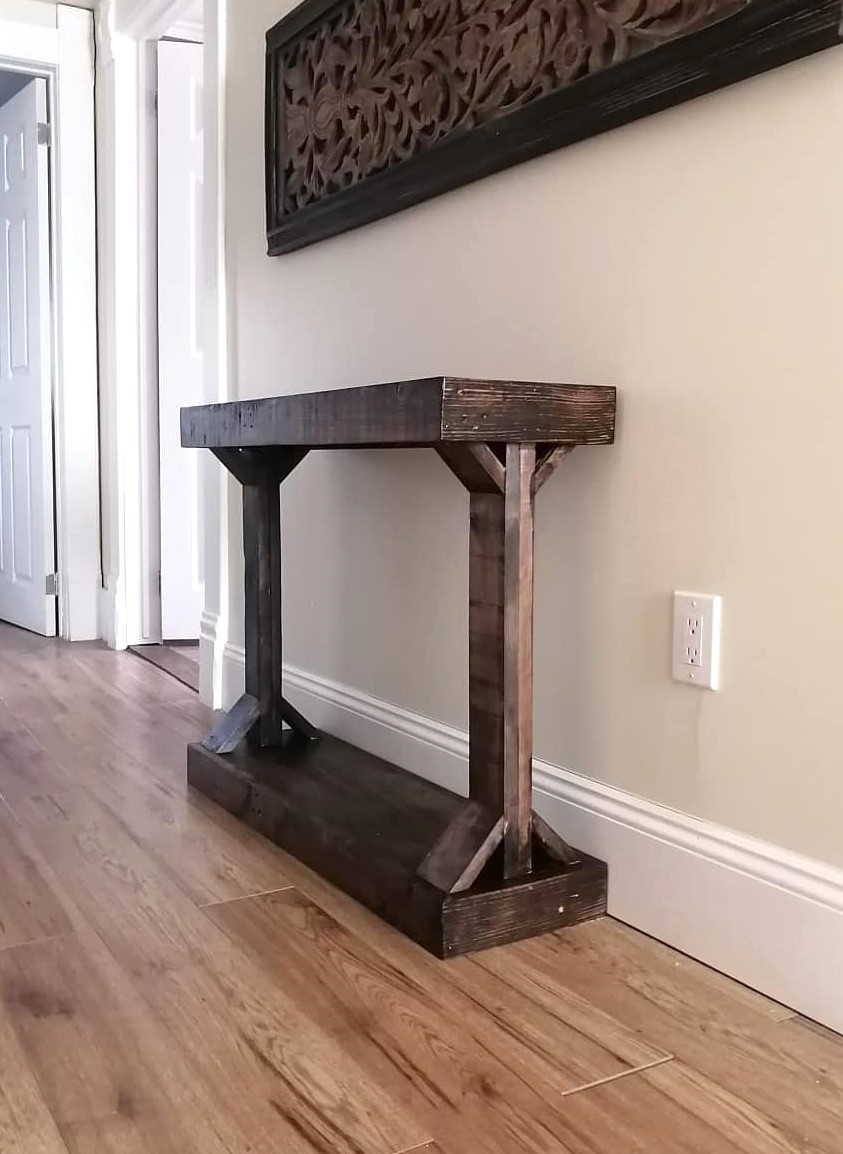
Small Pallet Wood Console Table

I made this table completely out of pallet wood. We have true 1x4 pallet wood which is hardwood. for the legs, I doubled up 2 pieces of pallet wood for strength. Every piece of wood is a 1x4. It turned out perfectly as I needed a narrow table for our 2nd-floor hallway. This took us a little longer than with cut lumber as there was a lot of planing and sanding since it was pallet wood. If we had used lumber it would have taken a few hours less.

Estimated Cost
20.00
Estimated Time Investment
Weekend Project (10-20 Hours)
Finish Used
We used Jacobean Mini Wax stain and the one coat satin polyurethane. It was the first time I had used the 1 coat but it is a lot thicker than the average polyurethane.
Recommended Skill Level
Intermediate

Comments

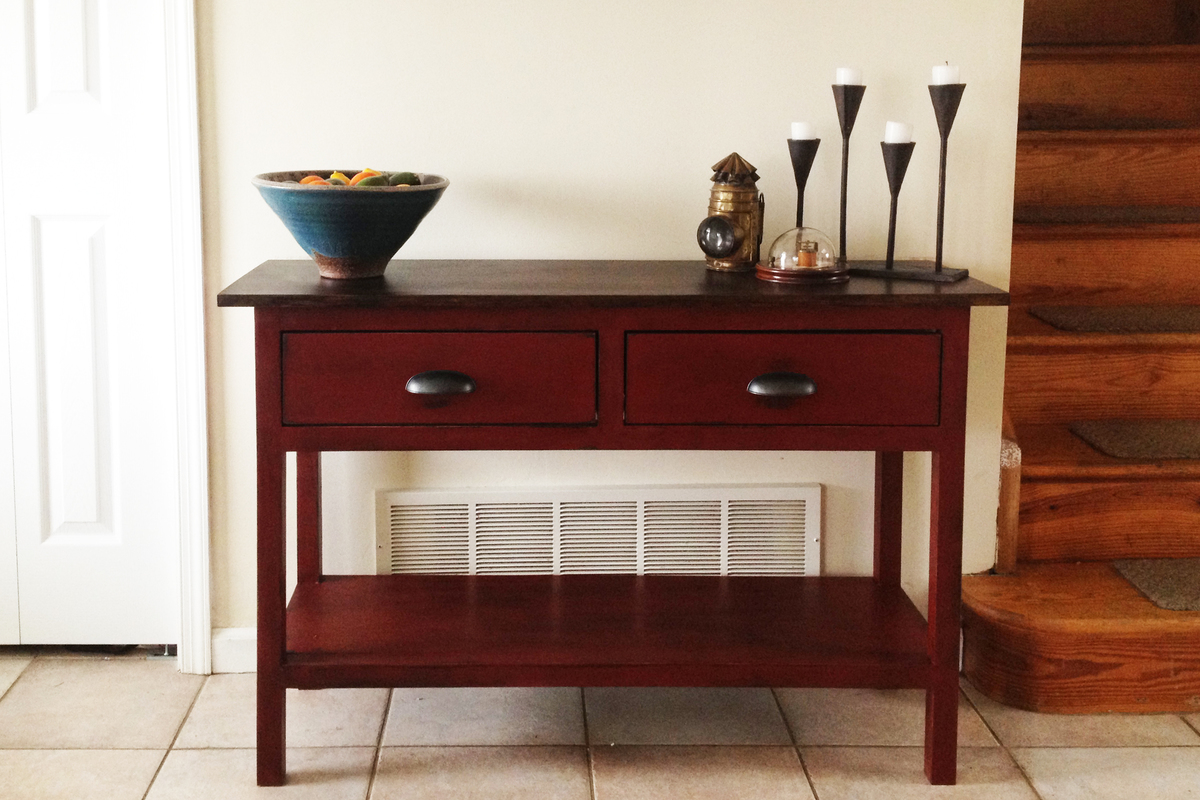
My First Build: Console Table from "The Handbuilt Home"

Submitted by timgerdes on Mon, 03/11/2013 - 12:56

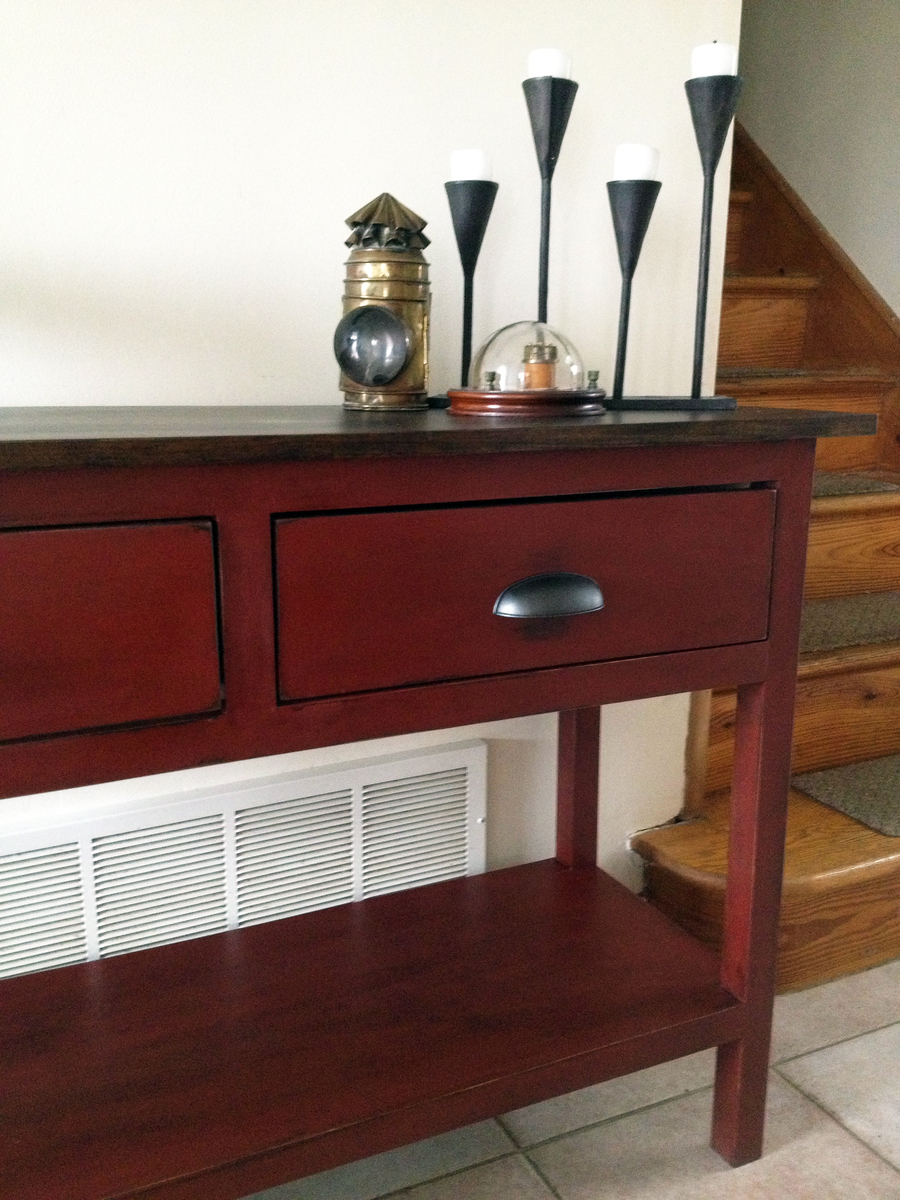
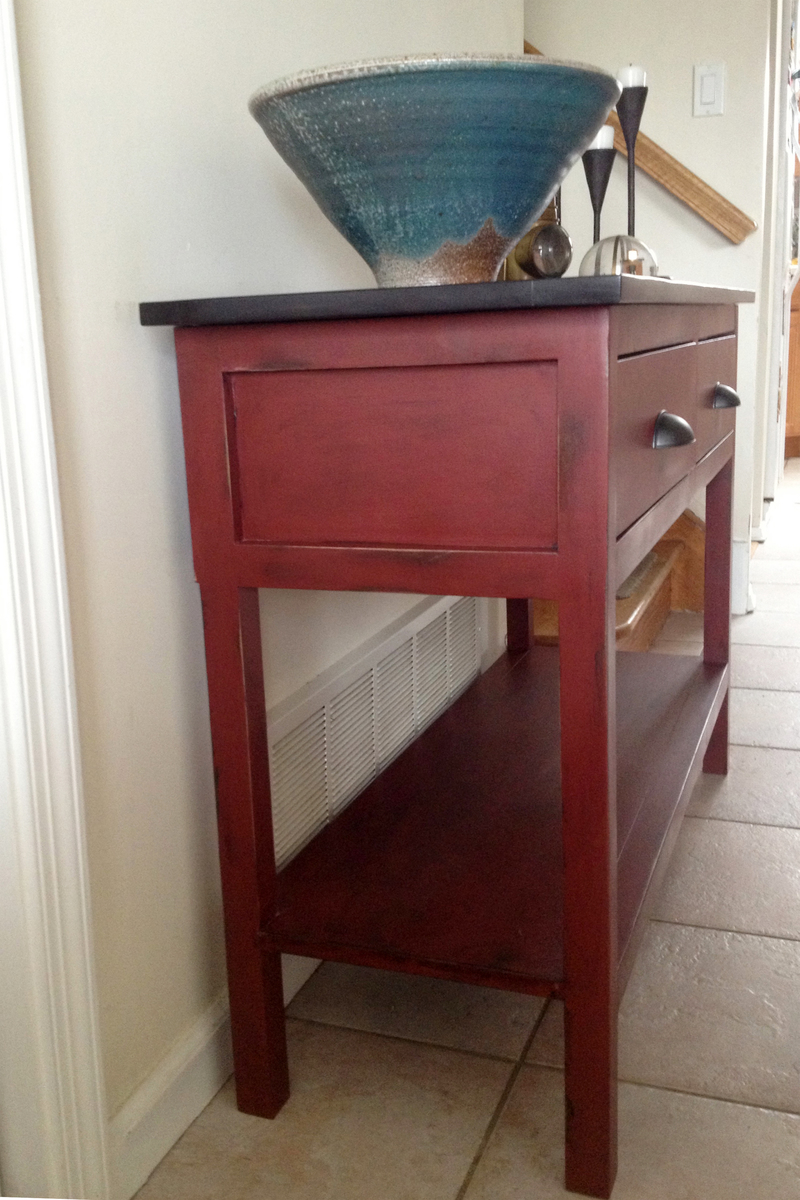
Not only was this my first furniture project from an Ana White plan, it was my first ever furniture project. I discovered this website and Ana's site through Pinterest and was inspired to build a table for my wife's craft room.

Leafing through "The Handbuilt Home," I found plans for a modern craft table, but decided I'd better get my feet wet first with a "smaller" project. Our front hall console table was a cheap, particle board piece from Target which seemed like the perfect candidate for replacement.

In retrospect, with drawer slides and hardware to contend with the craft table may in fact be an easier project than the console, but I found the plans straightforward and easy to read. Expecting to be intimidated by my own lack of experience, as the table came together I was, instead, continually inspired by my ability to actually build beautiful furniture for my home.

The most challenging part of building the console table was finding lumber, particularly straight lumber. Here in New Jersey, the local Home Depot and Lowes stores did not have a large selection of wood, virtually nothing beyond pine and most of that was visibly warped.

I eventually found boards that were relatively straight, though not perfect. As a result, getting the table perfectly square was an impossible task. For future builds I have already discovered some local lumber suppliers that offer a broader quality of materials than the big box stores.

The other part of this project that was really challenging was applying spray-on polycrylic. I never got a protective coat I was particularly happy with and decided to stop fussing because I feel like I was making things worse trying to correct my application mistakes.

In a few weeks I plan to add a layer of wax, which I hope will give the table a finish a more satisfying finish.

All things considered, especially as this was my first furniture project of any kind, I look at the beautiful console that now graces my front entry, dumbfounded that it's something I built from a small pile of wood. Many thanks to Ana White and her website and book for the inspiration!
Estimated Time Investment
Week Long Project (20 Hours or More)
Finish Used
The table top was finished in Minwax dark walnut stain and Minwax spray-on polyurethane in satin finish. The base was finished with a coat of the Minwax dark walnut stain, painted with General Finishes milk paint in Tuscan Red, hand sanded for a distressed look, treated with General Finishes glaze effects in Van Dyke Brown and a Minwax spray-on Polycrylic in satin finish.
Recommended Skill Level
Beginner

Comments

troy h

Mon, 03/11/2013 - 19:21

Great job, inset drawers can be a huge challenge. Love the finish.

Jibby

Fri, 05/10/2013 - 10:52

Hi!

Amazing job! Would you please direct me to where you found these plans. I've searched all throughout this website and can't seem to locate them...

Thanks :)

Laundry Sorter

Submitted by AndyH on Sun, 01/18/2015 - 14:23

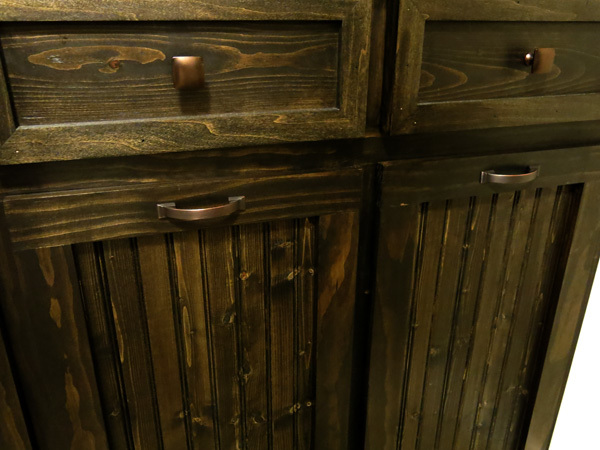
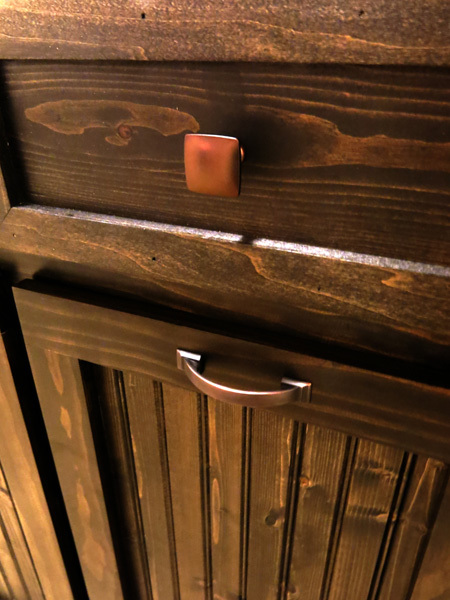
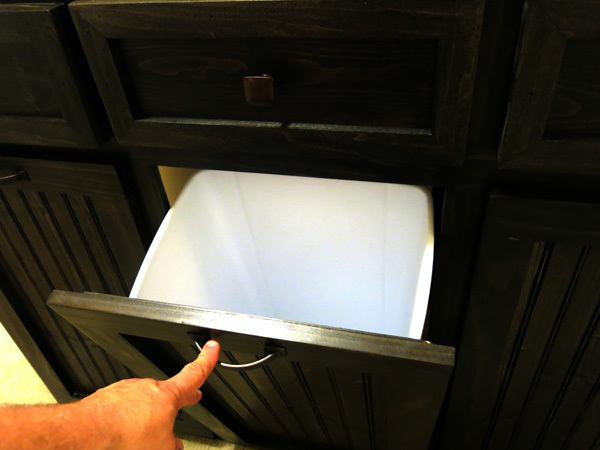
Laundry sorter with 3 tilt out bins and 3 drawers.  Made to fit a recess in laundry so it looks like a built in cabinet.

Estimated Cost
$320
Estimated Time Investment
Week Long Project (20 Hours or More)
Finish Used
Minwax Ebony and Minwax Satin Poly.
Recommended Skill Level
Beginner

Comments

Sofa table

Submitted by Anonymous (not verified) on Tue, 04/18/2017 - 19:32

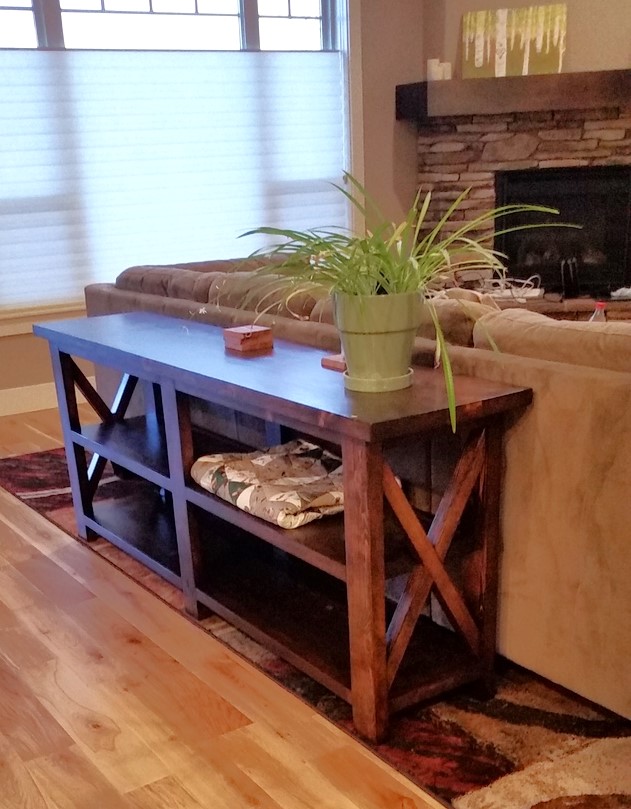
This was so much easier then I thought it was going to be. 

Estimated Time Investment
Weekend Project (10-20 Hours)
Recommended Skill Level
Intermediate

Farmhouse bed King Size

Submitted by Anonymous (not verified) on Wed, 03/24/2021 - 06:54

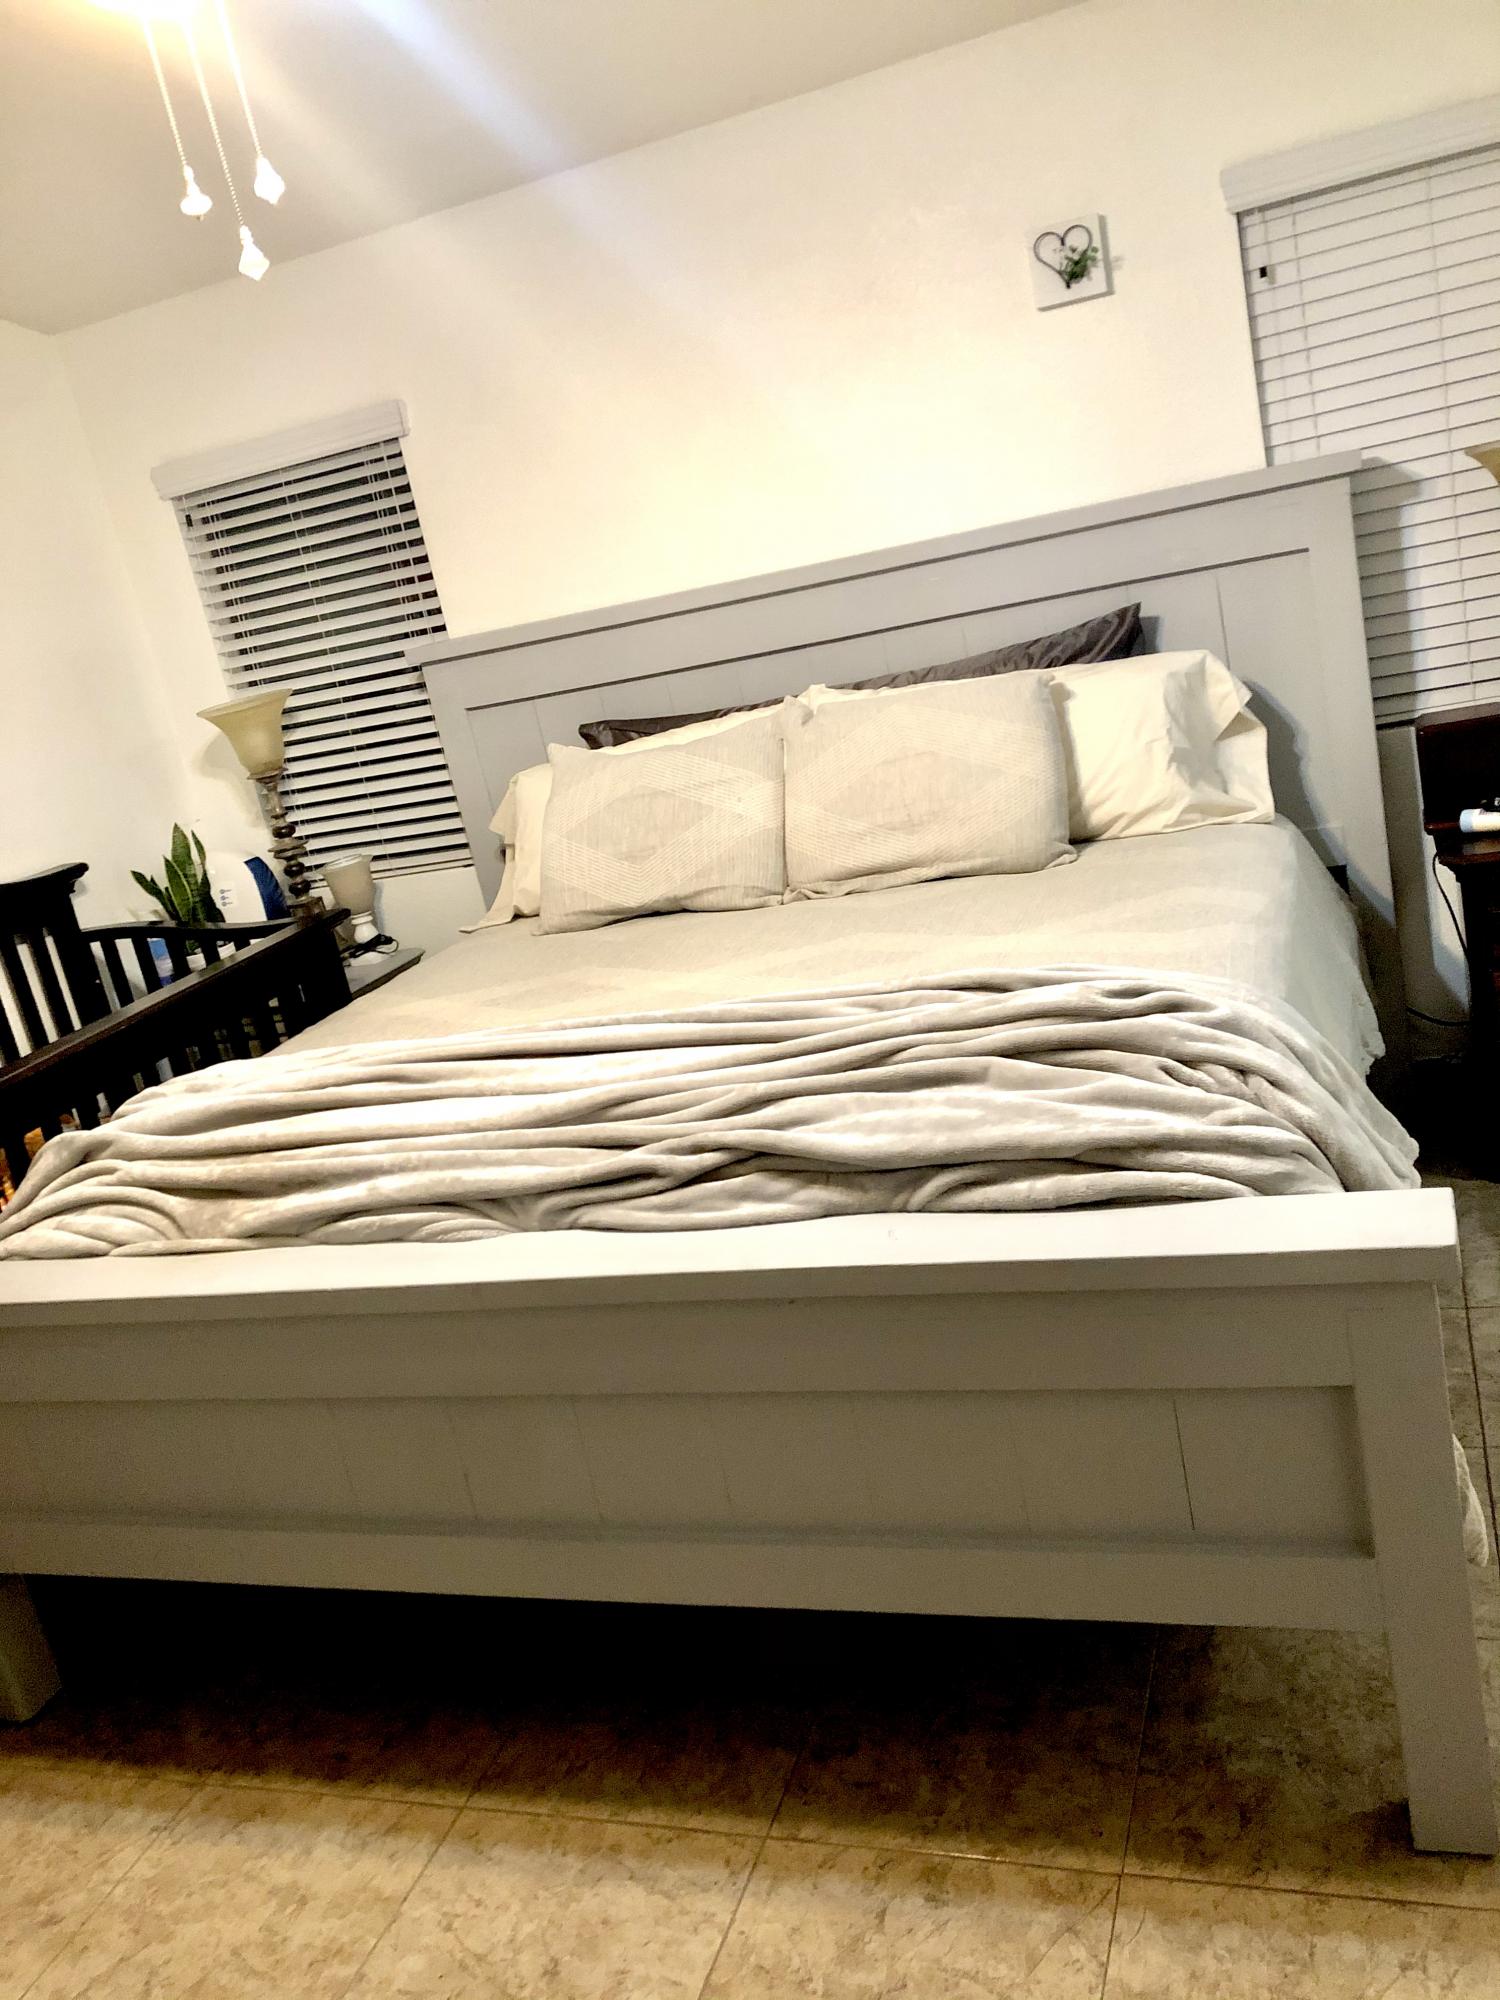
Took me about 16 hours to do his on and off. I think it would of been faster if I had a miter saw and a paint sprayer. My Wife and I are happy on the outcome!

Estimated Cost
$600
Estimated Time Investment
Weekend Project (10-20 Hours)
Finish Used
Aged Gray chalked paint
Recommended Skill Level
Intermediate

Comments

Vegetable Bin

Submitted by brittanyj on Wed, 01/21/2015 - 08:46

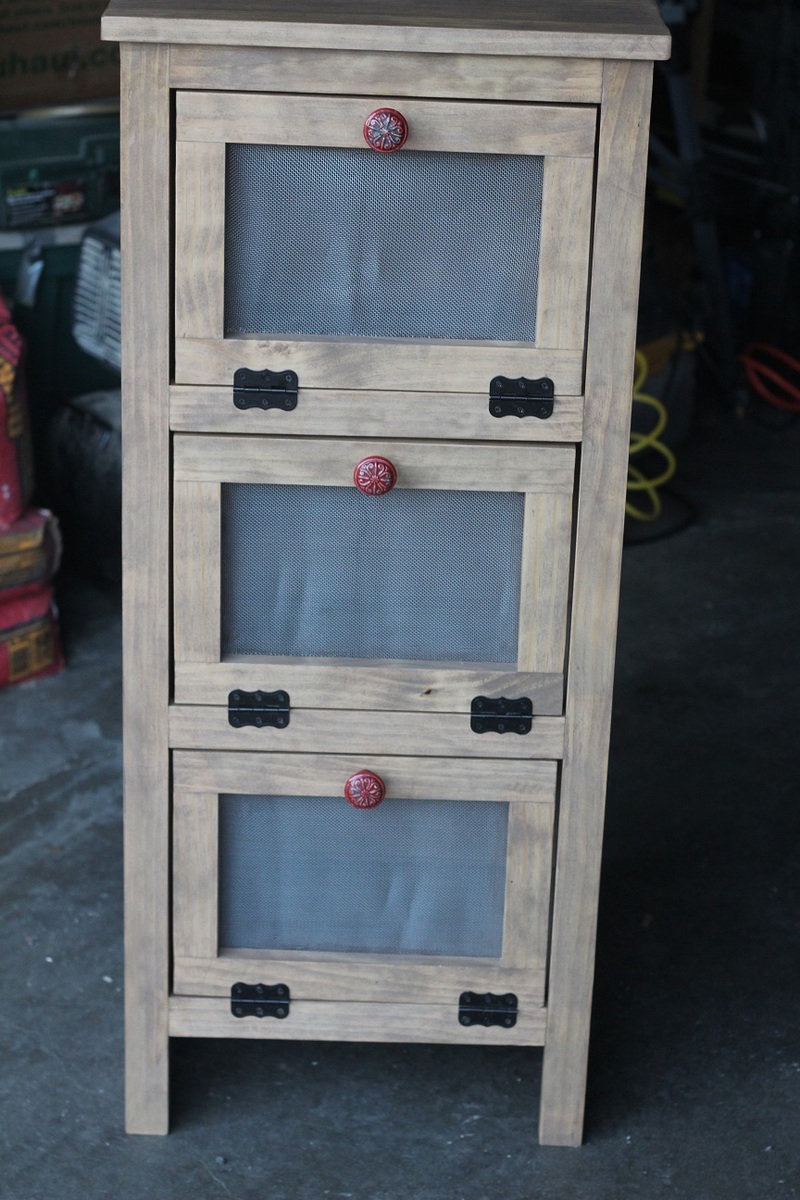
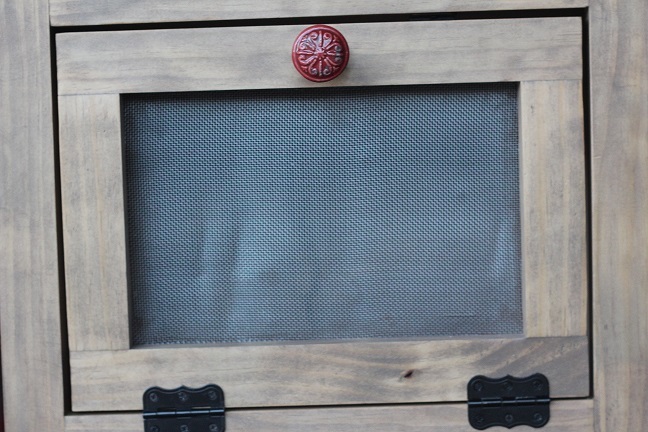
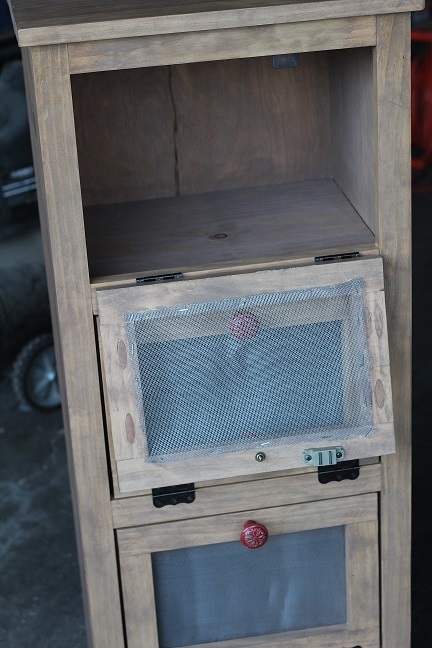
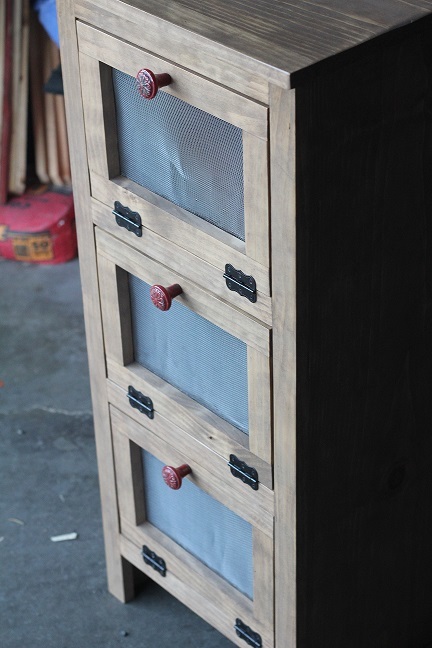
Made this vegetable cupboard for a family member this Christmas.  It turned out really cute.  The knobs were half off from Hobby Lobby, and I used ORB hinges.  I bought L-shaped magnet clasps so that there was a better way to mount the magnets to fit with the doors.  The stain is a mixture of driftwood and walnut stain because the driftwood has almost no color to it.  It ended up giving a kind of country rustic finish to it, which is something different for me.  Pretty easy project and if you measure carefully and dry fit, the doors aren't too bad to fit in the openings (rare for inset). 

Built from Plan(s)
Estimated Cost
$40
Estimated Time Investment
Day Project (6-9 Hours)
Finish Used
driftwood, walnut stain, poly
Recommended Skill Level
Intermediate

Comments

Marine Ply Stools and Benches

Submitted by Anonymous (not verified) on Fri, 04/21/2017 - 15:39

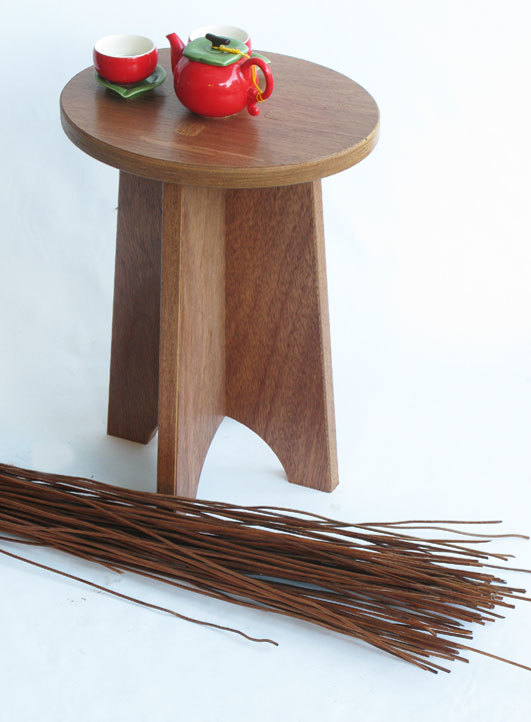
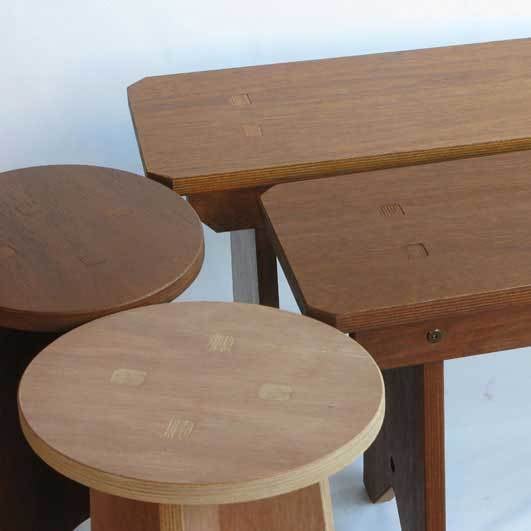
I have been working on using my cad skills to make somthing using a CNC router so this is what I came up with. I designed it a a flat pack with minimal assembly. Very comfortable.

Estimated Cost
$20
Estimated Time Investment
Day Project (6-9 Hours)
Finish Used
Stain and Varnish
Recommended Skill Level
Advanced

Side table

Submitted by Anonymous (not verified) on Wed, 03/31/2021 - 05:57

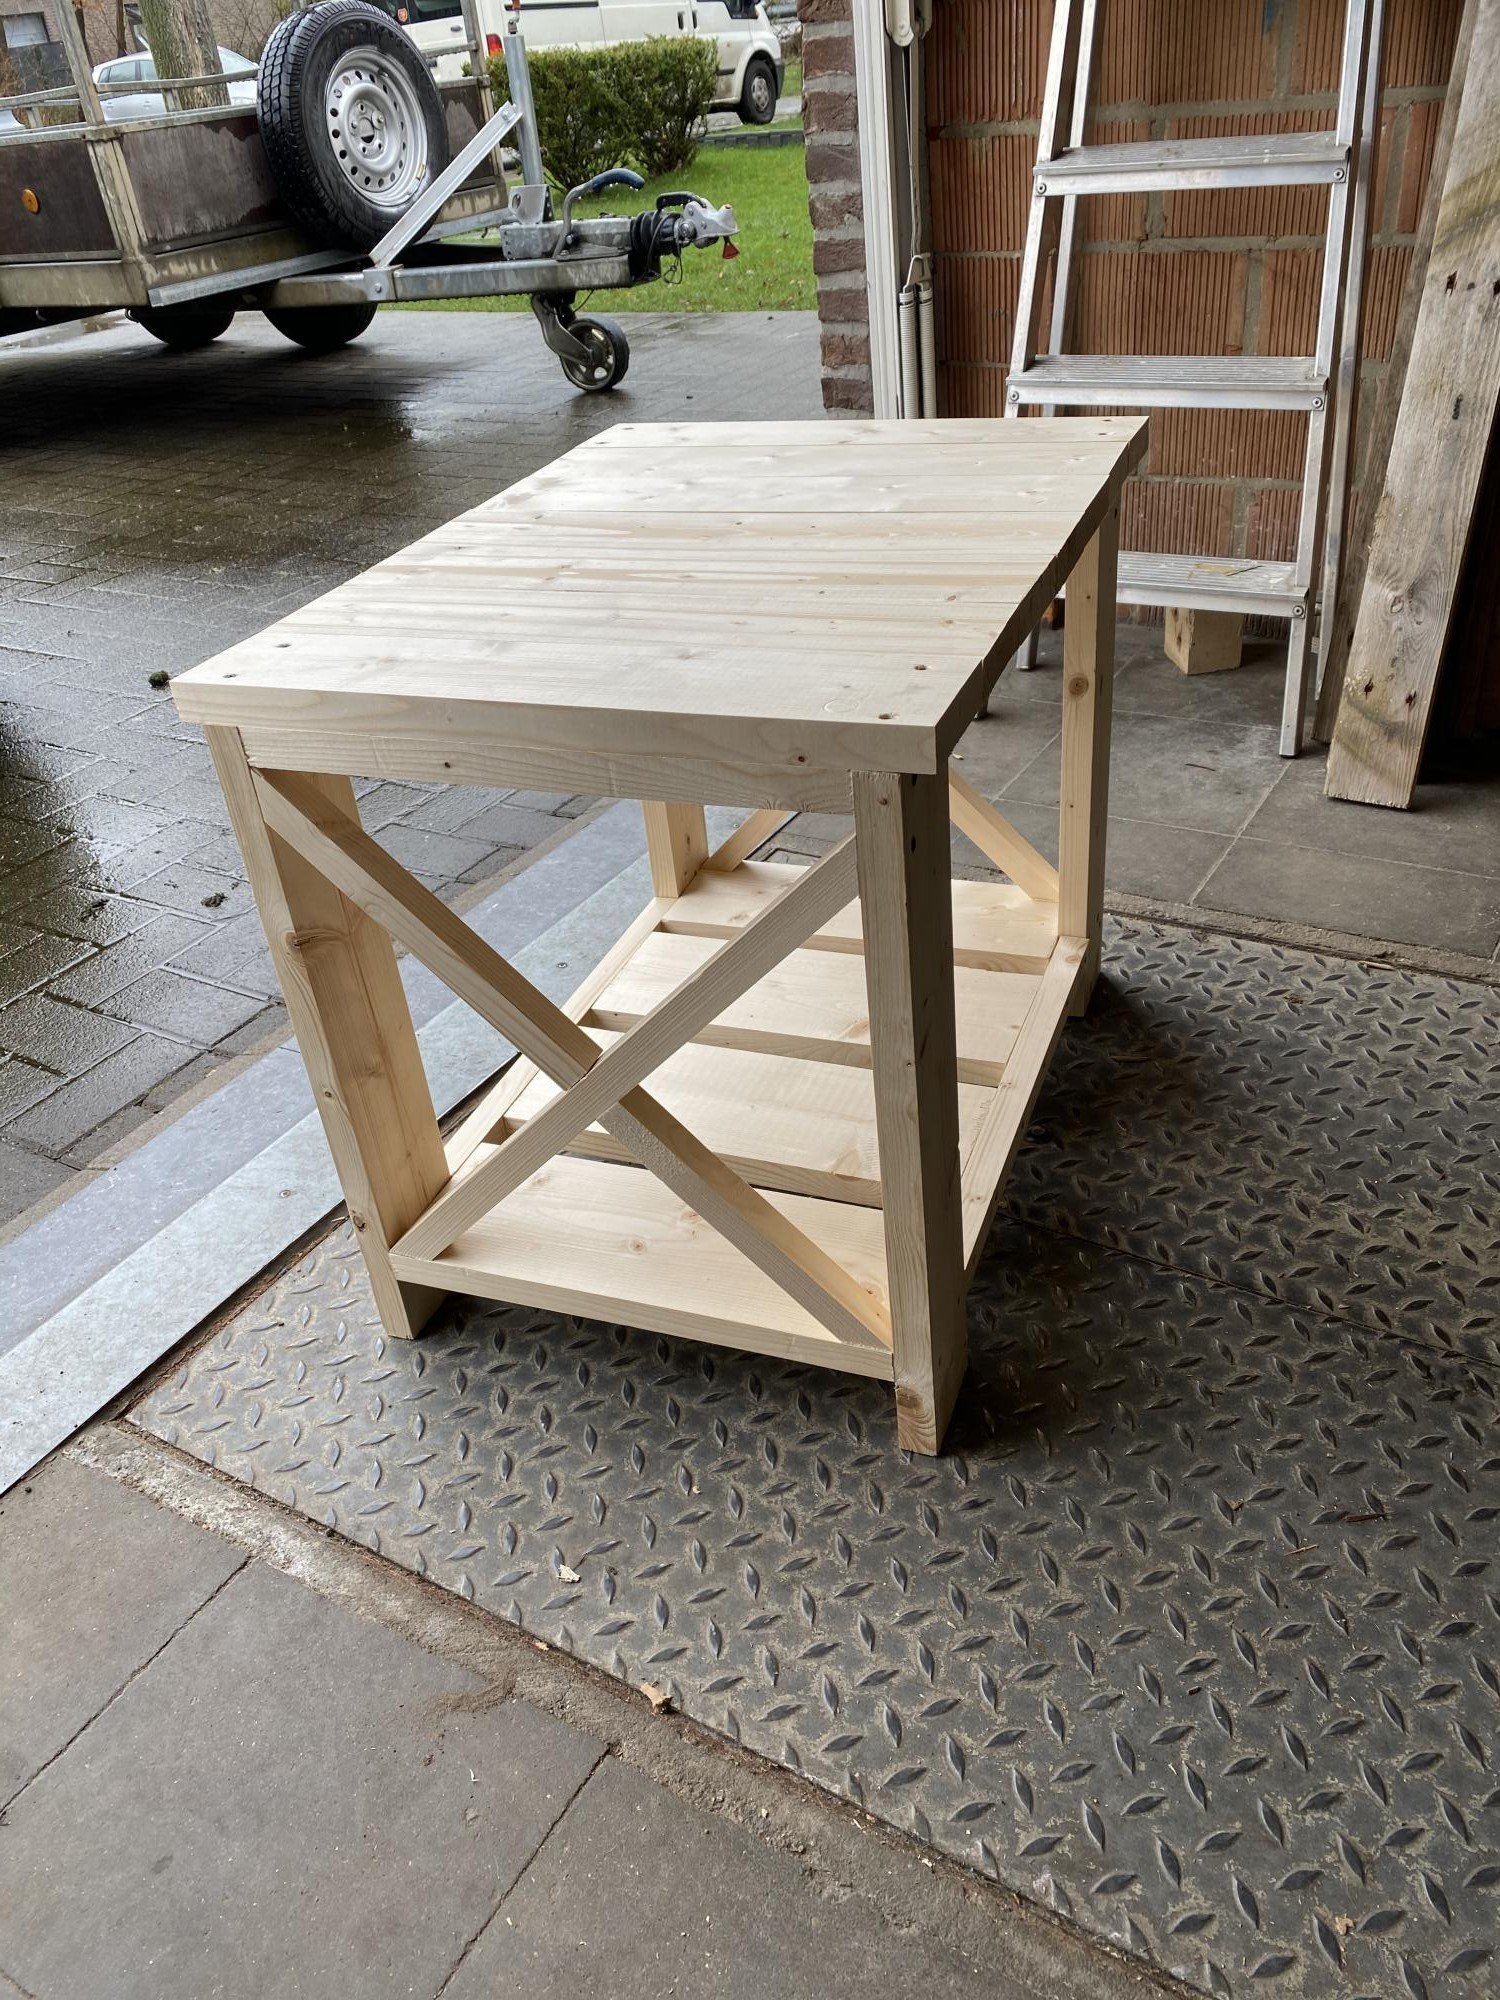
Made this from the side table plan. I had to adjust sizes as i'm from Belgium. 2x4's aren't here. First project ever. It came out great with some modifications and such. I made the larger one, way too big so we use it as a storage in our hallway.

It costed me around 40 euros. All materials included, i had to buy everything. It took me a whole day to finish this. If your a total beginner like me, it will take some time.

Would I make it again? Yes, provided i have better equipment and better plan it up front.

I rated it intermediate because that is how it felt for me personally.

Built from Plan(s)
Estimated Cost
40 euros
Estimated Time Investment
Day Project (6-9 Hours)
Recommended Skill Level
Intermediate

Comments

Guest Bathroom Remodel with Board and Battten

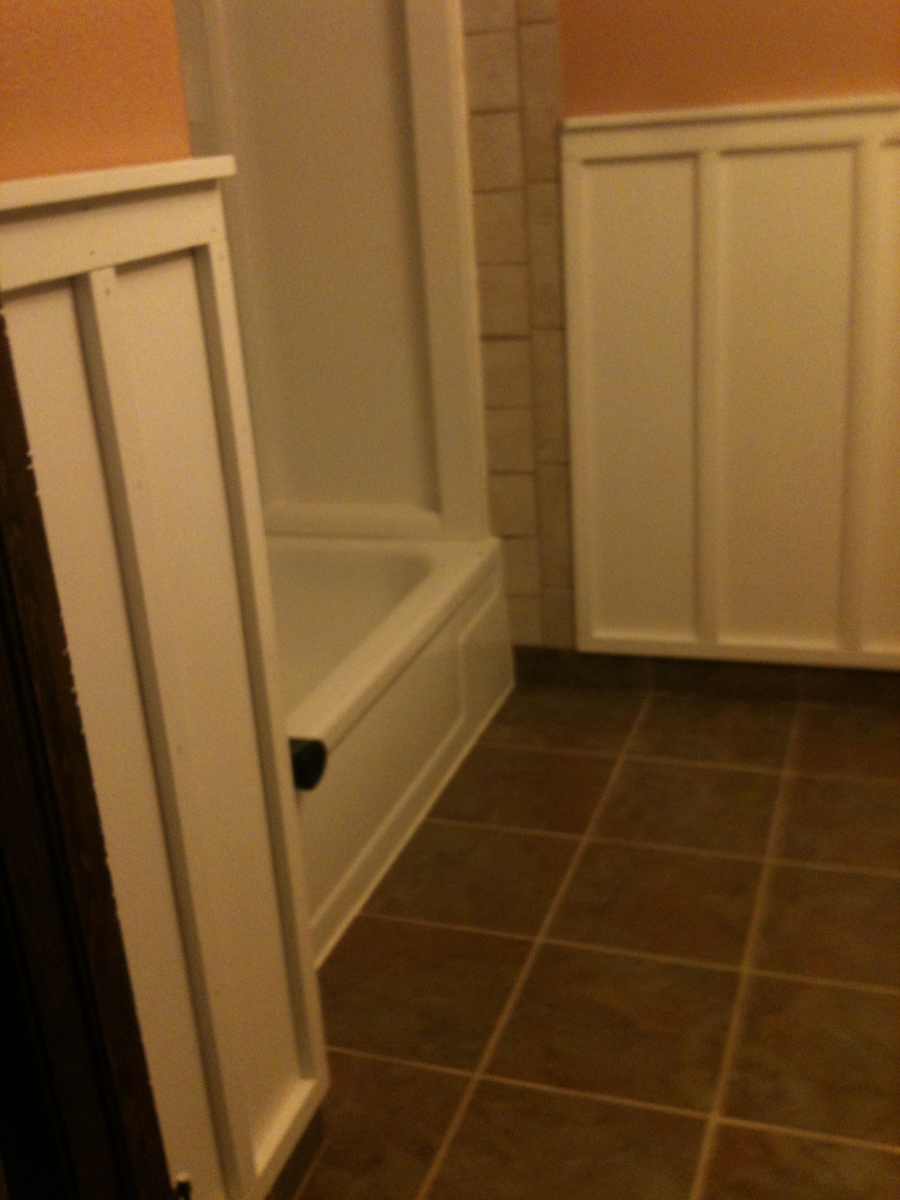
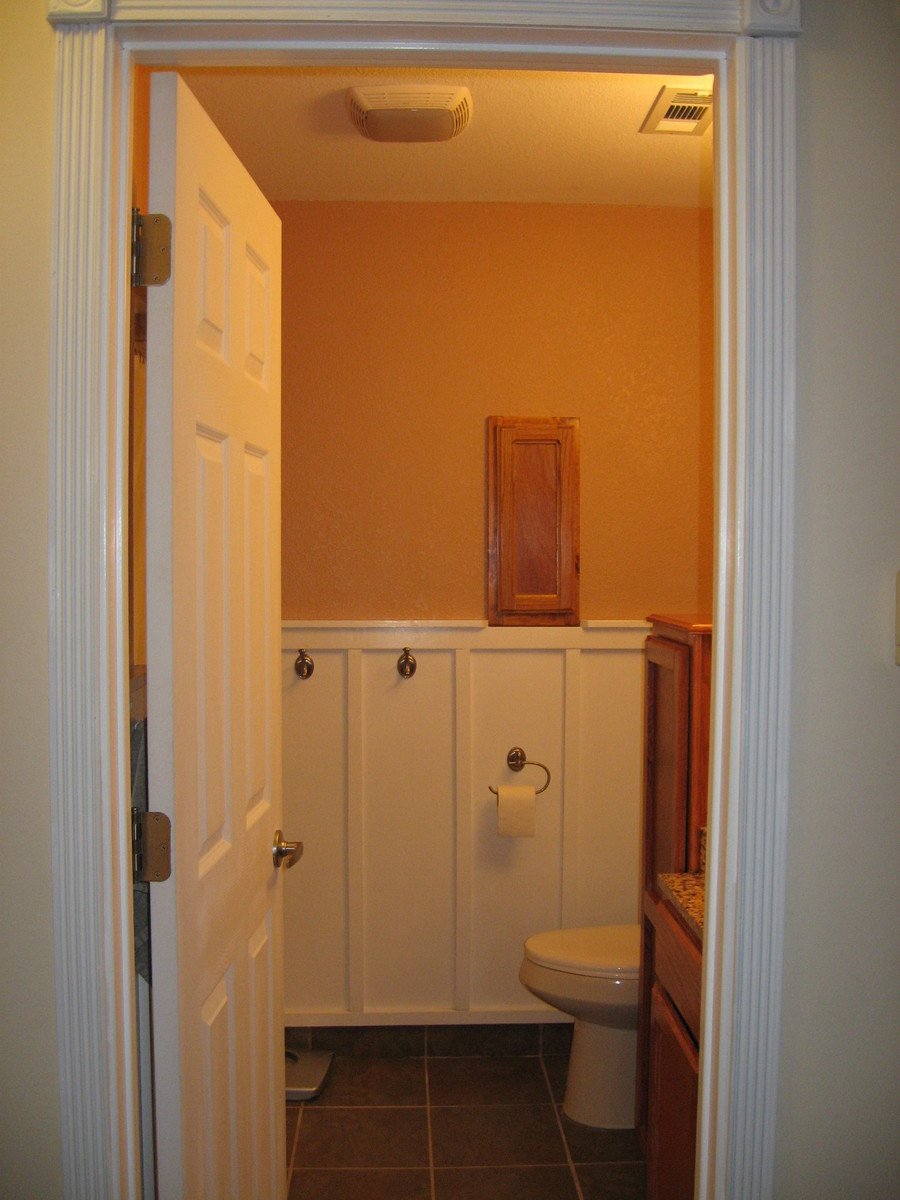
This project was actually completed last year, but I am late getting it posted. I had been asking for a board and batten bathroom, and then luckily Ana posted pictures of one, giving the handy hubby a better idea of what I was wanting.

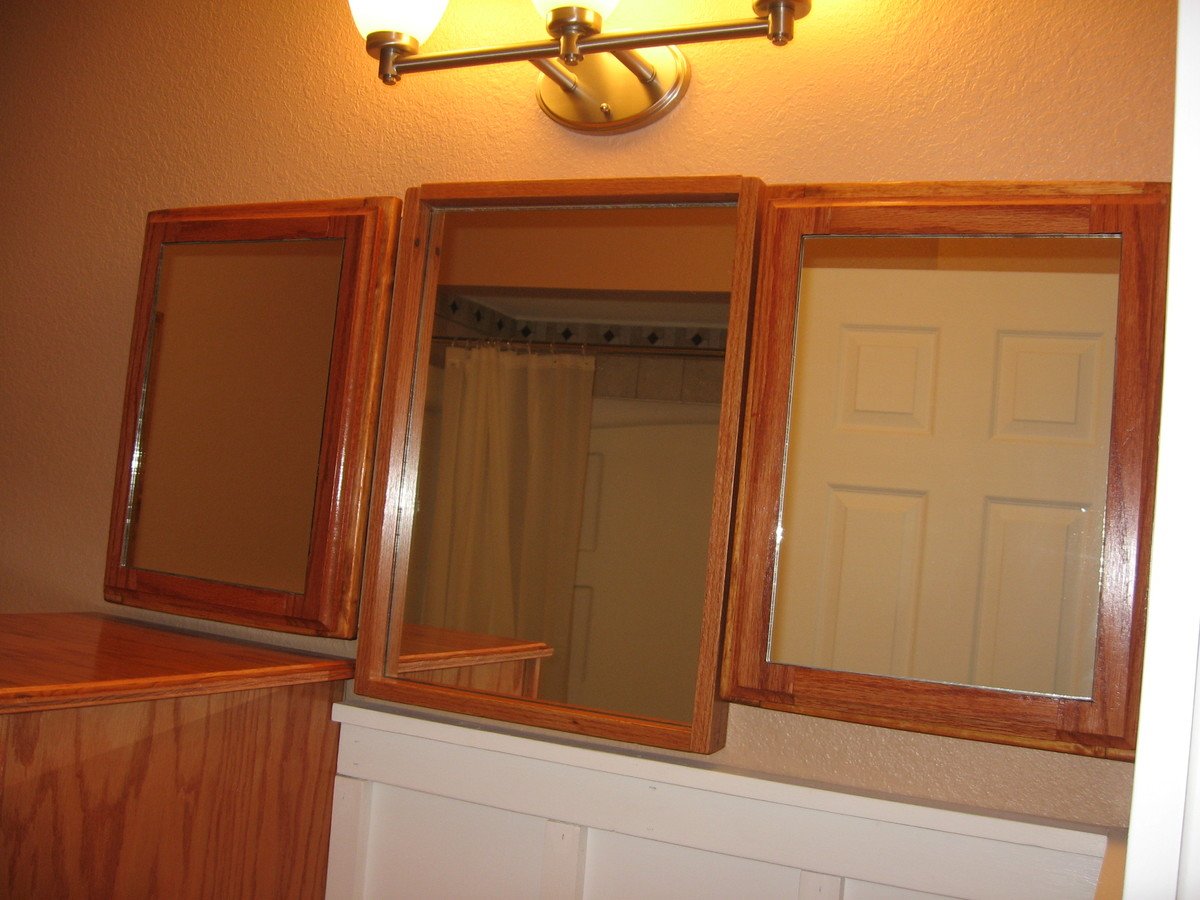
The cabinets, built-in medicine cabinets, mirror frame, and toilet paper niche are all custom designed and built by the hubby. The counter top and sink were custom ordered through Home Depot to fit the space.

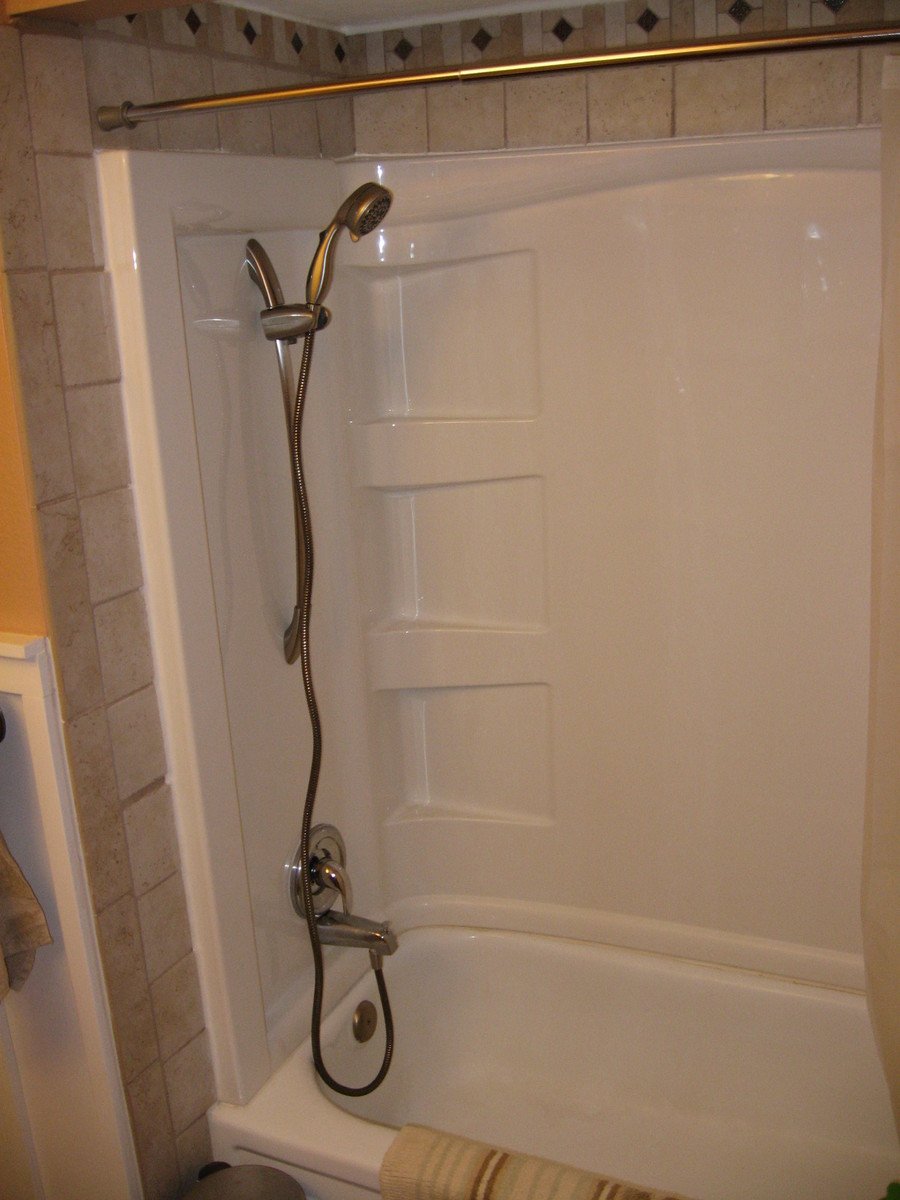
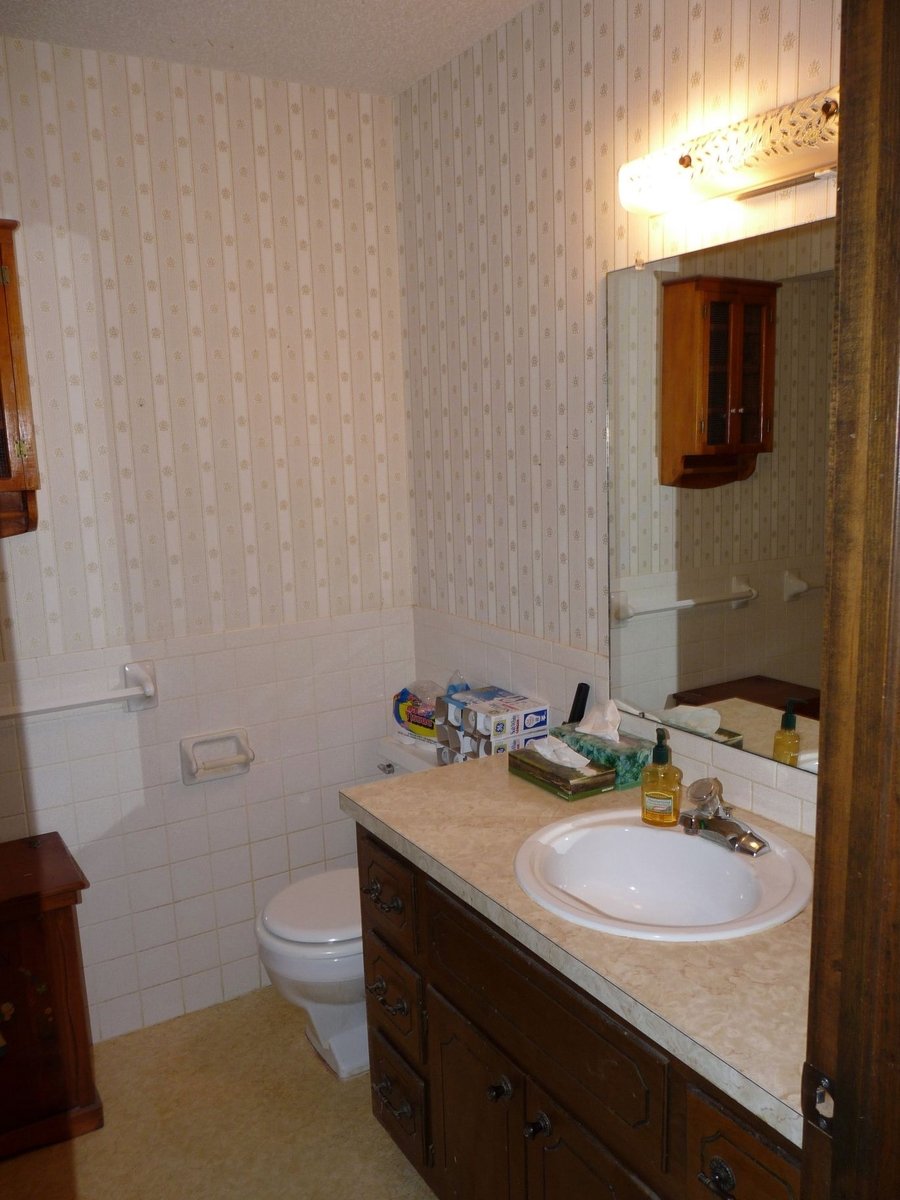
The bathroom didn't originally have a shower head, so after removing the 70s gold flecked tiles covering the walls up to chair rail height and repairing/replacing drywall we purchased shower walls and then he tiled around and above.

This was a major, months-long undertaking that included gutting the entire room, and then the building began. Everything in the room from the popcorn ceiling down to the yellow linoleum flooring save for the toilet and tub had to be replaced,the toilet we had bought since we moved in and the tub is metal and was in great condition.

Estimated Cost
about $3500
Estimated Time Investment
Week Long Project (20 Hours or More)
Finish Used
Watco Danish Oil in Cherry
Recommended Skill Level
Intermediate

2 Cubbies

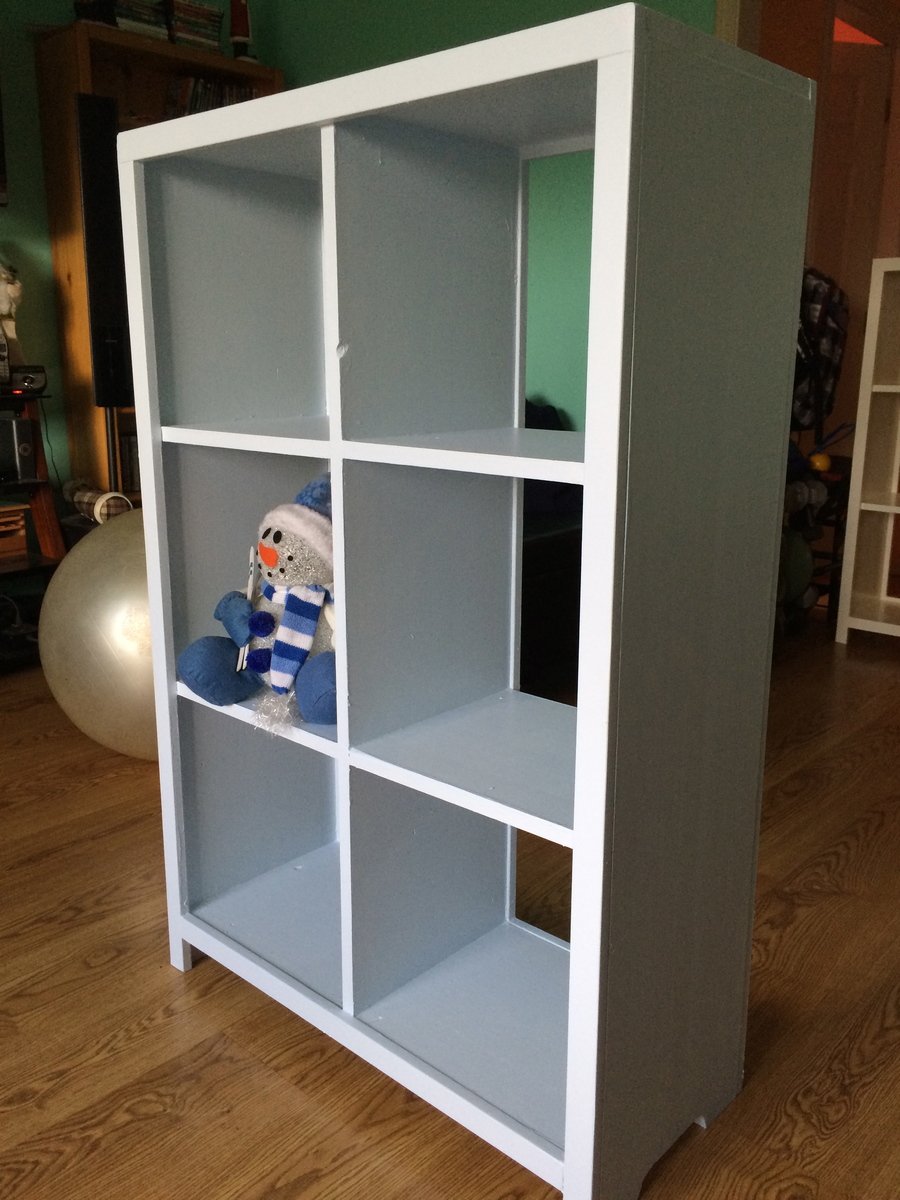
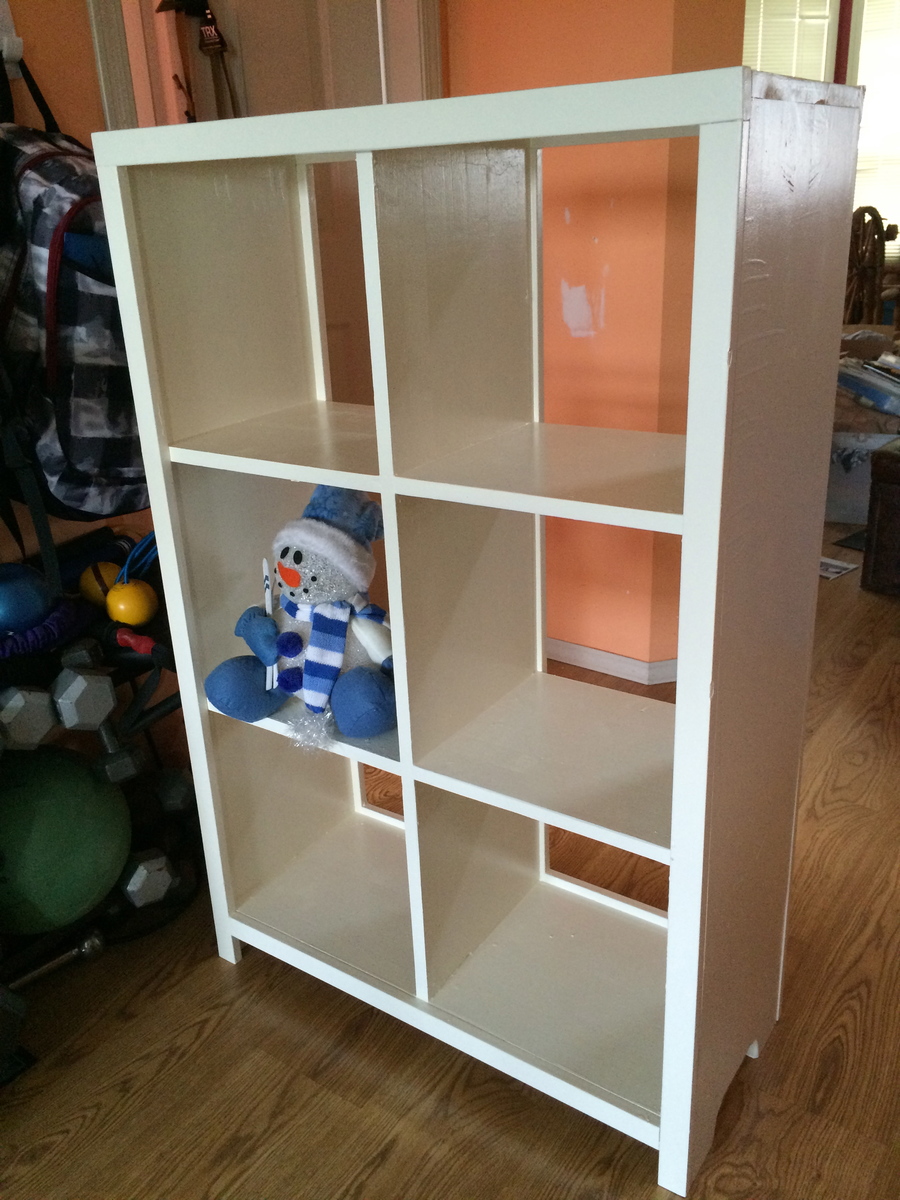
Did so many "firsts" with this project. My daughter/grandsons moved in just before Christmas. They needed space for their toys in their bedroom. Soooo, without tools, or paintbrushes, or..... anything, I opened my mouth and out came the words - I can make them some cubbies!

These took me 10 days to build, because I had to keep running to the store to get tools, paint, screws, circular saw.....

Then I decided to make a cut out at the bottom, tried to use a hand tool, chucked it, went to the store and purchased a jig saw. Completely happy with how little time it took!

I figured out the bottom shelf was missing from the cut list/shopping list. I made a ton of mistakes, figured out how to fix them, and am pleased with my first project.

Built from Plan(s)
Estimated Time Investment
Week Long Project (20 Hours or More)
Finish Used
Acrylic Paint
Recommended Skill Level
Intermediate

Comments