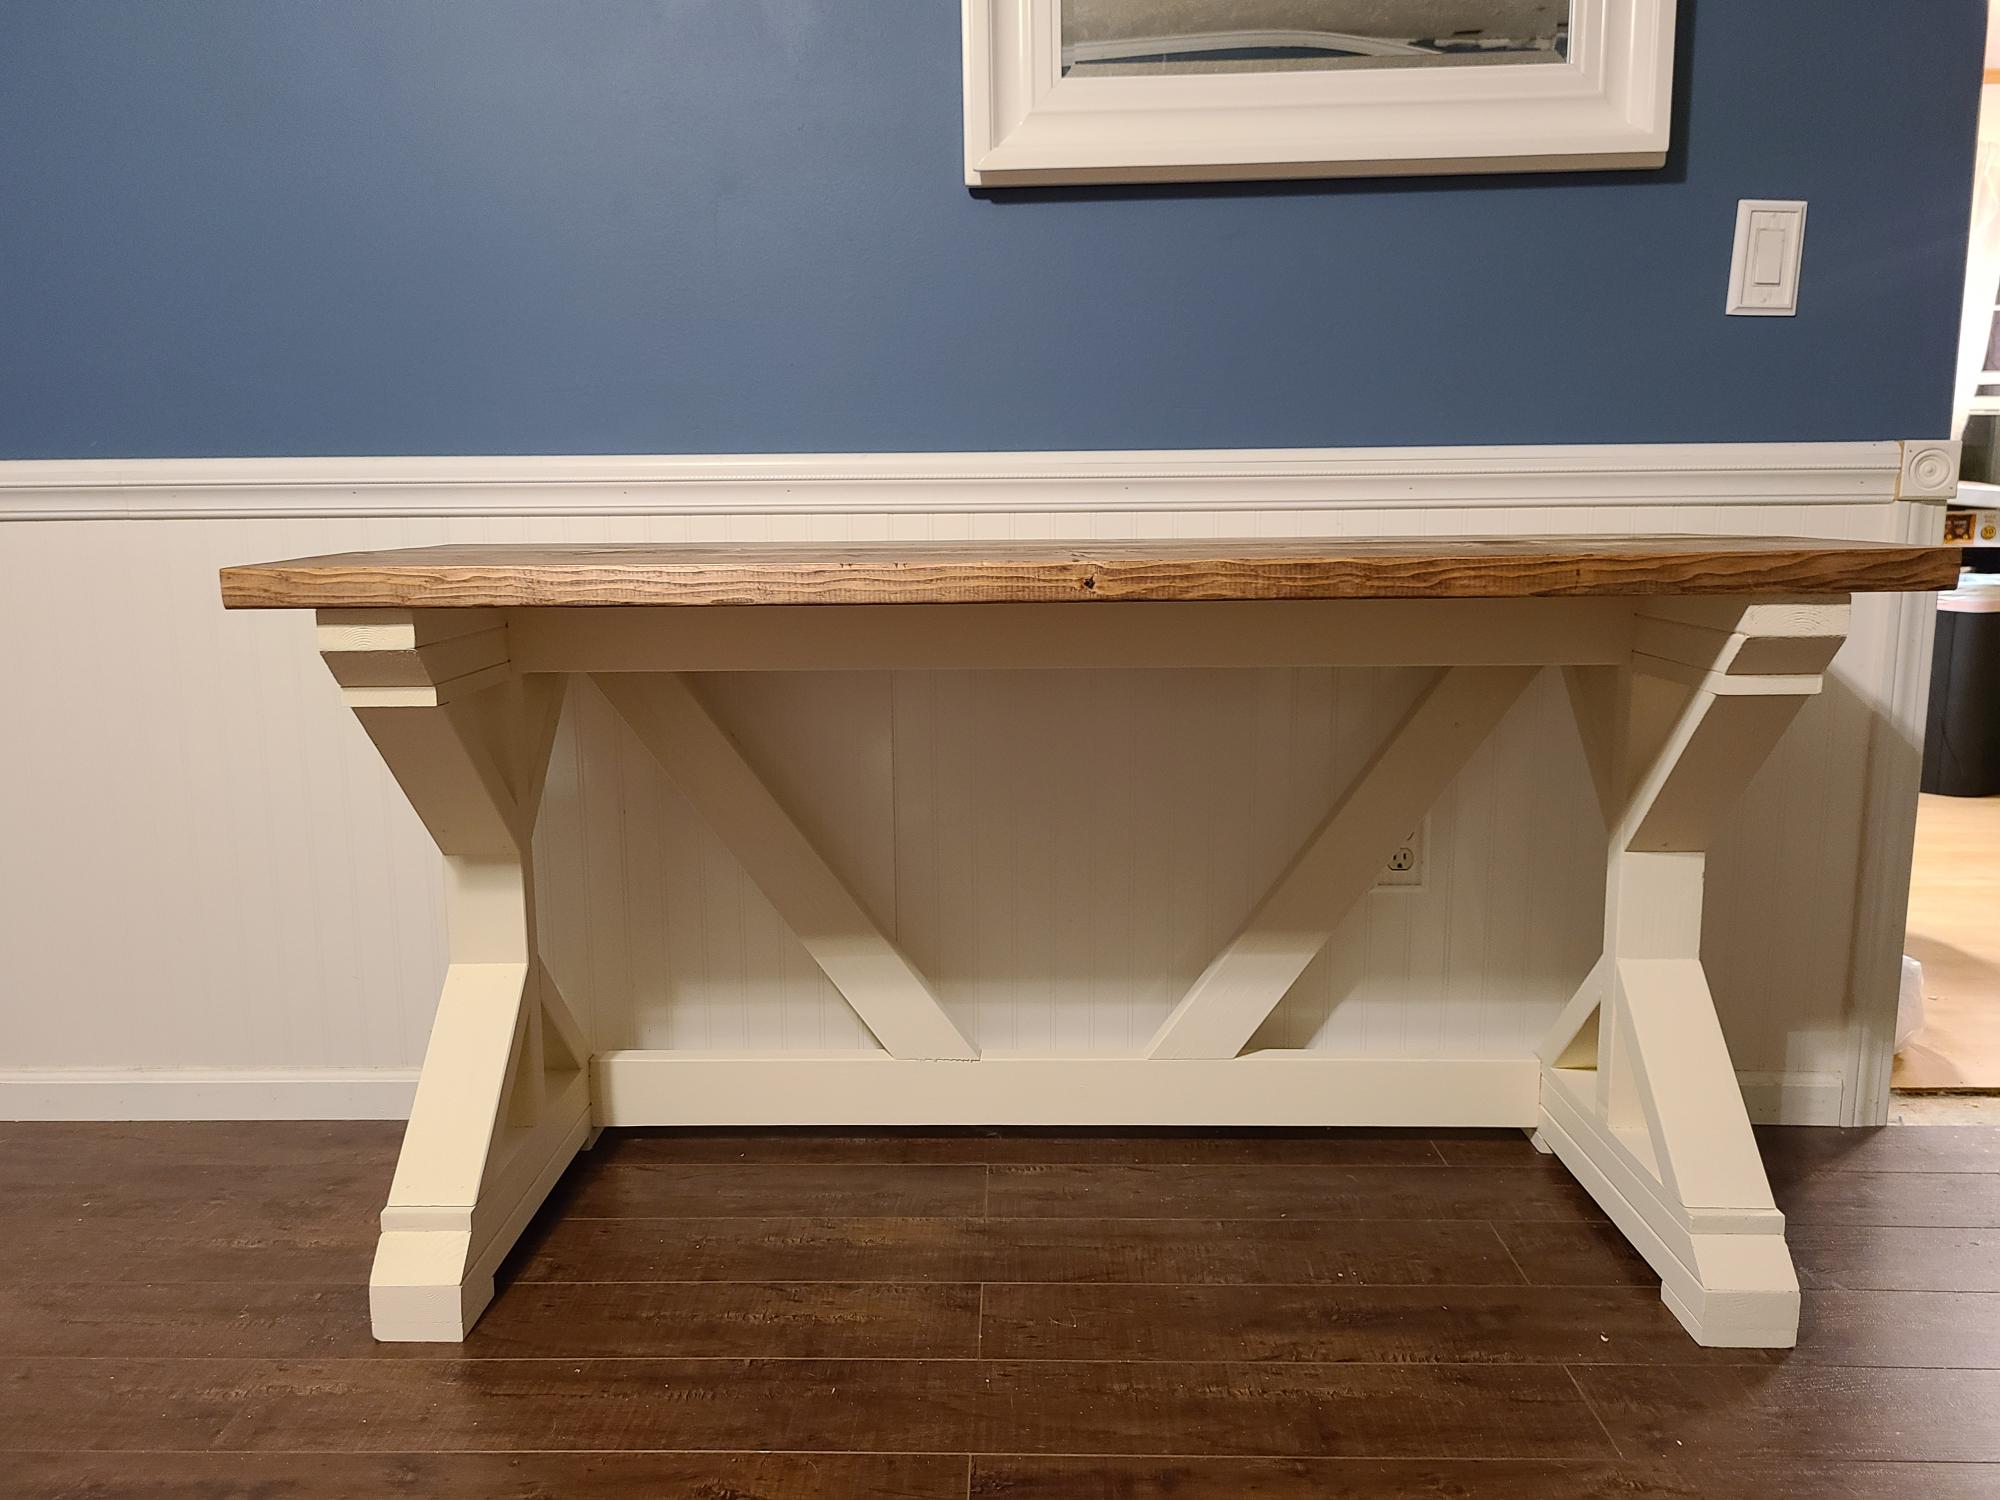
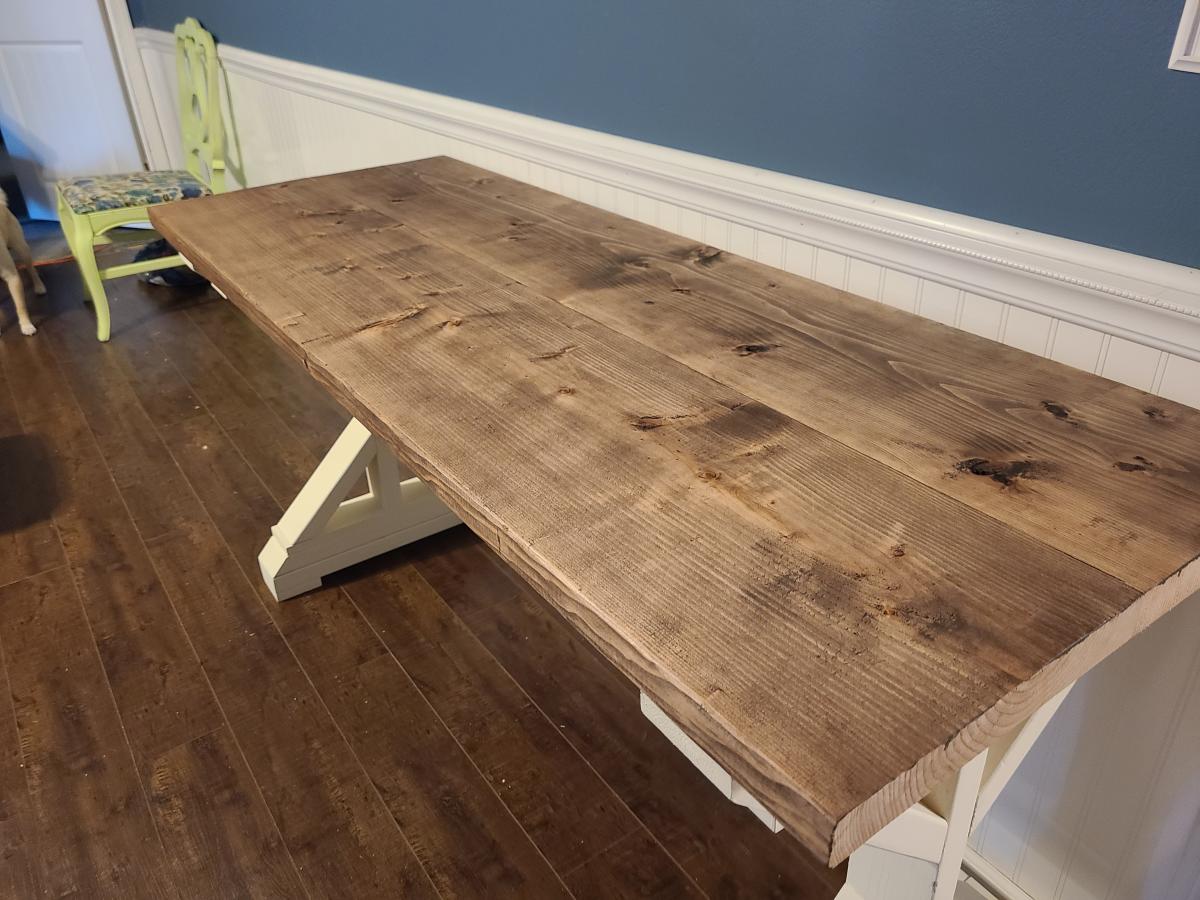
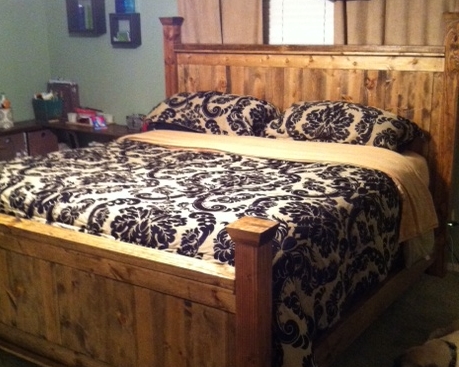
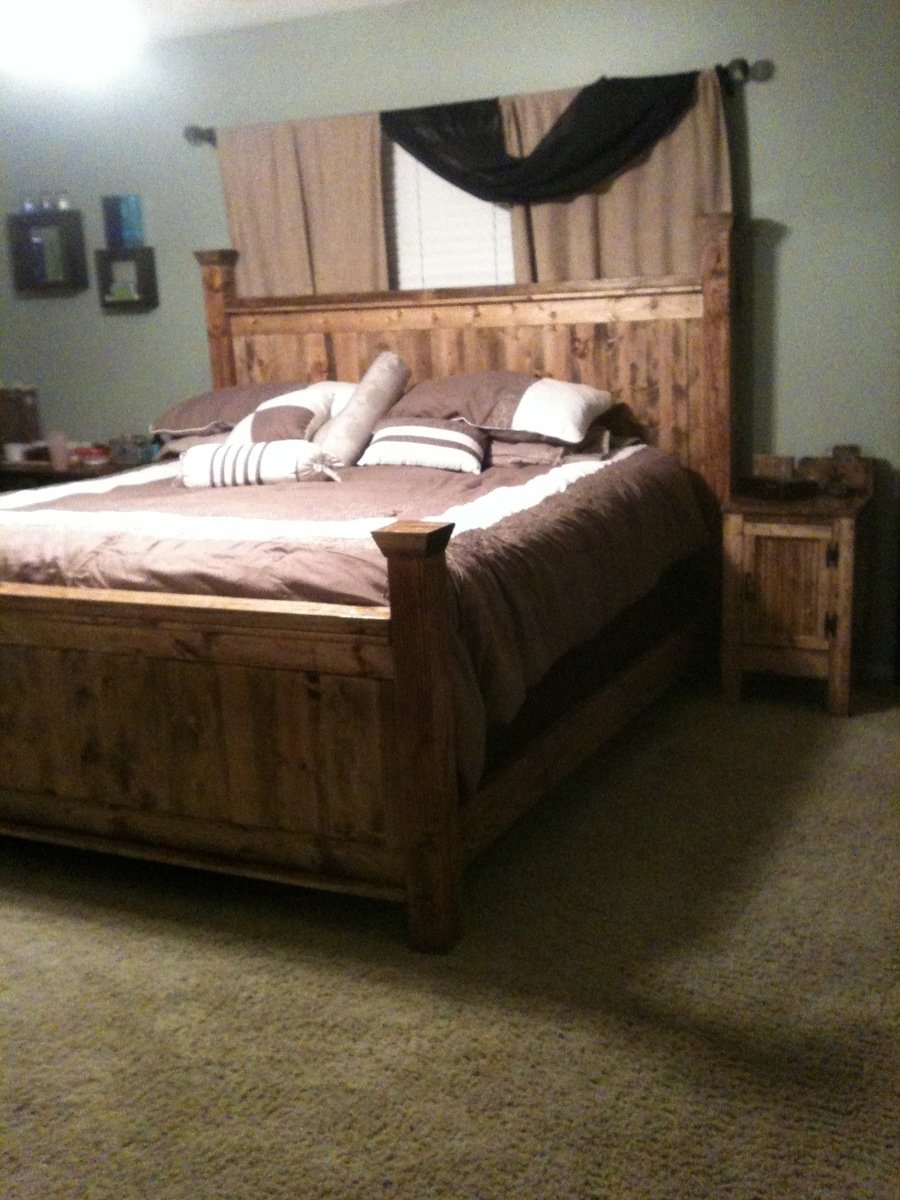
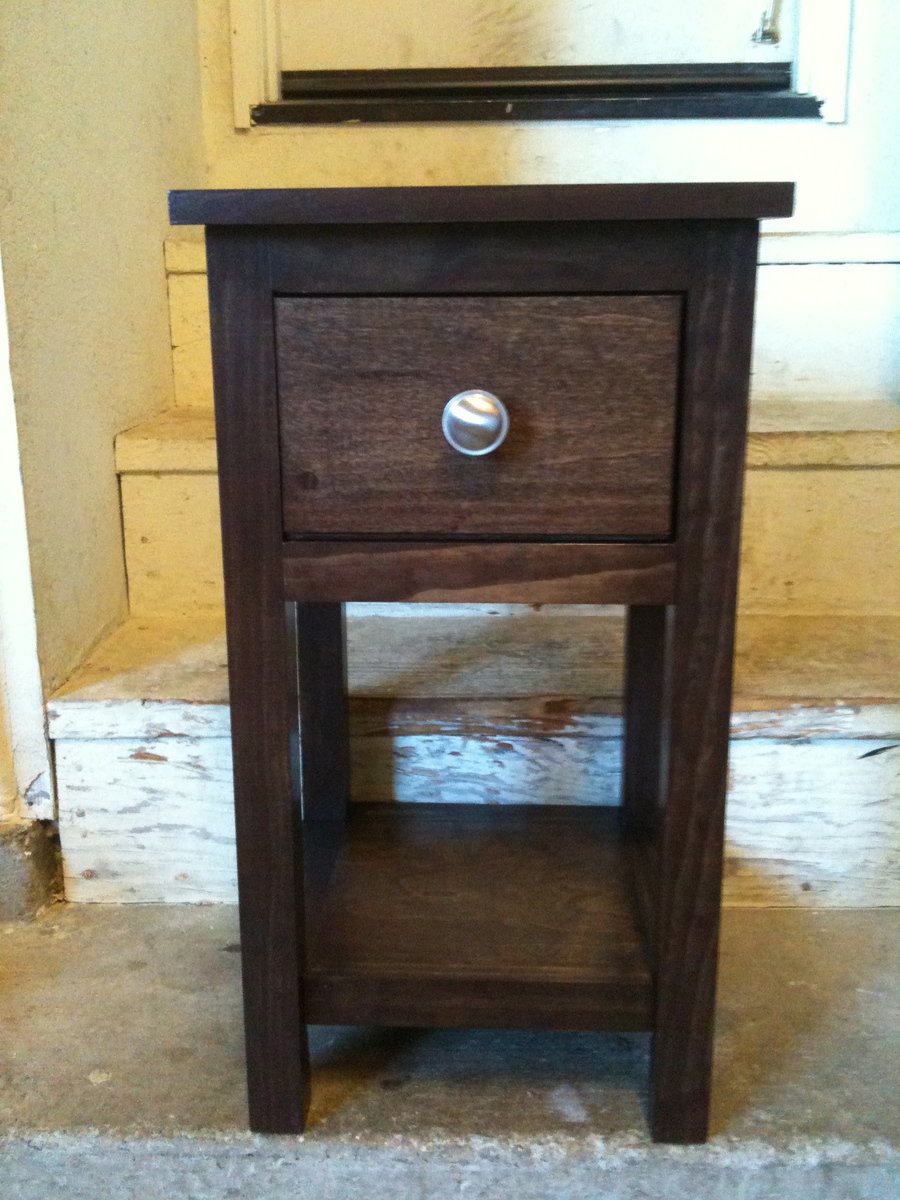
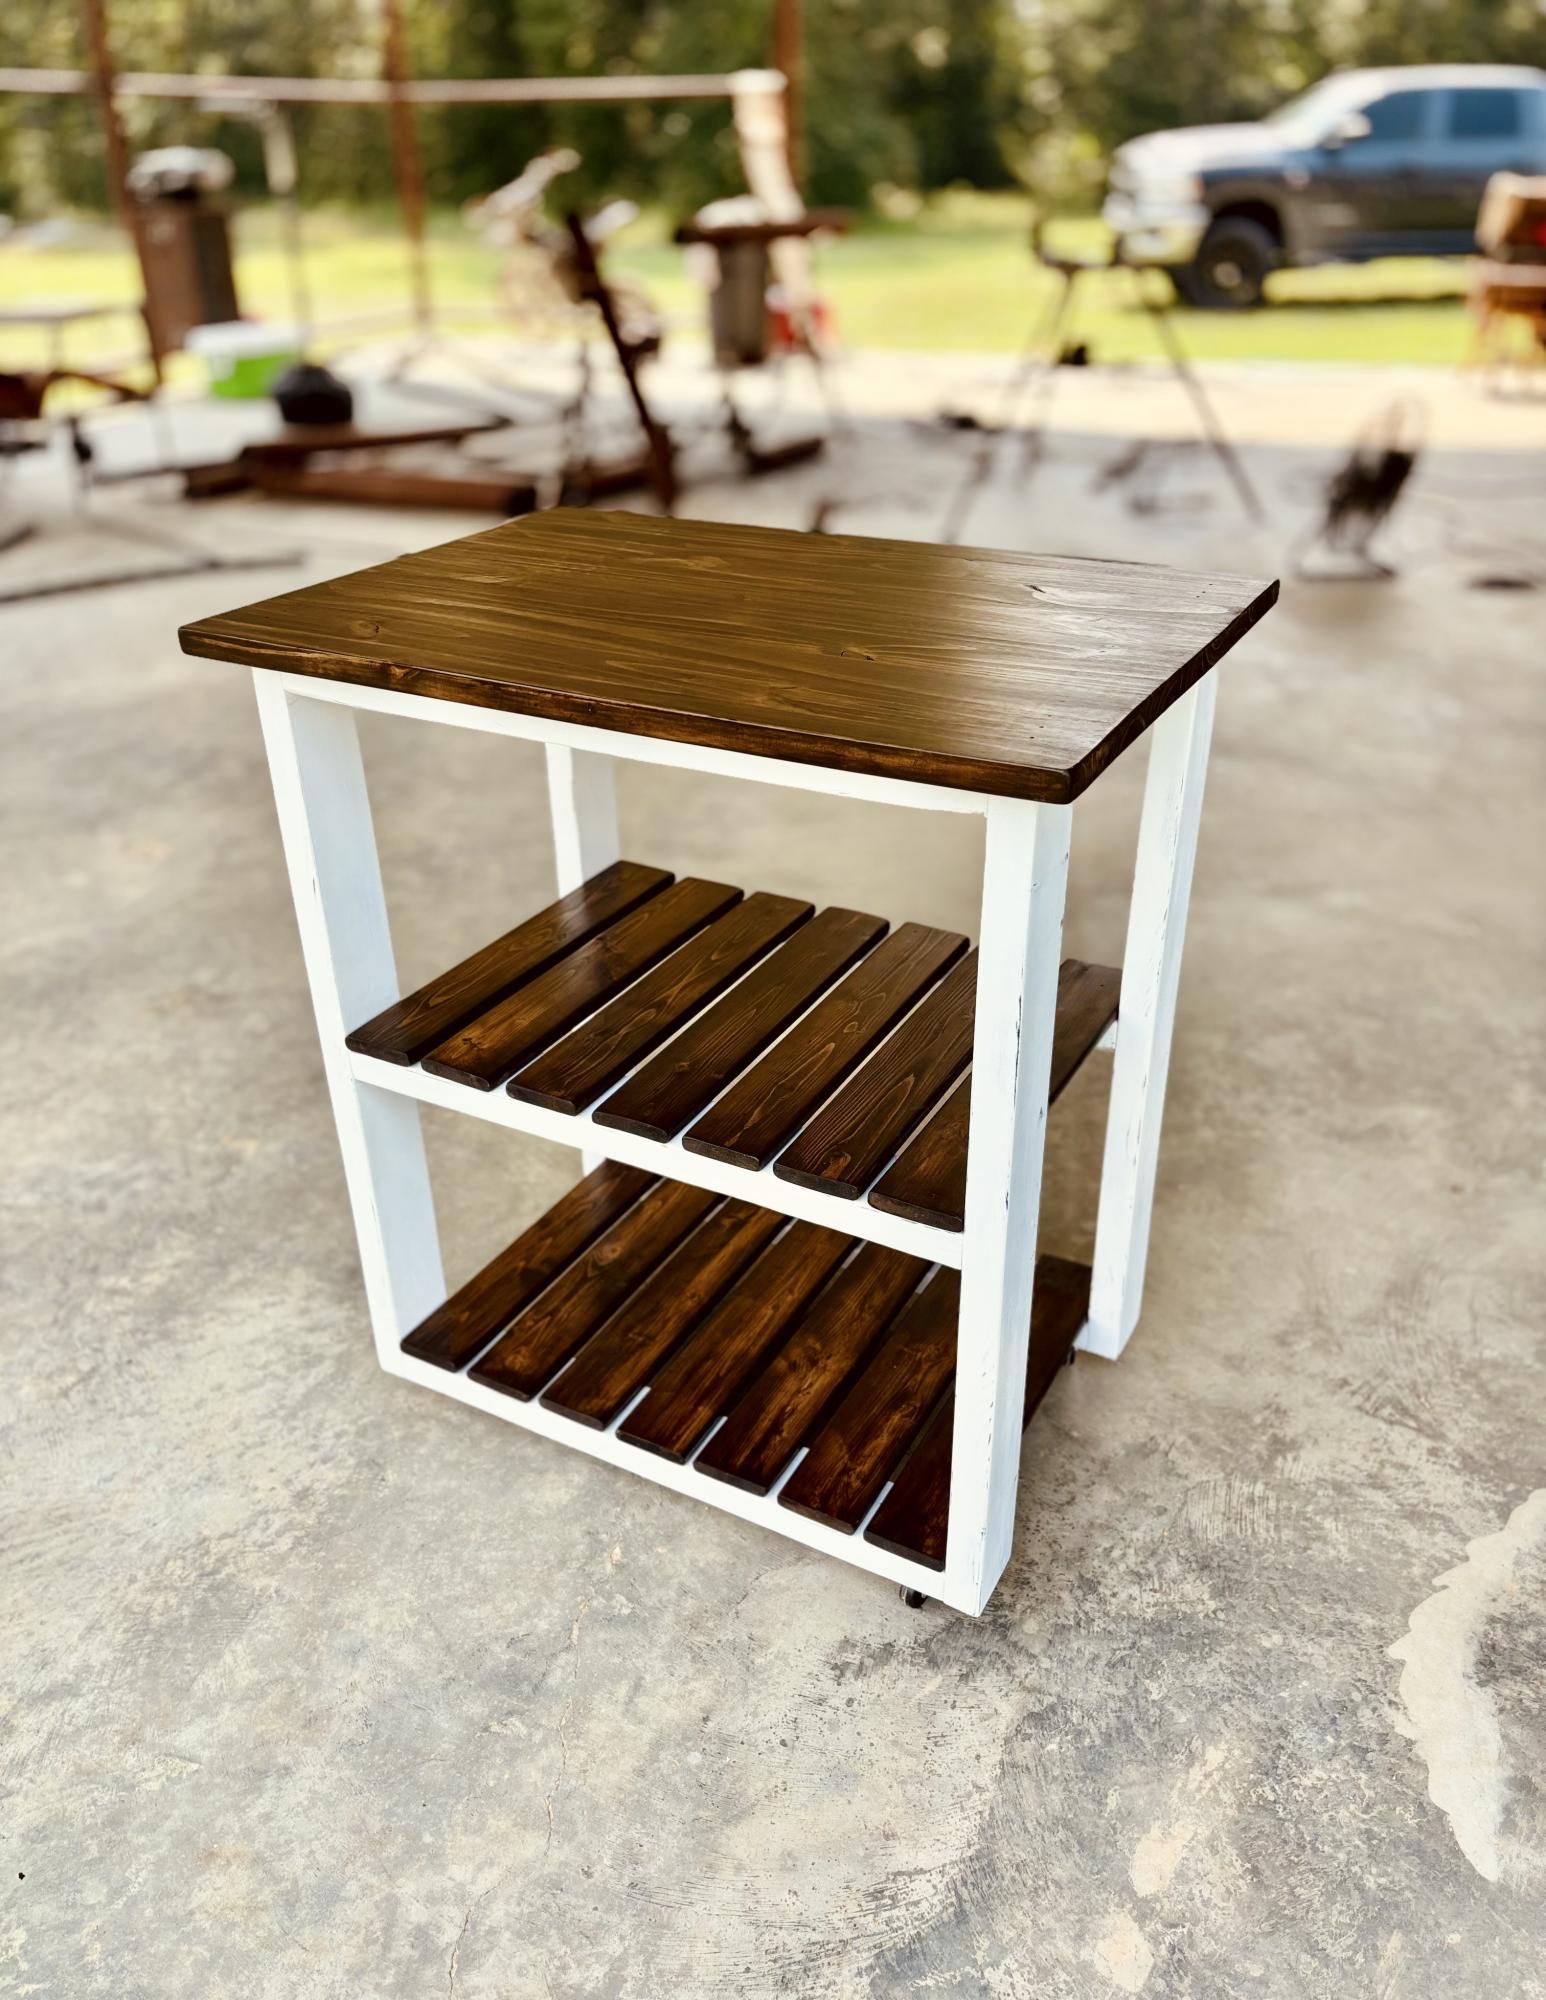
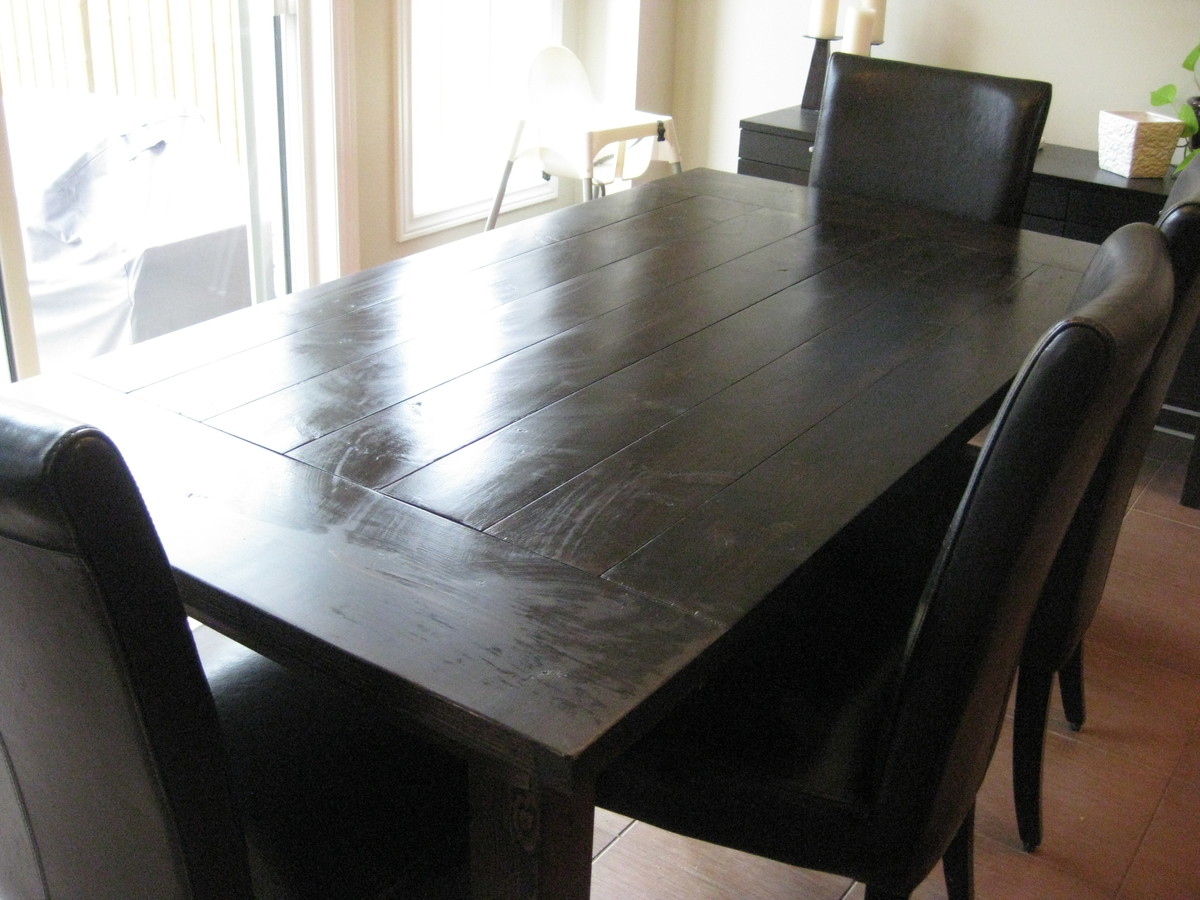
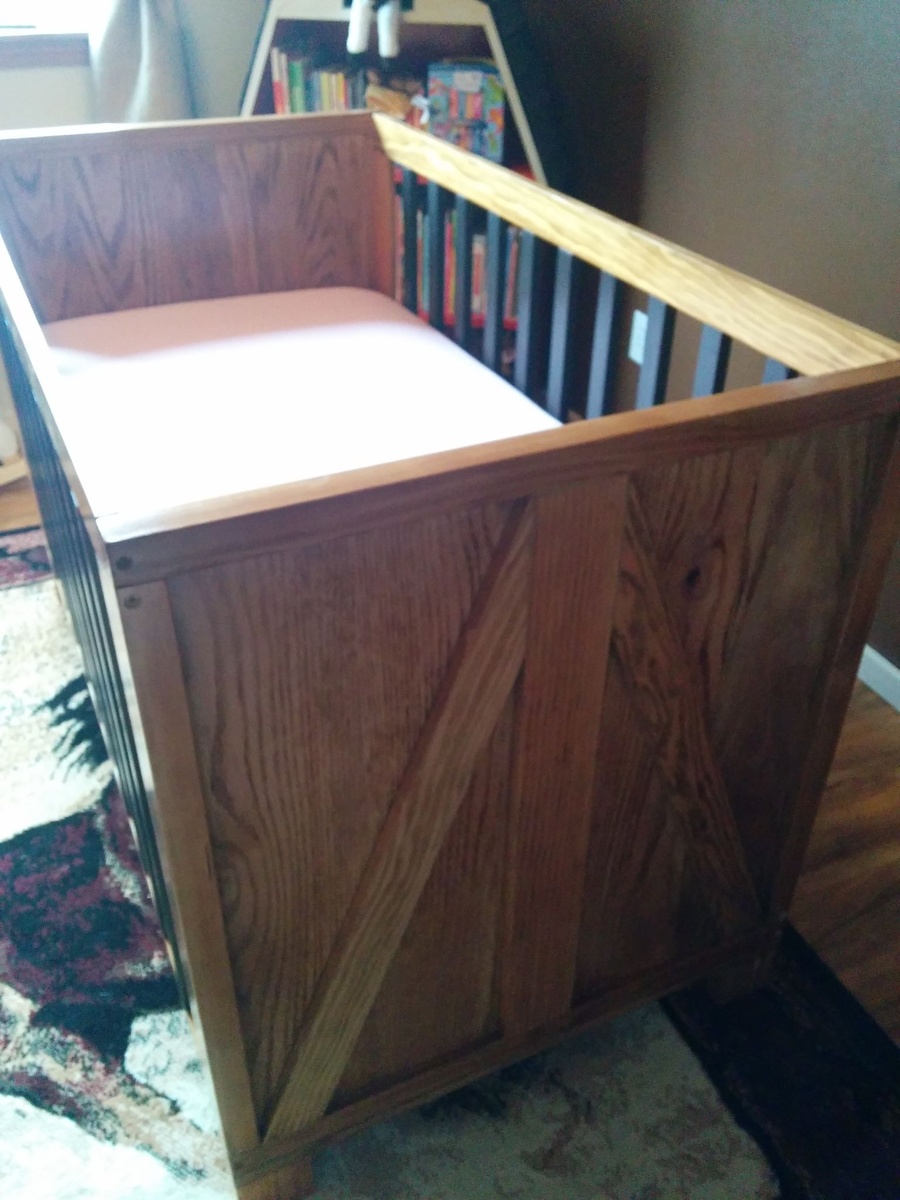
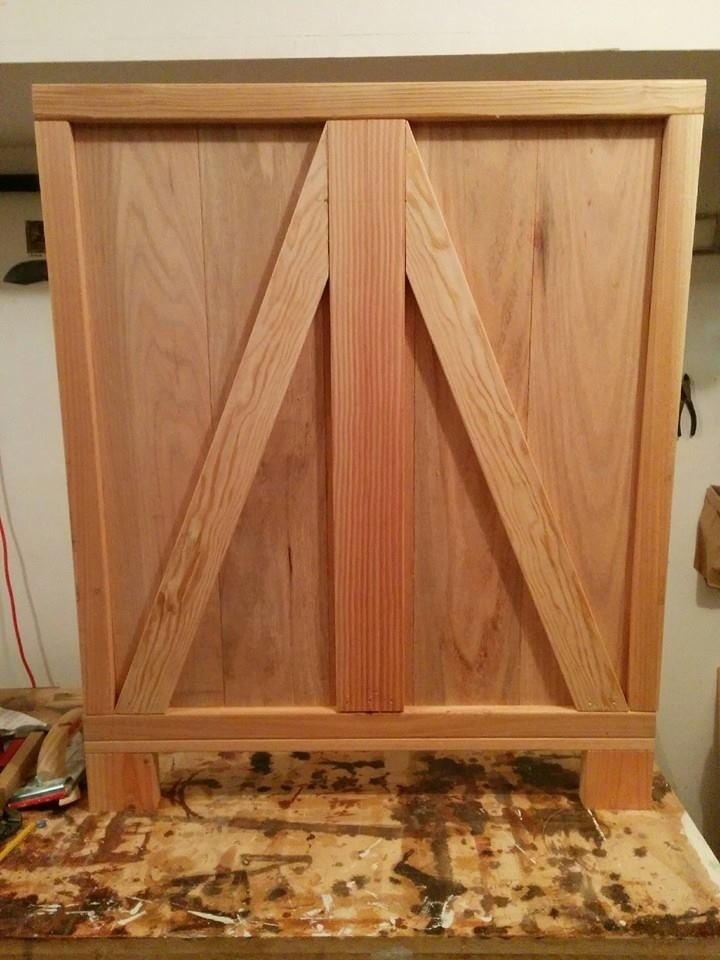
Christmas gift for the in-laws
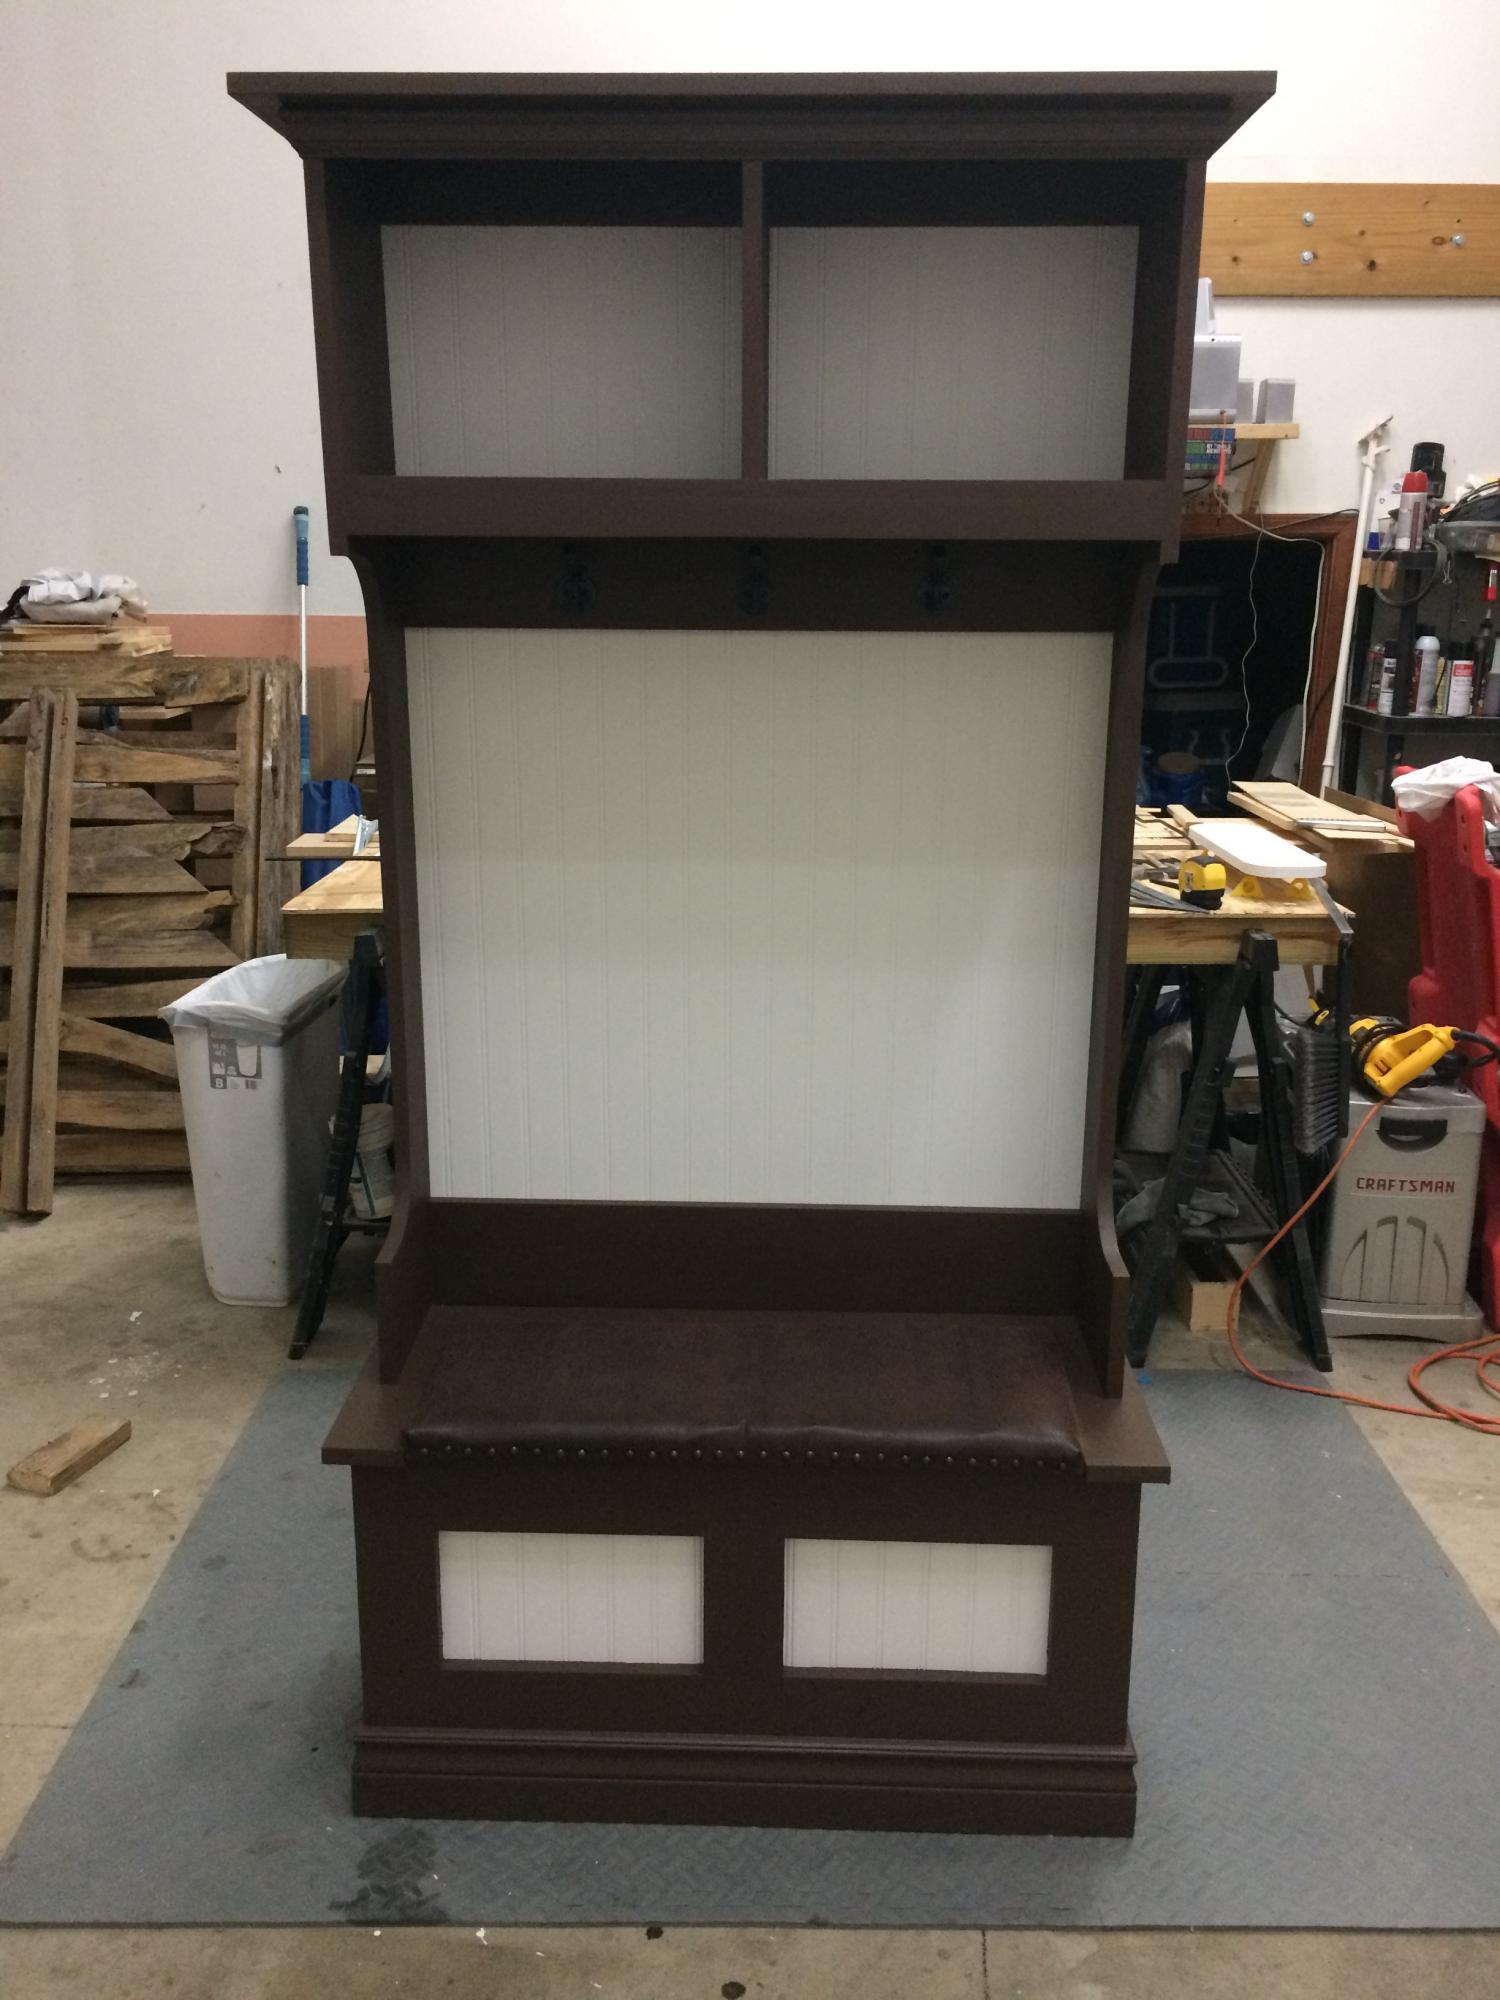
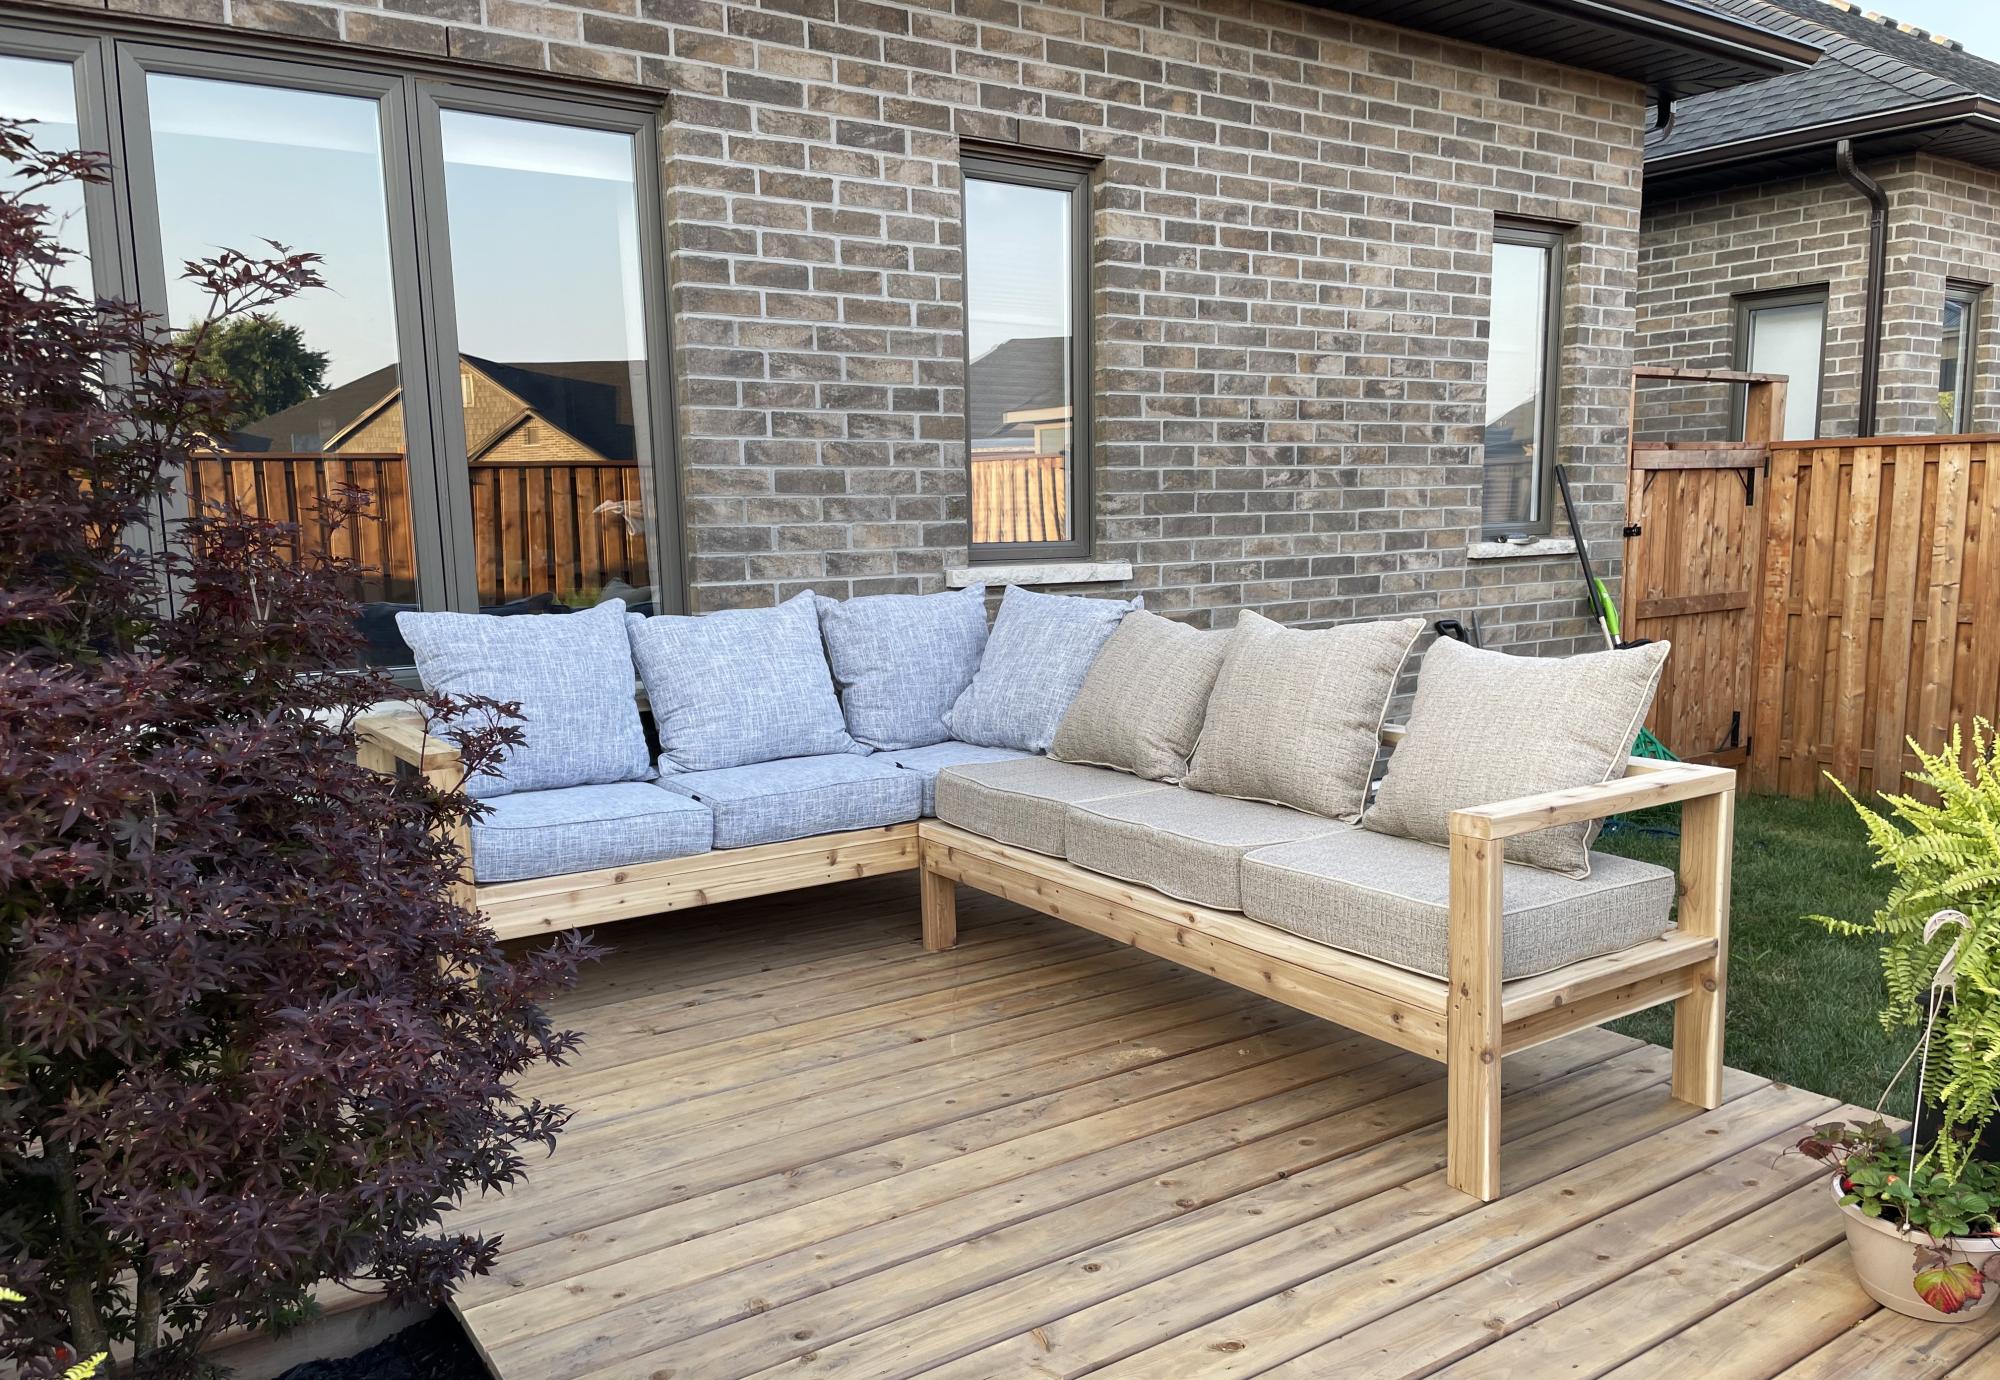
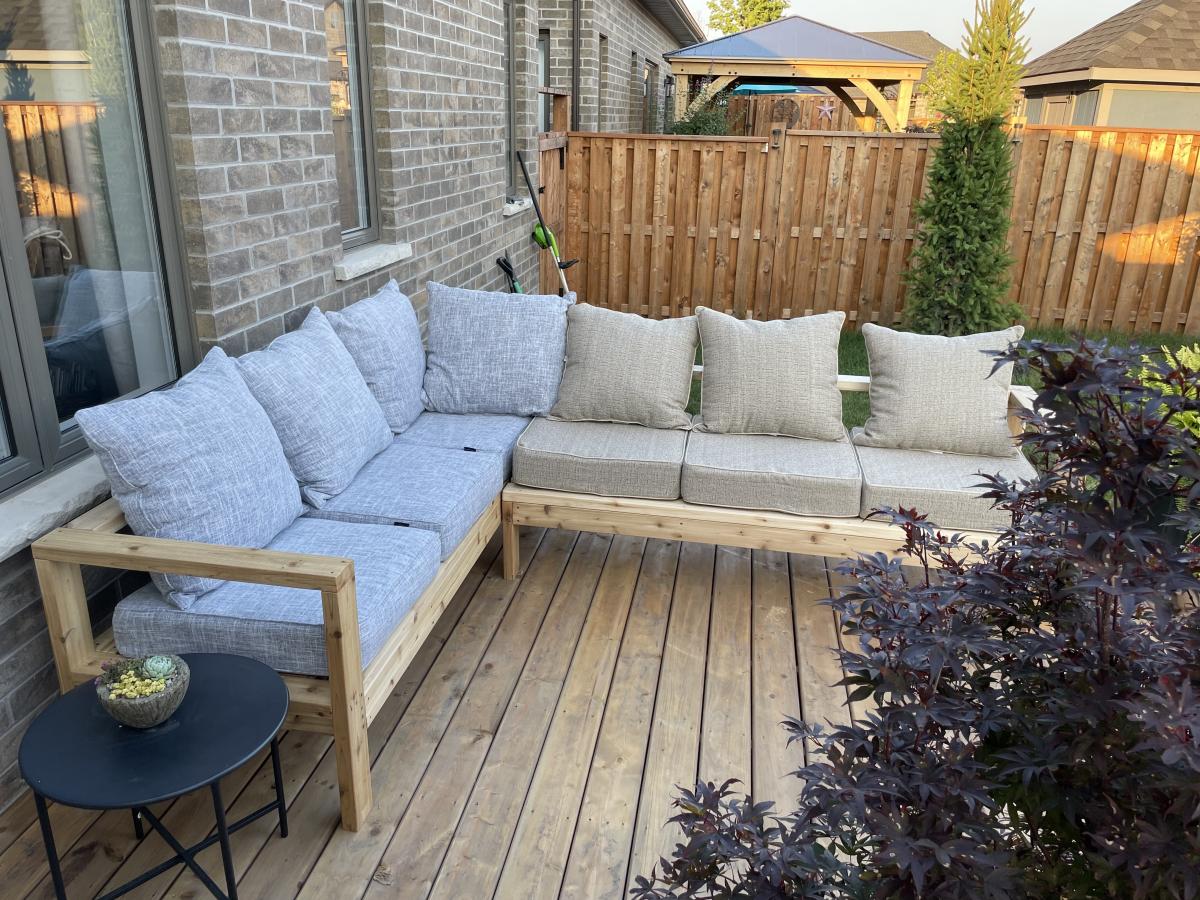
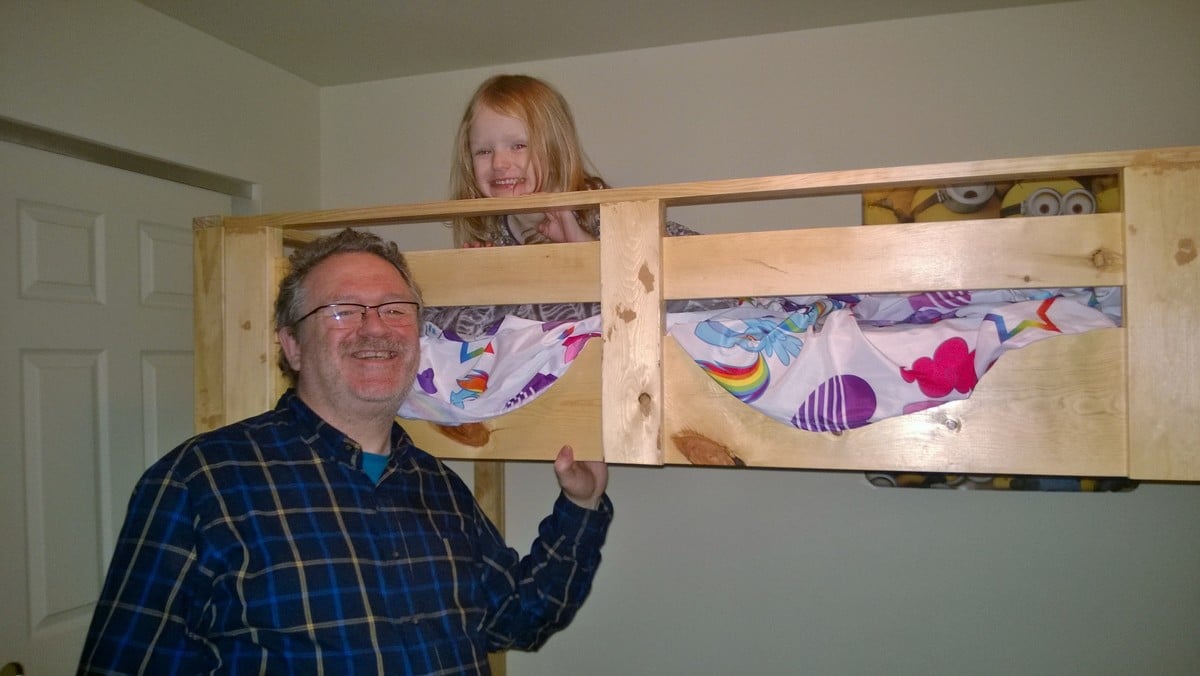
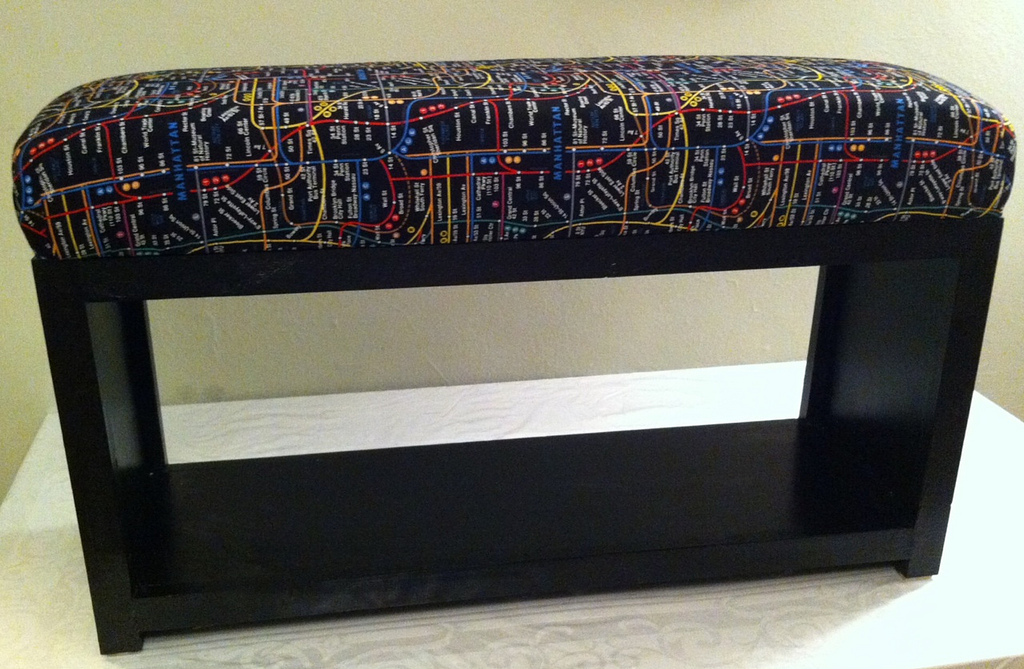
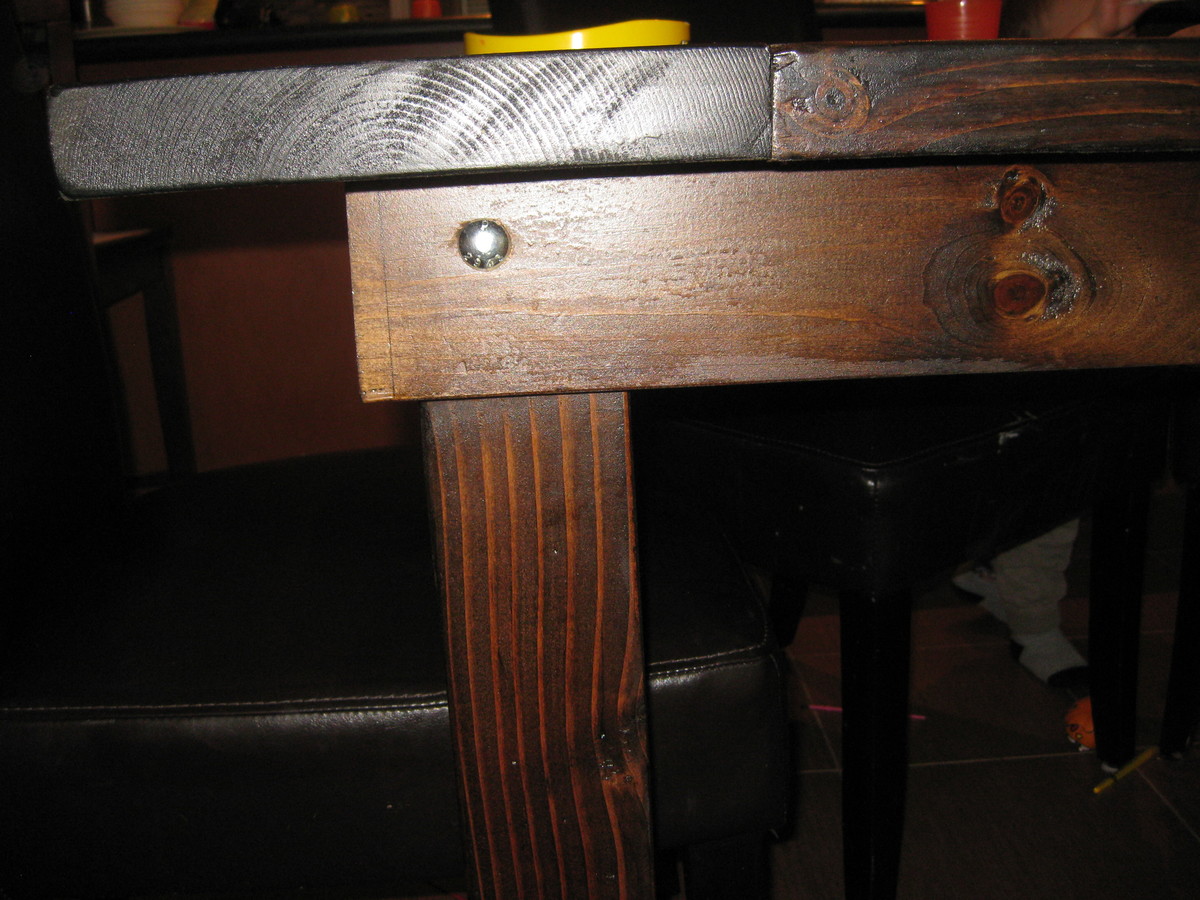
Added padded seat to bench lid

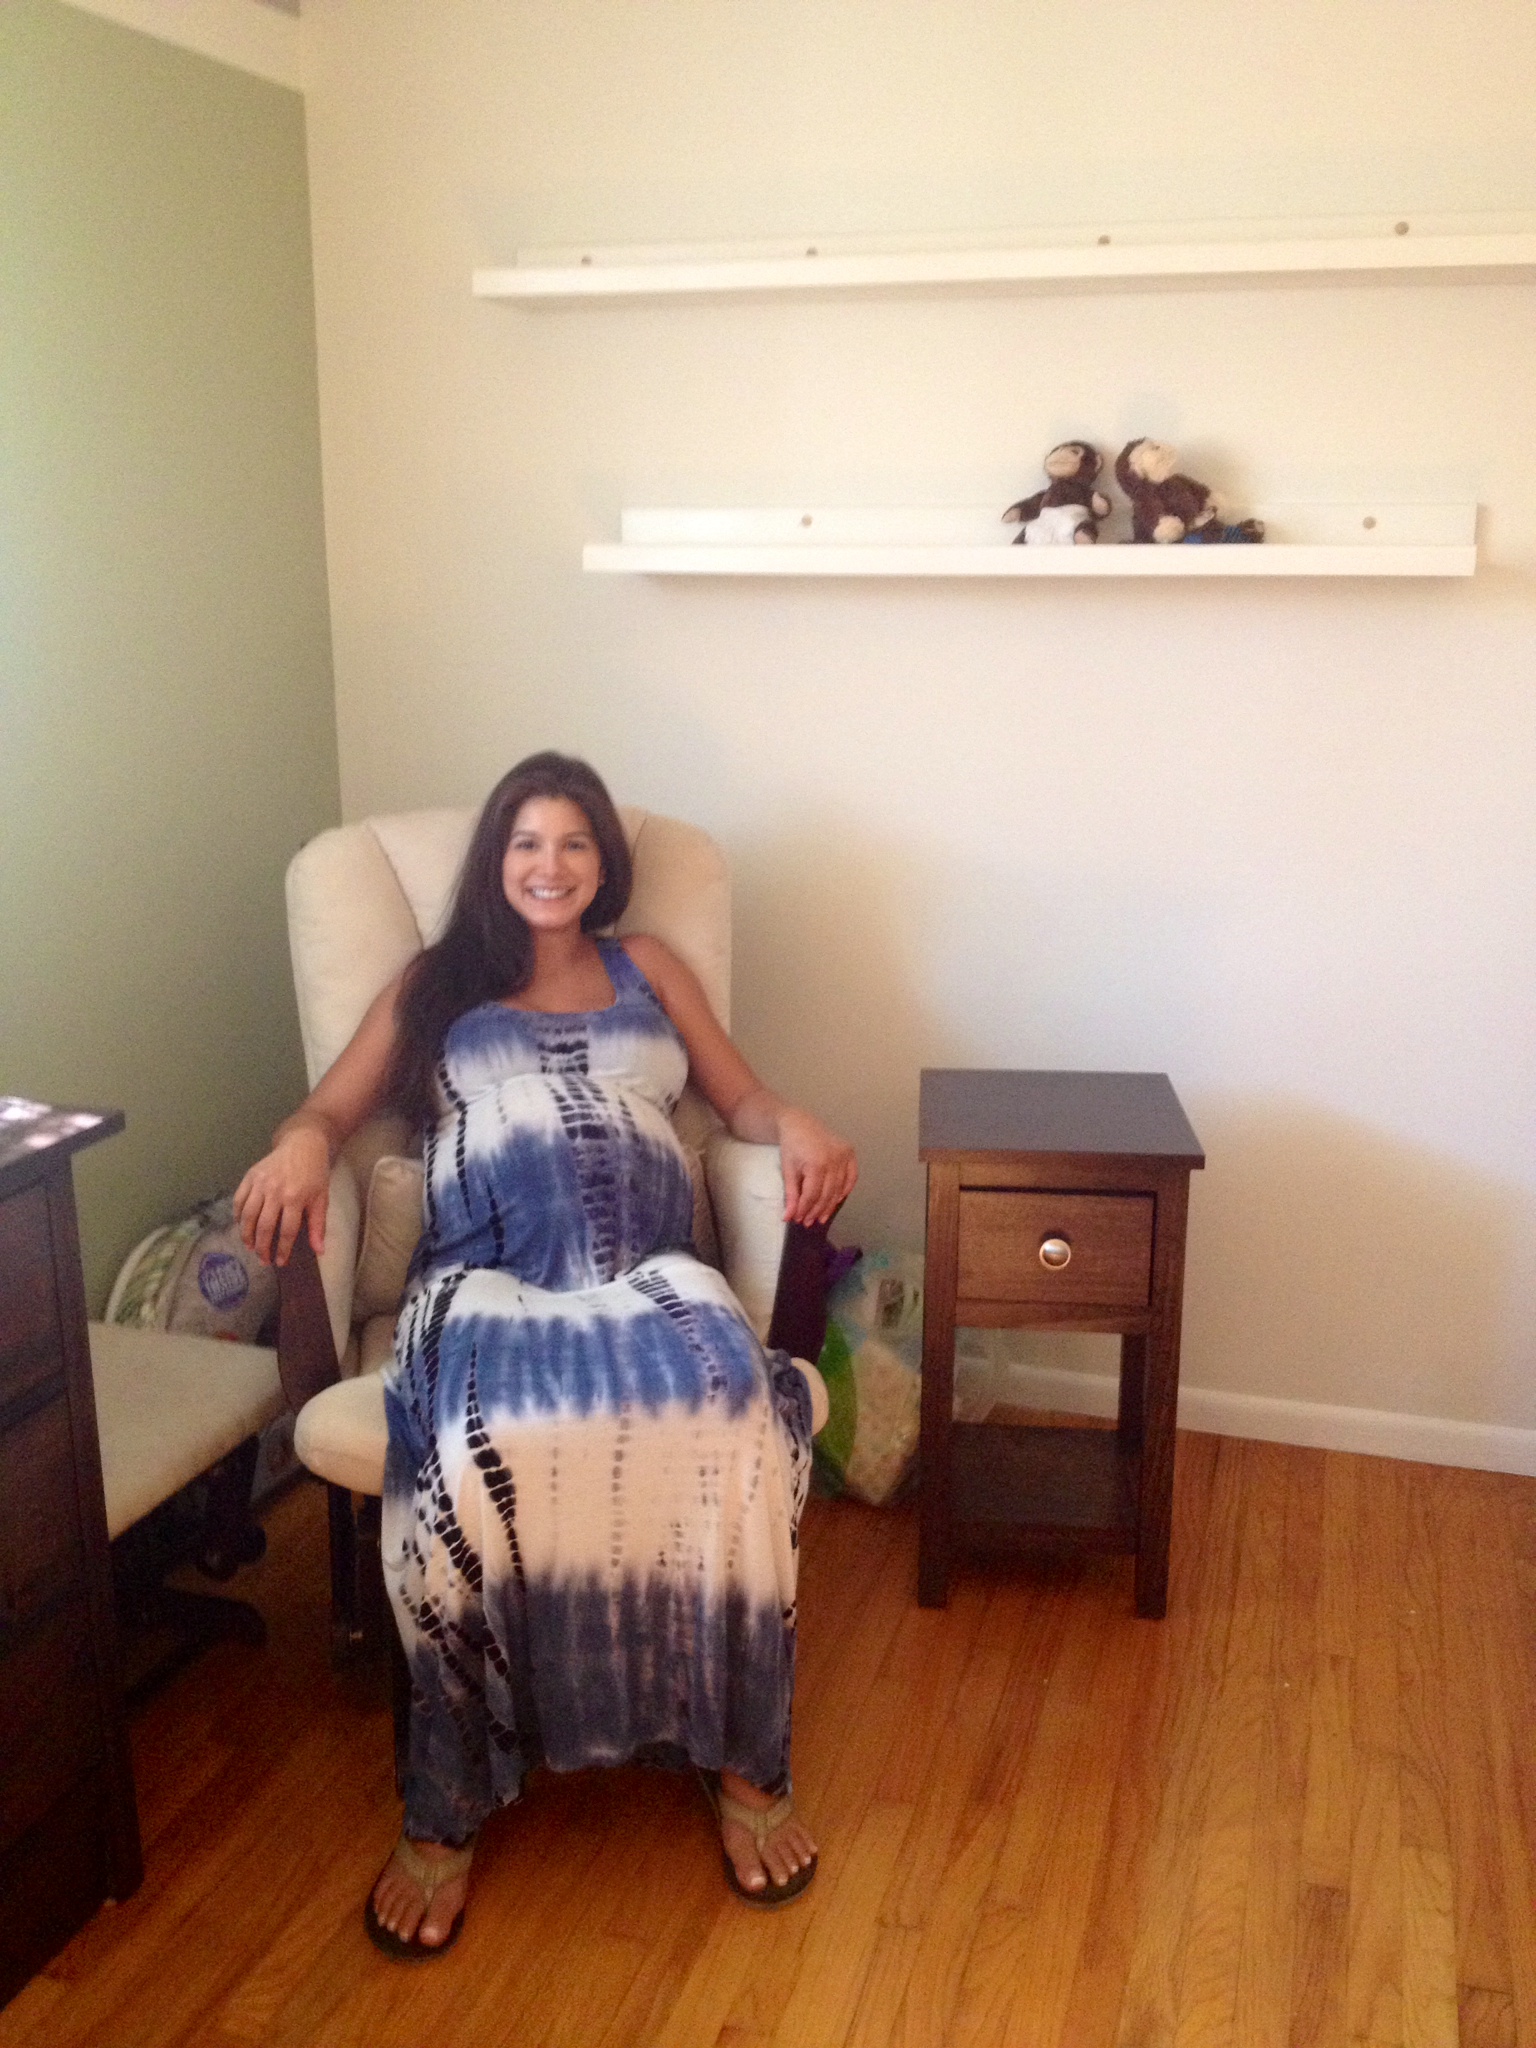
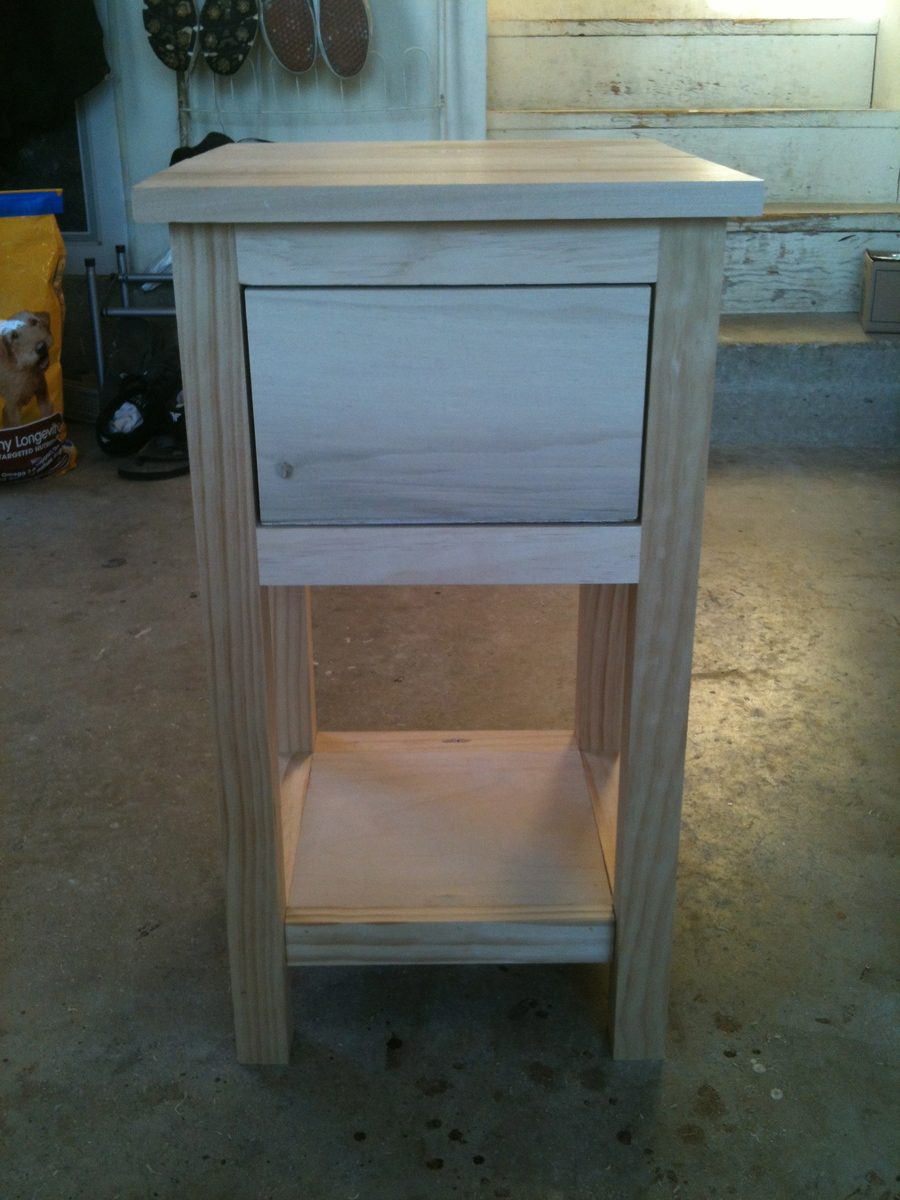
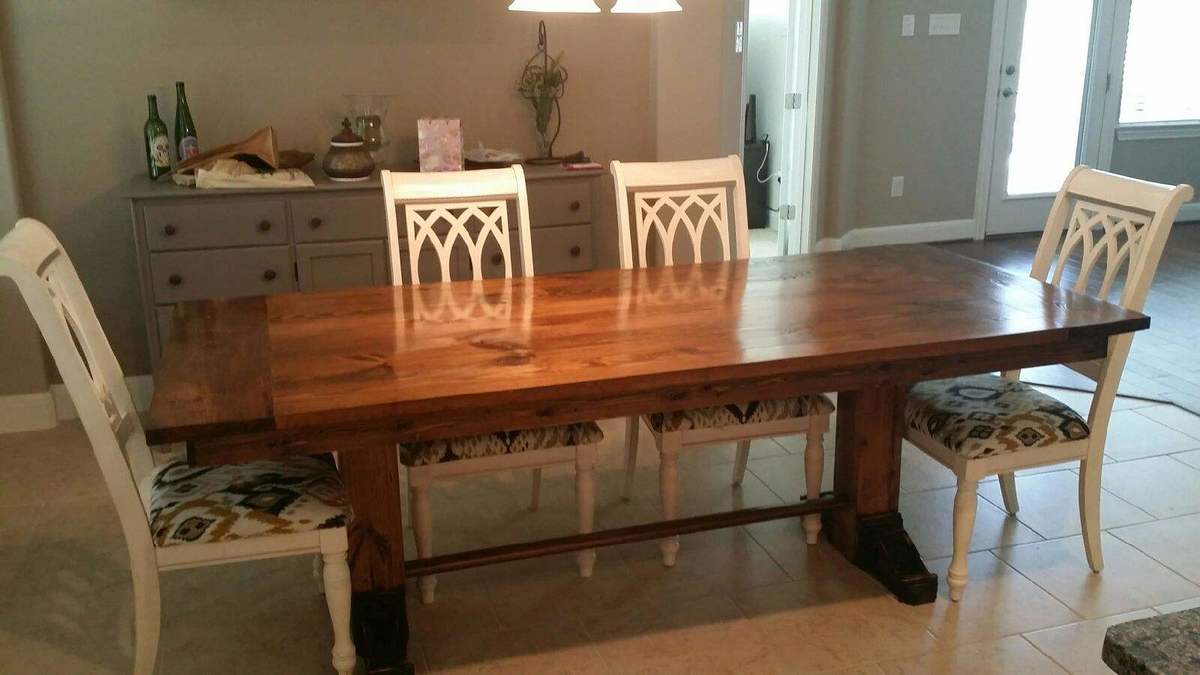
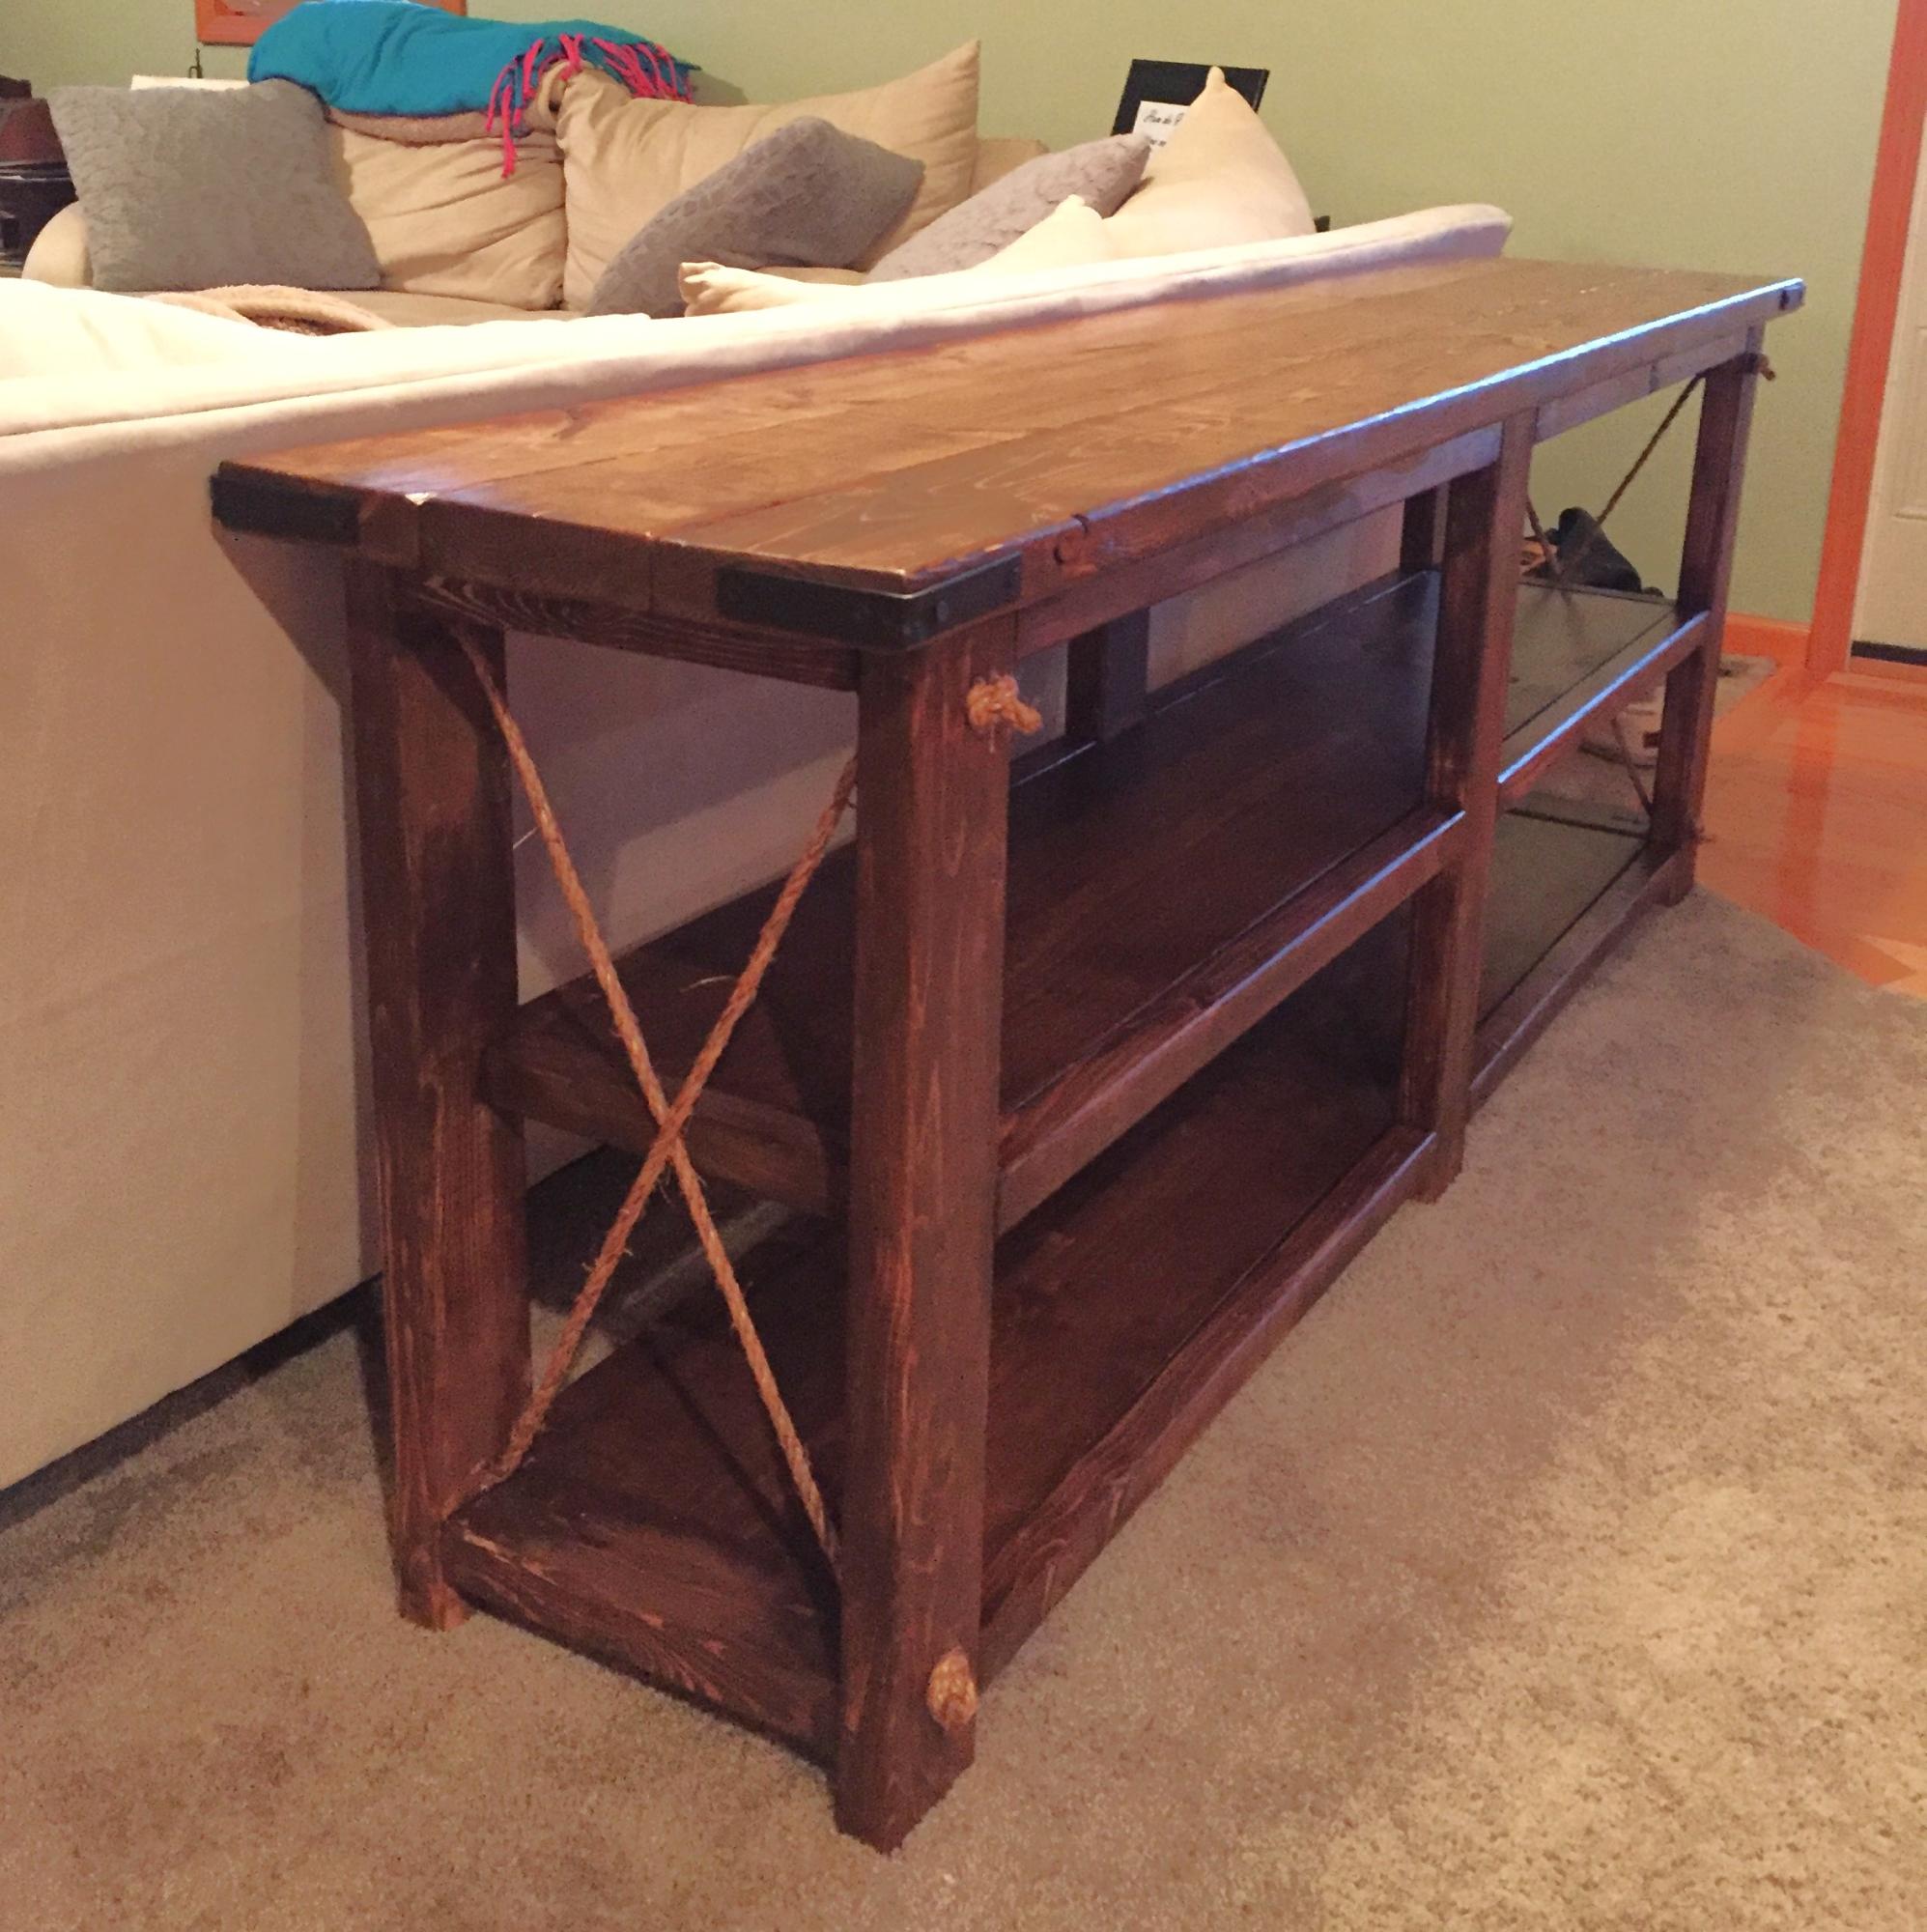
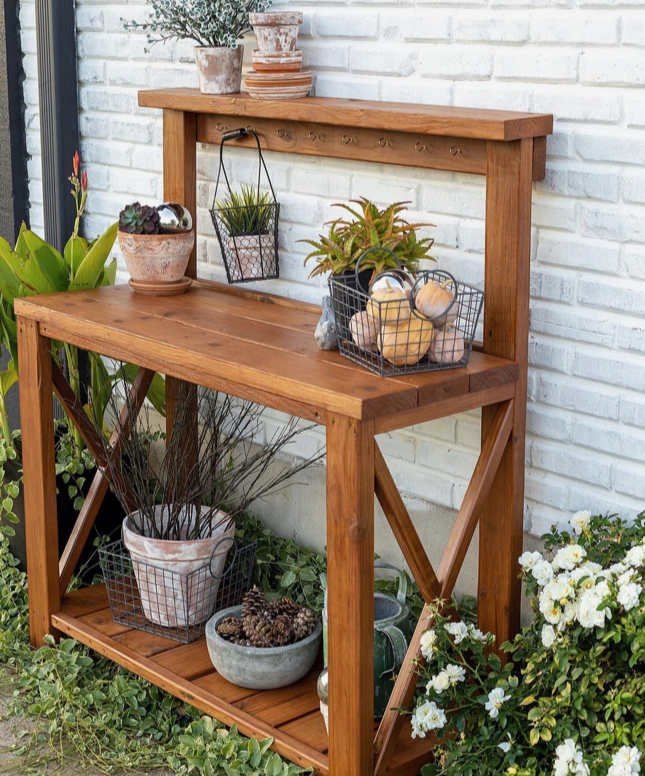
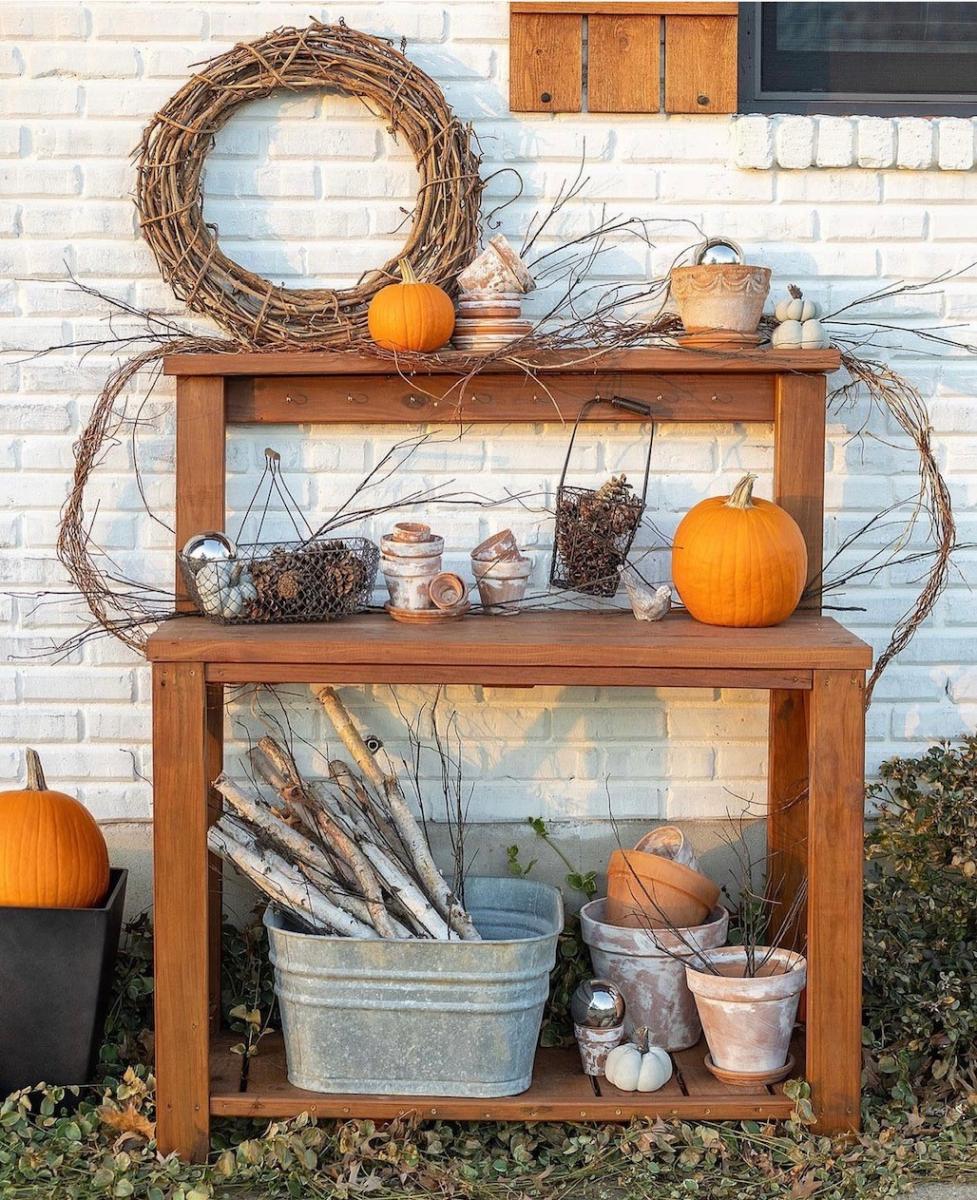
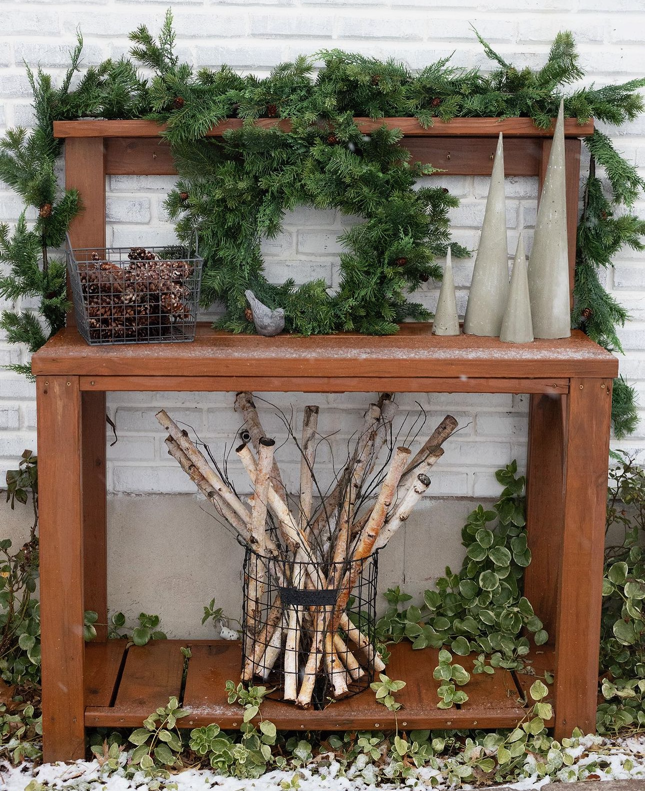
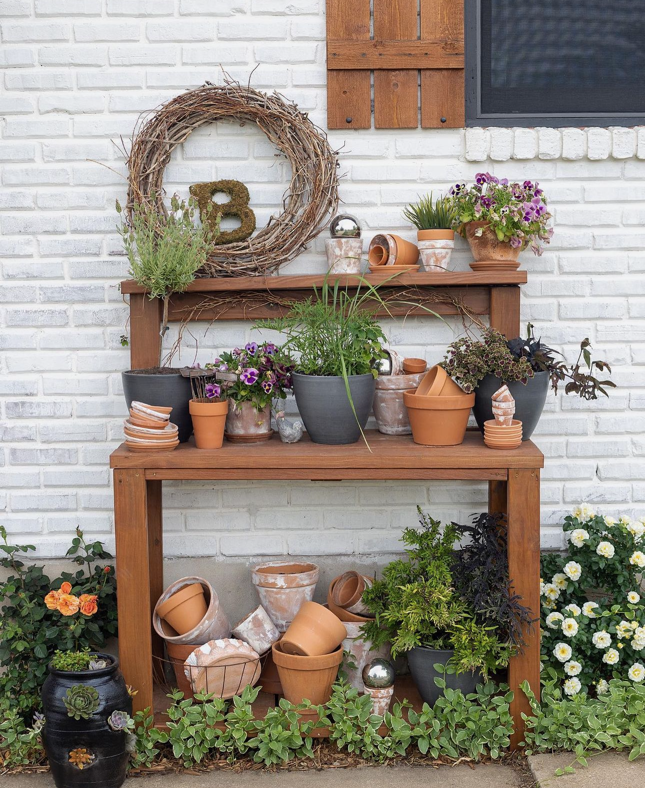
Built from Plan(s)
Estimated Cost
$175-200
Estimated Time Investment
Week Long Project (20 Hours or More)
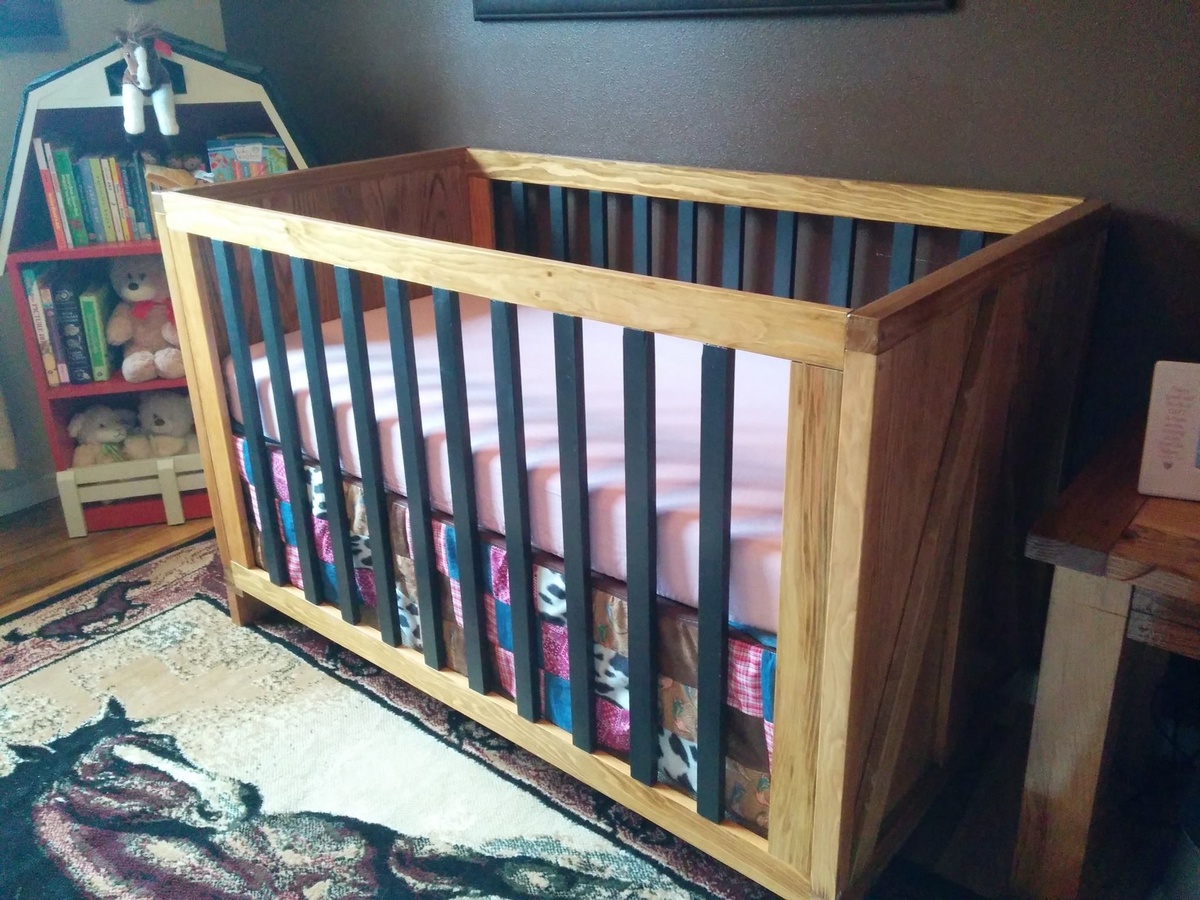
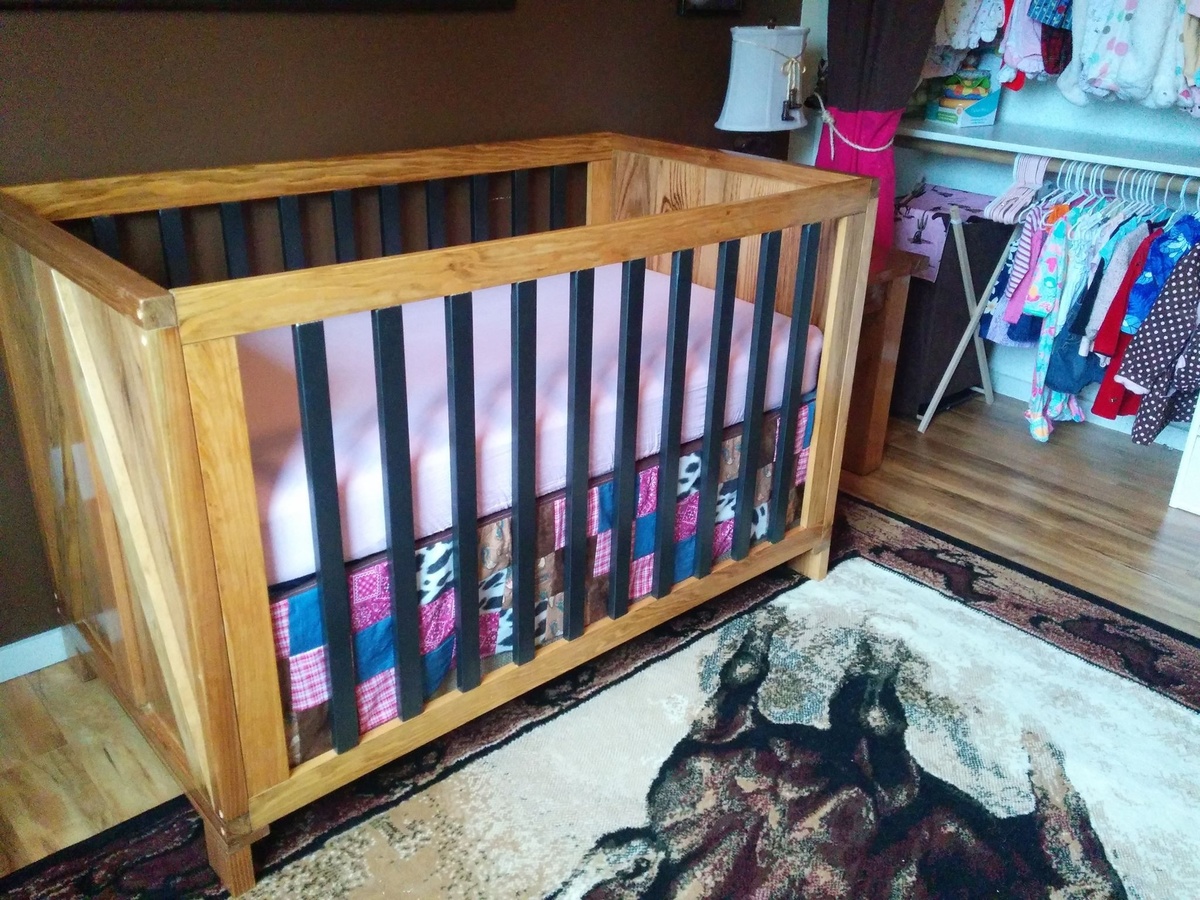
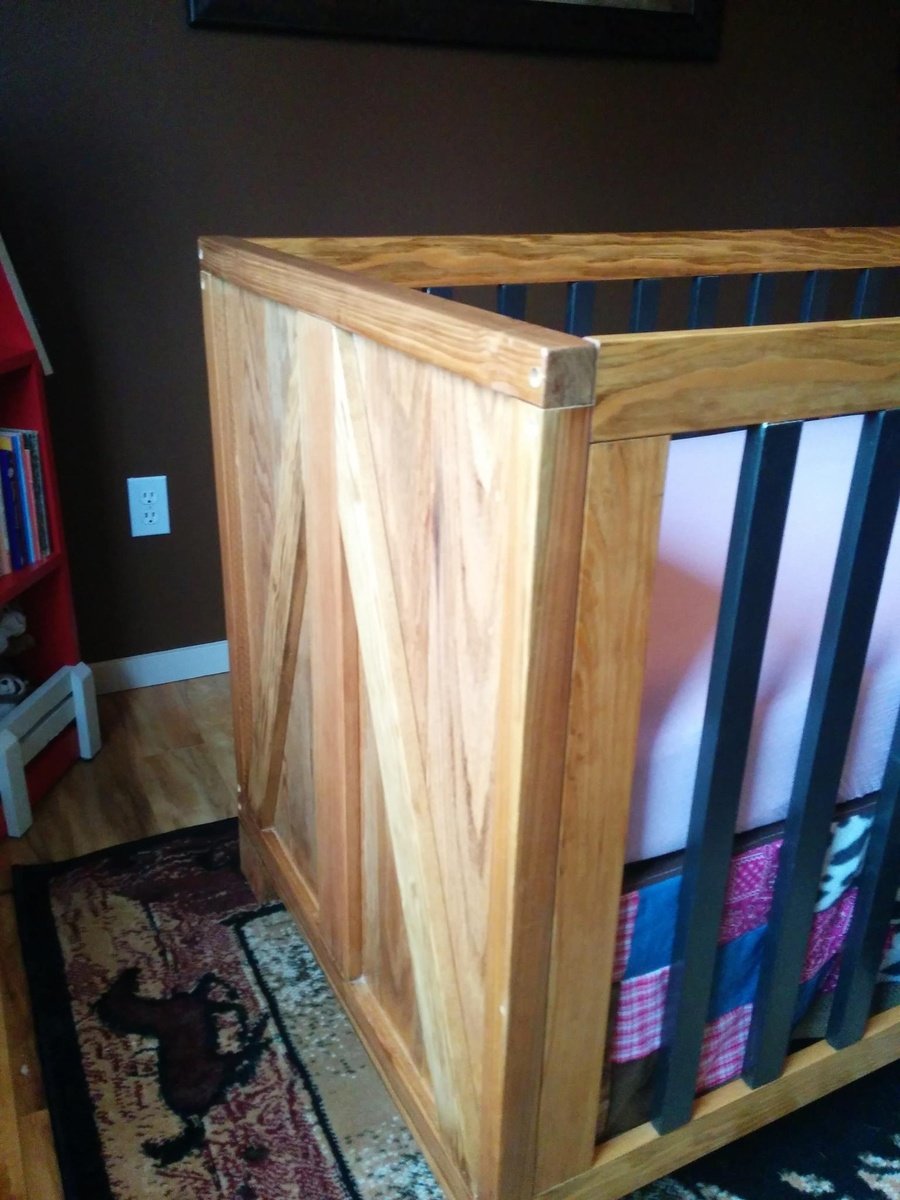
Finish Used
Valspar Signature flat latex in "Leather chair"
Olympic Home flat latex in "Home White"
Olympic Home flat latex in "Home White"
Recommended Skill Level
Intermediate