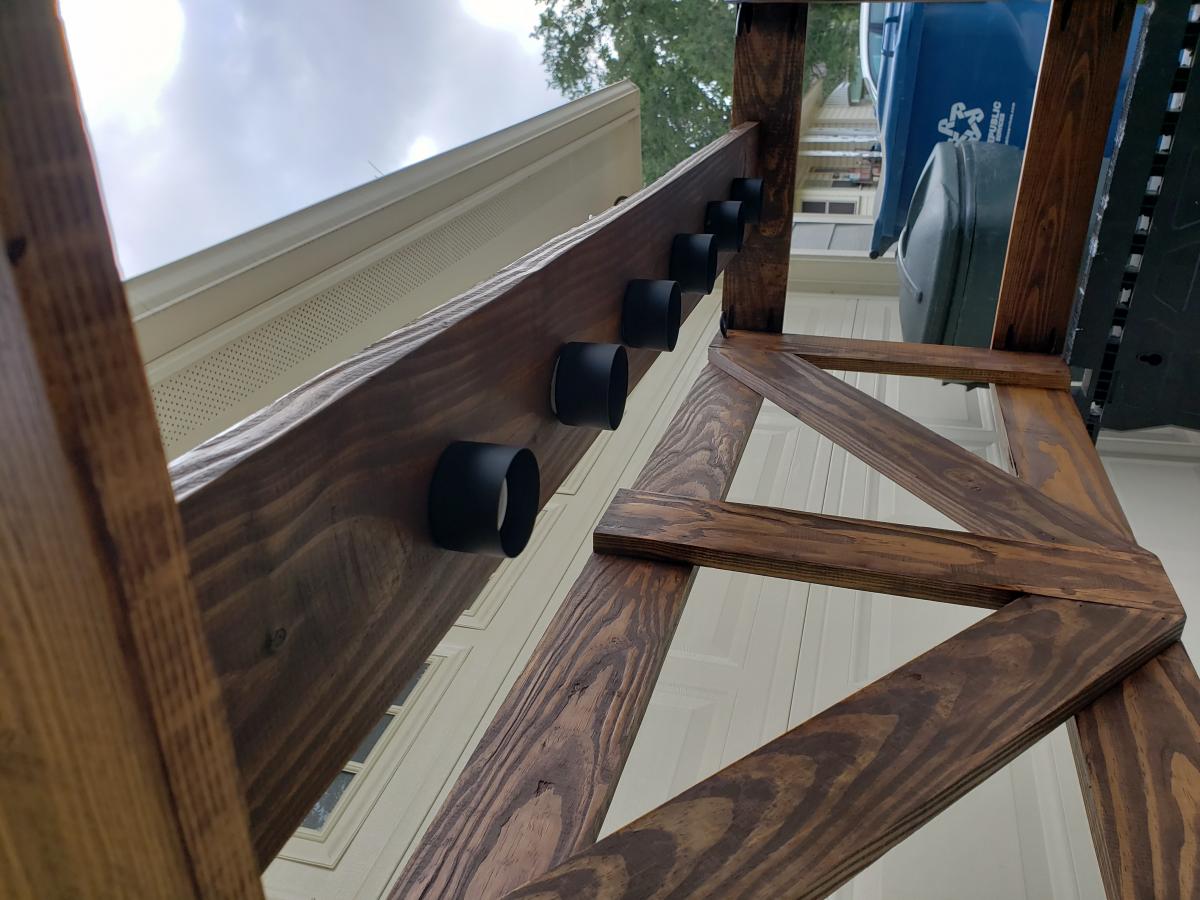
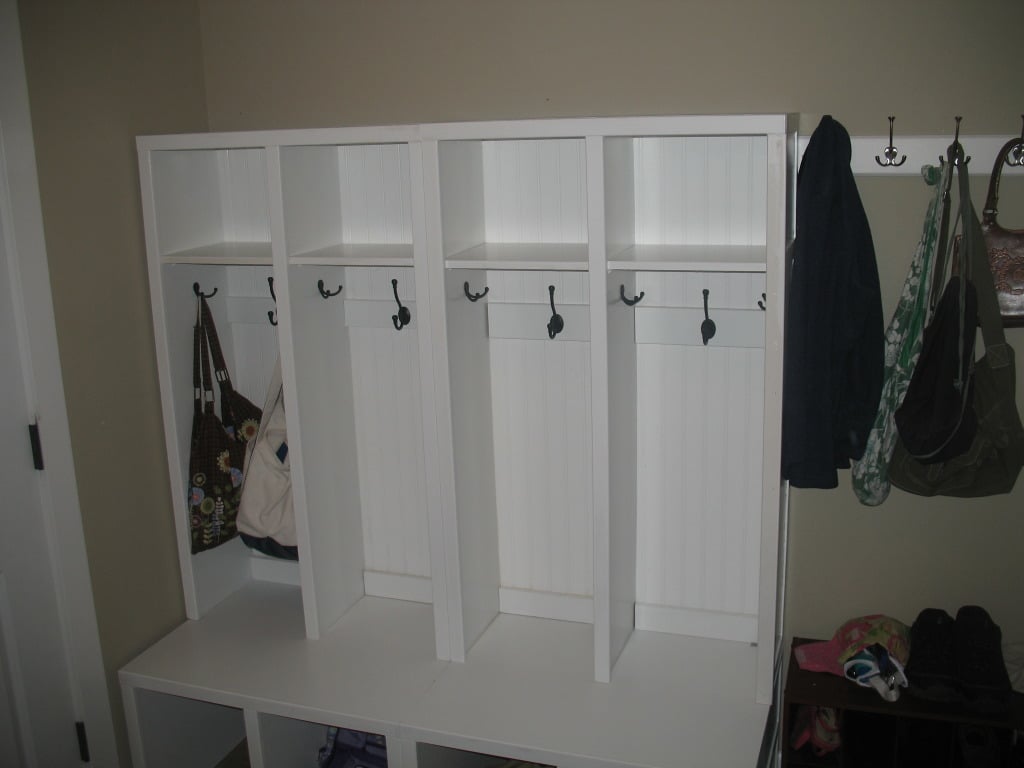
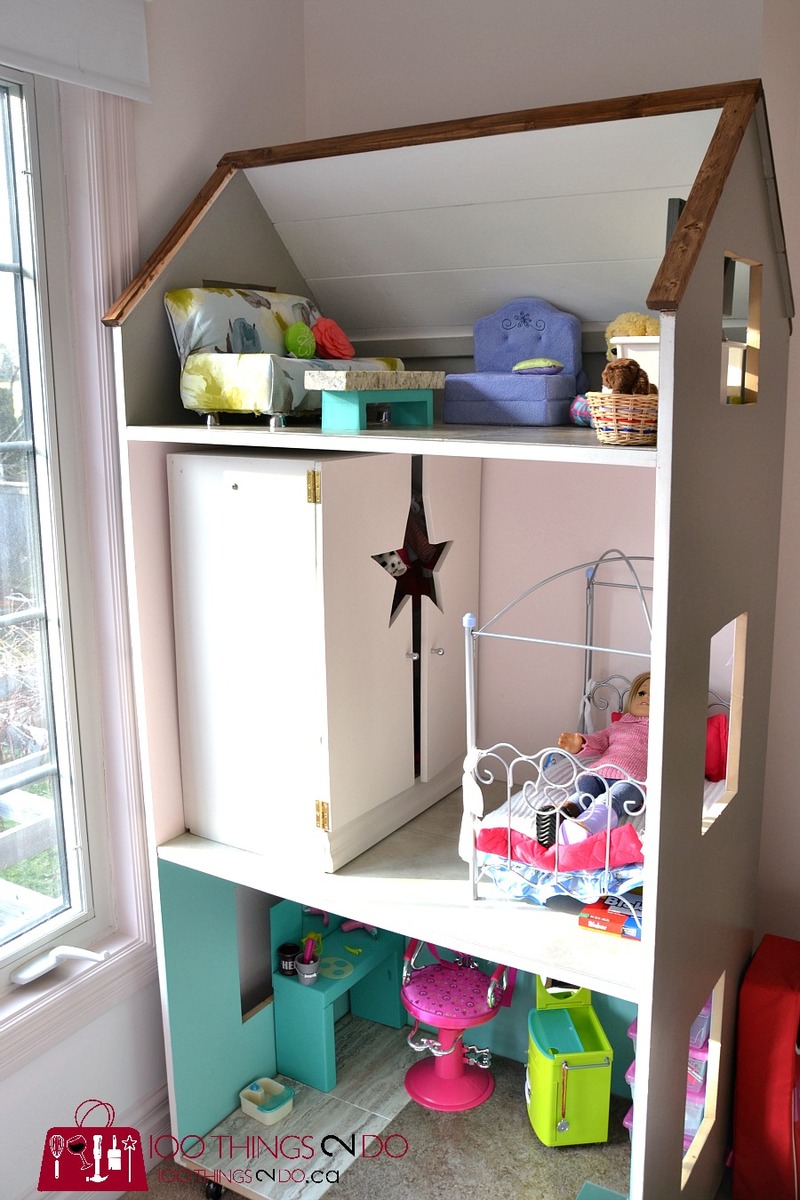
Shadowbox Shelving Unit
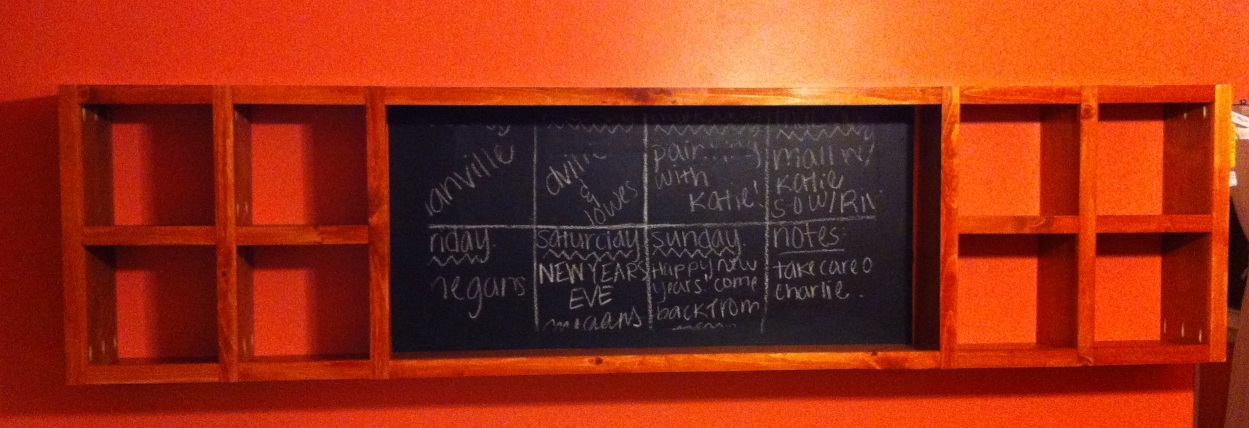
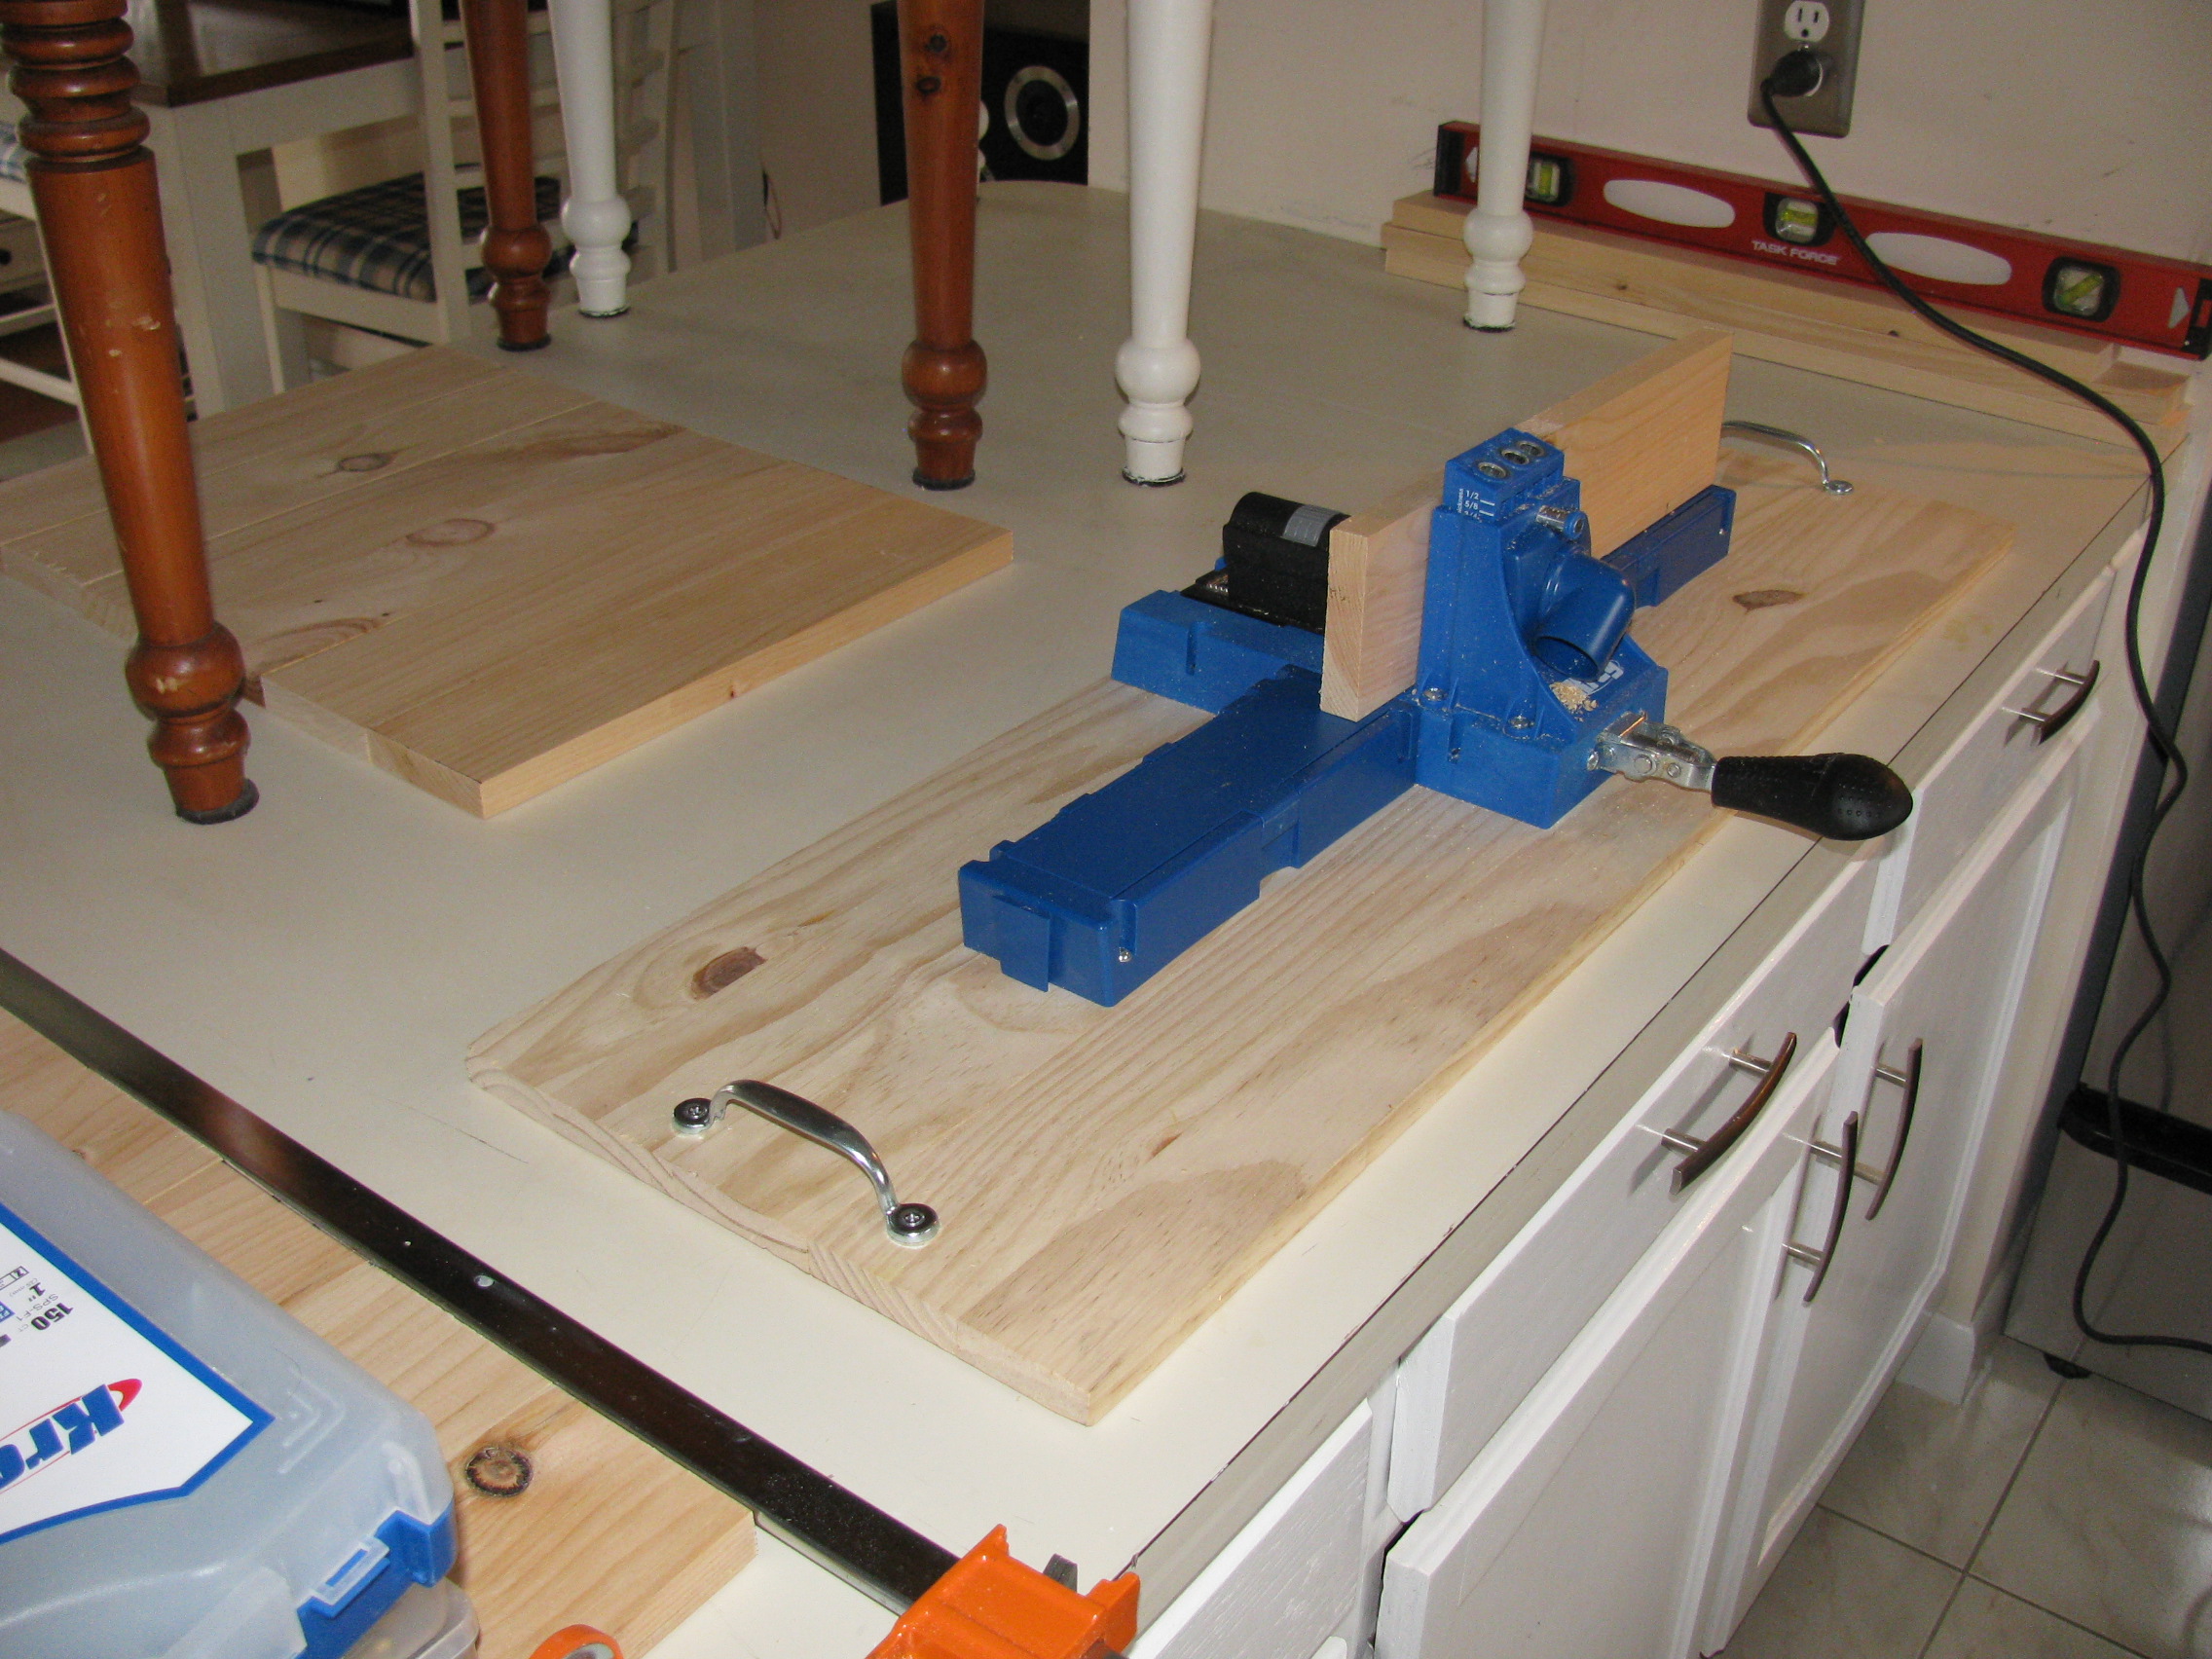
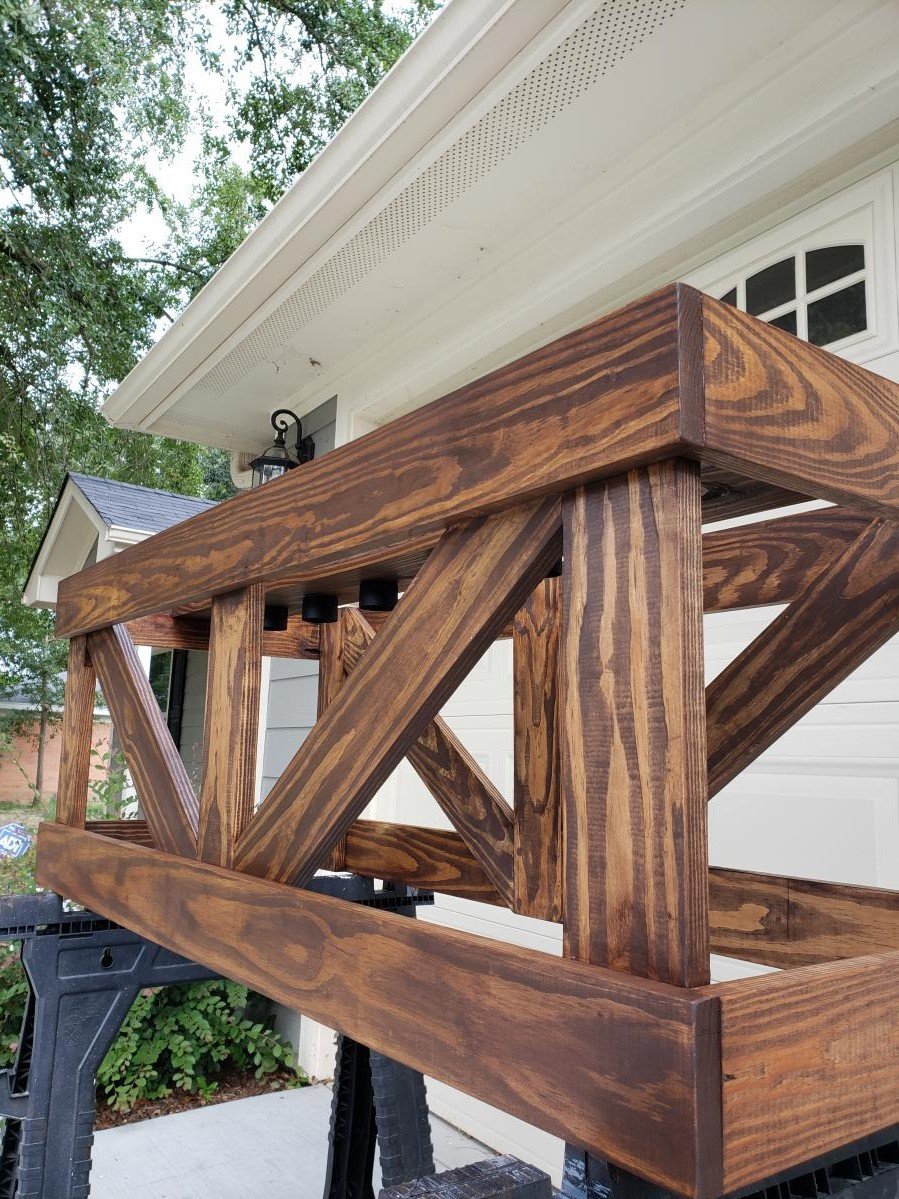
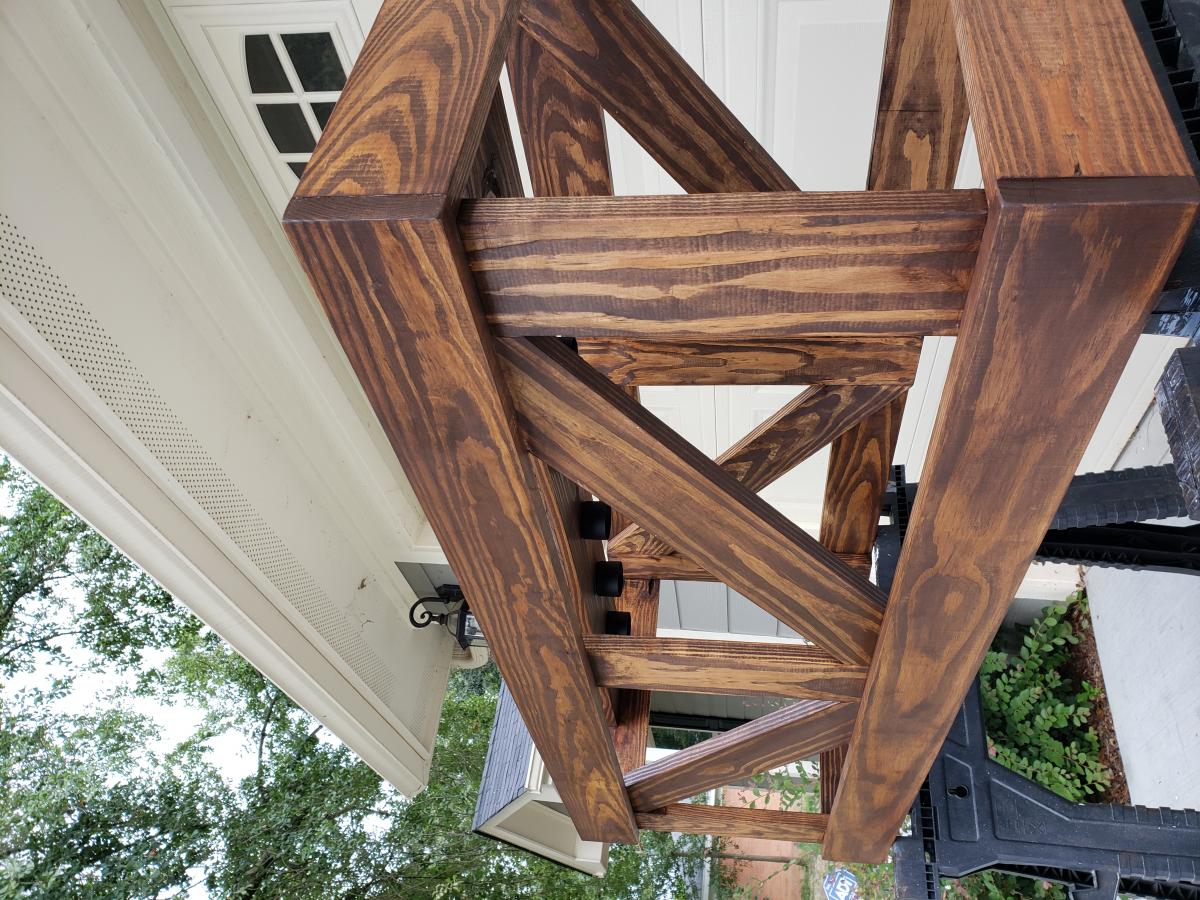
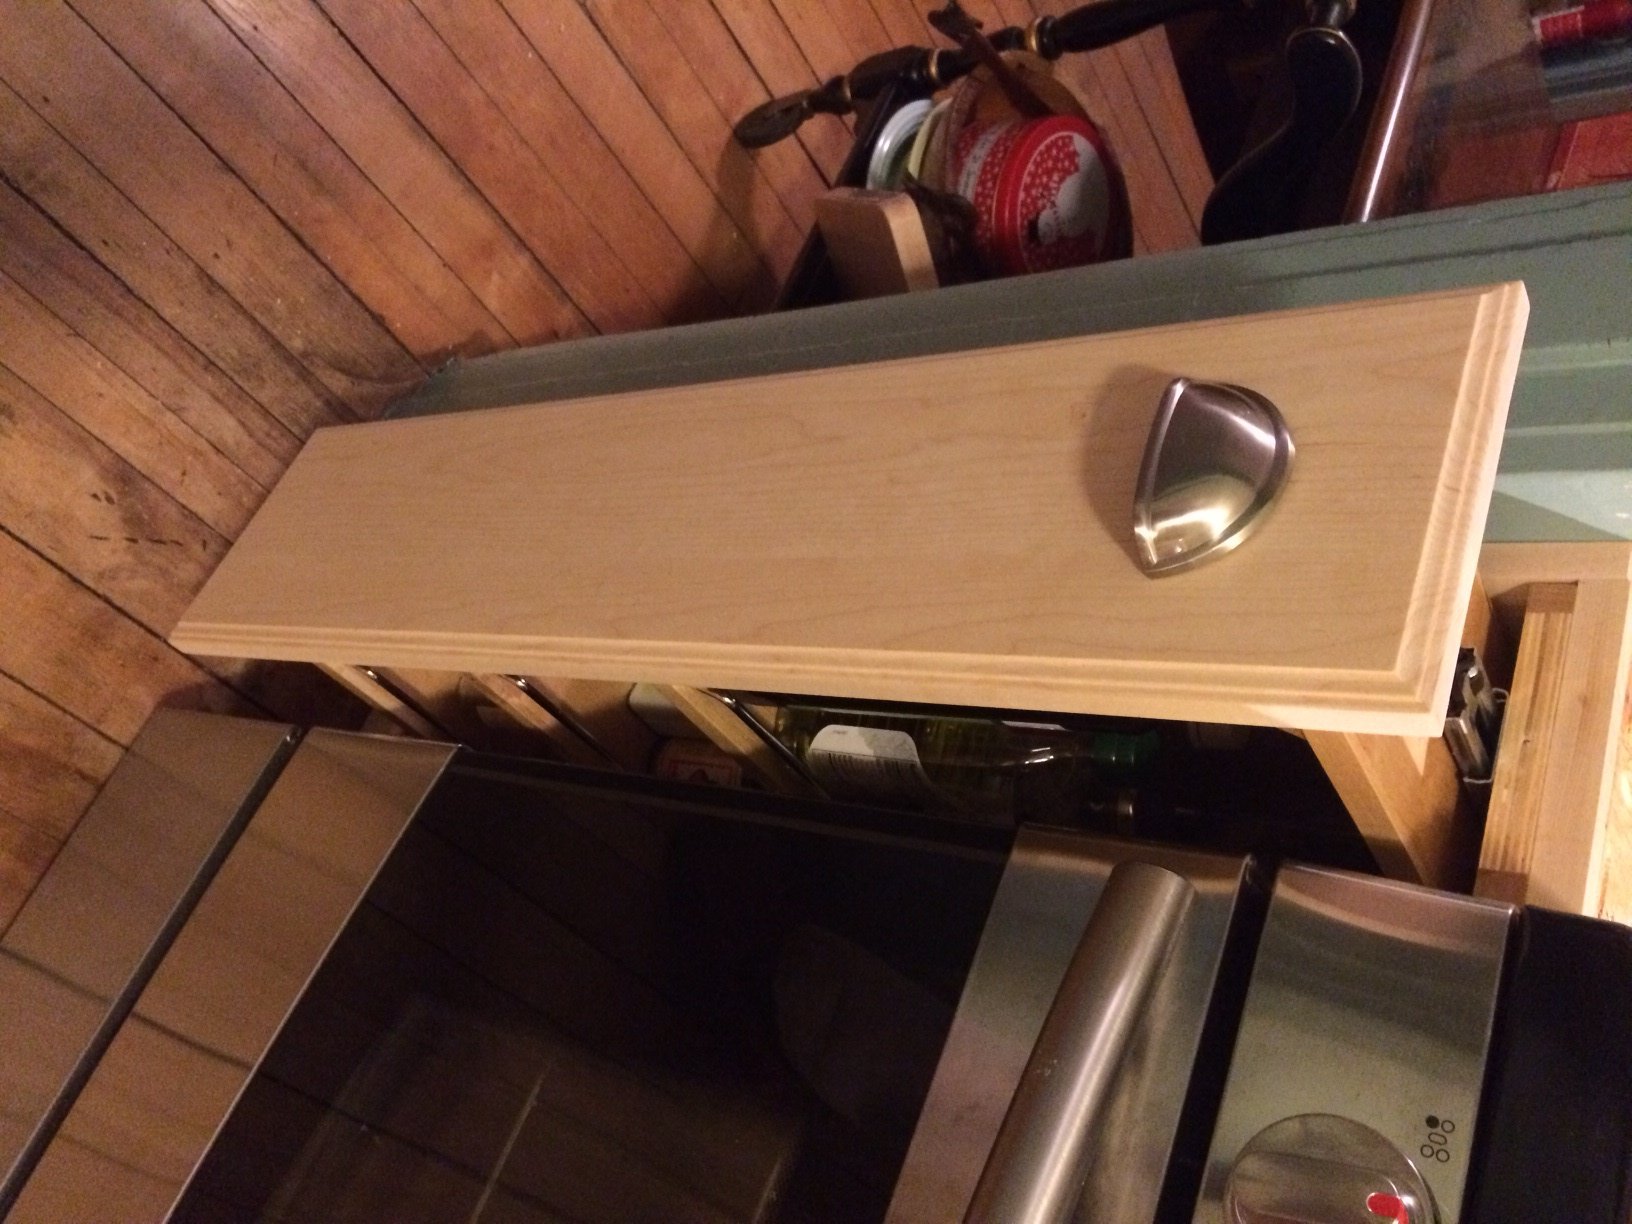
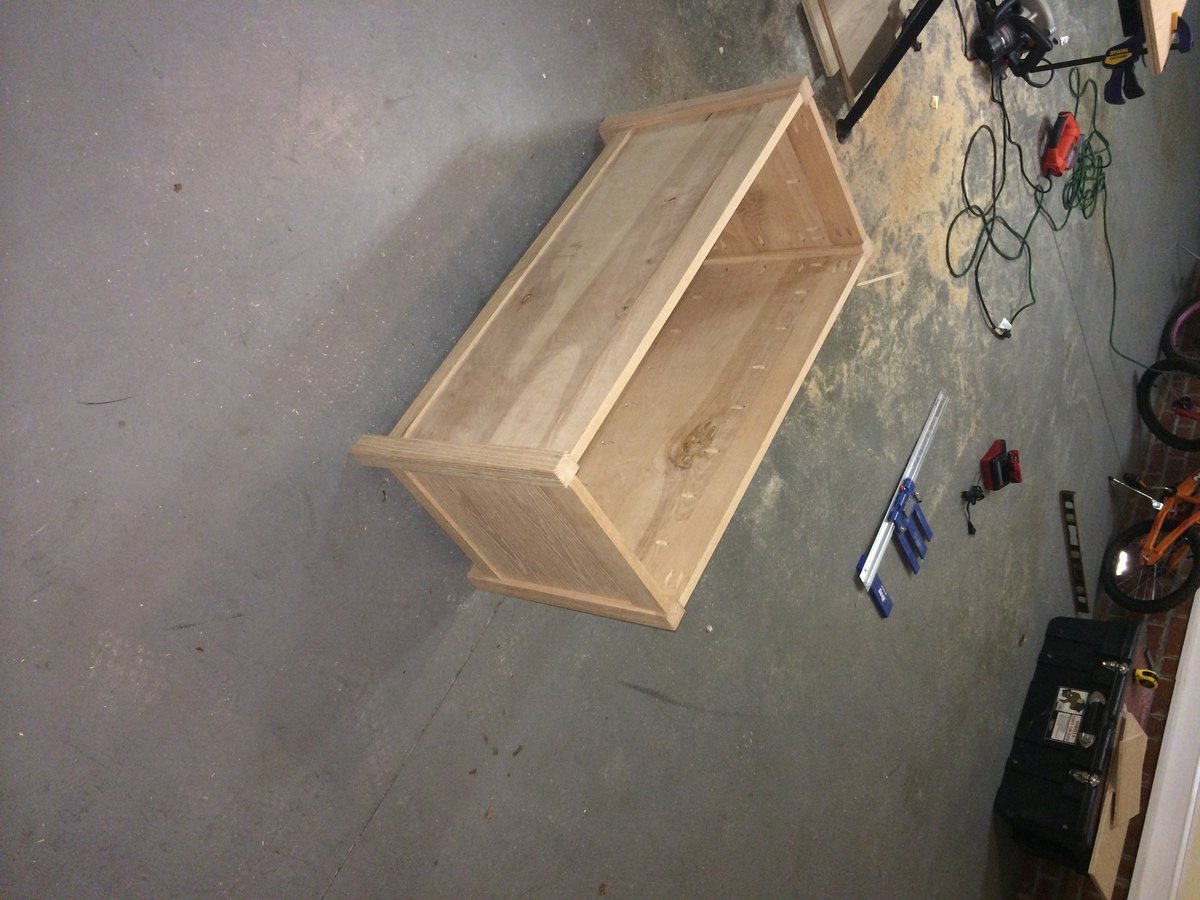
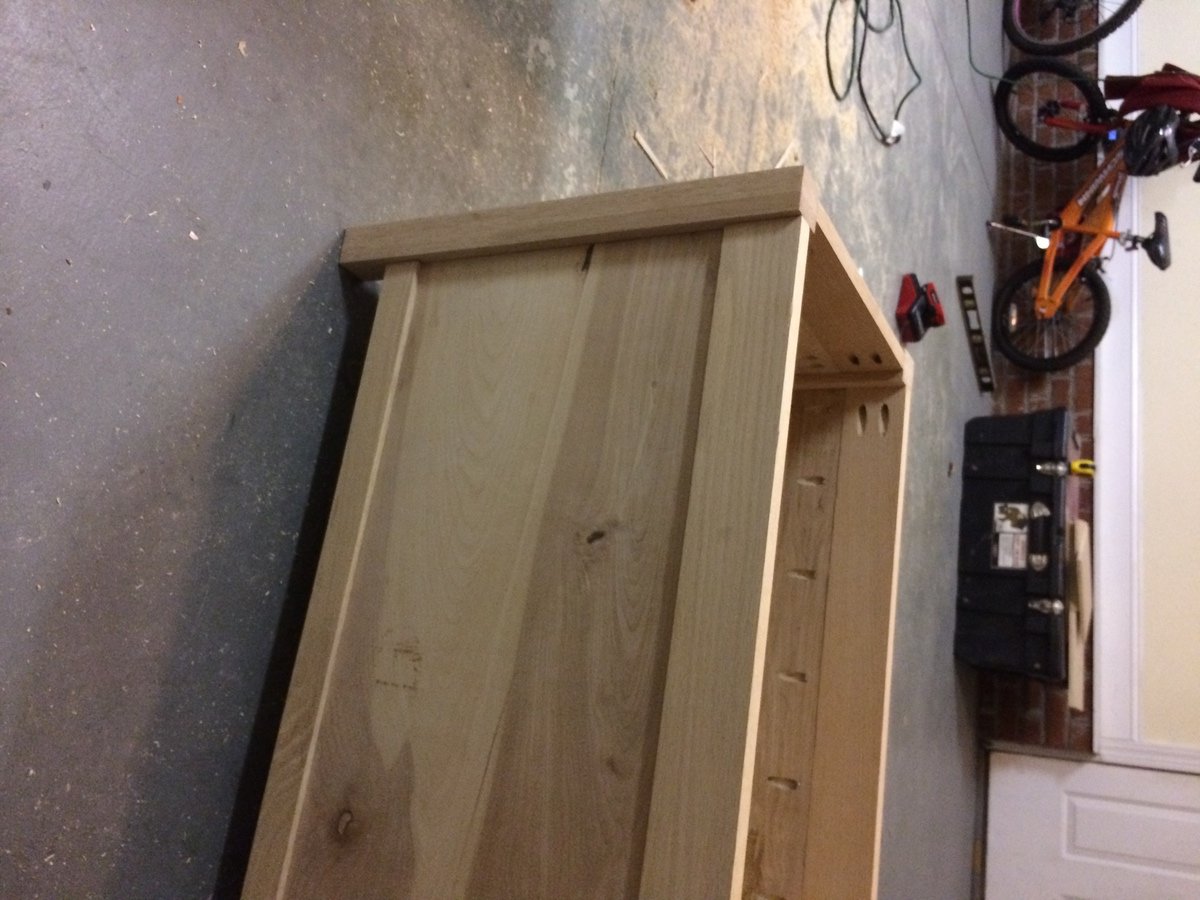
This project is all about using a Kreg Jig. My daughter asked for some shadowboxes to go around her chalkboard. 1 piece of 3/4" plywood and a few 1x2's later - here it is. It's really just an 8' x 2' box with the window panes inside - super simple, but does require a compact drill. Mounted to the wall using a ledger board underneath, then, pocket holes in the top shelf to join it to the studs. Quite sturdy. One day I'll learn Sketch-Up well enough to make this into a plan.
Estimated Time Investment
Weekend Project (10-20 Hours)
Finish Used
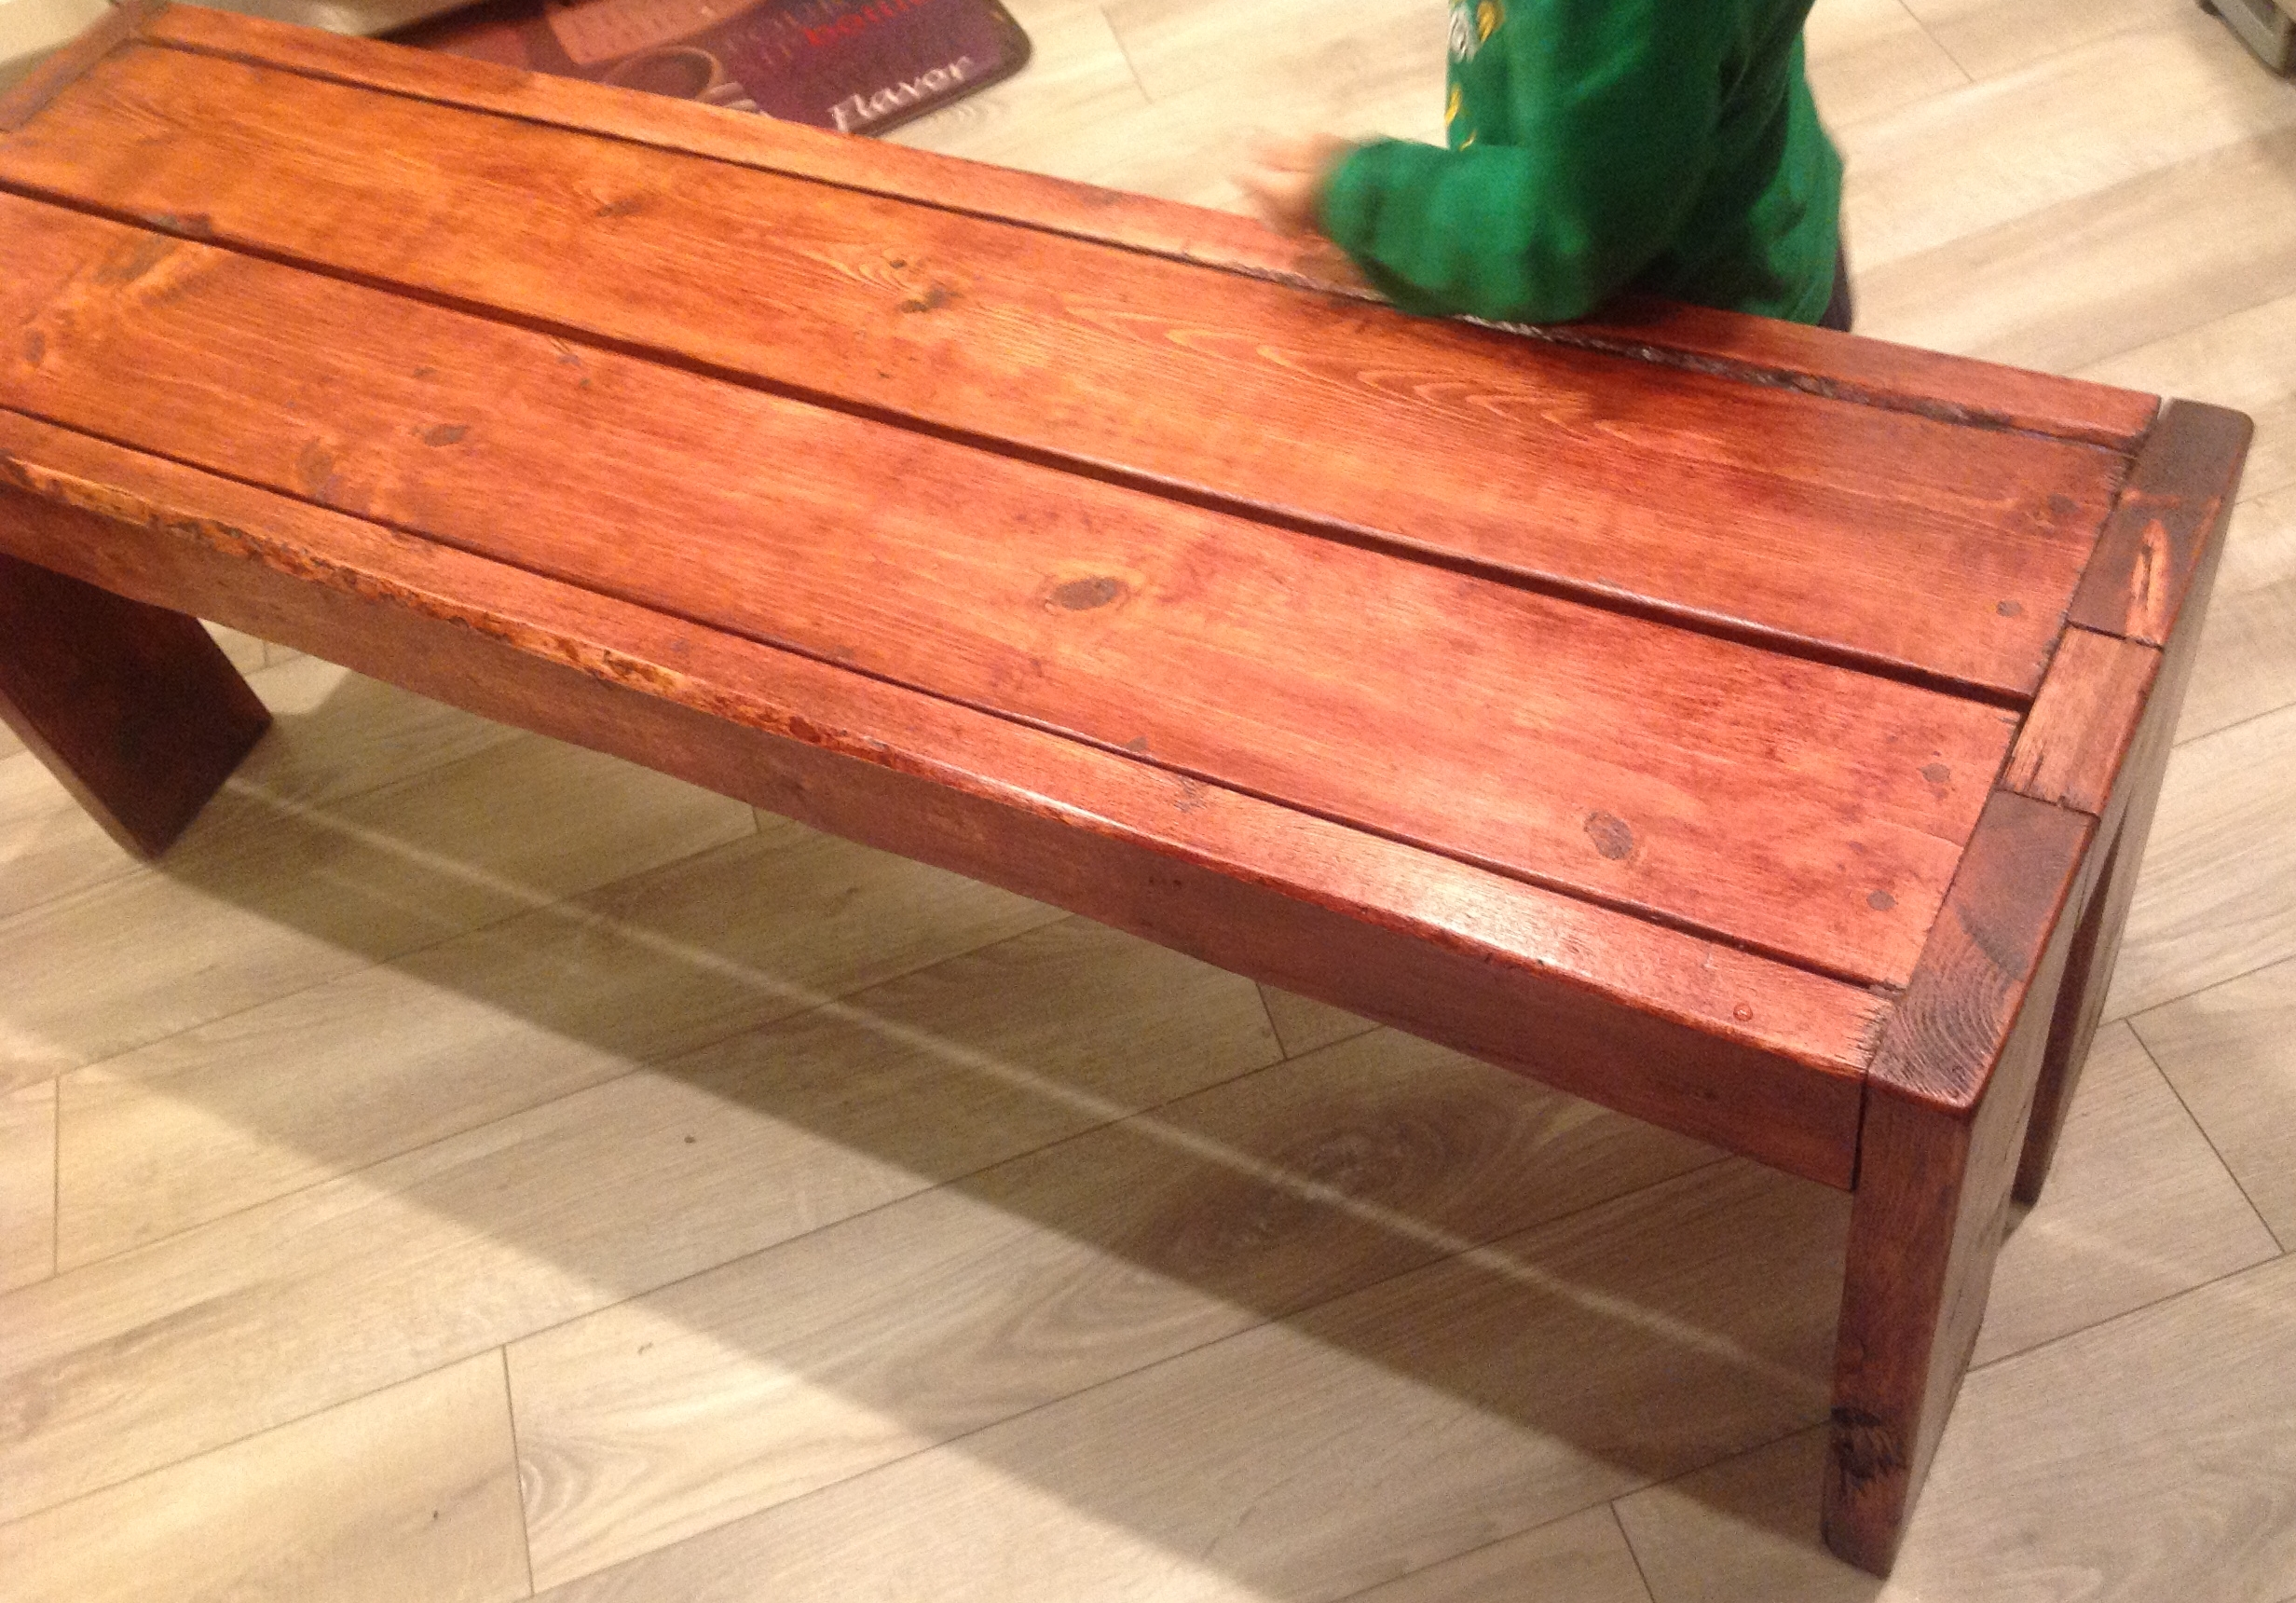
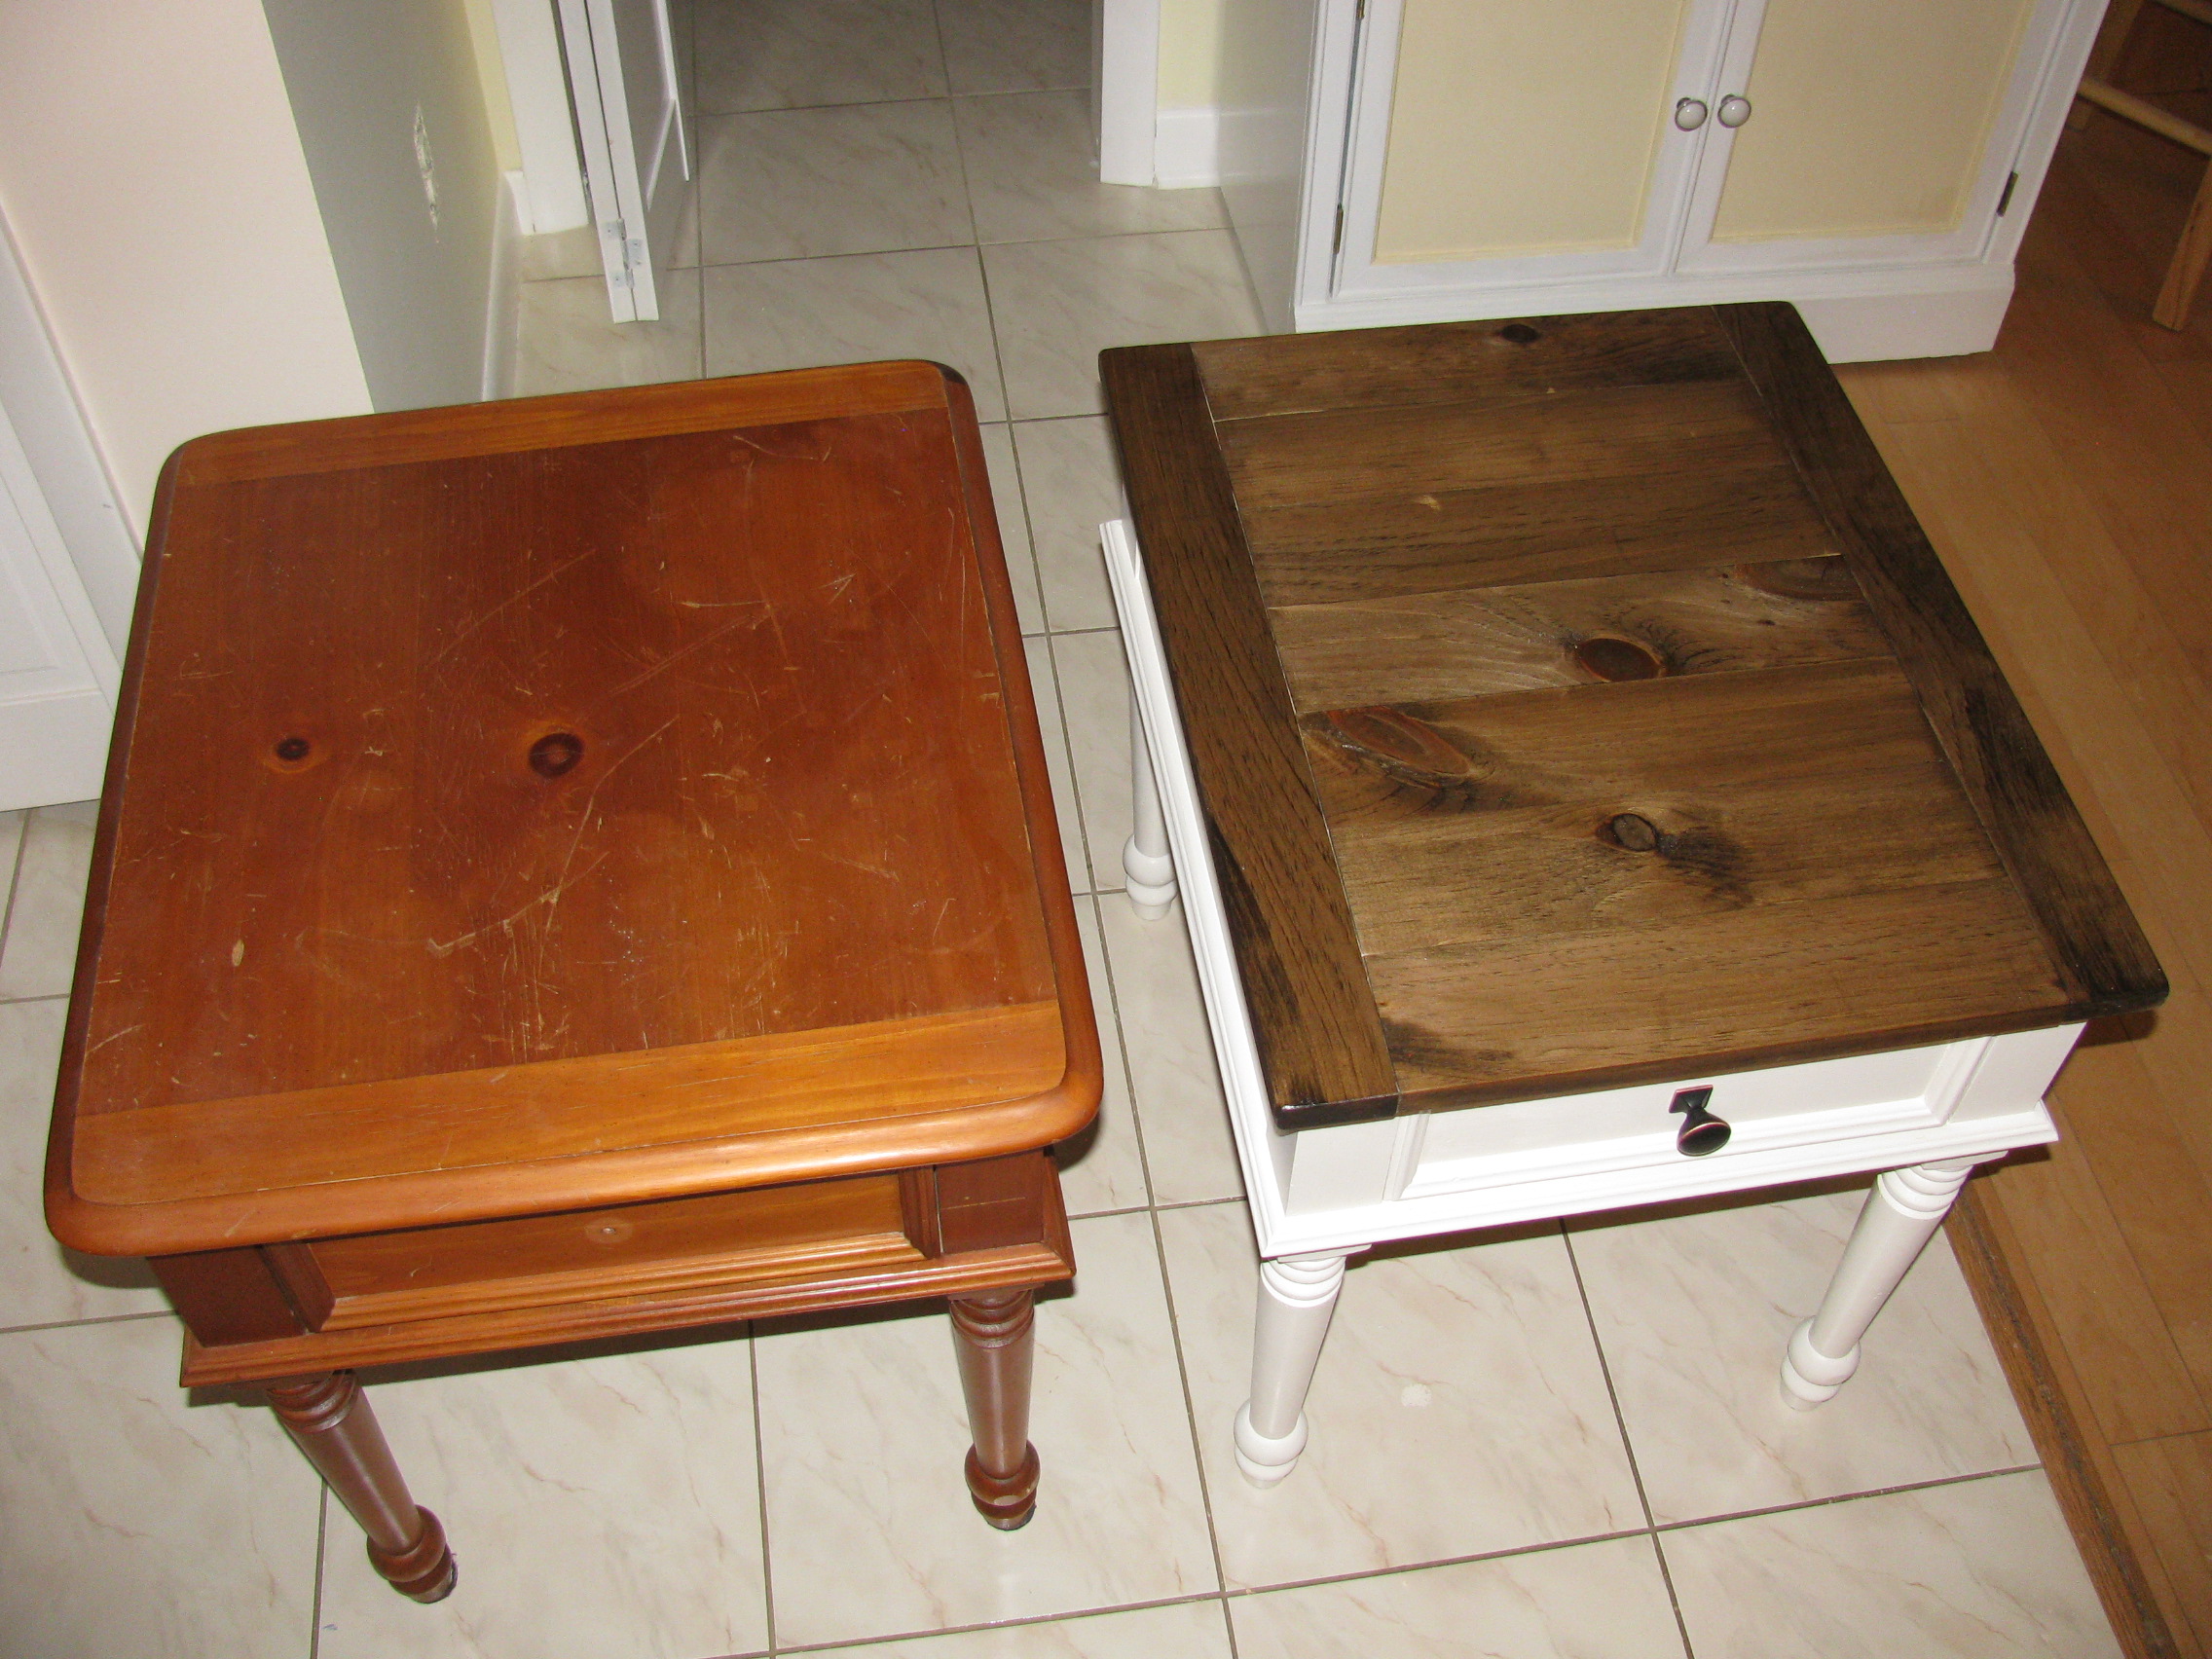
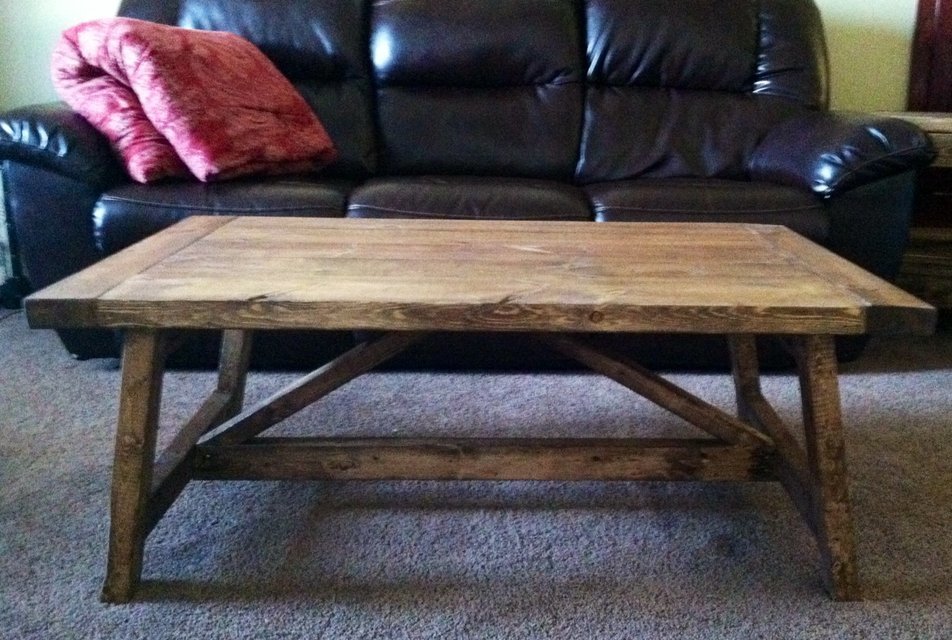
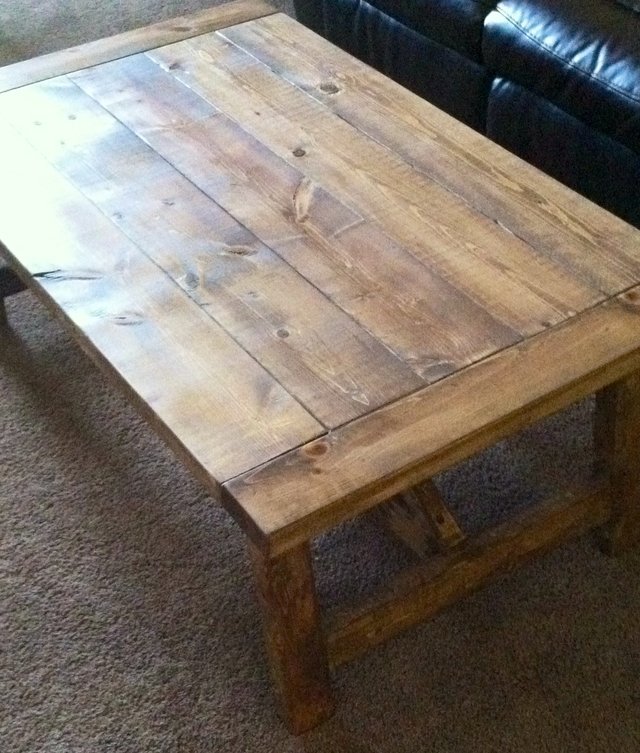
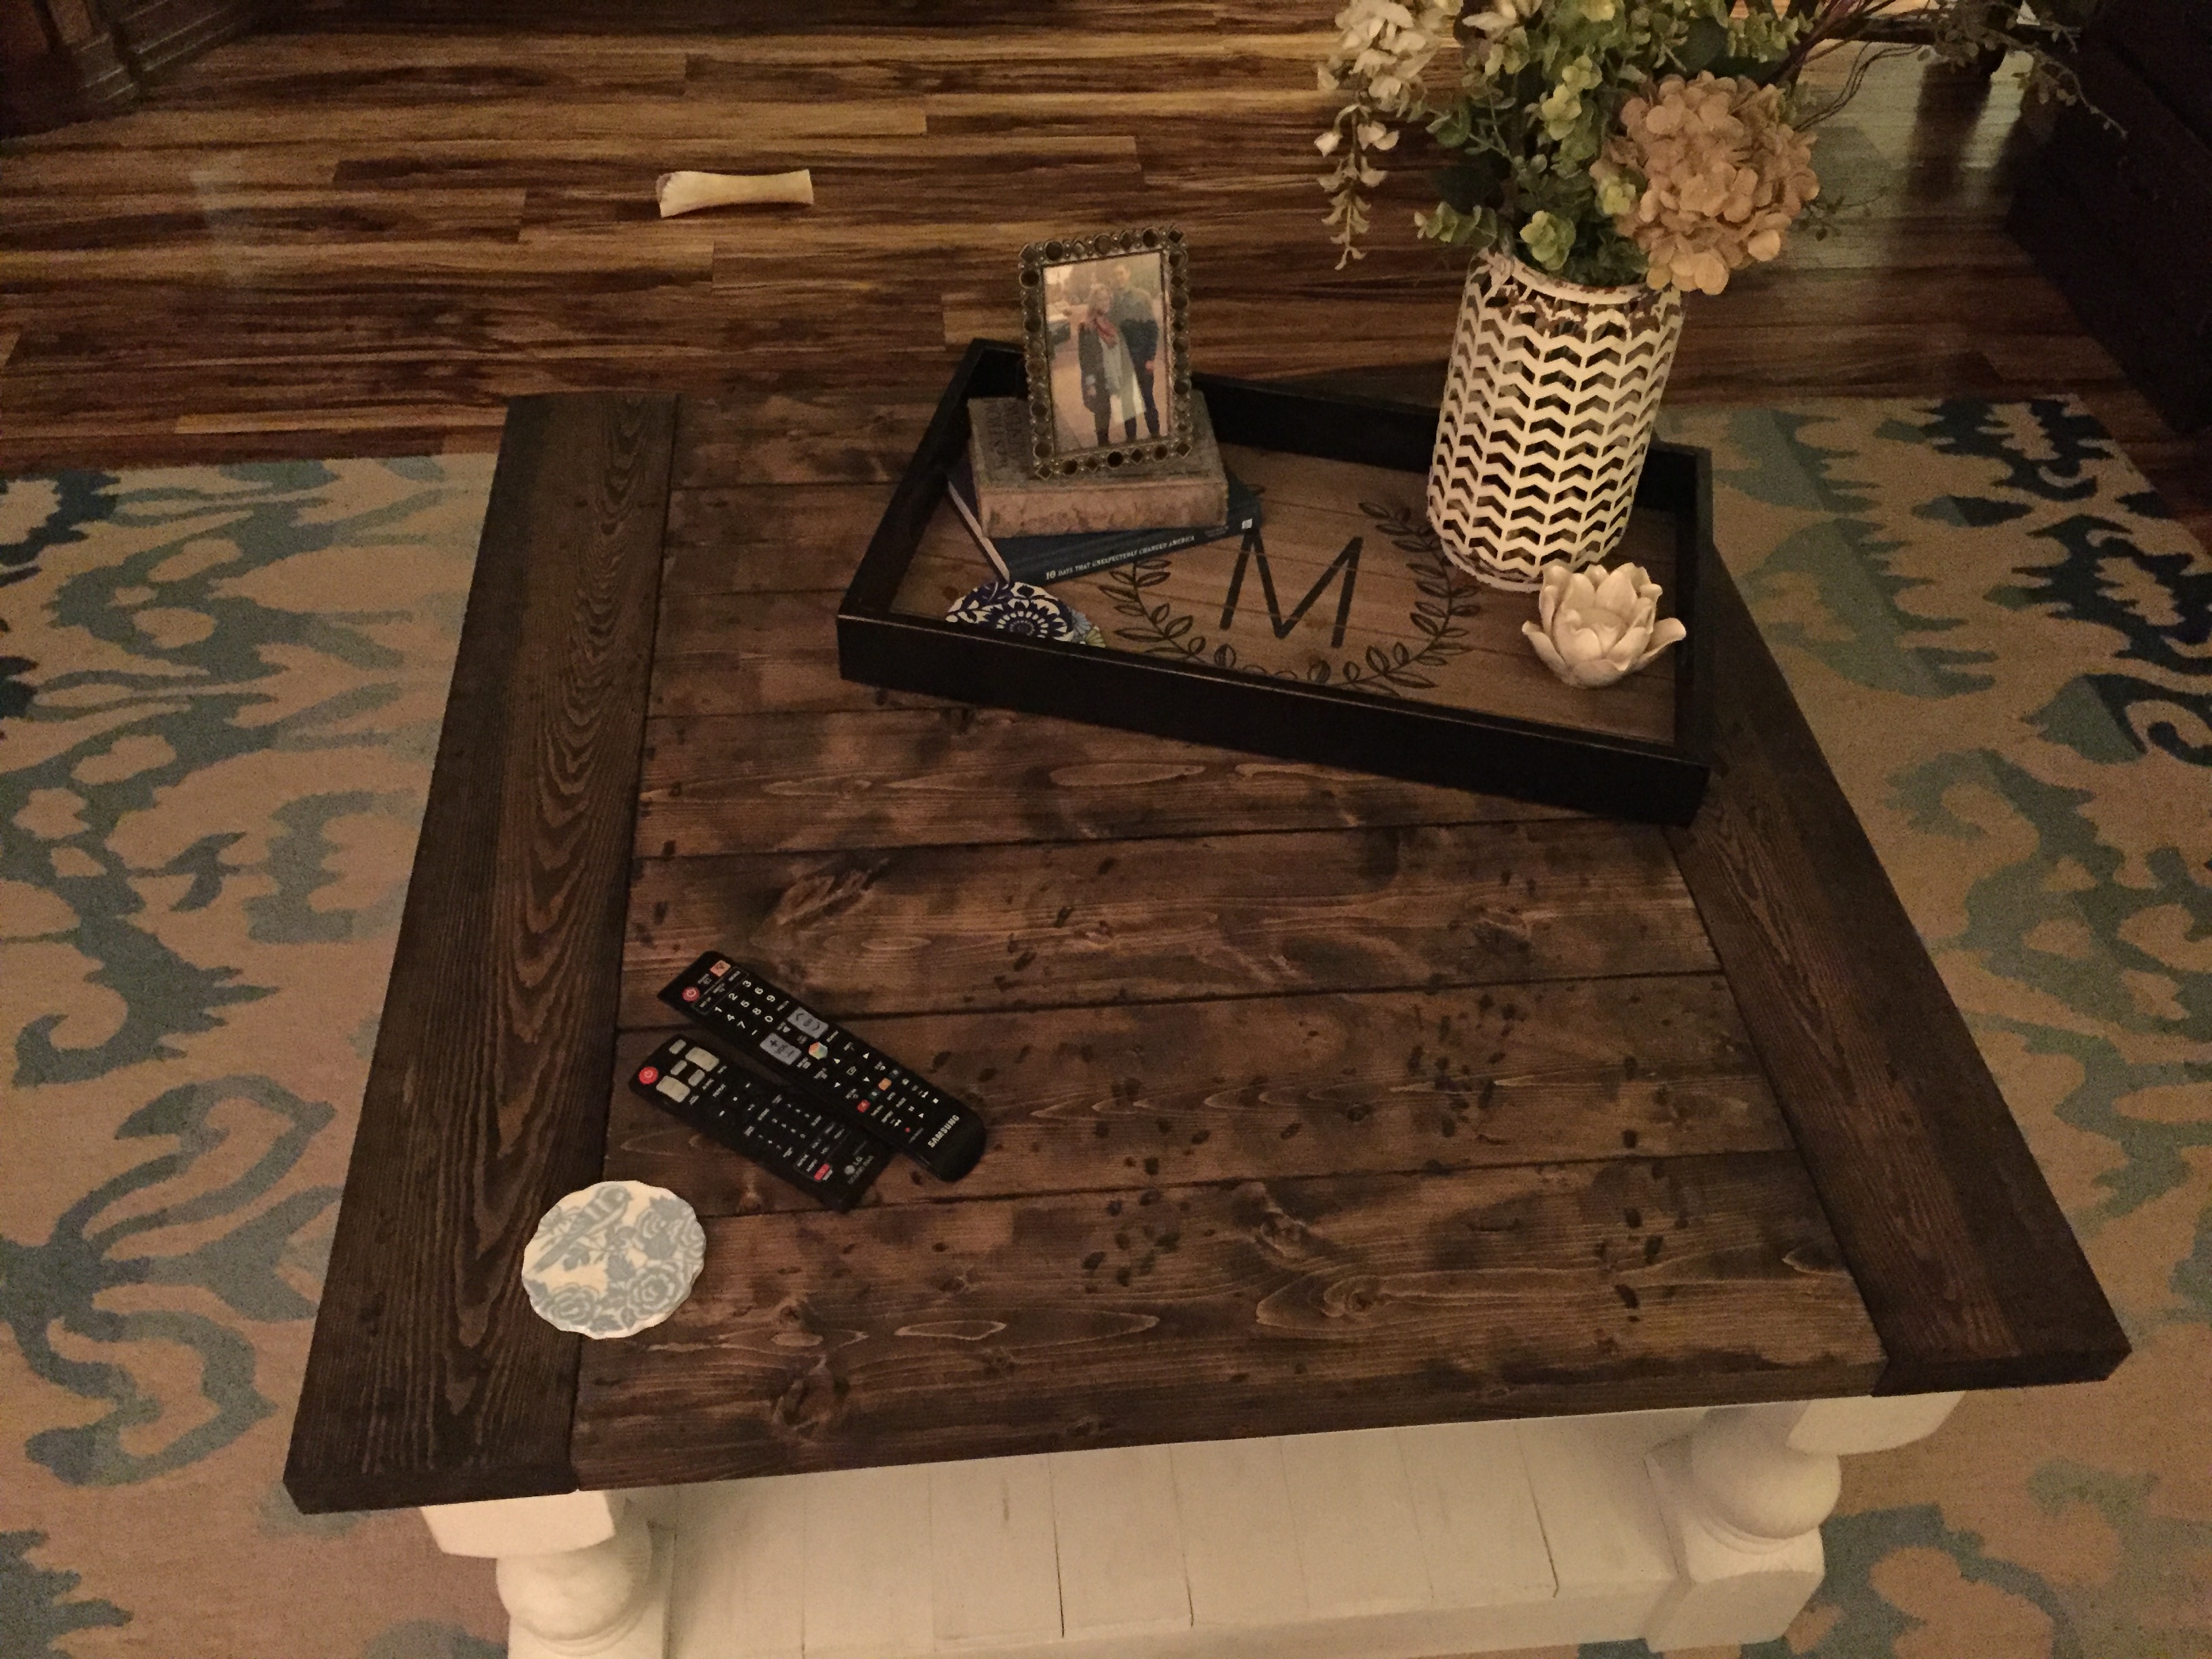
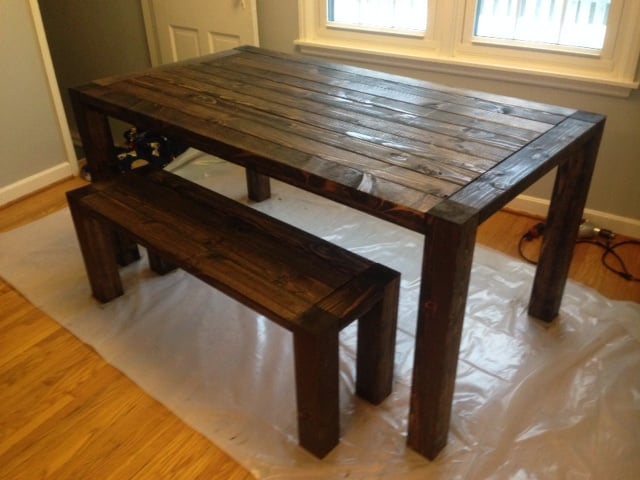
Rustoleum Classic Cherry Stain, Shellac clear. The wood was sanded to 400 grit, then stained via cloth. Shellac sprayed on via Preval as the air compressor was on strike.
Recommended Skill Level
Intermediate