Community Brag Posts

Second Squared2 Chair

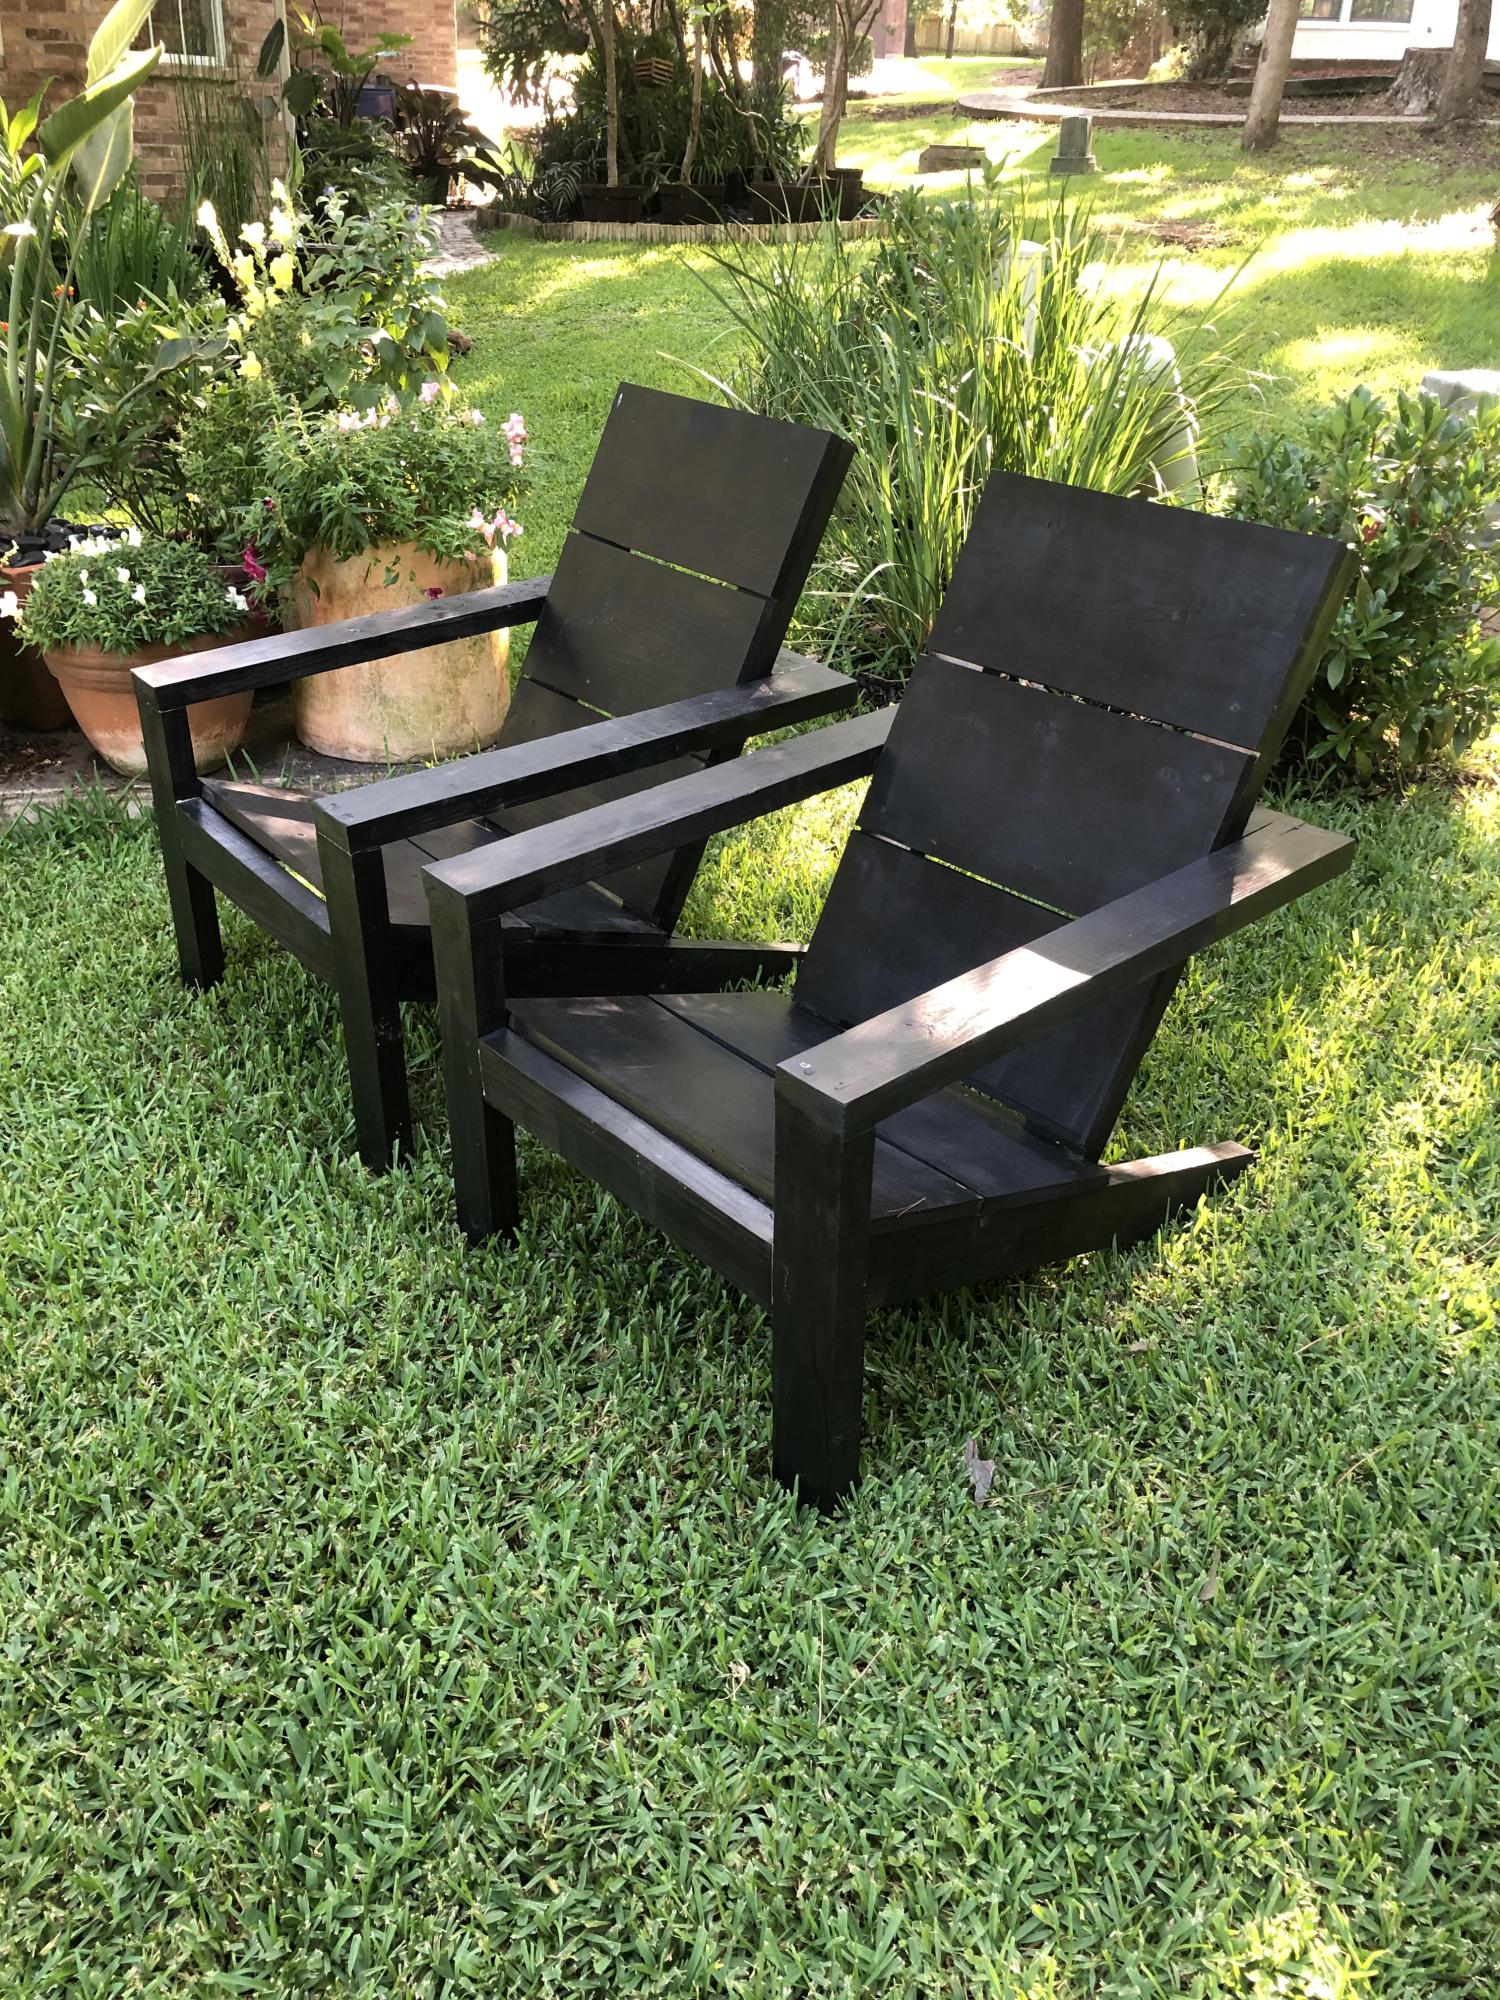
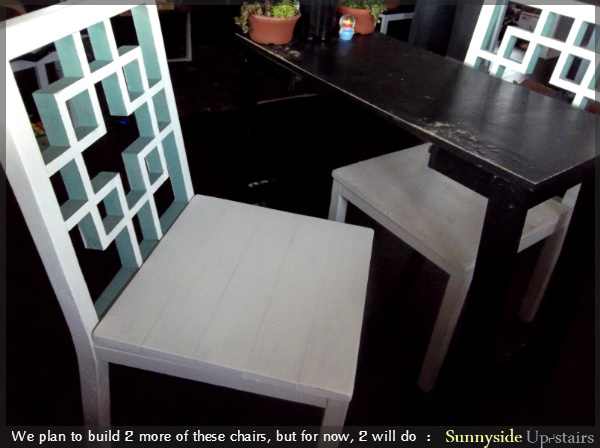
I purchased and used a circular saw to cut the back legs, which was so much easier than just using a jigsaw like I did the first time. Having experience building one before made assembling the second one simpler.

(Note: The measurements in the photos are different than those in the plans because I cut the back legs to be 37", adding about 1" to the height of the patterned back support to accommodate a 1" seat cushion for future.)

Built from Plan(s)
Estimated Time Investment
Weekend Project (10-20 Hours)
Finish Used
Valspar sample of Birchwood White ($3) with Valspar shimmer powder (remaining powder of previous $7 purchase), teal color ($3 oops paint my brother gave to me).
Recommended Skill Level
Intermediate

Comments

Medickep

Mon, 09/02/2013 - 06:59

Are the back legs of your chairs two different pieces?? I noticed they have a curve to them and was curious how you got that look!!

Thanks,

In reply to by Medickep

yurra-bazain

Wed, 09/04/2013 - 00:54

The chair is essentially made in two pieces: the back support and back legs being one assembled piece and the seat and front legs being the other. Each back leg is cut from a 2x4 to make the angled back, which was the trickiest part of the whole build for me. There are diagrams in Ana's plans to explain it visually. =D I hope this helps a little!

King Headboard

Submitted by kaileelev on Sun, 09/13/2015 - 19:26

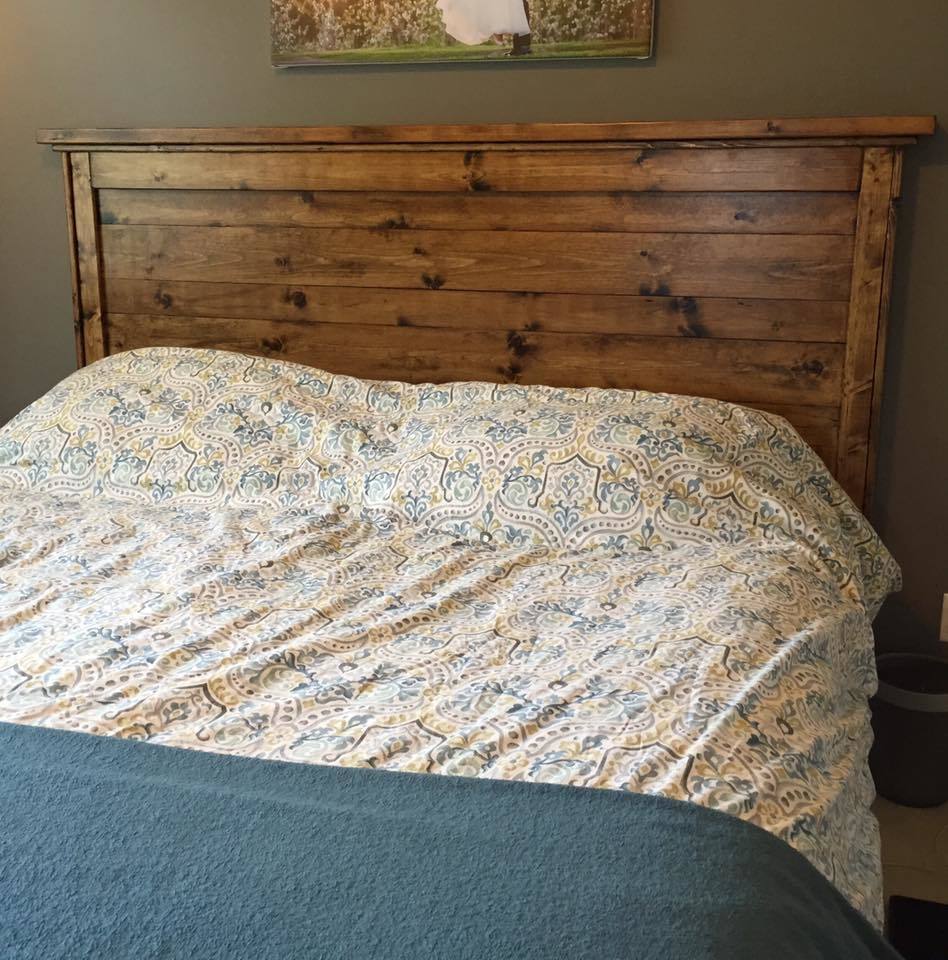
Super easy and quick project! If you buy the select pine from home depot- it is a piece of cake to build. No sanding!

Estimated Cost
$50
Estimated Time Investment
Afternoon Project (3-6 Hours)
Finish Used
Minwax provincial stain. Polyurethane coating.
Recommended Skill Level
Starter Project

Modern Farmhouse Bed with changes

Submitted by alleysrats on Tue, 08/21/2018 - 19:25

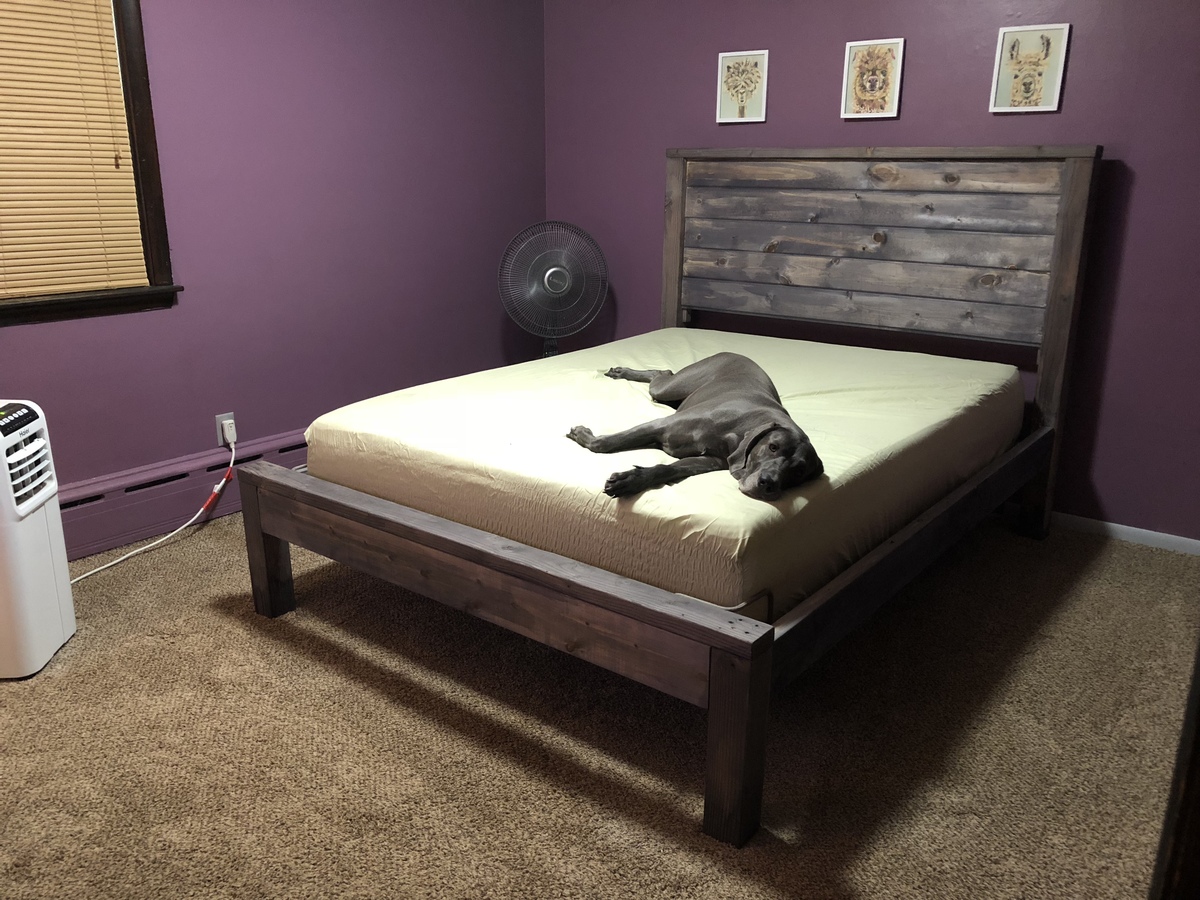
I needed a bed frame to go around my adjustable mattress and cheapest I found for pre-fabricated was greater than $200 and I thought why not go on Ana’s site and see if I could build one cheaper and I found this design.  I did everything in the instructions but build the platform as I was only getting it as a frame around the base that I already had.   I ended up using carsiding as it was cheaper than 1x6’s I also did not use pocket holes I just used regular screws that I countersunk and it gives it a bit of a more rustic look   I did have to adjust a few things as the side rails the 2x4 toppers went over too much on the adjustable portion of the bed and I didn’t allot for additional width on the head and footboard so I had to remove them -  to me it presents a little bit of a cleaner line I figure I can always go back with a 2 x 2 if I want a capped look.  The weathered recommended product turned it to a grayish purple hue no matter how much I sanded it -  it grew on me but definitely not the same color probably different tannins in the wood I was able to find not sure.  


The build took about two days total I built it all on my own the bed hardware was tricky though after failing to find anything local I ordered bed rail hardware off of Amazon for 12 bucks it’s a lot easier and your able to connect the side rails to the head and footboard on your own.


Total cost with the bed hardware probably about $130 if I took off the stuff I wasted it may be closer to $115.

Built from Plan(s)
Estimated Cost
$120
Estimated Time Investment
Weekend Project (10-20 Hours)
Finish Used
Varathane Weathered
Recommended Skill Level
Beginner

Doll Highchairs

Submitted by canesa on Fri, 07/15/2011 - 01:38

I built 11 doll highchairs for my daughters 5th "Adopt A Baby" birthday party! These chairs were fast and easy to build and I had a BLAST painting them! The girls loved, loved, loved them! A little extreme for a 5 year old birthday party? Maybe. But definitely worth it!

Estimated Cost
Under $10
Estimated Time Investment
Week Long Project (20 Hours or More)
Finish Used
Paint, scrapbook paper, modge podge and duct tape!
Recommended Skill Level
Beginner

Comments

glennj

Sun, 07/17/2011 - 08:17

I agree. WOW! I have a question about the painting. Did you do that all by hand or is some of the more detailed areas paper that you glued on with modge podge or some other crafting adhesive? I really love these little chairs.

momofour09

Thu, 12/29/2011 - 12:29

That idea is really sweet! My girls would love to have a party and this is a good theme. You did a great job :)

My first big boy bed!

Submitted by ldulitz on Mon, 08/19/2013 - 13:17

So we couldnt find any bed we really wanted for my son, and this one was perfect.
I used the wood one step up from the whitewood at HD, which had too many knots for this, and was .75 more. Still had to pick thru the 2x4 and 2x6s but the quality of the wood was much better.

After seeing what another bragger posted, i raised the posts to 72" instead of 66", which allowed for an additional 2x6 at the top. The mattress stayed at the same height, but know i sleep better thinking he wont roll off.

Lesson learned from this: Sand the primer!!! i never knew to do that before in my life and wow, what a difference.

Painting Steps were:
Sand wood,
prime, ( Used Zissner BIN)
Sand primer with 220
Wipe with Tack cloth
Paint ( Used Behr Ultra White Semi Gloss and Behr Par Four Green Semi Gloss)
Sand lightly with 320 grit
wipe with Tack
Paint again.

The two end pieces and the deck were assembled in the garage, but the cross pieces and steps were built in the bedroom.

Im thinking of creating a mini gate where he climbs up just for sleeping that i could put in once he is in his bed to really prevent rolling... trust me.. he rolls everywhere. May be to the height of the top 2x4, halway the length of the opening, and use dowels or something.

Note the second picture didnt have the 2x6 ladder step installed yet.

Thanks Ana for the plans! My son never wants to leave the bed!
Estimated Cost
150
Estimated Time Investment
Week Long Project (20 Hours or More)
Finish Used
Behr Ultra white Semi Gloss
Behr Par Four Green Semi gloss
Recommended Skill Level
Starter Project

Queen Storage Bed

Submitted by weav3887 on Mon, 09/21/2015 - 07:19

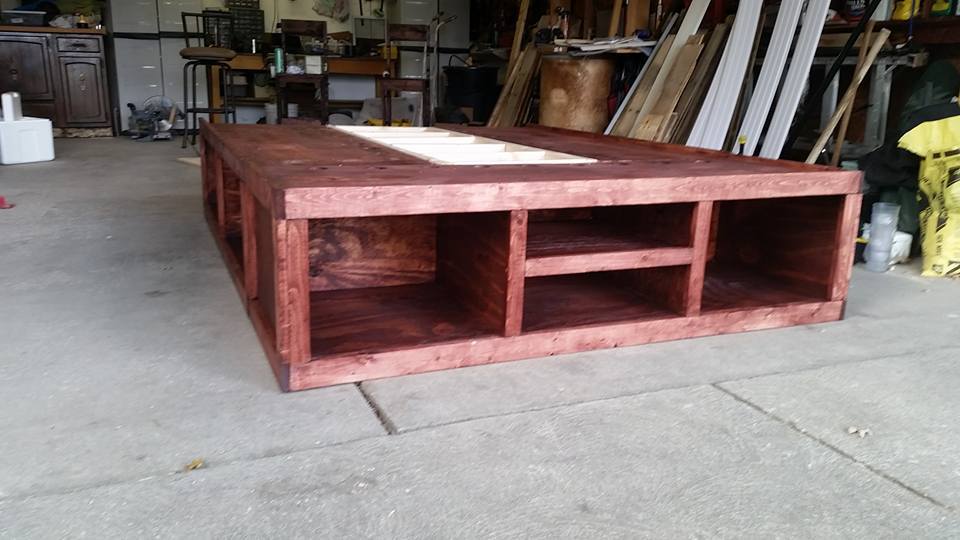
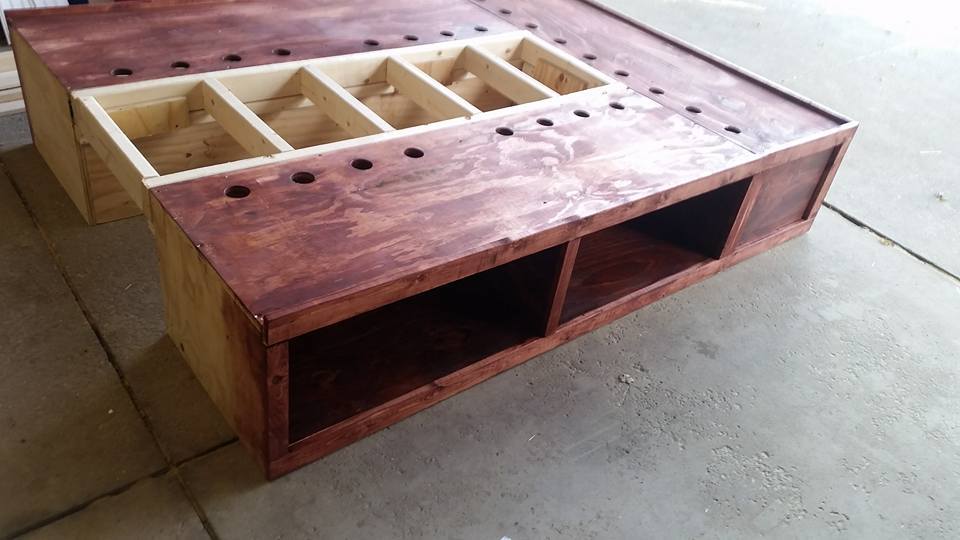
This was a pretty easy build!  I changed the plans a little bit by adding ventalation holes and the way the cubbies conntect.  I wanted to be able to easily take apart the bed if I need to so I built a track system that the middle support sits on and locks in place. 

Built from Plan(s)
Estimated Time Investment
Weekend Project (10-20 Hours)
Finish Used
Red Oak
Recommended Skill Level
Beginner

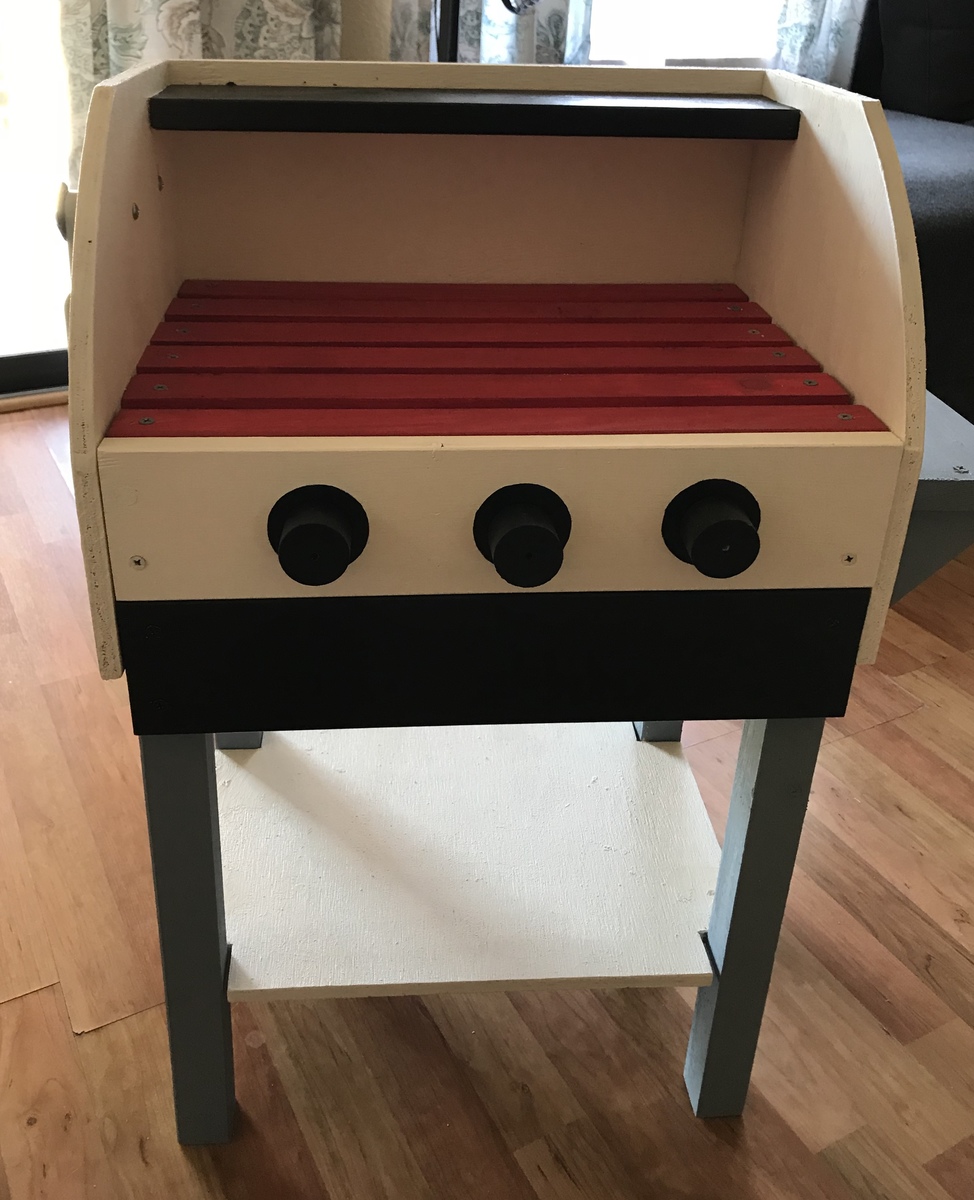
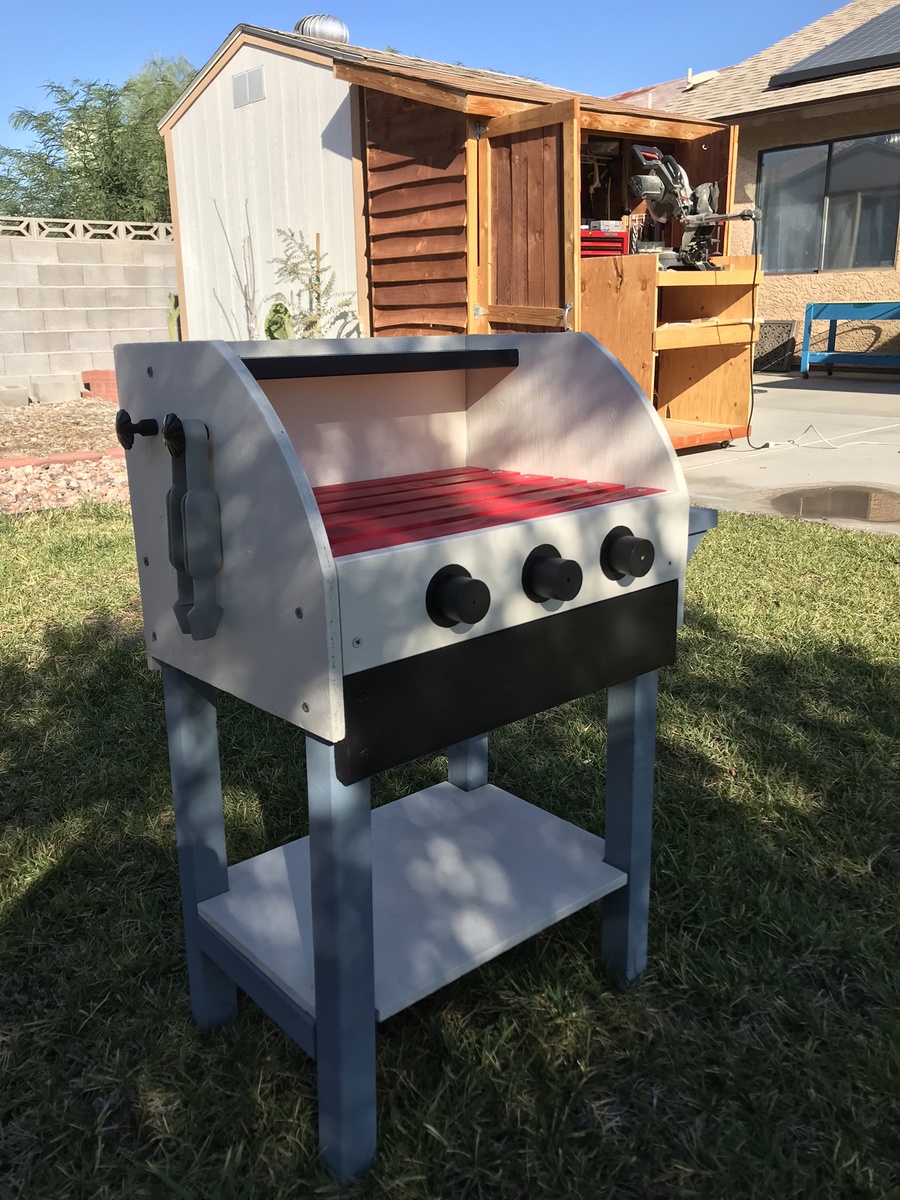
Wooden Play Toy Grill

Submitted by zeuss0101 on Sat, 09/15/2018 - 17:35

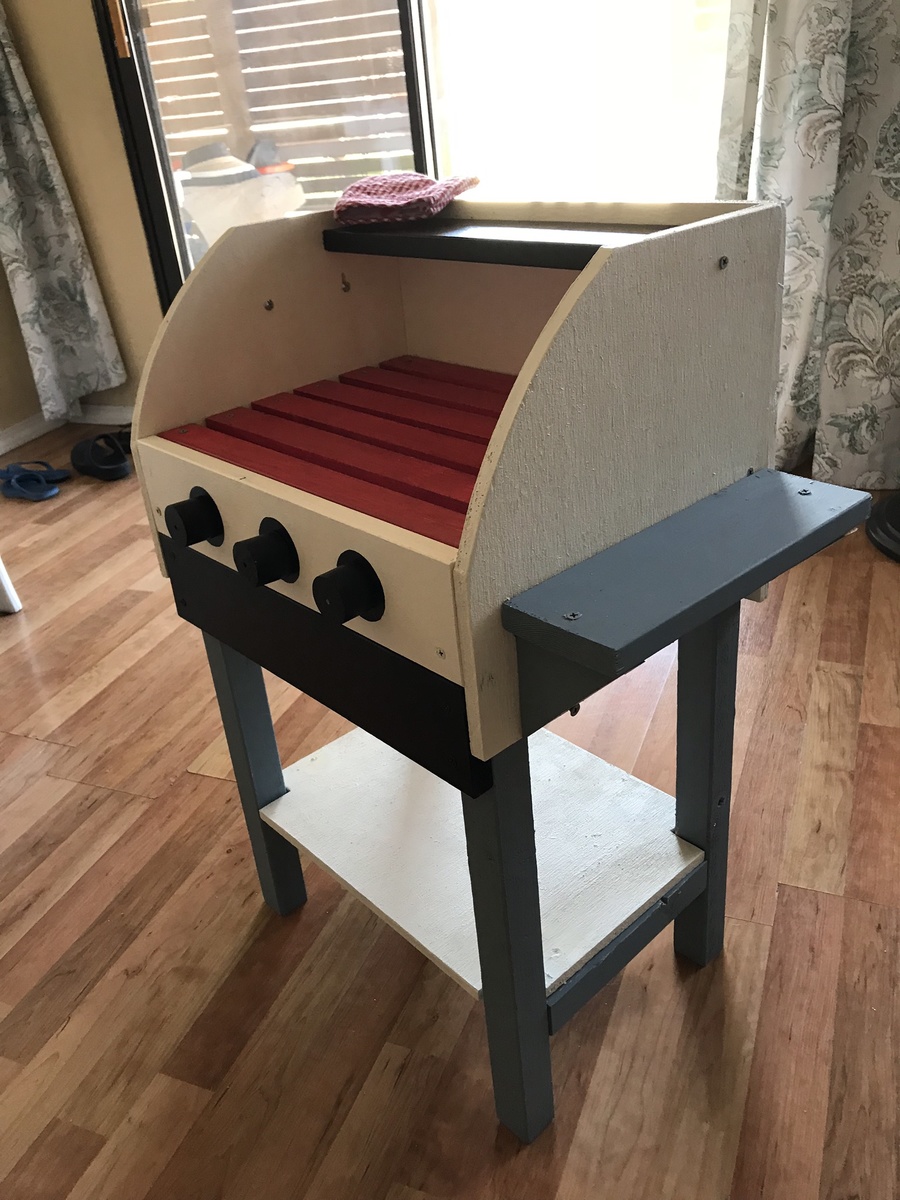
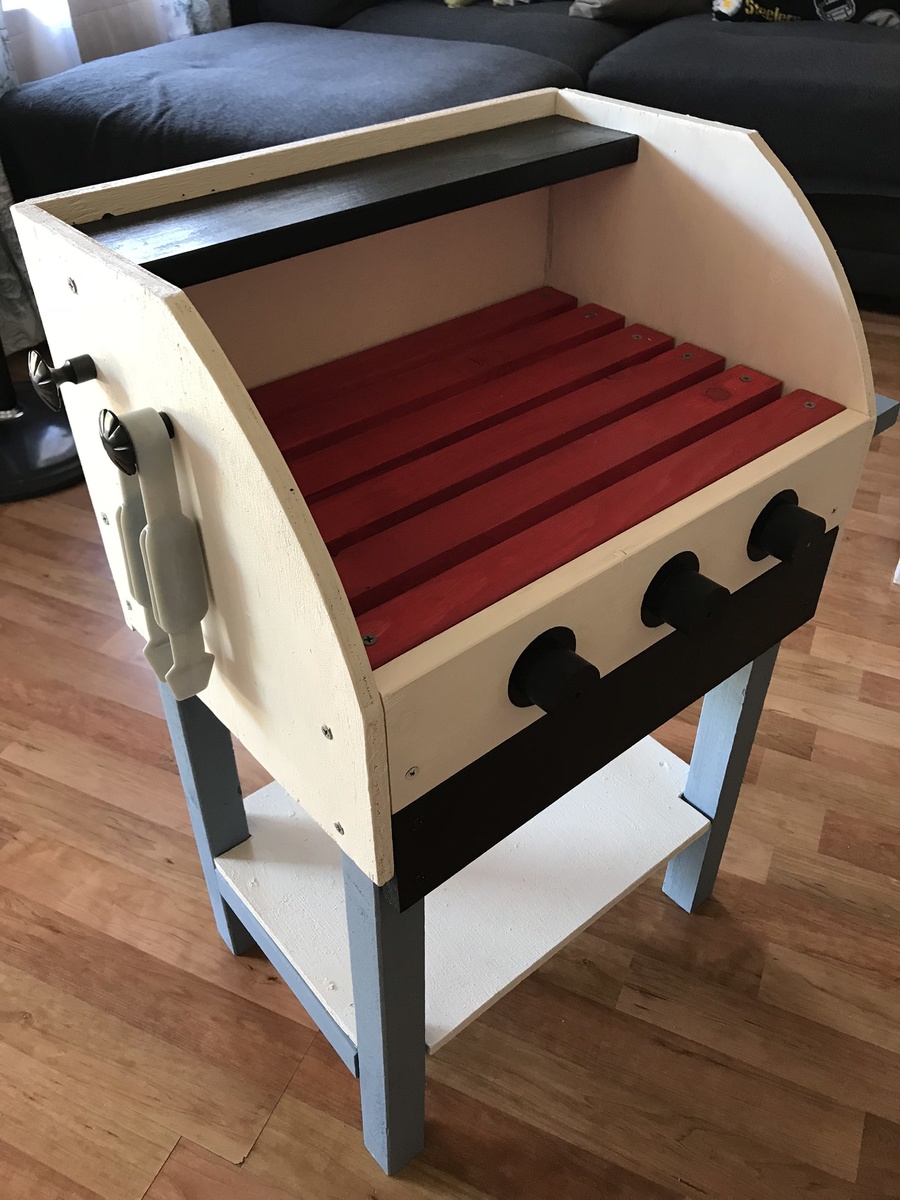
Enjoyed building this with my son.  Thank you Ana.

Estimated Cost
About $25
Estimated Time Investment
Afternoon Project (3-6 Hours)
Recommended Skill Level
Intermediate

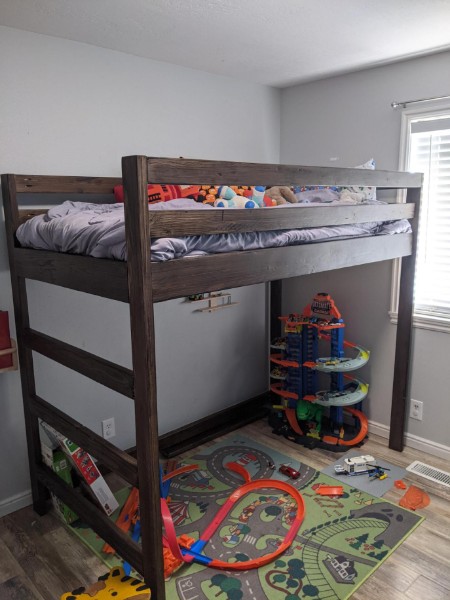
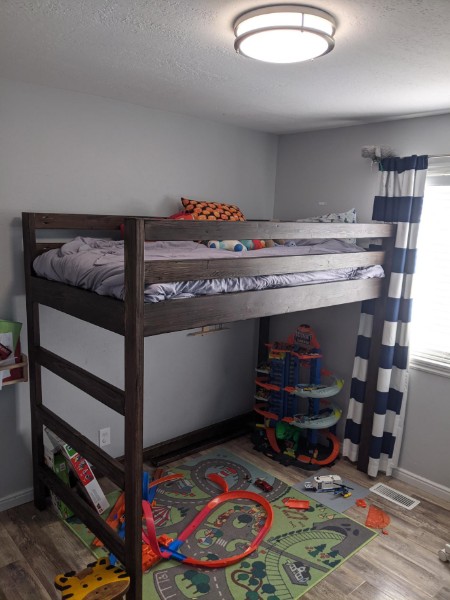
Camp Loft Bed with Stair, Junior Height

Submitted by Anonymous (not verified) on Wed, 06/08/2022 - 15:46

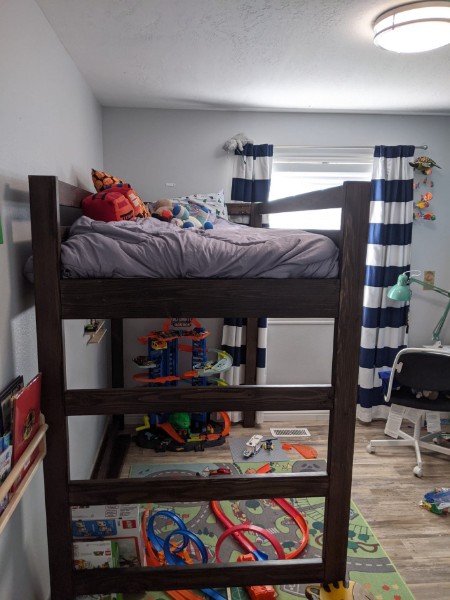
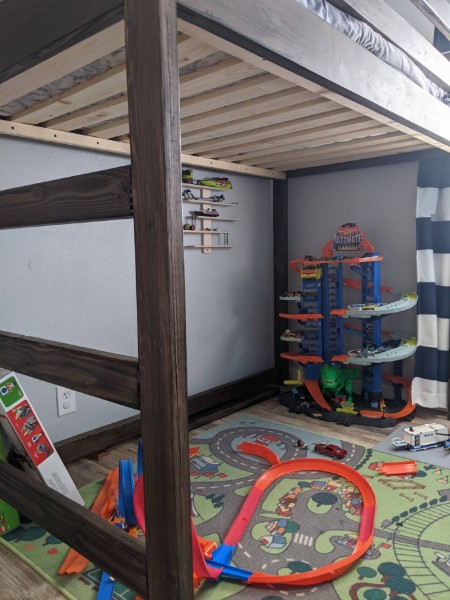
Pretty straightforward project. I didn't end up making the base due to lack of space and time. The hardest part for me was staining as depending on the medium semi-transparent etc... and how you apply it brush or gun etc... can change how it turns out. I used dark walnut i believe and only 1 coat and to me it was plenty rich. pretty sure it was semi transparent. I like how it's a loft bed and gives kid more sqft for their room. it is somewhat shaky but not horrible probably due to lack of base. I will probably add some cross members for support.

Comments

Organizing My Little Boys!

Submitted by MamaPepper on Sun, 07/17/2011 - 15:05

I really needed an entry way system that was easy to corral all of my 3 boys shoes/coats/crap, etc. . . and I LOVED this plan! I messed up on the frame, so just left it off, and decided that I didn't need the back either. I painted little chalkboards on the side of each boys cubby.

I'm fairly certain that this isn't made perfectly, but it's perfect for us! This was my 2nd project and I'm really super psyched about it!

Built from Plan(s)
Estimated Cost
$60ish or so?
Estimated Time Investment
Weekend Project (10-20 Hours)
Recommended Skill Level
Beginner

Leaner mirror

Submitted by krochelle on Tue, 08/20/2013 - 08:18

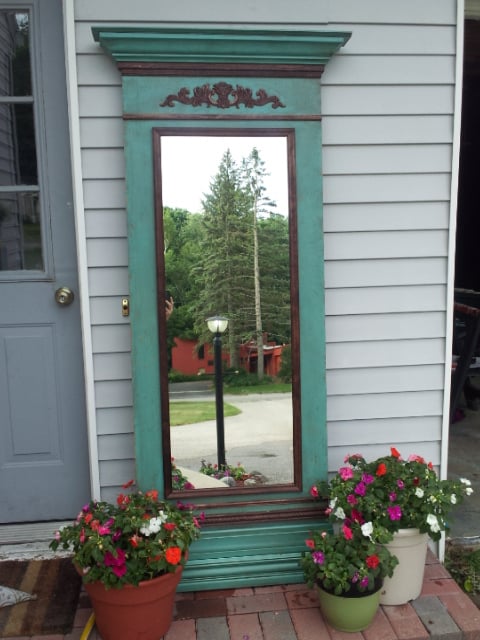
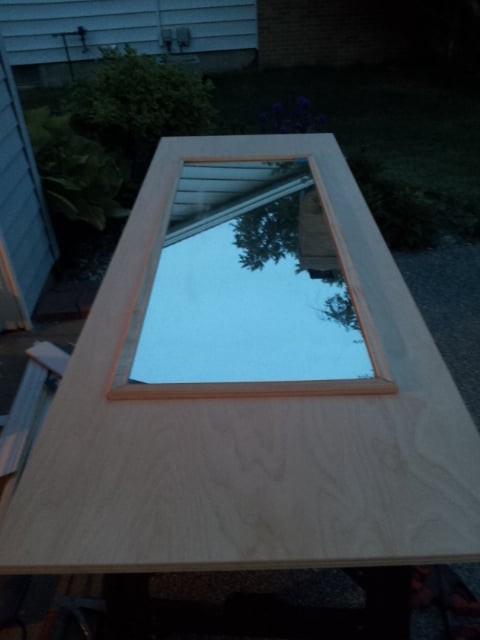
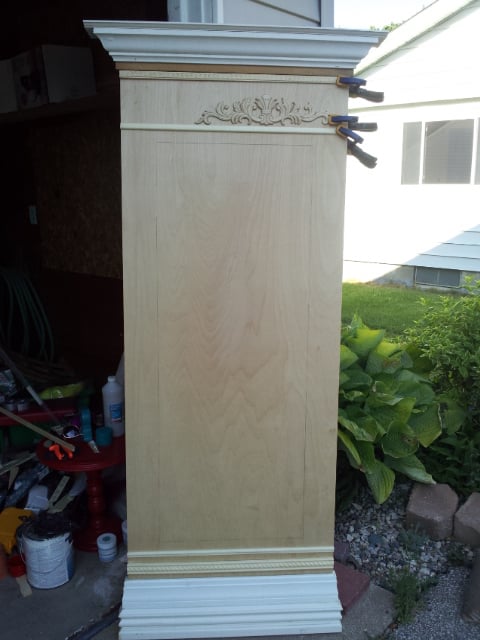
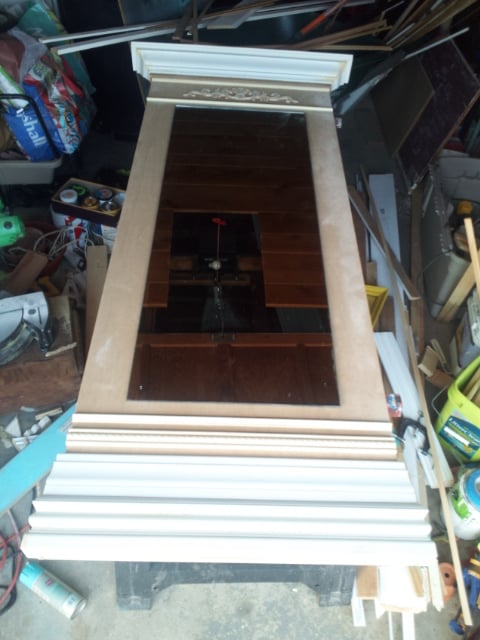
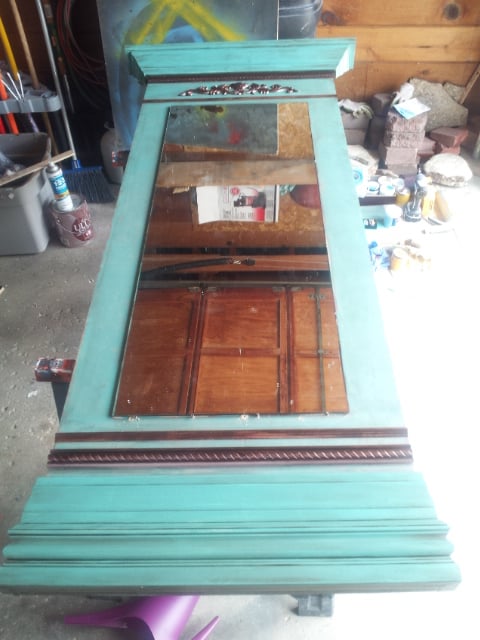
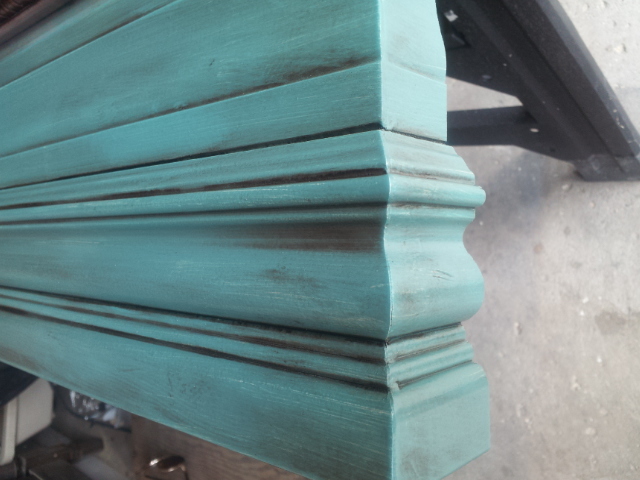
This was made as a present my mom's birthday. I found a good sized mirror at the thrift shop which was perfect for the project. I adhered it to some plywood, added trim around it, bulked up the top and bottom with multiple layers and types of trim and added some crown molding to the top. The finish is "A Day at the Jewellers" by Valspar with a Red Mahogany stain/glaze over top.

Estimated Time Investment
Day Project (6-9 Hours)
Finish Used
A Day at the Jeweller by Valspar with stain overtop
Recommended Skill Level
Starter Project

Potting bench from recycled materials

Submitted by Anonymous (not verified) on Wed, 06/22/2022 - 07:42

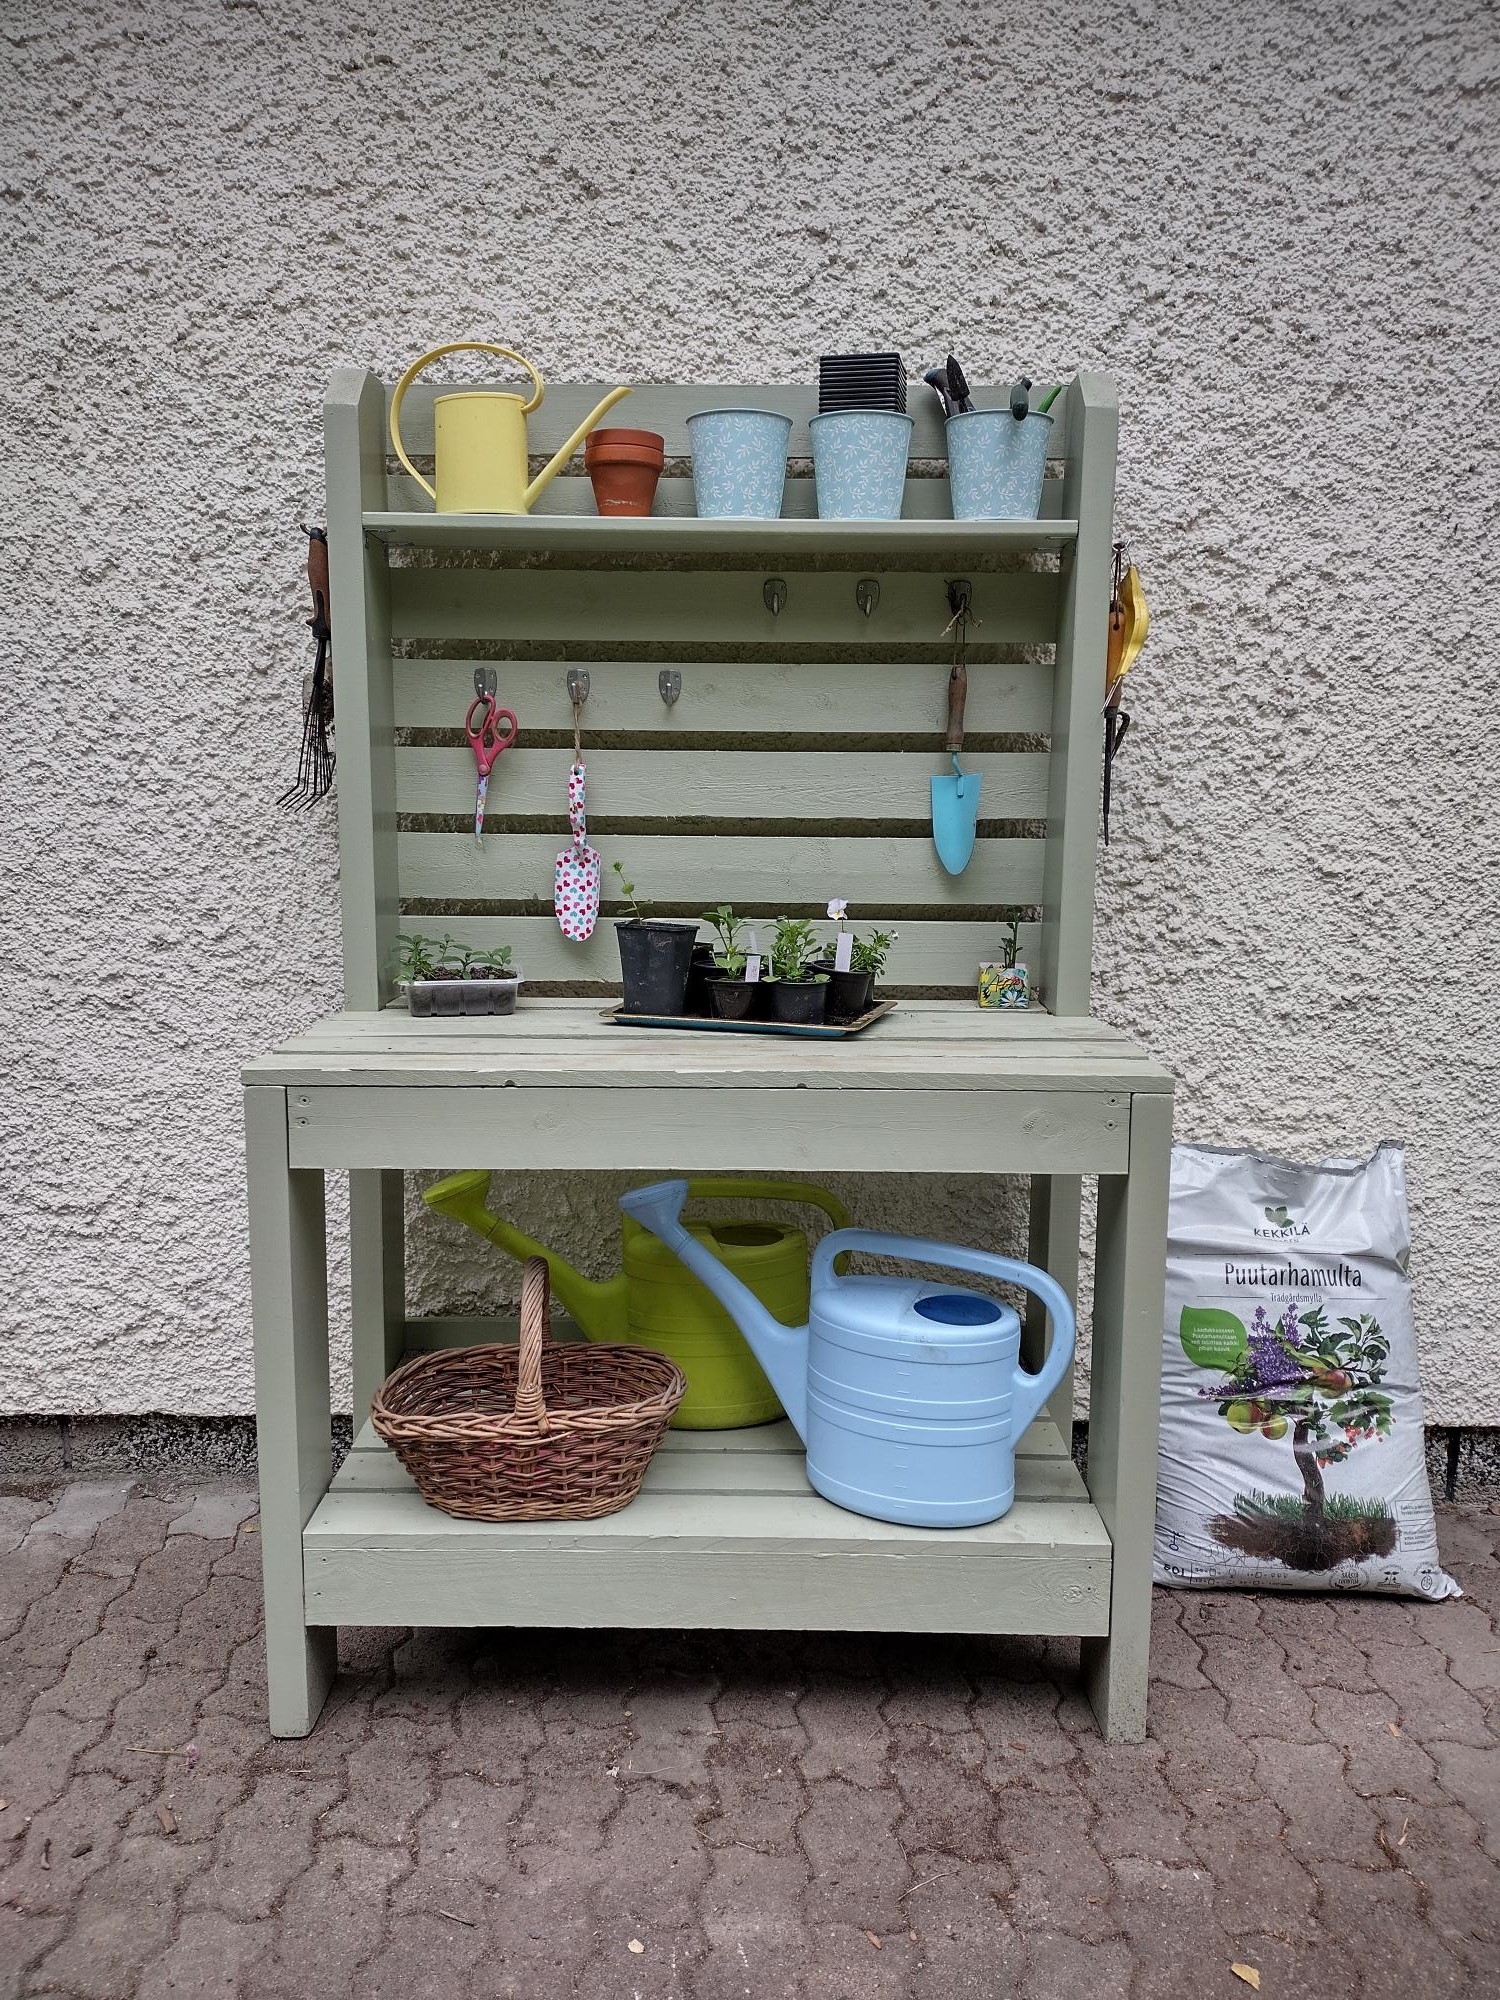
I used recycled materials for my potting table. The boards for the front and back legs I found from a factory's dumpster. Side aprons are from boards I saved when we took down a wall in our home. The boards were a part of the wall's frame. All the boards for the worktop, back wall and the lower shelf came from the dumpster of a company selling plastic sewer pipes. They used to be frames holding together the bunches of pipes during transport from factory to the store. And lastly, the board for the little shelf used to be part of the structure holding up the tarp over a freight truck's freight space.

I've only built raised beds and crude shelves for seedlings up until this project. This was my first more complex project. And the first with which I had to follow a plan. Due to my materials being differently sized than in the project plan, I had to make some adjustments along the way. My husband helped me to make sense of the instructions and also helped when I needed another pair of hands to keep parts still while drilling.

The biggest setback during the project was the board for the small shelf splintering while drilling it into place. It splintered even though we pre-drilled holes for the screws to go into especially to prevent splintering. I made another board and that one we secured in place with small corner braces which worked better.

Thank you Ana for the project plan. Here in Finland potting tables like these are not common and they are not sold anywhere. I've dreamt of one for 15 years and now, finally, I made my dream home true with your help.

Best wishes,
Aija

Comments

Adirondack side table ~ using recycled pallet wood

Submitted by Sharon L. on Sun, 07/24/2011 - 06:37

This was a very fun and one of the easiest projects I have made from Ana's plans! This makes me want to see if I can make matching chairs as well!

If you have seen my other projects, you know that I try to keep the lumber cost of my projects as close to free as possible. Living on the Eastern Shore of Virginia, pallets are not free, so I did have to pay $2 for each pallet, being VERY choosy about the slats being all the same size and straight. The hardest part of the project was taking the pallets apart! Check the blog link for more details.

I used 1 1/2 pallets for this project, and the following tools:

Jigsaw (to cut the ends off the pallet)

Pry-bar (to loosen the slats from the center of the pallet)

Miter saw

Drill

Table Saw (ripping the 2x4 sections of the pallet, to make the legs and spacers of the table)

Palm sander

Estimated Cost
less that $20
Estimated Time Investment
Day Project (6-9 Hours)
Finish Used
Gripper Grey primer by Glidden (leftover from other projects)

Brilliant Red Acrylic by Benjamin Moore (also leftover)

I use the Gripper Grey primer/sealer on most outdoor projects because it is a nice one-coat sealer and great for underneath darker colors.

The Brilliant Red is an off-the-shelf color.

I would recommend removing and priming/painting the tabletop pieces separately(after assembly)so that you can assure great coverage between the slats, being careful to remember where each piece belongs.
Recommended Skill Level
Beginner

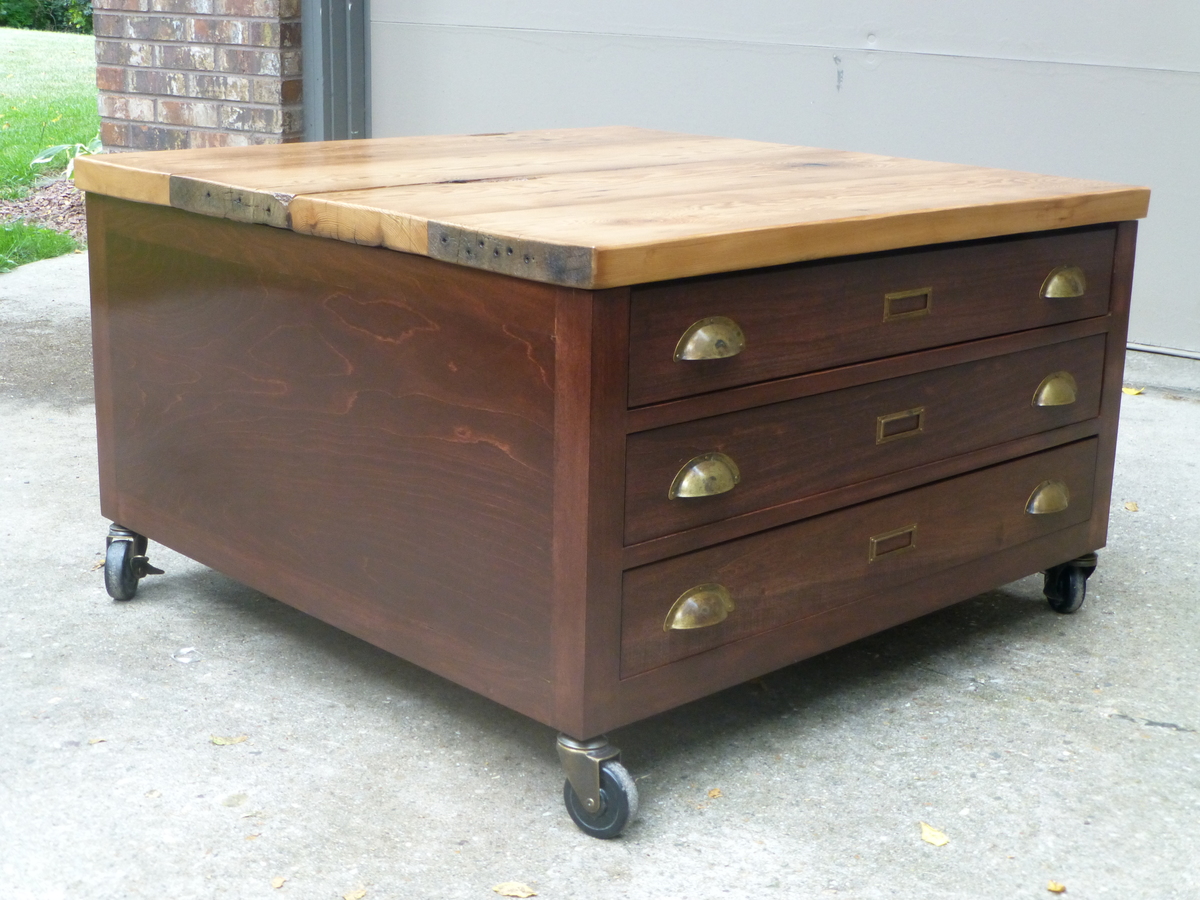
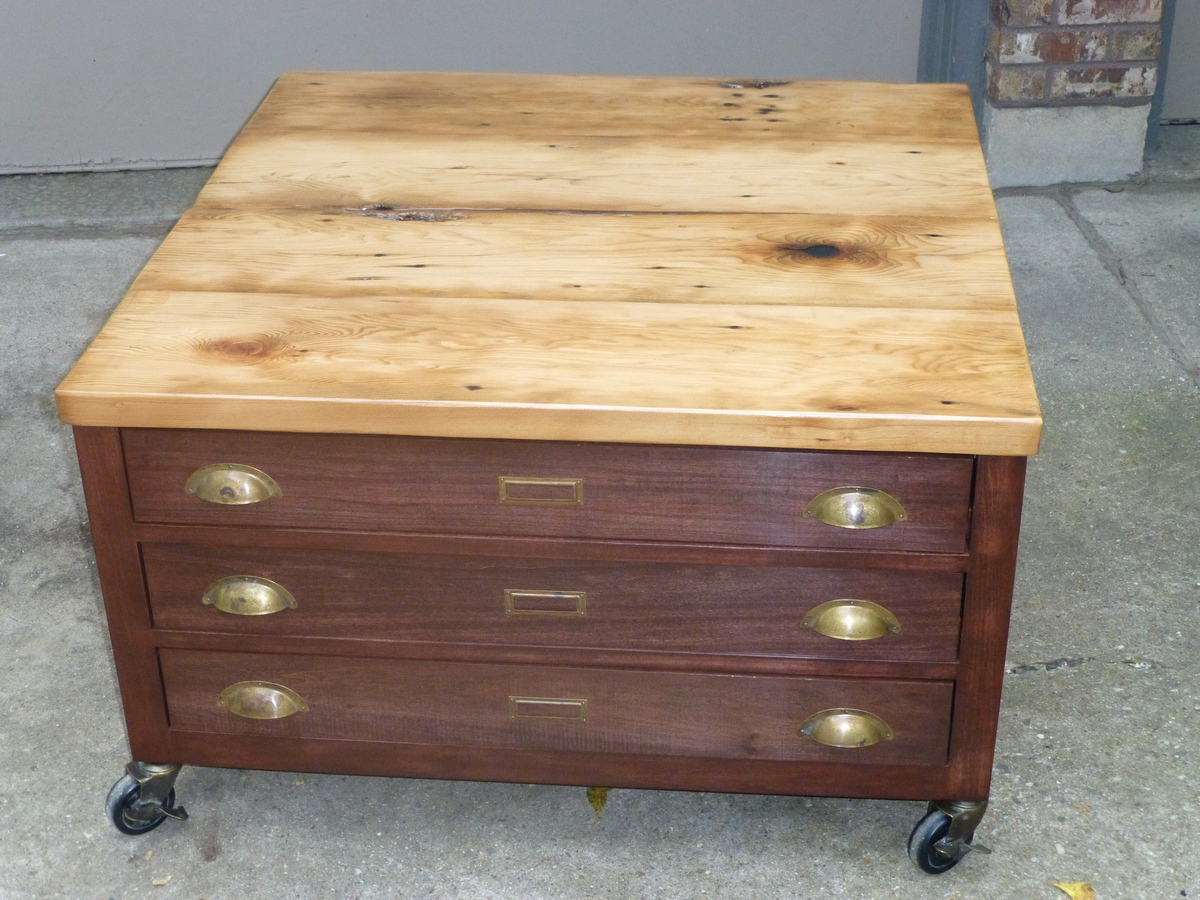
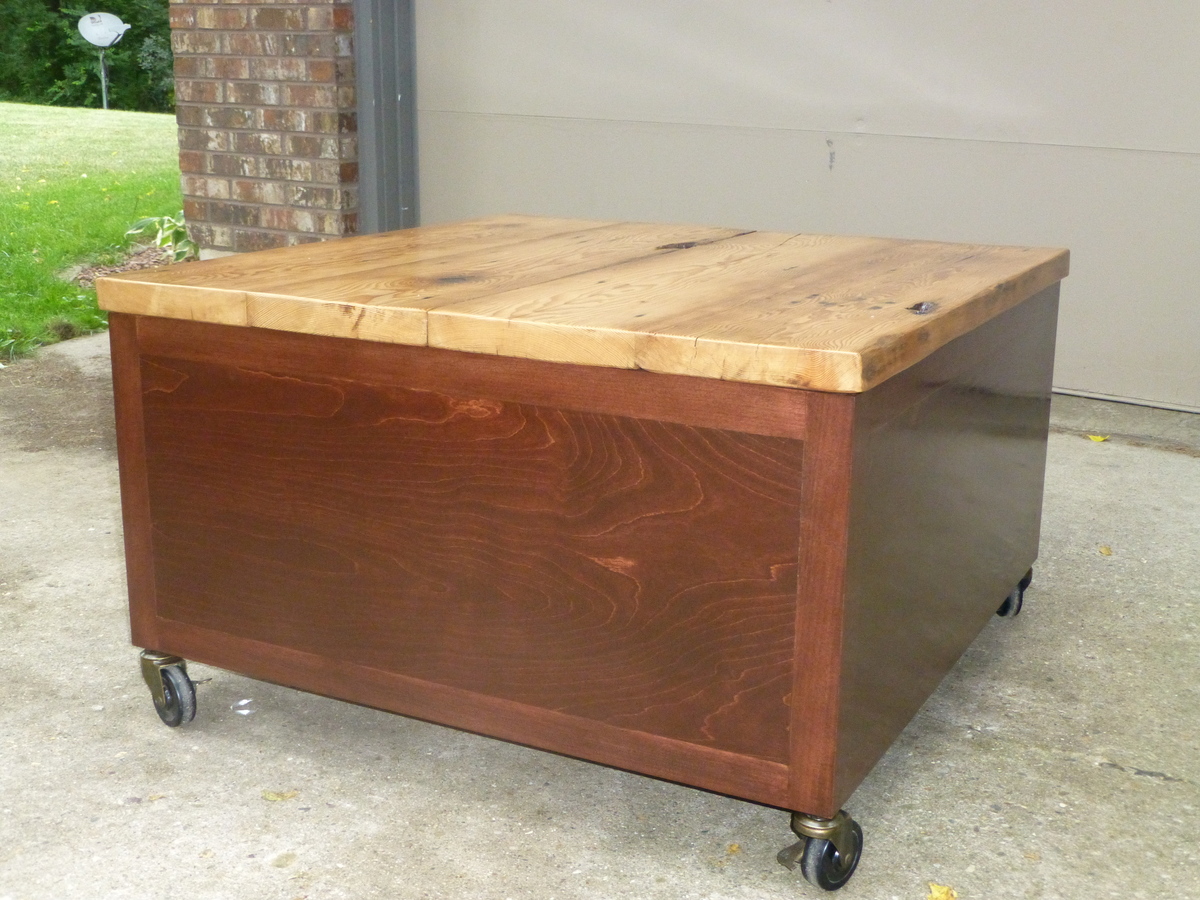
Library Coffee Table with Reclaimed Barn Wood Top

Submitted by wendywmp on Wed, 08/21/2013 - 19:42

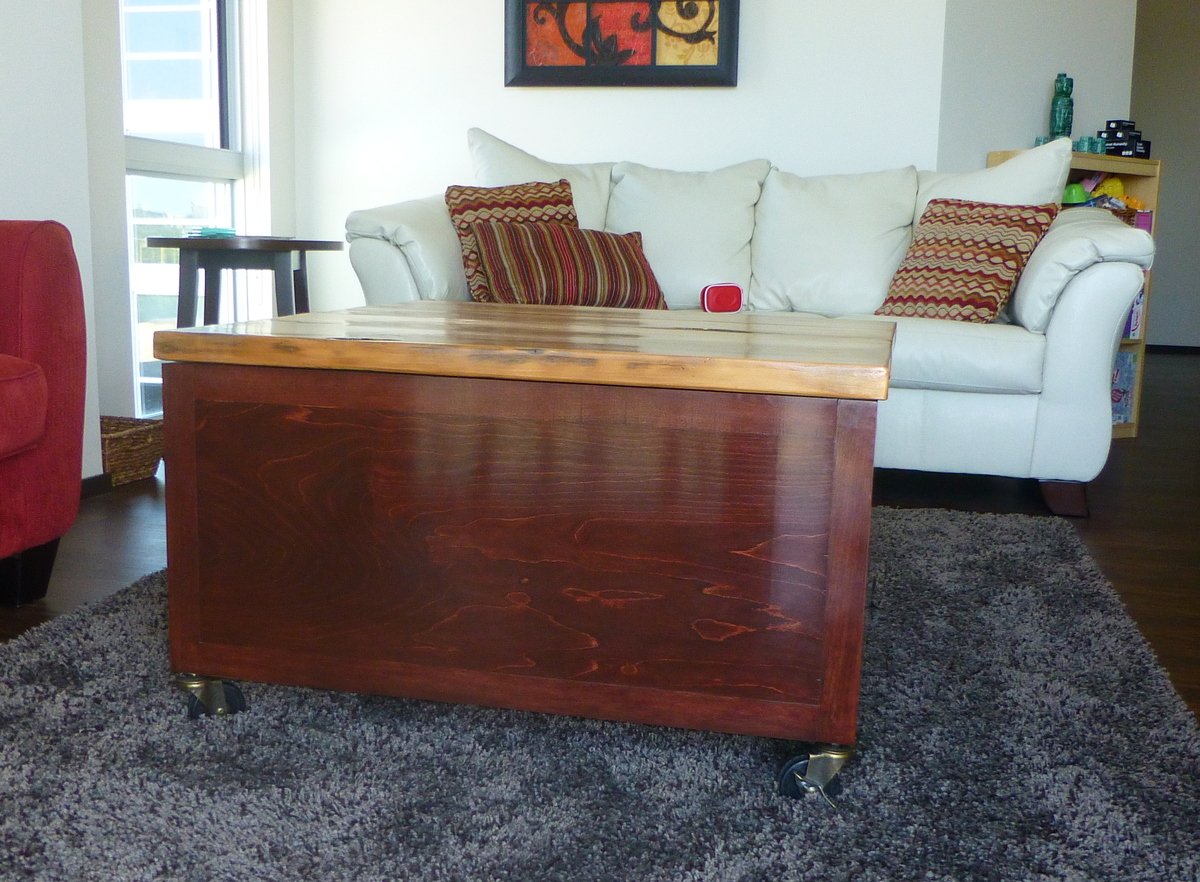
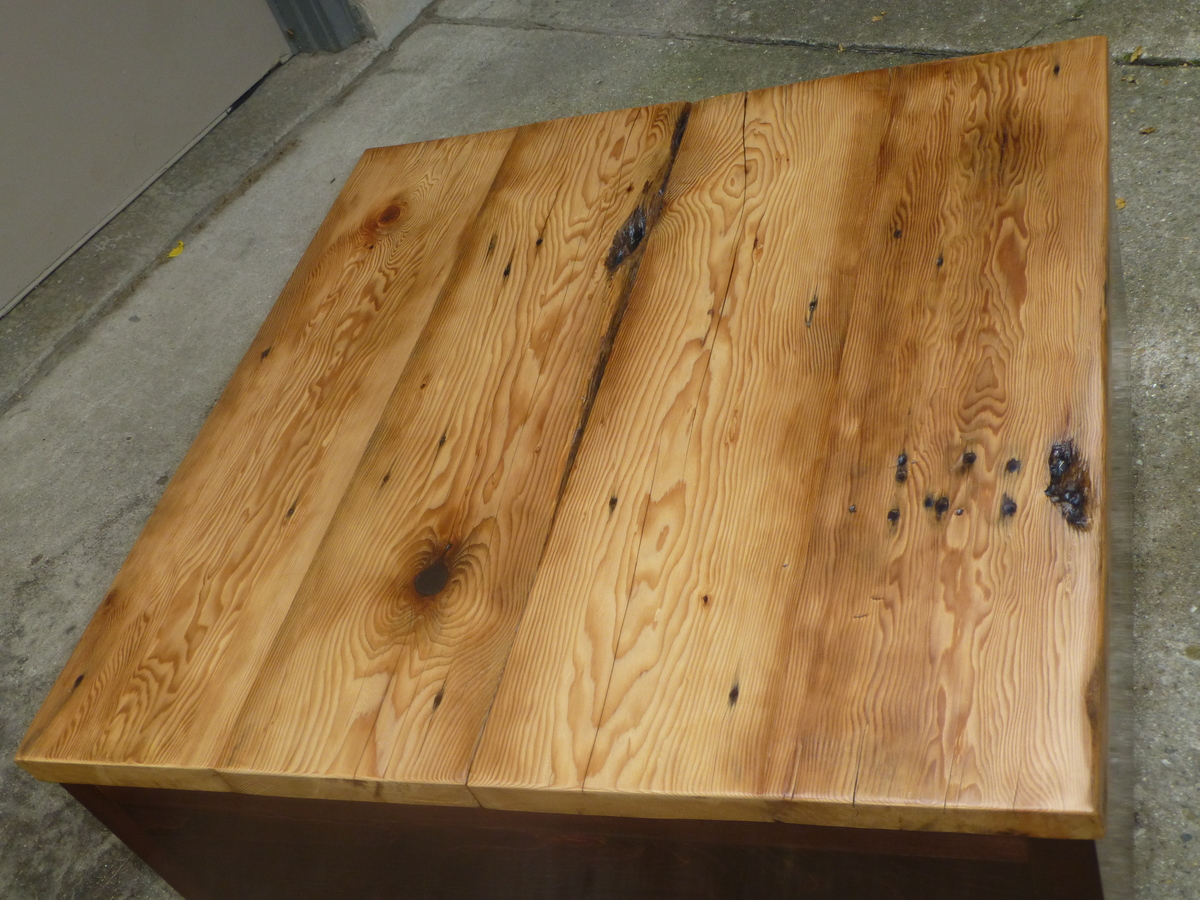
Modified the plans to be only 3 drawers which saved on weight and hardware. Used reclaimed 100+ year old barn wood for the top, adding lots of character.

Estimated Time Investment
Week Long Project (20 Hours or More)
Finish Used
Cabinet: Minwax gel stain in Red Elm, and Winwax wipe-on satin poly. Top: West System epoxy to stabilize and fill 'defects', sanding sealer and wipe-on satin poly.
Recommended Skill Level
Intermediate

Comments

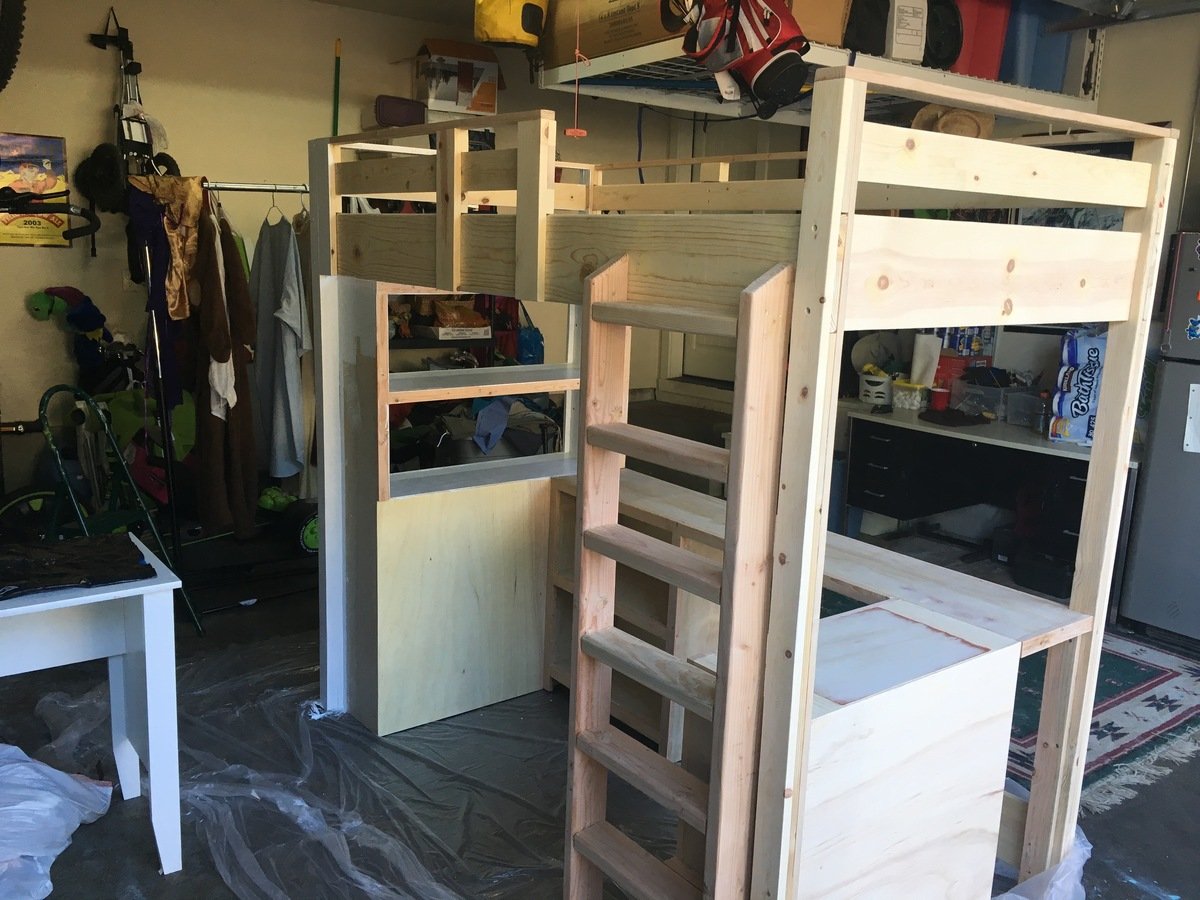
Loft Bed

Submitted by Medickep on Sat, 10/03/2015 - 13:34

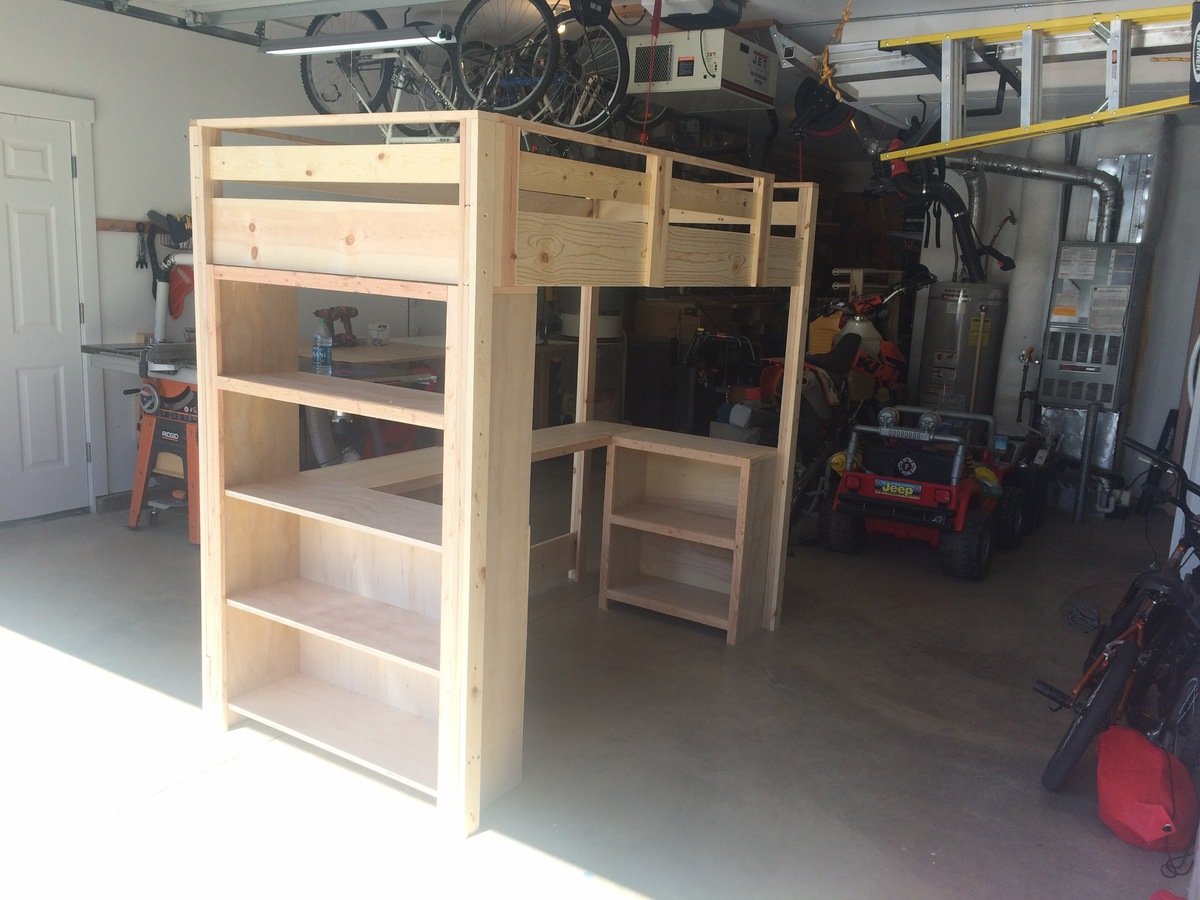
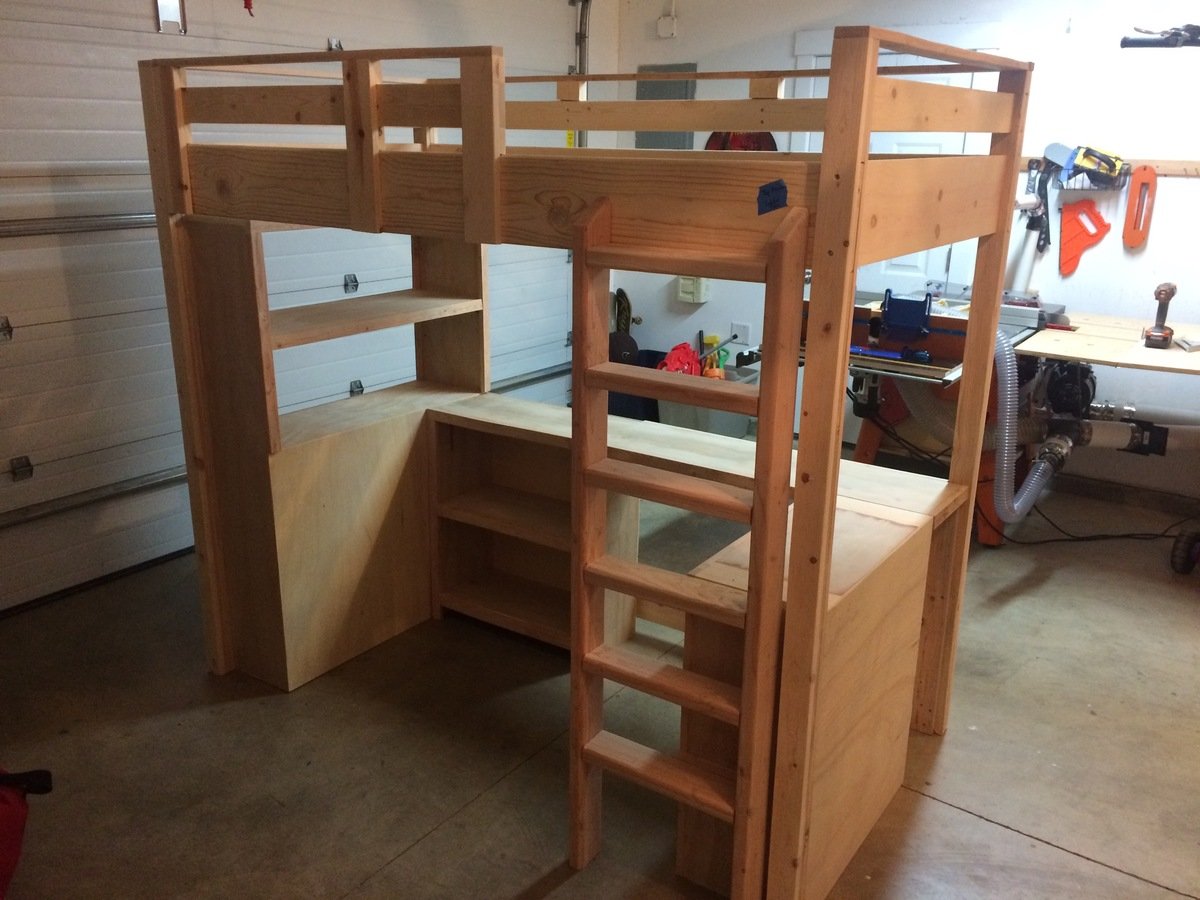
I built this loft bed for my neighbor's daughter.  It has a lot of space for storage and the book shelves with desk really add a lot of stabilty.  I added some supports to the back rail as it moved to much for me and made the ladder out of 2x material as it kept costs down and seemed stronger.  Neighbor wanted the ladded straight up and down so I connected it to the lower bookshel too!  Would not recommend cutting pieces in advance on this one!  I also used plywood for the shelves and trimmed them out as it was cheaper!

Estimated Cost
300 +/-
Estimated Time Investment
Weekend Project (10-20 Hours)
Finish Used
Up to the neighbor this time!!
Recommended Skill Level
Intermediate

Comments

LanMan20

Mon, 10/05/2015 - 14:39

Good job!  I am toying around with building something similar from scratch.  A few questions if you don't mind: 

1. Given the sturdiness, I am guessing it is fairly heavy.  Could two people move it?  

2. By chance, is it modular for easy breakdown and transport (upstairs)?  

3. Are there any plans available (materials listing, cuts, etc.)?  

Thanks for posting and keep up the great work.  I am sure your neighbor will be pleased!
Medickep

Tue, 10/13/2015 - 15:03

Hopefully you have not been waiting long! I do not get notified for some reason to remarks any longer!
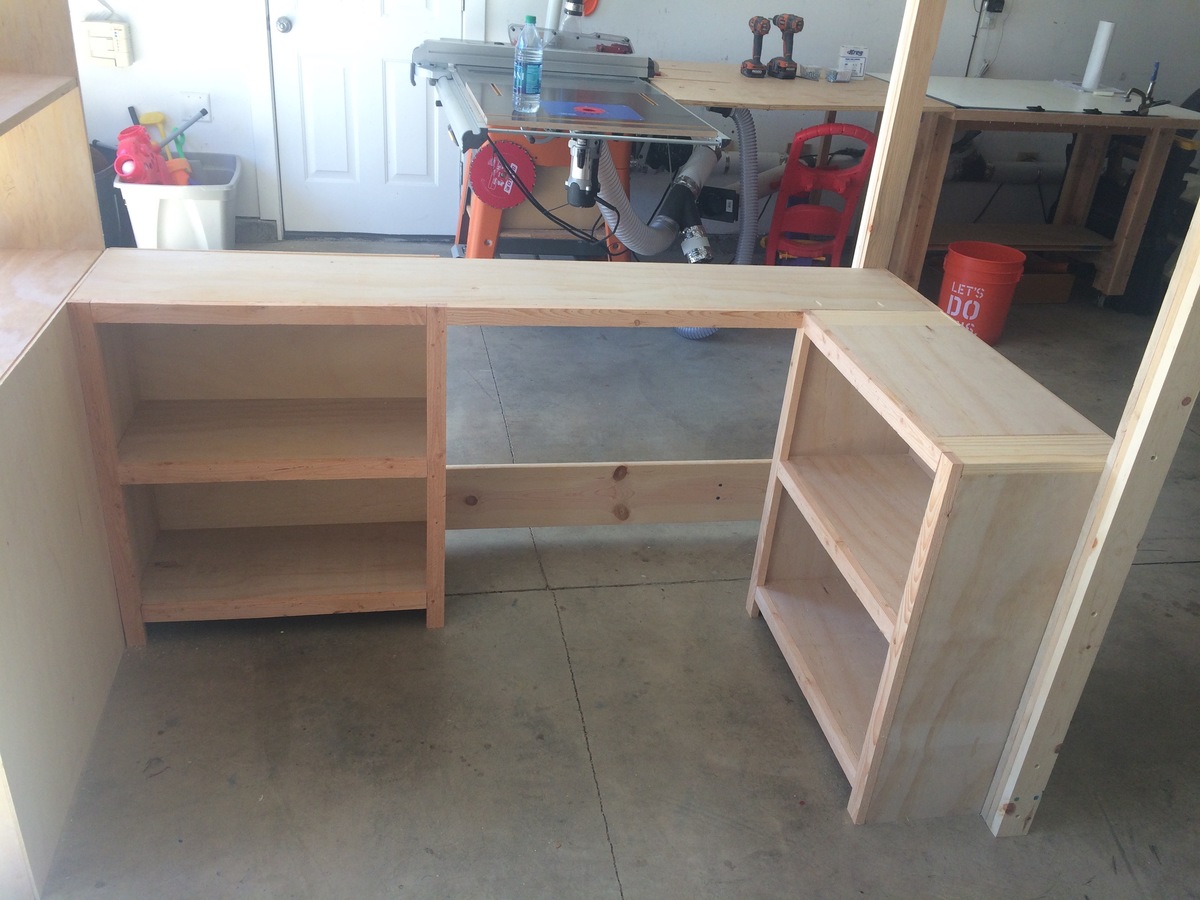
Yes, it's very sturdy, especially with the addition of the book shelves and desk.  Itt is designed to come apart with a few screws, so going up stairs is not an issue.  I got it from the following plans. 


http://ana-white.com/2010/05/furniture-plans-loft-bed.html

http://ana-white.com/2010/06/plans/what-goes-under-loft-bed-how-about-big-bookcase

http://ana-white.com/2010/06/loft-bed-small-bookcase-and-desk


I do not recommend cutting everything in advance.  Build as you go if you want everything to fit perfectly!!

Bedroom Dresser Cubbies / Media Stand

Submitted by Debi G on Wed, 07/27/2011 - 14:08

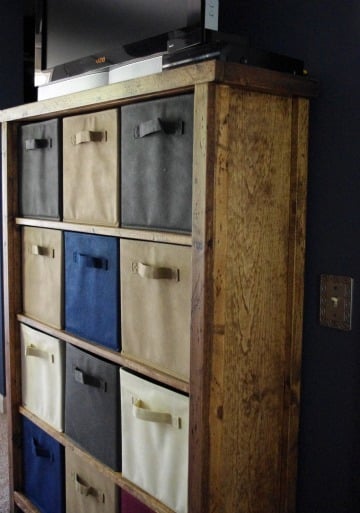
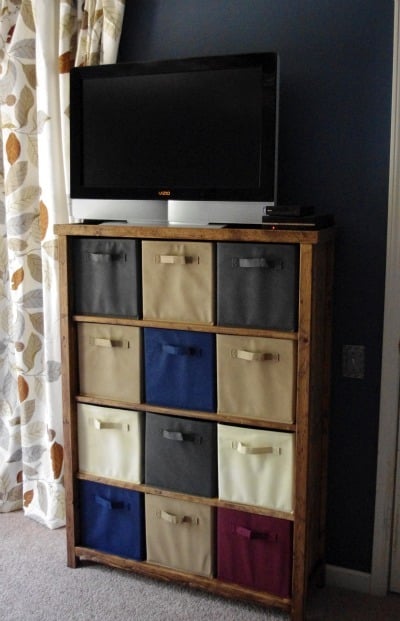
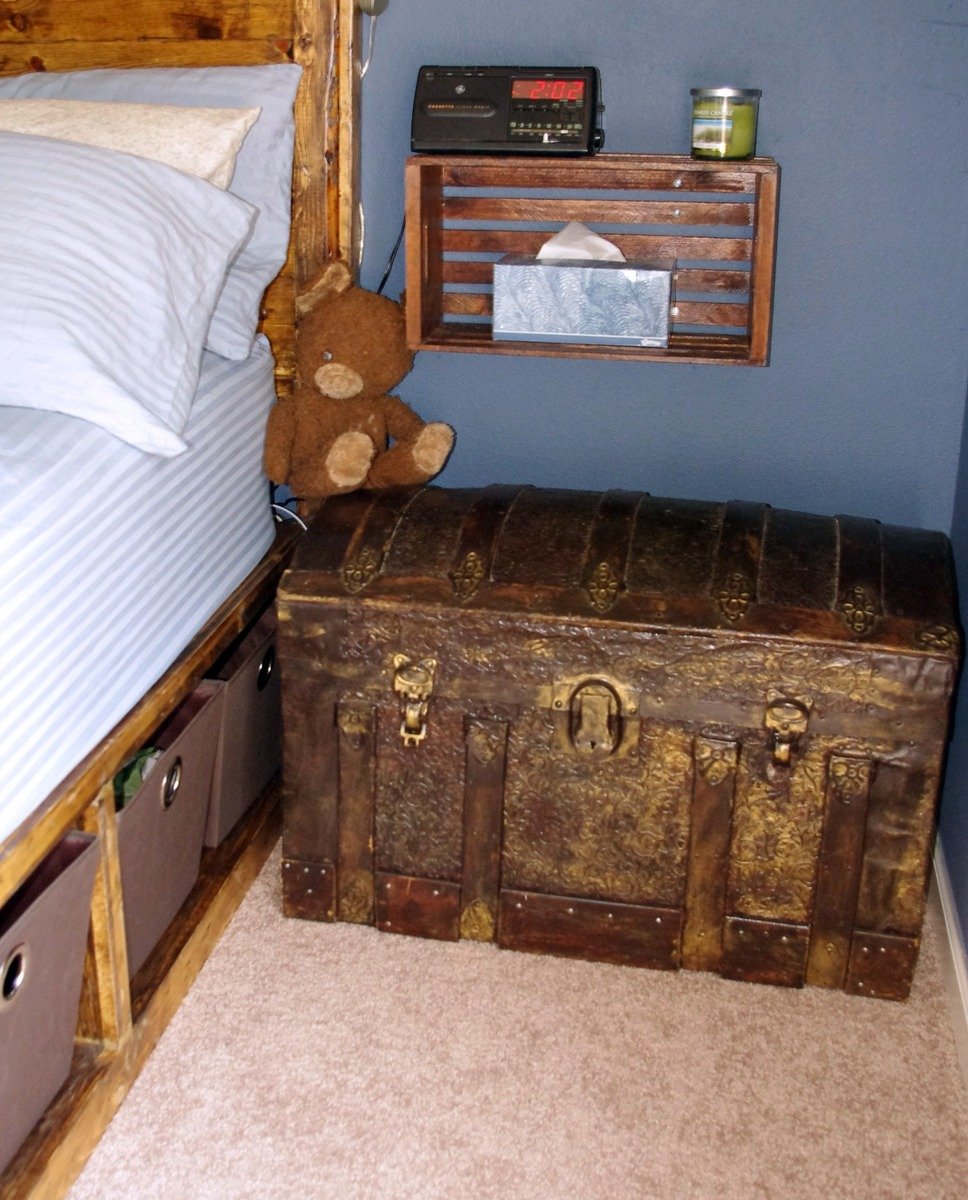
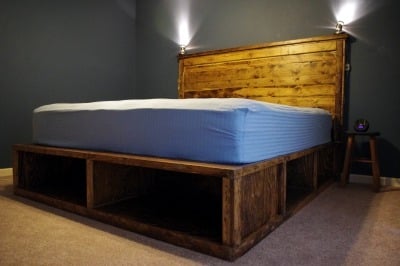
This is inspired by pieces I've seen here, though I sketched it out on paper myself to make sure it would suit the limited space in our room. I built the simple piece to match our bed (made from Ana and her reader's plans, see my photos below).

Originally, I planned to include cabinet doors, but with the limited space we have, this is better for us.

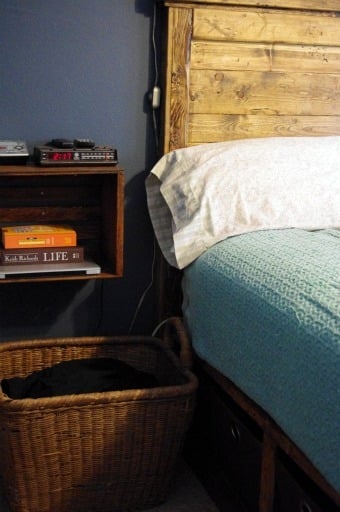
For nightstands, I stained plain wooden crates I had in the basement. Still working on how to hide the cords.

The baskets under my bed are from Bed Bath Beyond. The baskets in the "dresser" are from Target.

Sorry about the poor photo quality.

Built from Plan(s)
Estimated Cost
Built from leftover materials (Baskets $5.99 each)
Estimated Time Investment
Afternoon Project (3-6 Hours)
Finish Used
Minwax Provincial (one coat) and one Minwax water-based poly coat.
Recommended Skill Level
Beginner

Comments

Debi G

Wed, 07/27/2011 - 14:09

I was trying to show that these pieces are a set, but instead the photos look pretty random.

Debi G

Sat, 12/10/2011 - 07:41

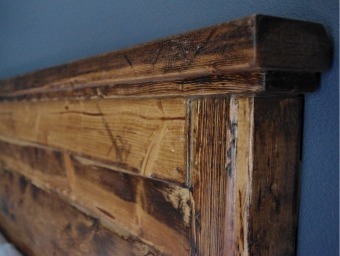
Sorry I haven't logged in in so long--the bed follows plans for the king Stratton, combined with the reclaimed wood headboard. The headboard is attached to the wall. We can slide the foot bench part out to hide presents behind, which is really handy (though heavy) to do.

Daun Family Coffee Table

Submitted by stevendaun on Sun, 08/25/2013 - 08:10

This was an excellent set of plans and the finished product looks great in our home.

Estimated Time Investment
Week Long Project (20 Hours or More)
Recommended Skill Level
Intermediate

Wood Crate Coffee Table

Submitted by TMW on Thu, 10/08/2015 - 06:44

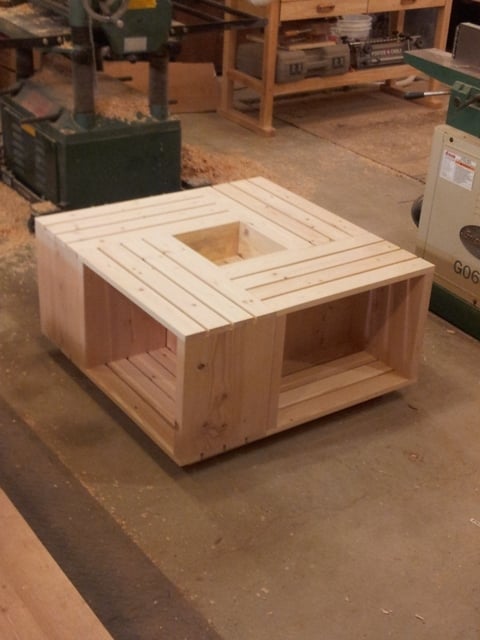
A buddy of mine showed me a picture of a coffee table his wife wanted that he found online. It appeared to be several crates attached together. I came up with this design. I added a base to raise it off the floor a few inches to make cleaning around it easier. Was made using all scrap. It was a very easy project and took about 2hrs. This picture was taken before any finish was applied.

Estimated Cost
$25
Estimated Time Investment
An Hour or Two (0-2 Hours)
Recommended Skill Level
Beginner

Comments

Audrey Wright

Thu, 10/22/2015 - 05:06

I glanced at the picture for two minutes straight, wondering how the heck you designed this layout, before I realised it was premade crates.. Silly me.. Great job !

Farmhouse Bedside (actually entry) Table

Submitted by canterbc on Wed, 10/24/2018 - 16:04

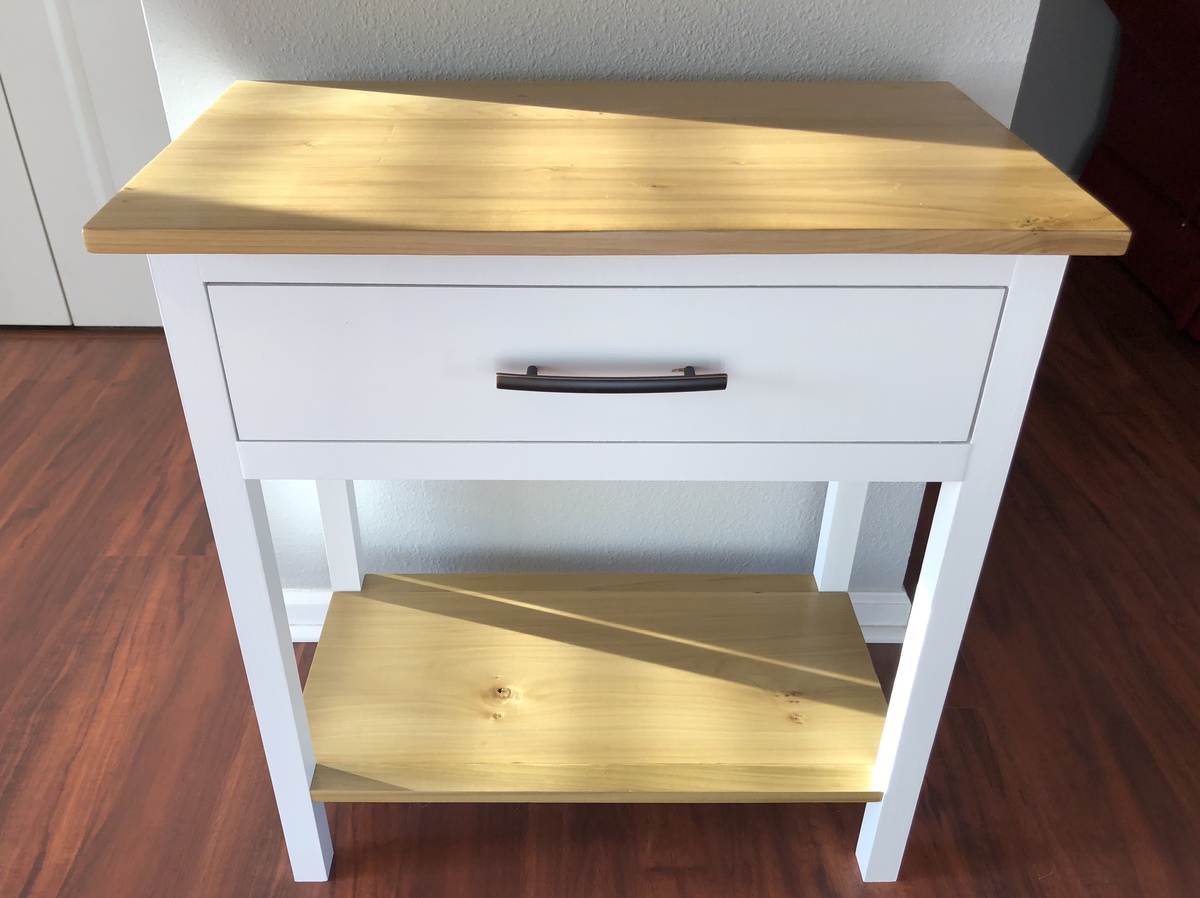
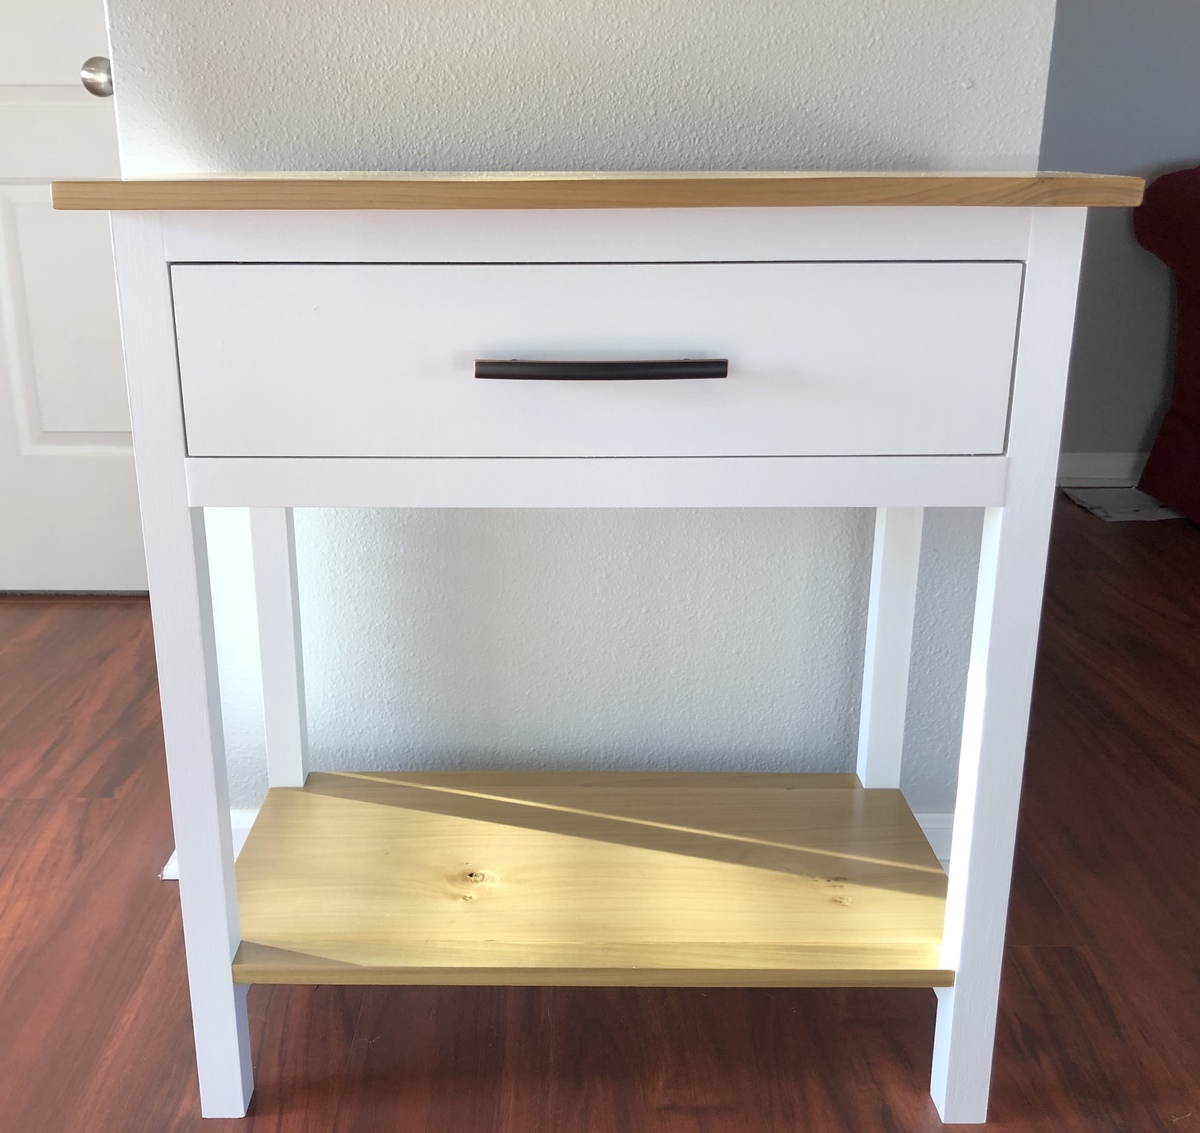
I needed an entry table and when I saw this plan for a bedside table I knew with just a couple of size modifications it would be perfect for me. It is a little taller and wider that Ana's plans, but other than that is true to her design. Couldn't be happier with the new table!

Built from Plan(s)
Estimated Cost
Around $100, maybe a bit more. Higher cost is because I used Poplar. This plan can definitely be done for less if you use regular pine.
Estimated Time Investment
Day Project (6-9 Hours)
Finish Used
I painted the base with Valspar Signature in satin Blanched Pine, one of the 10,000 shades of white. For the bottom shelf and the top, I picked the darkest pieces of Poplar I could find and just used Minwax satin polyurethane on them.
Recommended Skill Level
Intermediate

Slightly modified coffee table

Submitted by Anonymous (not verified) on Mon, 07/11/2022 - 07:59

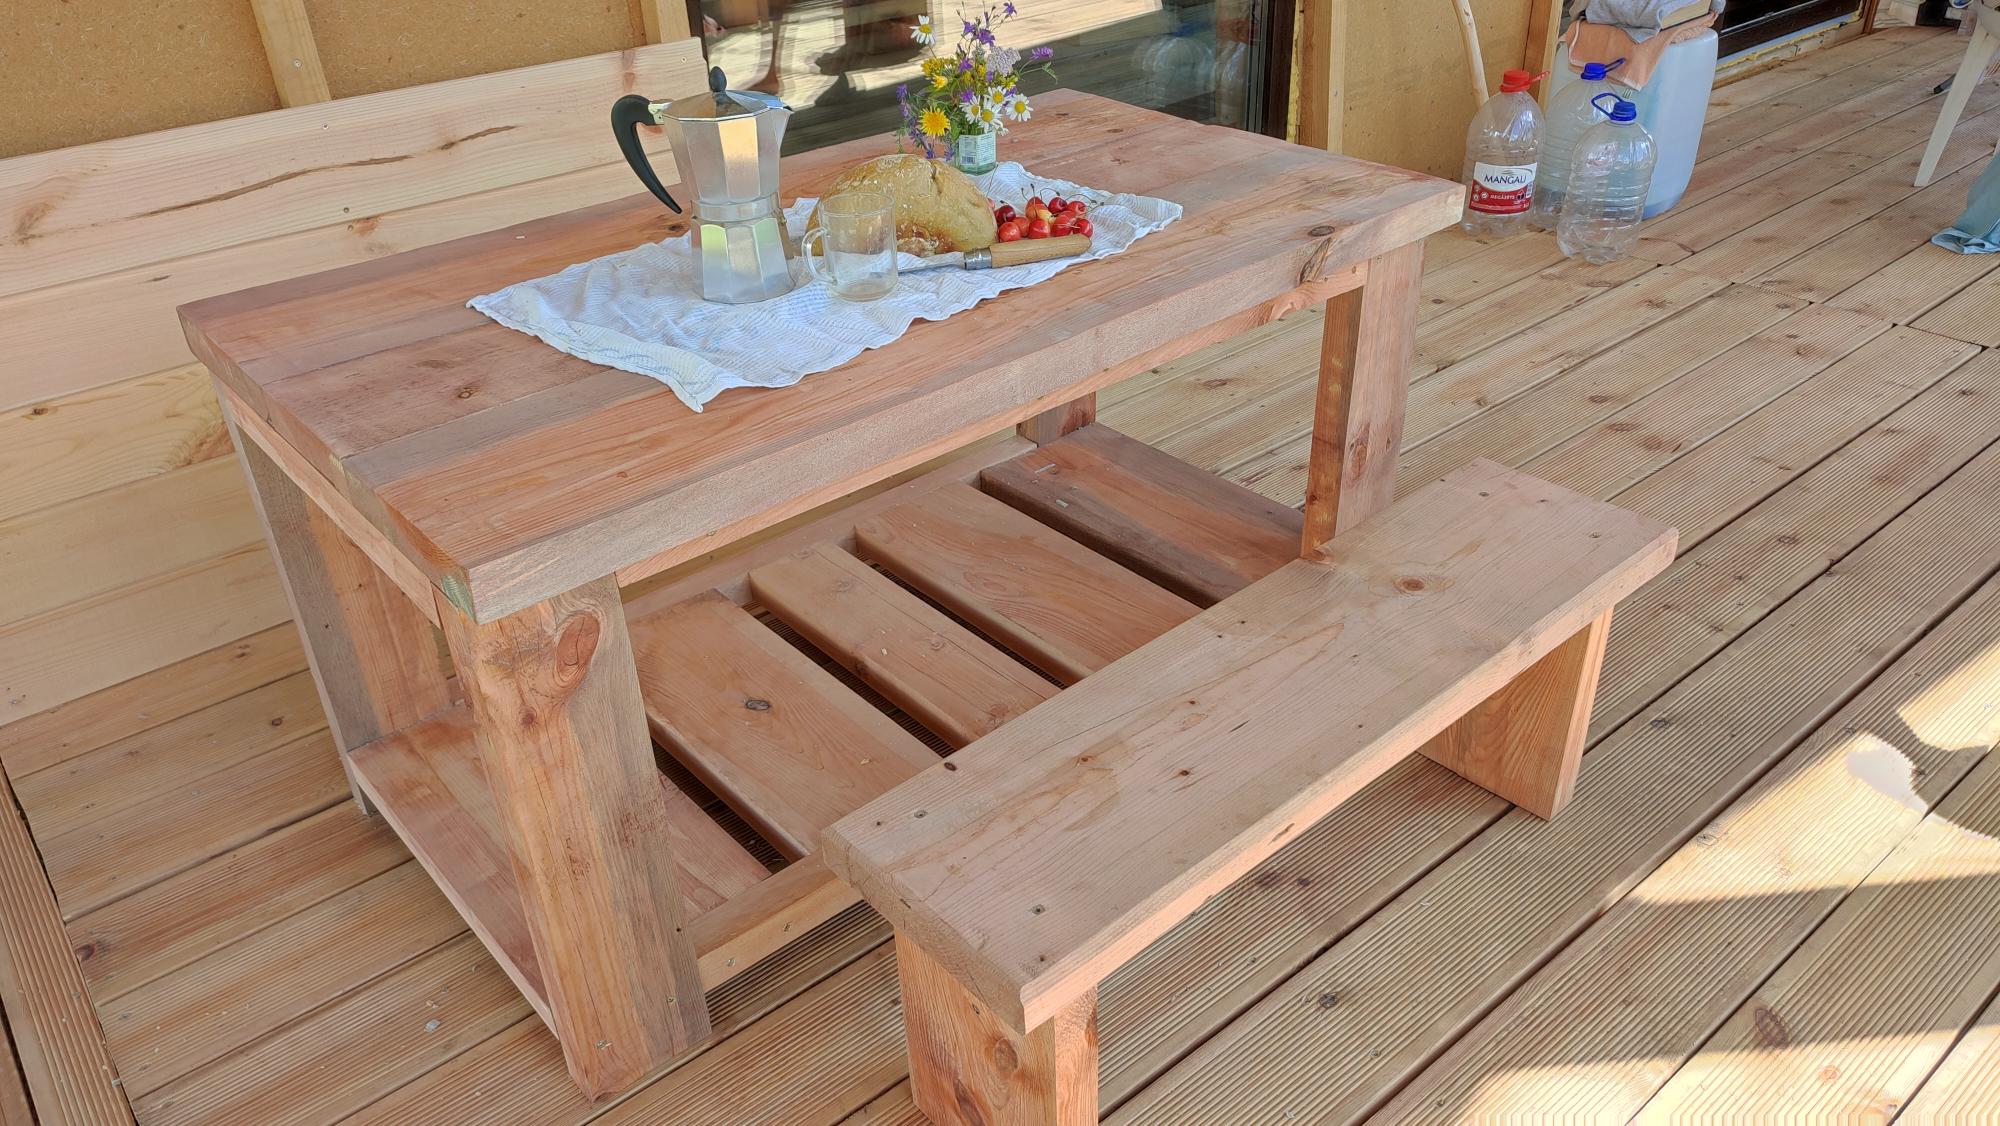
Table, based on Farmhouse coffee table project. Resized to roughly picnic table dimensions (1200*700 mm, 650 mm high), mostly as a means to recycle board cuttings, left over from building farmhouse itself. Didn't install X shaped sides, because there were no more suitable timbers remaining, which, it appears, my toddler greatly appreciated - bottom shelf makes a lovely crawl space. Shape of the shelf planks was a happy accident: what remained was sized 250 - 200 - 150 - 200 - 250 mm. Looks kinda nice doesn't it?

Comments