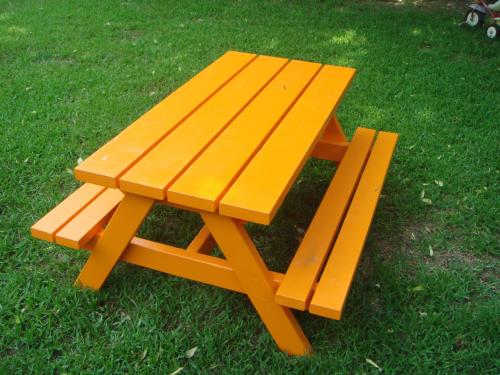
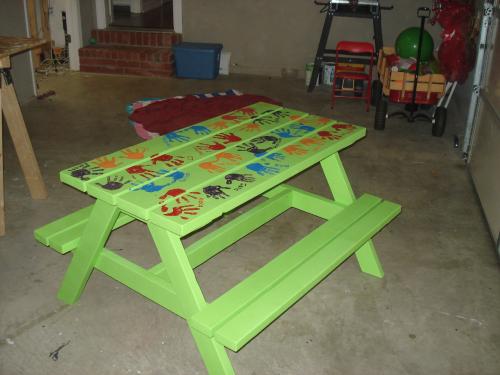
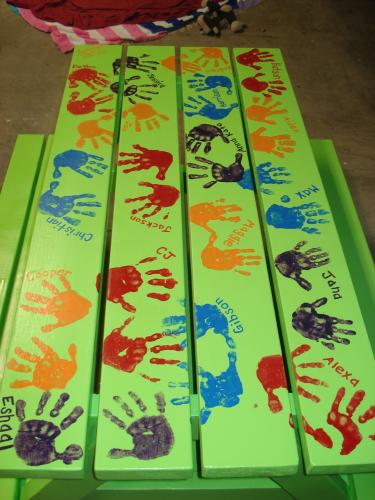
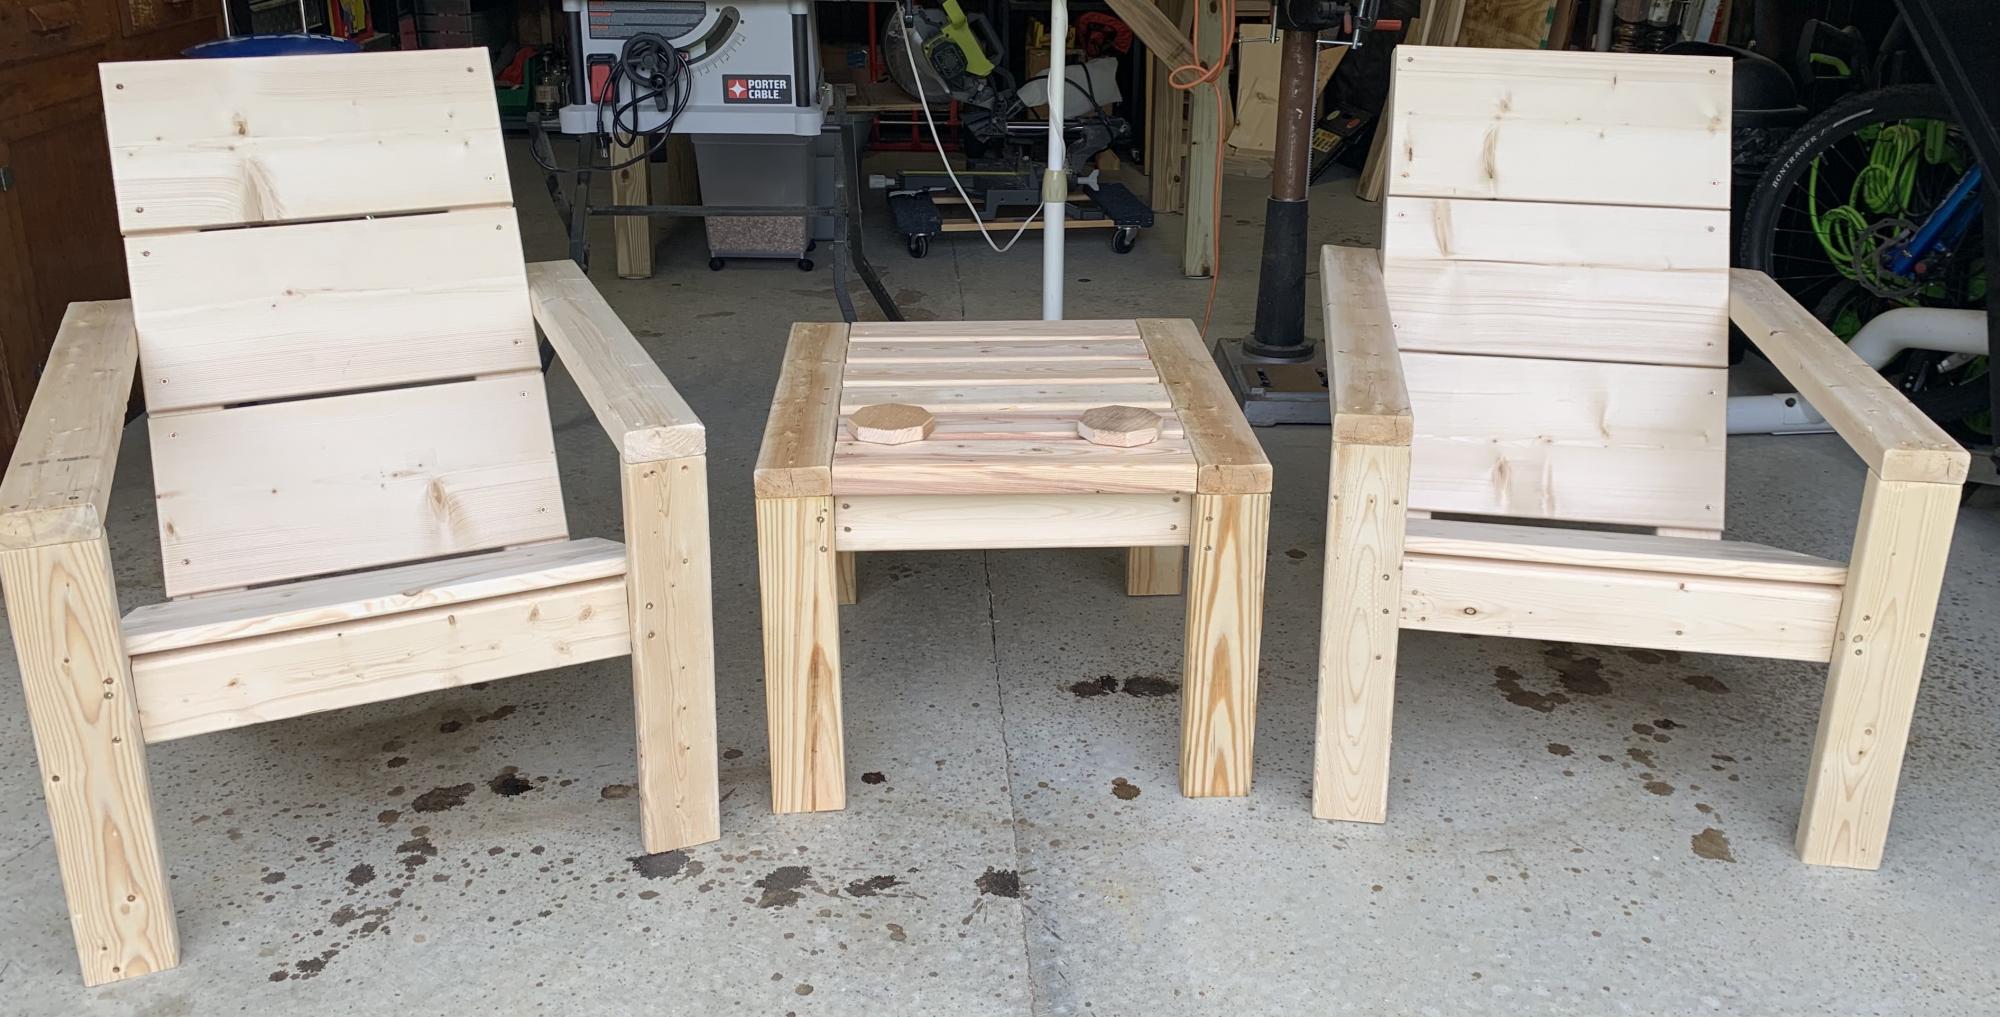
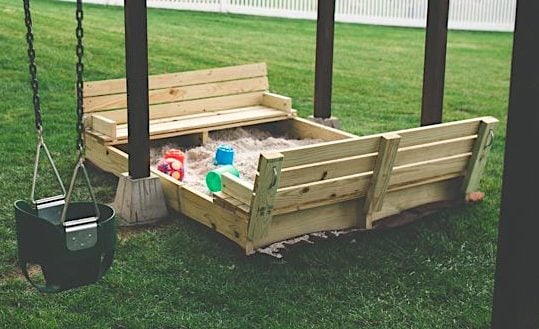
Outdoor truss table and benches
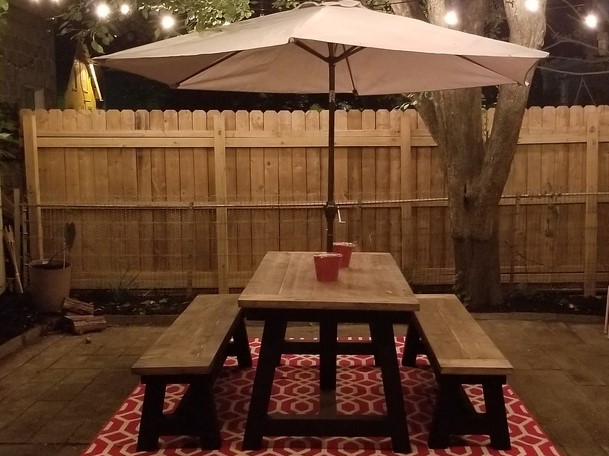
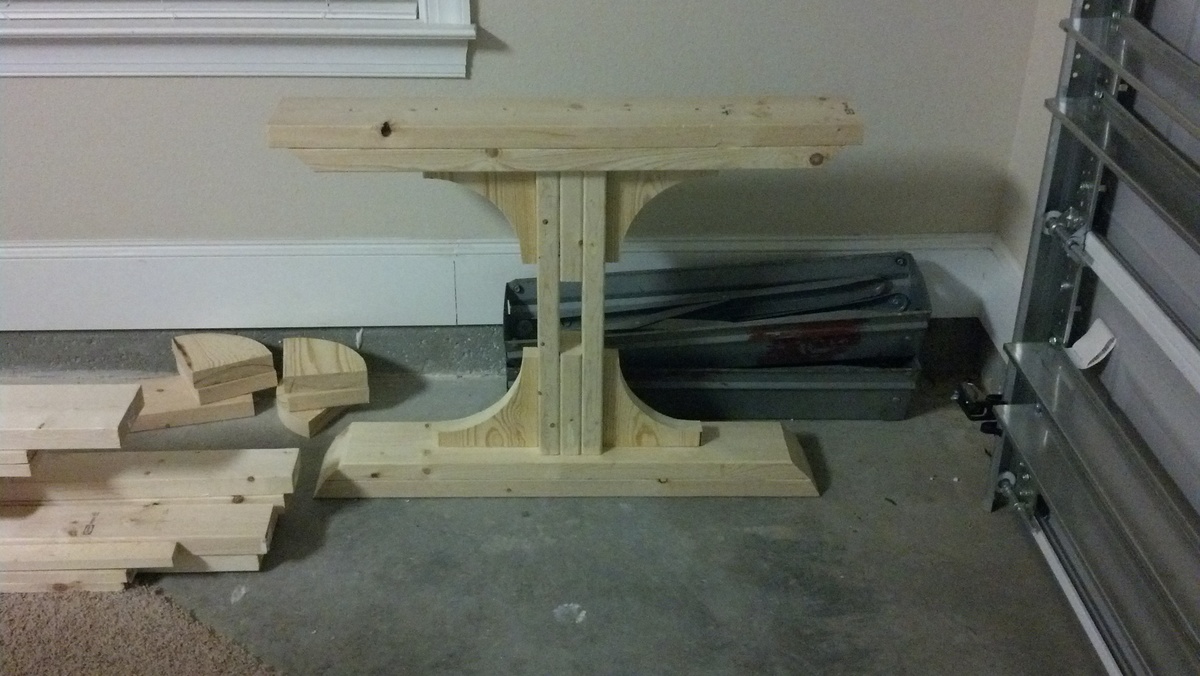
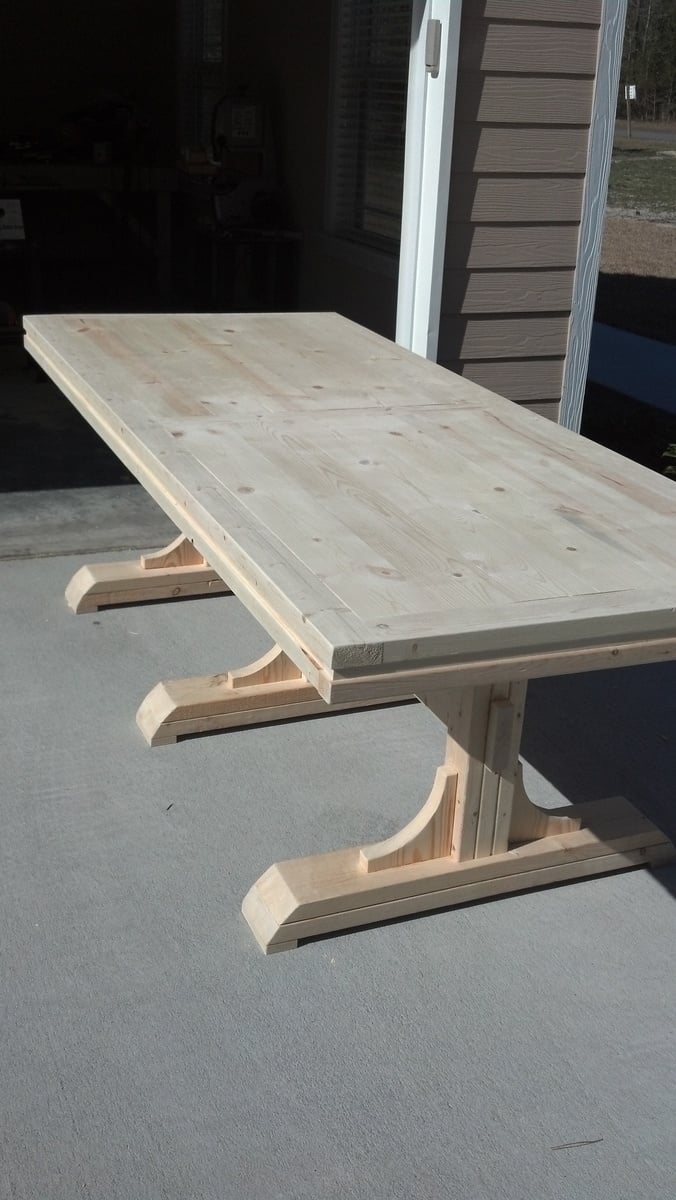
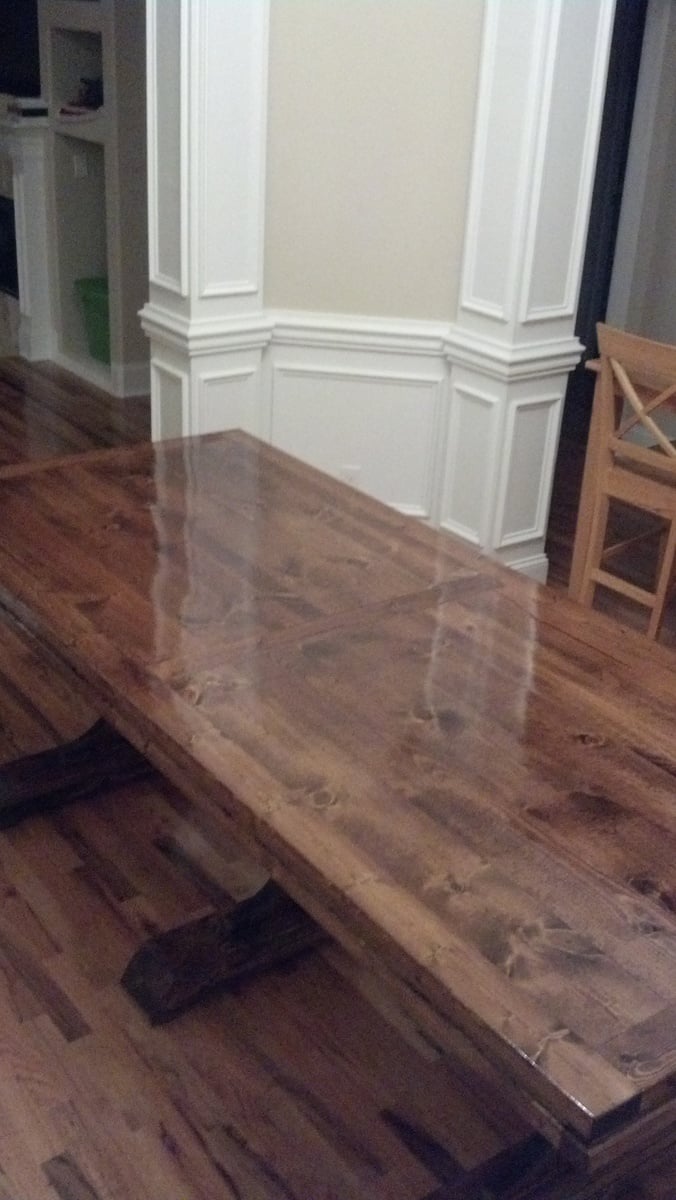
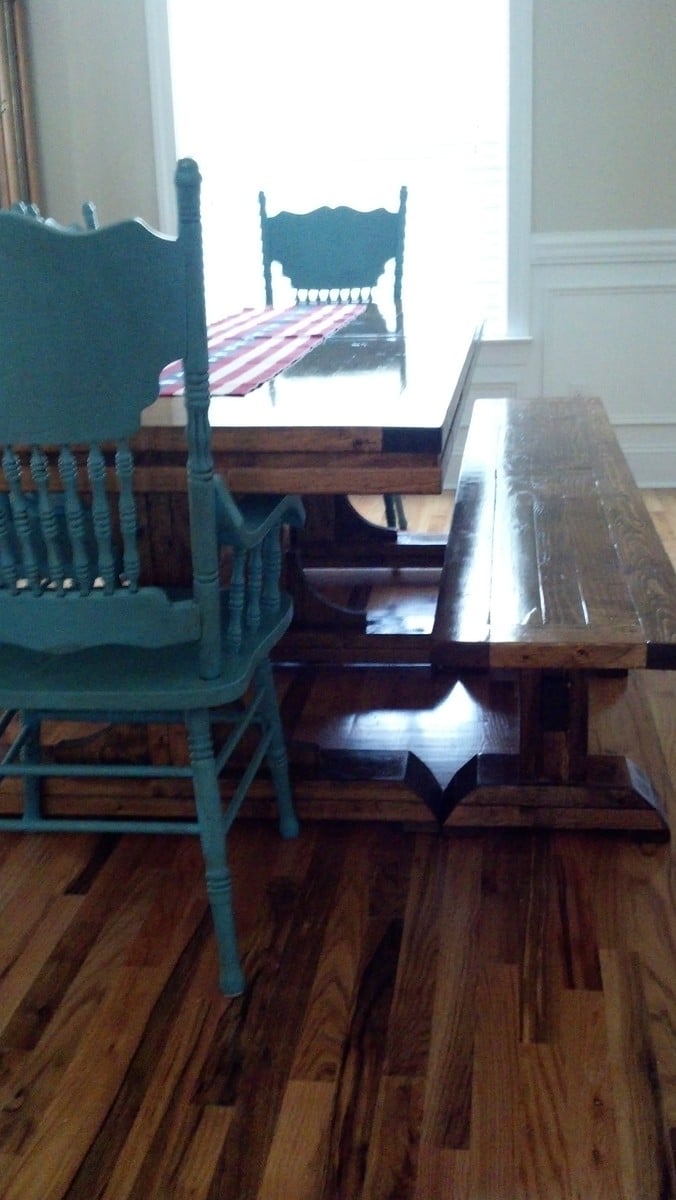
I needed an outdoor table and thought this design would look lovely on my patio. I used 2x8's for the table and bench tops, which meant I couldn't run them through my 6" jointer; so I had to plane them as they came from the store. This resulted in a fair amount of sanding once I assembled the tops with a kreg jig and glue. Plugged the pocketholes and used an outdoor deck stain for protection. The stain over the plugged pocketholes looked interesting enough that I almost used those sides for the exposed tops, but ultimately decided on the cleaner finish. The 4x4 legs and apron are in a black matte exterior paint, and I used a 1 5/8" forstner bit for the umbrella holes. It's a fun project, and assembly doesn't take too long at all. My patio is now a great place for a morning cup of coffee while reading the paper and has already become the spot for neighborhood gatherings.