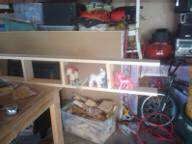
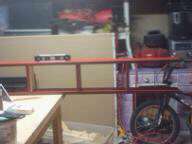
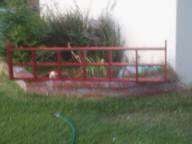
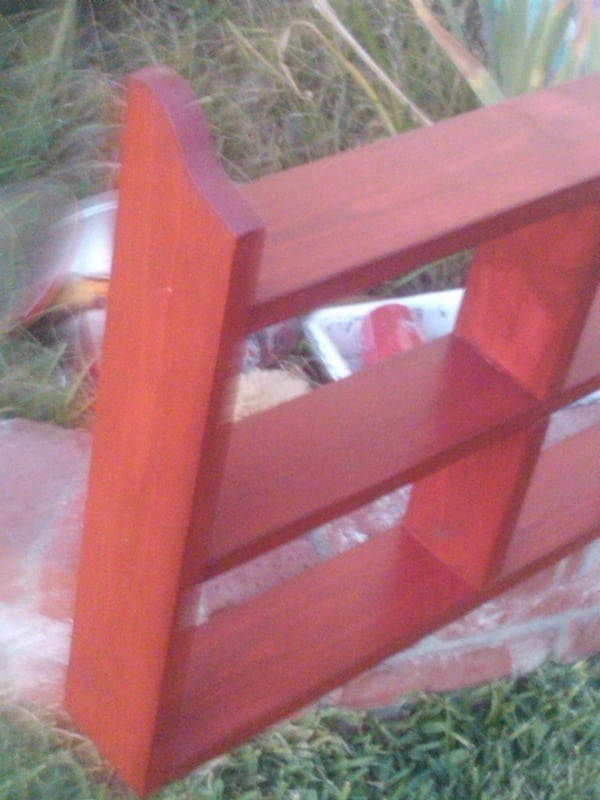
Reclaimed Wood Headboard, Queen Size
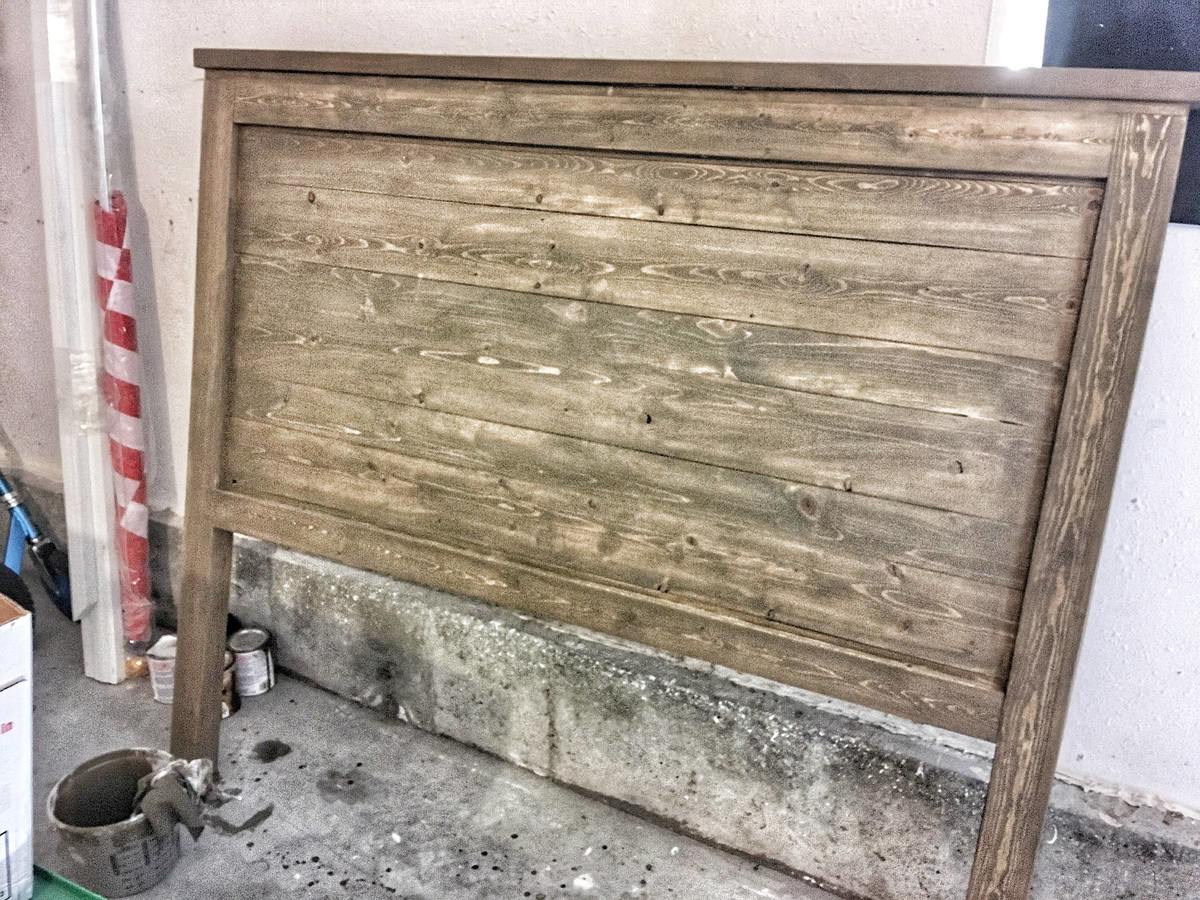
Made for a friend's son
Built from Plan(s)
Estimated Time Investment
Weekend Project (10-20 Hours)
Recommended Skill Level
Beginner
Made for a friend's son
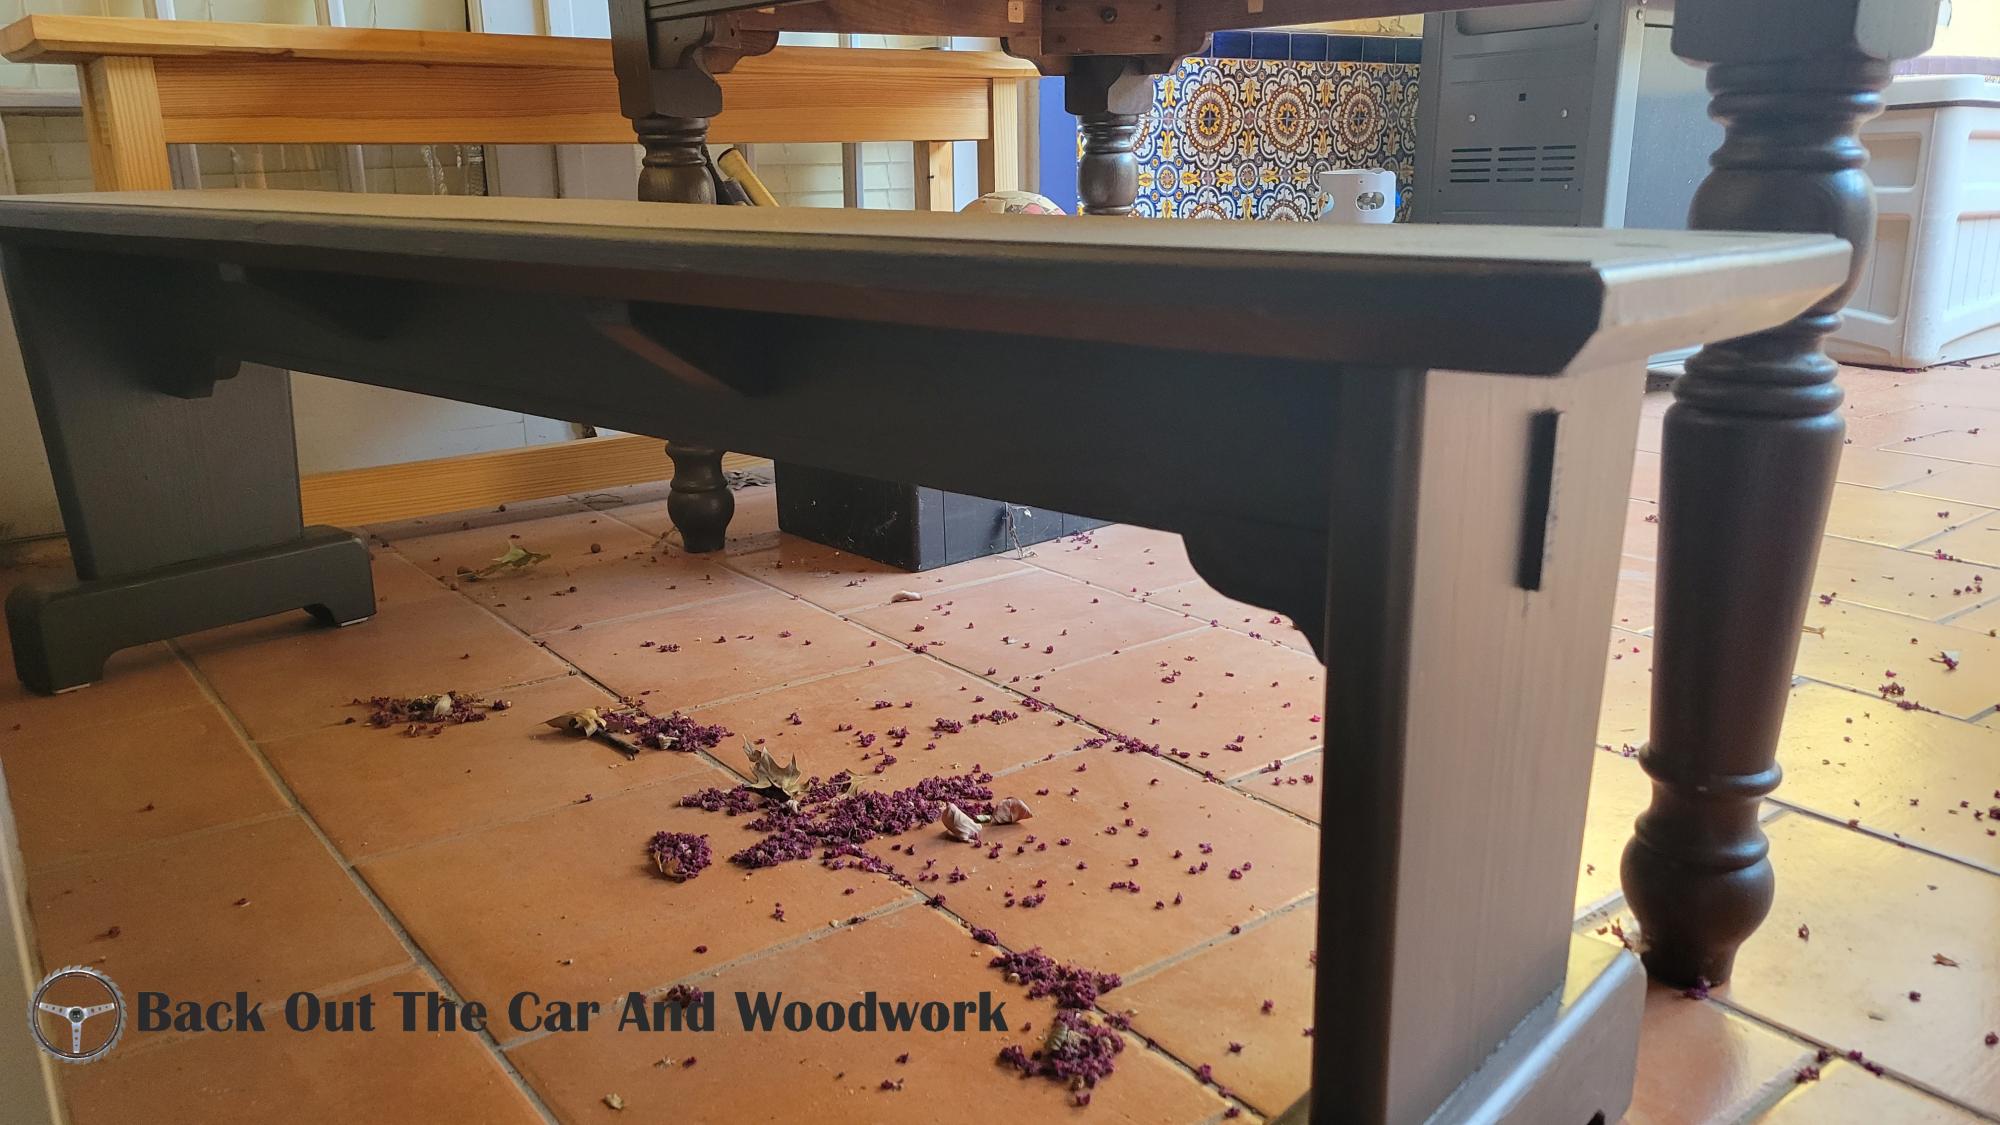
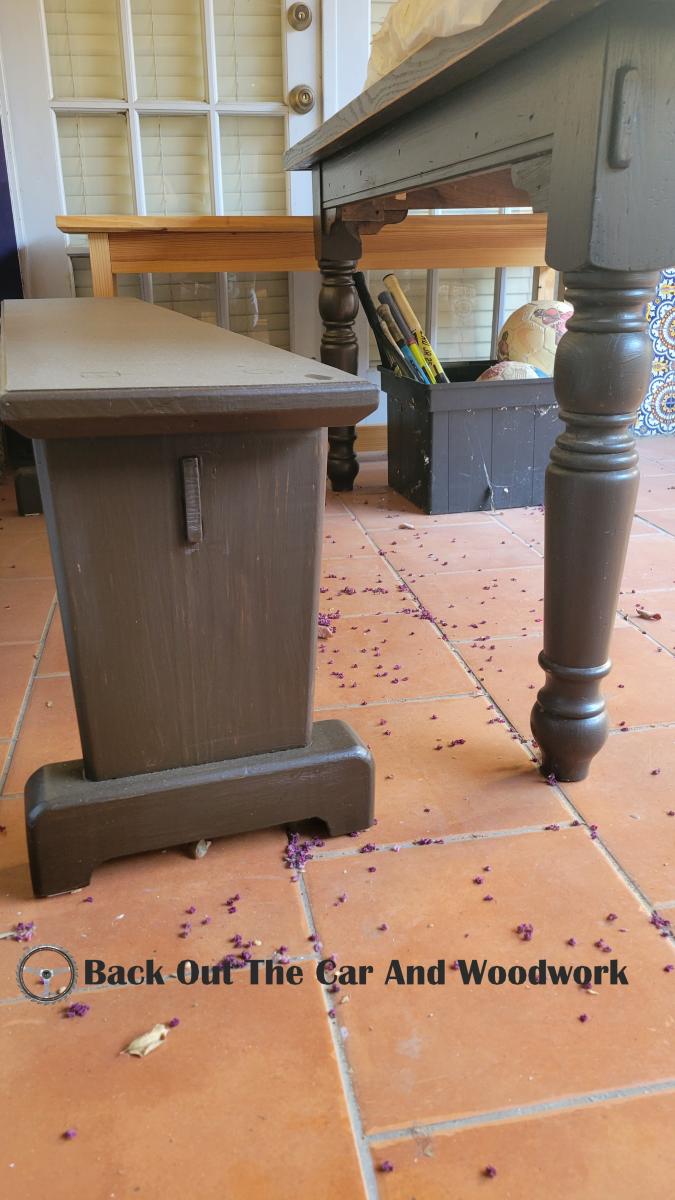
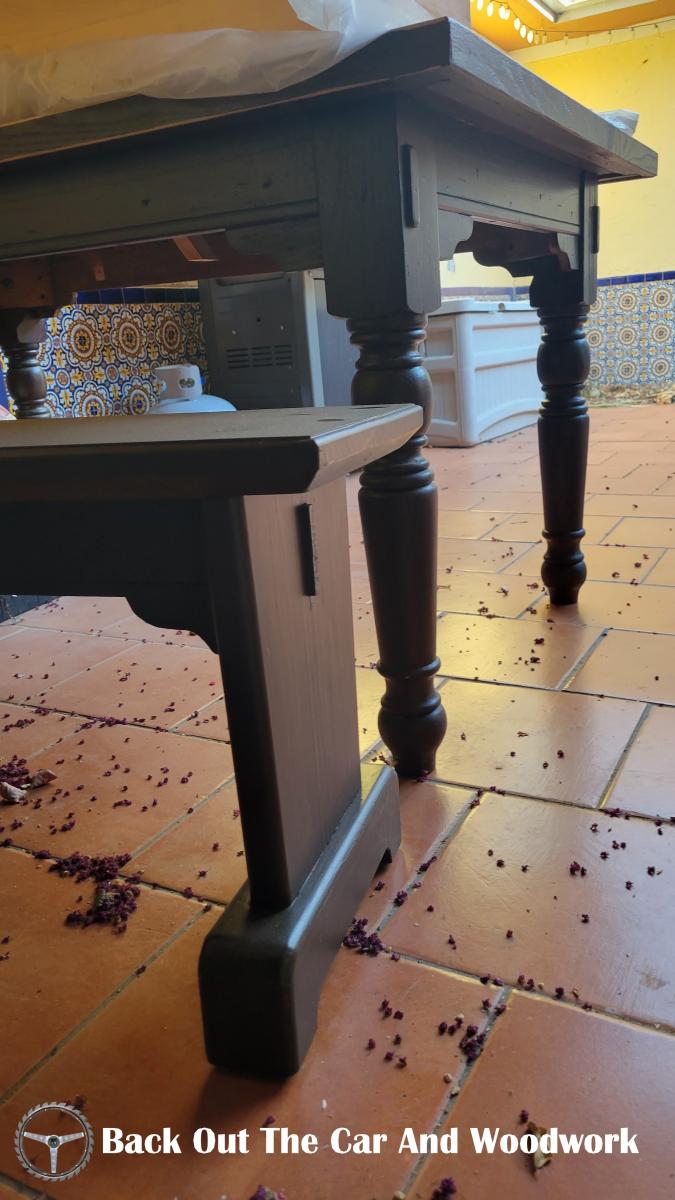
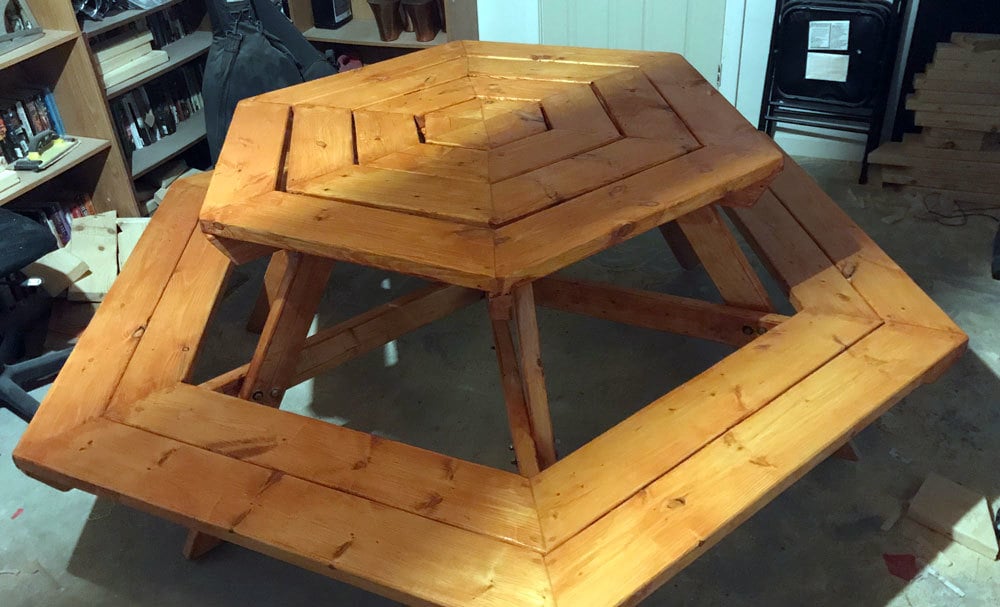
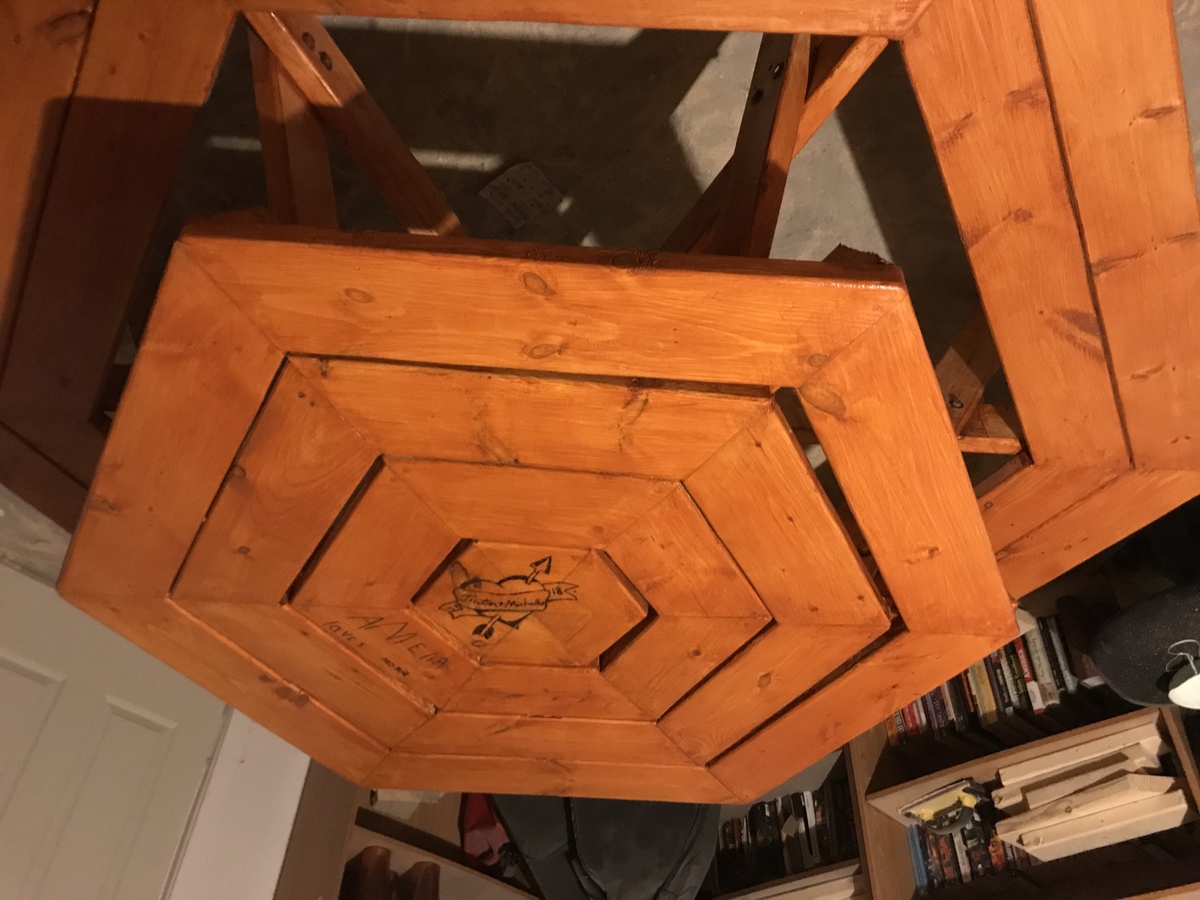
A while back I salvaged a table from an apartment dumpster and refurbished it.
We really like it on our patio but with no included seating, I had to create my own.
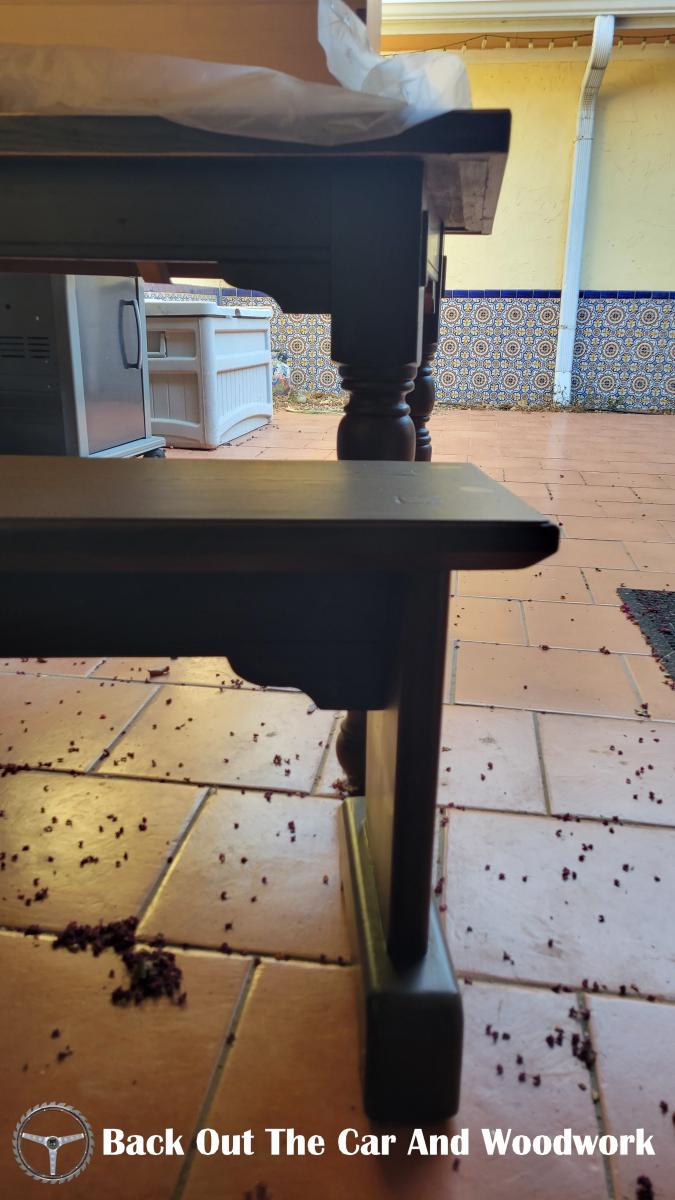
I made a bench that matched several design features of the table:
Through tenons, trim attachments, leg angles, decorative kerfs.
Take a look! Thanks to all.
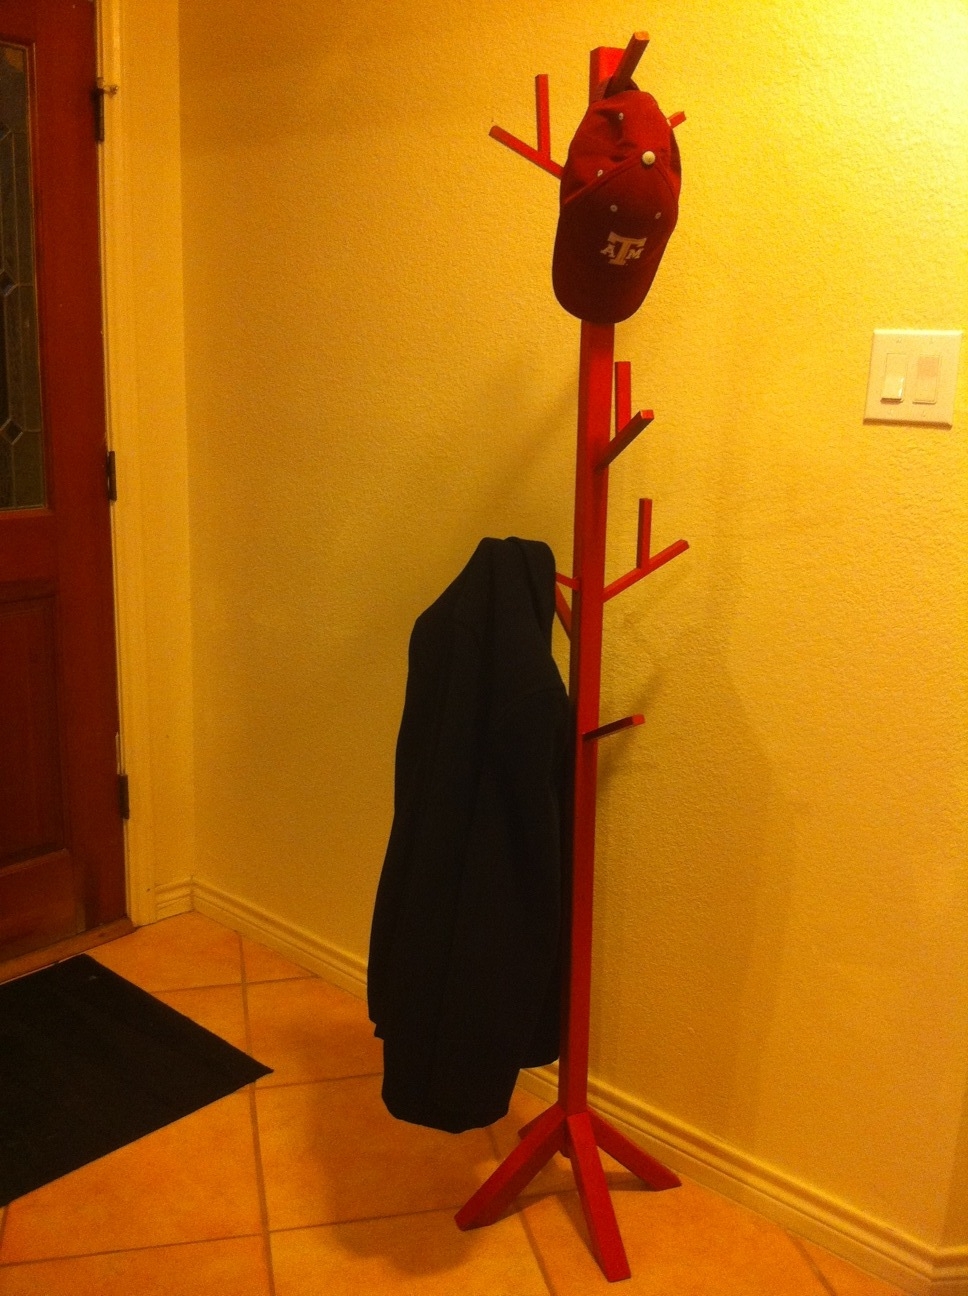
So I finally painted my coat tree this weekend (in the 105+ degree heat). I love it. It's far from perfect but it was only my second project and was a great learning project and serves great for towels, coats, hats, dog leashes, etc. Sorry about the poor photo.
Overall the project took much longer than it should have since I was cutting everything with a crooked cutting circular saw so getting the angles right took a long time. (I have learned that a power miter saw is worth every penny!)
I'm very happy with it. Thanks for the great plans Ana!
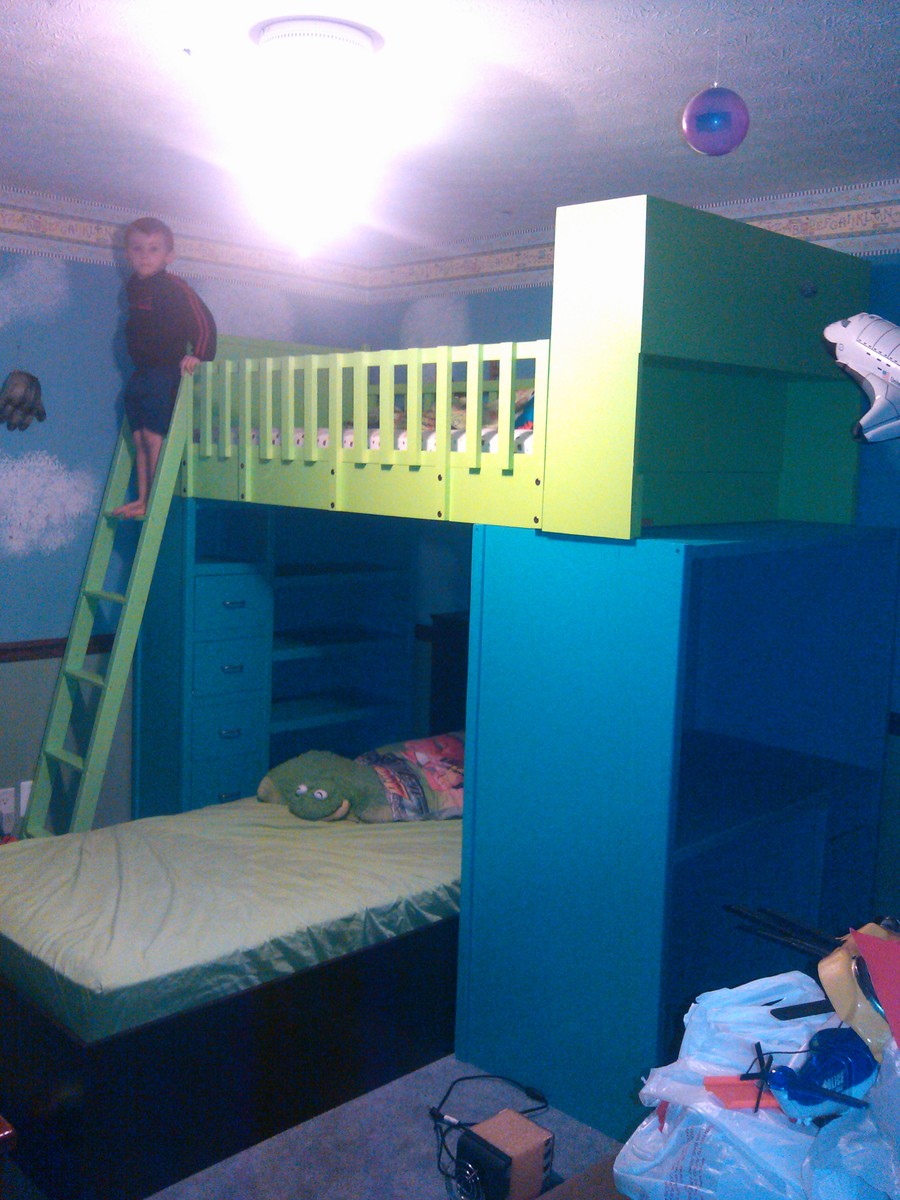
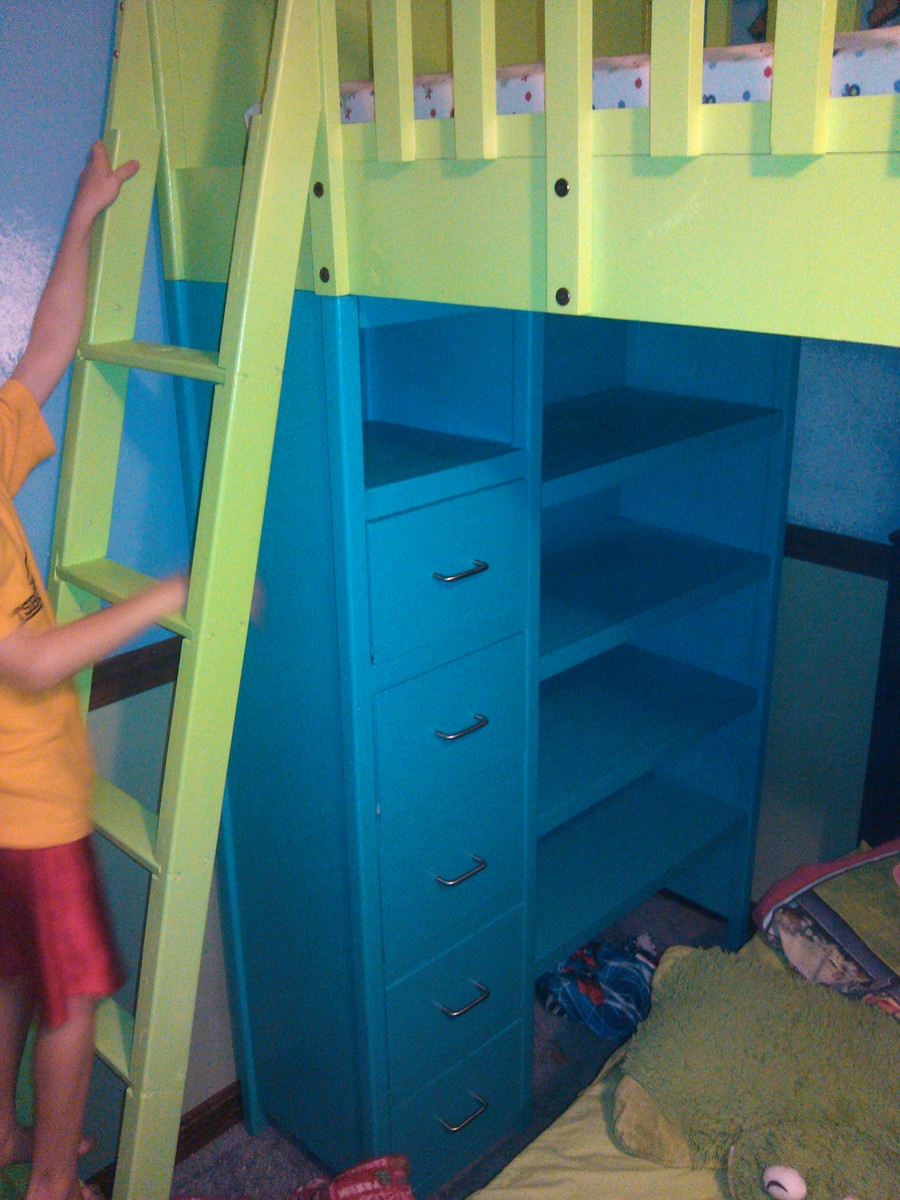
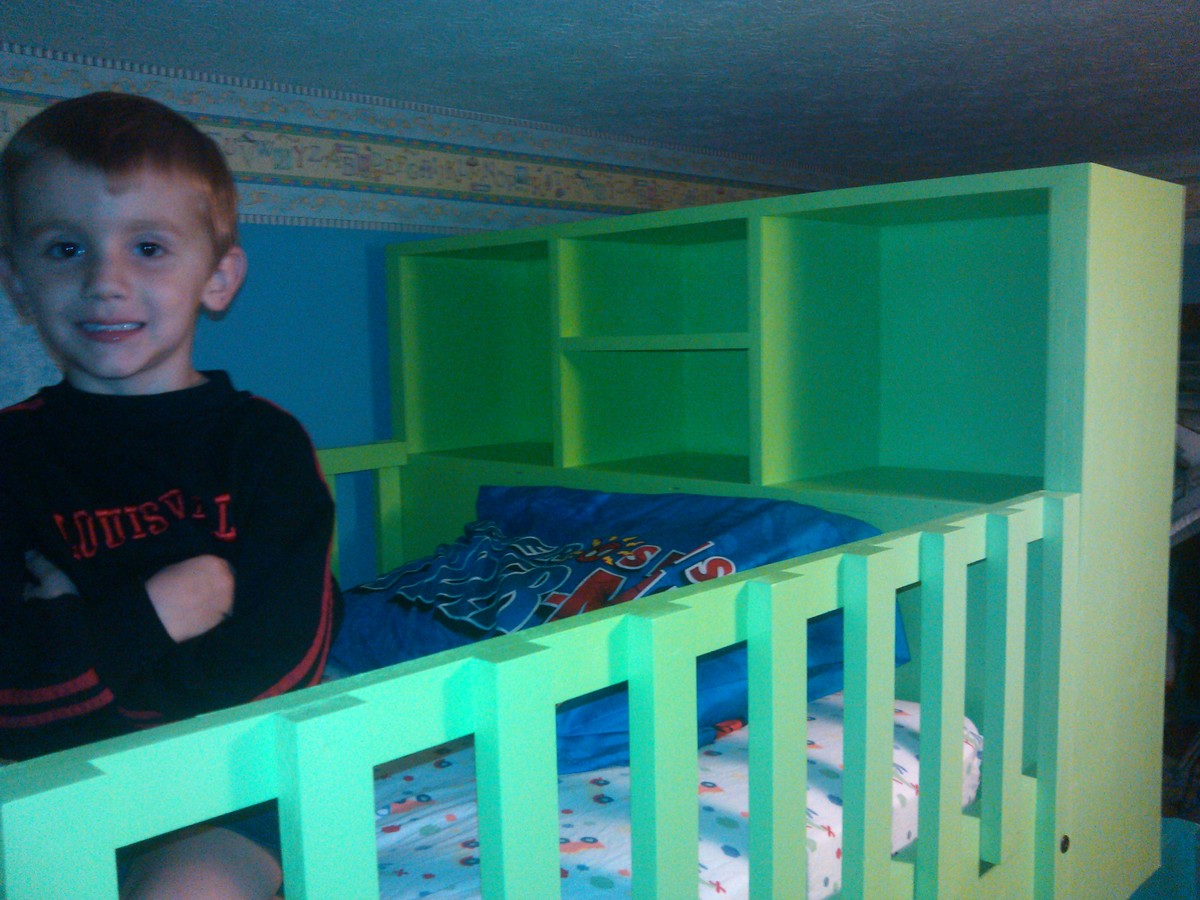
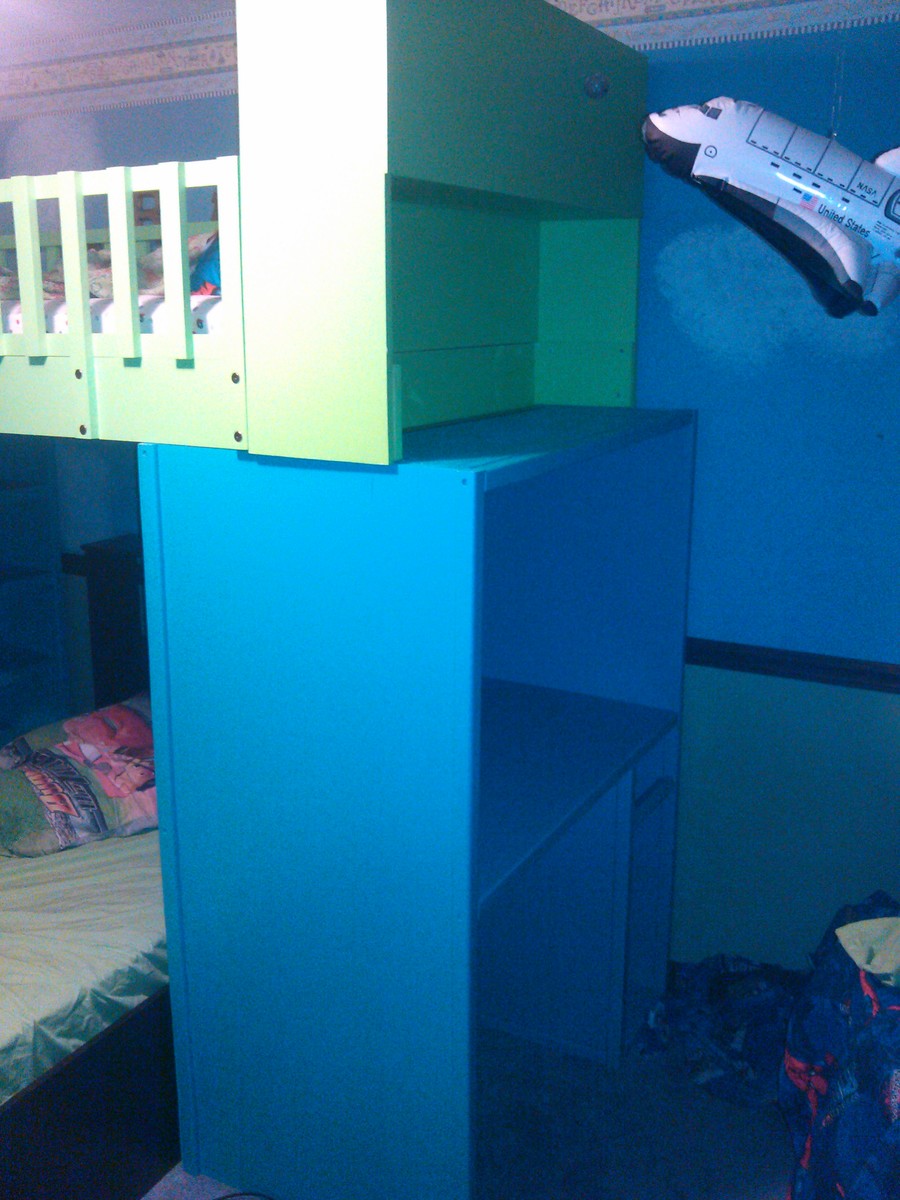
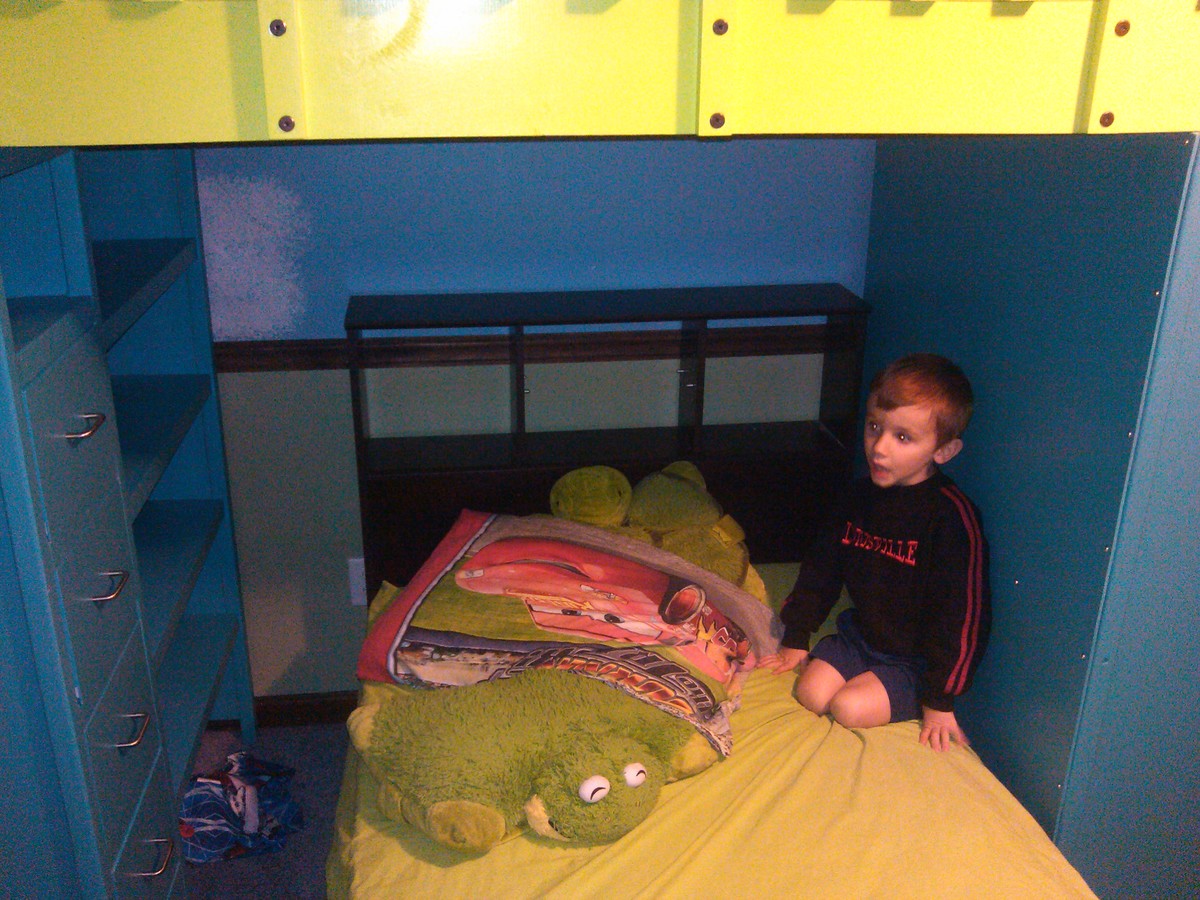
My boys have to share a room so I needed to have some storage and increased usability. I added a 10" deep headboard to the top bunk and extended the desk to 10" deeper. I couldn't put the ladder in the middle of the room so i had to put it beside the bookcase and in turn had to turn the drawers to the inside so they wouldn't be under the ladder. I then needed a gap between the bookcase and the bottom bunk to access the shelves the the drawers on the side of the bottom bunk, so now there is a large shelf above the desk which is also the underside of the headboard. I also modified the desk to accommodate a computer tower when they get a bit older. There will also be a slide out keyboard tray and a small drawer. (haven't built them yet.) I managed to build this without adding much materials at all. the headboard was all scraps from the rest of it. The desk and bookcase are also 3" taller than the plans(seemed too short, in hindsight, now its too close to the ceiling... oops. )

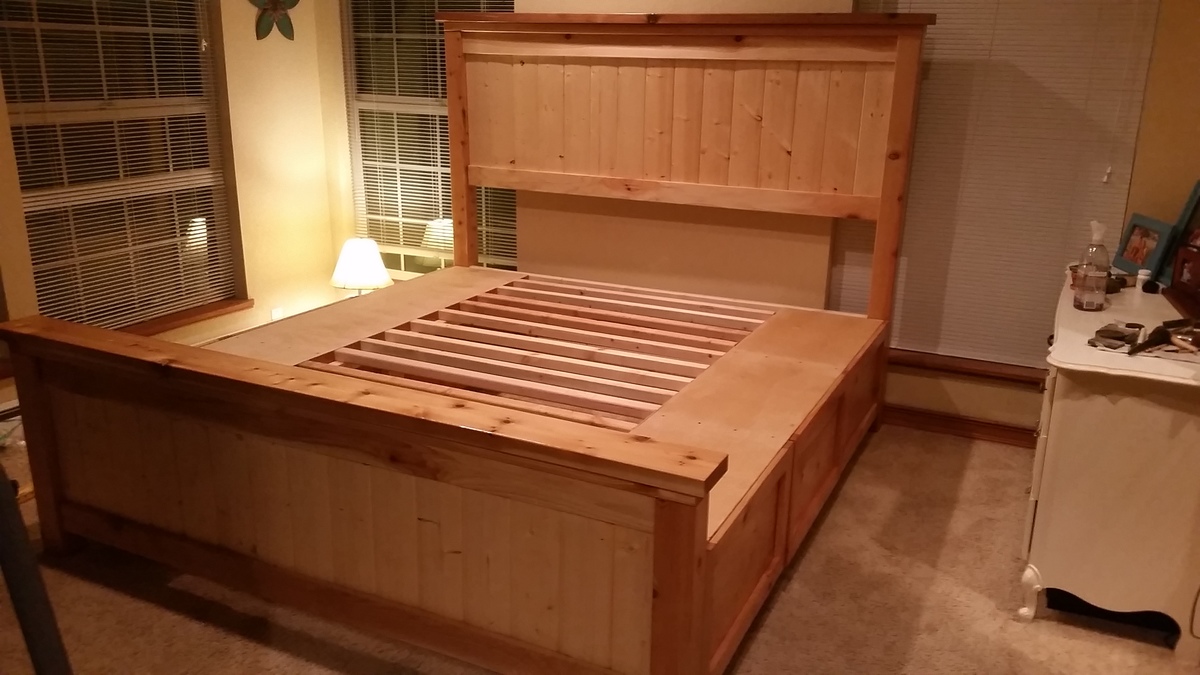
This was my first project using your plans. I changed the plans to make the bed King Size. I also hinged the footboard to allow storage in the middle of the bed. I am planning a drawer in the middle as well buy haven't installed that yet.
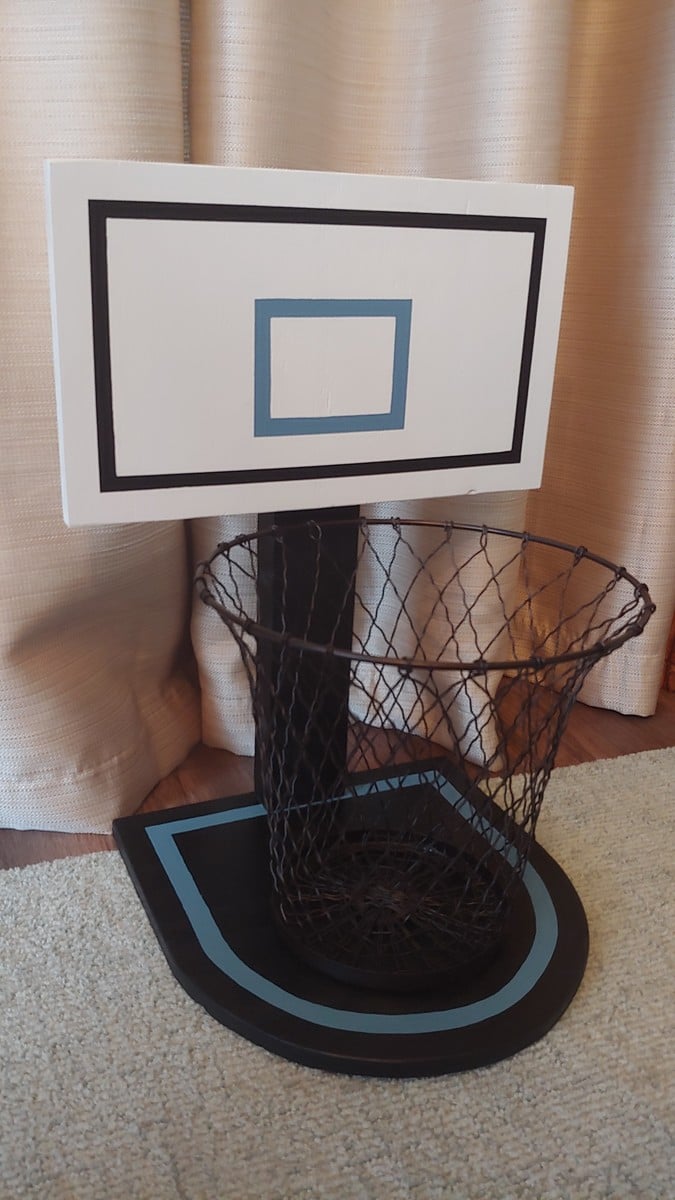
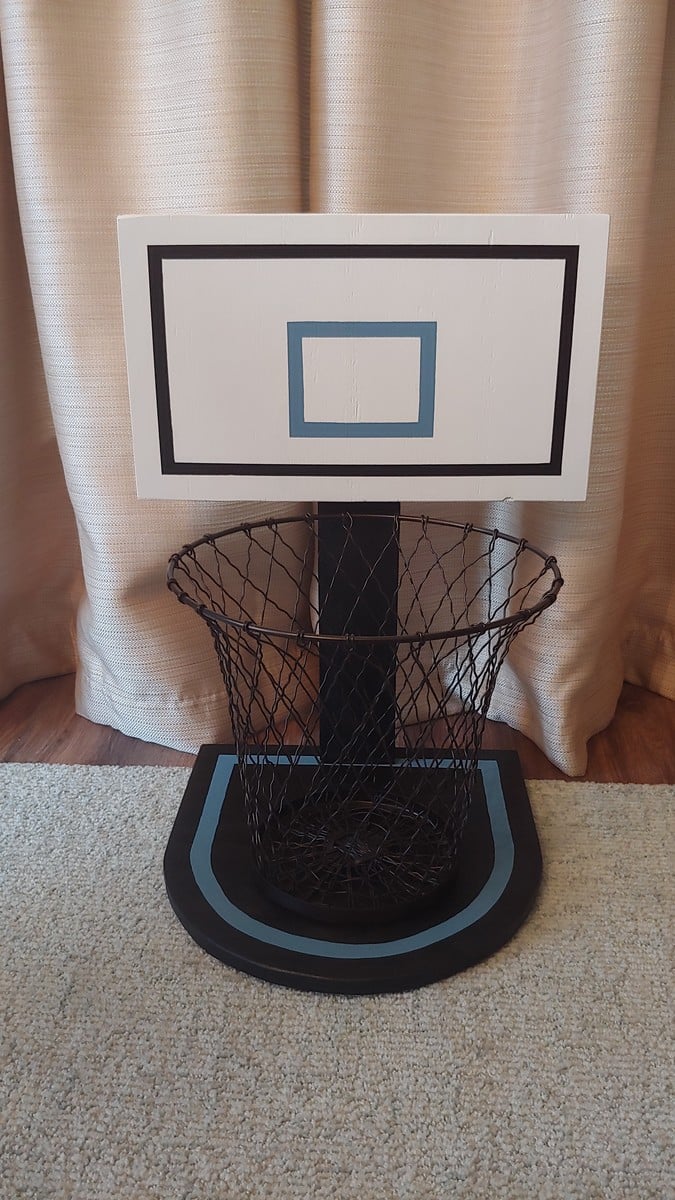
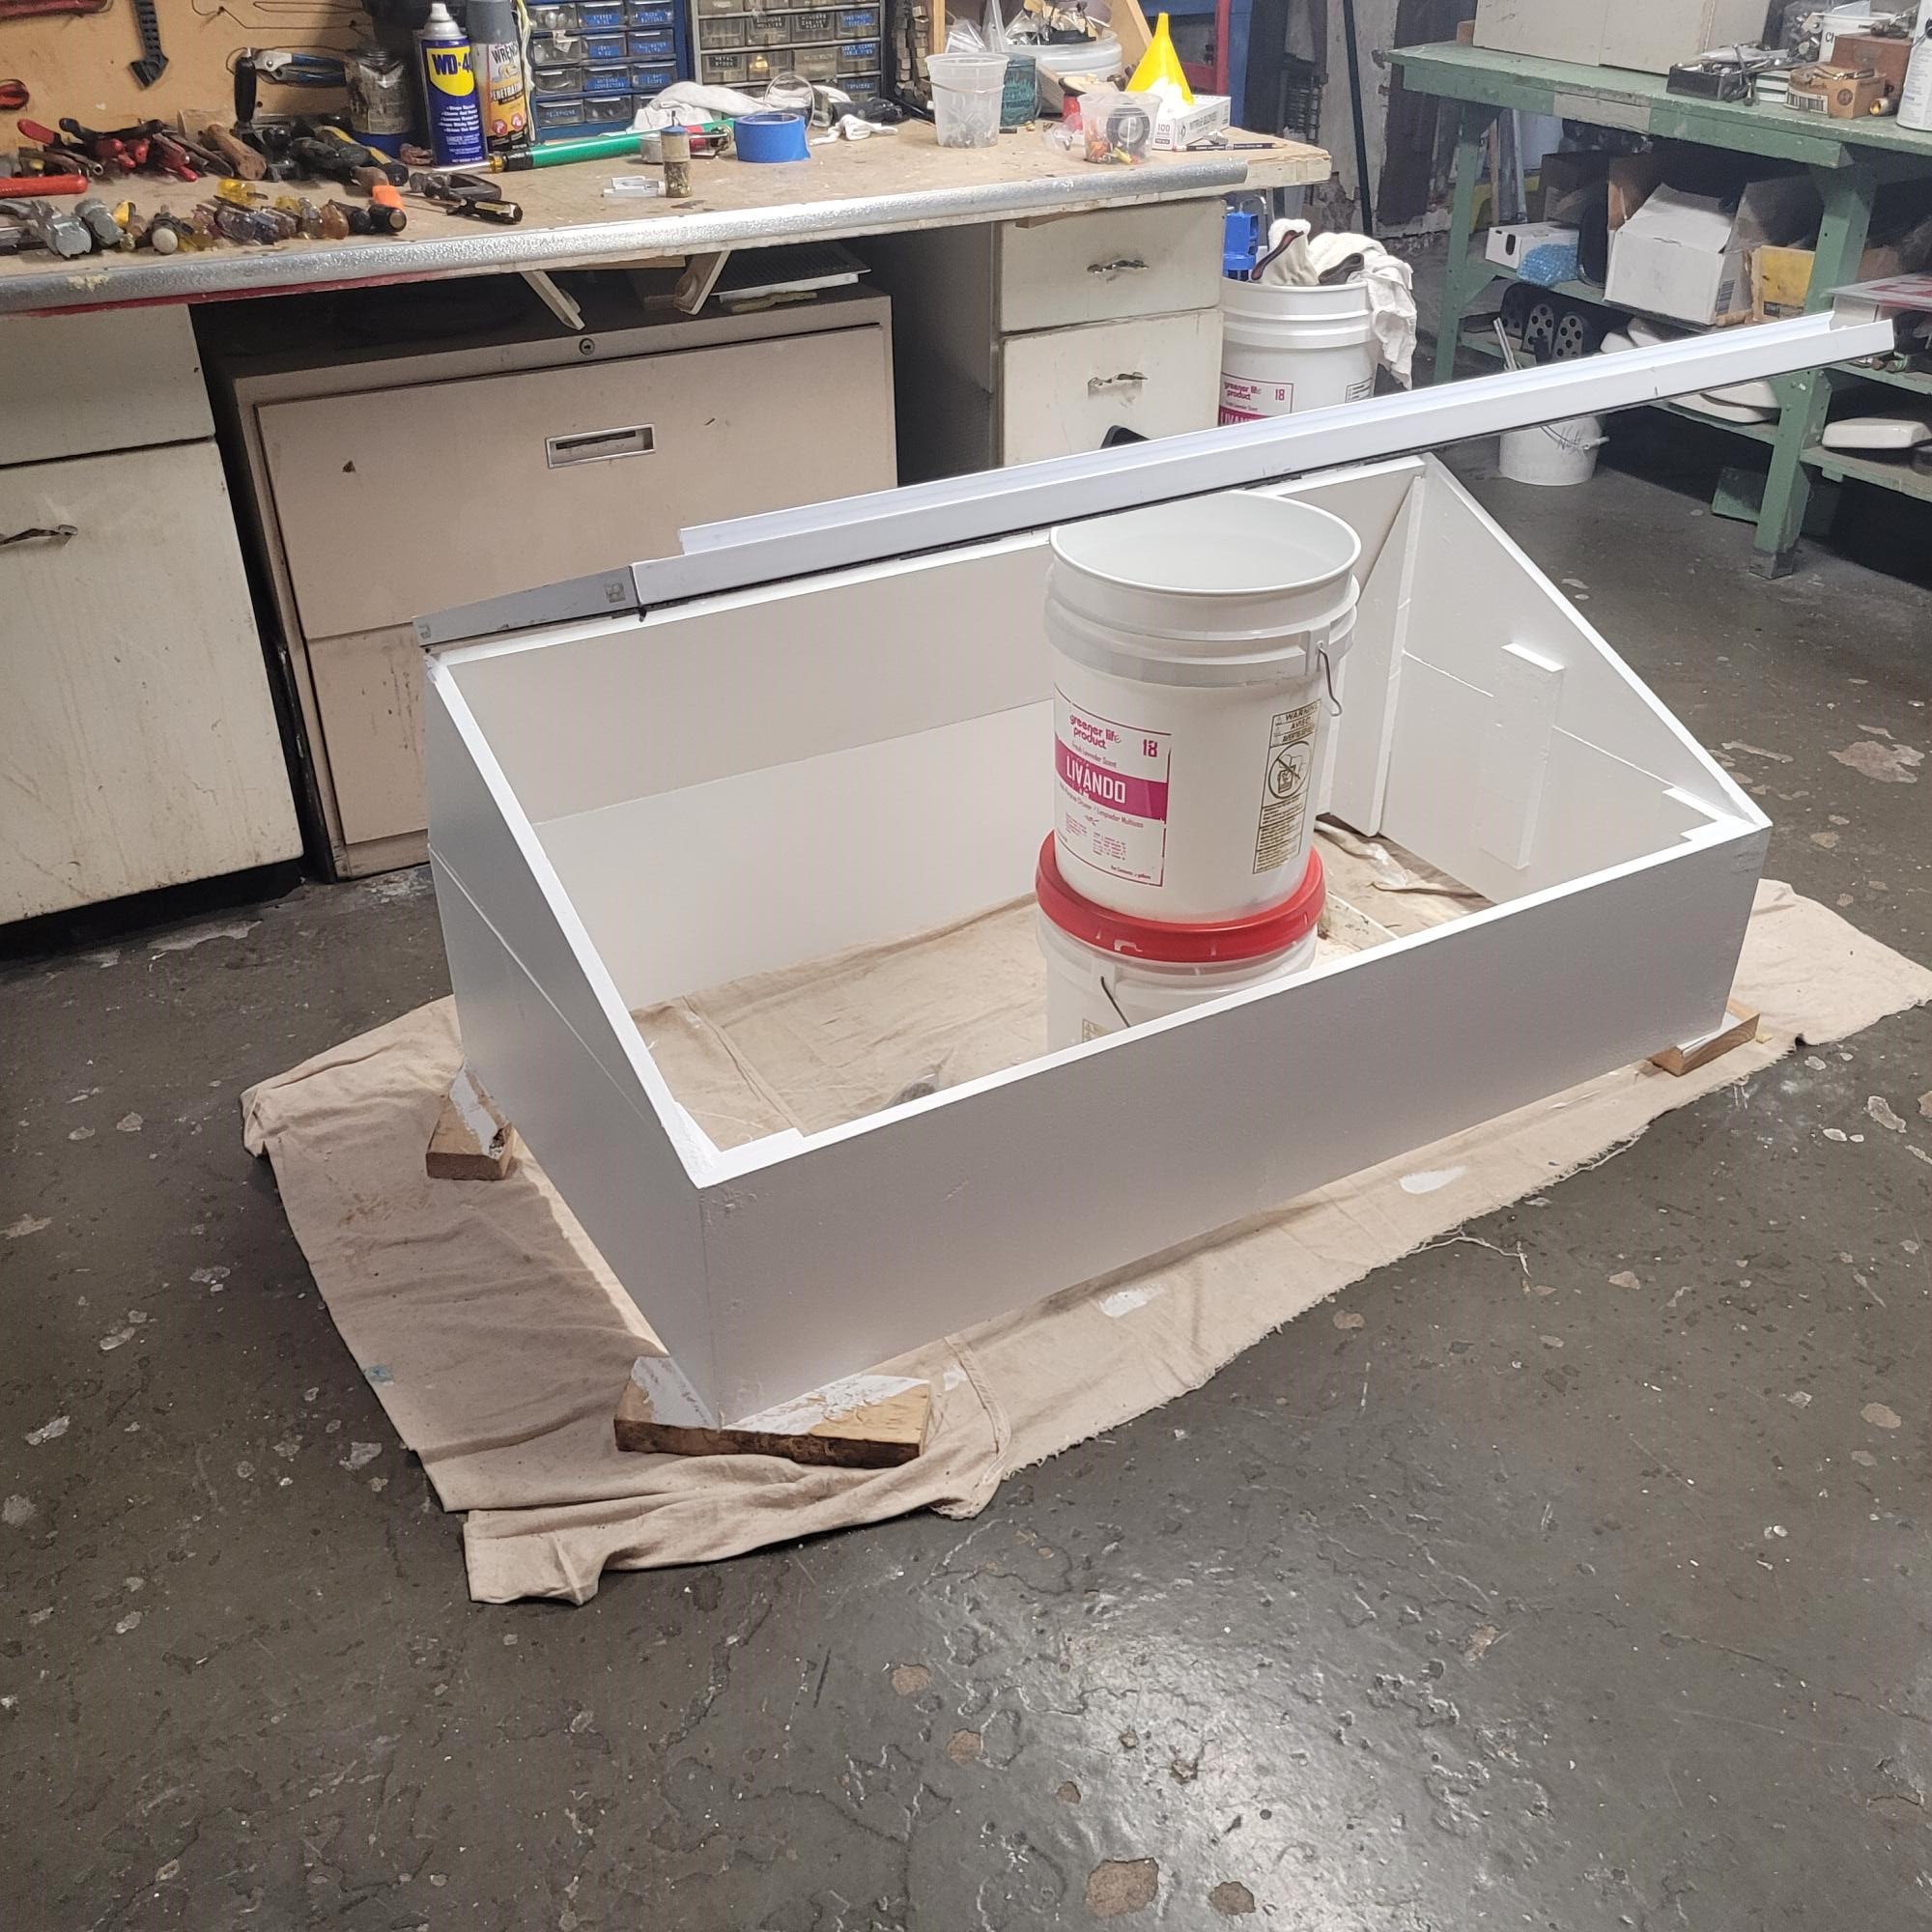
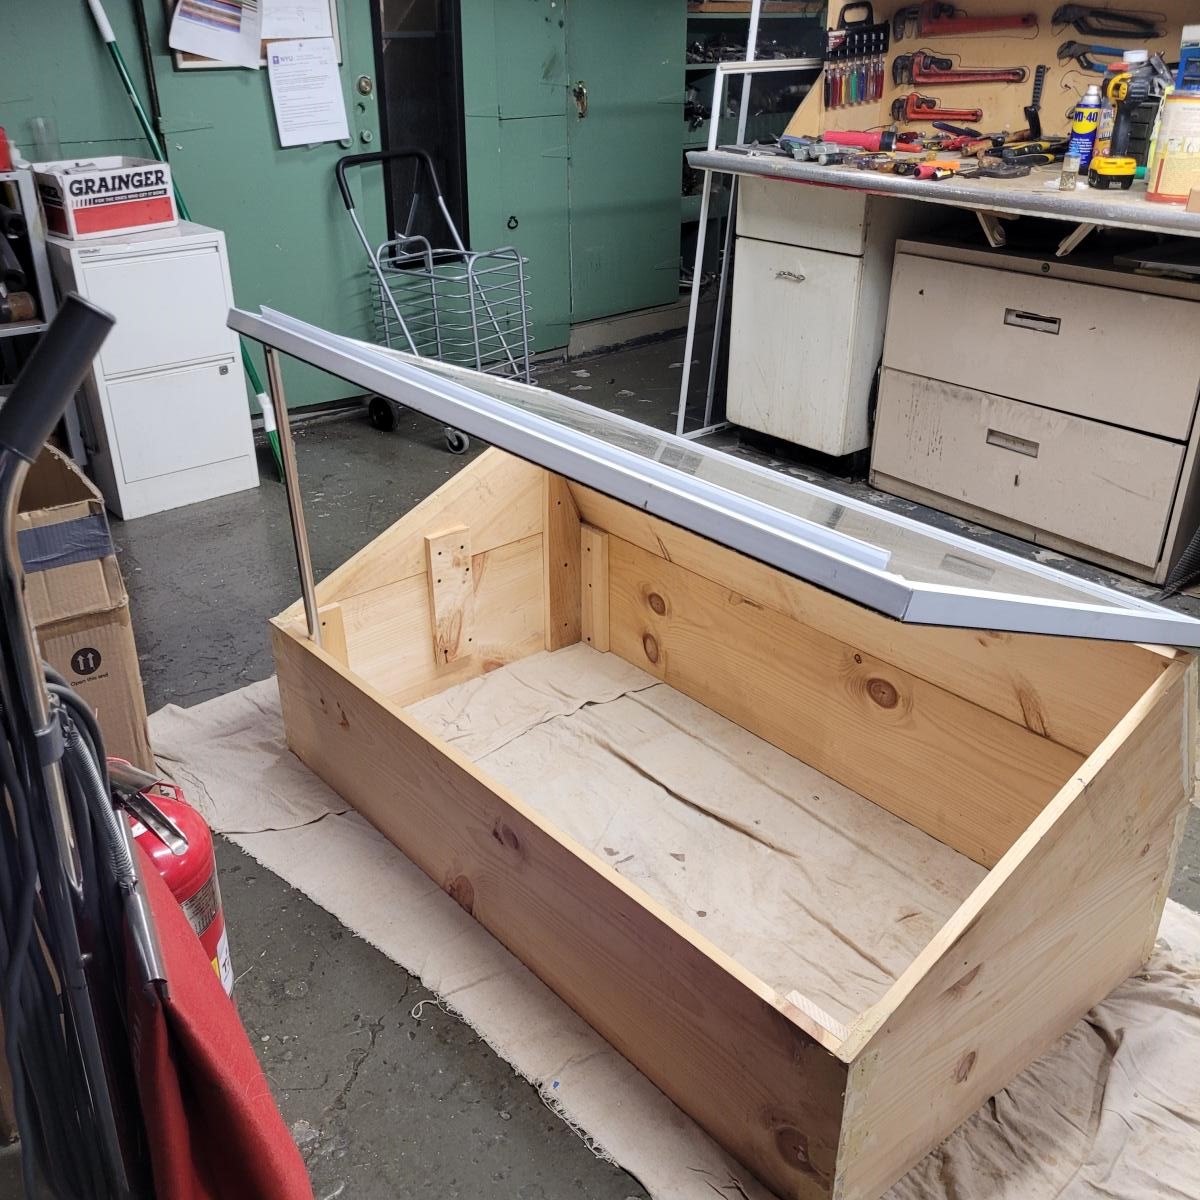
My family is doing a home made Christmas this year. I fell in love with this plan the first time I saw it. While out shopping, I happened upon this trash can on sale which reminded me of a basketball net and knew I had to build this project. We used leftover plywood which necessitated using paint to hide blemishes. The size was modified a bit to fit this trash can. I think it is really cute!
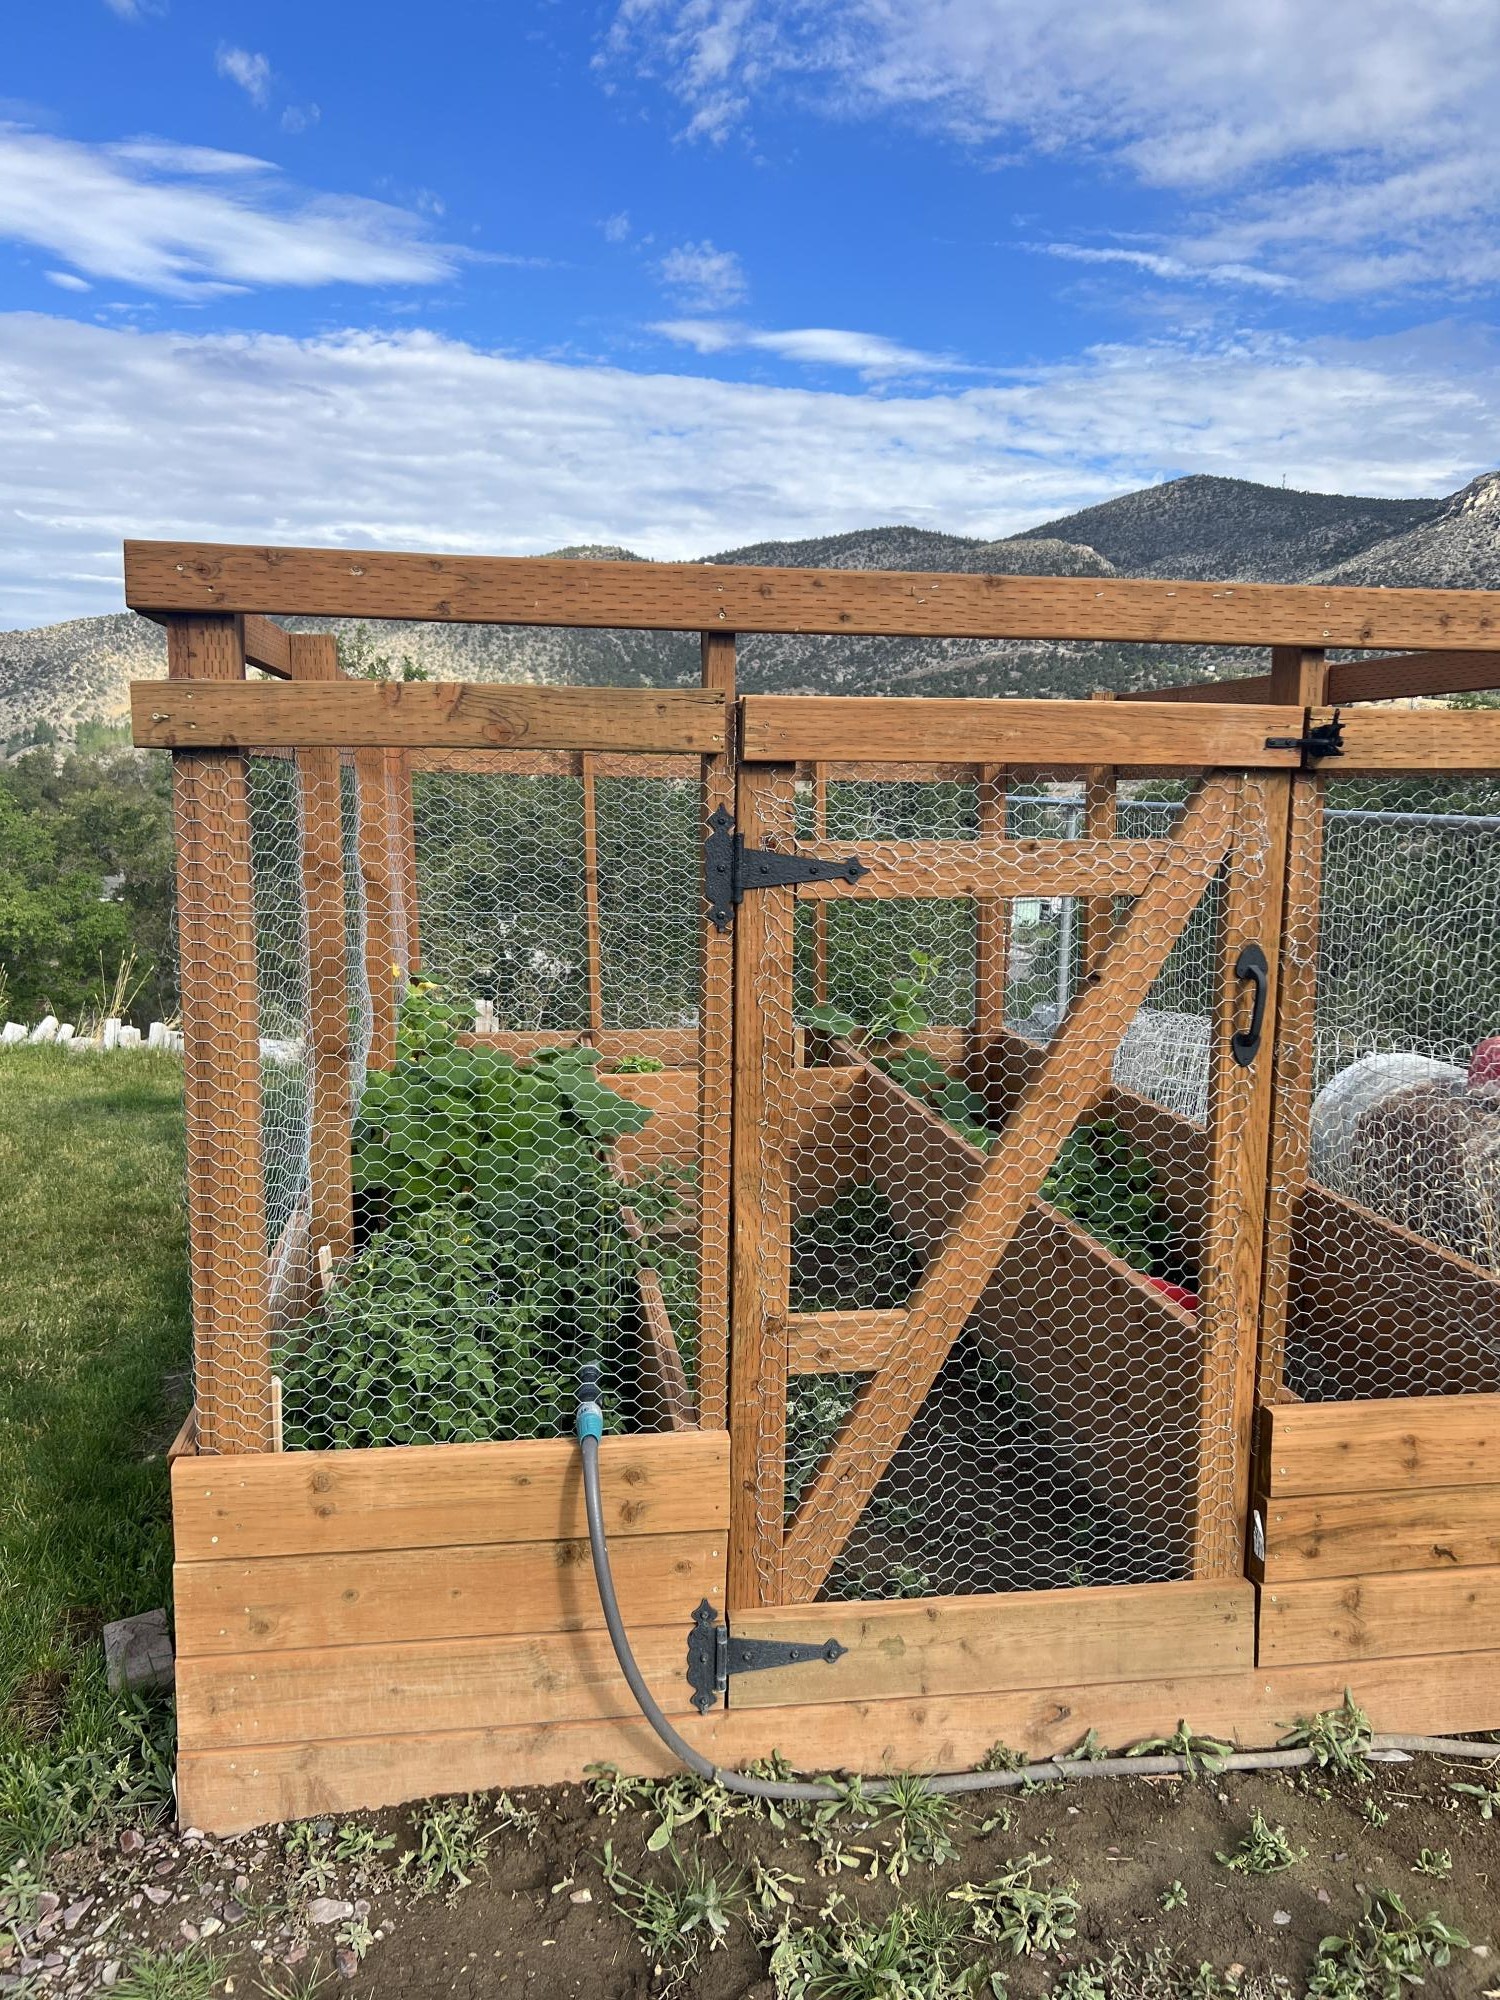
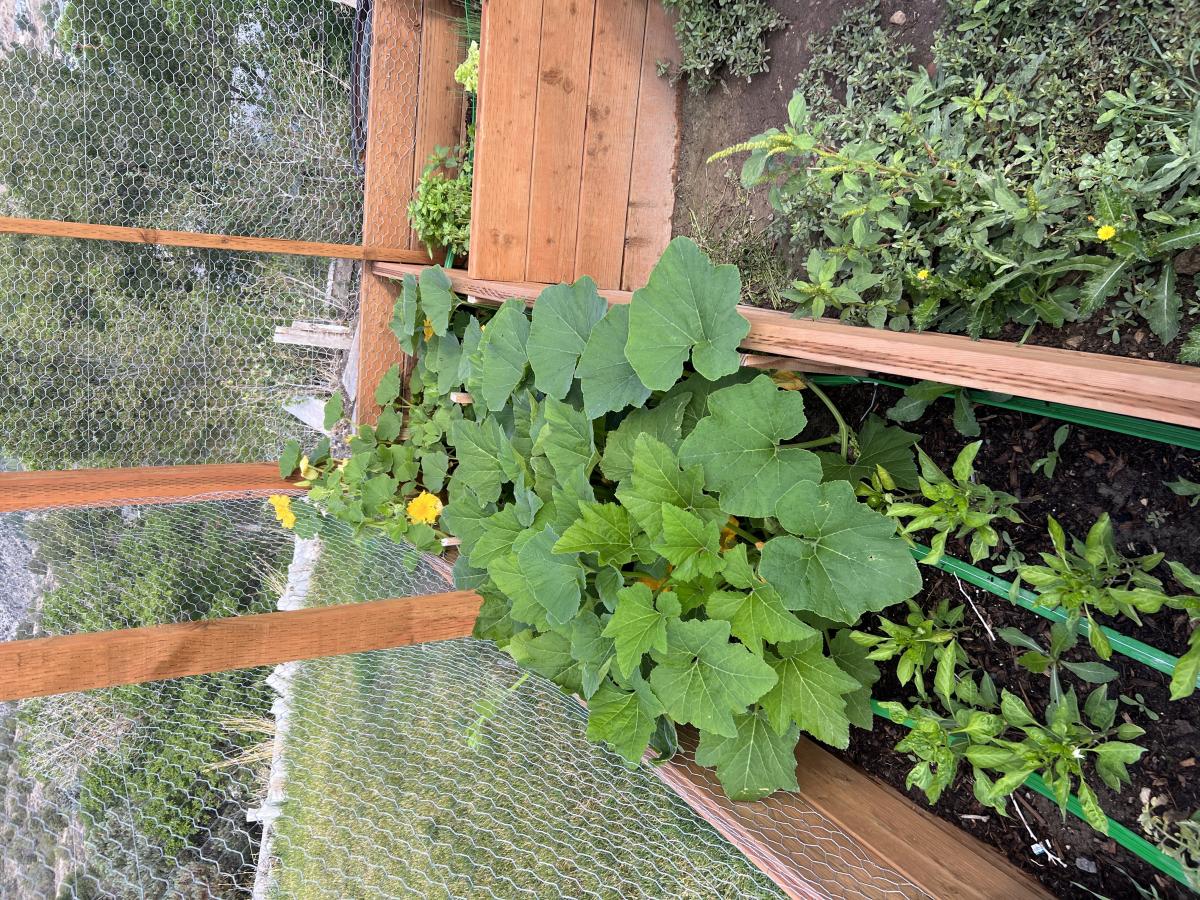
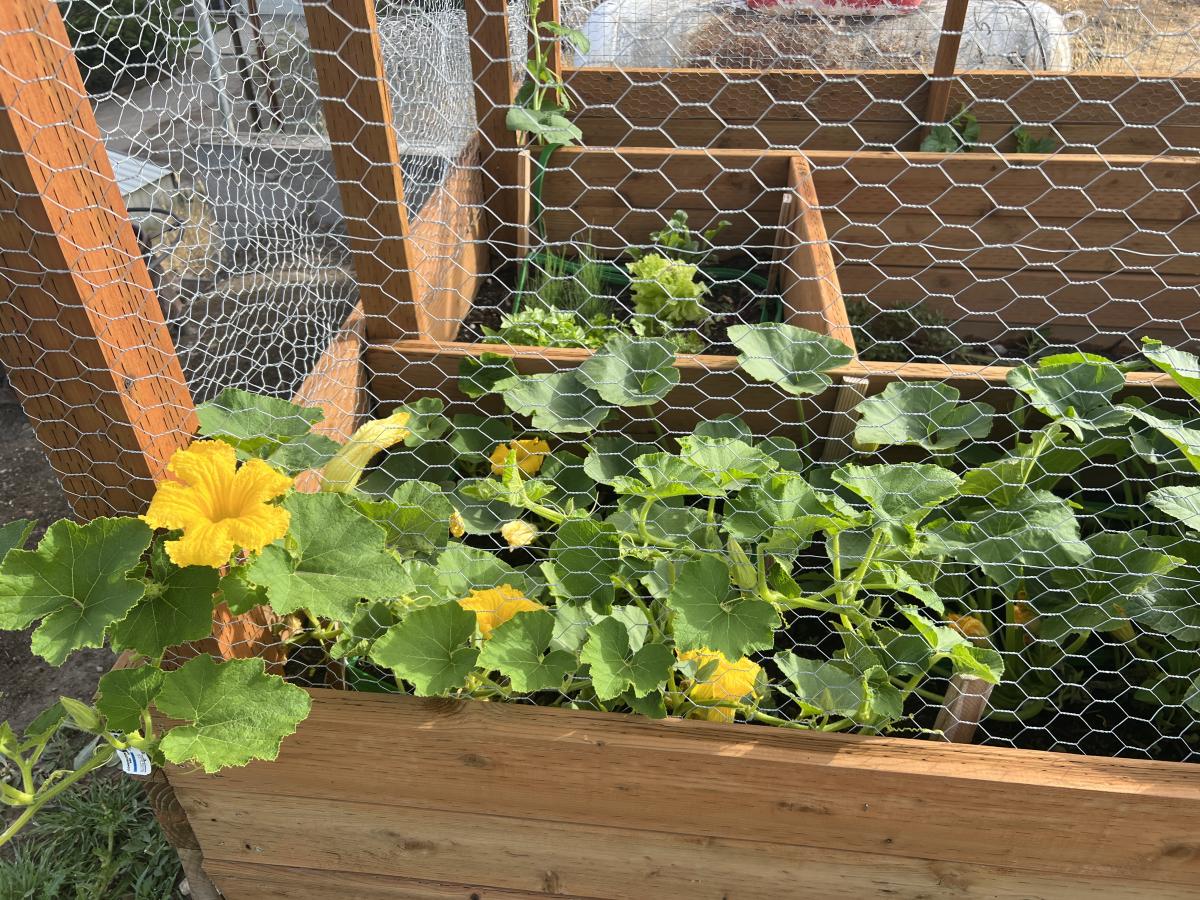
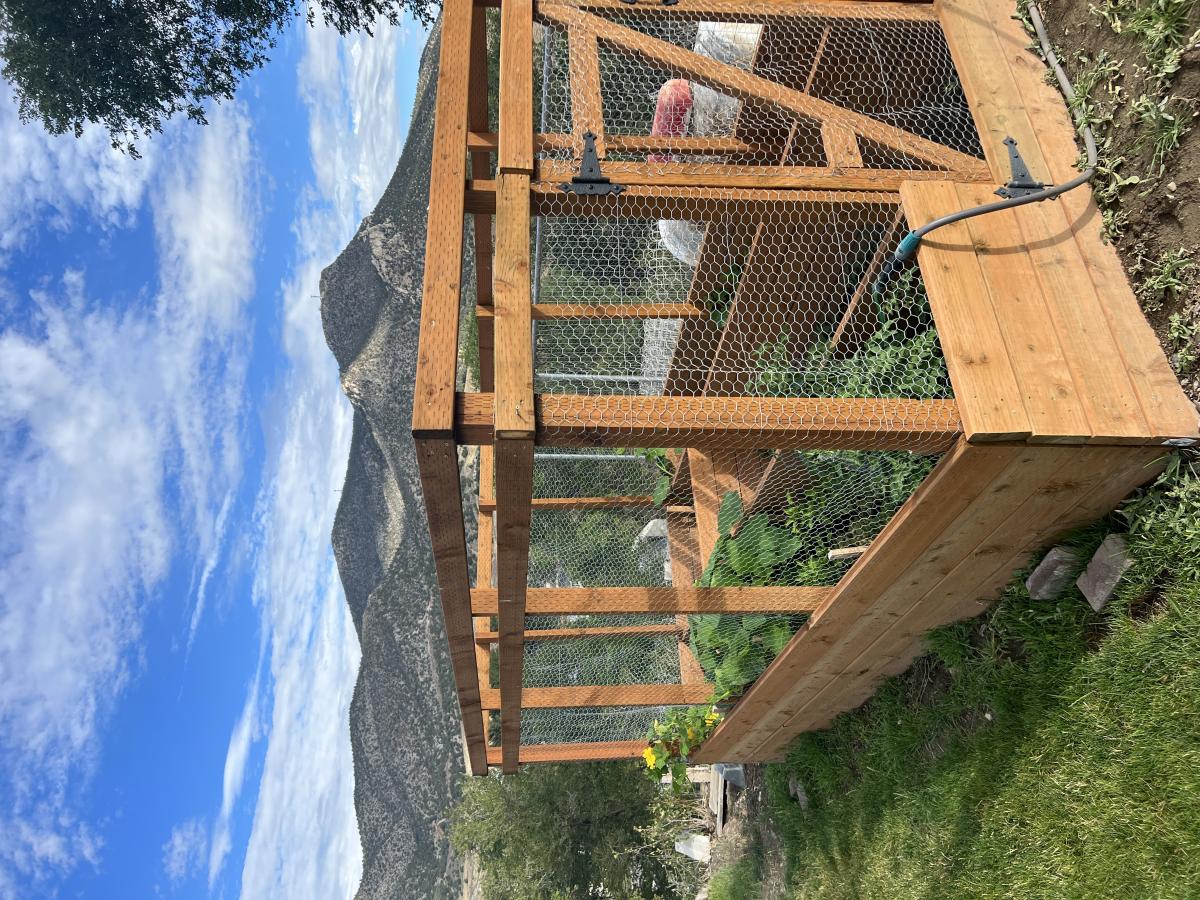
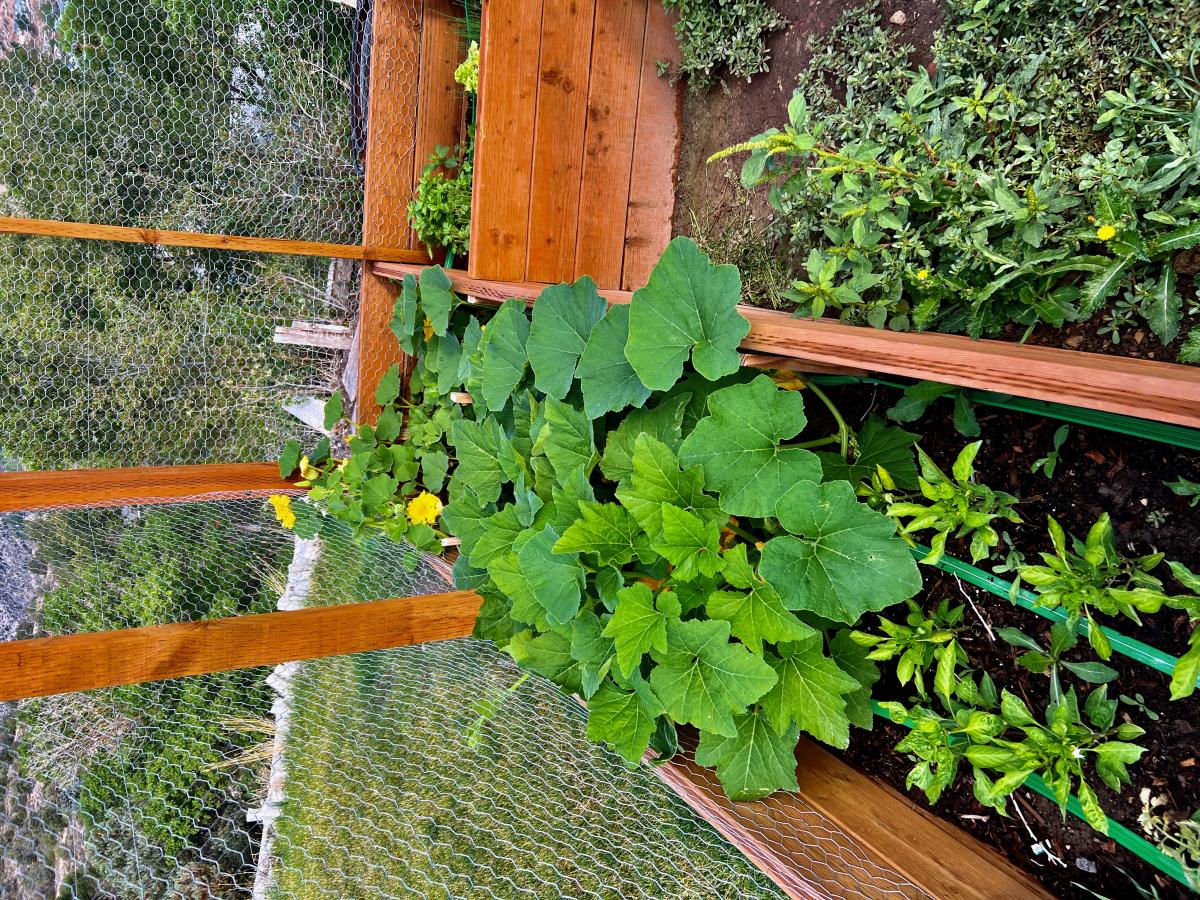
We used the plans from the Garden Enclosure, but built the sides twice as high to make for less bending. The only problem was this made our wire come up higher so we had to adjust the door height. We haven't produced too much yet, but hoping next year brings a quicker yield. The plans were so helpful and easy to use for us novices. *Sorry I couldn't get the pictures to rotate.

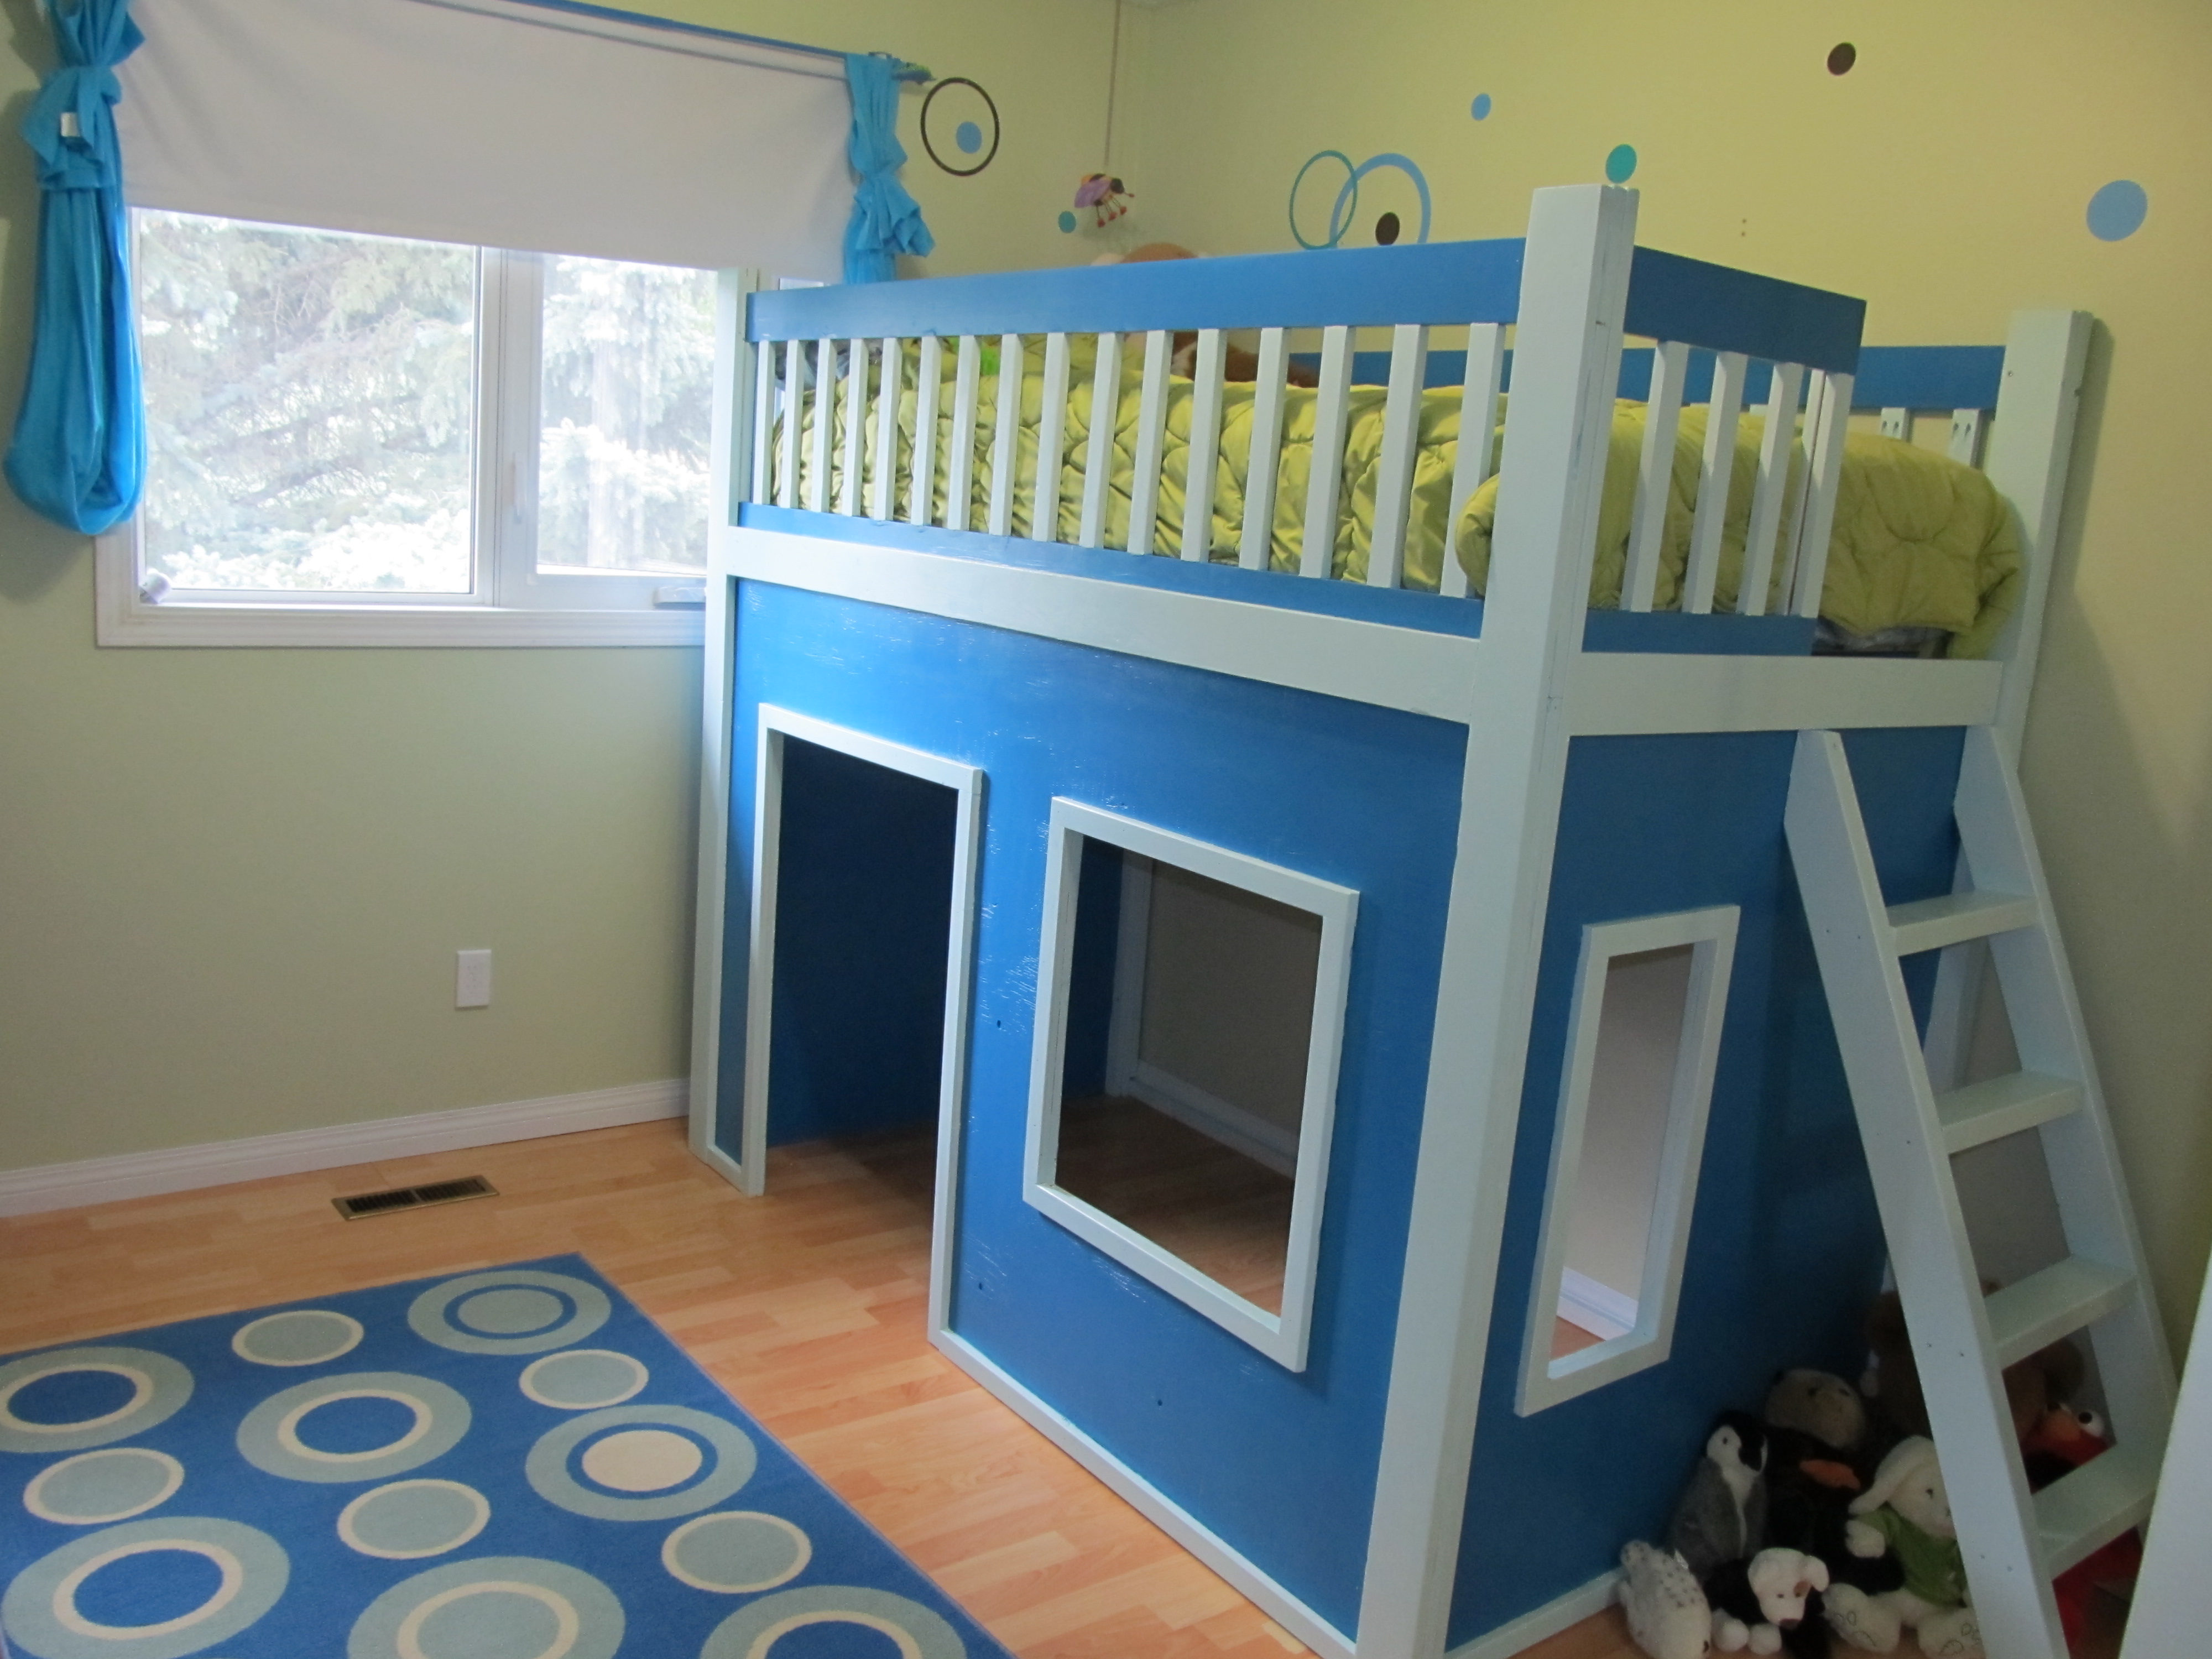
This is my very first project! I had so much fun building this for my son. His room wouldn't fit the stairs so I modified the ladder so that it was inclined to make it a bit easier to climb and less scary for him. This was such a fun project to take on. Thanks Ana for the plans!
Sun, 12/11/2011 - 12:35
Hi. my husband is just about finished building this bed, and now it's time for me to paint it. Just wondering how you painted it for a nice finish. Did you use rollers or brushes? And tips on technique?
Thanks!
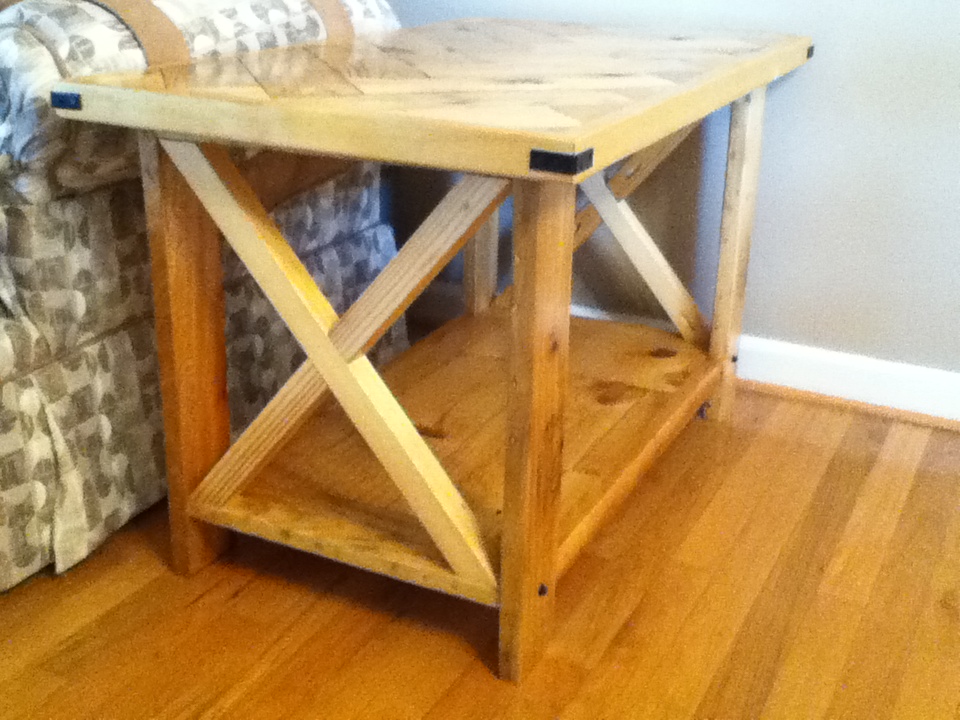
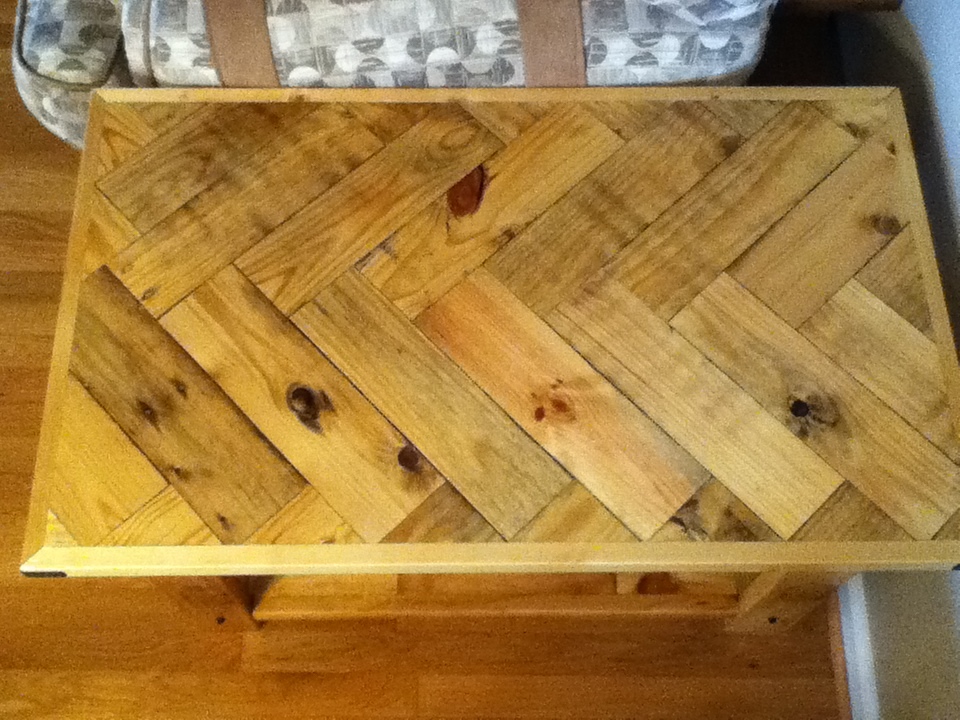
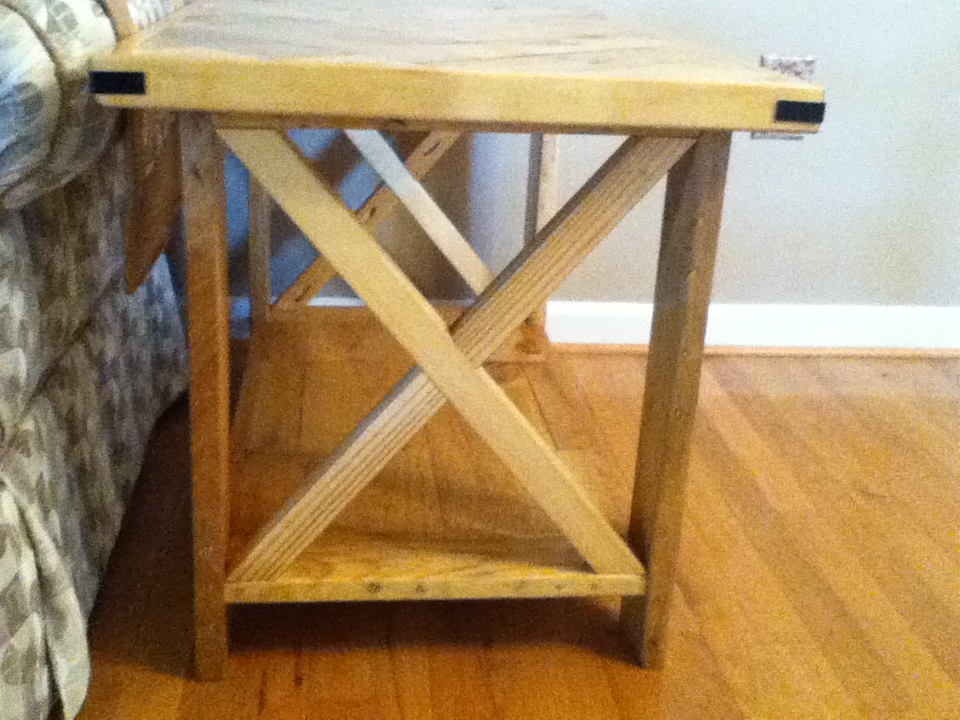
I modified the original plans to fit the height and length of my sofa as well as to show off the chevron planks. I was offered some pallets...so, I greedily accepted them, to which my husband rolled his eyes and sarcastically said, "Great, more wood!" I tried to make all of the table from the pallets but I ended up using pine for the table edging and the "X."
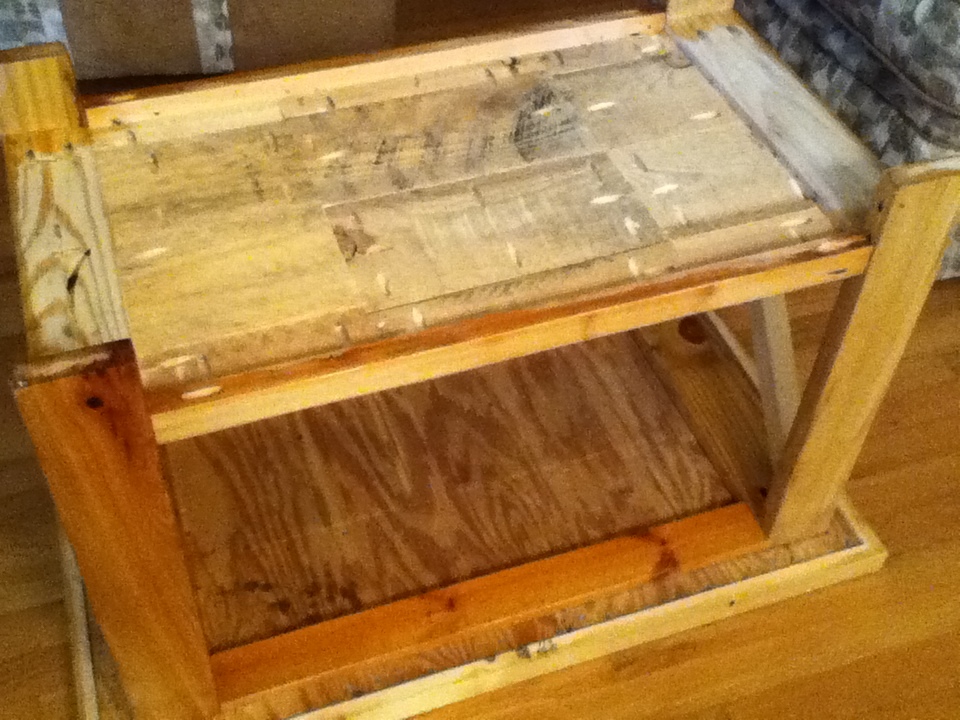
I laid out the table top in a chevron style on 1/2in plywood, glued and screwed them in from the bottom with wood screws. I attached edging with pocket holes. For the bottom part of the table, I attached larger pallet boards using glue and pocket holes instead of attaching to plywood. I actually attached the edging first to the bottom boards and then attached to the table rather than attach the bottom edging and then try to make the boards fit. I sanded the top and bottom tables with 40, then 80, then 120, and then 240 grit sand paper until smooth. I also sanded the legs the same way. To say that total time sanding for the entire project was 20 hours maybe an understatement. If you look at the underside picture, you can see the roughness of the wood...and I had already lightly sanded them! I ripped my own 1x2's for the edging and "X" from 2x4's with my table saw because I could not find anyone who sold unwarped wood...so frustrating!! The wood was so much straighter when I ripped them. I will rip my own wood as much as possible for now on!!
The "X's" were a challenge and I ended up cutting the ends at a 47.5 degree angles. I do not know why I had such a problem. I had right angles, but the wood is imperfect in many ways and not perfectly straight. I attached the "X's" together and to the table with glue and pocket holes. The legs had ink stamping, so I tried to keep that and not sand the ink completely off.
I added the metal "bling." I dulled the metal, primed and painted with metal paint. The paint chips off easily. So I think will end up replacing these pieces later on. The bolts were originally black, so they will stay.
Total time...several weeks because of all the sanding. I cannot devote whole days to woodworking because of family and work and I can only sand one hour at a time before my hands start to go numb. Also, the Waterlox requires at least 24 hours between each application. Cost: approximately $15...for the pocket holes screws (fine Kreg screws), hardware, other wood screws and 1 8ft 2x4. Everything else I already had (I already had the Waterlox, bolts, screws) or was given to me (pallets).

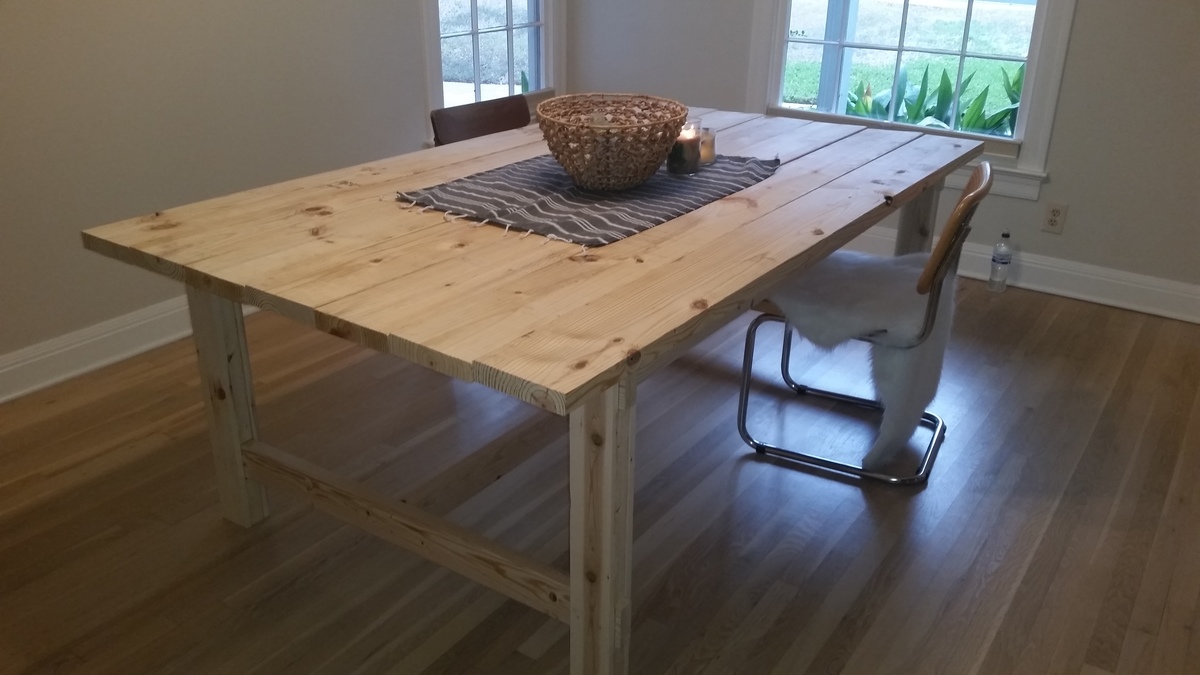
My daughter in law and I built this table, together in Austin, during my visit there! We had such an awesome time, together. This was made from Ana's book, A Handmade Home.
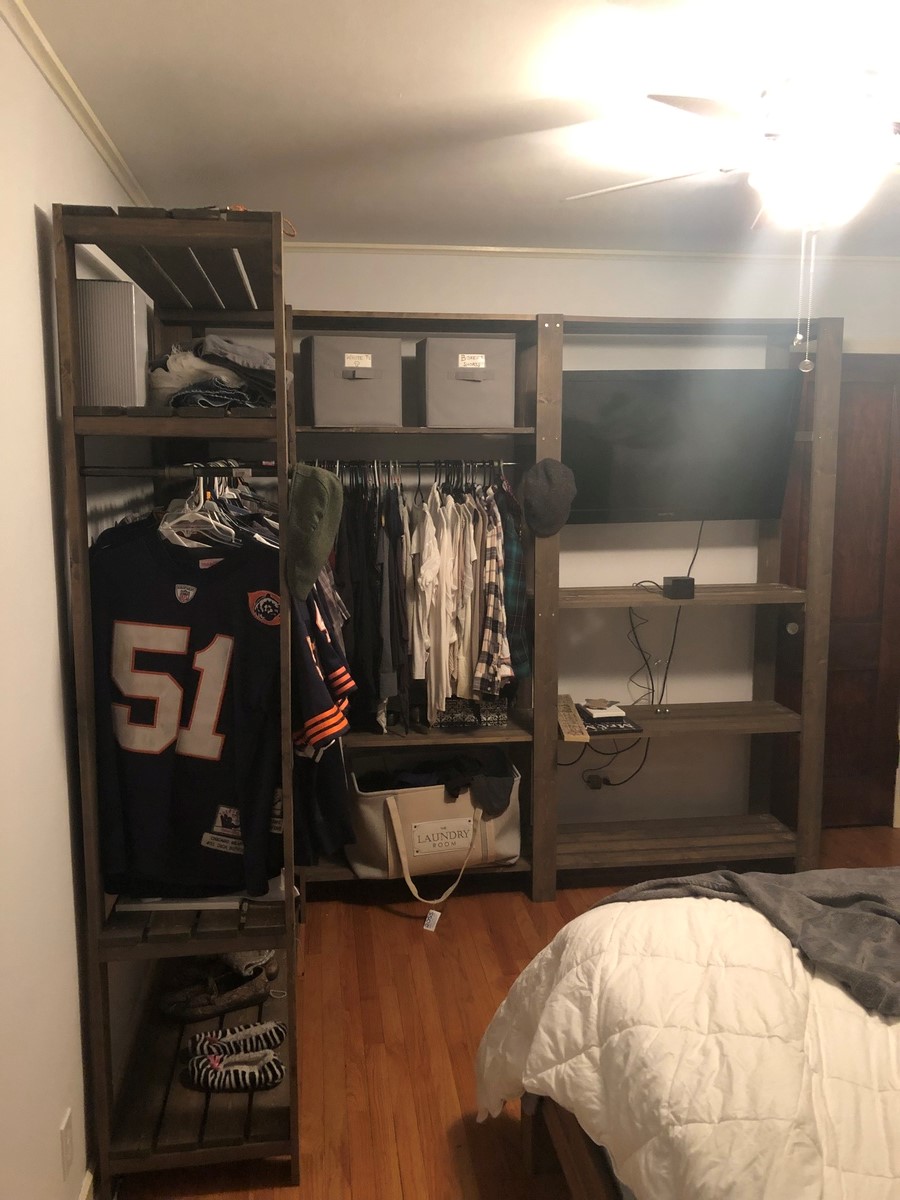
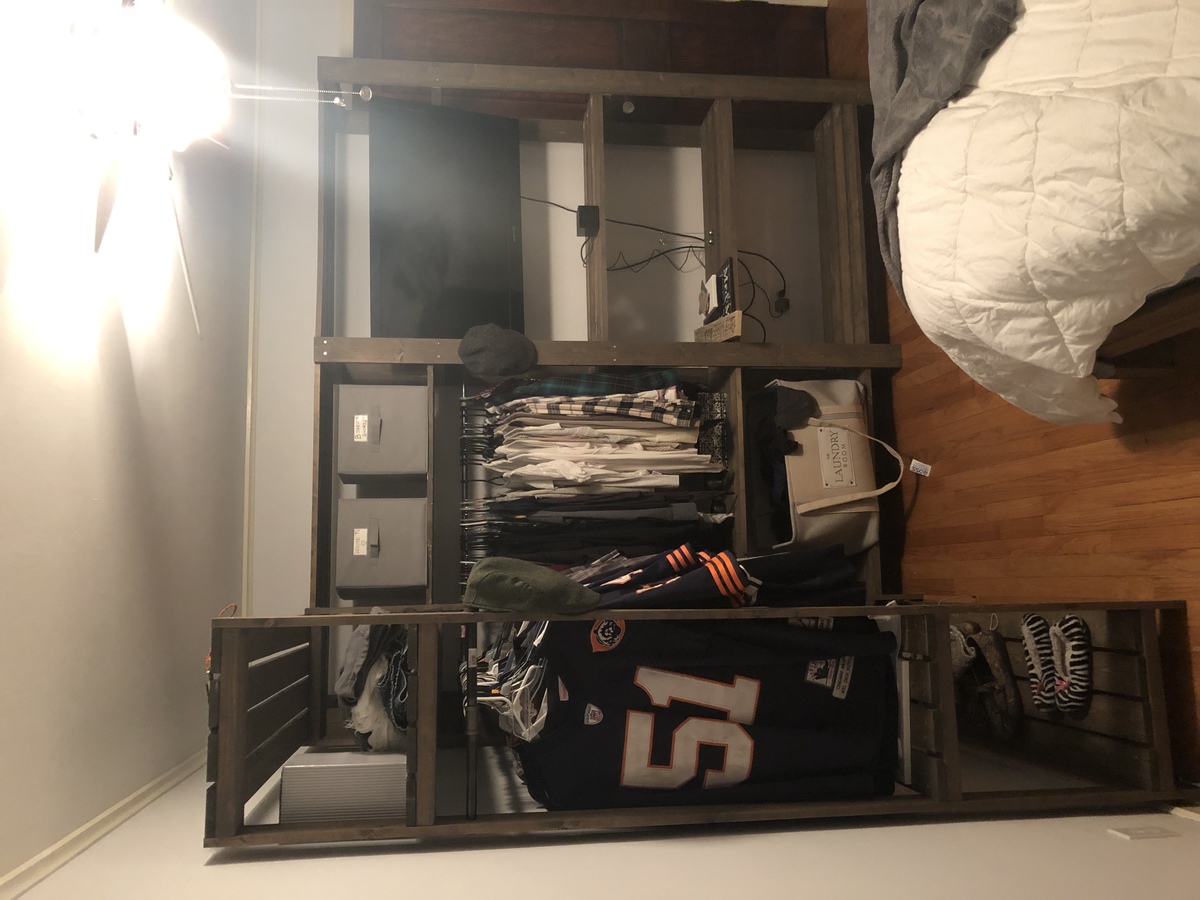
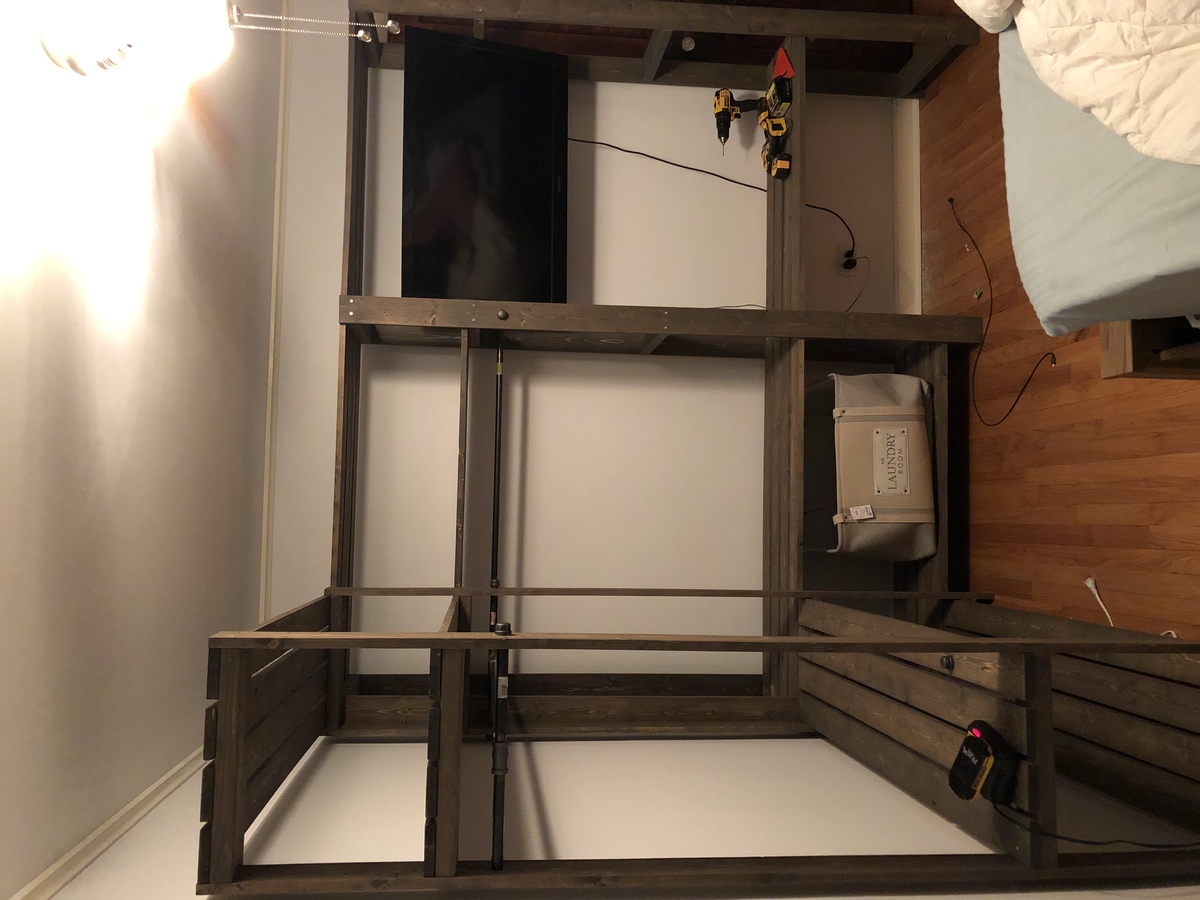
This was my take on Ana’s great idea and plans. My wife and I were in need of closet space in our small master bedroom and this worked out perfectly, plus it looks great! To gain some additional storage (and because I thought it would look cool) I decided to build the unit around our wall mounted tv and added 3 additional shelves. Sanding and staining all the board was by far the most time consuming. Assembly was a breeze. For anyone looking to build a large unit like this I recommend having a decent sized working area in order to stain all the boards and set them out properly to dry. Thanks Ana for the awesome design!
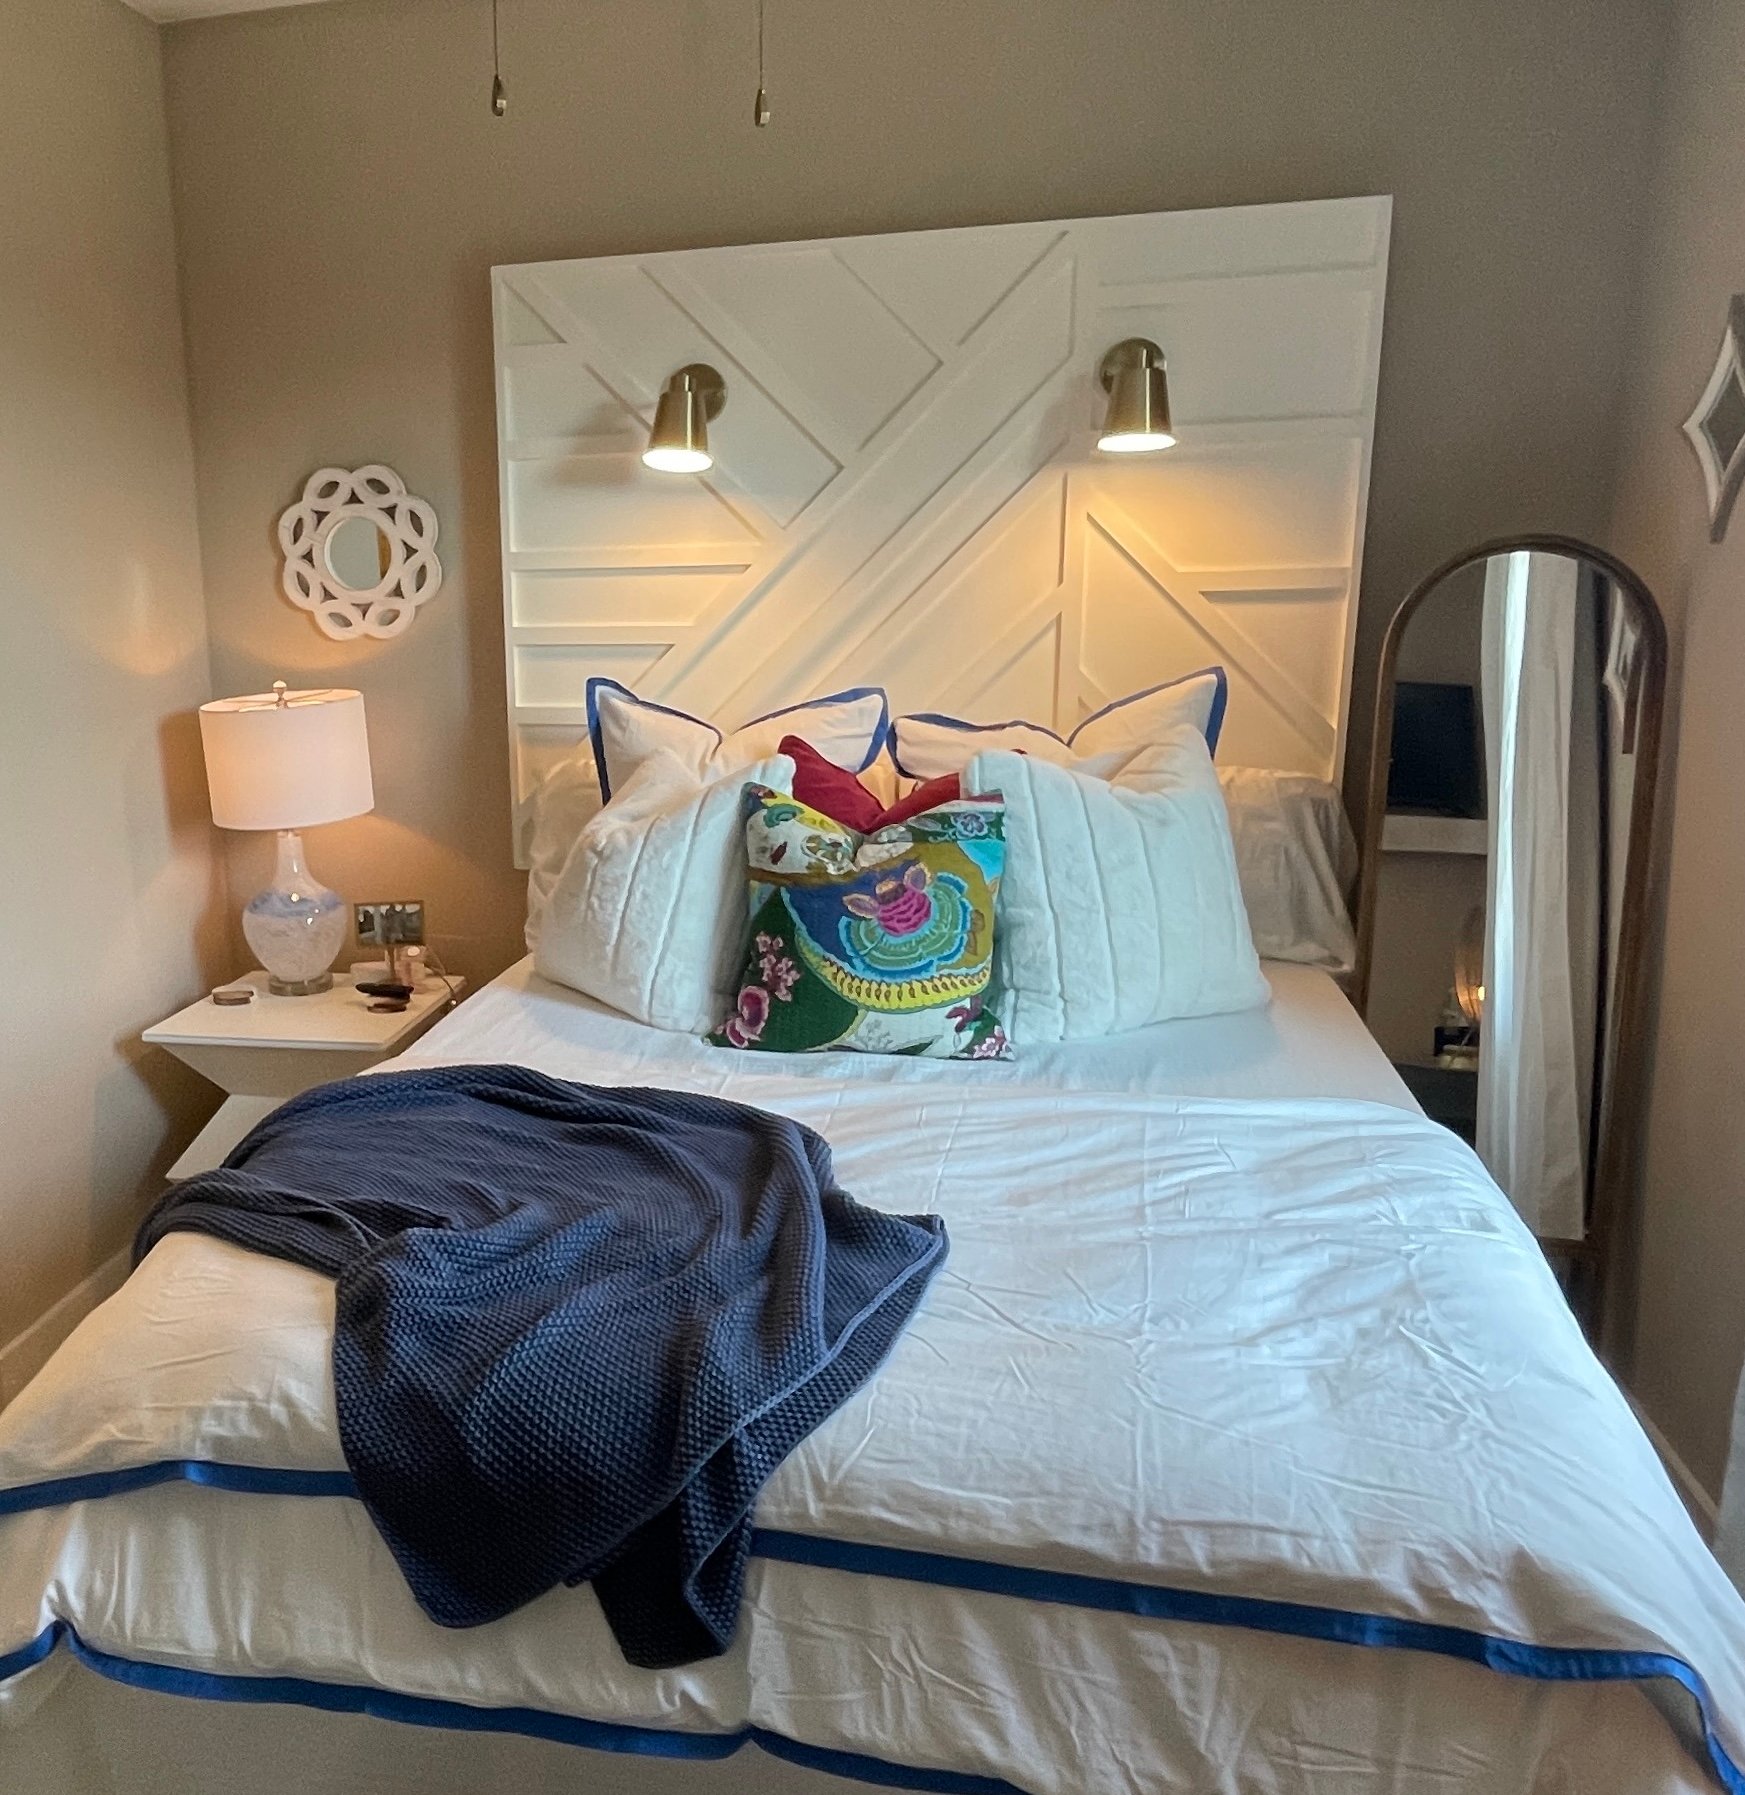
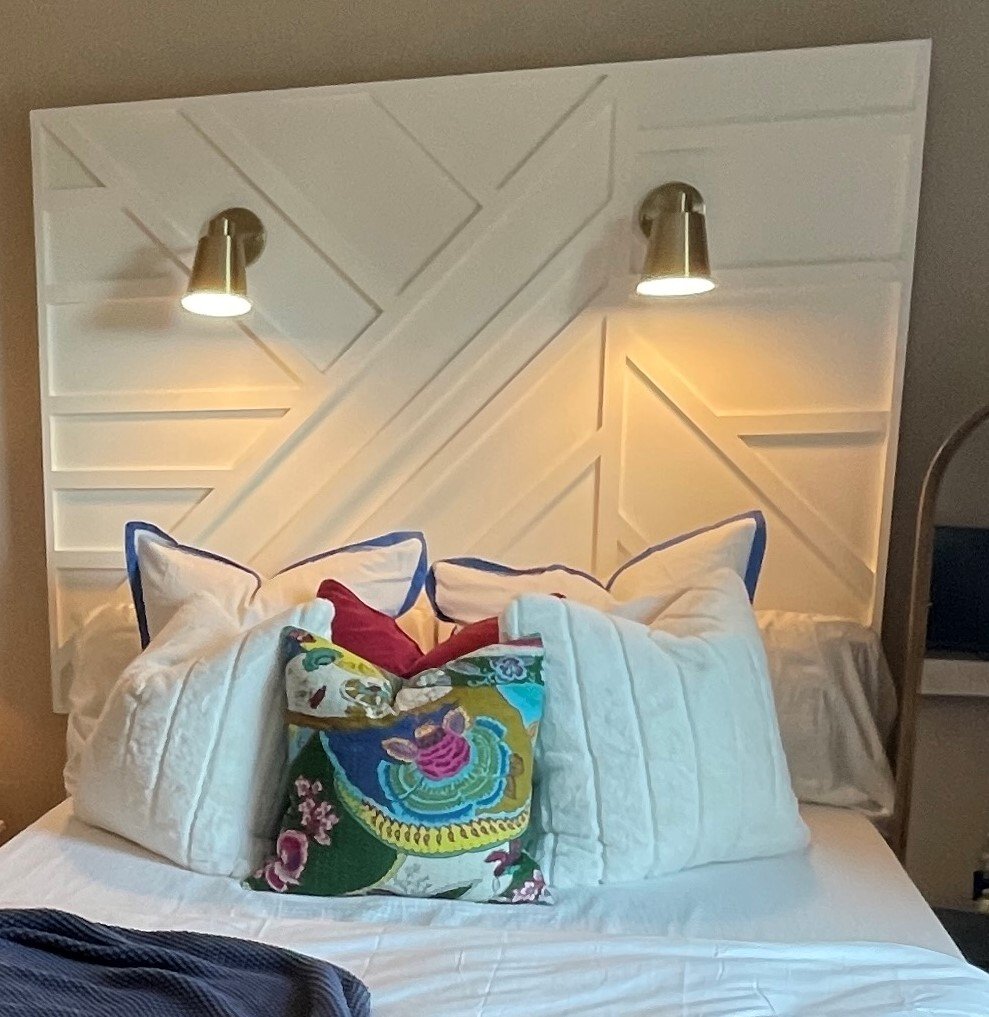
Love the modern look of the headboard so I adjusted the dimensions a bit to add more height. I built this for my daughters first college apartment and wanted to capitalize on space know that her room would be small - so I added the sconces for extra lighting in her room. I turned out great and was so happy to find the inspiration on Ana's site!
Tue, 08/16/2022 - 11:01
Love the added height and lights, brilliant for a smaller room!
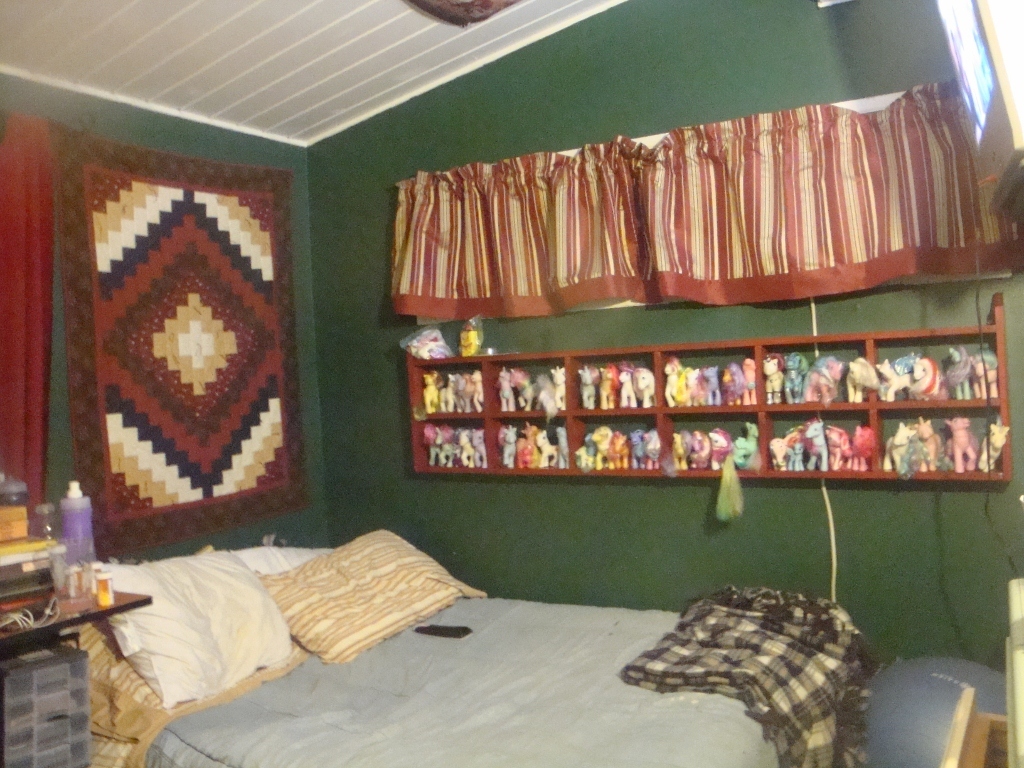
My daughter had all of her collection of Pretty Pony's in boxes, and like mother, like daughter, she likes working with her hands. She restrings their hair, paints new designs on their bottoms, etc. She loved the look of the 25 cubbies, just wanted them bigger across to accomadate her ponies.
These shelves are customized just for her toys, I used 1x4 instead of 1x6 because I don't want her bumping her head, when she gets out of bed....I didn't need that much width.
My daughter drew the Scalloped edge on freehand, and I cut it out.
Love this project.

My husband made this for my daughter's 4th birthday. she loves it! We did decided not to add the wheels and it seems to be fine without them. We chose to do her name in letters as well. I did the lines and dots with a sharpe marker.
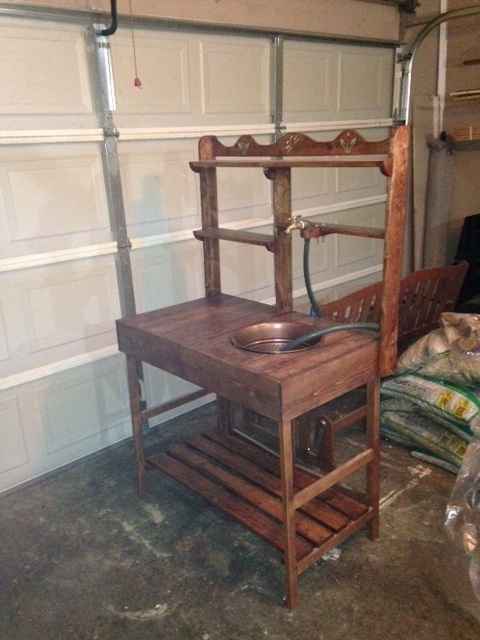
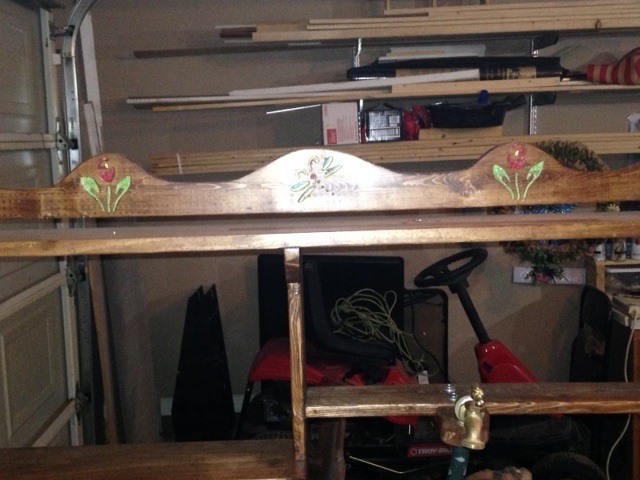
I modified the collapsibile planting table by Lady Goats. My wife asked for it to have a removable shelf to keep with the take down Idea and also to come up with a way to have a spicket added. this was a really fun project to make, I even added carvings and painted to allow it to stand out and to give it some color.
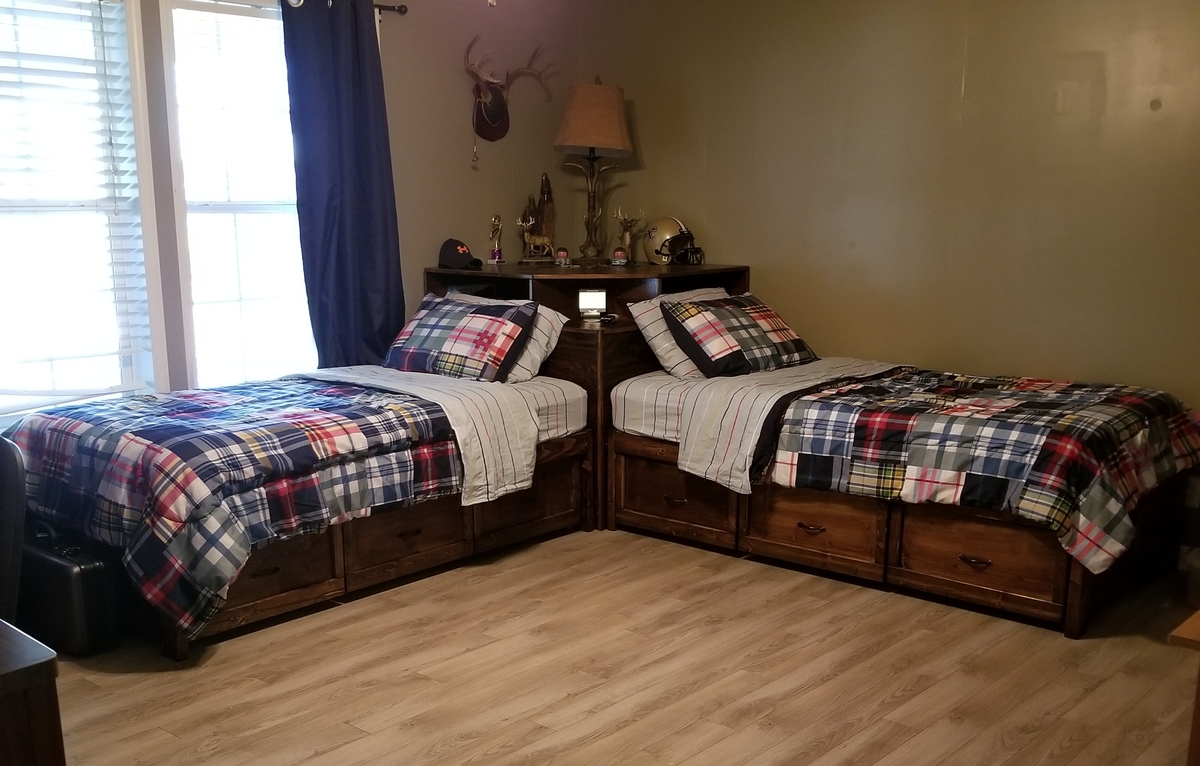
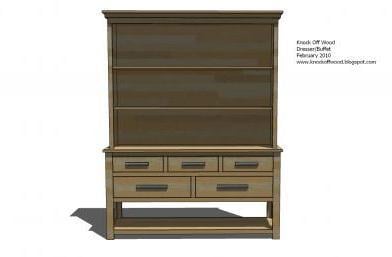
Our boys share a room and needed new beds. We wanted to keep as much floor open as possible, so these 2 plans came together perfectly!! They have large drawers that store all of their clothes so theres no need for dressers. We put a surge protector inside the hutch so they can easily plug up and charge their electronics. Best beds ever!!!
Hi, Ana.
I am loving your spot! I have not even delved into your recipes yet! I plan on making more than a few projects from your plans!

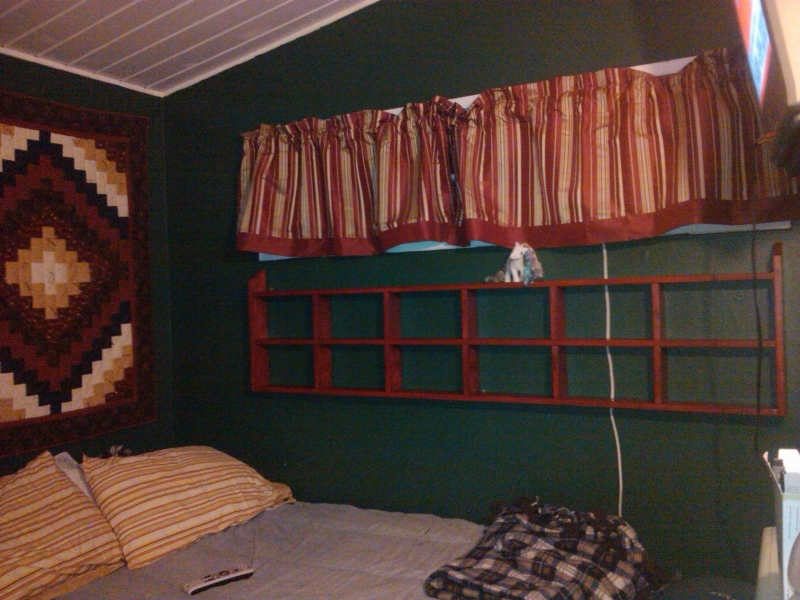
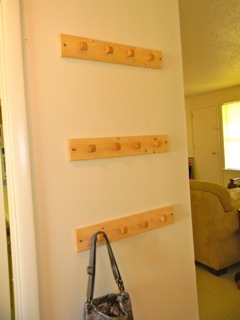
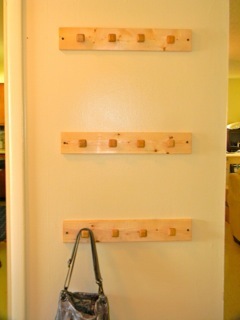
This was a fun easy & free project! I had a number of 1x4's left over from building the Classic Bunkbed and we paired that with some old knobs I saved. These 3 peg boards have made a great addition to the foyer of our house. We use them to keep purses, bags, dog leashes, and hats handy and still organized. I am tempted to put up a few more peg boards in our hall now!
This probably took 30 minutes total from inception to installation.
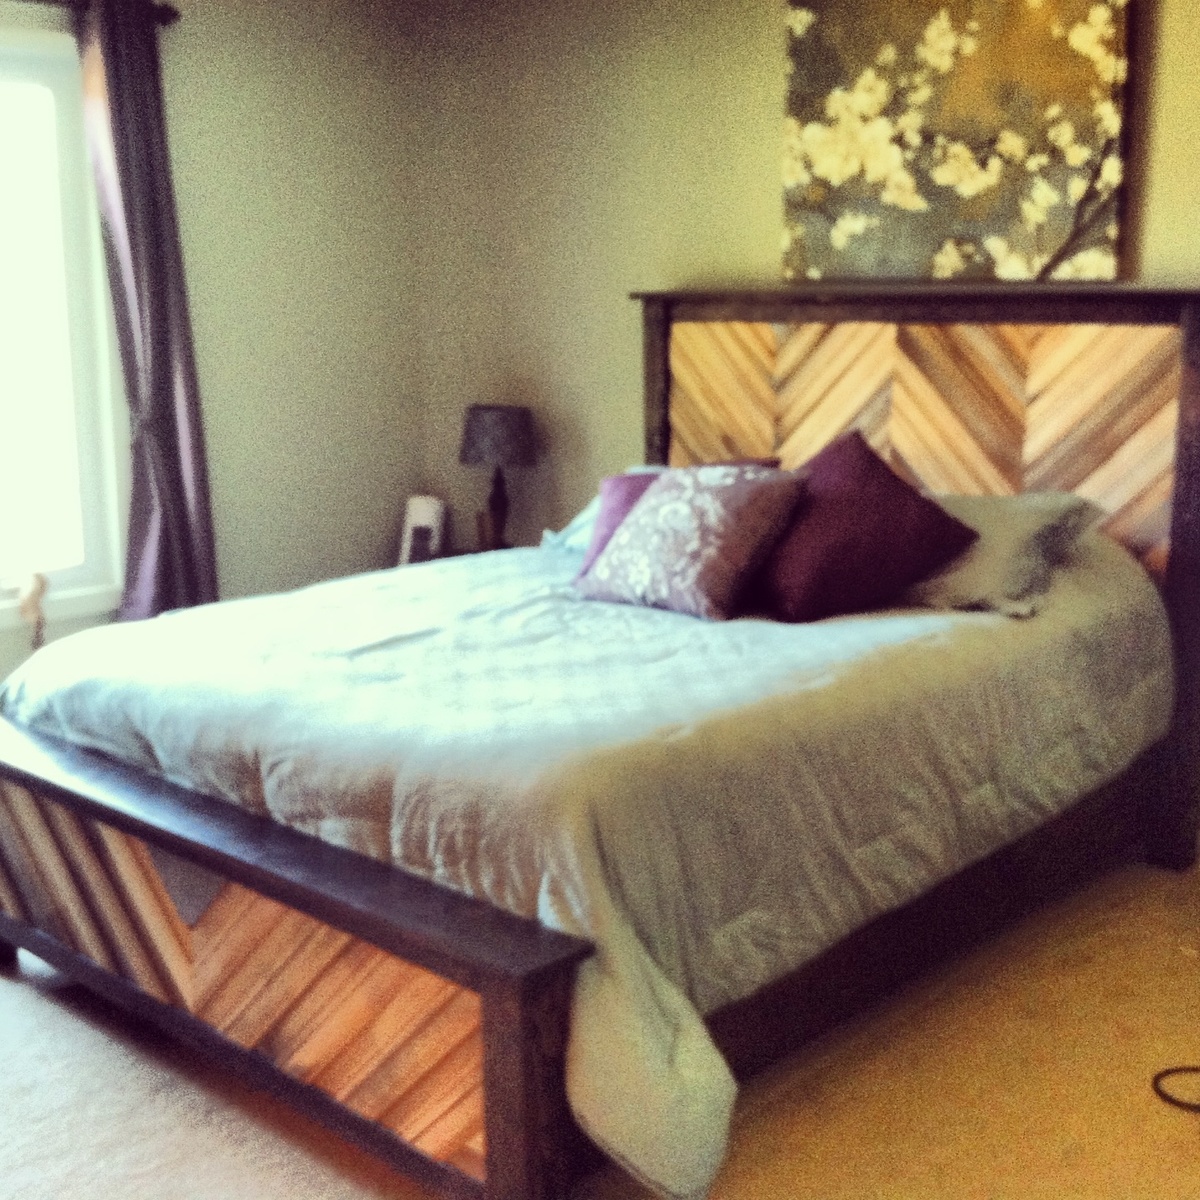
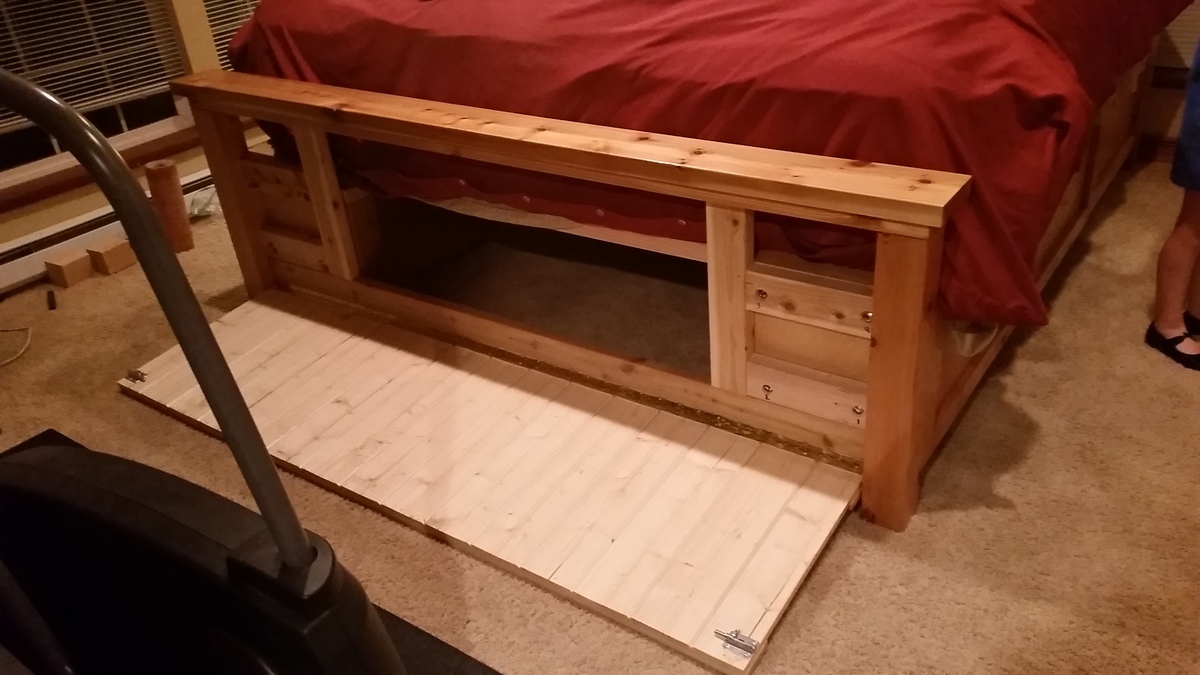
We took the general plan of the Cassidy wood shim bed but added some features of our own. Since my husband is in the military we knew we would be moving more than the average builder so we made the bed to be more durable for frequent disassemblies. Instead of screwing the frame to the head and foot board we used carriage bolts to secure the pieces.
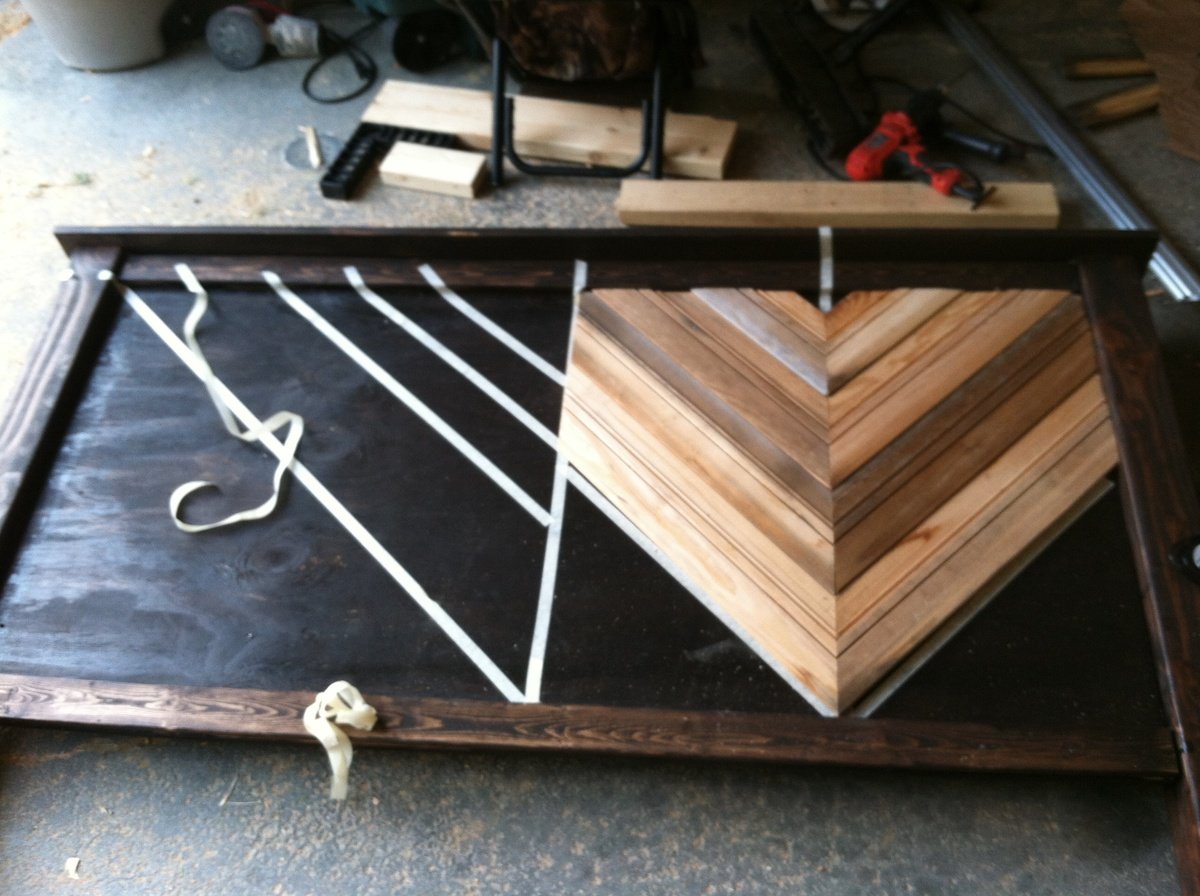
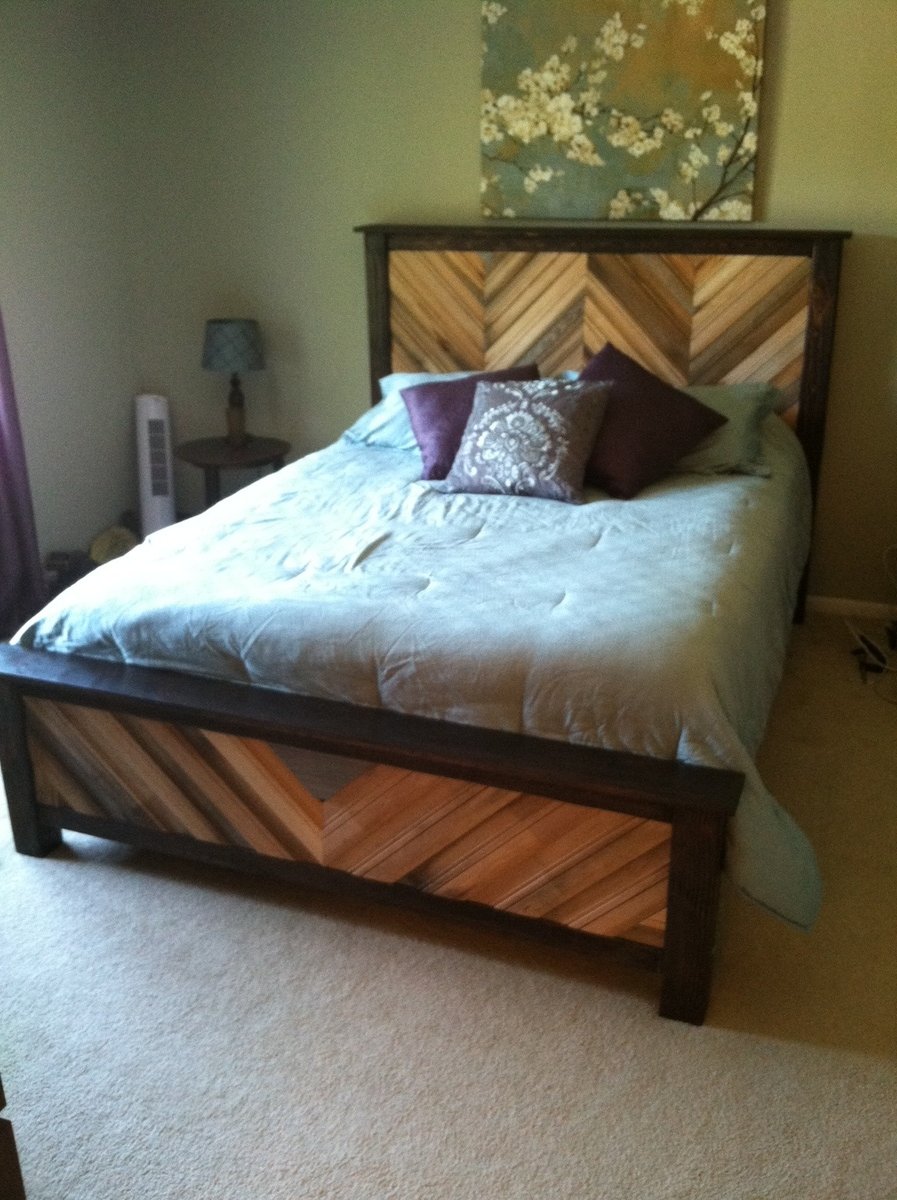
We also wanted to add a reclaimed aspect to our bedroom. We bought some reclaim cedar siding from a local estate investor and decided to do a chevron pattern. After staining the whole frame, we applied the siding to both the head and the foot board since we bought basic plywood and wanted to cover both ends. Plus, we liked the look with both ends done better. We cut the siding at 45 degree angles and then custom cut each piece to fit. This was a time consuming area since, with reclaimed wood especially, each piece is unique. We then just used liquid nails to secure the pieces.
To finish we assembled the bed and applied a paste wax.

Wed, 09/04/2013 - 21:12
This bed sure looks amazing. I made a bed from the same design just a little more like the main shim bed with a tad bit of modifying. like you guys i was military and made the bed for easy take apart with 7in lag bolts vs nailing. Good luck with future builds.

Sat, 09/14/2013 - 23:44
Wow, I'm amazed at how awesome that bed is! I love the pattern of the wood and the varying colors of it. Turned out great!!!
Tue, 05/13/2014 - 08:44
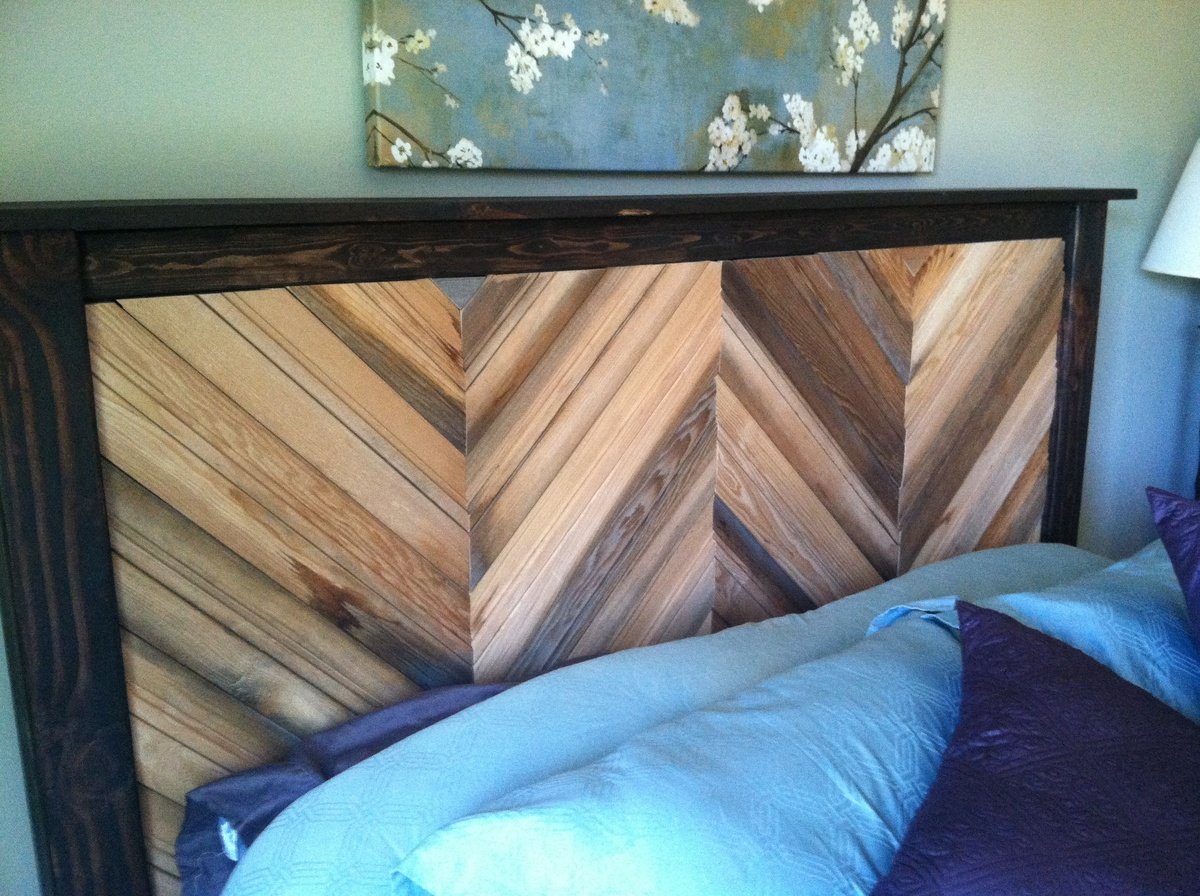
You guys did a fantastic job! My wife and i were looking to create a bed with a chevron or herring bone pattern, and this provides the perfect visual. Question about the foot board: It looks like there are varying thicknesses or some type of beading on the boards. Is there?
Thank you!
j
Tue, 05/13/2014 - 08:44
You guys did a fantastic job! My wife and i were looking to create a bed with a chevron or herring bone pattern, and this provides the perfect visual. Question about the foot board: It looks like there are varying thicknesses or some type of beading on the boards. Is there?
Thank you!
j
Sun, 11/06/2016 - 15:53
How did you place and secure the carraige bolts to the frame? I move around a bit too and would love to know how to do this. If there is anyway to upload a picture of what it looks like, that'd be great.
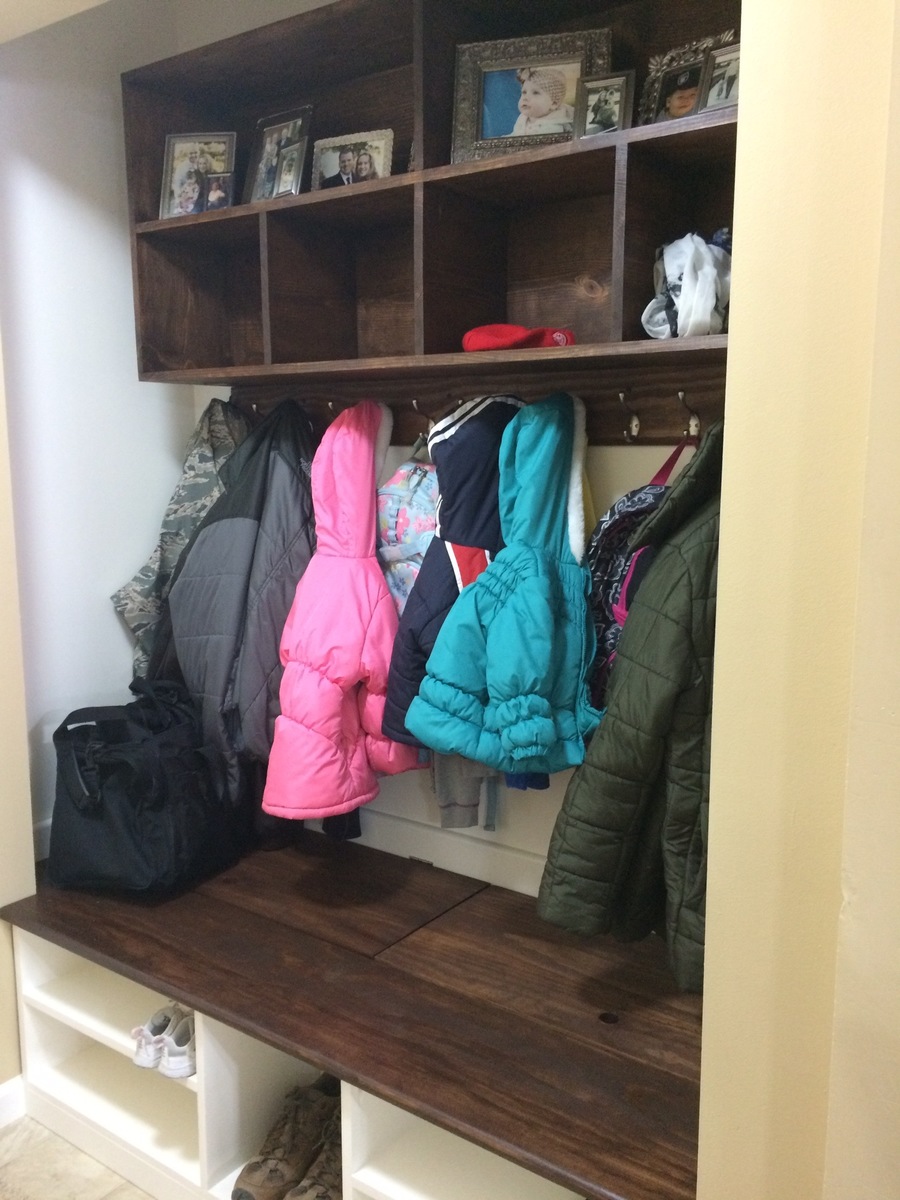
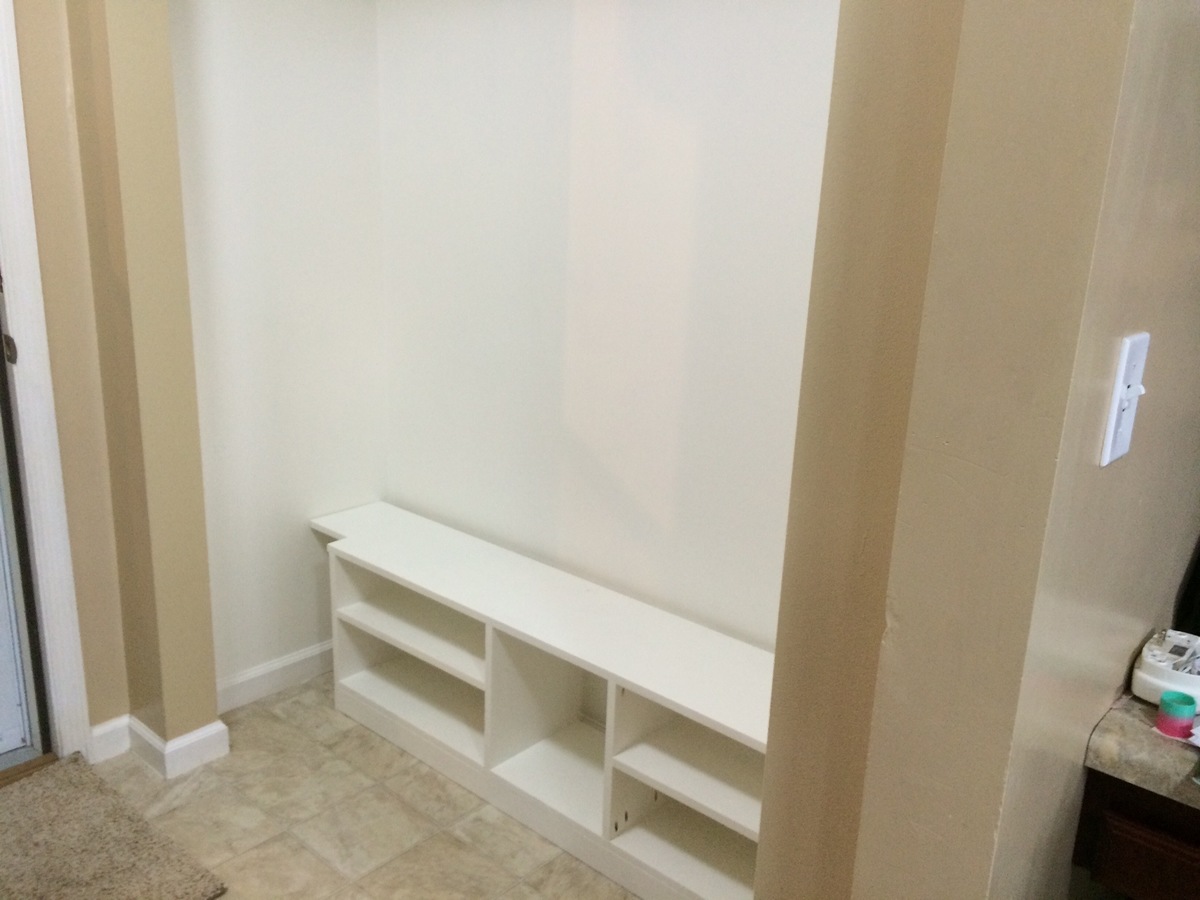
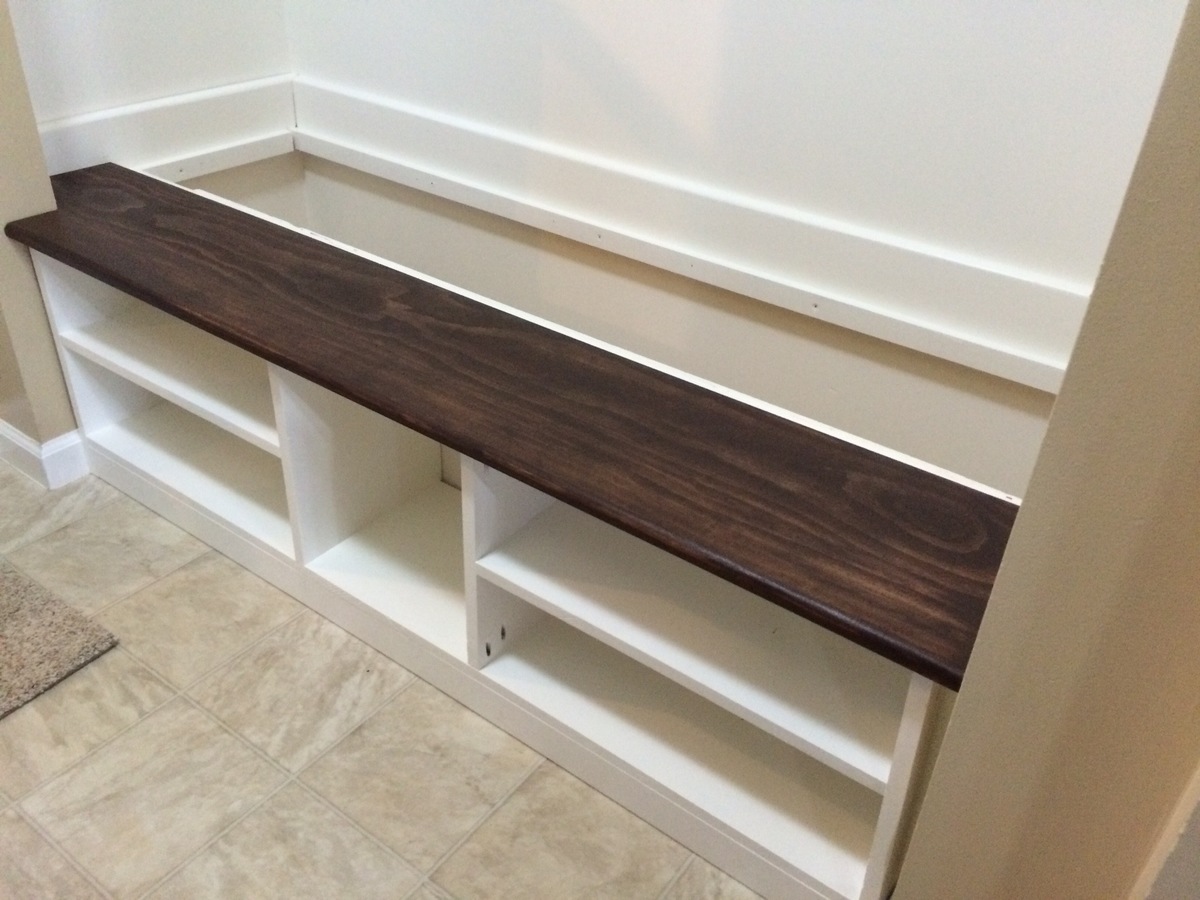
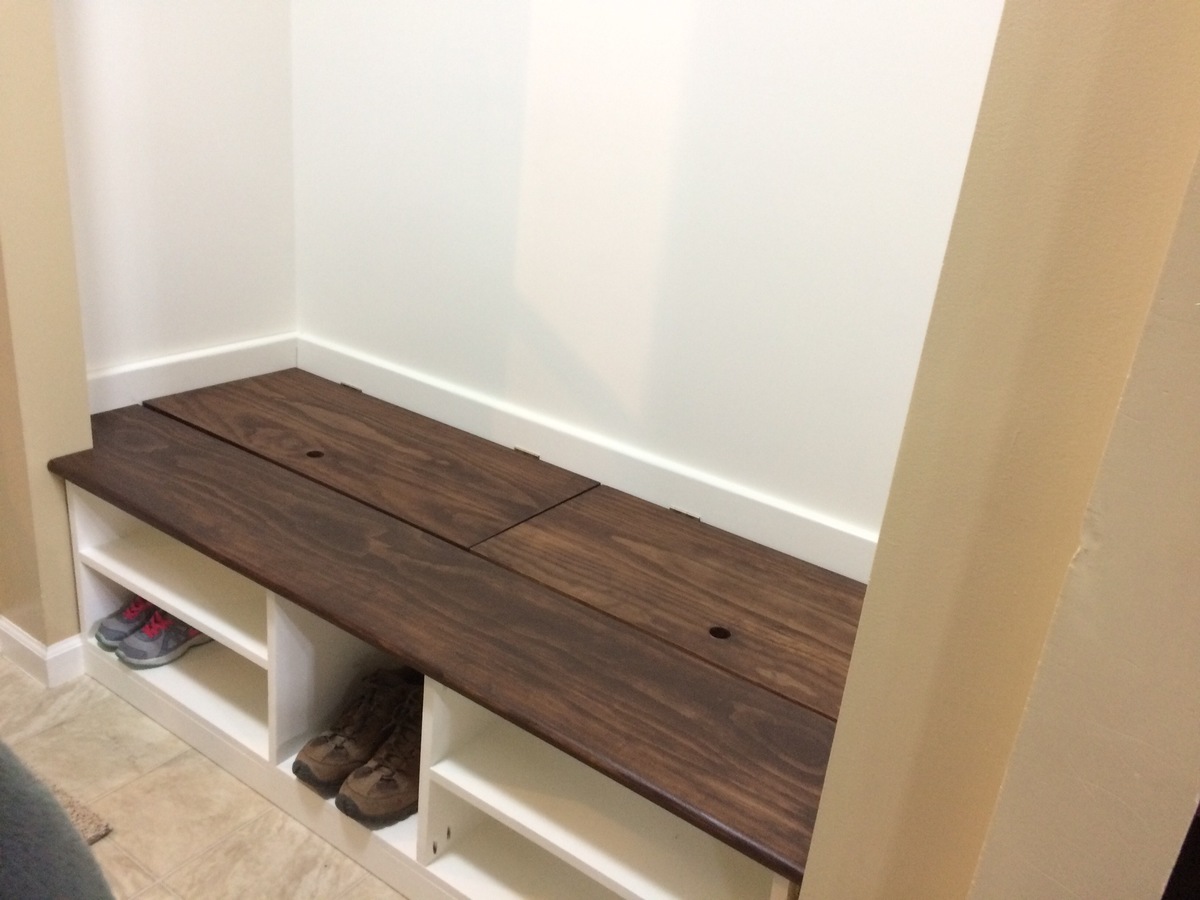
This was made from the Extra Wide Shoe Bench plans. Thank you Ana White my wife is so happy with this area in our house.
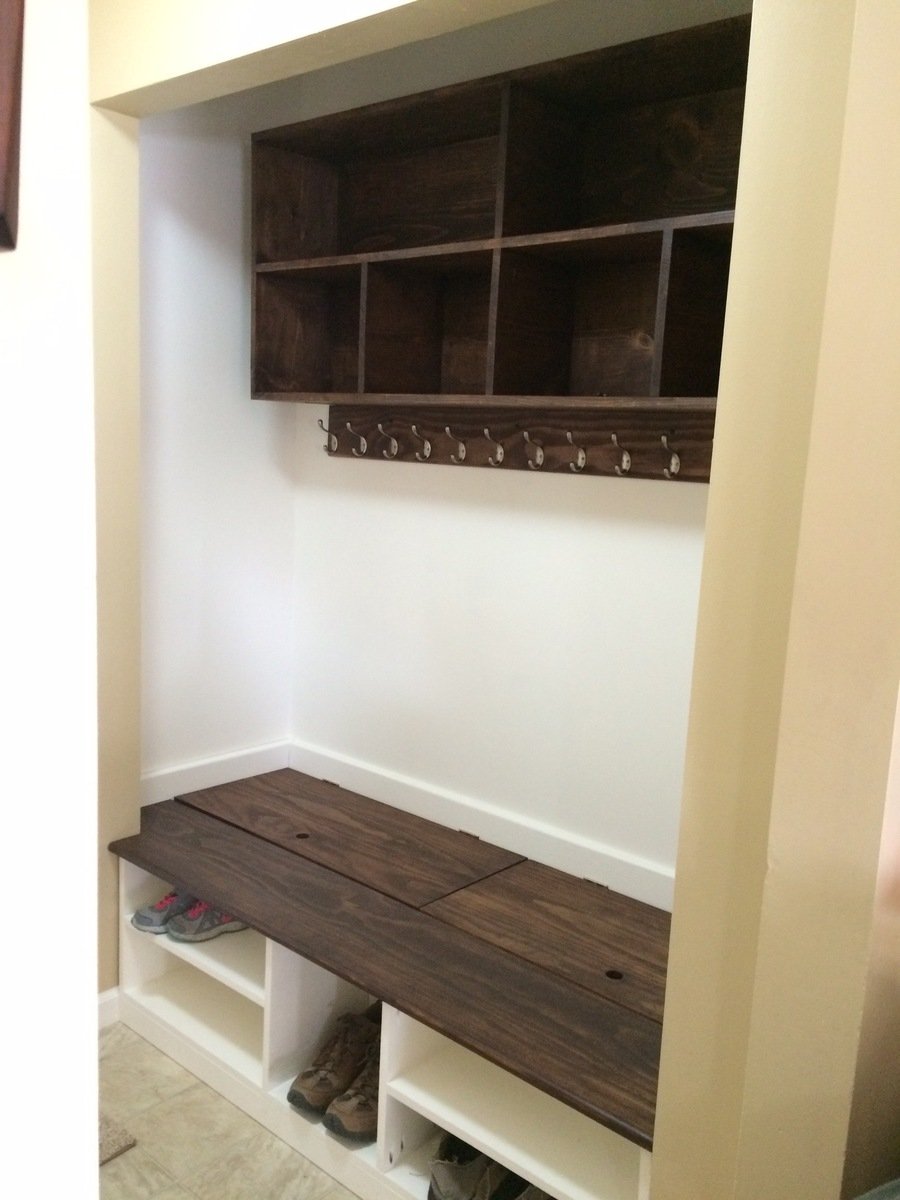
Made for my wife for a Christmas present. Awesome project.

Comments
Ana White
Tue, 10/30/2018 - 11:01
What a beautiful headboard!
What a beautiful headboard! Love the stain!