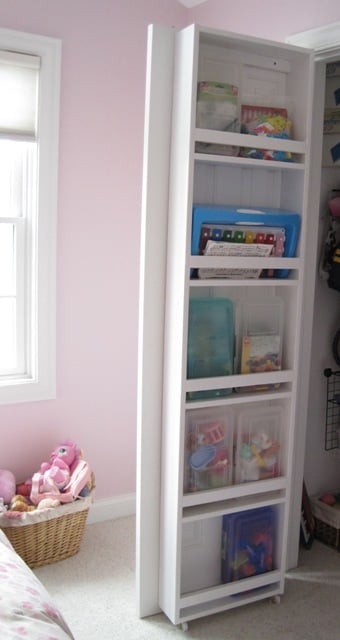
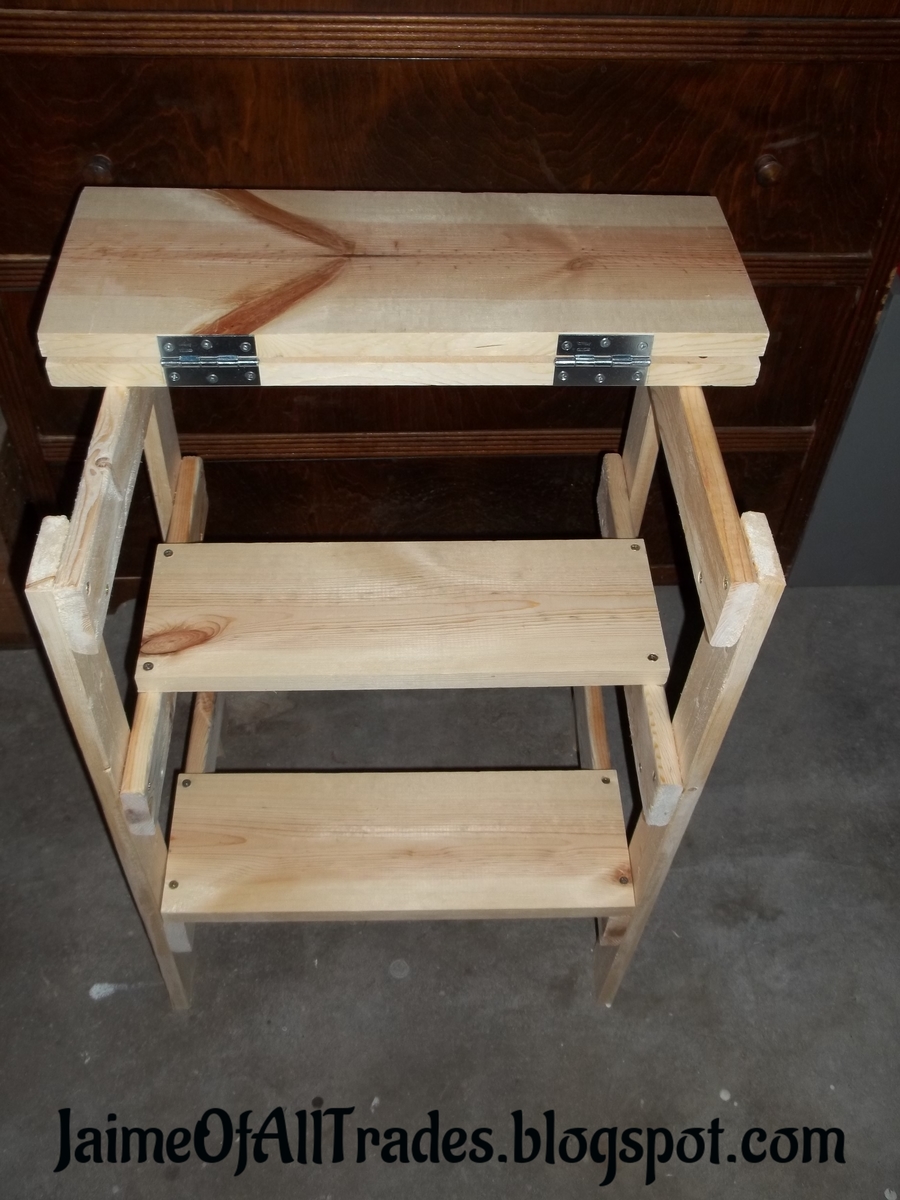
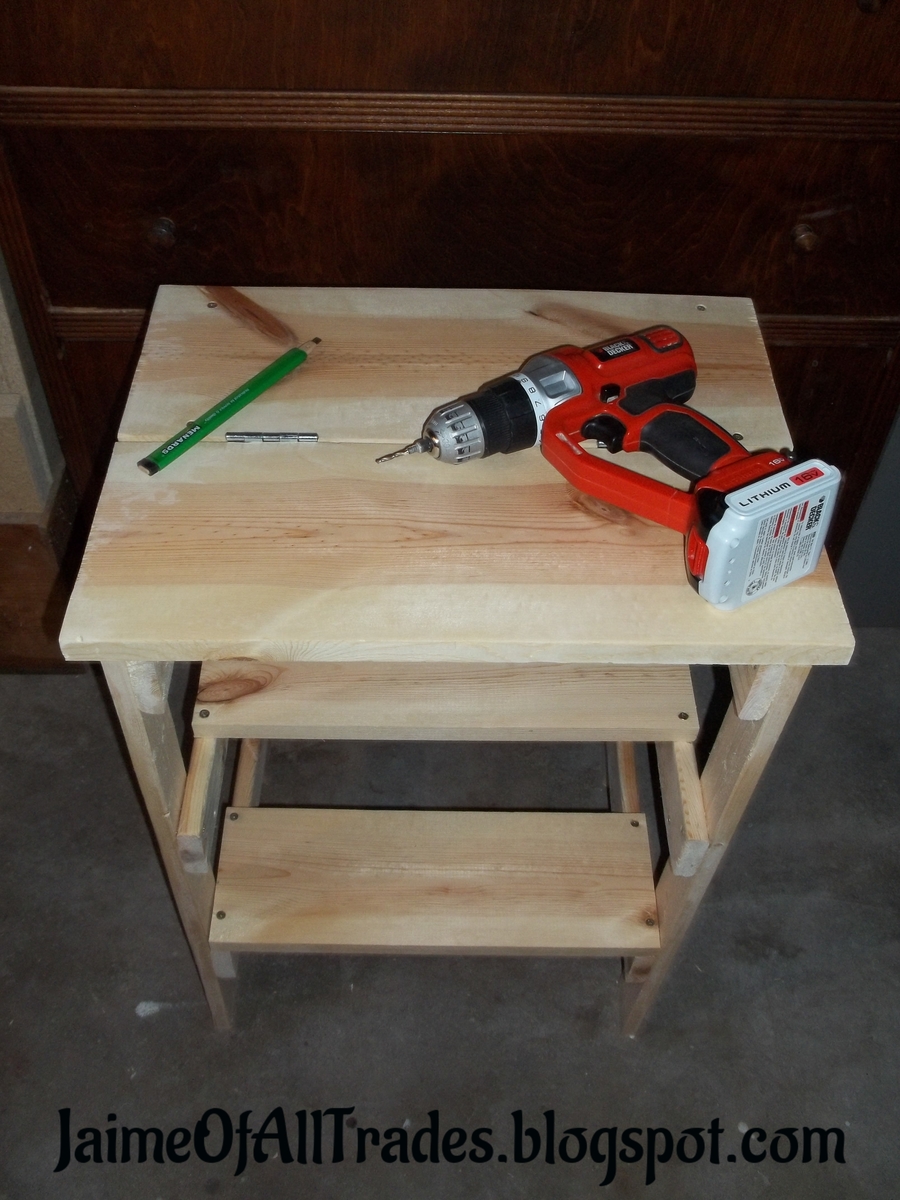
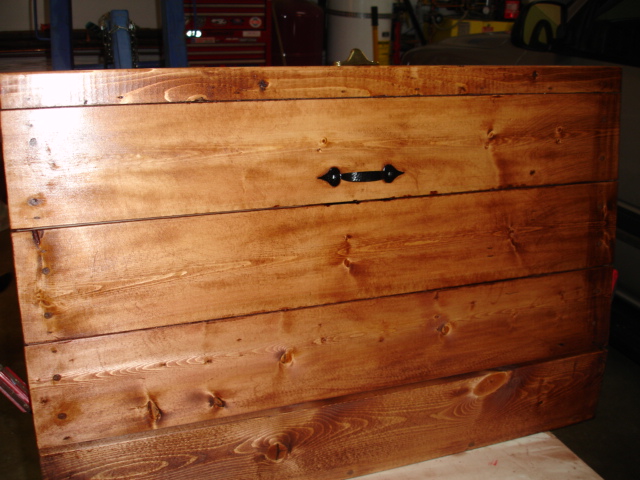
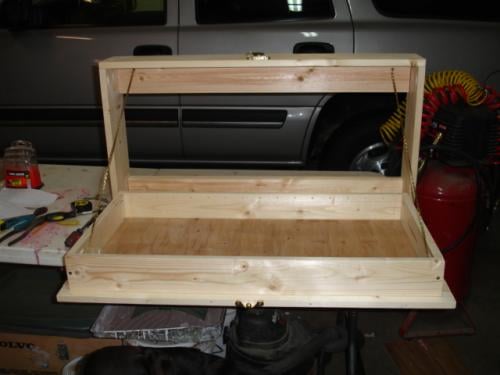
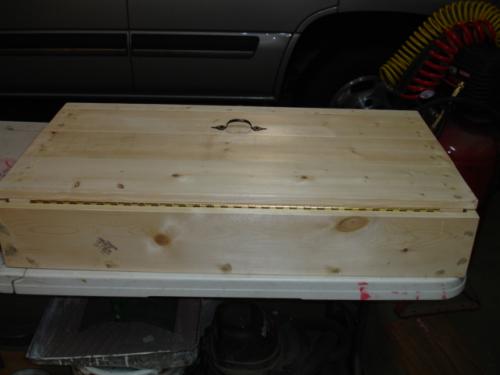
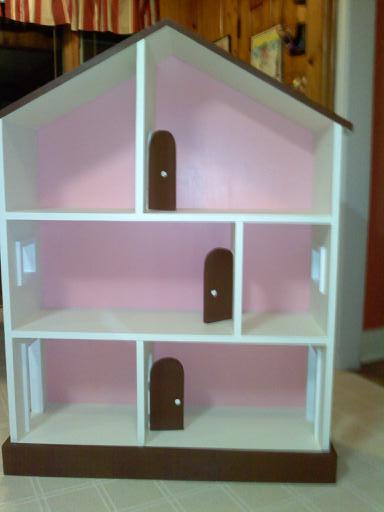
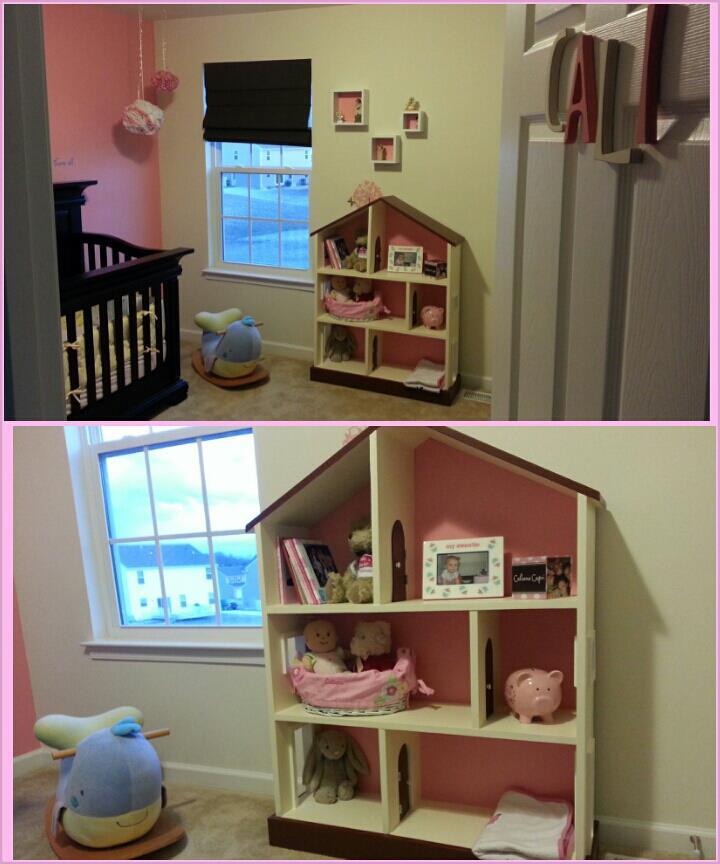
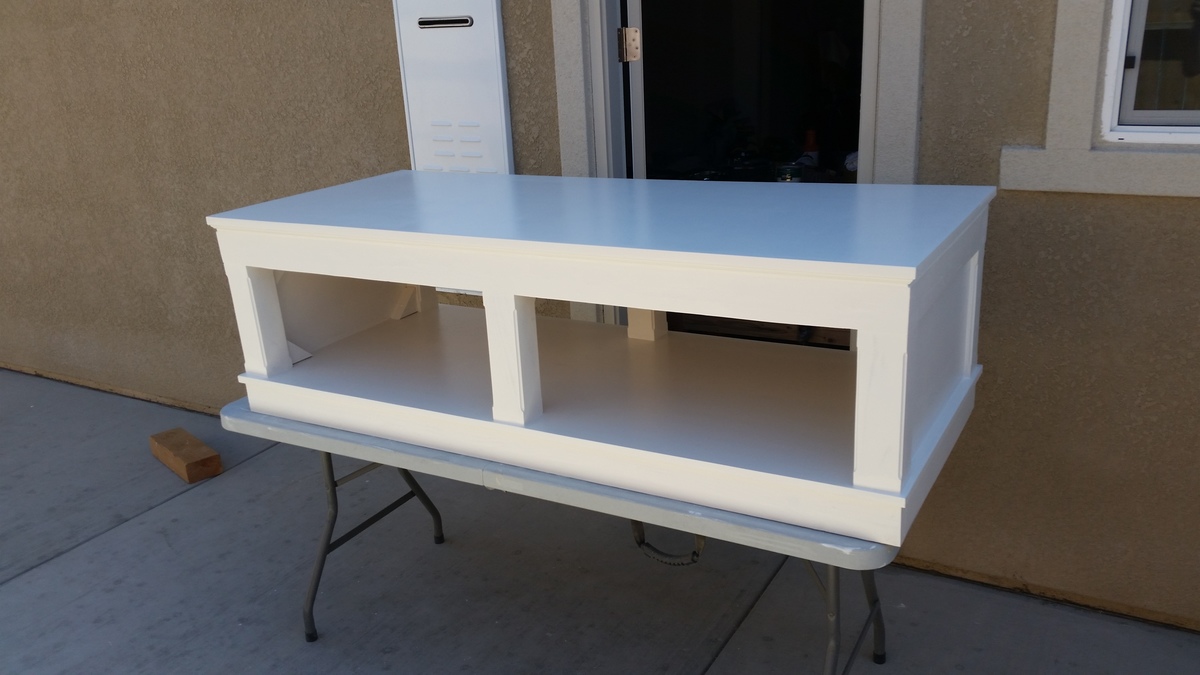
This was my first Ana White project, and I learned a lot from making it since I was also a novice woodworker. I am very happy with the end result, but it was probably a good thing that this went on the inside of a closet :) It gave me the confidence to go on and build something more difficult with the skills I built along with the storage.
The $30 estimate is only for the wood. Wood putty, sandpaper, screws, paint, etc. will make this more expensive, but you will use all of the extras on other projects since this one won't use those up.
The time involved is a guess--it has been a few months since I completed this. Someone with experience could probably do it faster and someone brand new to building might go slower. So I chose 3-6 hours, a nice in-between number.
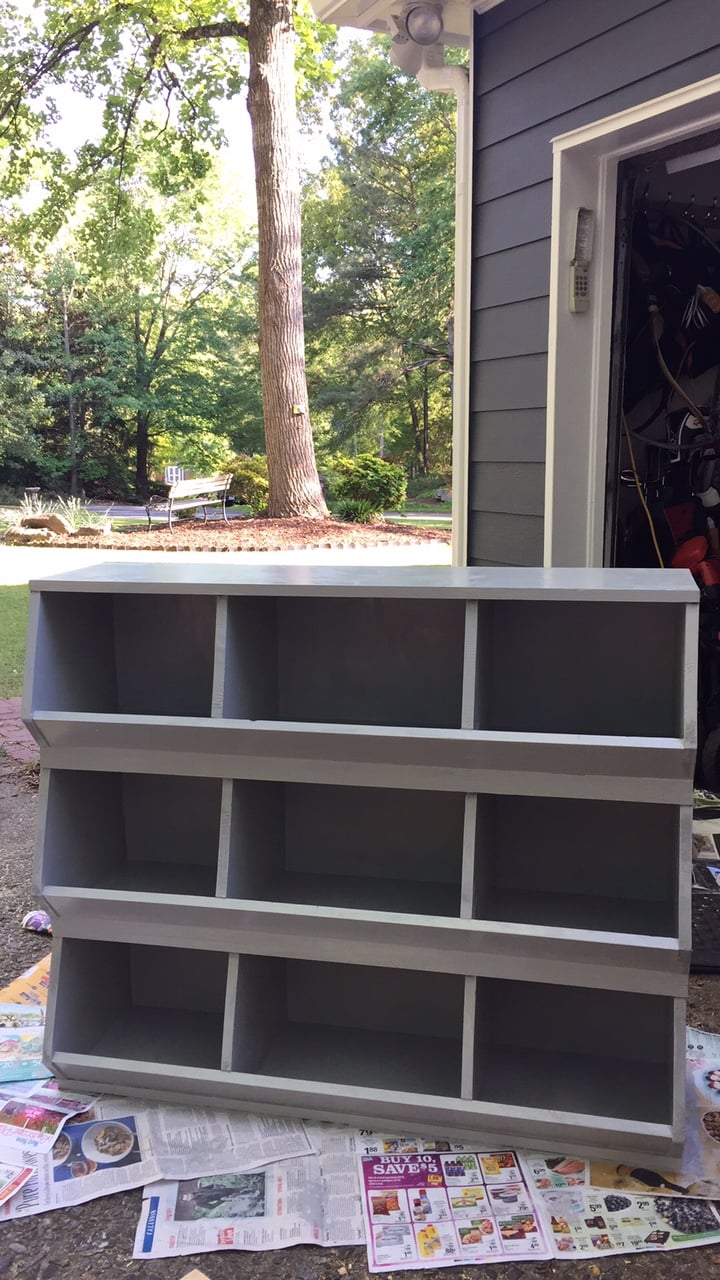
Watch your caster size with carpet. That was my only snag with the instructions. Ana has hardwood floors that the casters roll on. I have carpet so I wanted larger wheels in order for smoother rolling. That added height to the caster also, so you want to modify the length of the sides of the storage unit to reflect the larger casters on carpet.
All in all a great plan and useful end result!
**UPDATE--January 30, 2012** We removed the casters from the bottom of this just yesterday and the door opens SO much easier. I would invest in some high quality casters and not the cheap ones I bought if you are going to use these. Without the casters I am only putting light things (stuffed animals) in this. If you are using it for heavier items, I would use the casters but make sure they readily turn. The casters I had did not want to turn as the door moved and they dragged on the carpet instead. Also, the overall height of your unit will depend on the height of your casters, so buy them first if you are going to use them. I still love this though!