Ethan and I did a little project last week.
It’s been windy and cold outside and we’ve been running out of indoor activities. We made Valentine decor, heart-shaped food, colored, met friends at museums and toddler-rock’n-roll-playing coffee joints, played trains and kitchen and dinosaurs, read a hundred books.
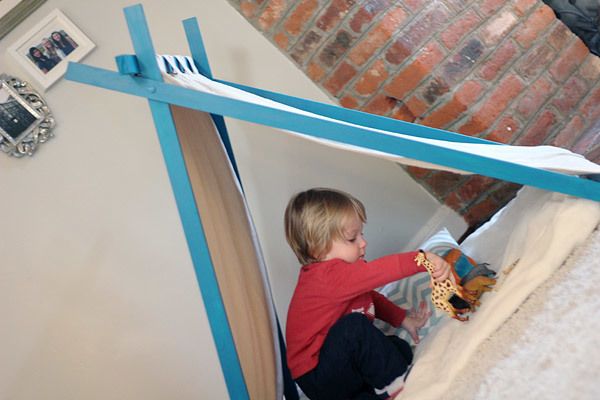
One super fun source of indoor entertainment we’ve never successfully completed is building a fort.
When I was young, I was the fort-making queen. My parents had this incredible 80′s-style glass-and-metal table with huge leather and wood chairs (it was insane), each piece weighing what seemed like a million pounds—PERFECT fort building materials. Blankets, pillows, books, and toys made a wonderland of imagination for me and my friends. I remember supporting corners of blankets with this heavy old clay jug and other skull-crushing items that could have crashed down at any wrong movement. How we make it through childhood is beyond me.
I guess our furniture selection is just not fort-worthy. At least, not in the sense that doesn’t pose the risk of a chair toppling on him, undoubtedly leading to suffocation and/or a concussion.
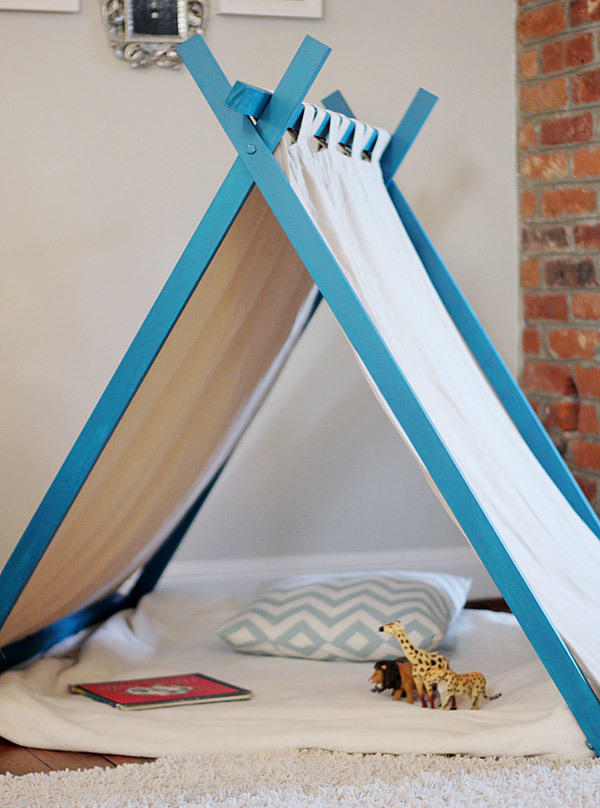
So a few minutes spent reading Ana White’s website, a little trip to the hardware store (where a visit to the “big saw” was requested only to end in wimpers of “no saw, I’m scared!”), about $25, and a little sweat later, we had a perfect little “fort” with no chance of injury, one that doesn’t need to be disassembled…ever.
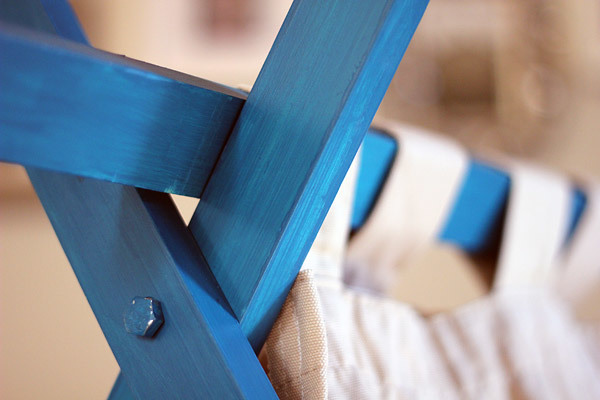
We had everything cut down at the hardware store. Paint was leftover from Ethan’s train board, side panels made from Target tab-top curtains I’ve had since college. Really.
It was Ethan’s first construction project so I started him off right—with sanding.
When everything was nice and smooth, we had lunch and the Peanut hit the hay while I took out the “big mama bit collection” and started drilling. As usual, Ana’s plans were very well illustrated and straightforward…we used her oven door plan for Ethan’s kitchen and it worked perfectly.
By the time Little Man woke, we were ready for paint. I wondered if painting with a toddler was the smartest idea…but we just went for it.
He did GREAT. Thank you Ikea for the $2 smock.
As I’d feared, the (almost) finished product was about four feet too tall. It was massive in our living room!
So a few days later the Hubs helped me cut it down with our chop saw. So much for making things easy by having all the wood pre-cut. I guess Ana’s house is much bigger than ours.
My next task was hemming, narrowing, and velcro-izing the panels. With a much shorter tent, my trusty old curtains were way too long. Plus, I wasn’t so sure about Ana’s suggestion to staple curtain to tent…it seemed much too permanent What if we want to add a stamped pattern? Or a window? Or change up the fabric? Velcro seemed safer.
Sure, it’s not the fastest way, but I think it was worth the time. And my $20 craigslist sewing machine handled it like a champ.
We’ve already done some good lazin’ around in the new fort. Or nook. Or tent. Whatever, Ethan seems to think it is pretty cool.
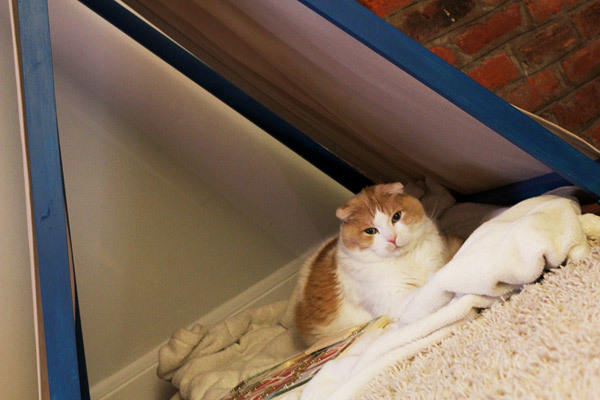
It’s also pretty popular with our furry friends.


Comments
Linda7
Fri, 12/05/2014 - 17:56
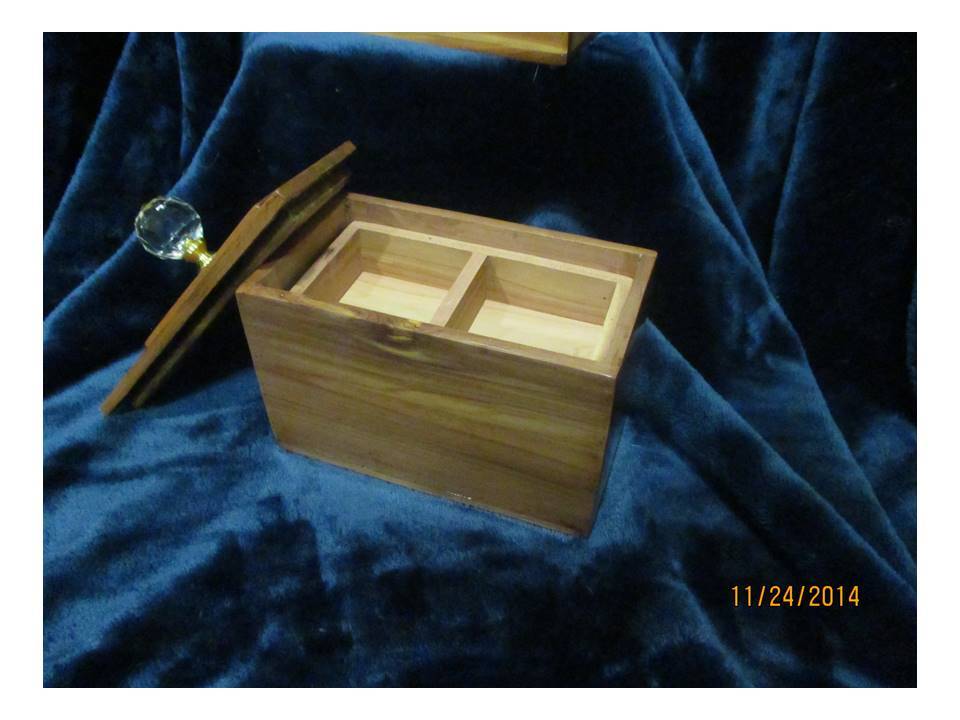
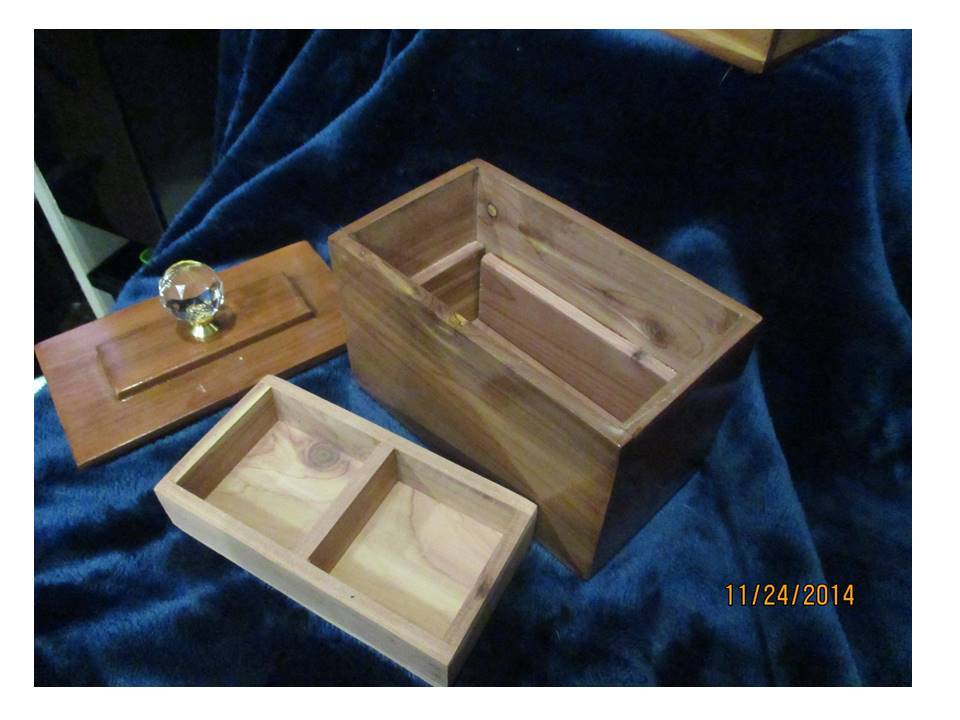
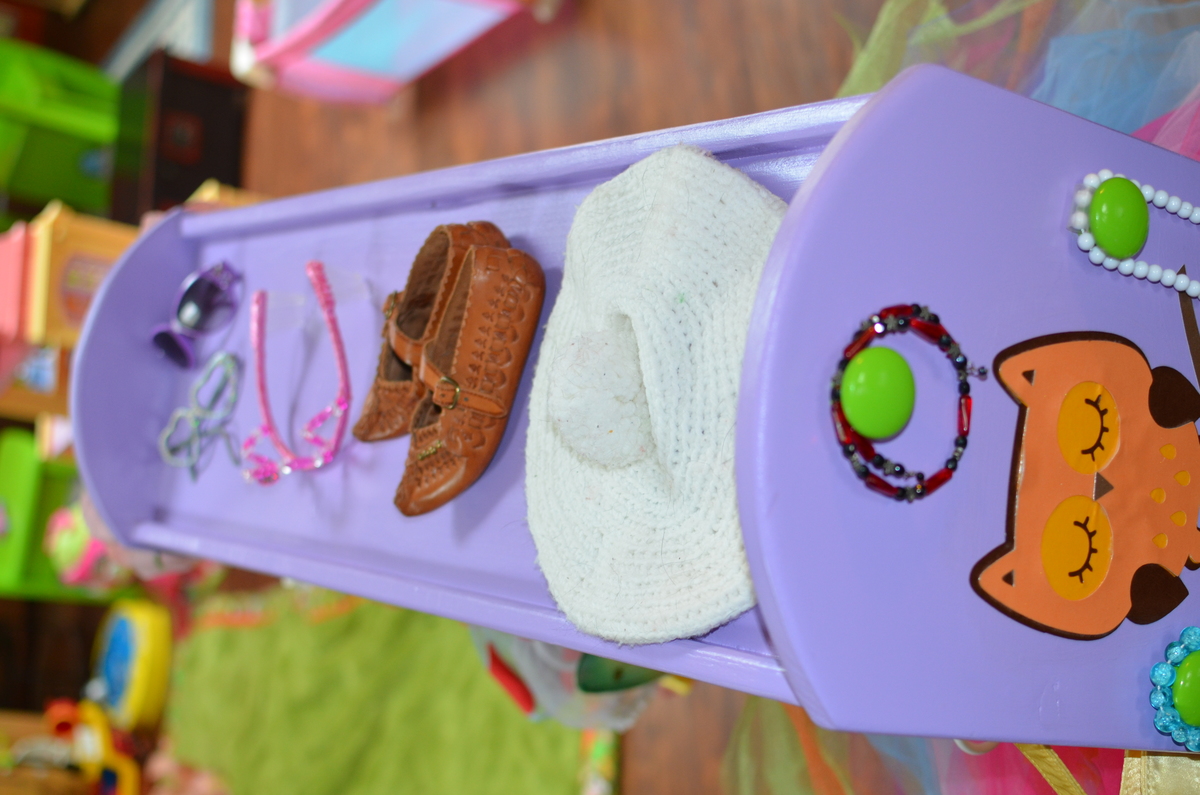
Trinket/jewelry boxes
Joanne, you are the queen of trinket/jewelry boxes! I love all of your posts which show how something simple can be so different and special. These would make wonderful Christmas presents for loved ones, friends, or co-workers. Thanks for sharing.
JoanneS
Sat, 12/06/2014 - 04:58
Thank you!
Linda, thanks so much for the nice comment! I have such fun doing hand built gifts for Christmas! Thinking up how to decorate them and what to make them from is a big part of the fun!