Community Brag Posts

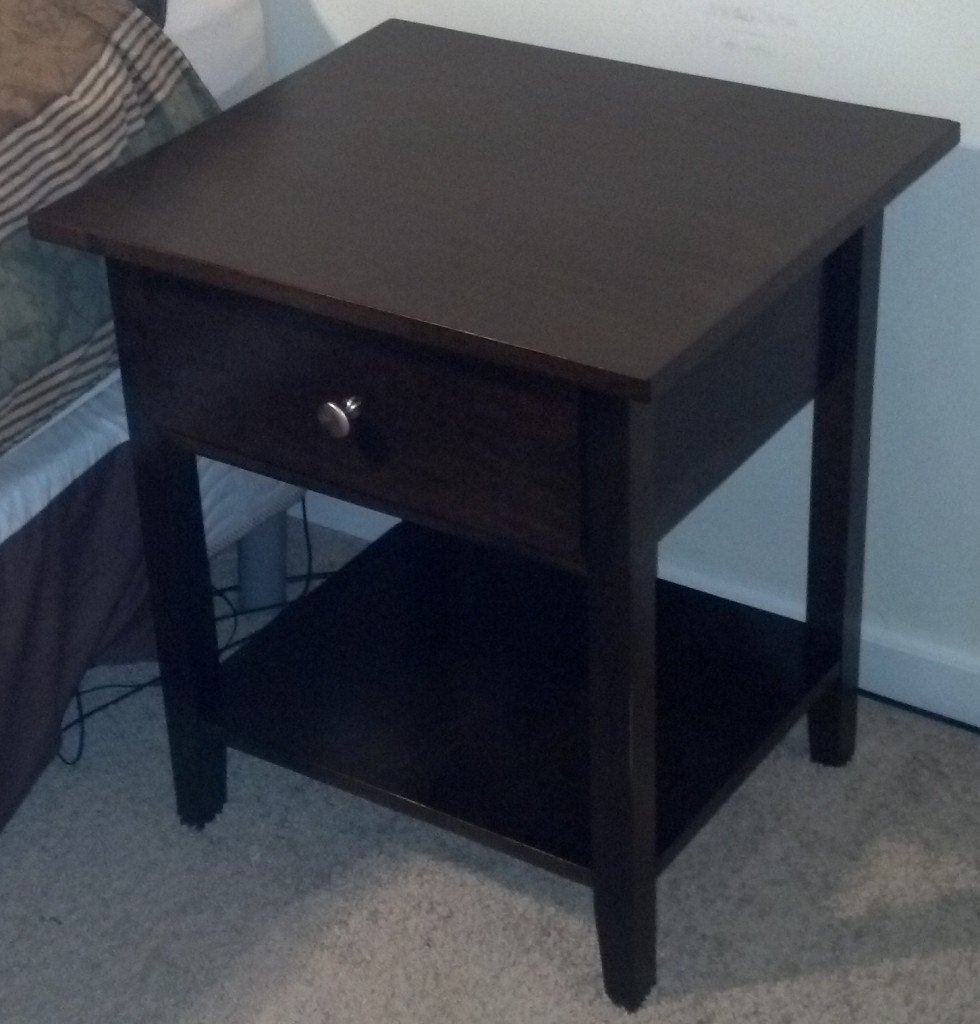
Pottery Barn Hudson inspired Bedside Table

Submitted by NeoMoses on Thu, 03/21/2013 - 06:26

I needed a set of bedside tables and decided to build my own. Using a Pottery Barn Hudson table as the inspiration, I made these 2 tables. They are very similar to Ana's Farmhouse Bedside Tables. I have more details on how these were made from inexpensive plywood on my website. Enjoy!

Built from Plan(s)
Estimated Cost
$75
Estimated Time Investment
Weekend Project (10-20 Hours)
Finish Used
Stain & Sprayed Polyurethane
Recommended Skill Level
Beginner

Comments

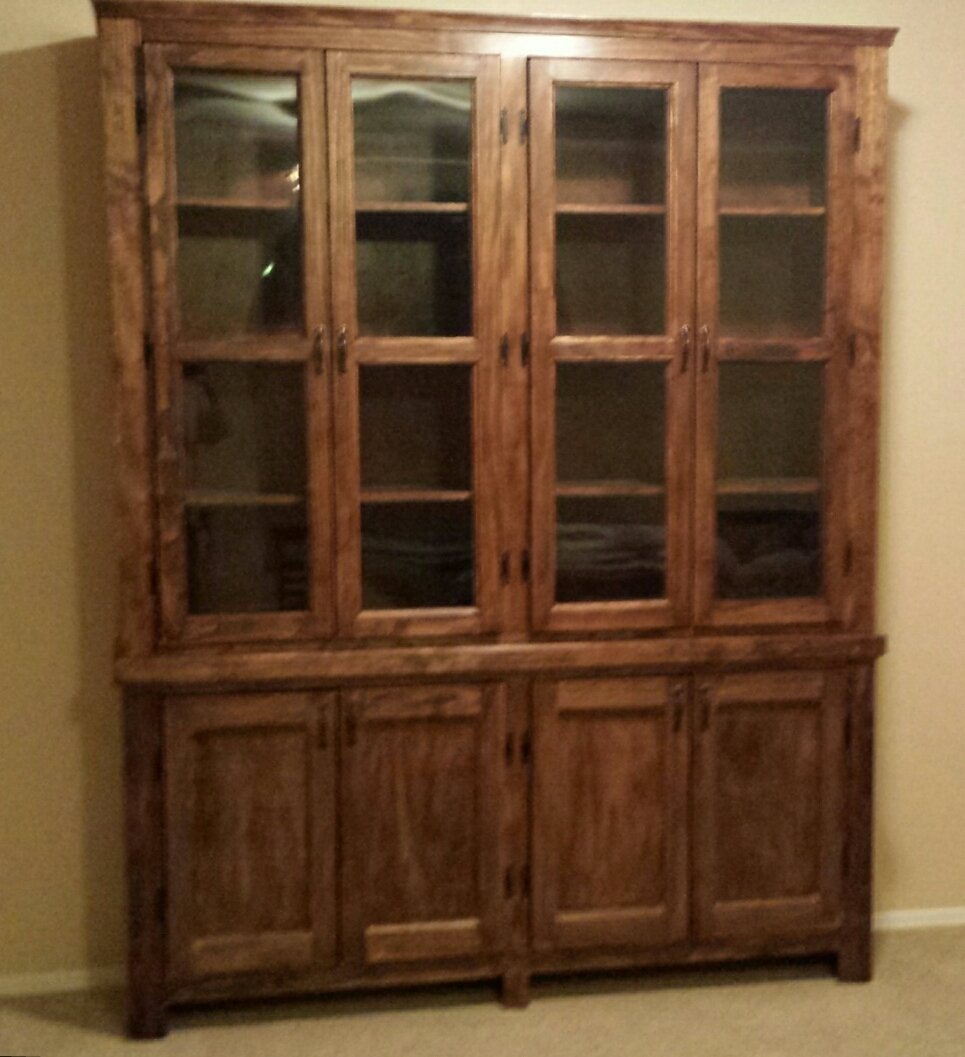
Hutch

Submitted by Miles35 on Sun, 02/01/2015 - 10:12

My Brother and I have always wanted to craft furniture and this piece was our first project. We took our time and really payed attention to details. We're pretty proud of how it turned out. It was a challenge but a whole lot of fun.

Built from Plan(s)
Finish Used
Min Wax Pre-Stain Wood Conditioner
Min-Wax English Chestnut
Min-Wax Espresso
Min-Wax Polycrylic Clear Satin Water Based
Recommended Skill Level
Intermediate

Comments

JoanneS

Mon, 02/02/2015 - 18:18

Congrats on an awesome first project! It's a very professional looking piece, you did a beautiful job. The stain colors you chose are beautiful!

Weekend project

Submitted by Anonymous (not verified) on Sun, 04/30/2017 - 20:24

Although I didn't exactly follow your steps, I got a few great ideas from your blog post. Thanks for sharing!

Estimated Time Investment
Weekend Project (10-20 Hours)
Recommended Skill Level
Intermediate

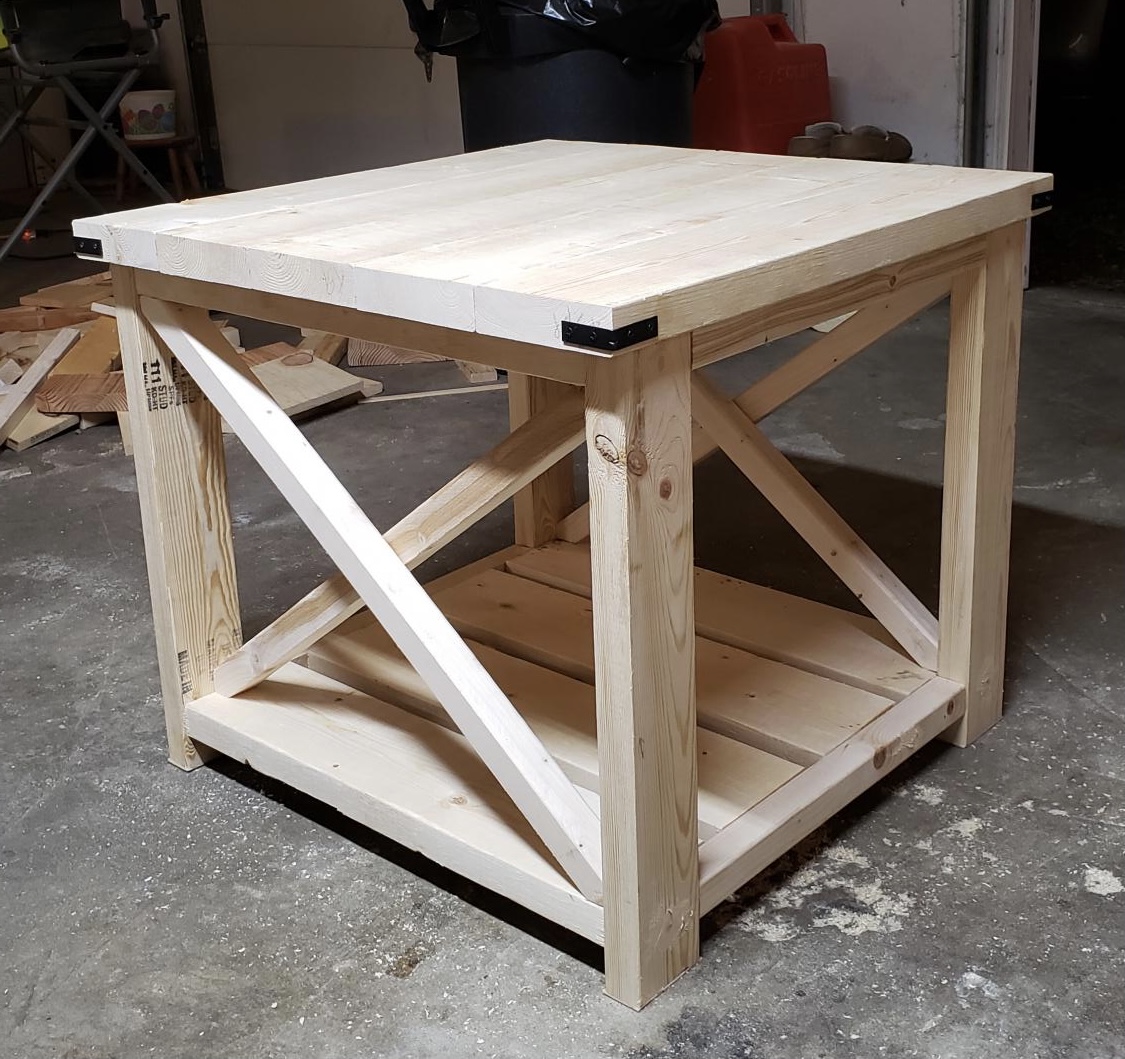
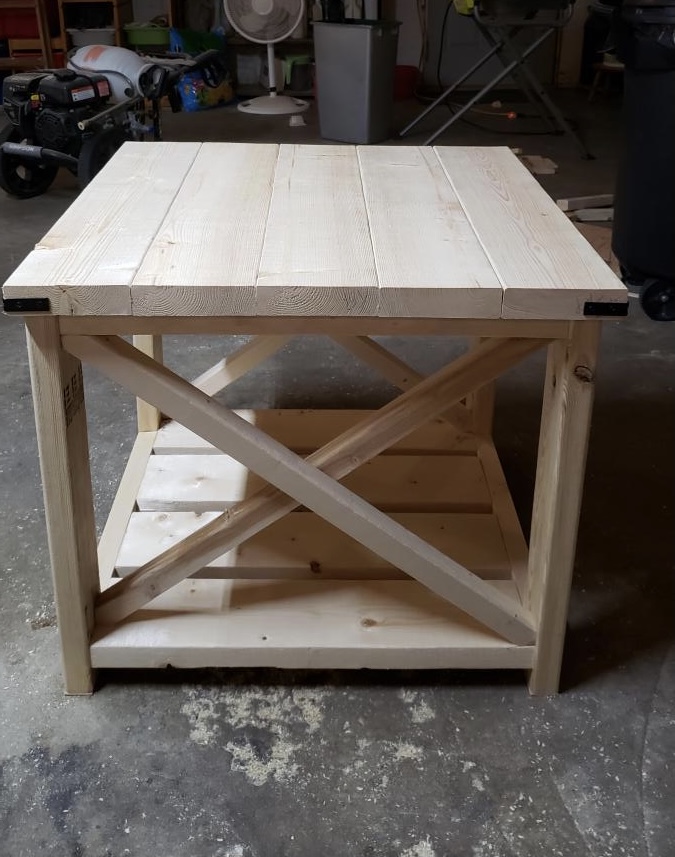
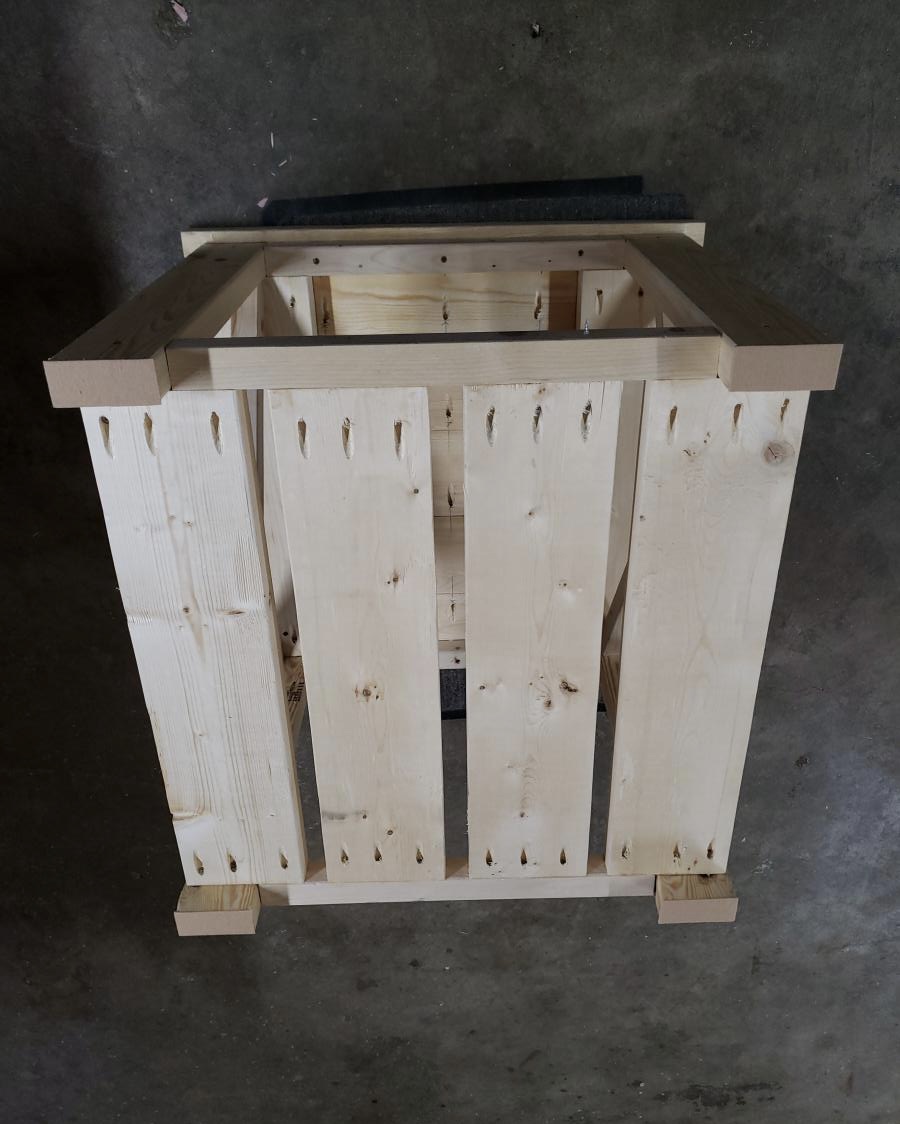
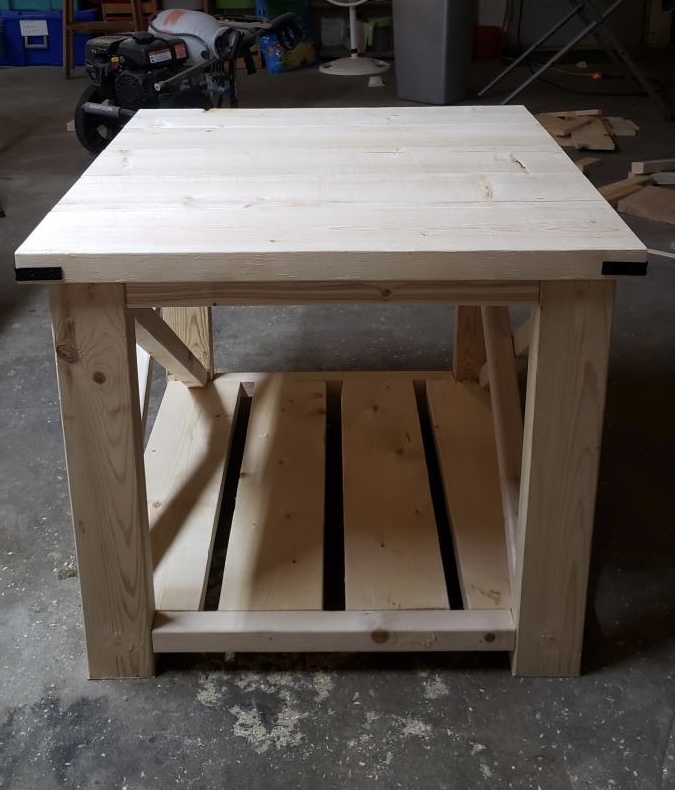
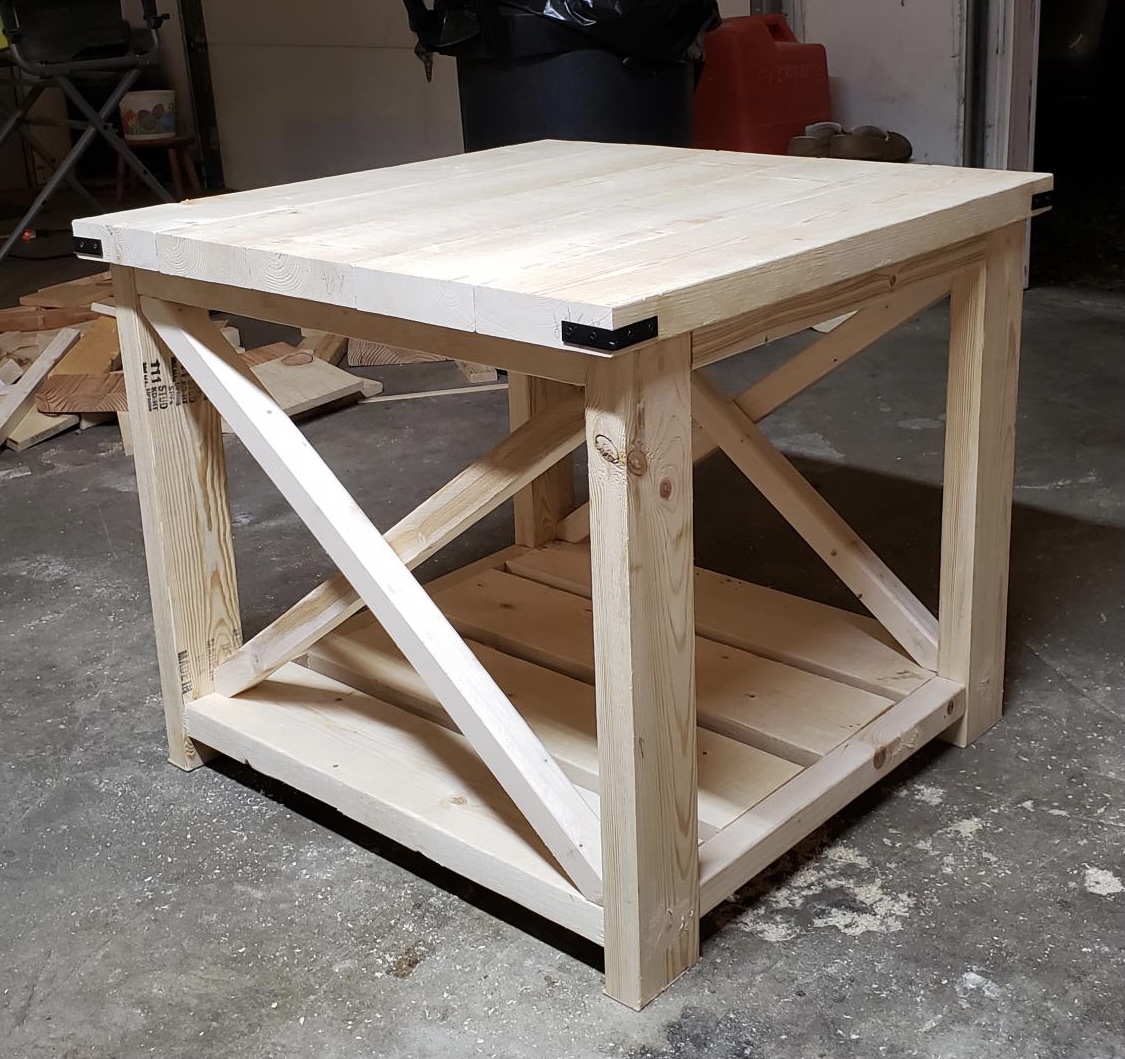
I Built The Farmhouse side table (Large)

Submitted by nekeroom58 on Sat, 04/17/2021 - 20:10

I had fun building this side table it took me one day to build it. I didn't sand it or stain that's how my daughter wanted it. I used pocket holes on the bottom shelves and the tabletop.

Built from Plan(s)
Finish Used
none

Comments

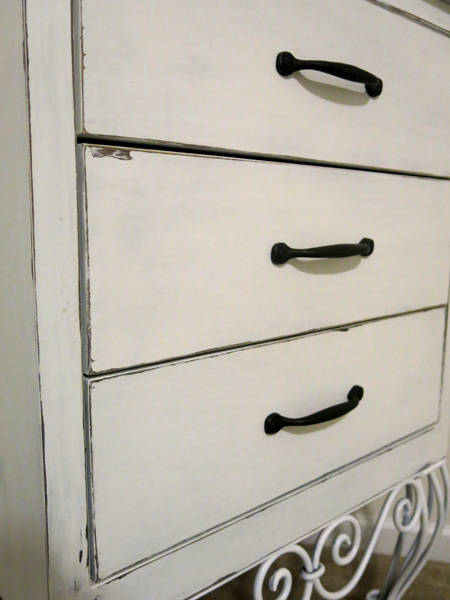
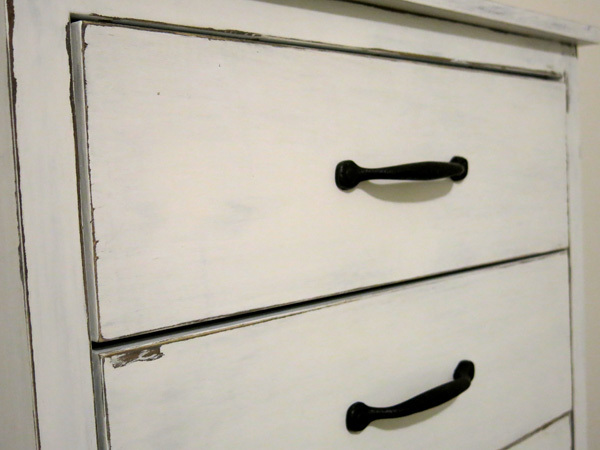
Antique Chest of Drawers

Submitted by AndyH on Thu, 02/05/2015 - 18:25

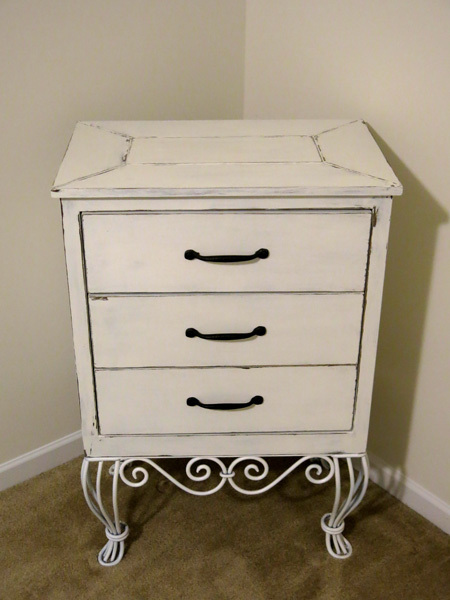
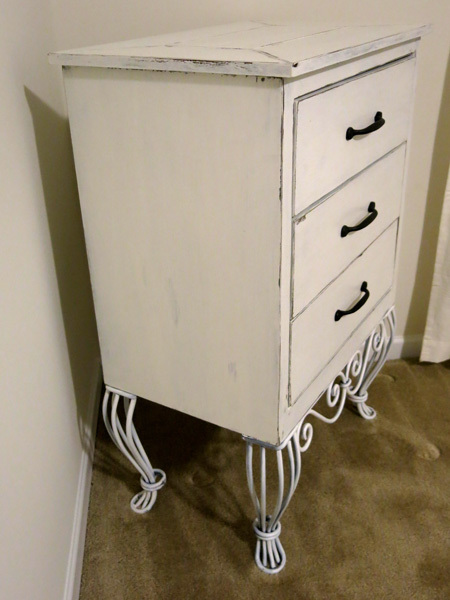
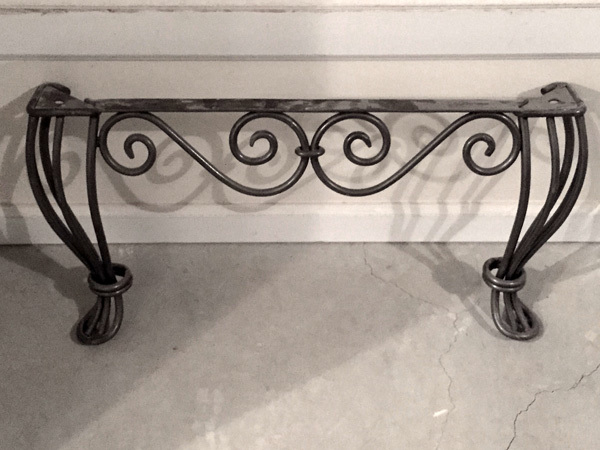
Had some bronze legs off an old coffee table.  Used the two shorter end pieces to try to make an antique looking piece to go with a white metal framed bed in a guest room.

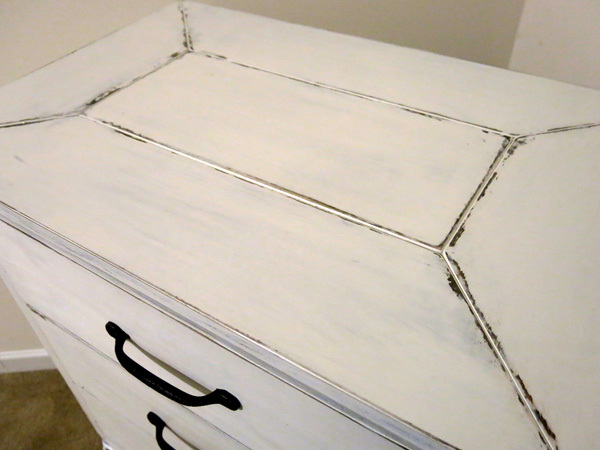
Stained and then painted and sanded back to give a weathered and antique look.

Have said a week long project just because of the time waiting between coats.


Estimated Cost
$110 including handles which were $22 for three.
Estimated Time Investment
Week Long Project (20 Hours or More)
Finish Used
Minwax Jacobean Stain, Vaseline, White Satin Paint. Applied the stain and let dry for 24 hours. rubbed thin smear of vaseline on areas wanted to show through the paint. Painted and let dry for 24 hours. Sanded by hand with 400 grit paper. Painted again and let dry another 24 hours. Sanded again by hand with 400 grit paper.
Recommended Skill Level
Beginner

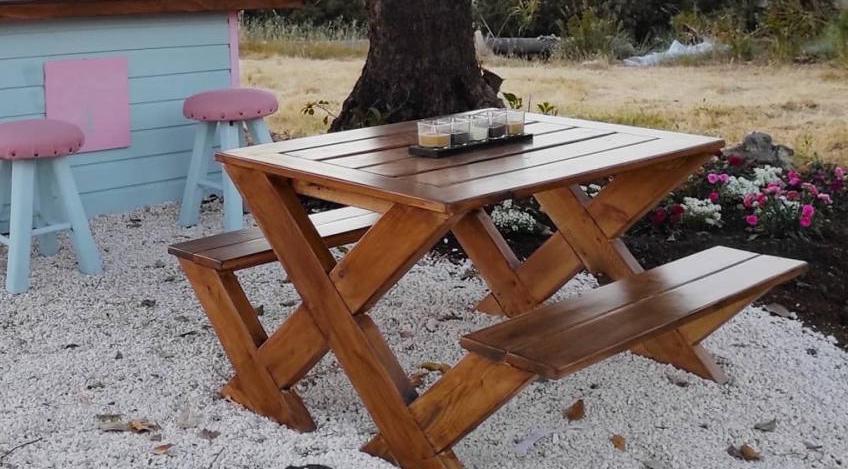
Kids picnic table

Submitted by Markb25 on Fri, 04/23/2021 - 23:33

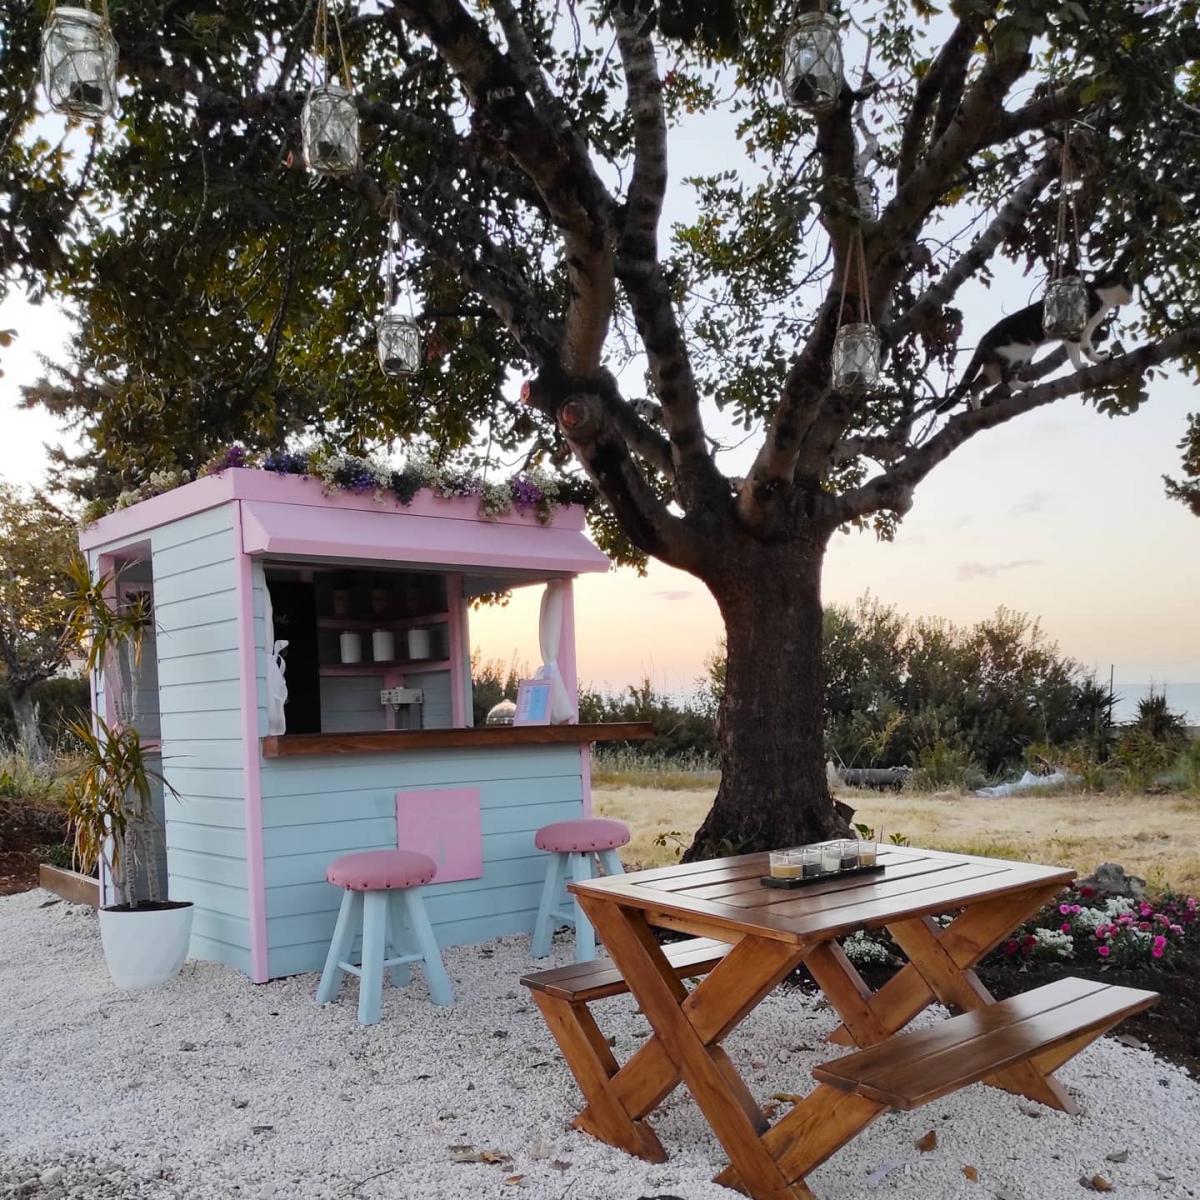
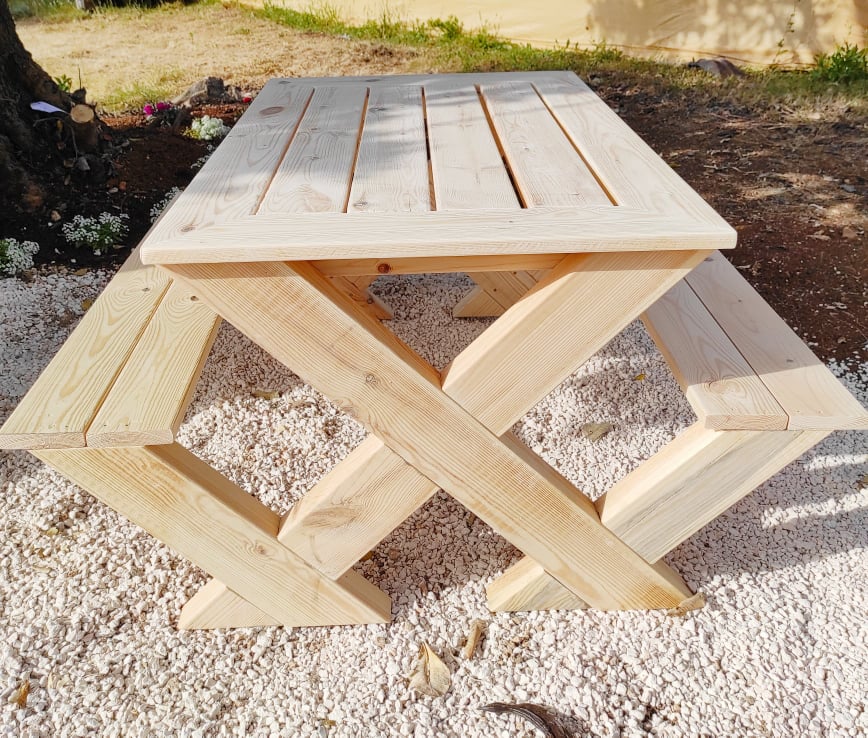
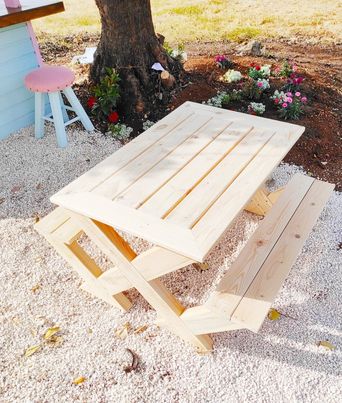
I needed a picnic table to go with a playhouse I built for my daughter, this one is a modification of one saw on here with a few amendments. the original plan has the top from 6x6 in a traditional looking row and the seats also from 6x6 however, finding a straight piece of 6x6 in Cyprus is like trying to find a unicorn so I opted to use 2x4, I also decided to change the look of the top give it a solid edge all around. We can't get Cedar etc over here so I've had to use Nordic fir treated with high protection wood stain by V33.

Estimated Cost
150
Estimated Time Investment
Afternoon Project (3-6 Hours)
Finish Used
High protection wood stain in Walnut by V33
Recommended Skill Level
Beginner

Comments

Seasonal And Holiday

Clubhouse Bed

Submitted by Calebskie on Wed, 03/27/2013 - 10:57

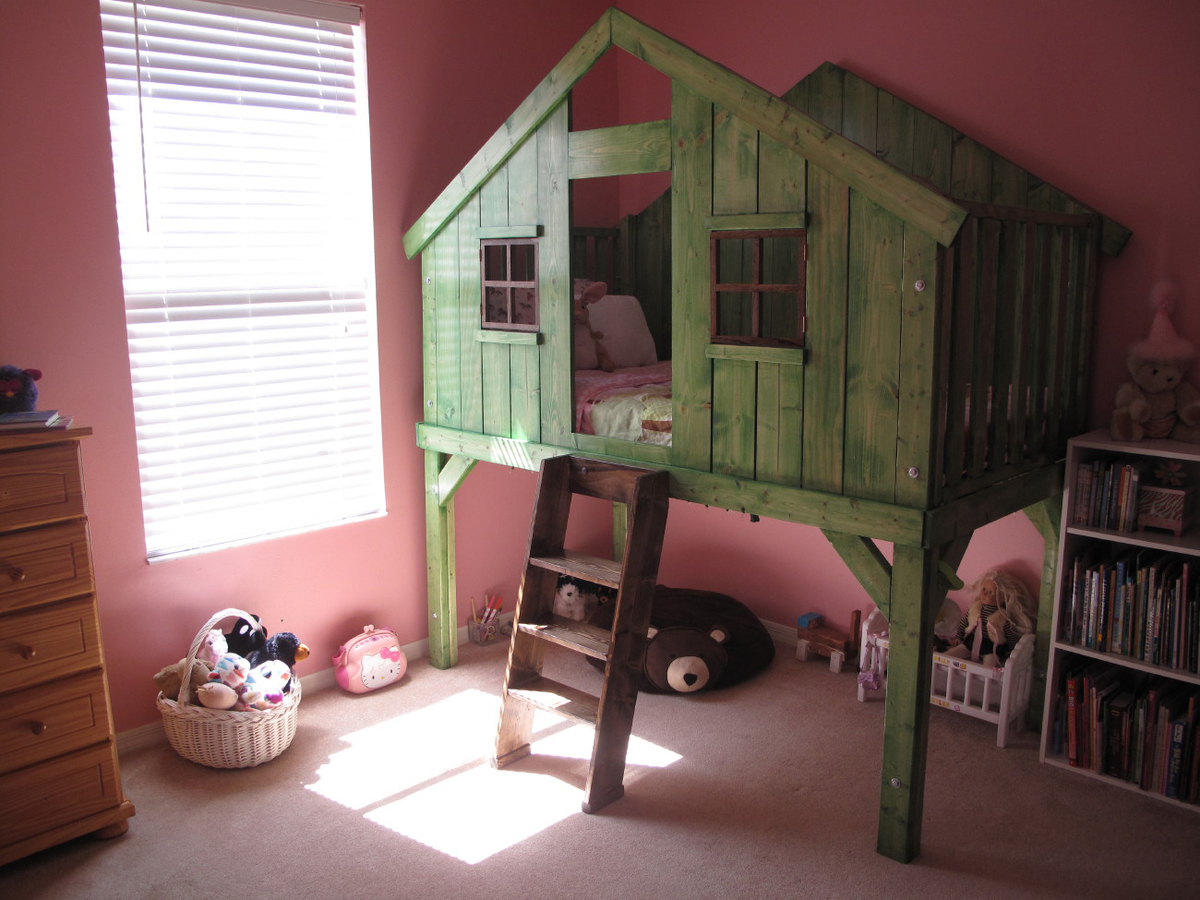
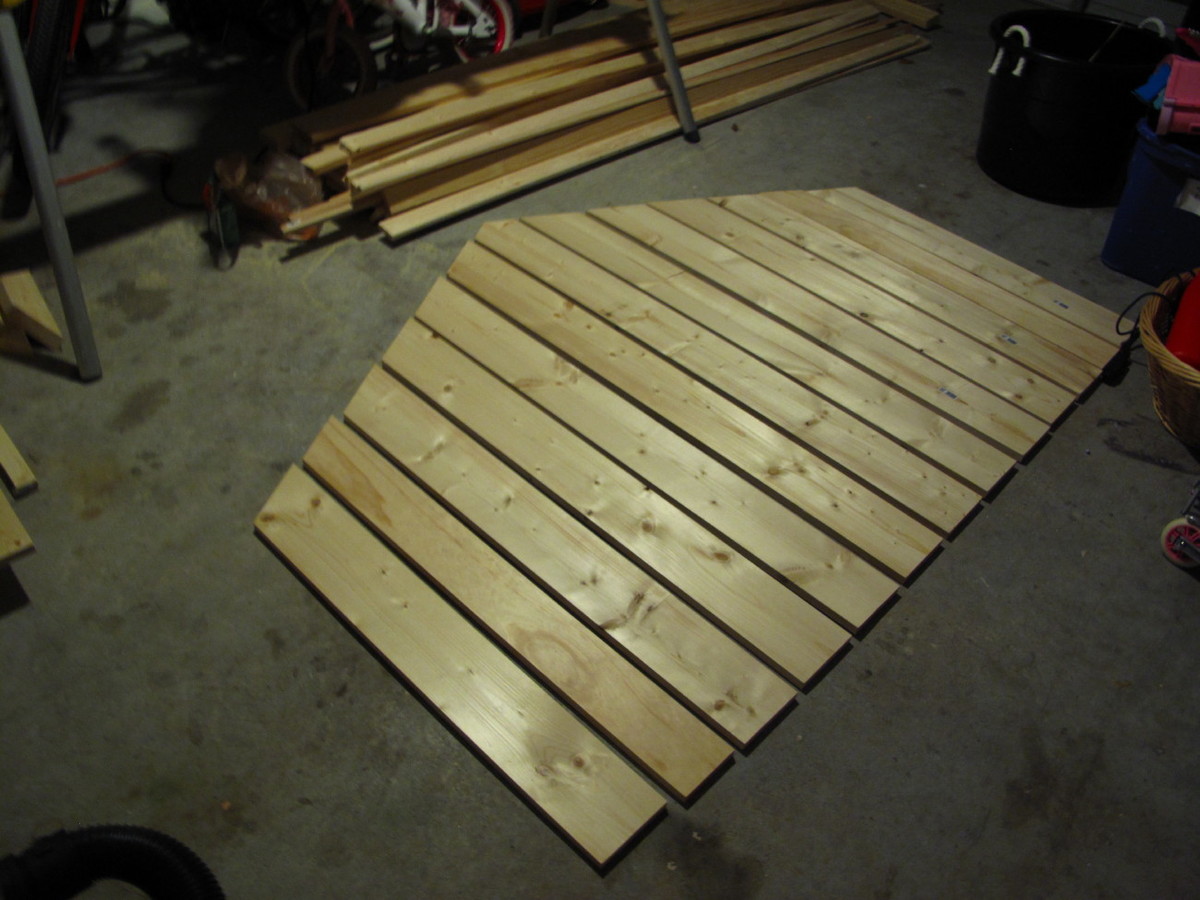
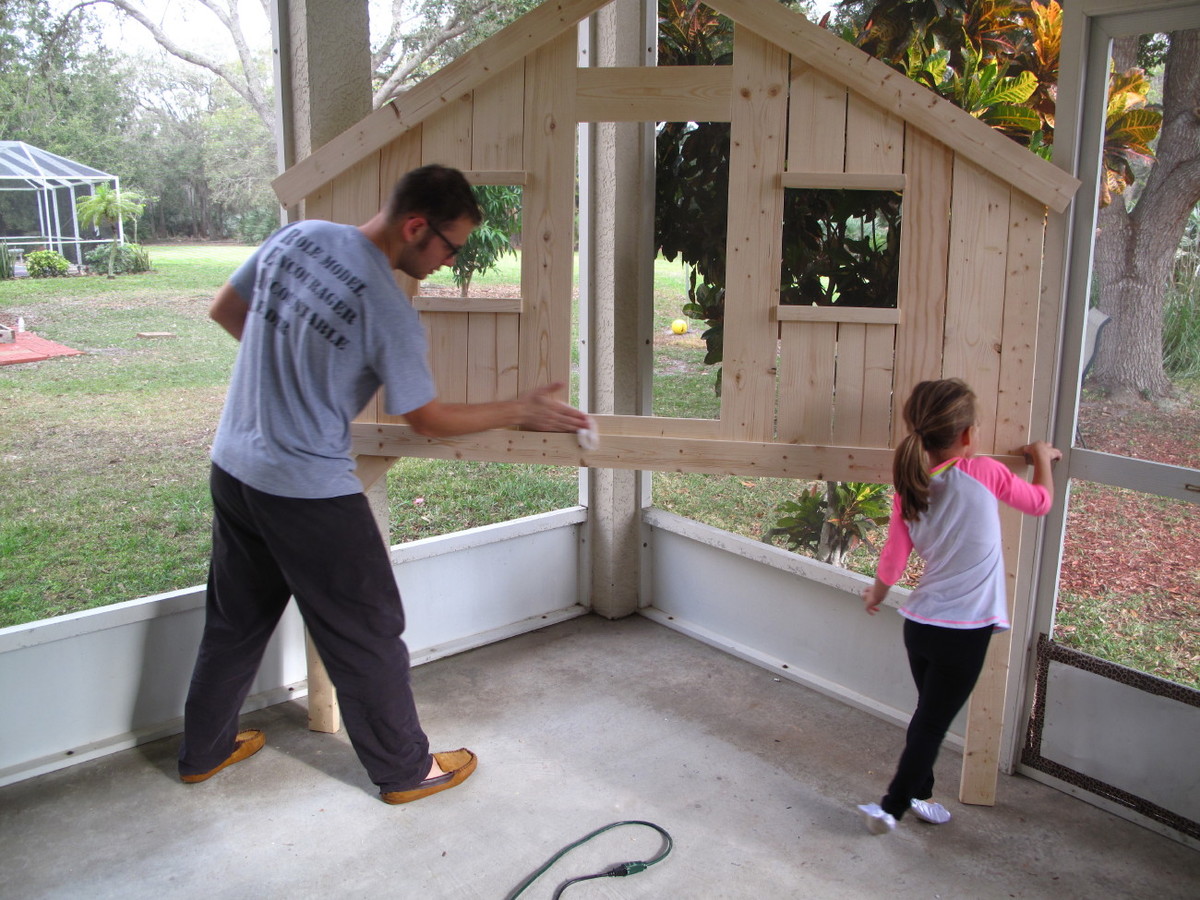
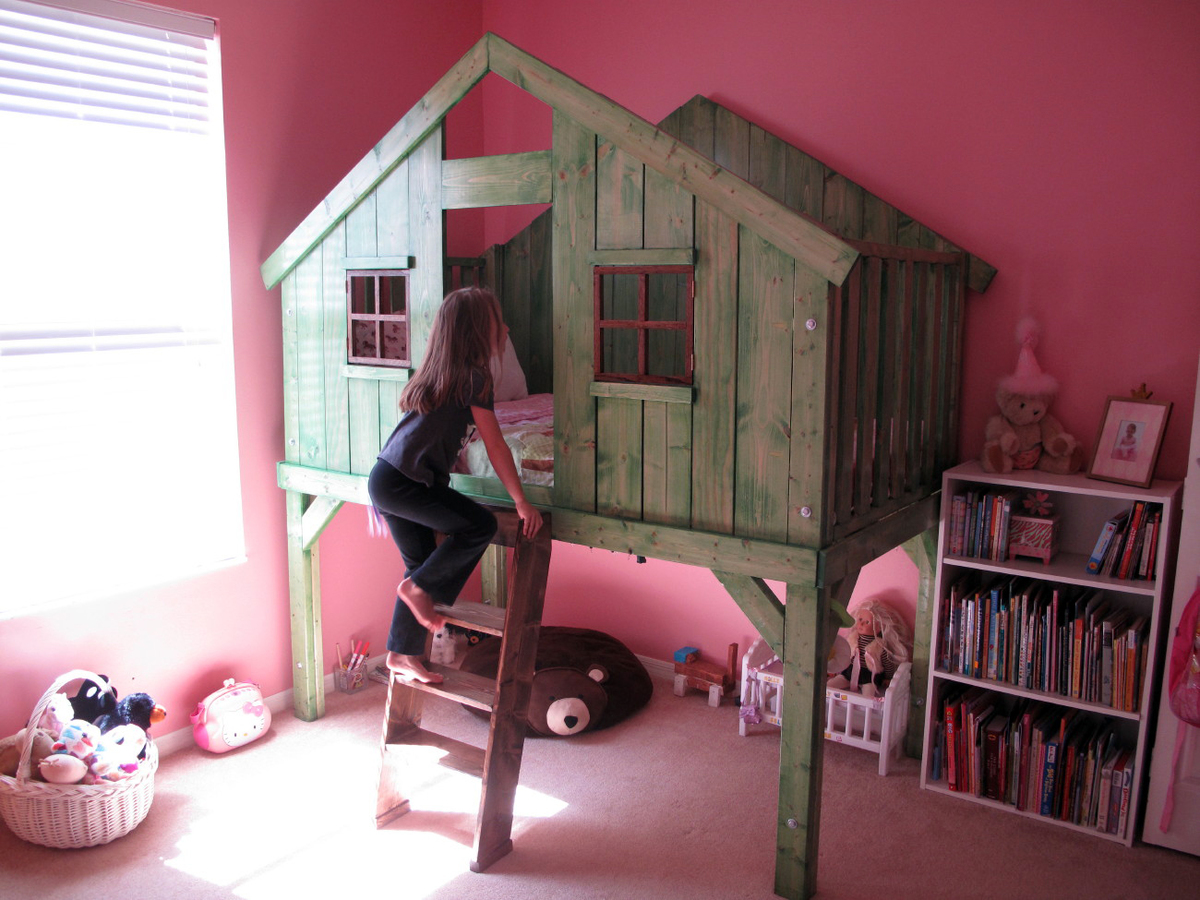
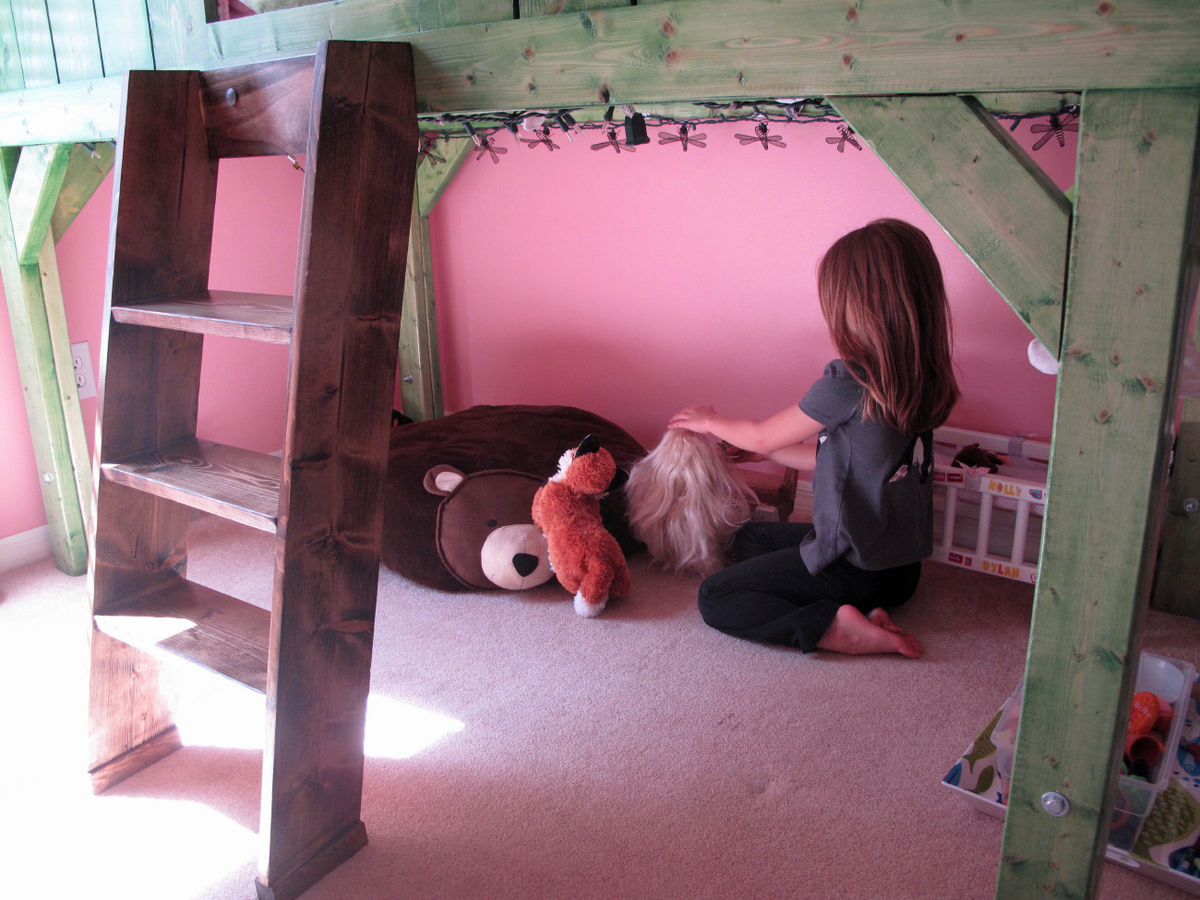
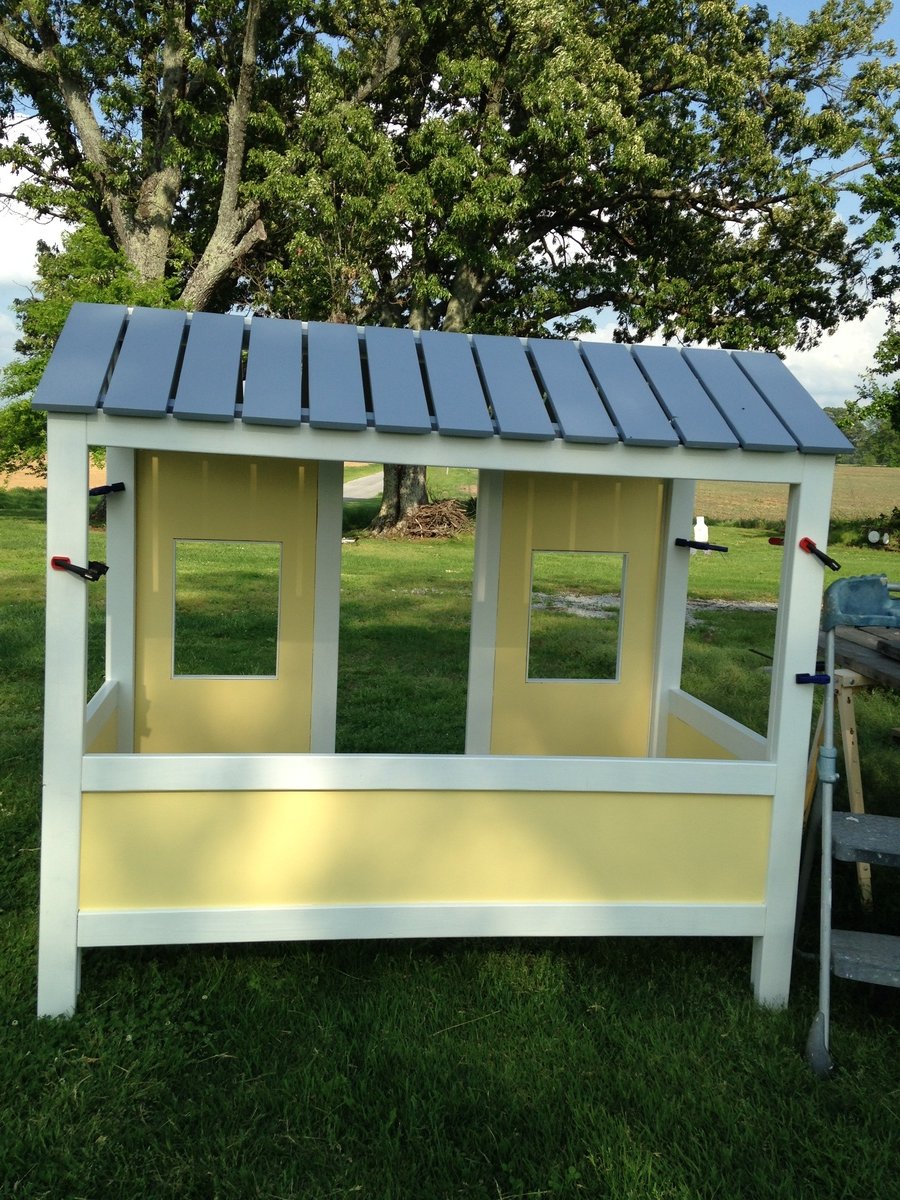
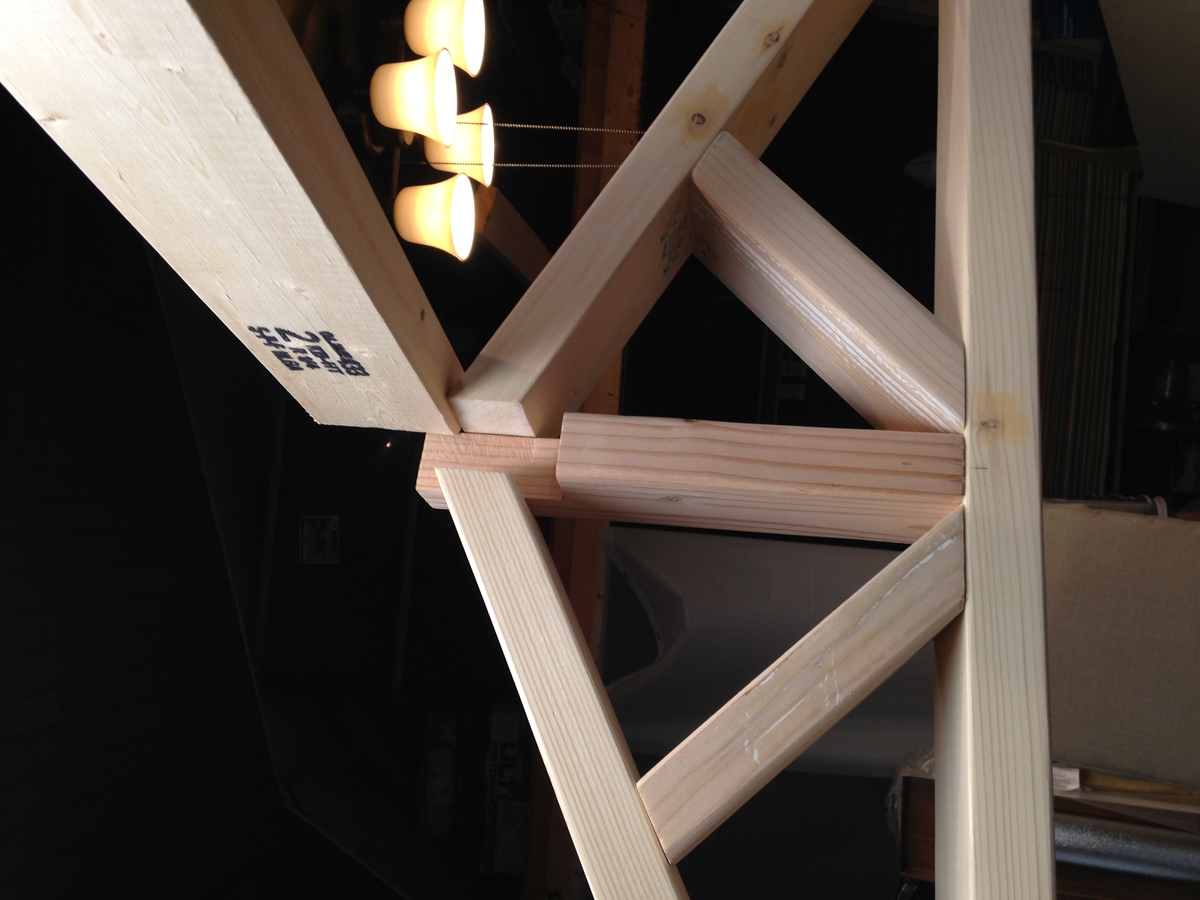
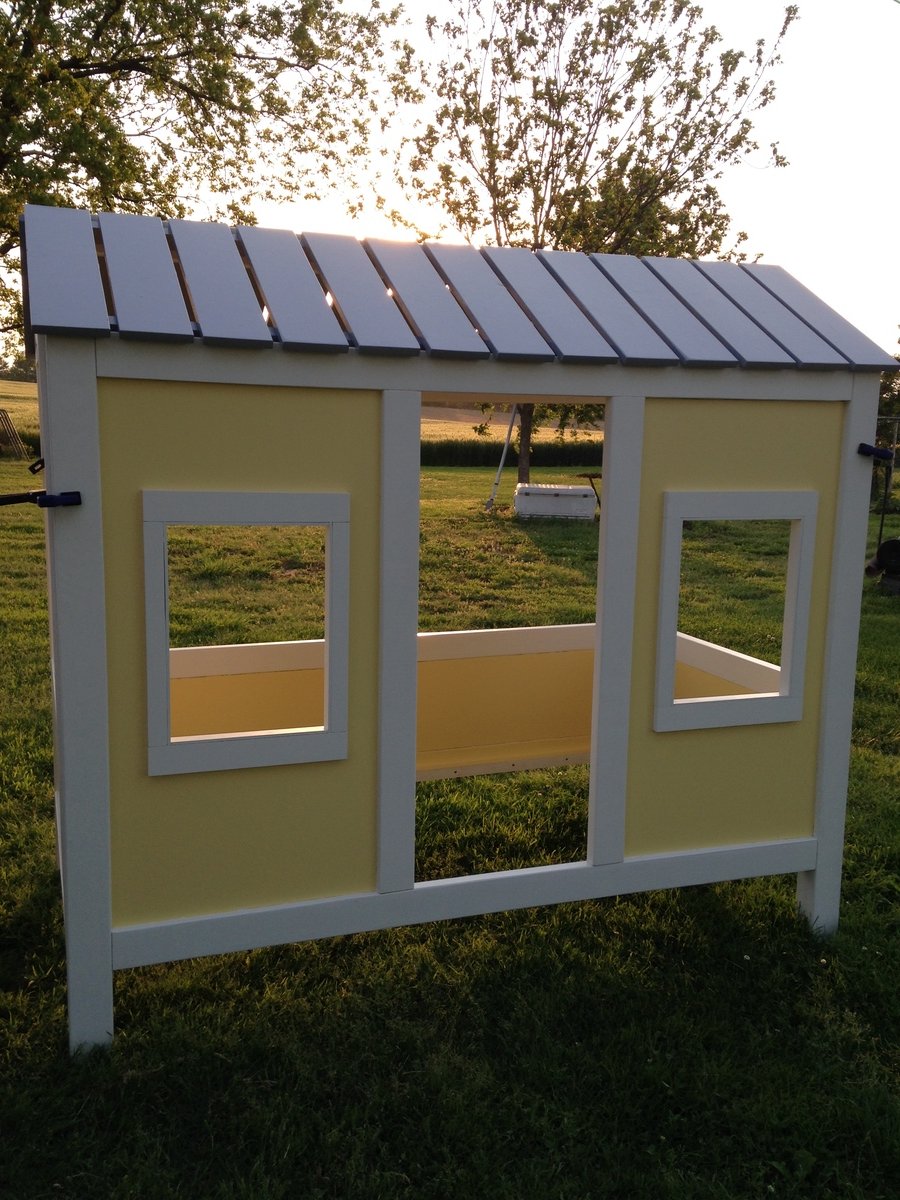
The moment I saw this plan I knew I had to build it for our adventurous, imaginative daughter, Selah. I committed to trying to finish it before her birthday (a month away at the time.) This was only my second build with wood, so I knew I would need a little time due to the learning curve. Ana's plans were great and easy to follow, and I held religiously to Jaime's blog for tips and tricks or when I was generally lost. ;) I must say, staining was a LOT more tedious and expensive than I expected. I also ignored the warnings that Minwax's water based stain was not great for large projects...my wife just couldn't get her eyes off the awesome color options. I worked it on and off little by little....and after MUCH time and an aching back we were totally STOKED with the results. The poly was just the right touch to finish it all off. Selah loves the bed and I must say all of the work was nothing compared to the hours of fun she has with this bed. Thanks Ana! Keep doing what you do....I never would have thought I could do something like this.

Built from Plan(s)
Estimated Cost
$250-275 for wood. $100 for stains and finishes. $50 for hardware, brushes, rags.
Estimated Time Investment
Week Long Project (20 Hours or More)
Finish Used
Minwax Water Based Stain: Green Tea
Minwax Stain: Espresso
Minwax Polycrylic, Glossy
Recommended Skill Level
Intermediate

Comments

r4ryder

Thu, 05/09/2013 - 07:29

Hello, I love your version of this bed and was wondering what tools you needed and if you followed the original plans or the additional ones posted by Jaime (other then the windows)? I also noticed you did something different to the feet of the latter??

In reply to by r4ryder

Calebskie

Sat, 07/13/2013 - 16:54

I used every inch of Ana's plans and Jamie's real world build. Smooth sailing for the most part. I used a sliding compound miter saw to do most of the build, as well as an electric random orbit sander. I followed all plans to a T. The ladder feet change was to fix a bad cut I made on the sides of the ladder. Too short! It was either improvise or run back to the store for more wood....haha.

Flip Down Desk

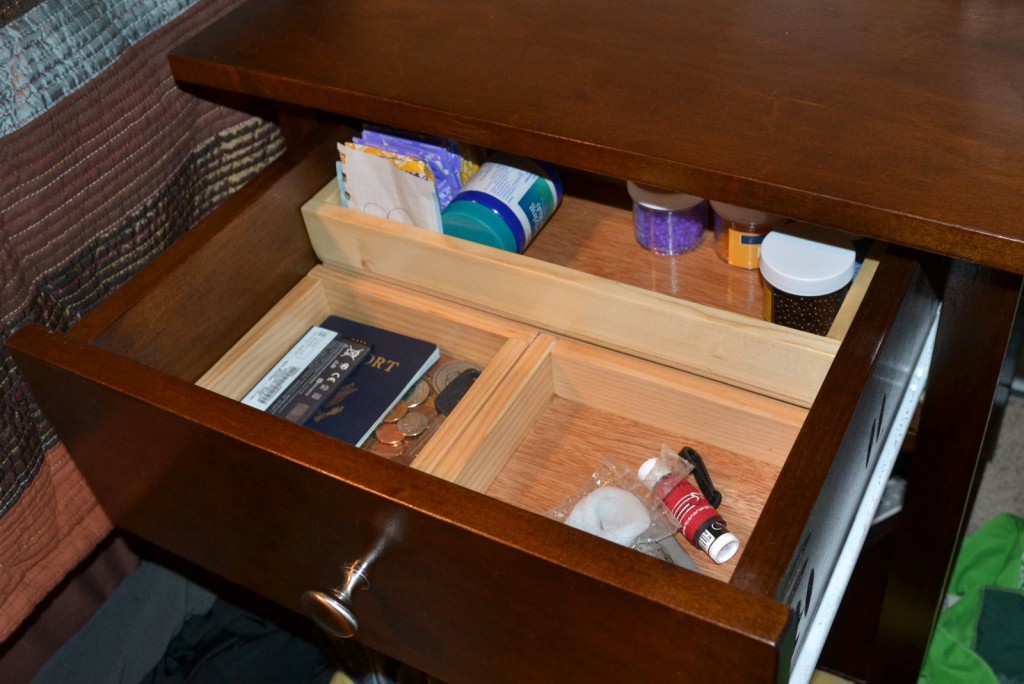
Submitted by vala41 on Fri, 02/08/2019 - 14:21

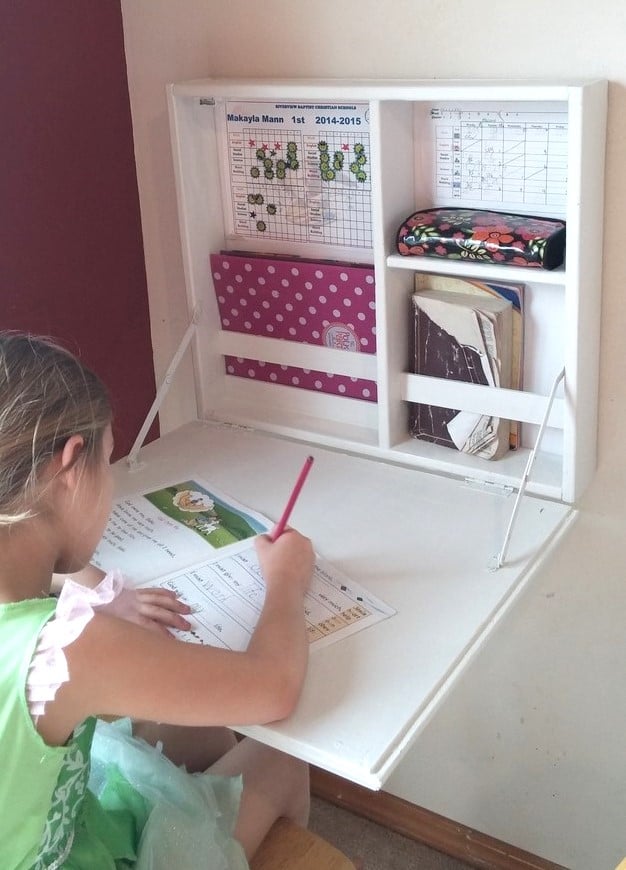
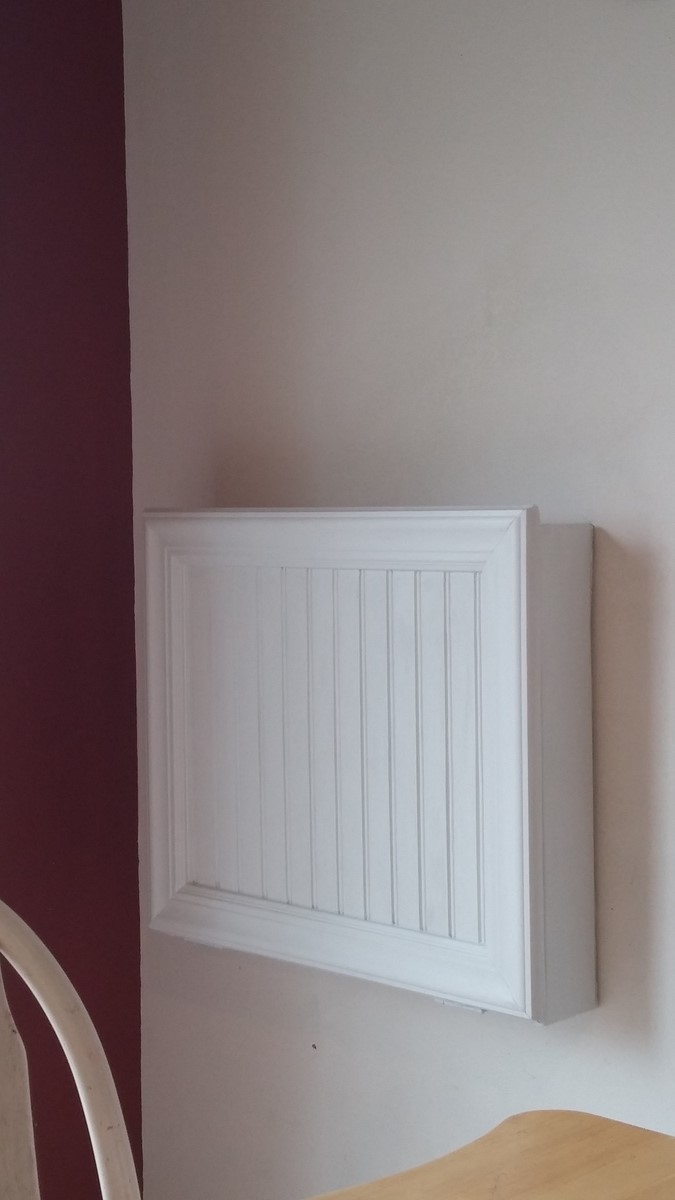
This was just what I needed! My daughter started homeschooling and we needed a place to neatlly contain her school stuff. I had her working at the kitchen table next to me, but it still felt like it lacked the school atomosphere. I removed the area for the paper holder and instead added a few support scraps to hold her folders and books upright. 

It did take me awhile to get the support hinges placed correctly (I almost gave up and went with a rope or chain) but I finally got them placed correctly after placing a pencil mark on where they could lie correctly open and closed - seriously this took me awhile because just when I thought I had it, the brackets when closed would be to deep for the desk or when I placed it it correctly inside when open it wasn't 90 degrees. 

The only thing I wish was that I had made it slightly shorter, because when it is open it is a little hard for her to reach the top shelf, but its not to bad and that is the height my scrap bead board was and I was to lazy to cut it =) 

I had a magnetic clasp left over from another project and that has worked well to keep it closed nice and tight, I also used some foam board I had lying around for the back so that her things were not tapped/pinned on my wall. I choose the bead board on the front because A: it is what I had lying around and B: it is in my dining room so I wanted it looking a little nicer.

I had everything on hand excpet for the support brackets which cost me 2 something each at Lowes. YAY for projects under $10 bucks! Thank you so much Ana!
Built from Plan(s)
Estimated Cost
Had scrap wood, hinges, magnetic clasp and paint on hand. Only paid around 6 bucks for the support hinges.
Estimated Time Investment
Day Project (6-9 Hours)
Recommended Skill Level
Starter Project

Comments

Farmhouse Potting Bench

Submitted by Anonymous (not verified) on Sun, 05/02/2021 - 20:17

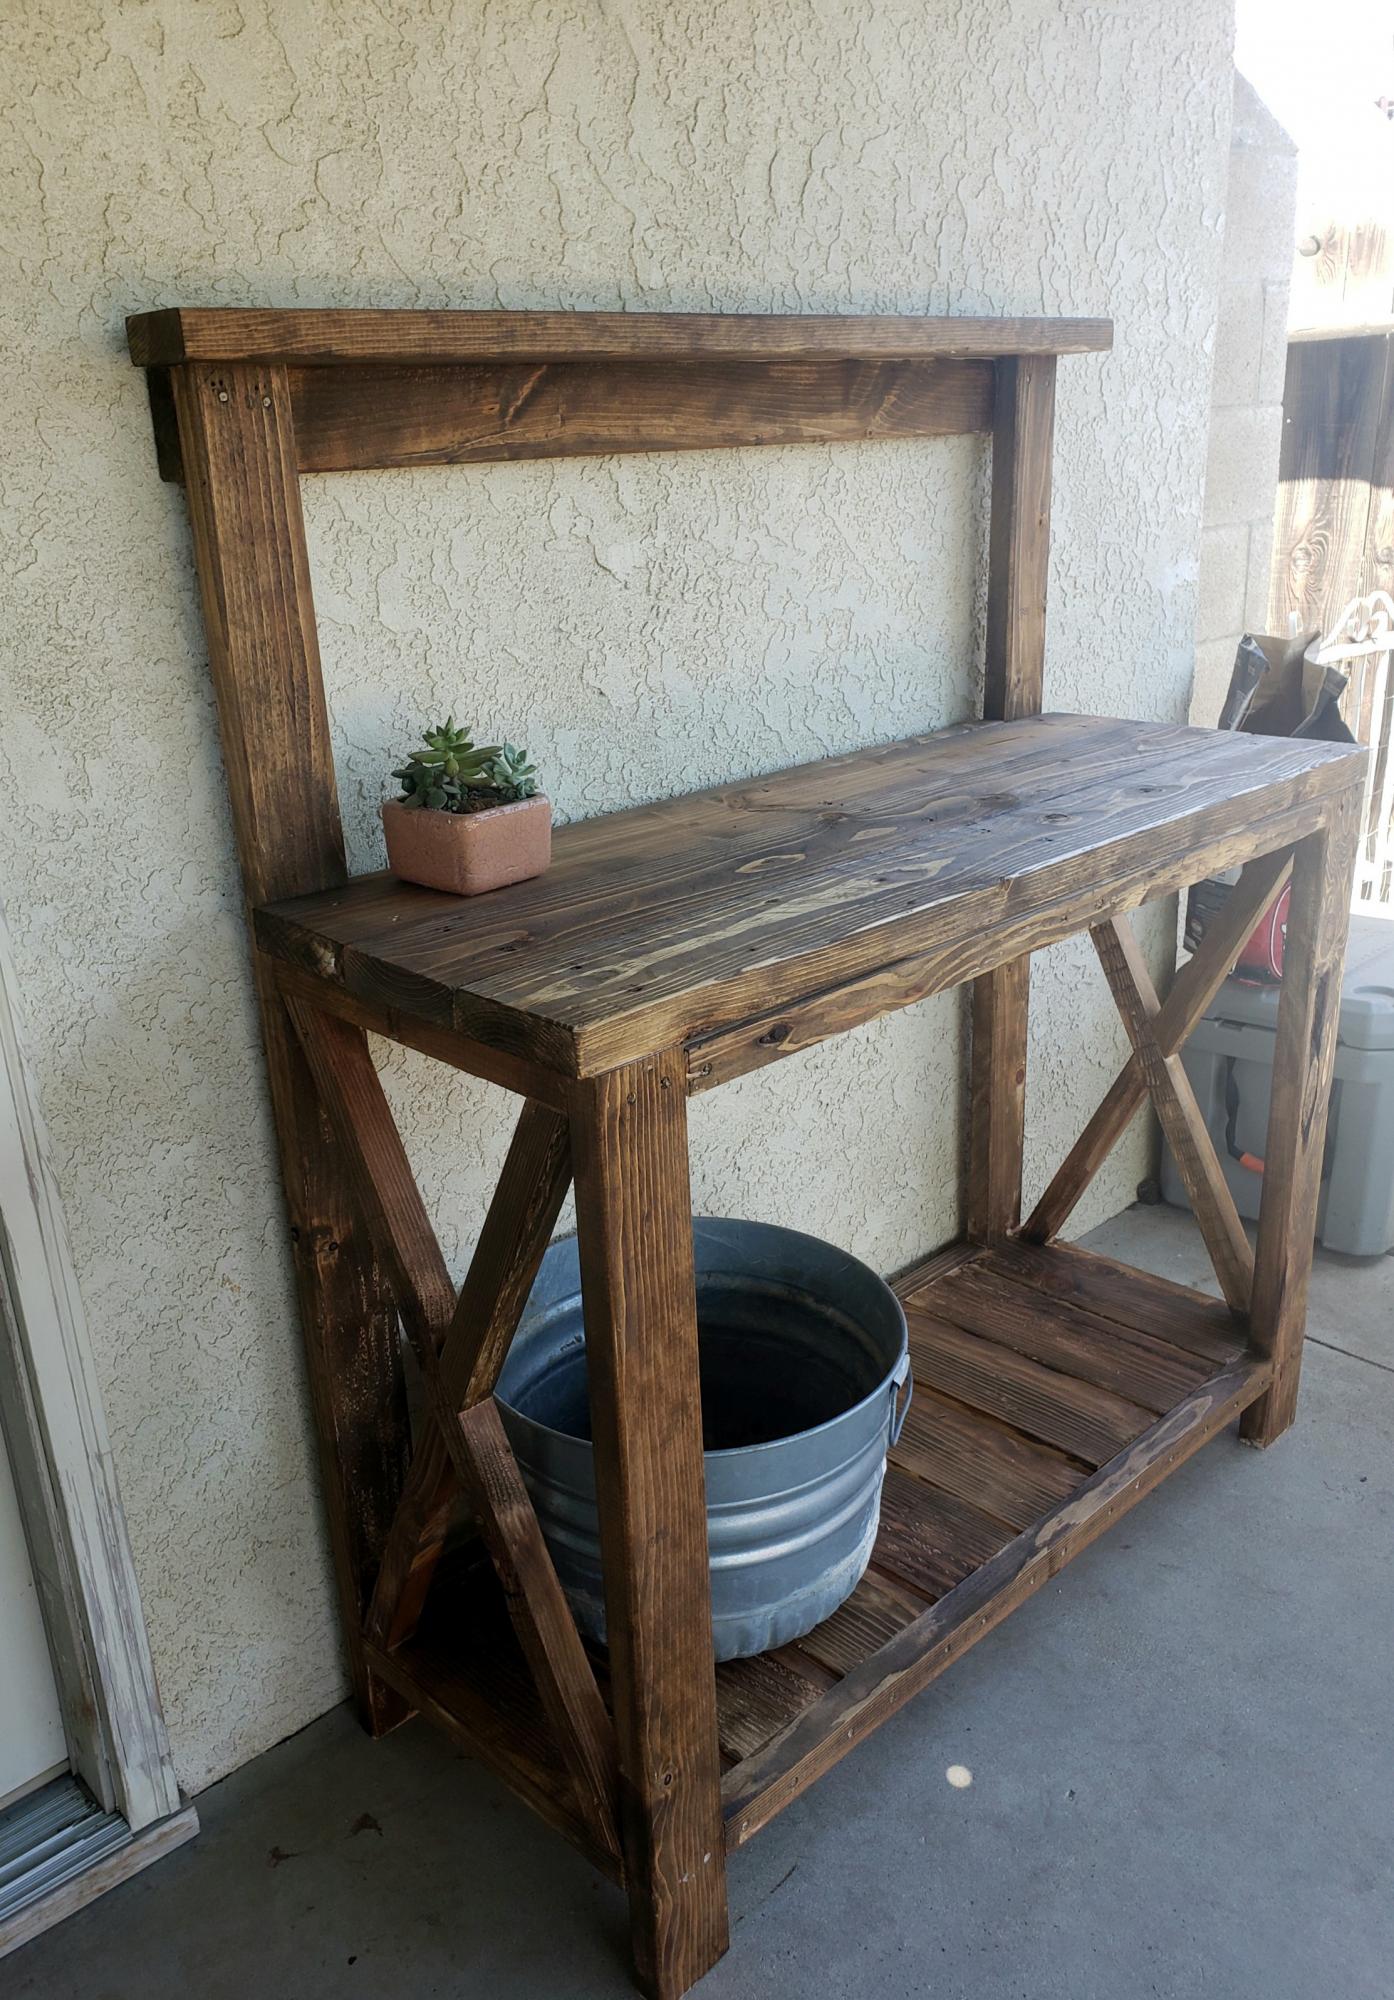
This was my first ever project! I decided to build myself this for mother's day. I'm very proud of my work and can't wait to build more.

Built from Plan(s)
Estimated Time Investment
Day Project (6-9 Hours)
Finish Used
I used varthane jacobean for the finish.
Recommended Skill Level
Intermediate

Farmhouse Table with Hutch

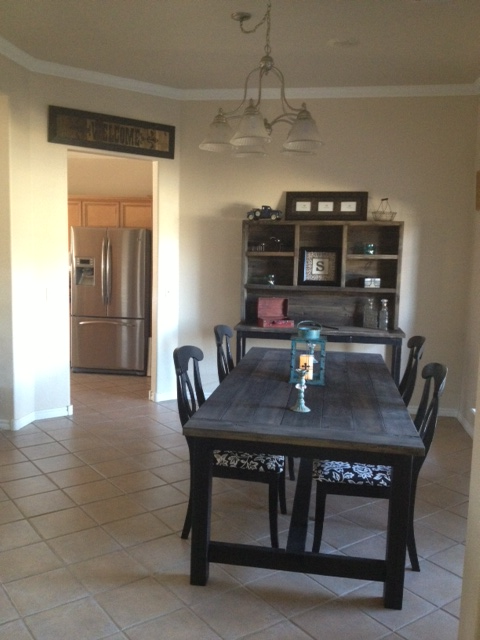
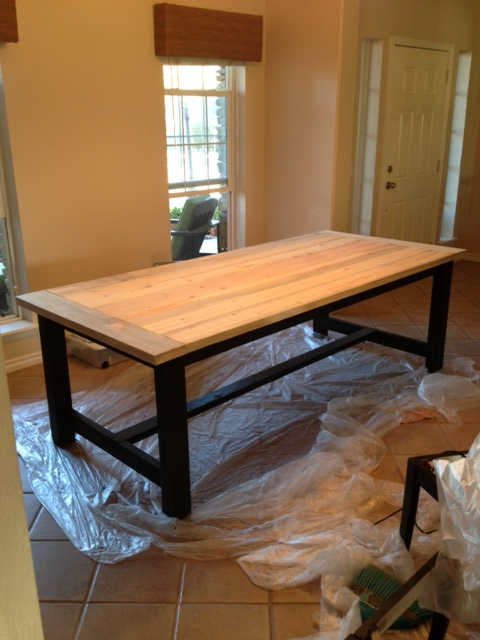
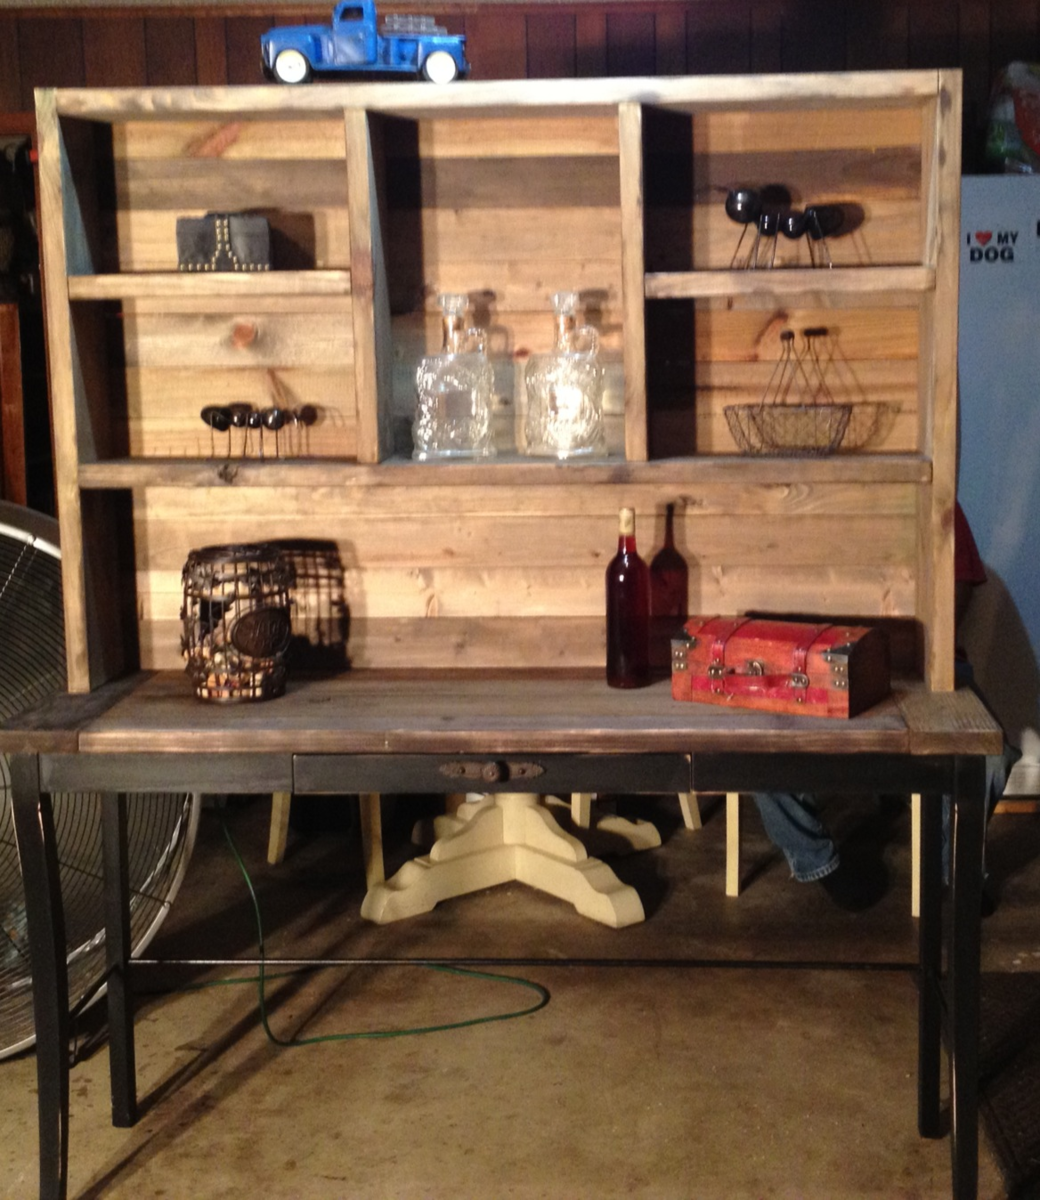
I really enjoyed making this table for my sister from Ana's Farmhouse table plans. I secured everything with Kreg screws from the underside. I added a couple screws from the top in the breadboard ends for added stregth. Im thinking of building another one but making it wider!

Estimated Time Investment
Day Project (6-9 Hours)
Finish Used
The base is painted with Behr satin black in 3 coats. I used vinegar and steelwool mix the the whole table was given several clear coats in satin.
Recommended Skill Level
Beginner

Comments

Rustic X Kitchen Island - Double

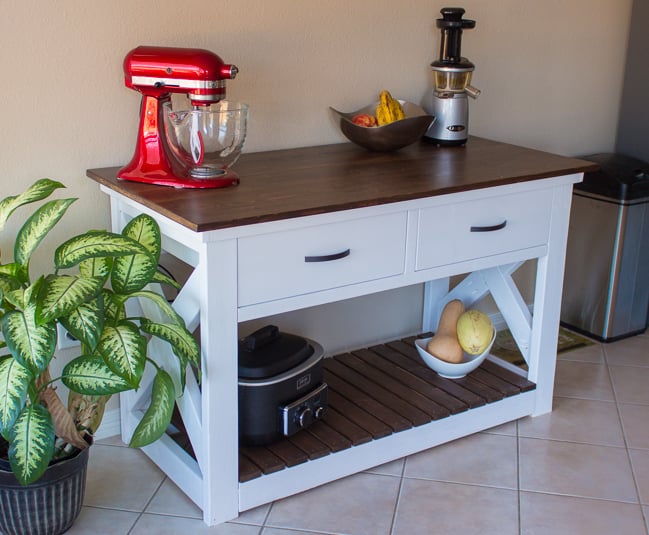
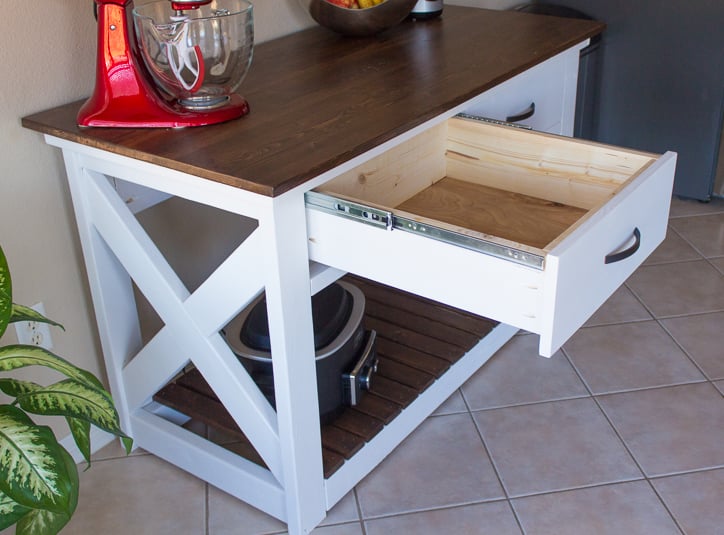
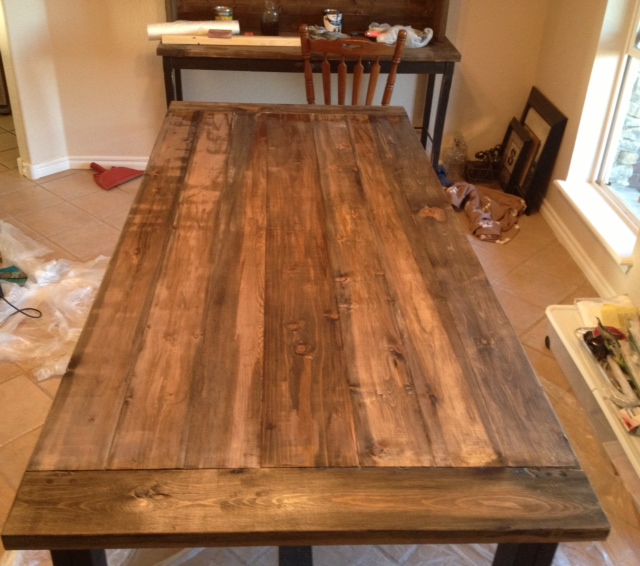
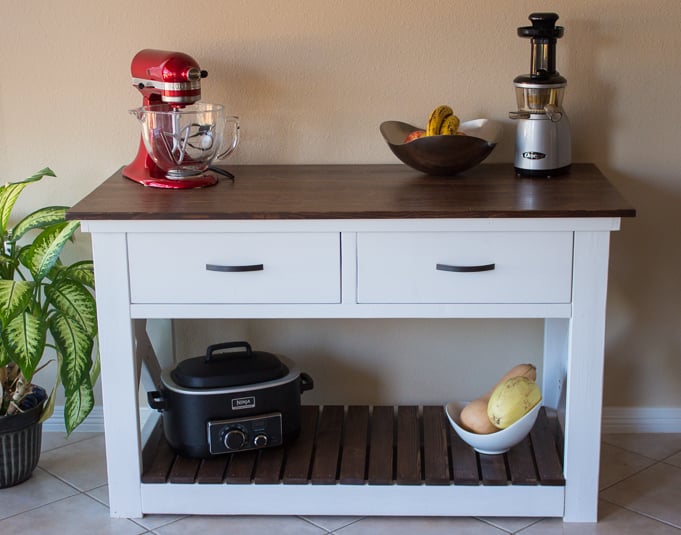
We changed the plans for this kitchen island a bit to best suit our needs. We removed the middle shelf and the bottom half of the center divider in order to create a large, open area for storage. We also extended the bottom slats to the full depth of the island, or 21".

The drawer depth was also increased to the full depth, or approximately 20". Instead of using 2x2 cleats for the drawers, we installed 20" self-closing drawer slides from Lowe's. This allows the drawers to be fully extended as well as have a soft-close feature. 

The top measures 26 1/4" x 56 1/4" and was made by securing two pine panels together using pocket holes. We couldn't find an appropriate size at Lowe's, so we purched two panels instead. After sanding and staining, it is impossible to tell where the boards are joined together. 

In the future, we might distress or add an antique finish the white base. Overall, we are very happy with the kitchen island. It's wonderful to have a little extra storage in the kichen! 

Thanks Ana!
-Anna

Built from Plan(s)
Estimated Cost
$250 (mostly from buying way too much white paint).
Estimated Time Investment
Weekend Project (10-20 Hours)
Finish Used
Base: "Du Jour" Valspar Signature Paint+Primer in Eggshell.
Top and Slats: Rustoleum Dark Walnut Stain with Rustoleum Polyurethane in Clear Satin.
Recommended Skill Level
Intermediate

Comments

Toy storage bin box

Submitted by Anonymous (not verified) on Wed, 05/10/2017 - 16:40

I built this to hold my son's toys, which seem to multiply by the day.  It's very sturdy and has lots of storage room.  I printed out the lettering on paper, put the paper on top of the wood, and traced over it hard to create an impression on the wood.  I then used the feight lines as a guide to paint the name.  

Estimated Cost
$50
Recommended Skill Level
Intermediate

Val's Toy Box

Submitted by mariemule on Tue, 05/11/2021 - 02:39

Used 3/4 plywood cut to nominal size instead of stock lumber. I'm a newbie so I thought it turned out great!
Built from Plan(s)
Estimated Cost
free wood, $10 for paint.
Estimated Time Investment
Weekend Project (10-20 Hours)
Finish Used
Rustoleum satin finish in claret red.
Recommended Skill Level
Intermediate

Comments

Playhouse

Submitted by Wfgamble on Mon, 04/01/2013 - 16:52

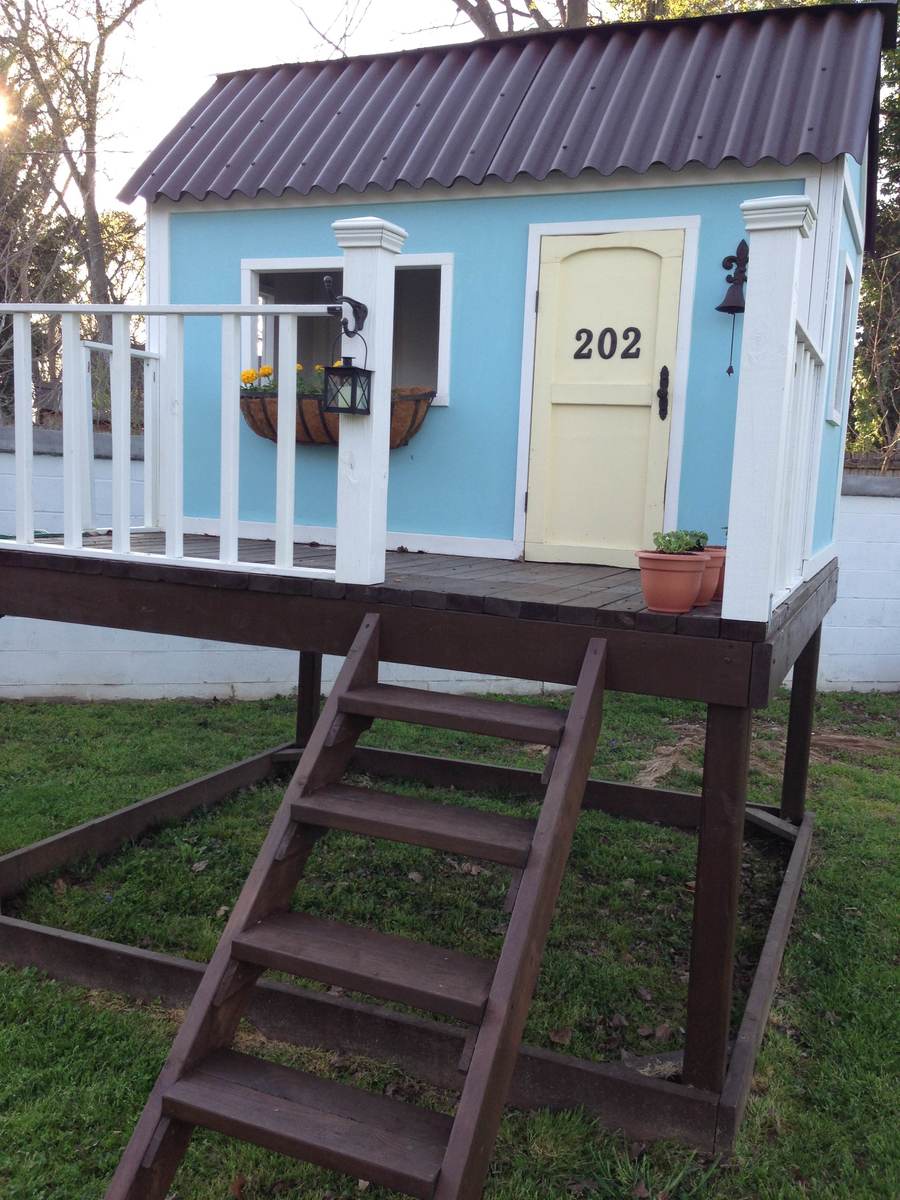
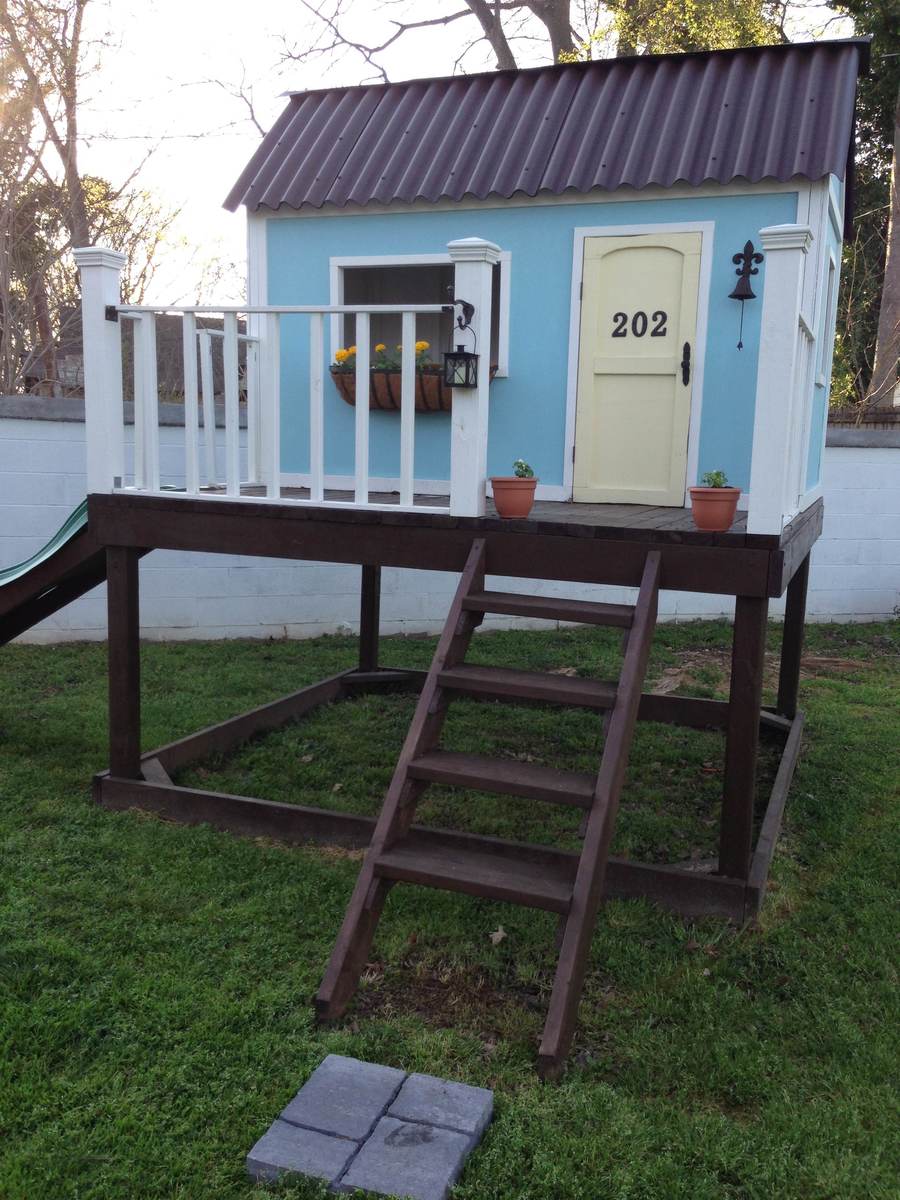
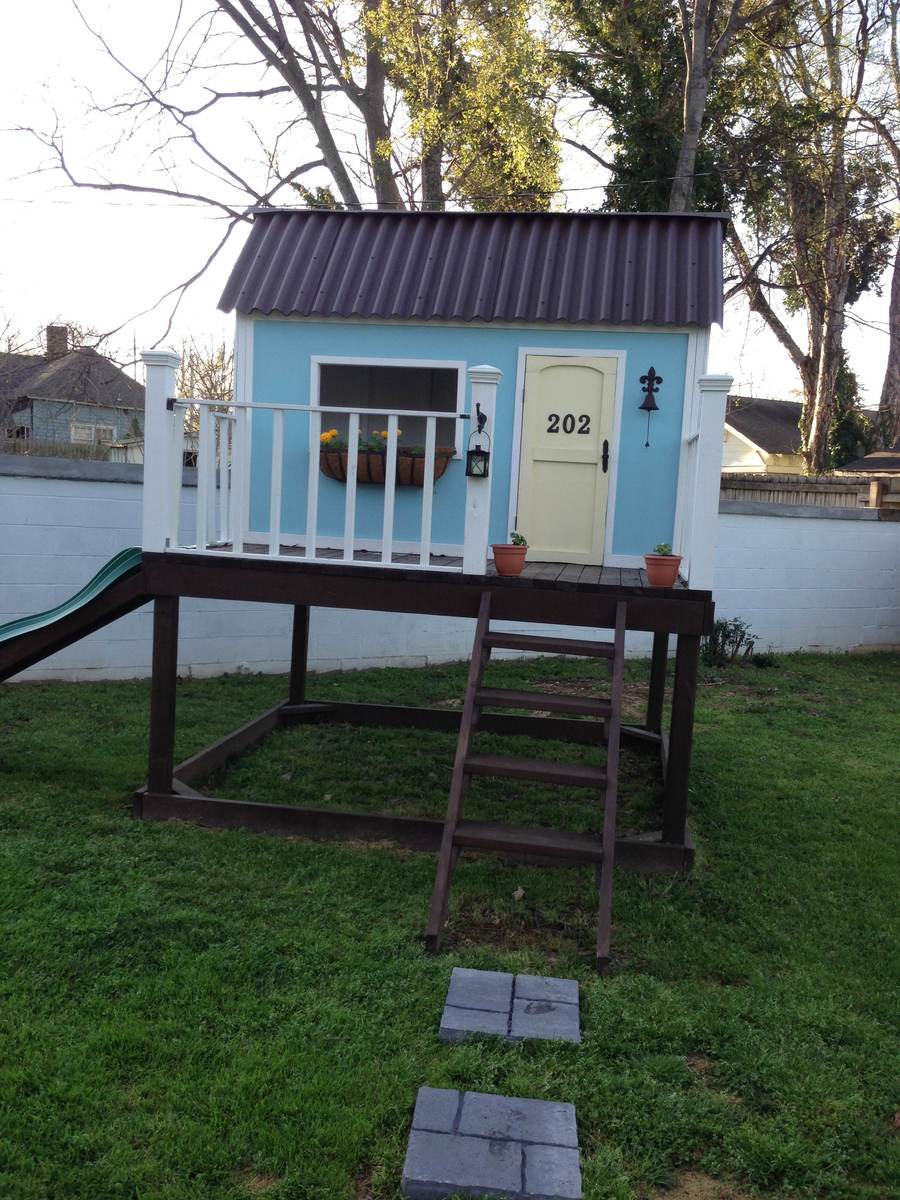
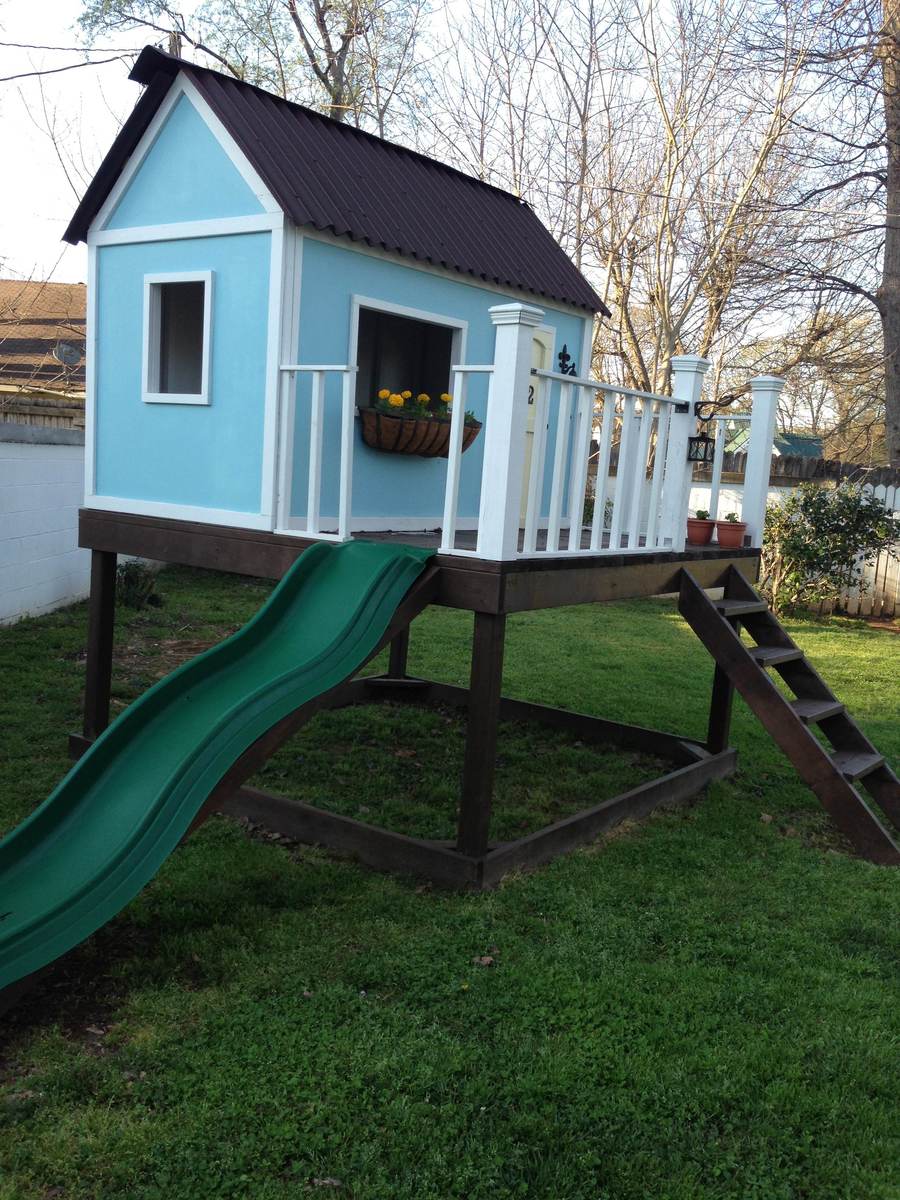
Wow! Did we ever pick a "small" project for our first build:) We had never built so much as a birdhouse and here we were building a playhouse. It was so much fun though and I'm glad that we did it. My daughter LOVES it and we are so pleased with how it turned out. We ran across a few problems due to our inexperience but nothing we couldn't overcome.

Estimated Cost
$600
Estimated Time Investment
Week Long Project (20 Hours or More)
Recommended Skill Level
Intermediate

Comments

spiceylg

Tue, 04/02/2013 - 05:20

I can't believe you picked this as your first project. I would have been totally intimidated. Wait, I still am! You nailed it, however. Awesome build! I wish I had a fancy front door like that! :)

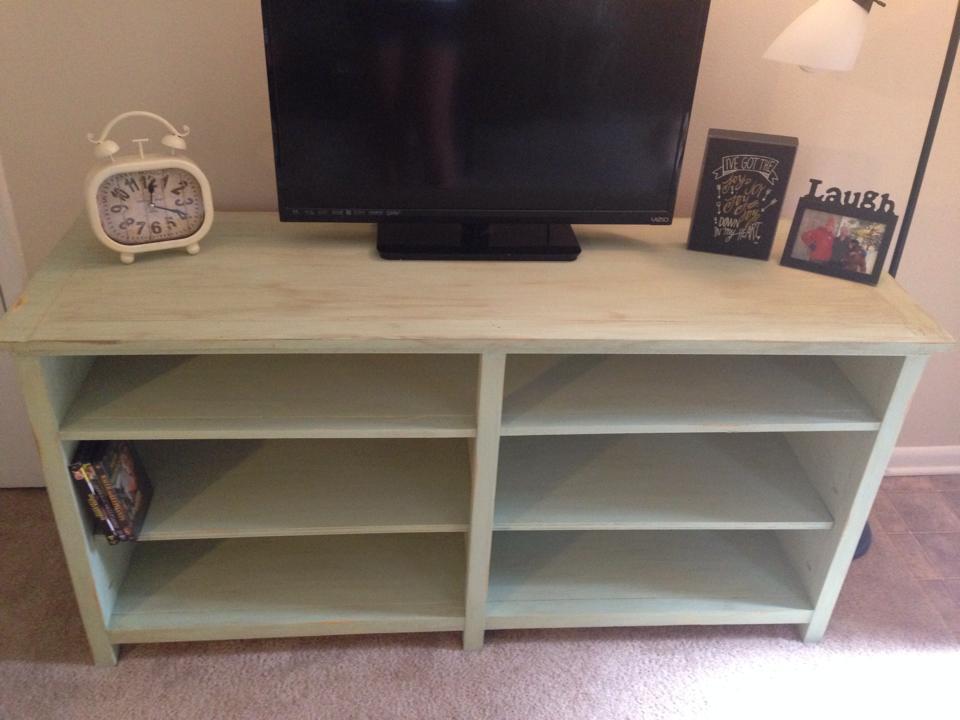
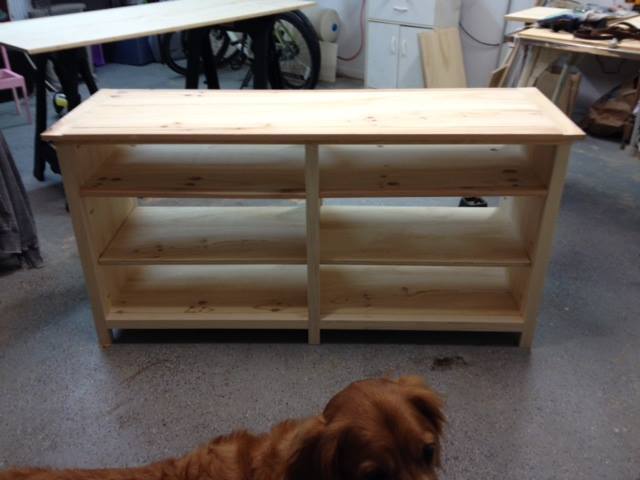
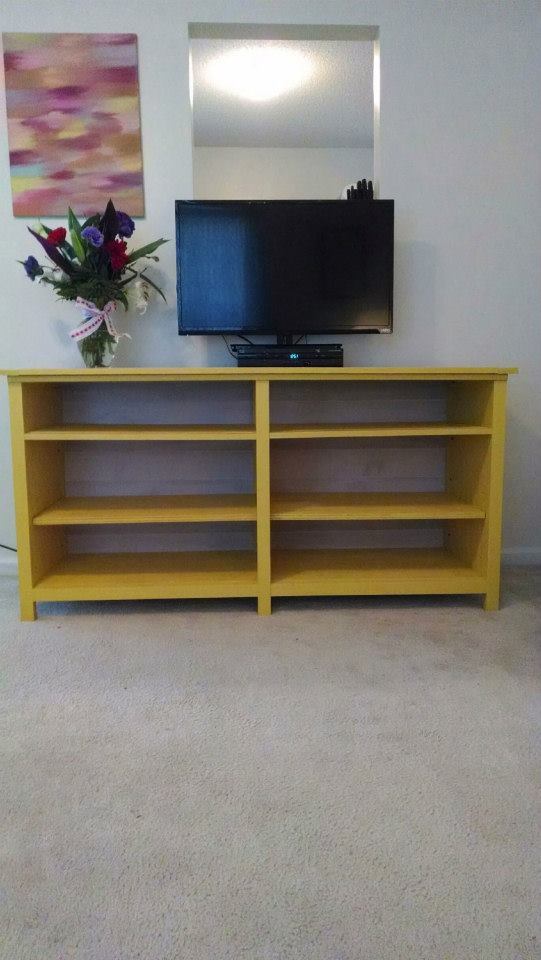
Benchmark Media Console

I just made the center part of the console.  My daughter didn't want any cabinet doors or drawers on it.

It started out being painted yellow, then she changed it to the distressed light green in the first pic.


Built from Plan(s)
Estimated Time Investment
Weekend Project (10-20 Hours)
Recommended Skill Level
Intermediate

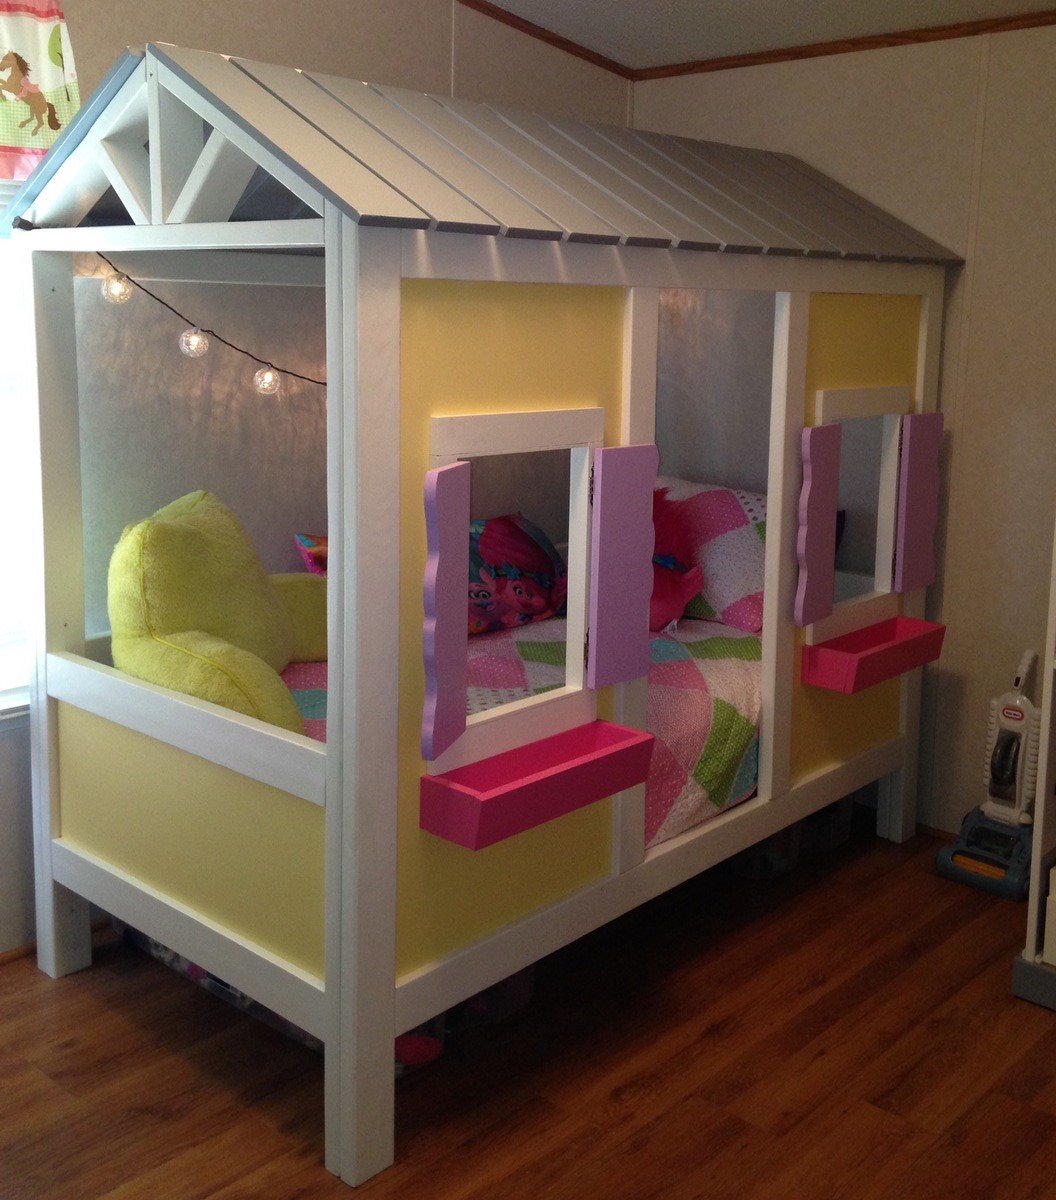
Emma's cabin bed

Submitted by jiffyone on Sat, 05/13/2017 - 18:38

Made this for my granddaughter and worked on it 40+ hours. I borrowed the removable window boxes and shutters off another plan to girlie it up. If I were to make it again, then I would add an extra 2 inches on the sides, front and back to make it easier to make up the bed. It's so adorable and I can't wait for her to see it. 

Built from Plan(s)
Estimated Cost
$400.+
Estimated Time Investment
Week Long Project (20 Hours or More)
Finish Used
Paint from the big blue store.
Recommended Skill Level
Intermediate

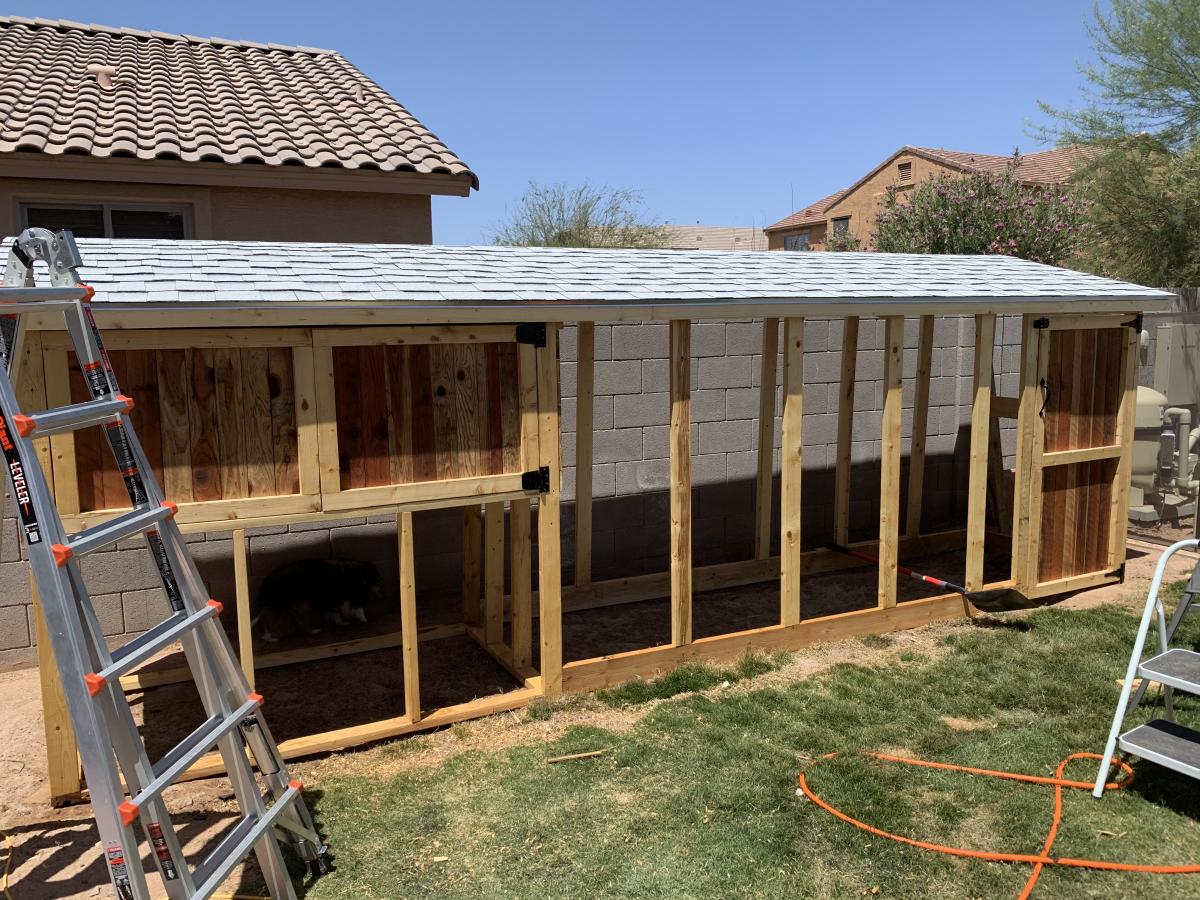
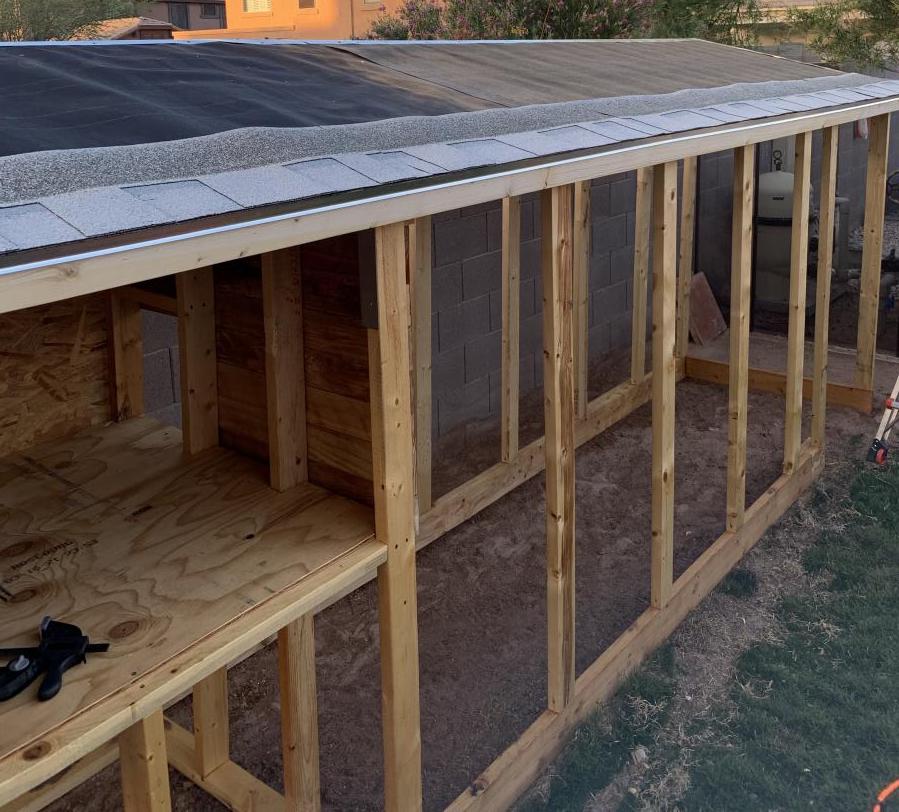
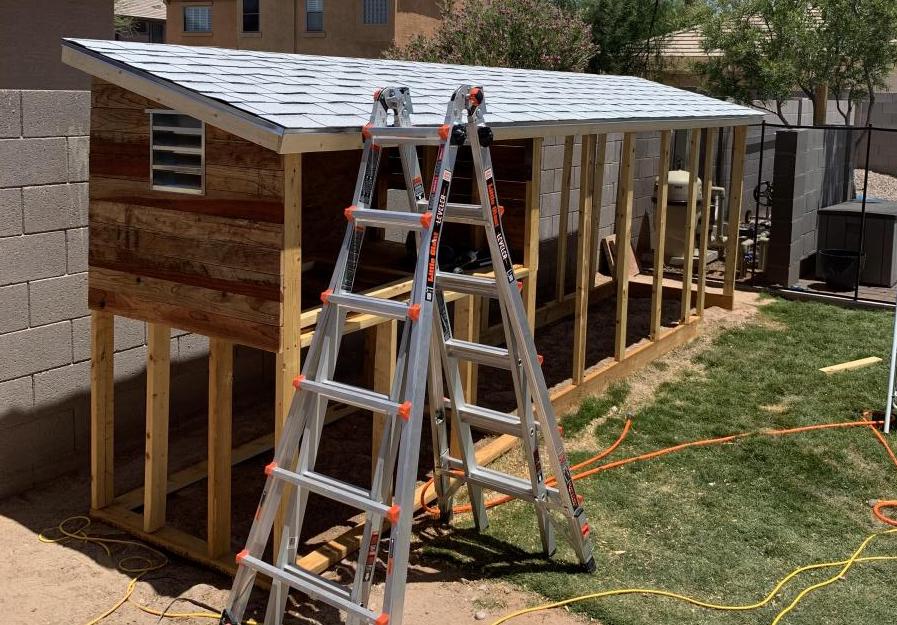
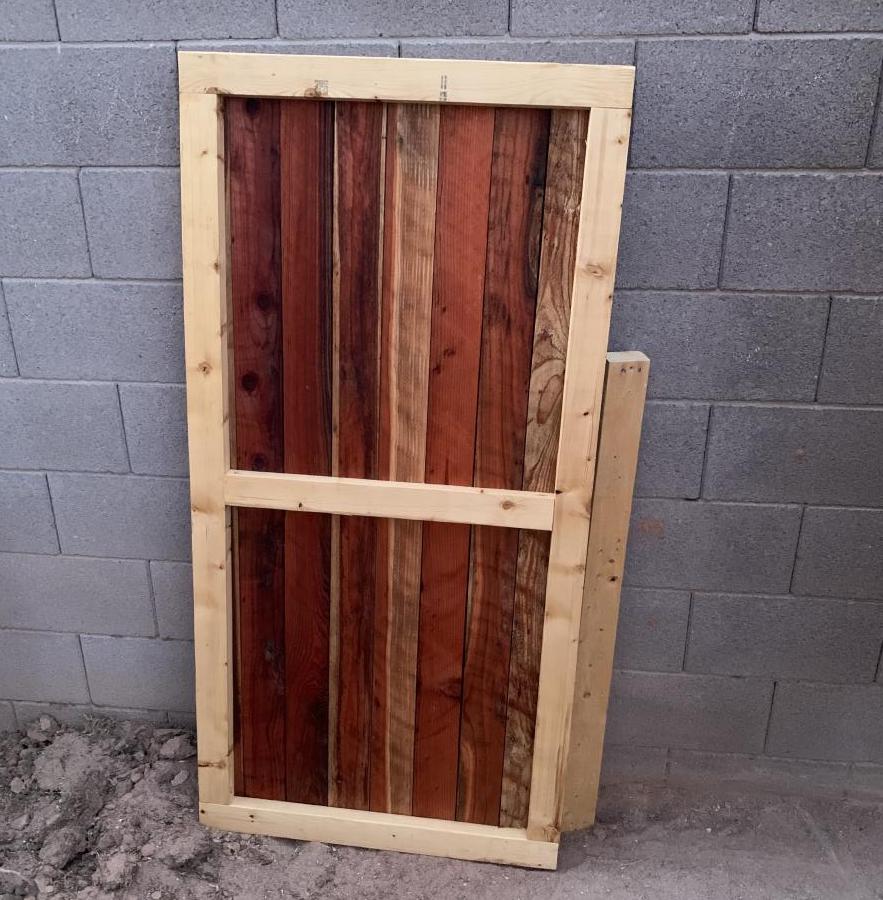
Kentucky Fried Hilton Chicken Coop

Submitted by redtrek on Tue, 05/18/2021 - 23:12

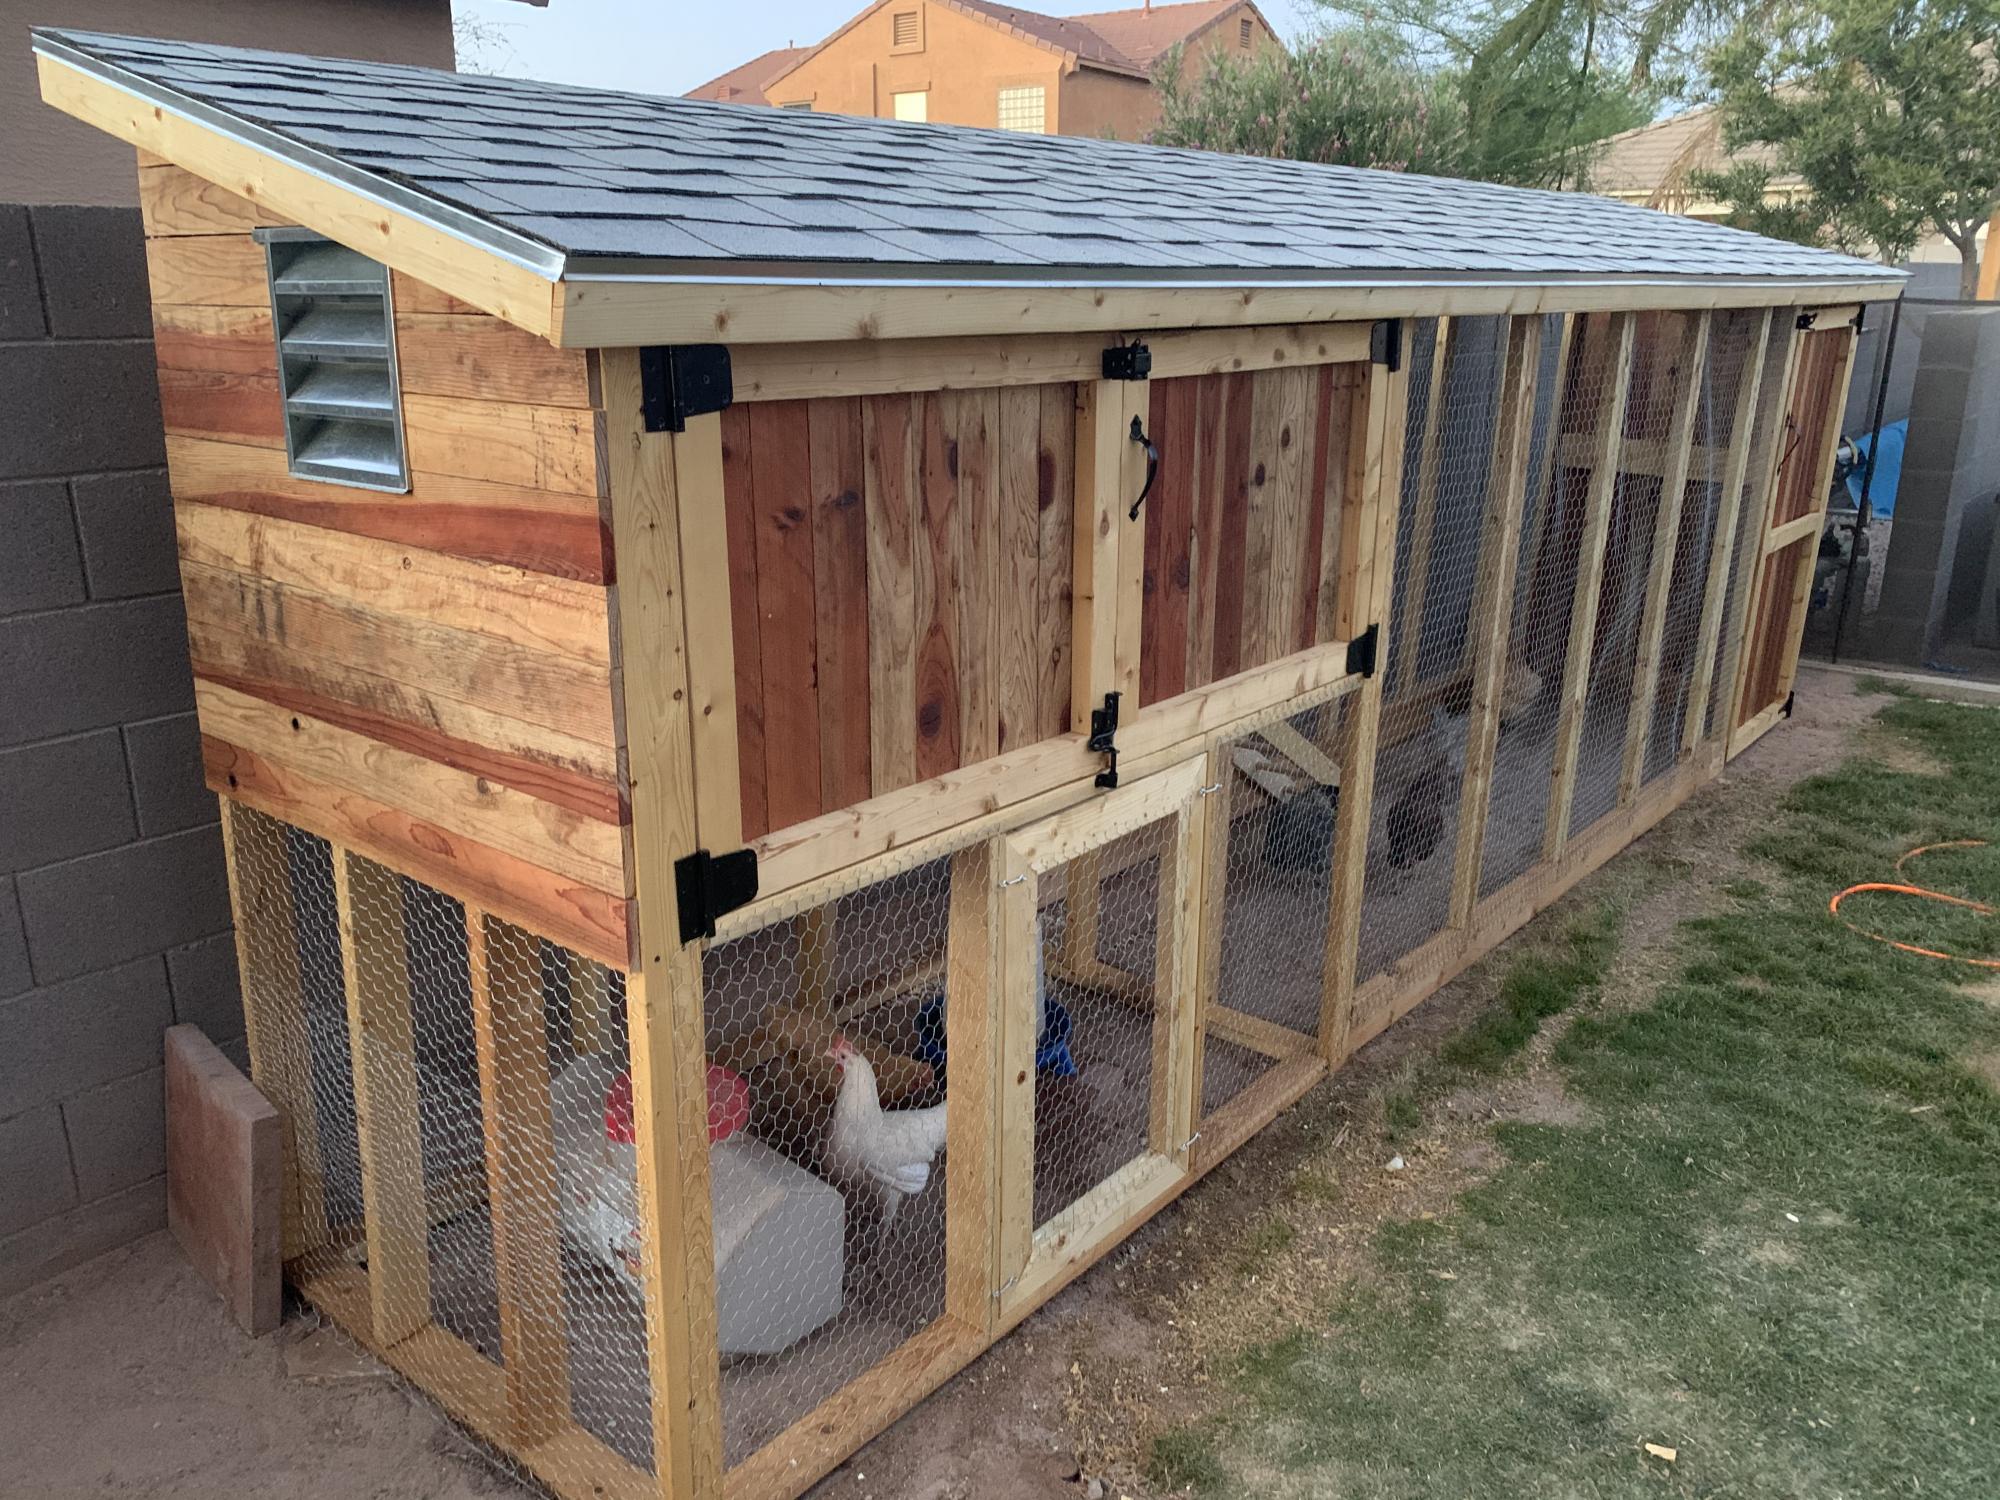
I took the idea of the "small cedar shed" and decided to upsize it for a new chicken coop. Our old one was small enough that we had to let our six hens out to roam the yard. Chickens. Poop. Everywhere. I wanted one big enough to have them live in it. The nesting box is about 24 sf. The whole coop is 18' long, about 6-1/2' at the back with a 15° slope to the roof, and about 4' deep. I built the ladder up to their nesting box and made a mitre-cut panel under the nesting box for cleaning out, feeding, and watering. Total materials cost was about $1000, but a couple of local homebuilders helped by letting me scavenge the lumber for the nesting box from around houses that they were finished framing.

Built from Plan(s)
Estimated Cost
$1000-1200
Estimated Time Investment
Week Long Project (20 Hours or More)
Finish Used
Thompson's Clear Water Seal
Recommended Skill Level
Intermediate

Comments

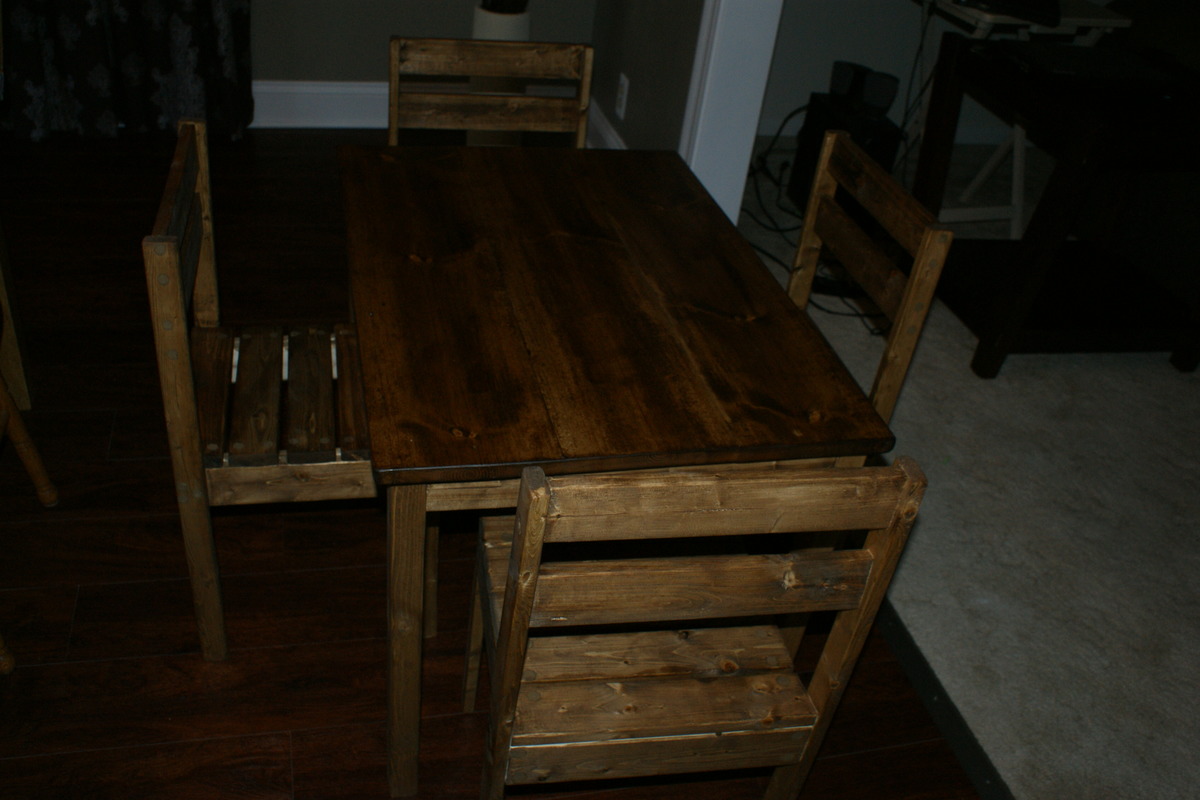
Clara Table

Submitted by jasonD on Thu, 04/04/2013 - 17:37

Made this for a friend. Followed the plans from the Clara table, chairs were made from the 4 dollar stackable chair plan.
Finish was Watco Danish Dark Walnut oil, which i just discovered and love. Goes on even and isn't blotchy on pine. For the table top i added a couple coats of polyurethane.
The table was easy to make, but the chairs took quite a bit of time with the amount of slats. Also there are about 30 screw holes per chair to drill, countersink and fill with putty. I am making another set for someone else, and will probably go with a single, wide slat for the back and seat. Also I would suggest adding braces to the legs, they seem a little flimsy

Estimated Cost
$50
Estimated Time Investment
Weekend Project (10-20 Hours)
Finish Used
Watco Danish Oil Dark Walnut
Minwax Poly
Recommended Skill Level
Intermediate

Comments