Community Brag Posts

Who's Afraid of the Simple Bed?
Submitted by QueenMahin on Thu, 03/10/2011 - 21:11

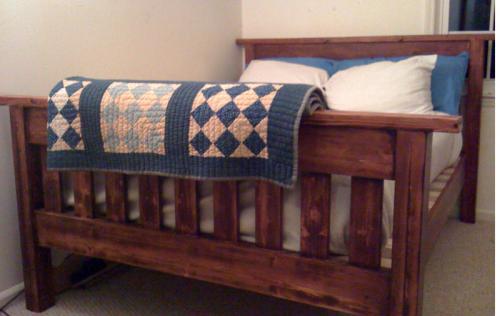
Building Ana’s farmhouse doll bed went so well that I felt ready to take on a full-sized bed.

Each project seems to come with its own set of lessons. I learned the hard way about the “Measure twice, cut once” rule with a couple of “oops” cuts that sent me back on another trip to the Blue store.

Sourcing untreated 4×4′s was also an issue. I ended up gluing and screwing 2×4′s together to use as the headboard and footboard legs.

The biggest issue, though, was my own fear. Sure I hit some stumbling blocks during the build, but resolved them and got the headboard and footboard all put together… and then choked. Who the heck makes her own bed? Is this really going to work? I delayed and delayed the final steps of screwing the siderails to the legs and attaching slats until I finally had to give myself a stern talking-to and a self-imposed deadline! Has anyone else ever been scared to push through to the final steps?

OK, here goes! I wasn’t sure that I understood the step about toenailing lagbolts through the end of the cleats into the legs until I got out the drill and tried it. Yup, it worked just fine! Next came the slats, and then when I hoisted the mattress on and saw that I had built a bed…. Well, I don’t even know how to describe that feeling of success and empowerment. Wow!

Ana, I wish I could thank you for all that you do.
Estimated Cost
$100
Estimated Time Investment
Week Long Project (20 Hours or More)
Finish Used
Paint or Stain Color/Type:Minwax American Chestnut
Finishing Technique: Was stuck in indecisive mode for a while and sanded and stained and sanded and stained, which resulted in a kind of weathered looking finish. Not what I thought I was going for, but now I count this as a success story and I love it!
Recommended Skill Level
Intermediate

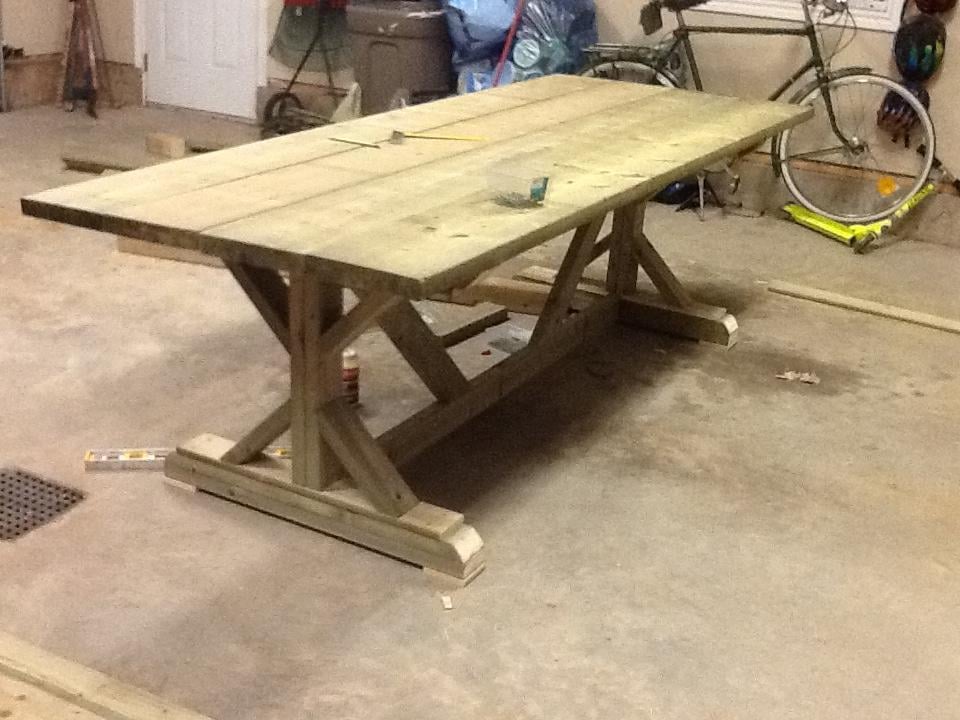
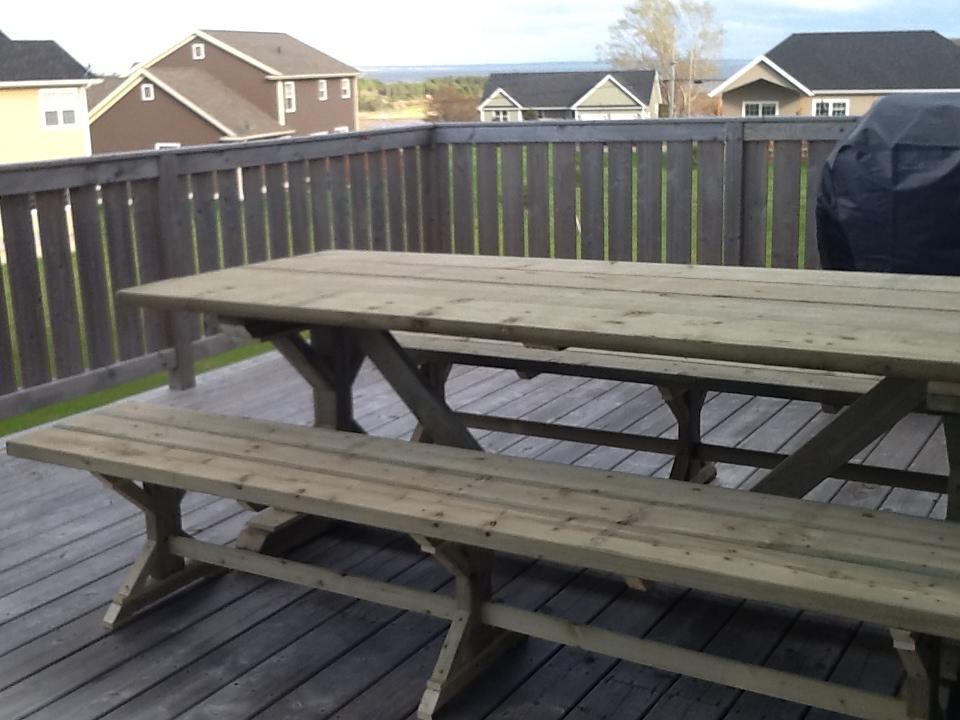
Fancy*farmhouse table and benches

Submitted by Michael M on Mon, 05/27/2013 - 08:52

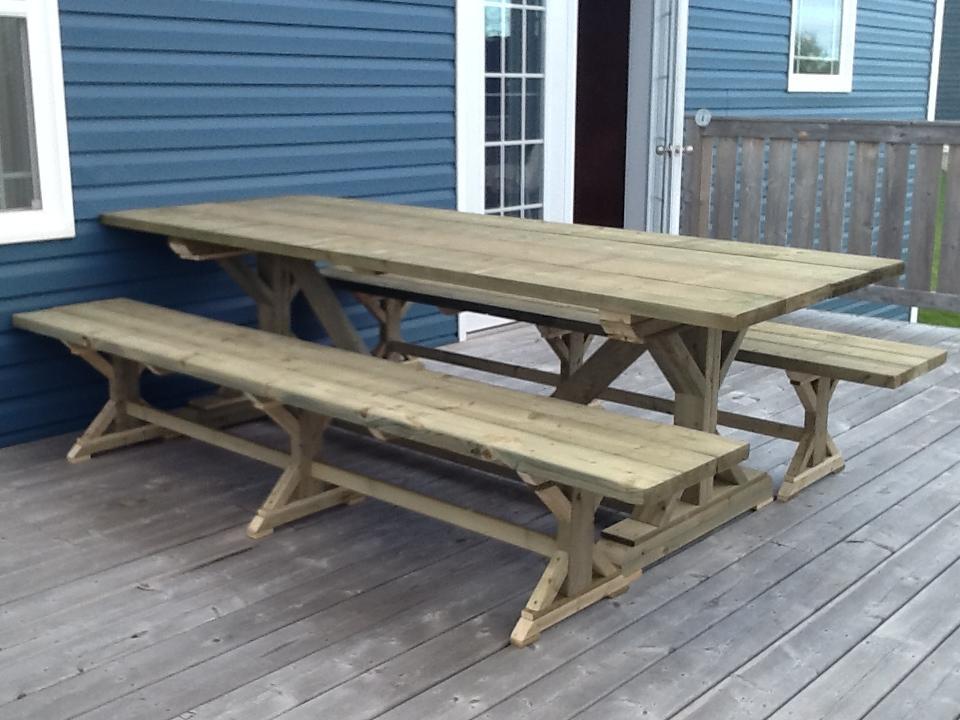
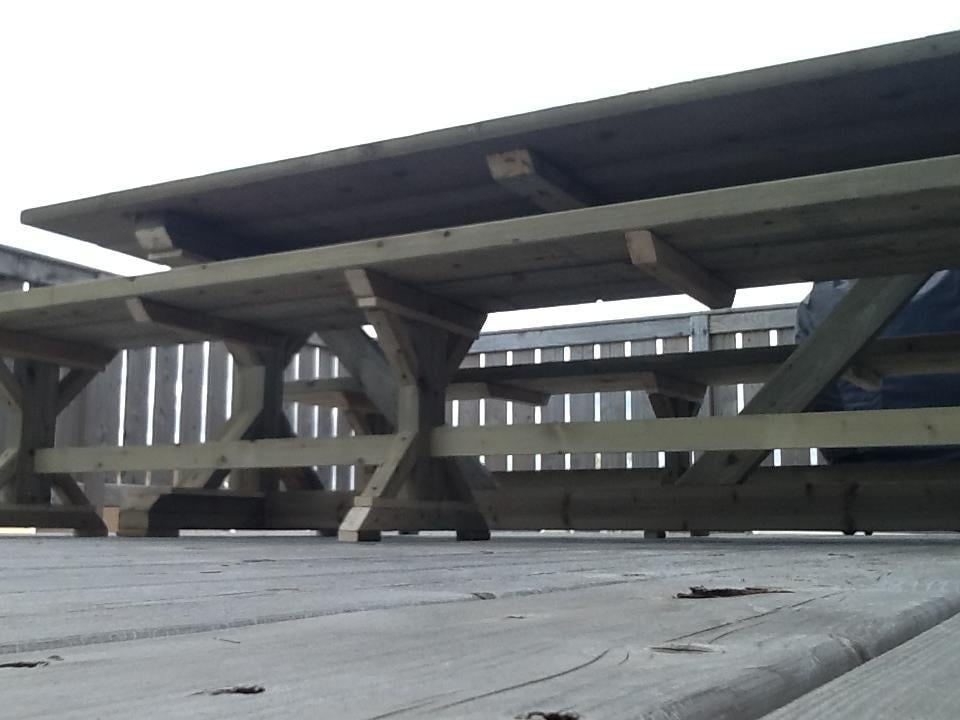
Used pressure treated (copper) and will allow to fade to grey with sun and sea air. Built to enjoy PEI mussels, lobster and beer in the open air and not too worried about the finish or surface. The table took 3 hours, start to finish - benches x 2 took longer at about 7 hours. Am getting a little lateral movement with the benches so will replace the 1 x 3 spacer with 2 x 4 and may add a diagonal 2 x 2 support as well (to match the table). I don't have/didn't use a Kreg so that may be the issue...?
Plans on Ana White are fantastic - I made the see-saw this weekend too in about an hour....thanks!

Estimated Cost
$120 in wood and $20 in screws for table and benches
Estimated Time Investment
Day Project (6-9 Hours)
Finish Used
Outdoor table and seating
Recommended Skill Level
Intermediate

Farmhouse Bed

Submitted by leannb on Sun, 04/19/2015 - 20:30

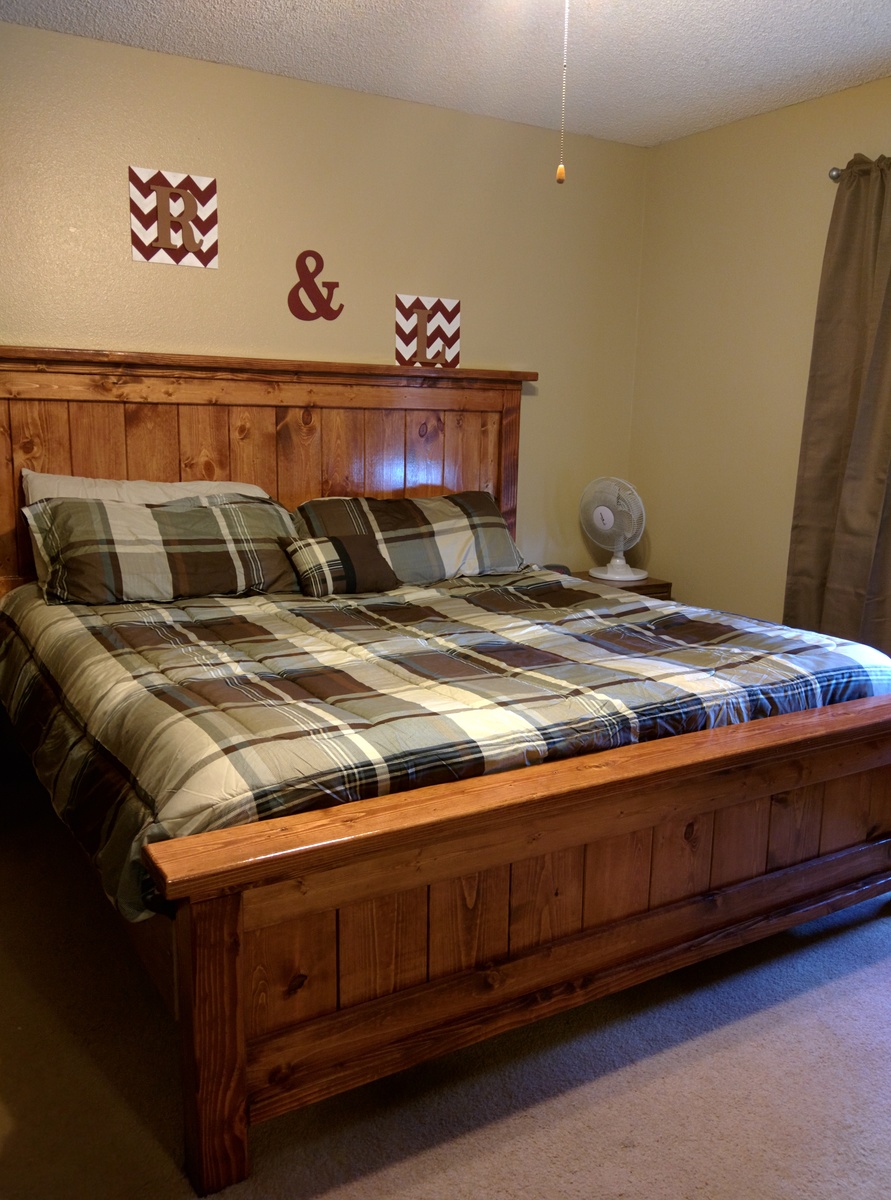
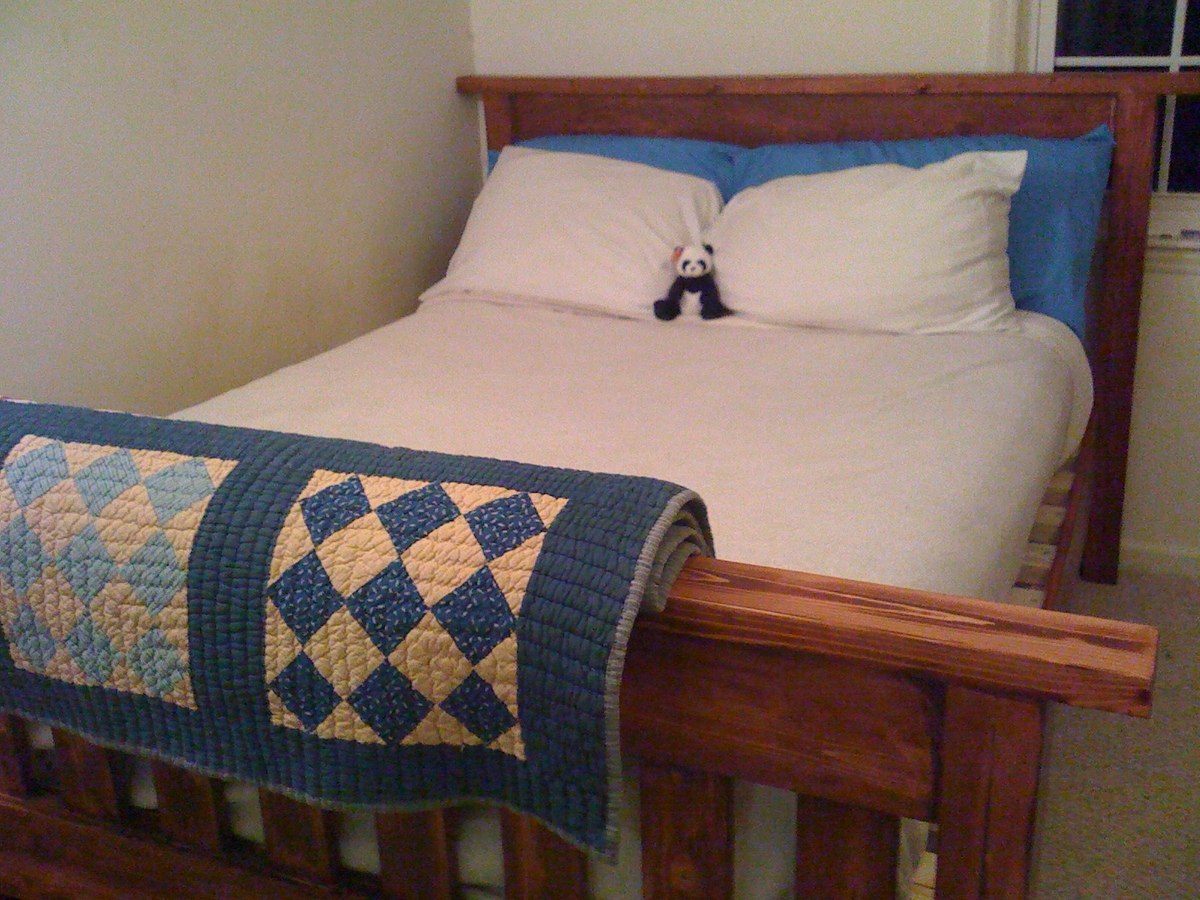
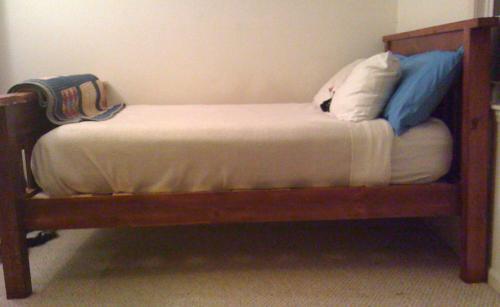
Built from the King Farmhouse bed plans

Estimated Time Investment
Weekend Project (10-20 Hours)
Recommended Skill Level
Intermediate

Comments

mtz_lin

Tue, 11/08/2016 - 10:49

Did you use a metal bed frame or did you make the side rails and frame? i am curious how high my mattress will sit above the footboard because I want to make the side rails and use slats. I have a boxspring that I will be using.

DIY Kitchen Island

Submitted by CustomPulp on Wed, 08/30/2017 - 12:16

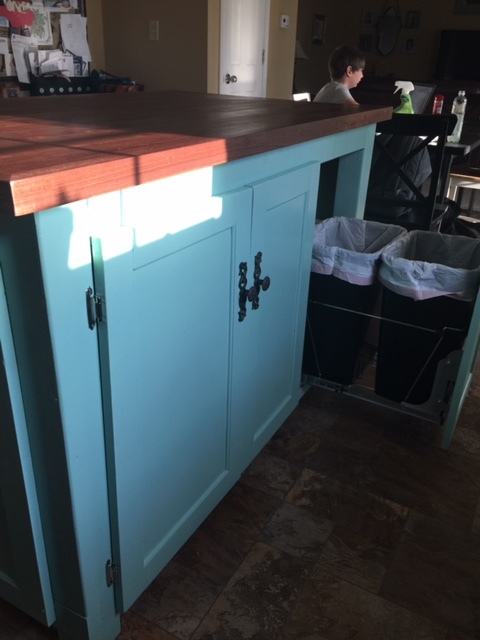
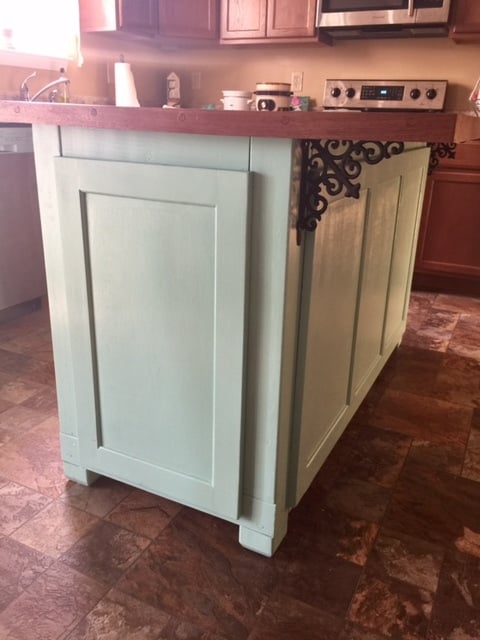
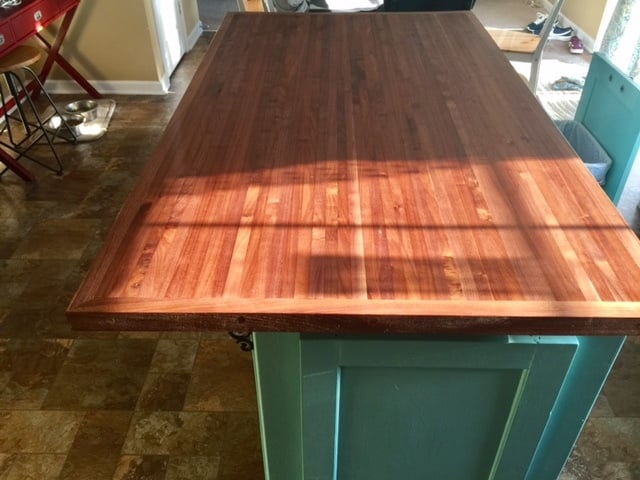
Island dimensions Bar 36" deep x 50" wide, counter top height and base has 24 inch depth. I was lucky enough to have the walnut donated for the project which I cut into 1" stips and glued together butcher block style. Also put a 1 1/4" band of walnut around countertop for appearances and to help strengthen the top. The base was made with pine and painted turqoise. The double waste basket was another touch I added. Thanks for looking.

Estimated Cost
base with lumber, door hardware, double trashcan hardware, corbels, paint $250.00. Pricing the Walnut if not donated, would have added another $300.00 to the cost of the project.
Estimated Time Investment
Week Long Project (20 Hours or More)
Finish Used
tung oil on top. Lowes Satin finish Valspar for the base
Recommended Skill Level
Advanced

Comments

Adirondack Chairs

Submitted by Anonymous (not verified) on Tue, 10/05/2021 - 08:19

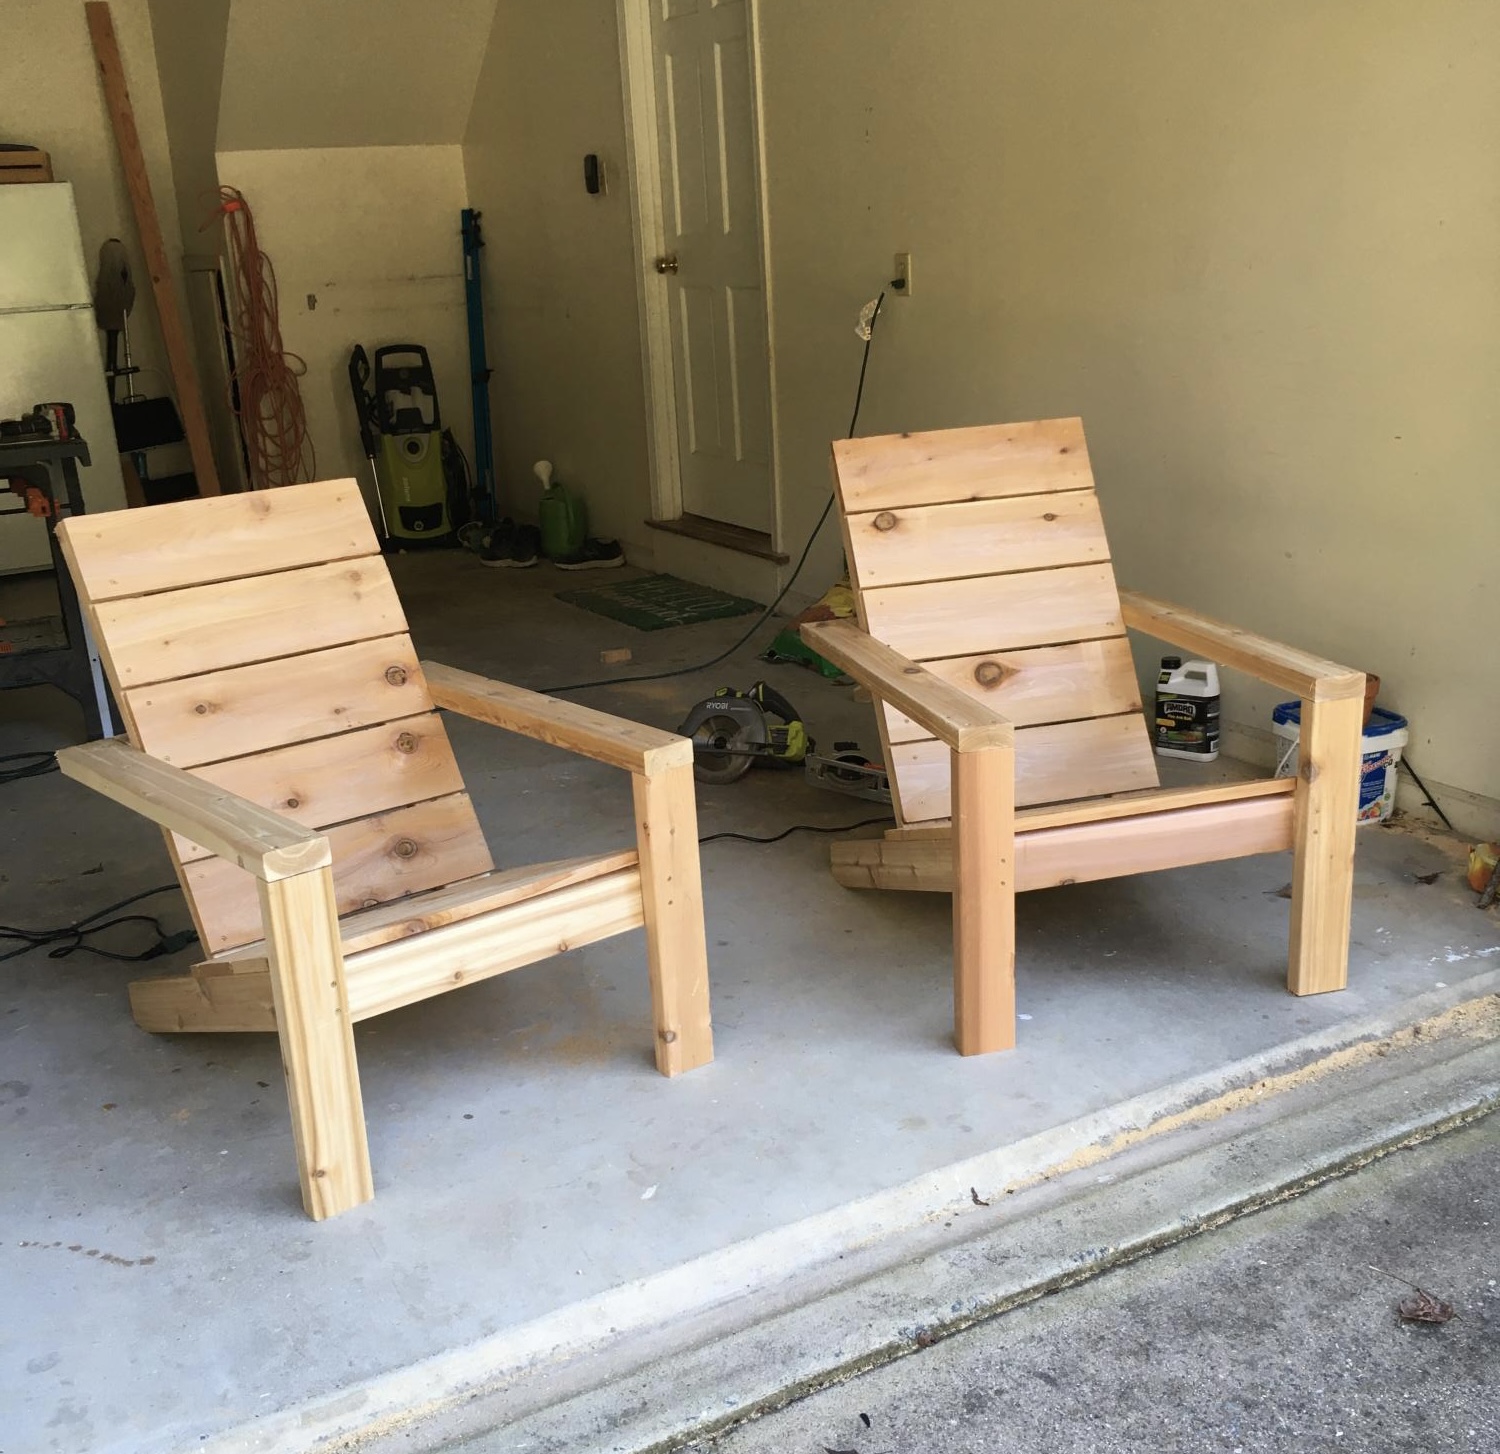
This was a fun and simple project. One of my first attempts at making outside furniture and it was nearly perfect the first time....why?... the plans were so easy to follow, the techniques used were not demanding, and the tool selection was ideal for my workshop. I put them outside and I have had good reviews, and requests, for these chairs.

Comments

Seasonal And Holiday

Storage Daybed - Lessons Learned

Submitted by QueenMahin on Sat, 03/12/2011 - 05:12

Hello Builders!

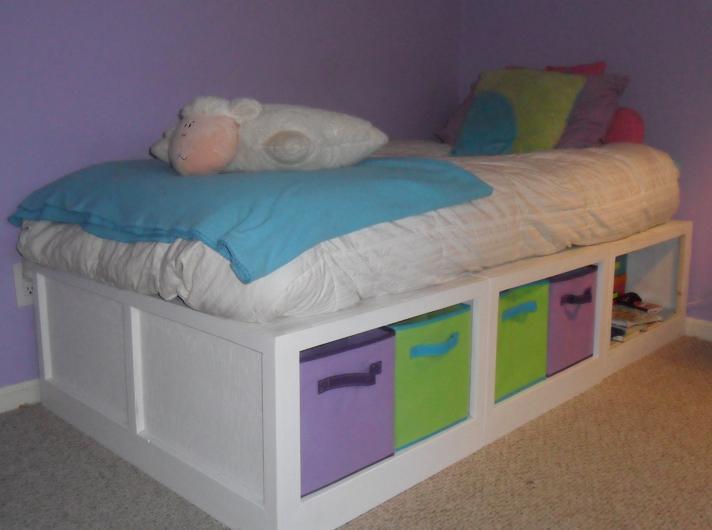
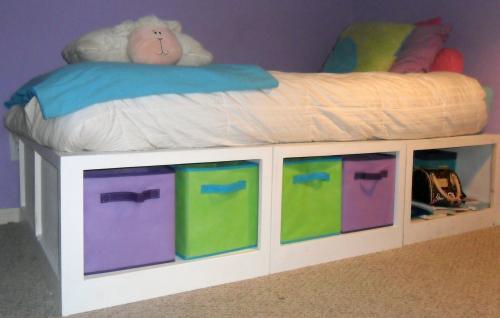
I made this bed for my daughter right after finishing Ana’s Simple Bed for myself. This bed is great because it is cool-looking (the most important factor for my middle-schooler) and because it adds tons of storage space (the most important factor for me, the mom!). Ana has this bed marked as easy, and it was easy. After working on the Simple Bed with lots and lots of cutting and gluing and nailing, I was amazed at how quickly this bed started looking like itself.

As a newbie builder, I read and read and re-read Ana’s plans and the comments on the plans and any similar plans until I feel comfortable. The Storage Daybed is just three separate benches that sit side-by-side and the mattress just lies on top. Somehow, when digesting the plans, I was really confused about the divider in the middle of each bench, but eventually the light bulb went on (the divider is necessary to support and strengthen the top, but the end result is that there are three cubbies in the front of the bed and three cubbies in the back – perfect for storing off-season clothes).

So I went to the Blue home improvement store and decided on birch plywood. Special thanks to Jen for working up the plywood cutting layout that Ana included in the plan. I don’t think I could have figured out how to get the pieces cut without you. The associates at the large home improvement store were very nice, and they offered to make the cuts for me even though they said that they really weren’t supposed to make “project cuts”. The problem was that their cuts were oh, so bad! They marked out all of the cuts at once, which doesn’t account for the sliver that the blade takes out, and when measuring they didn’t even have the tape measure blade flush against the top in the first place.

On my other projects, I made plenty of mistakes. But they were my mistakes, you know what I mean? On this build, I spent so much time trying to fix bad cuts. But it’s my fault. I was concerned, but I second guessed myself and didn’t speak up while they were cutting. I ended up having to cut a thin strip of plywood to lengthen the side of one of the benches, and had to sand and sand and sand. Also ended up having to re-cut the dividers.

Oh, well. I got a little life lesson in assertiveness, and I got to add a circular saw to my toolkit! After all was said and done, this really is a great bed, and it made my heart glow to hear my daughter going around telling folks: “My mom is making my bed!

Built from Plan(s)
Estimated Cost
$150
Estimated Time Investment
Week Long Project (20 Hours or More)
Finish Used
Glossy white paint on the trim, flat white on the sides and top. We're debating about repainting it in a bold color.
Recommended Skill Level
Beginner

Puzzle Bookcase

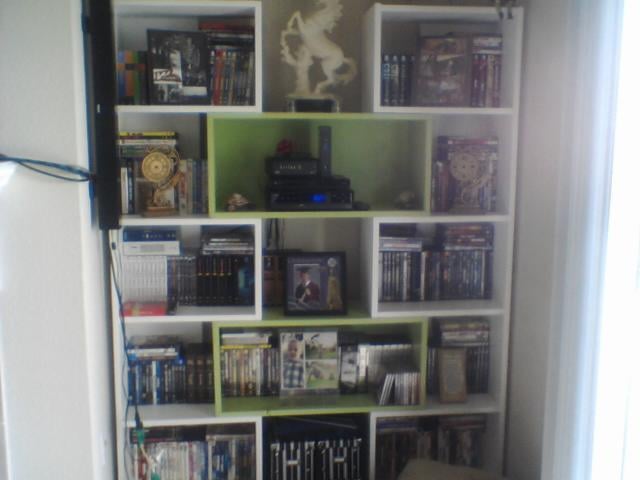
My Hubby and I built this bookcase on the livingroom floor on mothers day morning! It was so simple and fun. I had all the wood cut at Lowes and we just had to put it together and paint it!

Built from Plan(s)
Estimated Cost
175.00
Estimated Time Investment
Afternoon Project (3-6 Hours)
Finish Used
paint
Recommended Skill Level
Beginner

CUSTOMIZED FARM TABLE

Submitted by dogg29er on Fri, 04/24/2015 - 12:02

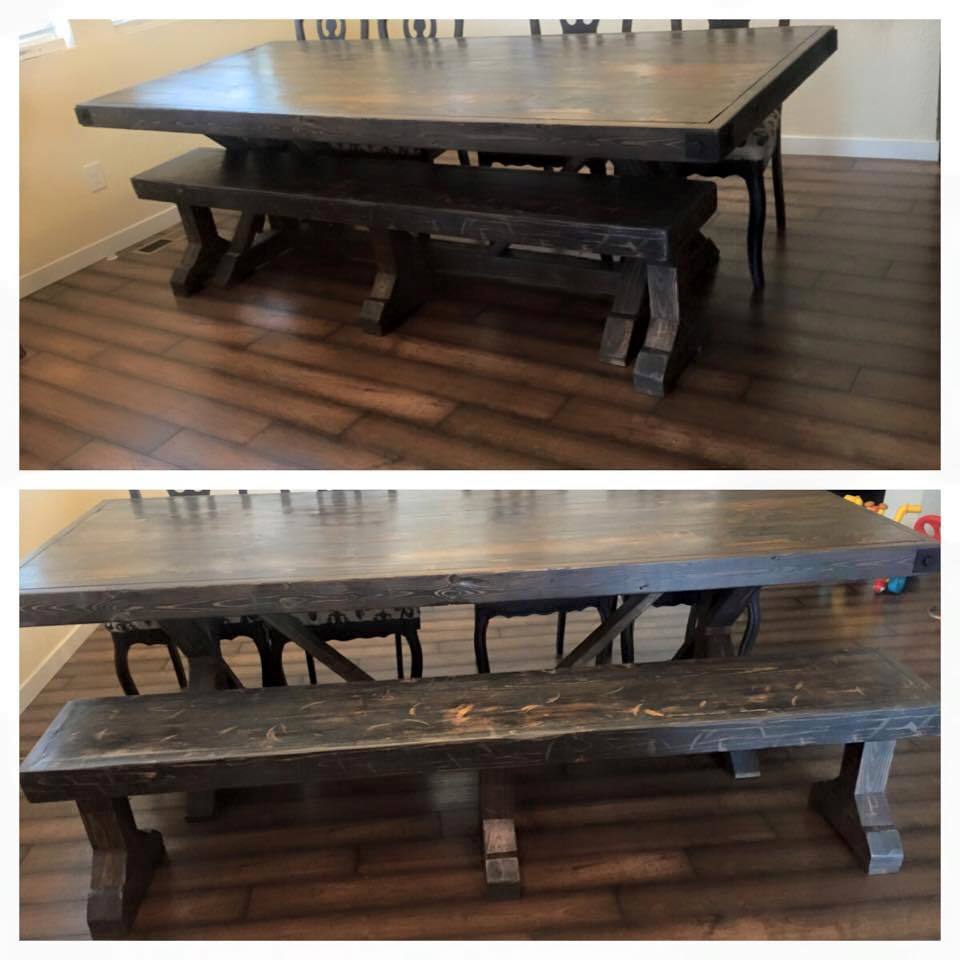
This is a customized version of a farmtable that my wife found here! 

Estimated Cost
$300.00
Estimated Time Investment
Weekend Project (10-20 Hours)
Finish Used
Miniwax - Espresso, Black and Poly Sealant.
Recommended Skill Level
Advanced

Comments

Triple Pedestal Table & Bench

Submitted by Lishpav on Wed, 09/06/2017 - 19:56

It's turned out way more beautiful then I had thought. It was all the mini details that took the longest but made the look worth it 

Estimated Time Investment
Weekend Project (10-20 Hours)
Finish Used
Gel gray stain for the top gel prairie wheat for the legs
Recommended Skill Level
Intermediate

Modified Ann White Table

Submitted by Anonymous (not verified) on Tue, 10/05/2021 - 17:07

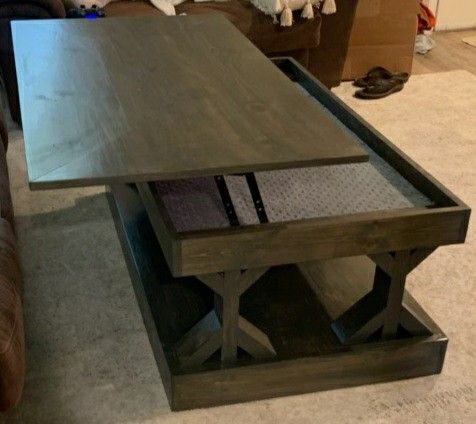
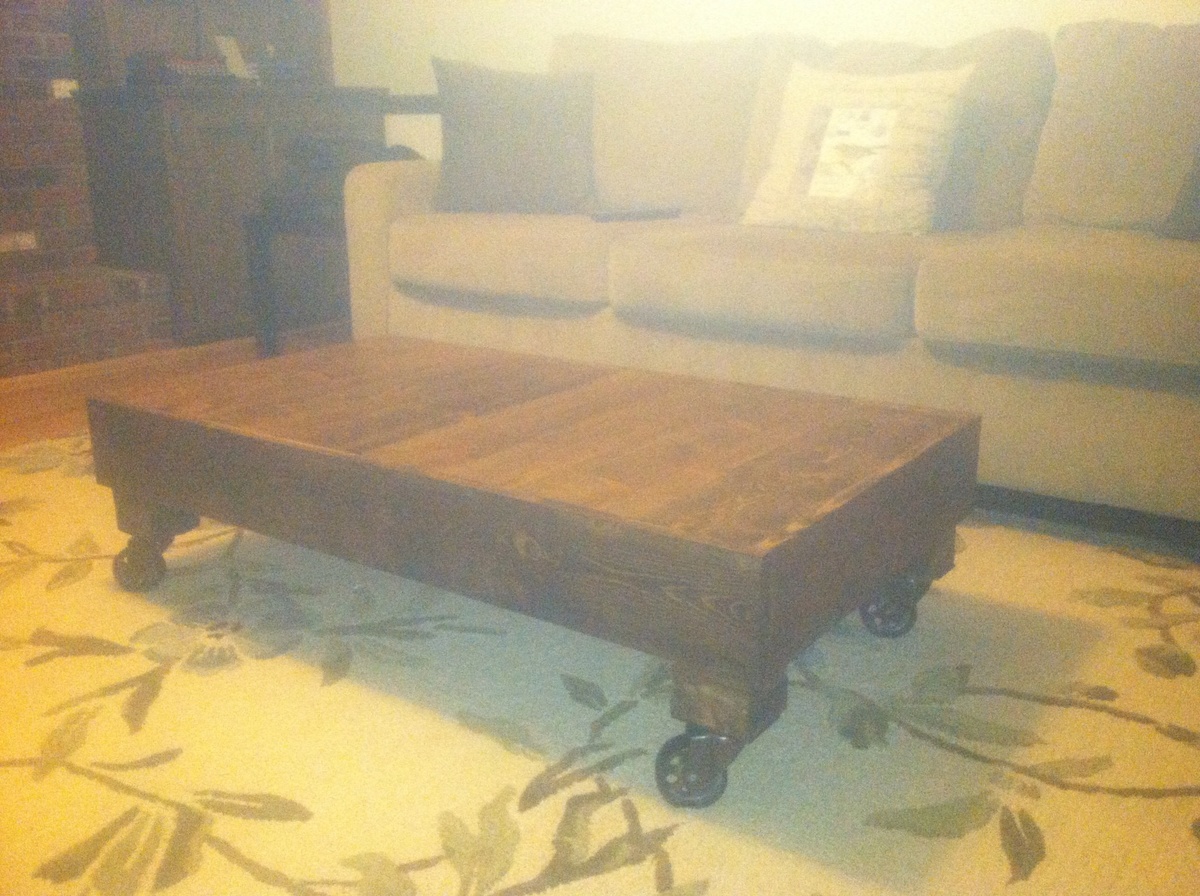
This is a modified version of your Farmhouse Coffee Table.

Comments

Closet Door with Storage

Submitted by kristen on Sat, 03/12/2011 - 21:07

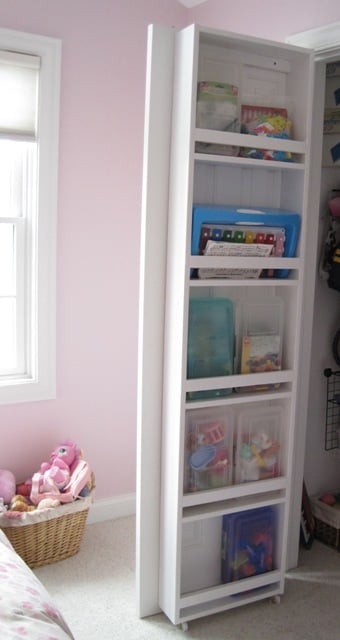
This was my first Ana White project, and I learned a lot from making it since I was also a novice woodworker. I am very happy with the end result, but it was probably a good thing that this went on the inside of a closet :) It gave me the confidence to go on and build something more difficult with the skills I built along with the storage.

The $30 estimate is only for the wood. Wood putty, sandpaper, screws, paint, etc. will make this more expensive, but you will use all of the extras on other projects since this one won't use those up.

The time involved is a guess--it has been a few months since I completed this. Someone with experience could probably do it faster and someone brand new to building might go slower. So I chose 3-6 hours, a nice in-between number.

Watch your caster size with carpet. That was my only snag with the instructions. Ana has hardwood floors that the casters roll on. I have carpet so I wanted larger wheels in order for smoother rolling. That added height to the caster also, so you want to modify the length of the sides of the storage unit to reflect the larger casters on carpet.

All in all a great plan and useful end result!

**UPDATE--January 30, 2012** We removed the casters from the bottom of this just yesterday and the door opens SO much easier. I would invest in some high quality casters and not the cheap ones I bought if you are going to use these. Without the casters I am only putting light things (stuffed animals) in this. If you are using it for heavier items, I would use the casters but make sure they readily turn. The casters I had did not want to turn as the door moved and they dragged on the carpet instead. Also, the overall height of your unit will depend on the height of your casters, so buy them first if you are going to use them. I still love this though!

Built from Plan(s)
Estimated Cost
$30
Estimated Time Investment
Afternoon Project (3-6 Hours)
Finish Used
White primer and white paint over that. I used the Zero VOC paint you can get at Lowes--I think it is Olympic brand.
Recommended Skill Level
Starter Project

Workshop Step Stool

Submitted by jaime19861 on Mon, 04/27/2015 - 13:29

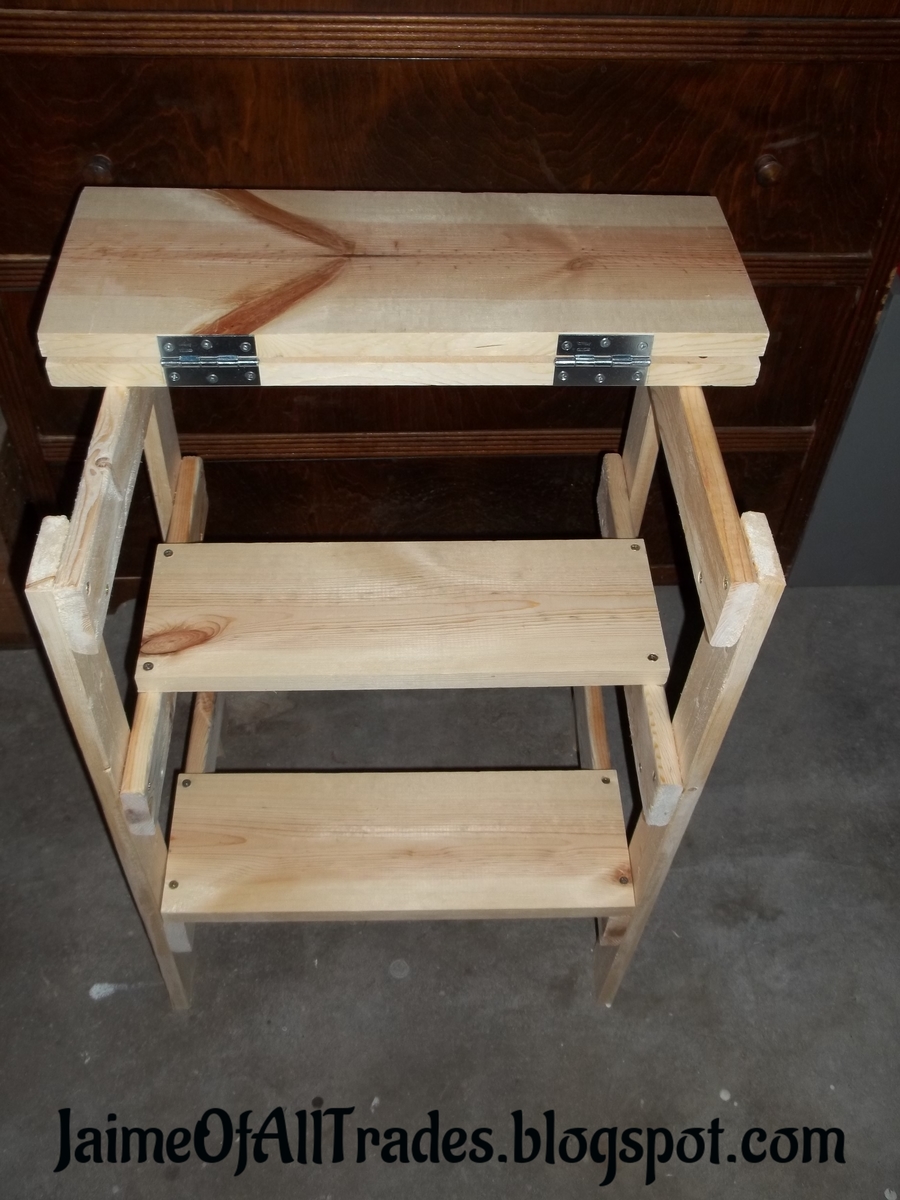
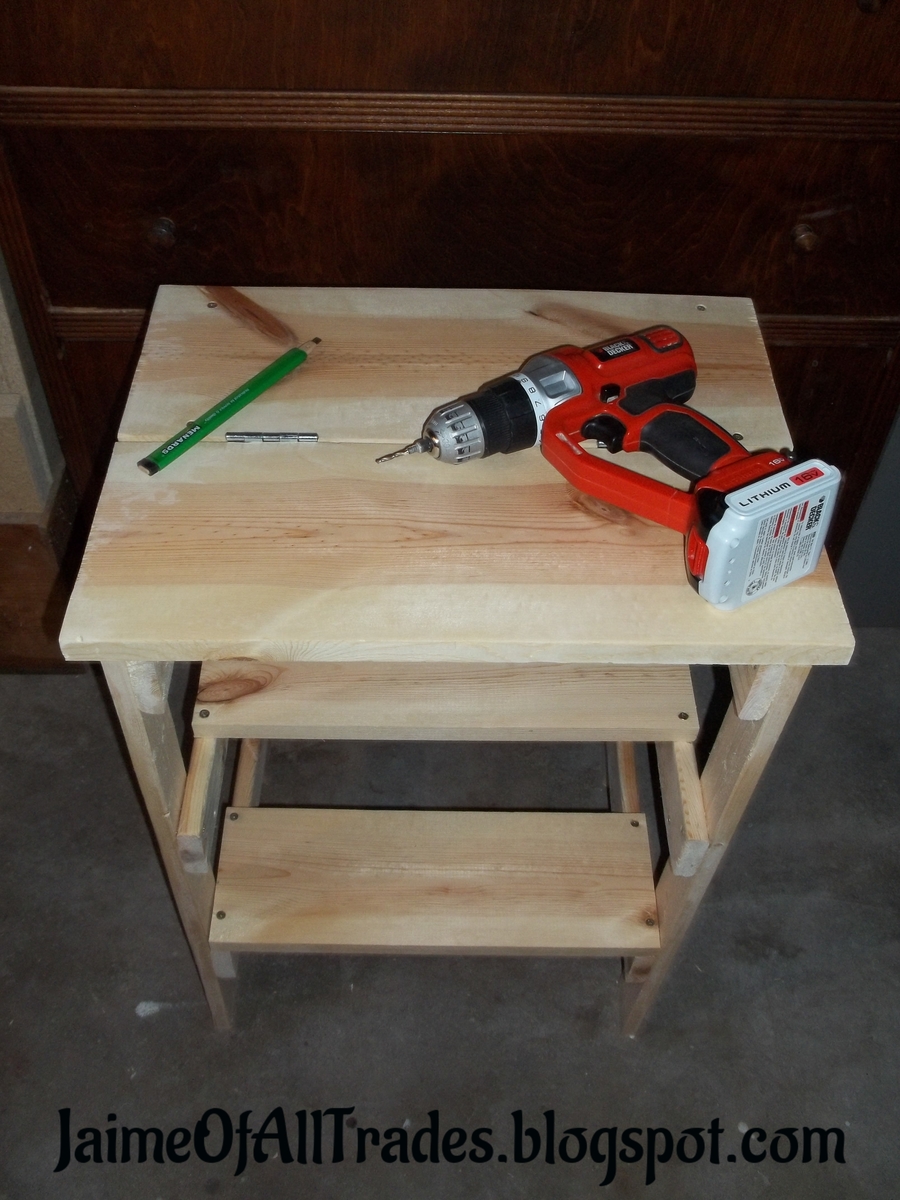
I built this Workshop Step Stool as part of the #GetBuilding2015 #BuildCave challenge. It was a very easy build. I had all the needed supplies in my scrap wood. But if you did need to buy the wood, you could do it for under $10.

I found the plan here. http://www.familyhandyman.com/workshop/ridiculously-simple-shop-stool-p… 

If you want to see the steps I took to build mine, as well as more pictures, please stop by my blog at http://jaimeofalltrades.blogspot.com/2015/04/diy-workshop-step-stool.ht…

Estimated Cost
Under $10
Estimated Time Investment
An Hour or Two (0-2 Hours)
Finish Used
Since this is just going to be used in my workshop, I did not apply any stain or paint.
Recommended Skill Level
Starter Project

first build saushas laundry pedestal with a few adjustments.

Submitted by Herv on Mon, 03/14/2011 - 16:17

weekend project that had been put off for about a year and finally got done. was not that challenging even for a rookie. turned out well and most of all the mrs. was pleased with it.
photo 1: materials
photo 2: lower level on left and upper level on right
photo 3:close up of each level, bottom level was stacked 2x2's plus 3/8 ply on top and 1/8 vinyl so that a 1x4 would cover the front flush and not have a lip so that tha baskets wont get caught.
photo 4: base with corner posts
photo 5: all set minus the trim boards!
final trim on the top level overlapped by 1/2" to act as a lip to hold w/d in place if they decided to "move" on me.

Estimated Cost
~$100
Estimated Time Investment
Weekend Project (10-20 Hours)
Finish Used
stain was ipswitch pine not sure of the brand
and the loose lay vinyl was leftover fom the flooring as you can see i think it adds to the project
Recommended Skill Level
Starter Project

Toddler bed

Submitted by Bradnag on Wed, 09/13/2017 - 05:13

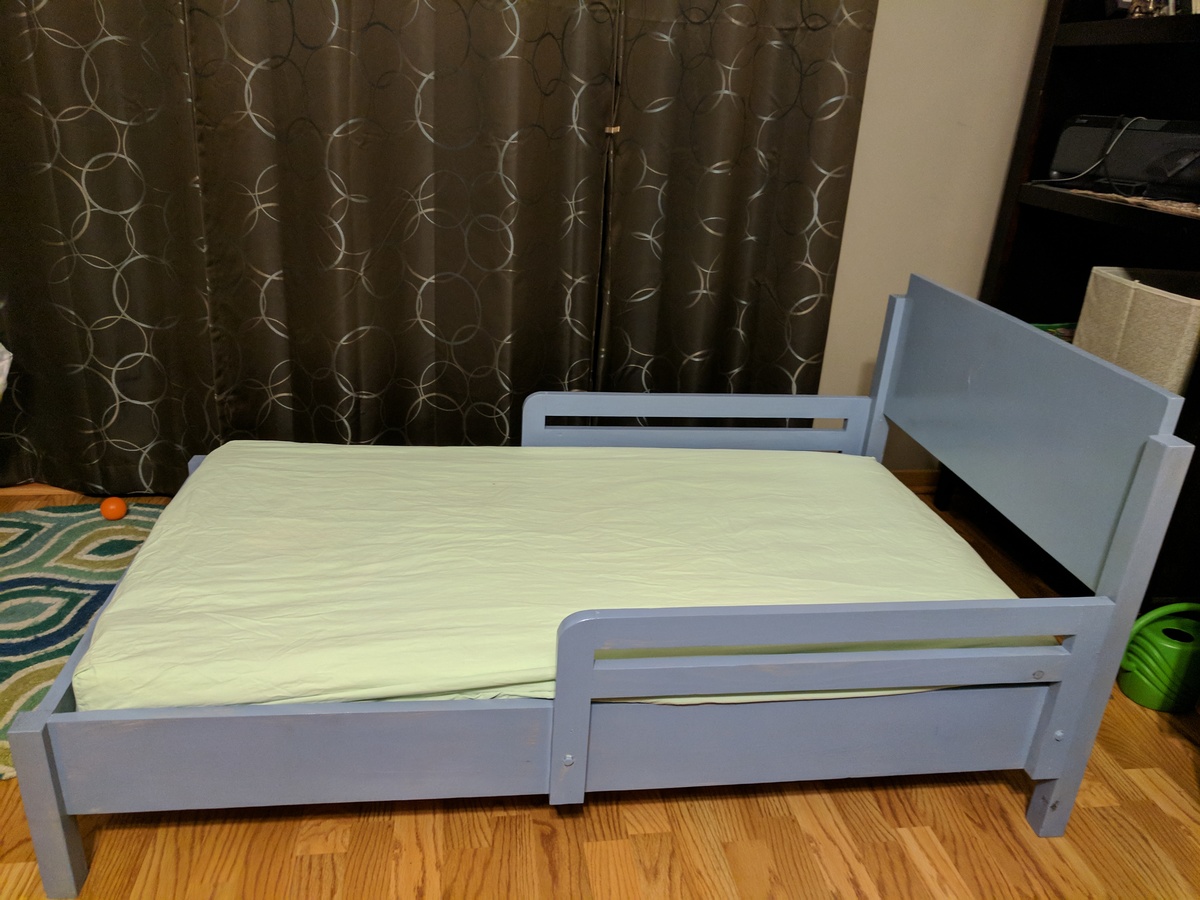
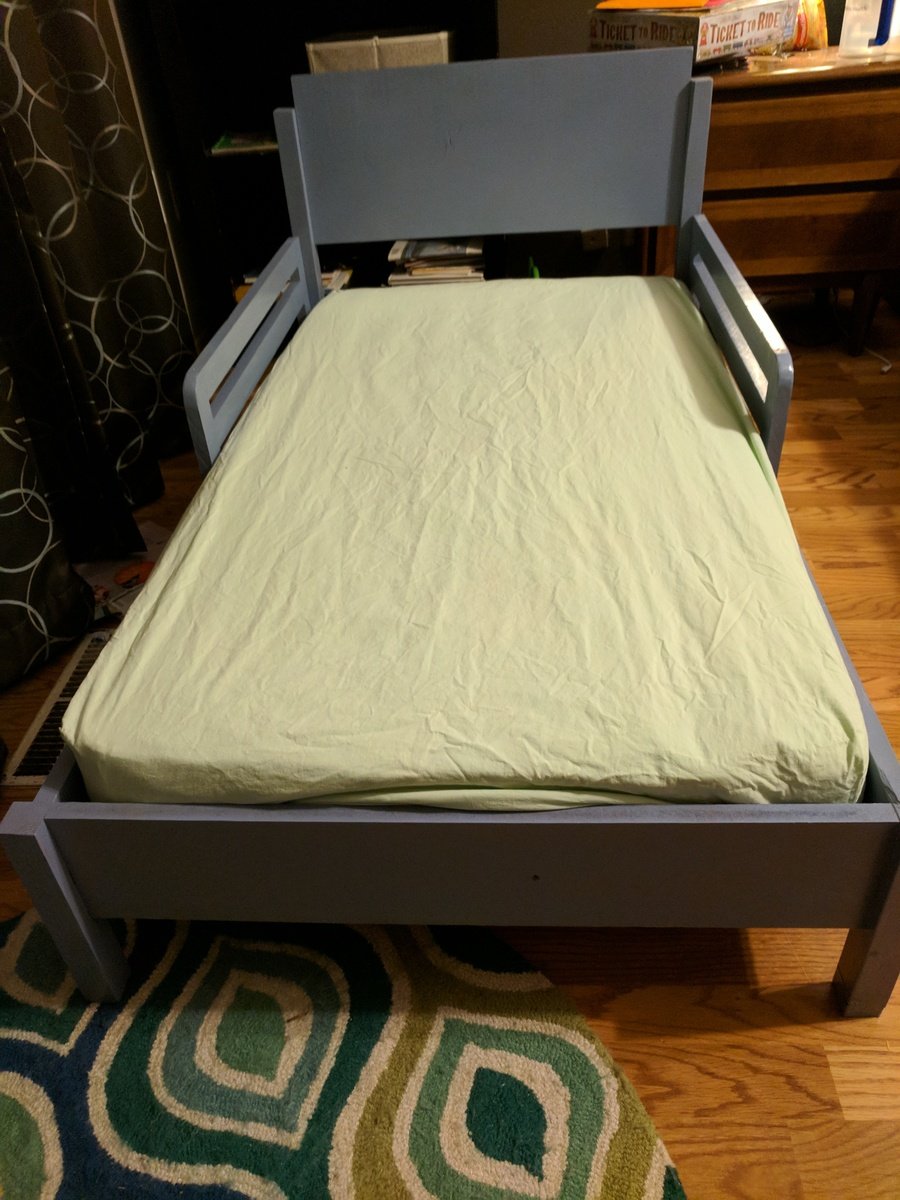
I made a loft bed for my 4-year-old son using Ana's Chelsea Loft plans. When I finished, I was able to build this toddler bed for my 1-year-old using almost entirely scraps left over from the loft (save for the 1x6 runners). I skipped the curved headboard design and went with a solid piece of 1x12. I was going to round the top edges or cut a more rounded design, but my wife said she liked the squared off look better (she has lots of ideas for painting various designs on it, apparently). Since we were going to use paint and not stain, I ripped some leftover MDF board for the 1x6 footers. The whole project took a single afternoon, including cutting, assembly, woodfill and sanding. The end result is pretty sturdy. My wife laid on it with both our small children and the slats hardly bowed at all.

Built from Plan(s)
Estimated Cost
$5
Estimated Time Investment
Afternoon Project (3-6 Hours)
Recommended Skill Level
Beginner

Loft Bed

Submitted by Anonymous (not verified) on Thu, 10/07/2021 - 16:28

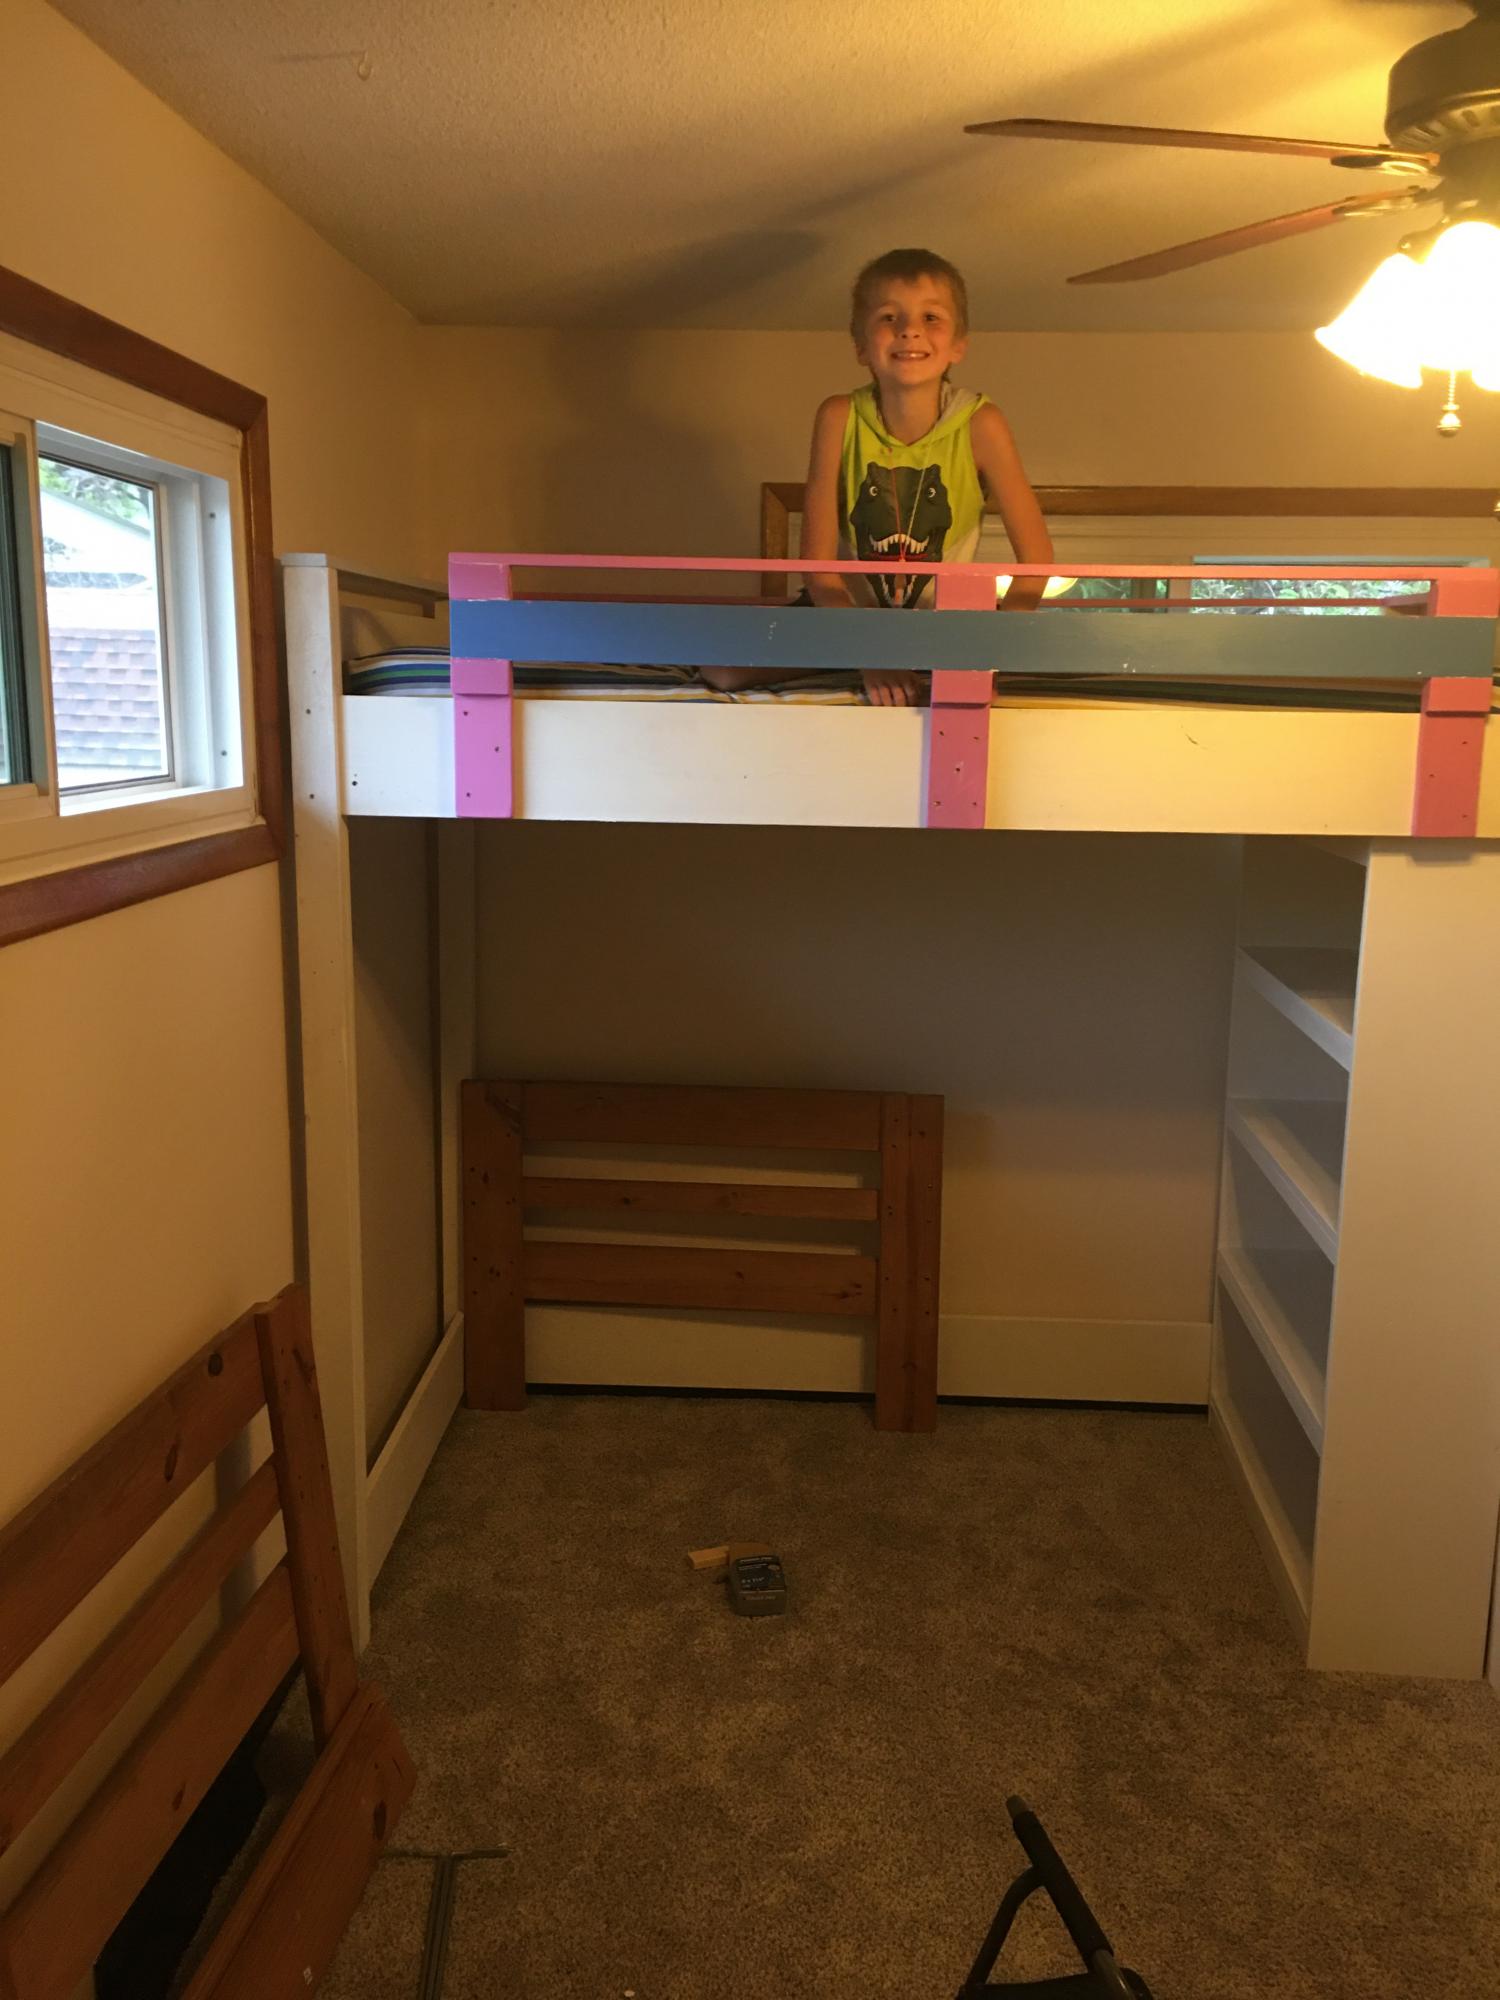
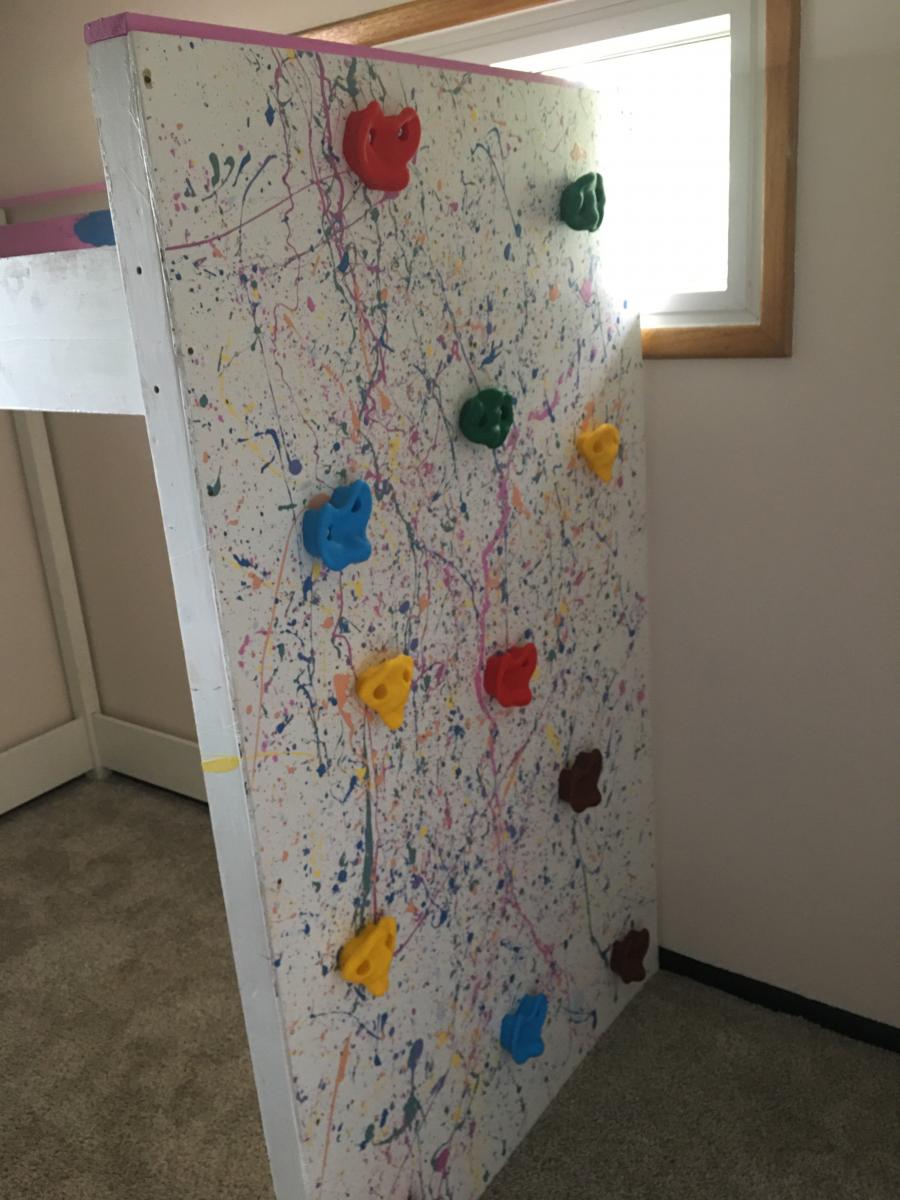
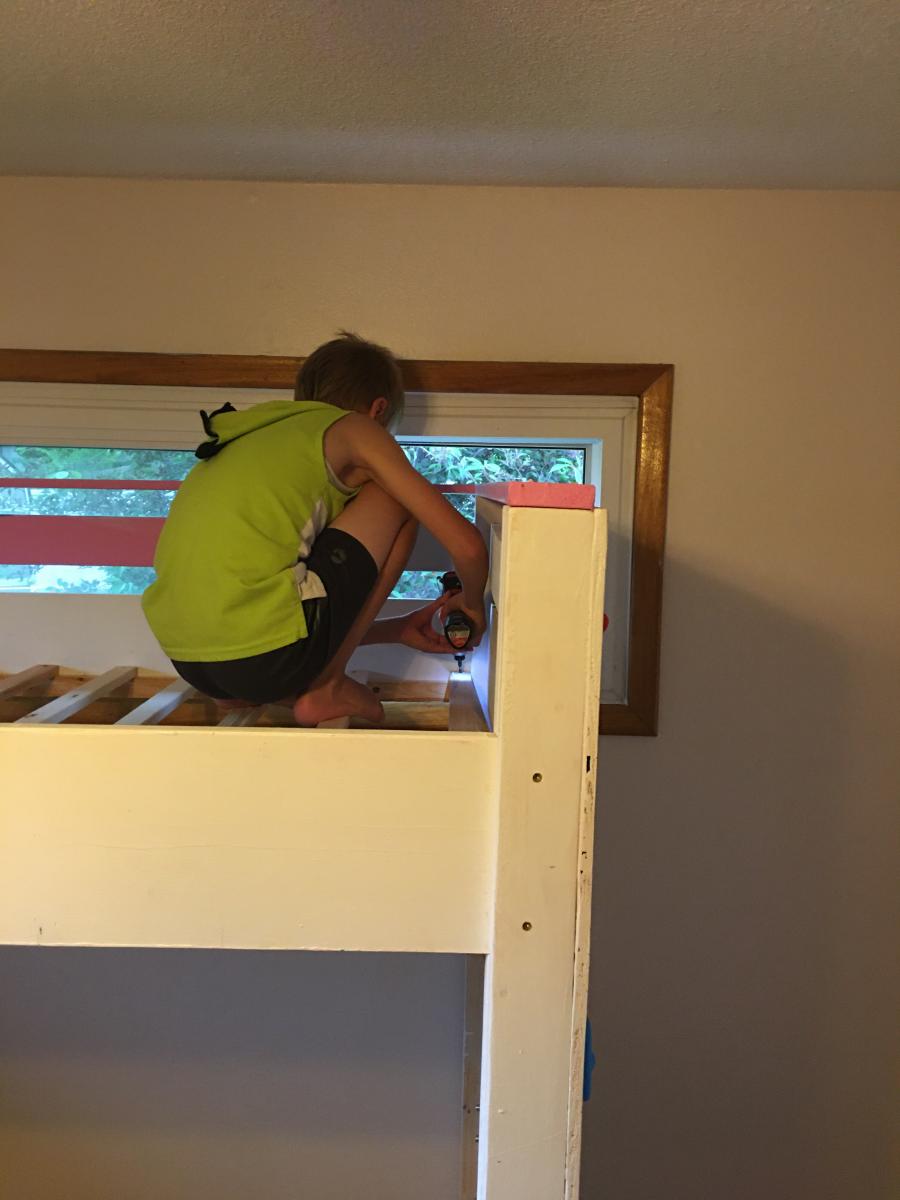
My 8 year old really wanted a loft bed. We were homeschooling and he was struggling with fractions so I decided to use carpentry to teach him fractions. He was hands on in every aspect of this project and did 80% of the work. I’m very proud of him!

Comments

Vintage Step Stool

Submitted by alifrancis on Thu, 03/17/2011 - 15:54

I LOVE this stool!  I love the style, the function and how easy it was.  I  made this in just an hour while the kids were out front riding their bikes.  The best part was it was a gift for my dear friend for her nursery.  

I already have two more rooms in my house that are in need of this stool, so a few more are in my future. 

Built from Plan(s)
Estimated Cost
$10-15
Estimated Time Investment
An Hour or Two (0-2 Hours)
Finish Used
Primed it with the Kilz oderless spray primer. Painted it with two coats of Ocean Breeze Spray paint. Sanded and distressed the edges of the stool. Finished it off with two coats of a spray on poly in a satin finish.
Recommended Skill Level
Beginner

We did it! Our first every project!

Submitted by parwald on Sun, 05/03/2015 - 10:58

We are in desperate need of toy storage in our playroom. We are planning to build several more of these bulk bins.

Built from Plan(s)
Estimated Time Investment
Day Project (6-9 Hours)
Recommended Skill Level
Beginner

Comments

kcasabella

Sat, 04/09/2016 - 21:03

They turned out beautiful! What type of wood did you use, if you remember, and did you paint before assembling?

parwald

Sun, 11/20/2016 - 10:39

It was just standard pine. We painted afterwards with grey paint leftover from a kitchen project.