Big Kid Picnic Table
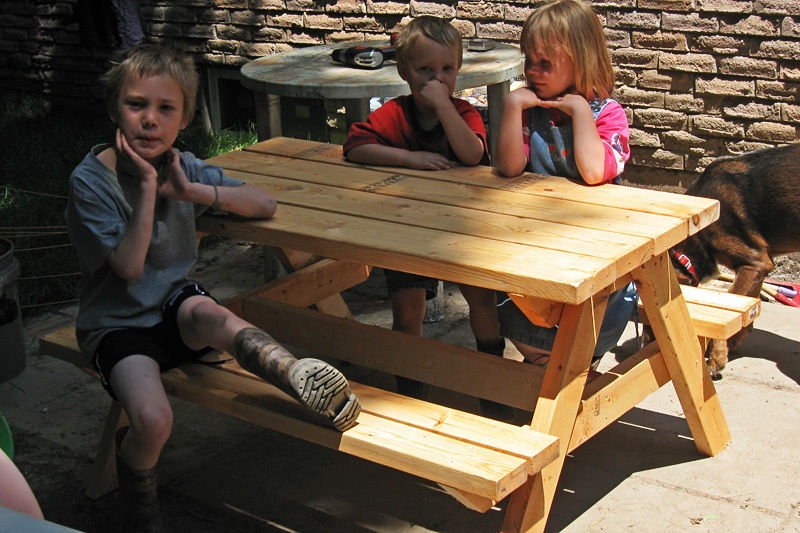
After I saw the bigger kid picnic table, I knew I HAD to make this ! I did change the measurements slightly, but I don't recall how now (I made this a year ago).

After I saw the bigger kid picnic table, I knew I HAD to make this ! I did change the measurements slightly, but I don't recall how now (I made this a year ago).
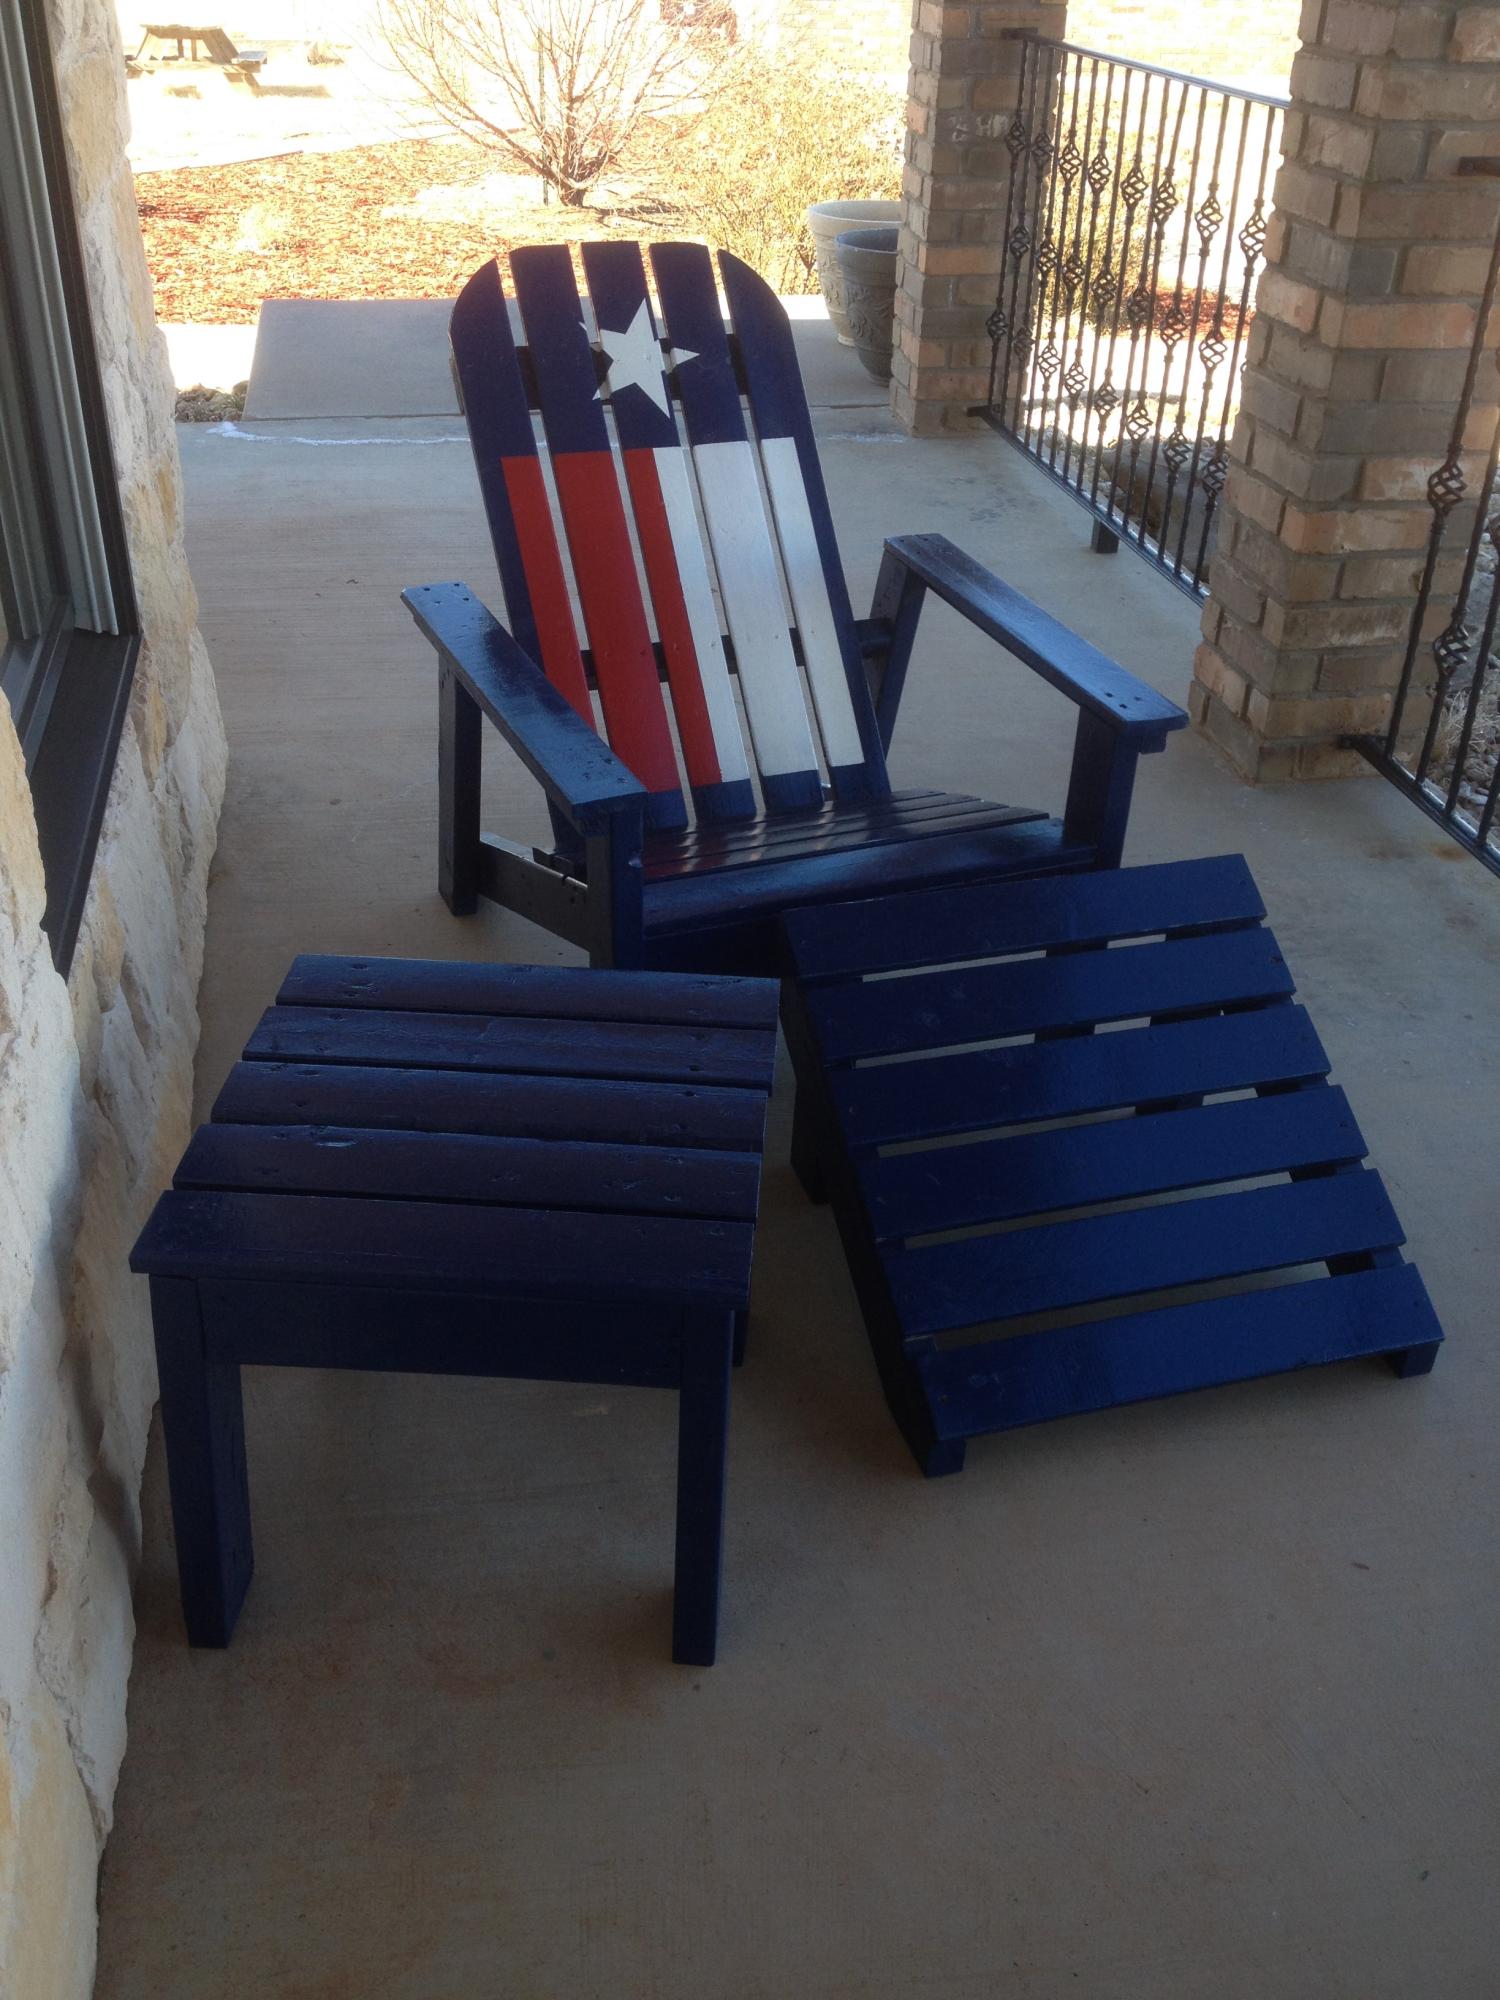
With a little project oversight, my son built and painted this chair which went on to win 1st place in his division at the local 4-H show!
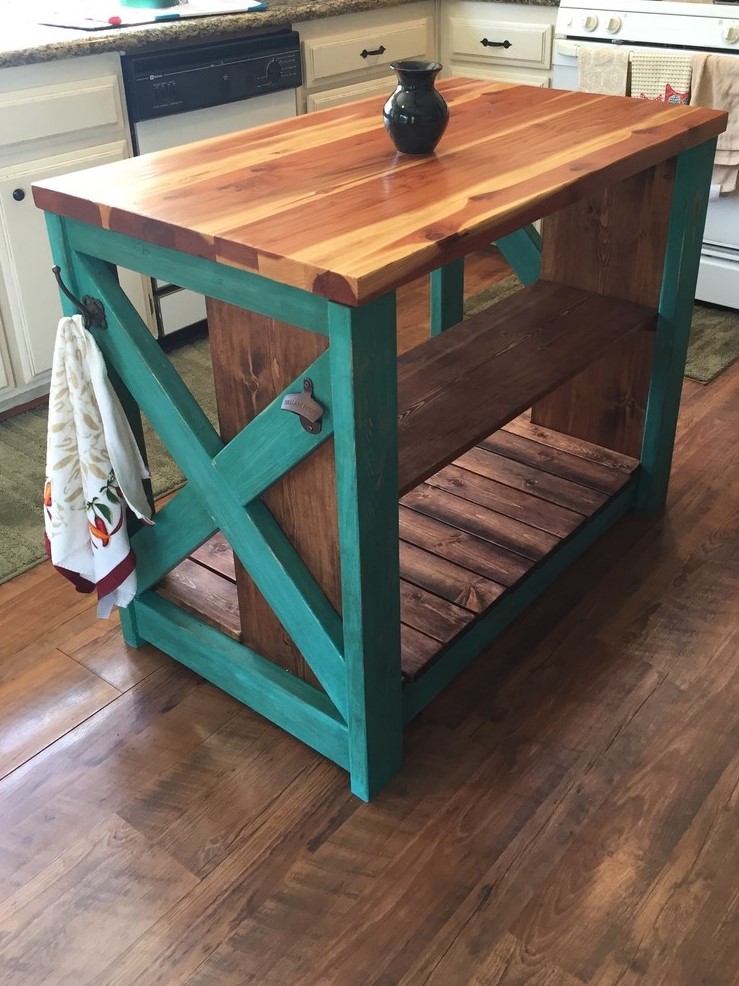
I saw the plans for this project and decided I wanted to do something of the sort. I tweaked the plans a bit and made it longer and took out the drawer. My favorite part about it is Annie sloans chalk paint. Look into it, it's great stuff.
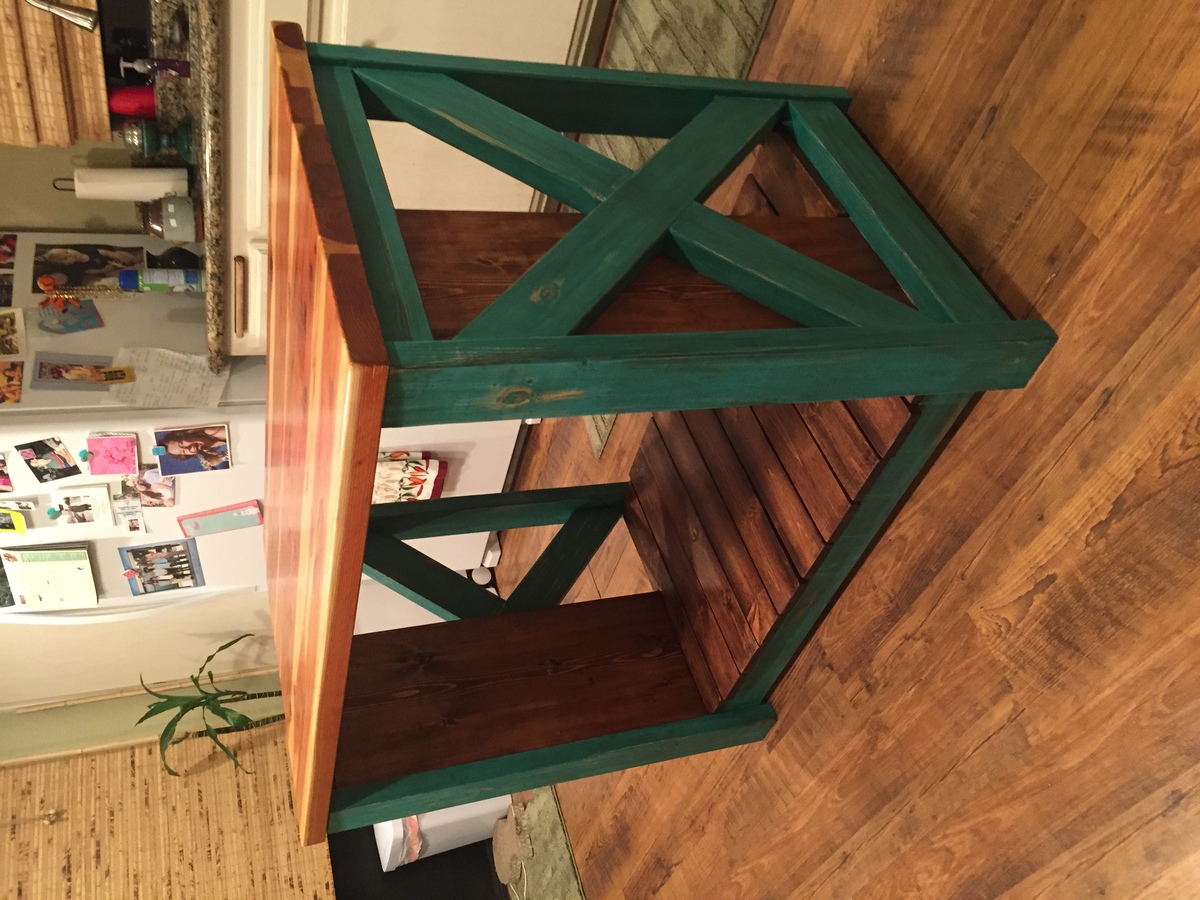

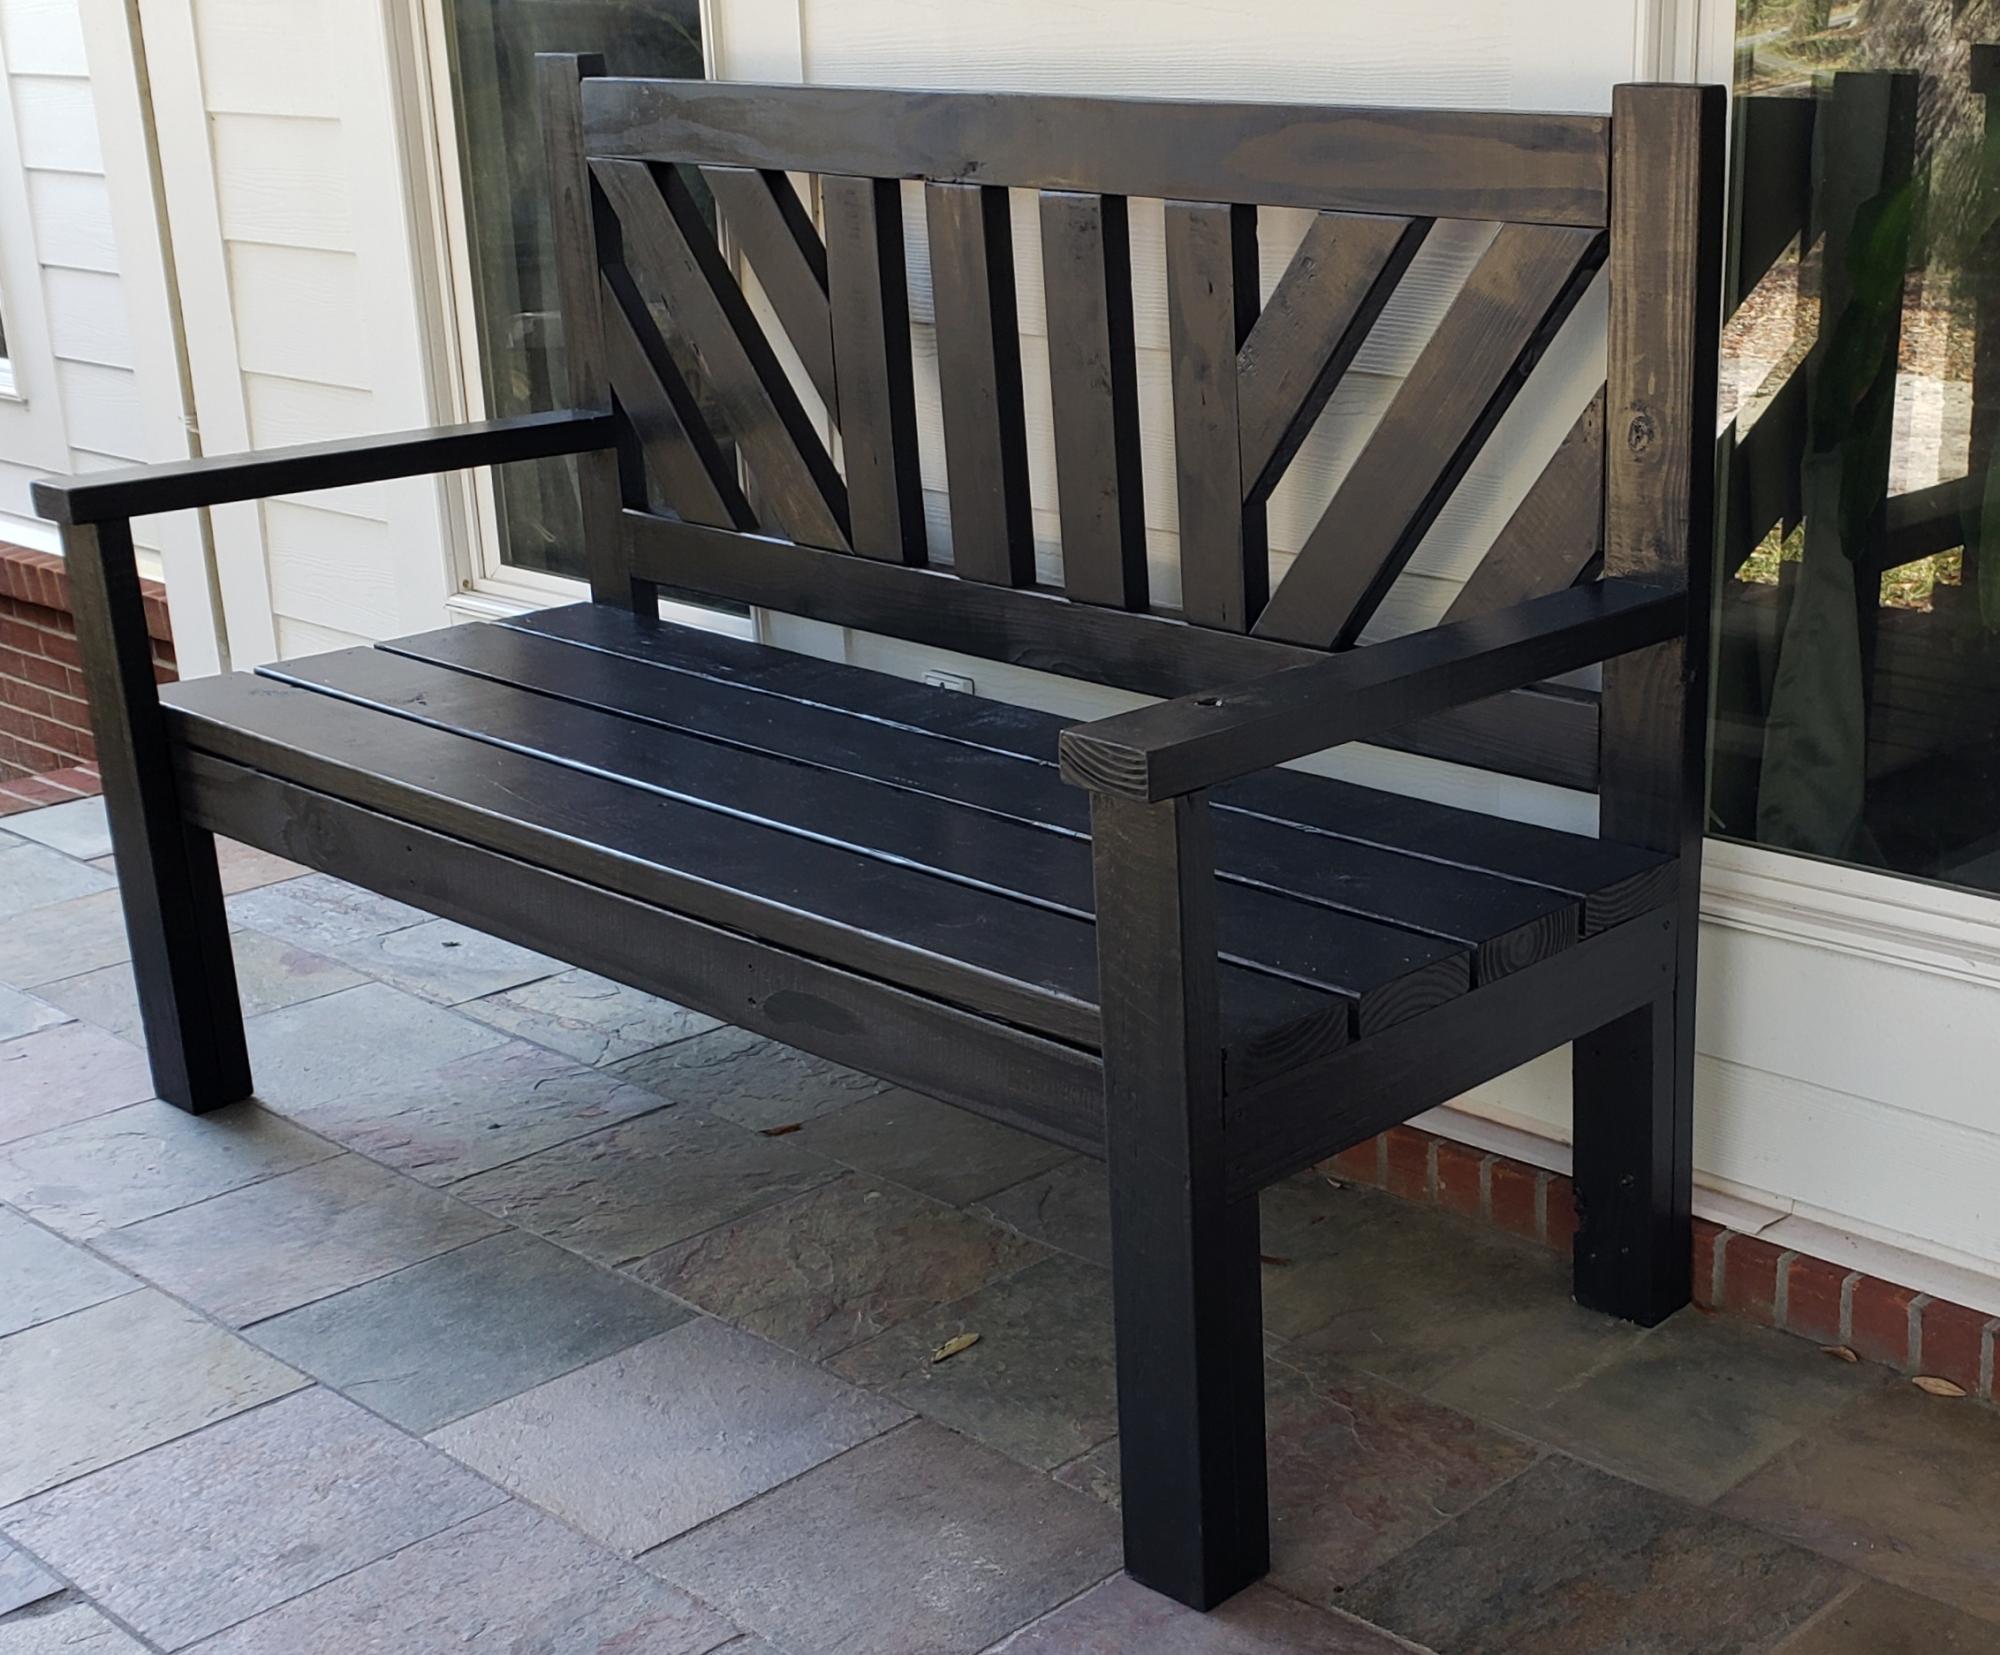
I used untreated pine for this project and painted with benjamin moore exterior paint.
I modified the back a little and I love how it turned out. I also added an extra brace against the back of each leg that fits under the seat for more support.
Very easy to build. I love the plan.
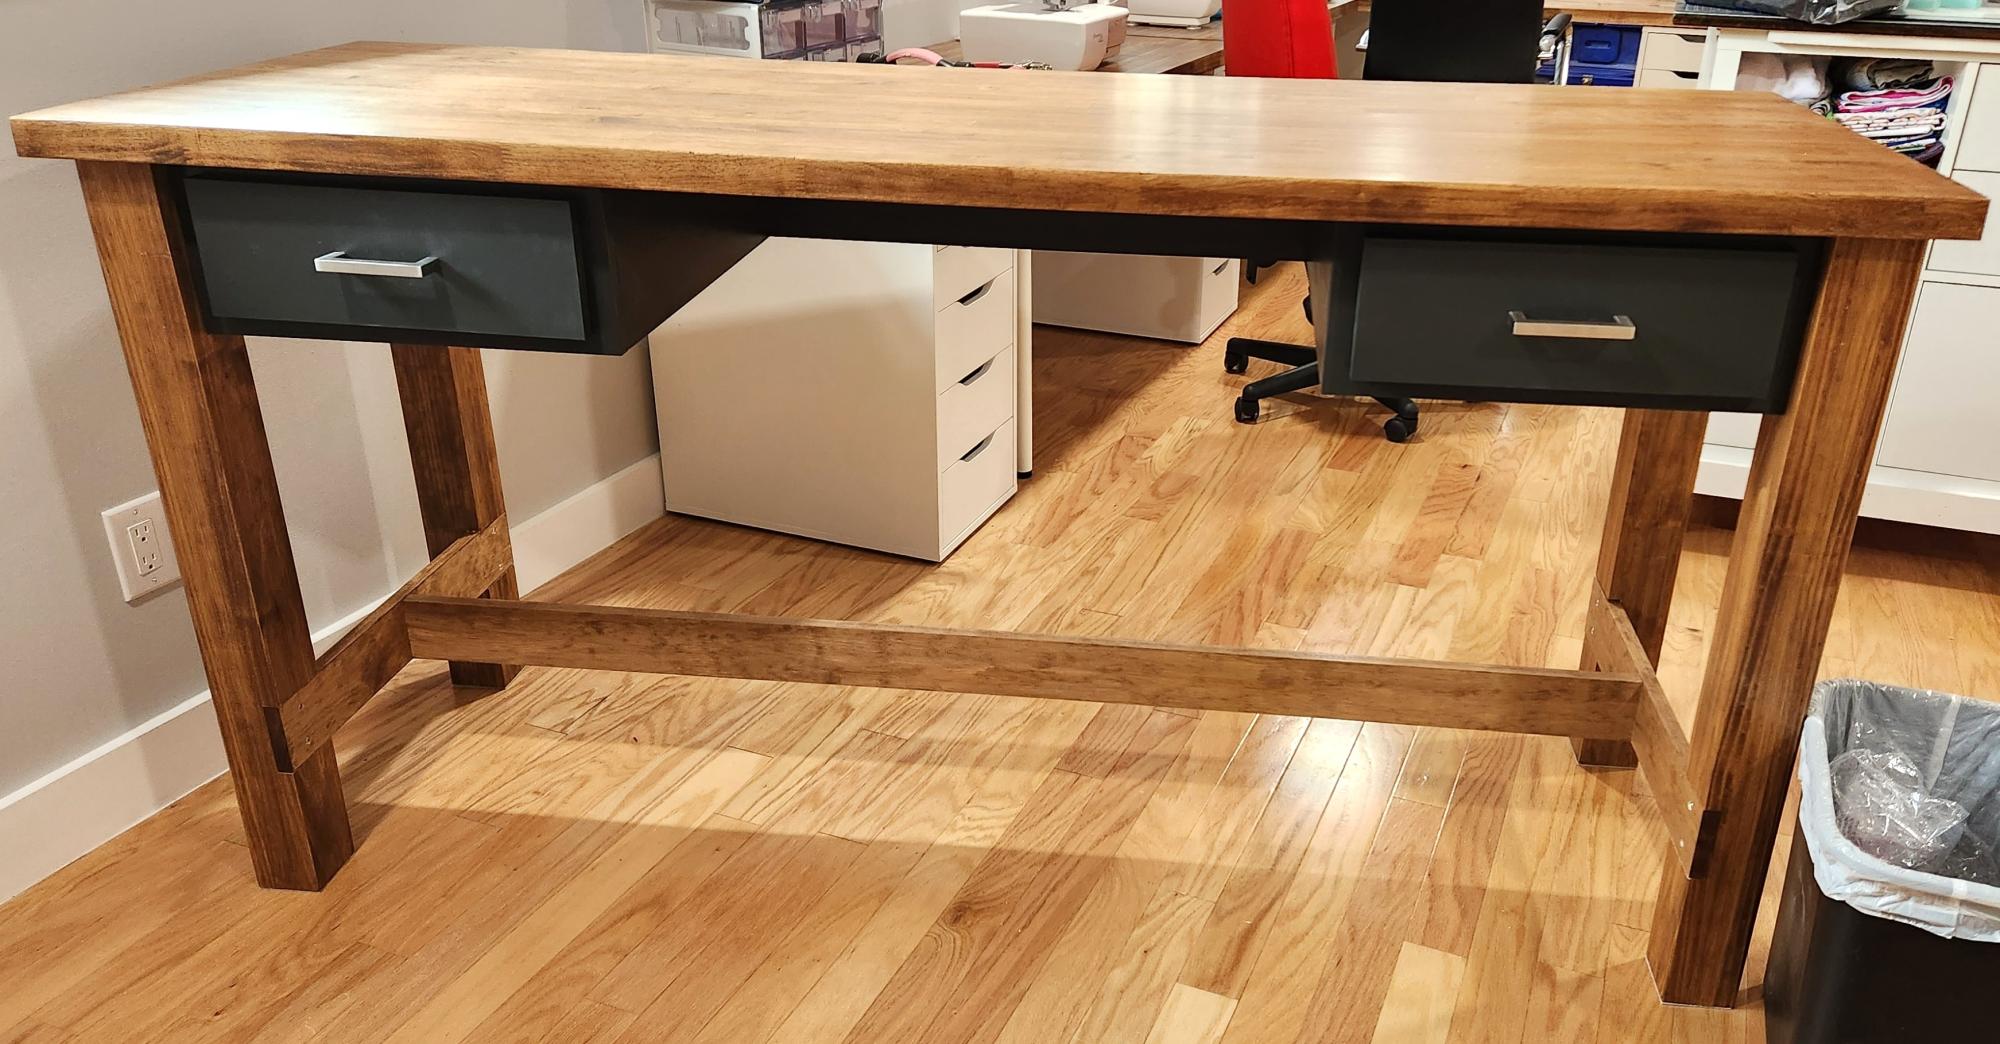
We modified the size slightly and separated the drawers so I can sit or stand at it in my art studio.
Suzanne E
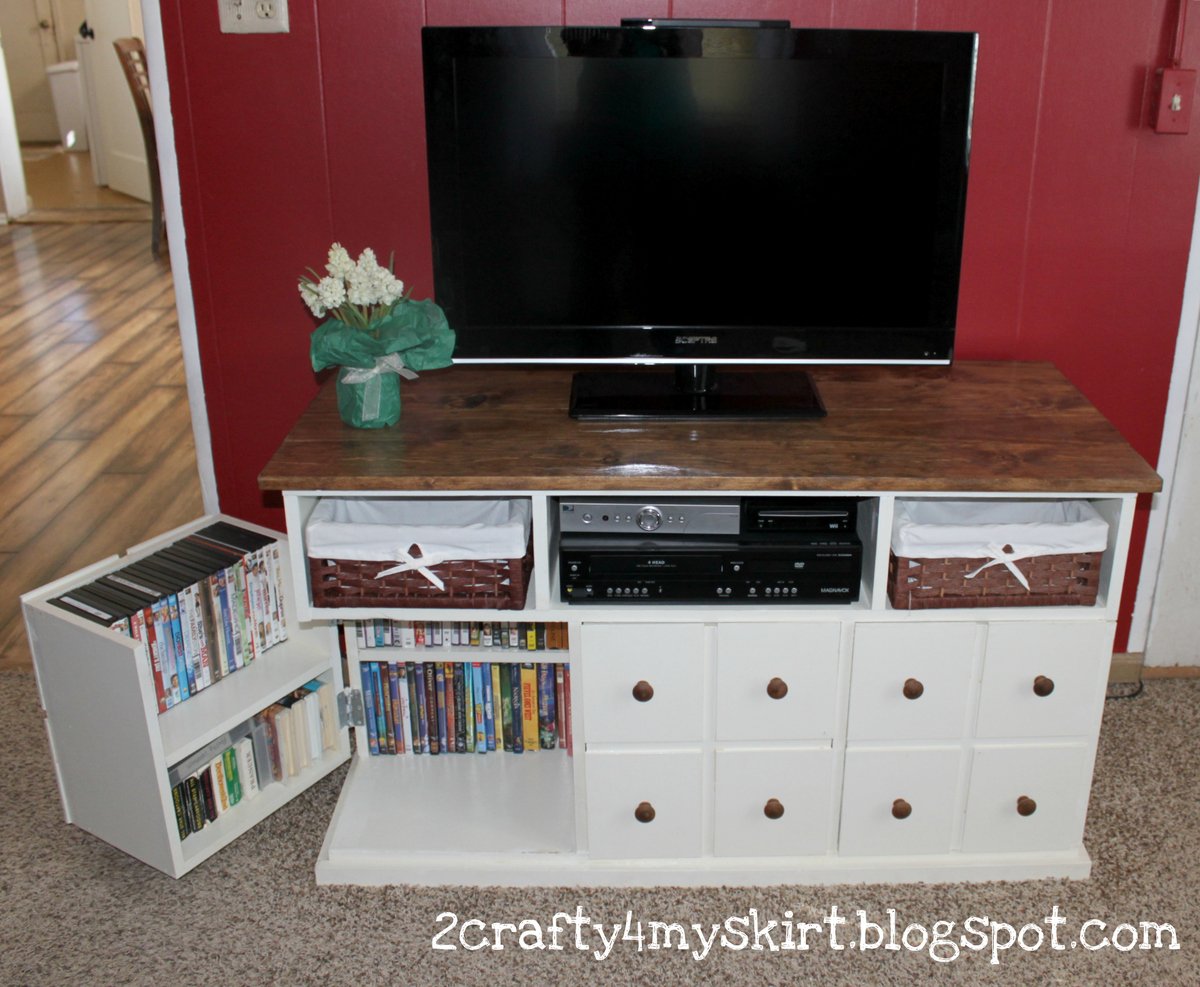
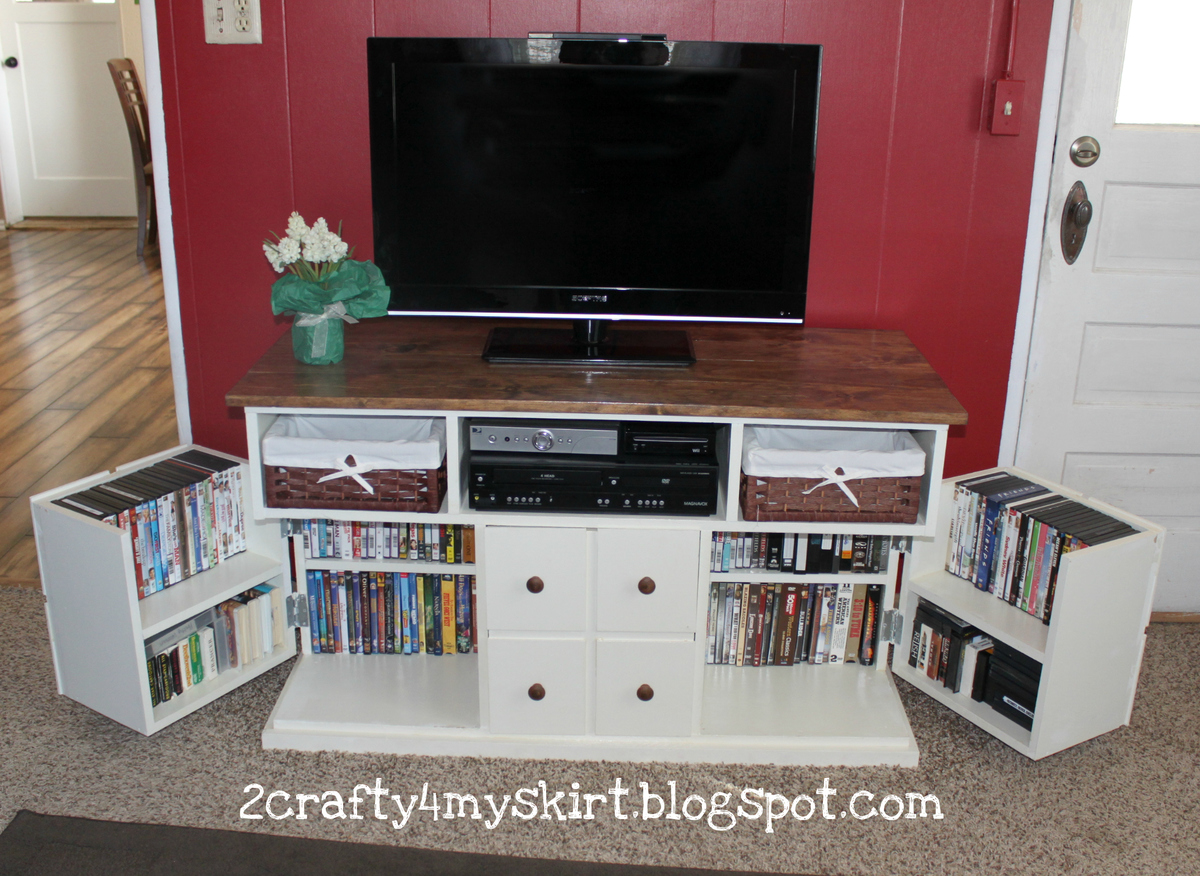
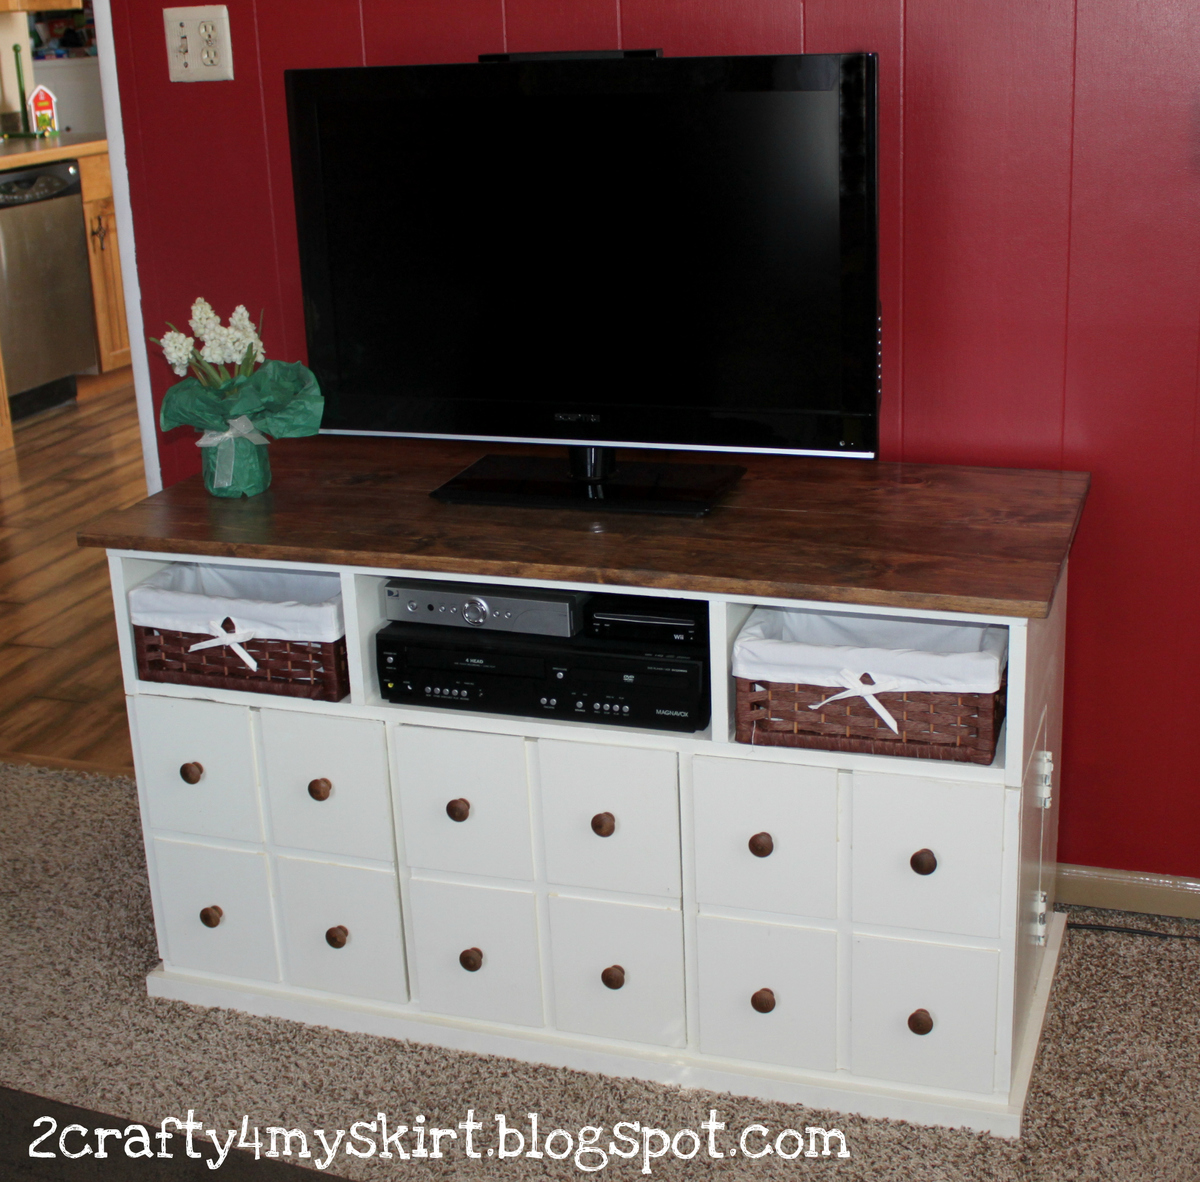
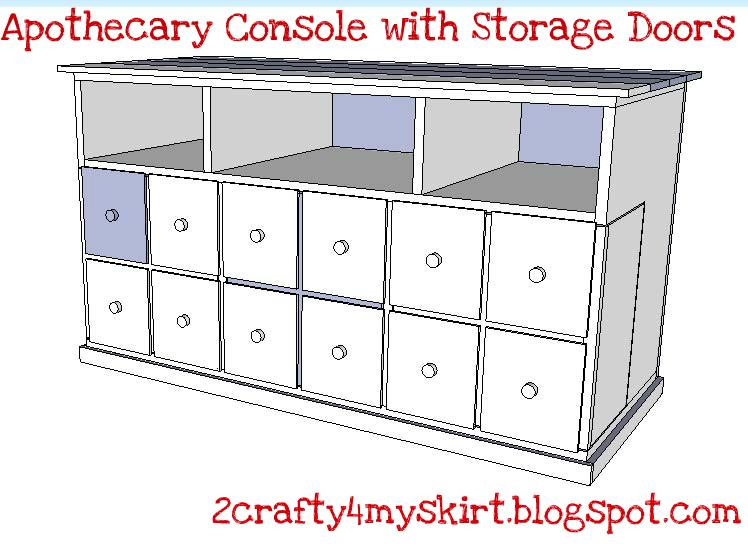
This console features the style of the Apothecary Console and the functionality of the Console with DVD Storage Doors. I drew my own my plans by combining Ana's plans for the Apothecary Console and the Console with DVD Storage Doors. You can view my plans by visiting my blog at www.2crafty4myskirt.blogspot.com or by clicking the plan link below.
Sat, 03/17/2012 - 19:50
That's a really awesome cabinet. I love the look of the apothecary, and wouldn't have thought to design the doors like that for the added storage.
Sun, 03/18/2012 - 02:30
Really like this build. Just wanted to let you know there are a couple of mixed up letters in your blog address at the very beginning of the post...so it sends you to a different site.
Adore the cabinet! Thanks for sharing.
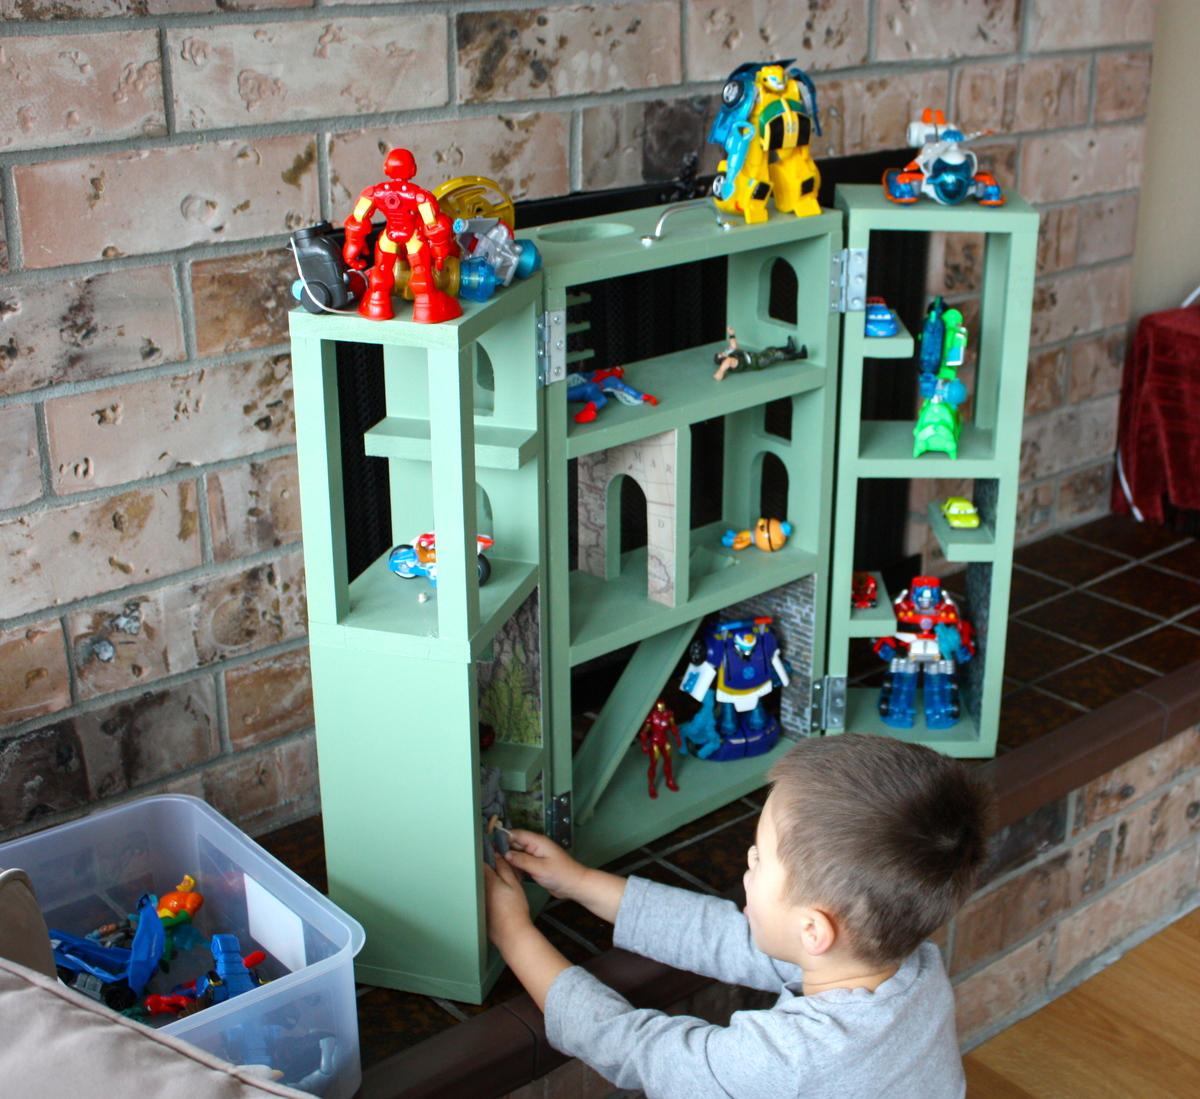
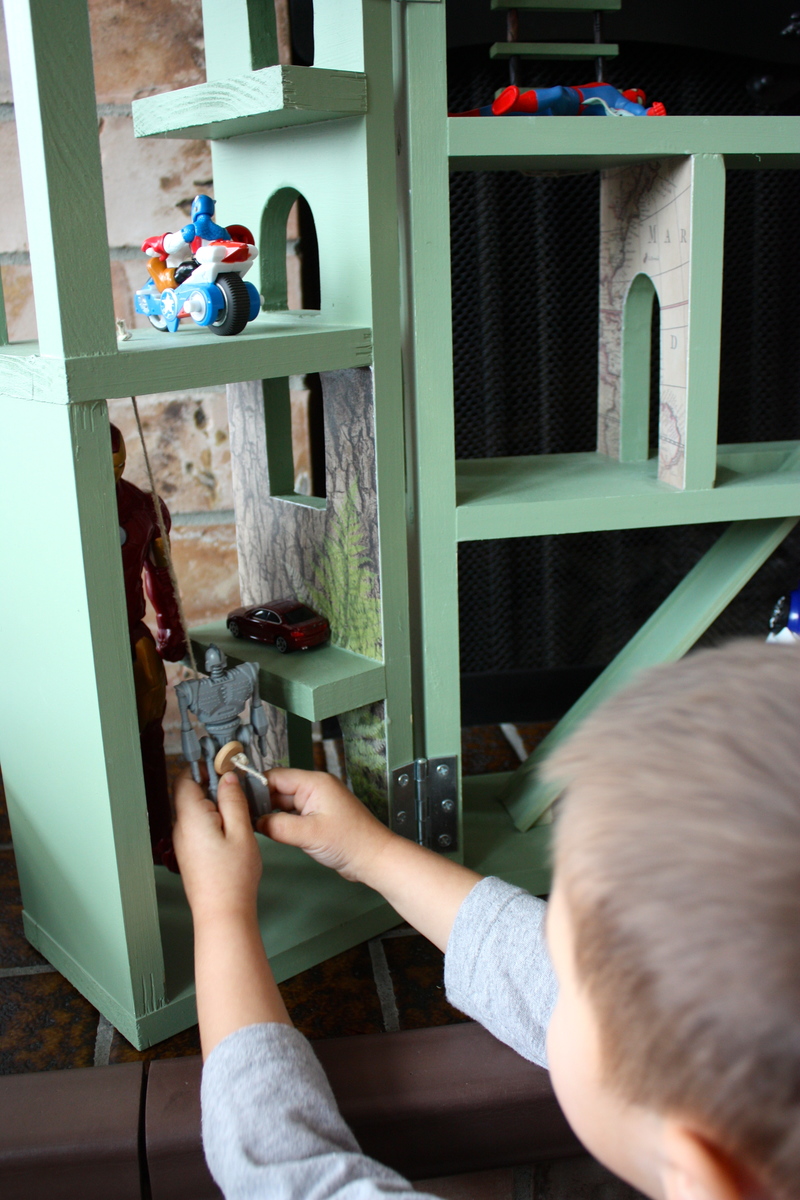
When my 4 year old son perused the toy catalogs that came in the mail prior to X-mas, one thing was certain - he loved all the towers and buildings being advertised for action figures. However, I refused to buy one more plastic piece of junk that inevitably breaks after a couple of uses. When I found these plans, I knew they were perfect! My husband and I worked on this together, he's much steadier with our jig saw. I fitted my drill press with a hole cutter for the tops of the arched doorways. We added a rope swing and green paint to the original design. I had trouble knotting the twine for the ladder at even intervals so I used some cylindrical wooden beads I found from an old necklace to use as spacers. It doesn't close up as tightly as we'd like, but we can still get the clasp closed. I decoupaged some of the inner walls with scrapbook paper for fun scenes: maps, brick walls, pebbles, bark, and forest. It was a fun project for us and it's been fun watching him! He has played with this tower nearly every day since he opened it up X-mas morning!
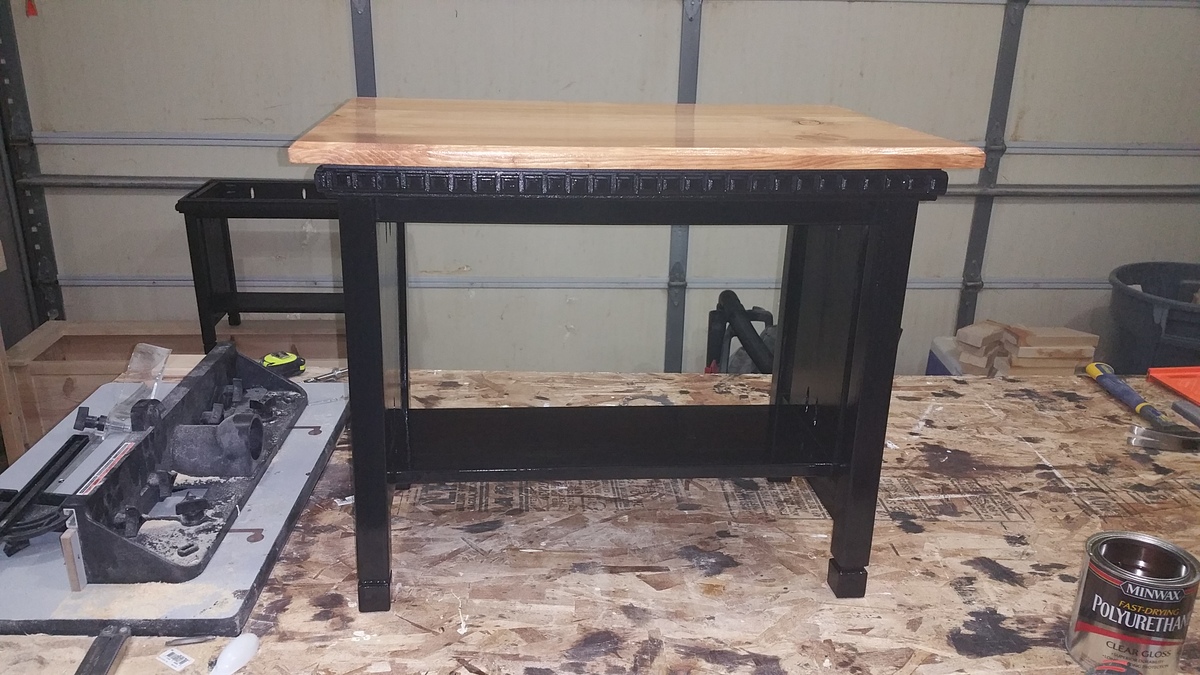
Handcrafted amish side table. Easy to do
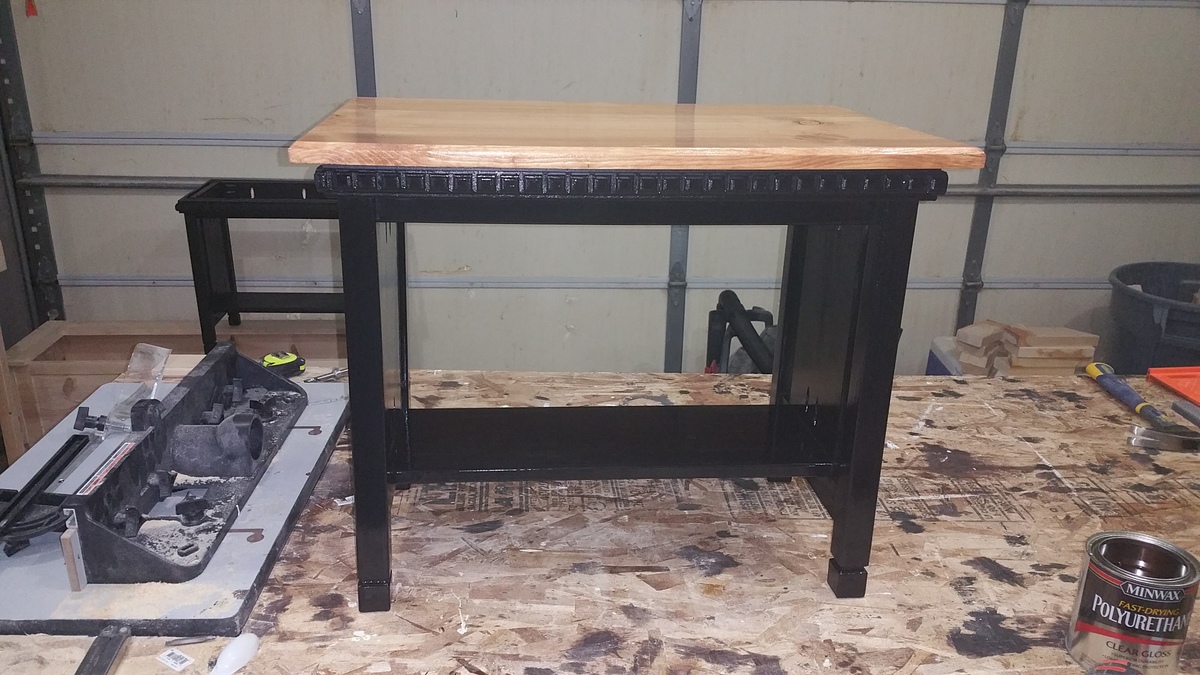
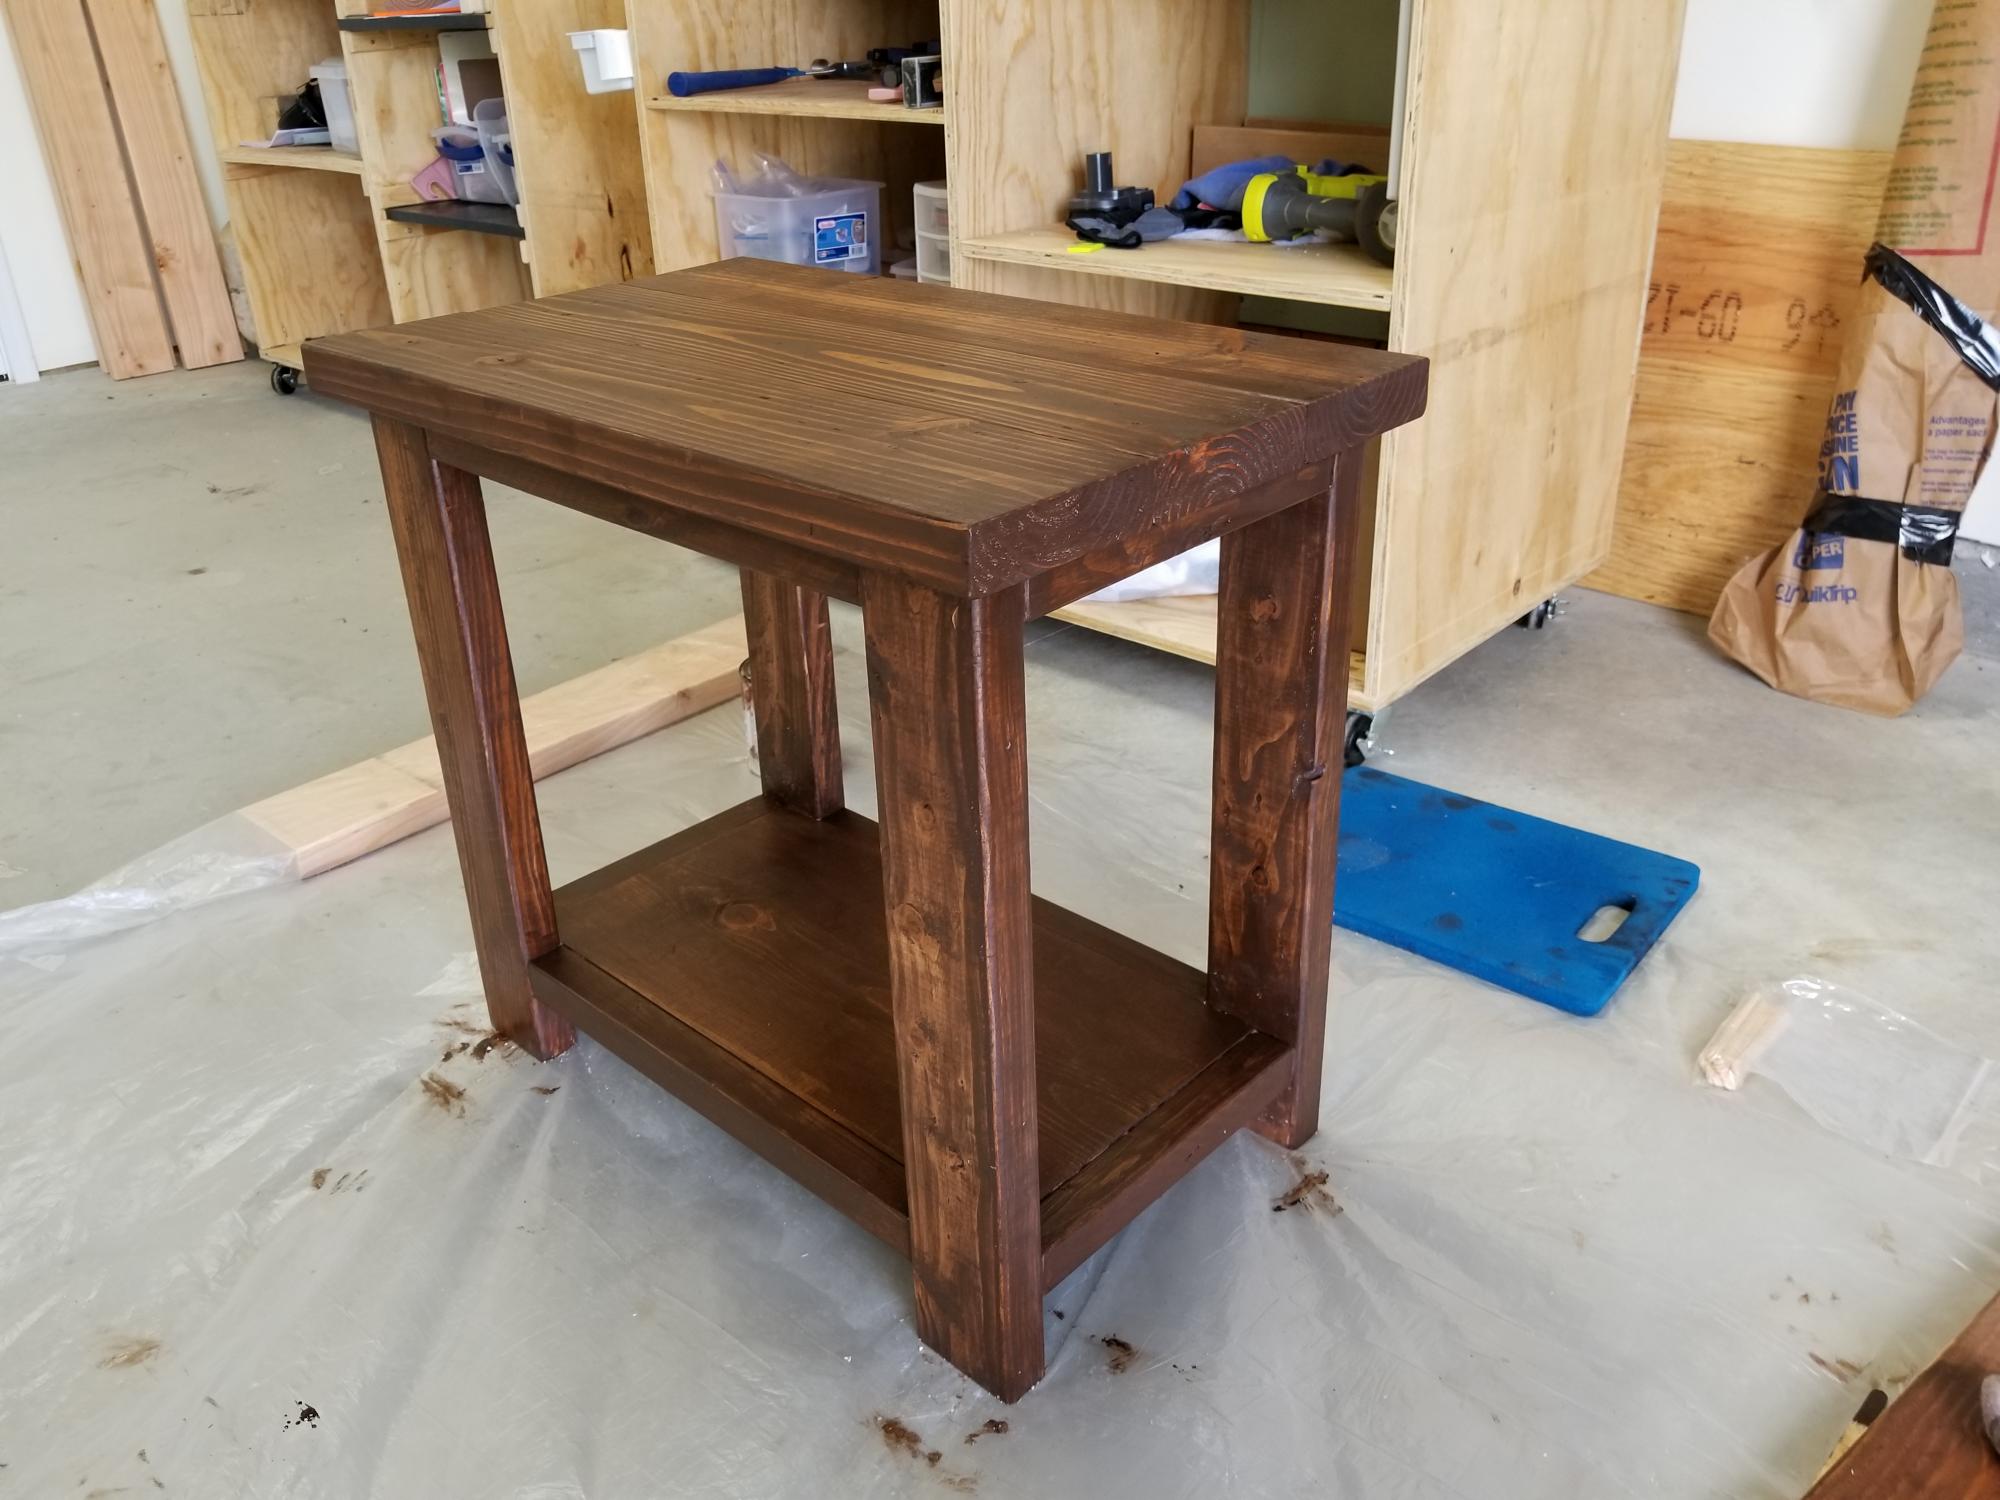
I built this for my son's first apartment to match the Rustic X Coffee Table I built. His living room is small so I needed to make a narrower version of the end table. Because of this, I decided to not build the "X". It turned out great! Thanks Ana!
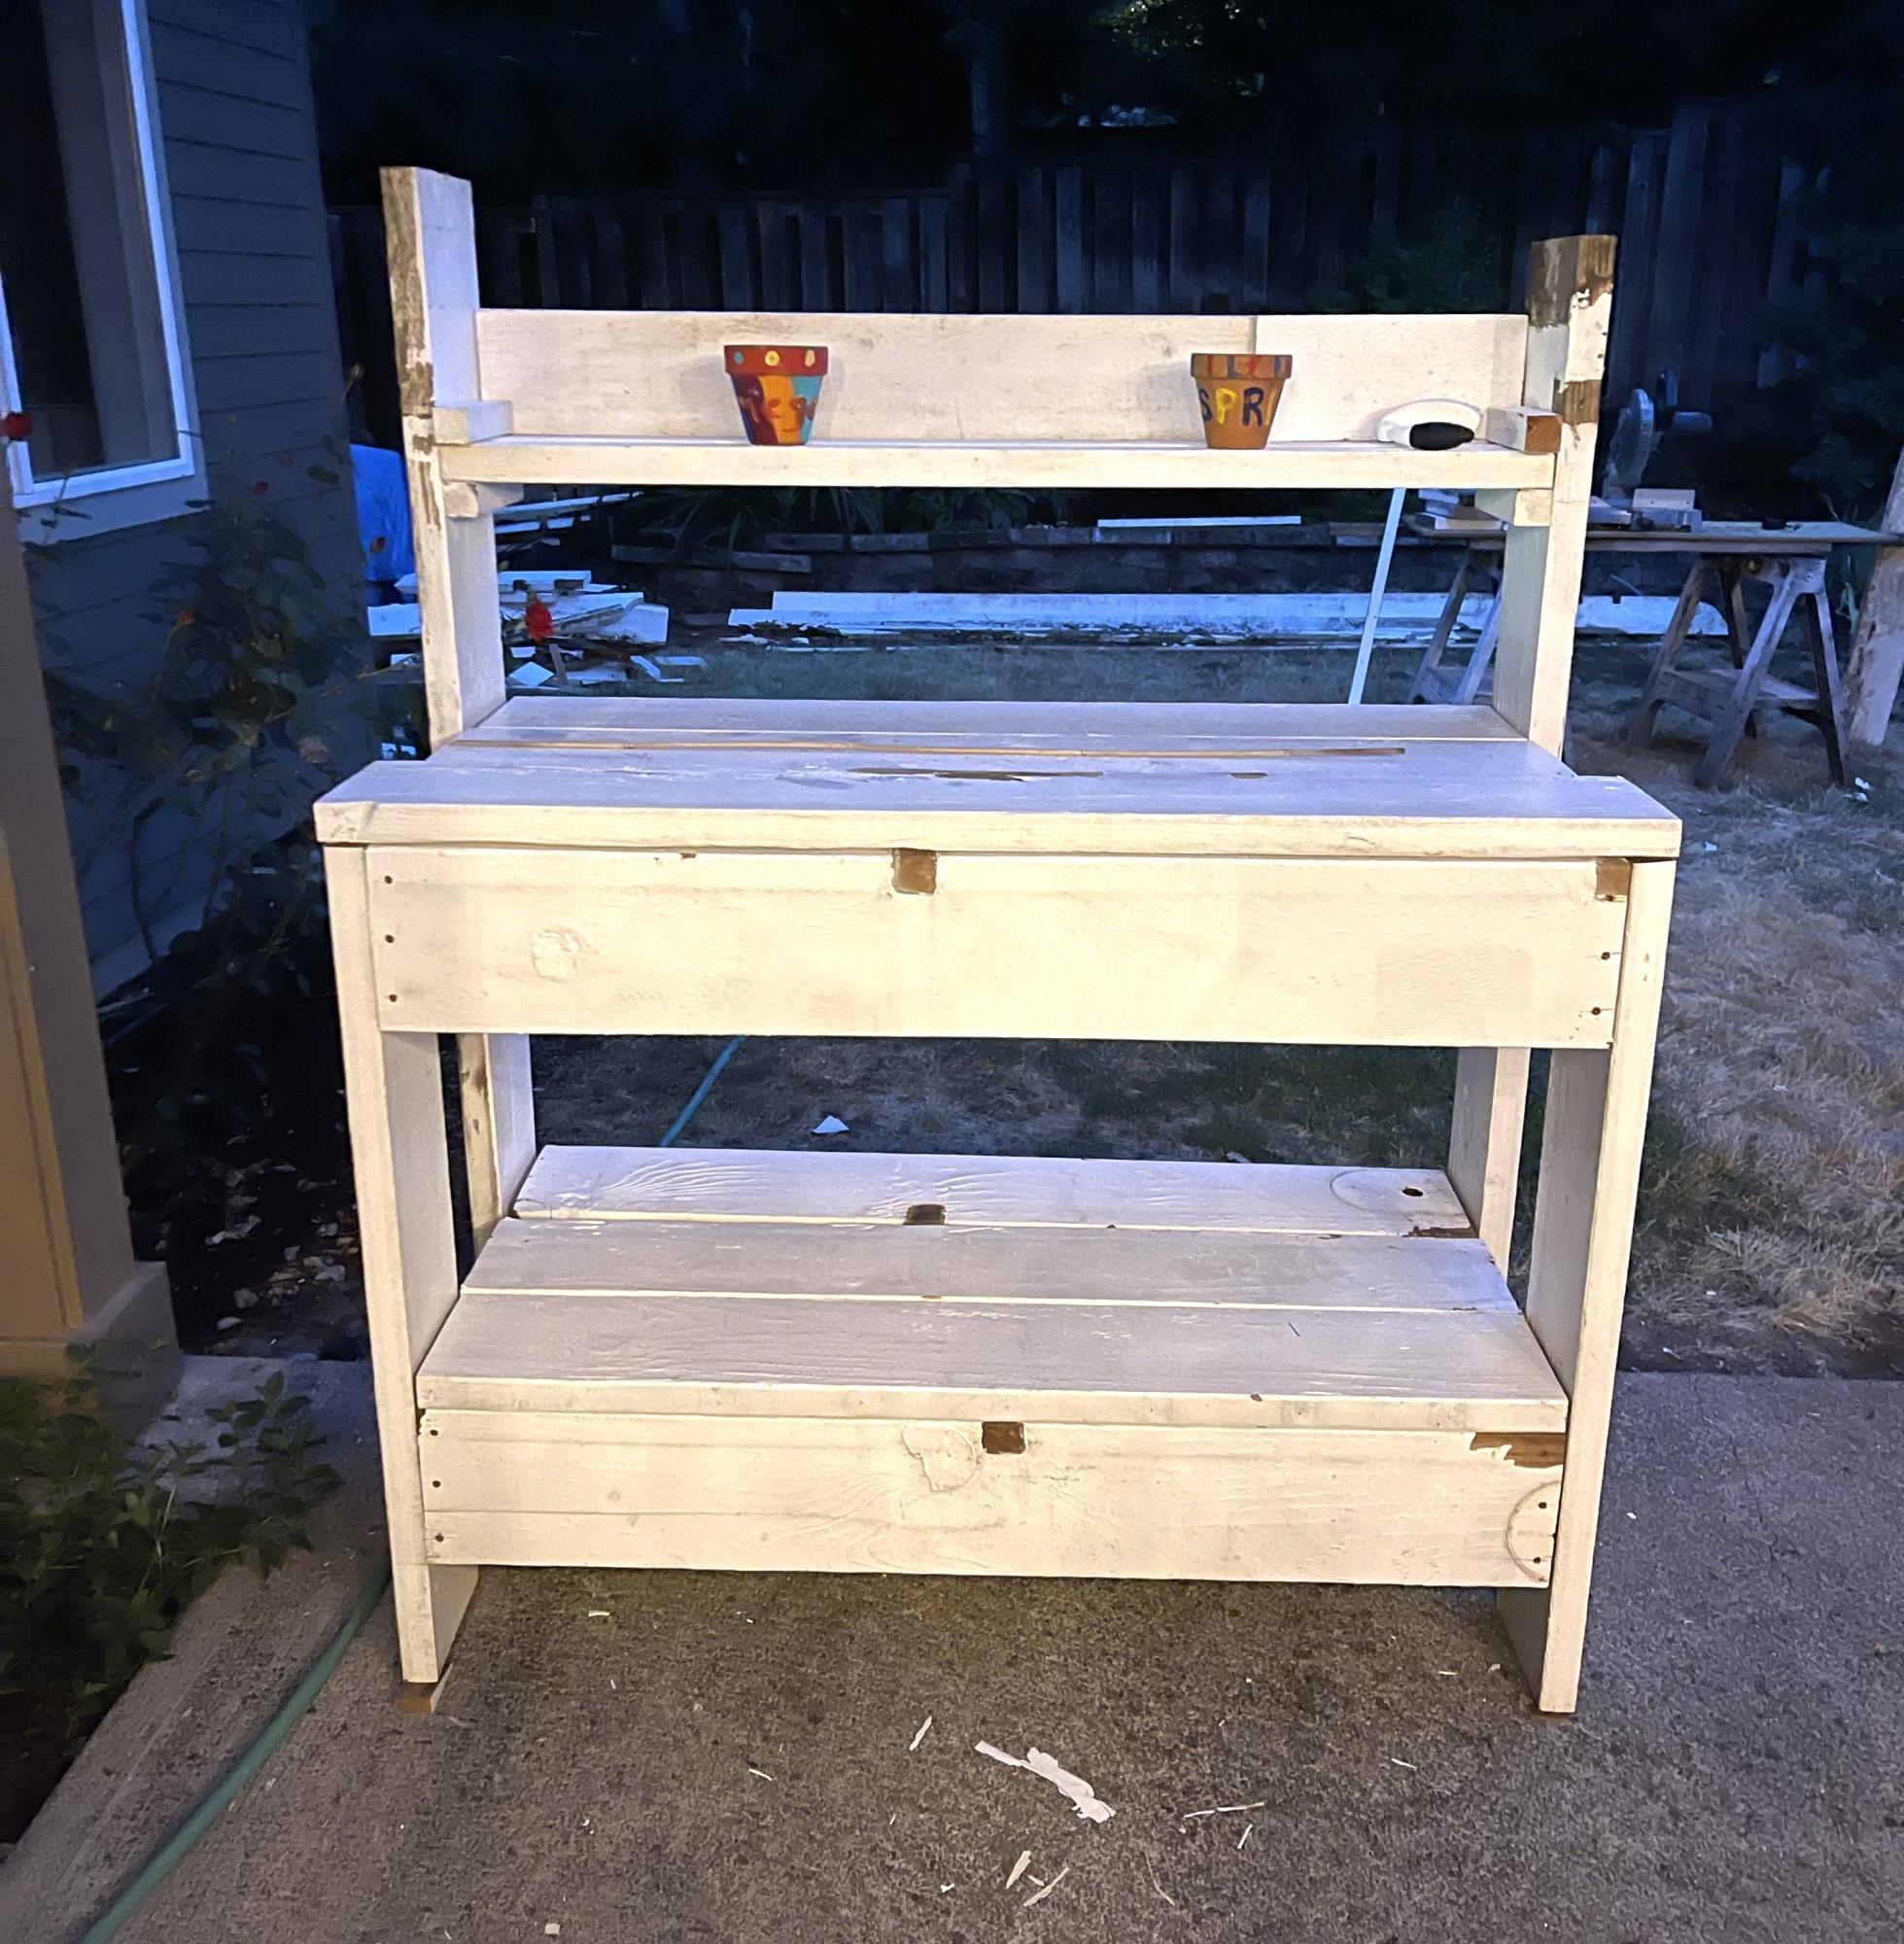
Loved your simple plan! I had 8x2 boards from our pergola we tore down and they worked great!! Thanks for sharing the plans.
Backyard Therapy
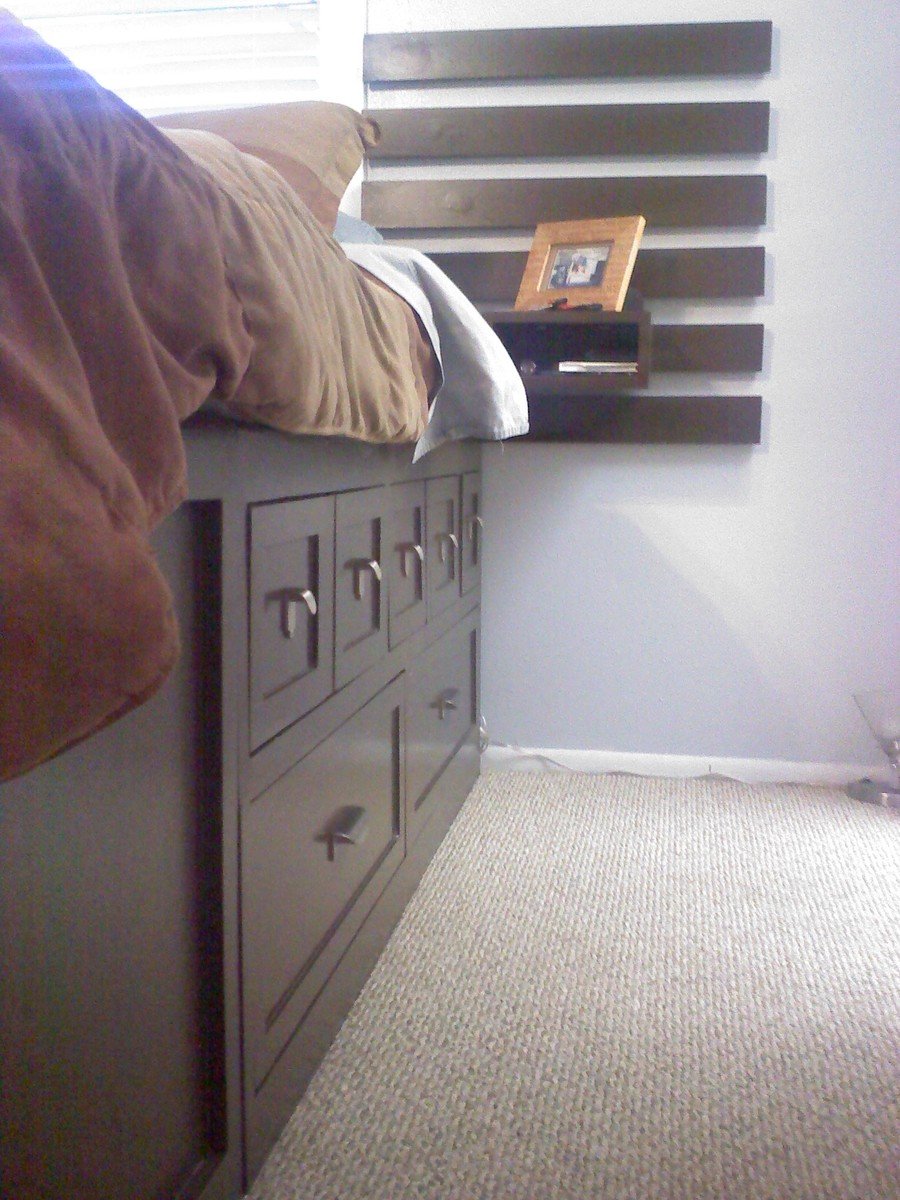
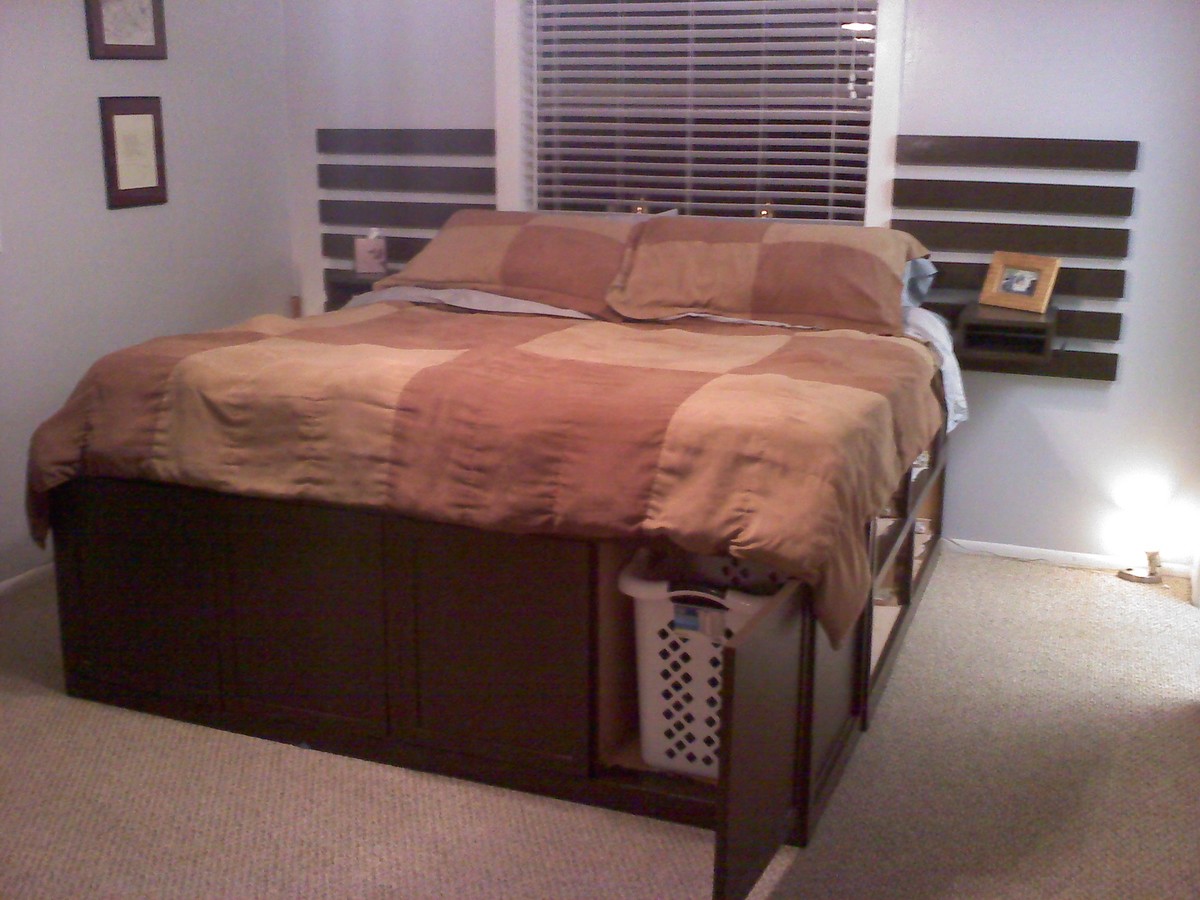
In an effort to gain some space in our home, I decided to build up. The Bed is tall (not a problem for us) but not too tall. The added heigh allowed for an extra 2 LARGE drawers on each side and an additional storage space we refer to as the "cubby." This last space has a pop open latch insted of a drawer due to the side table above them. The cabinets at the foot of the bed have the same pop open latch system and house 4 large laundry bins.
The bed feels incredibly solid and I've already had several compliments from friends. One of the best came from a rather neat and organized contractor friend of ours who's home decor is wonderful. He asked where I bought it. My response: Lowes , in a pile of lumber :)
The time it took to build this was months, due to only working a night or two a week after my toddler went to bed. It could easily be week project.
Mon, 03/19/2012 - 17:33
This is wonderful. You created practical beauty. Great job!
Wed, 03/21/2012 - 14:35
I did...
But today is my first chance to start playing with sketchup. I'll see if I can put those together for you. In the meantime. Here's some numbers to look at. Remember, the bed is TALL, but my wife and I are both around 6 feet.
Each side cabinet is 60 inches wide by 20.5 deep by 22.5 tall (to the platform itself). The entire bed is 77.25 wide at the base, with trim.
Mon, 09/07/2015 - 10:30
First of all......
Amazing work!!! This is exactly what I am looking for to make for my daughters BDay. She has a small bedroom. I have never been afraid to take on a new project. Saying that I will be having the lumber company cut all the pieces for me. It will house all her clothes/shoes and hamper.
Please tell me that you have the dimensions for this platfrom bed.
Sat, 04/30/2016 - 22:05
Great job. Do you have the measurements for this bed. If so can you email them to me, [email protected]. Thanks
Wed, 04/18/2012 - 10:36
Thanks HK
Having the laundry hampers on all sides is quite doable. Email me if you want [email protected] and let me know what types of hampers you are thinking...how many... do you need doors... how tall...what materials you want to use and what size bed. I can help you with the design/modification.
Thu, 06/28/2012 - 14:05
I love the modifications you have made! I want my husband to make me this same bed that you have done. With our 3rd baby arriving in 2 months I really need the space that our clothes are currently occupying. Have you been able to make up plans for this bed? If not, do you have a list of measurements and supplies needed to make this?
Mon, 07/16/2012 - 21:12
Hey BJ,
This is the other BJ (or as Greta would term it, "chick BJ")! I was looking at this site, and saw a picture of the bed you made, with the caption "BJ D made this." So I clicked on it, and it showed a picture of you, and I was like, "Hey, I know that guy! That's the guy that married my best friend! And that's their daughter! Wow, small world!"
Anyway, I was thoroughly amused, and also, I really like the modifications you made on the bed. I'm totally stealing some of your ideas when we make our new bed frame!
-BJ
Fri, 04/18/2014 - 15:18
Hi, I emailed you, but just in case you don't still have that email or it doesn't go through to you. Did you ever make plans for your modifications? If so, I would love to see them. My email is [email protected]
Thank you!
Our second project after successfully creating the X coffee table. I used 1 x 4's both for the back and the door that I added.
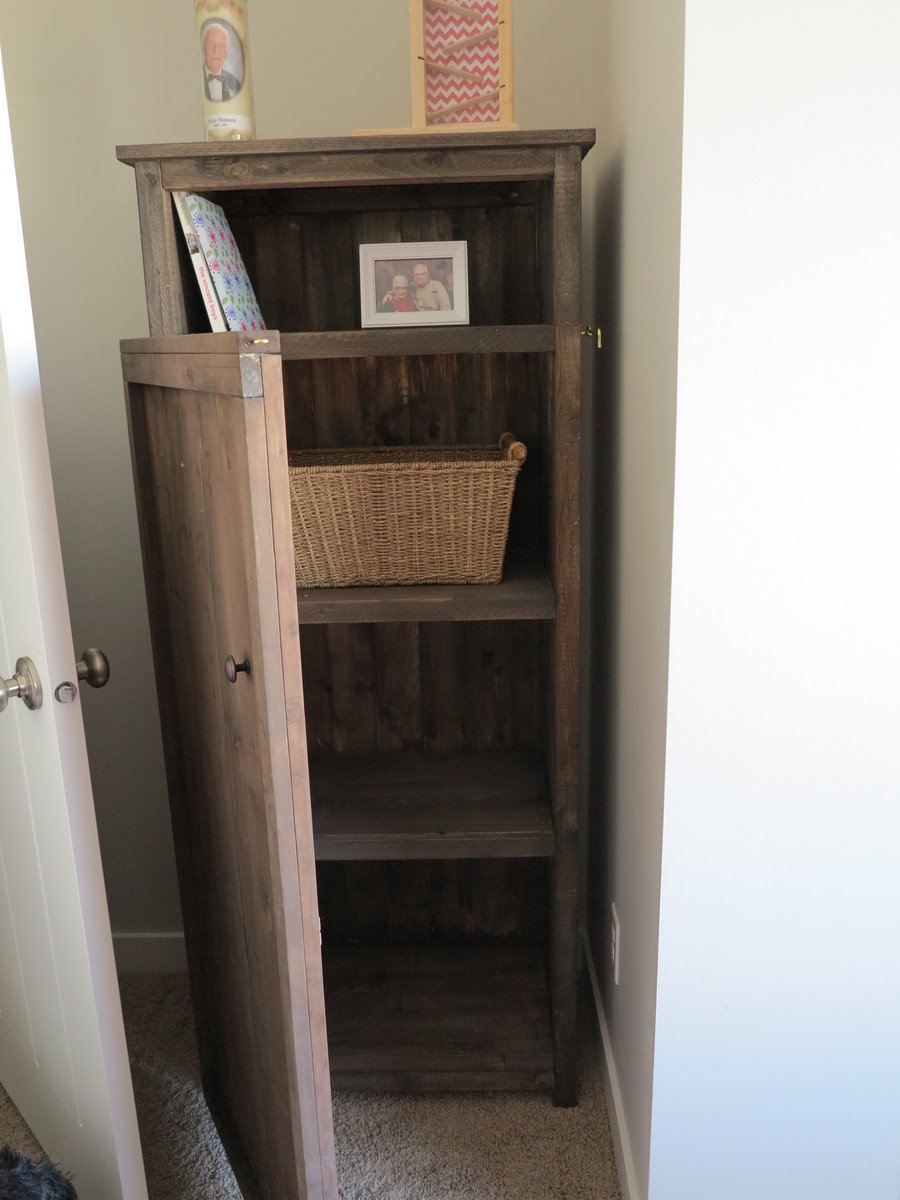
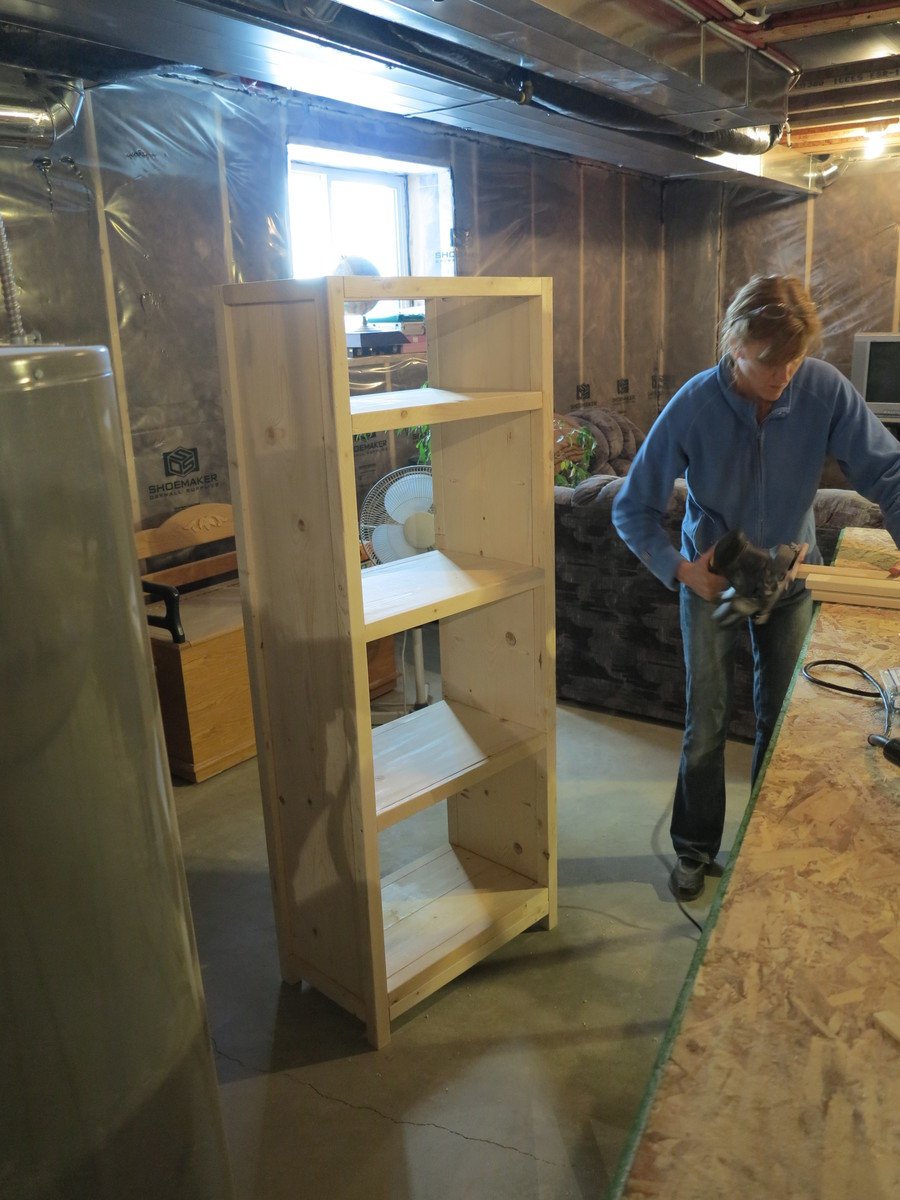
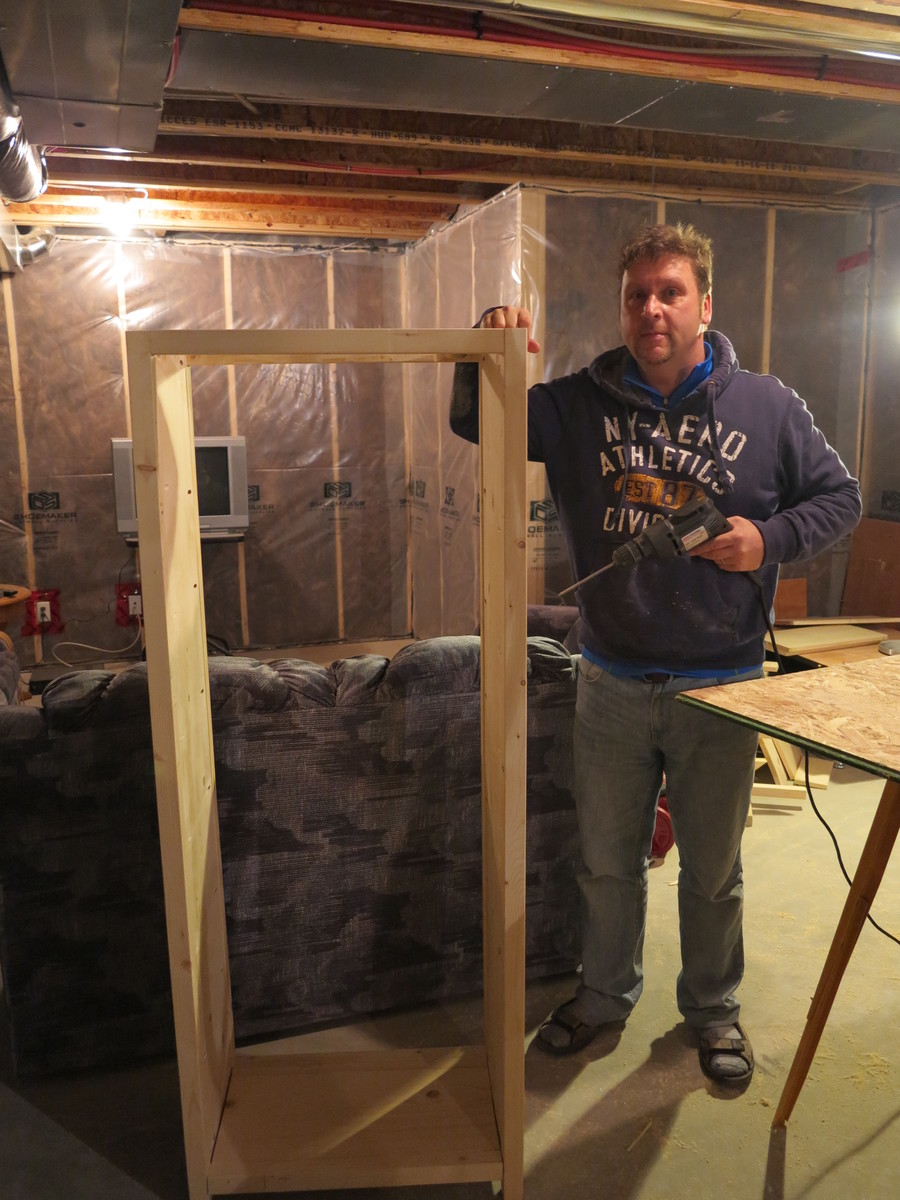
I used the plans here and the hardware plans that are linked in the comments (with the 1-1/2 inch pulleys). In retrospect, it wasn't that hard, although I built it up to be so since I was doing so many things for the first time, including cutting and drilling metal. With the right blades and drill bits, it was a breeze. This took me a few months to actually finish, but if I were to do it again start to finish, I'd say one person could do it in 3-4 days. I got the reclaimed barnwood from a local salvage place. I used the tea/steel wool/vinegar stain for the top and regular paint for the body. Total cost was somewhere in the low $200's. I absolutely love it and am so grateful that a site like this exists! Thank you!!
Sat, 04/02/2016 - 16:02
You did an amazing job! It looks beautiful! Also love the dog wall!!! :))) Can you email me the instructions on how to make the hardware at [email protected] or post them?
Mon, 04/04/2016 - 07:12
Thank you! I followed the instructions found here:
http://thatsmyletter.blogspot.com/2014/10/s-is-for-sliding-door-console.html
I used a sawzall with a blade for metal to cut those pieces. I also found pulleys that had a removable pin that released the wheel, so I didn't have to cut those apart. Overall, the process was not terribly painful :)
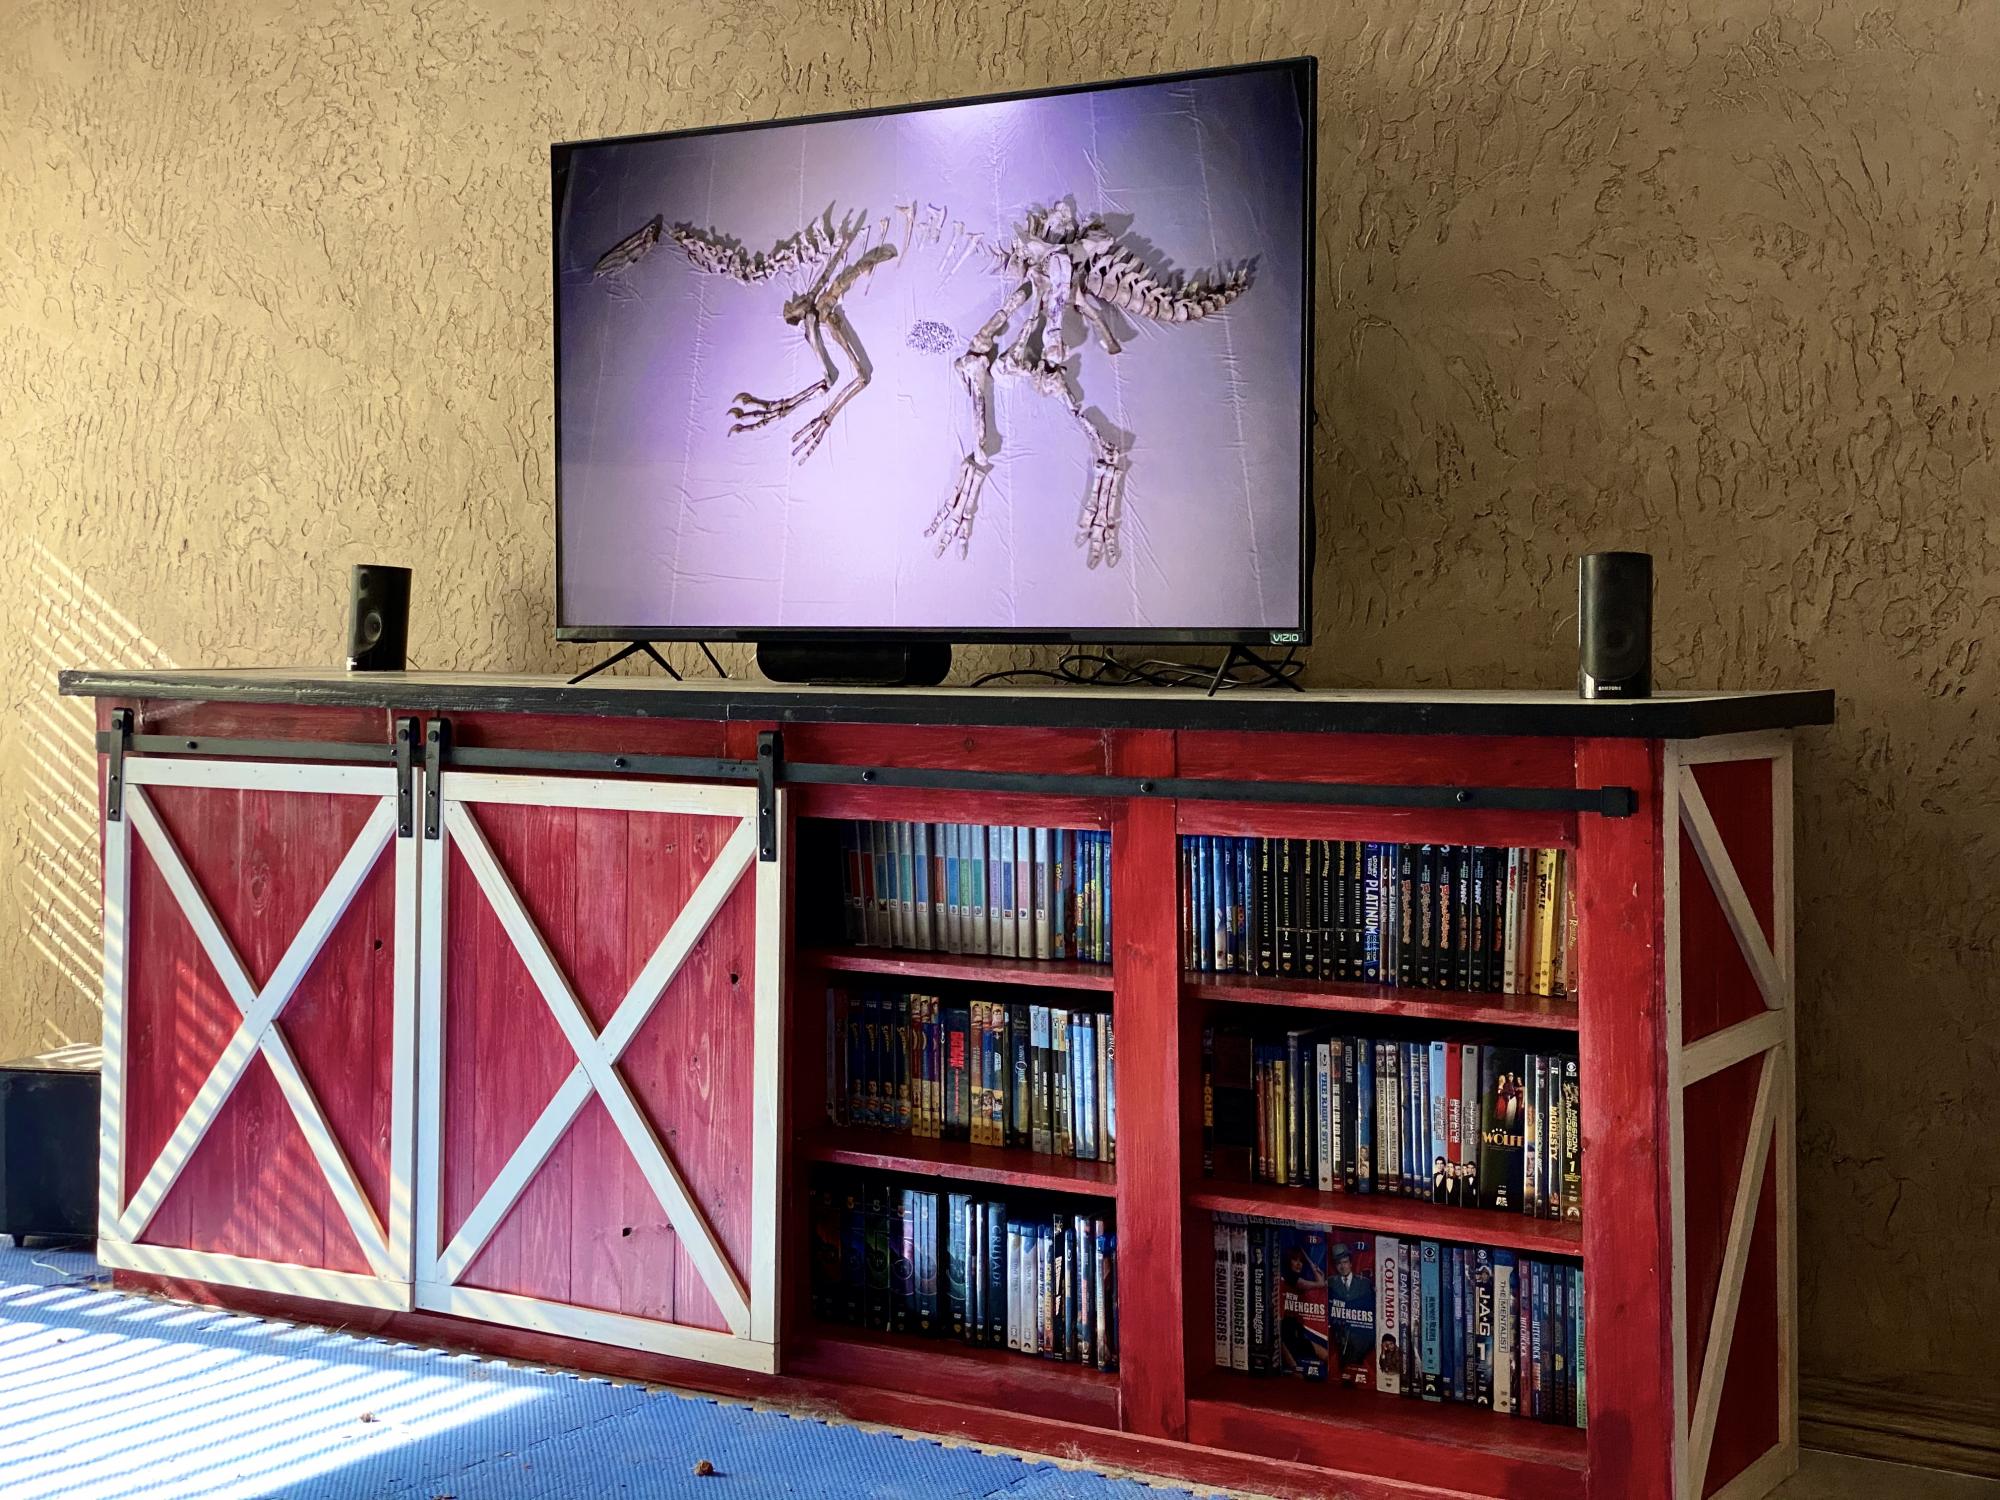
Built from plans on this website, with some modifications.
i used 8-ft x 16-in x 3/4-in edge-glued boards from Lowe’s for the shelves. Instead of cutting the boards to length, I widened the console slightly to accommodate.
I added an extra shelf to increase storage. I also added vertical dividers between the shelves to increase strength and prevent sagging.
The top is an 8-ft x 20-in edge-glued board with a piece of 1x4 board added on at each end. I then added strips of 1x2 underneath on all sides to create an overhang. The top is not fastened on with screws or any other fasteners. Its weight keeps it in place, and being removable will make it easier to move the console, if necessary, in the future.
I couldn’t find a commercial stain that had the “red barn” look I wanted, so I used latex paint thinned with an approximately equal amount of water.
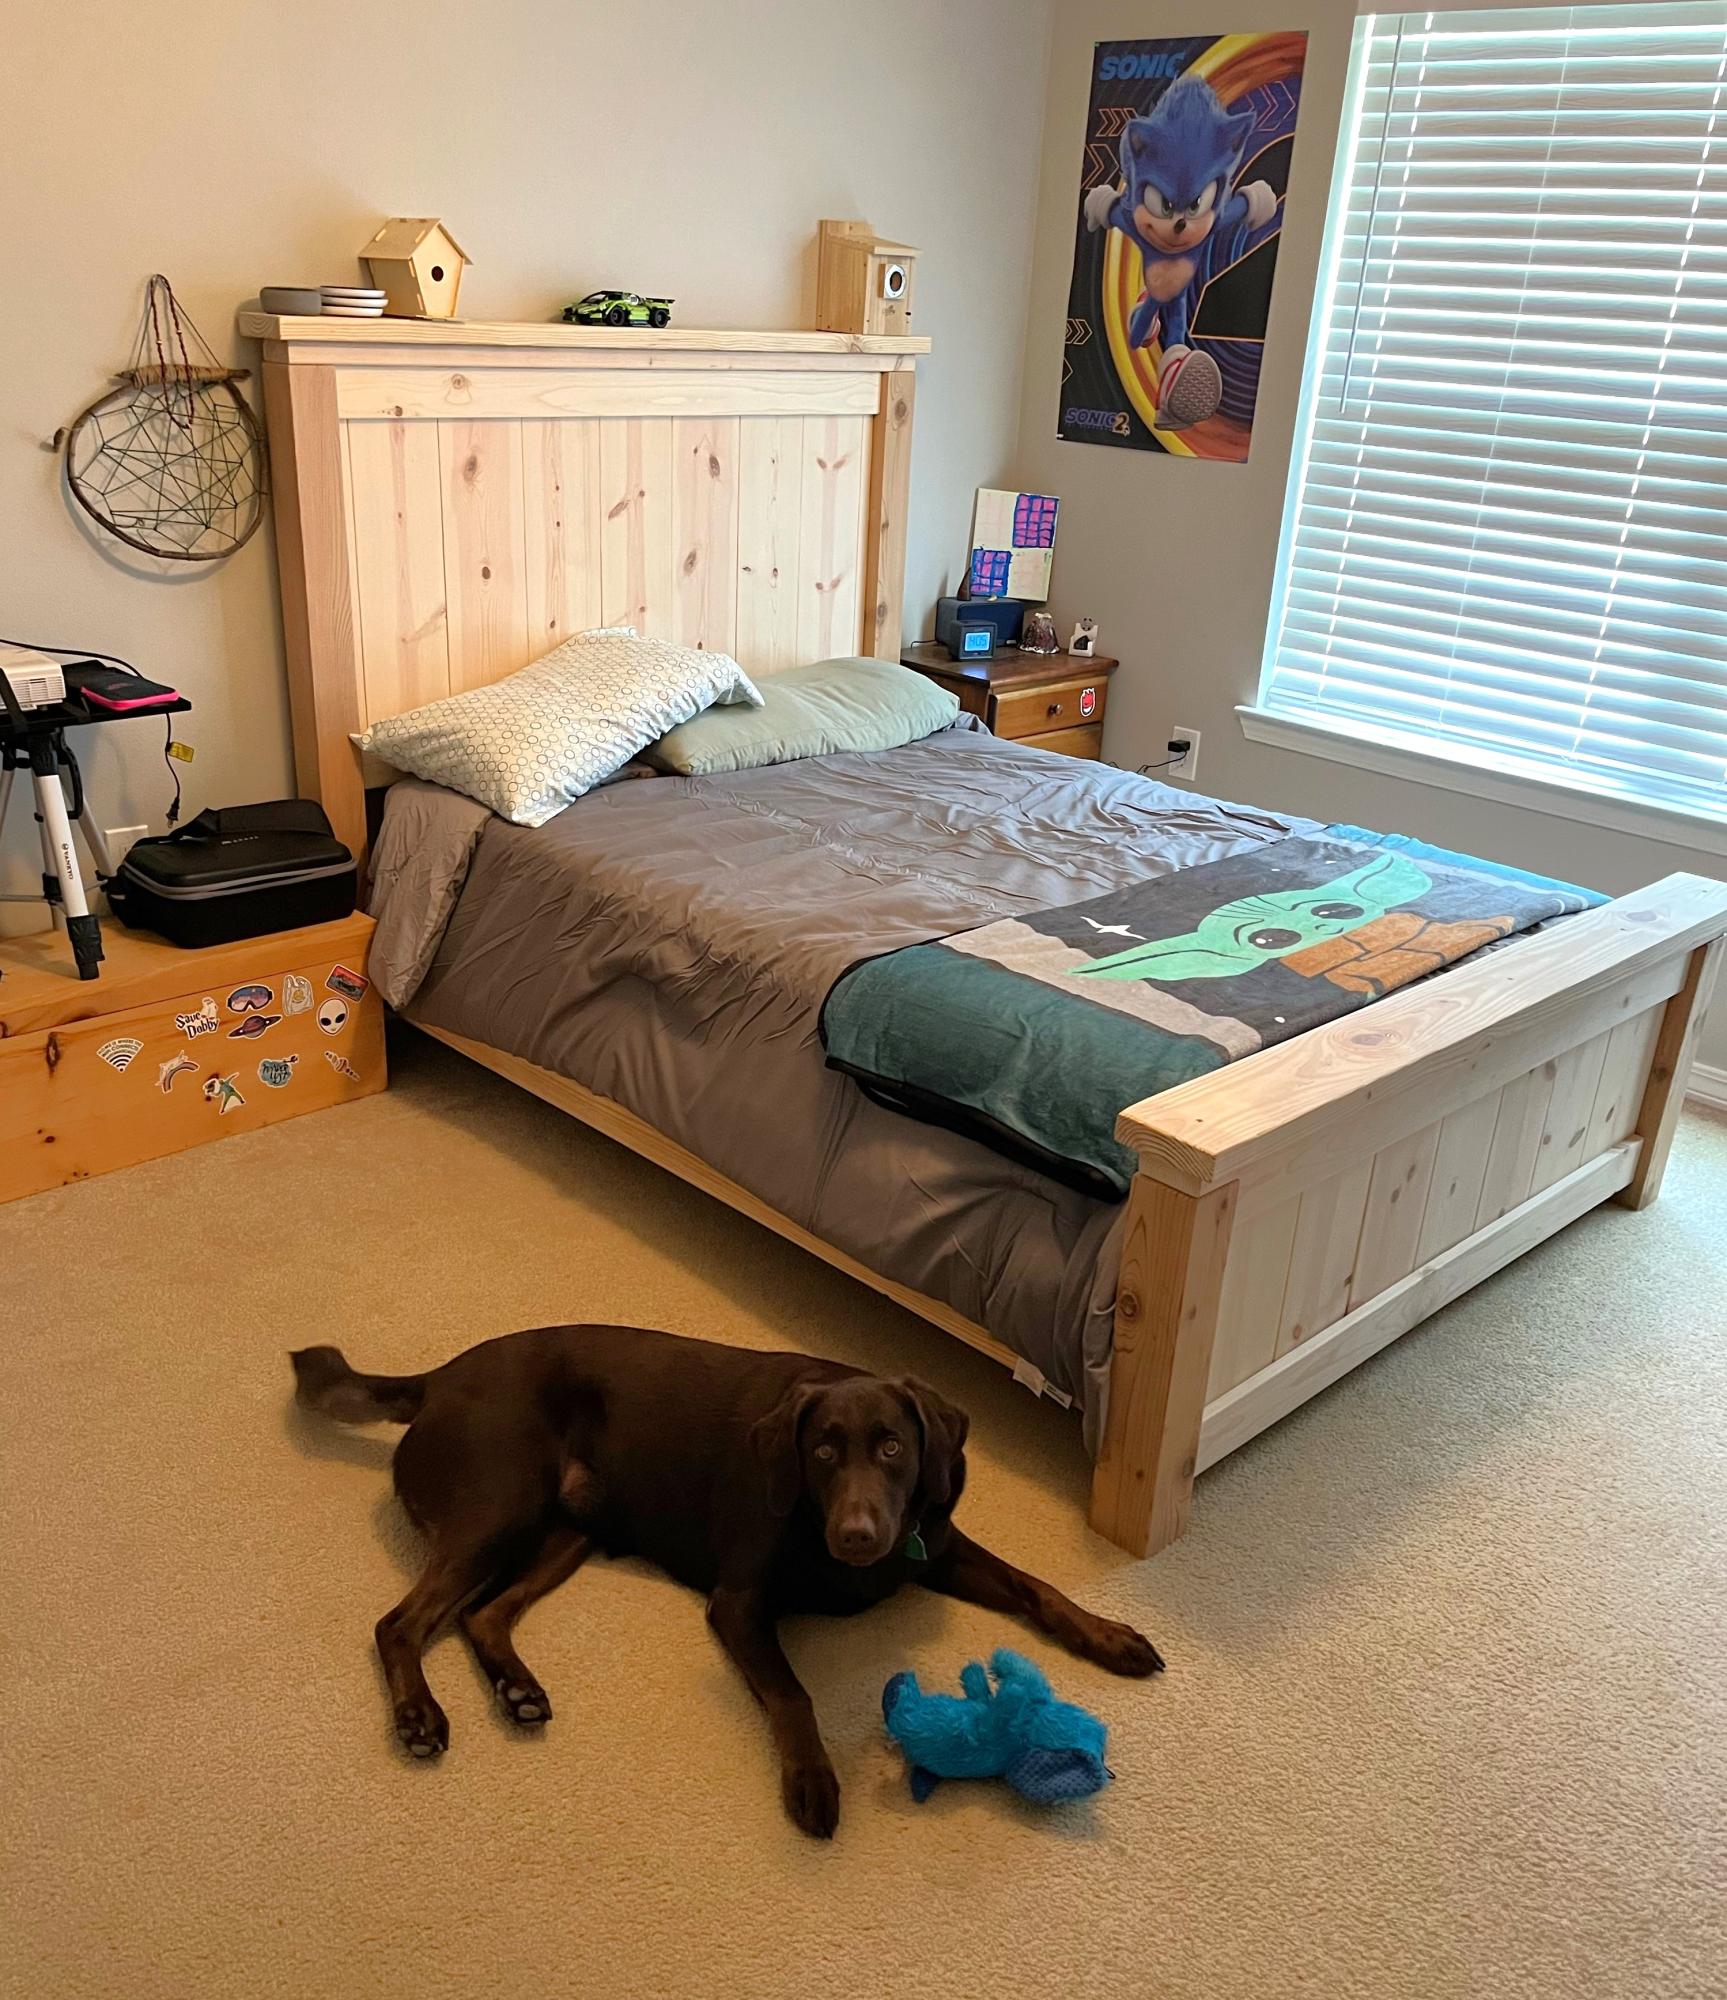
We made this as a surprise for our son. It turned out beautiful! We used cedar 4x4s for the corner posts and pine for the remainder. Thanks Ana!
Patty W.
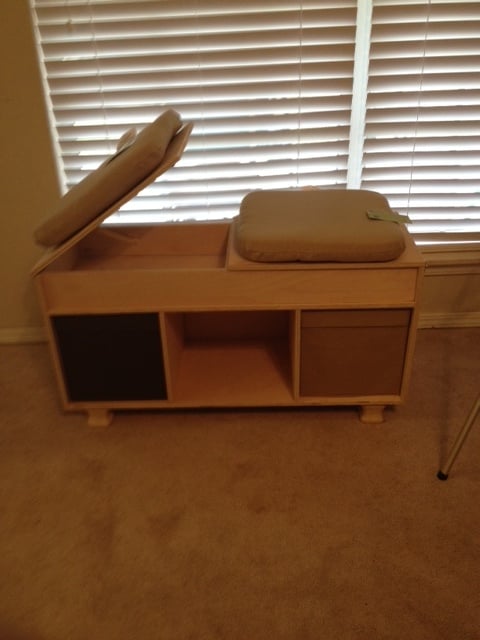
This is my secend ever furniture build. I build it inspired by this storage bench from bed bath and beyond. http://www.bedbathandbeyond.com/product.asp?SKU=132657
I am pretty happy with it!
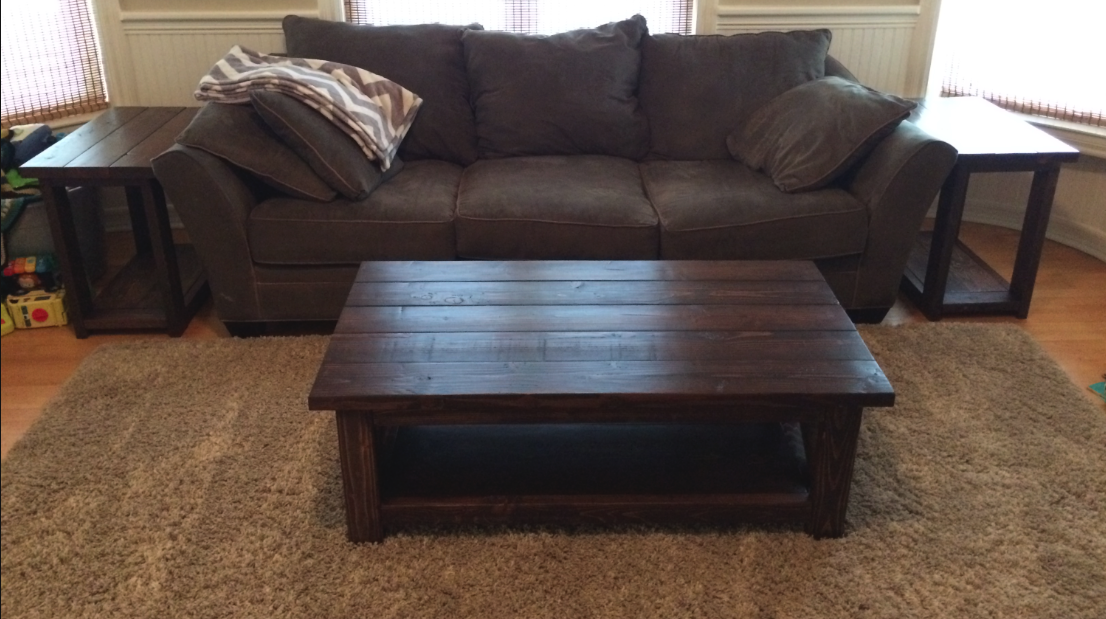
I made this one a while back, it looks similar to the new one you made, I don't remember if this was an earlier version you made or something else I saw online. This table came out amazing and very sturdy.
It took a few days to build. I like my projects to be smooth so I sanded all the boards from 80 - 220, then pre stained them all, put 3 coats of poly and then sanded with 400 and 600 for the finish. Once that was completed I assembled the table and I used extra screws where I could to ensure that it wouldn't become loose after moving it around so much. I was able to make 2 side tables with some of the left over wood.
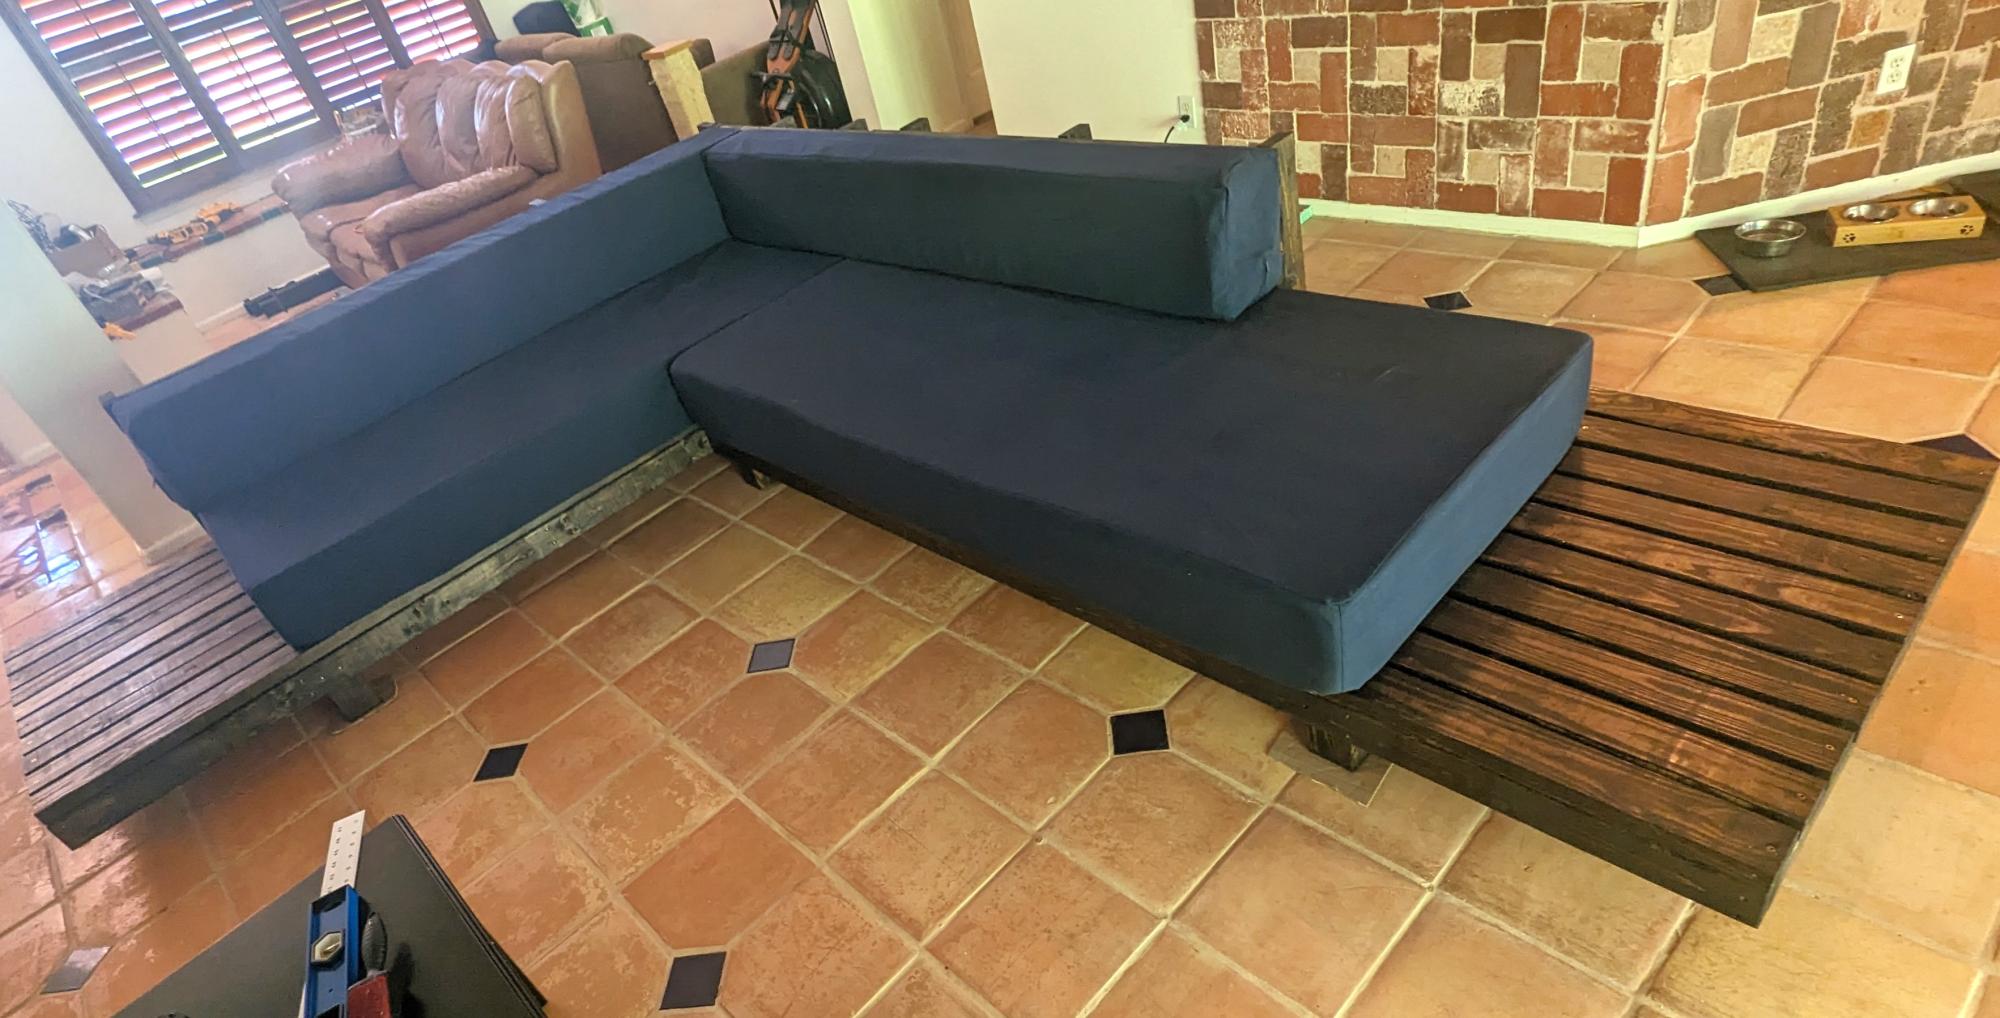
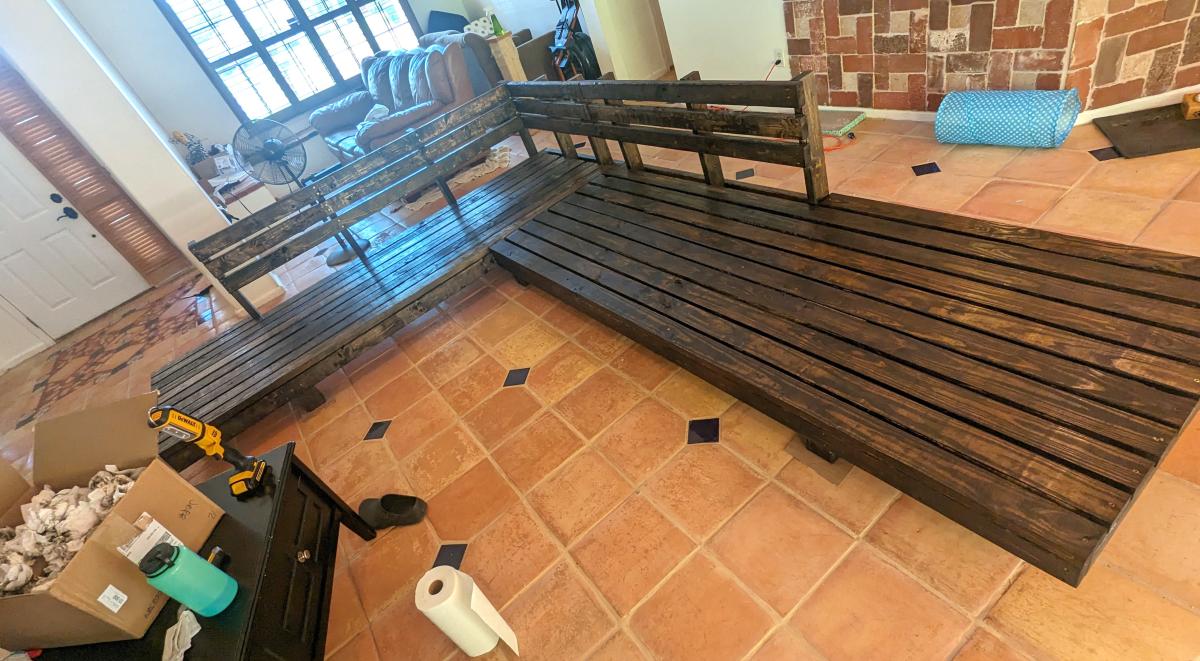
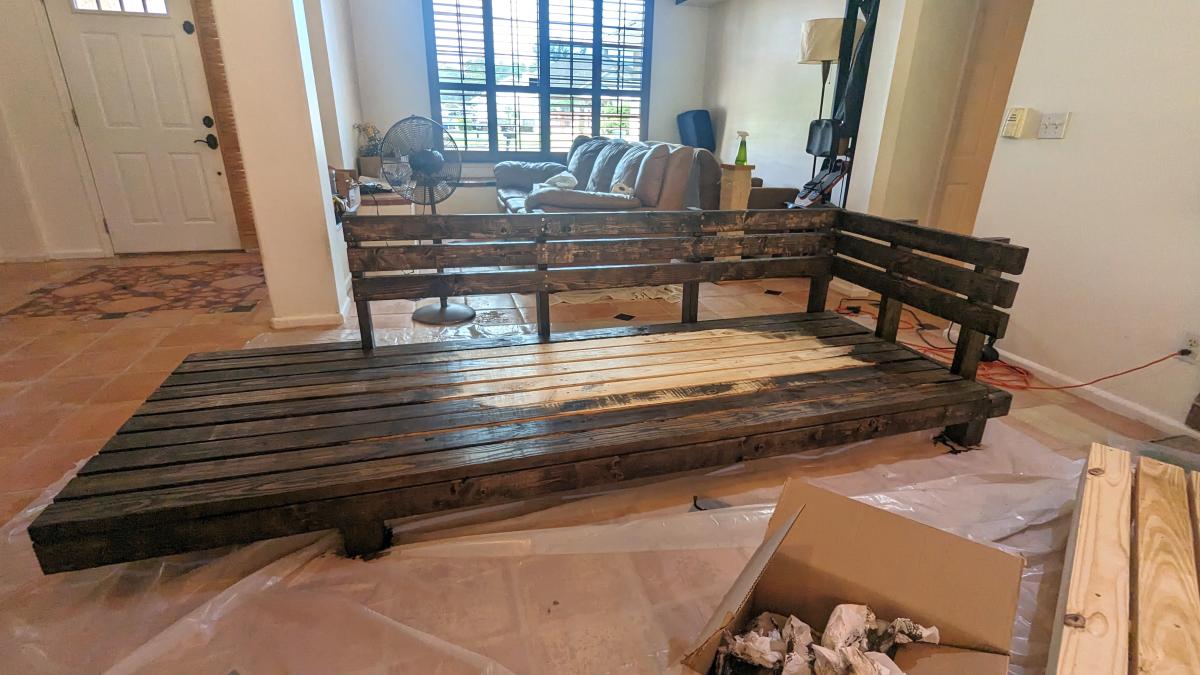
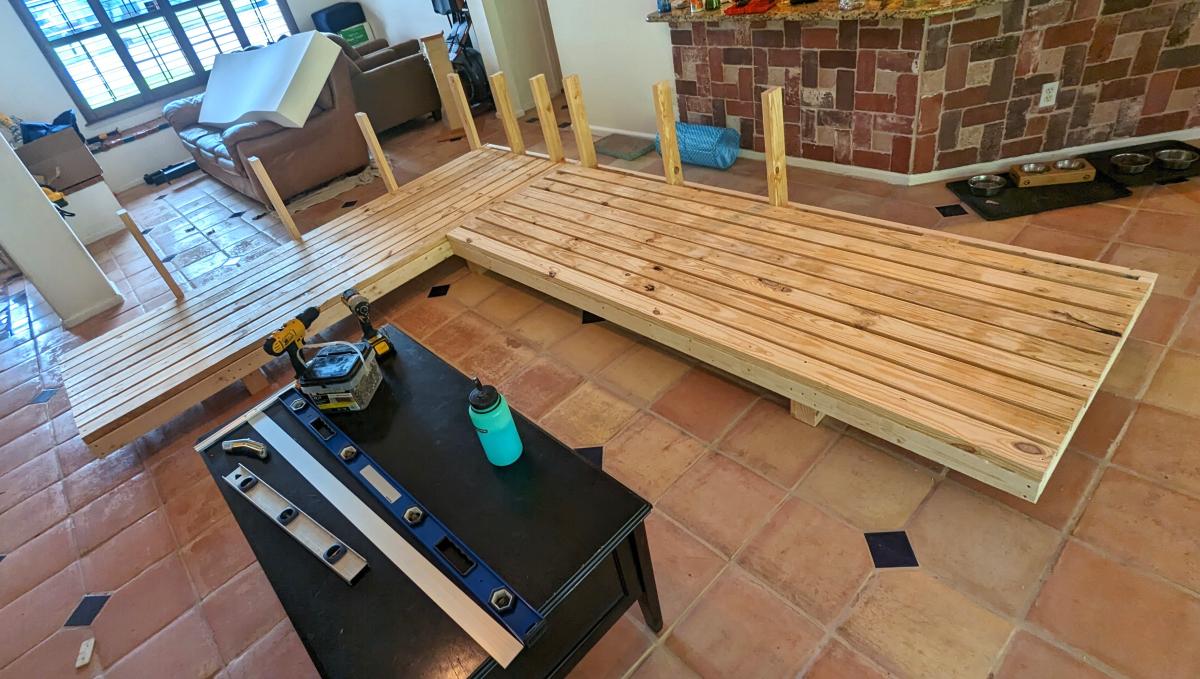
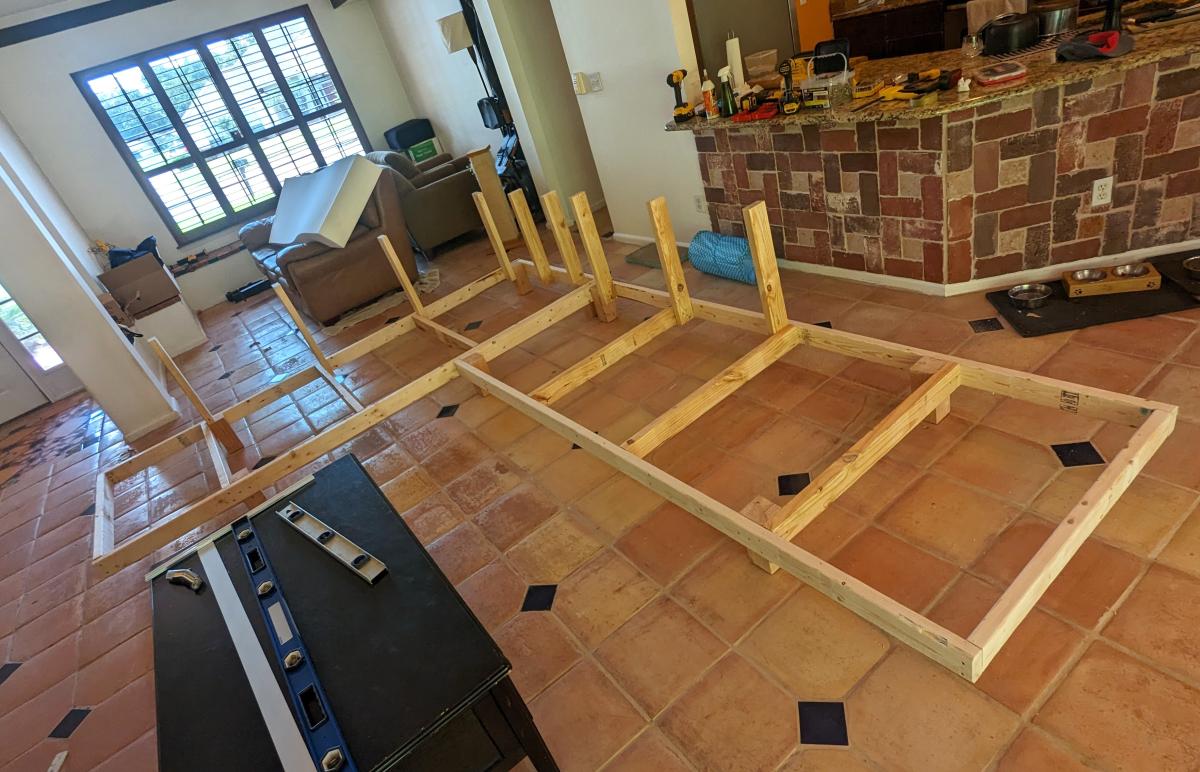
Hello! Thank you so much for providing information and inspiration. I was looking for a very specific couch and I found one. However it was $3000 and had to ship from CA to FL and then I had to assemble it to decide if I liked it or not. Some friends directed me to your site where I found your plans for the outdoor sectional. I modified them to fit my desired outcome and wow! I'm so happy about this. Thanks again!
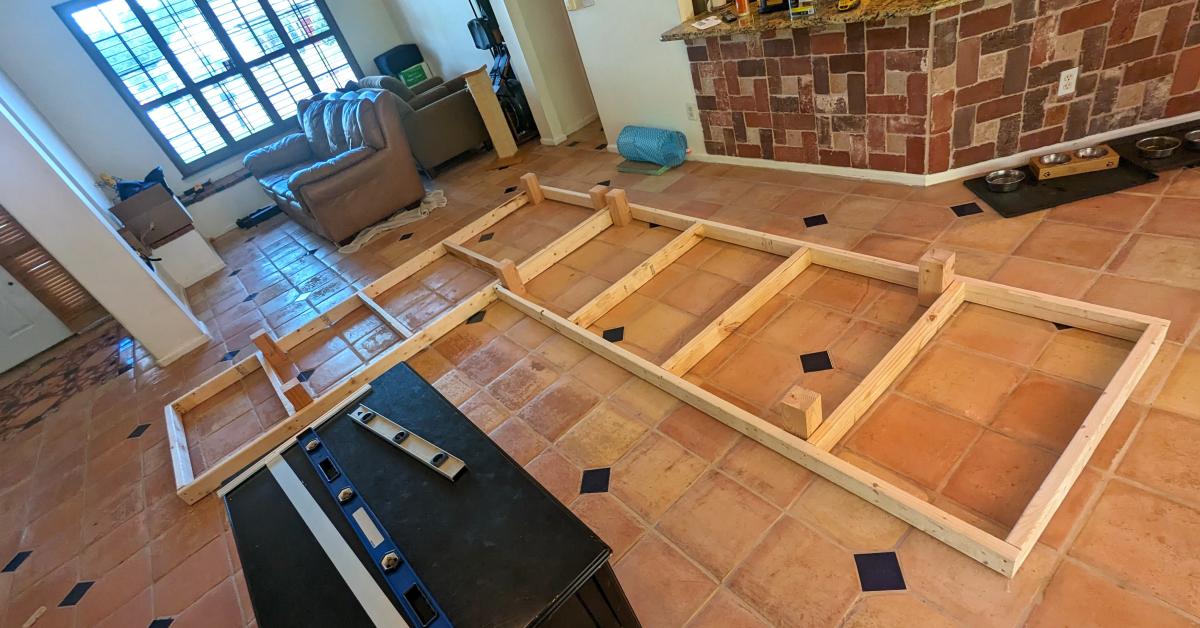
someJabr0ni What I used:
36 - 2x4x10s
1 - 4x4x8
A whole bunch of screws
Foam cushions from foamfactory.com
Cushion covers from slipcovershop.com
Minwax jacobean stain (finish on top tbd)
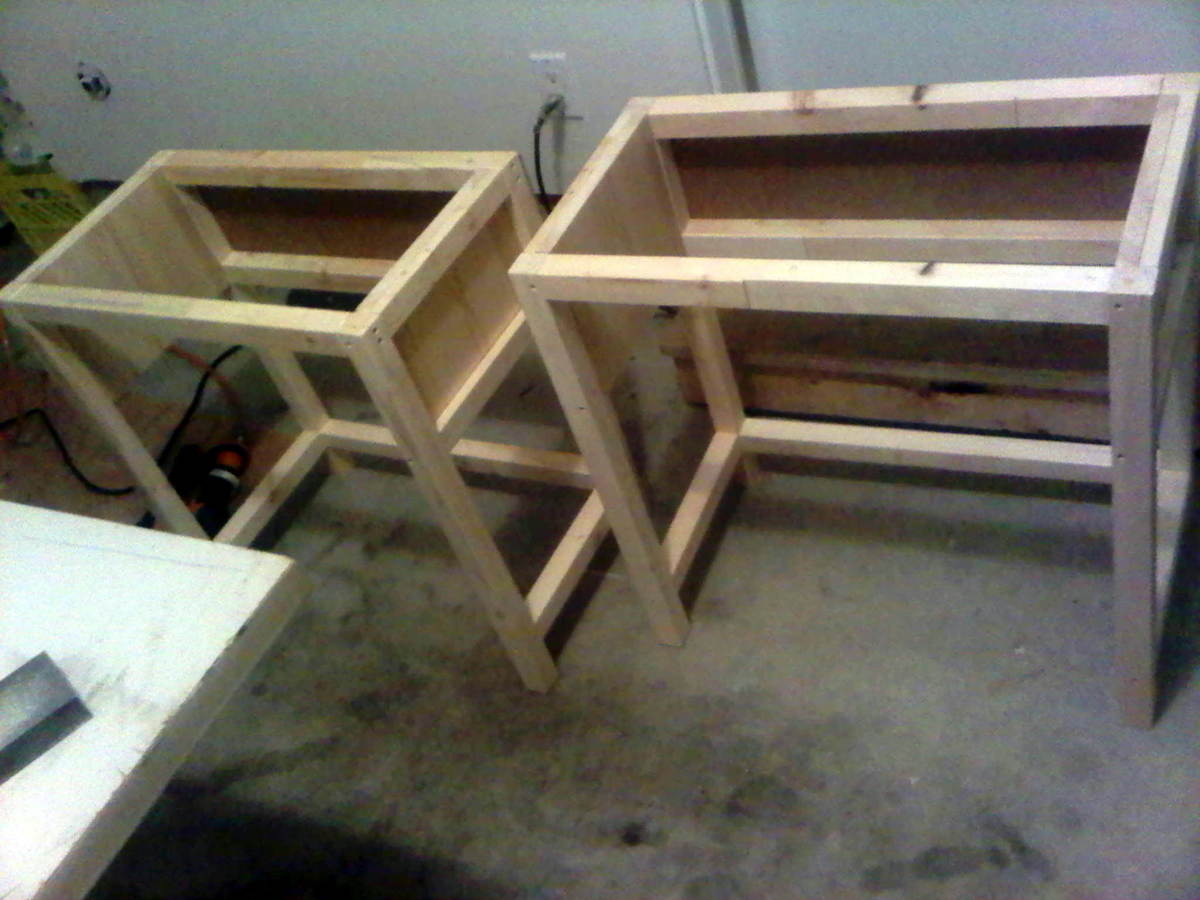
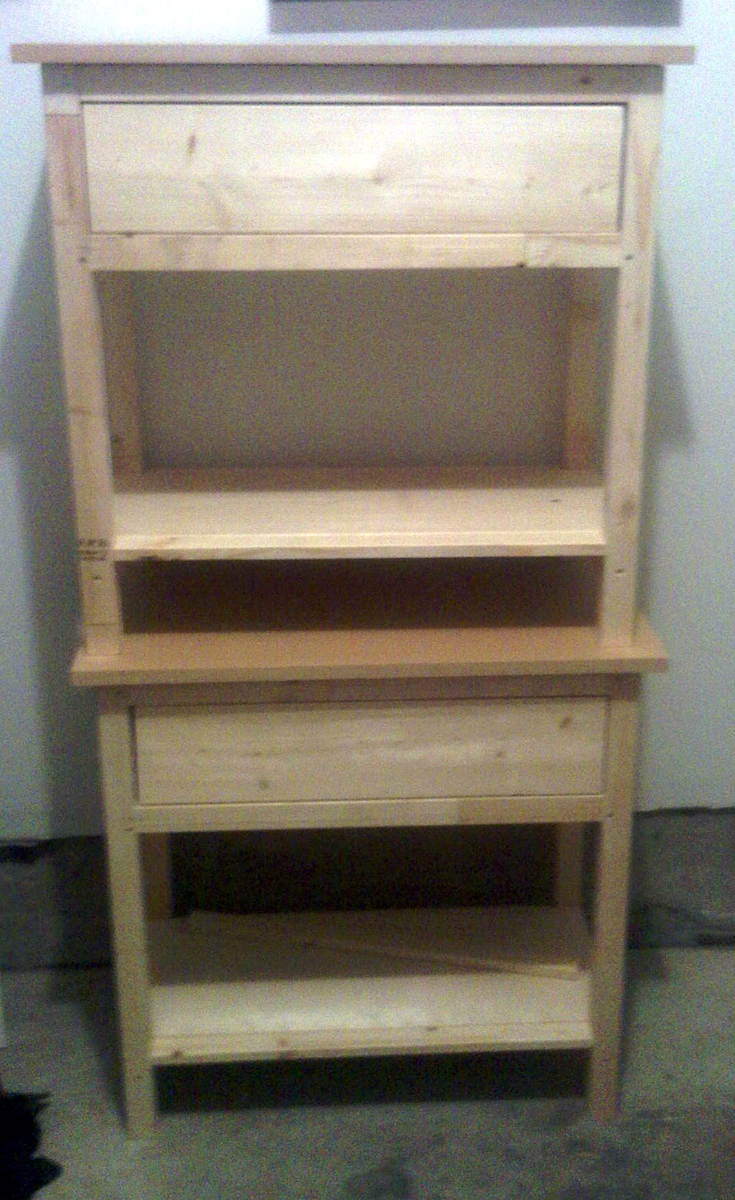
We followed the plans, but did run into a couple snags. Because we were making two tables, we thought it might be easier to do all the cuts first, and then assemble both together. We agreed it was easiest in the end (so we weren't going back and forth to the saw), but the cut list called for one extra trim piece that the plans never used... lucky for us, we realized this before doing the cuts so just skipped it. The cut list left out one piece that the plans asked for at the end (for the life of me, I can't remember what it was), but we had quite a bit of extra lumber thanks to carefully thought out cuts so it wasn't a big deal.
We found that the plans really forced us to think out our approach along the way. We are true beginners, and we even ended up having to think about where we were sinking the screws and making sure to sand the pieces prior to assembling.
As far as our materials went, we purchased most of it at Home Depot. For the tops, we decided to use some scrap MDF that we had leftover from another project. Otherwise, we just used the cheapest lumber we could find, and pine for the 1x6 and 1x12's. Our Home Depot bill was $104, but we have a few pieces of lumber and pine that we didn't use, so plan to take them back. We already had the paint, and we bought the hardware at Lee Valley in Vancouver (BC), which was $24. We figure that the end price for each table is about $60.
For more details, check out my blog post on the project: http://www.andreakrisourchaos.blogspot.ca/2012/03/pinterest-challenge-b…
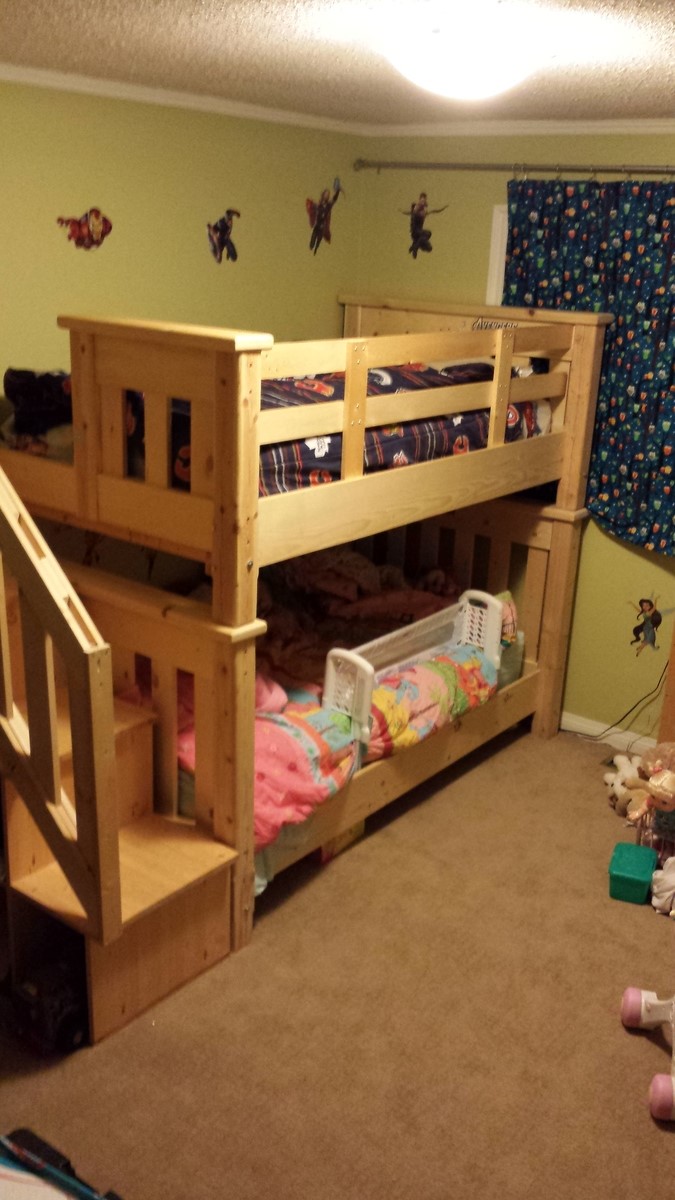
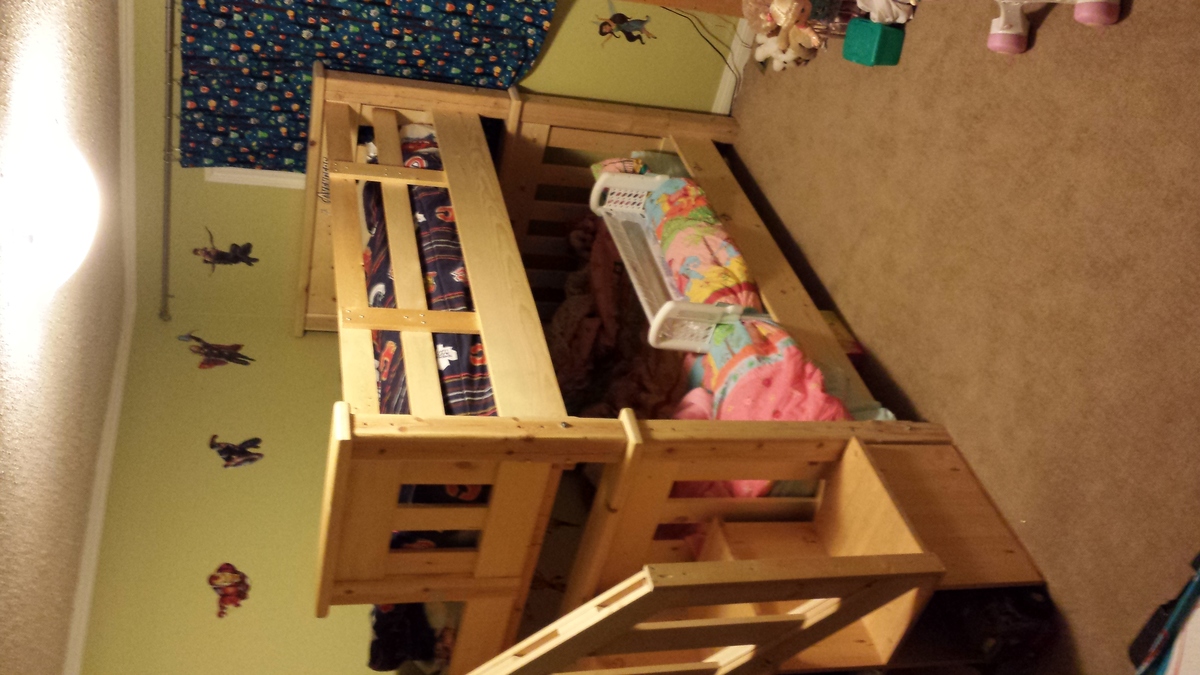
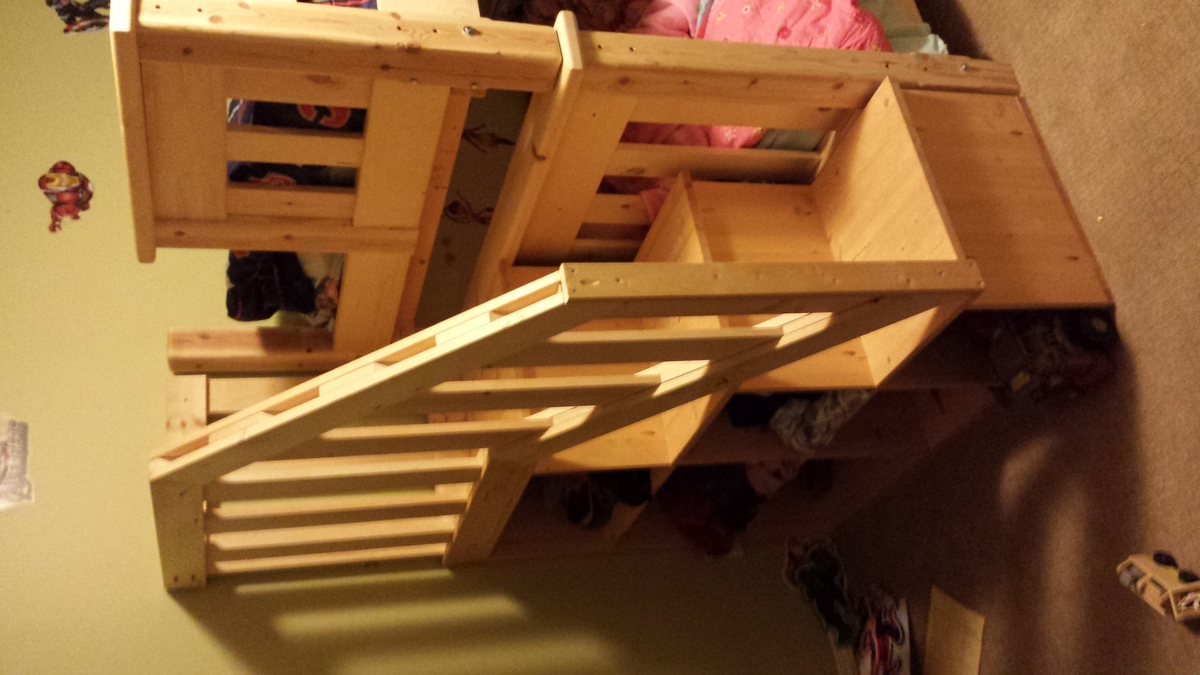
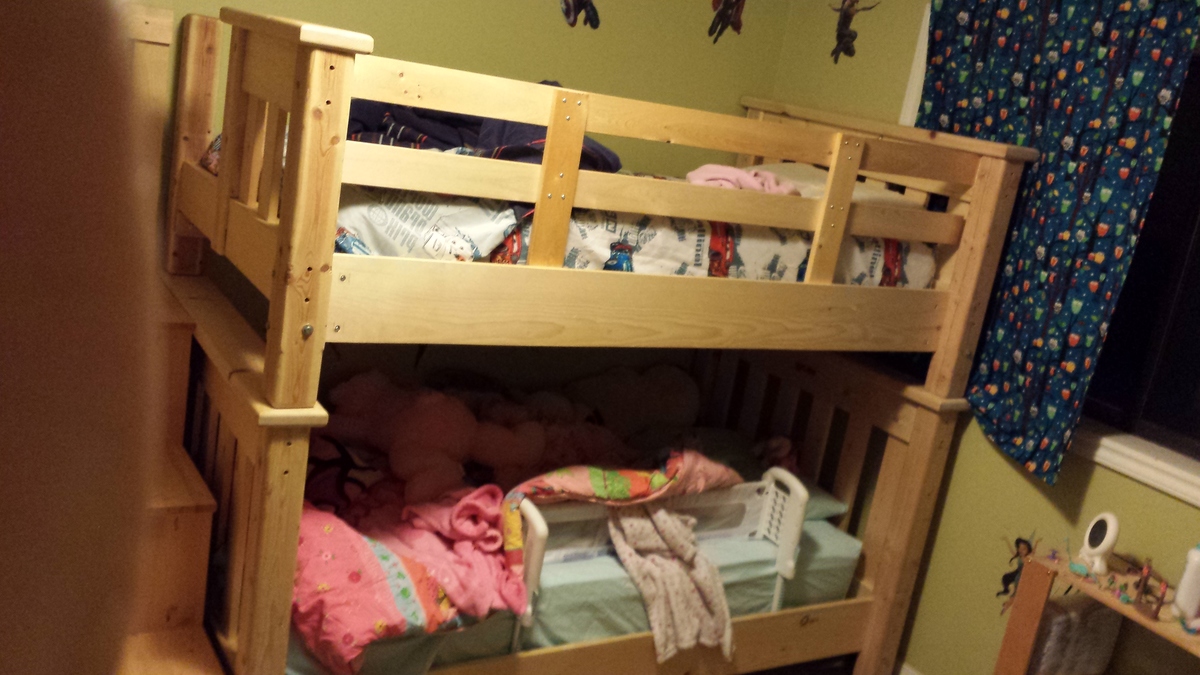
Well, this is my first post and my first real project. Bunk beds out of knotty Pine that can be used as single beds when the kids no longer want to share a room. I wasn't willing to spend $1500-$2000 on bunk beds when I knew I could make some myself. So here it is, I would do it a little different if I was too do it again. I know it's not perfect, but I'm proud of it.......always room for improvement.
