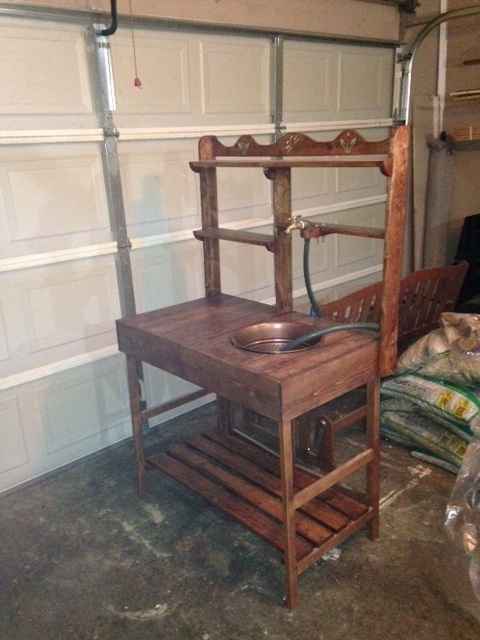
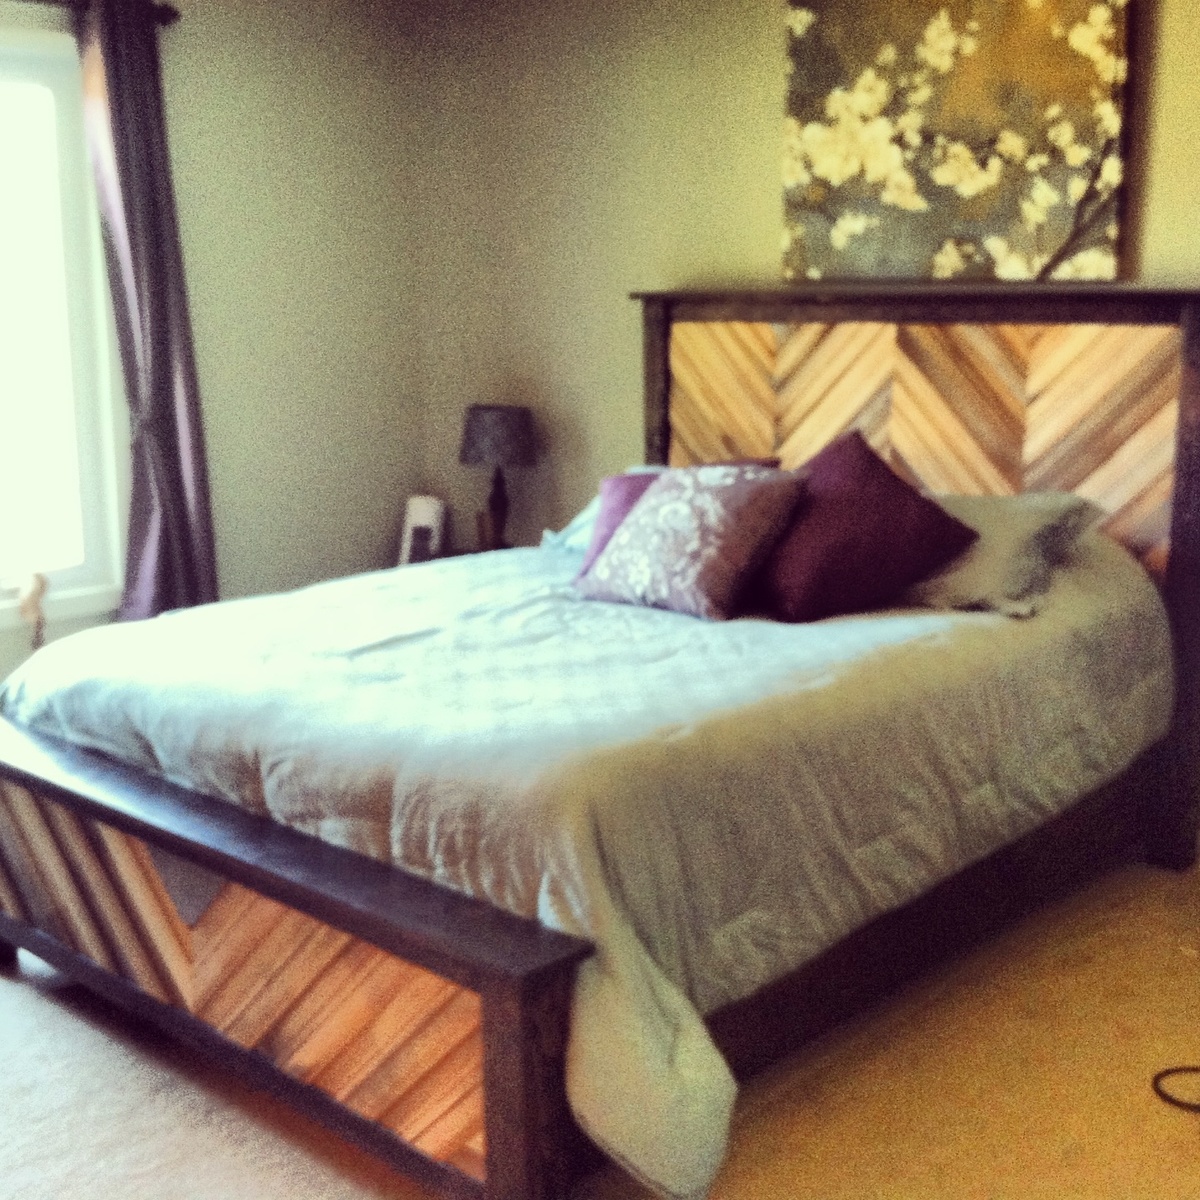
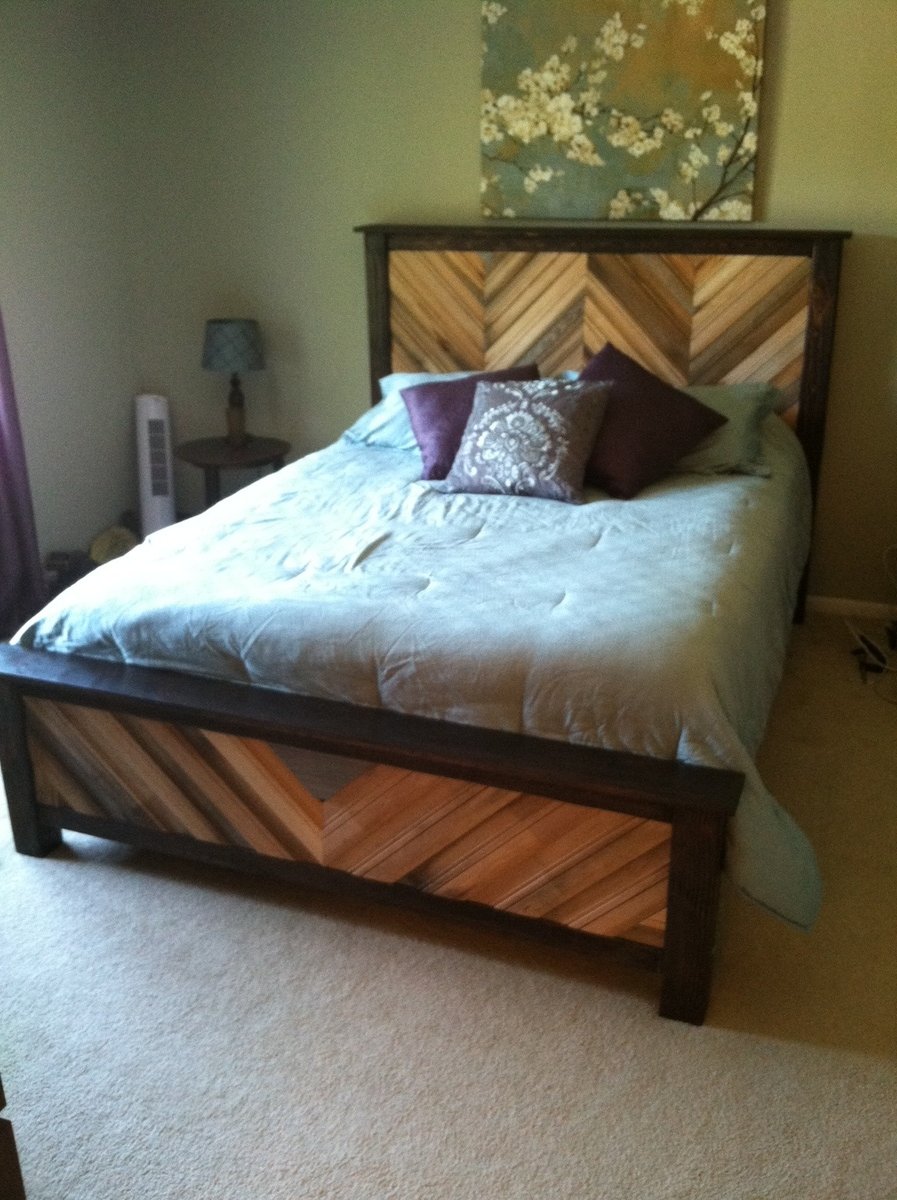
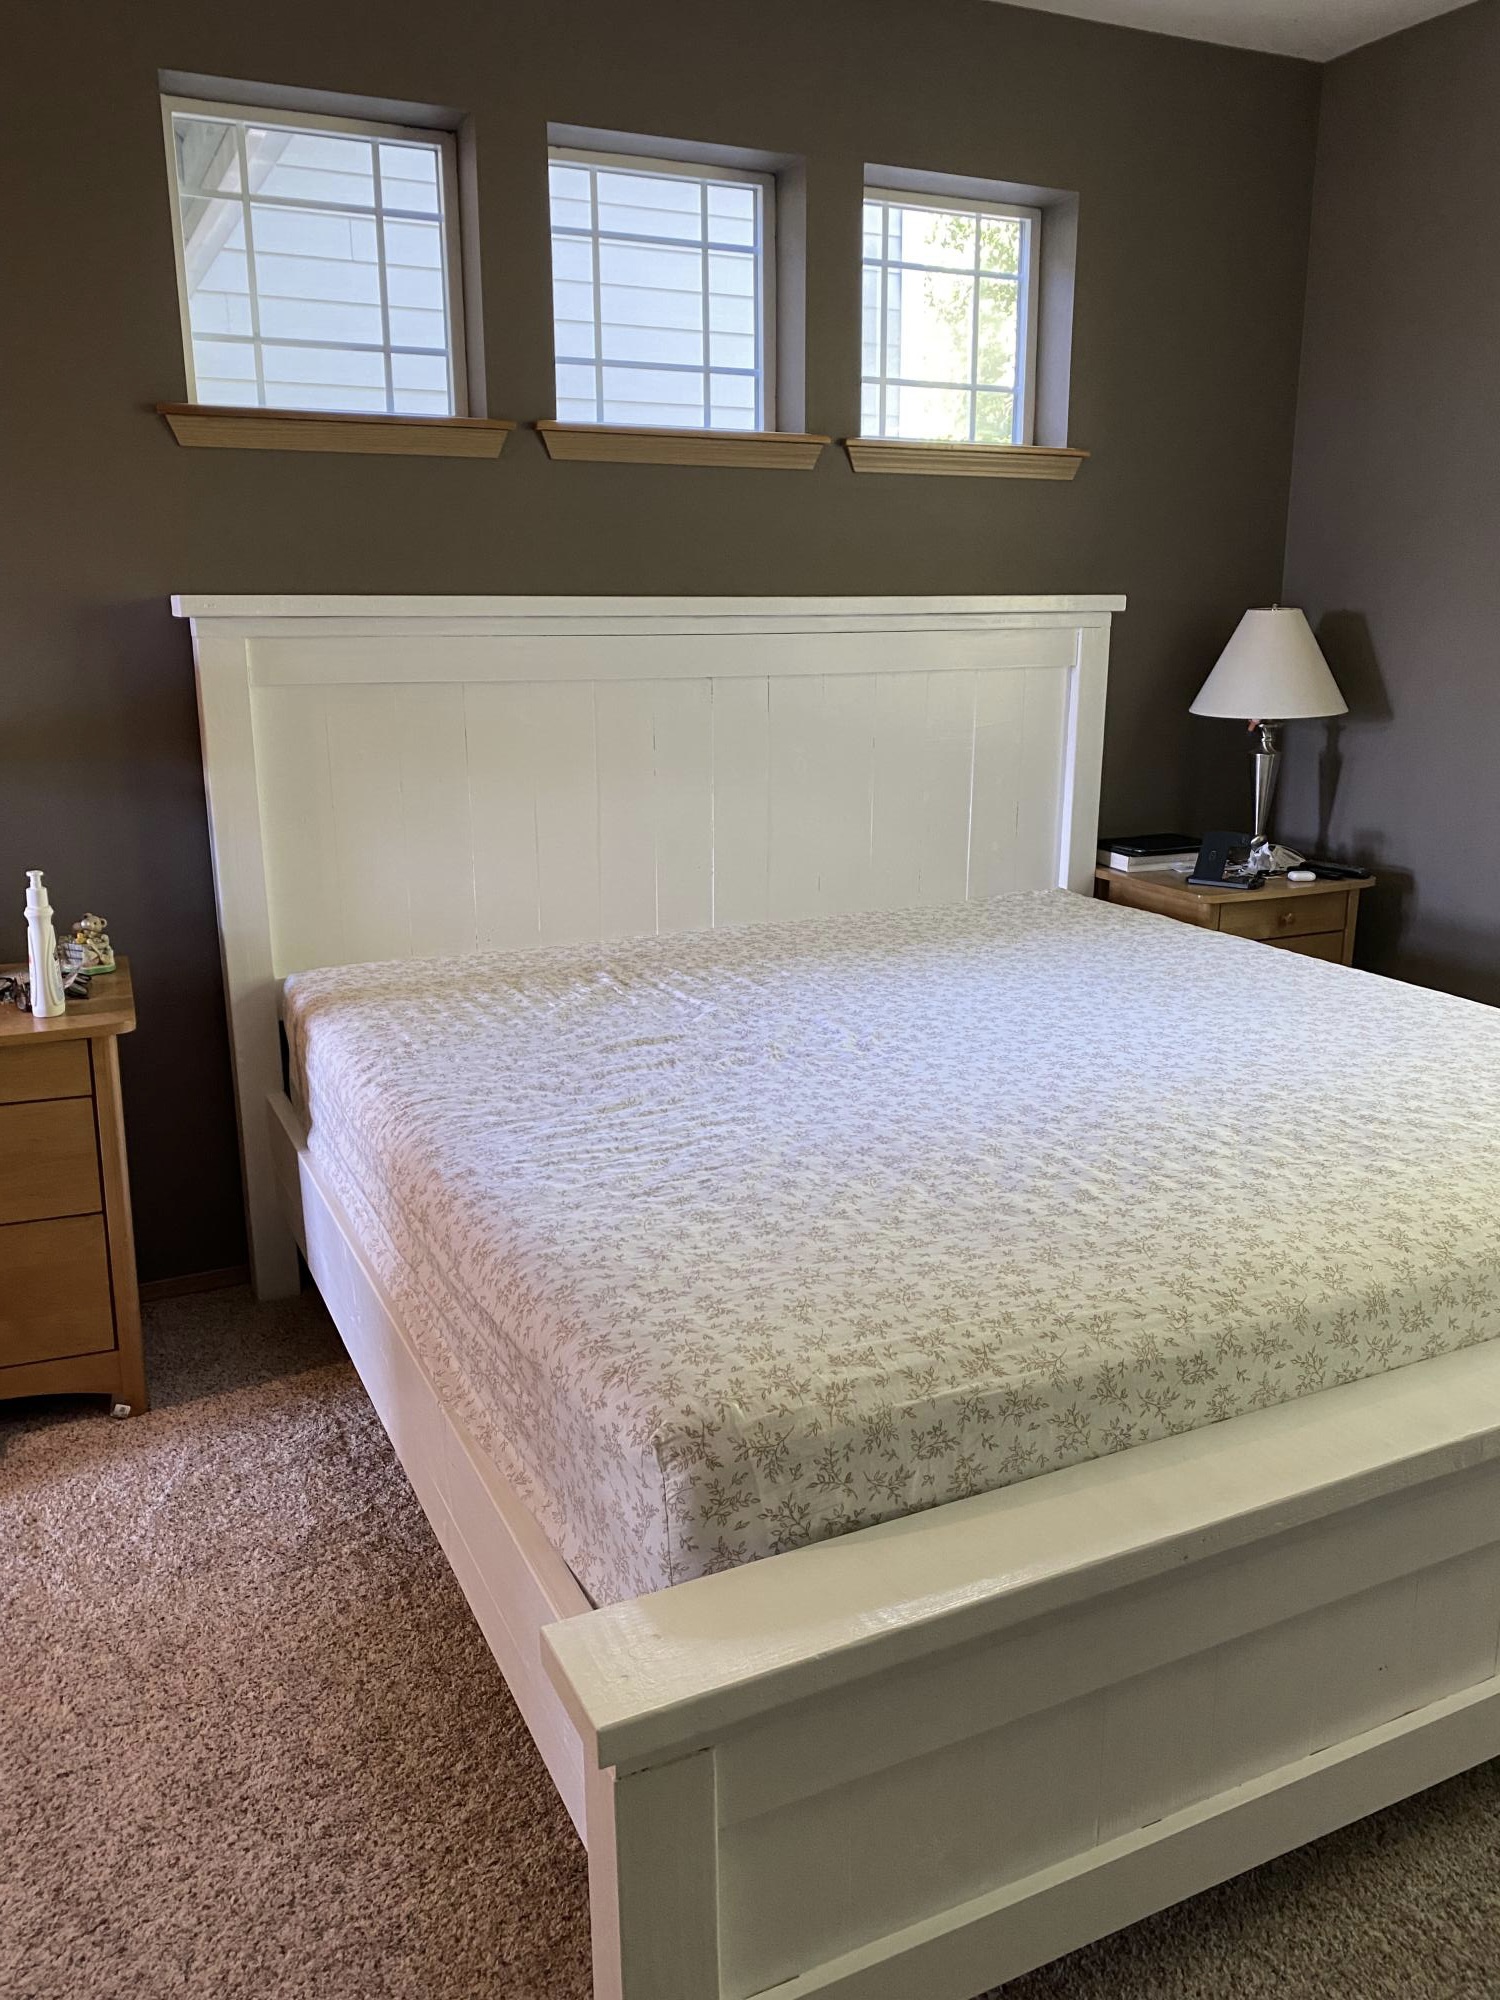
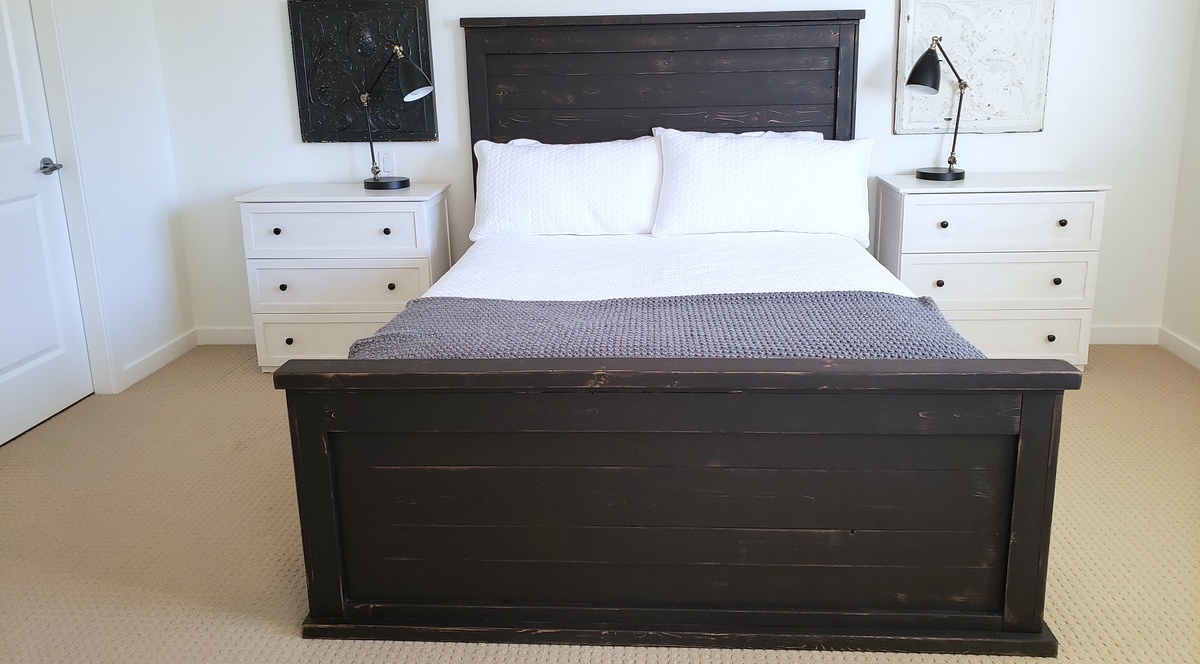
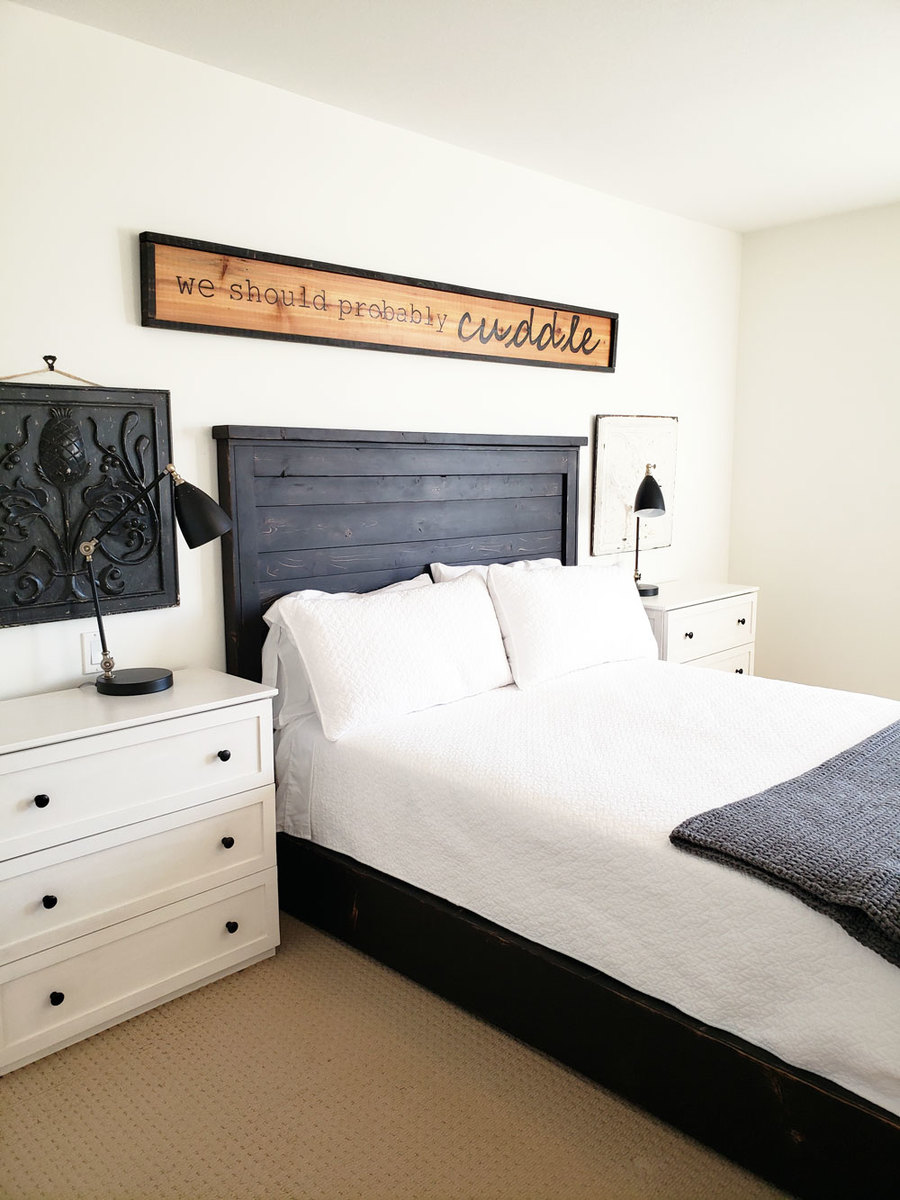
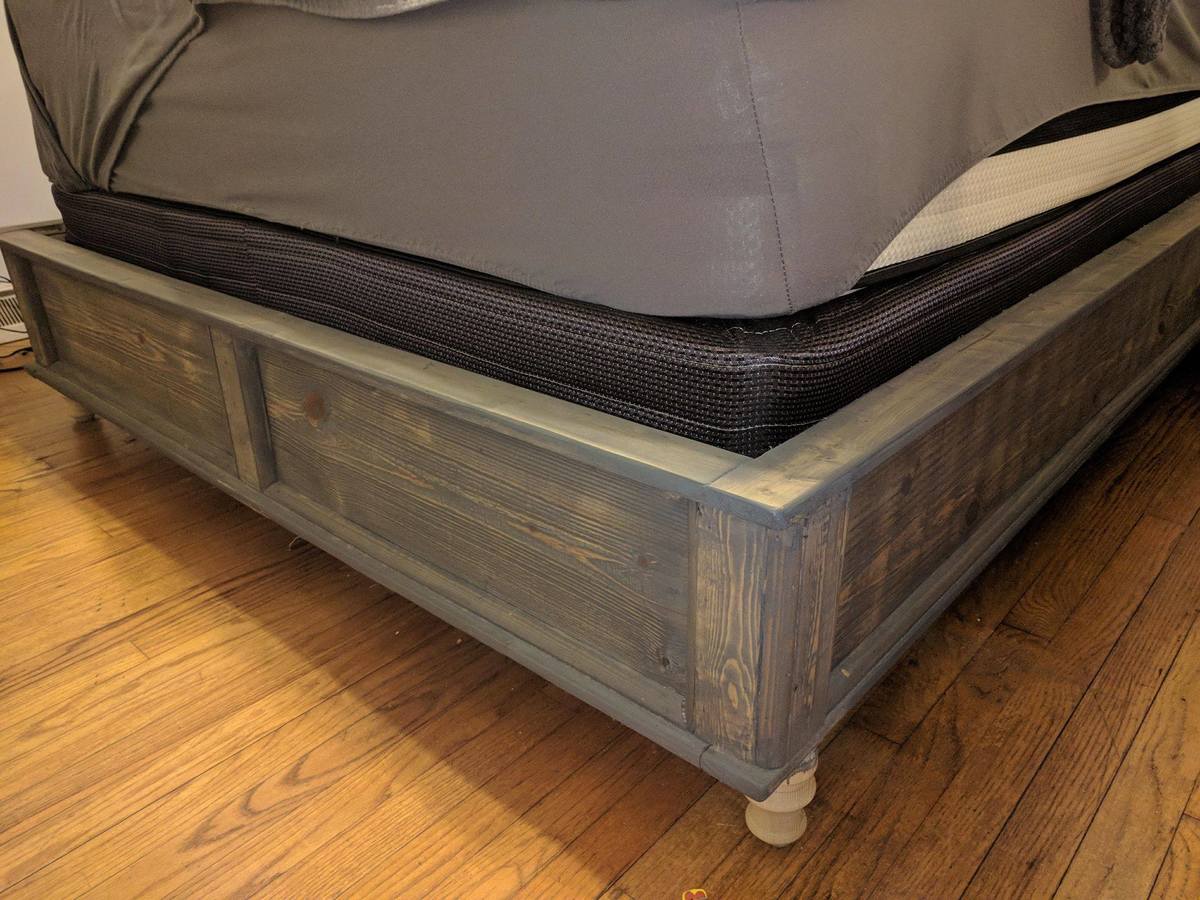
We took the general plan of the Cassidy wood shim bed but added some features of our own. Since my husband is in the military we knew we would be moving more than the average builder so we made the bed to be more durable for frequent disassemblies. Instead of screwing the frame to the head and foot board we used carriage bolts to secure the pieces.
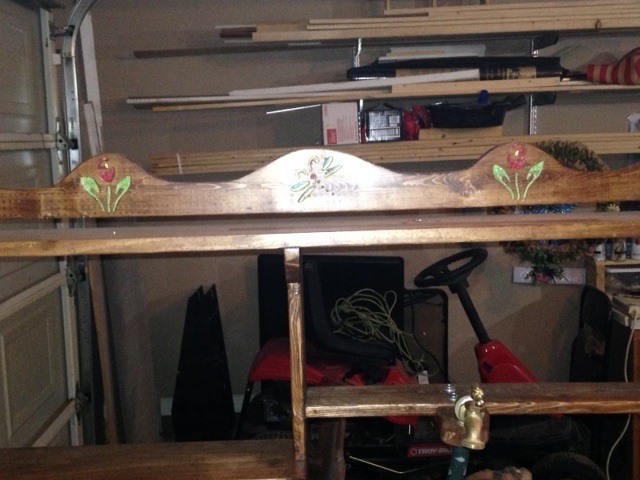
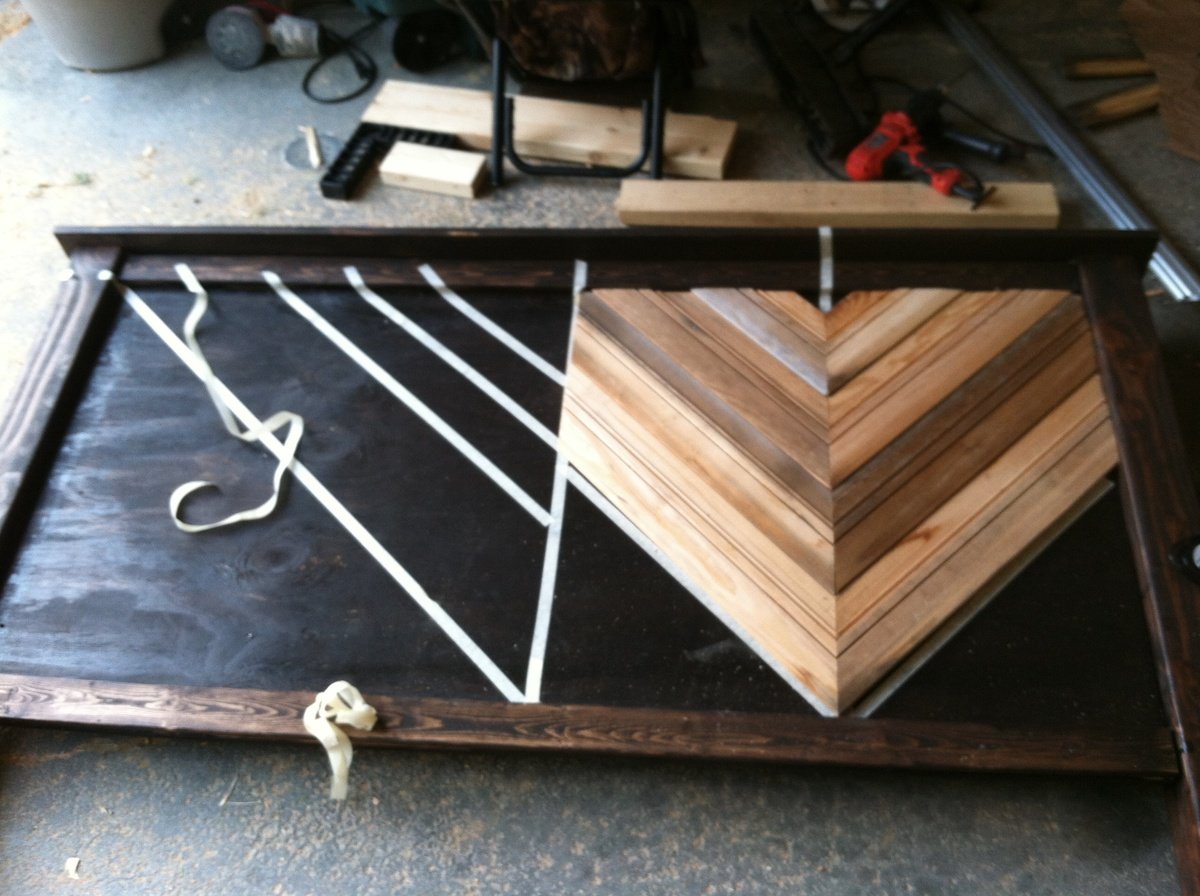
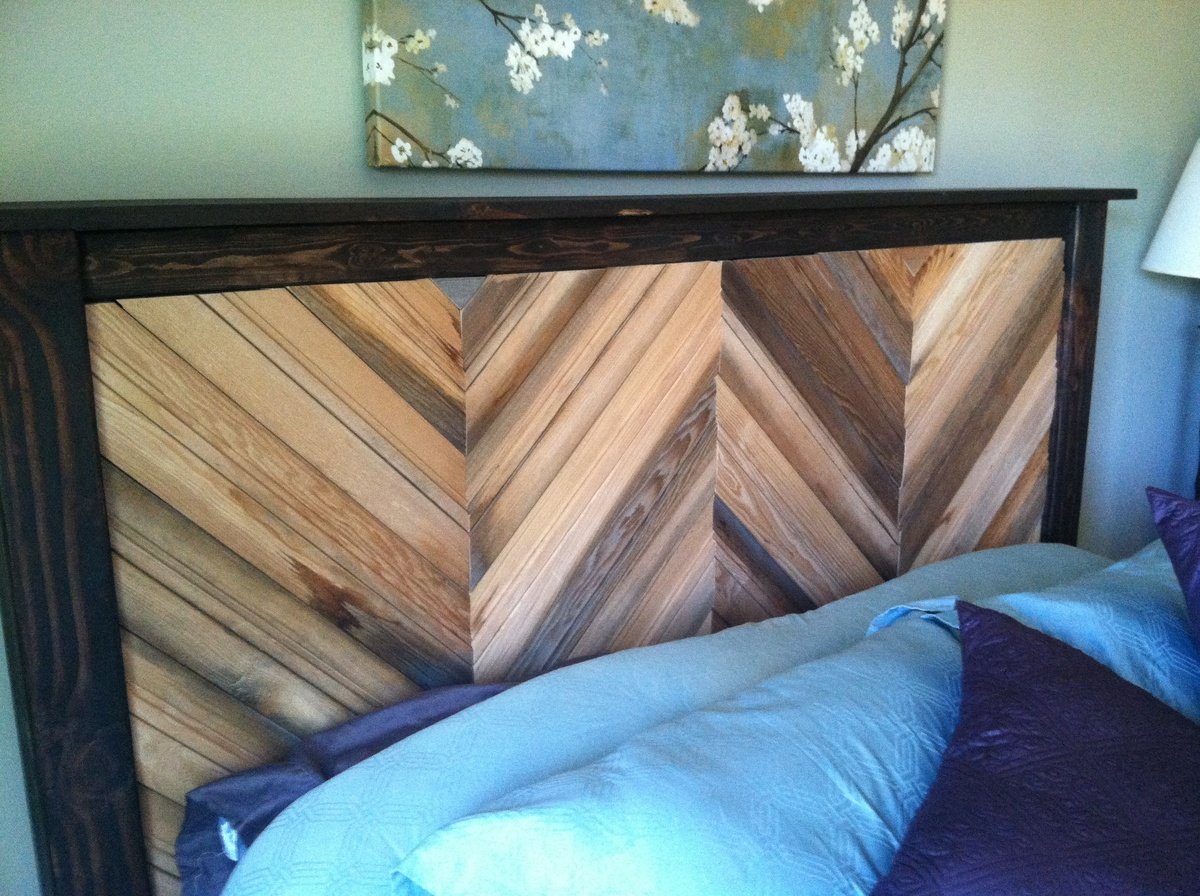
We also wanted to add a reclaimed aspect to our bedroom. We bought some reclaim cedar siding from a local estate investor and decided to do a chevron pattern. After staining the whole frame, we applied the siding to both the head and the foot board since we bought basic plywood and wanted to cover both ends. Plus, we liked the look with both ends done better. We cut the siding at 45 degree angles and then custom cut each piece to fit. This was a time consuming area since, with reclaimed wood especially, each piece is unique. We then just used liquid nails to secure the pieces.
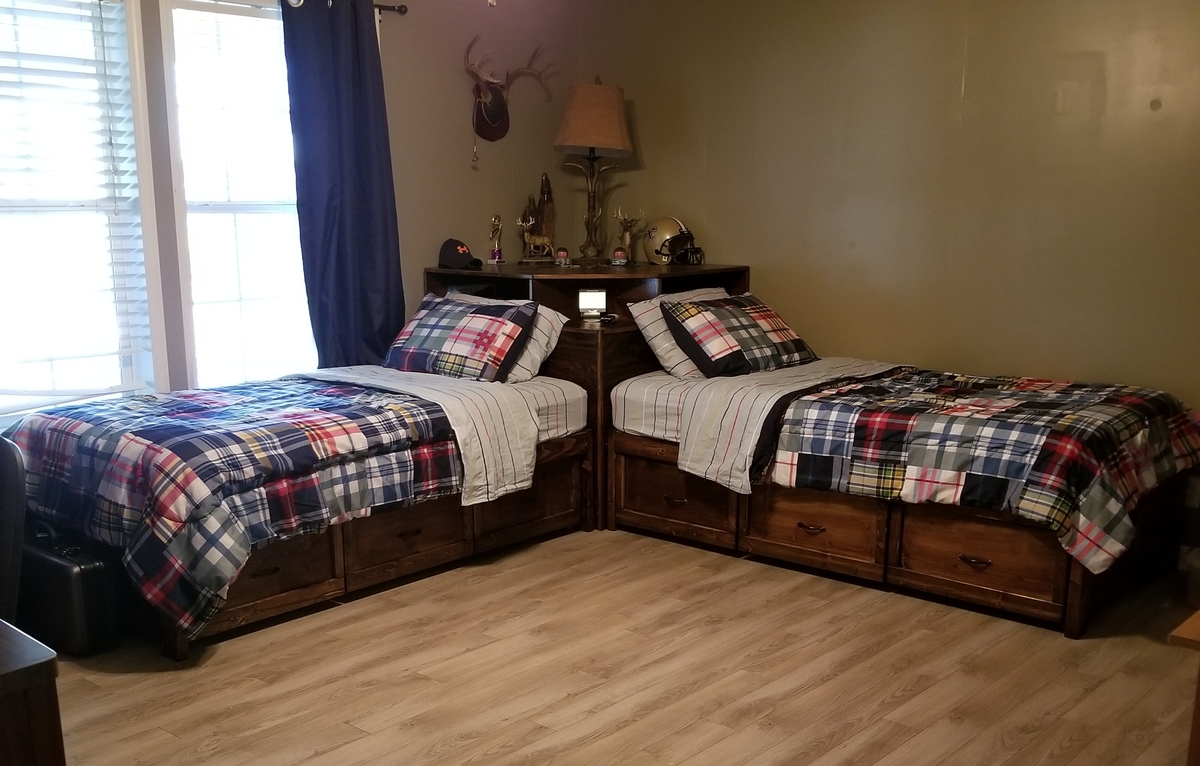
To finish we assembled the bed and applied a paste wax.


Comments
Ana White Admin
Tue, 08/16/2022 - 11:01
Amazing headboard!
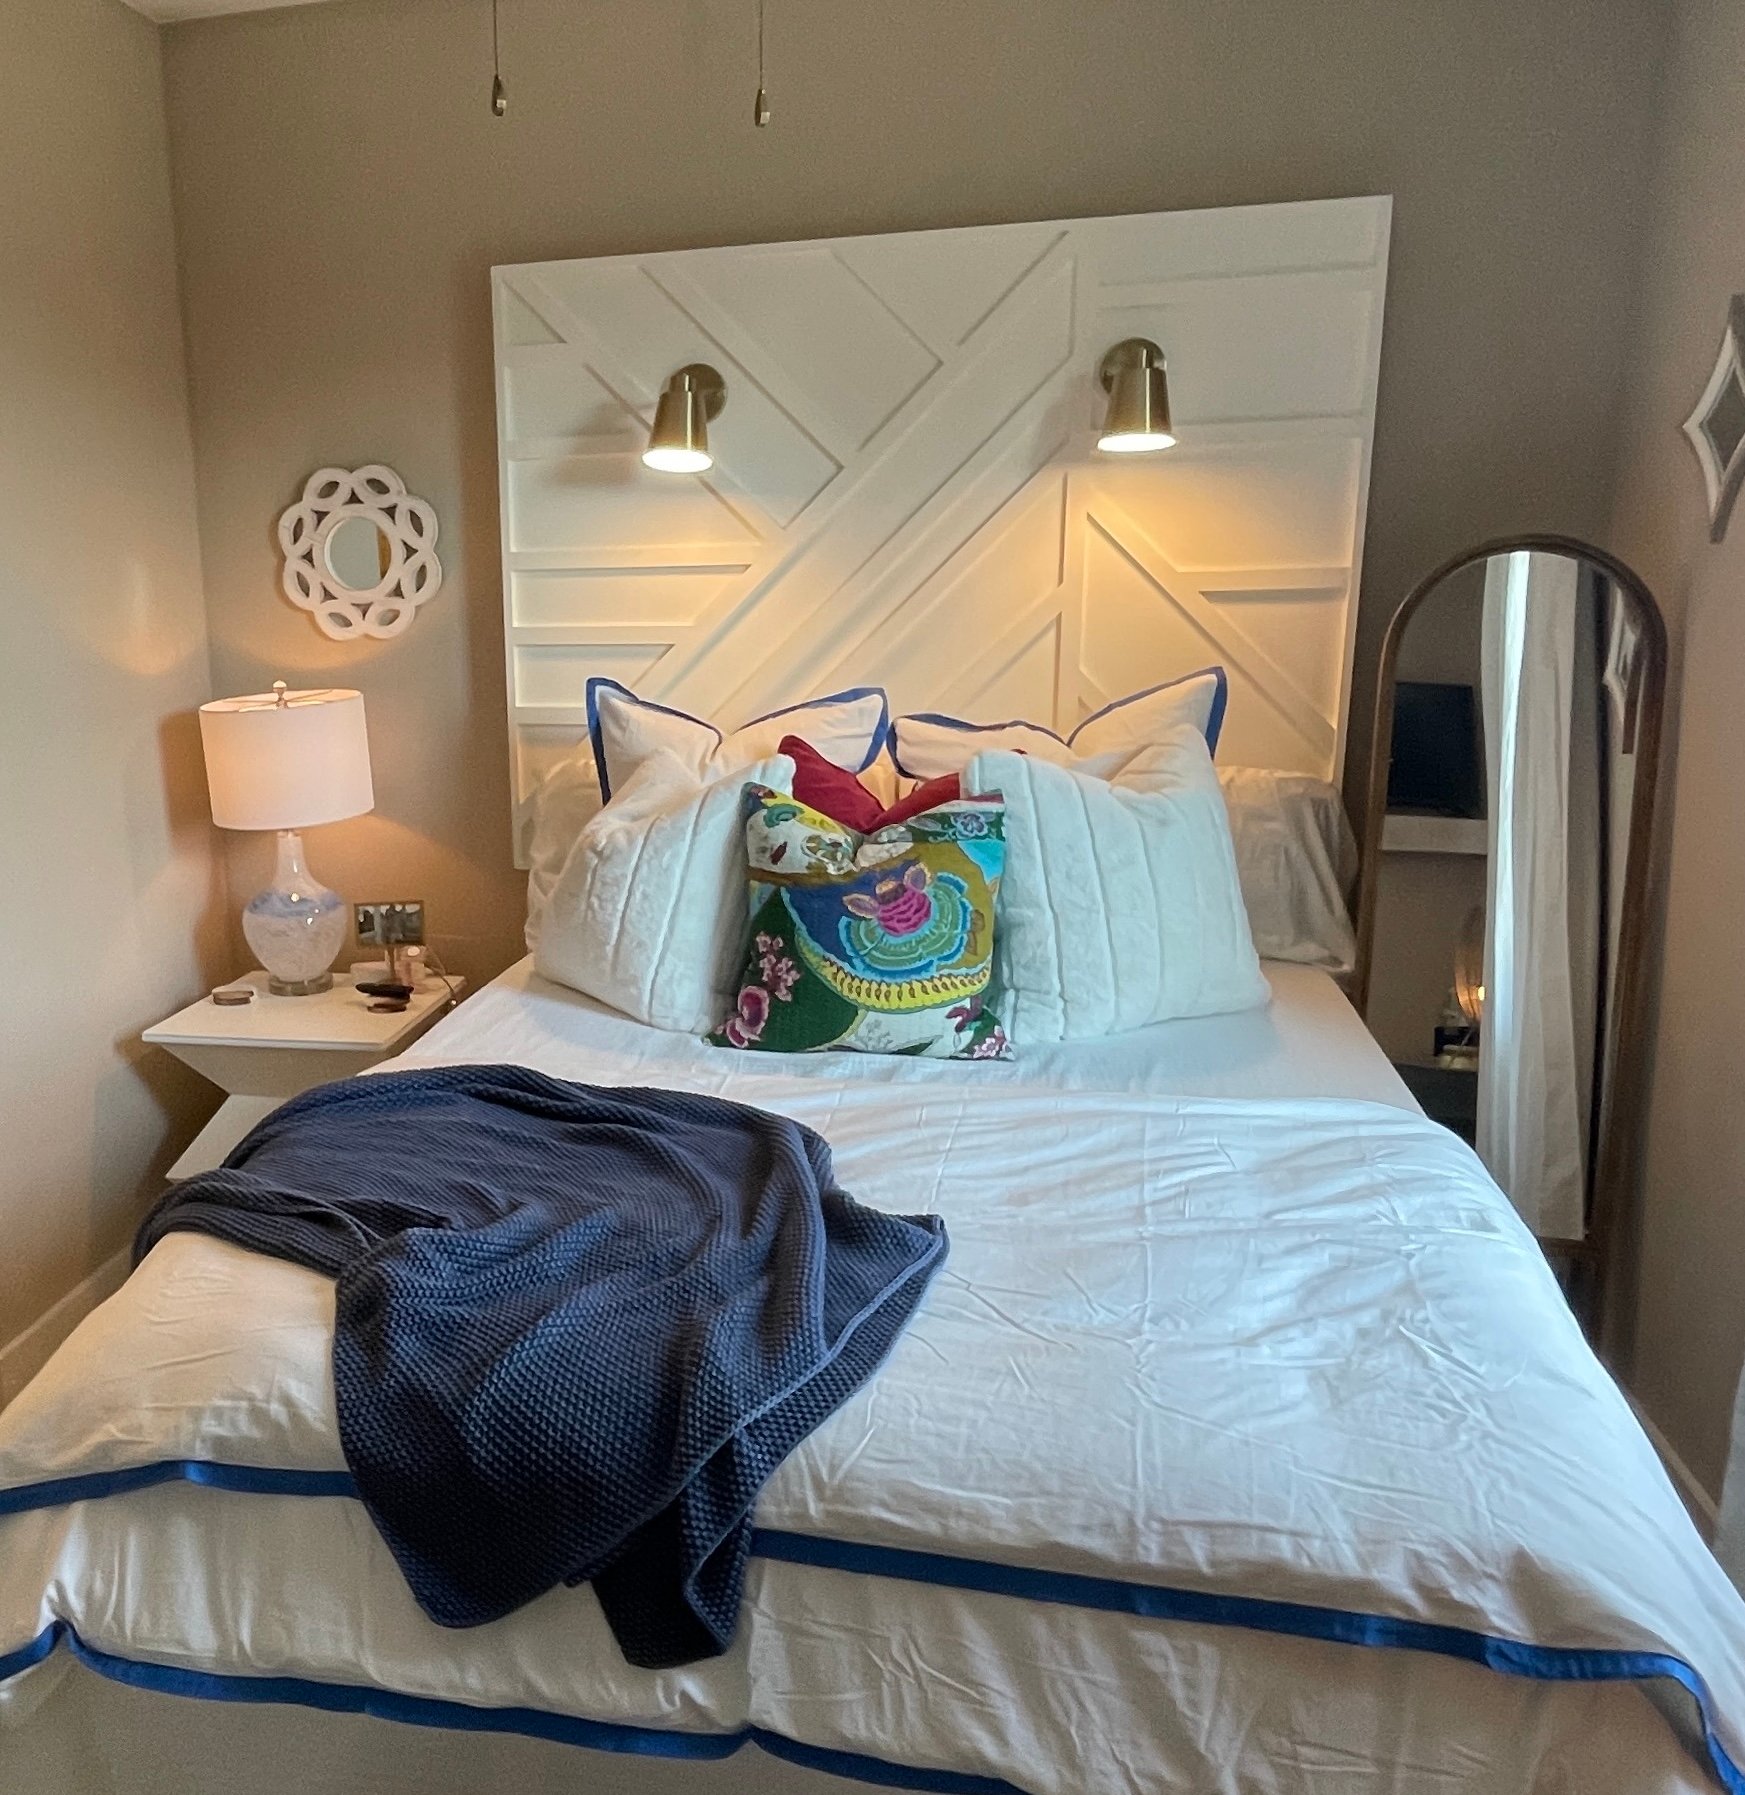
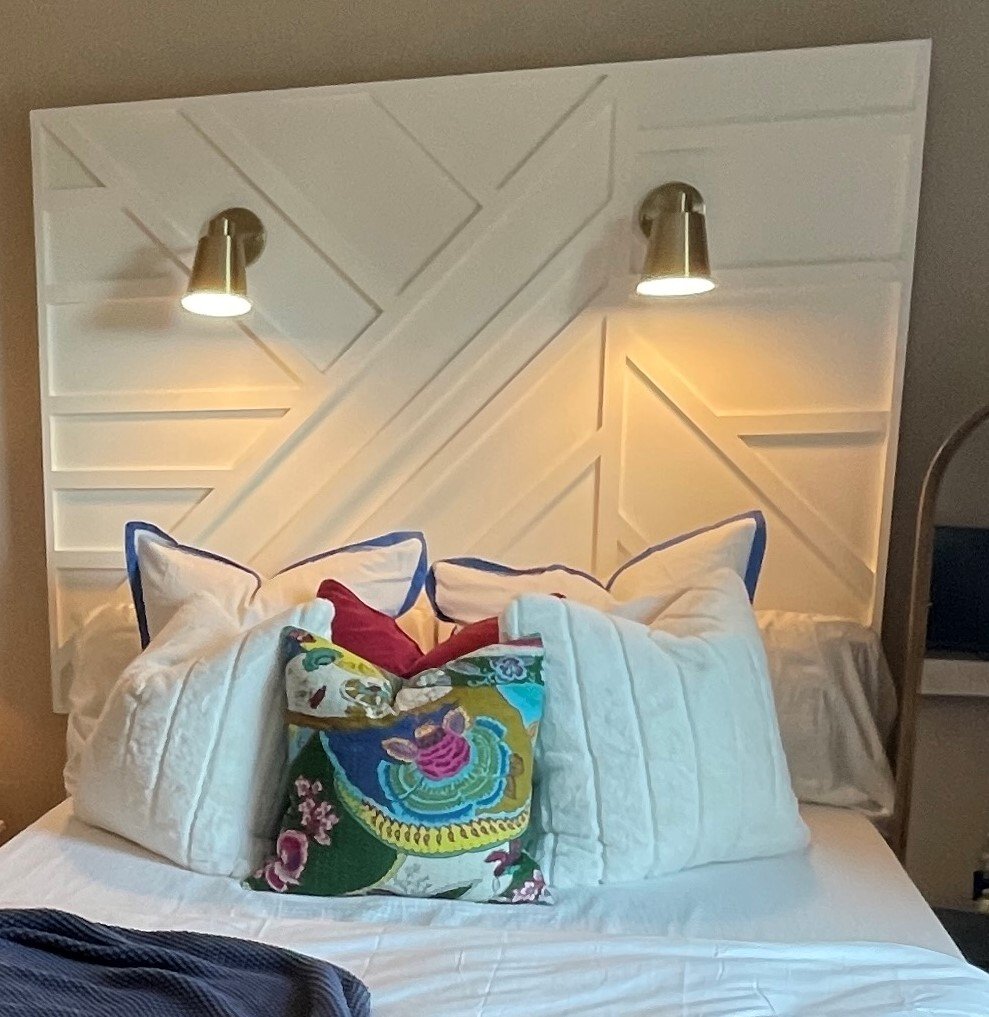
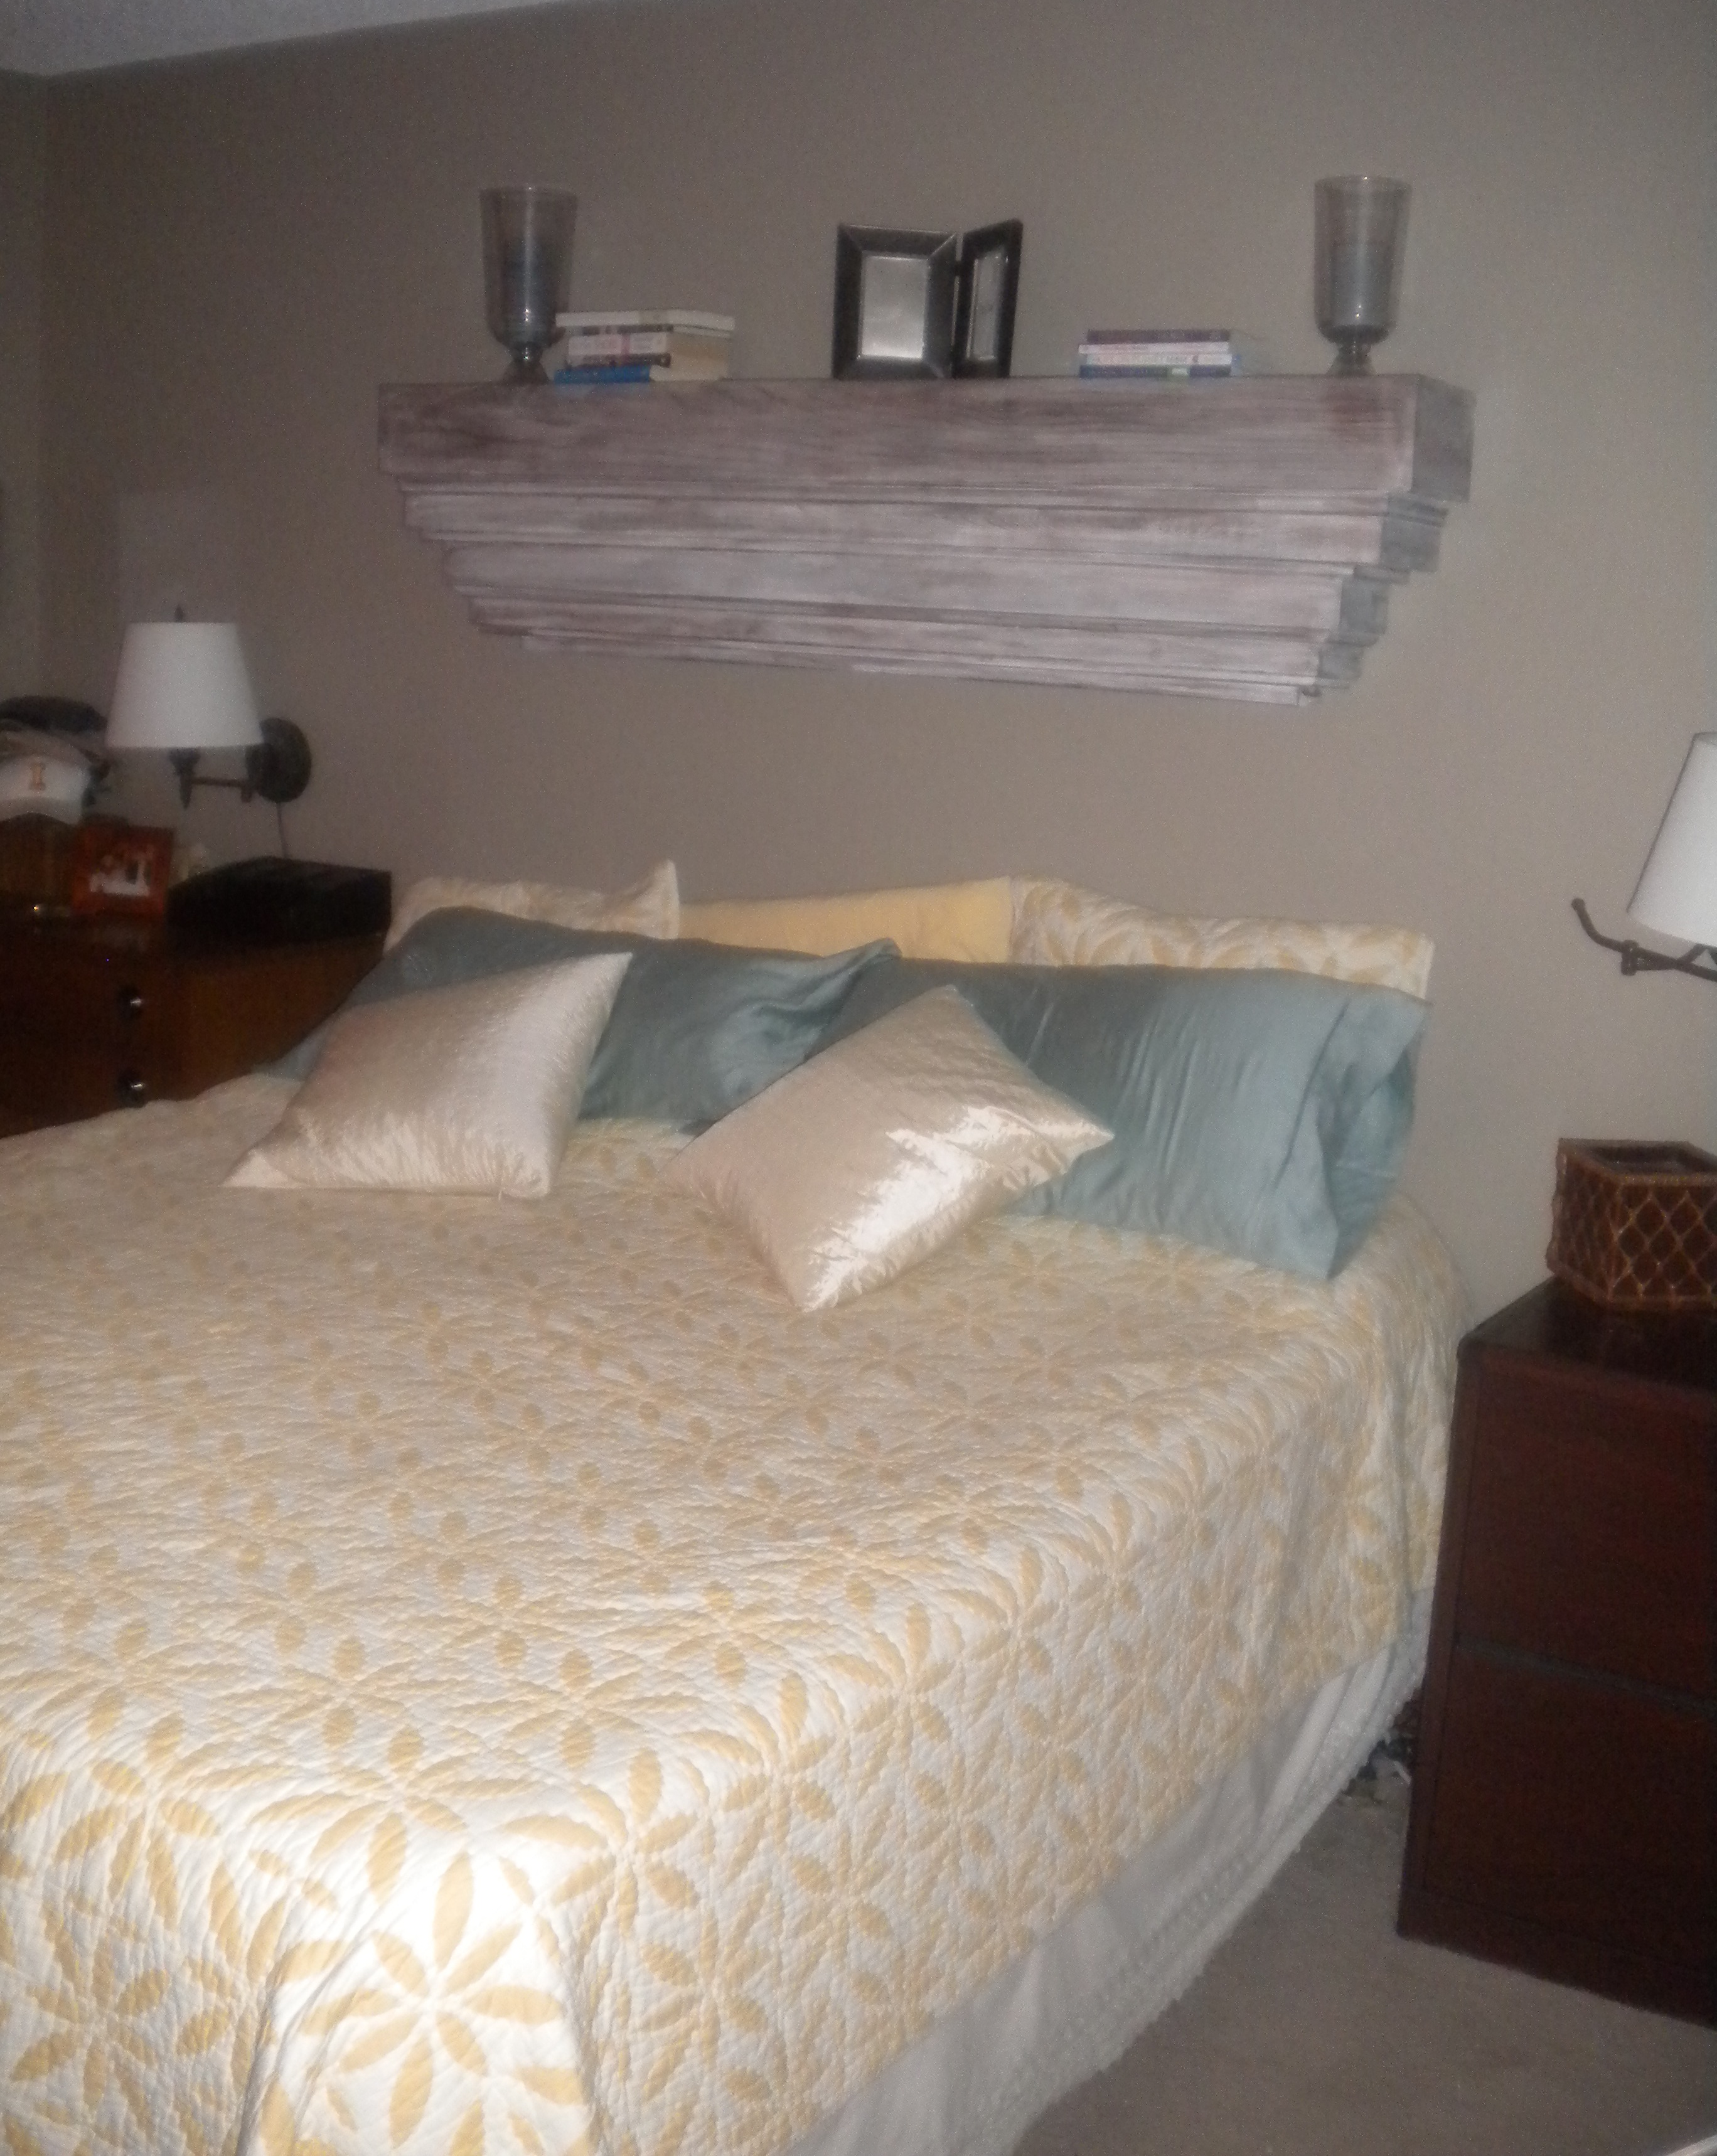
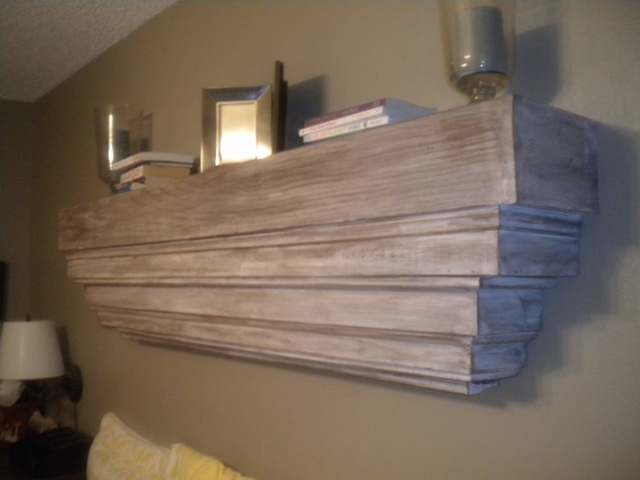
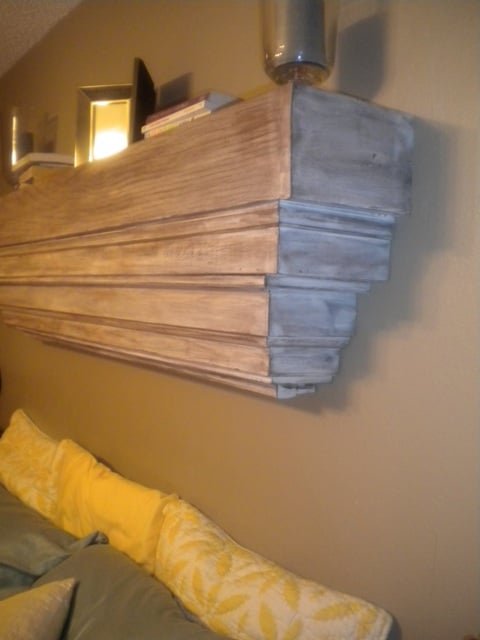
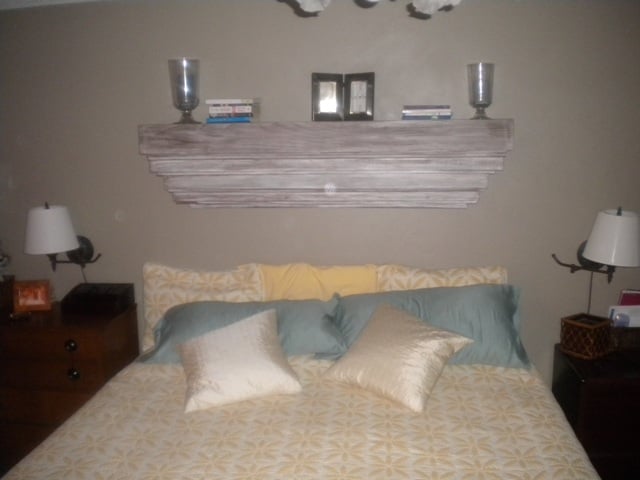
Love the added height and lights, brilliant for a smaller room!