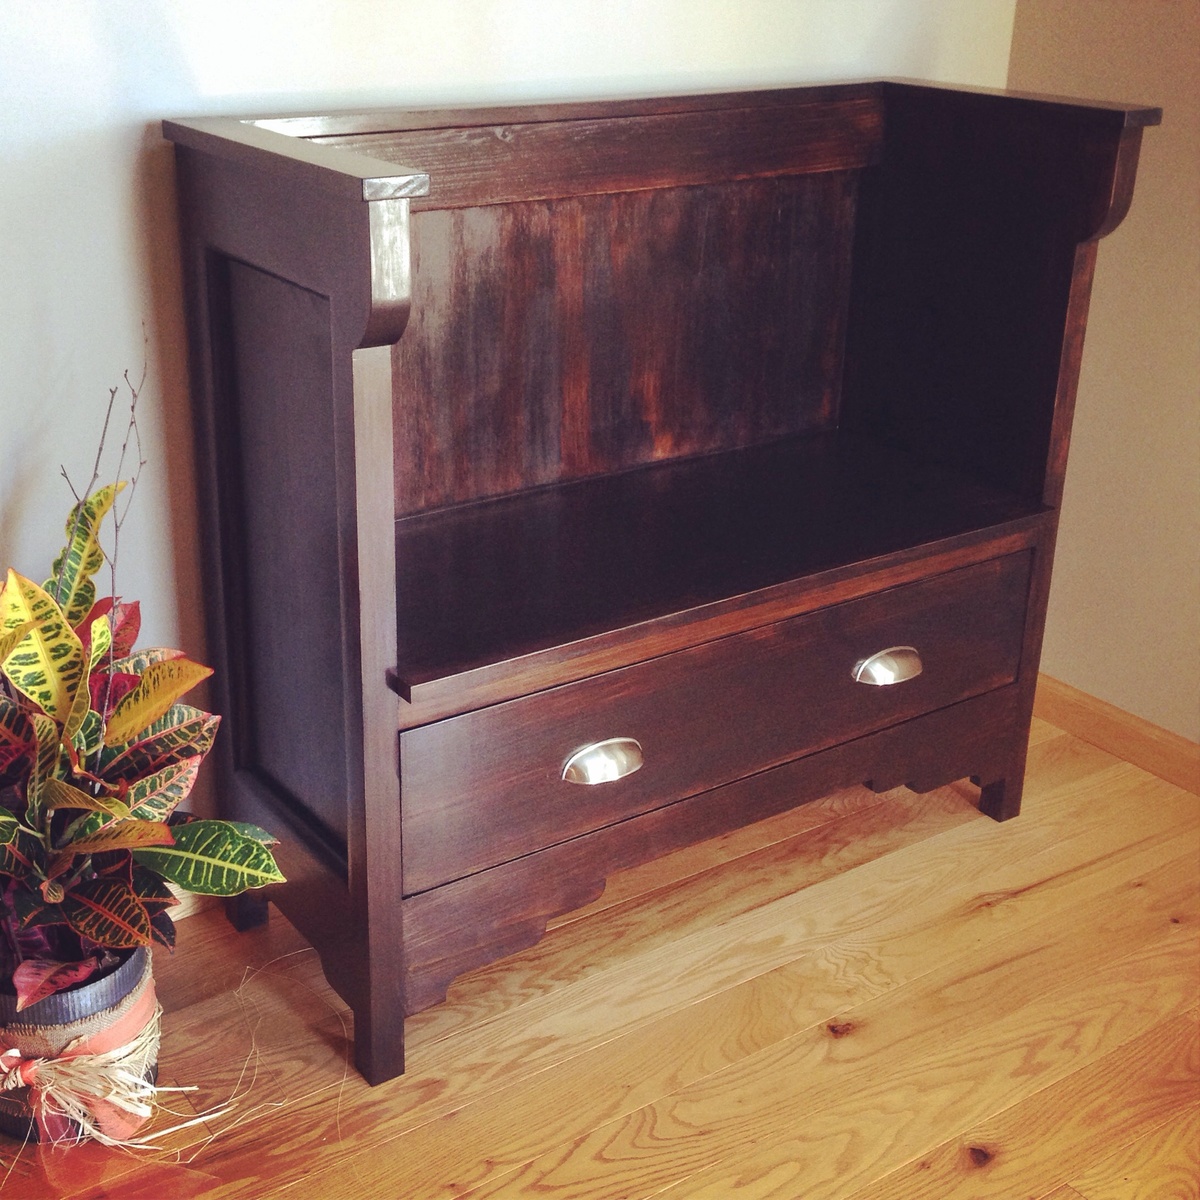
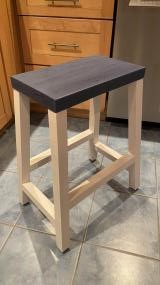
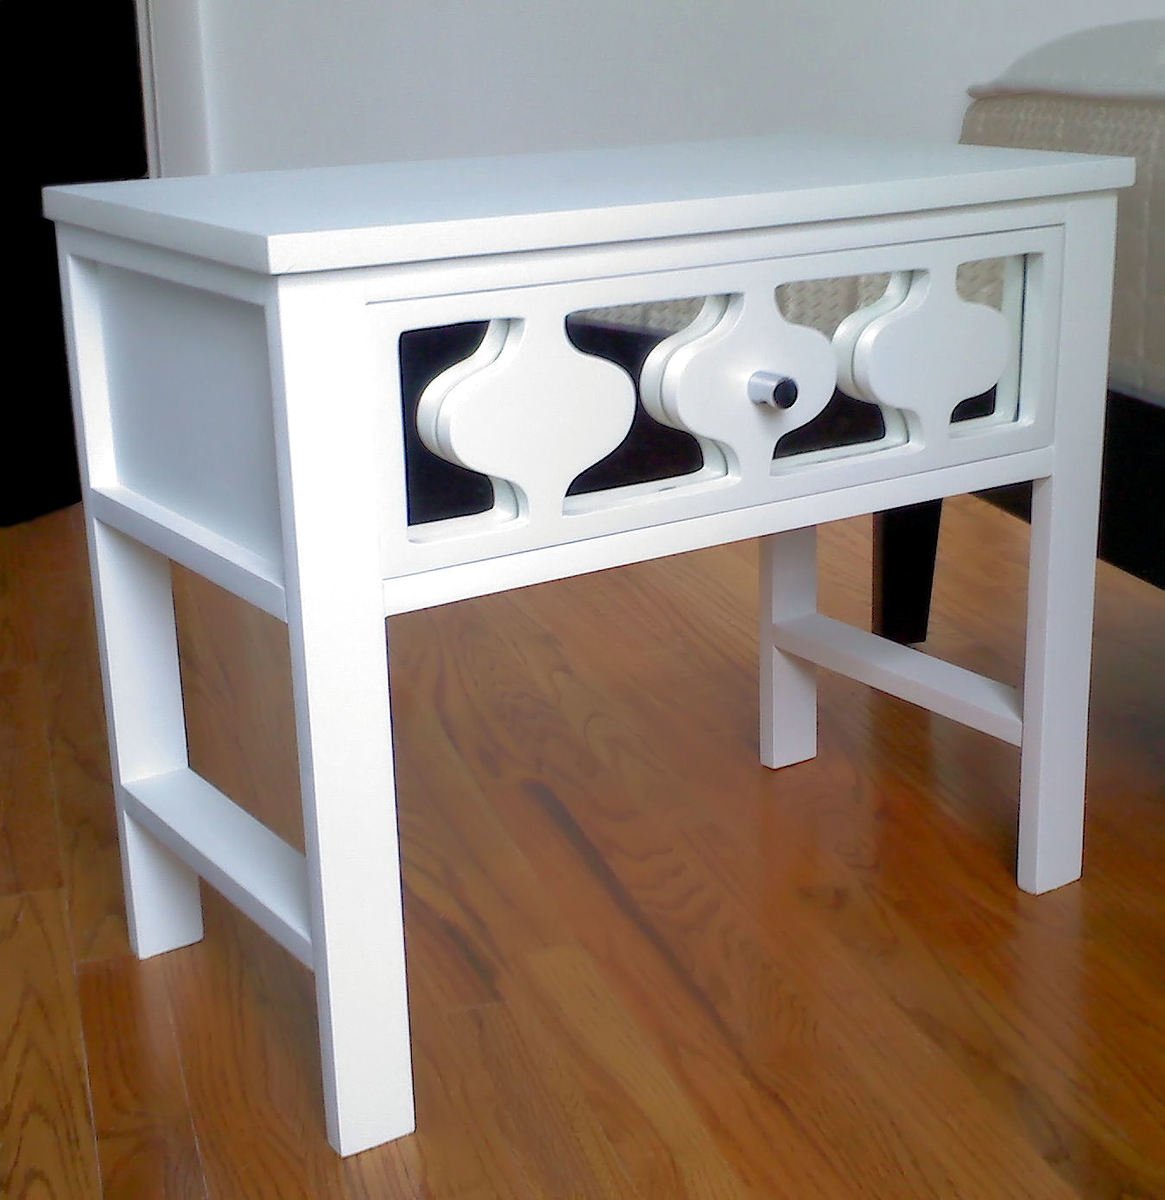
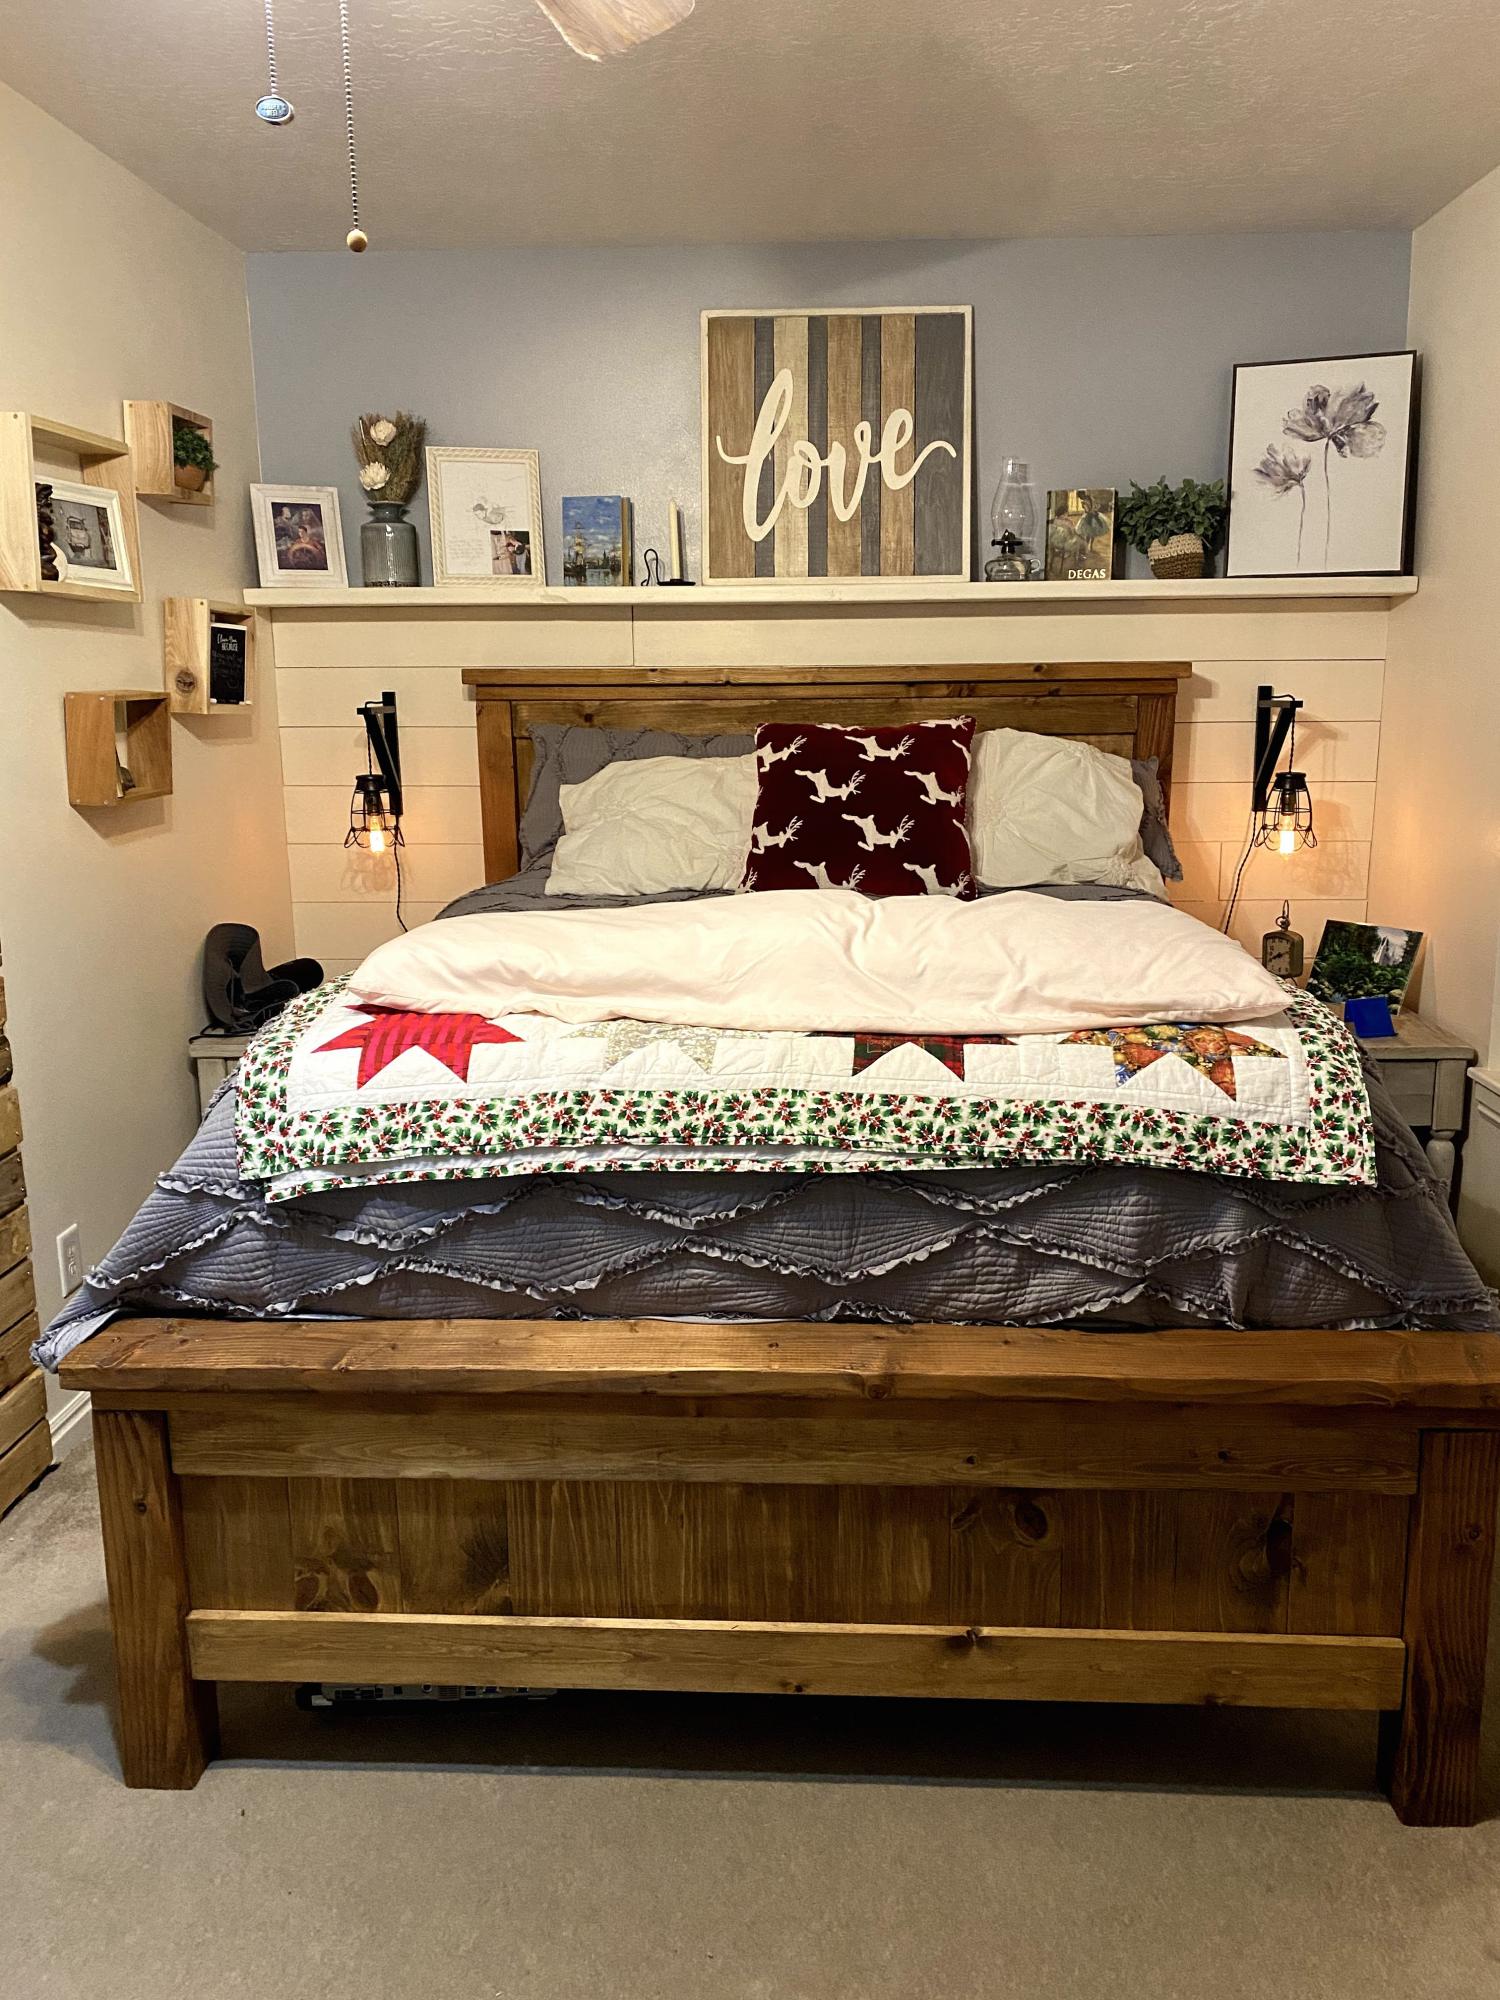
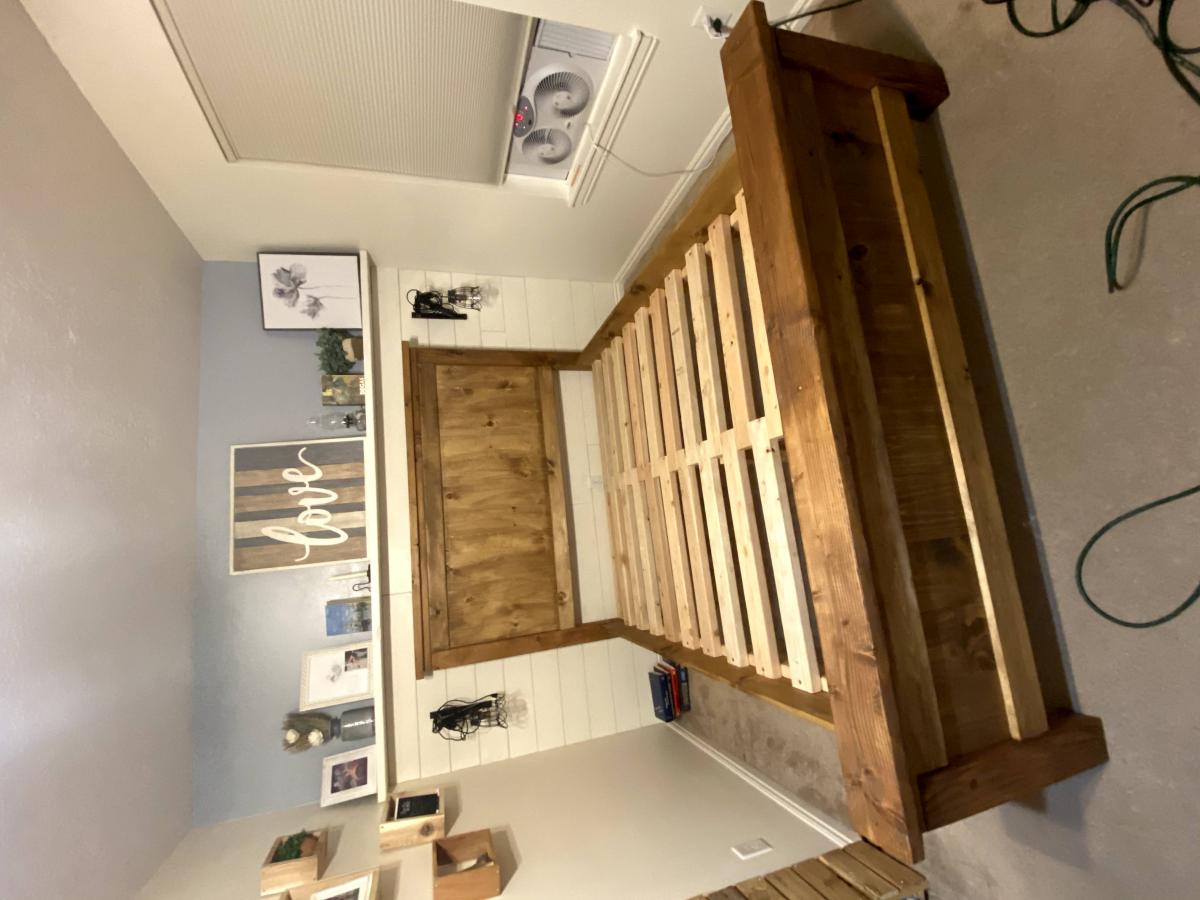
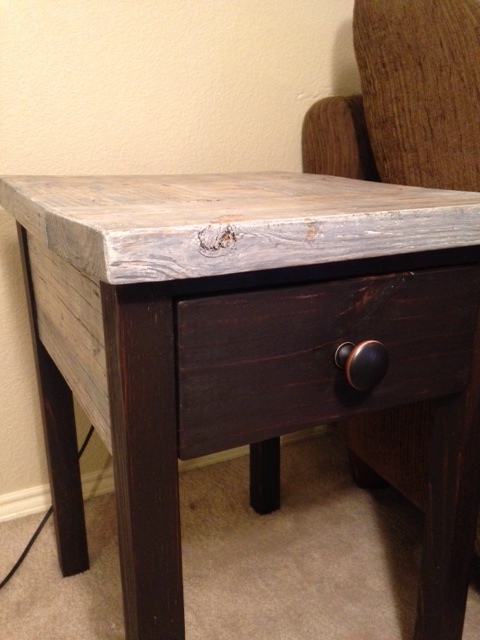
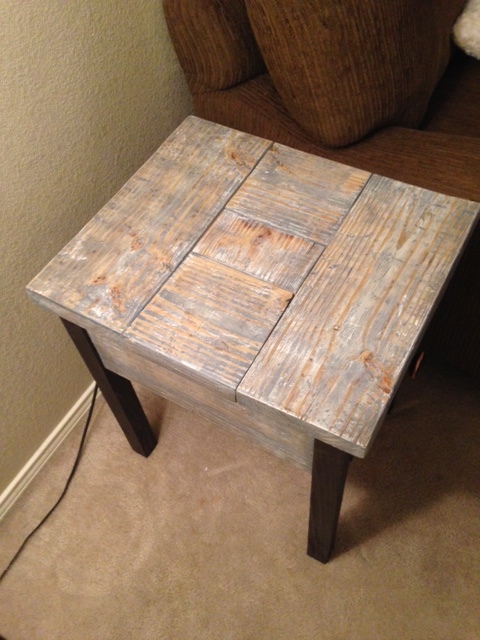
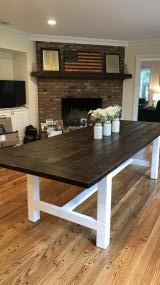
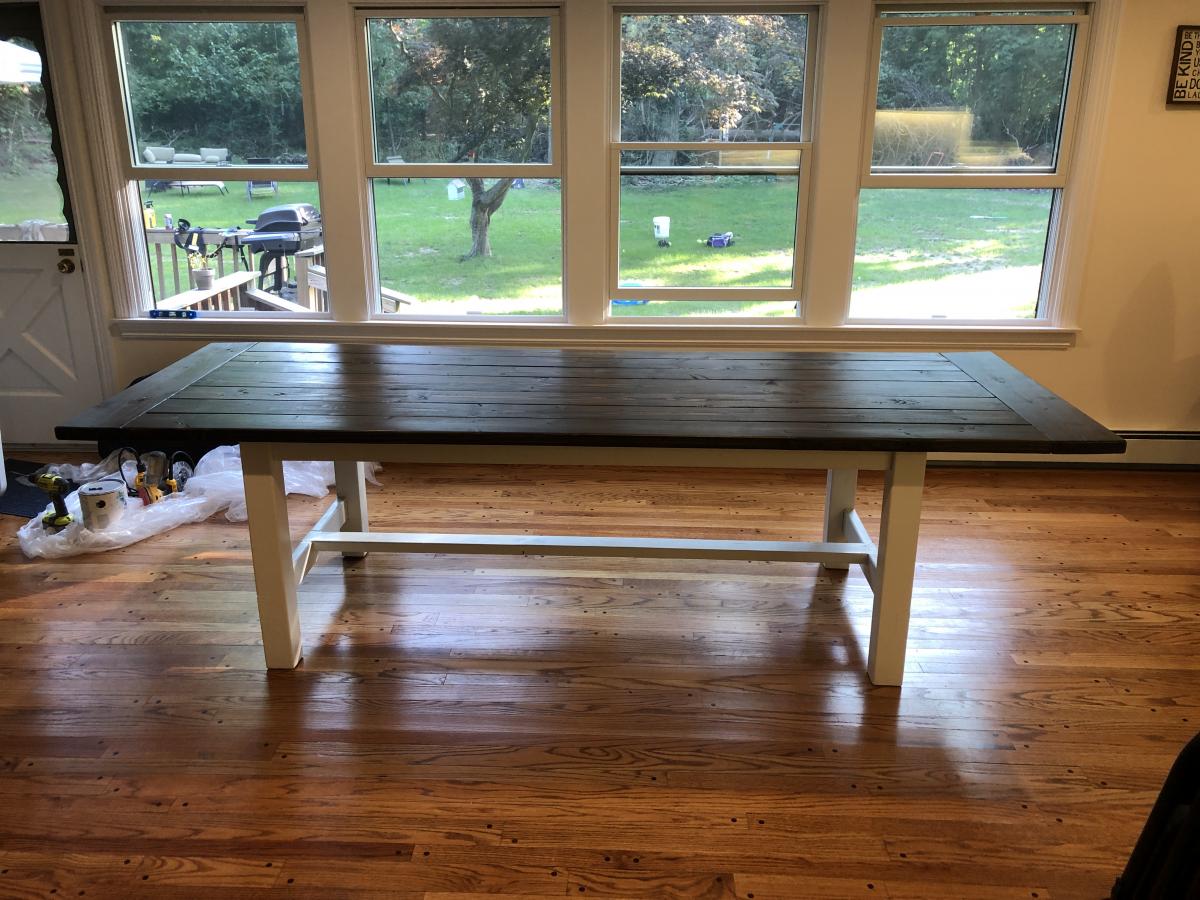
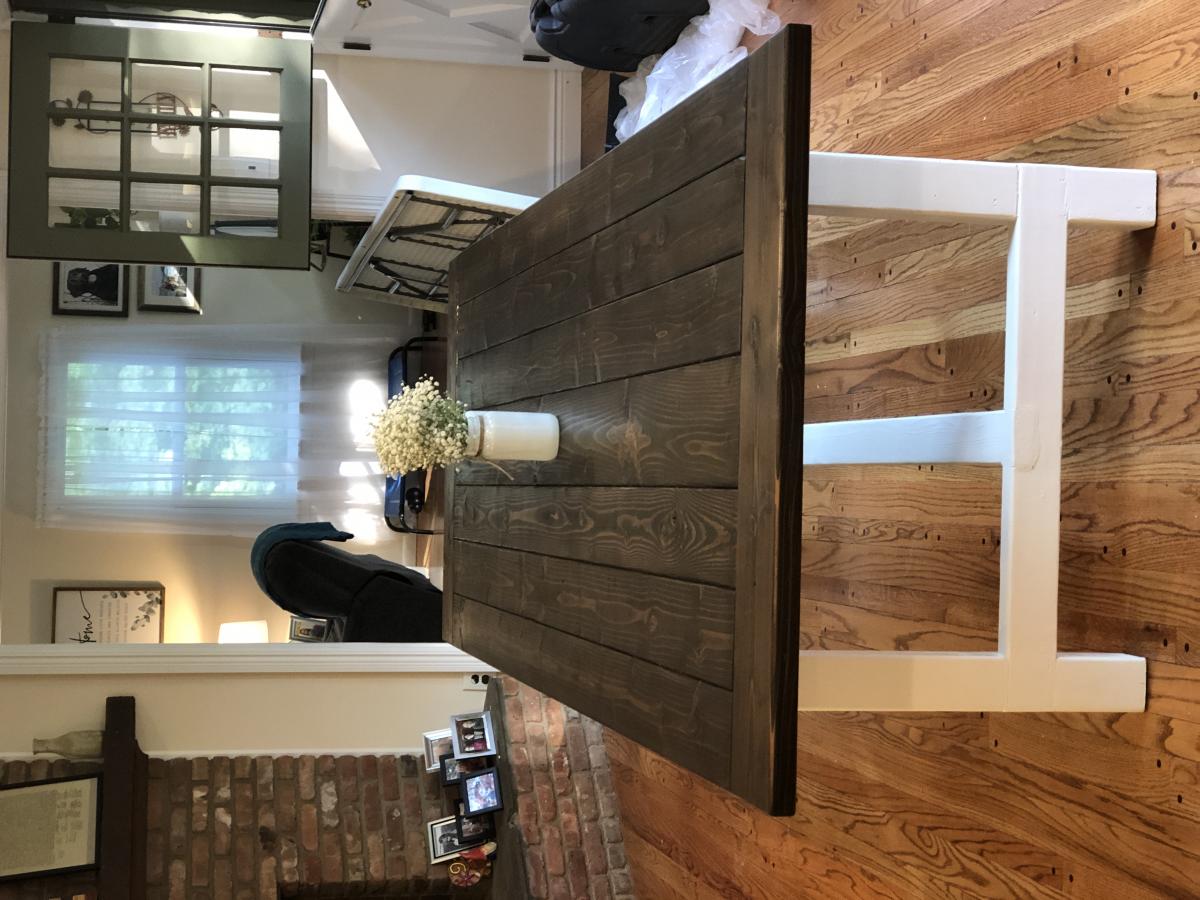
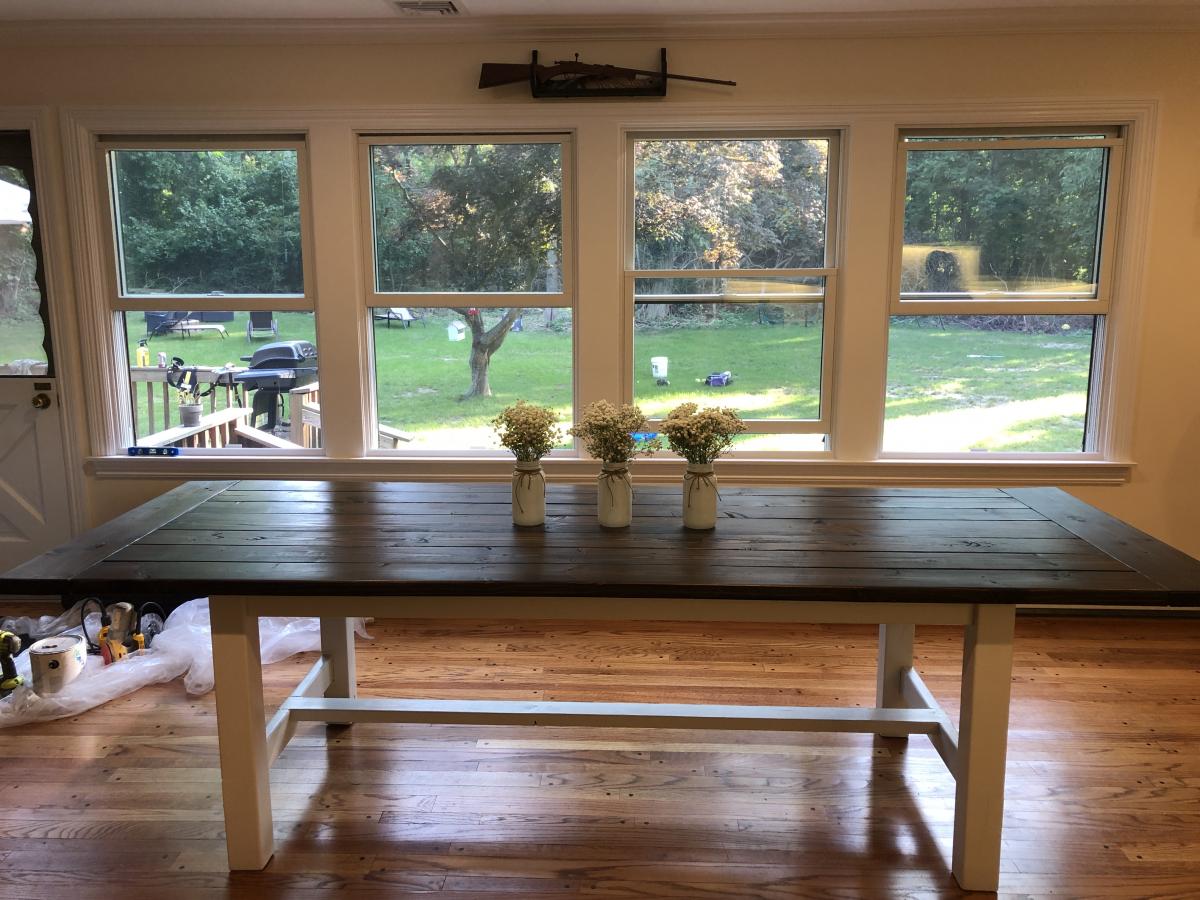
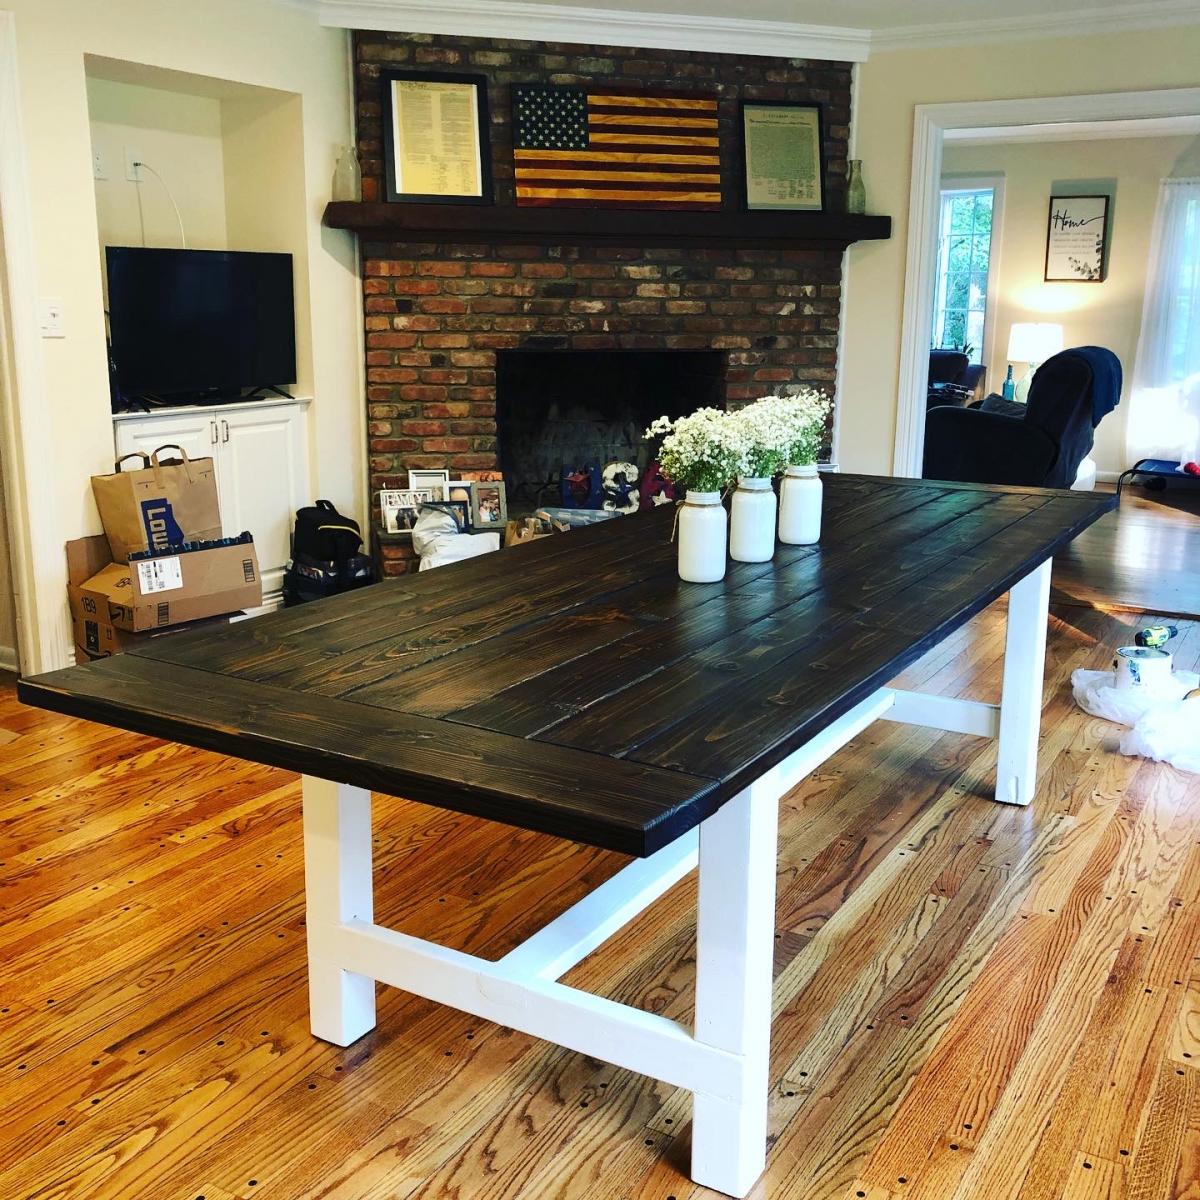
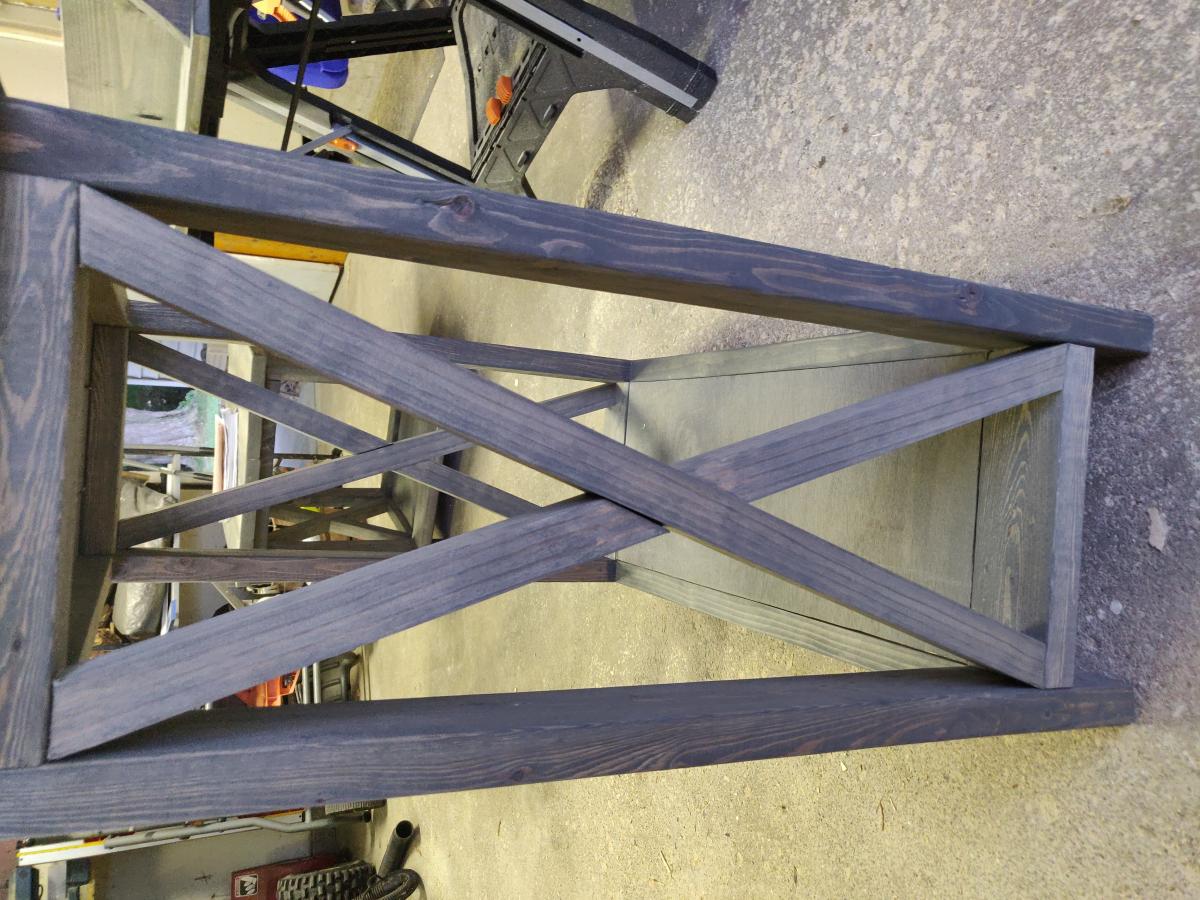
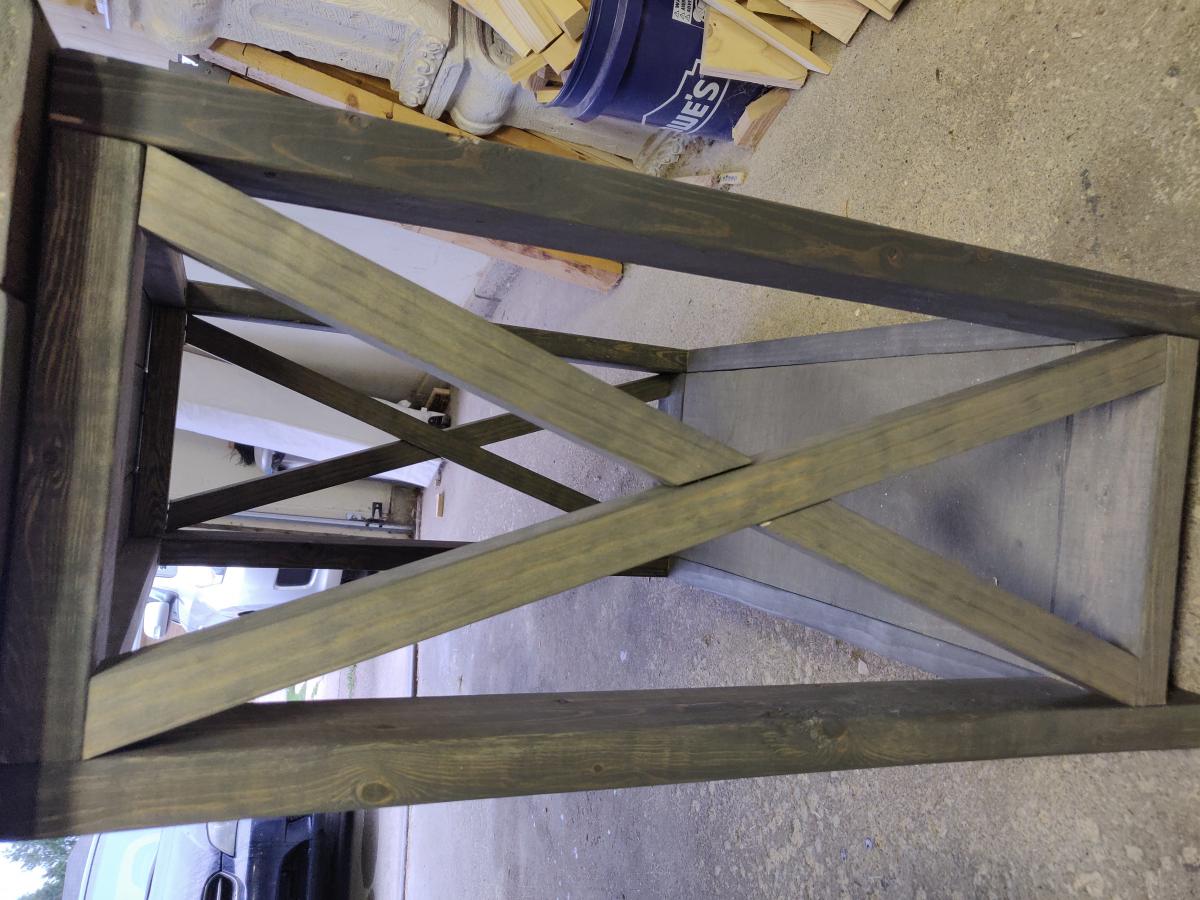
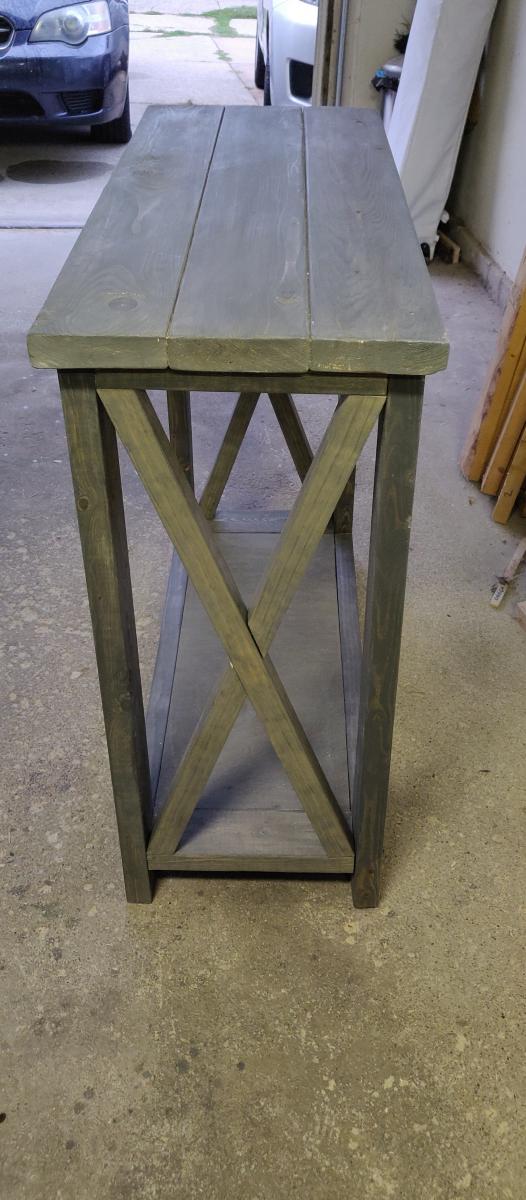
Rustic X Console table
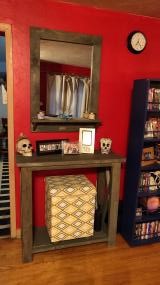
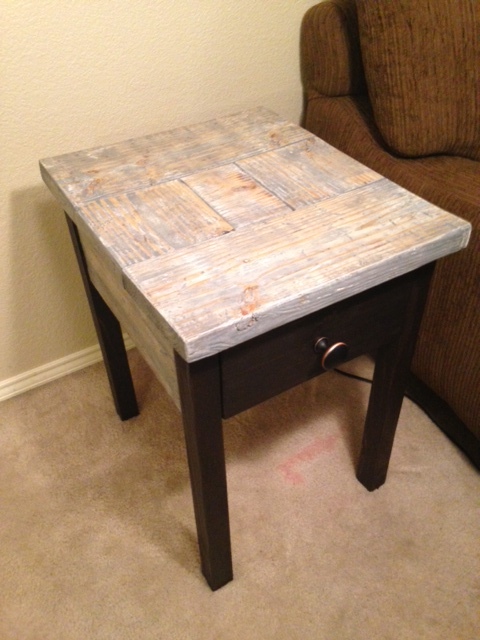
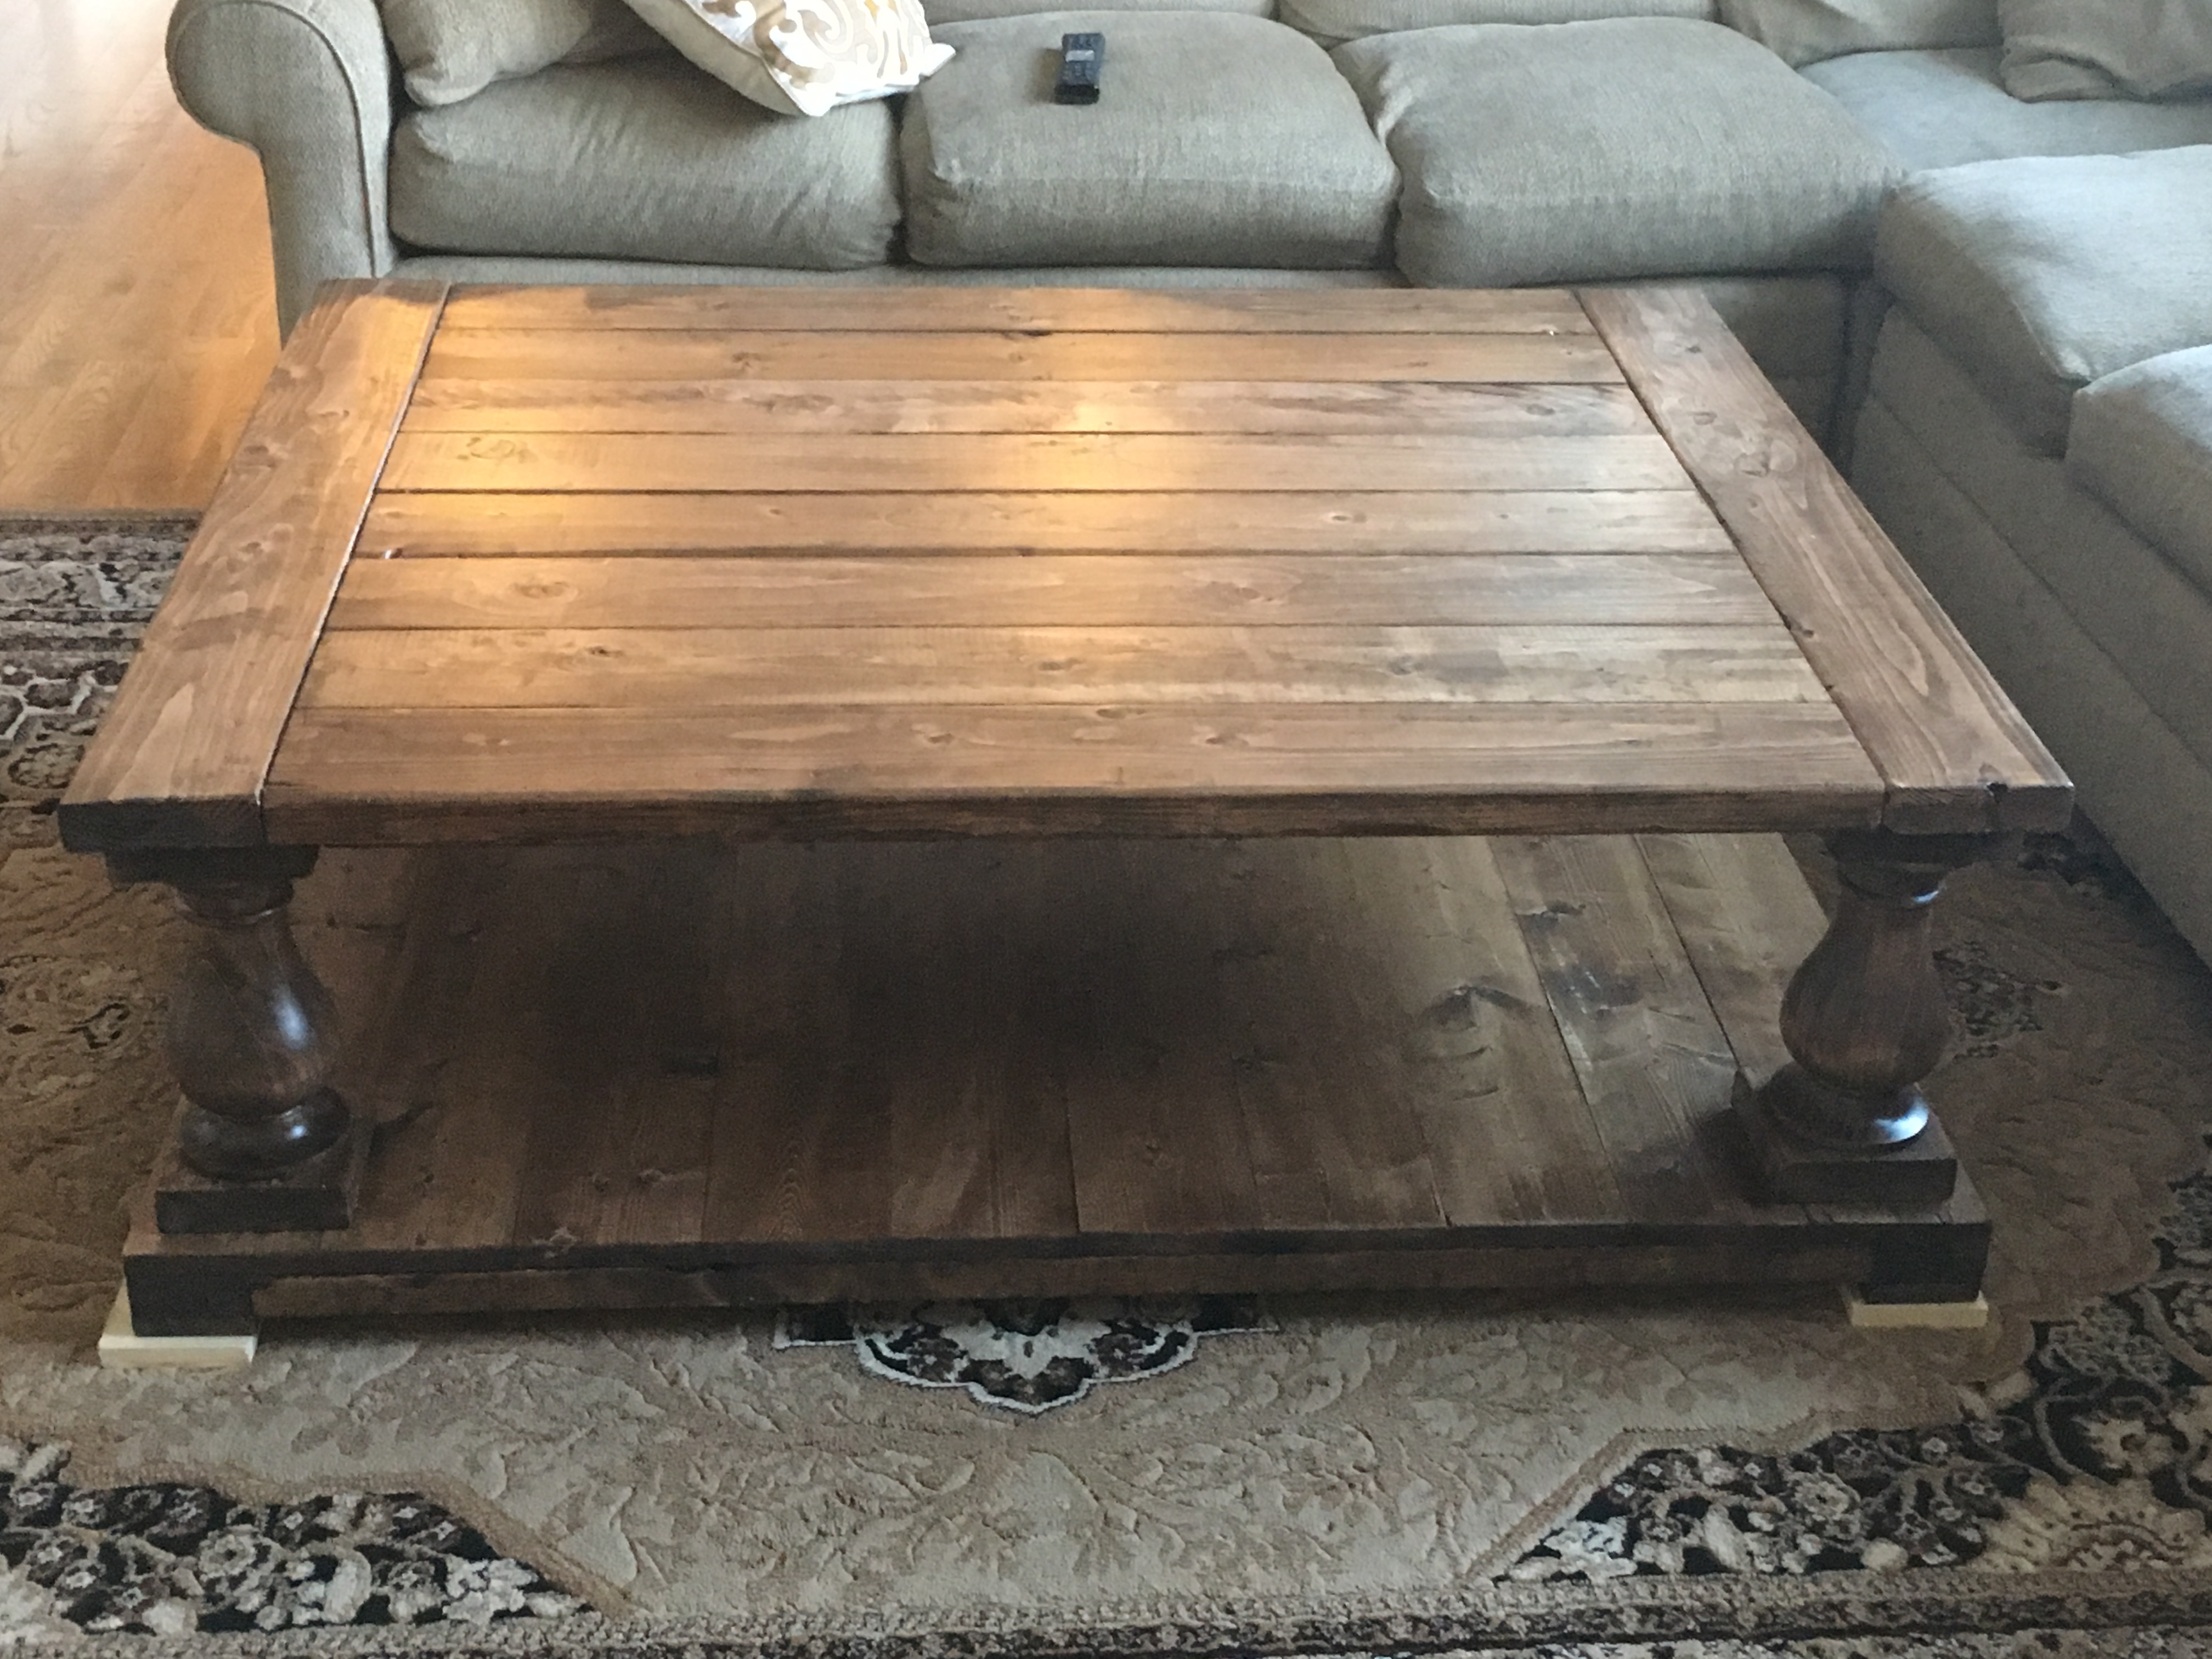
Modified the console table by height (approx 39"), length (approx 40"), and eliminated the middle shelf. I can't put an accurate $ estimate since I bought wood for three projects and this was one of them.
Built from Plan(s)
Estimated Cost
$50
Estimated Time Investment
Afternoon Project (3-6 Hours)
Finish Used
Charcoal grey stain
Recommended Skill Level
Intermediate