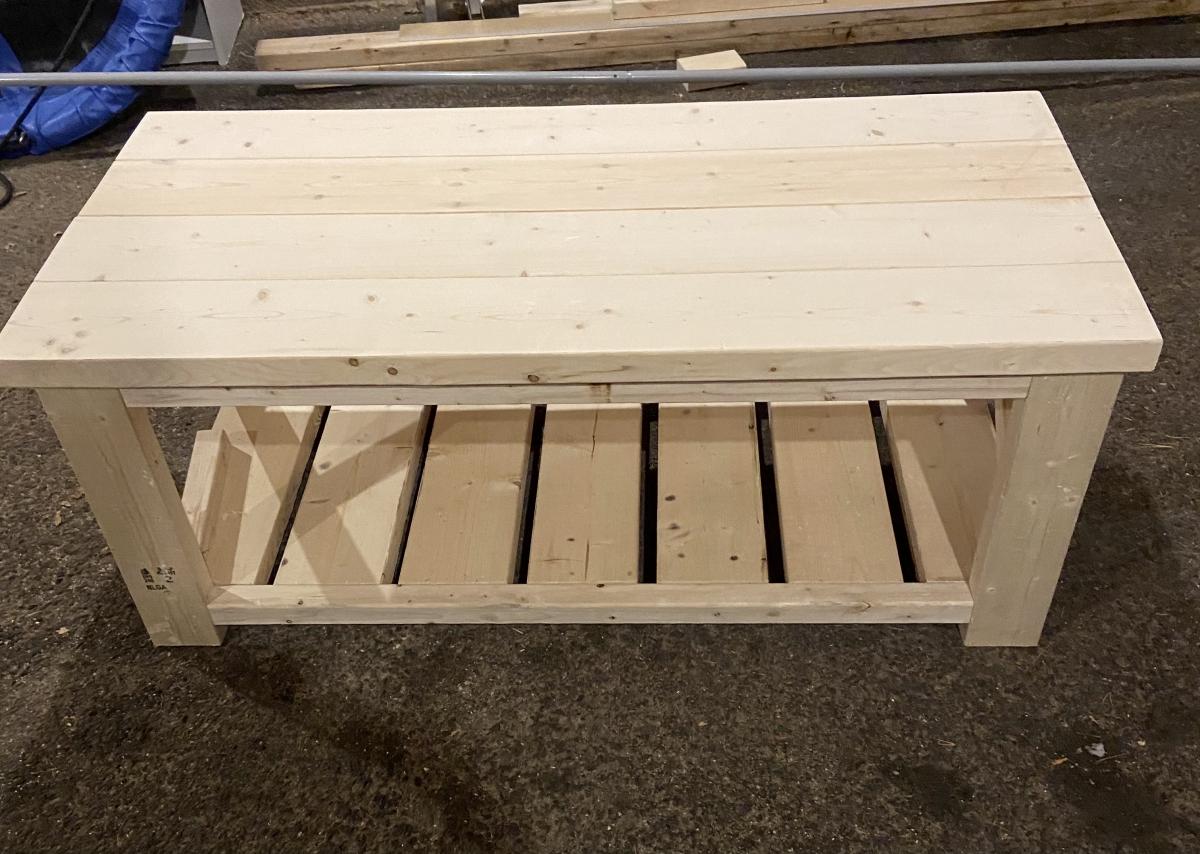
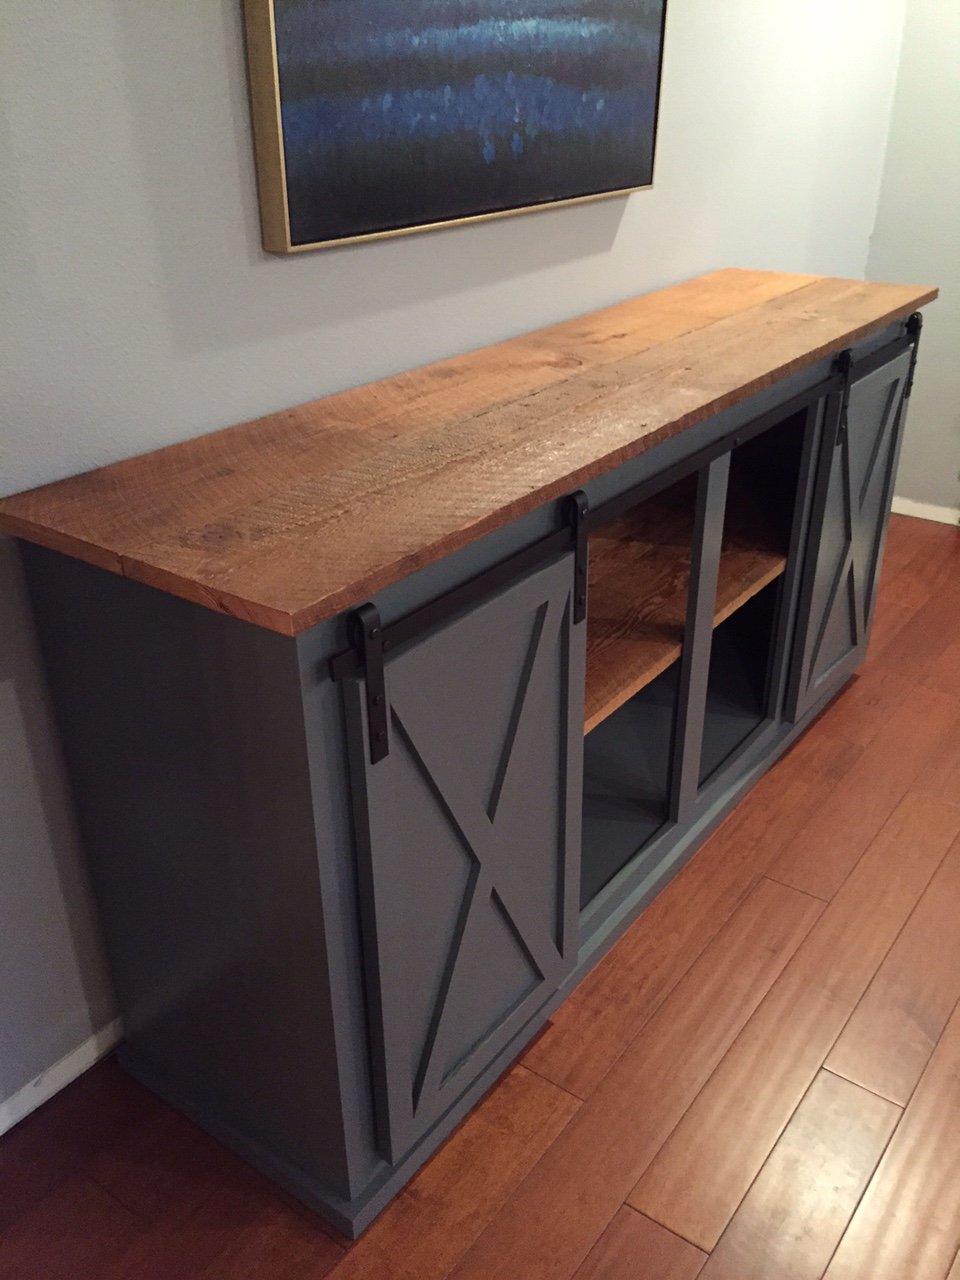
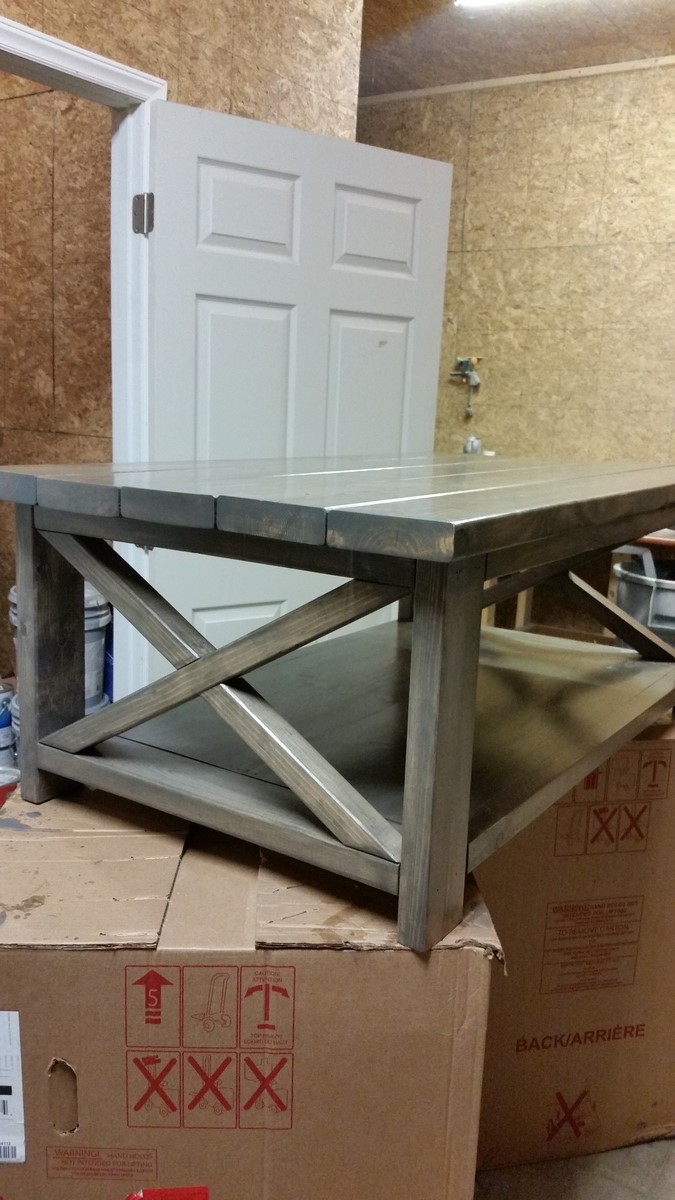
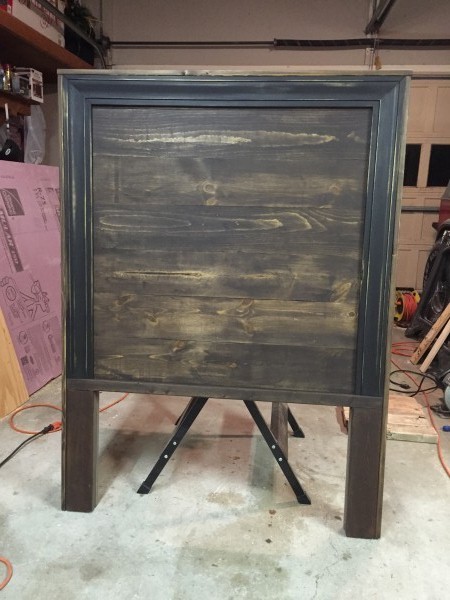
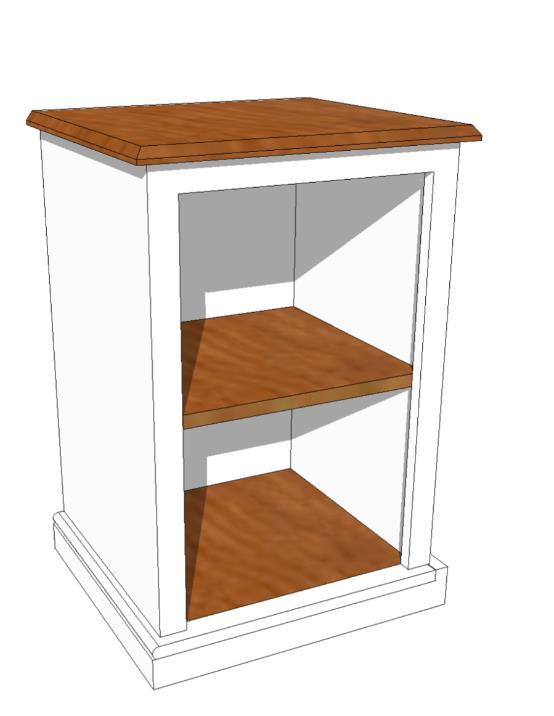
Console Table
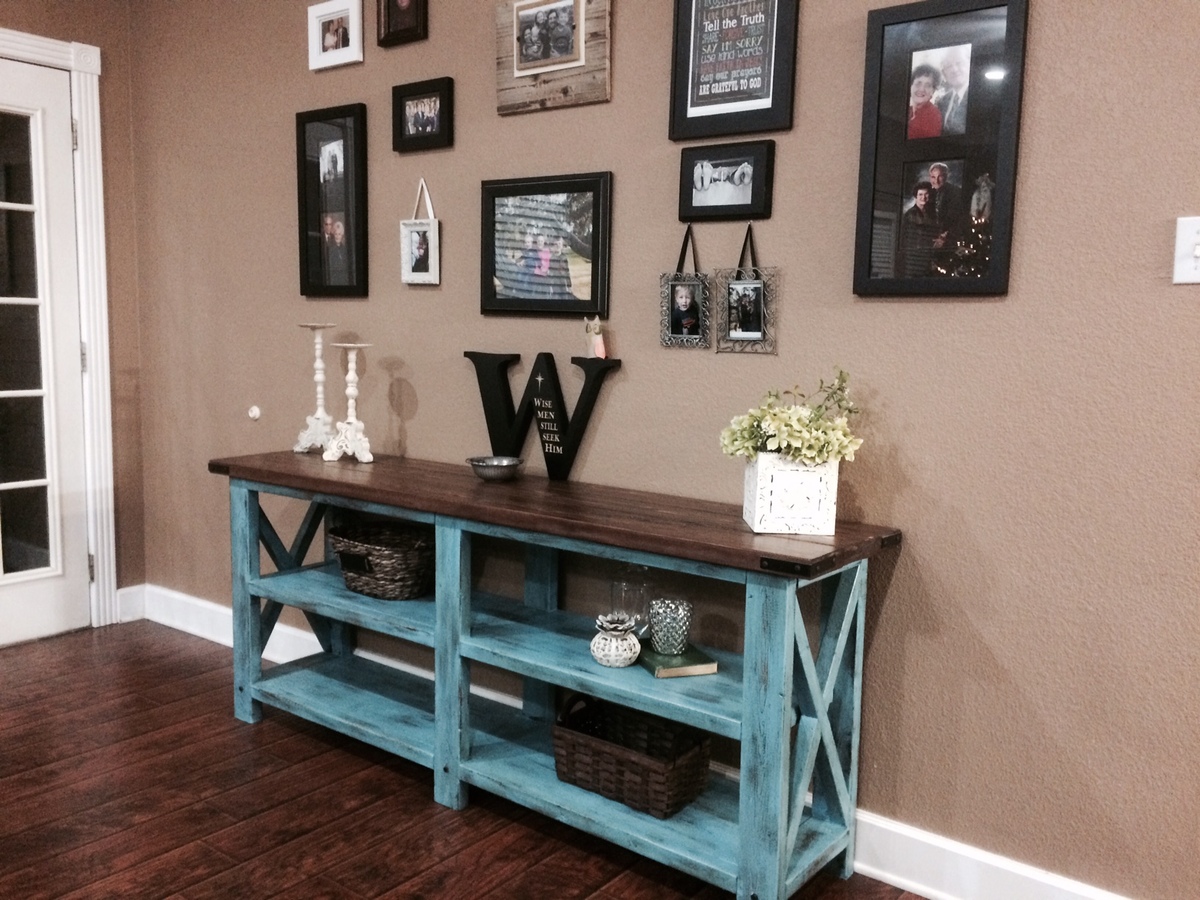
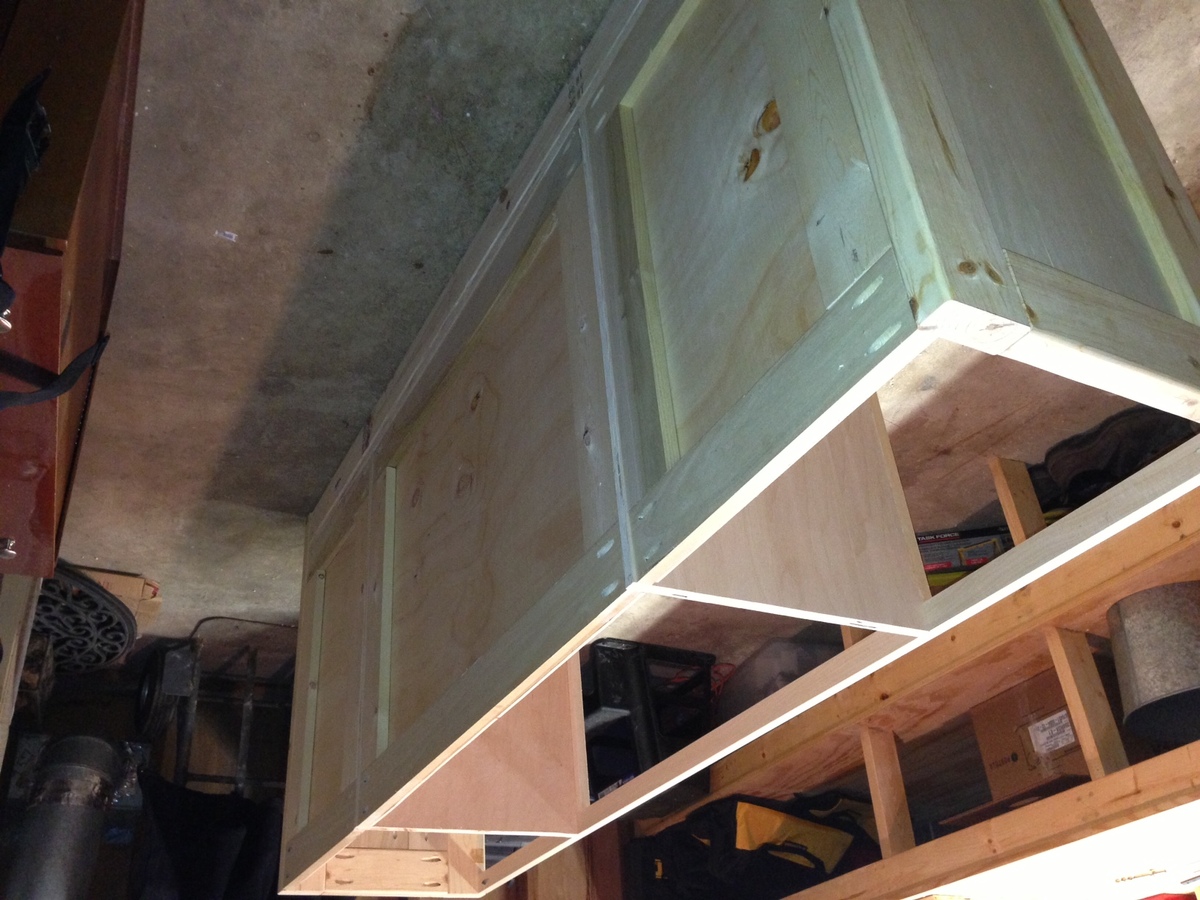
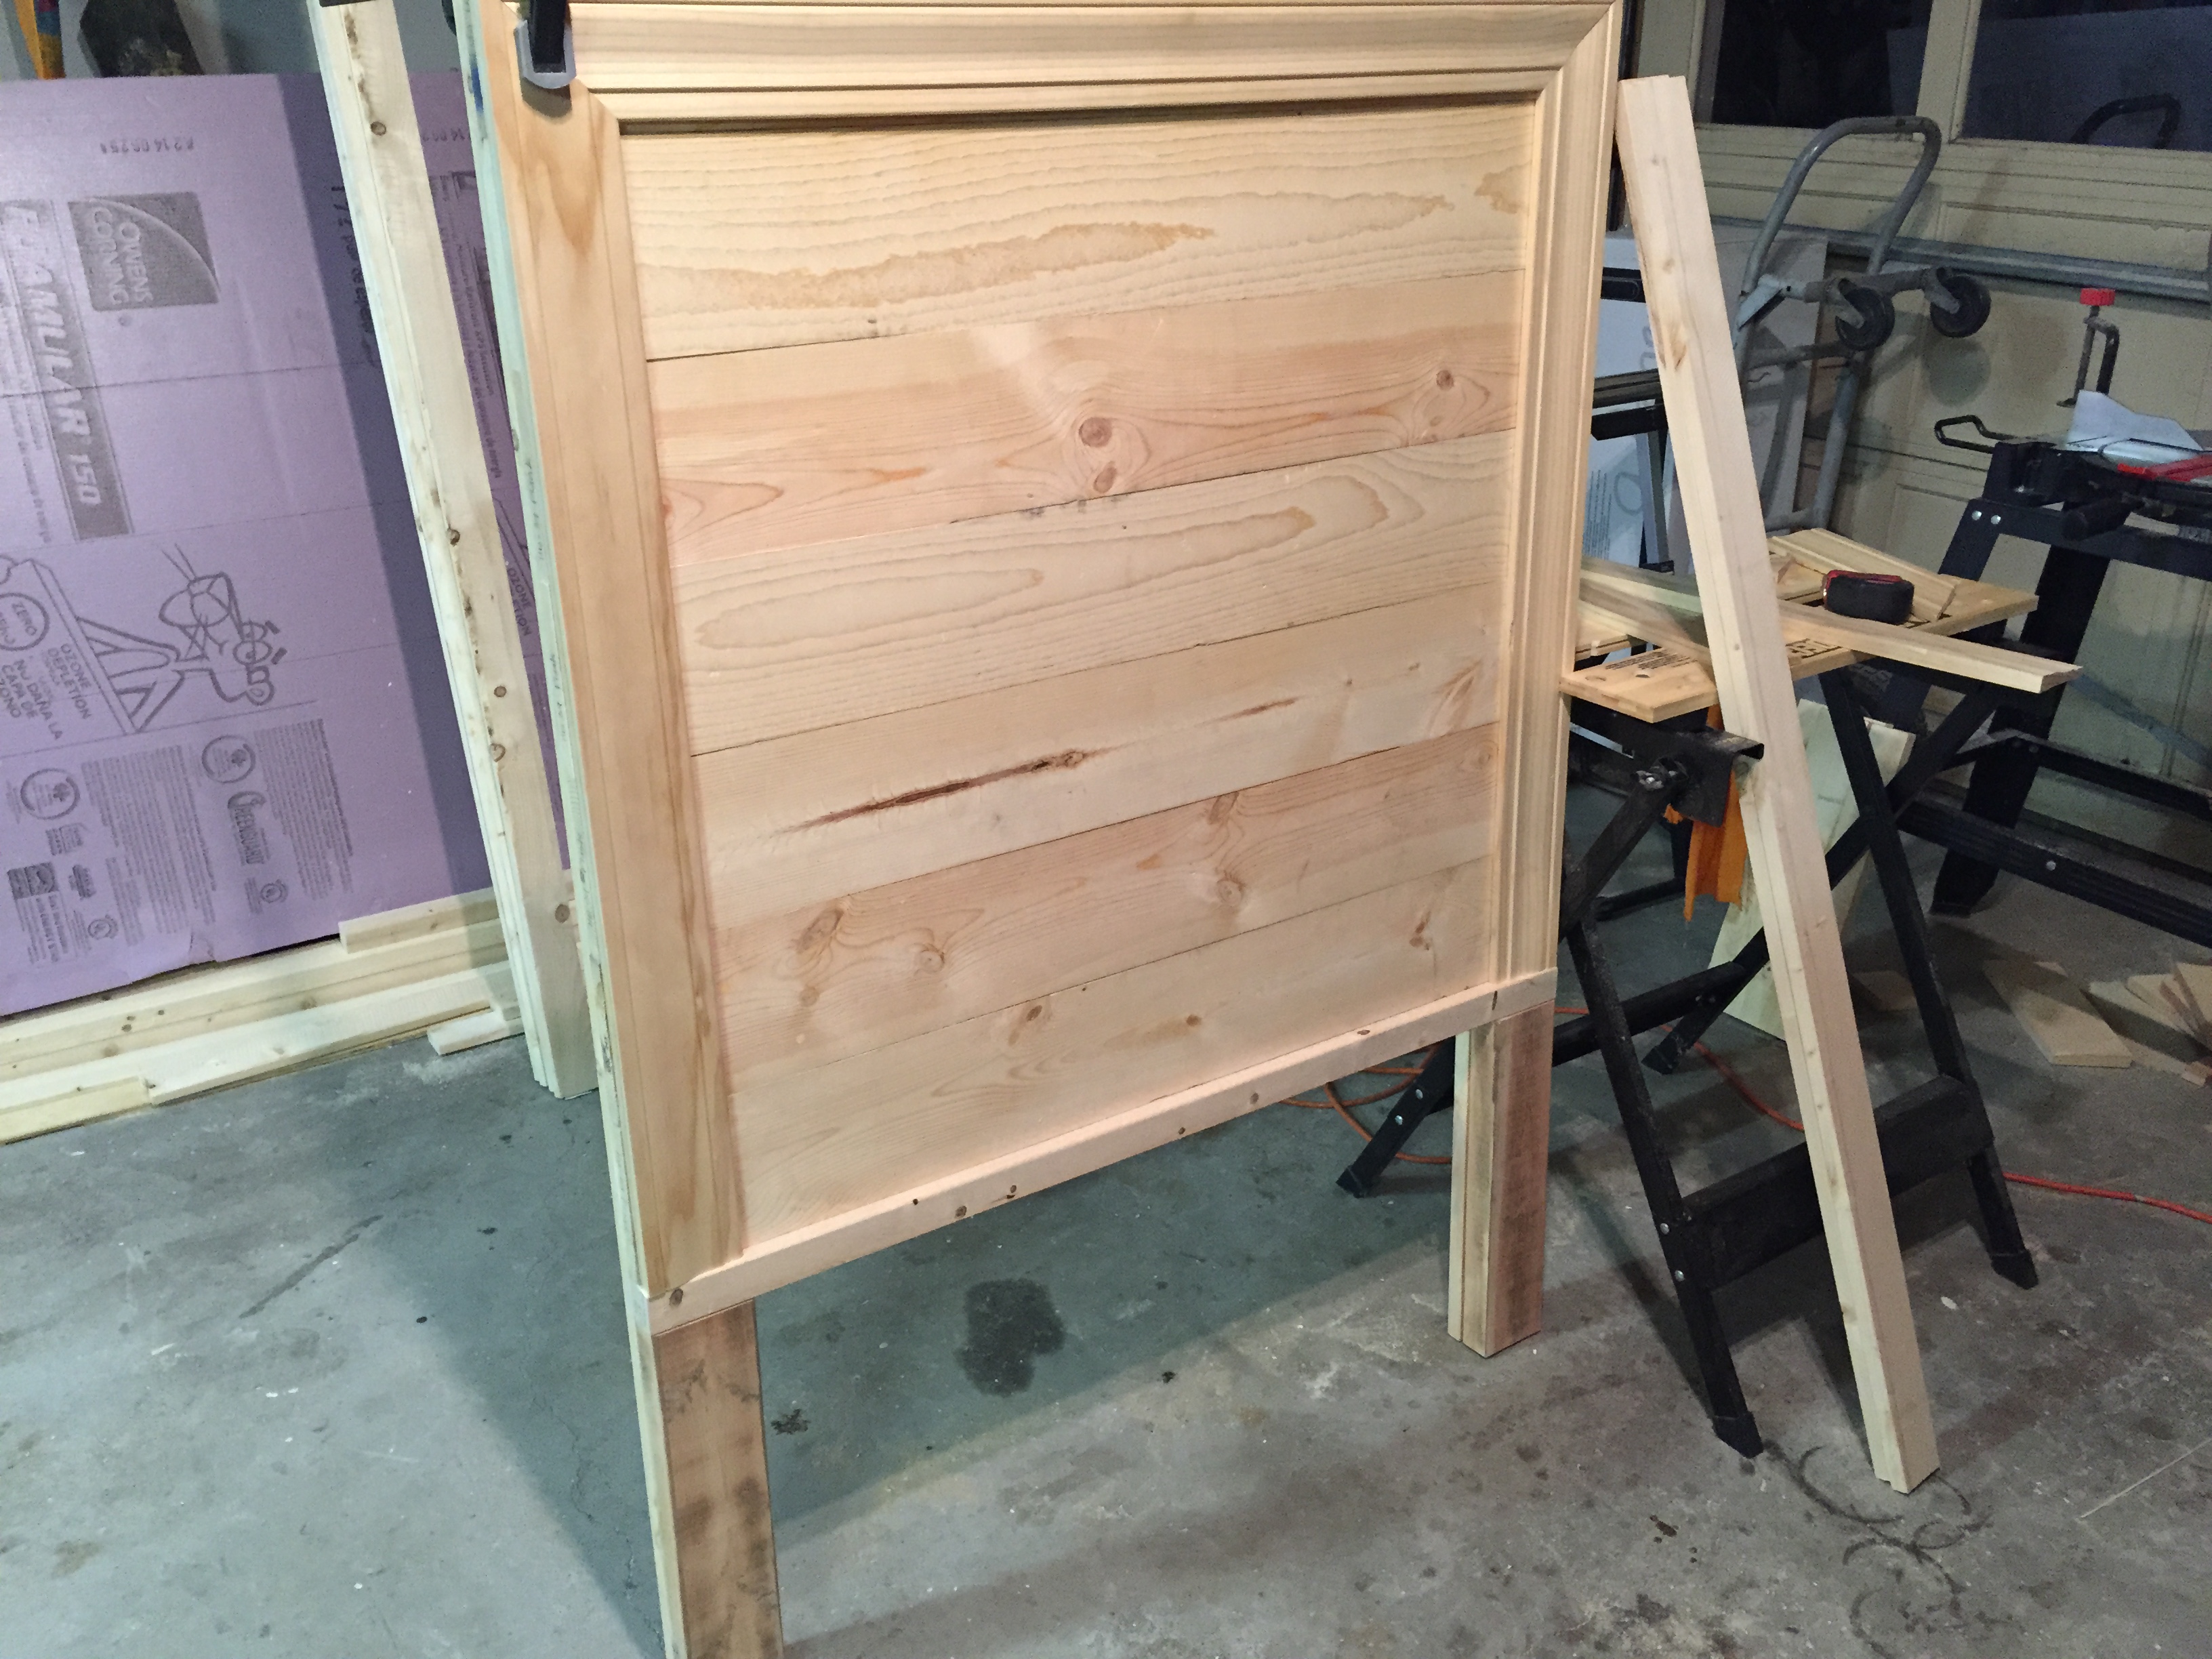
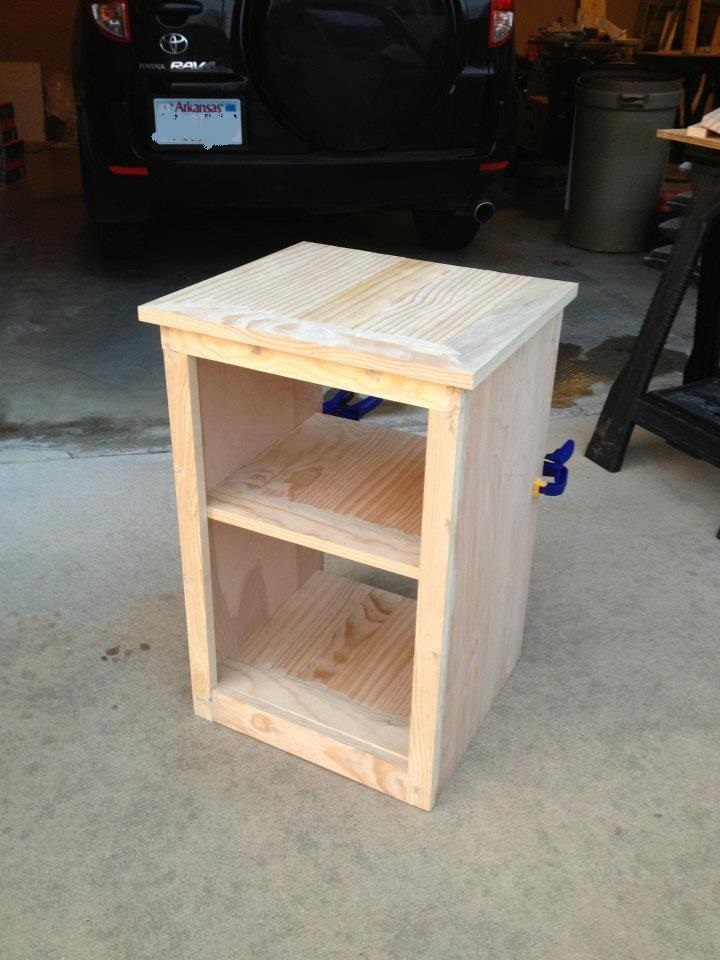
Finally got a miter saw and a pocket hole jig. So decided to try this for my first project with new tools. Turned out great and I learned lots of things I'd do differently next time to save headaches.
Built from Plan(s)
Estimated Cost
Cost about $80 in wood but spent around $120 including hardware, stain, sand paper, etc.
Estimated Time Investment
Day Project (6-9 Hours)
Finish Used
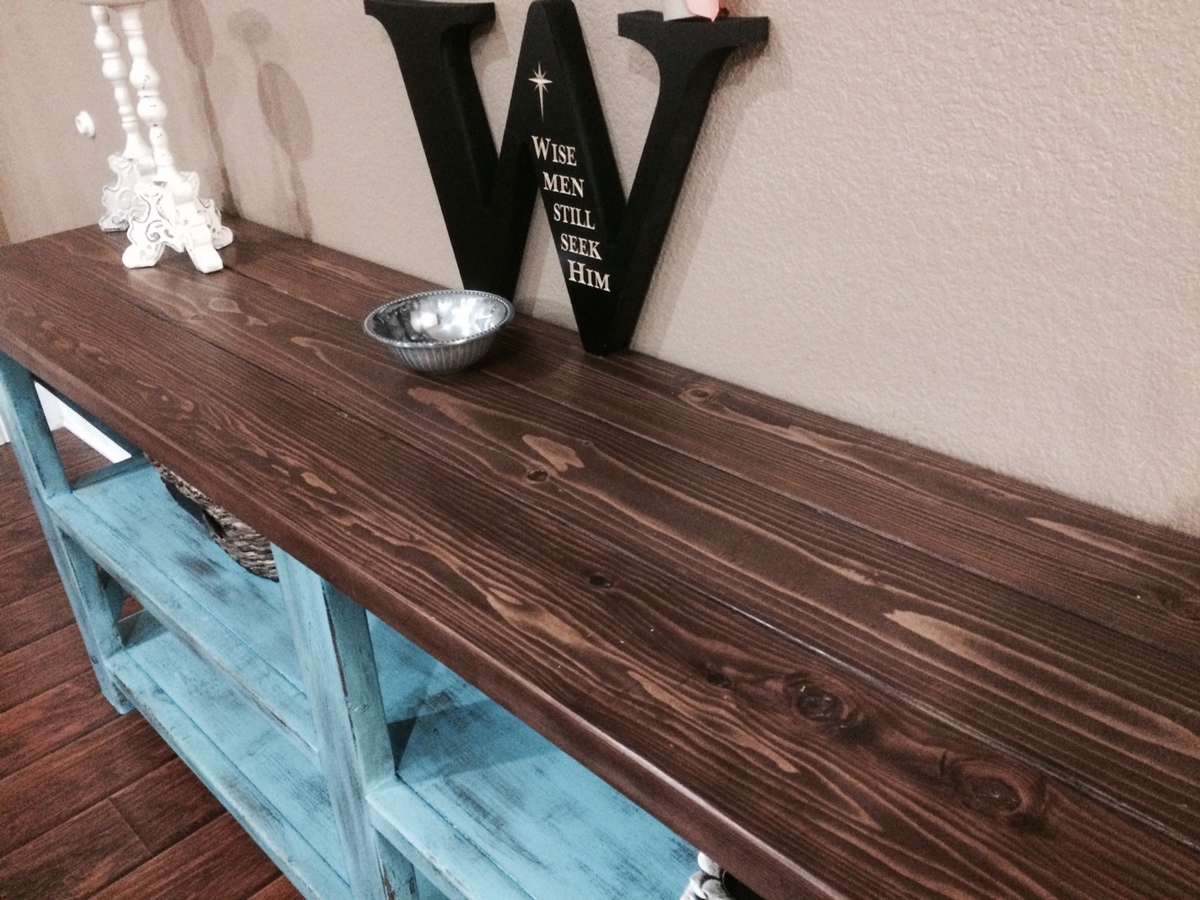
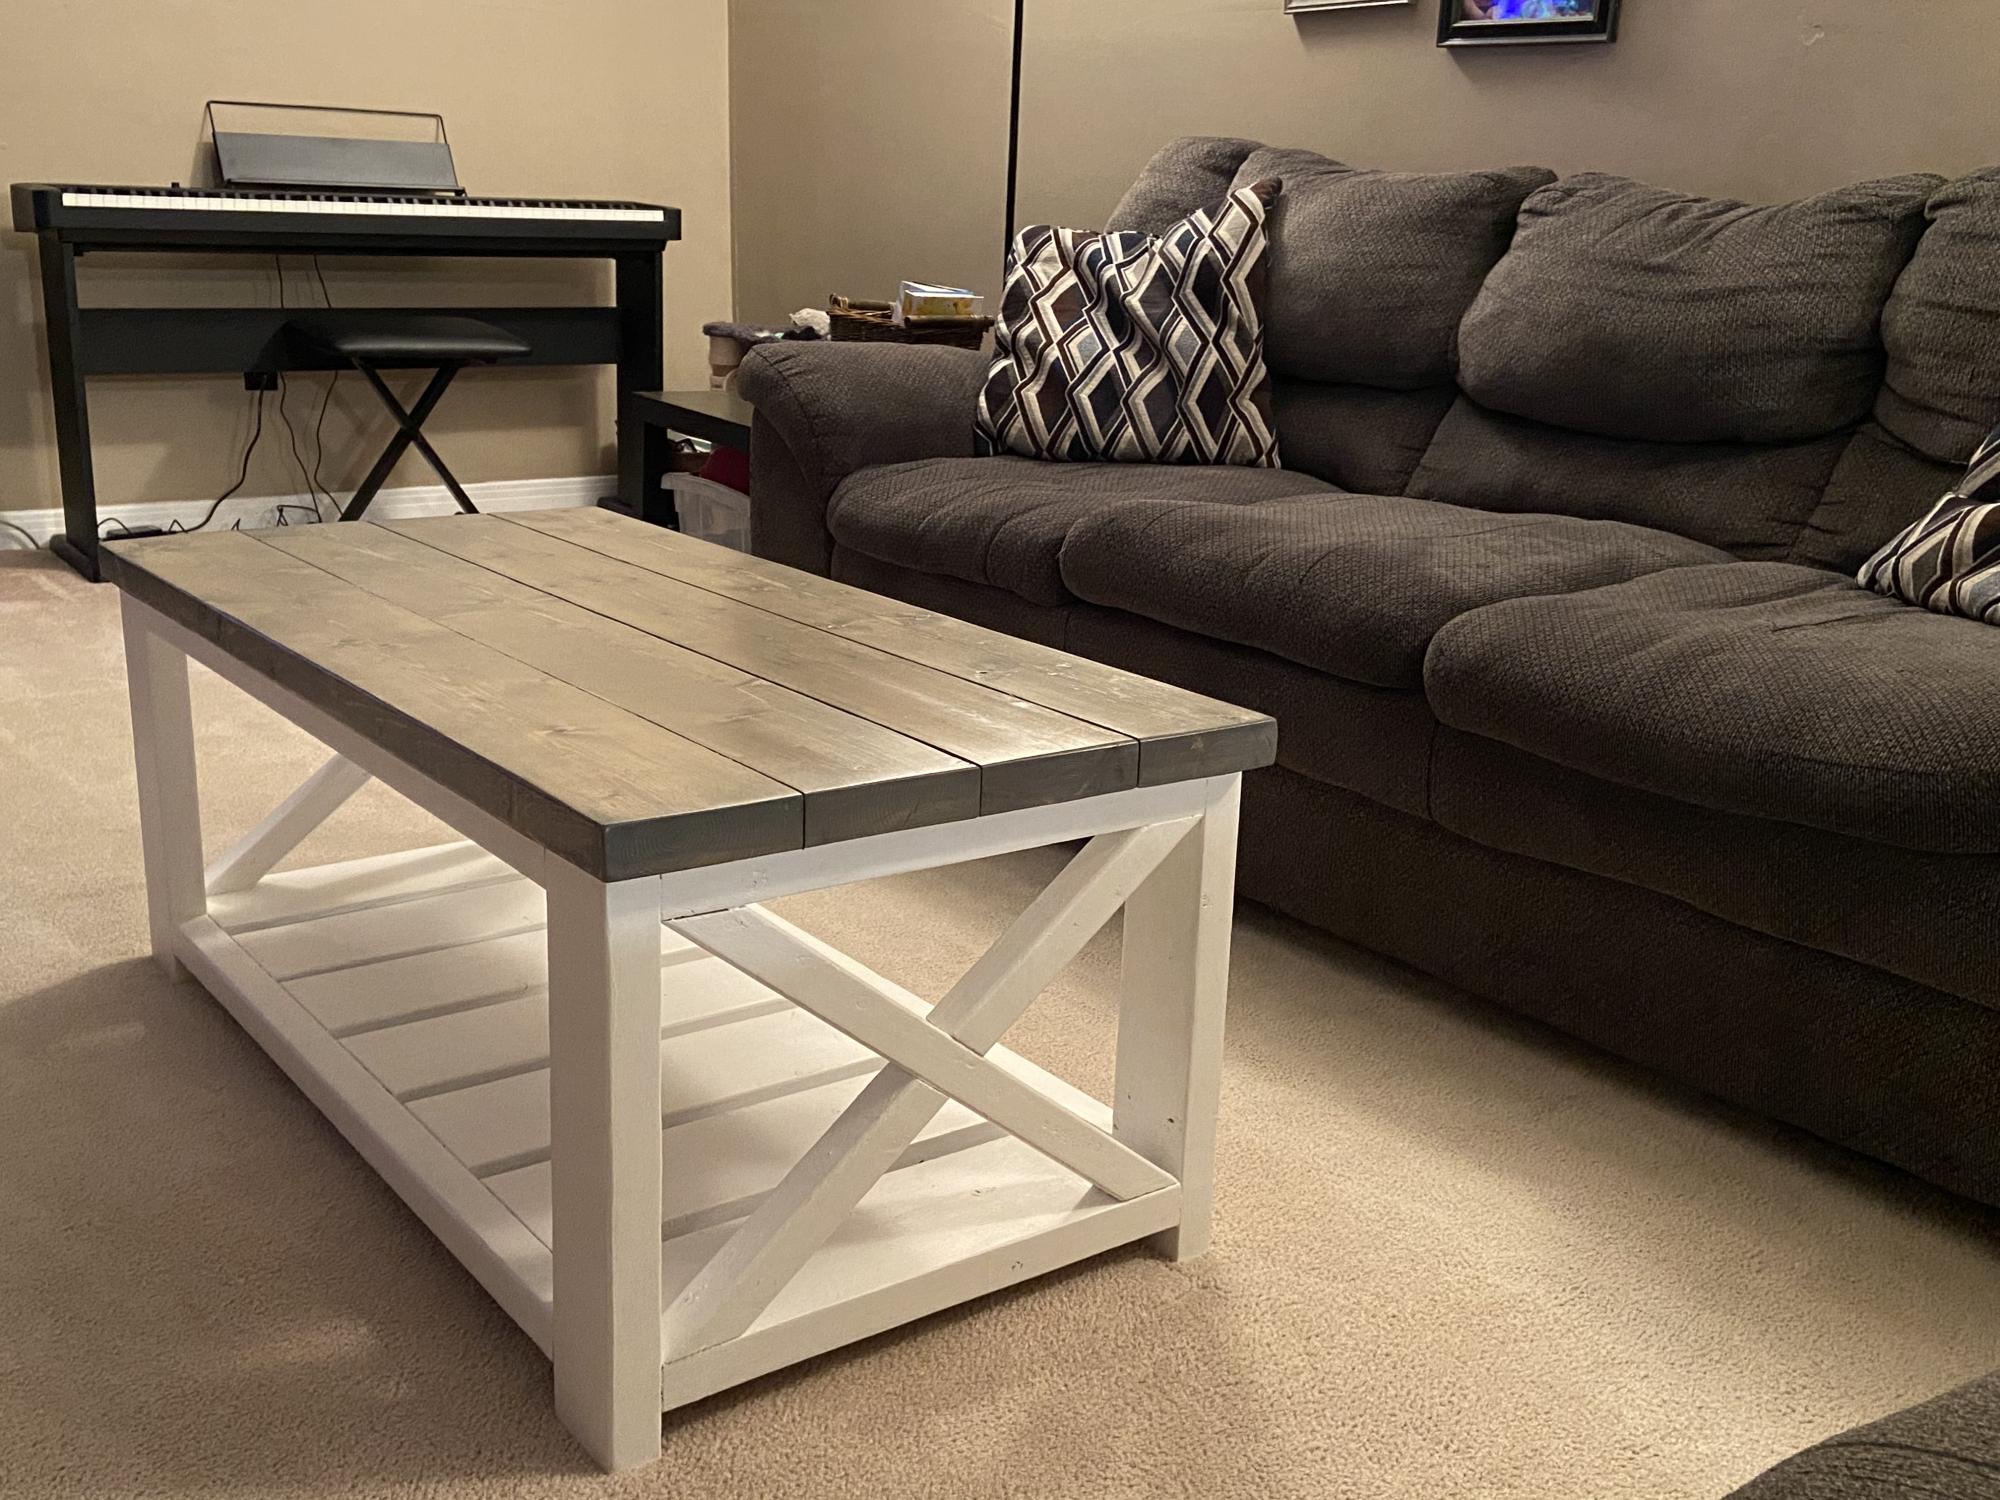
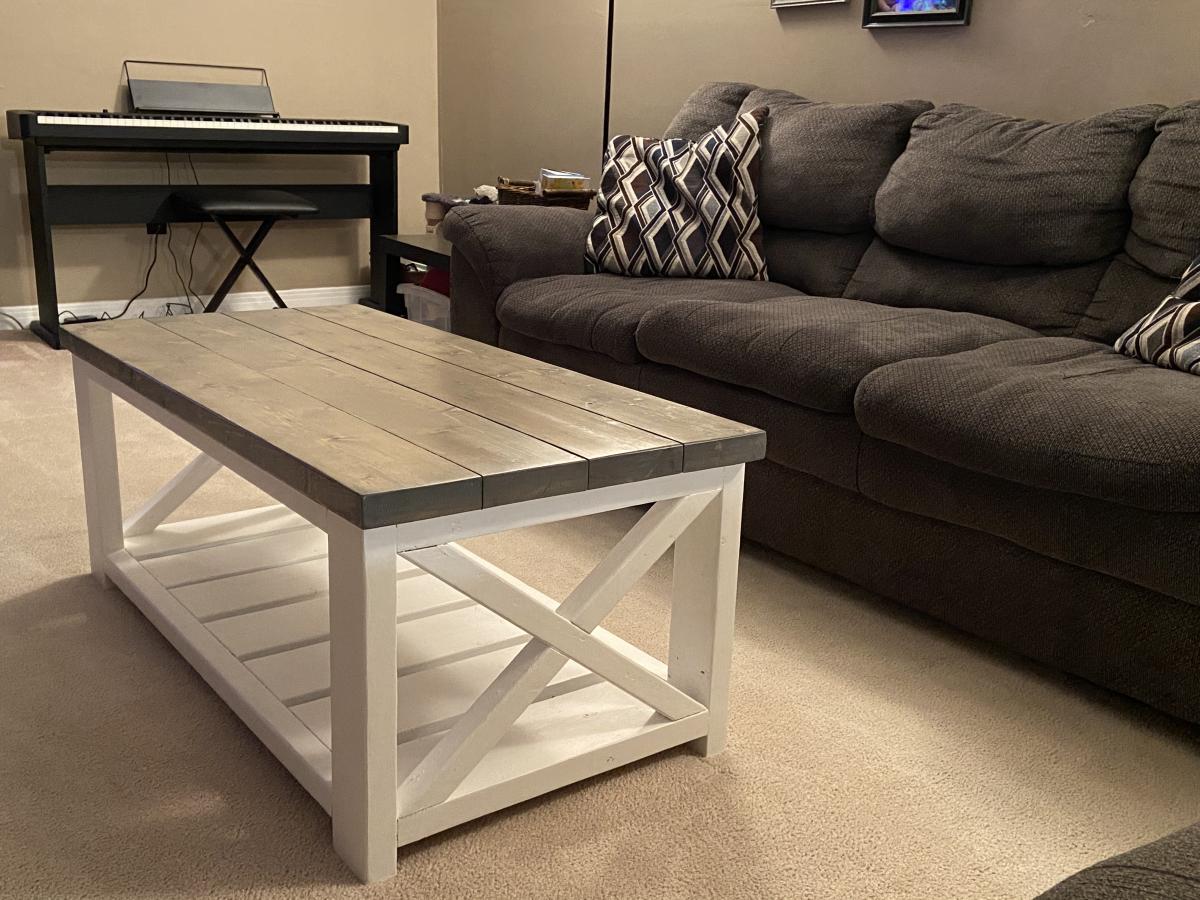
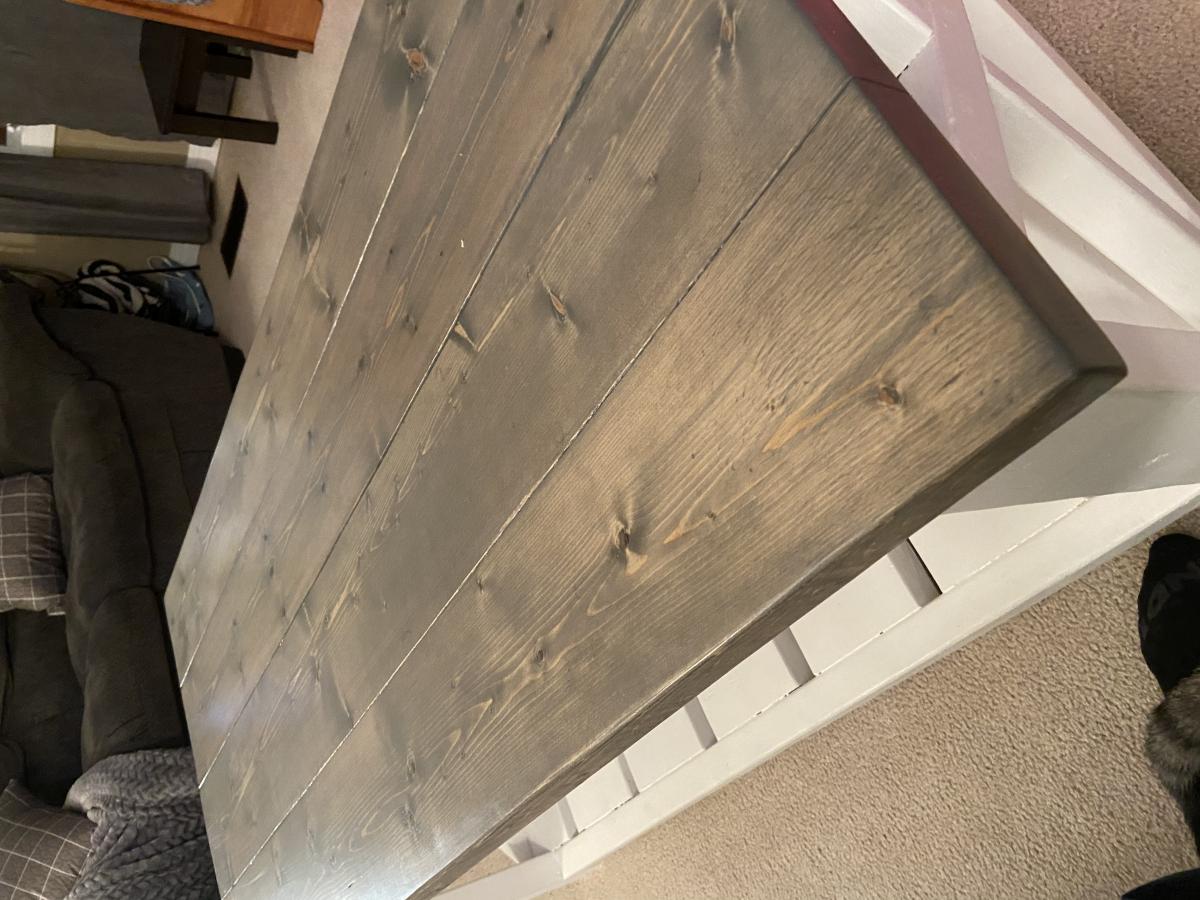
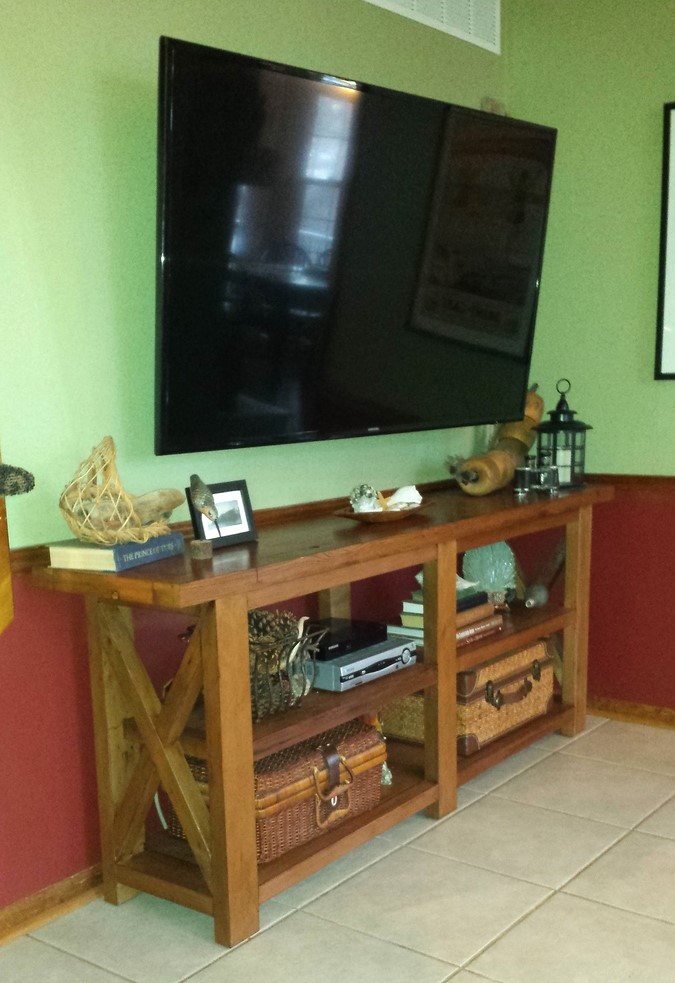
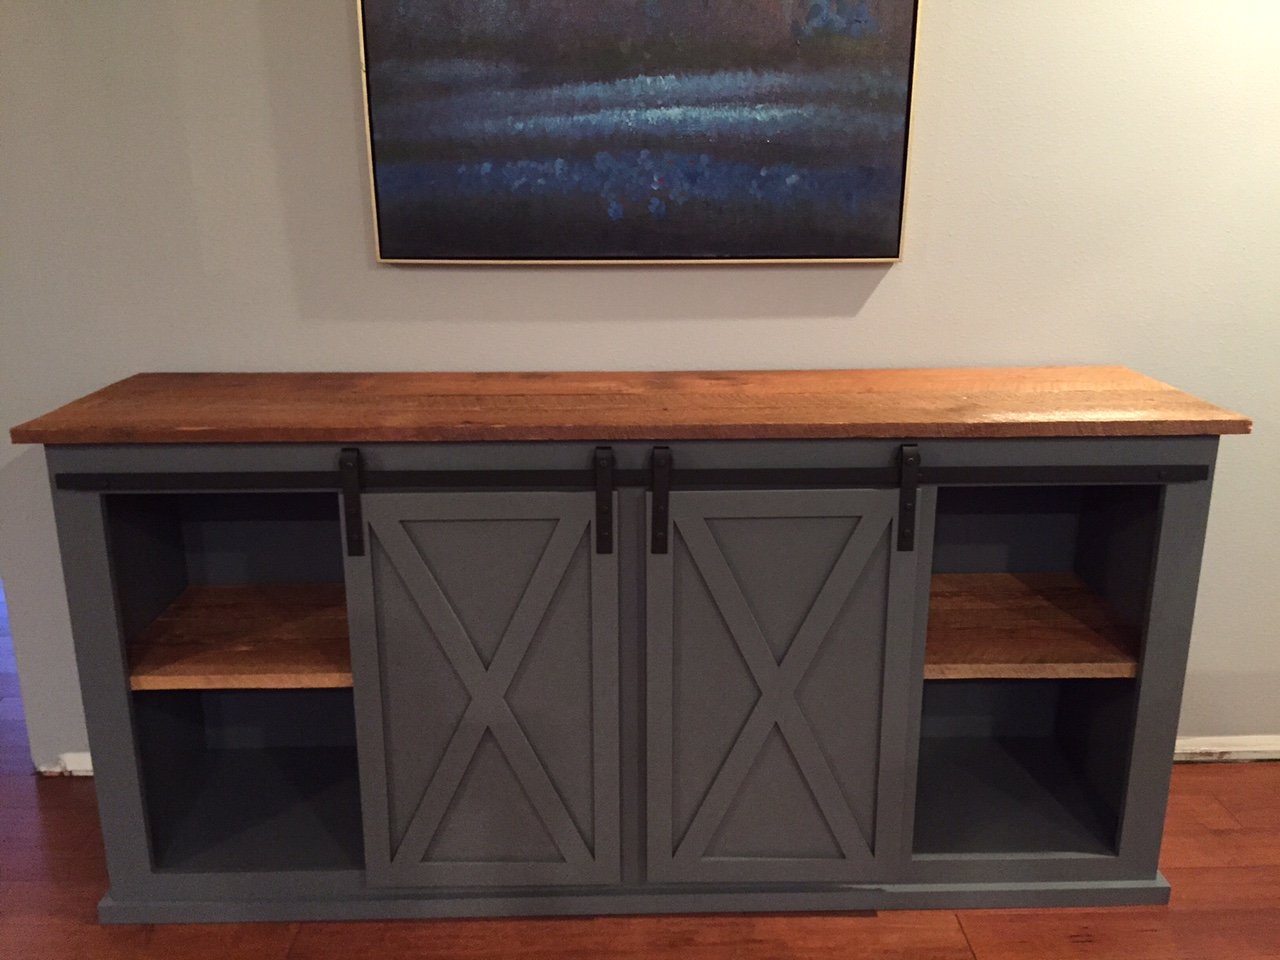
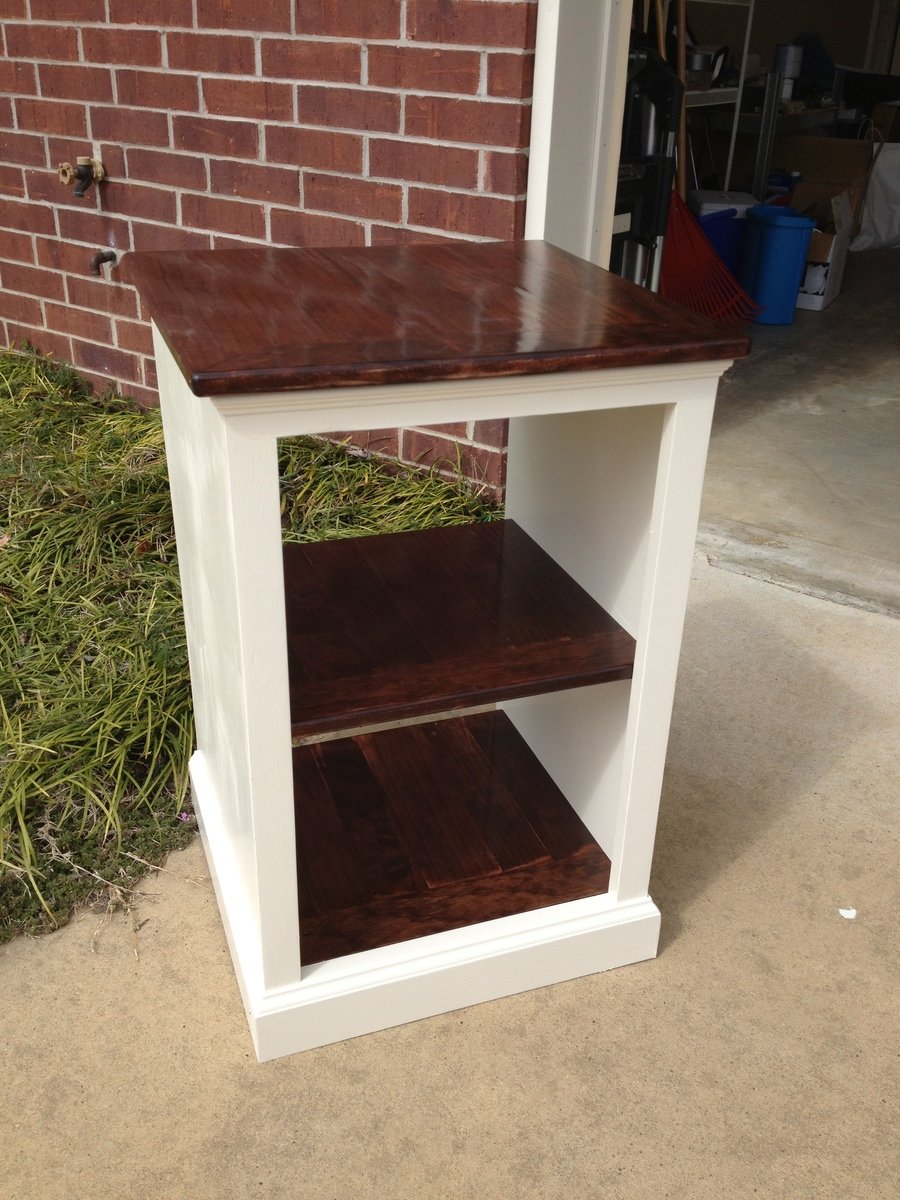
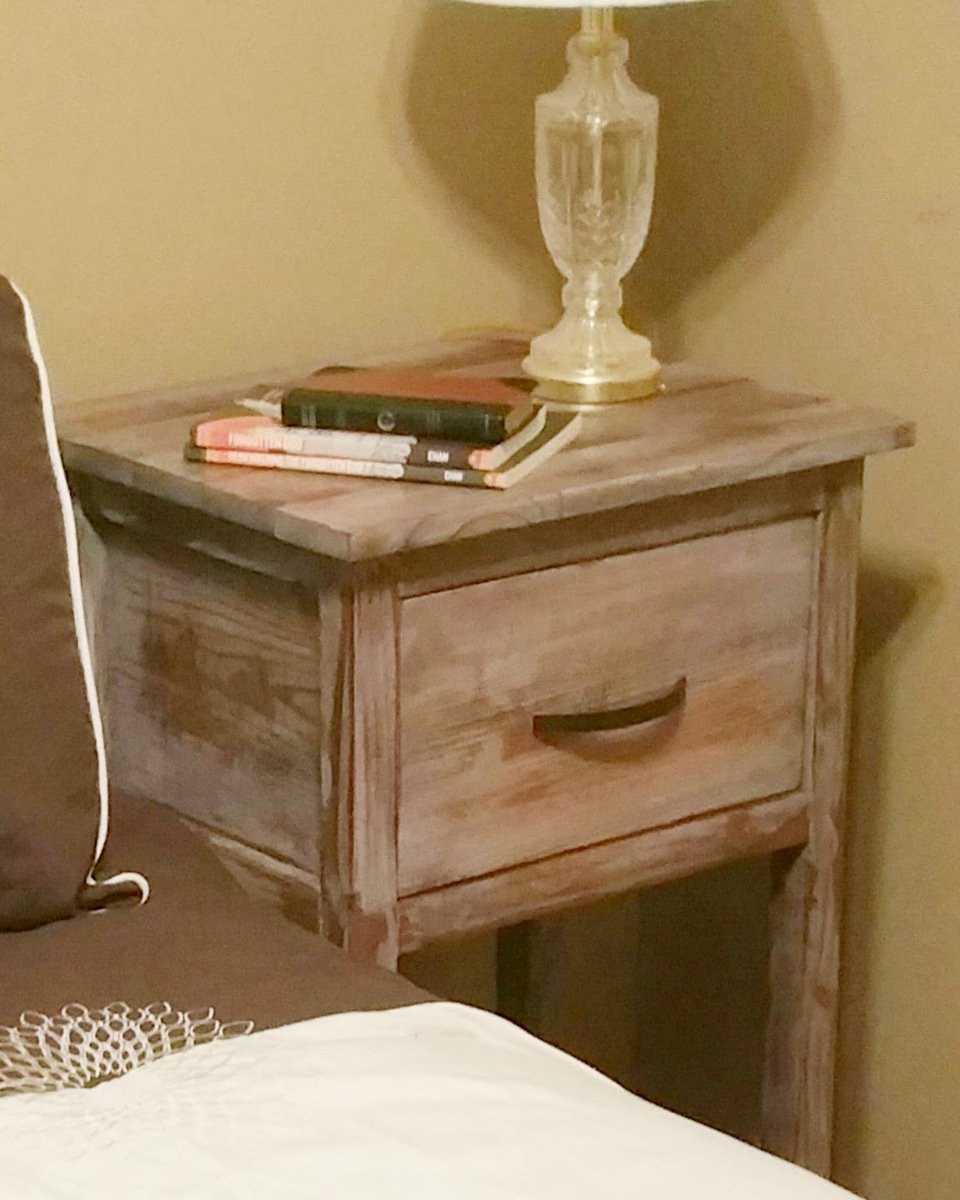
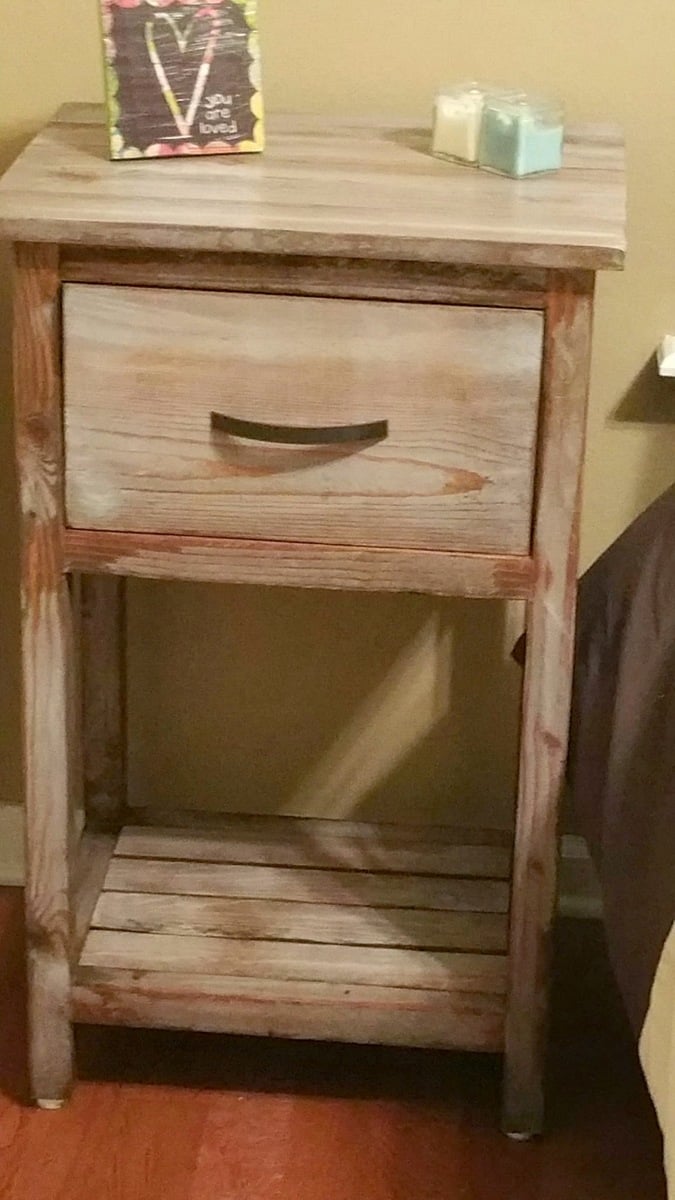
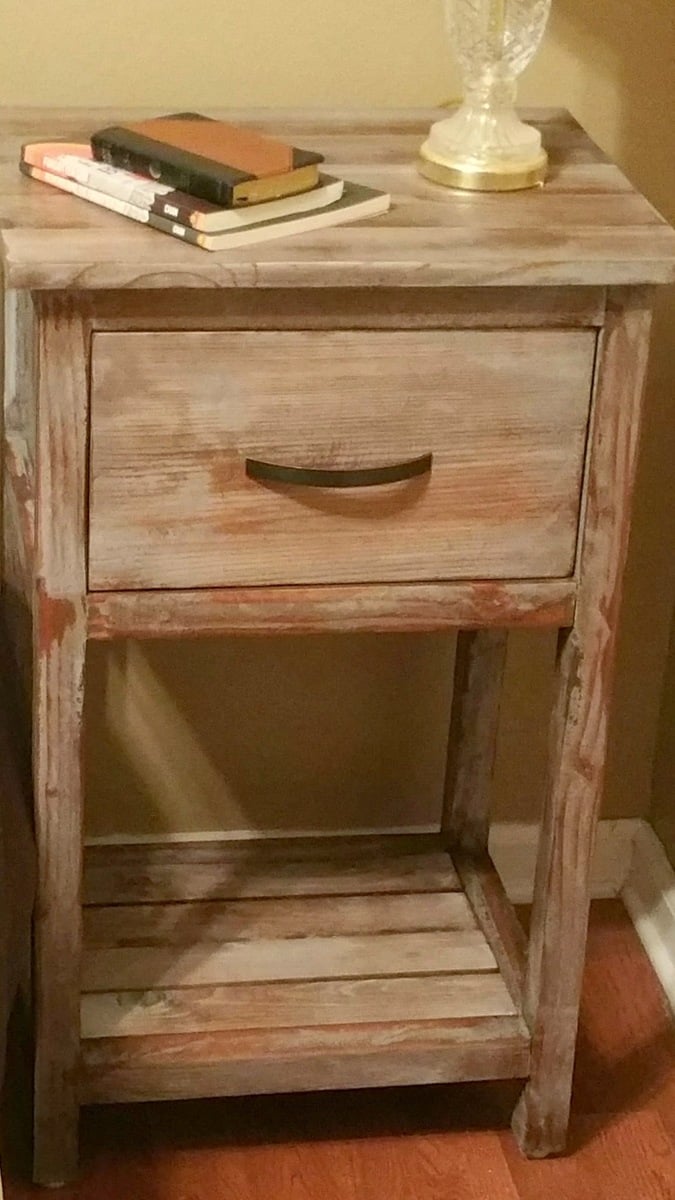
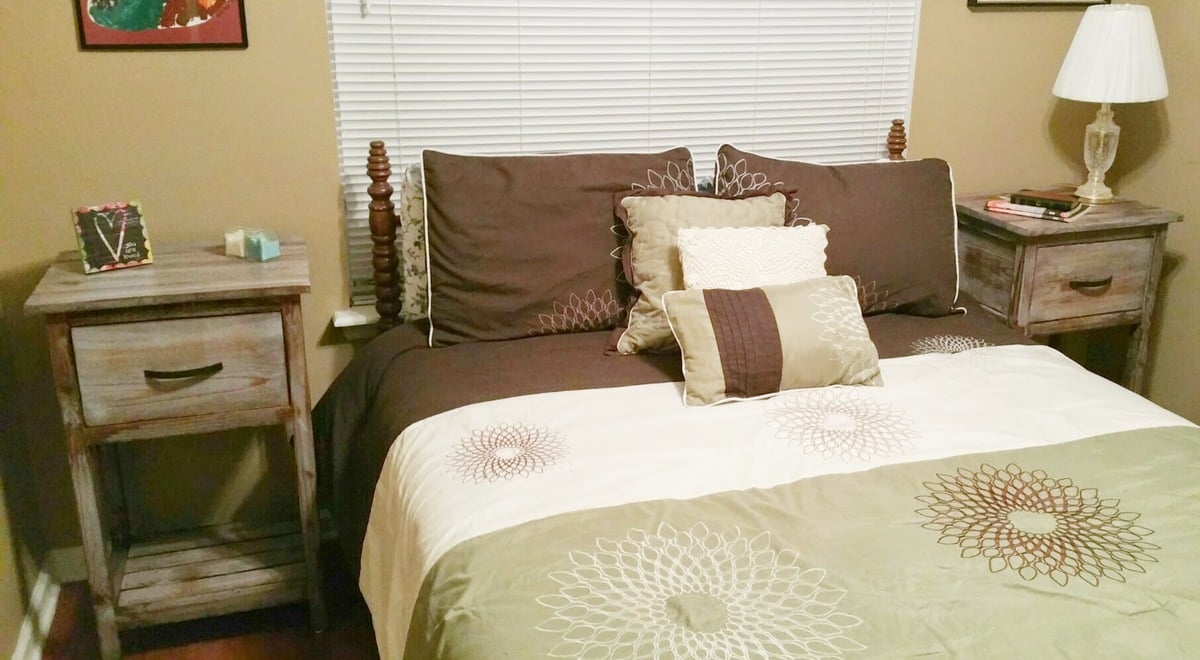
Used a dark walnut for the top and satin polyurethane.
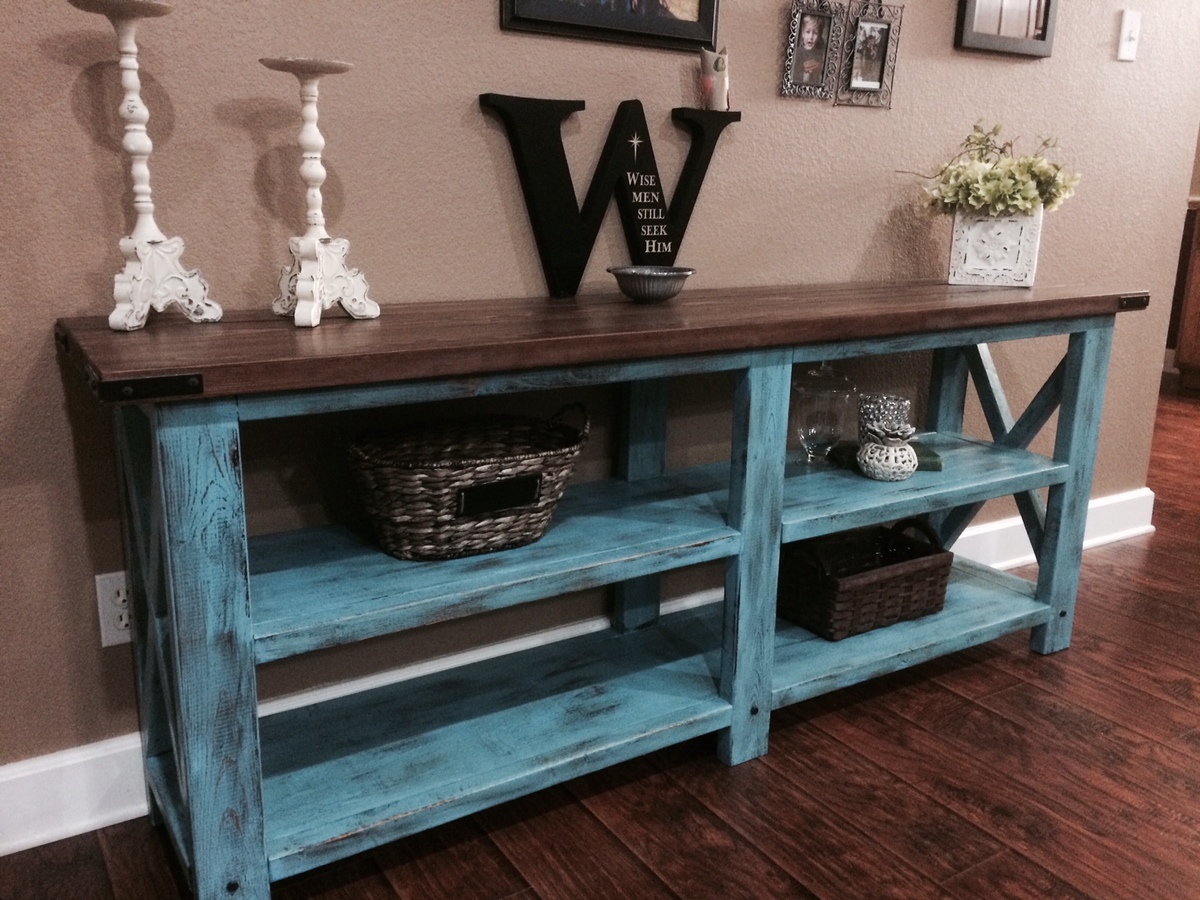
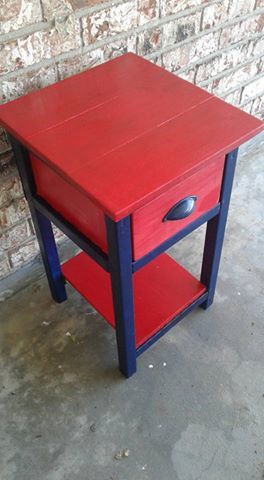
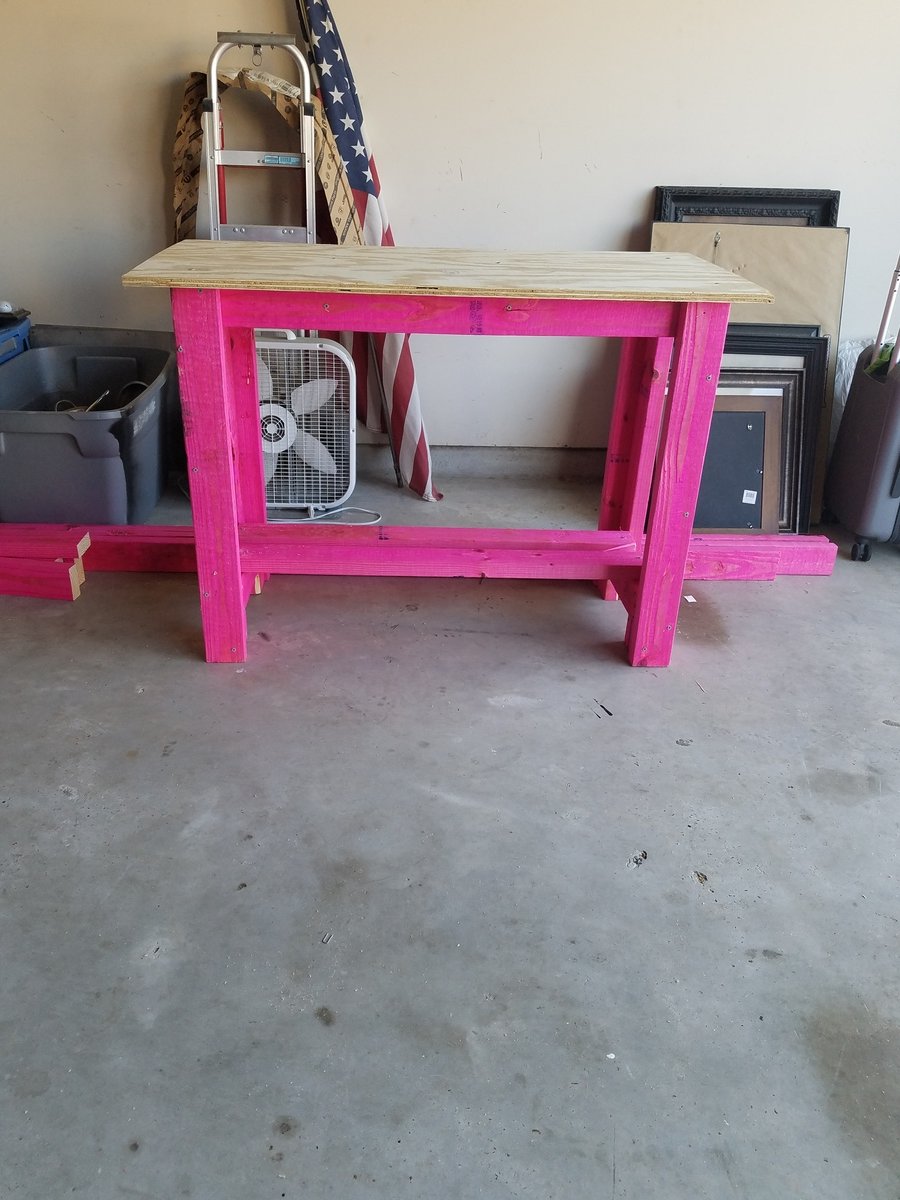
For the bottom we painted a blue and didn't like the color because it was too bright but then we sanded areas to distress and stained over the top and it changed the paint to the perfect tint we were looking for. Have no idea why this worked but we love it.
For the bottom we painted a blue and didn't like the color because it was too bright but then we sanded areas to distress and stained over the top and it changed the paint to the perfect tint we were looking for. Have no idea why this worked but we love it.
Recommended Skill Level
Intermediate


Comments
msh_76
Sat, 01/03/2015 - 17:27
Table
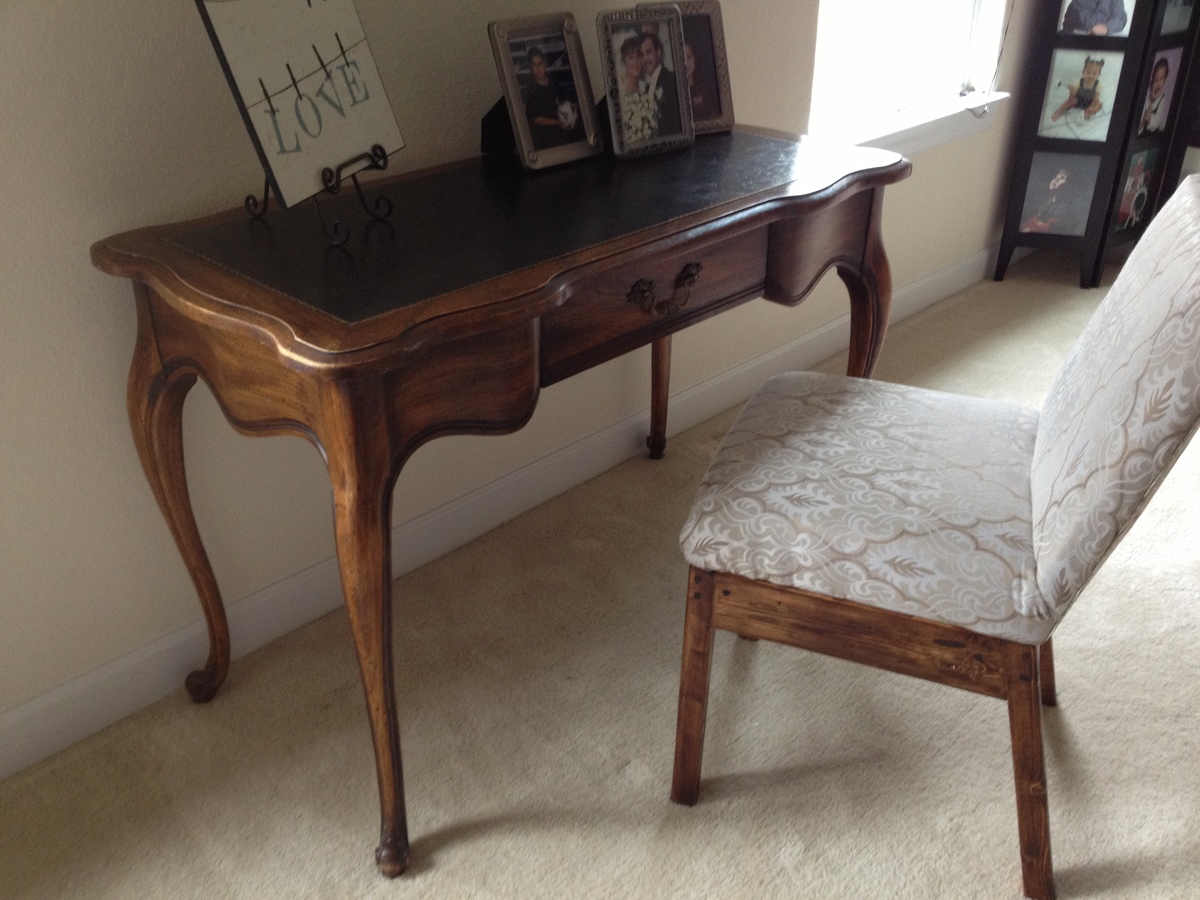
I love the colors of this. My husband just made one but we modified it to turn it into a desk. Now, he's going to make the coffee table and end tables to match.
msh_76
Sat, 01/03/2015 - 17:27
Table
I love the colors of this. My husband just made one but we modified it to turn it into a desk. Now, he's going to make the coffee table and end tables to match.
Trishlatish
Sun, 01/04/2015 - 17:39
console table
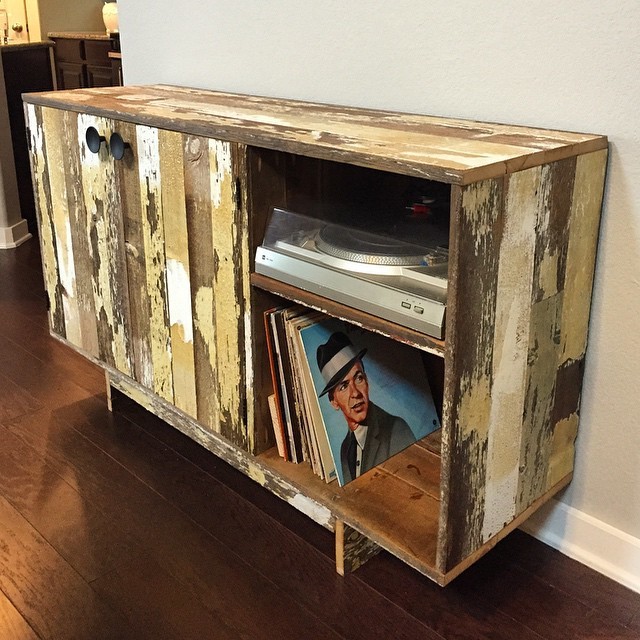
This was one of my Christmas presents this year from my husband. It's all reclaimed redwood from a house that was being torn down.
erikandjulie
Sun, 01/04/2015 - 18:19
I bet using the redwood made
I bet using the redwood made it look fantastic!
DWinMadison
Tue, 10/18/2016 - 19:44
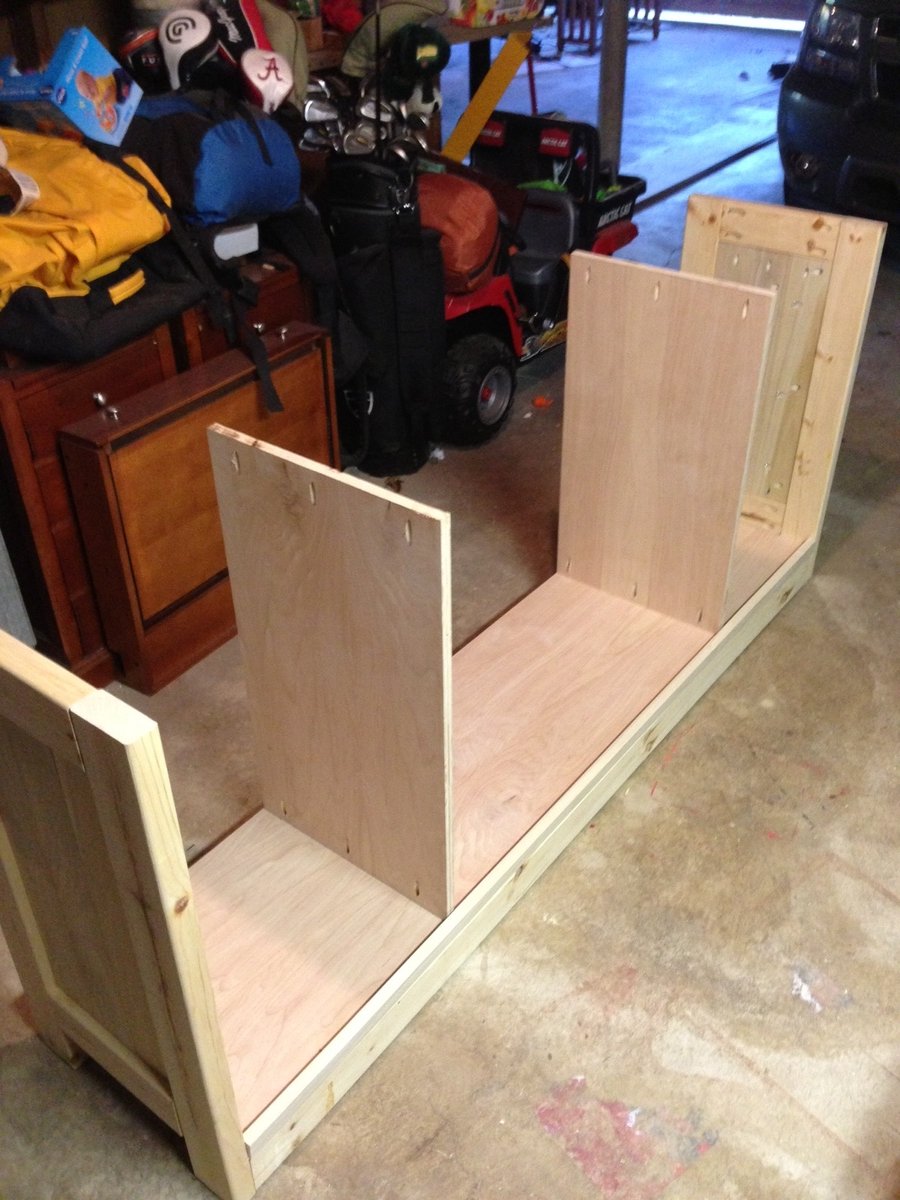
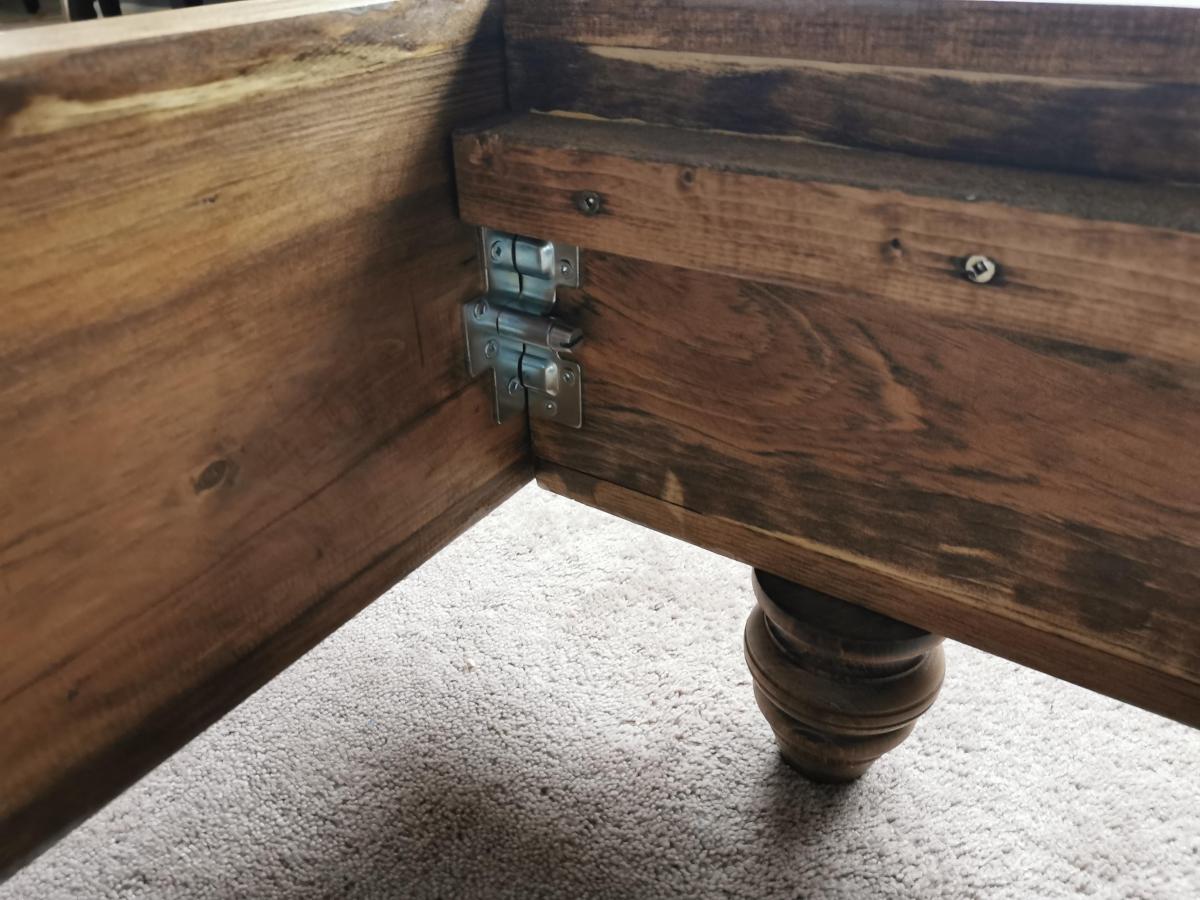
Connecting the shelves to the legs/ends
I'm doing a riff on this project this weekend; Two tables actually to go in front of matching windows in our den, each about half the length of the original @ 41" long on top. My question is this: How do you securely attach the rails to the ends? I'm all about a pocket jig, but use of 2x2's means I can basically only get 1 screw between the rails and the side of the 2x4 legs. Is that enough to support the weight on the shelves? How did y'all connect them, pocket holes or inset screws drilled from the outer ends through the 2x4s?