Community Brag Posts

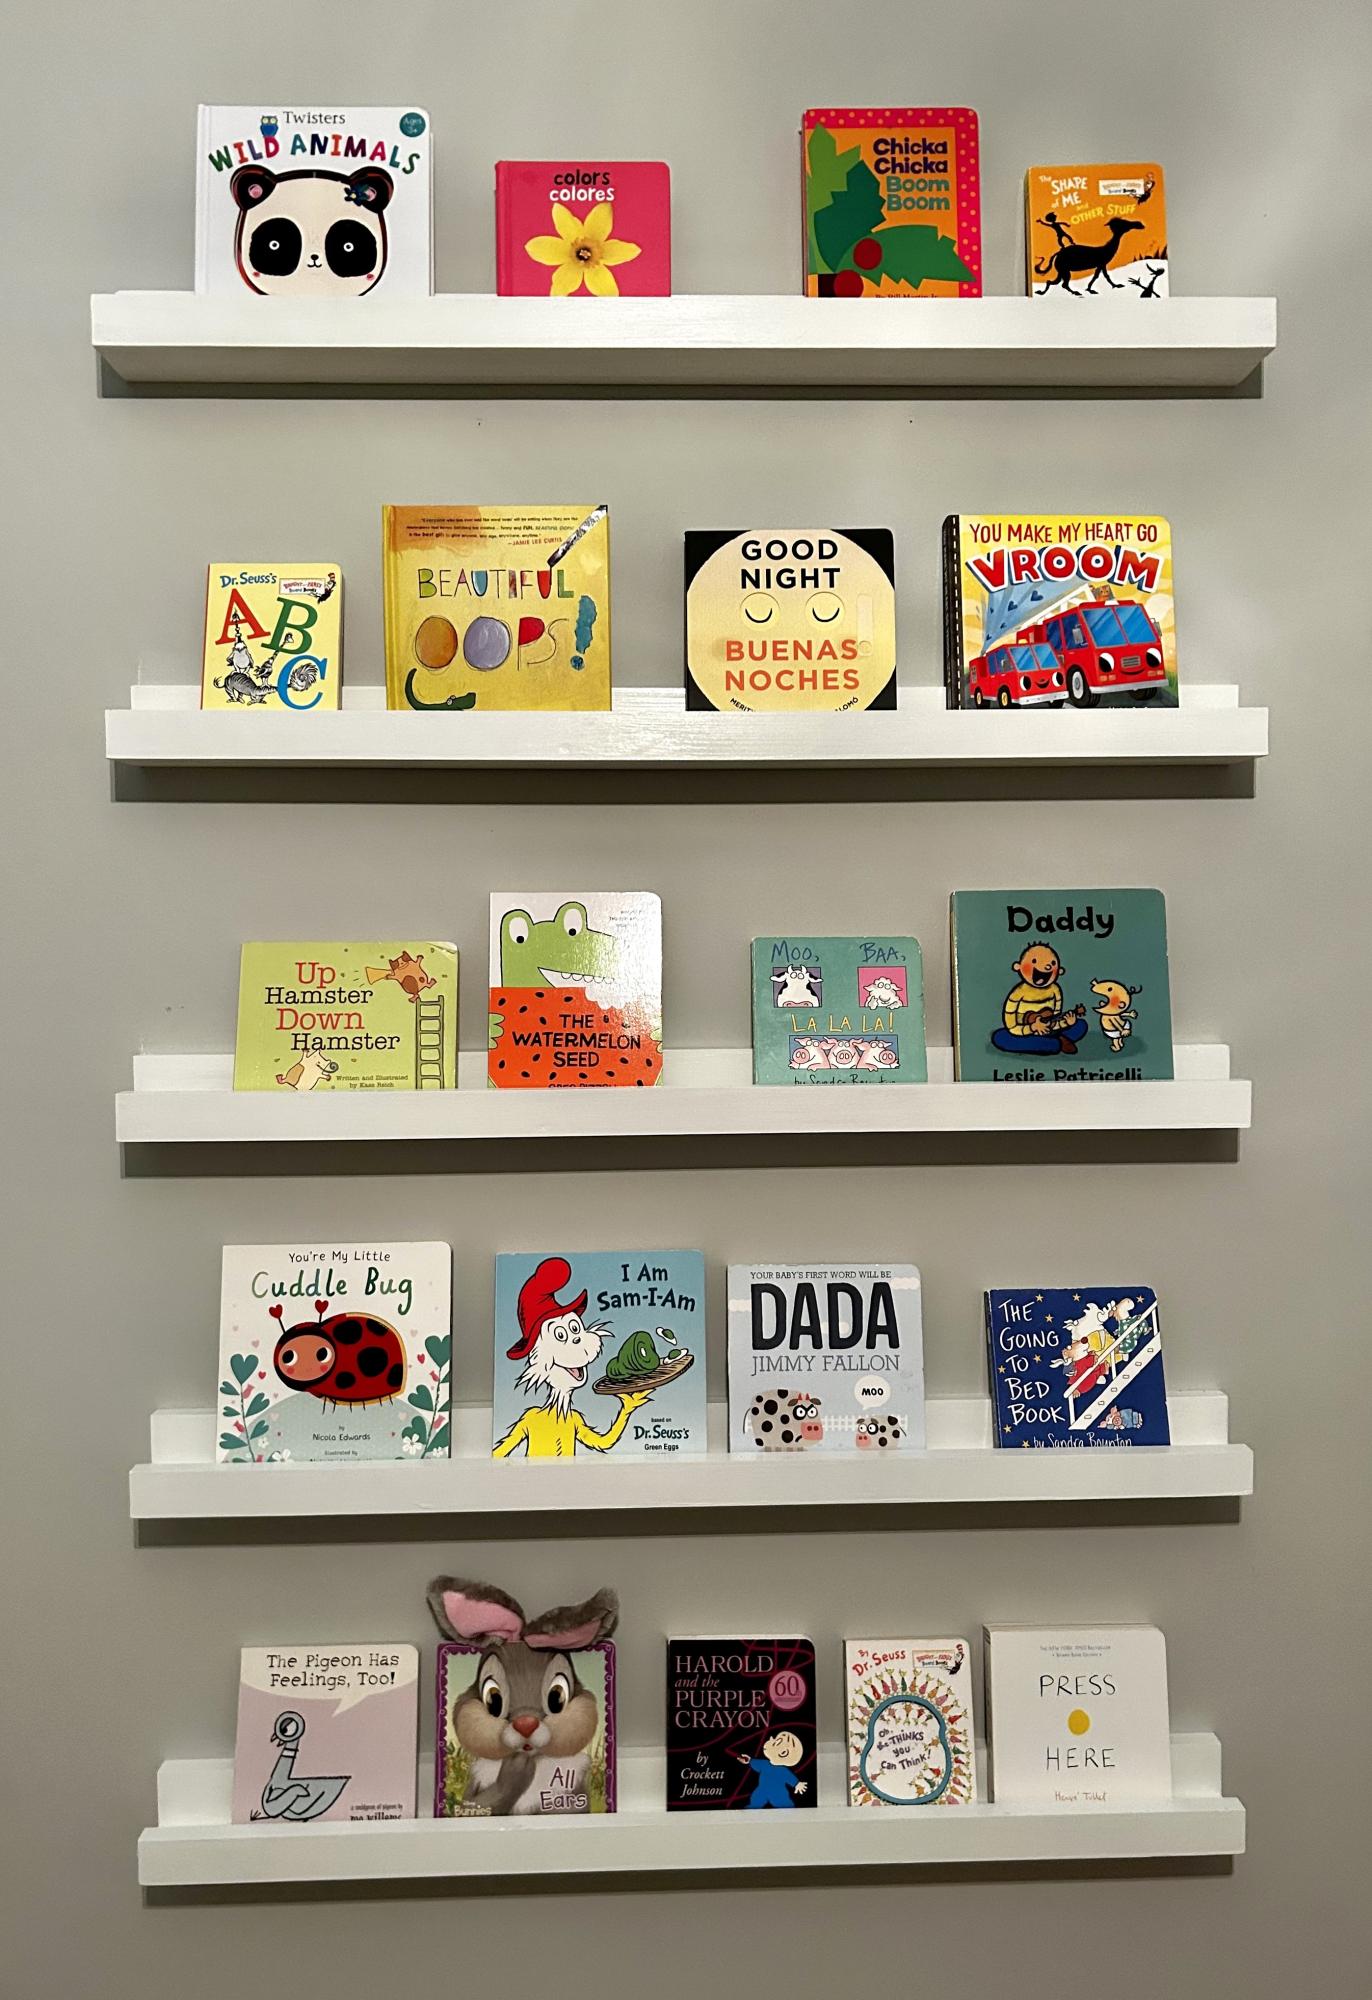
Gallery-style ledge

Submitted by seesaw on Sat, 05/21/2011 - 10:21

This was a super easy and quick project. I actually lengthened it to 36 inches. I can't decide whether I need two ledges or not, but it won't take long if I need another one! My only suggestion- VERY straight boards are a must!

Built from Plan(s)
Estimated Cost
$4.00
Estimated Time Investment
An Hour or Two (0-2 Hours)
Finish Used
Minwax natural oak
Recommended Skill Level
Starter Project

2 couches and tables

Submitted by Polysoup on Sun, 07/14/2013 - 07:40

I bought two sets of Restoration Hardware cushions on clearance and they worked out great. I had to adjust the measurements a little bit but that went pretty quickly. I came up with a plan for the tables to match the couches.

The tables are both 30x30. This way I can use them as 2 tables, one large table, ottomans or seating.

I LOVE the cushions. They are 6.5 inches thick and were dry 3 hrs after a rainstorm. There was no way I could have sewn something cheaper.

Thanks for the plans Ana!

Estimated Cost
$250 each (including cushions) Tables - $30 each
Estimated Time Investment
Week Long Project (20 Hours or More)
Finish Used
White Sherwin Williams paint (forget the exact name) and a stain for the cedar details
Recommended Skill Level
Intermediate

Comments

Blue Shocked Sideboard

Submitted by joshwgnr on Sun, 07/12/2015 - 08:17

One of the most rewarding, yet frustrating projects done to date.

A project completed over the course of several weeks challenging the limited tool set available.

In the end, the cost of new tools and frustration of assembly was all worth it!

Built from Plan(s)
Estimated Cost
Material Cost ~$600

Hardware, hinges, and slides add up quickly.
Estimated Time Investment
Week Long Project (20 Hours or More)
Finish Used
Espresso stain for exterior, Blue paint interior
Recommended Skill Level
Intermediate

Art Center / Work Dest

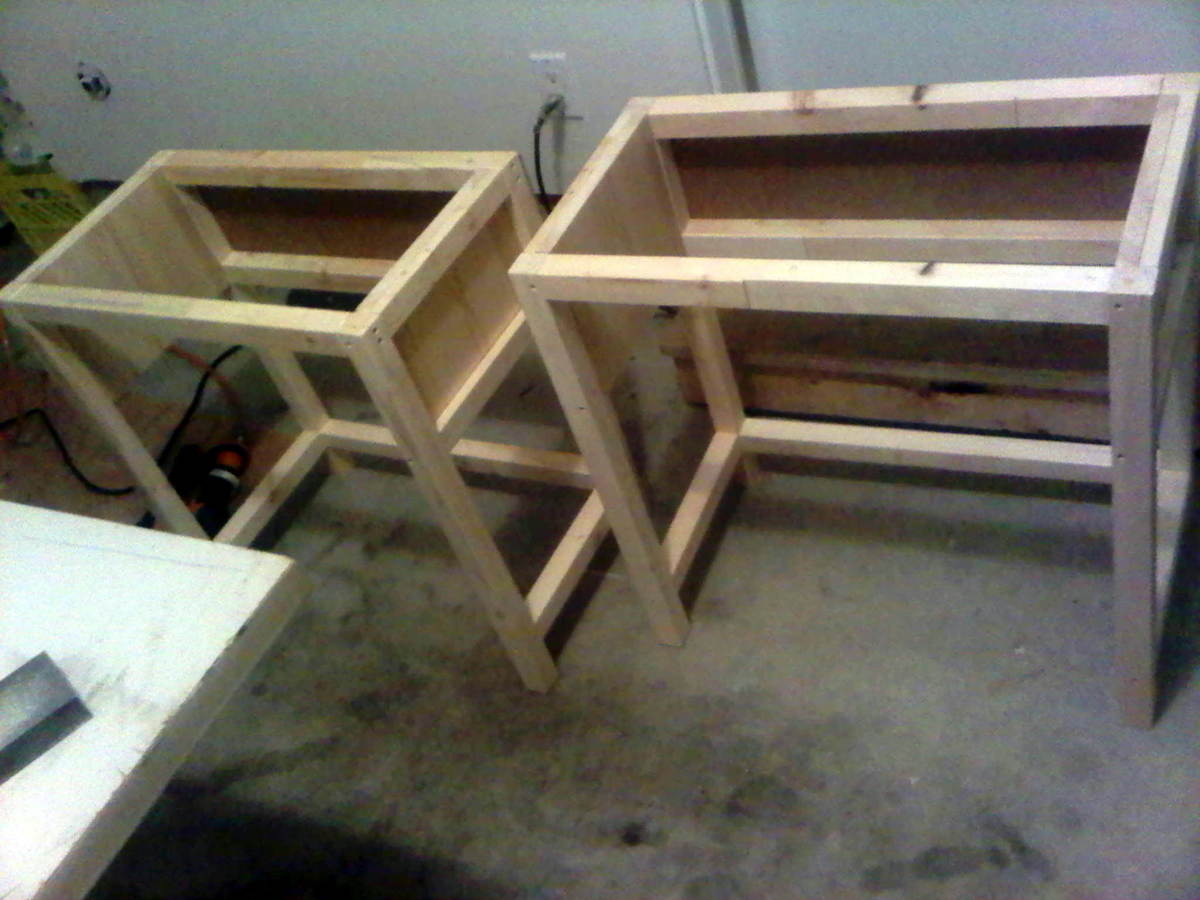
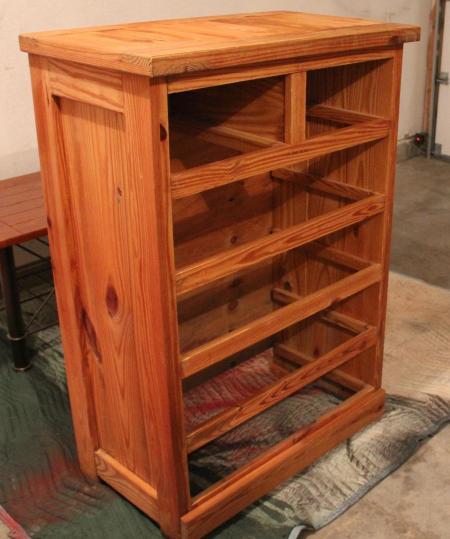
Girls table was too small, especially when they have friends over. We have a little nook that this will slide right into in the living/dining room. The bottom has drawers, they just were not completed when i took the pictures.

Estimated Cost
100
Estimated Time Investment
Weekend Project (10-20 Hours)
Finish Used
Minwax - American Chestnut
Recommended Skill Level
Beginner

First Furniture Build

Submitted by Jeffmb on Thu, 02/03/2022 - 14:23

My first indoor furniture project - the Rustic X coffee table. I added a lift top to store remotes etc and use as a laptop table. Fairly easy build I only had trouble aligning the "x's". I used of the shelf dimensional lumber but I might try this one again using different wood and a lighter finish.

Built from Plan(s)

Comments

Library Book Cart ( A smaller version)

Submitted by nanpannapa on Tue, 05/24/2011 - 13:22

I built a smaller version..THank you so much Ana for the plan. This one is only 2 ft tall and 22.5 inches wide..Perfect size for my 2 year old.
I added a hook to hang my daughter's doodle and on the other side, I added an aluminum tin(wrapped in a scrapbook paper sealed with mod podge) so she can put her magnetic letters/numbers on there. Added this little crayon holder as well. :-)

Built from Plan(s)
Estimated Cost
20
Estimated Time Investment
Afternoon Project (3-6 Hours)
Finish Used
Left over satin paint. Scrapbook paper, Mod Podge
Recommended Skill Level
Starter Project

Our First Project: A CA Mudroom

Submitted by jcablopez on Tue, 07/16/2013 - 11:28

I've been looking for a storage solution for the area next to the driveway we use as our main entrance. The area opens to the kitchen, dining, and living rooms. We had a computer desk here, but it just ended up piled with junk all the time and backpacks and jackets ended up on the floor.

I fell in love with the smiling mud room plans as soon as I saw them, but it took a while to convince my husband we should try to build it. I used the Smiling Mud Room plans and modified to add the computer desk section since we couldn't move our internet cable. It didn't have to be really big since we don't use the desktop computer very often.

I still need to find baskets for the shelves and I'm planning to make a fabric skirt to cover the computer and cords. My kids already got out their old backpacks to test it out, so hopefully they'll use it!

We bought the Kreg jig as recommended and now my husband is planning lots of new projects just so he can use it.

Built from Plan(s)
Estimated Time Investment
Weekend Project (10-20 Hours)
Finish Used
I used a tinted primer and Valspar Signature semi-gloss paint in Posh Red. It took 1 coat of primer and 2 coats of paint. The plywood took the paint better than the pine, so some of the trim got 3 coats.
Recommended Skill Level
Intermediate

Rustic X Console, Coffee and End Tables

Submitted by deblynn42 on Thu, 07/16/2015 - 12:29

I modified the Rustic X plans by removing the X's on the sides and using 1x3in slats on the shelf.  They were made for a beach condo so I wanted a more open look.  I wanted a white washed finish and after trying several ideas from the internet I came up with this process:  First, I used rags to rub on Minwax Special Walnut stain as lightly as I could.  Second, I diluted latex satin white paint, at least 50-50, and brushed it on a small area and immediately wiped it off with a clean rag.  I used Minwax Polycrylic as my protective layer.

Estimated Time Investment
Week Long Project (20 Hours or More)
Finish Used
Minwax Special Walnut stain, white latex satin paint, Minwax Polycrylic Clear Satin
Recommended Skill Level
Intermediate

Comments

amati5

Mon, 07/20/2015 - 10:28

What kind of joint did you use?  I don't see any holes or screws and very nice looking finish.

deblynn42

Mon, 07/20/2015 - 14:57

The Rustix X plans use the hidden pocket screws using the Kreg Jig tool.  It really makes a strong joint.  All the hidden pockets are on the underside of the trim pieces.   The top and slats are screwed on with normal wood screws, again from the underside.

Farmhouse king

Submitted by Chrisdiana on Sun, 02/04/2018 - 15:14

Followed Ana's plans as directed but made the headboard four inches shorter by shortening the legs only on the headboard.  We used low profile boxsprings (2 twin XL @ 5 inches thick) and king size memory foam mattress which was 10 inches high.  The clearance at the bottom of the side rails is 6 and one half inches high.  Total cost of lumbar was about $300. We had stain on hand. Kreg jig screws brings the total to about $315.

Estimated Cost
$315
Estimated Time Investment
Weekend Project (10-20 Hours)
Finish Used
Miniwax ebony stain, and satin polyurethane.
Recommended Skill Level
Intermediate

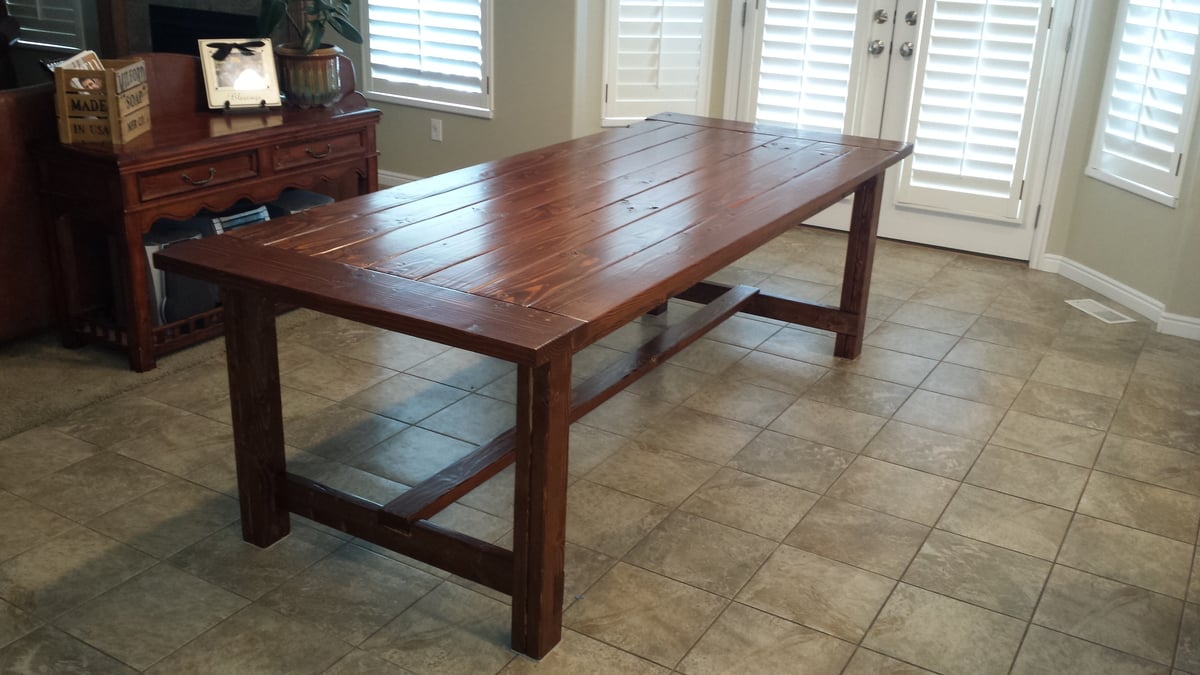
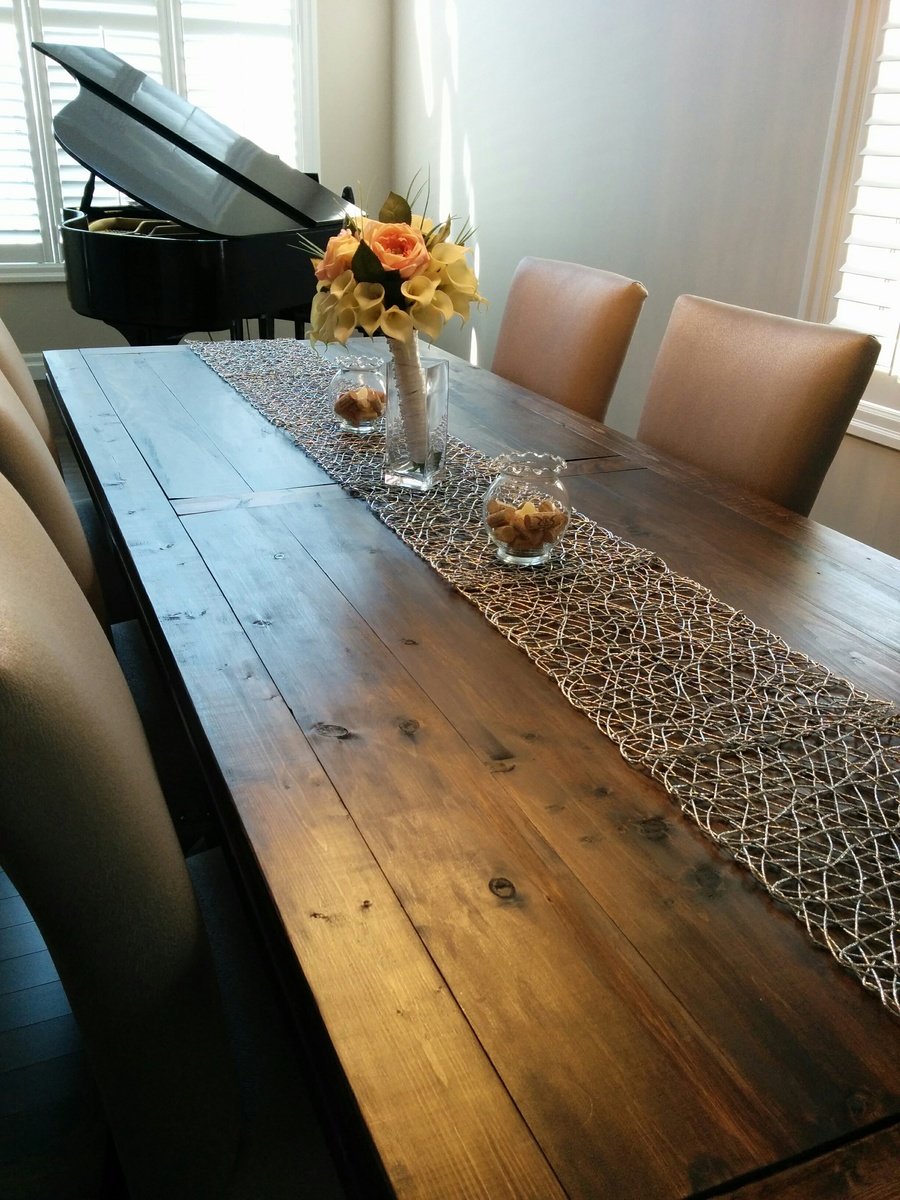
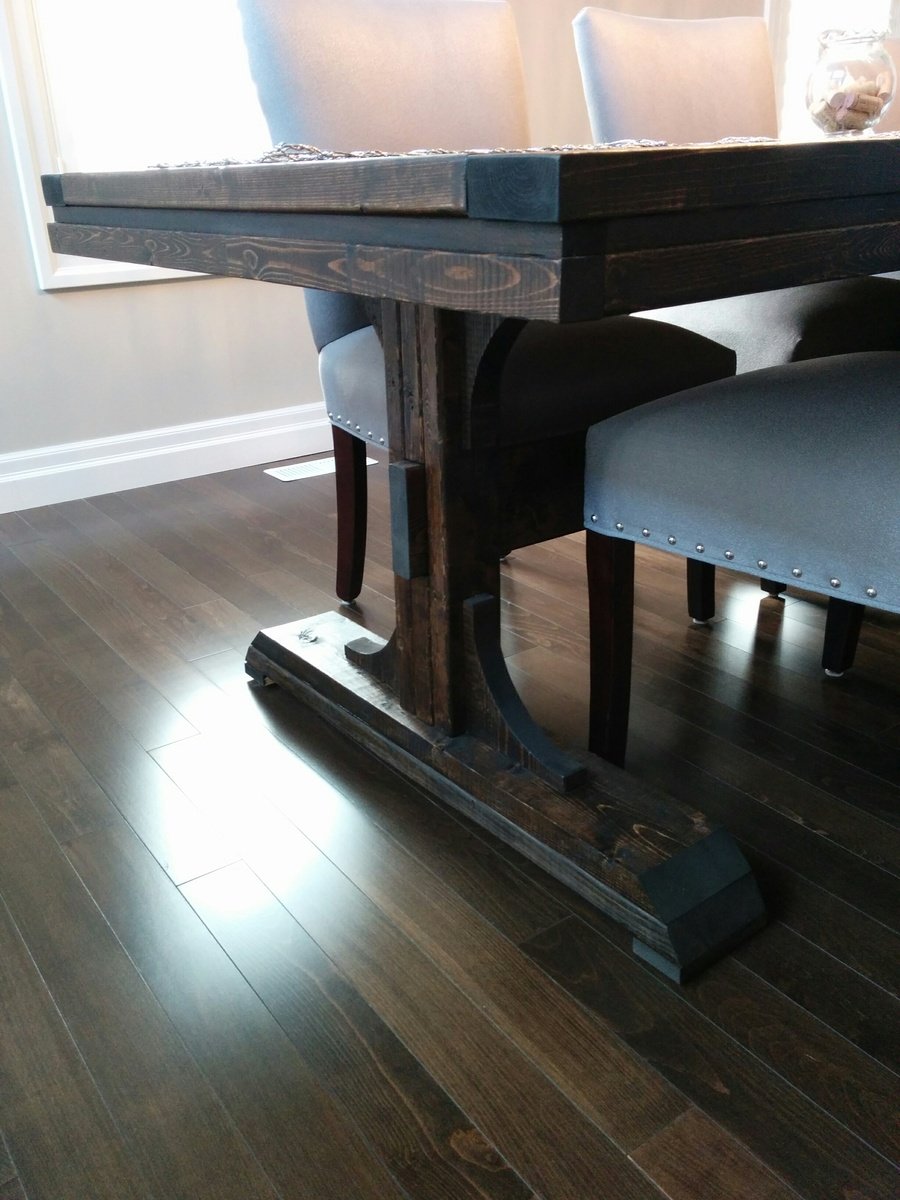
Farmhouse table bench no pocket holes or screws on top

Submitted by tjlichat on Wed, 02/23/2022 - 12:55

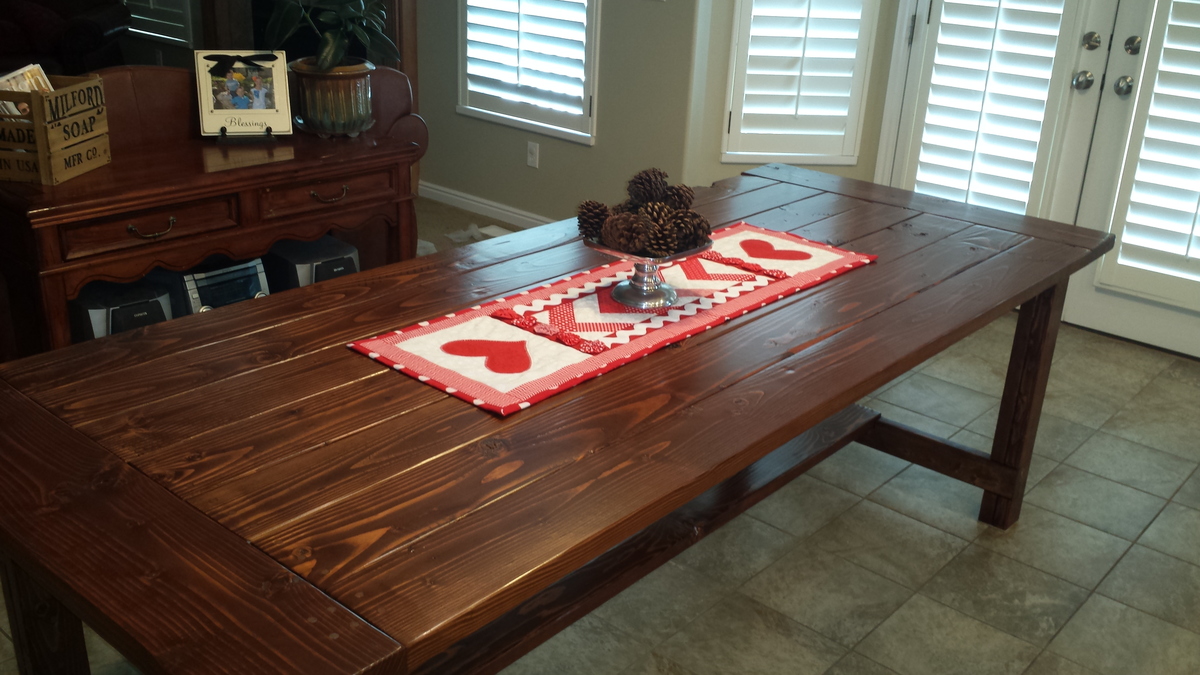
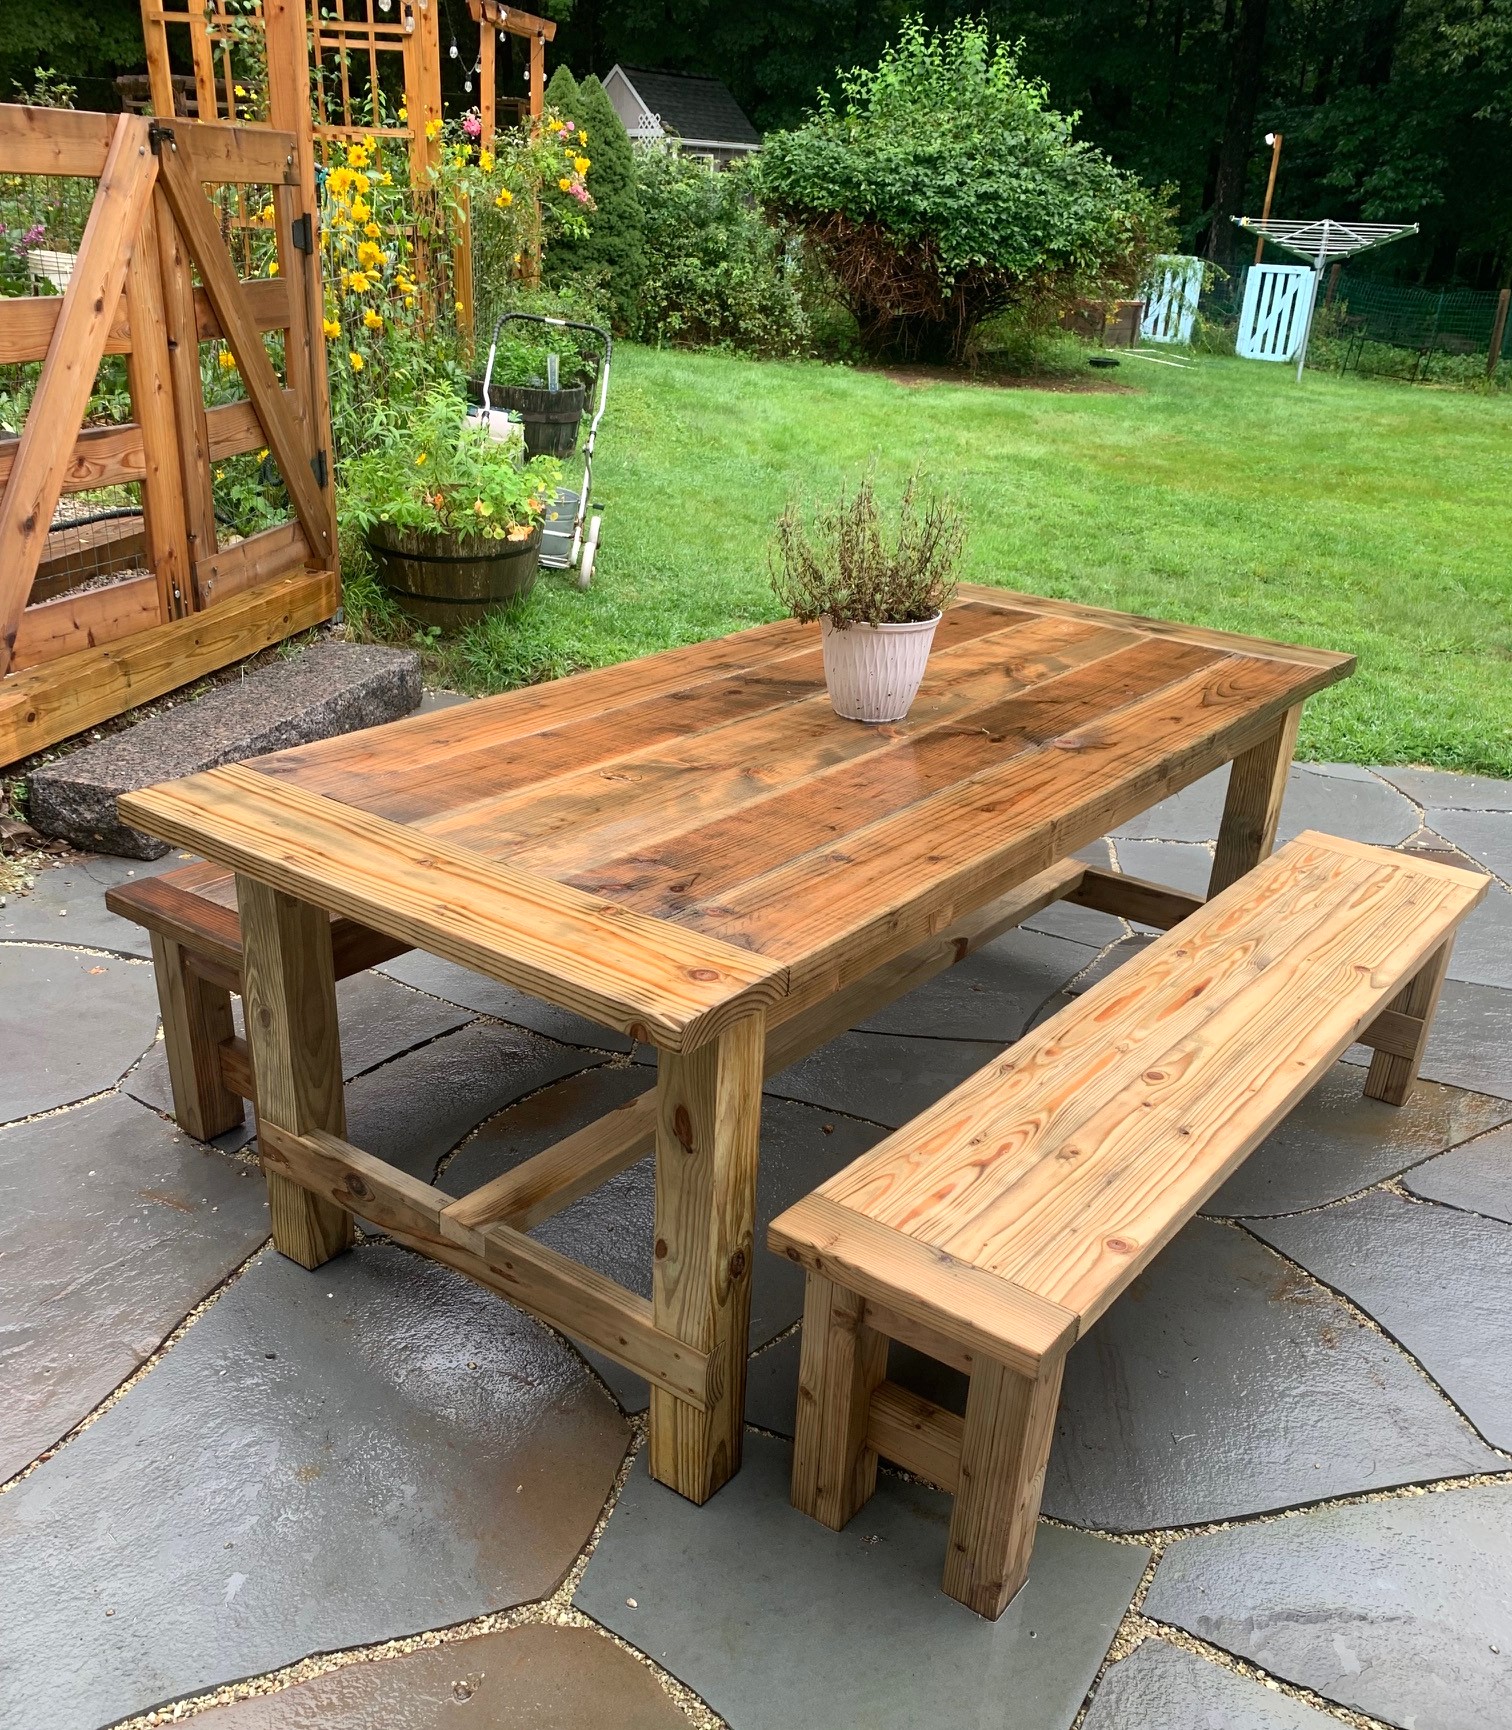
Liked very much the general design of the farmhouse plans but wanted to avoid buying the pocket hole jig and the puttying of screw holes on top side (exposed) side of boards.

Increased slightly the table top and bench seat board supports (2x2's) which worked well for holding those down and placed the angled wood piece in corner of table leg to support bread board.

Please with the results. We really wanted to avoid attempting to hide the screw holes with putty. Others have posted and we had similar results of blotches on the surface of the top boards resulting from even "stainable" putty. No amount of sanding seemed to help.

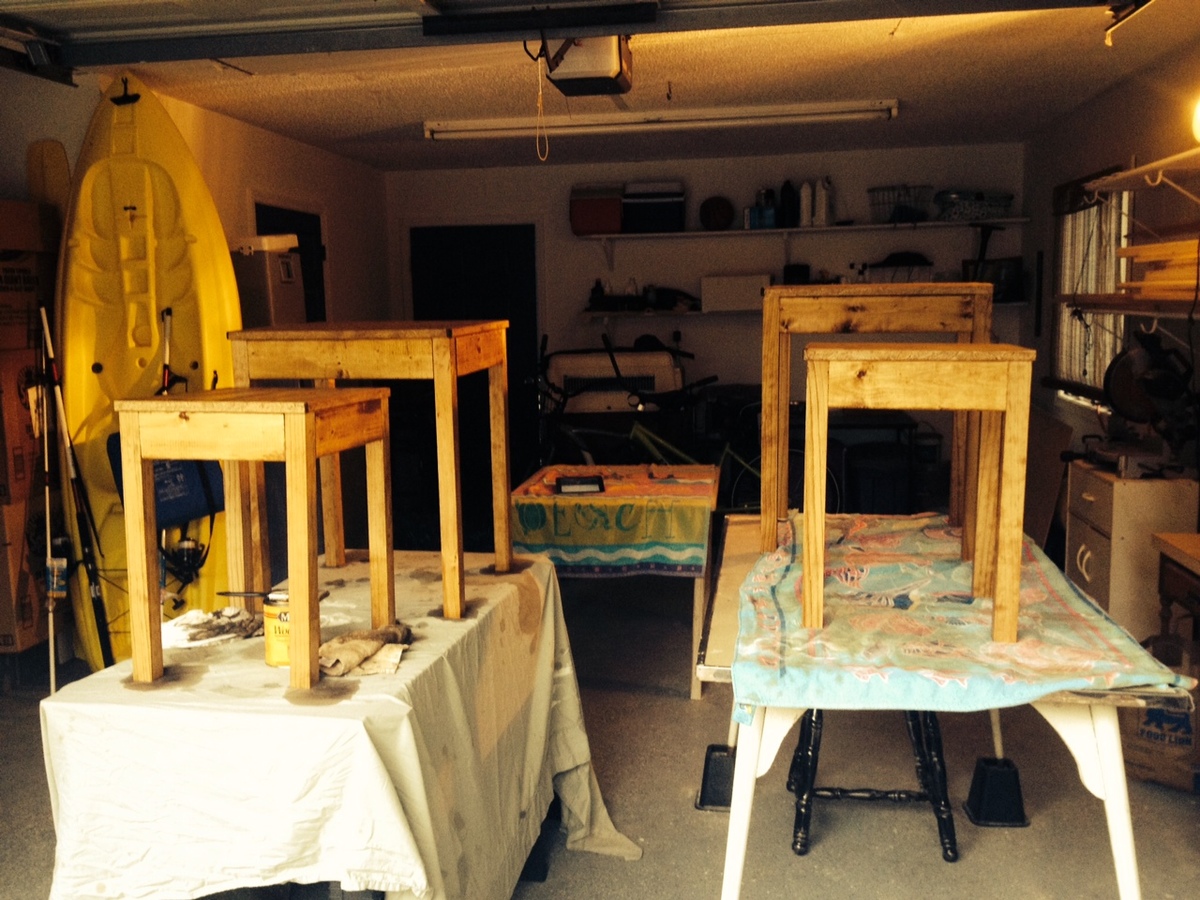
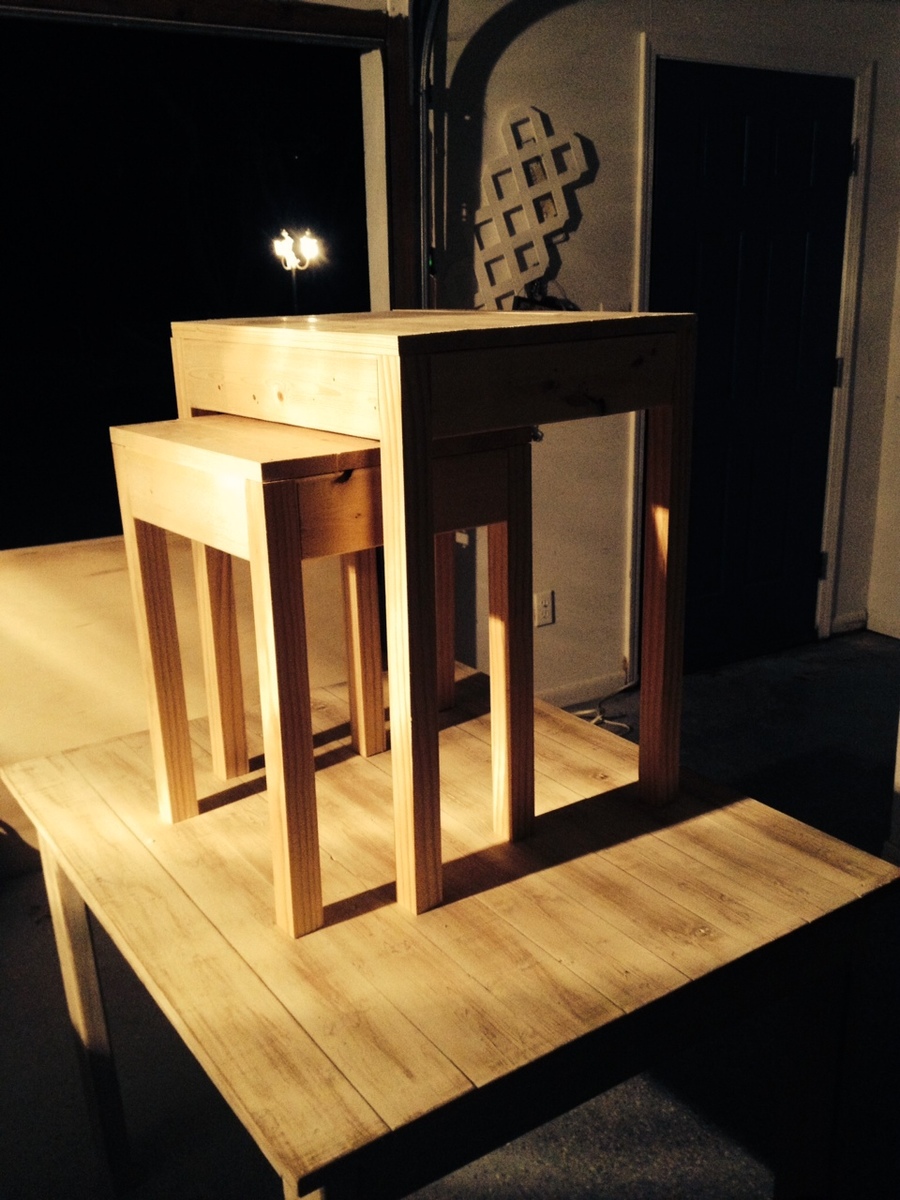
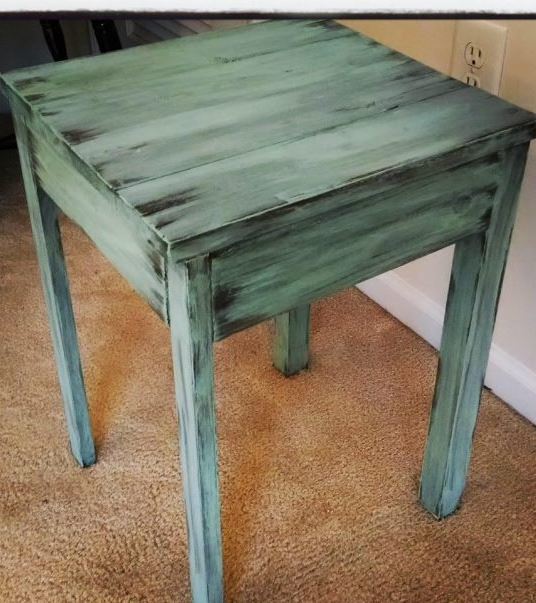
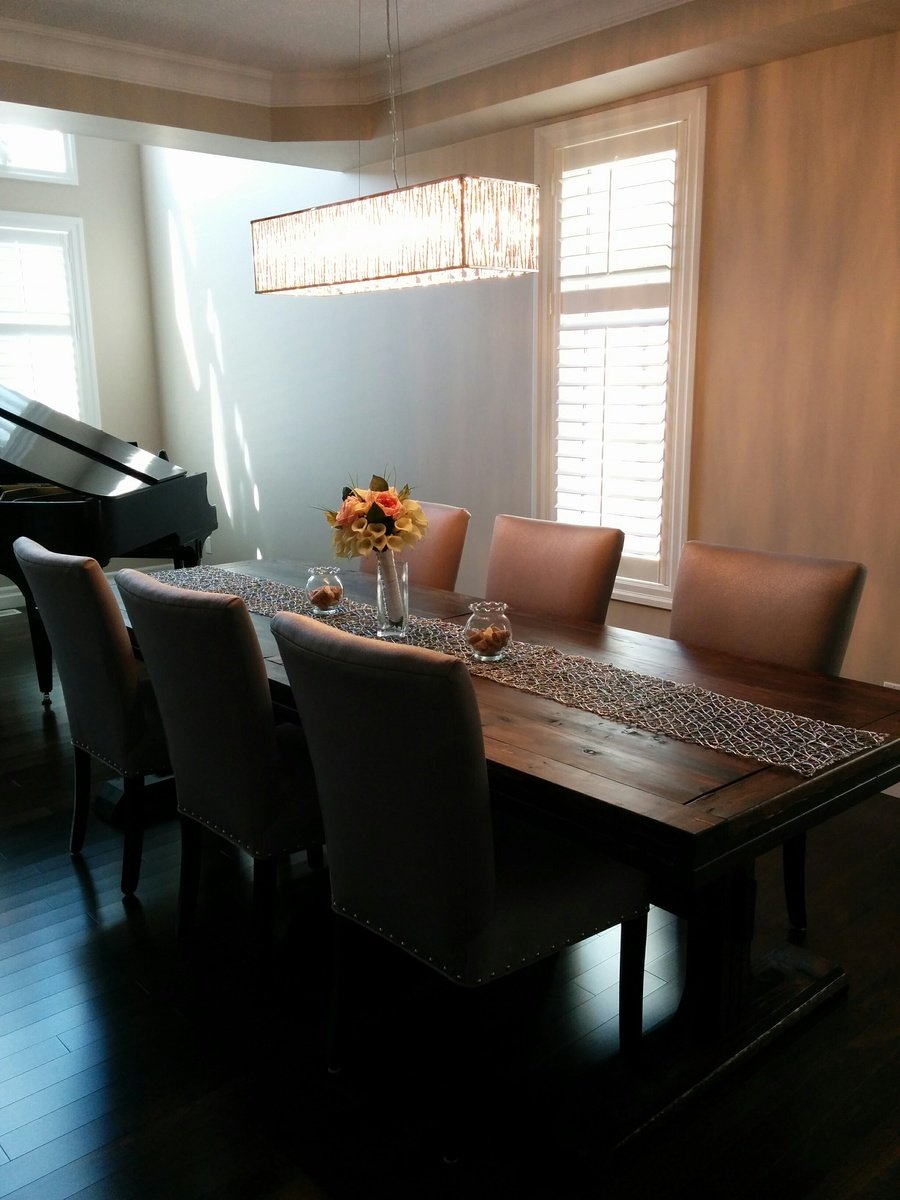
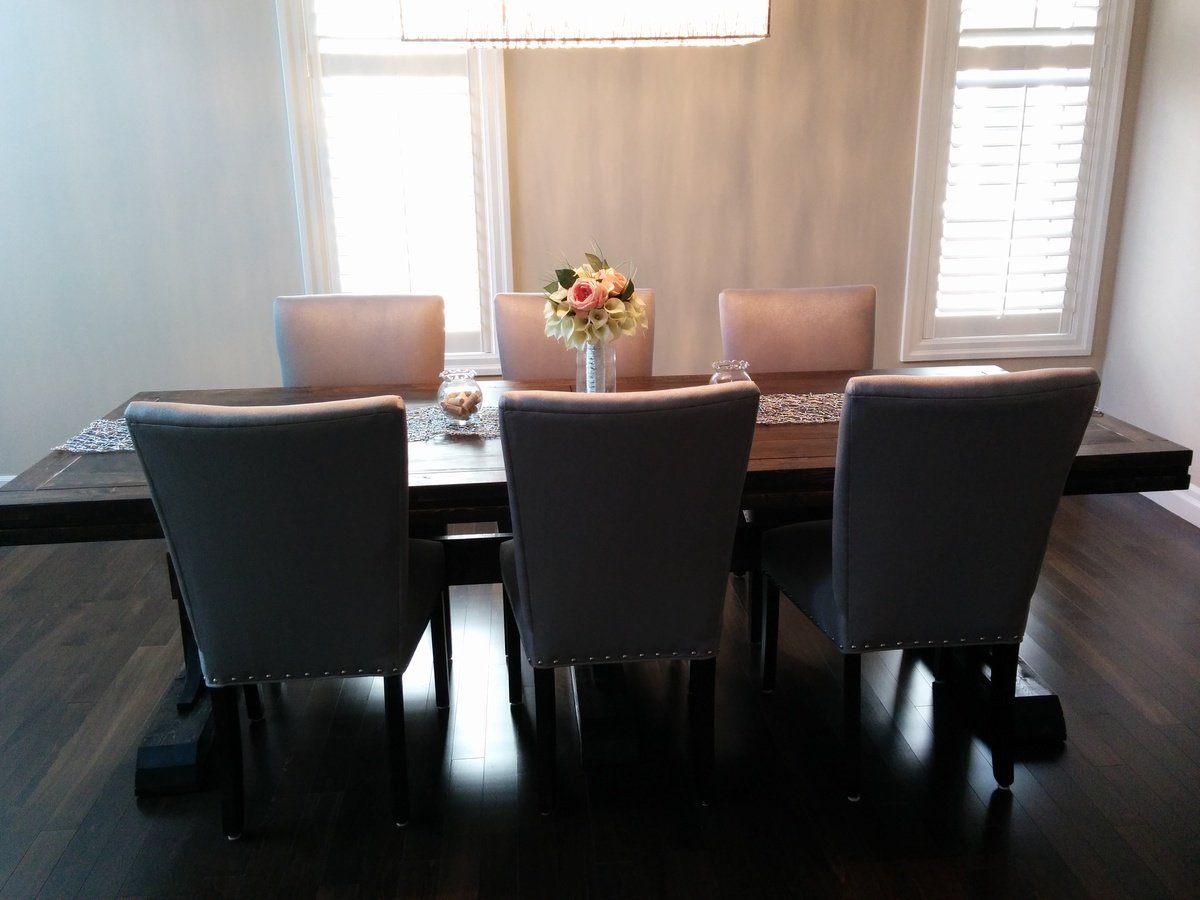
First Tryde Side Table

Love the simple look of this collection! This was my first table to do. I will be doing more...such a great and sturdy table. The wood is absolutely beautiful stained too!

Built from Plan(s)
Estimated Cost
$50 (island living cost more)
Estimated Time Investment
Day Project (6-9 Hours)
Finish Used
Nuwood walnut poly stain. Top has 2 coats of glossy poly finish as well, but the legs just had the 2 coats of stain.
Recommended Skill Level
Beginner

Cedar Planter Boxes

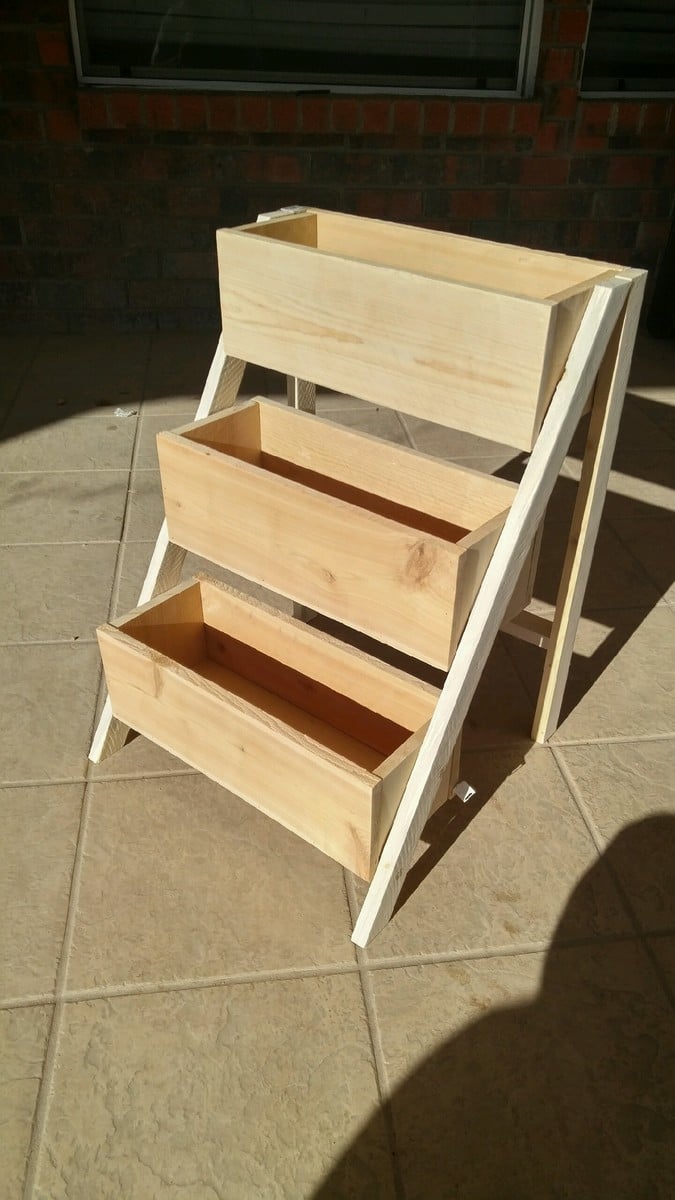
Submitted by KaityJene on Wed, 07/17/2013 - 19:59

They were simple to make and the plan was easy to follow. The only modification I made was adding the 1x3 topper in place of the longer legs sticking out of the top.

Built from Plan(s)
Estimated Cost
$23
Estimated Time Investment
Day Project (6-9 Hours)
Finish Used
Thompson's Water Seal which I just brushed on using a cheap paint brush.
Recommended Skill Level
Beginner

Comments

Debi G

Fri, 07/19/2013 - 06:36

Adding these to my to-do list for spring (yes, I plan ahead). I'm thinking of elevating and elongating them to fit around a bay window.

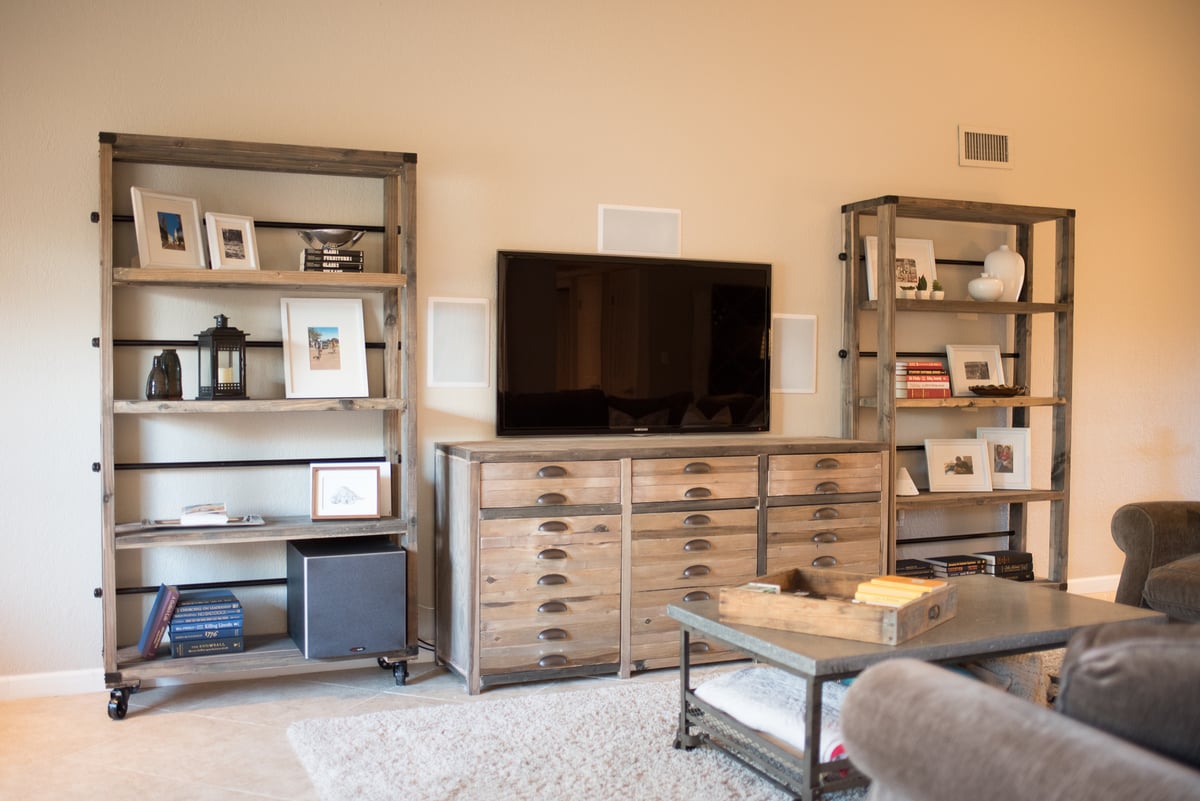
Modified grandy console

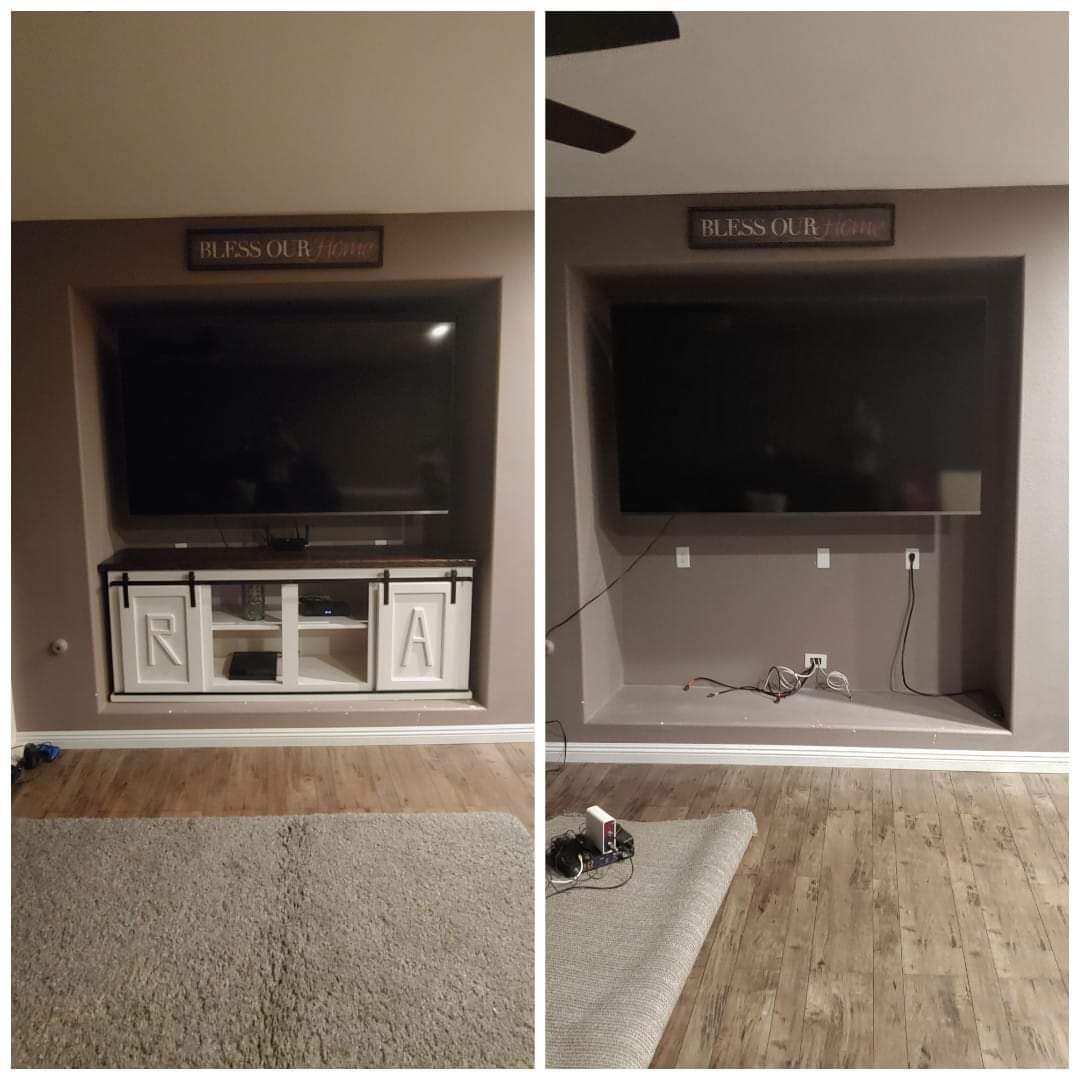
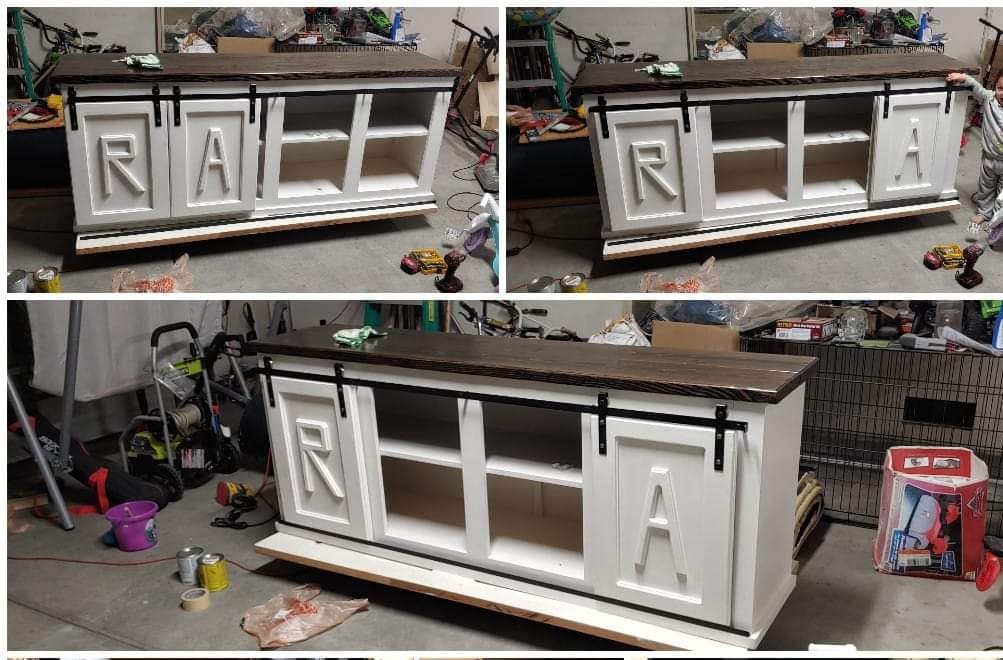
Submitted by Lukilla on Thu, 02/15/2018 - 12:22

Built a smaller version of the grandy console with slot in the top for a sound bar. This was my first time using barn door hardware. Was a good time.

Built from Plan(s)
Estimated Cost
250 (includes barn door hardware)
Estimated Time Investment
Weekend Project (10-20 Hours)
Finish Used
Jacobean stain anf white paint
Recommended Skill Level
Intermediate

Whiskey/ Wine Bar

Submitted by Dan Dodd on Fri, 03/18/2022 - 13:43

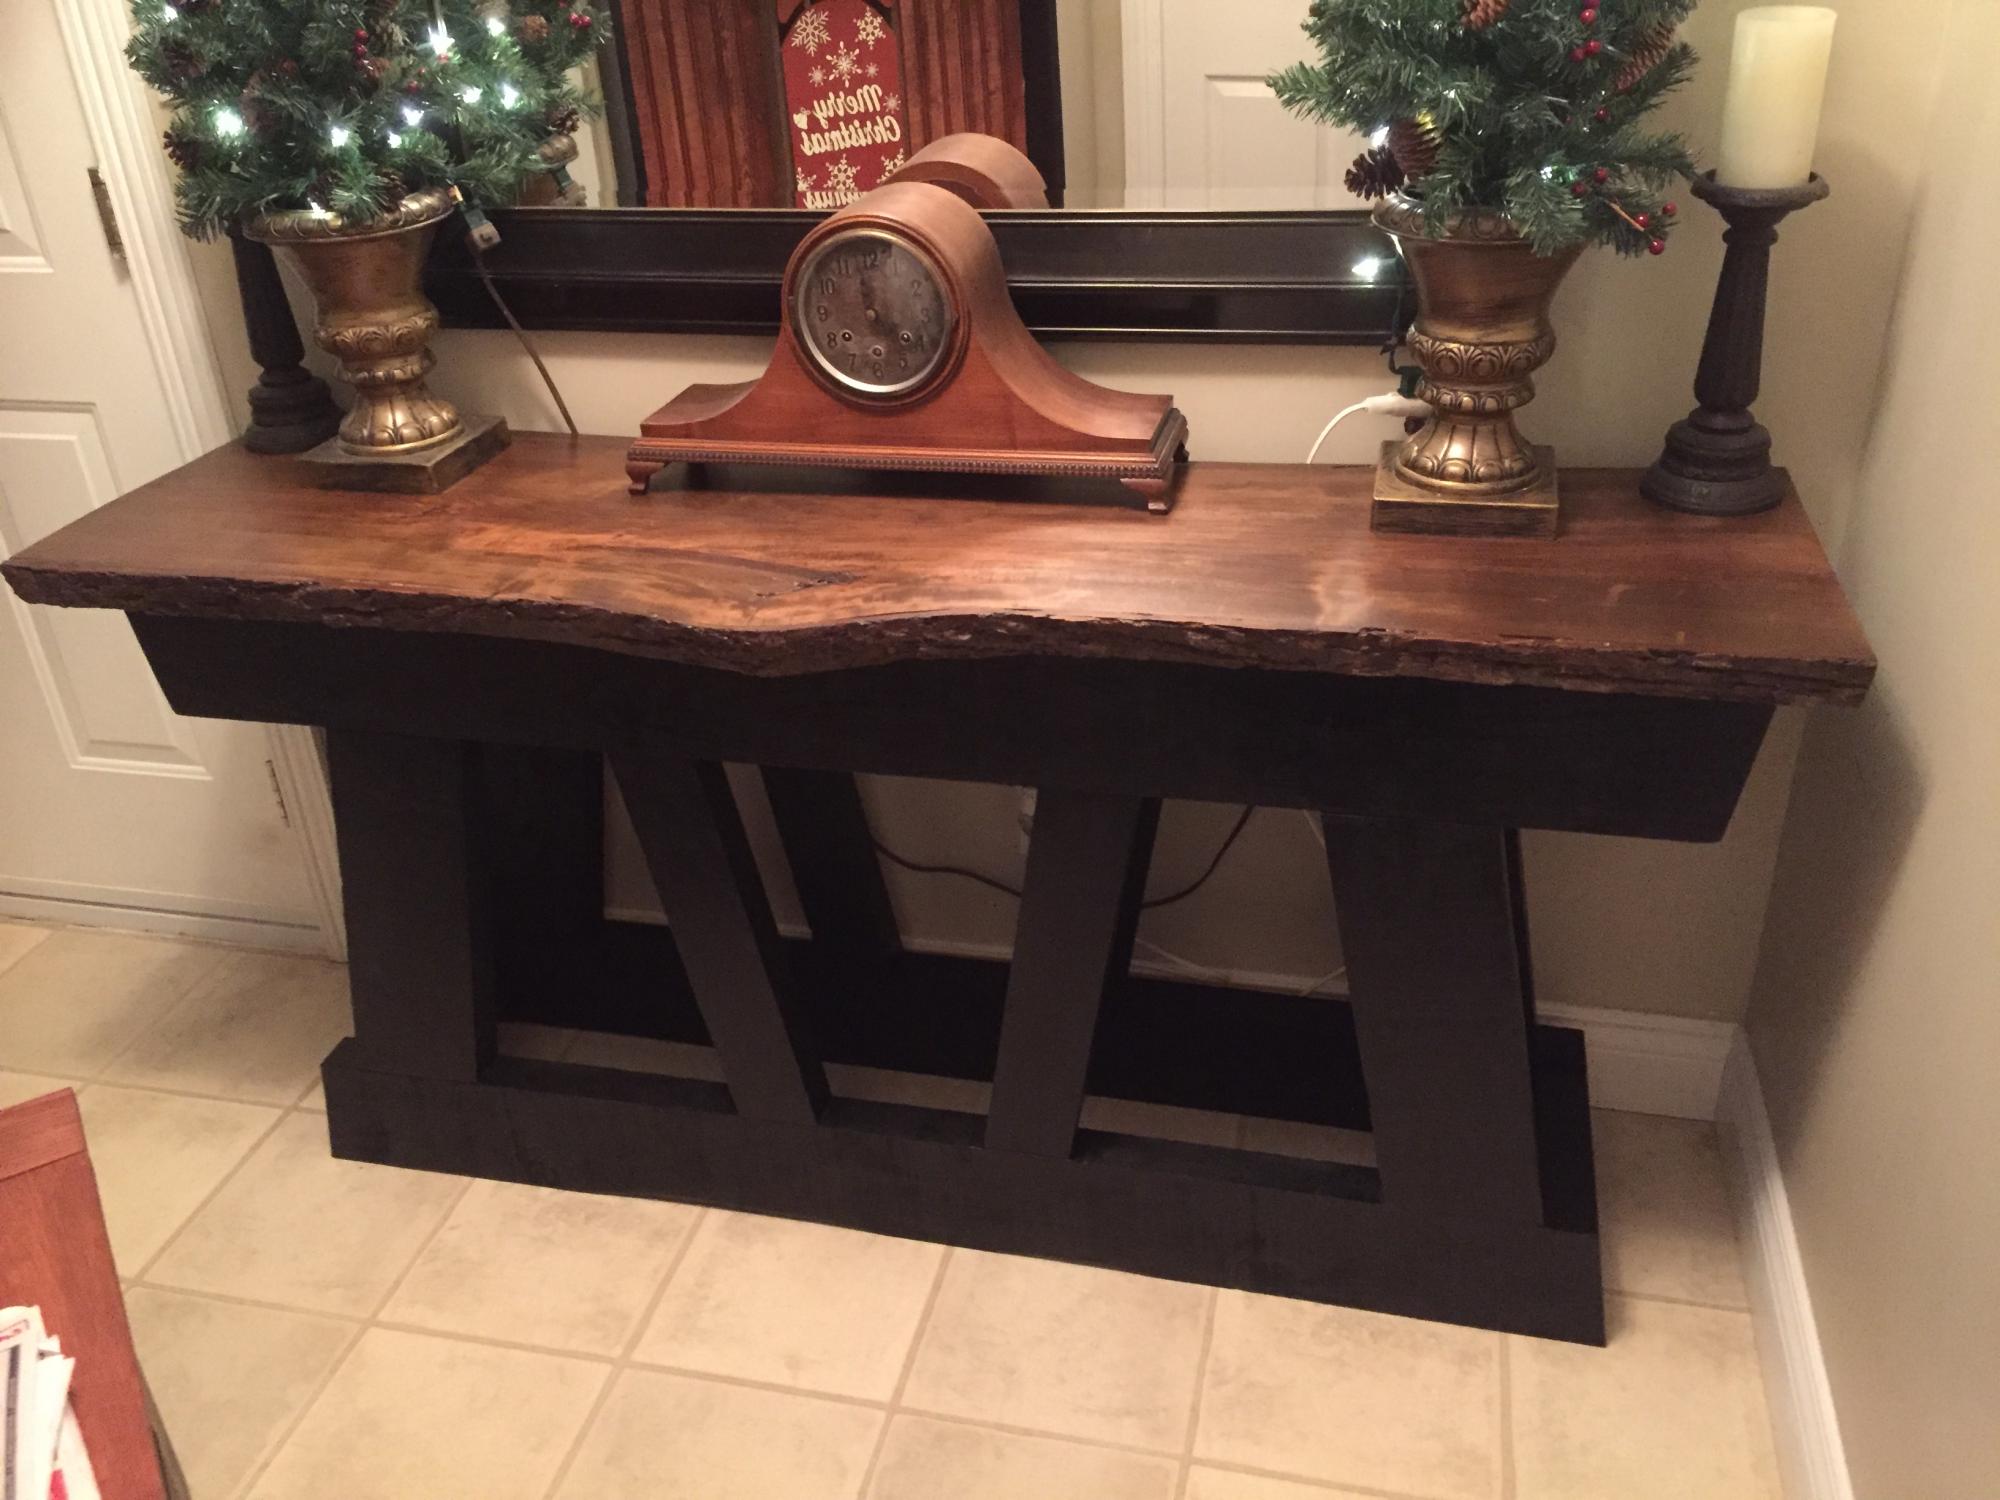
Whiskey on the left, Wine rack & glass holders on the right with storage in the middle. Frame built mostly with Pine, painted with Peppercorn Grey. Cherry tabletop with live edge. Finished with boiled linseed oil and semi-gloss polyurethane. A whiskey Bar should be fun! Stick on lights in each bay battery powered, comes with remote with many color options.

Built from Plan(s)

Comments

Ana White Admin

Fri, 03/18/2022 - 17:41

It looks great and serves it purpose, love the added lights for fun! Thanks for sharing:)

Kentwood Nightstands #My First Project

Submitted by daddydrew on Fri, 07/19/2013 - 11:41

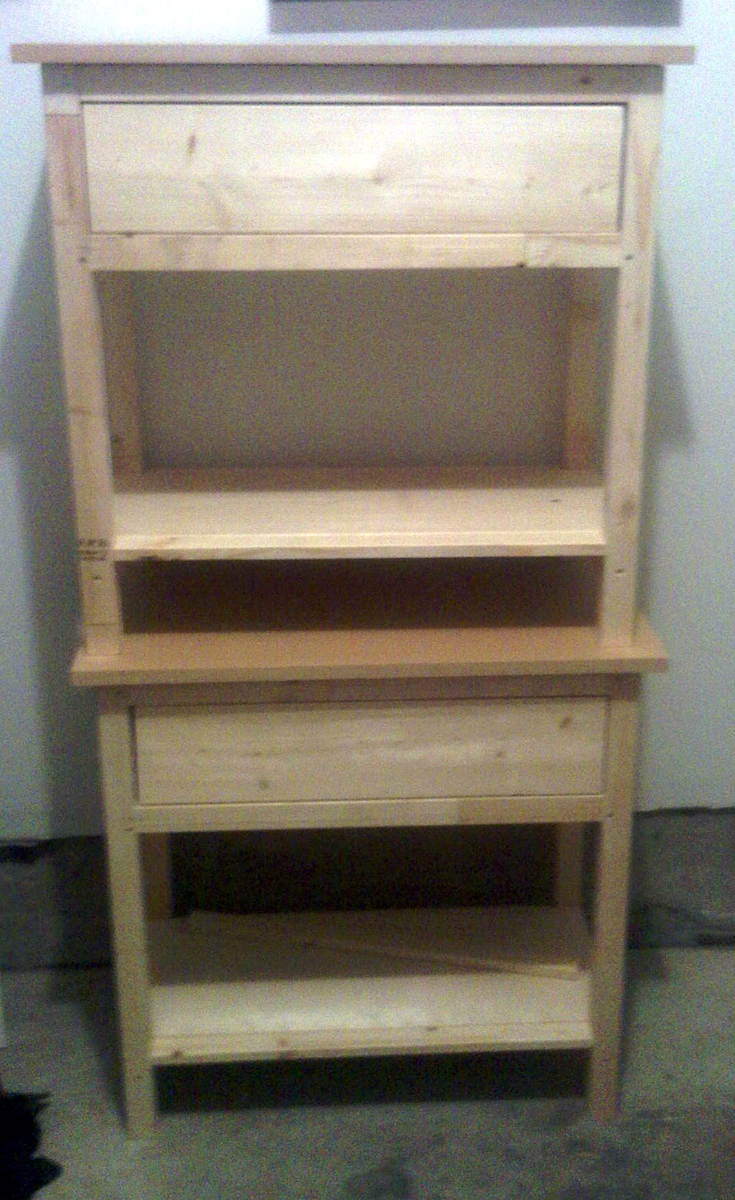
This was my first project I did this many months back and I have just now started to put up brags after getting into building furniture for about 8 months now. This project was much easier than I expected and I did the build out in about two hours. When I did this project all that I had tool wise was a mitre saw, a drill, and a tape measure so if you want a project that uses minimal tools this one would be a great one to start with! I think that I spent around $125 on this bedside table and that number is a little bit higher because I used all premium wood because it was my first project. I stained it with Jacobean oil based stain and then I used the polycrylic finish (both by minwax) which turned out great I think!

Estimated Time Investment
Afternoon Project (3-6 Hours)
Finish Used
Jacobean oil based stain
polycrylic clear coat finish
Recommended Skill Level
Starter Project

Mud Room Family Clothes Closet

Our son built this based off of these plans. He had to make the corner hanging areas smaller to fit our area, but we were still able to use this space for hanging items.

Estimated Time Investment
Week Long Project (20 Hours or More)
Recommended Skill Level
Intermediate

Comments

Deck Chairs

Submitted by melaniesue on Thu, 06/02/2011 - 10:46

These were so simple, and SO FUN to build! These were done all while having a schools out party, and an evening outdoor movie with kids running wild! I really liked building them, and can't handle how cute they are! I used pocketholes and also brads and glue. Pretty sturdy, but I think I will use harder wood for them next time. We went to a cabin over Memorial Day, and we ended up leaving them for the owner because we thought they were so cute on her deck! My finish was super easy and fast because I wanted them finished so I stained, and dry painted then set them in the front to dry out in the sun, sealed with poly and TADA, DECK CHAIRS!!

Estimated Cost
15.00, maybe?? Including the fabric for both chairs.
Estimated Time Investment
An Hour or Two (0-2 Hours)
Finish Used
Oops paint, and Minwax Dark Walnut. Distressing, it was a super simple finish. I got the fabric at JoAnns and used my coupon 40% off.
Recommended Skill Level
Starter Project

queen sized bed for my twin sized son

My son wanted a bigger bed so when his friends and cousins sleep over they dont have to squeeze into his twin. My son is 12 by the way, so when I got a king I gave him my queen. I needed to raise it up because I knew I wanted to build a trundle to put under it. This bed is pretty heavy, very sturdy (even with 5 kids sleeping on it or jumping on it) I took the idea from my Malm bed from ikea but its a lot heavier and stronger

Estimated Cost
just under $100
Estimated Time Investment
Day Project (6-9 Hours)
Finish Used
Minwax ebony stain. 2 coats. semi gloss poly spray
Recommended Skill Level
Intermediate