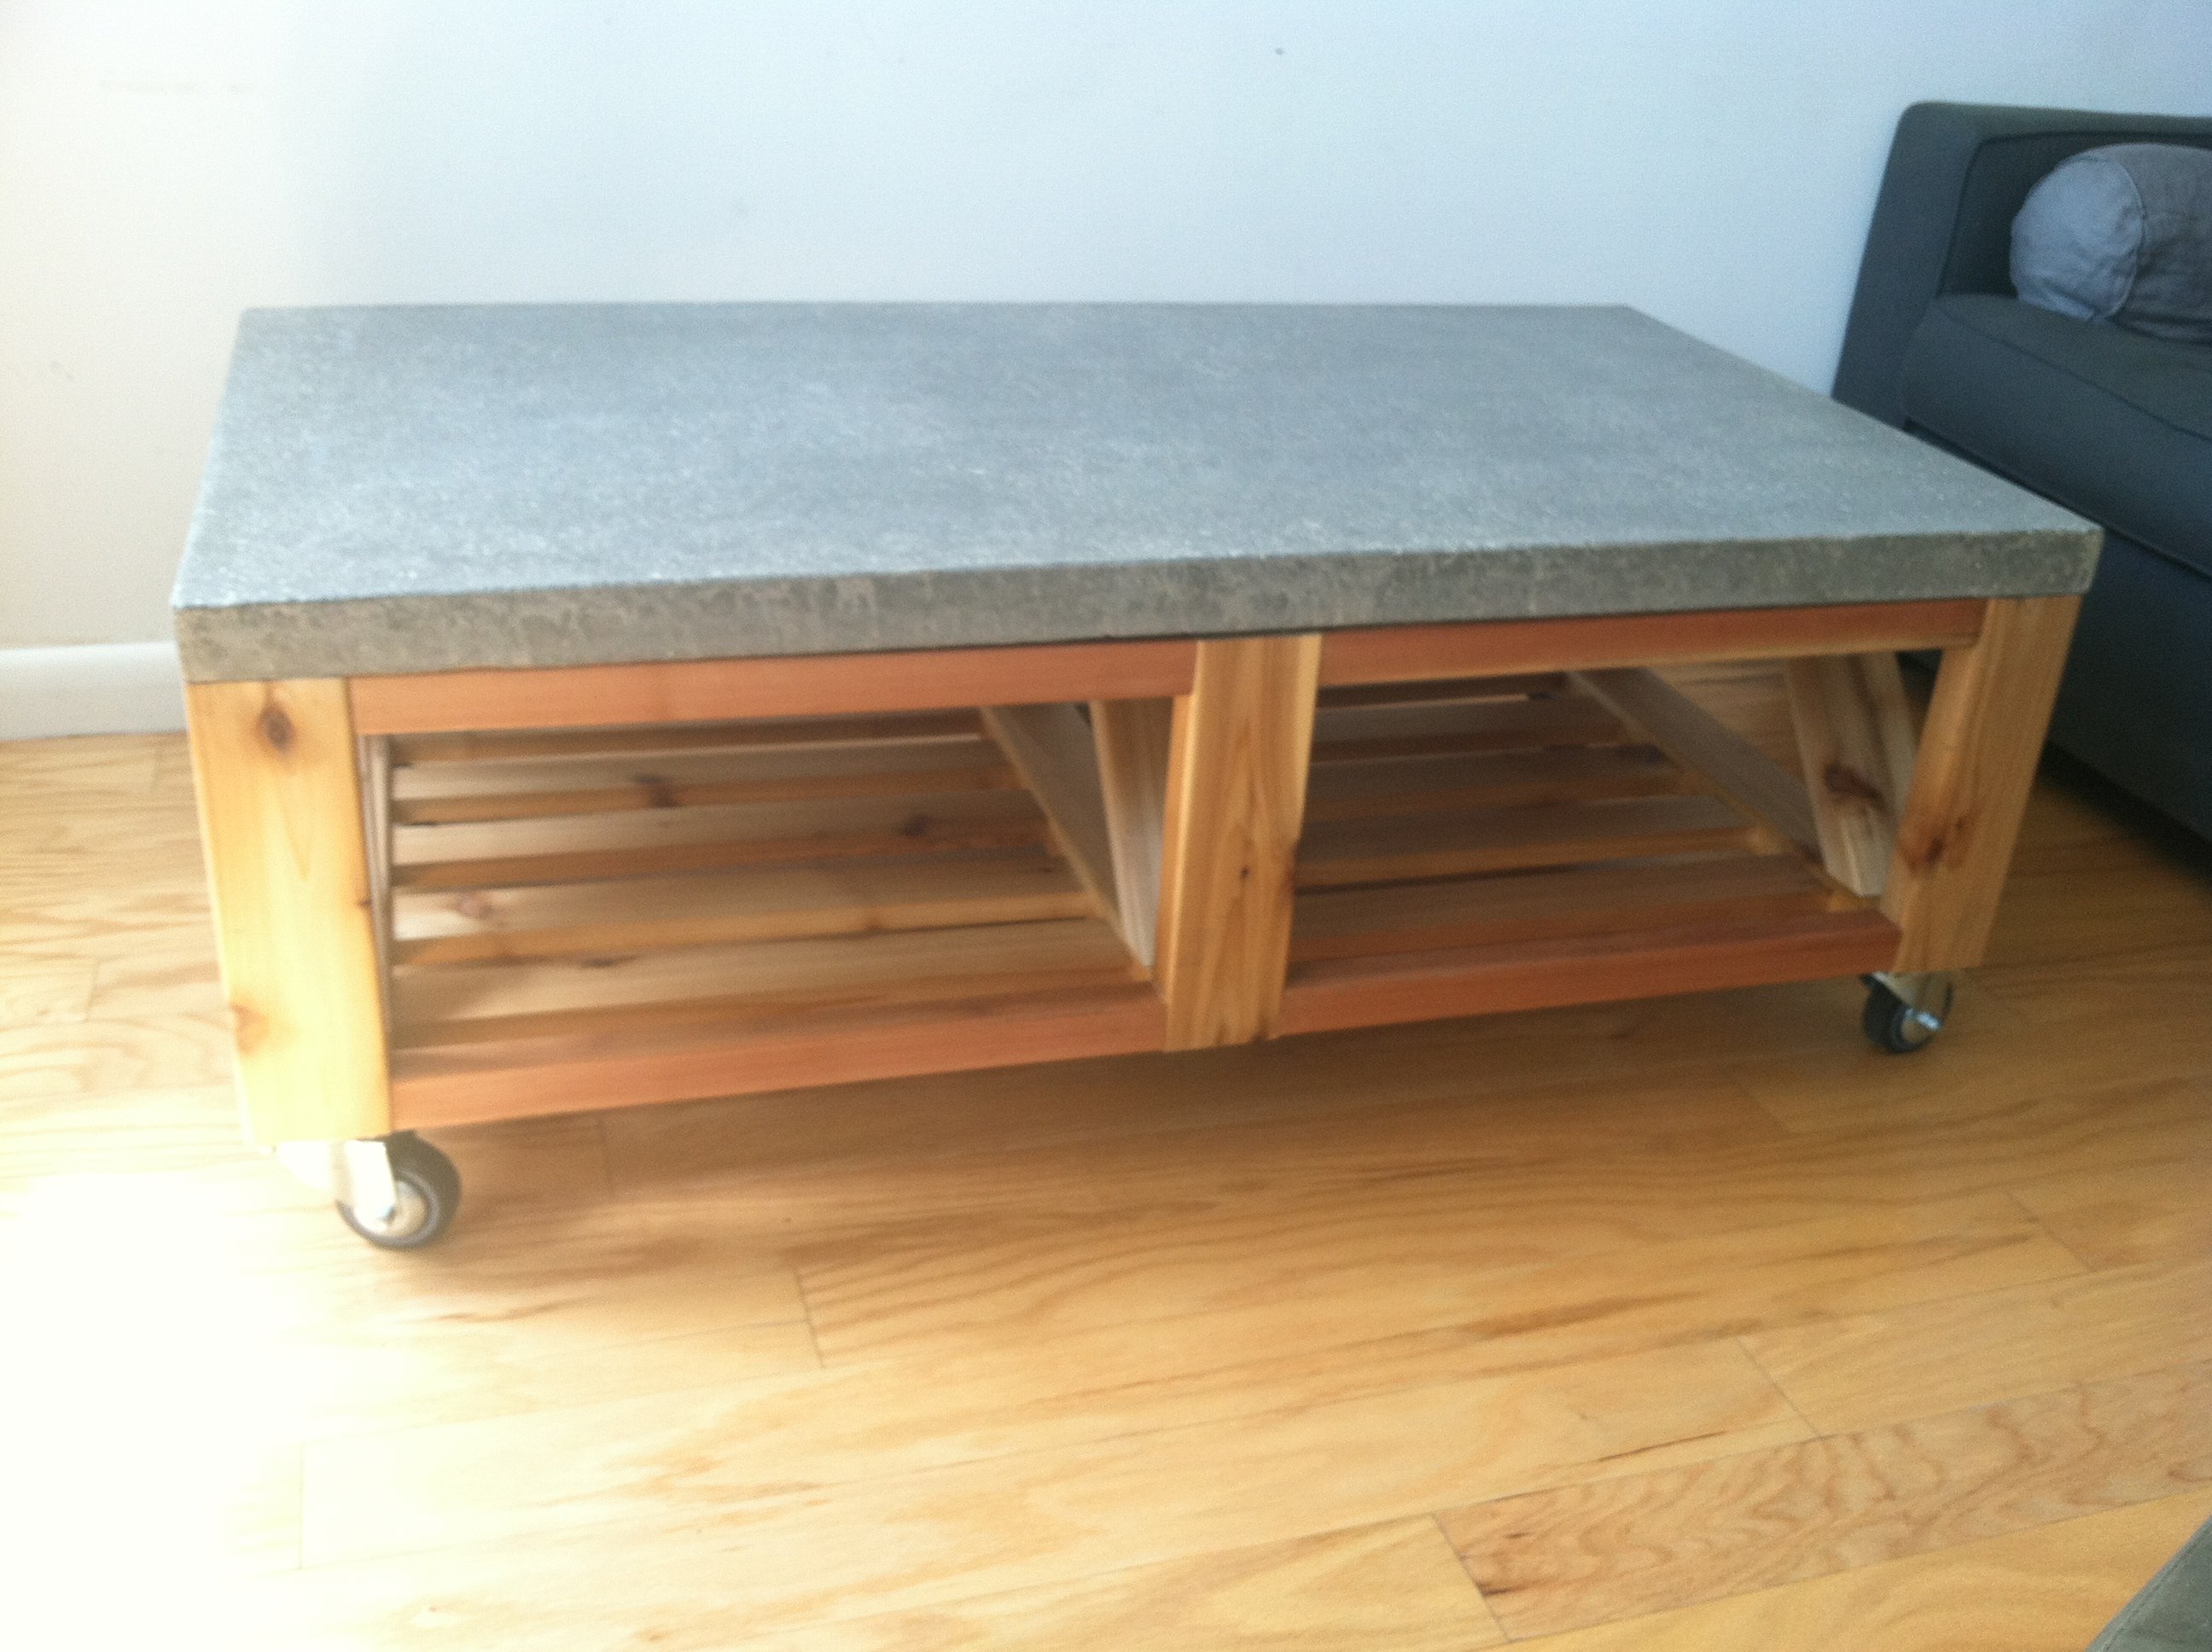
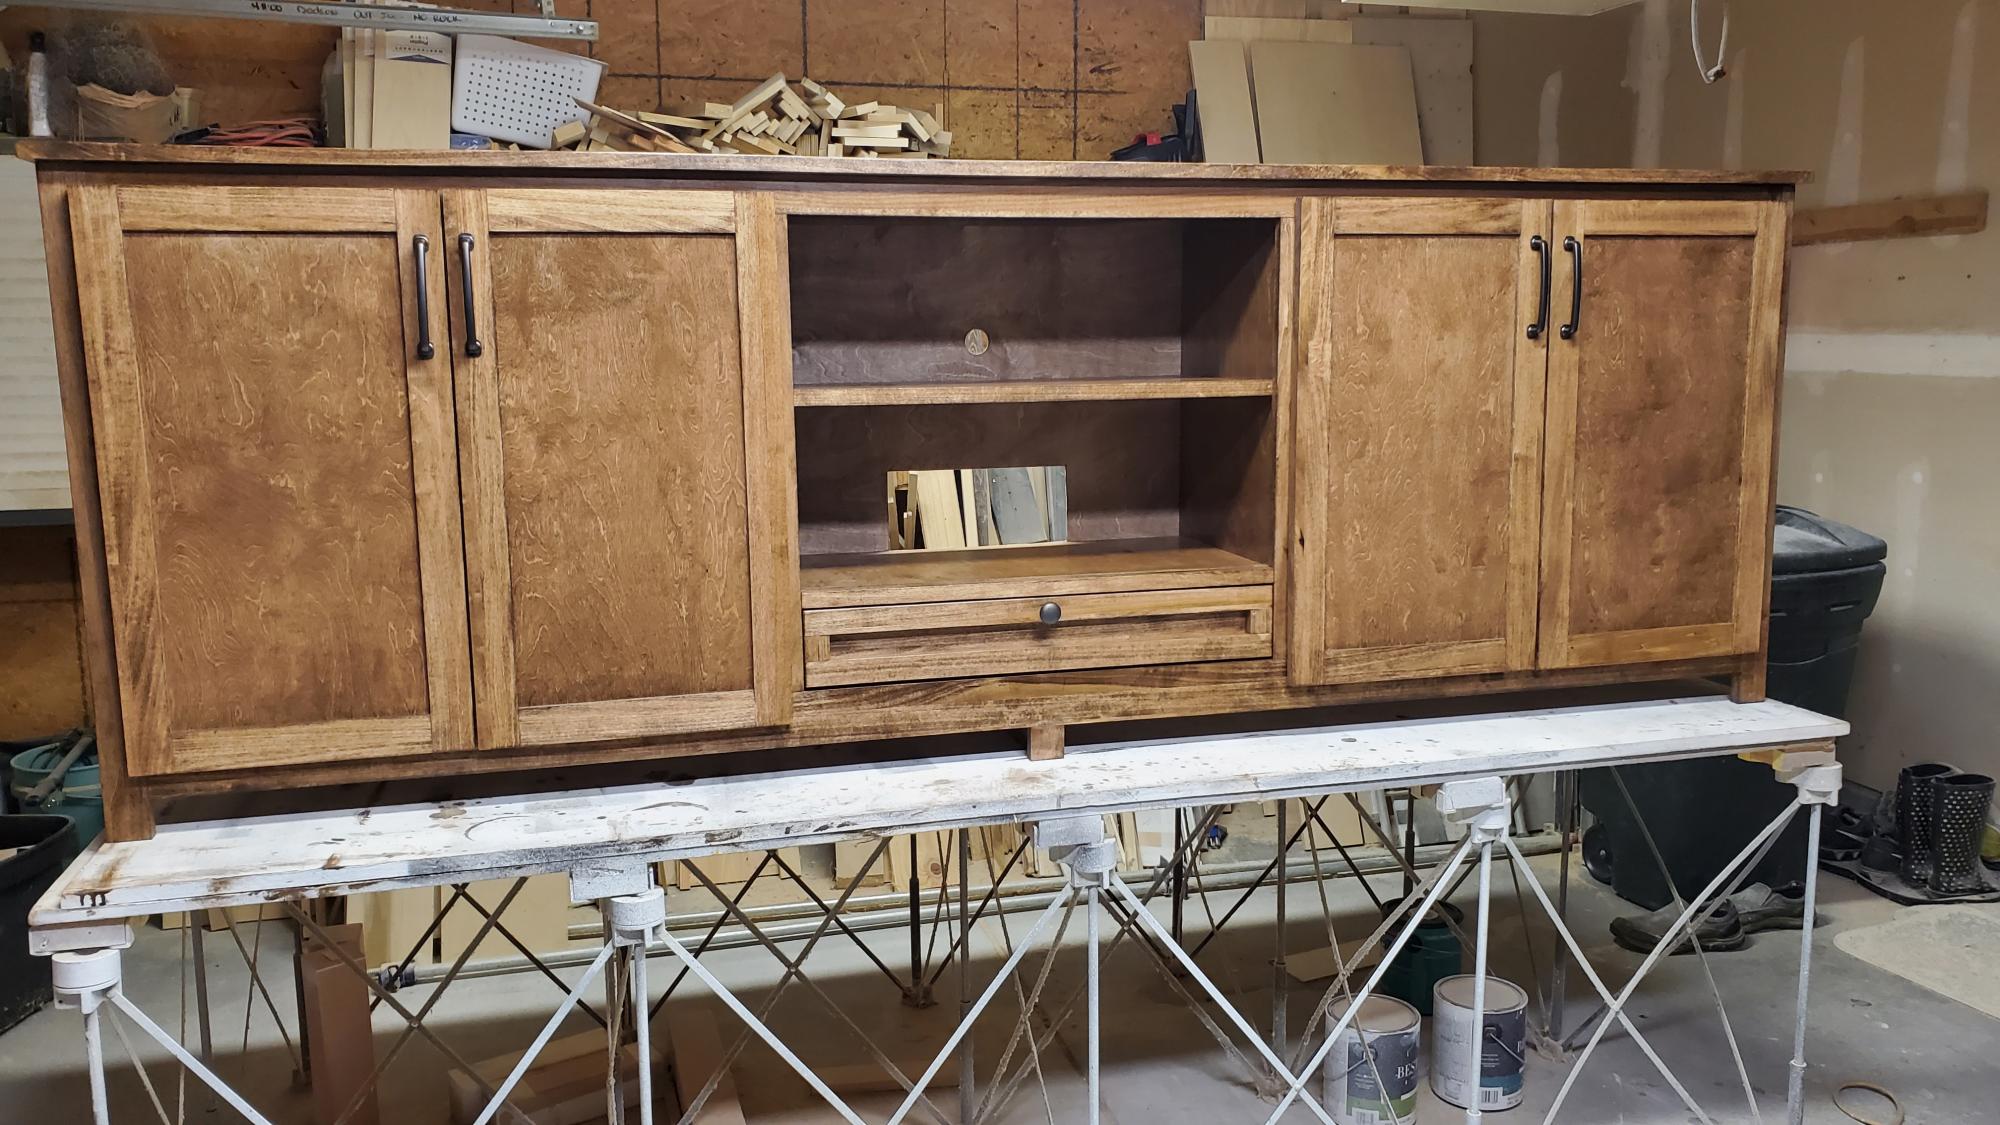
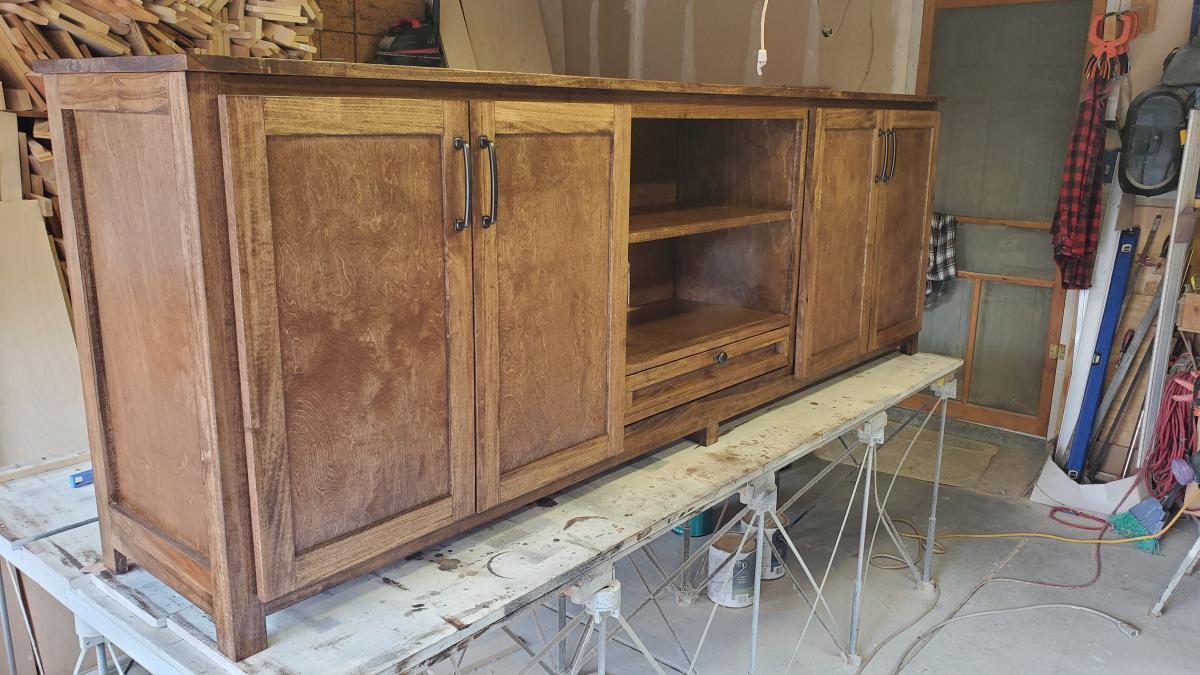
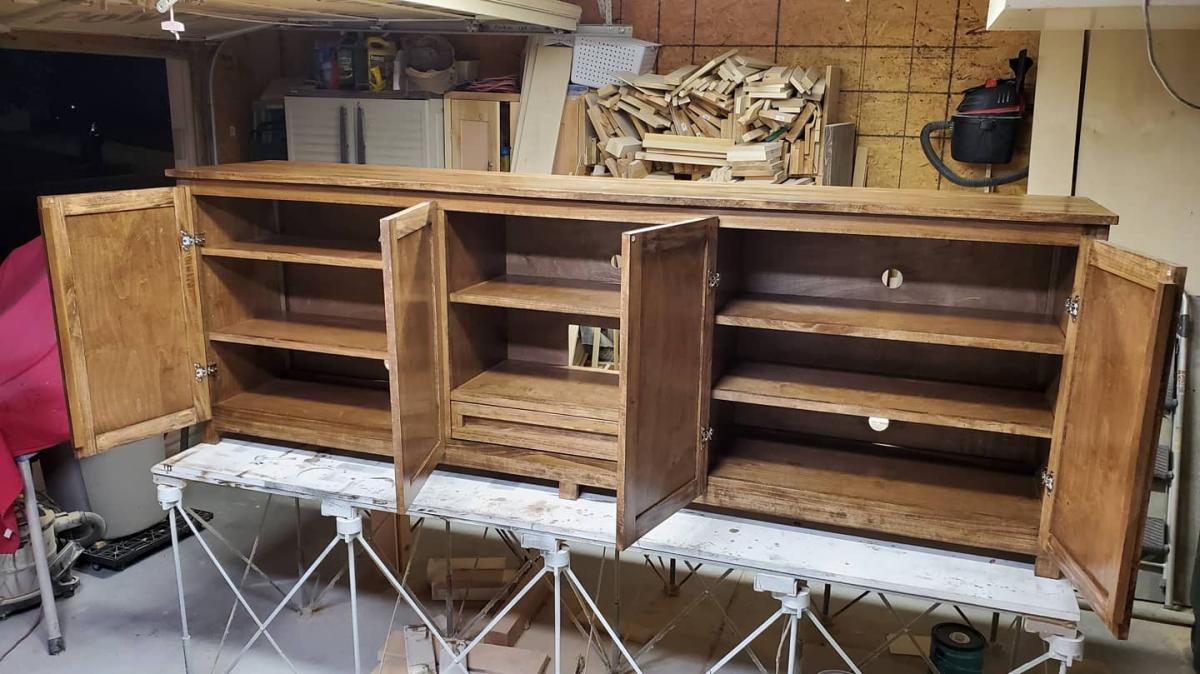
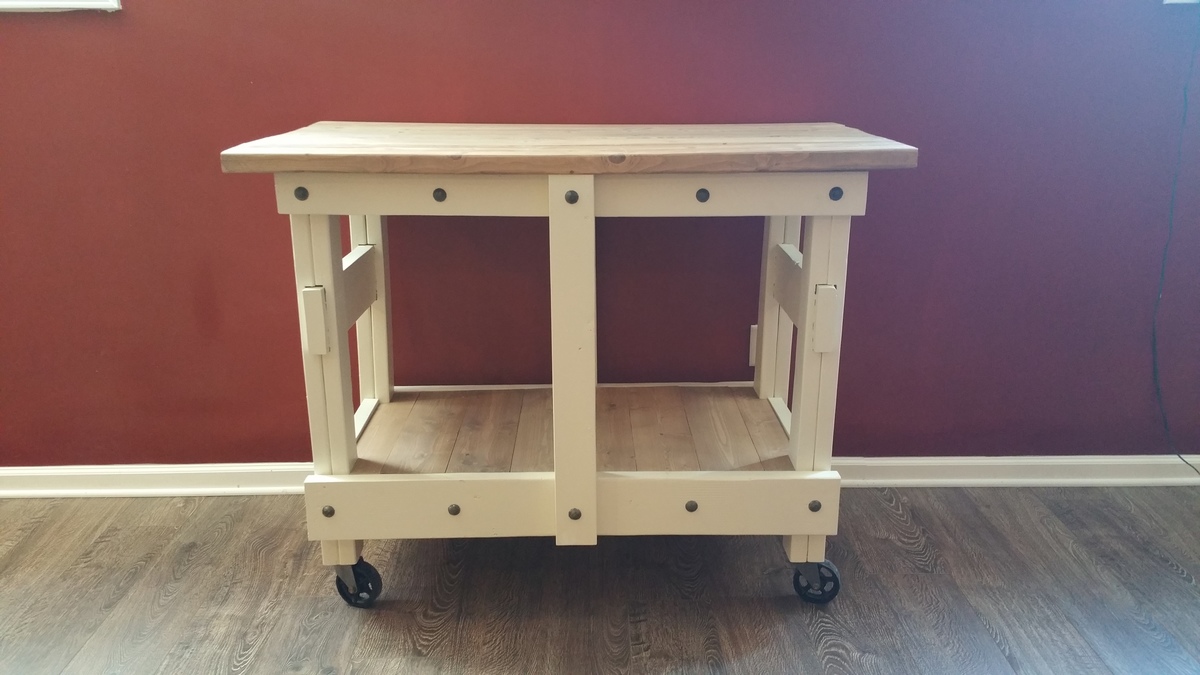
Cedar outdoor table with scraps!
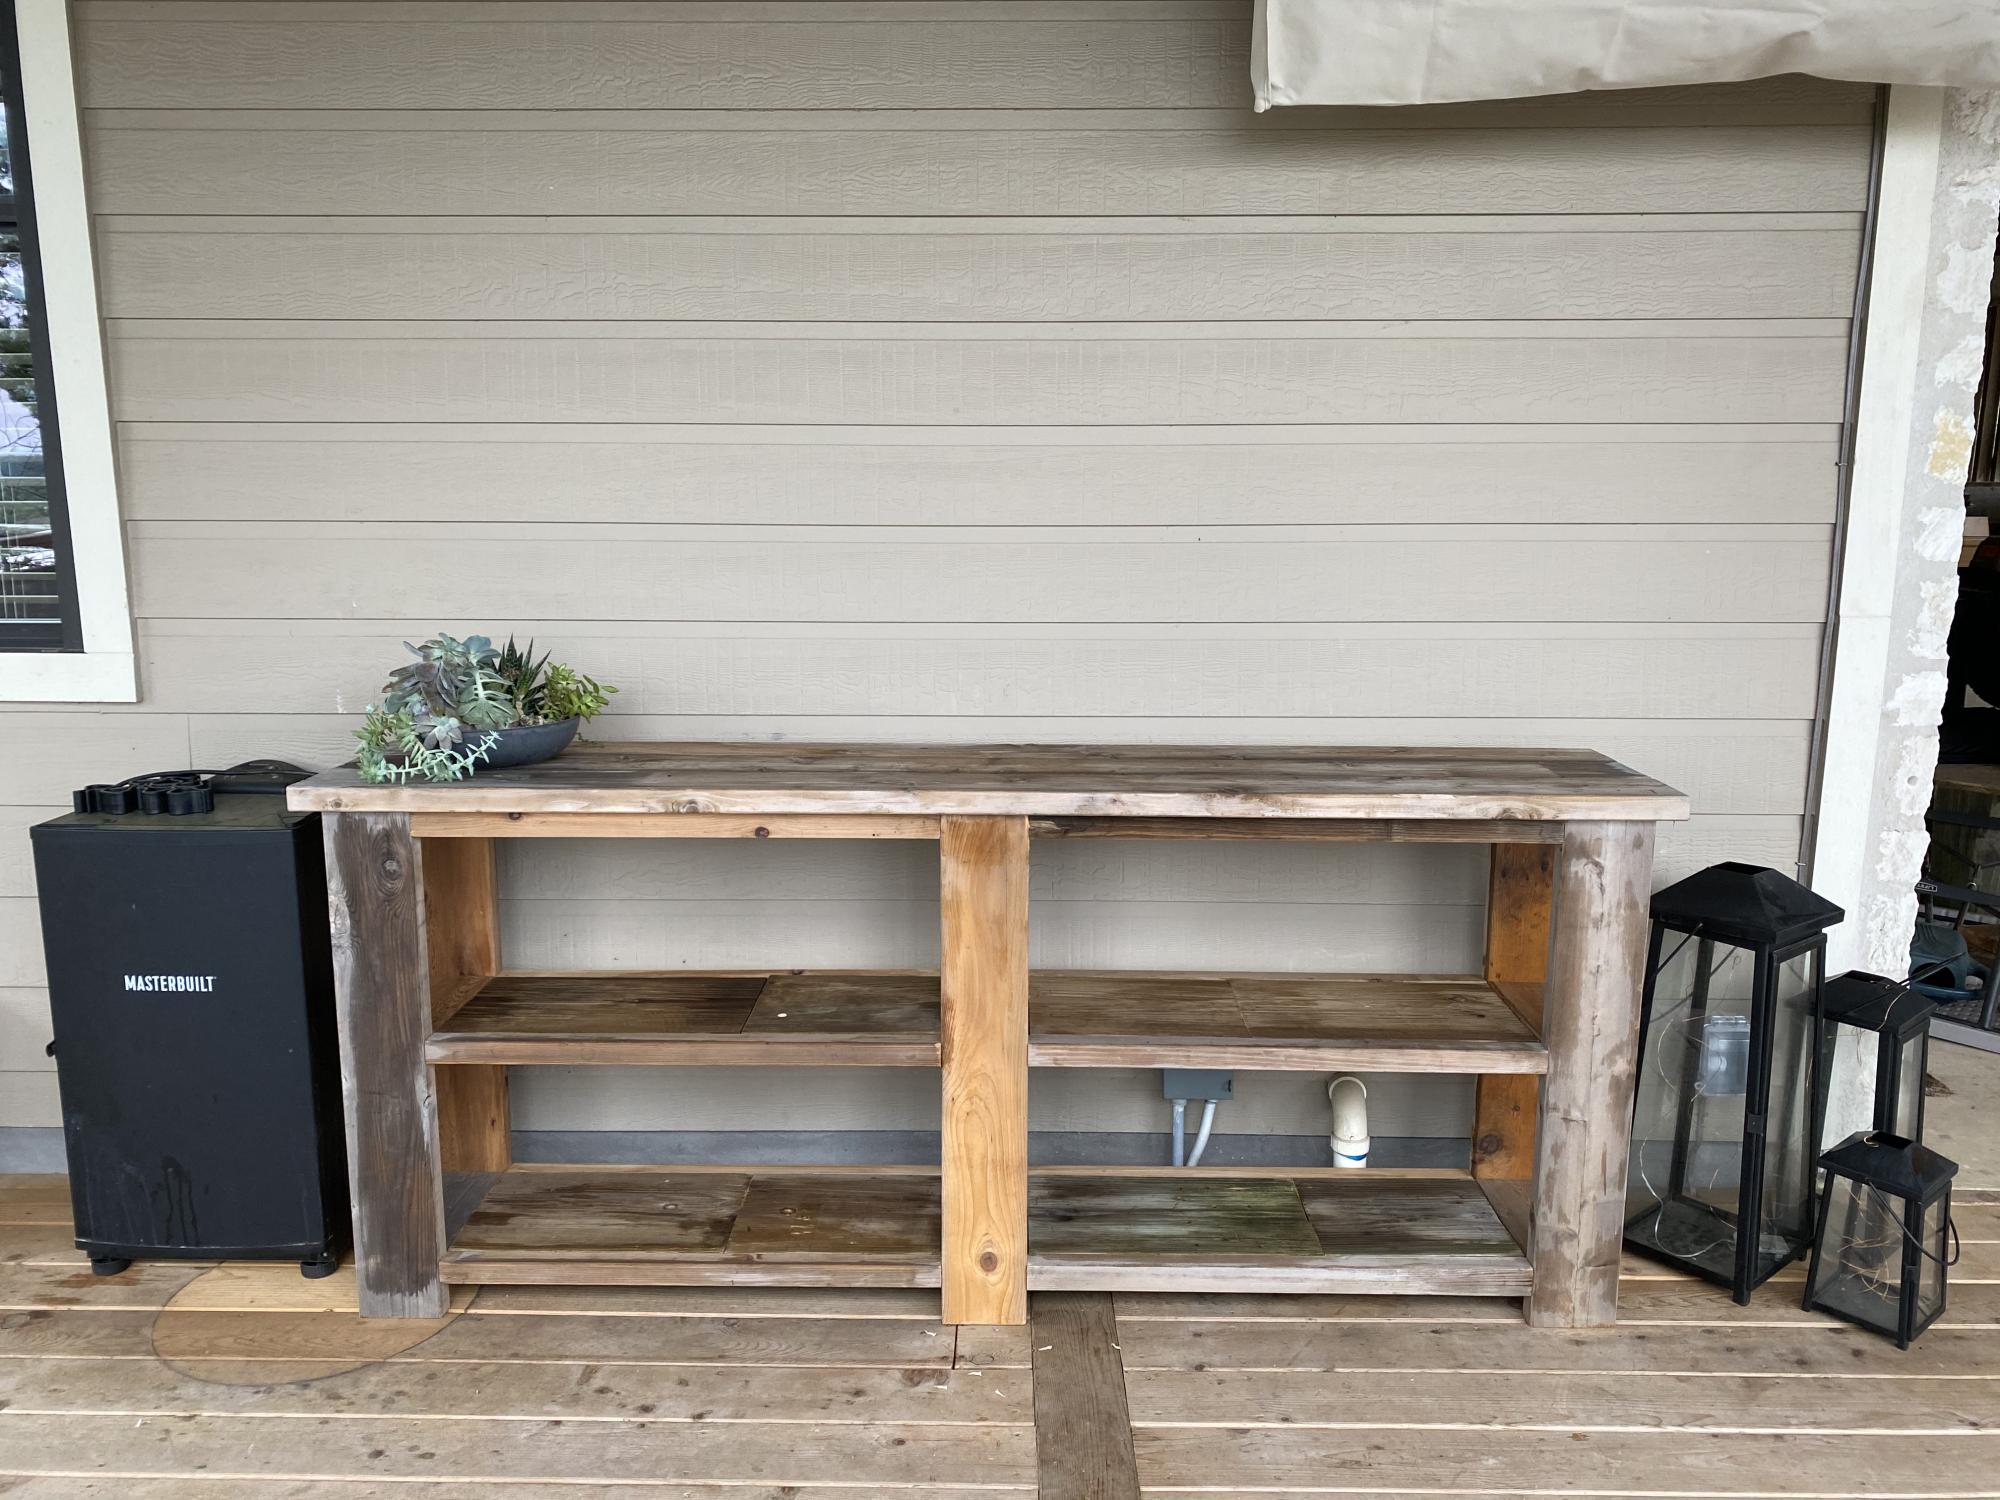
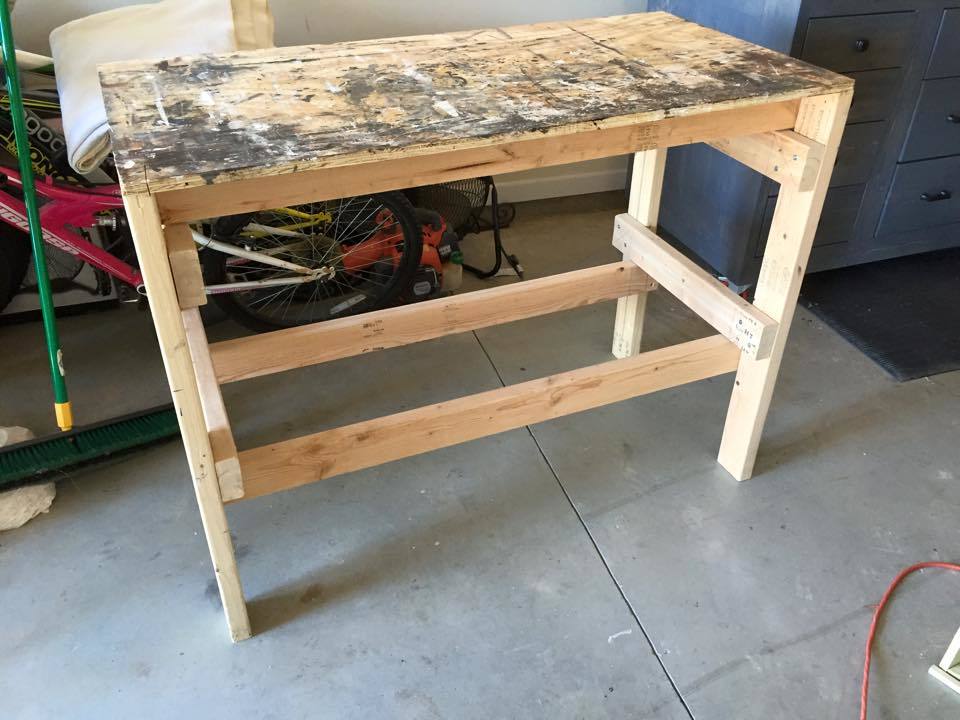
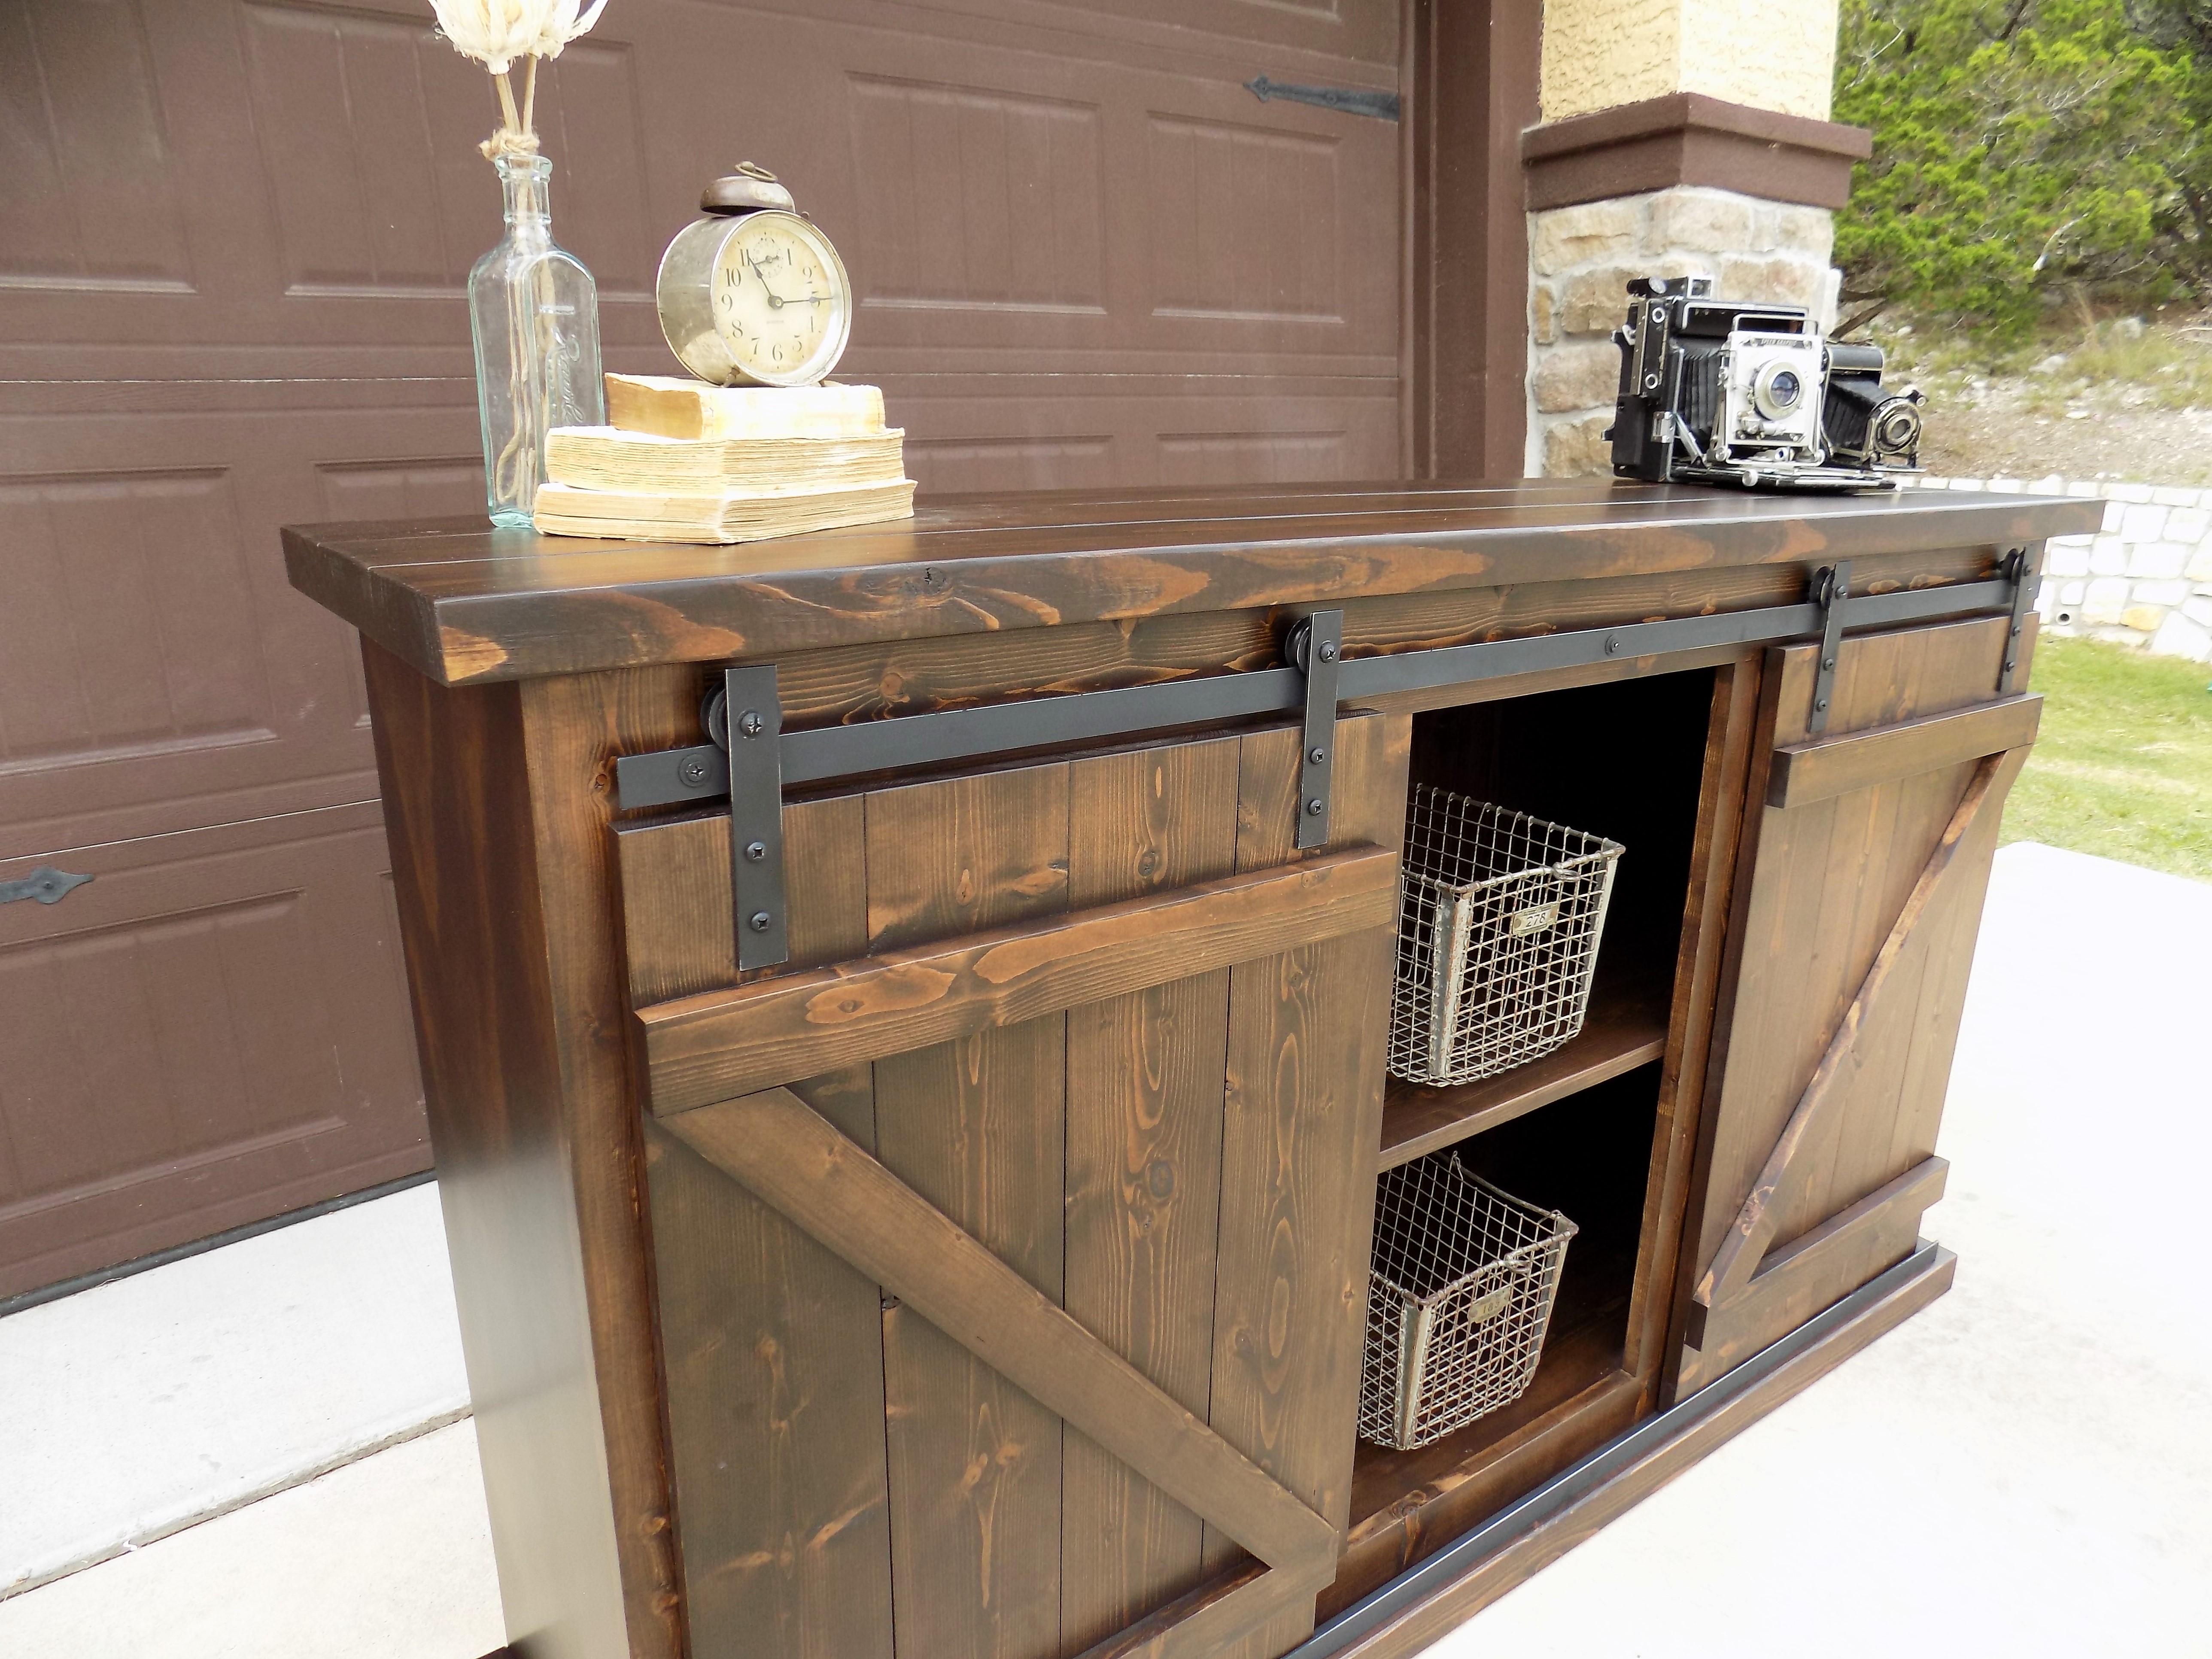
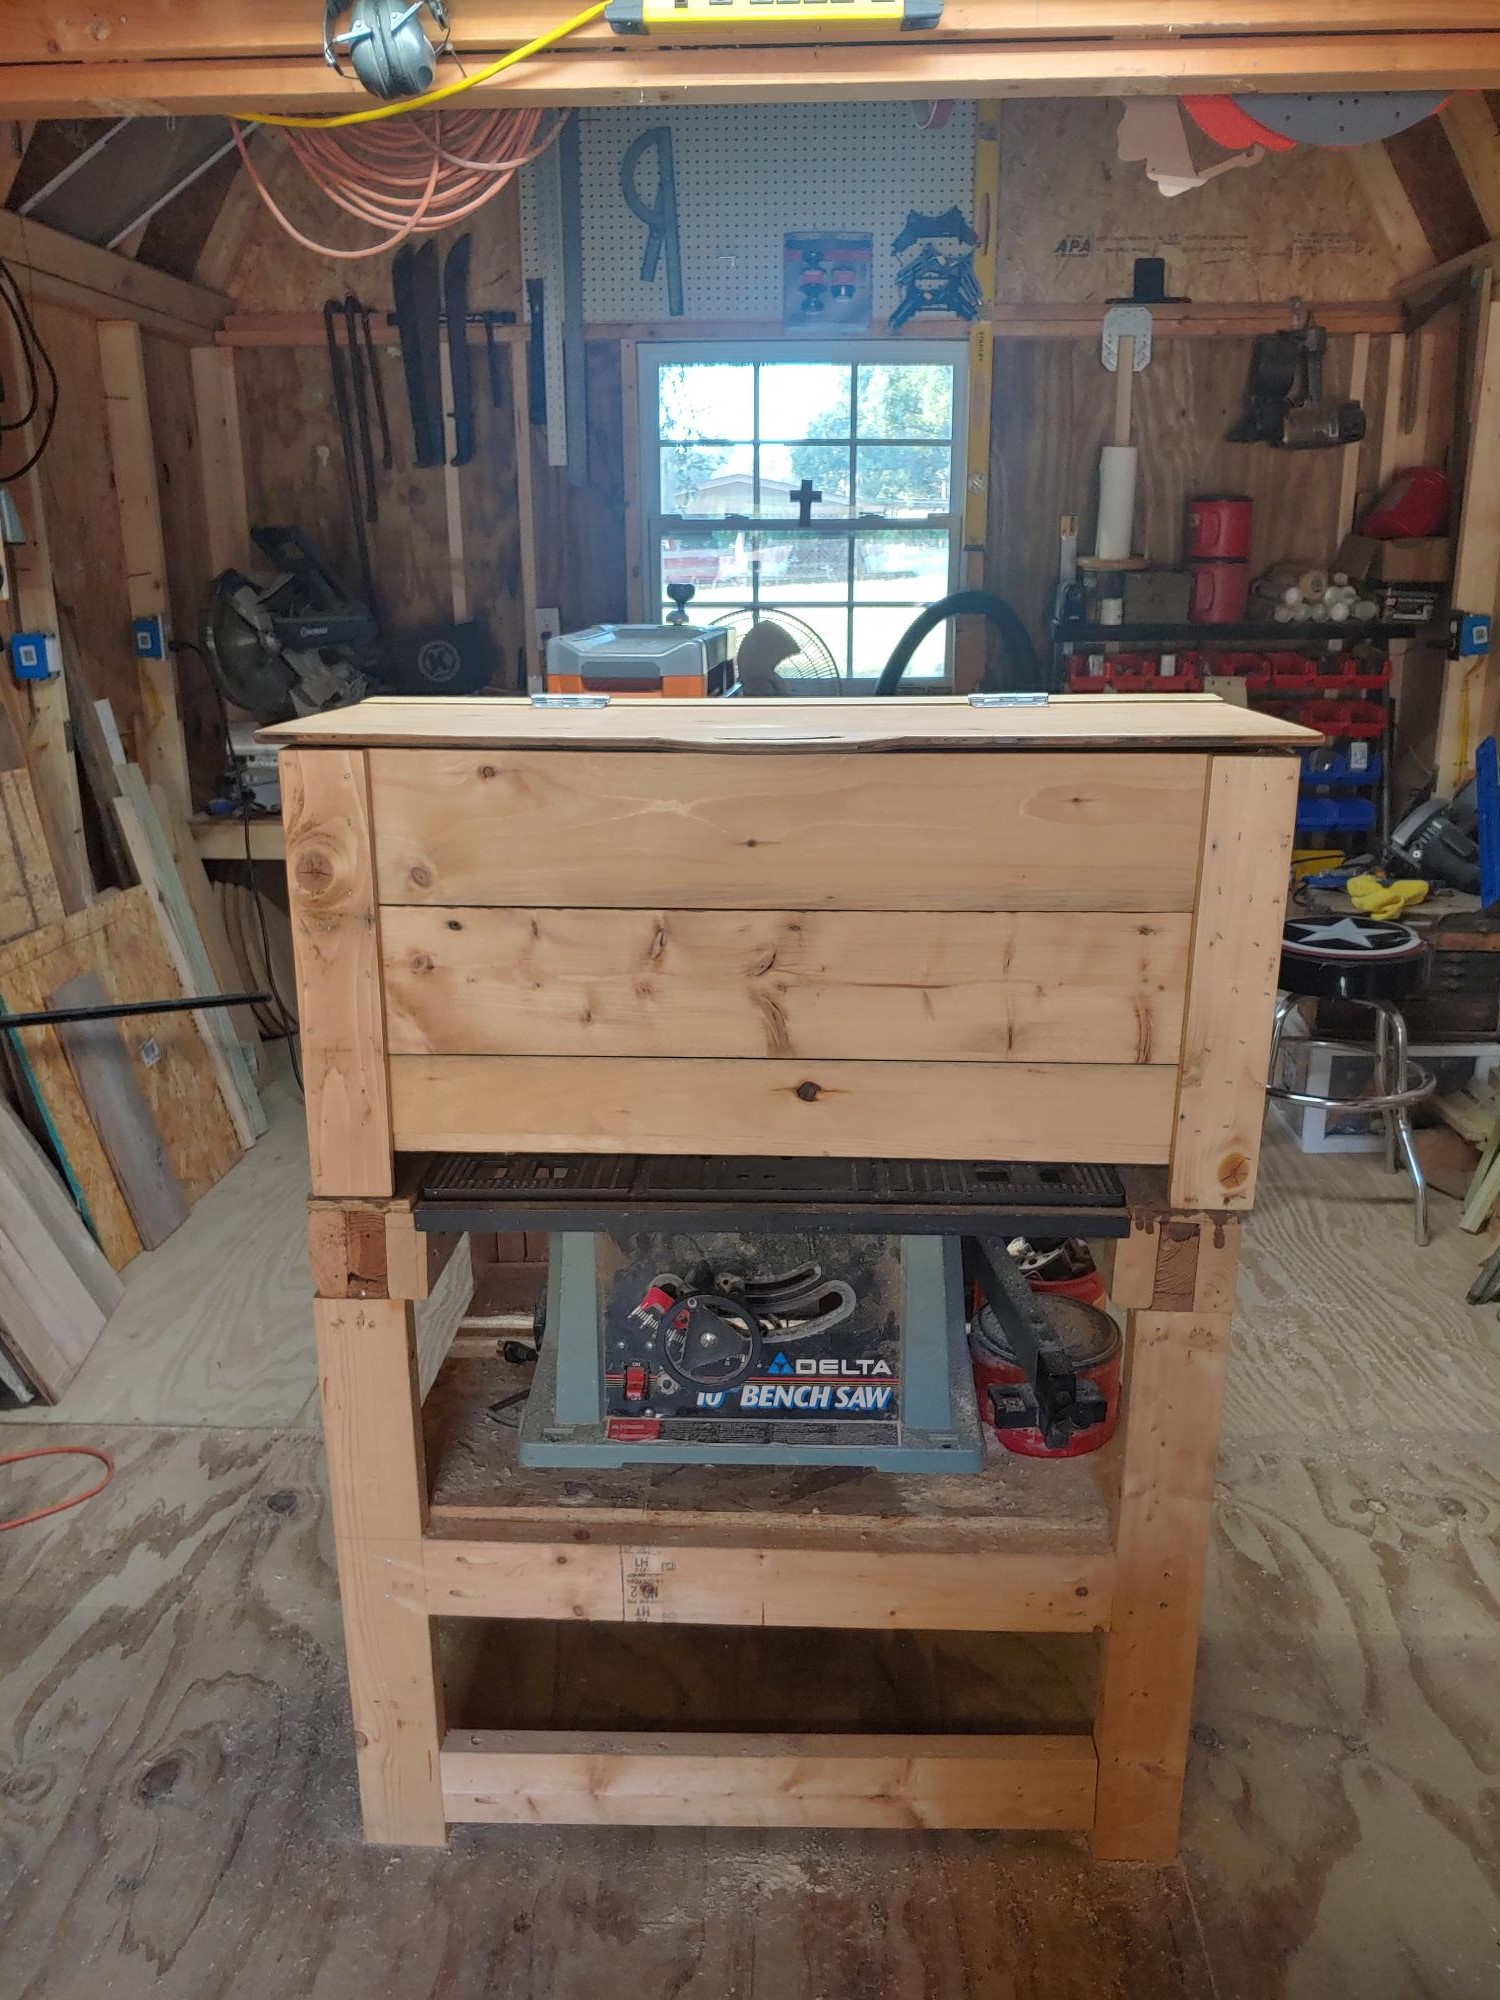
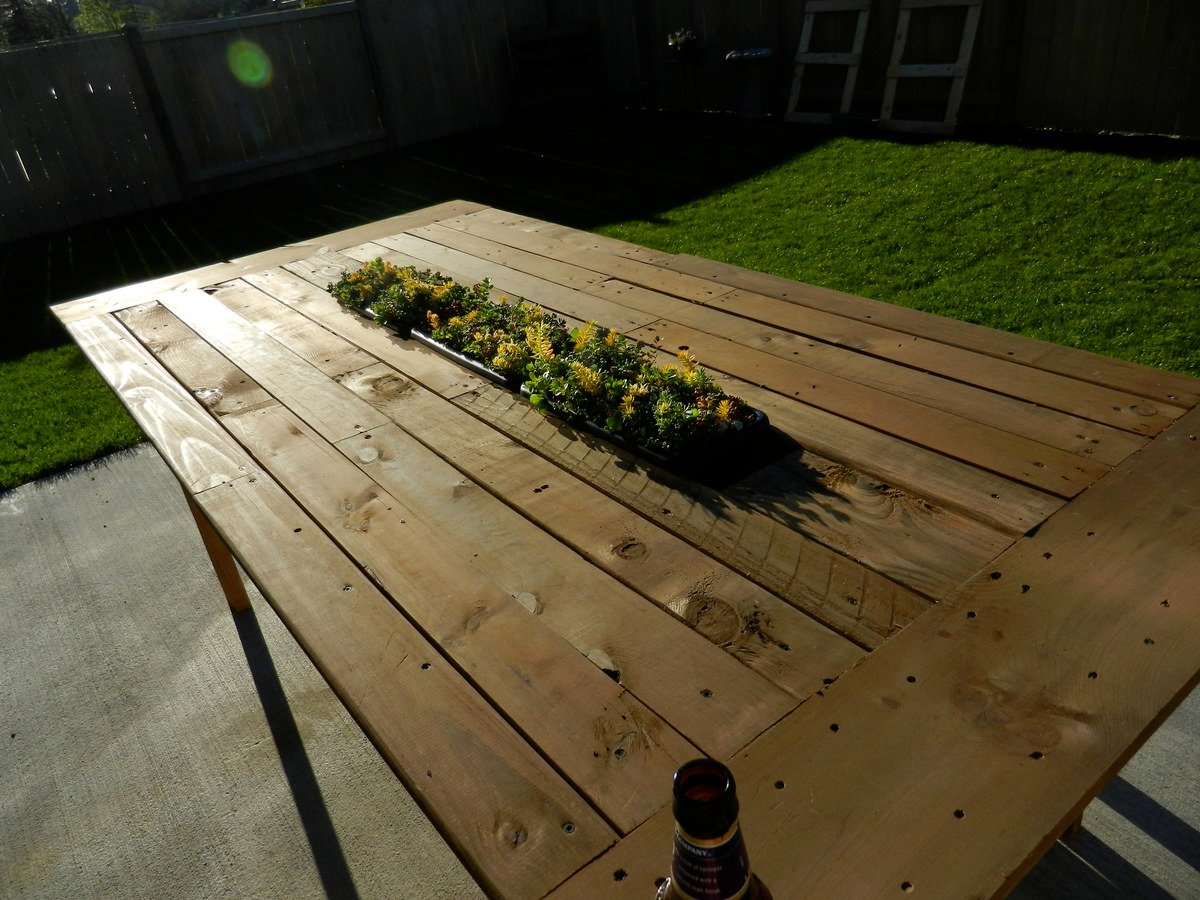
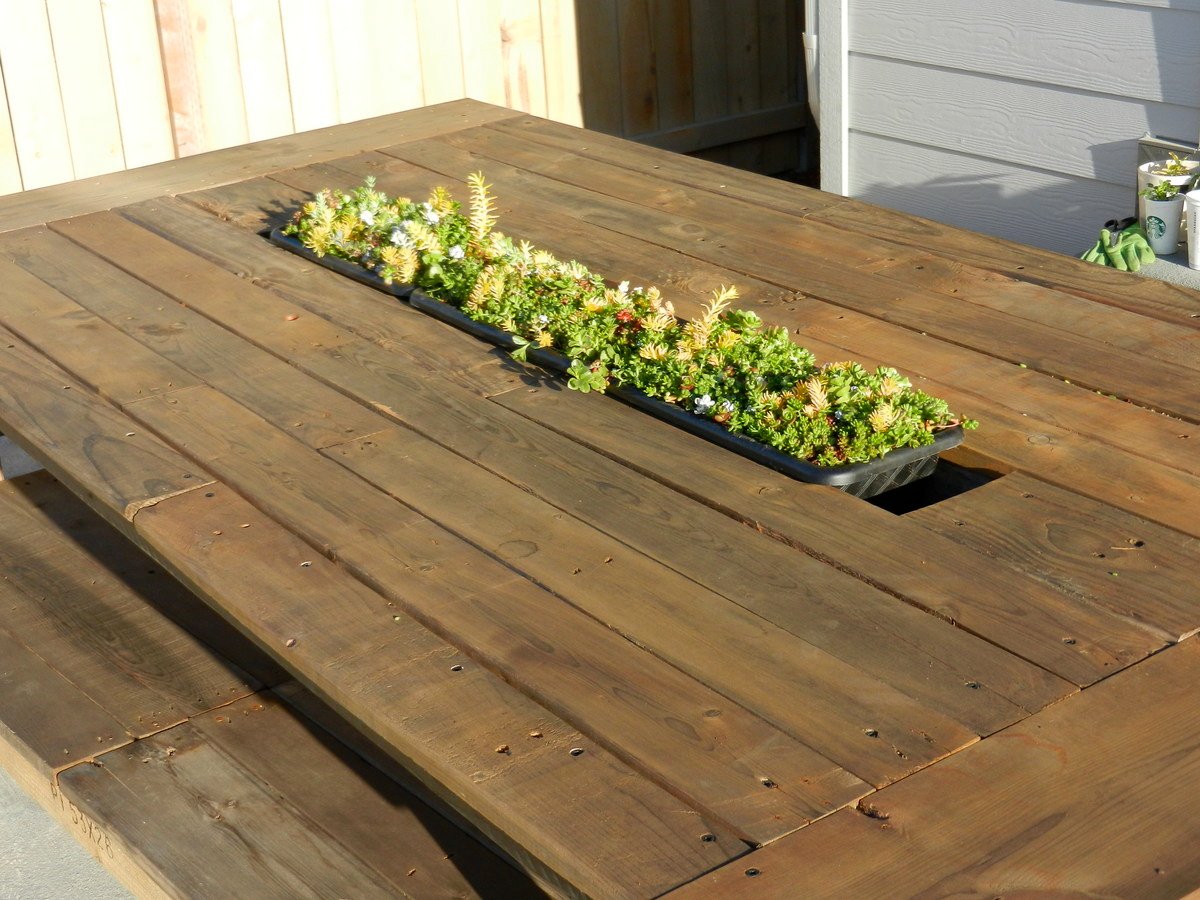
I had a pile of leftover wood after getting my deck rebuilt; so I had some brand new cedar as well as some used pressure-treated wood. (Of course, I made the deck builders leave anything worth keeping!) I thought it would be put to good use as an outdoor table for storage & serving on my new deck! I started off with the Rustic X Console Table plans from this website, and then I made just a few modifications on length (to fit the space better). I was able to re-use my leftover wood, and I think it turned out beautifully! It's been used several times for food serving when the neighbors come over for happy hour, for storage of random outdoor things, and for climbing on when I need to reach the TV above it...so it's definitely sturdy! Thank you, Ana White, for such great plans that are easy to use and easy to modify as needed. Really happy with this one!


Comments
Ana White Admin
Sat, 08/21/2021 - 11:18
Wonderful use of scrap boards!
Gorgeous and functional, what more can you ask for! Thanks for sharing:)