This was my first venture in building furniture. My granddaughter needed a new table and chair and insisted I could make it myself since I built her a playhouse (from a kit.) That's when I googled and found Ana White's amazing site and all the easy to follow plans.
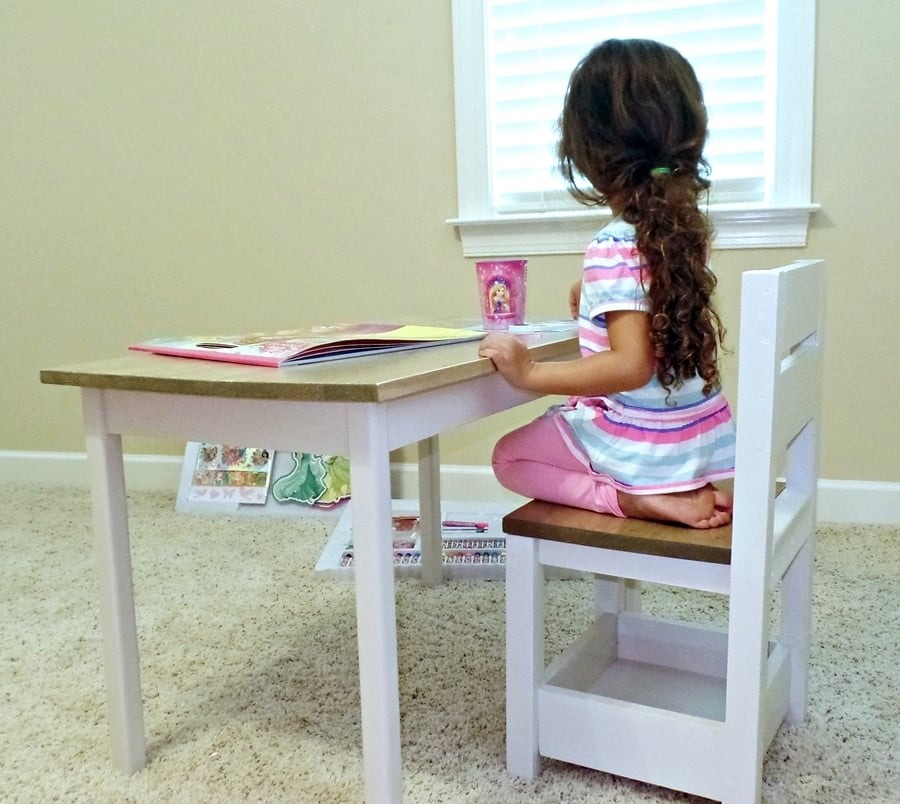
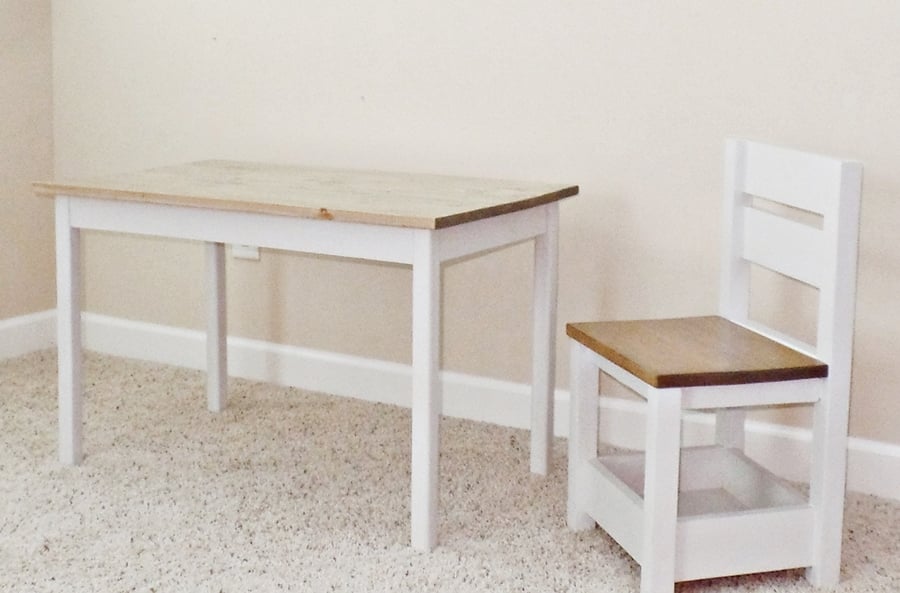
I chose the Clara Table and Childrens Storage Chair. They reminded me of school - and my granddaughter who was 3 at the time loved playing school. Plus, since her parents plan to homeschool, I thought this would be a great starter setup.
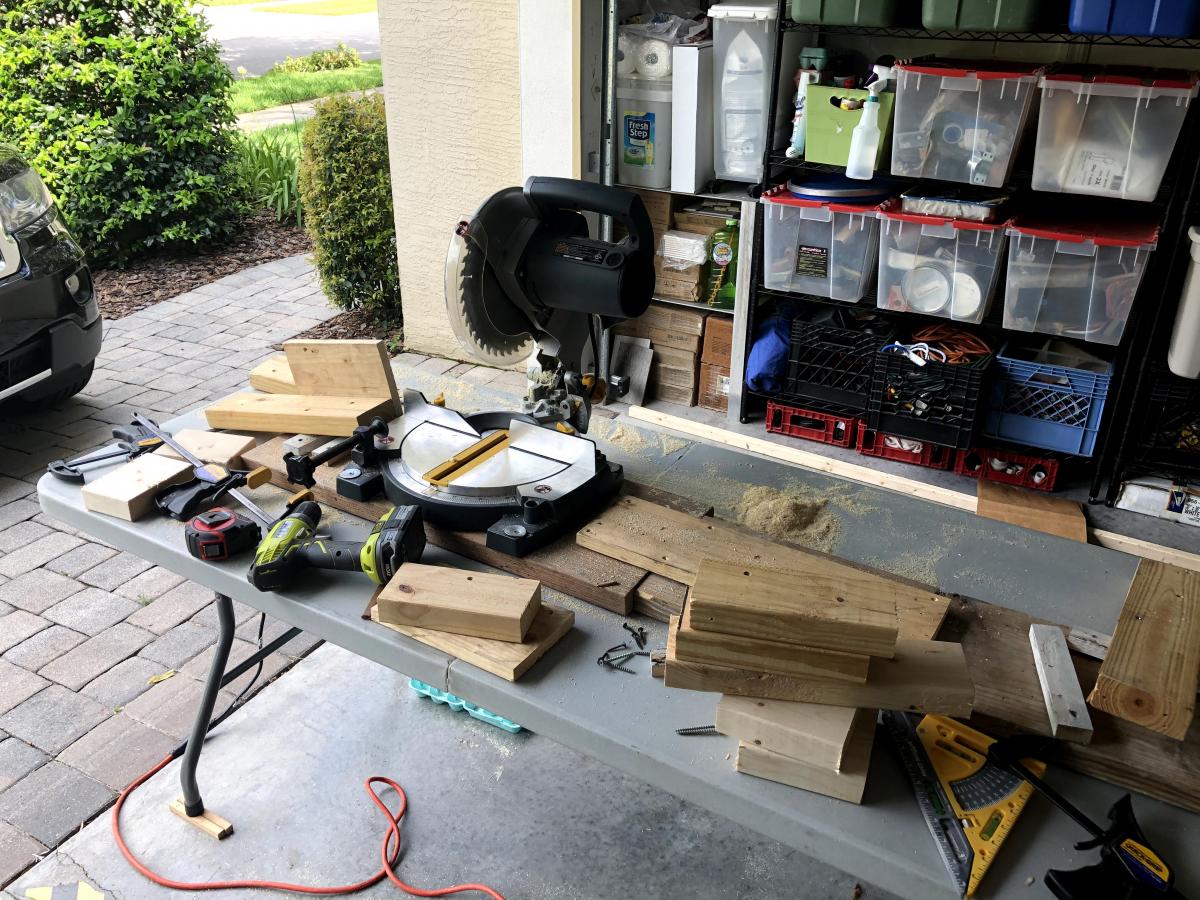
I started with the chair. I did struggle with screwing it together, so it's not perfect. But it is sturdy; the storage box helped with stability too. After struggling with the chair, I decided to buy a kreg jig like Ana suggests - and boy did that make a difference! The table went together so fast and easily, I was literally in shock. And it's so strong I can sit on it. I'm sure if I had tried building it with just screwing the regular way, it would have been wobbly.
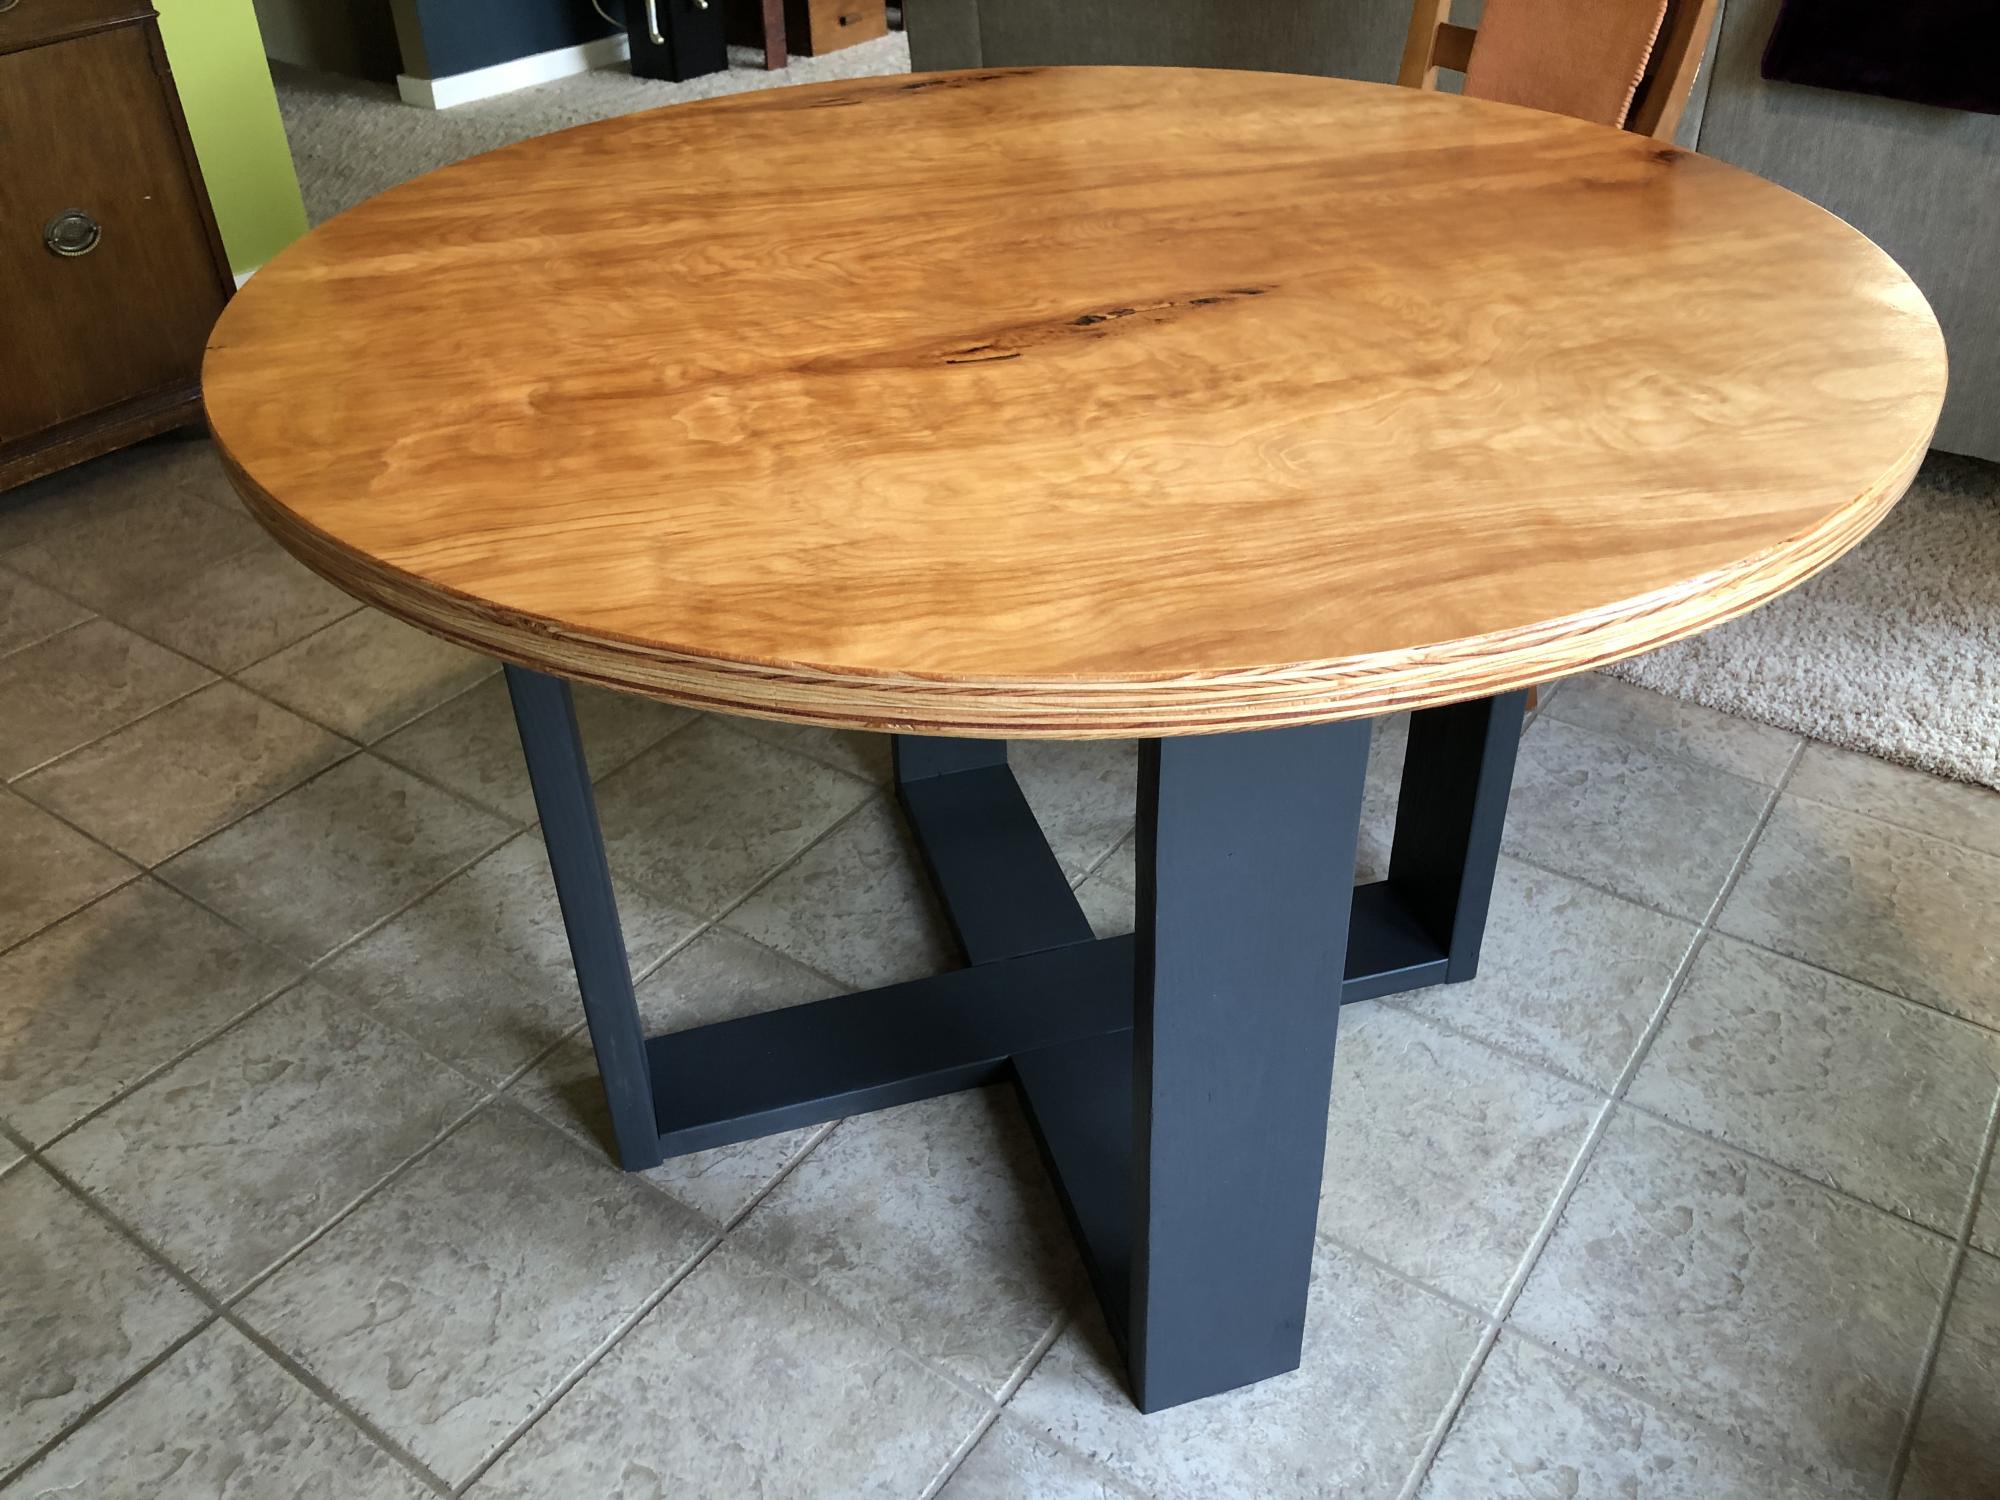
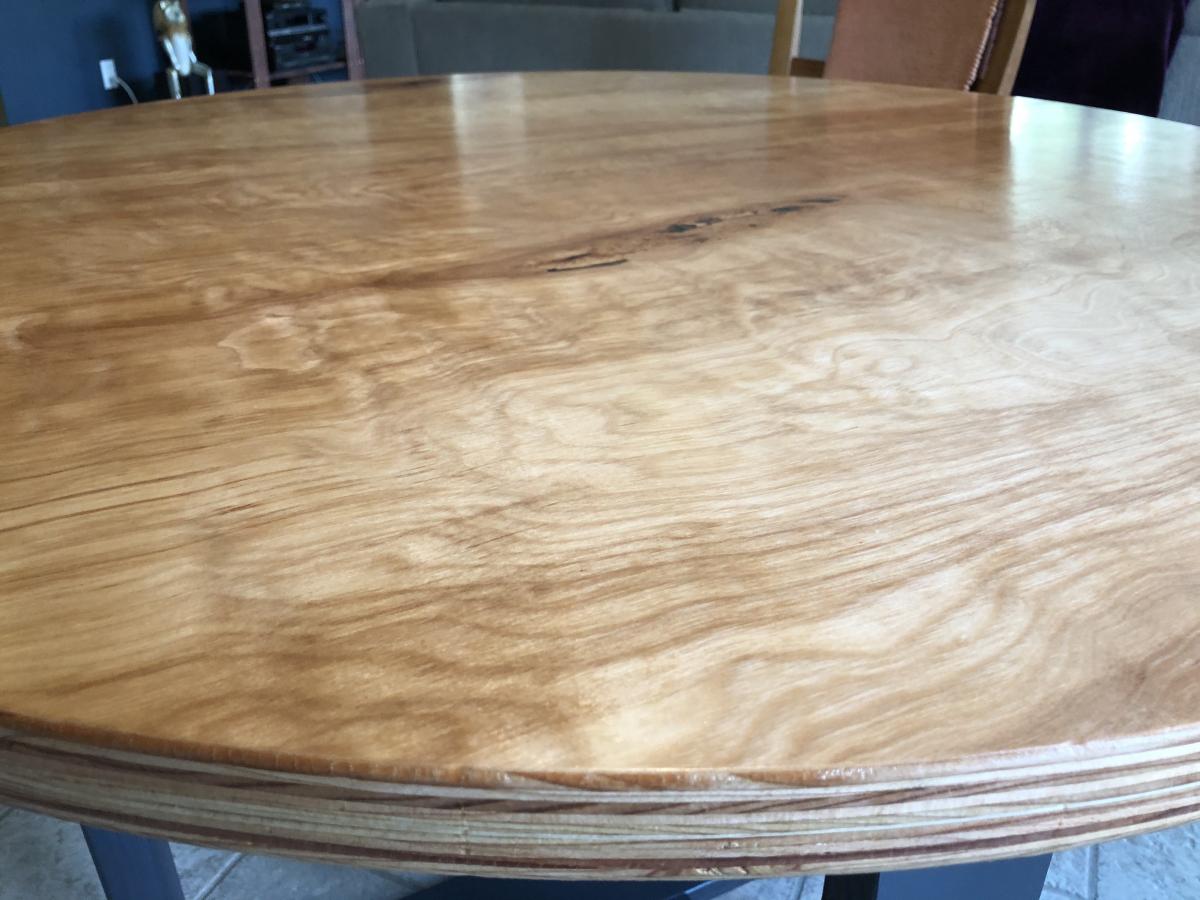
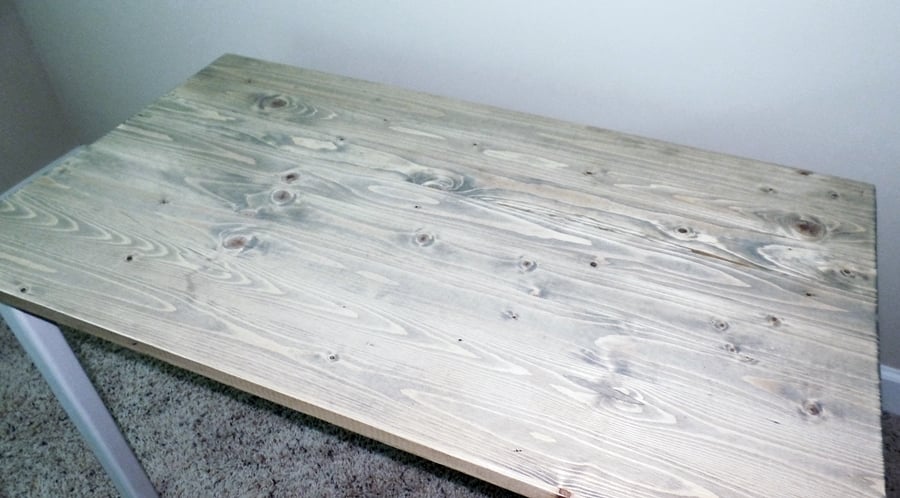
I bought a 24"x36" tabletop instead of using the 3 boards joined together and so had to adjust the measurements of the apron pieces accordingly. I thought it would make a smoother writing surface. I originally intended to paint it all white, but the grain on the top was so gorgeous, I decided to stain it - and I stained the chair seat to match.
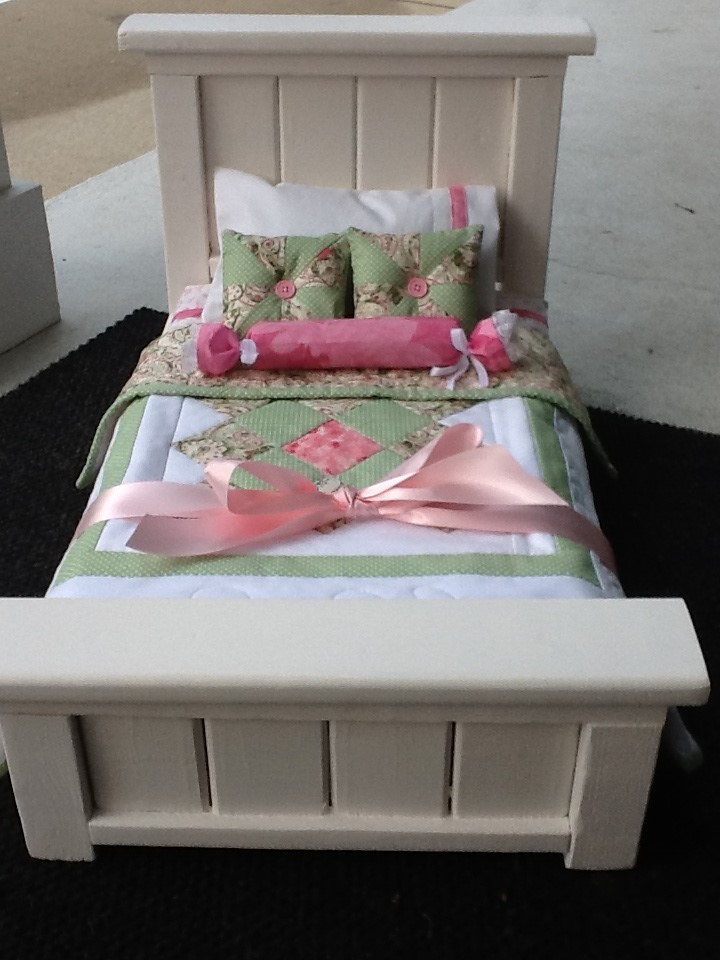
This project was so much fun and came out so nice, I decided to build a toddler bed from Ana's plans. You can see that project here: Toddler Bed


Comments
DMax2010
Tue, 06/03/2014 - 14:00
Beautiful
This is beautiful!
miketina
Thu, 10/02/2014 - 13:29
awsome
We're can I find plans on this.