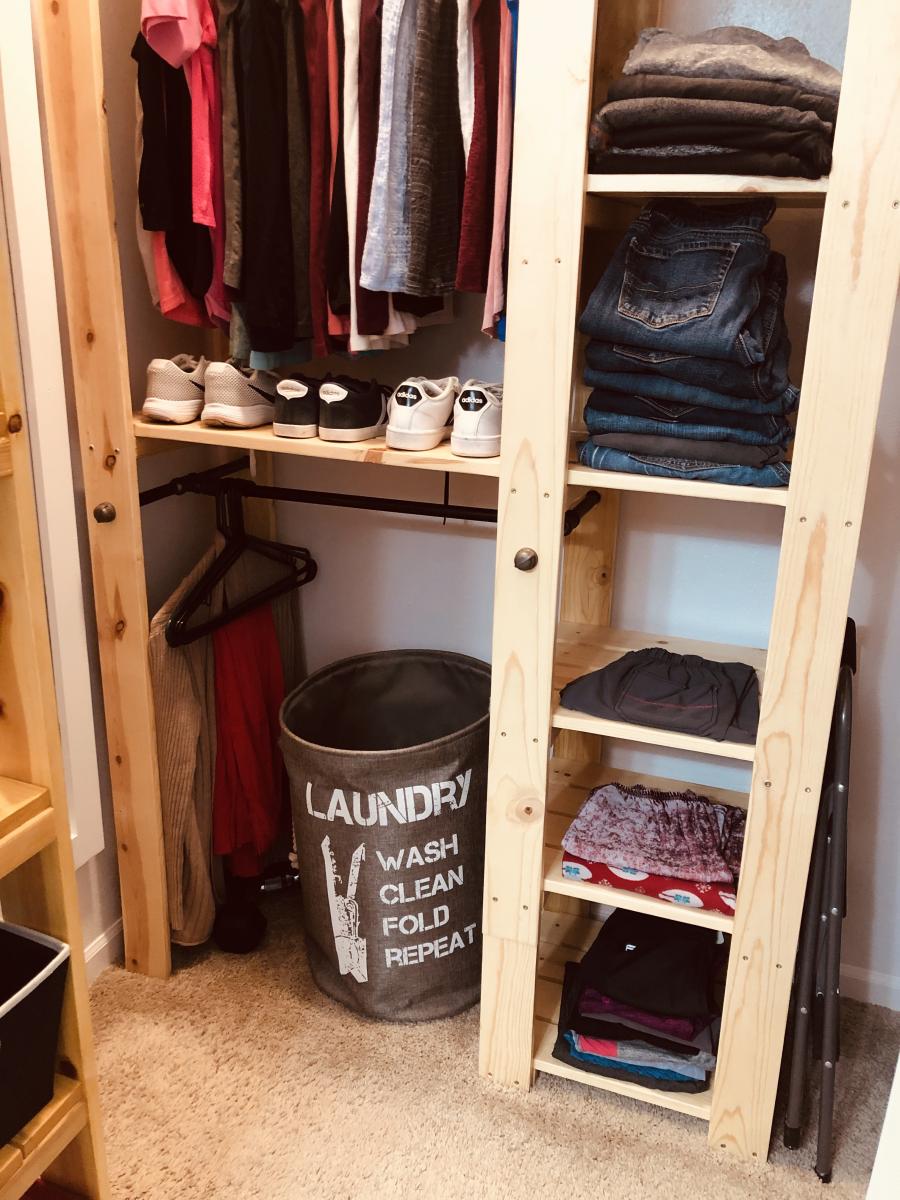
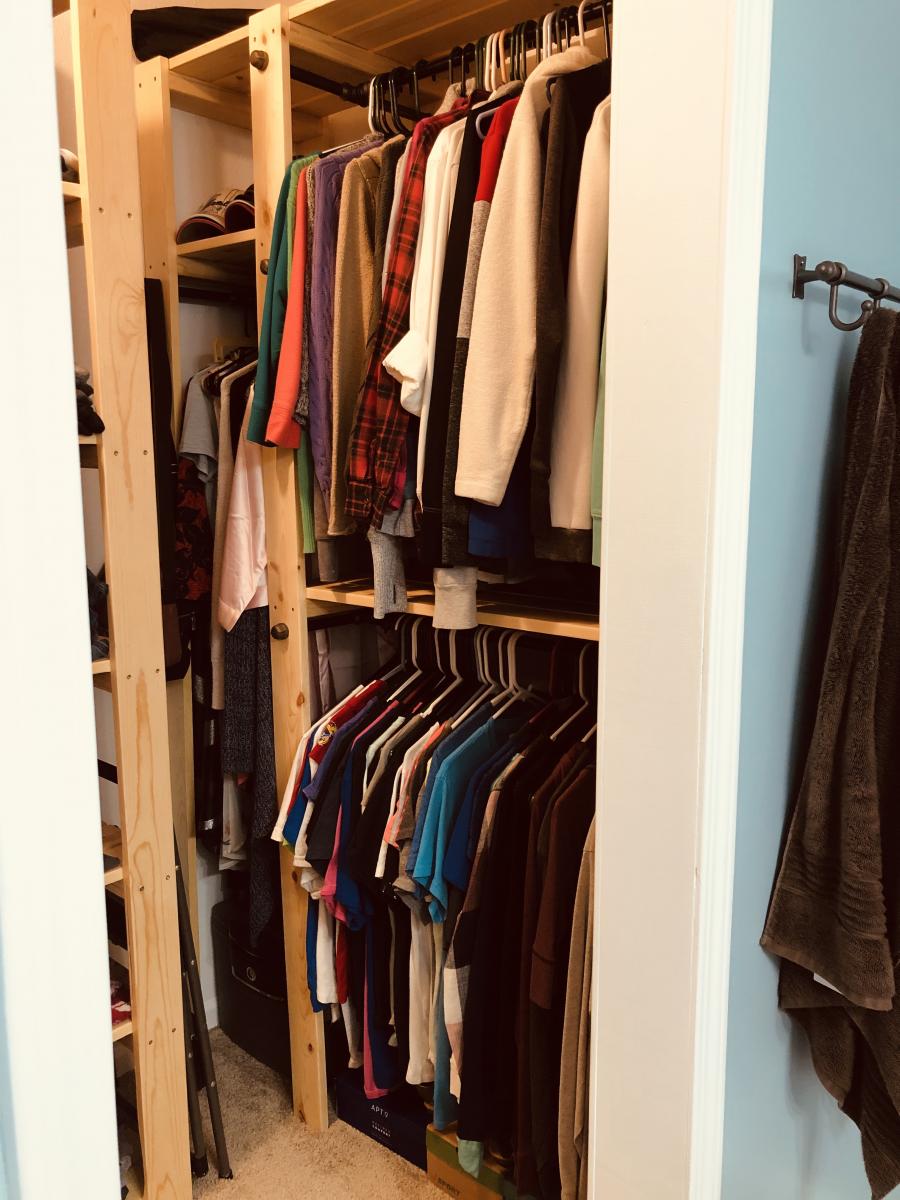
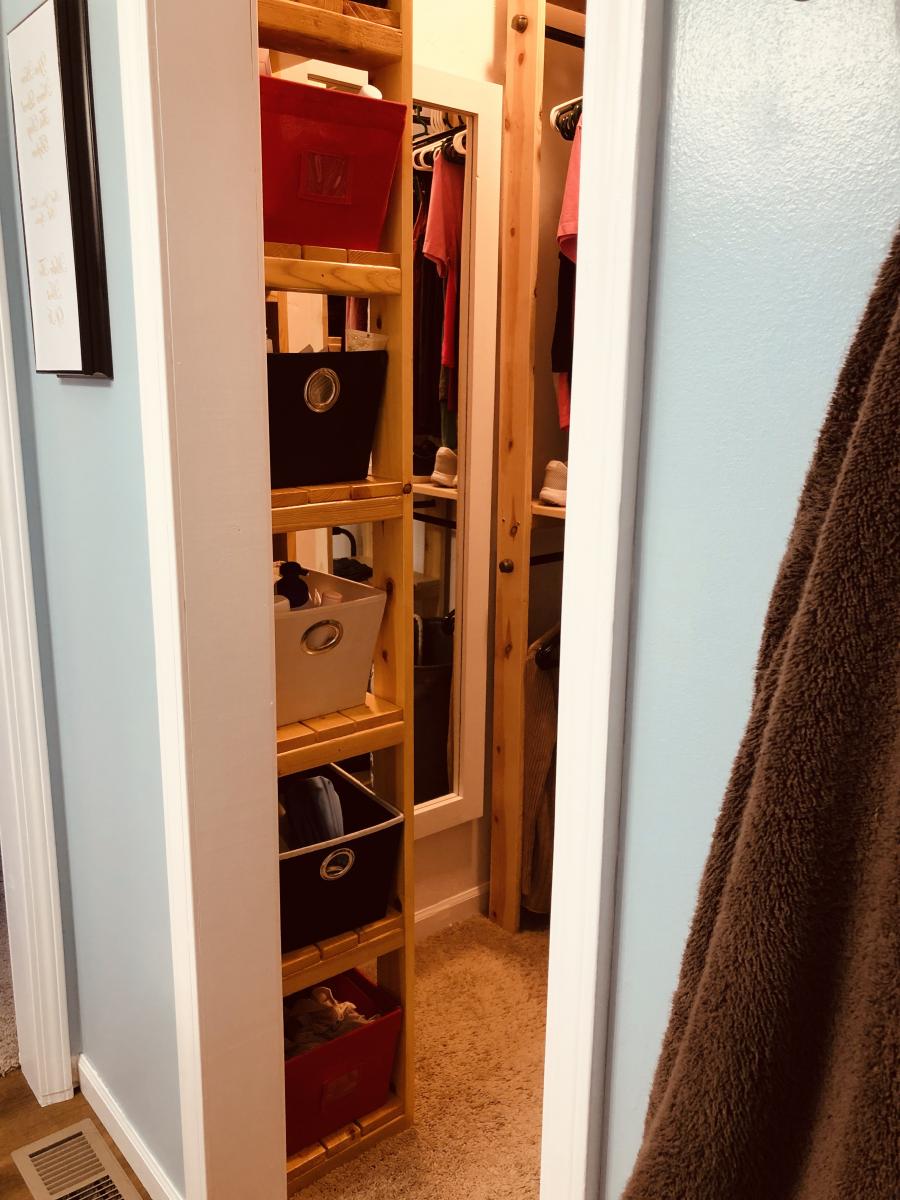
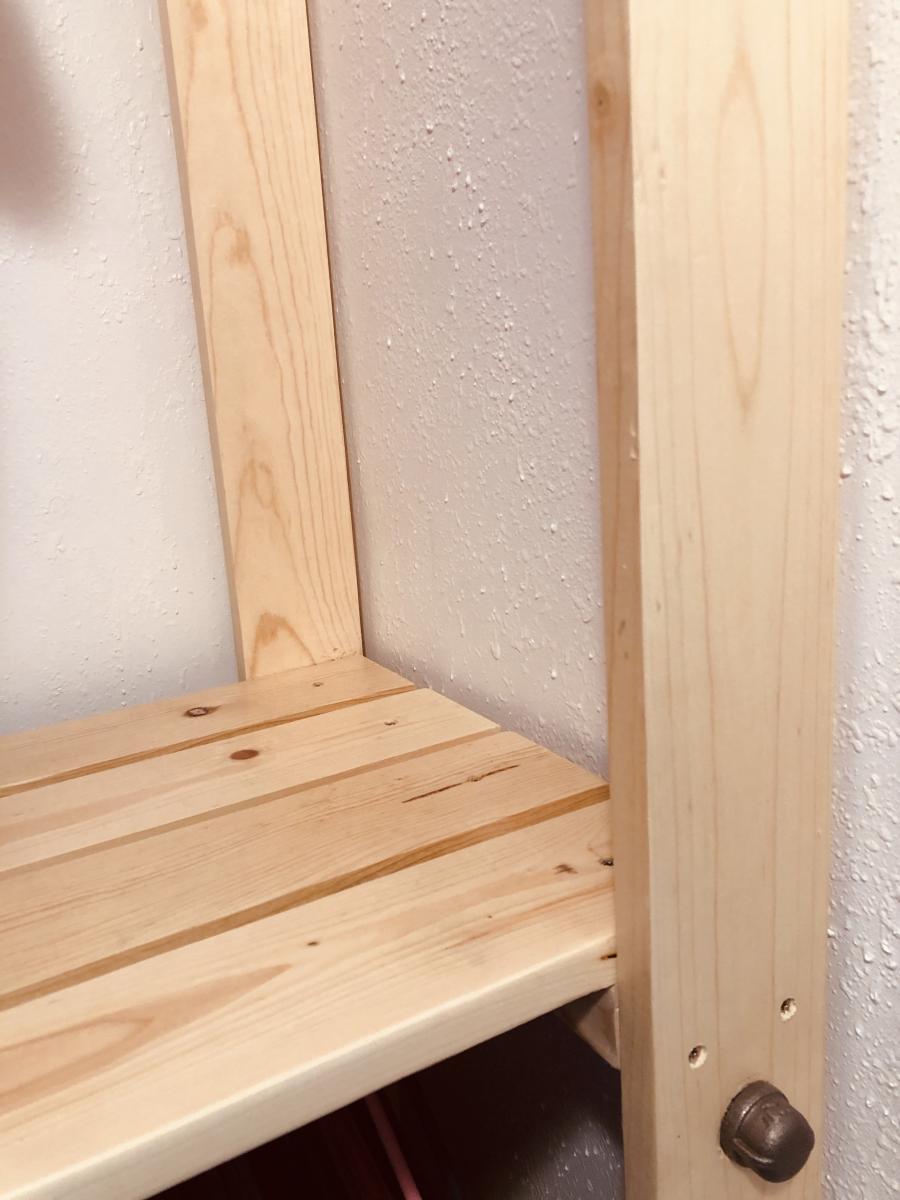
Closet remodel Shelves

My master closet was a mess when I moved in and something needed to be done. I moved the doorway to create more space in my bedroom and closet. I found this lan and modified it try needs. It works great!!
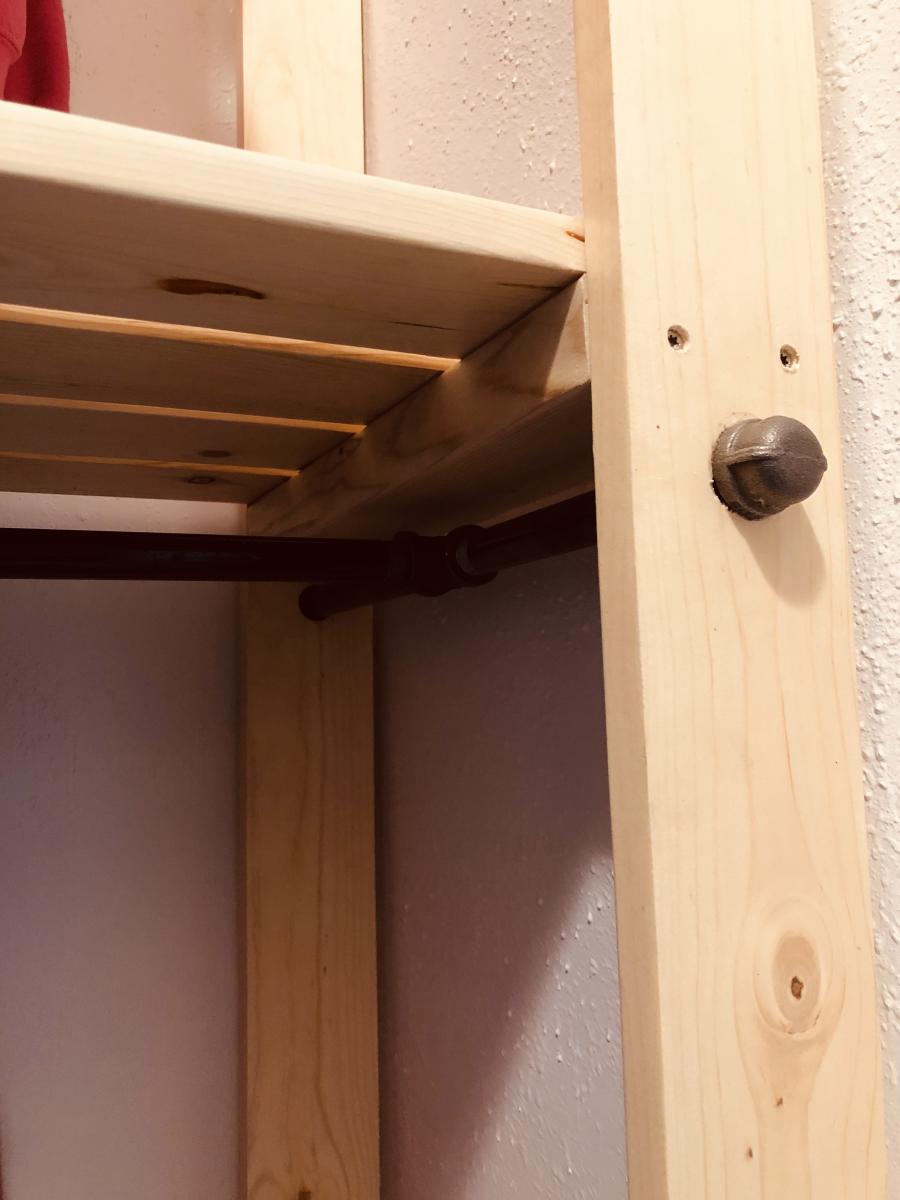
Note: It is much cheaper to purchase the long pipes and have Home Depot cut them down to the right length.
Built from Plan(s)
Estimated Cost
150
Estimated Time Investment
Weekend Project (10-20 Hours)
Finish Used
Water based poly
Recommended Skill Level
Intermediate