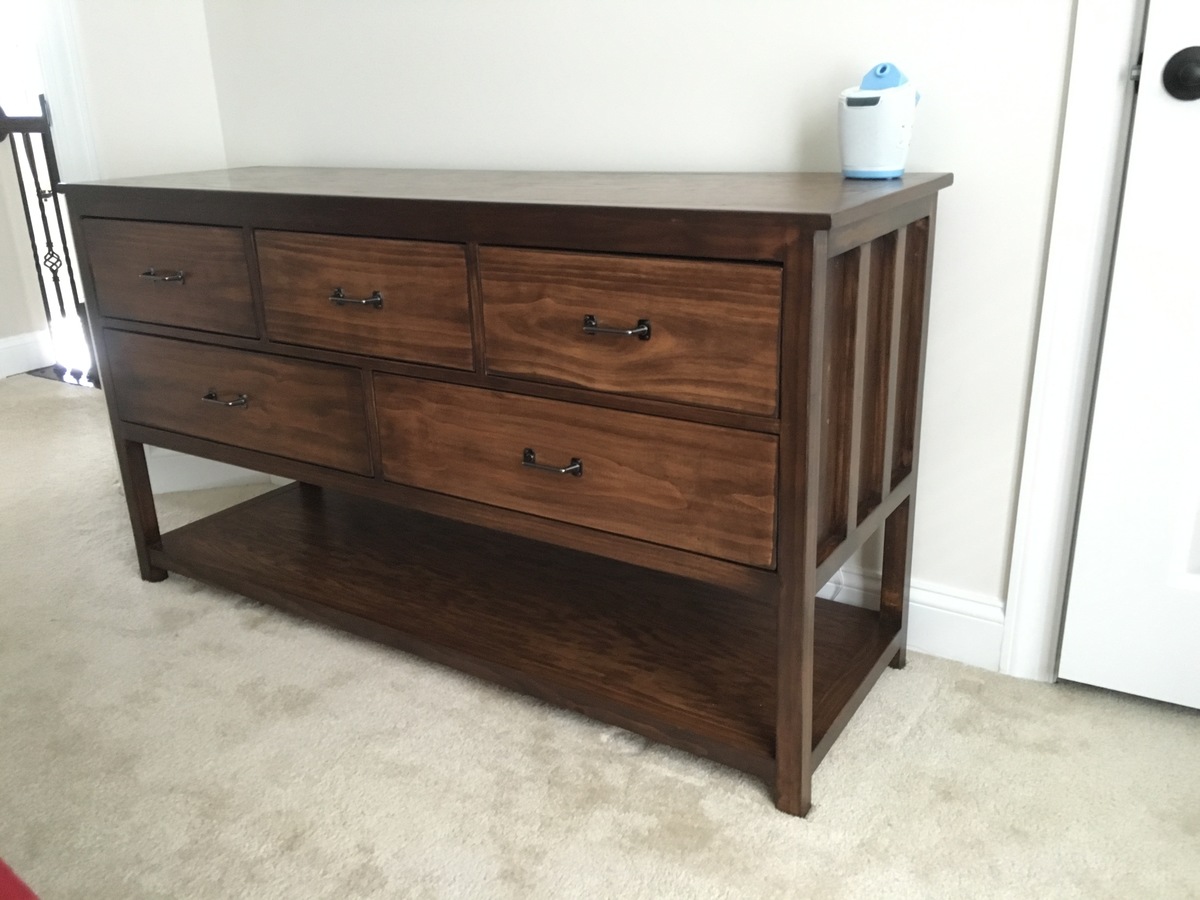
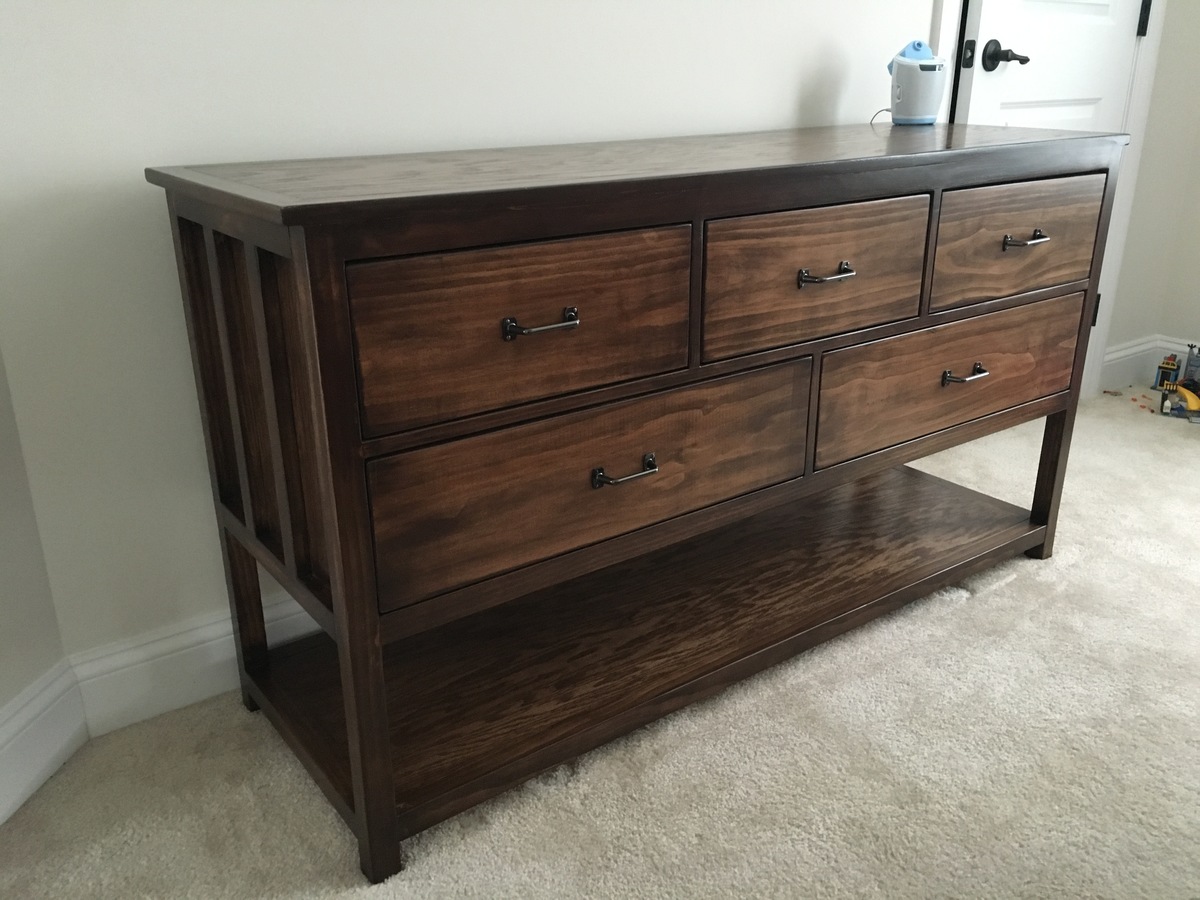
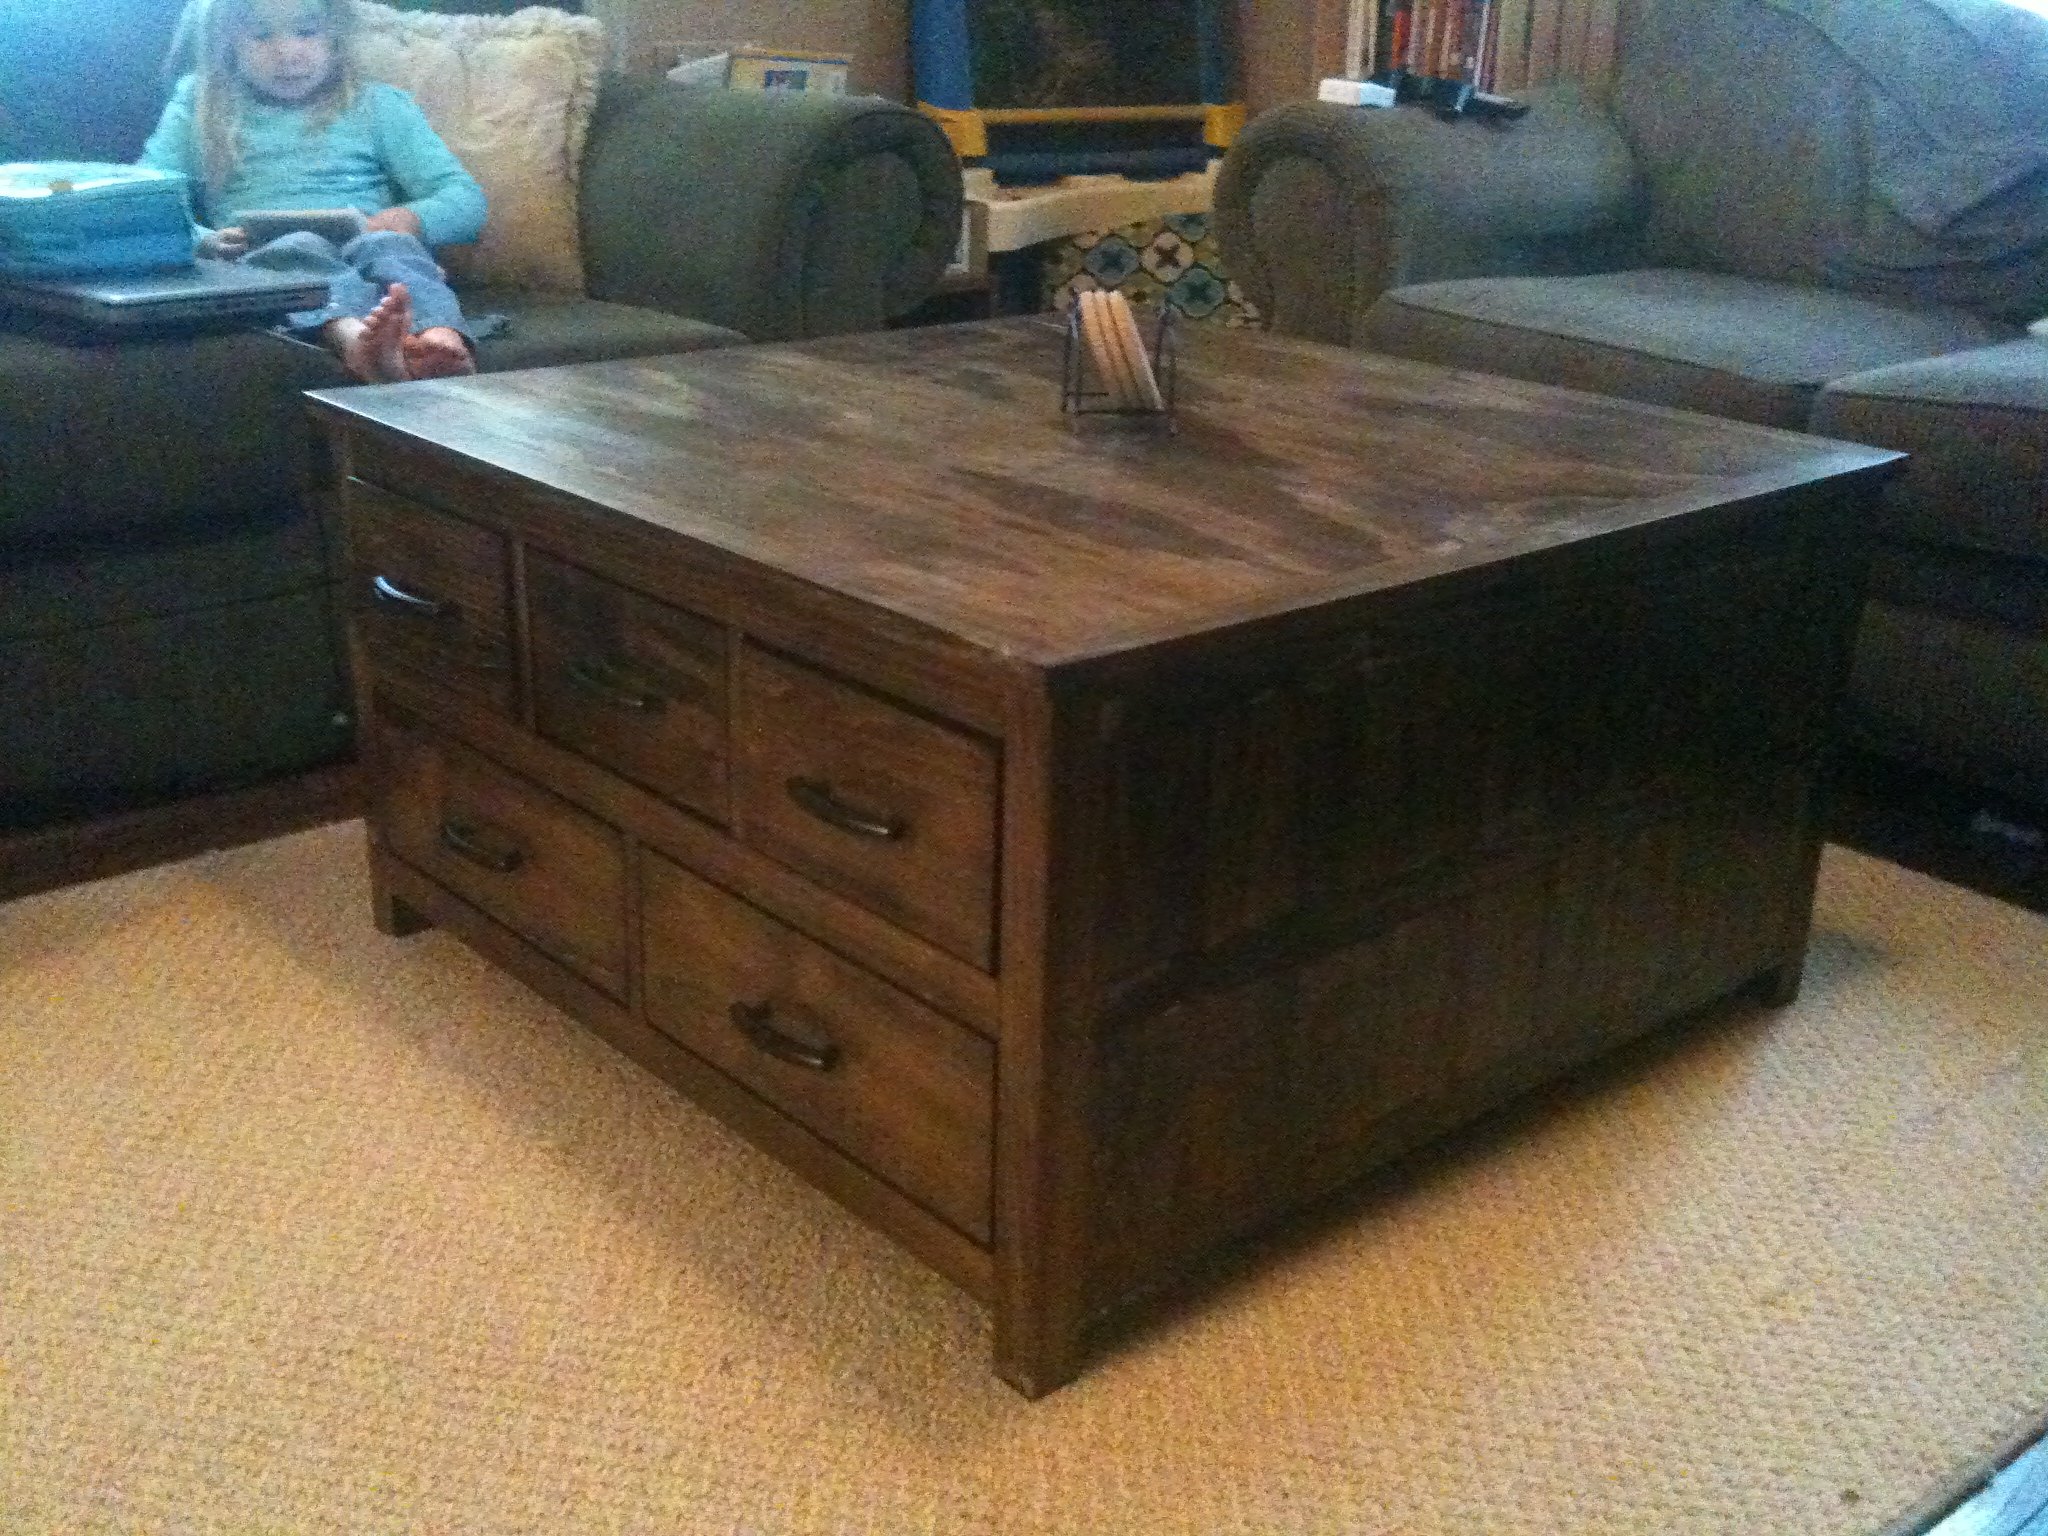
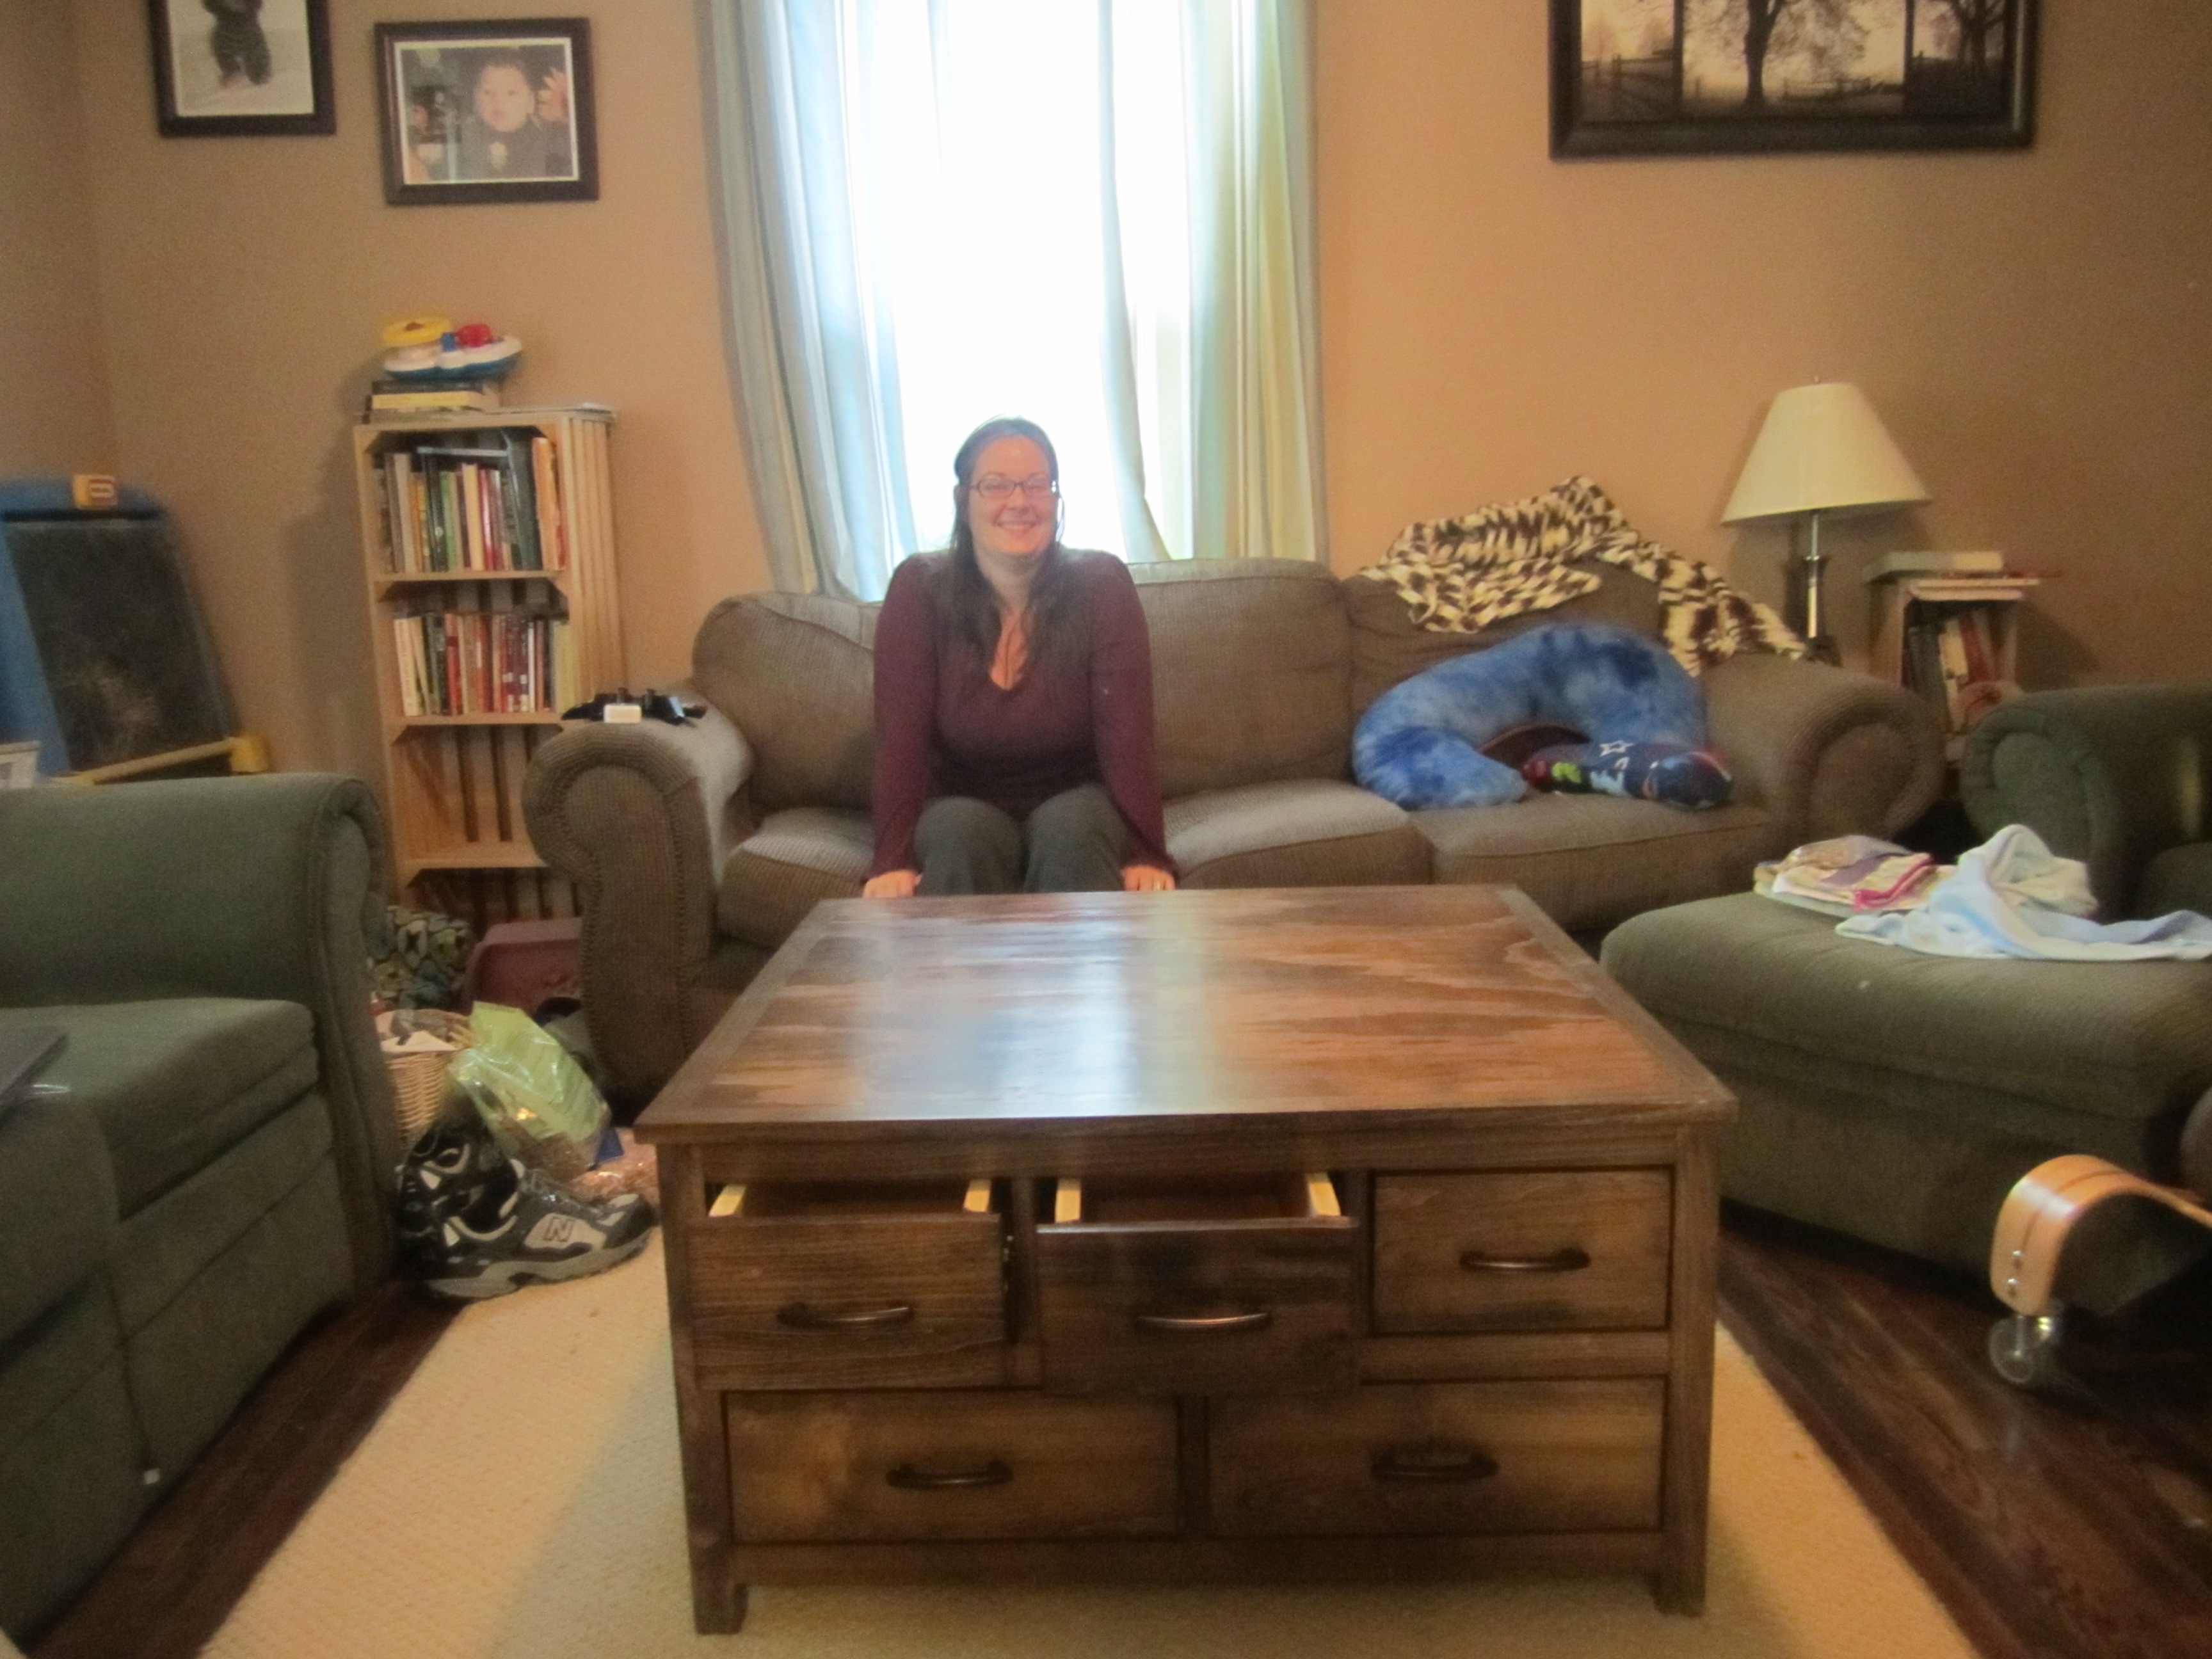
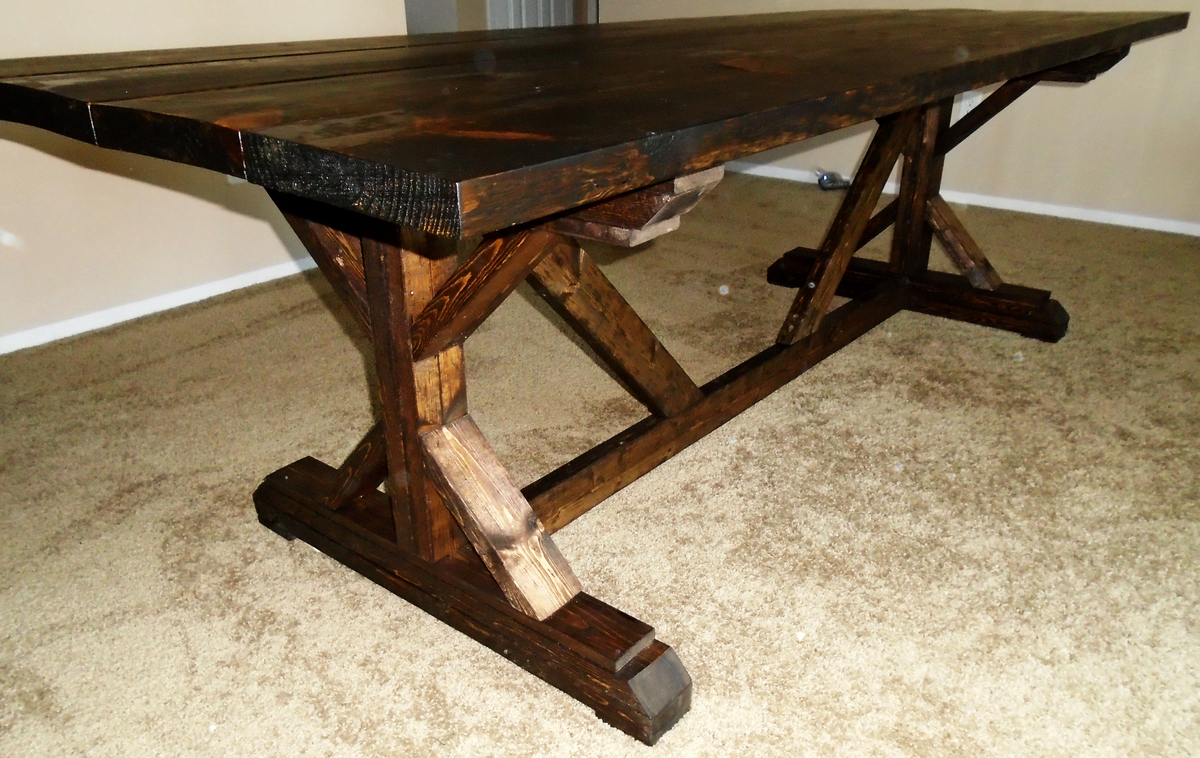
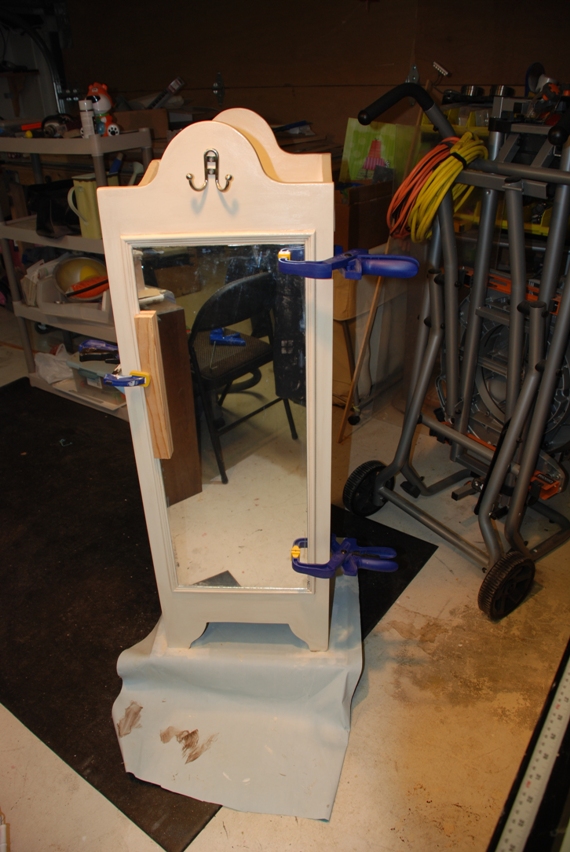
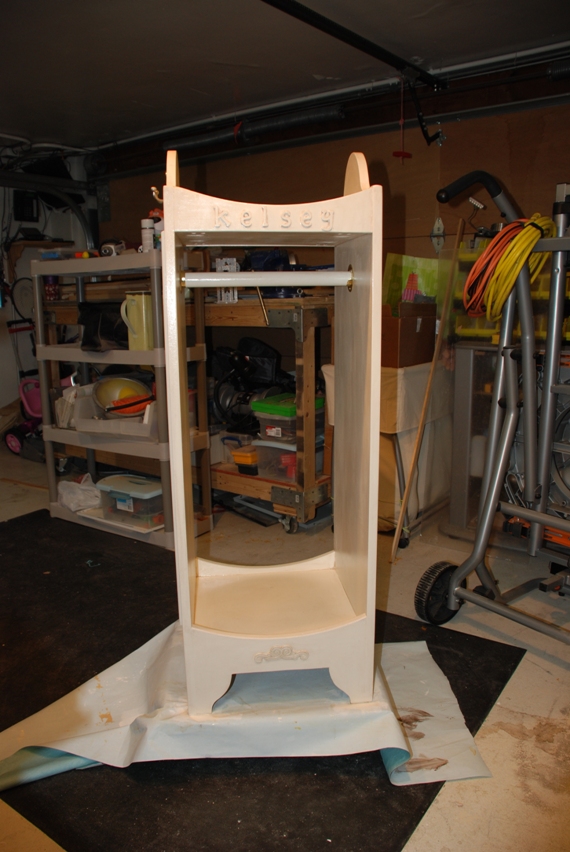
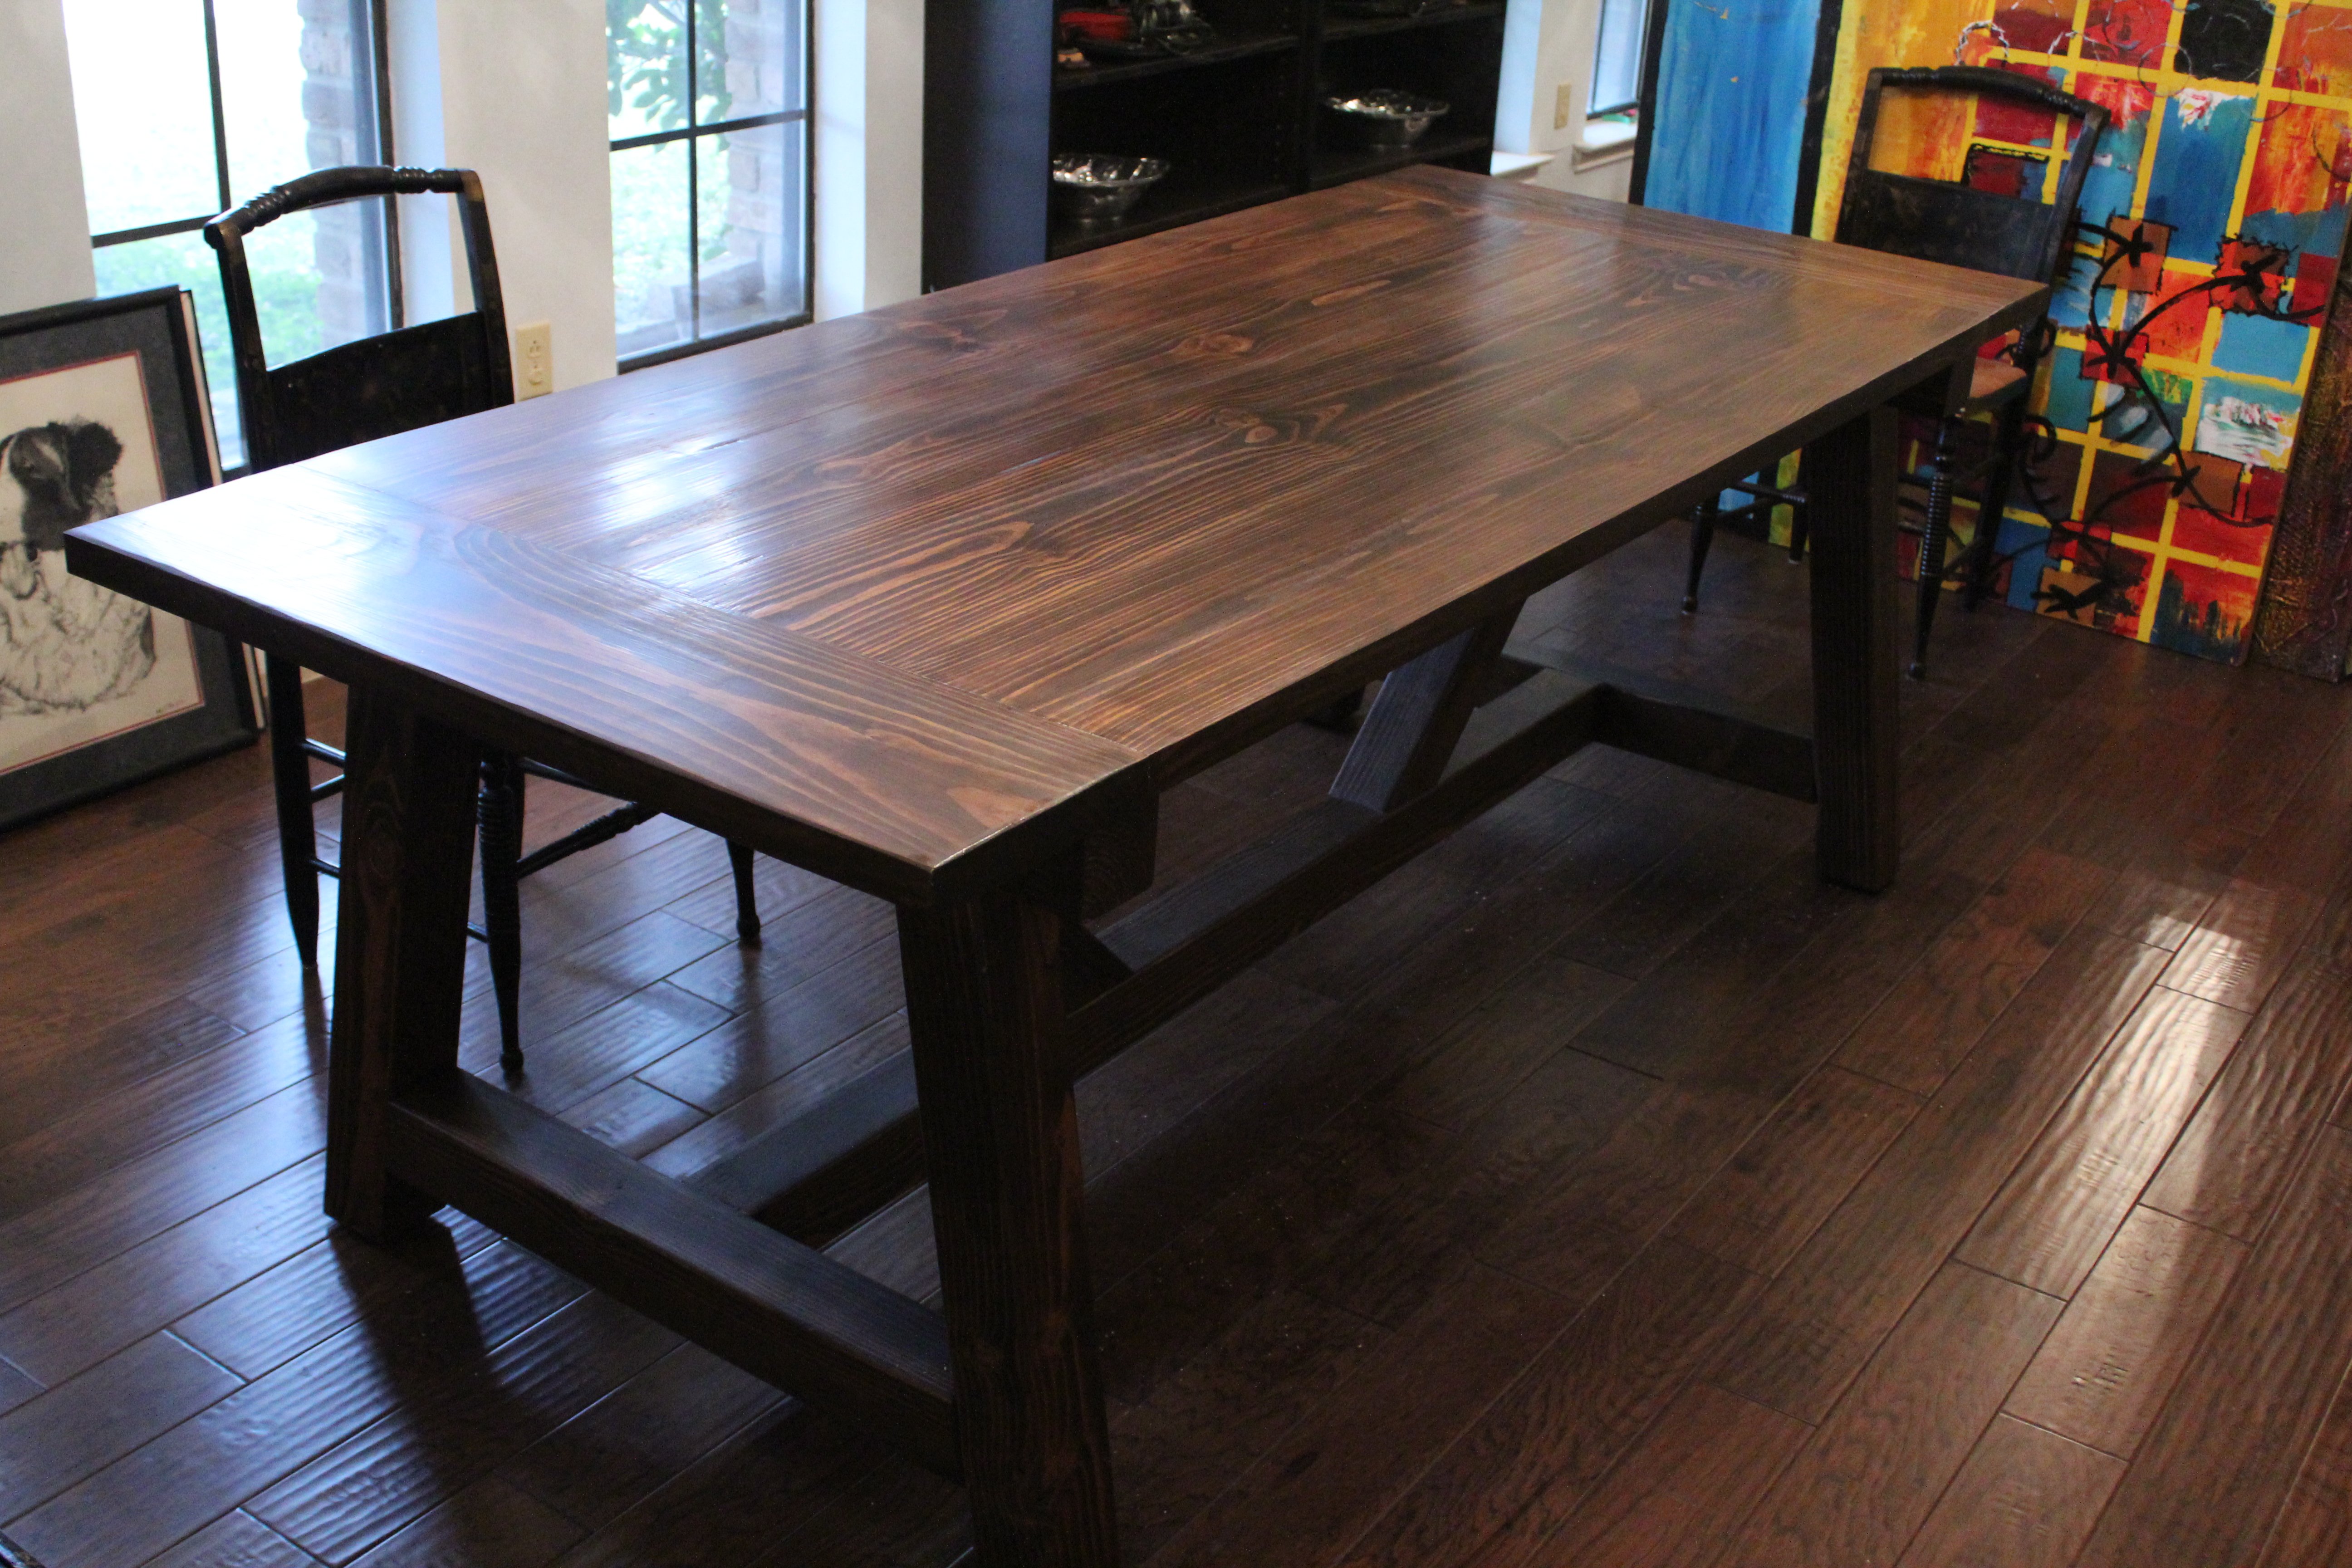
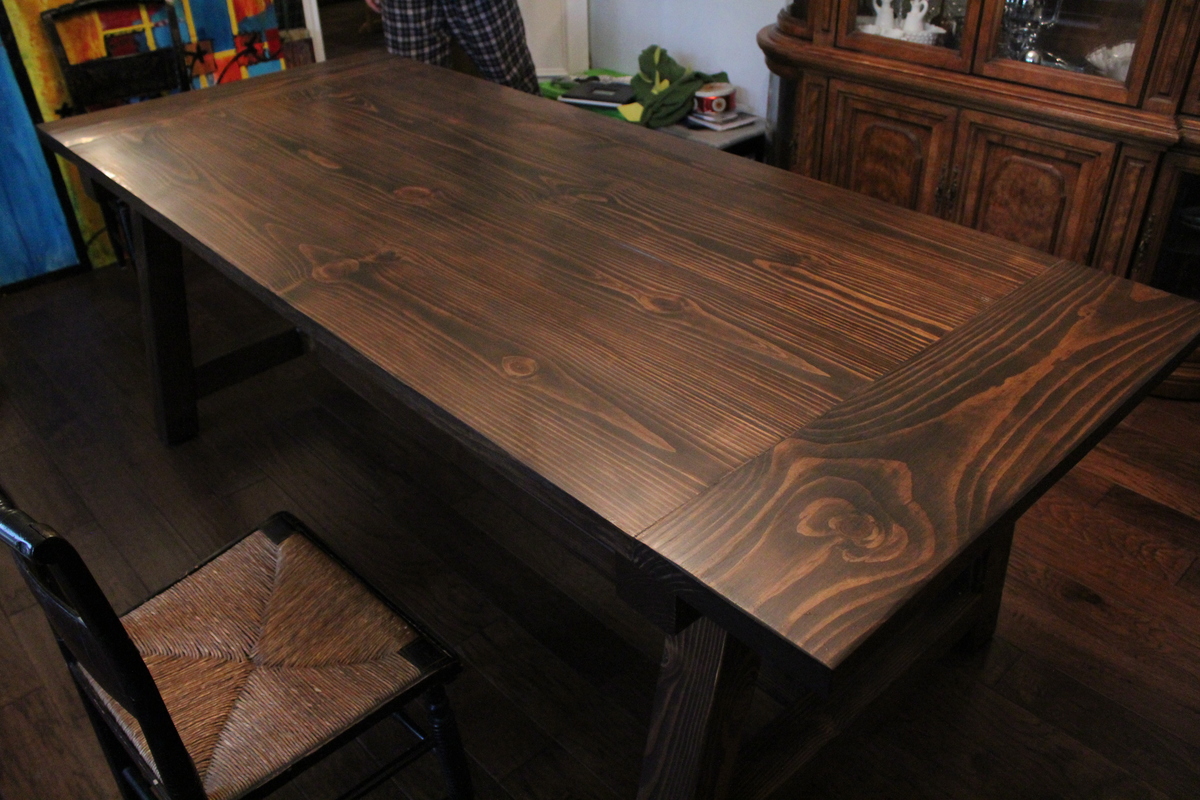
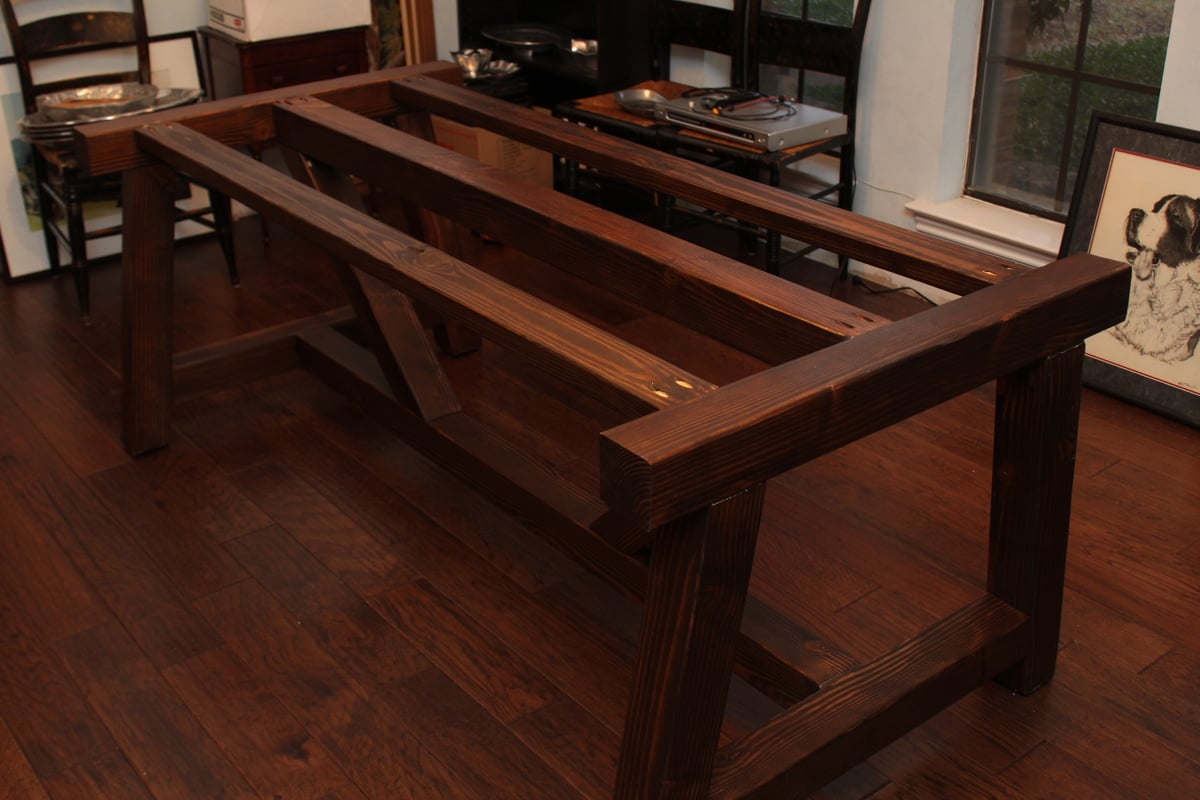
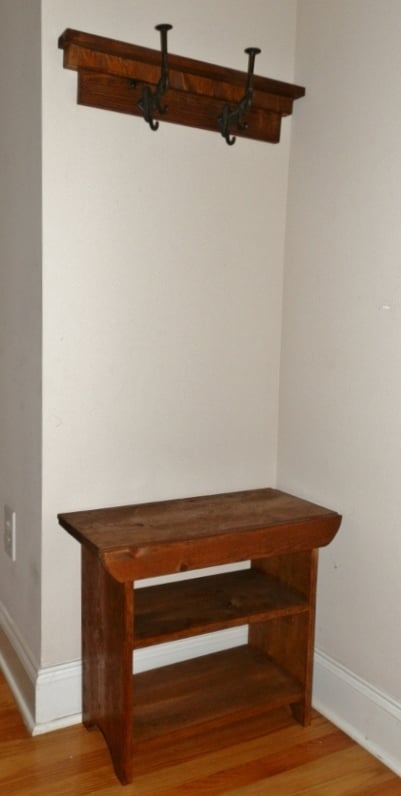
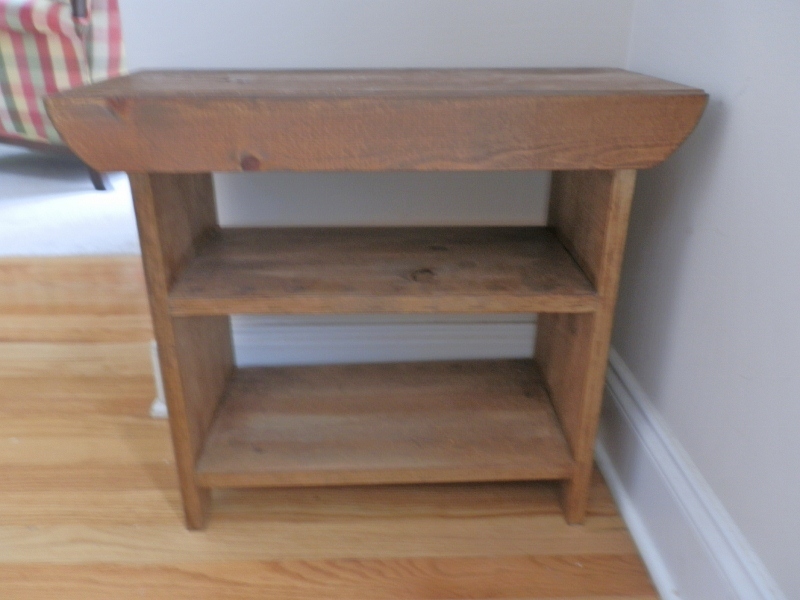
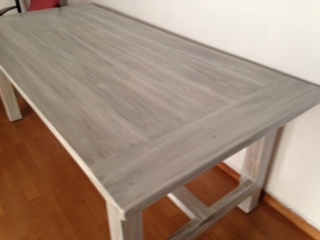
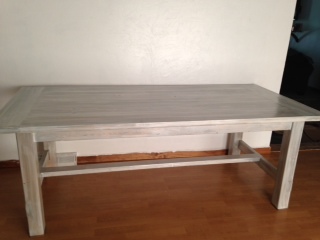
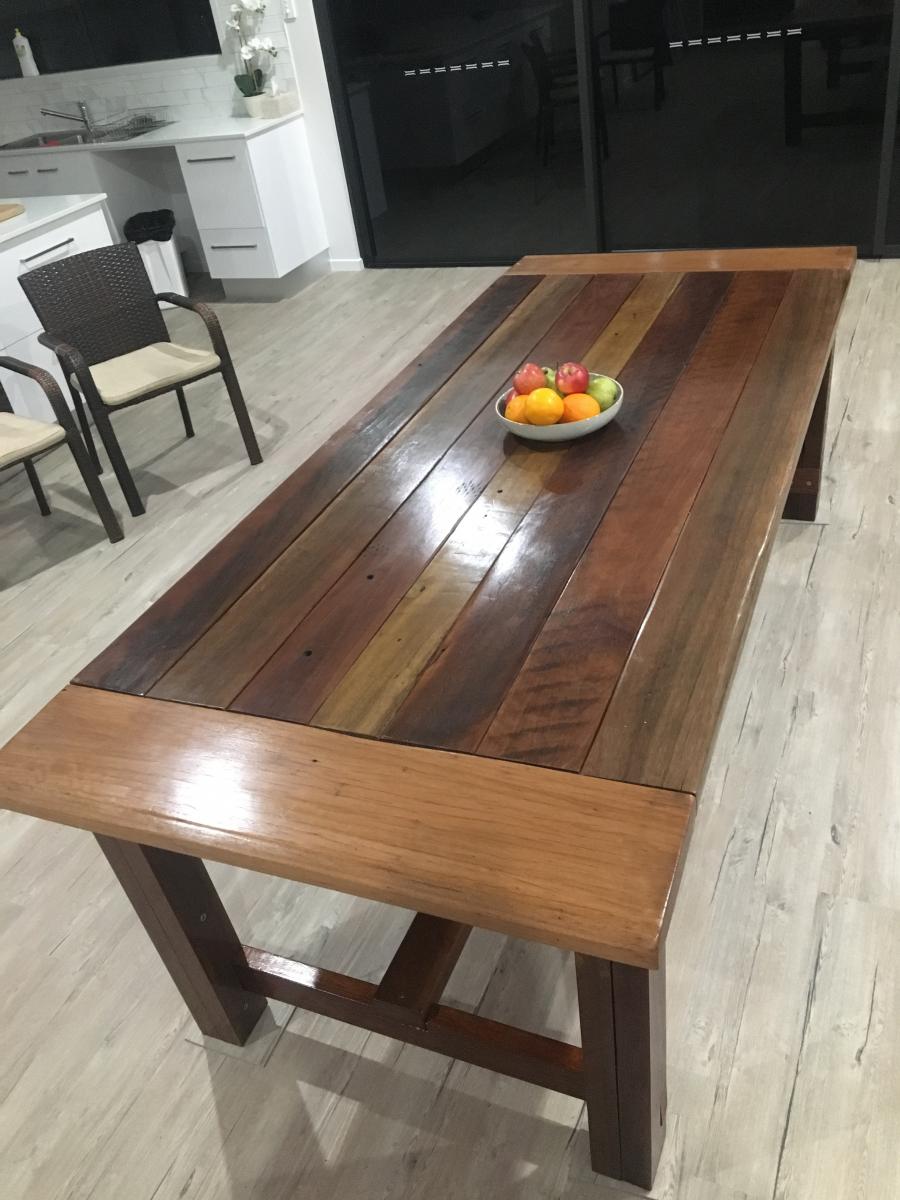
Rustic Table
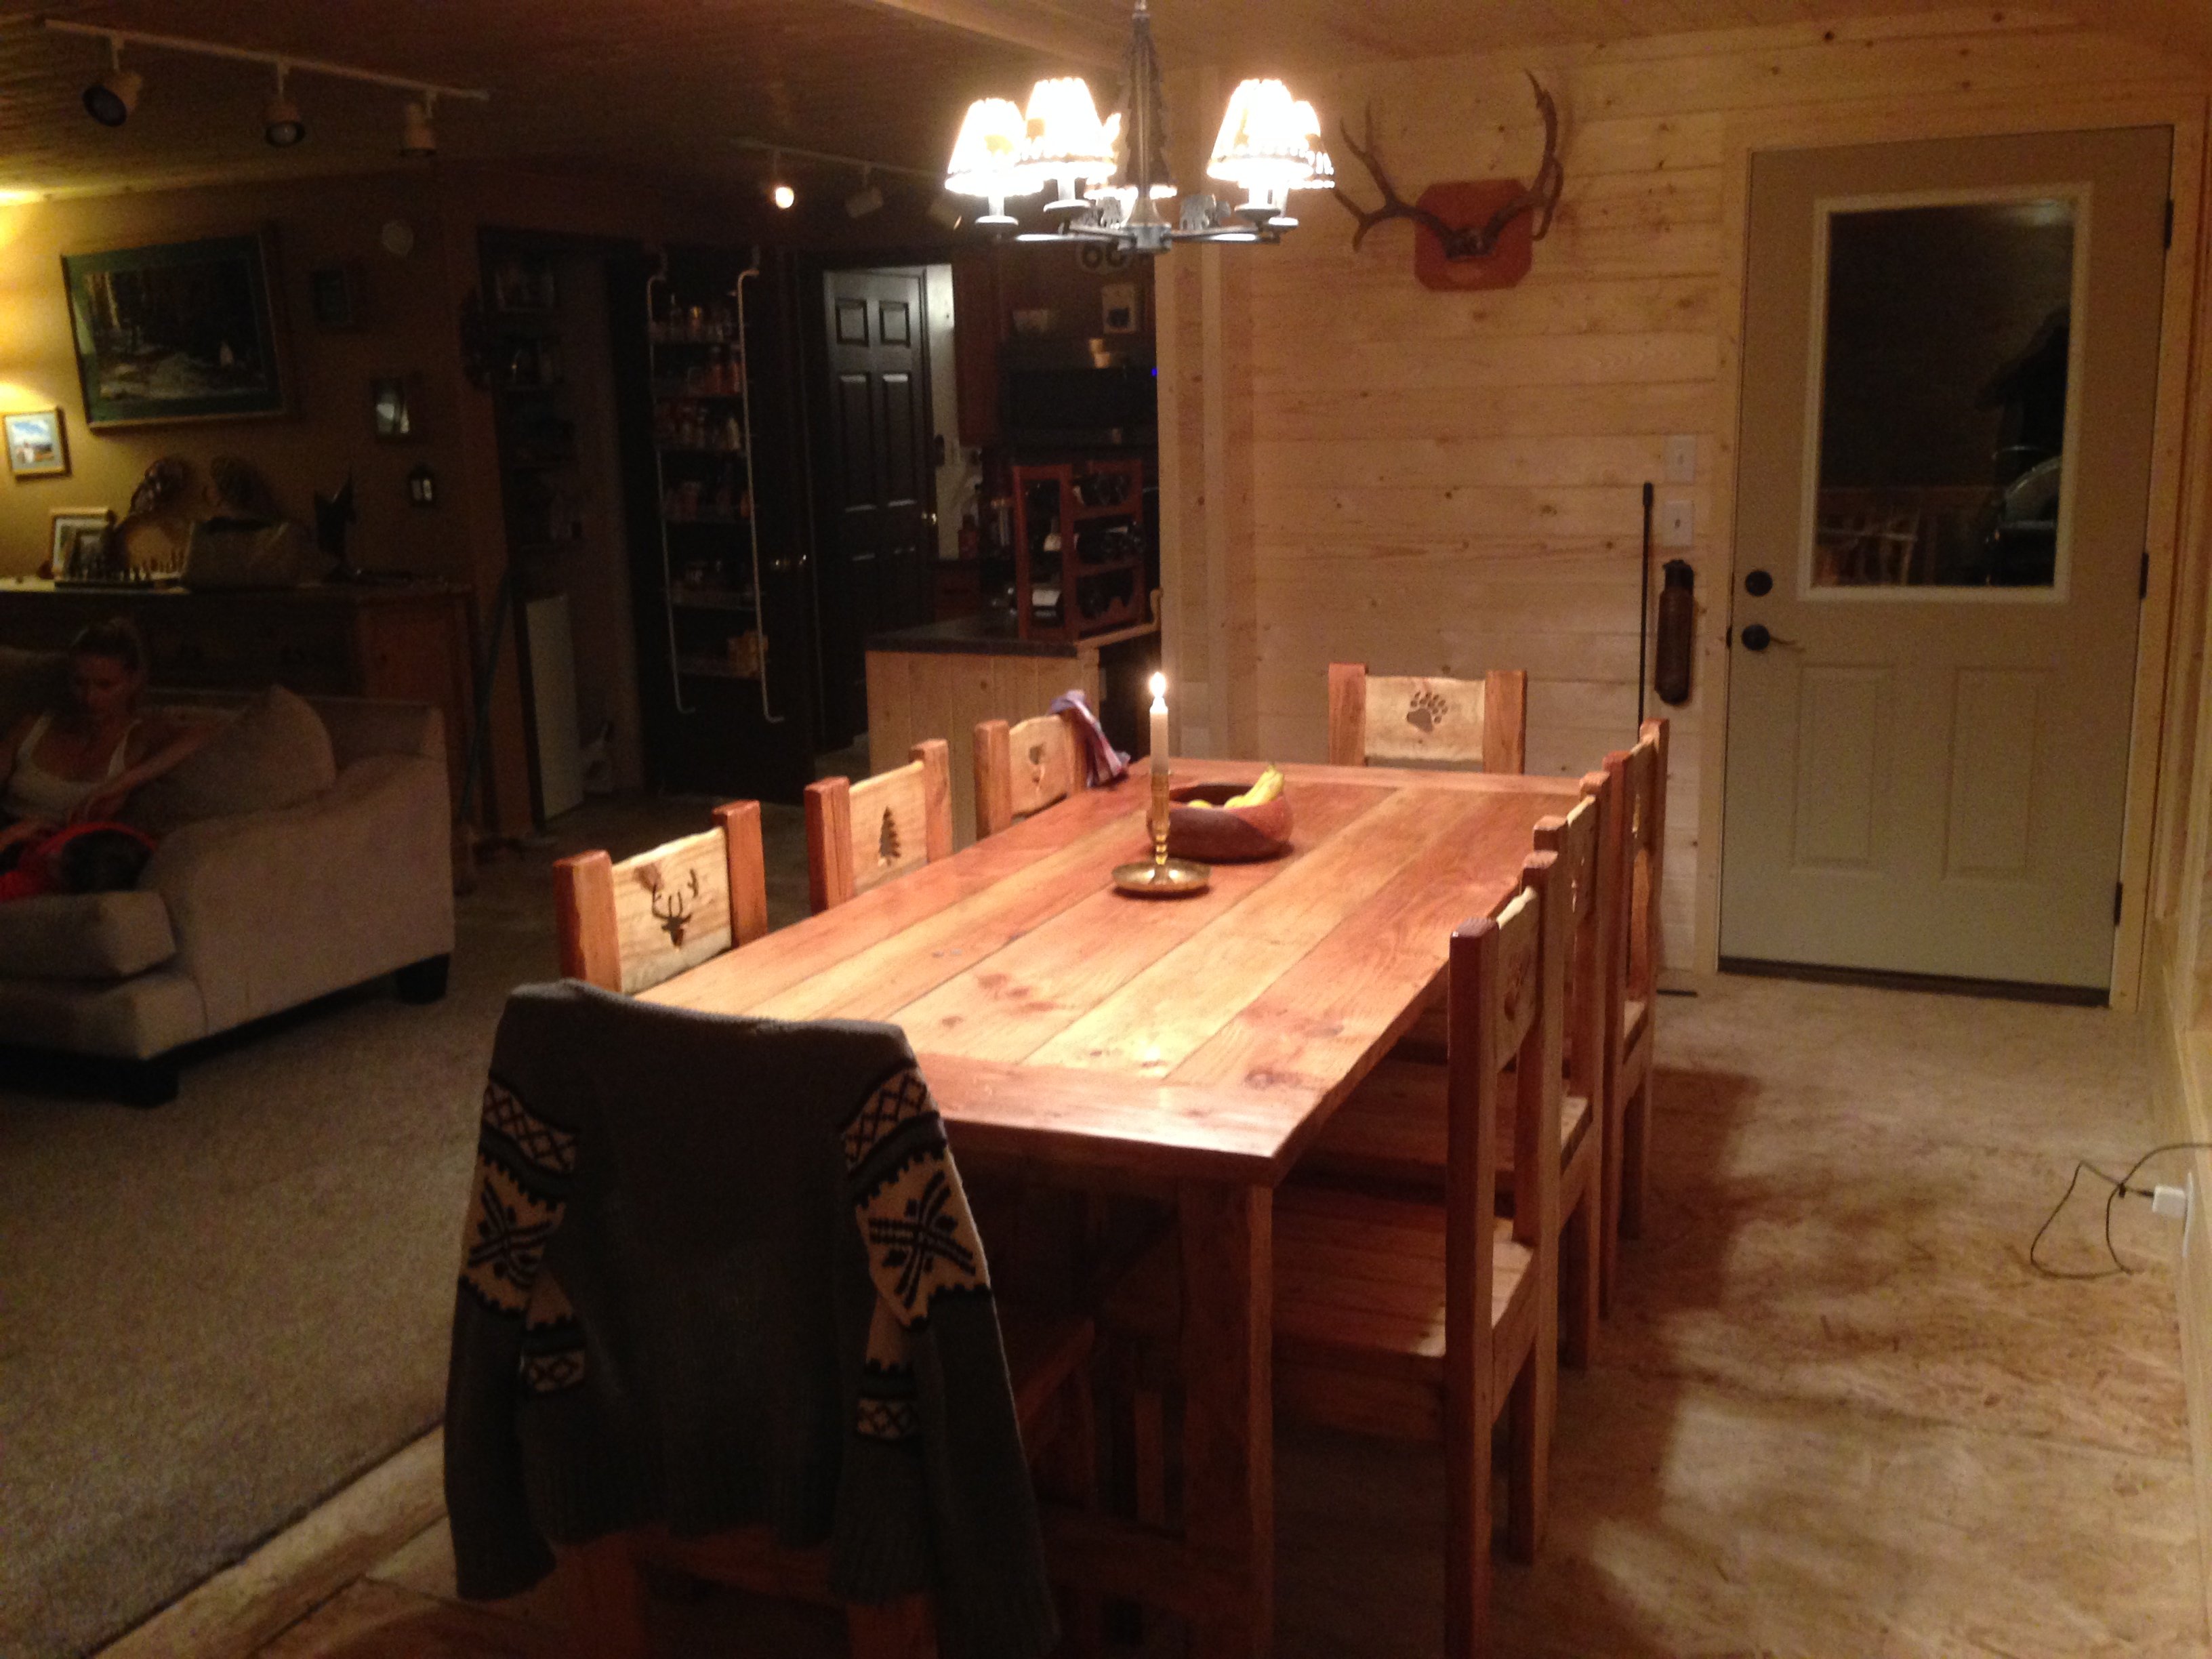
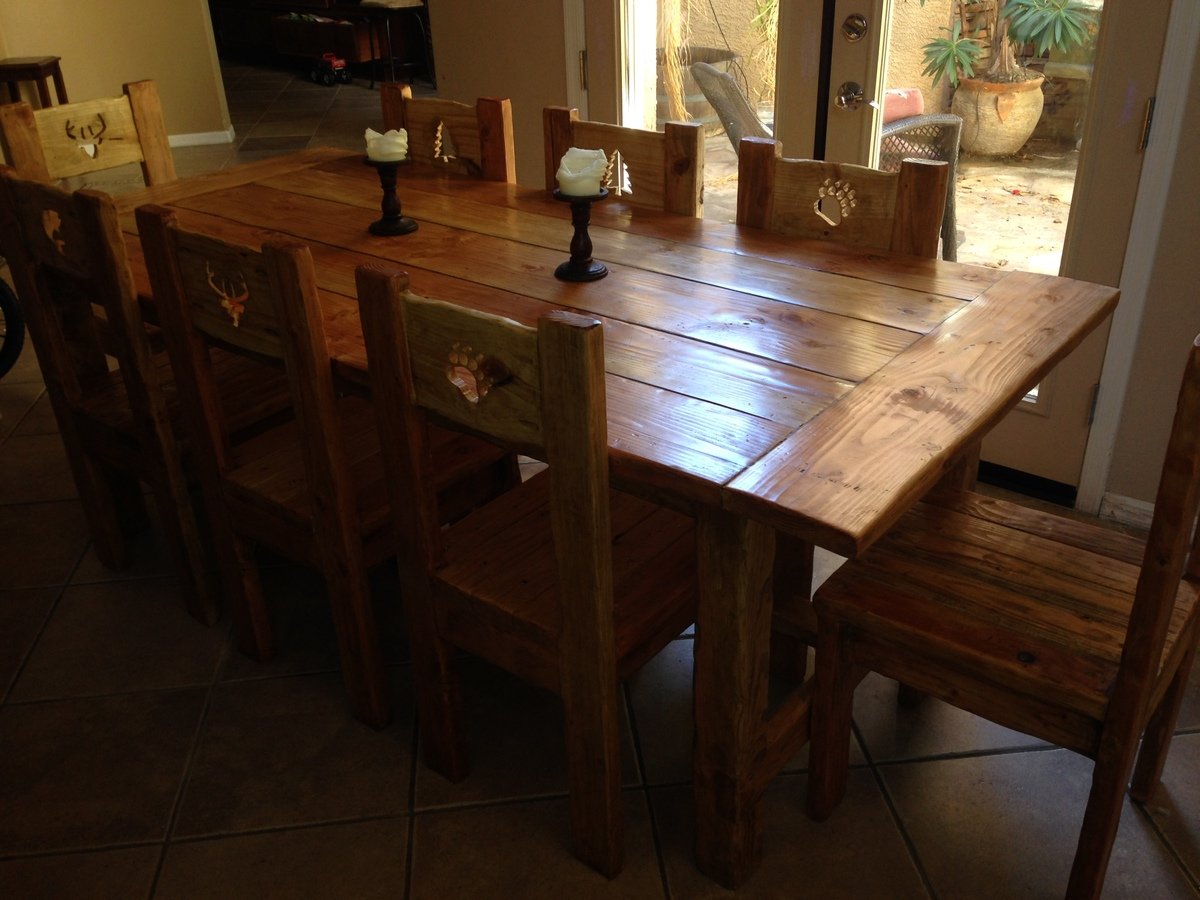
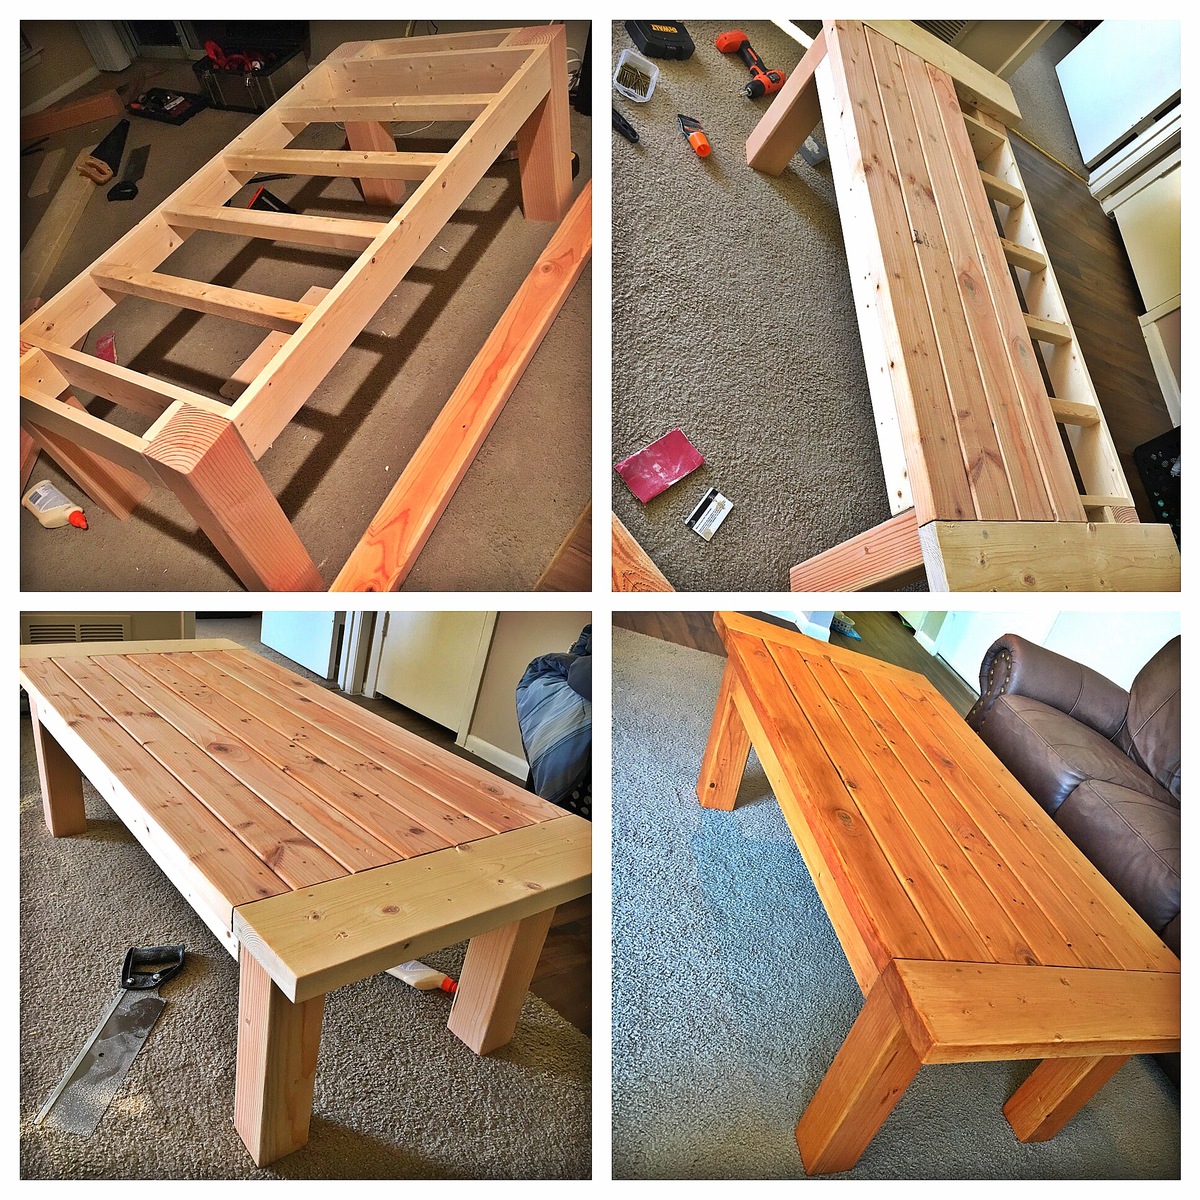
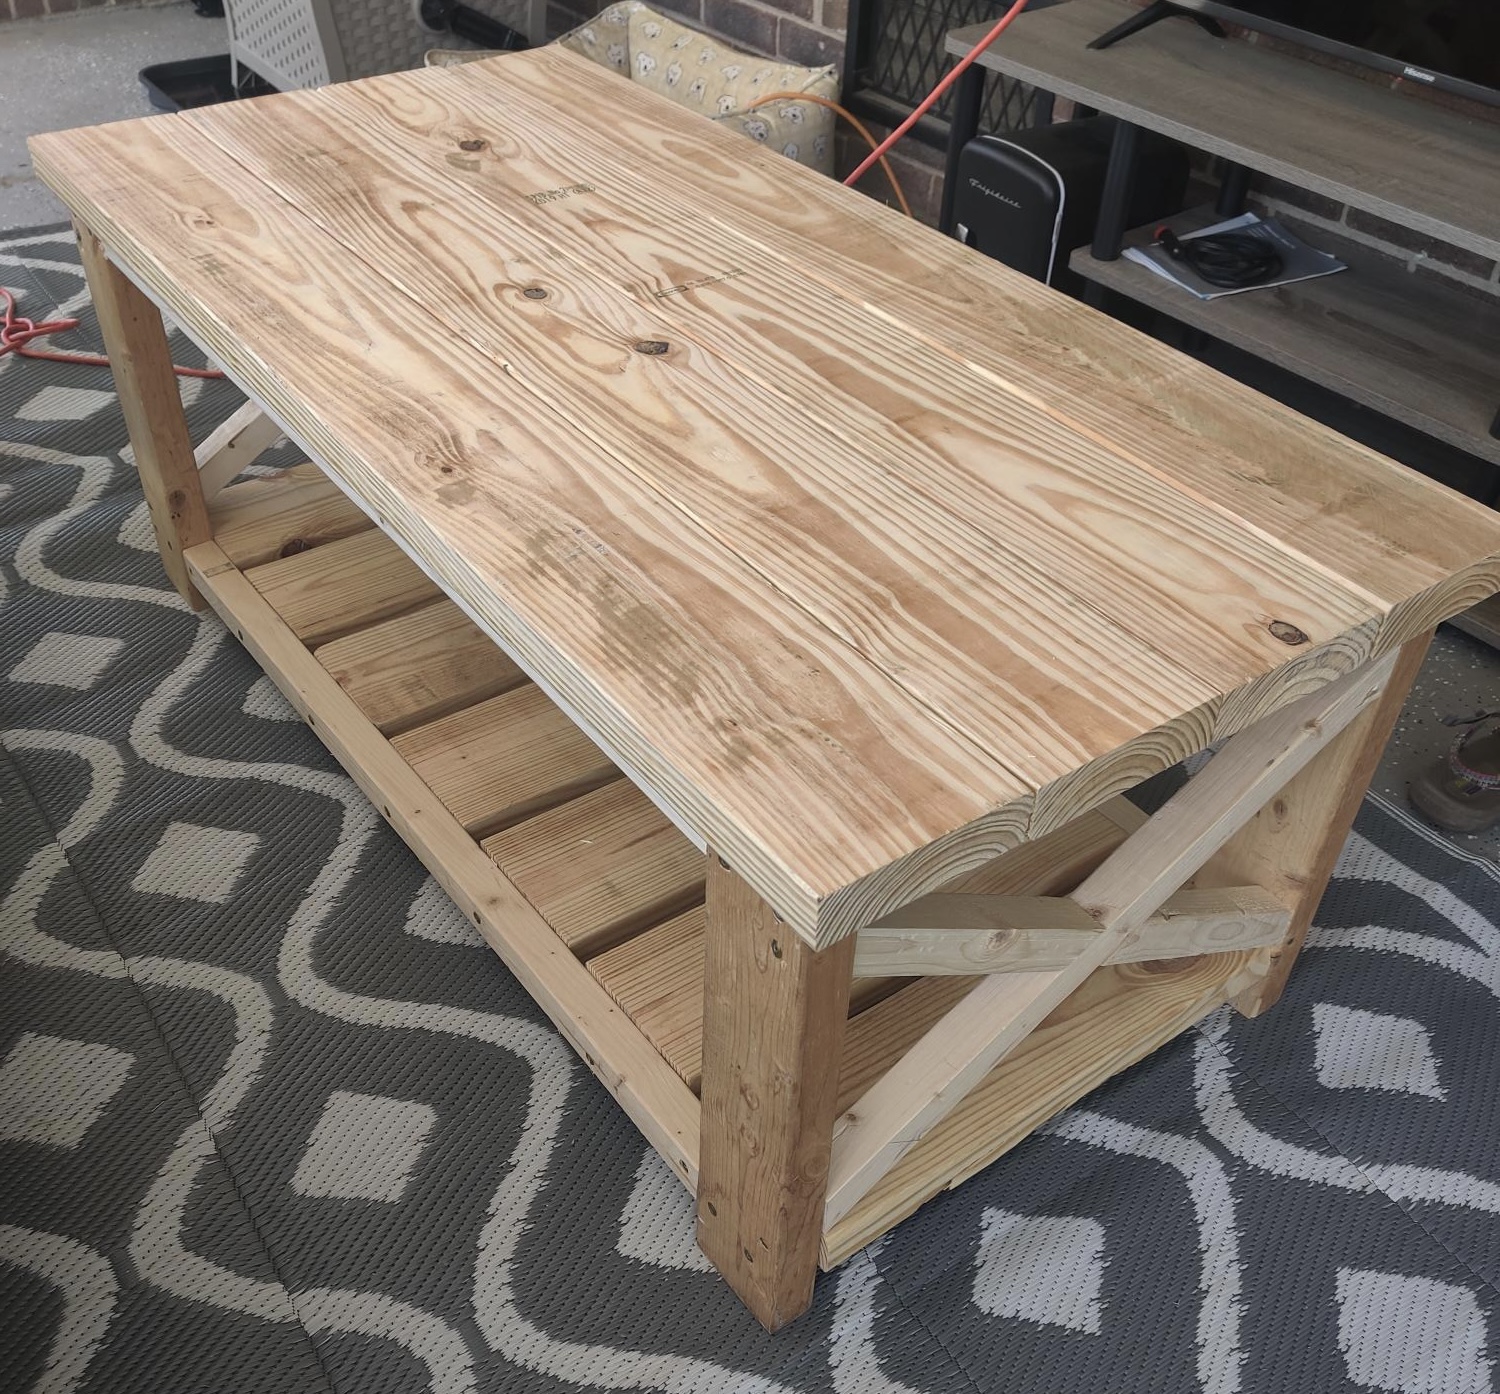
My wife and I wanted a rustic looking table for our cabin and didn't want to pay a fortune for it! This was my first project and I found it pretty easy to make. The finish is Briwax Rustic Pine and I was so happy with how it turned out I had to build some chairs to go with it! The chairs were made from a plan I found for making chairs using 2x4s
Built from Plan(s)
Estimated Time Investment
Weekend Project (10-20 Hours)
Finish Used
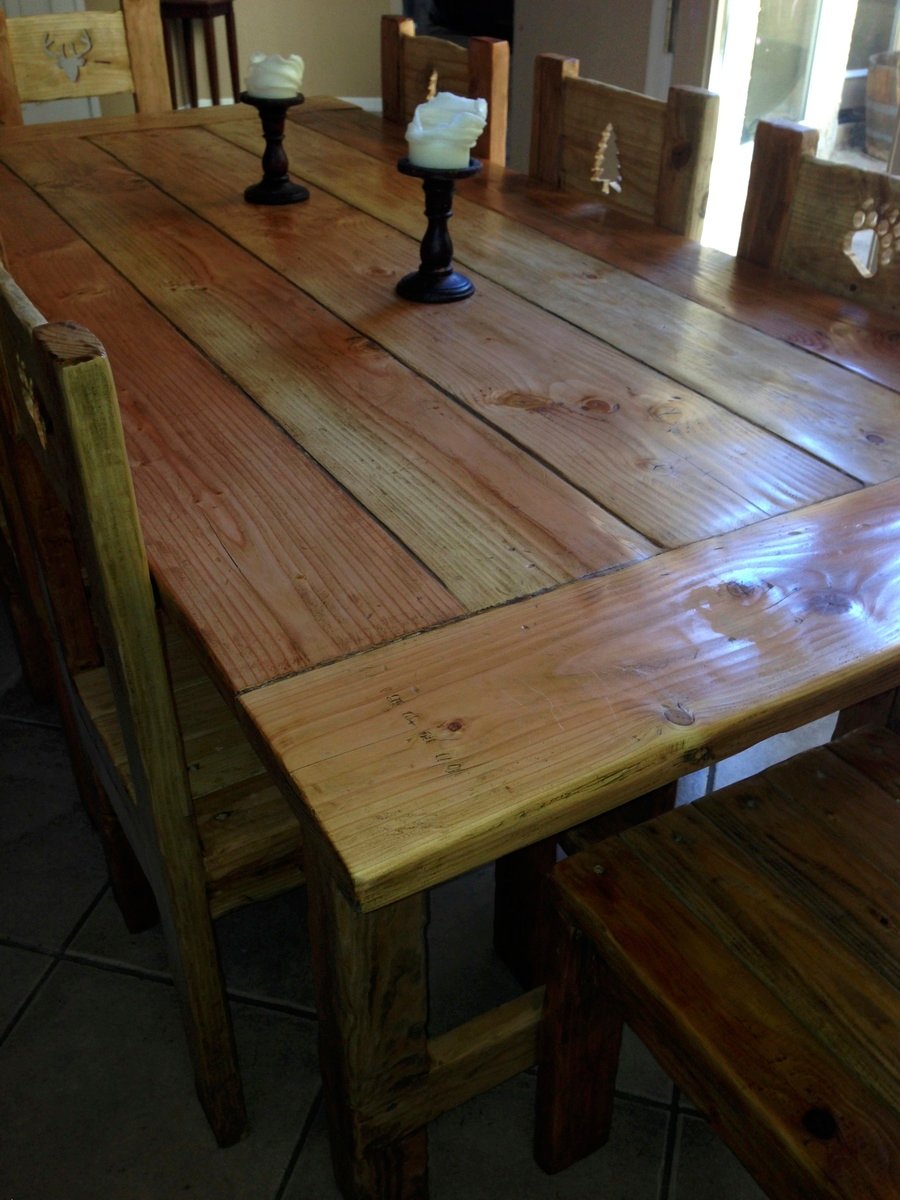
Briwax Rustic Pine.
Recommended Skill Level
Beginner


Comments
bclute
Sun, 11/17/2013 - 06:05
Great Job! I am braving my
Great Job! I am braving my first table myself ...
JoanneS
Sun, 11/17/2013 - 07:30
Great project!
These look awesome! Love the finish - how many coats of Briwax did you need to achieve that sheen? It's just the perfect amount of shine. And those chairs! Can you post some close-ups of those designs on the backs? Those look sooo cool, how did you do them?
In reply to Great project! by JoanneS
Nickydewhurst
Sat, 12/07/2013 - 22:42
Table
Thx! 2 coats did the job