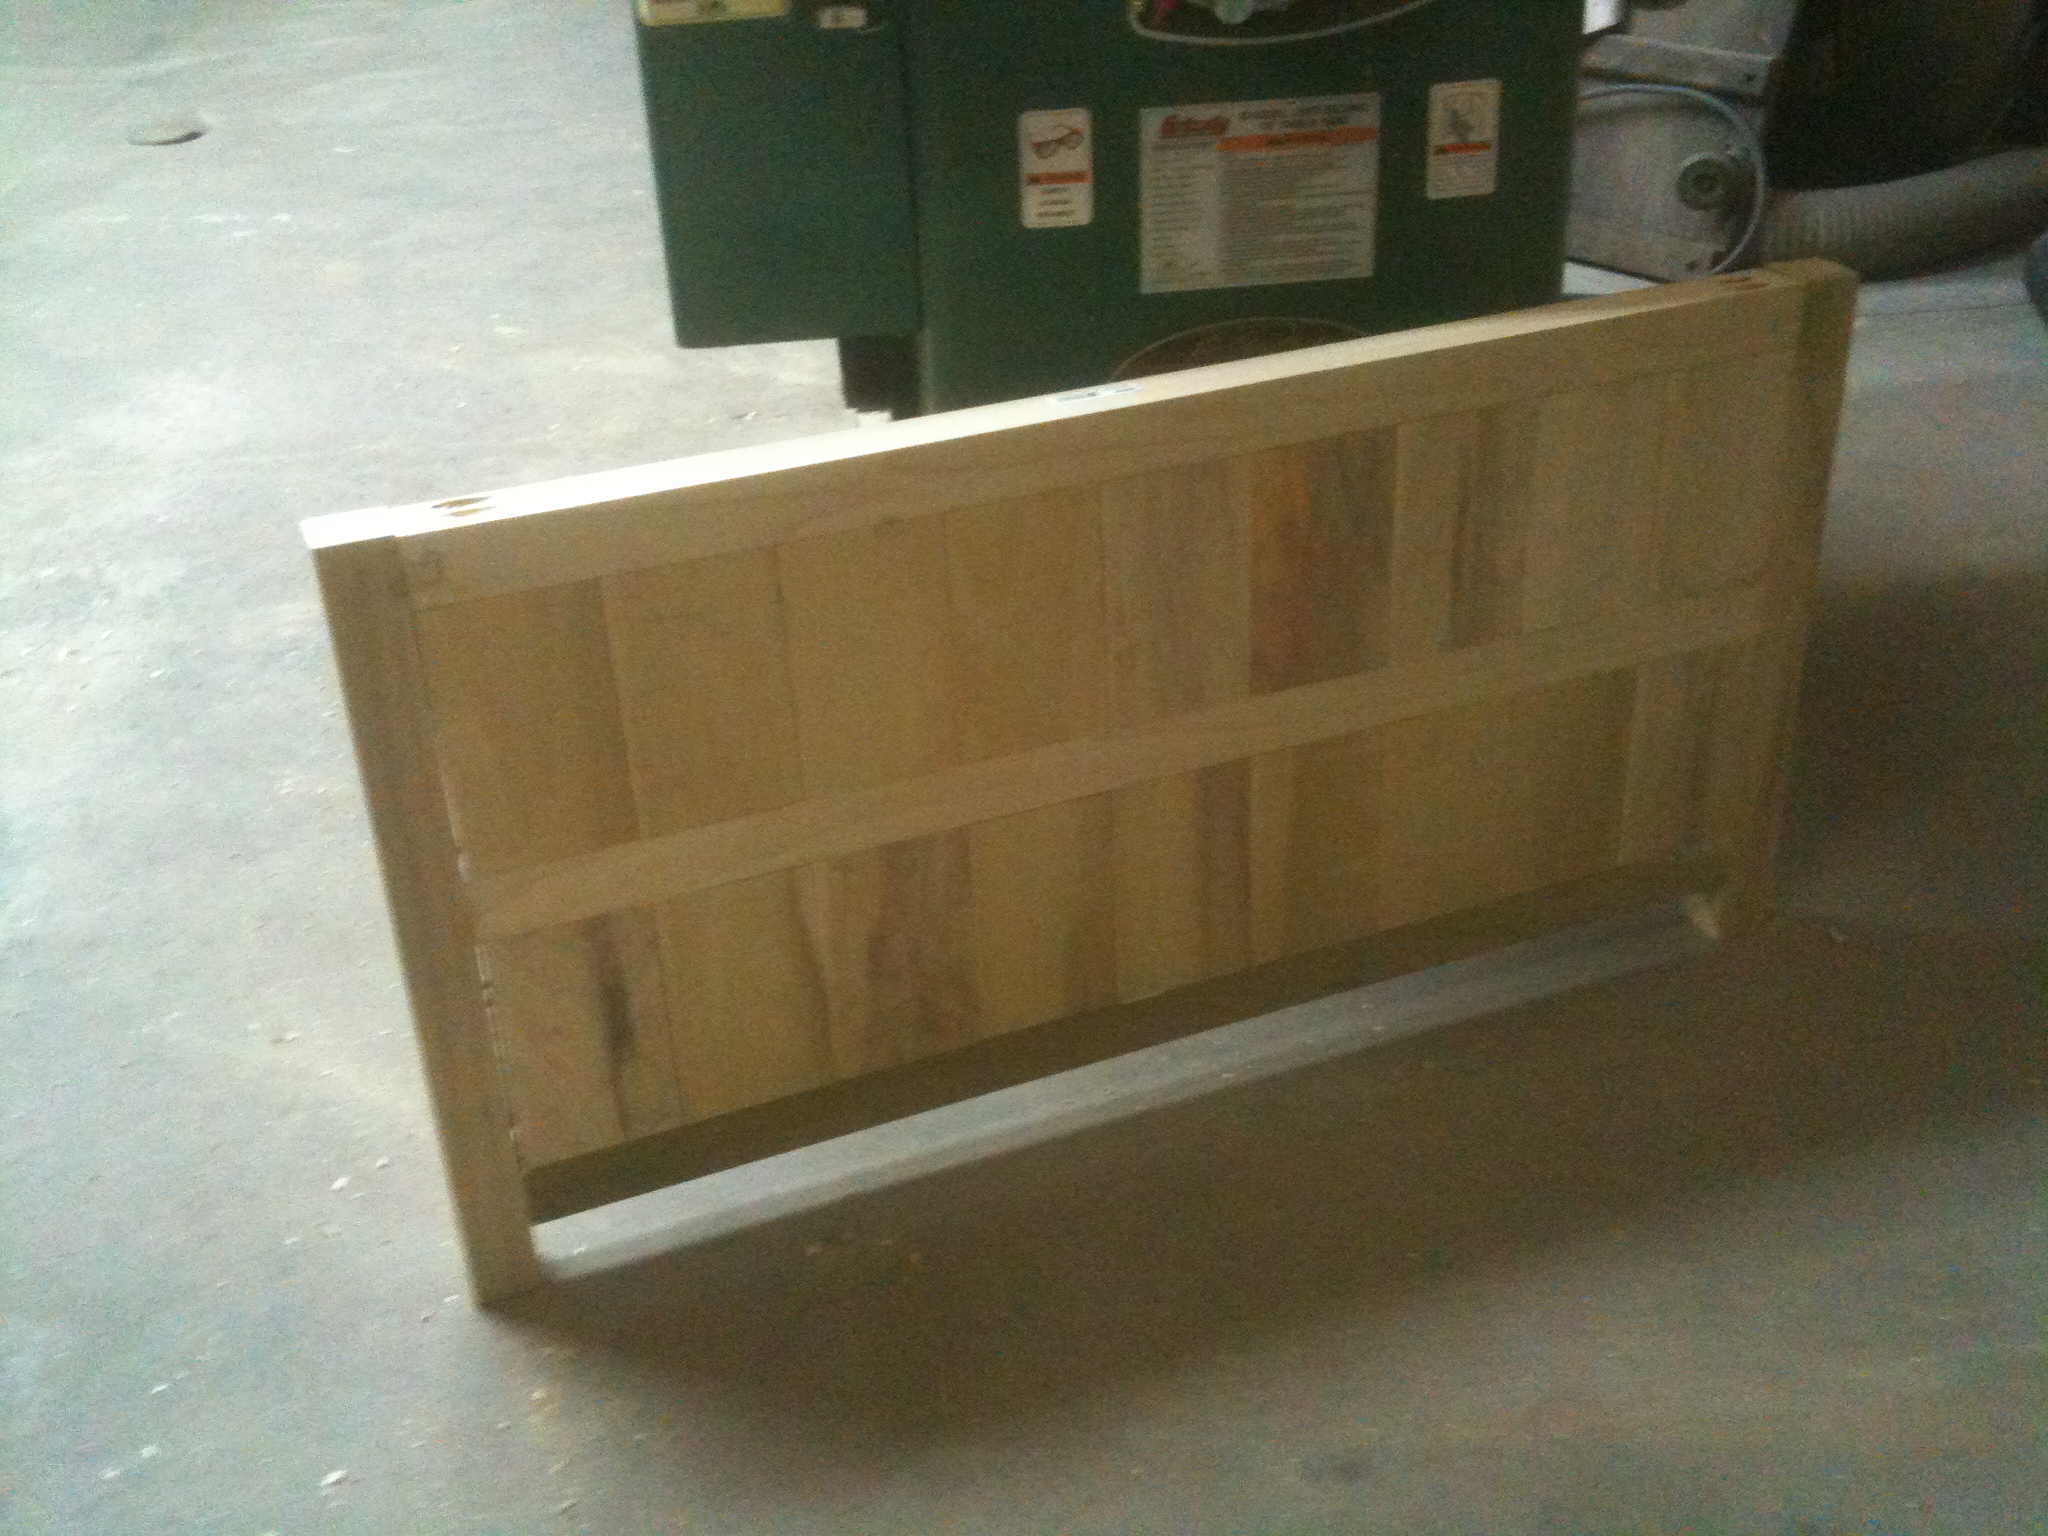
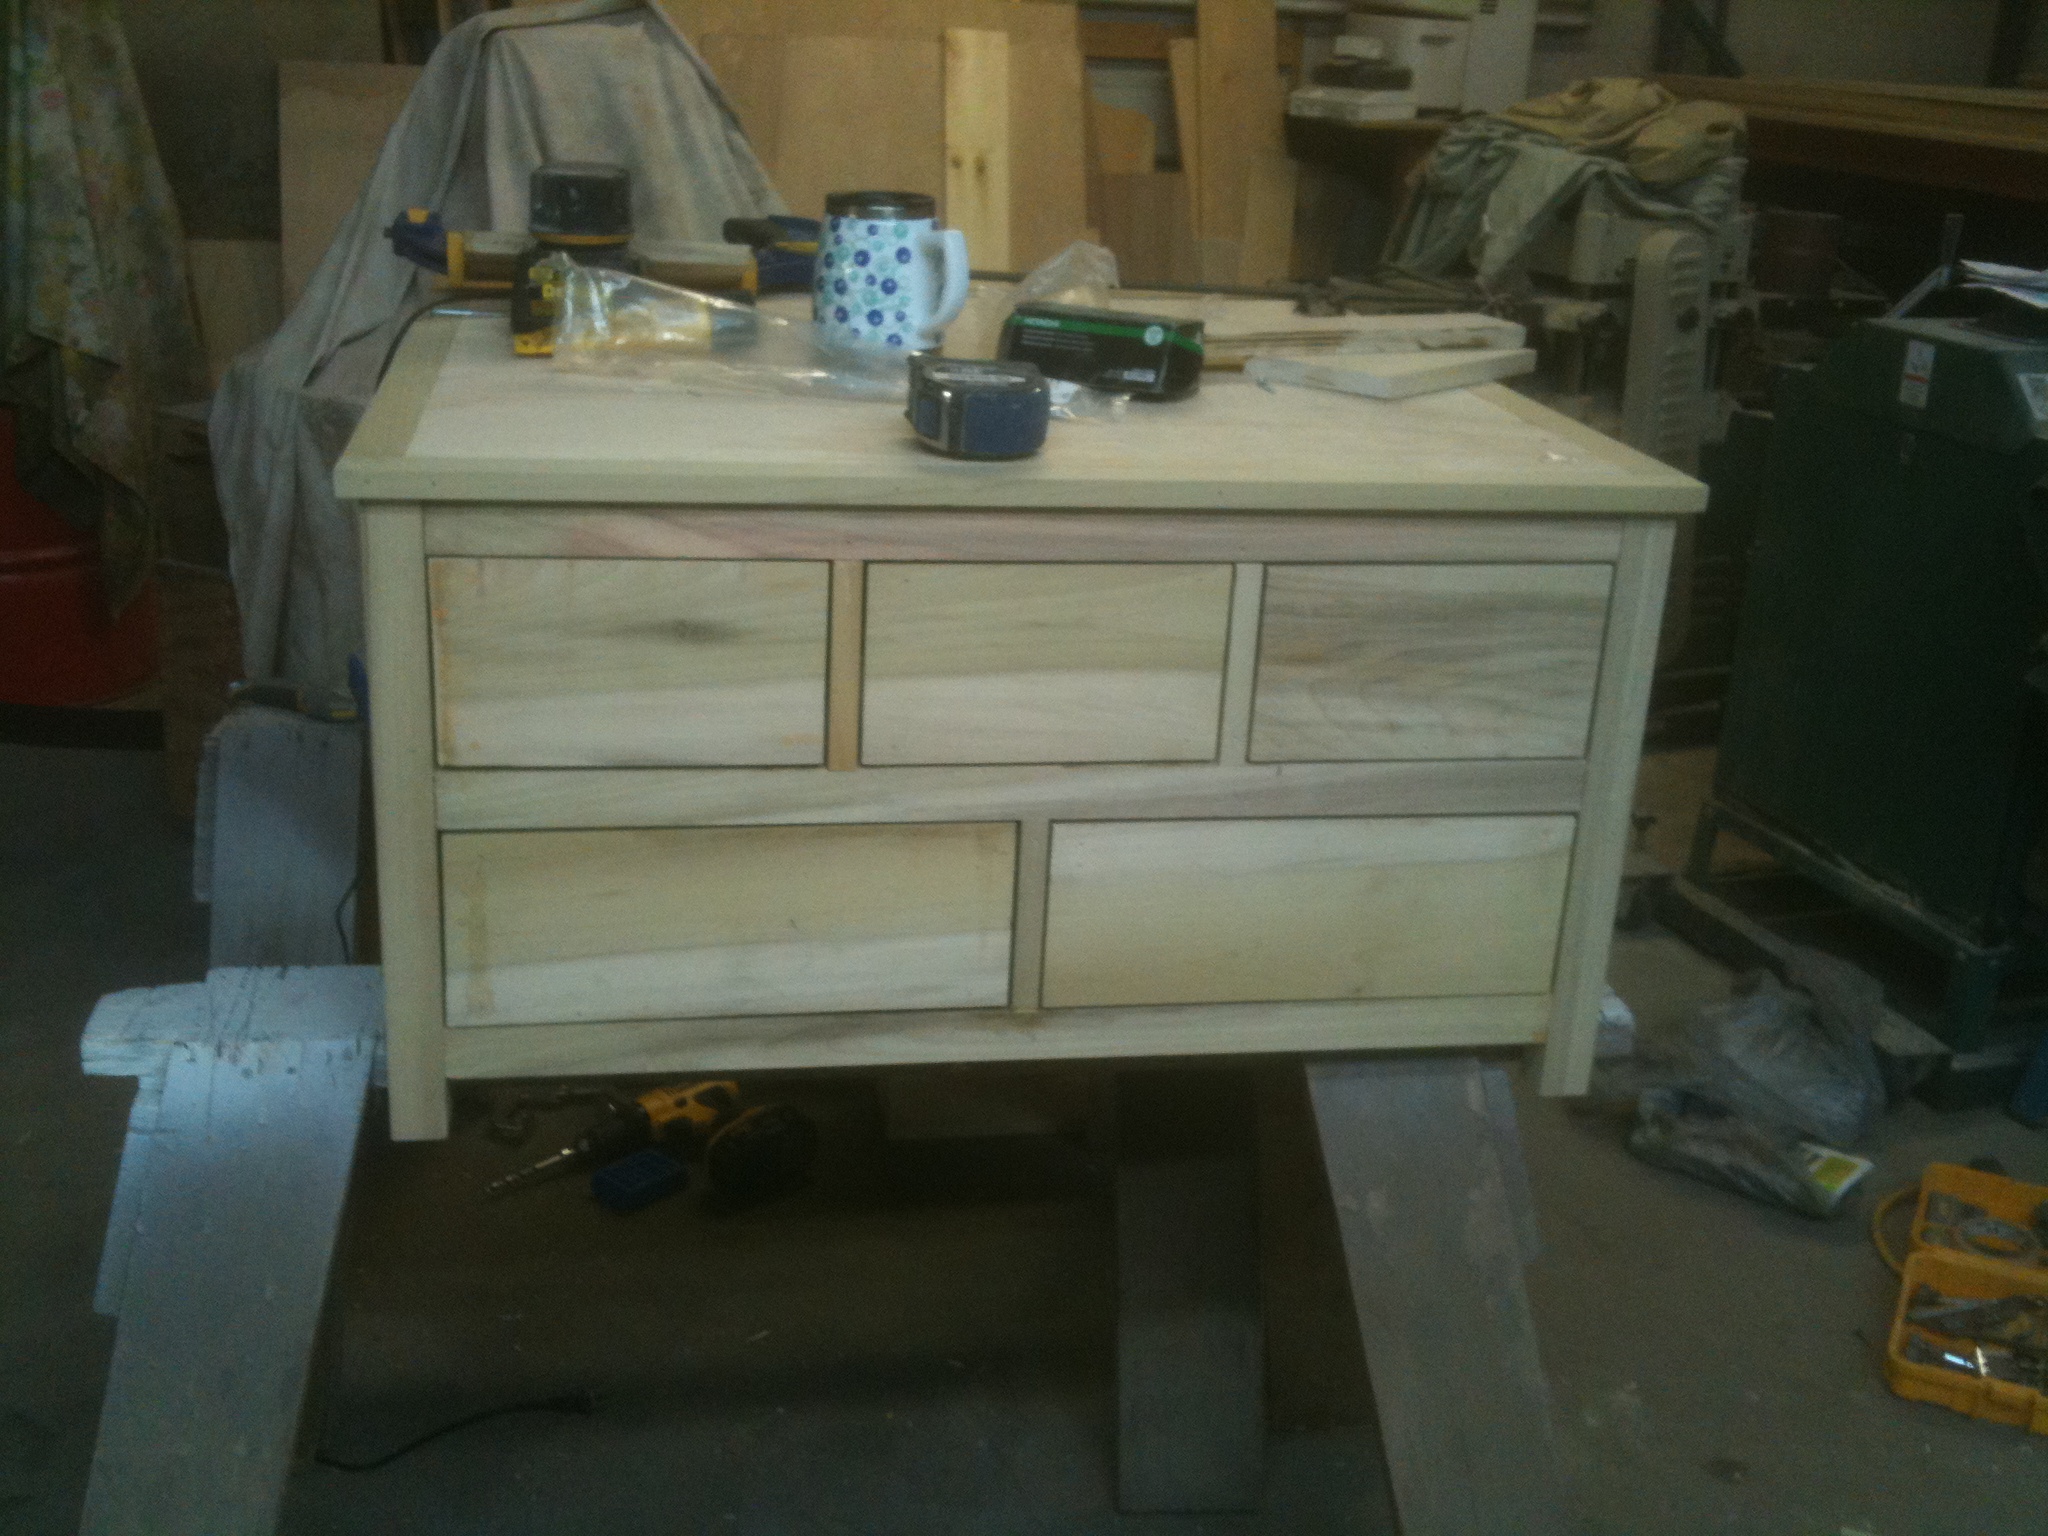
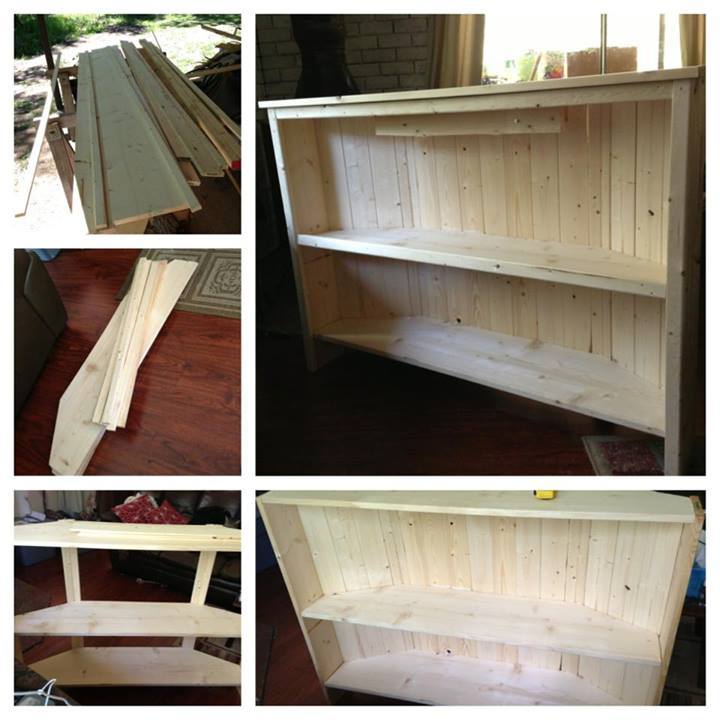
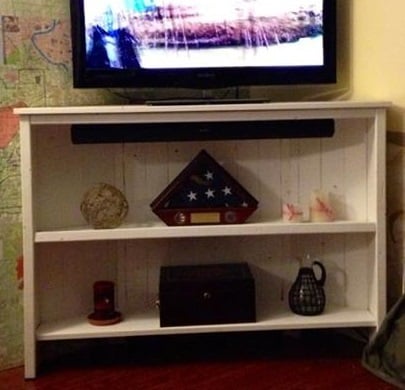
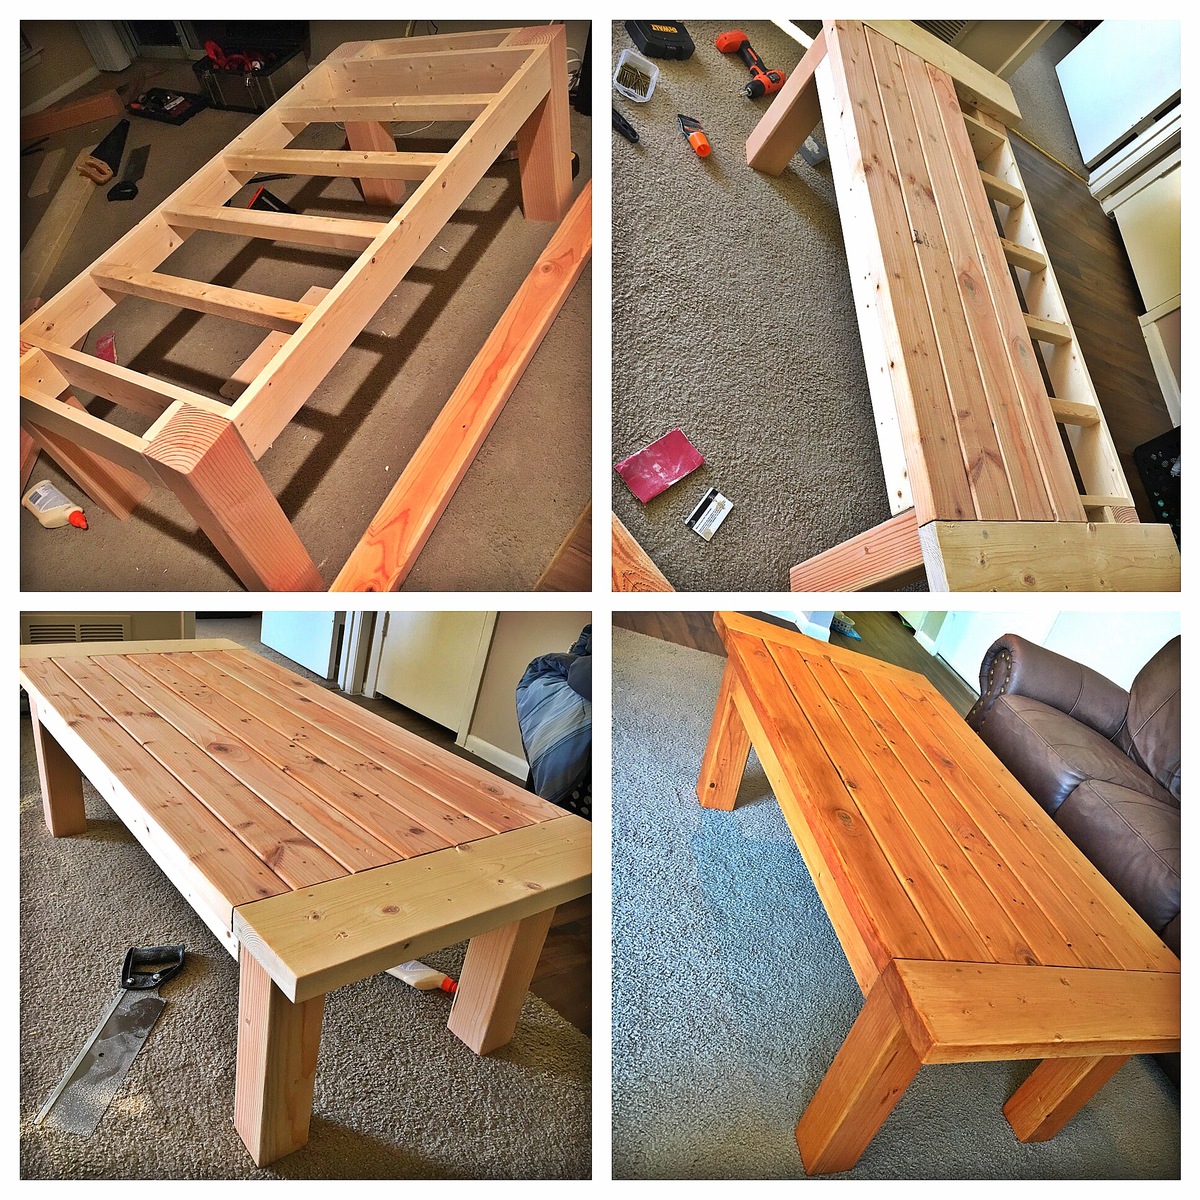
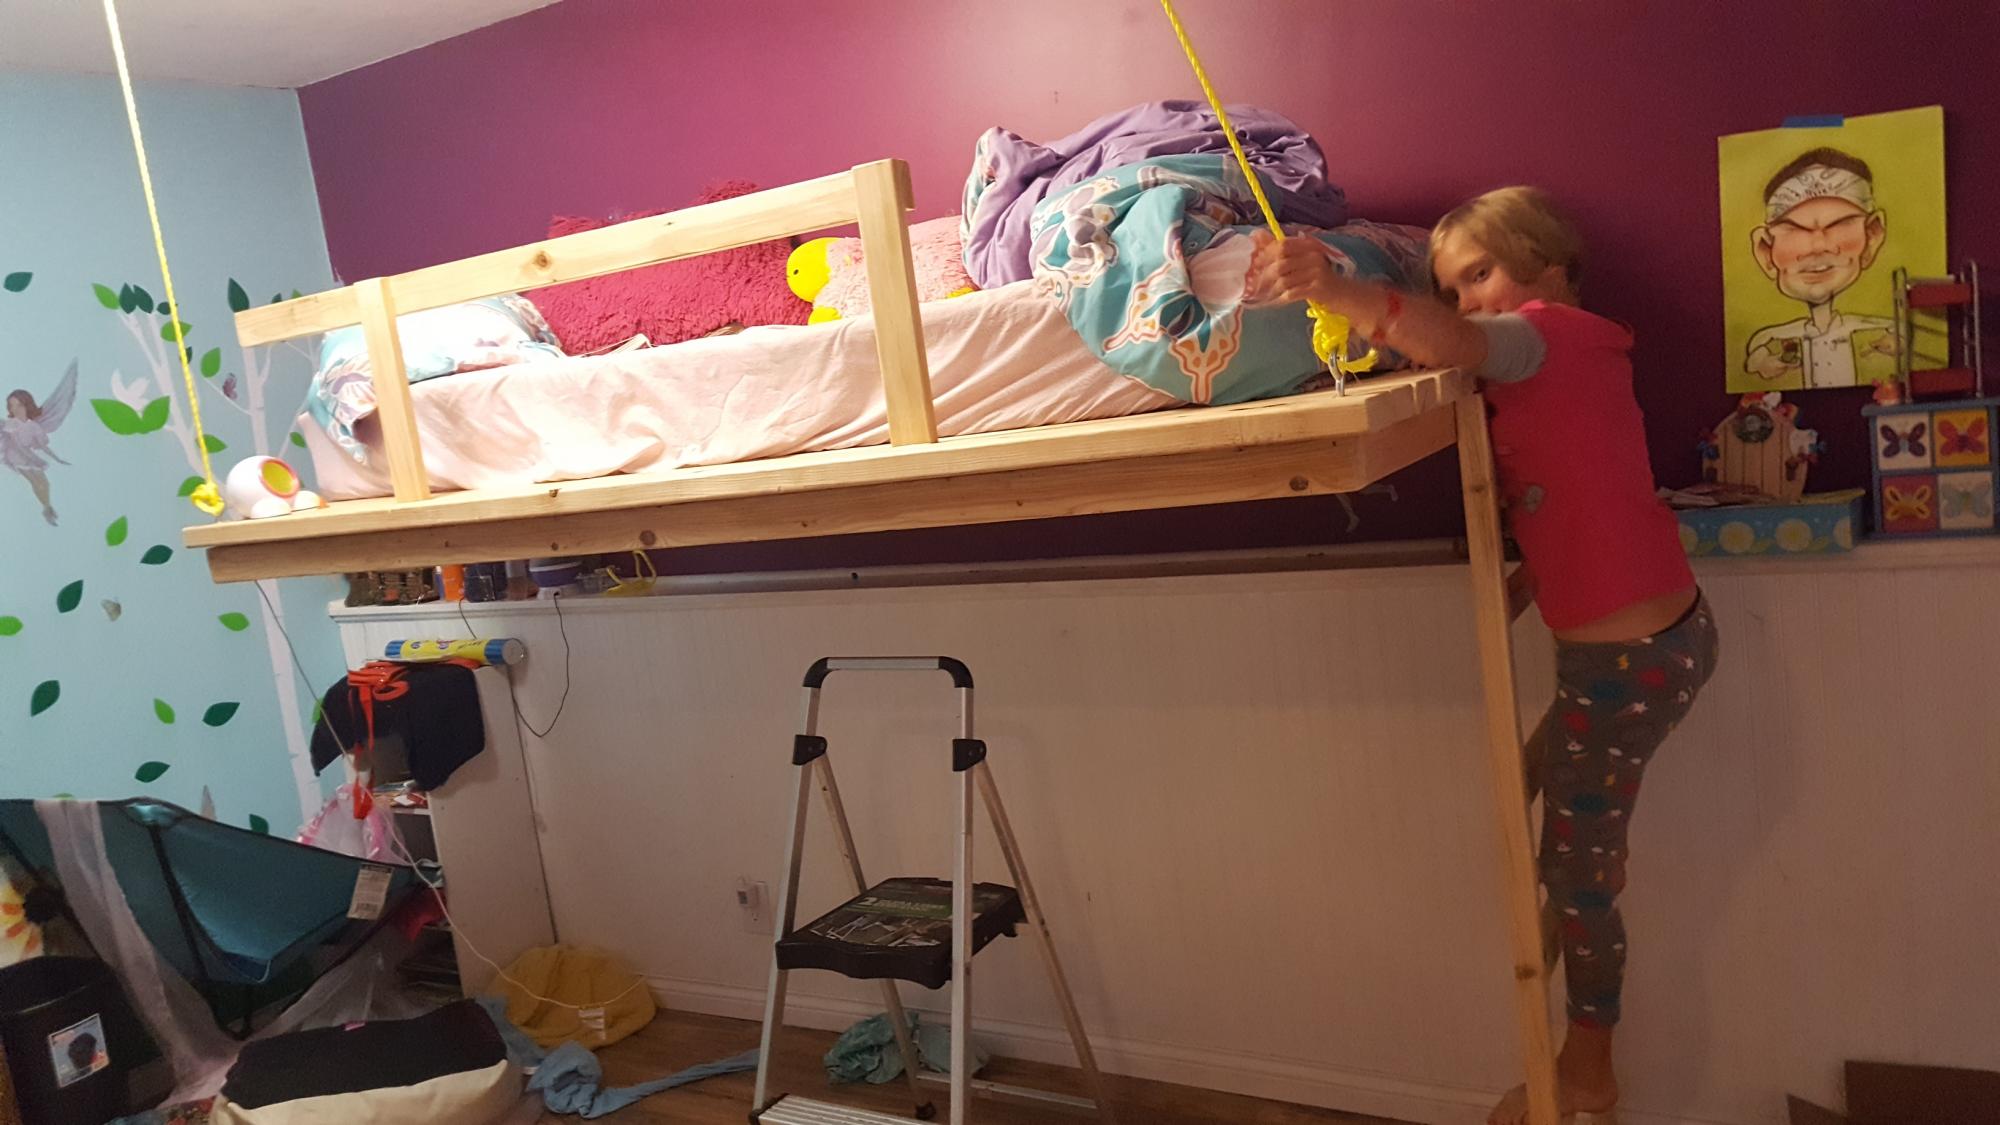
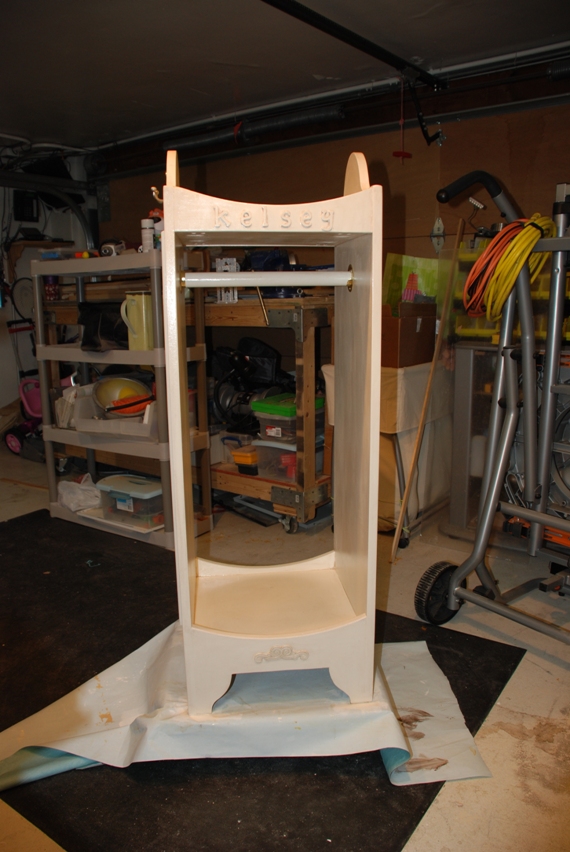
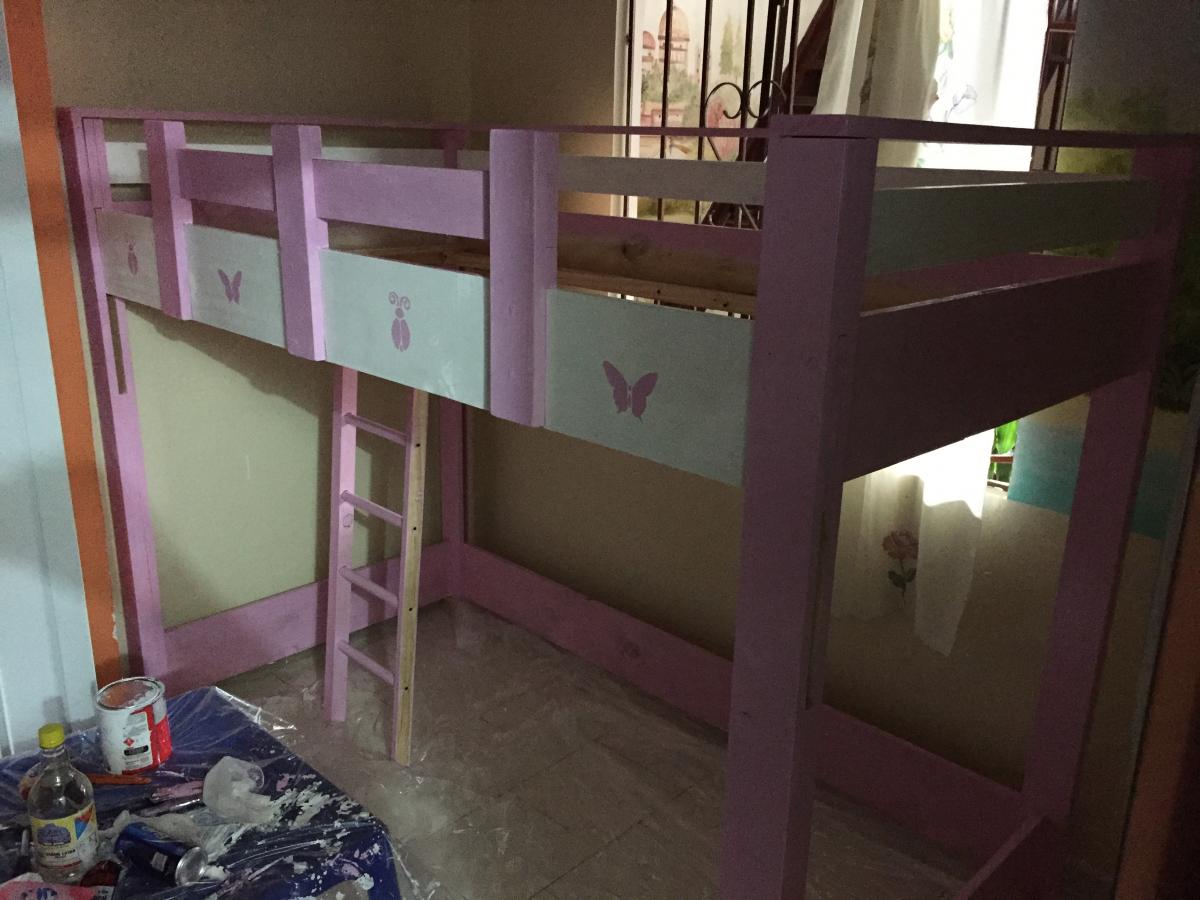
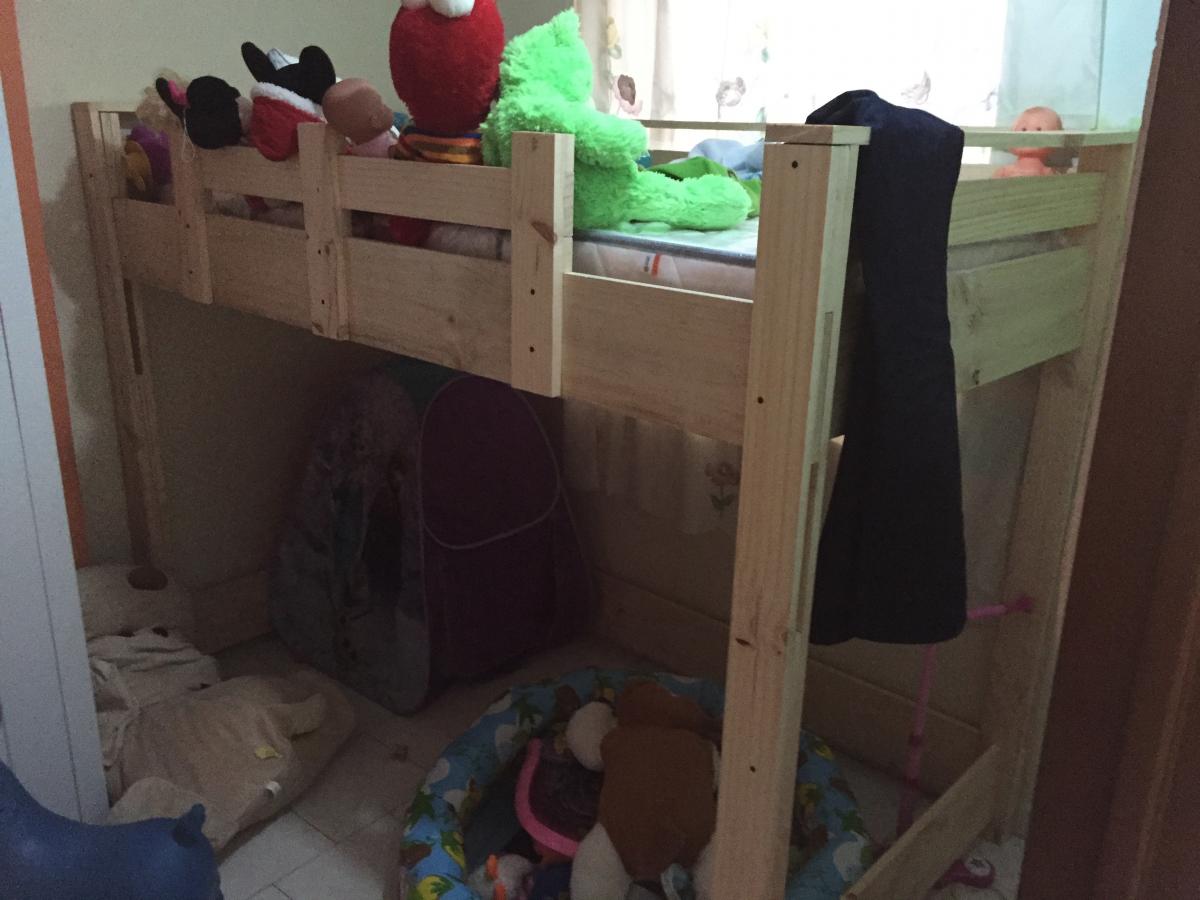
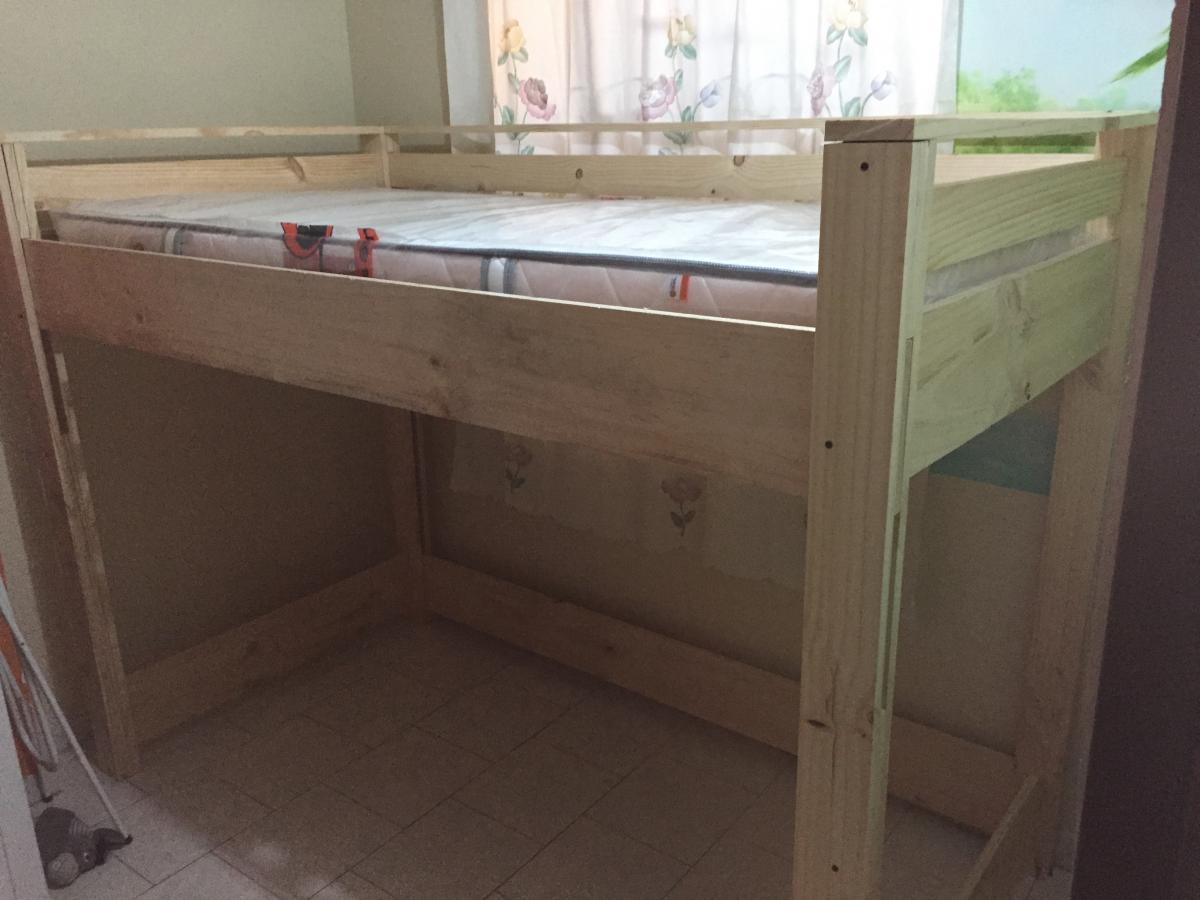
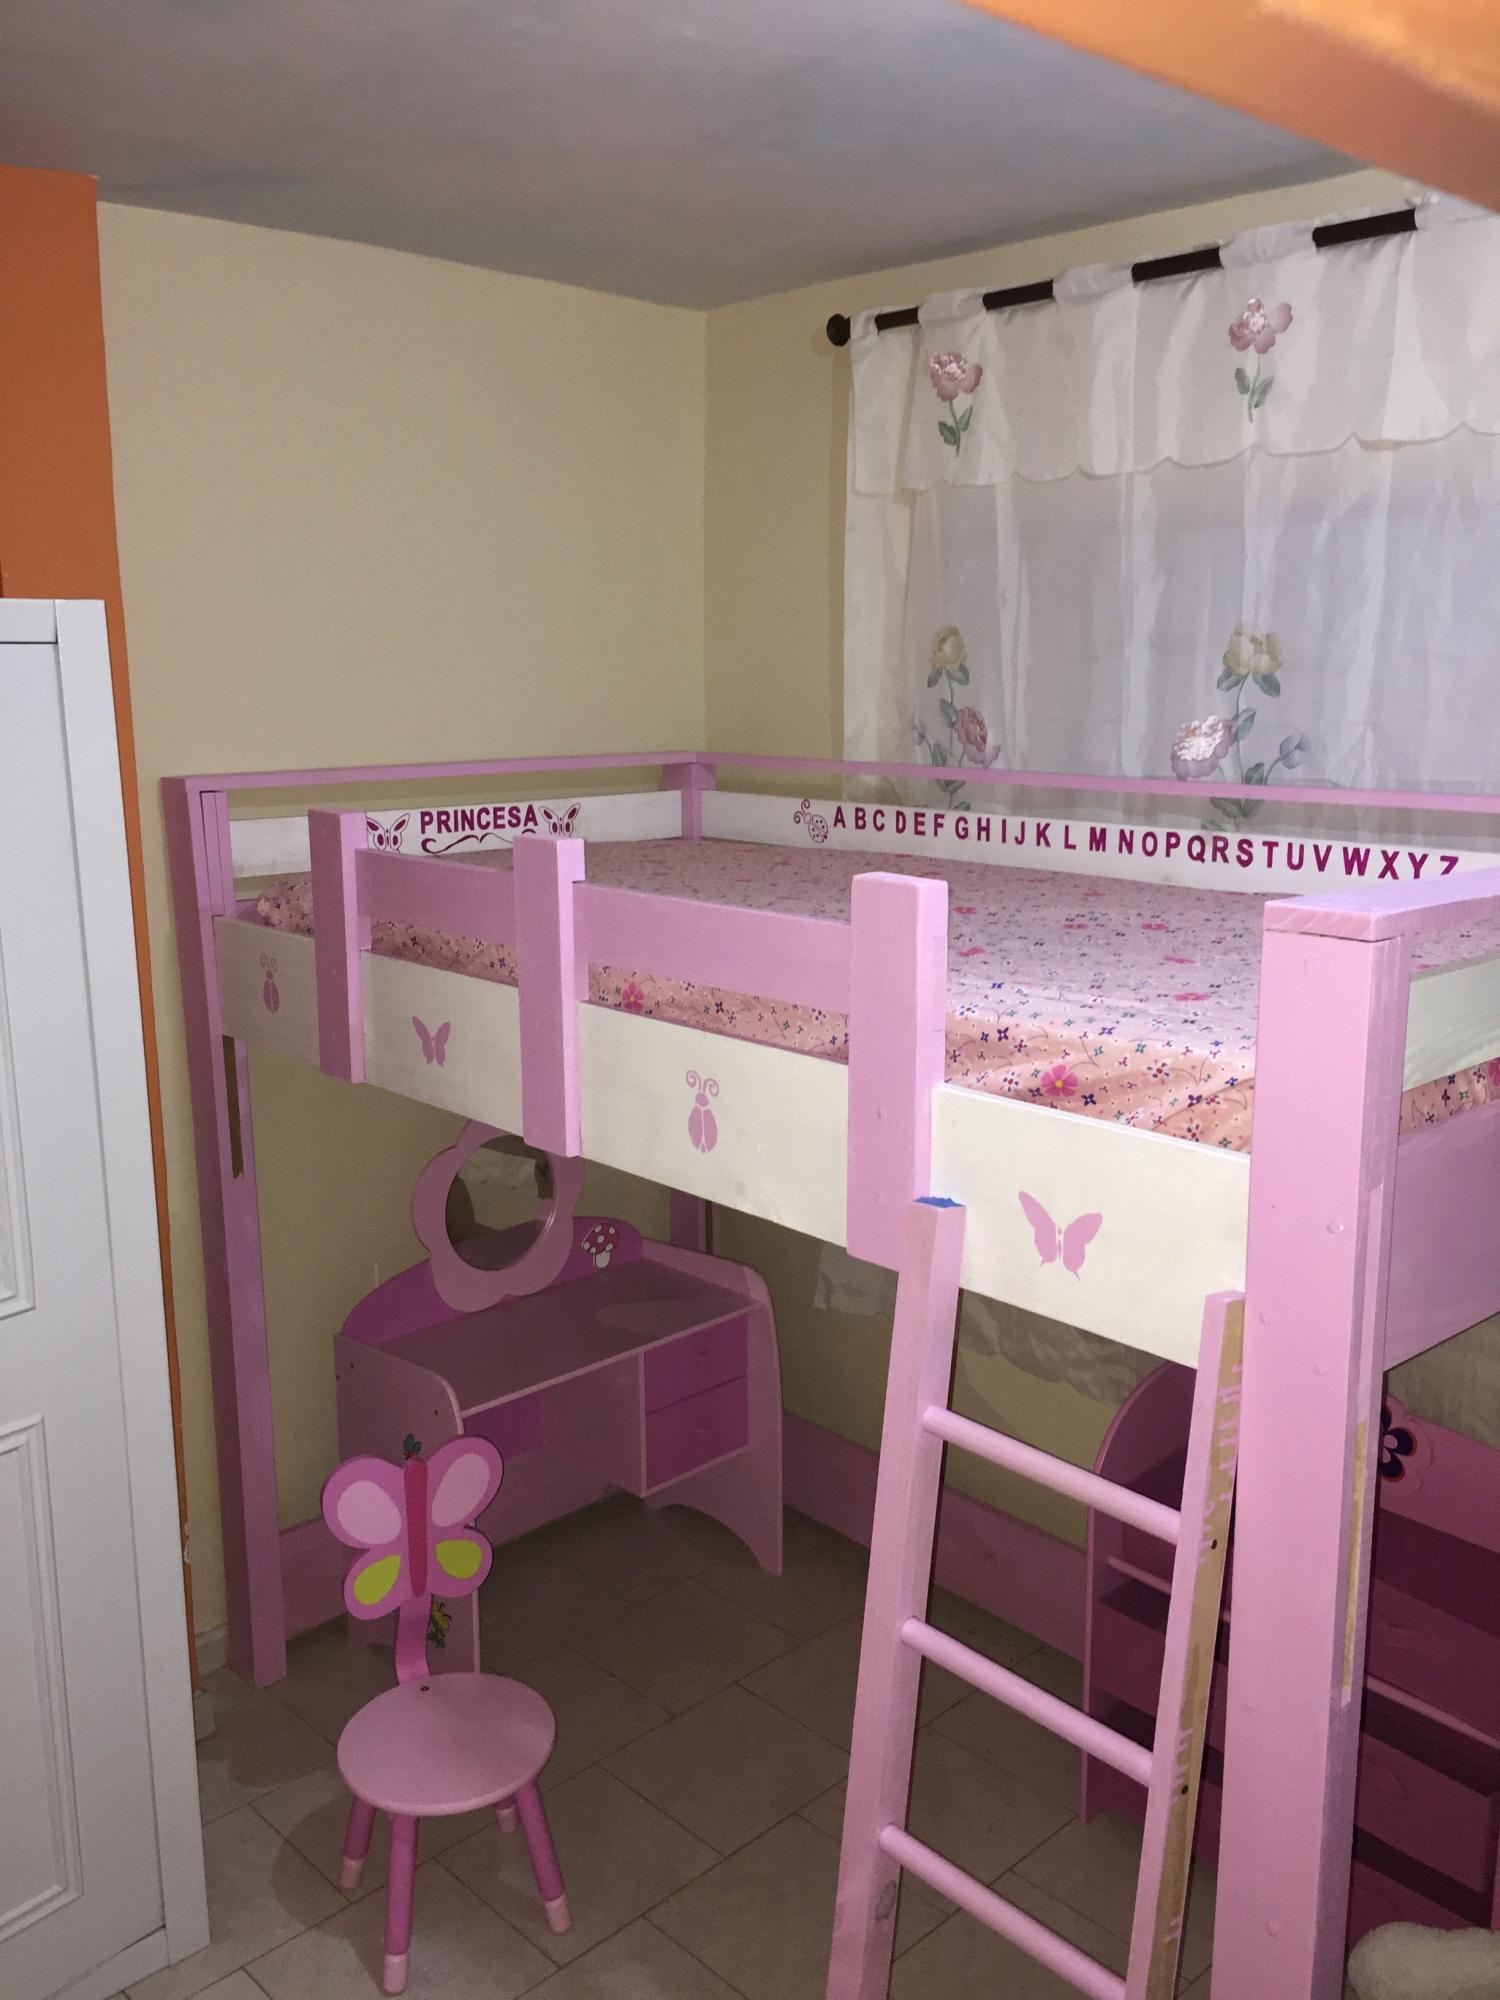
Hey all my DIY friends!
This is my first build of the Rekourt Dining Table. Big thanks goes out to Ana and Jen for providing these awesome plans.
I think I achieved this table quite well, except for a minor detail where I forgot to sand two pot holes. It actually created a very rustik look to this table. I decided to try the steel wool and vinegar solution combined with the black tea for the finish of this table. I realized it adds so much richness to the wood, it's incredible. The stain is Minwax's Dark Walnut and I topped it off with a Satin Oil-based Polyurethane. The top and legs were also physically distressed using a variety of tools I found in my tool chest. Those included screw drivers, lag bolts, worm hole puch I created out of a leftover 2x4, chains, sanding disc, knife, hammer and much more! That part, although tedious, was fun as it gave me the permission to bang stuff up intentionally :)
For the finish, I first started off by sanding very well, talking hours for the entire table. I then went out and distressed the tops in a very random fashion, trying to not repeat any patterns. As I was doing this, I was waiting for my black tea to seep and be ready for application. I poured boiling water in a large Mason jar and added 4-5 bags of black orange pekoe tea bags. I waited about 2 hours before applying it with a foam brush, very liberally. I allowed the tea to dry overnight and the following day, I applied the steel wool and white vinegar solution. My solution had been sitting for about 5 days, enough to start seeing a bit of rust in the Mason jar. The rusty solution ended up giving the wood an orangy/redish tone, which when seen under the dark walnut, added lots of depth and richness to the color. Once dry and the wood had turned greyish/orangy/redish, I stained it using Minwax's Dark Walnut stain. I did section by section, leaving the stain no more than 3 minutes before wiping dry. I followed this (once the stain was dry) with two coats of oil-based polyurethane in satin (Varathane (Canada's version of the Rust-Oleum poly). I sanded the poly in between coats with 220-grit sandpaper using my orbital sander.
Since then, I have gone out to build about five of these, all in different lengths and sizes, including some with removable bases. The angles in the X's are a little tricky when you don't have plans for a specific size, but I have noted these down based on spacing between legs. If any of you need andgles for specific table lengths, let me know and I may be able to help :)
Let me know what you think and happy building!
Comments
Linda7
Mon, 02/11/2013 - 12:03
Nice job!
Nice job! Also looks like it'd be a great place for conversation while someone is working in the kitchen .
In reply to Nice job! by Linda7
brittanyj
Tue, 02/12/2013 - 10:42
Thank you Linda! Great idea!
morgo614
Sat, 09/14/2013 - 12:34
What are the dimensions here
What are the dimensions here for your table? I'm looking to make/get one very much like this and trying to figure out the best yet least amount of counter space needed, depth wise. Hoping 15" is enough but I love the look of yours.
In reply to What are the dimensions here by morgo614
brittanyj
Thu, 06/04/2015 - 10:00
So sorry for the delay! I
So sorry for the delay! I don't get notified when there's comments, so I'm just now seeing this. The width is 4', the depth is 15" and the height is 42". Good luck!