Porch Chairs
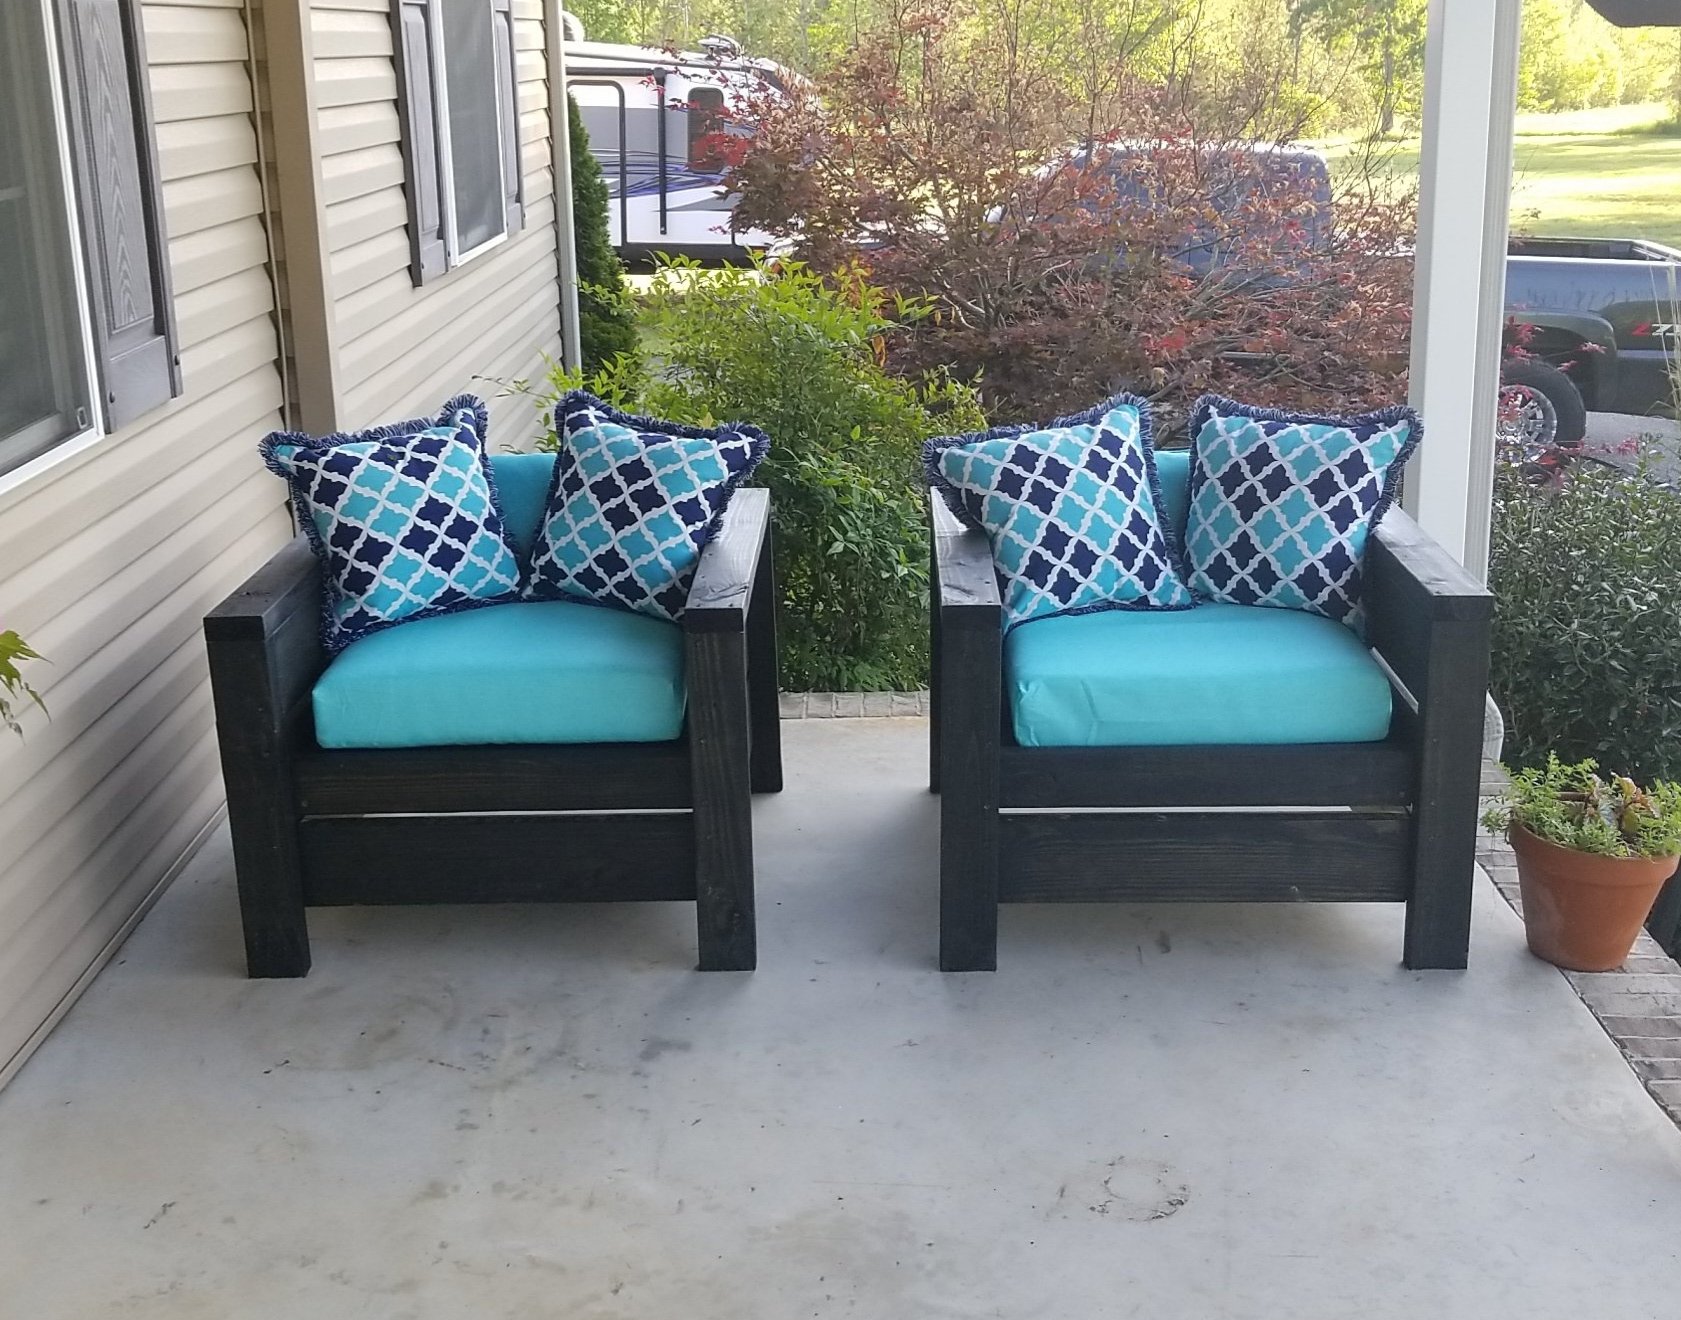
My 15 year old son built this for me!
Built from Plan(s)
Finish Used
Minwax ebony
Recommended Skill Level
Beginner
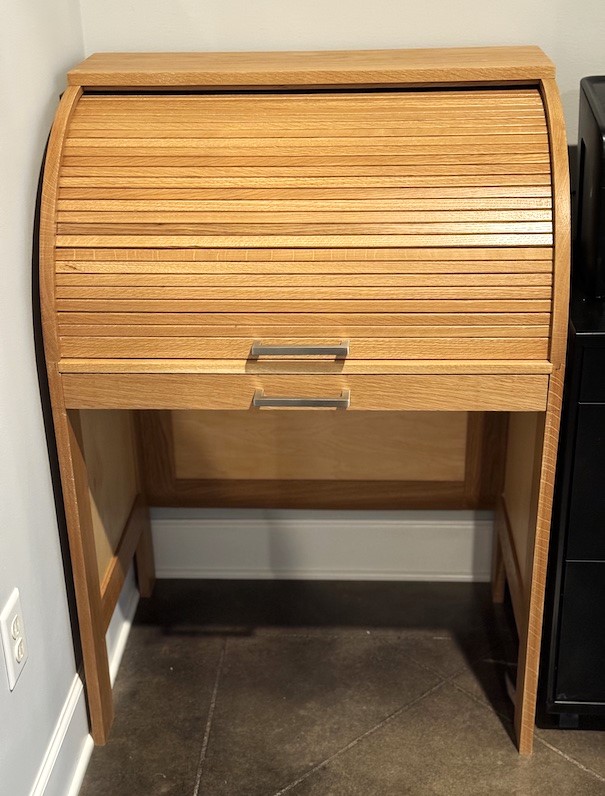
My 15 year old son built this for me!
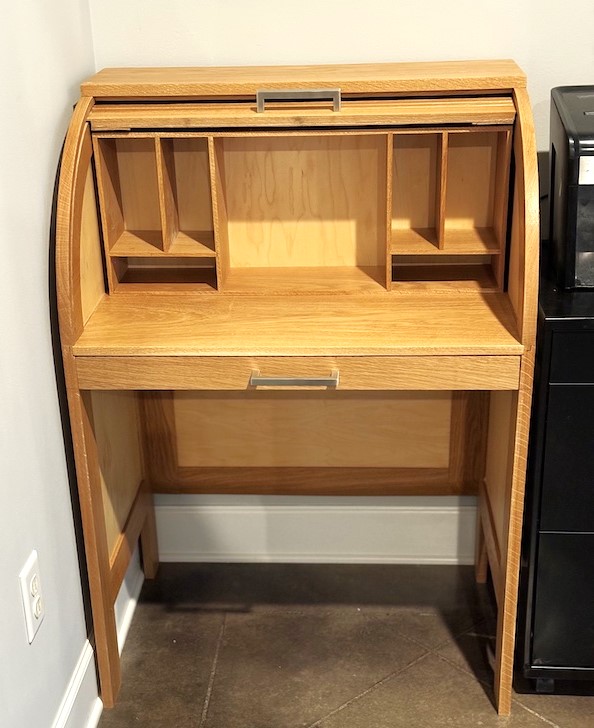
I didn't get the plans from this site, but figured I'd post a brag anyway. The plans were downloaded from MinWax several years ago , but it wasn't until this year that I started to build this roll top desk. It's made with white oak, along with maple plywood for the side panels. It was finished with a simple polyurethane clear coat.
I'll be using this as a work desk in my den. It has just enough room to house my laptop with the top closed.
This is definitely one of the more challenging projects I've taken on.
https://www.minwax.com/en/woodworking-project-inspiration/wood-furnitur…
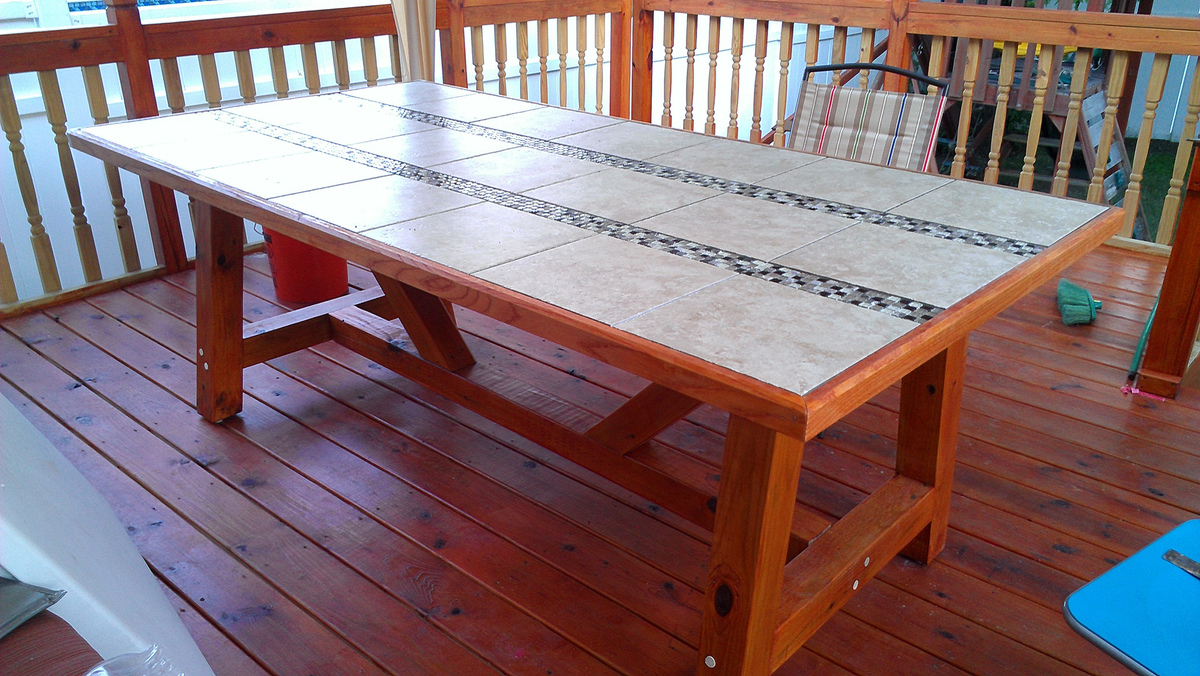
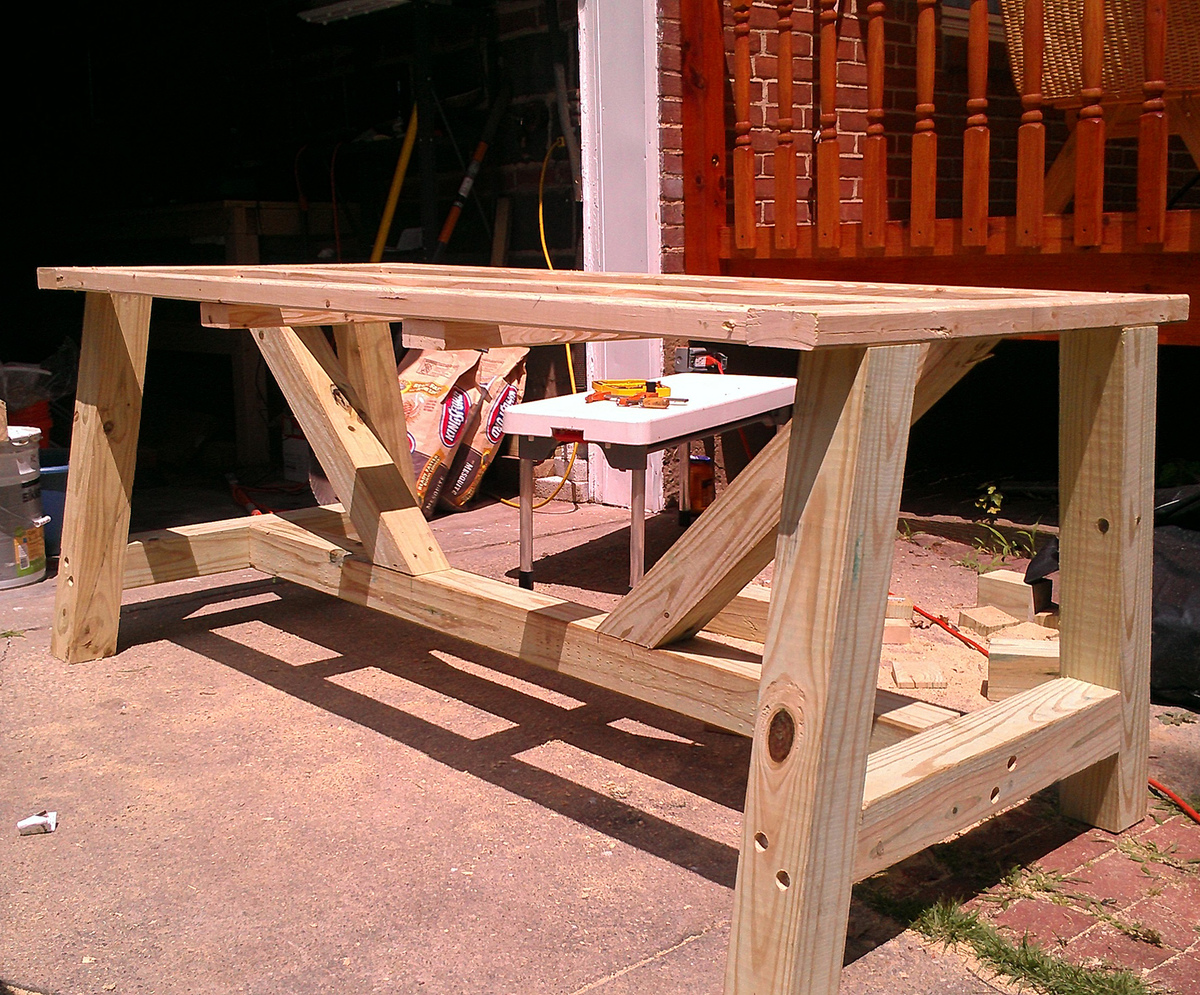
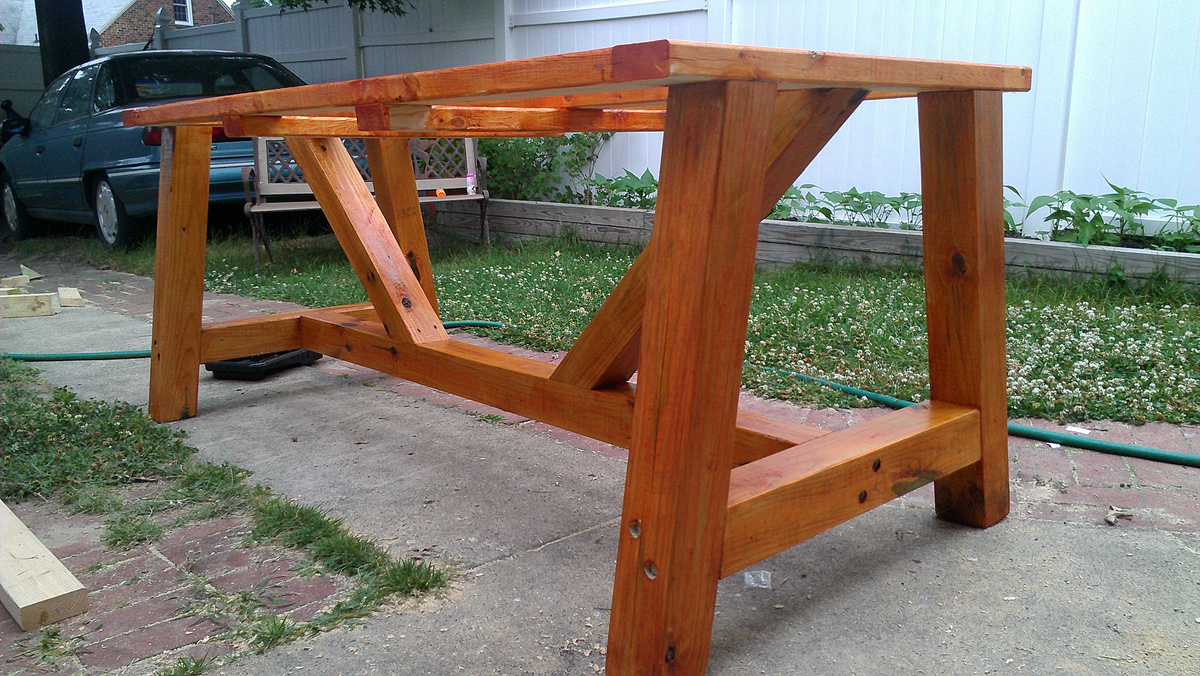
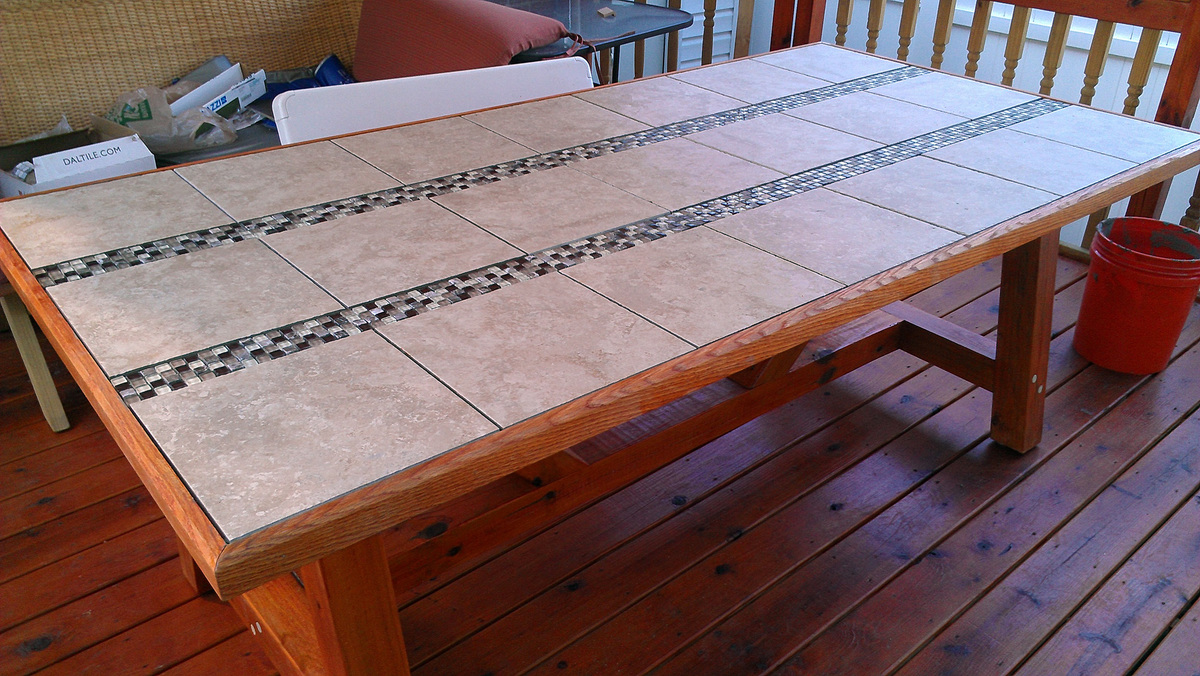
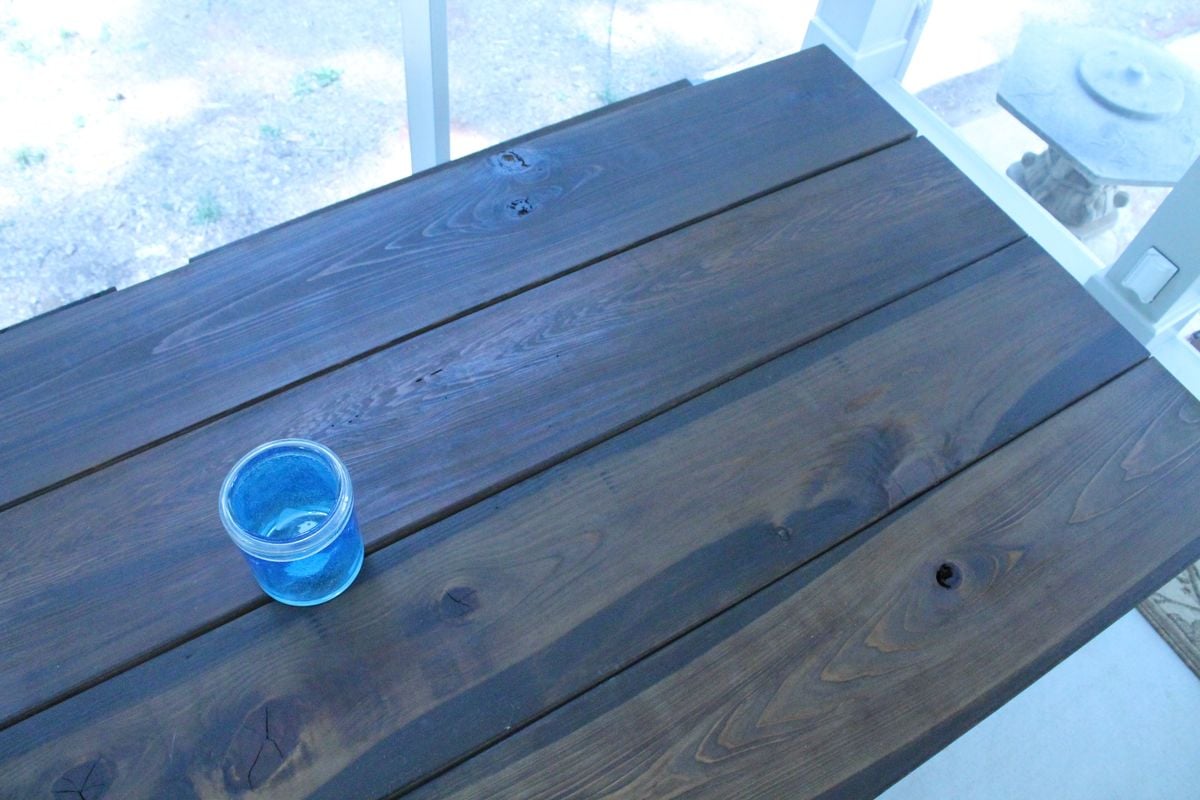
Wanted a nice big table, but couldn't find one in local stores. Decided to build one after seeing a small tiled table at Home Depot. This is my first project like this. I am a network engineer not a carpenter, but the table turned out great.

Thu, 06/28/2012 - 17:49
could'a fooled me! The table looks amazing!
Fri, 06/29/2012 - 06:14
This is my first ever project like this... but I just found out that I like doing this kind of stuff.
Already have some more ideas in mind, and once the weather cools down from the upper 90's we are having right now, I will probably do many more projects.
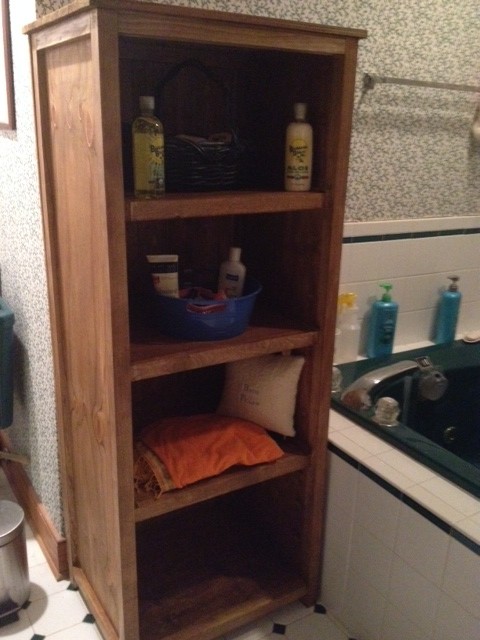
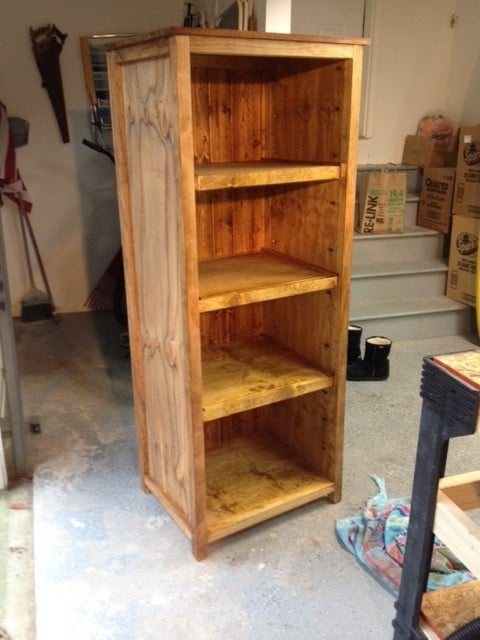
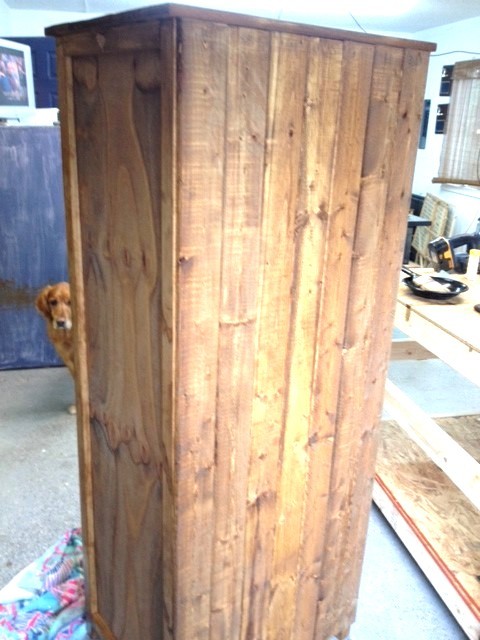
I made it wider than the plan and use it in my bathroom for storage. Its pine and cedar.
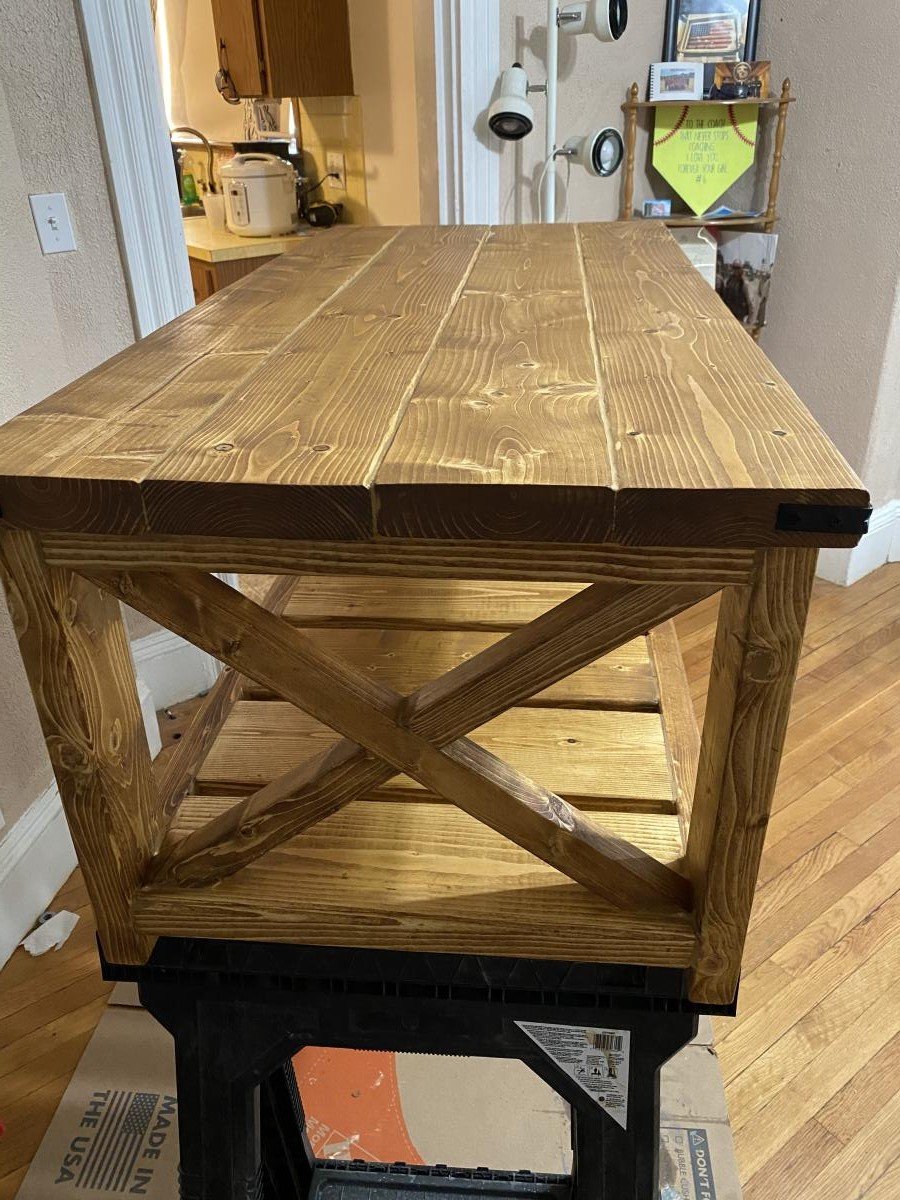
So I made this a couple weeks ago. I used 2x12 for the top and 4x4 for the feet and legs. This was my first project and it came out ok. The feet need some work. The plan called for feet to be angled but unless you have a band saw just cut the 45' for the feet.
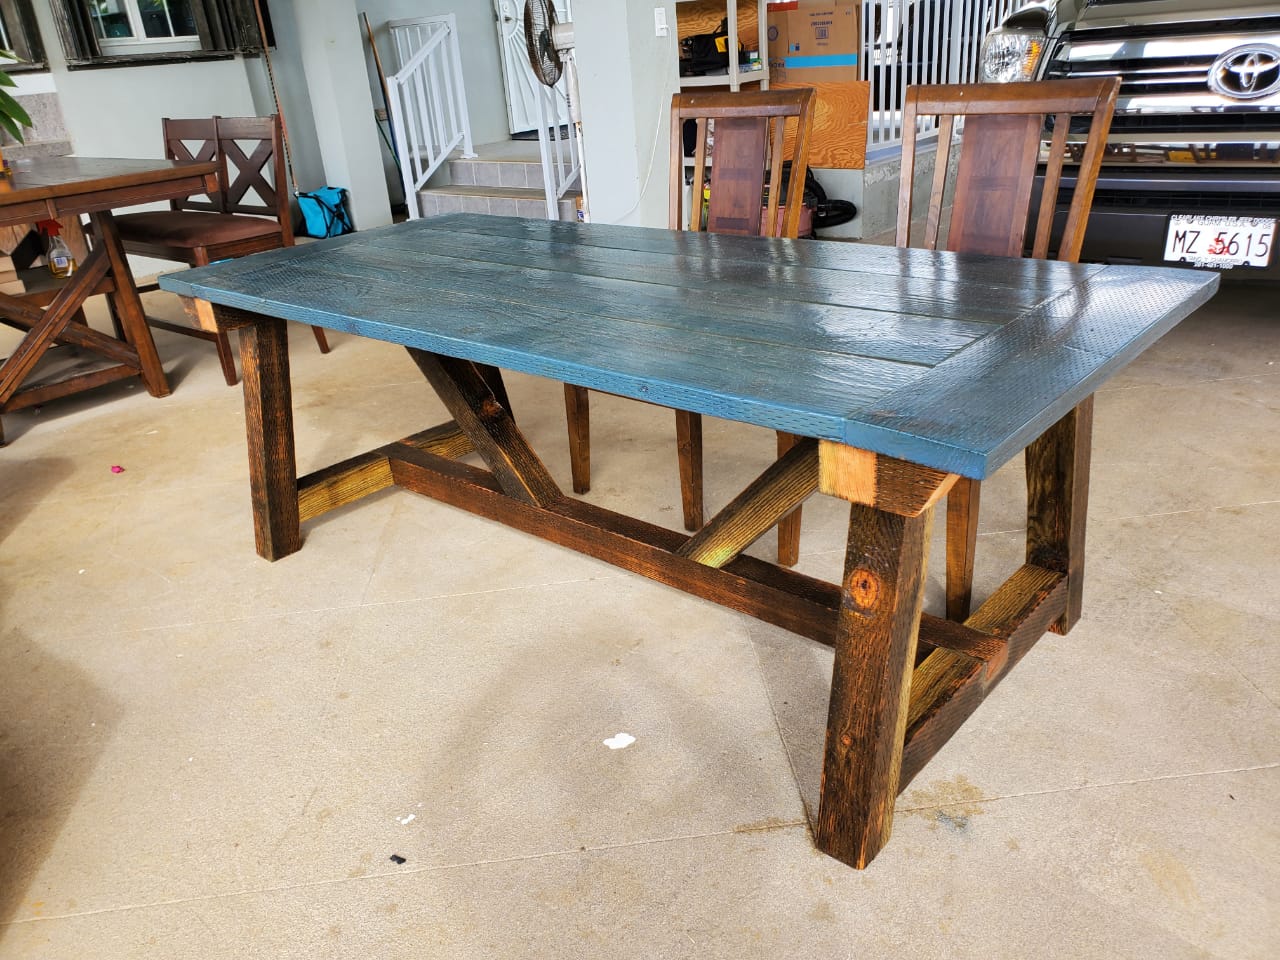
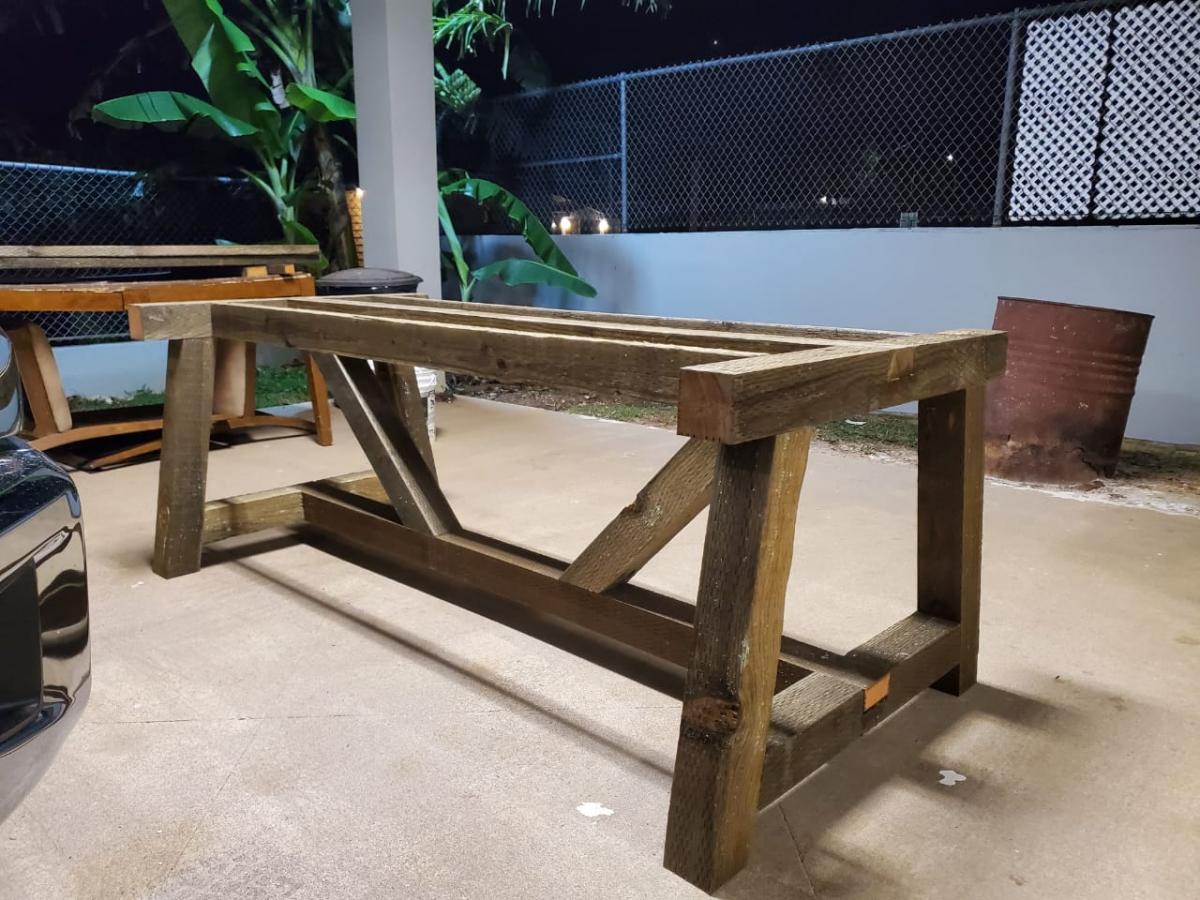
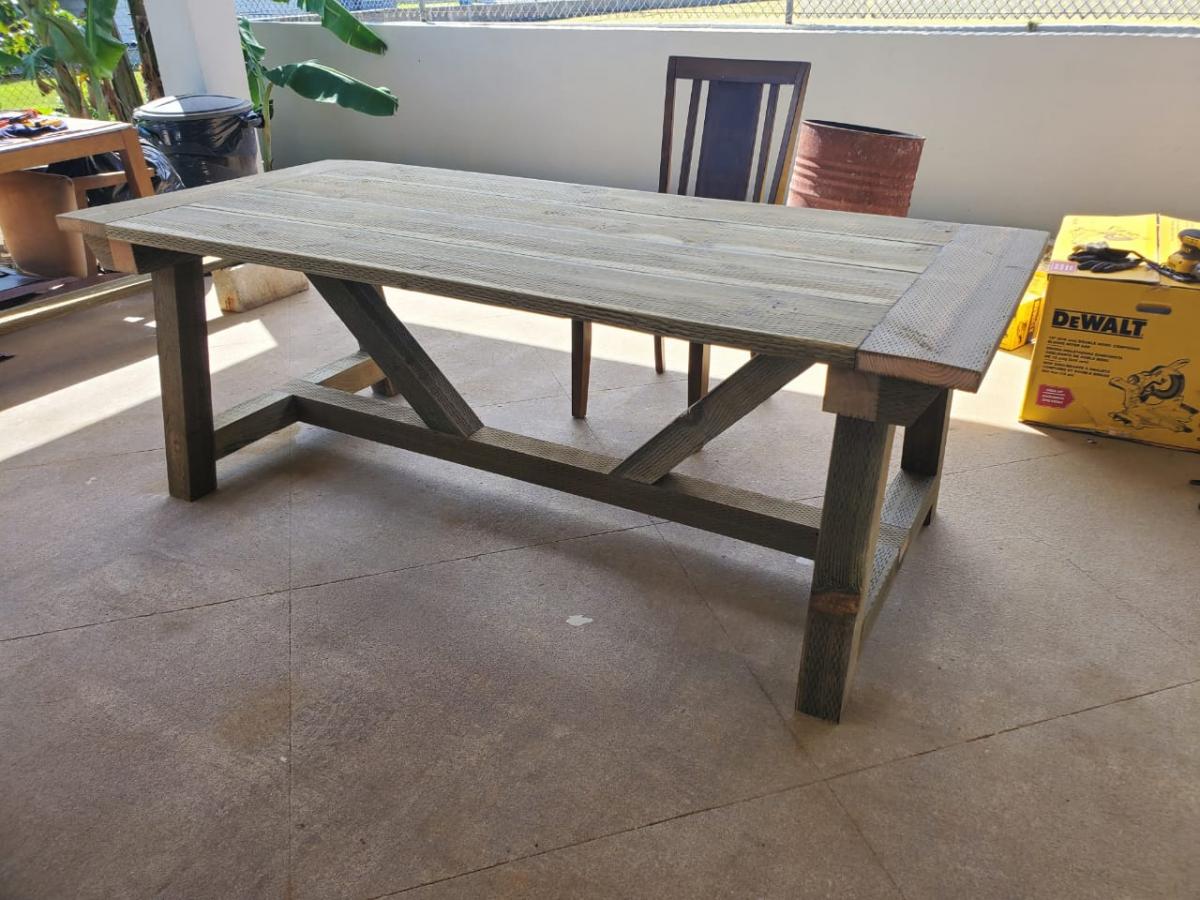
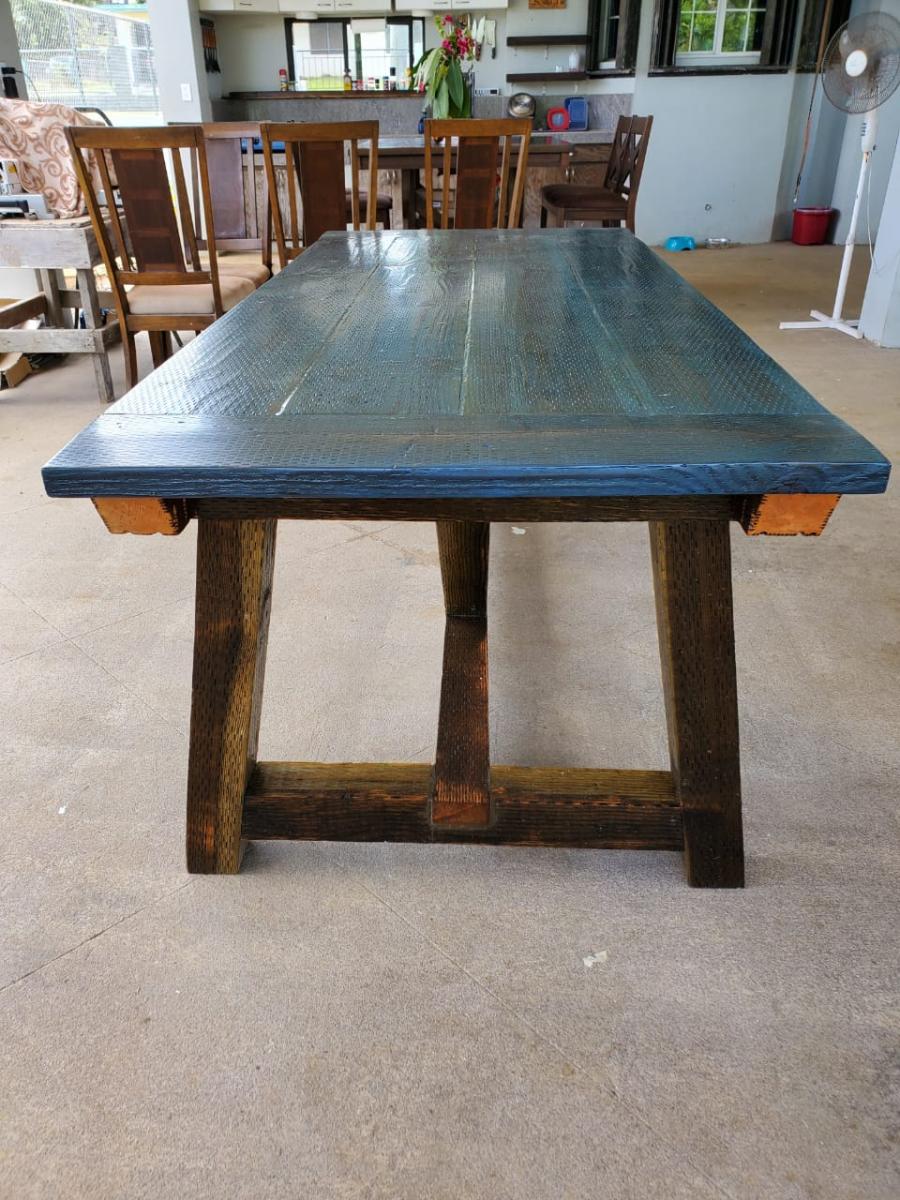
Hafa Adai everyone. This is my first real woodworking project. I followed the plans for the Truss Farmhouse Table almost exactly as written. One thing I felt it needed was more support for the 10" breadboard ends. I added spare pieces of 4x4 cut to 5" with an 80 degree angle at one end to each corner of the tabletop base. This made the breadboard ends feel very secure and well supported.
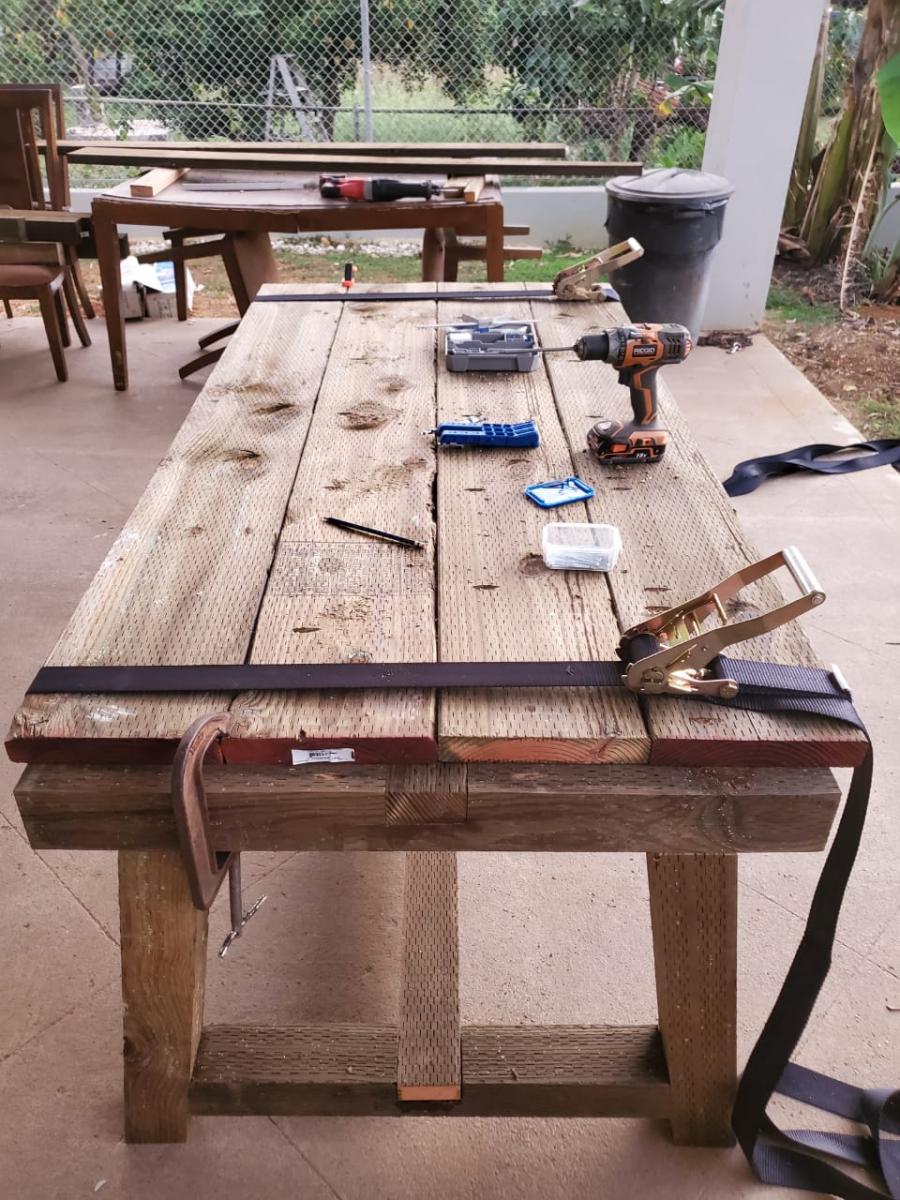
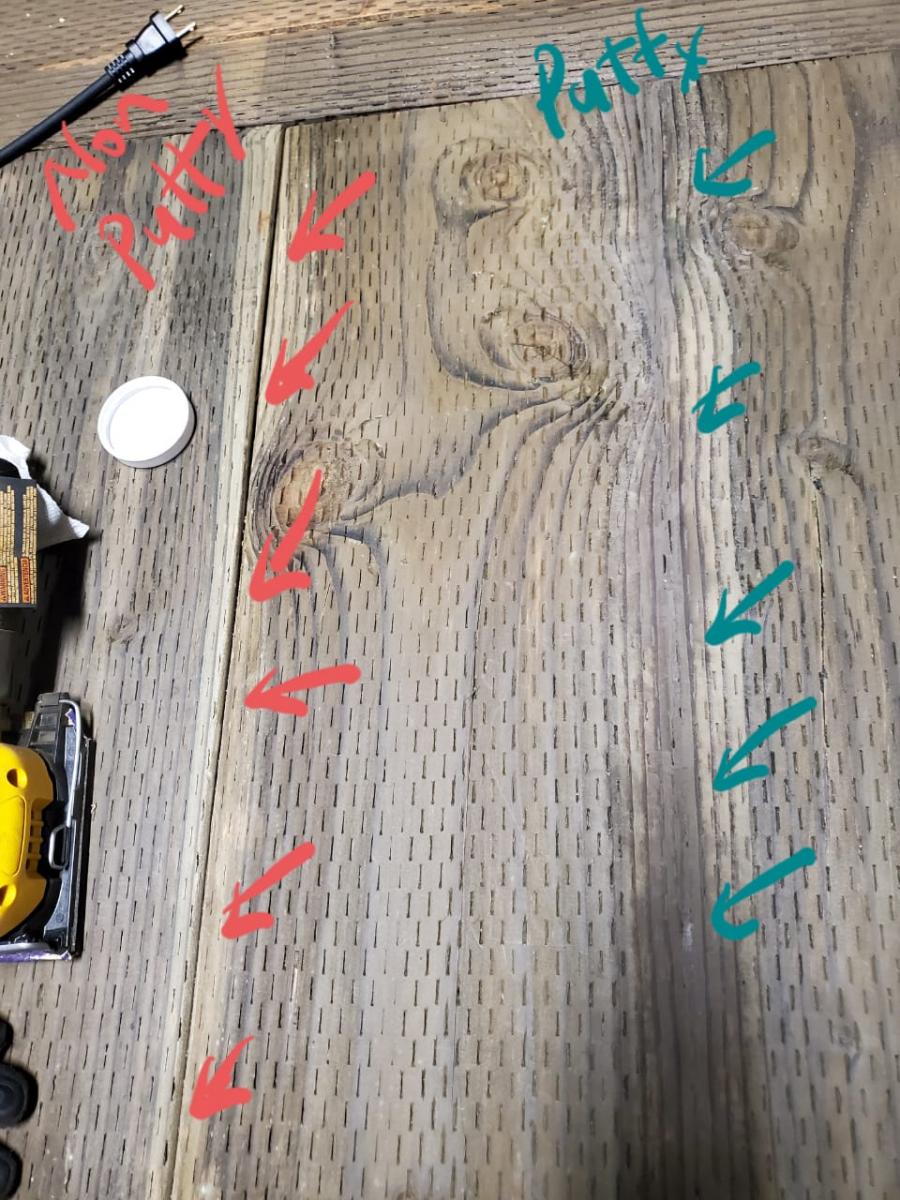
Since I didn't have a table saw to rip the tabletop panels for clean edges, I used wood putty (not wood filler) to fill in the gaps from the 2x10 panels after I secured them together. Tip: I saw someone use ratchet straps to hold the table top tightly together when securing with screws in the absence of long clamps. Worked great.
The only thing I would do different is choose a wood without the treated staple marks for the table top. But since its an outdoor table its not too bad a look. Overall, it was a great learning experience and a very fun project to build.
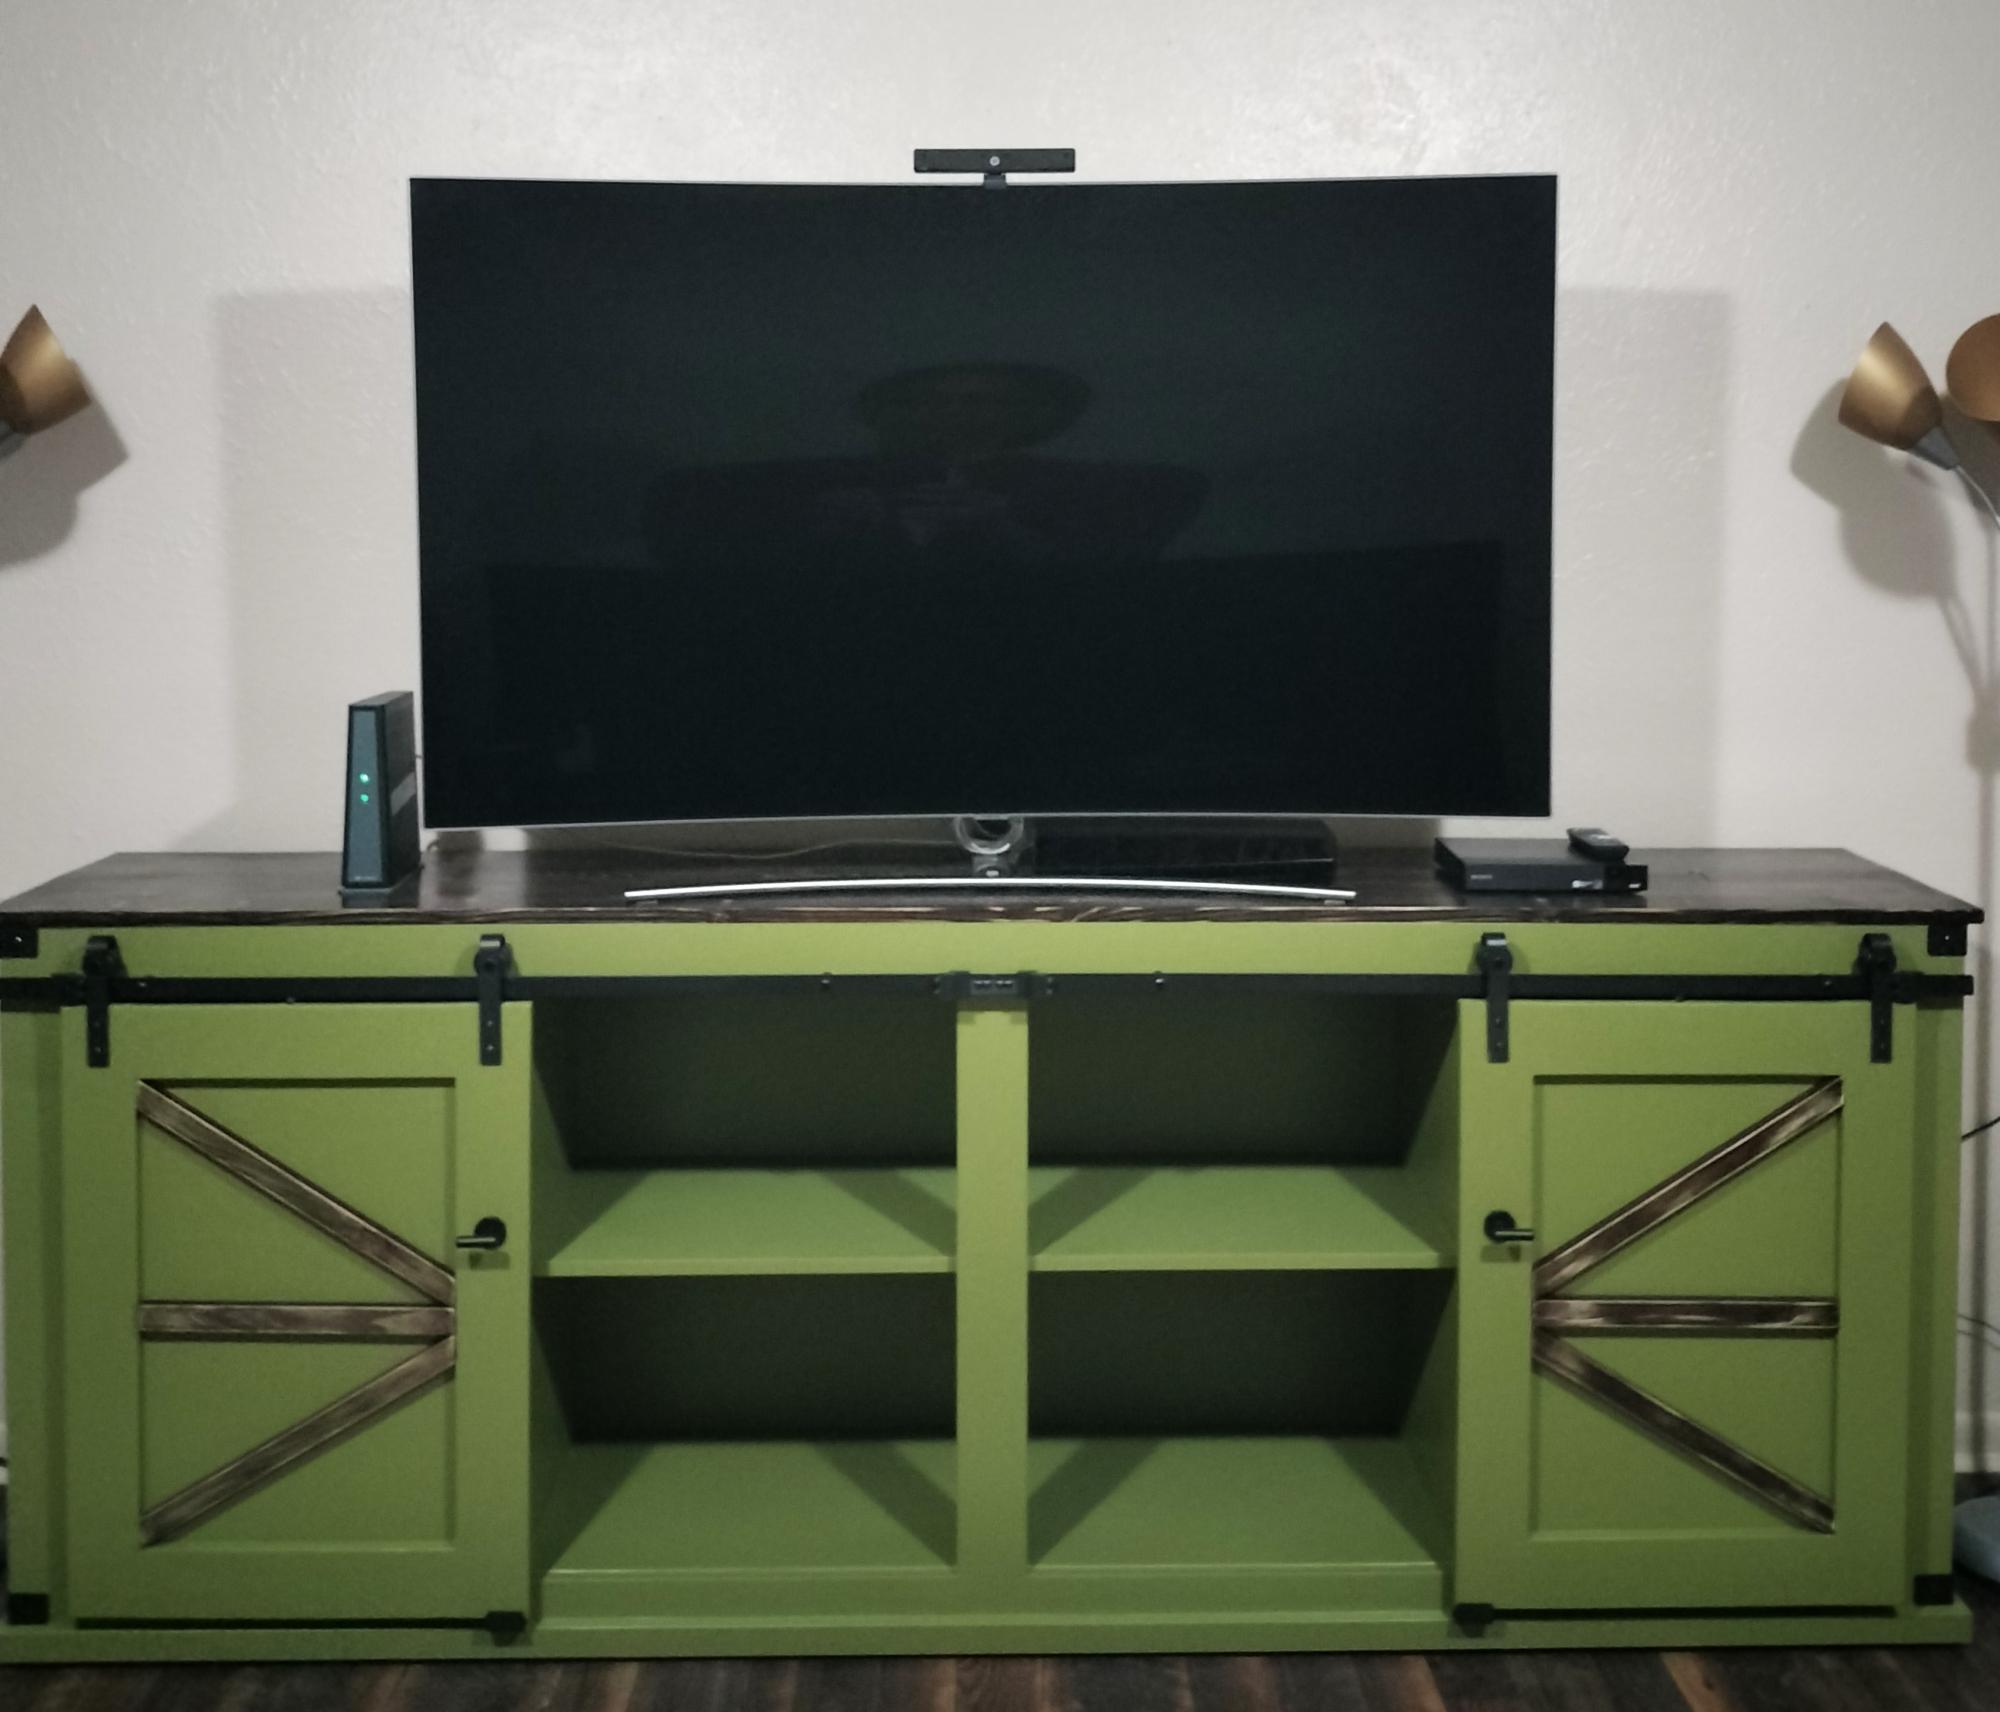
It's the 8ft Barn Door tv console plan I purchased a while back, I finally put it together. I added my favorite color of paint and side brackets, I used coat hanger knobs for door handles. I love it, I've never took on a job this big ever. I'm so impressed and very proud of myself because I did it all by myself. Thank you so much and I'm a 62 yr old lady.
Tonda Thomas
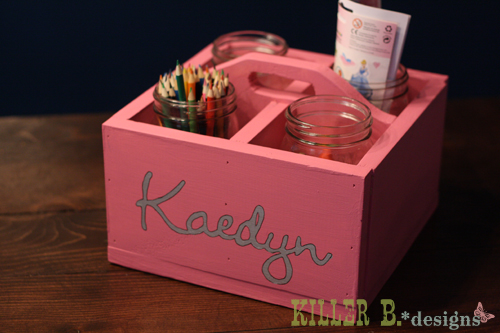
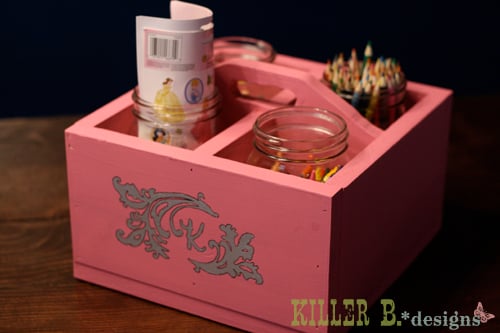
I built this caddy to celebrate a 4th birthday party for a sweet little girl. I used pine scraps, painted it with some leftover pink paint, and then created some name artwork and a little logo with her initial. I made the art on my computer (in Adobe Illustrator) held up a piece of notebook paper to the screen and traced it with a pencil. Then I held it on my caddy and used a mechanical pencil with the lead down to press the indent into the wood. Filled that in with a silver paint pen and traced it with a fine tip black sharpie. Then filled each cubby with a large mason jar from Walmart (about 50 cents each) and filled them with art supplies. It turned out so cute! And it's a great way to use up some scraps.

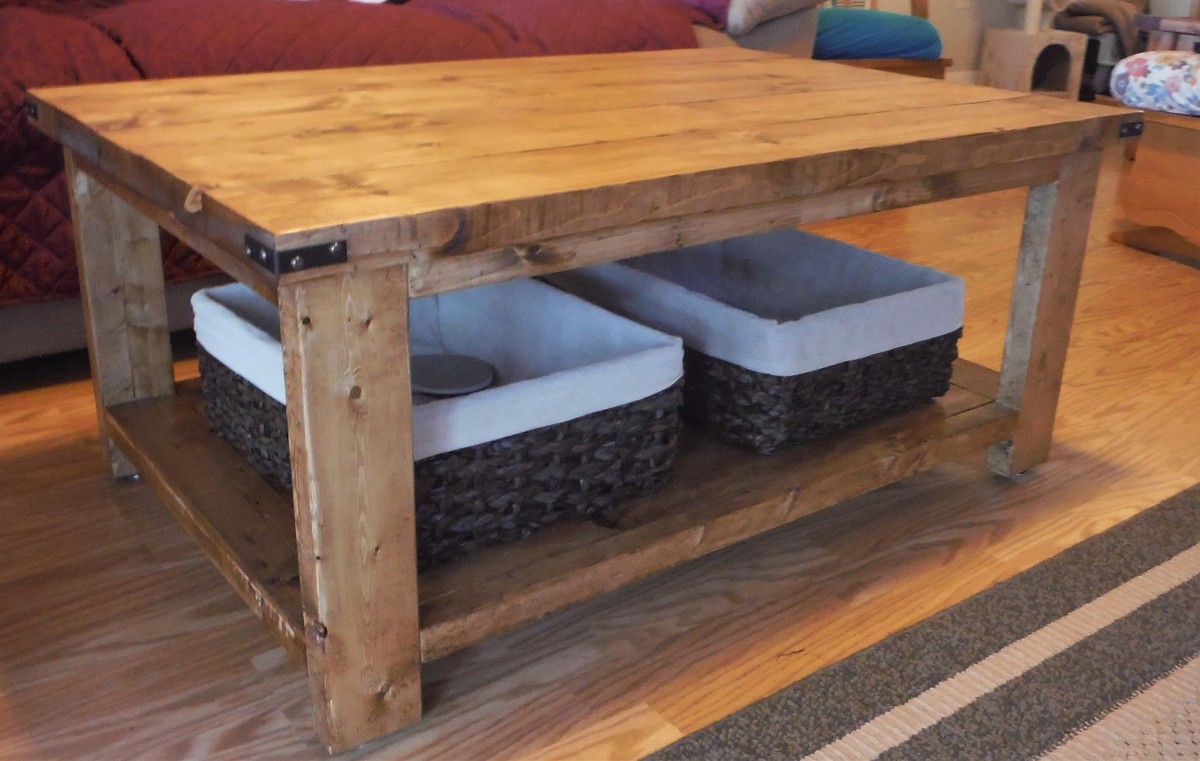
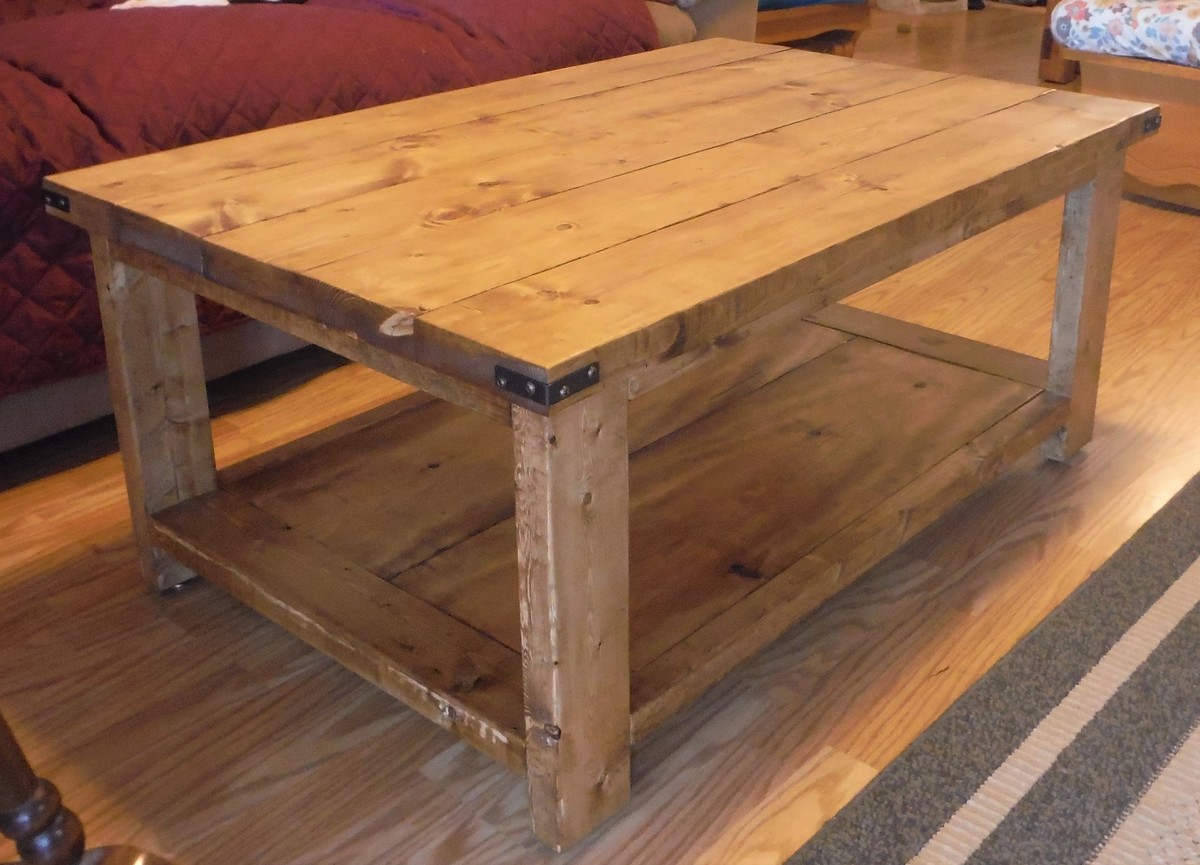
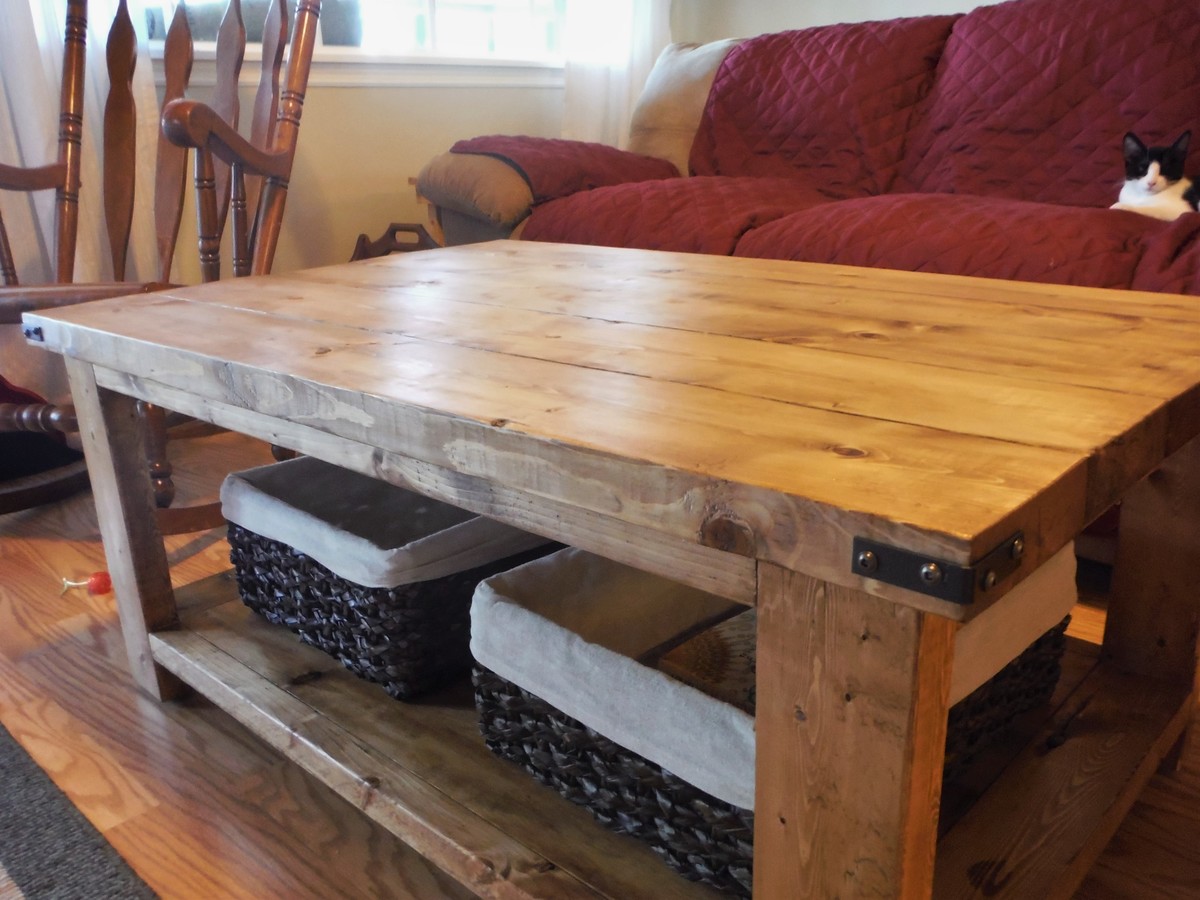
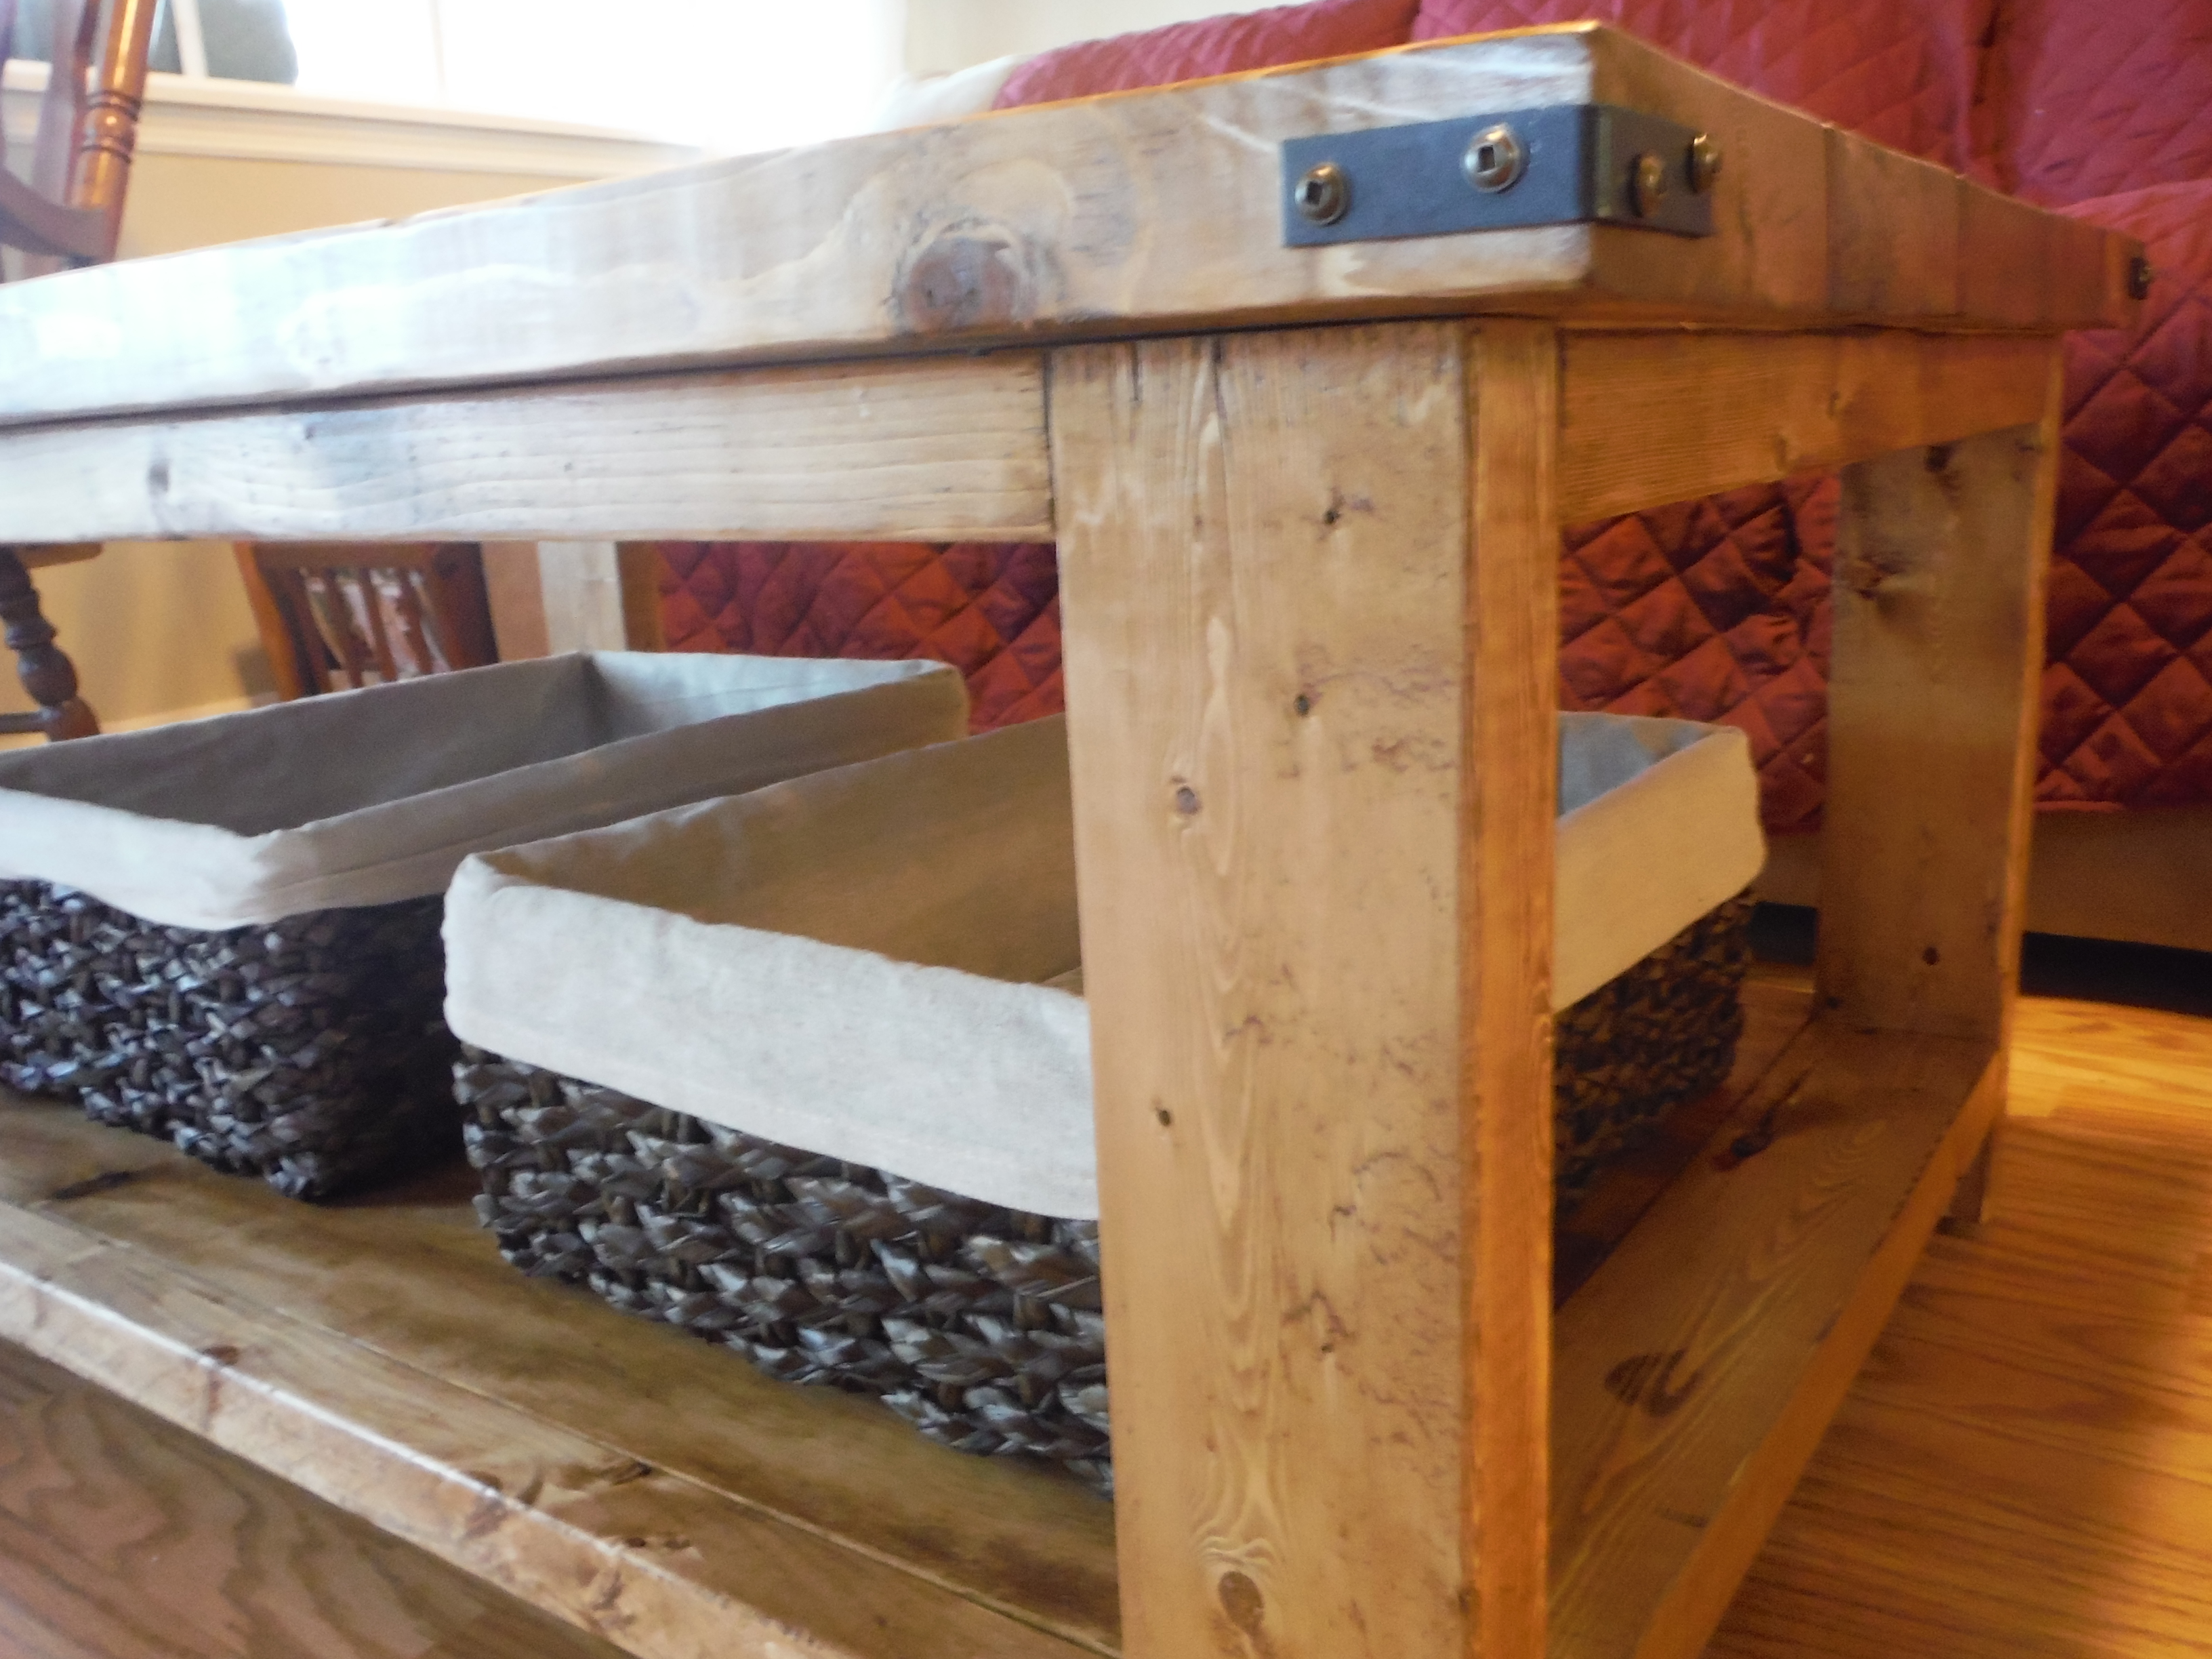
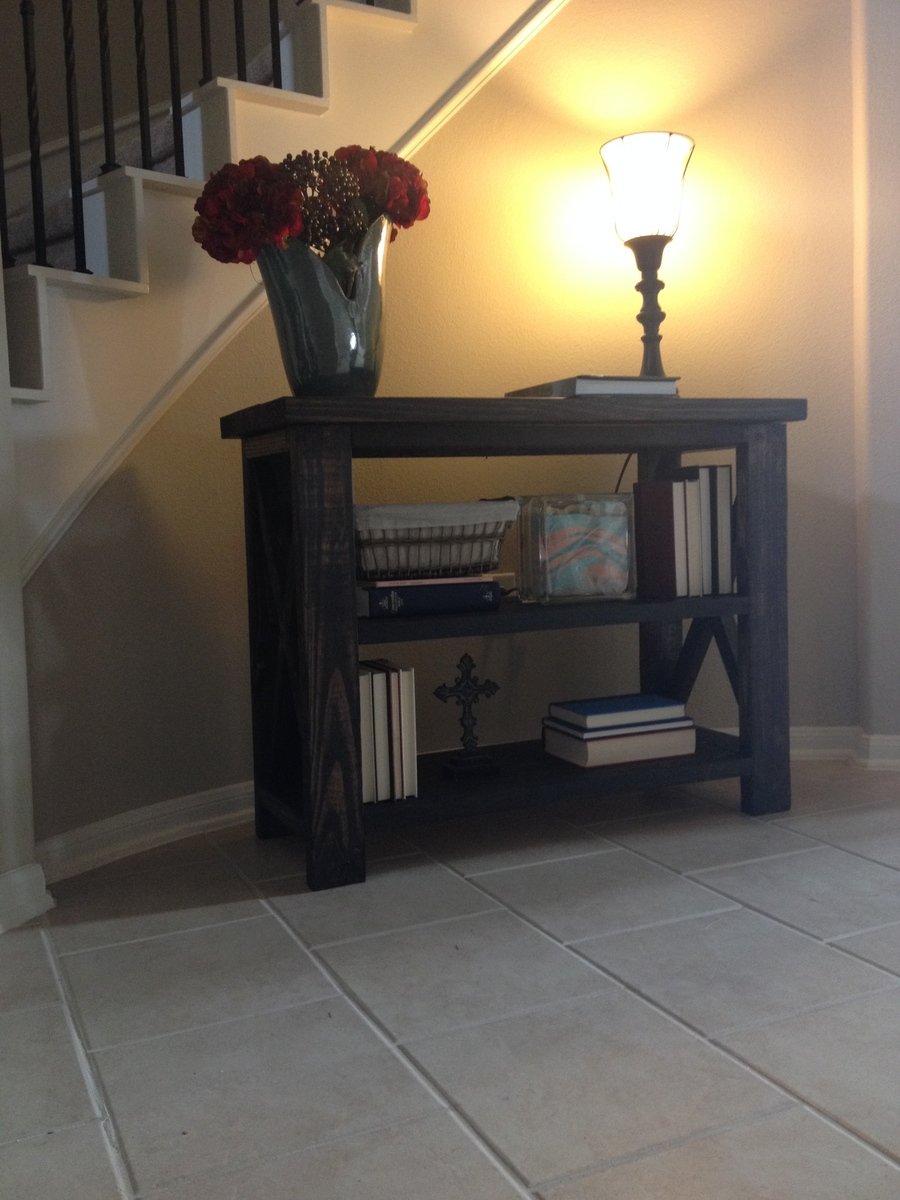
I loved building my Coffee Table, thank you Ana White! I built mine to be 42" long and kept all the other dimensions the same, (but didn't do the X's). I also installed leveling feet. I stained it Minwax's Early American, and used 3 coats of Polyurethane and applied everything with a rag. I used 2" Corner Brackets, spray painted with Rustoleum Metallic Charcoal. I bought the baskets from Michaels.
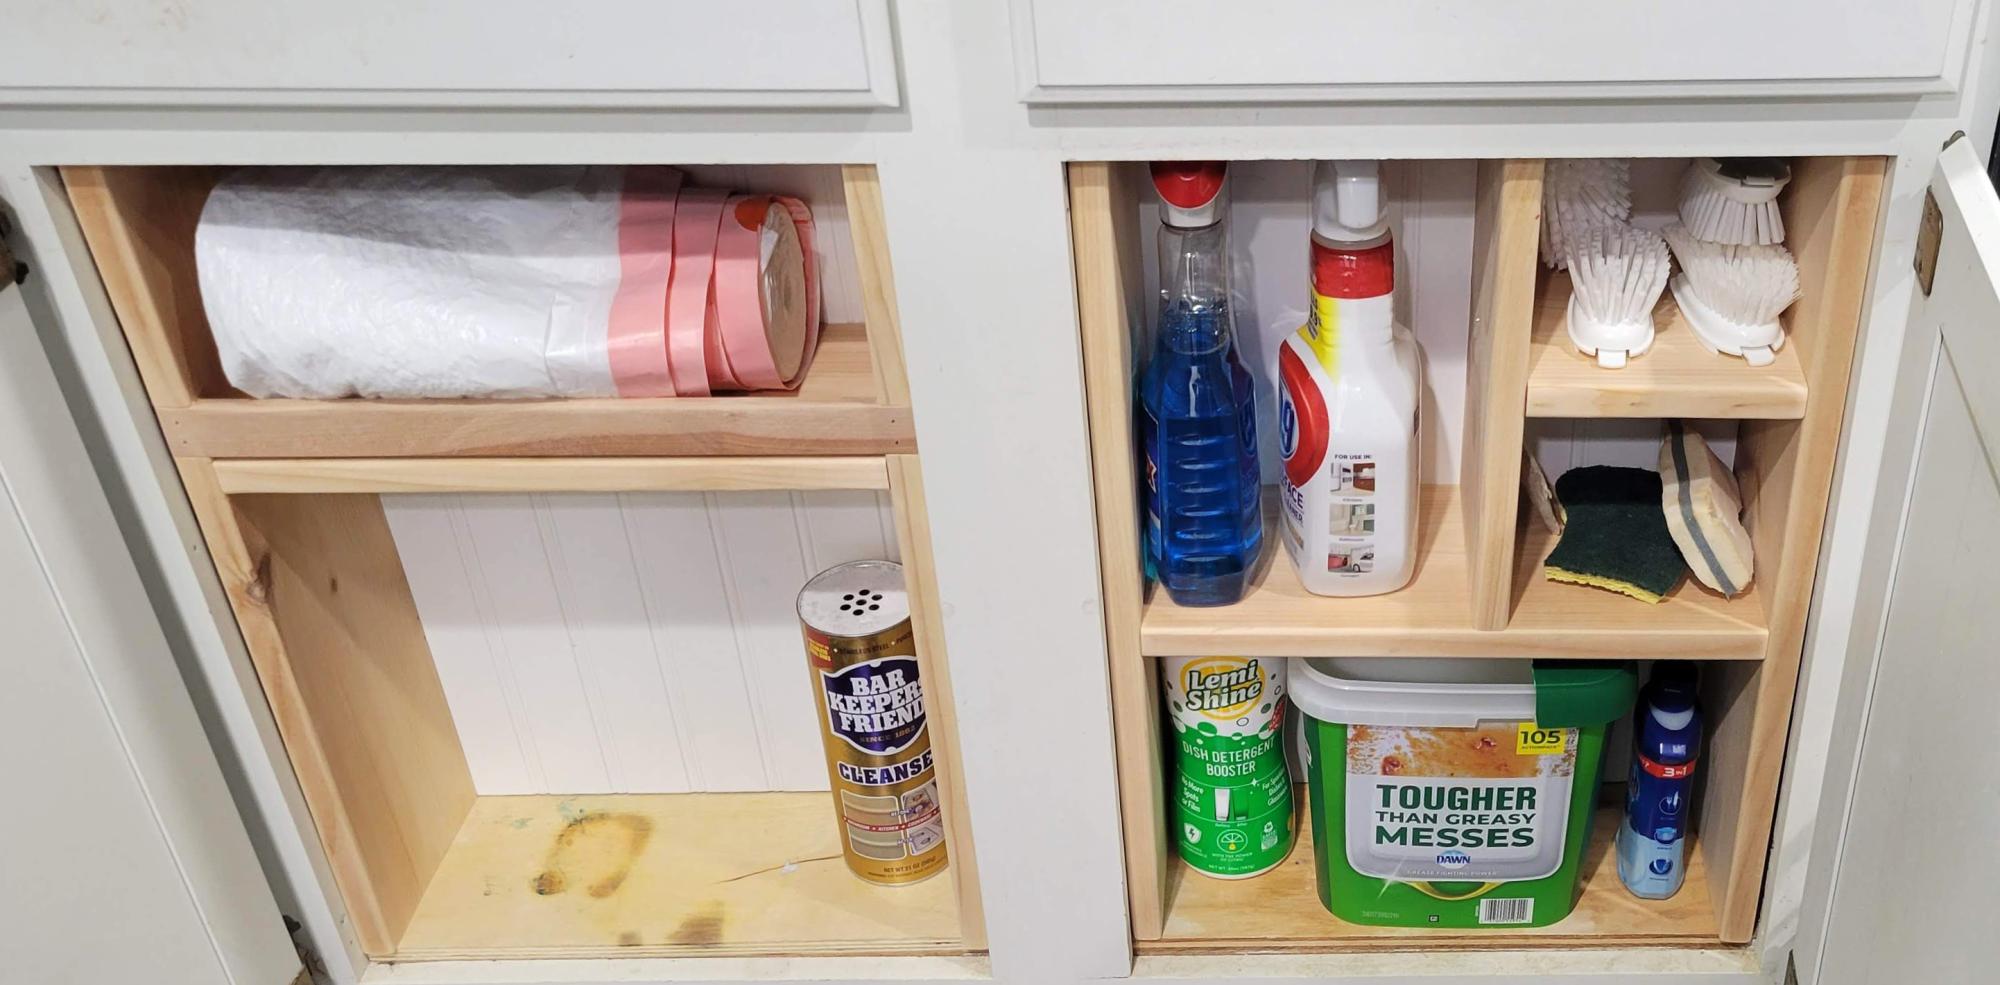
I got tired of both the clutter under the kitchen sink and how often bottles of random cleaning solutions would tip over and make a mess. Based on Ana's plans, I made these organizer shelves so that all of our most-used stuff would be at the front. Found some scrap pieces of beadboard from another project for the backing, and put the whole thing together with glue and my finish nailgun. I'm pretty pleased with this small Saturday project. Thanks, Ana!
Sean Payne

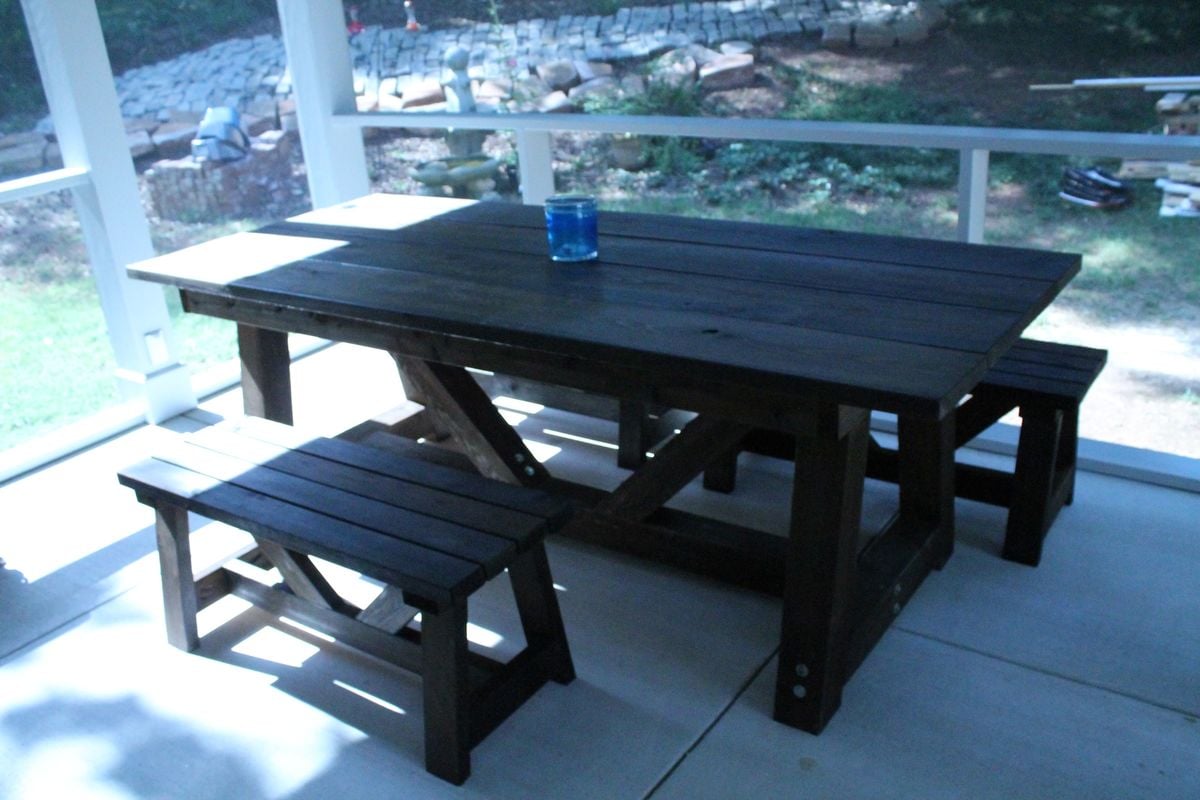
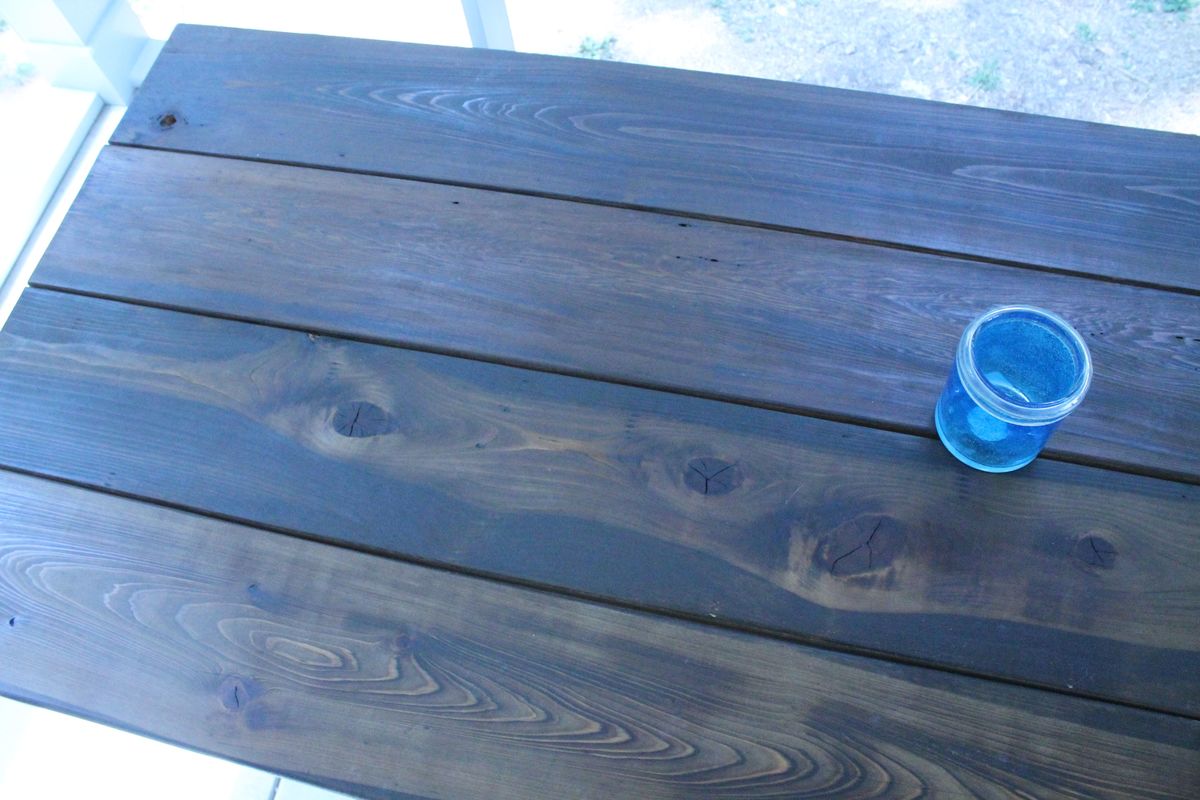
Provence table knockoff from restoration hardware (aka: providence) with 4x4s and providence benches
table modified to 90 inch length, benches to 42 inches
used lag bolts with a washer on 4x4's that show, kreg pocket screws everywhere else
note: the free-diy plans listed last have an issue with the table height. It came out 1 1/2" too high, so we made a change that I like better: we modified the table top to have a 2x4 skirt held together with kreg pocket screws that drops over the 2x4 frame above legs. we left about 3/8" gap between the skirt and framing so the framing would fit in easily. The top actually just sits on the frame so it is possible to move it in two pieces. It is so heavy and stable that we didn't worry about screwing it together.
we love it! perfect for 2 families to eat dinner together. my husband calls it Thor's table because it looks so tough.

Thu, 07/05/2012 - 11:35
This is gorgeous! I definitely prefer the chunkier leg you used and love the hardware showing as well. That was smart the way you made the top for easier moving, too. Great job! I think you should have added the link for the plans, this way your picture will always show up above the plans in order for everybody to see it each time. :)
Thu, 07/05/2012 - 19:22
thanks so much. I have now attempted to link the plans to my brag....let's see if it works!
In reply to thanks so much. I have now by Anne in Decatur
Fri, 07/06/2012 - 05:46
It worked, yay!
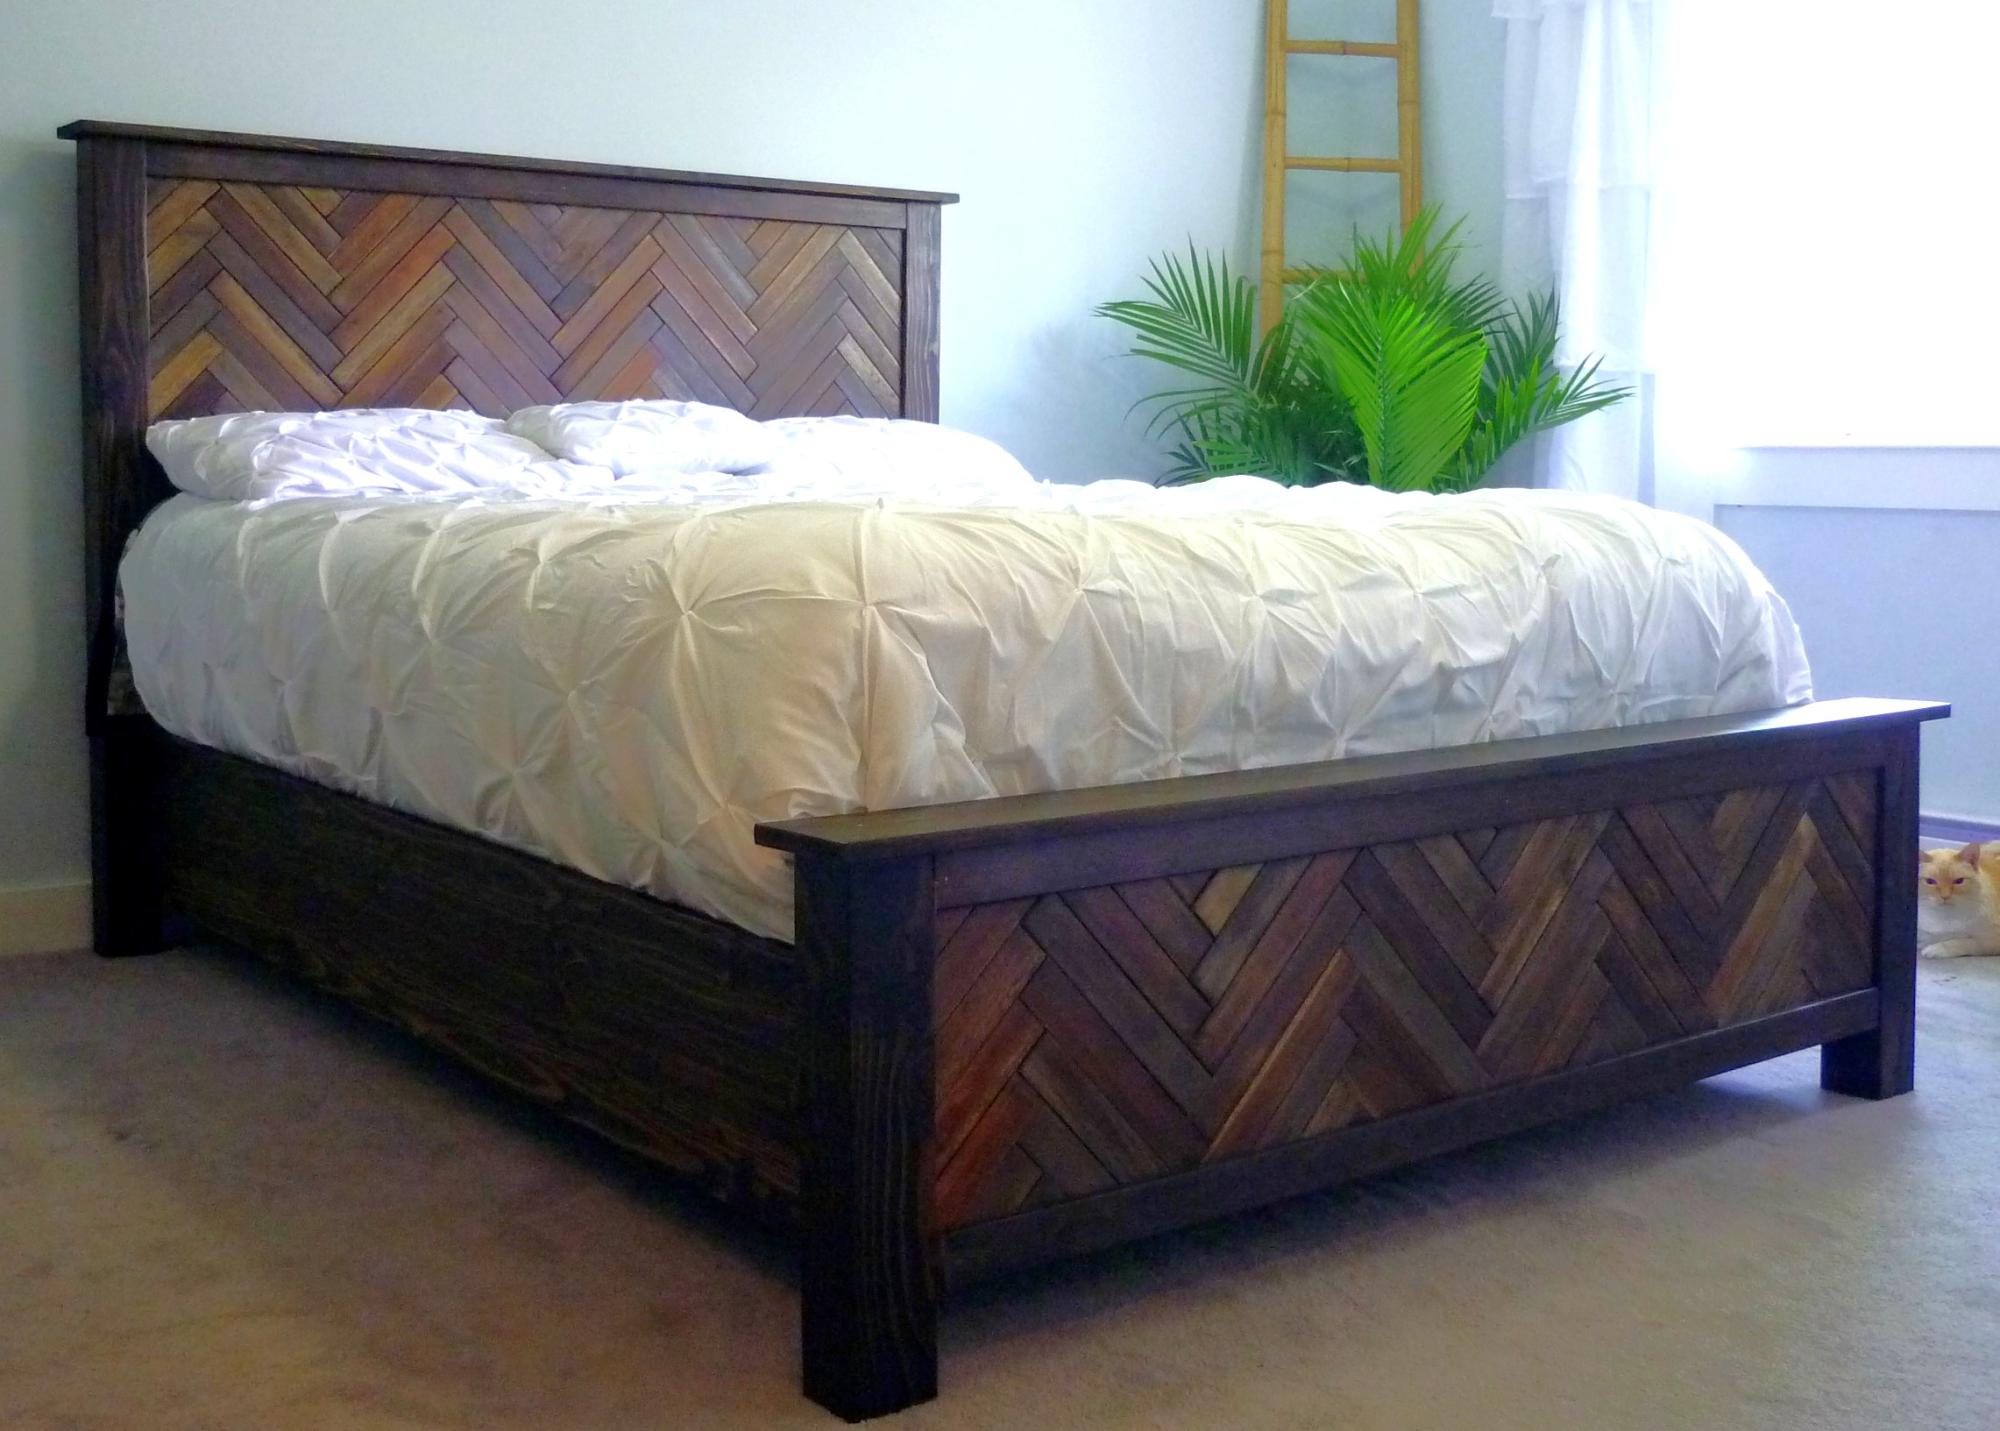
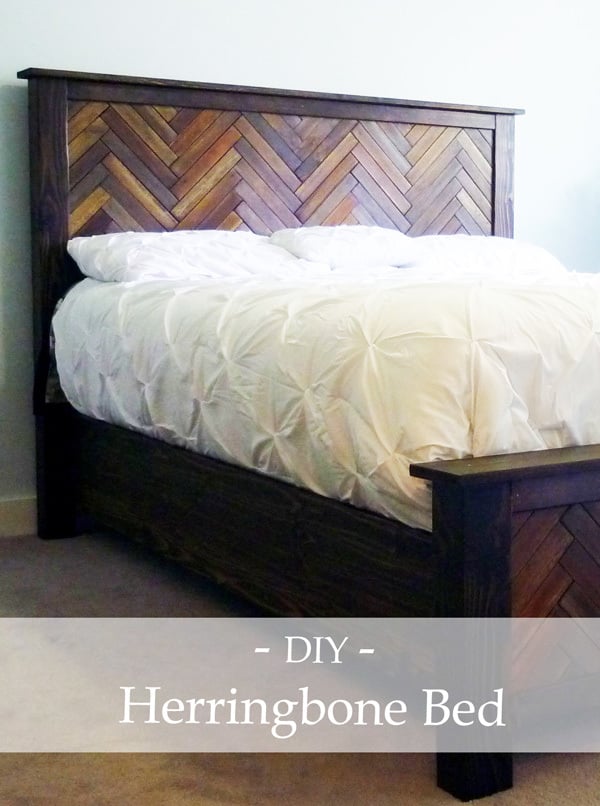
I have never made anything before, this was my very first project. I had a total blast! Our old bed was falling apart, so it as a great time to try out my hand at woodworking. I really wanted to use up some old wooden deck tiles I had in my garage. I didn't feel comfortable using a miter saw for a chevron pattern so herringbone it was! I am totally in love with this bed and seriously cant thank Ana White enough for making it so people like me can make things like this.


Sun, 04/20/2014 - 10:49
This looks really nice. Are you sure this is your first project? I like the idea of using the deck tiles. Where do you find these and what type of wood are they? This may sound a little cheesy but I don't know where my life would be like if it weren't for Ana White and her blog. I absolutely love woodworking.
Sun, 04/20/2014 - 11:25
Thank you so so much! 100% sure its my first project..lol. The deck tiles I bought at Capitol Iron, which is a home and garden store we have here in B.C. They were display pieces so I got them for VERY cheap, almost free hehe. I know you can buy them new online, but they are pricey. As for the type of wood, since they were a display it is a hodge podge of diff kinds. Teak, eucalyptus, acacia I know for sure. I seriously LOVE this site. I have looked and found nothing even close to it. By far an amazing resource for any aspiring builder. I see you have made some pretty impressive stuff yourself!
Mon, 04/21/2014 - 12:18
Thank you :) and thank you so much for this site. It is amazing how much you have to offer. I honestly can say I would never in my life would have tackled something like this if I had not stumbled across your page. The amount of joy I feel every time I walk by that silly bed is nuts..lol. Too cool. Still cant believe I made that myself (with no boy help..lol) Cant wait to make some tables next! You're awesome.
Fri, 05/29/2015 - 14:52
I just wanted to let you know how impressed I am by your finished product! I have been interested in building a bed, but since I have no experience I have been unsure where to start. But the fact that you did this as your first project has me very inspired! Well done!!!!!
Wed, 10/21/2015 - 13:21
Does anyone have the plans for this bed in California King size? I have a california king mattress and would really love to make this... I see this is for a queen size bed..
Thanks!
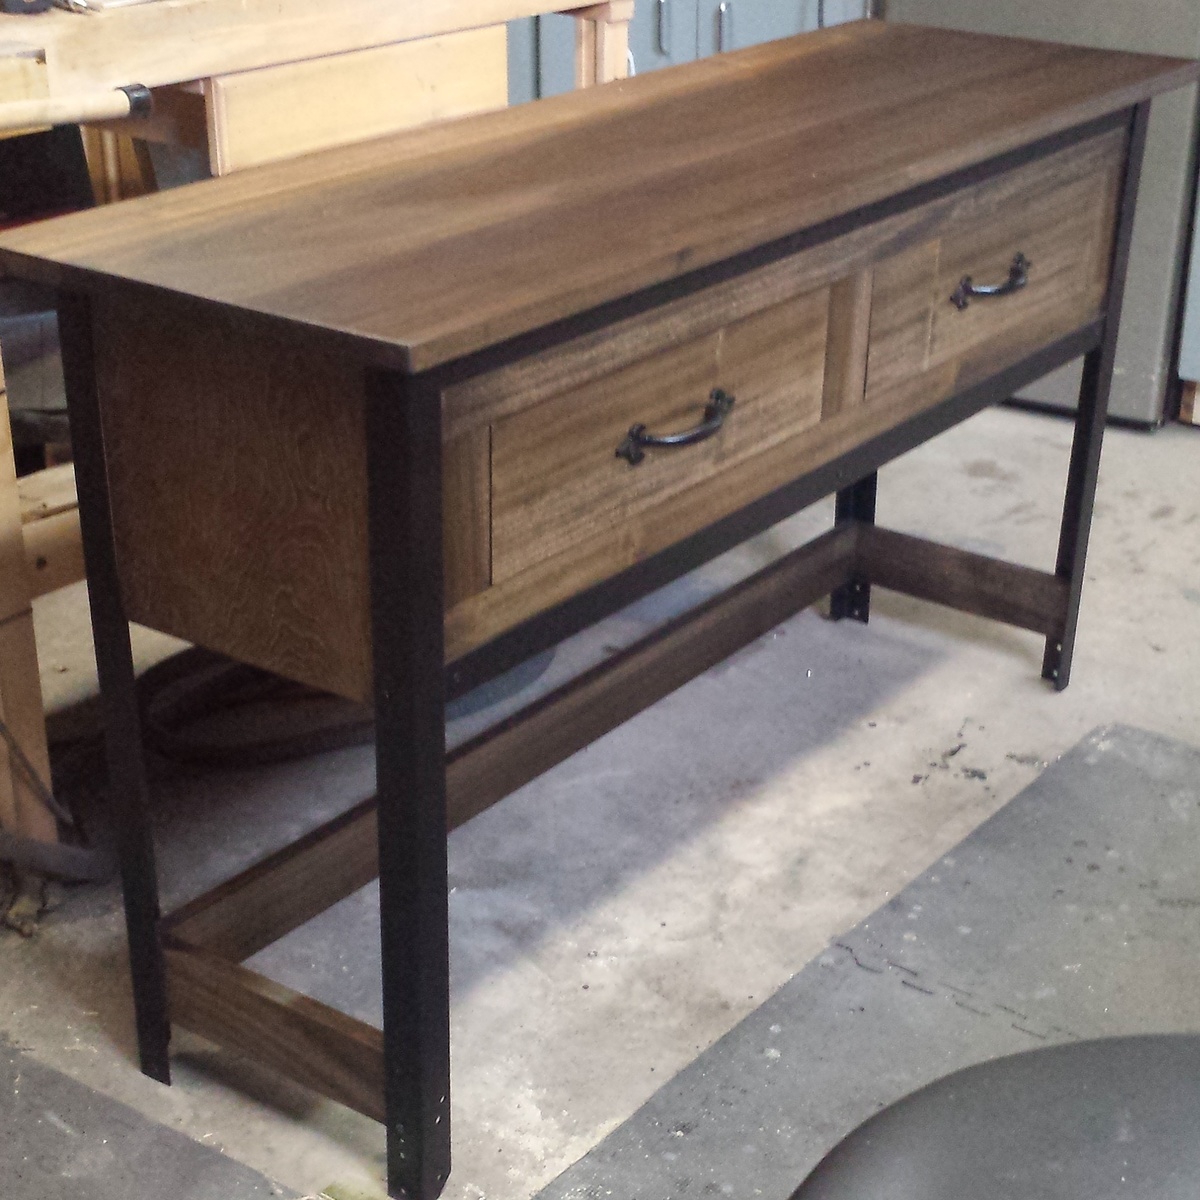
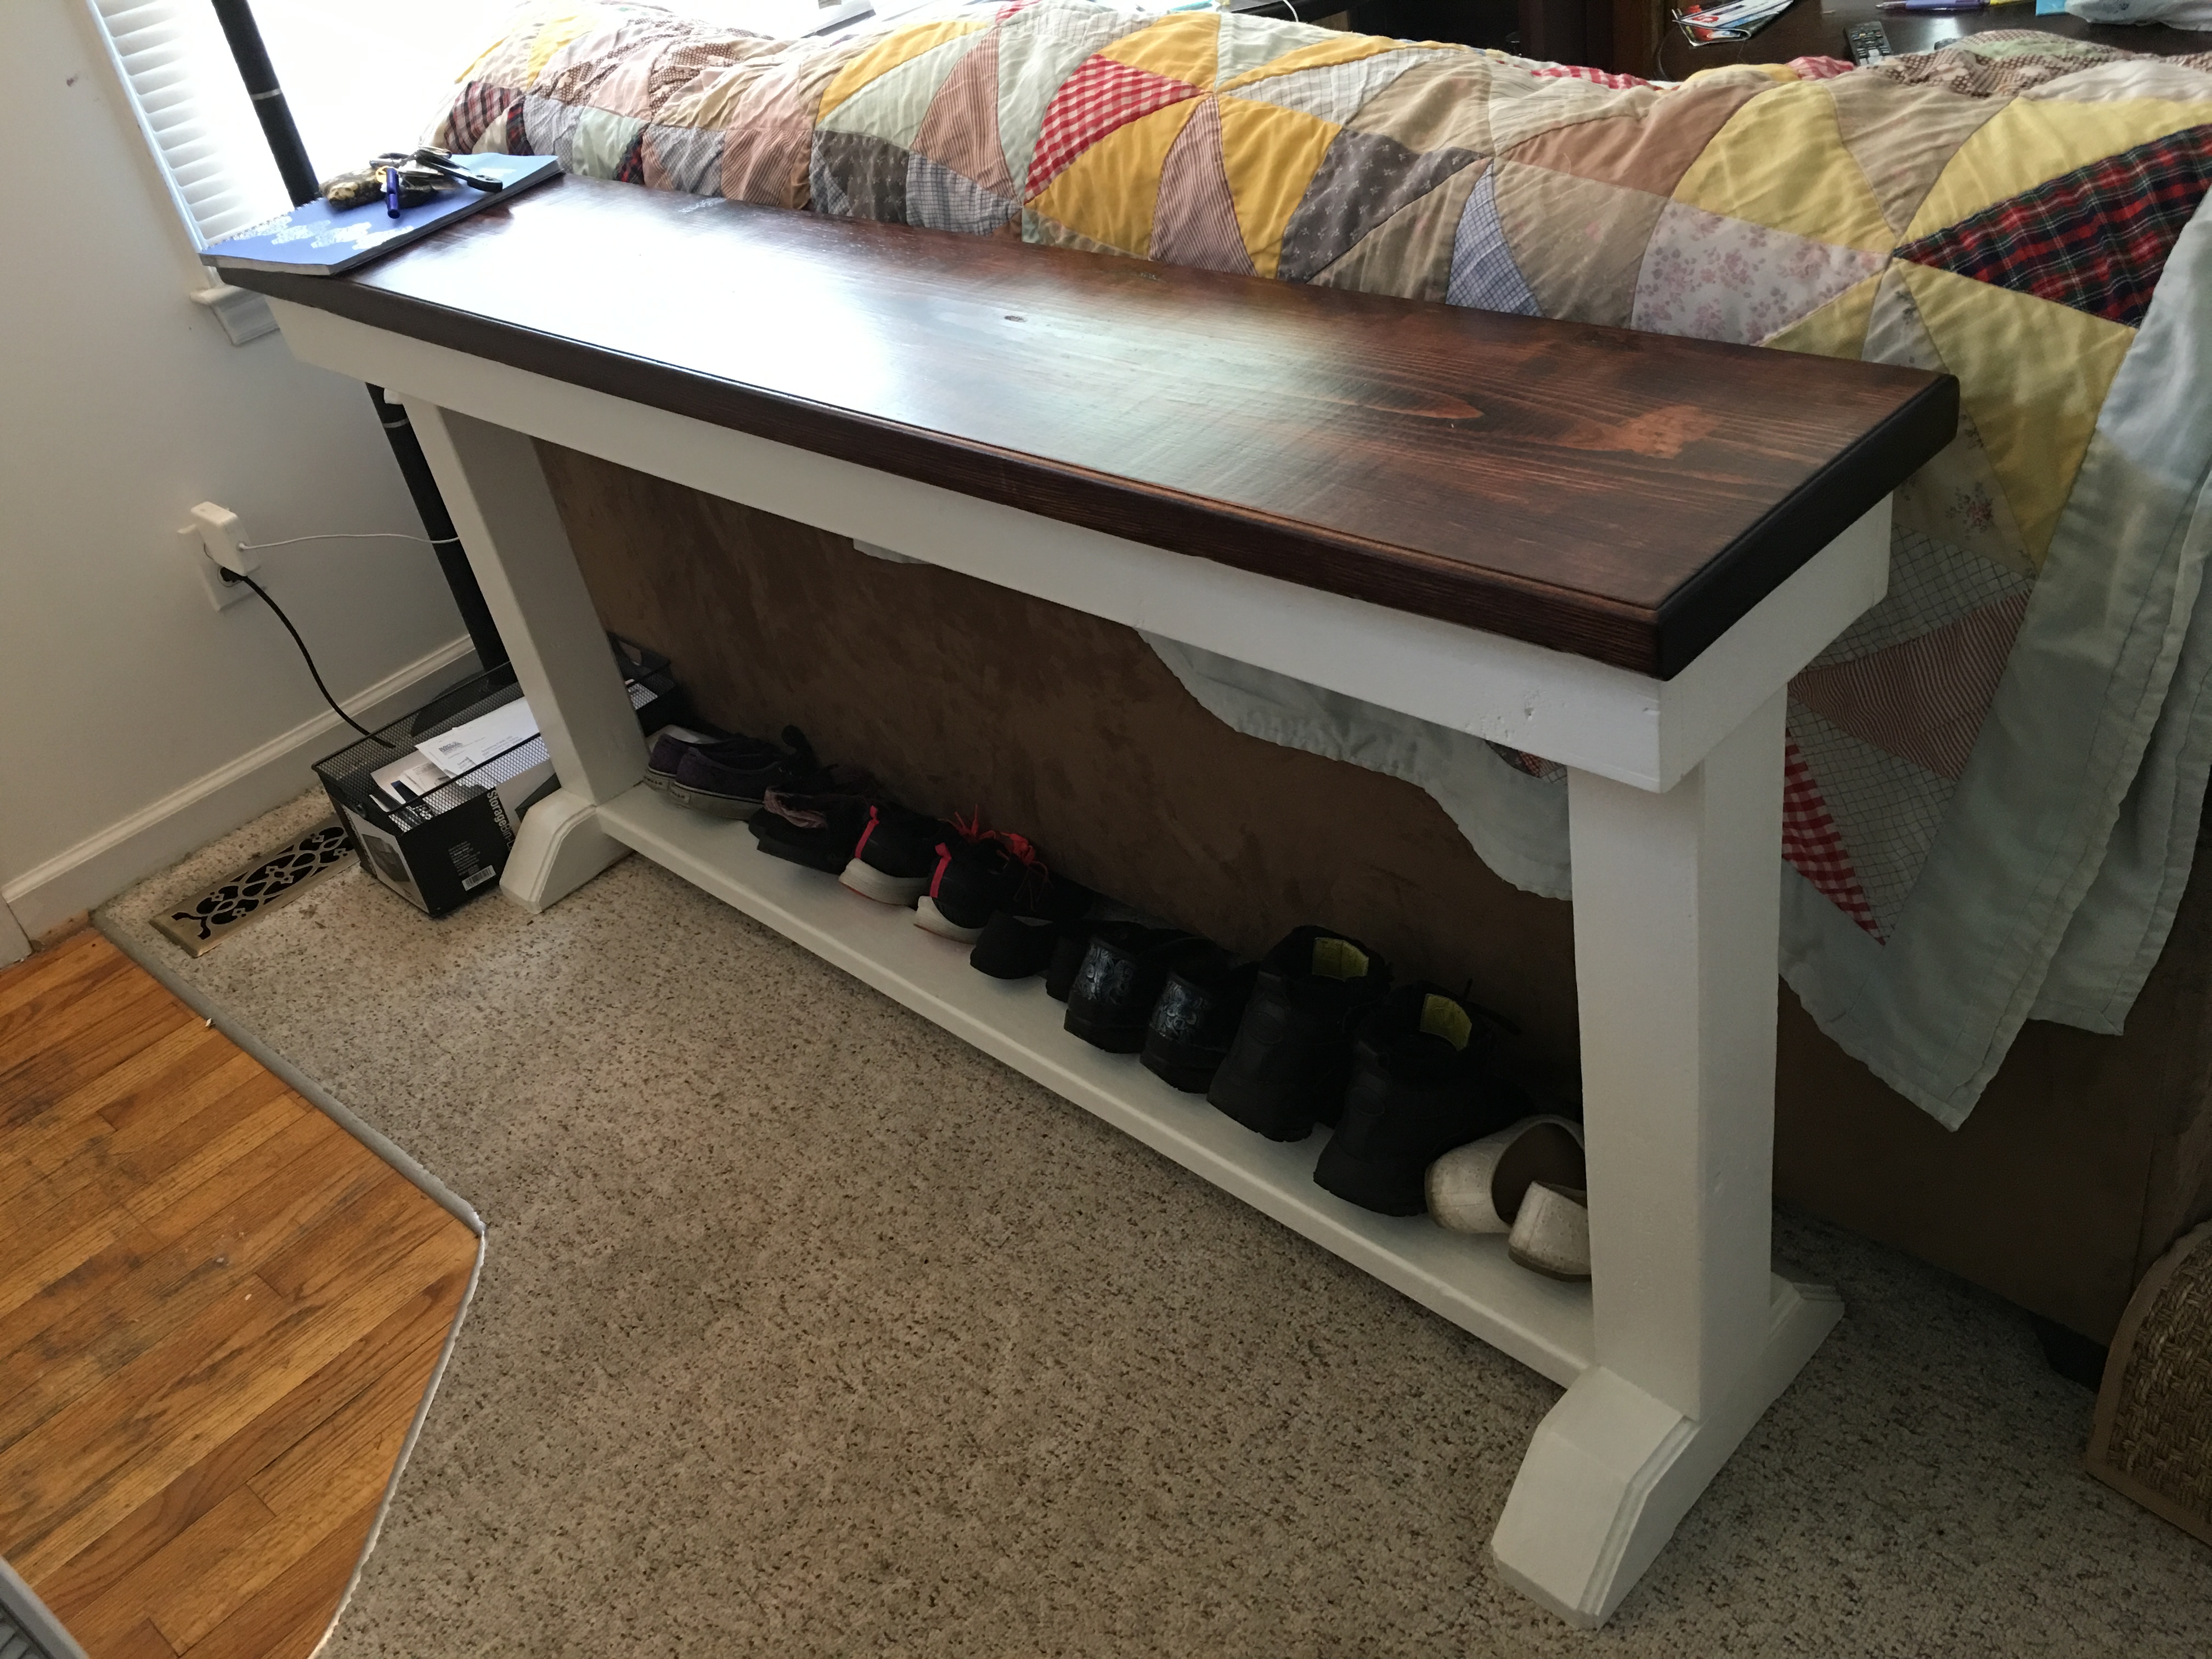
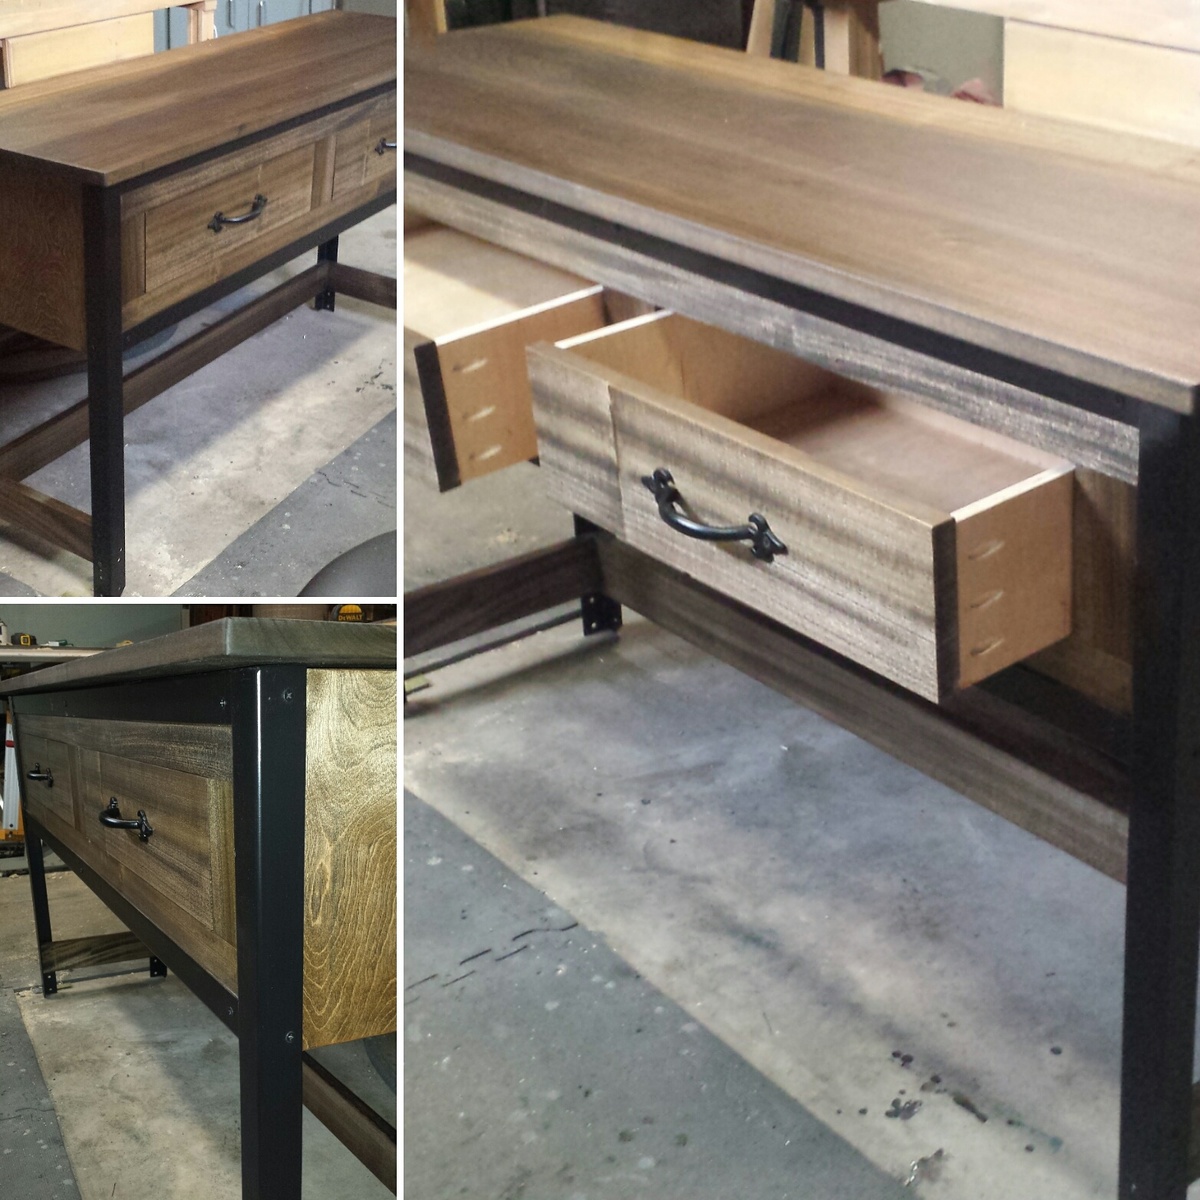
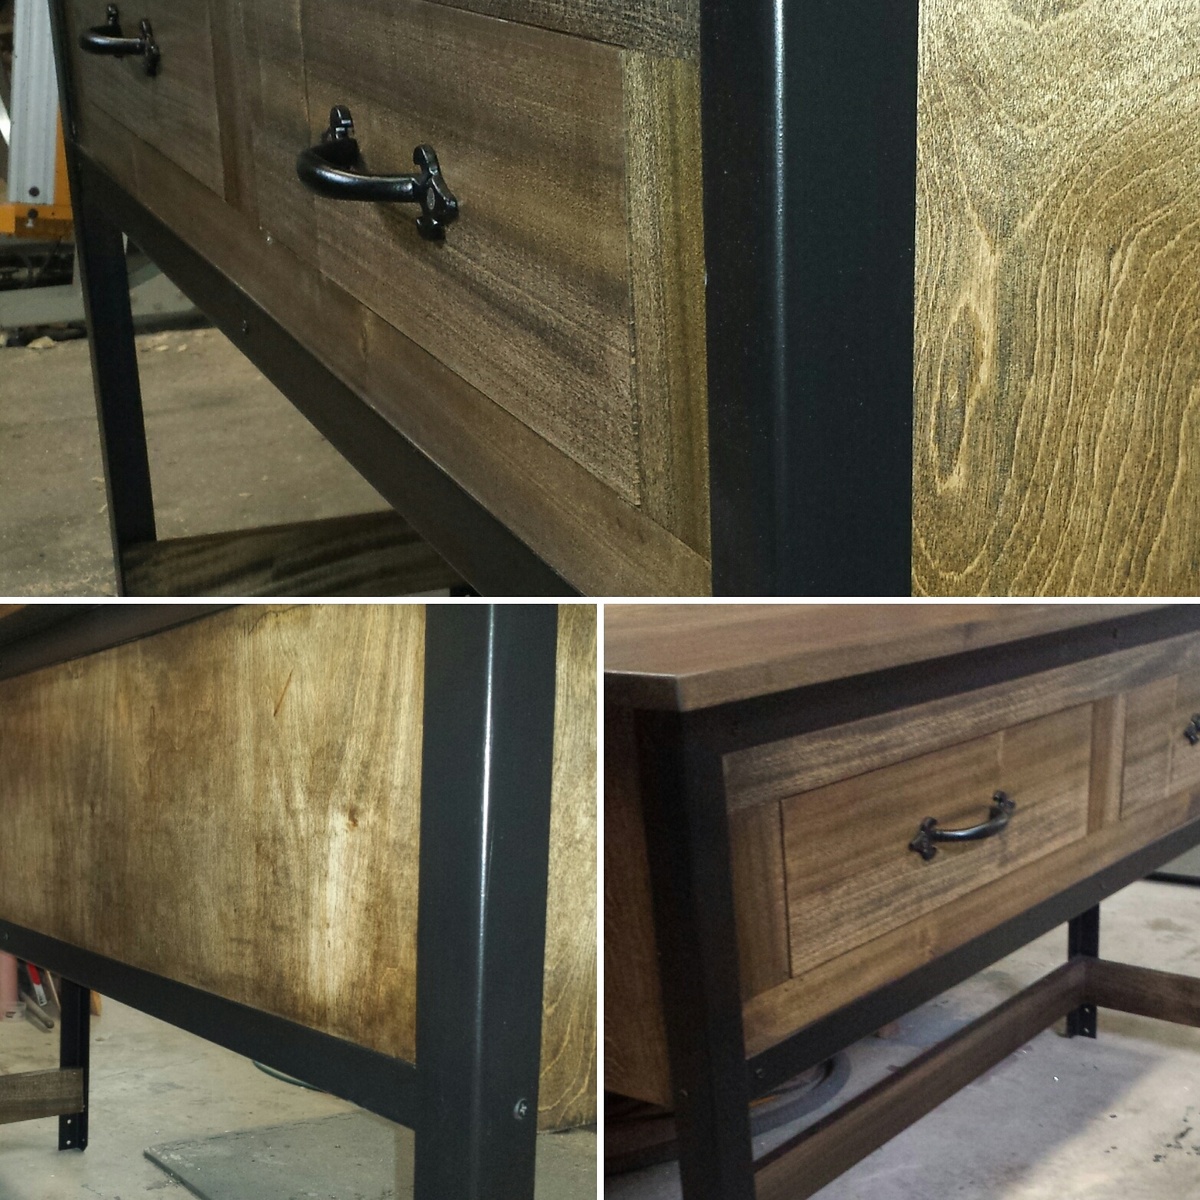
Plans use was the Bailey Console Table.
This was build for the #igbuilderschallenge hosted by @desertwoodwrks and judged by @anawhitediy and @davidsheinkopf.
I used two old queen sized bed frames for the legs and stretchers, welding them together with a Lincoln Weld Pak HD Flux core wire feed welder. With a little practice, anyone can do this easily!
I used poplar hardwood instead of pine for durability. Stain is Minwax Jacobean, with 4 coats of Deft Clear Satin Spray Lacquer on top.
Added a face frame around the doors, and made then inset flush mount drawers. The left drawer also has a false bottom, with hidden storage beneath the lift off tray.
Recycled bed frames were used for the legs and stretchers (both front and back) and them painted with Rustoleum Black Satin Finish Spray Enamel,with the lacquer on top of that for protection.
This challenge was so much fun to do, and it was a real blast seeing the creativity of everyone else involved! I can't wait for the next one.
Follow me on Instagram : @amanteafinewoodworks

I stumbled across your videos via YouTube and I saw the video to make this coffee table. I was just browsing for things to do to keep busy during this pandemic. This is my first project and I could of done a lot better but I learned a lot from doing it. Thank you for your videos. I have since went on a shopping spree at Home Depot and Lowe’s Lol. I’ve bought Kreg jig, Miter saw, Makita drill set and circular saw and a Makita sander. I was like a kid at a toy store. I’m going to build your narrow console table next. Thank you for sharing your inspirational work. Nick Olson

Tue, 05/12/2020 - 15:11
Looks pretty good to me, especially for a first project!!! Thanks so much for using our plans!
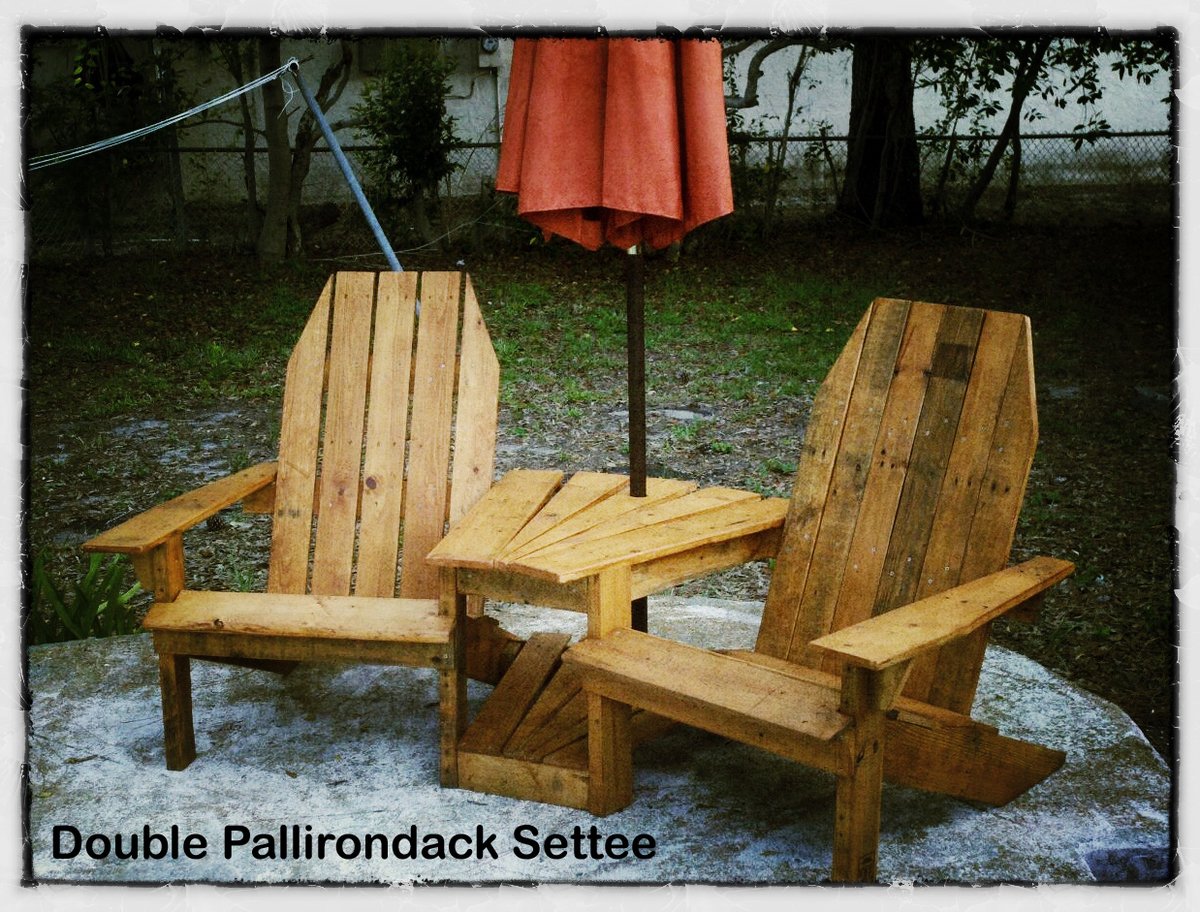
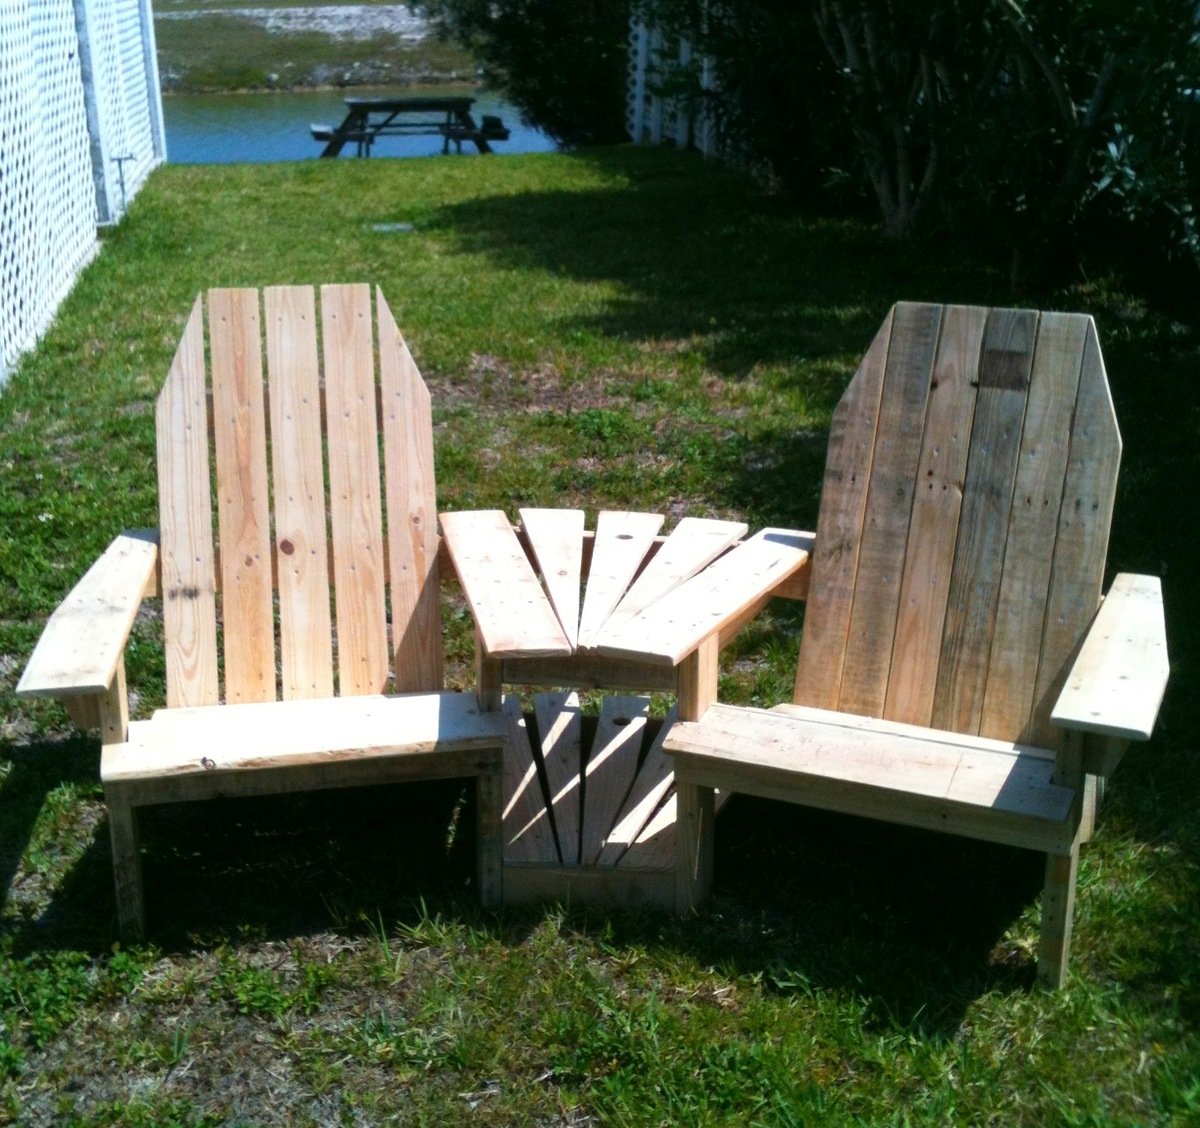
This is a Double Pallirondack Settee, an Adirondack-styled set of chairs connected by a two-shelf table that is also an umbrella holder. It is made 100% from recycled wooden pallets (thus the name). It took approximately four full pallets to make the settee. The finished picture was taken by its new owners after they stained it with a cedar-colored sealer and added an umbrella.
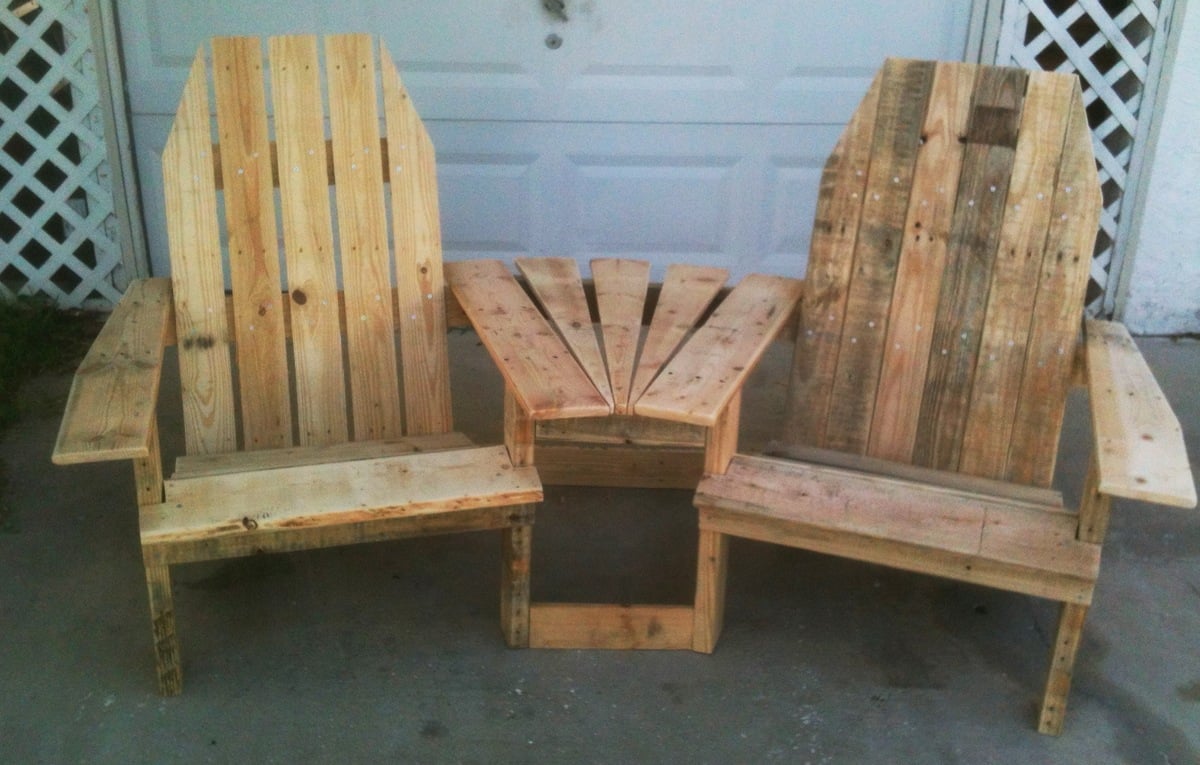
The other two images show it before I had added the bottom shelf of the table and it finished before staining. I just finished a second settee and will be selling that to someone who saw the original one at a party.
The design is based on a couple different plans -- one for the chairs and one for the table/umbrella holder. I modified both plans to make them work together. Great fun. If I could have worked on it straight through, it probably would have taken 2 full days, starting with pallet deconstruction, then cutting pieces, sanding, assembly of chairs and, finally, assembly of the connecting table.
Thu, 07/12/2012 - 10:16
Is it possible to get plans for these??? This would be awesome to build..
Thu, 07/12/2012 - 10:17
Do you happen to make plans for these?
I would love to build this!!
Thu, 07/12/2012 - 13:51
Unfortunately, no. I actually took the plans for a chair and mixed it with the plans of another settee. Essentially, the "inside" arms of the chairs do not get shaped at all. The front of the chairs are 12" apart (15 degree miter) and the backs are 27" apart if I remember correctly. I added 4" 2x4 blocks to the outside of the bottom back legs and that is what the bottom back table support is attached to on the settee. The the three center boards are cut to fit (1/2" in the front, 5.5" in the back and spaced equally. 1.5" hole for the umbrella holder in the center board, top and bottom.
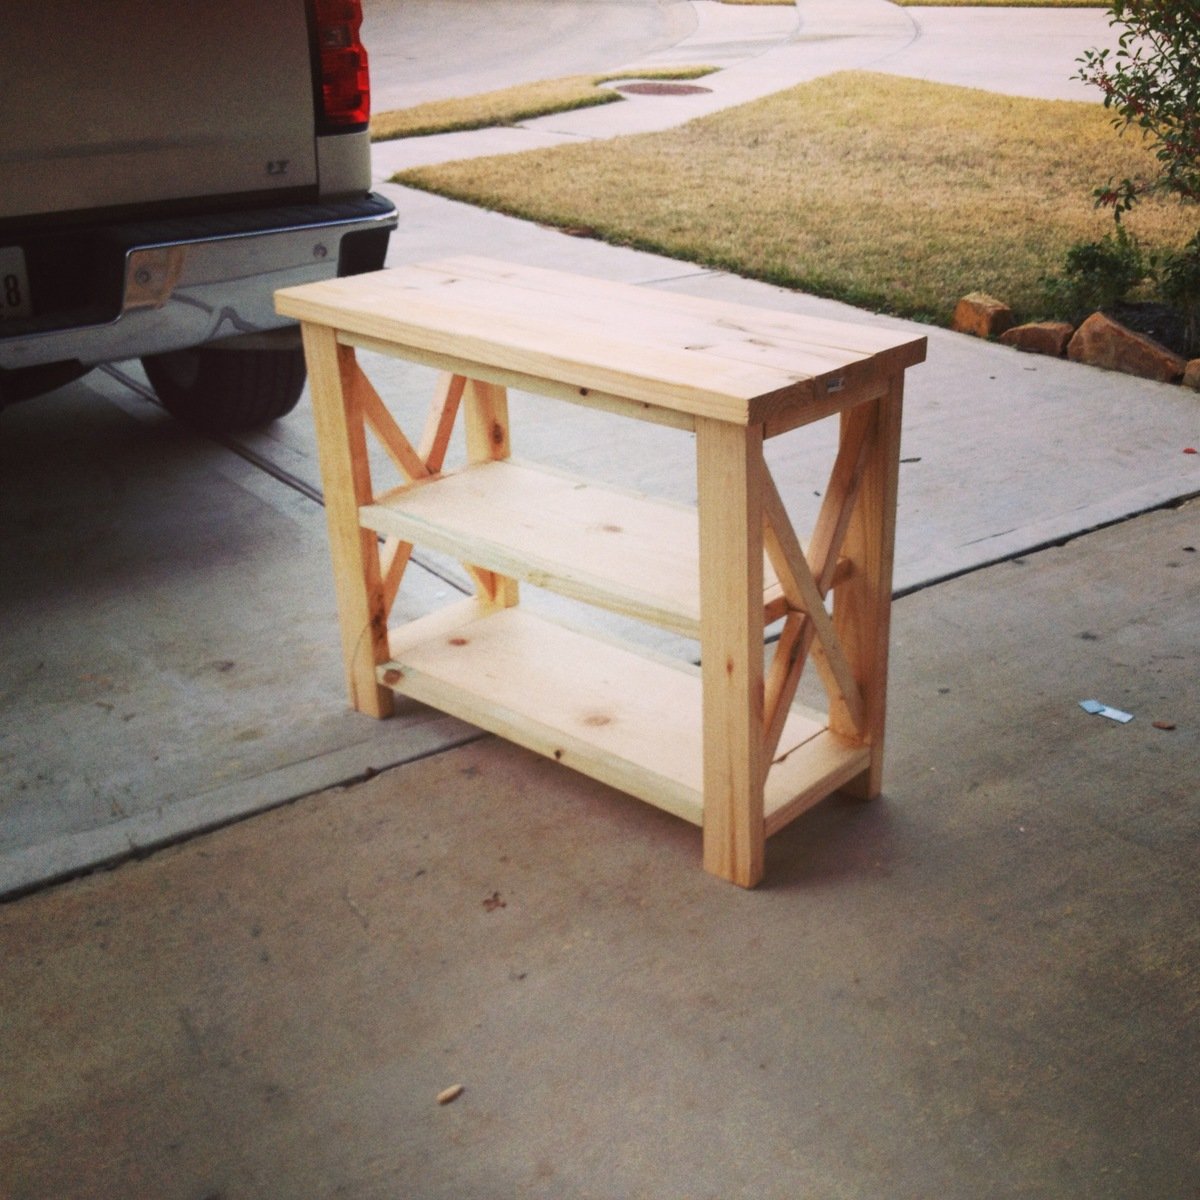
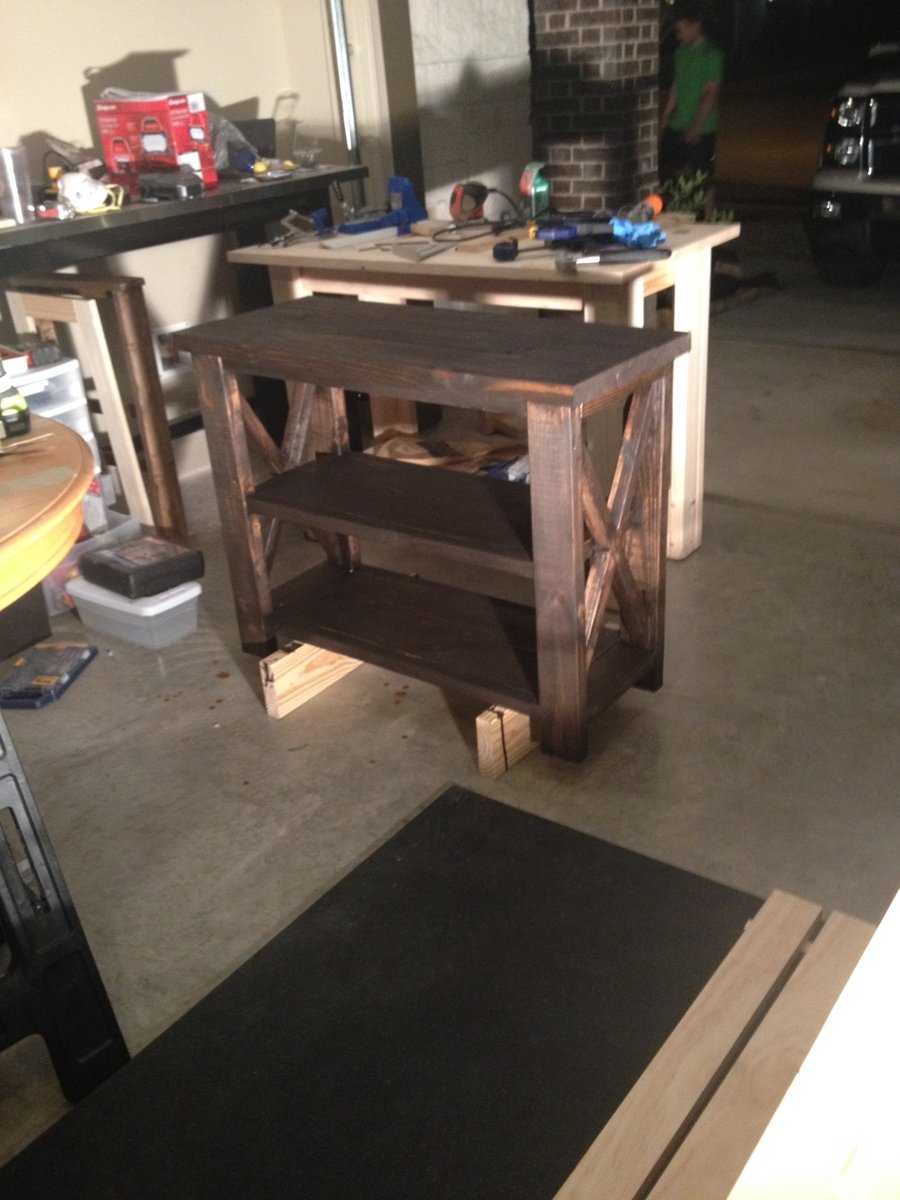
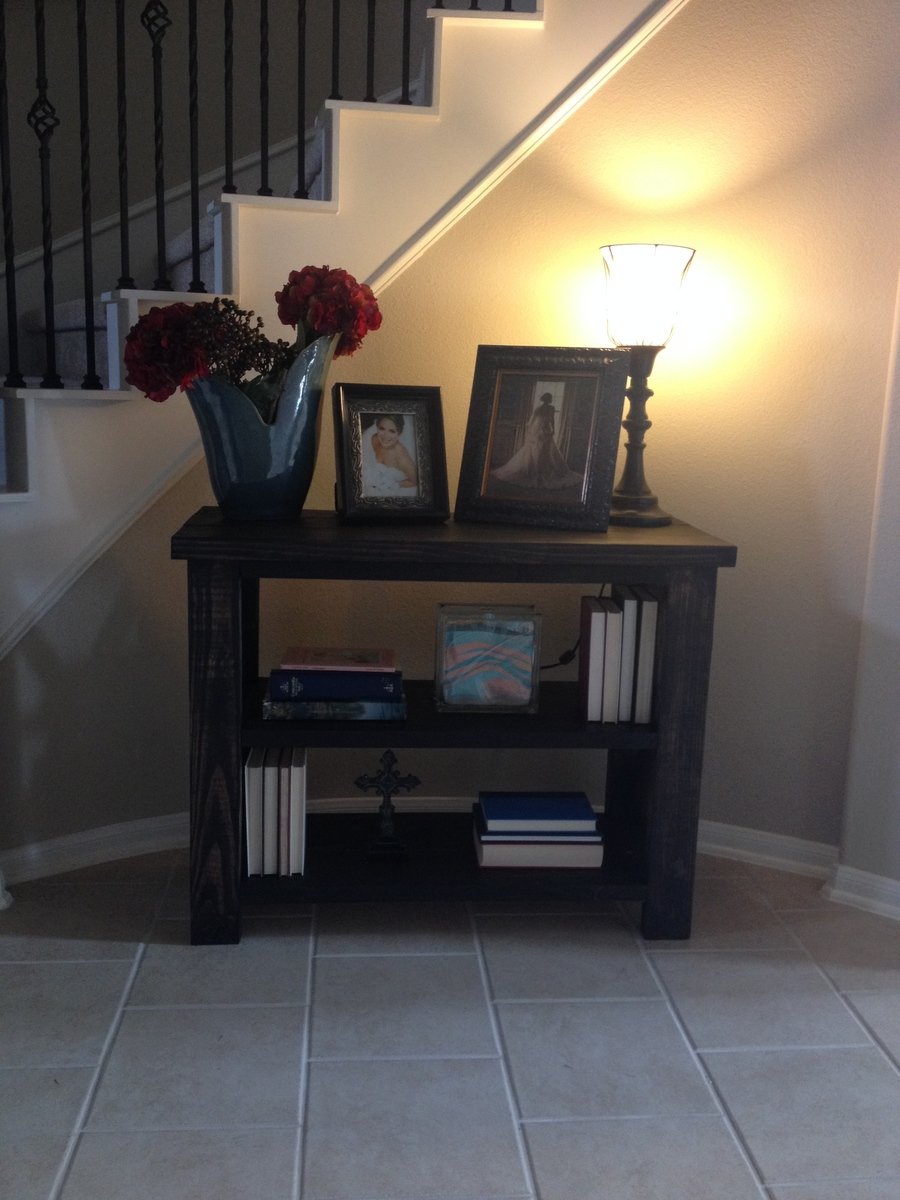
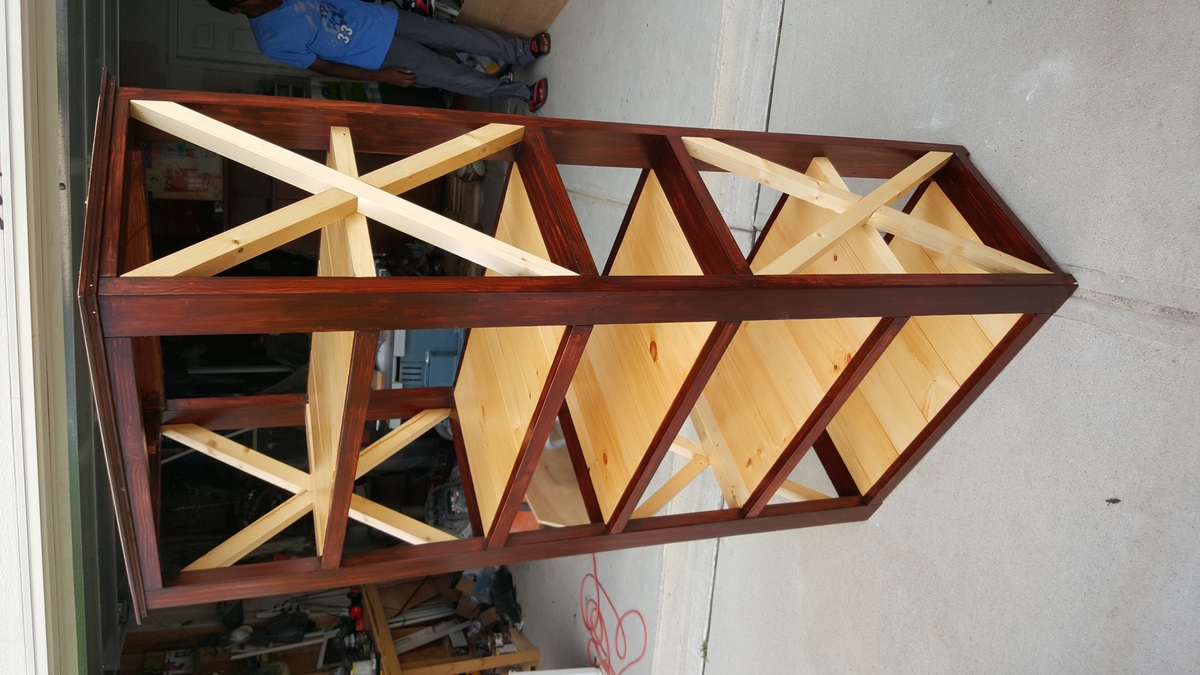
I made half of the Rustic X Console table. It was an easy build until it was time to make the X's. They were only hard because I was using a circular saw and carpenters square and I couldn't get my lengths right. I ended up with a lot of short pieces and I was glad I ended up buying more than enough 2x2's. If I had a miter saw it would of been a lot easier (I have one now).
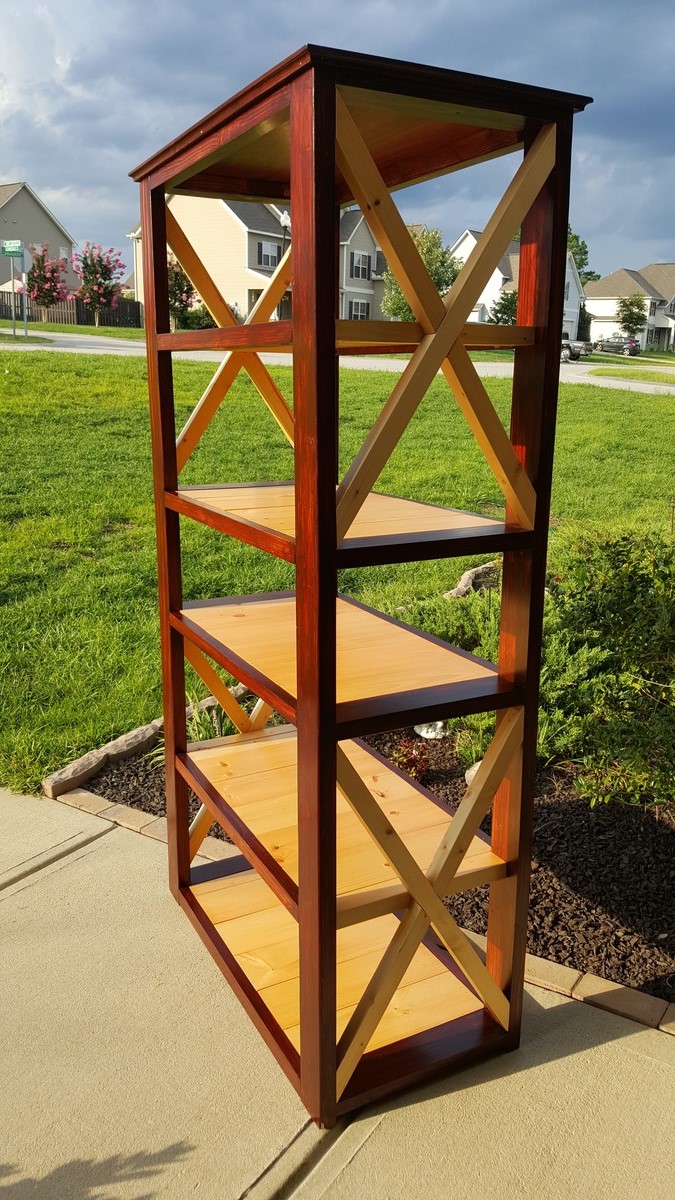
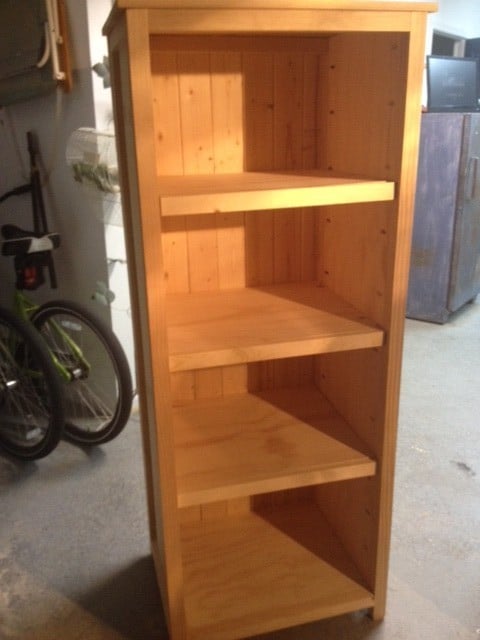
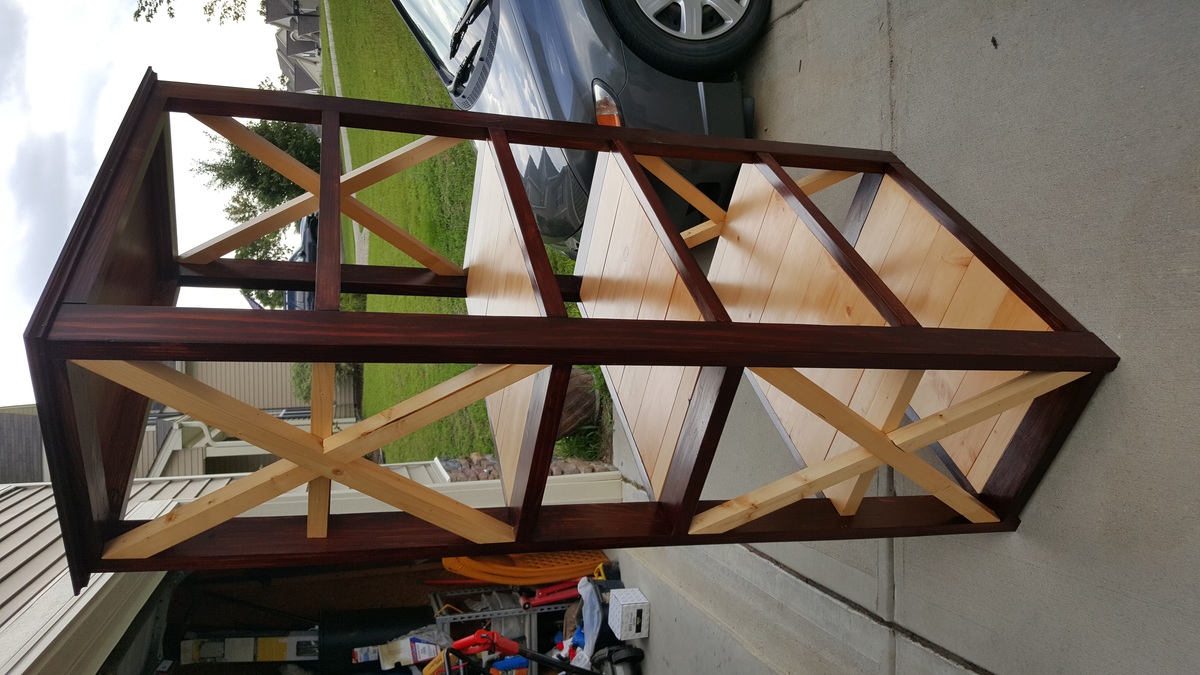
I made this book case for my daughter to replace an existing book case. I the design is a little different from what I found.
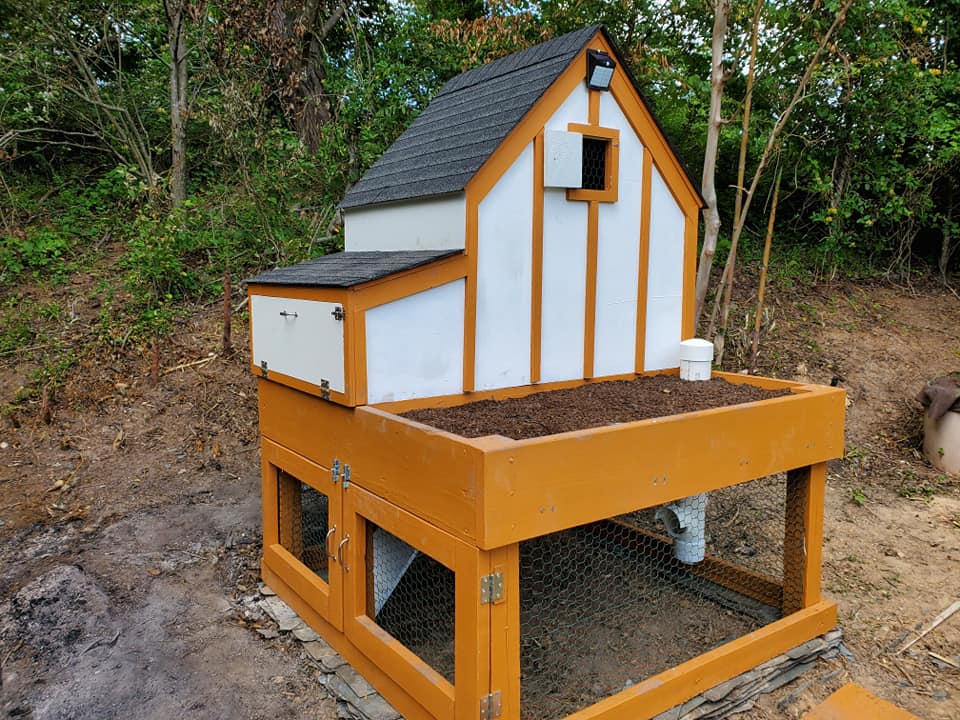
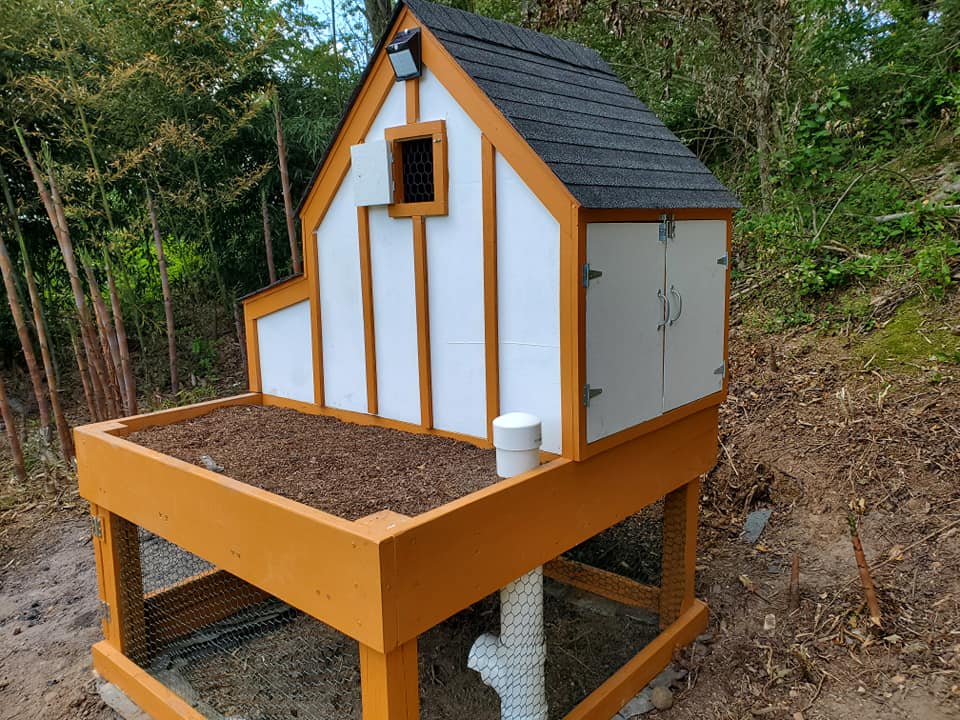
My chicken house from plans
Sun, 05/17/2020 - 11:41
I'm in the process of building mine without the planter box, extended the coop to the full 5'. I have it mostly built out but seeing yours is helpful.
Is the PVC going down from the planter bed a feeder? Mind sharing how you did that?
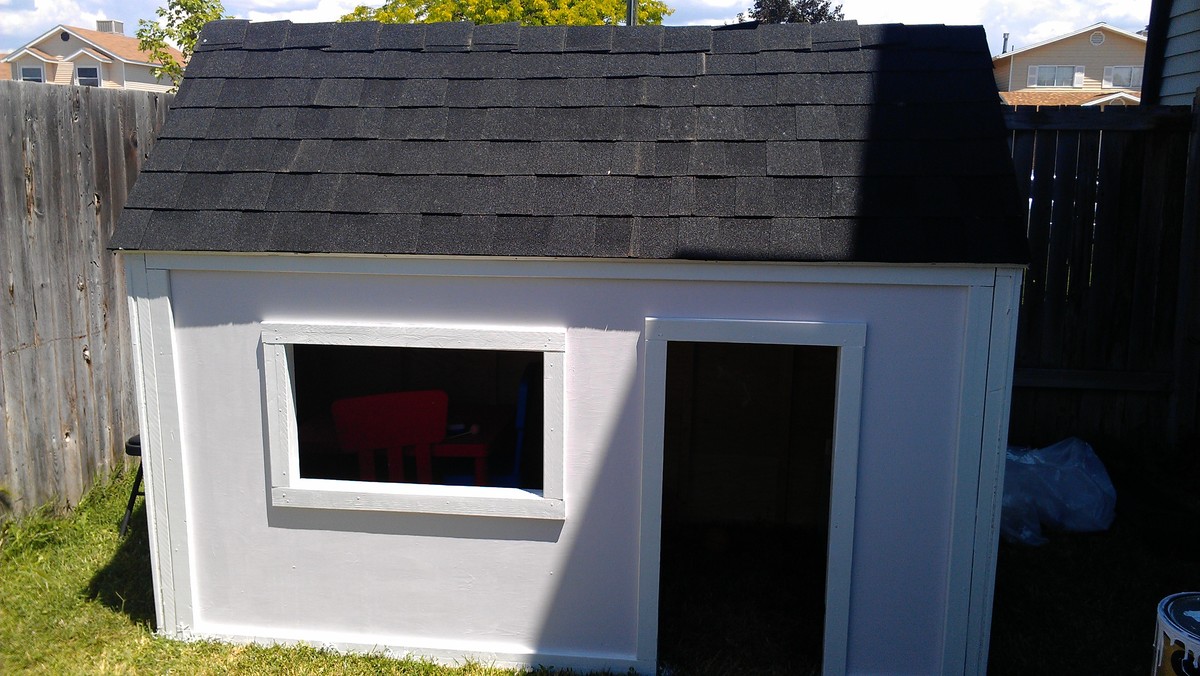
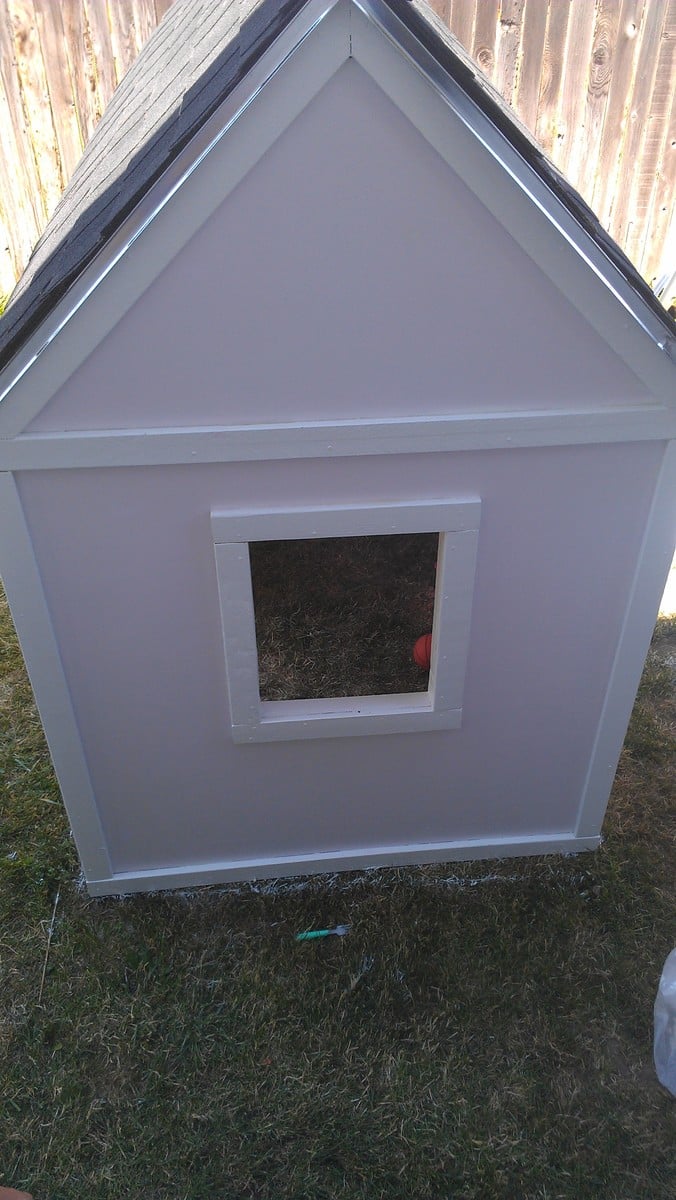
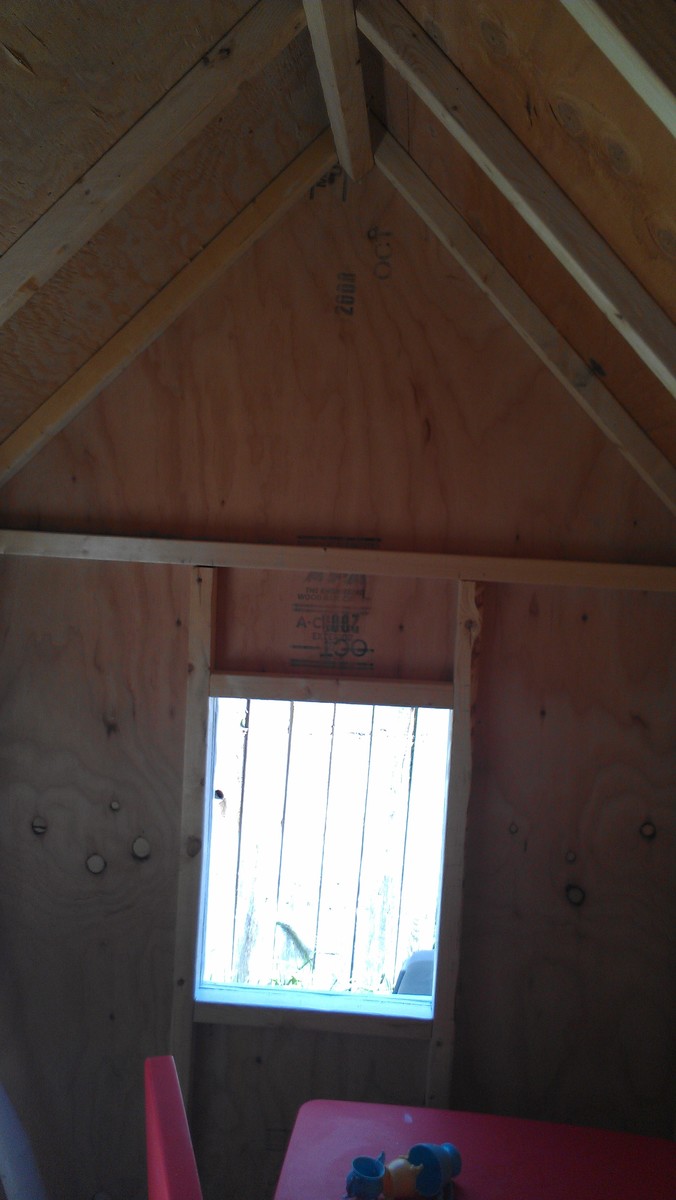
It was a big project, and my husband did all the main stuff!
I still have to paint the inside. Since we aren't building a deck yet, we are putting it on some pavers. We bought 40 12x12 pavers and will push that out on in the next couple of days. I also will eventually attach a window box with plants. I'm planning on painting a couple of the inside walls with chalkboard paint.
It was seriously worth every amount of time and energy. If you are thinking of doing this, do it! You can, it's a great plan. Thanks Ana for the plans!
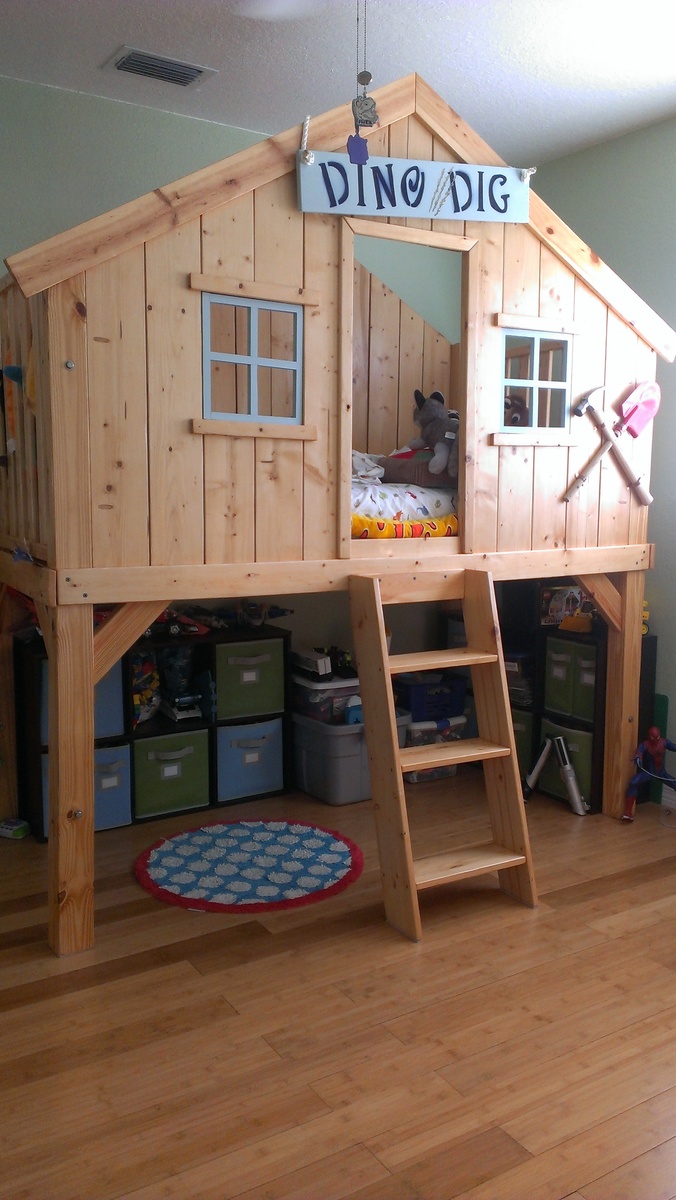
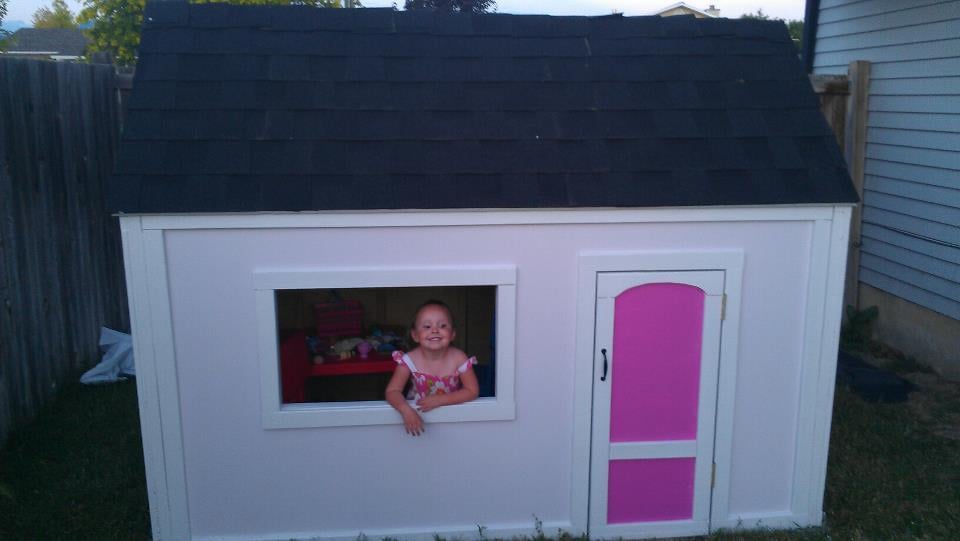
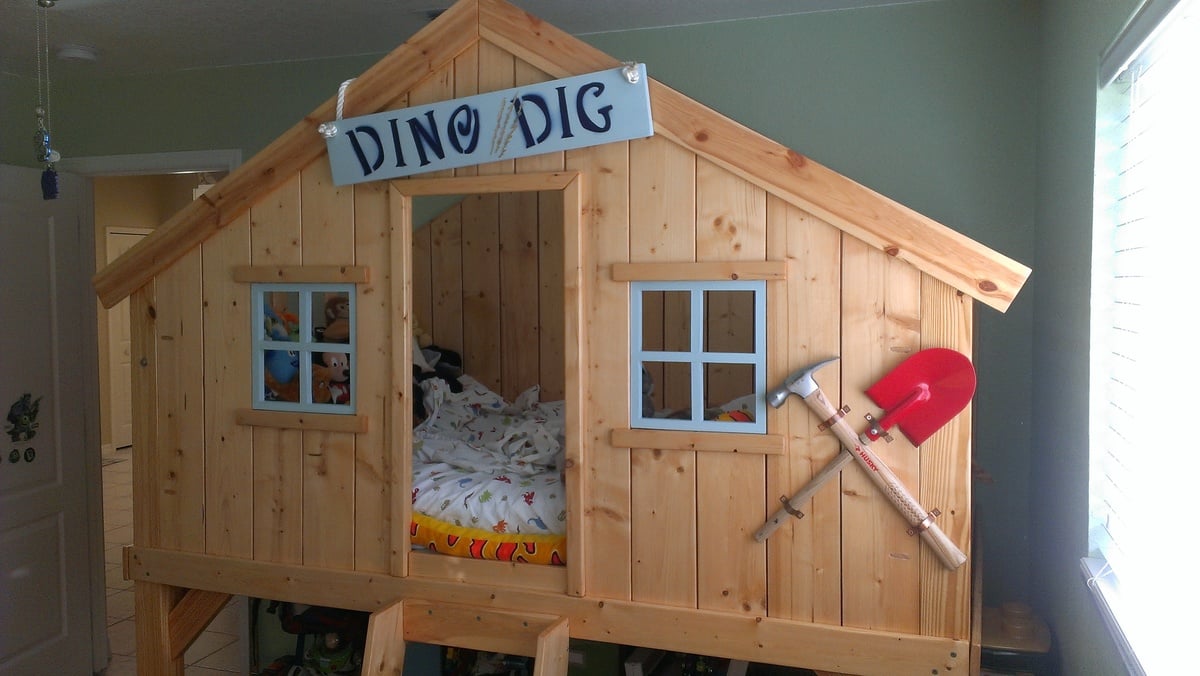
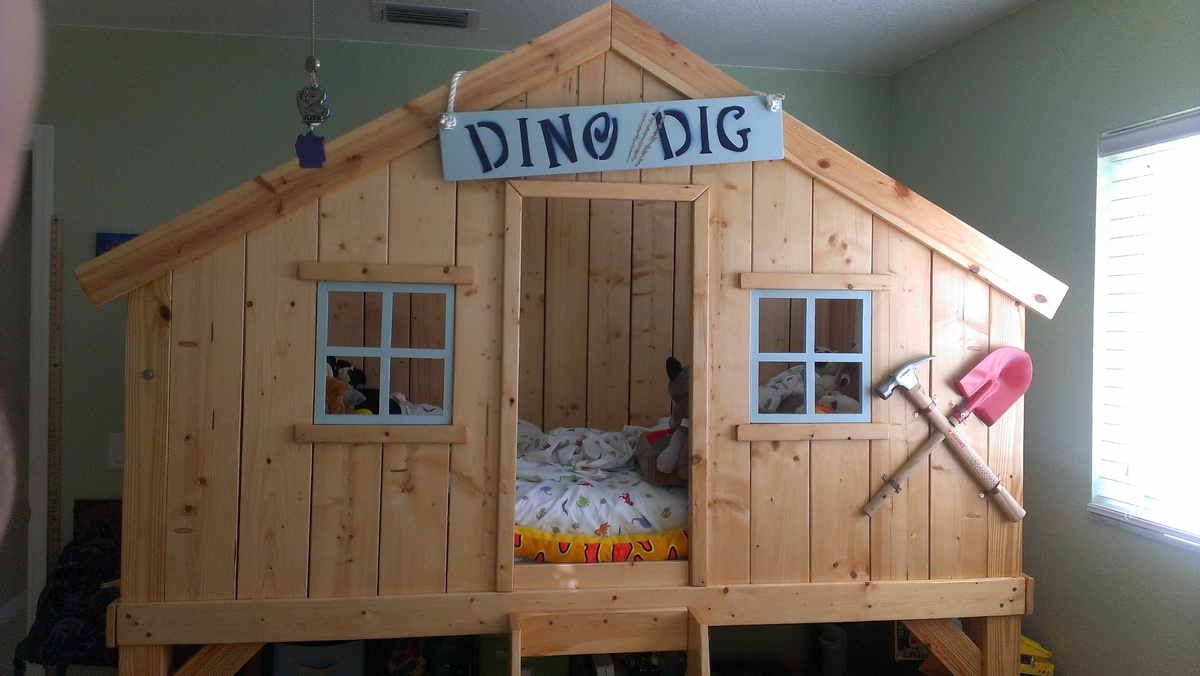
This project was made for our four year old son, after viewing an article from a known magazine he came over charmingly stating "Daddy can you build me this in a dinosaur theme??" So of I went searching and found the plans online here (Thanks Ana!) @ a cost of approx $400 and about 40 hours of work it was built. He loves it and loves to show it off to friends and family, as it has also been a hit within our neighborhood. We built it using white board wood, sanding everything down, and using just semigloss polyurethane to seal and protect the wood. All materials where obtained from either Home Depot or Lowes.
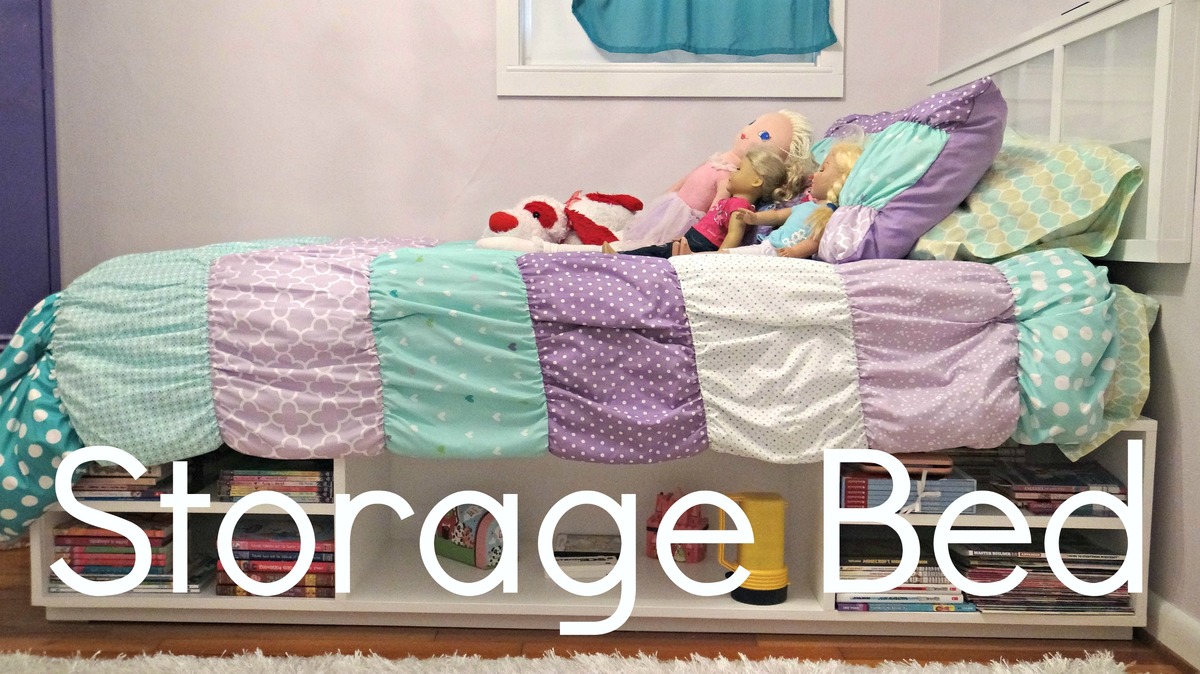
Over the winter we decided to upgrade our daughter's bed from a single to a double. We wanted her to be involved in the concept and design. Here is what we came up with!
More builds/projects/tool info can be found at my YouTube page. Would love to have you stop by!