Awesome table.
Made for my wife for a Christmas present. Awesome project.
Built from Plan(s)
Estimated Time Investment
Day Project (6-9 Hours)
Recommended Skill Level
Intermediate
Made for my wife for a Christmas present. Awesome project.
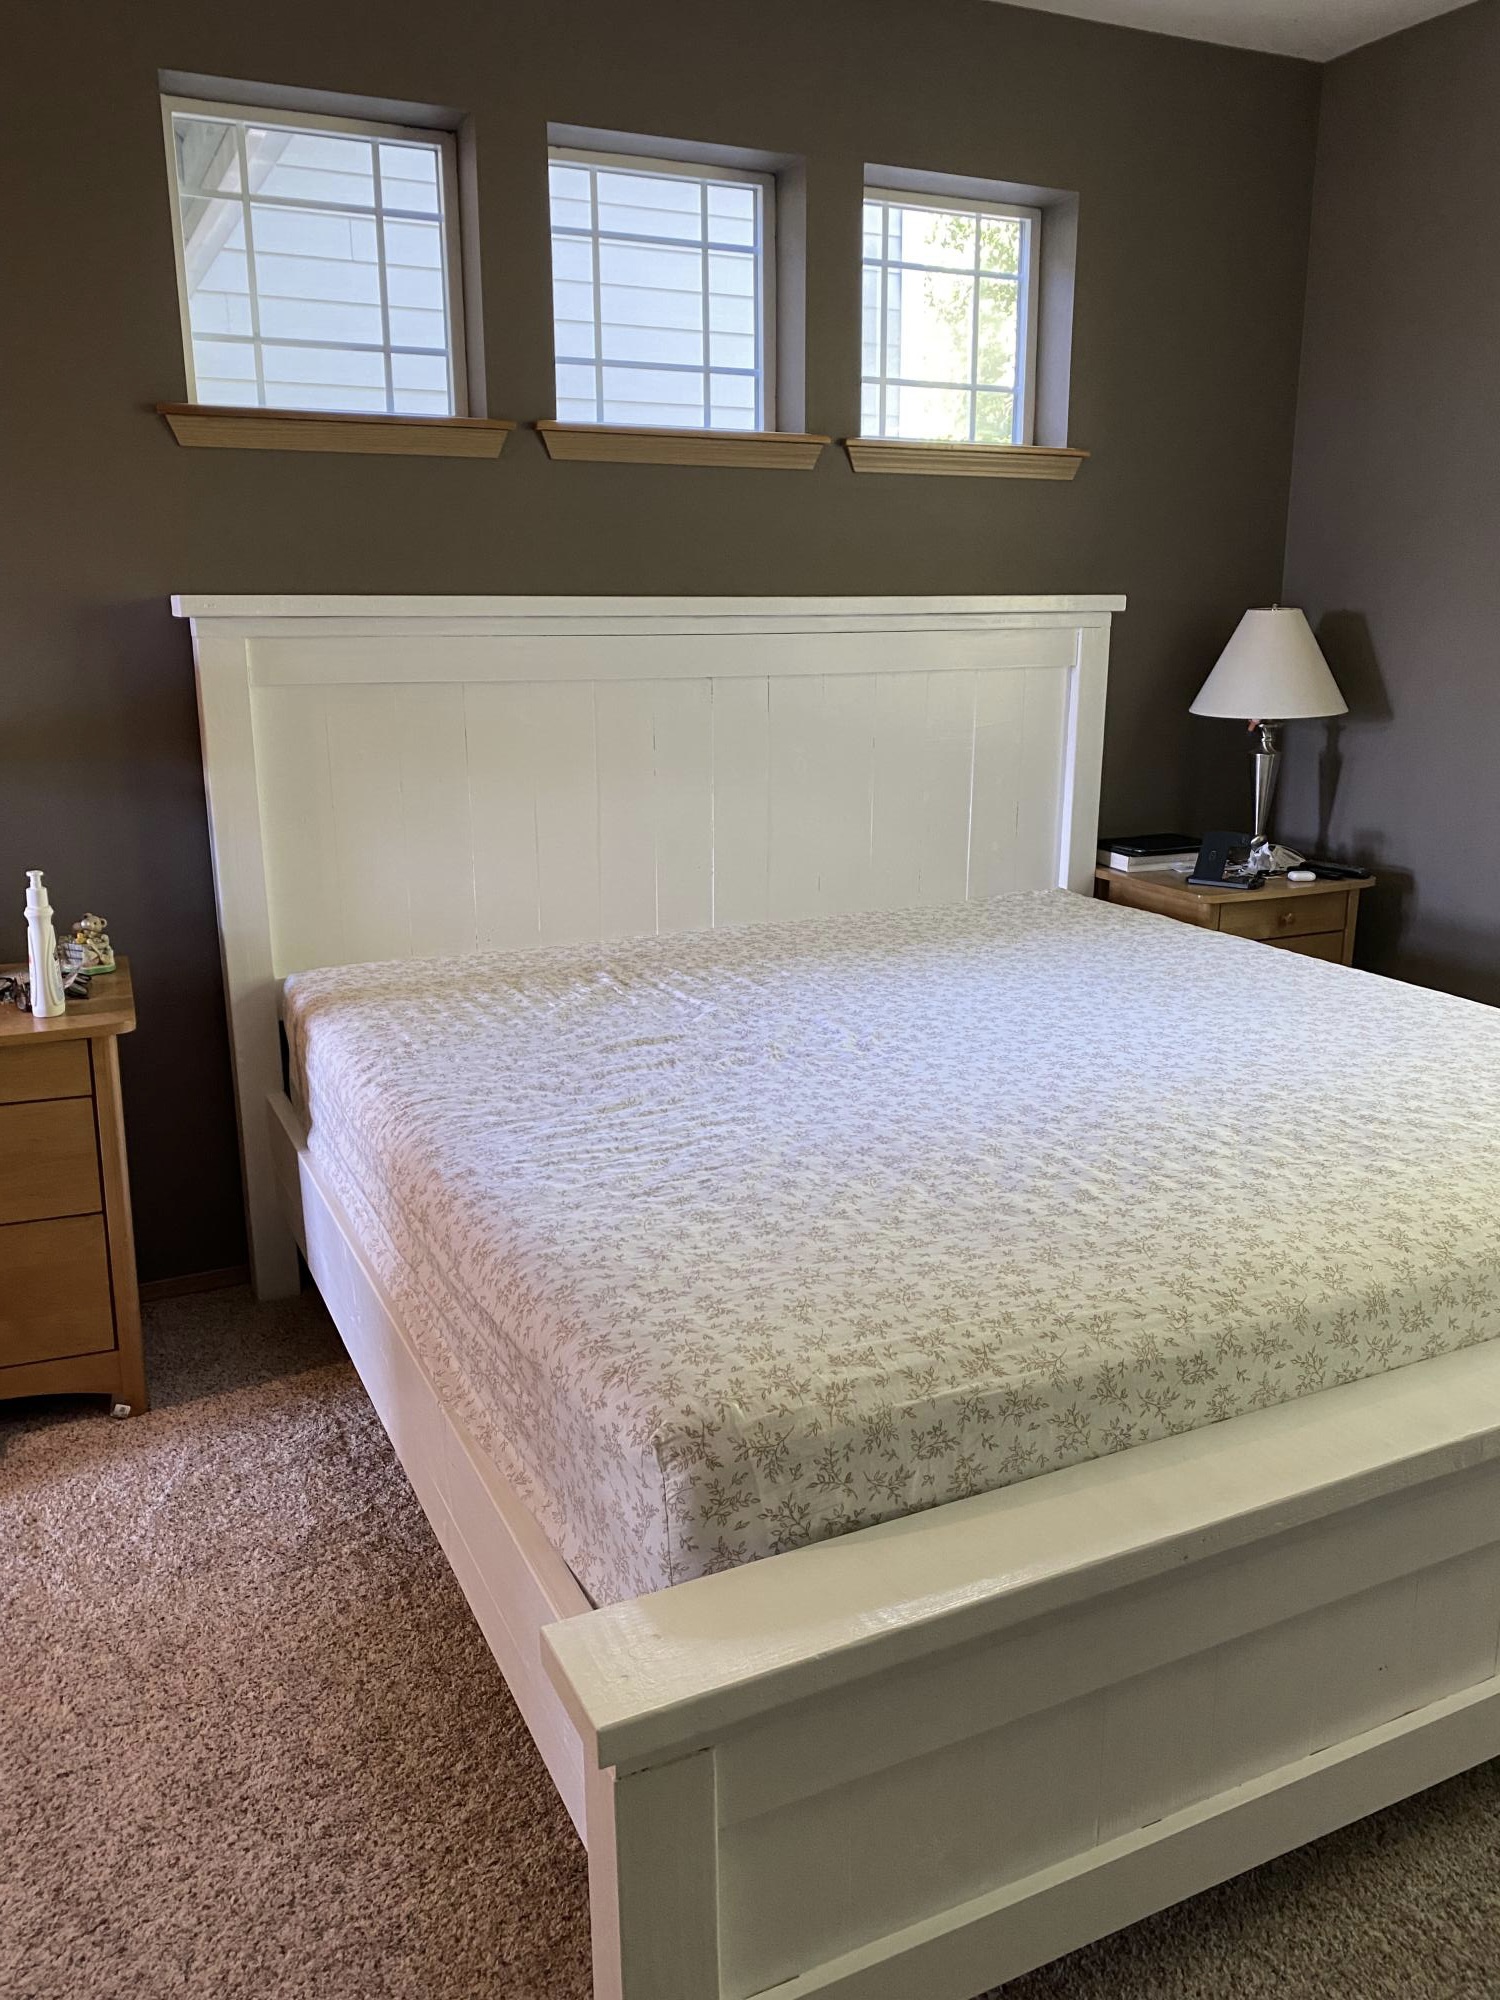
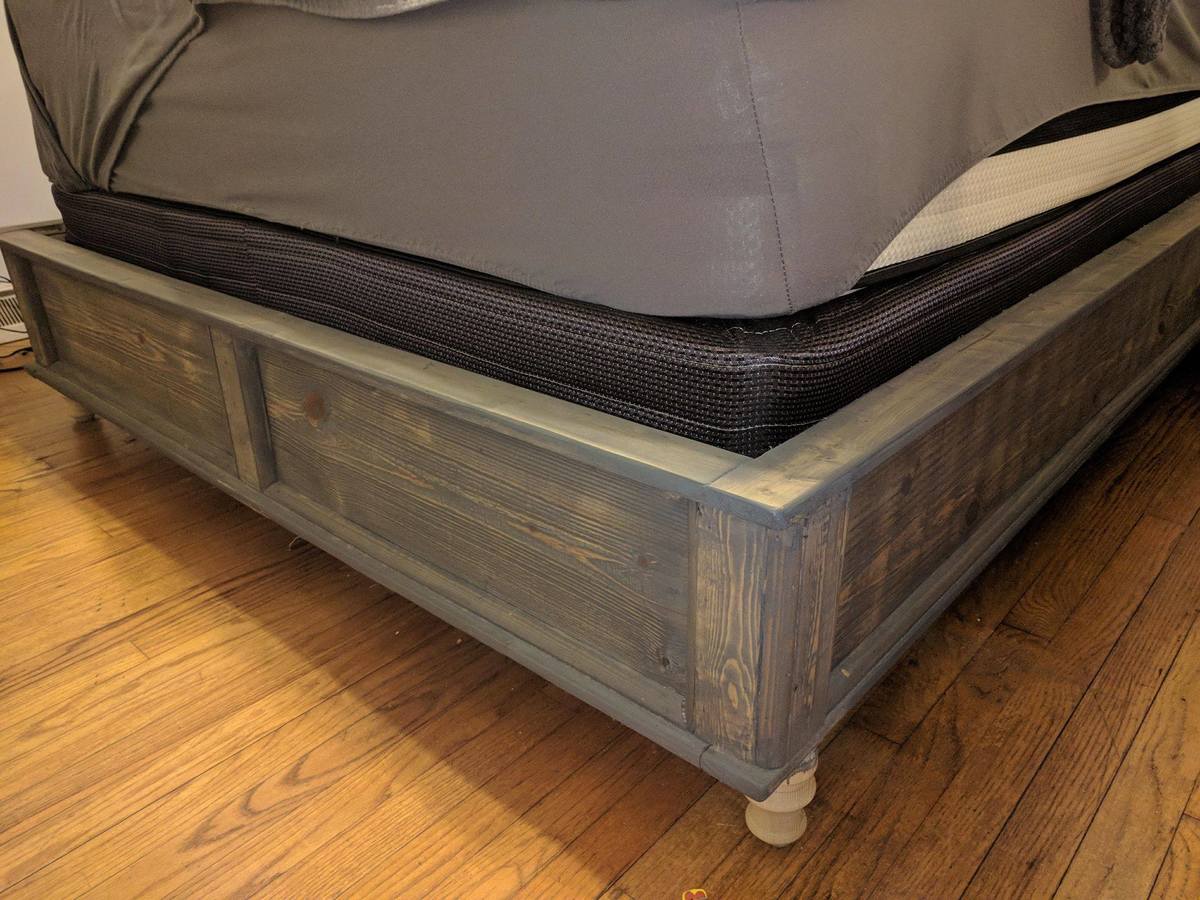
I love the plan for the King Farmhouse bed. I built it and made a couple of changes that just made it easier to move. I did not want to screw the middle support legs through the footboard and just happened to have six fence brackets in my fastener box, we just moved in a month before this build. I put the fence brackets on the front of the side rail cleats and added a 2x4 that went into those brackets. Then I added fence brackets to the front 2x4 and the back 2x4 that would receive the leg support boards. I also added supports made from two 3" cuts of the scrap 2x2 for the back of the side rails on the headboard legs. This modest support was just to help put it back together in the bedroom. We plan on moving again in a few years and I want the bed to last through many years so I thought this was a good idea. The bed is sturdy and I love it. Thank you for another fantastic plan Ana!


Sun, 09/04/2022 - 12:54
Gorgeous bed and it should last many years! Thank you for sharing.
My couches were inherited from my mom, and she loves everything BIG. So I have very deep, very tall and very BIG sofas that need a hefty table to hold it's own between them. I was working on converting the dimensions of the modern farm table on my own, but Miss Ana is known to be a mind reader, and drew up these plans before I finished mine!
I am terrible when it comes to a) reading the advice given in comments and b.) finishing, so I didn't know it would be absolutely beneficial to stain these pieces before assembly... OOPS! At least it's in a corner! :-p
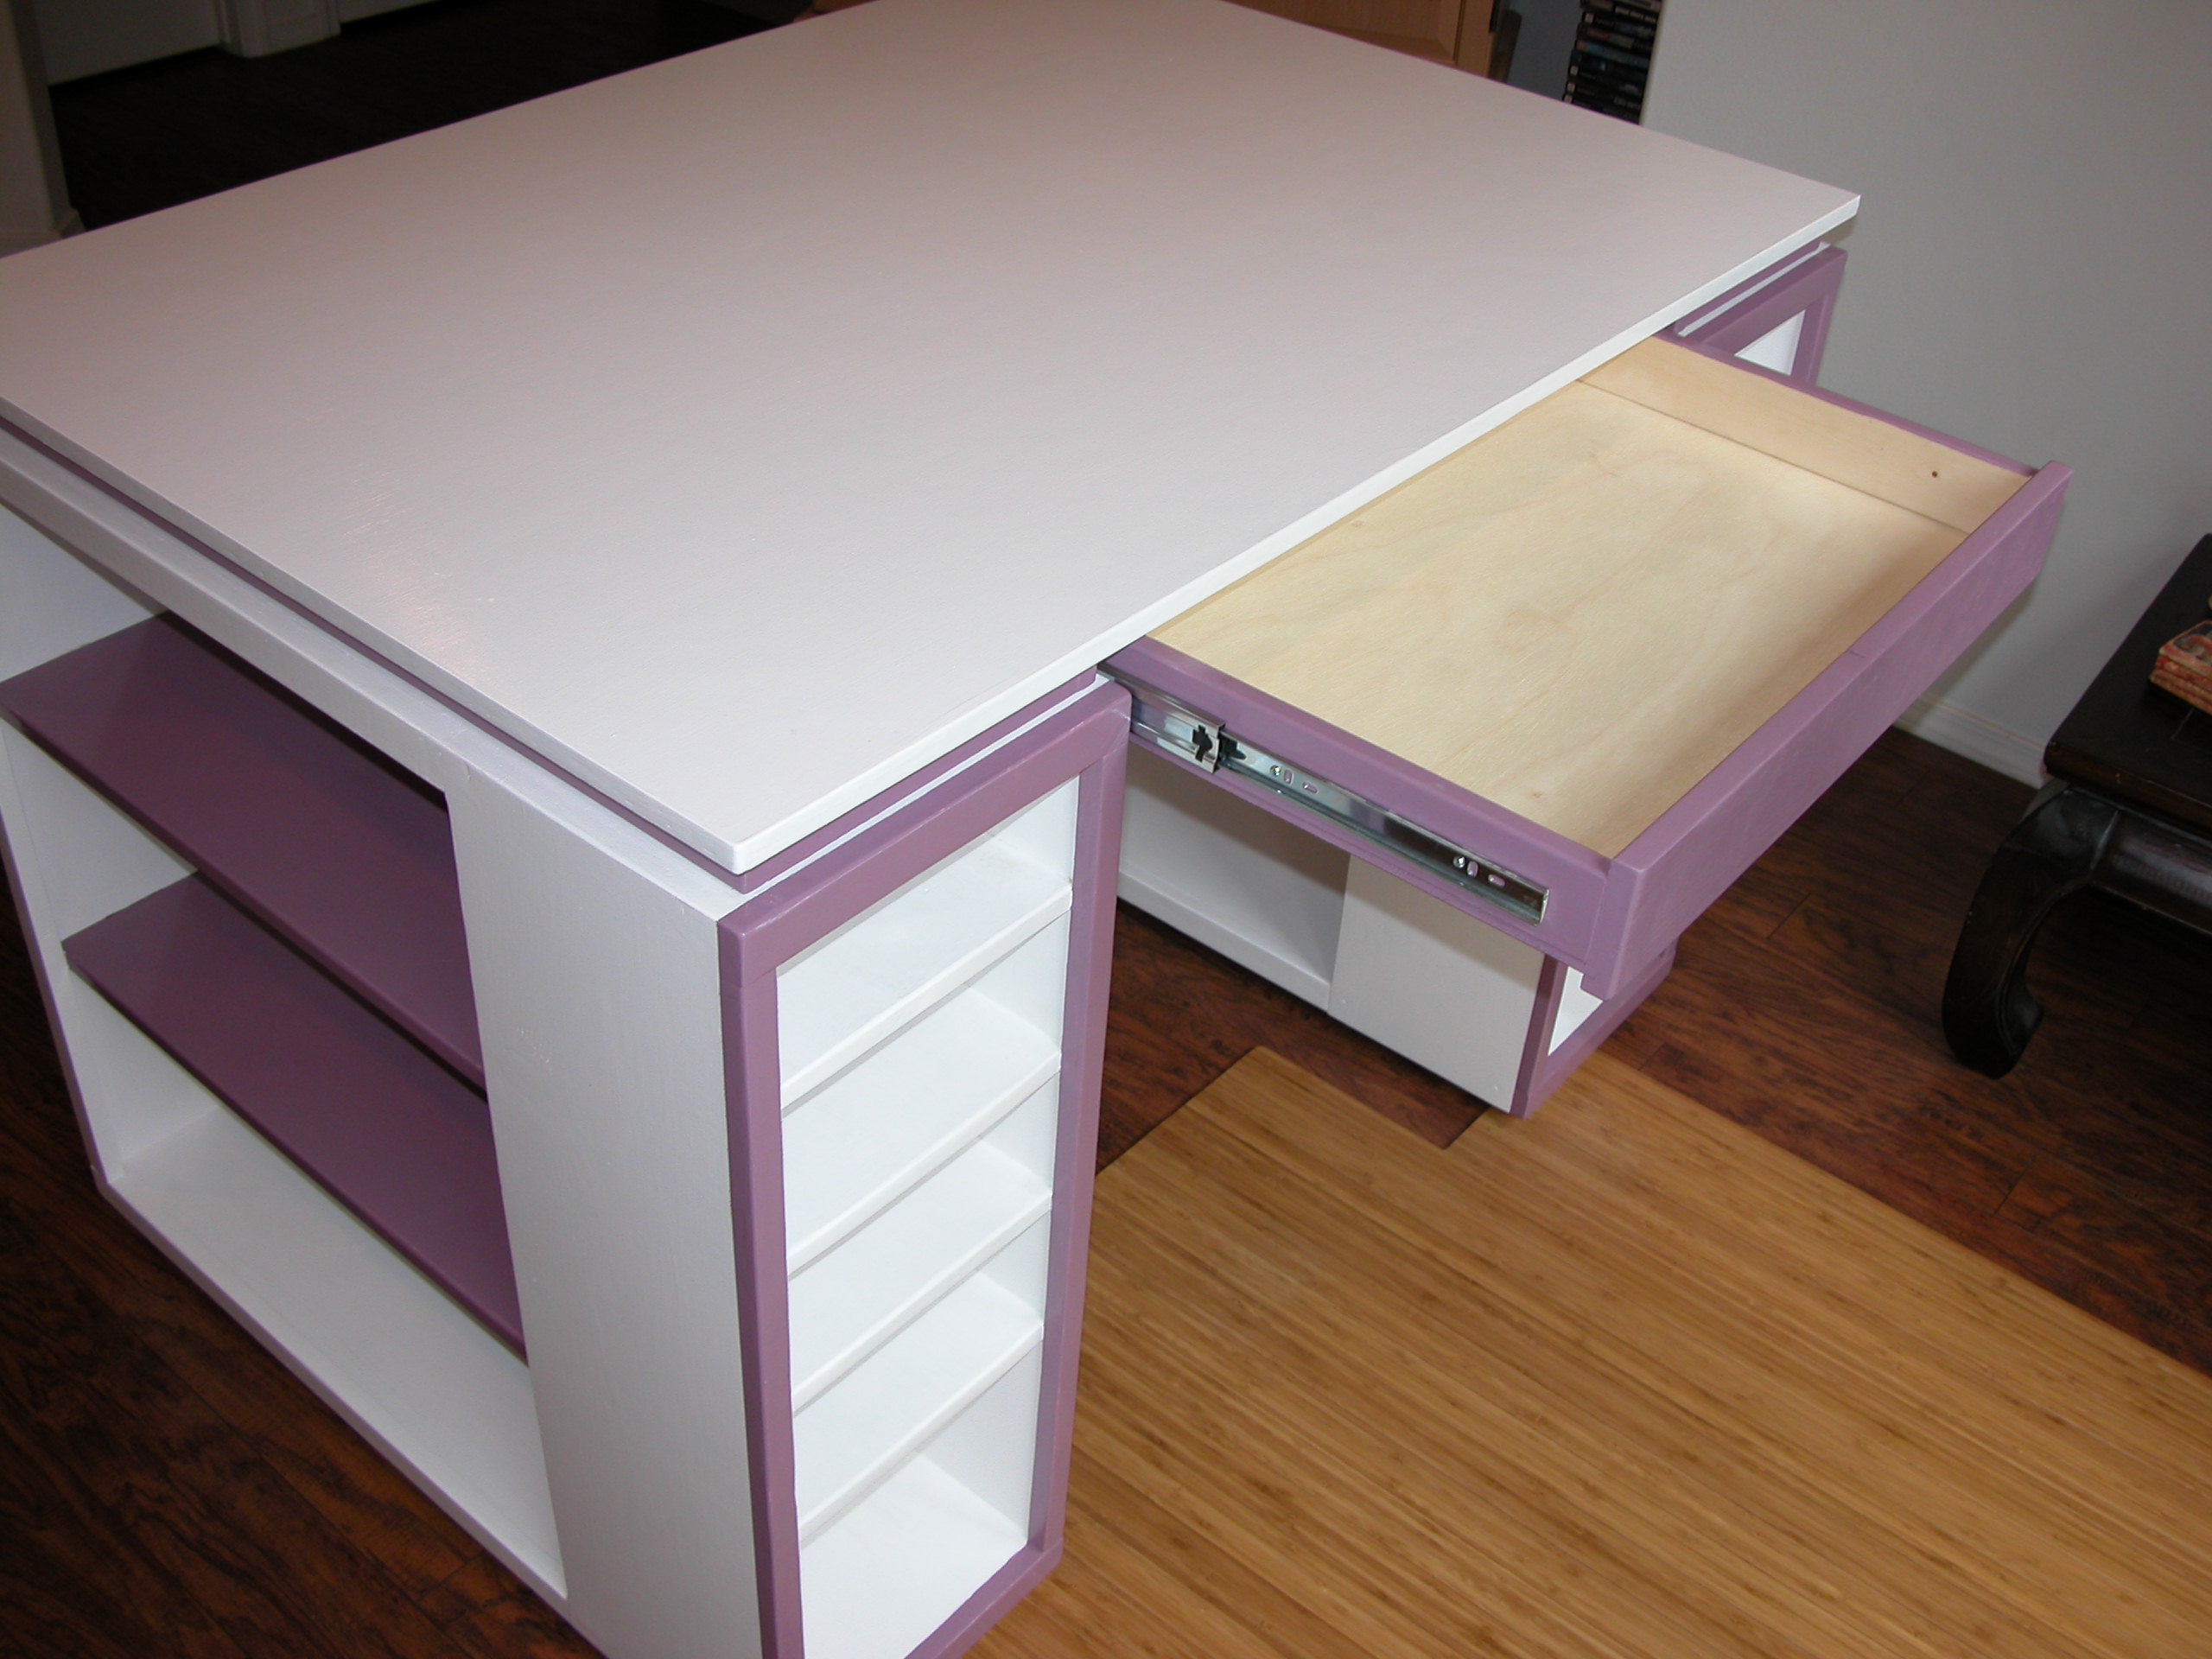
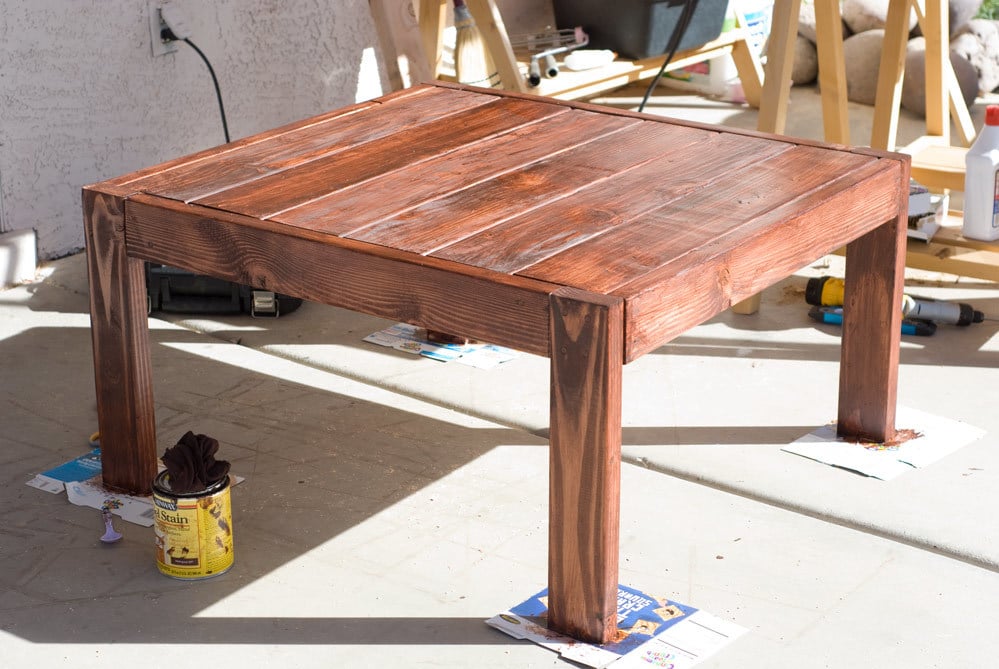
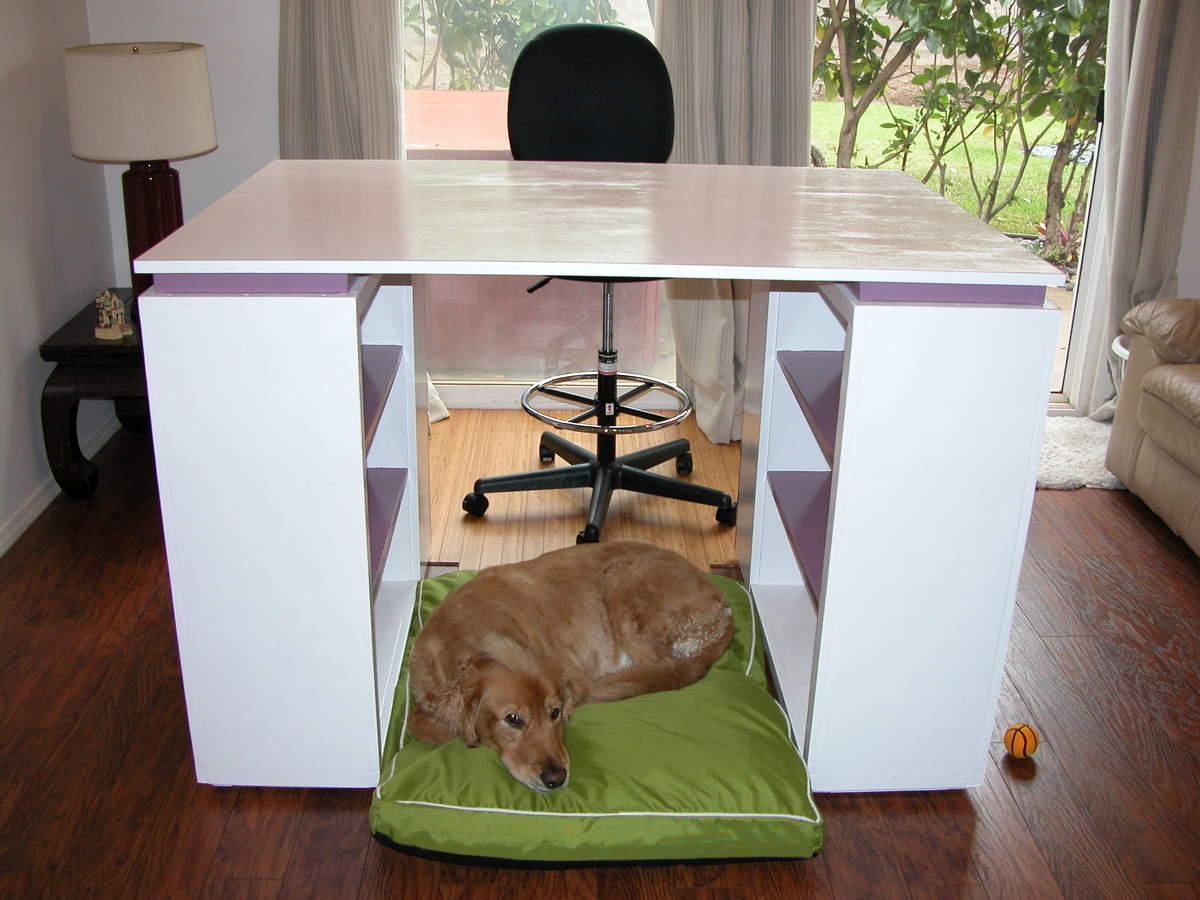
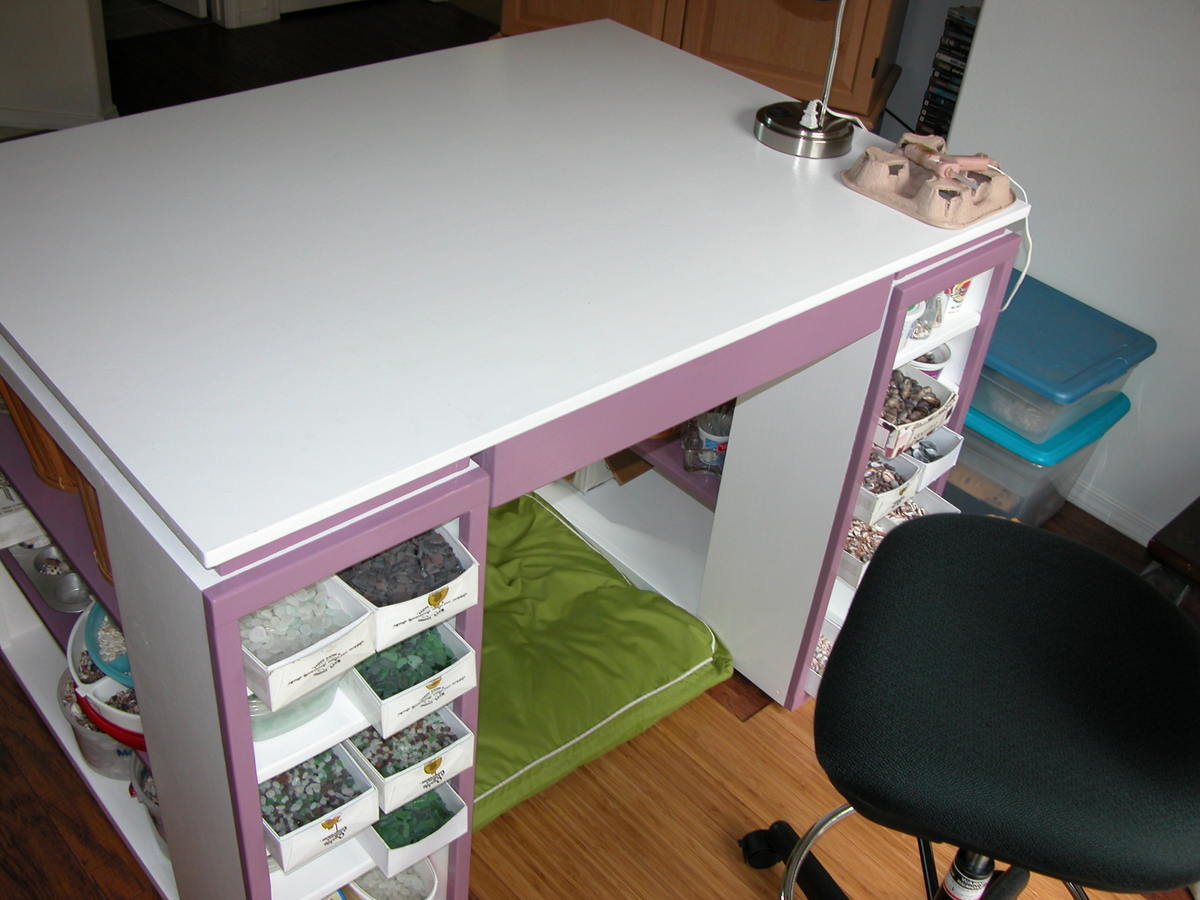
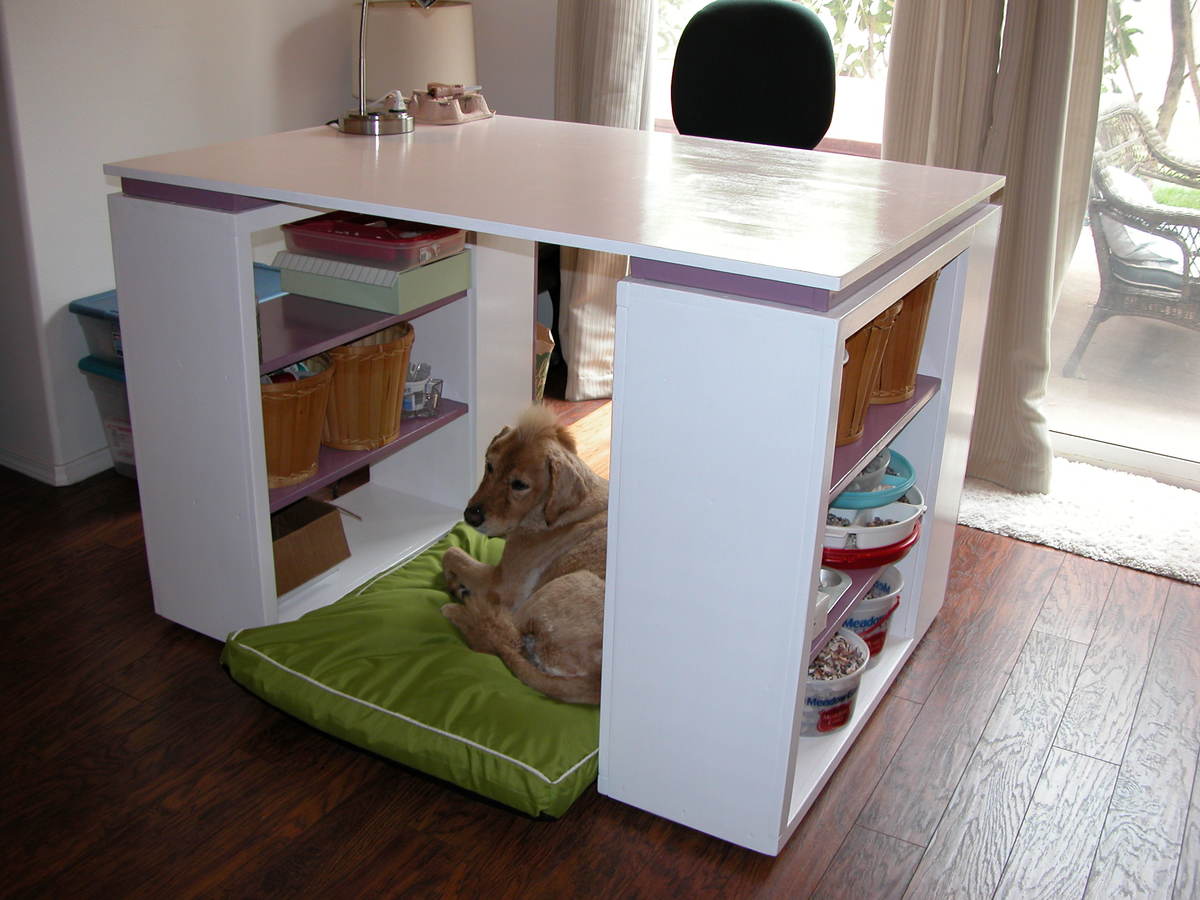
Maui Costco had a craft table but I waited too long to go back (1 week!) and they were sold out & discontinued. I stumbled across Ana White's website and found the "modern craft table." After a couple of modifications I am extremely happy with the results, as is my Golden Retriever "Buddy" who likes hanging out underneath while I am working. And yes, he has a mohawk!

Sat, 09/14/2013 - 23:39
Buddy looks very comfortable under "his" craft table ;-). Great job and isn't it fun to get something you want anyway - even after the big stores have sold out or discontinued, or both!? Love that part of building!
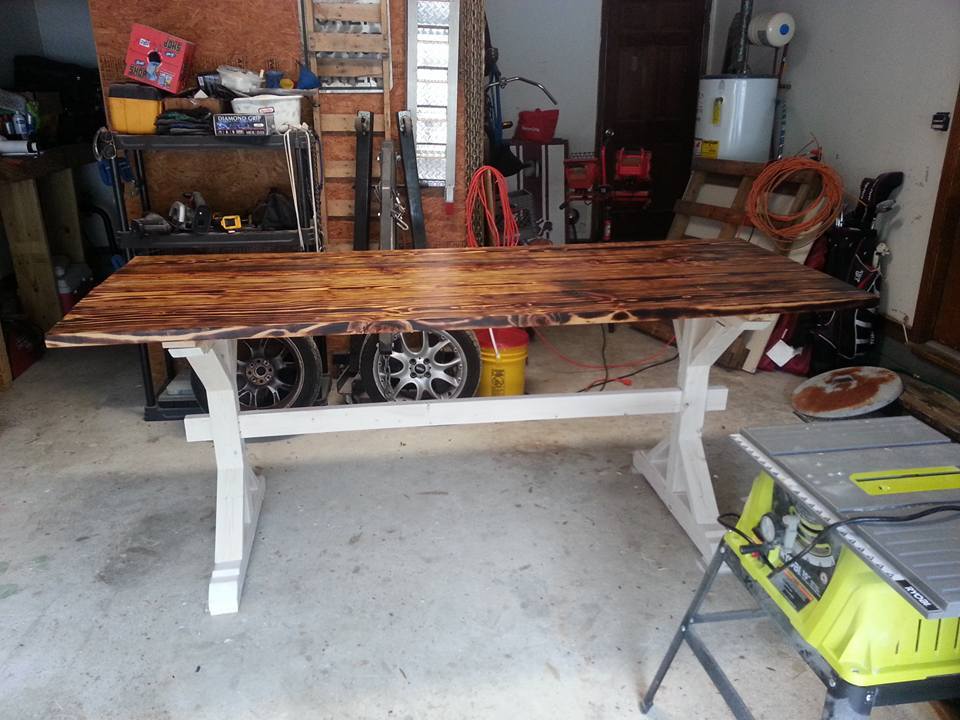
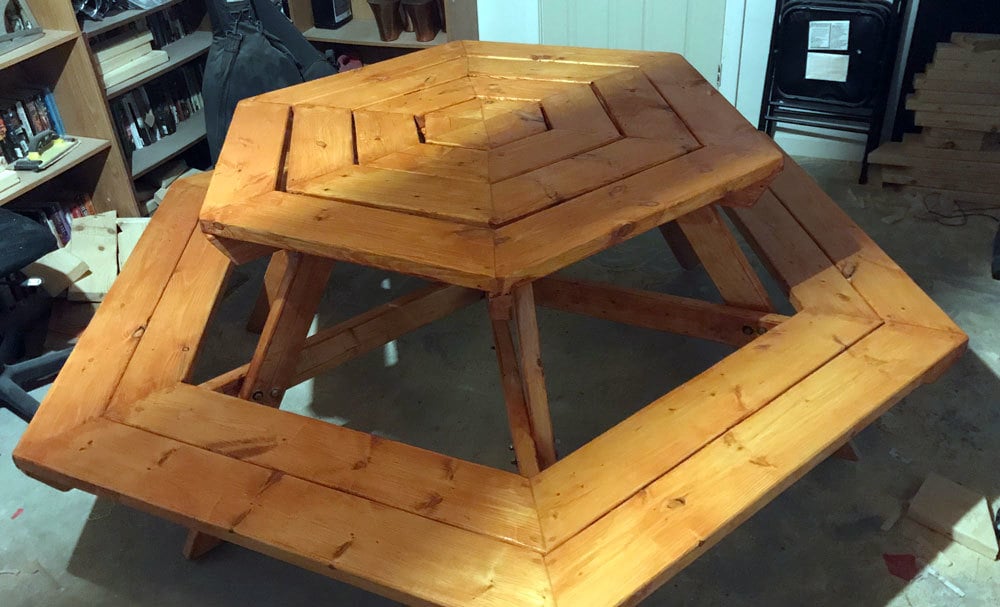
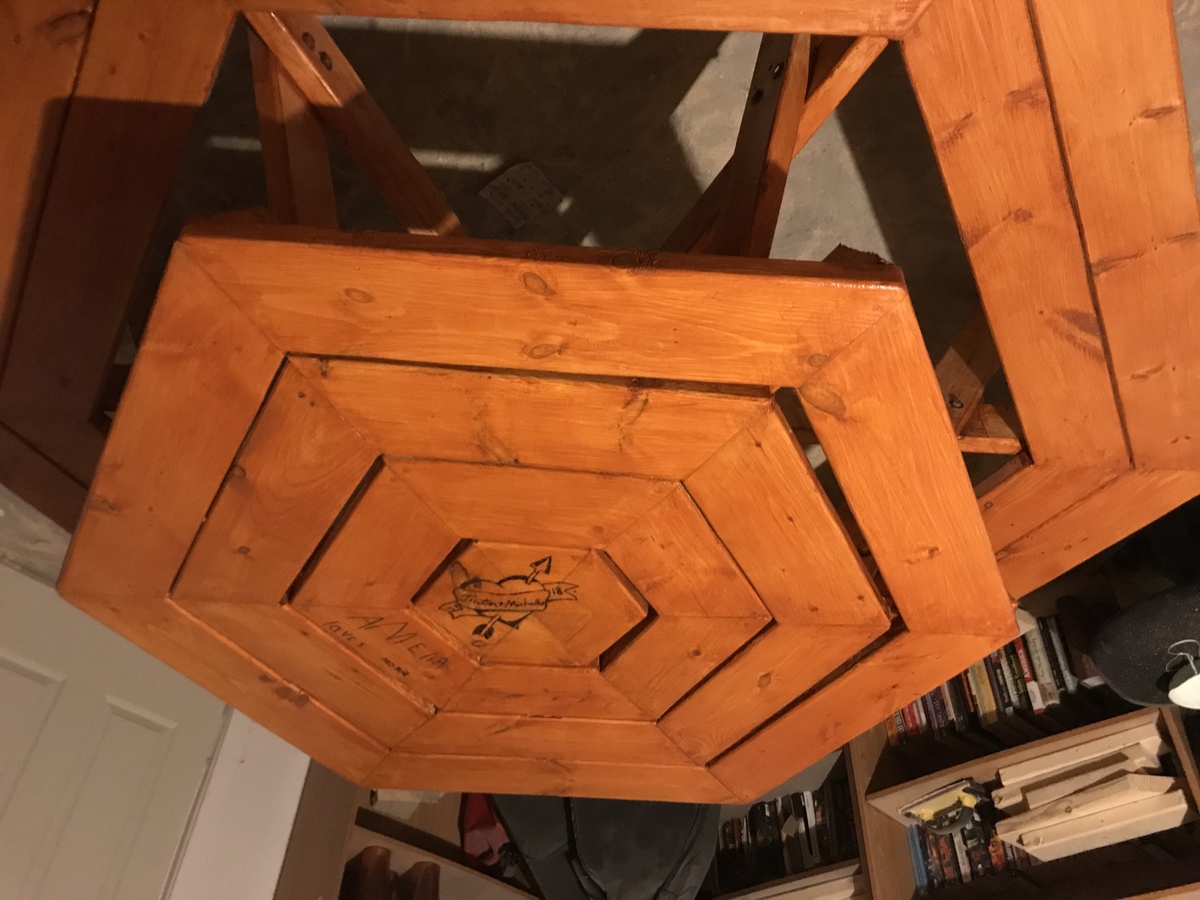
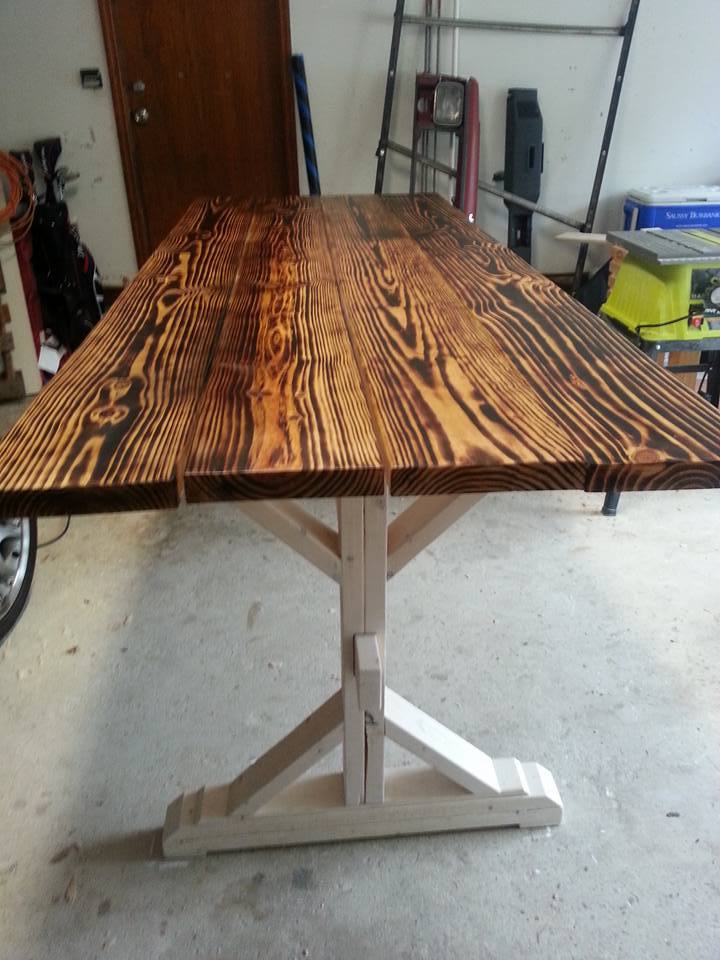
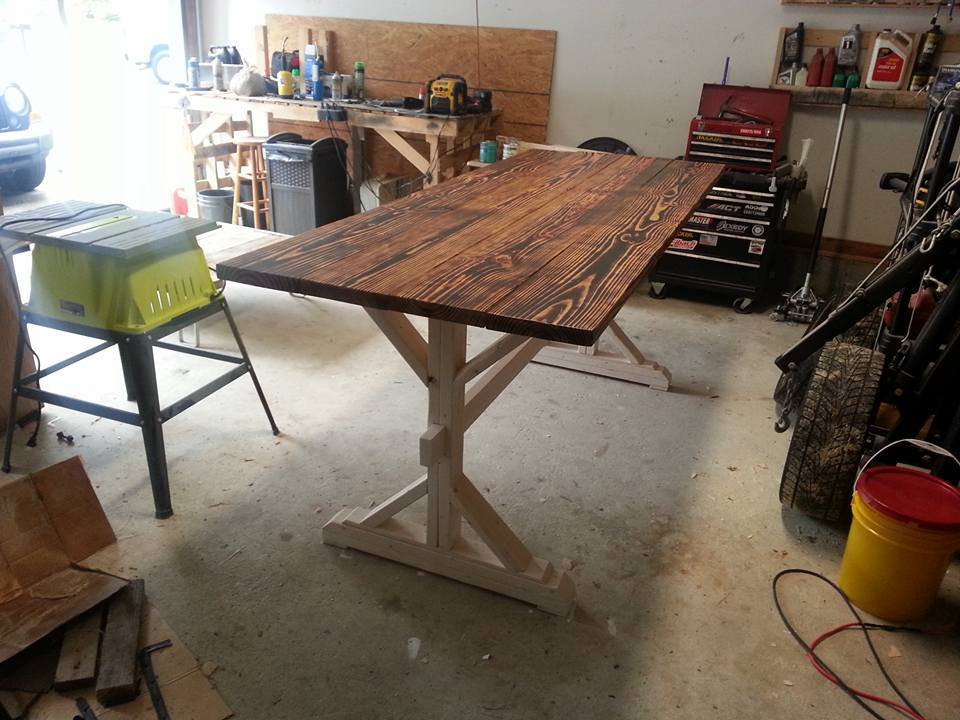
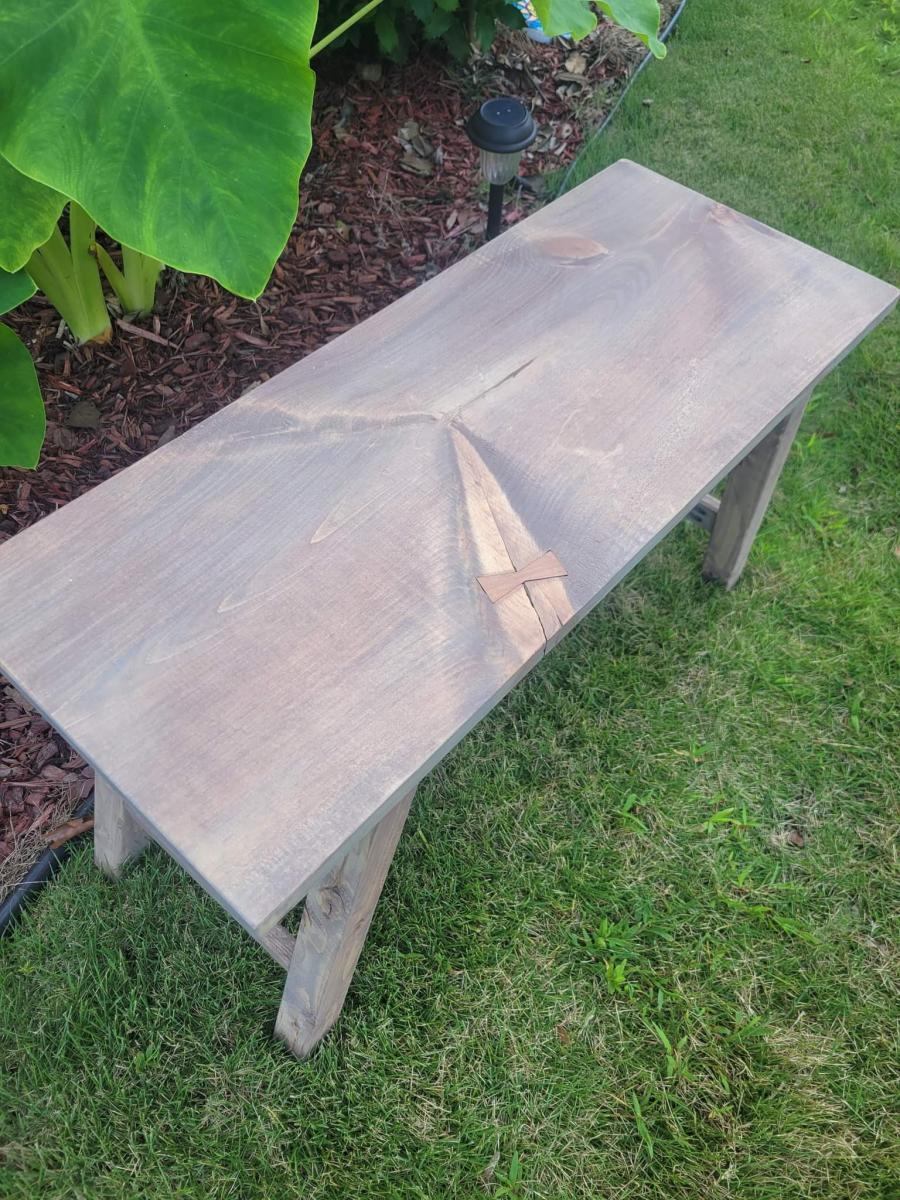
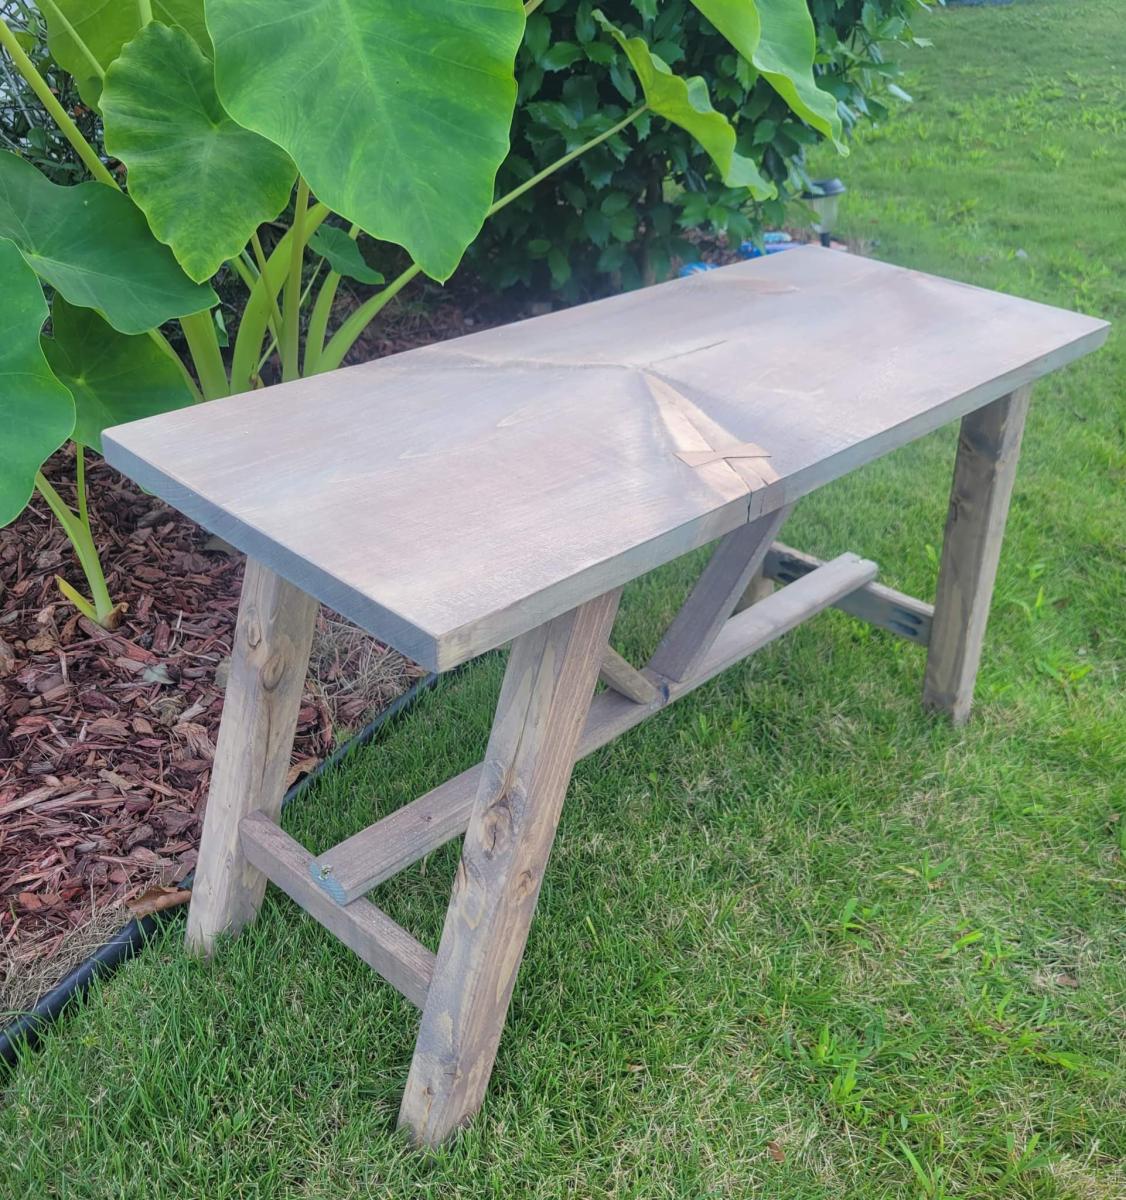
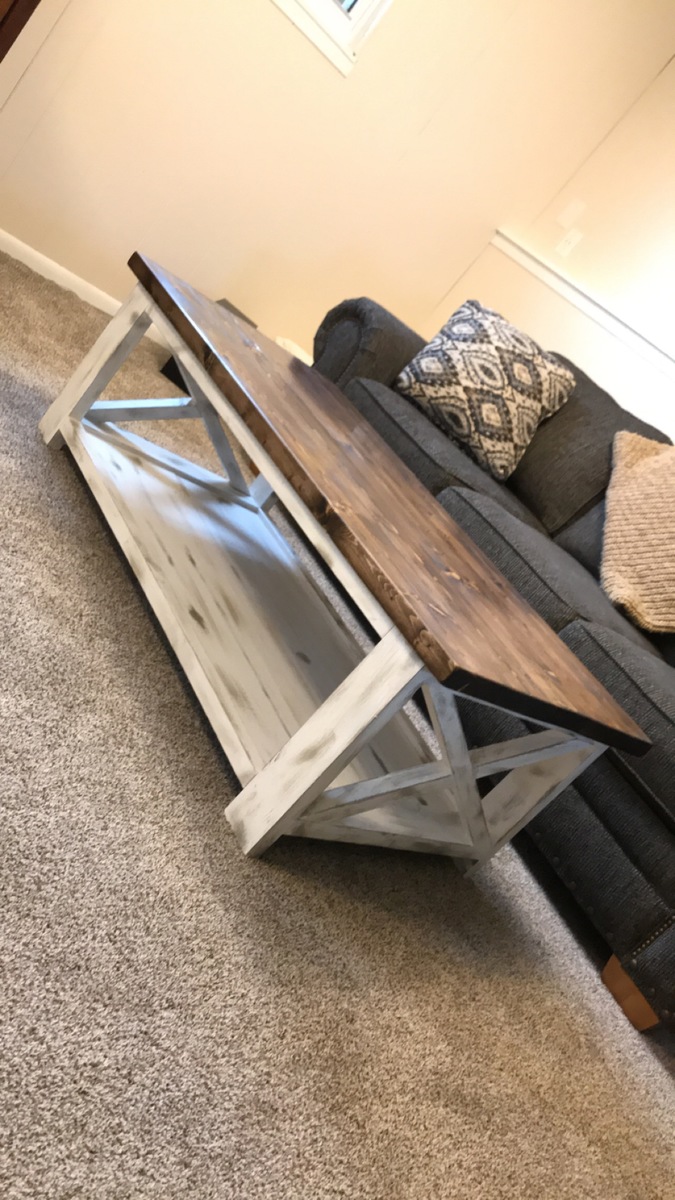
This is built off the Farm House X Table but I changed a few things around. The lower support beam has been raised up to the middle of the table. The table height has been raised to 40". The top of the table is floating. The top most 2x4s are secured directly to the top. They are also notched out a little to match the notch I put into the top support beam. The 2x4 is the female side and the support beam is the male. I finished the table by burning the top with a hand held torch and 2 coats or varnish. The base of the table has been white washed with 1 good coat.

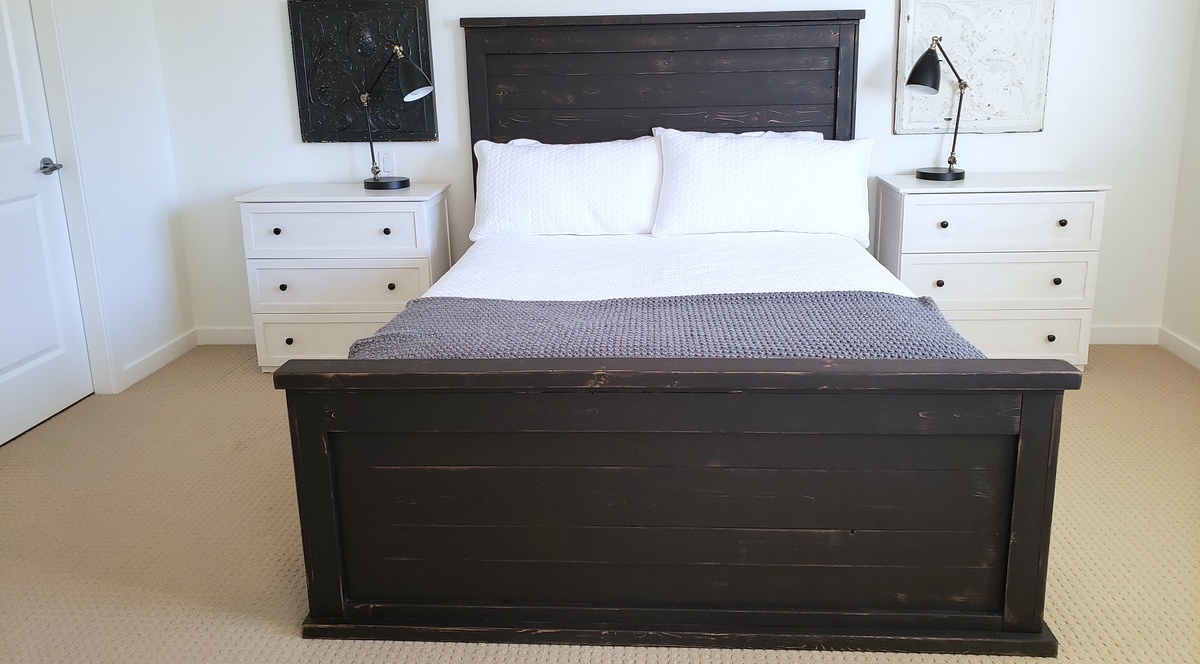
At 43, I feel like I finally have the bedroom I have wanted for many years. Lots of thought on creating a bed, but this is the first time it's come to fruition.

Wed, 01/02/2019 - 12:26
Wow, this is absolutely gorgeous! I love the finish color, what is it? It is beautiful! Thank you so much for bragging!
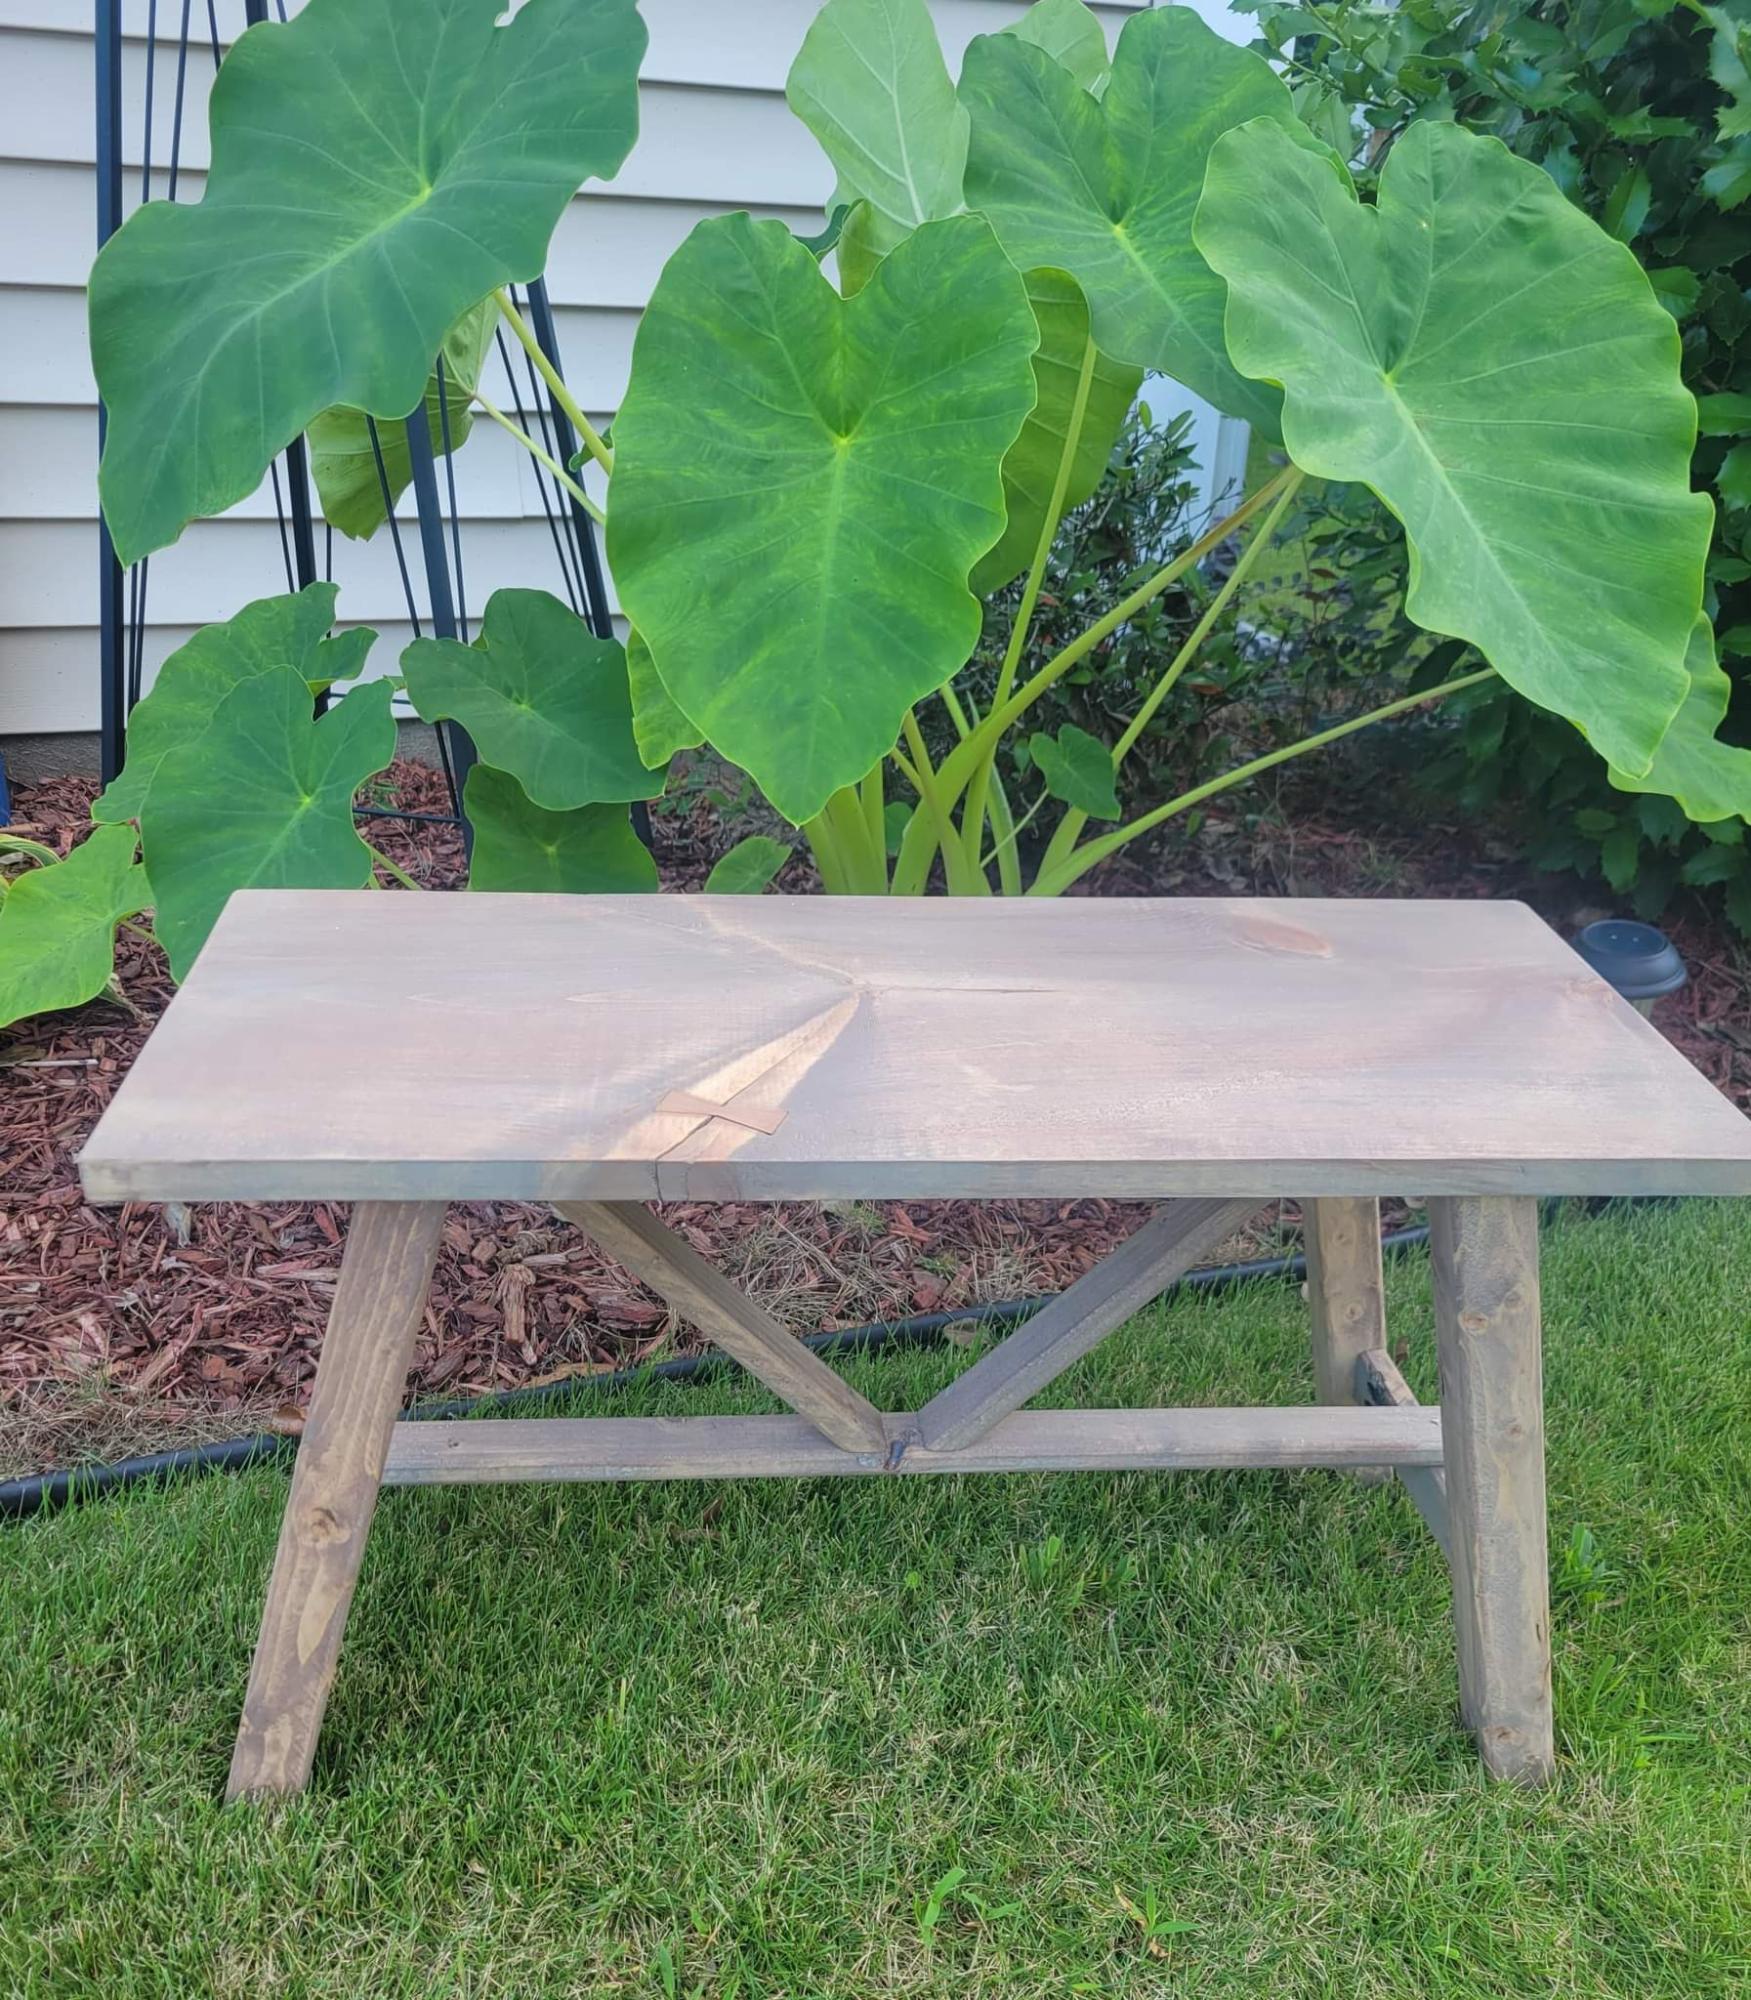
Fun build. We've been going through the scrap bin trying to figure out some ser projects to build. Had a piece of 1x12 that was perfect for this project. It had a little split in it, so we added a cherry bowtie to it.
Minwax weathered oak finish.
Tue, 09/13/2022 - 16:46
Thanks for sharing, great build and love the finish! Always feels nice to use up some scraps:)
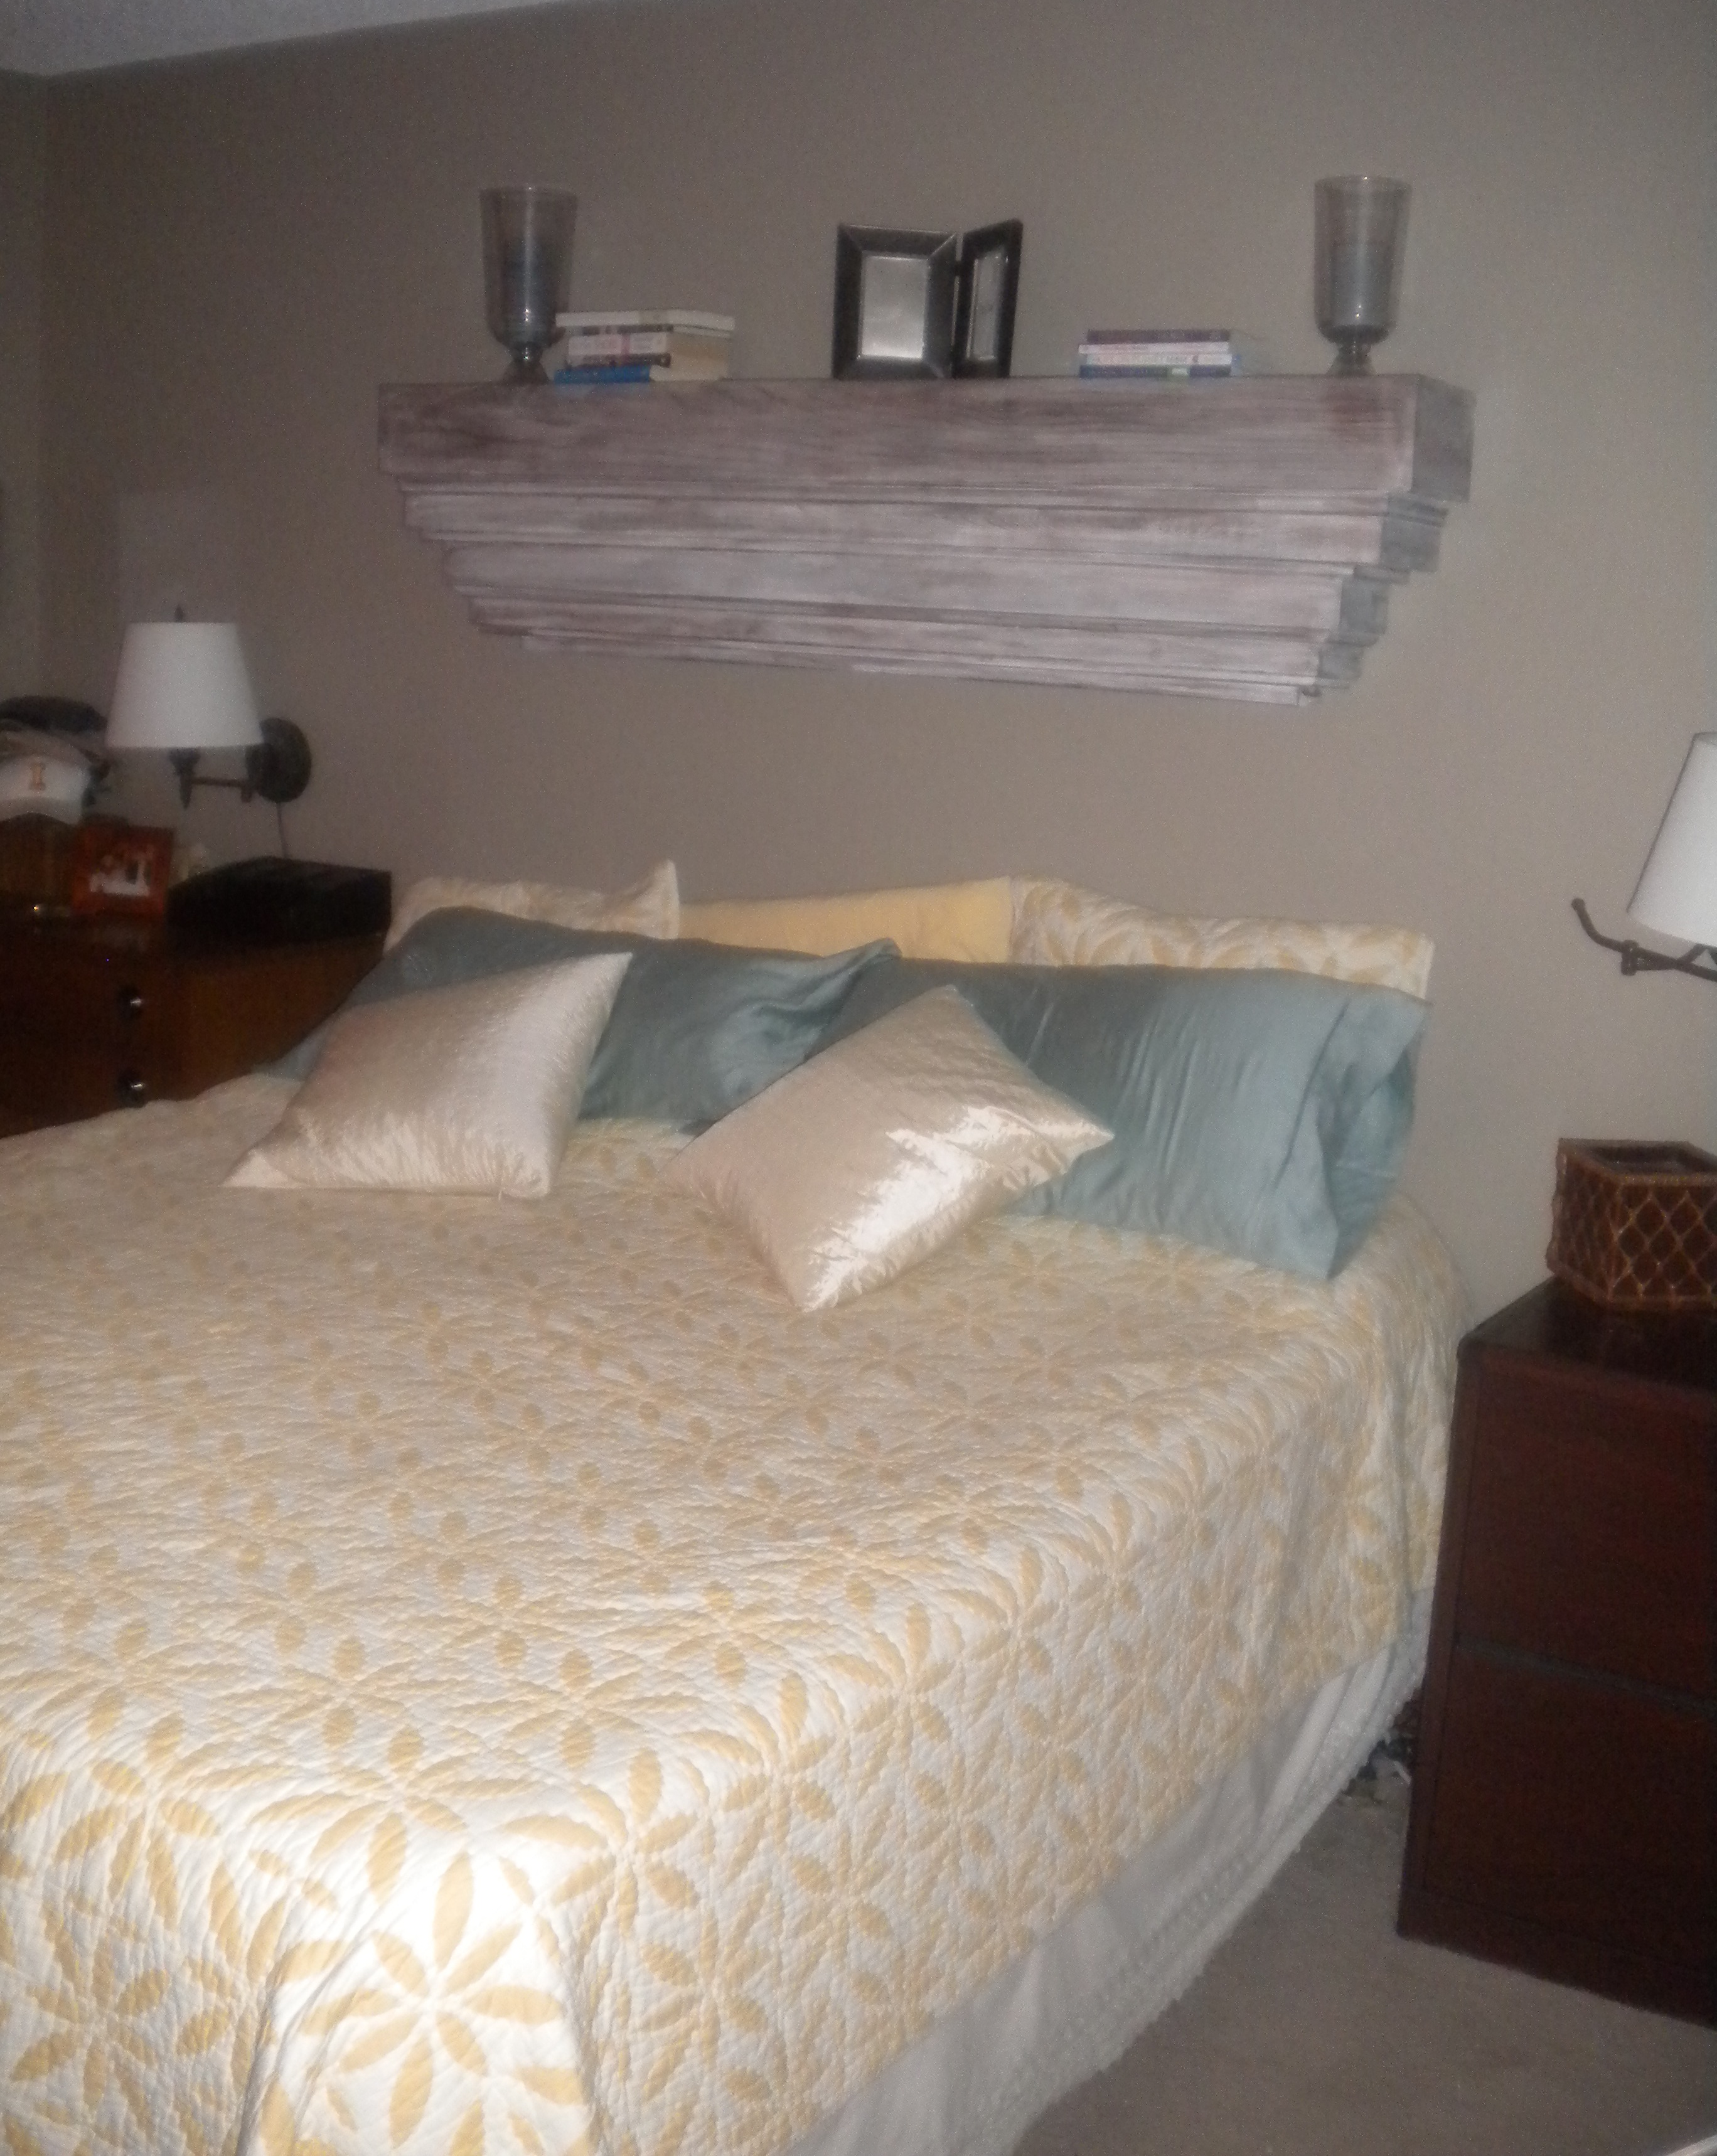
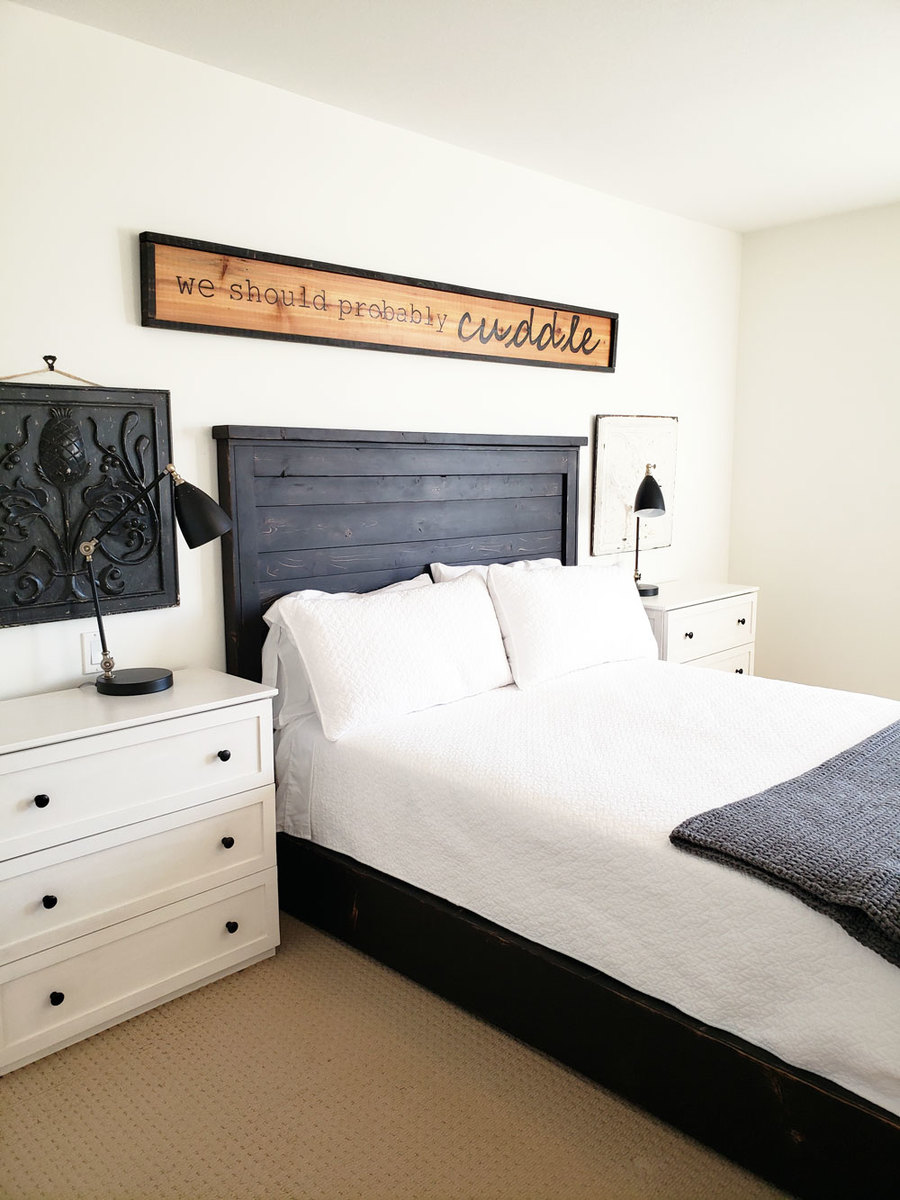
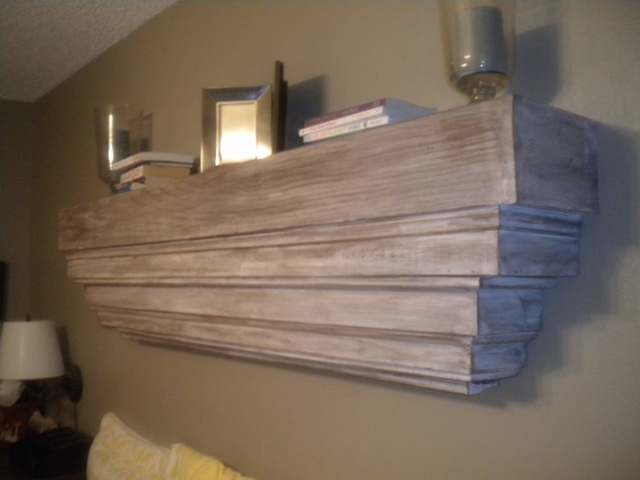
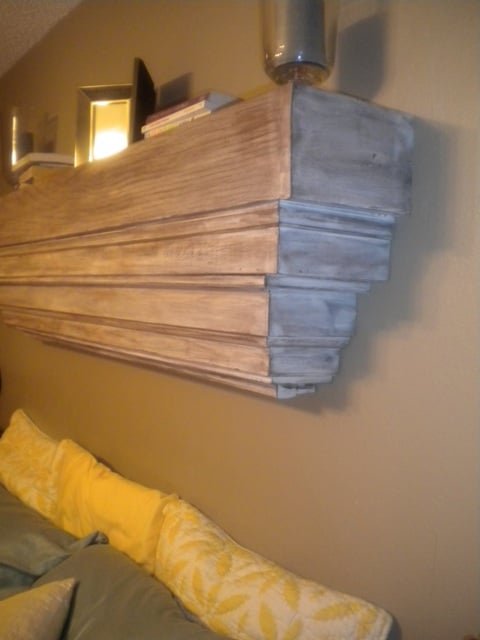
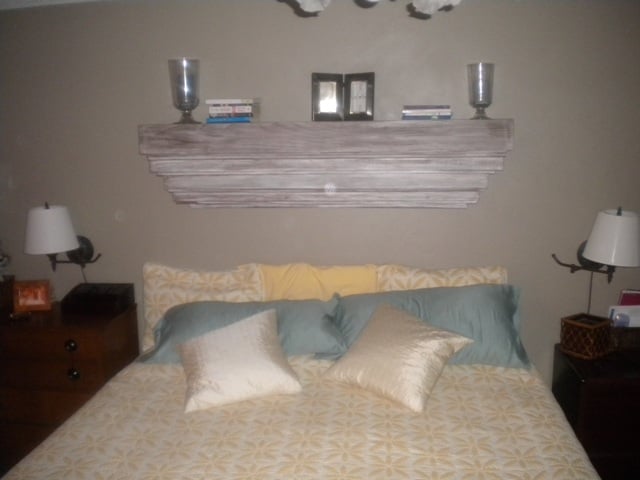
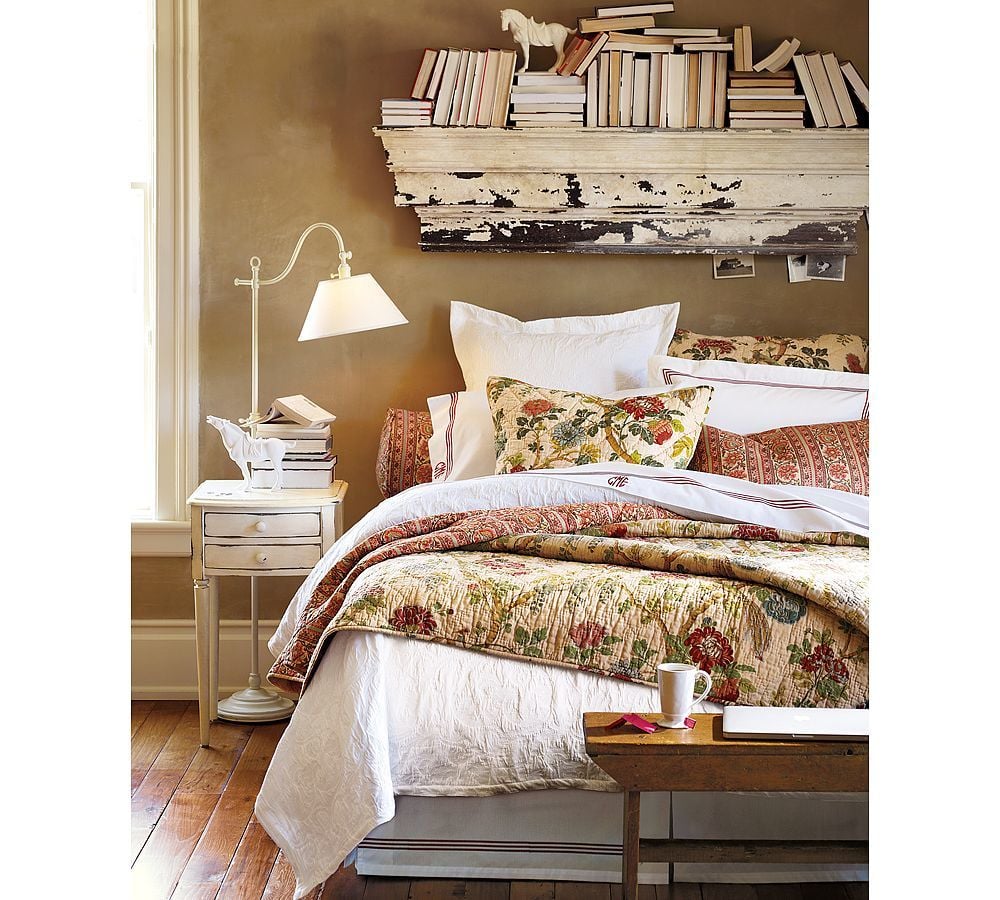
I've been wanting the pottery barn decorative ledge forever! I saw the picture online and was hoping I could find a tutorial for it. I ran across a couple but they weren't quite as big as the original and I wanted it to hang above my king size bed. So yesterday I headed out to my garage where I new I had a bunch of scraps/leftovers from my projects as well as my neighbor brought over some of his scap wood. I printed of the PB picture and wrote down the dimensions and got to work! This was my final result.
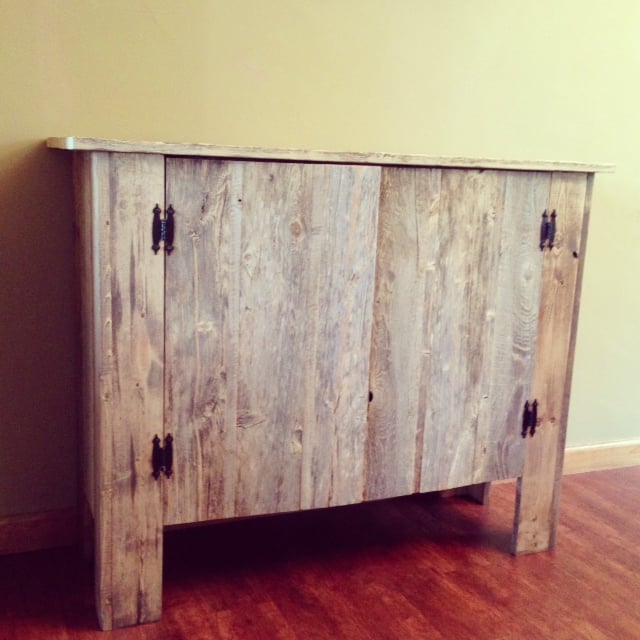
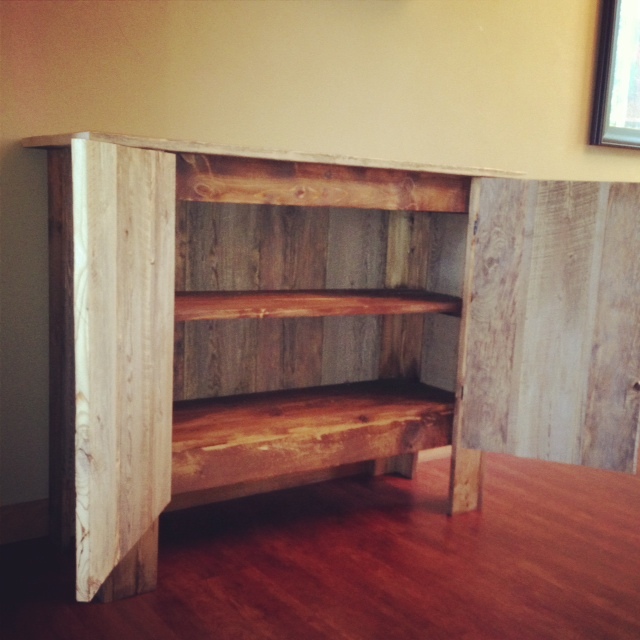
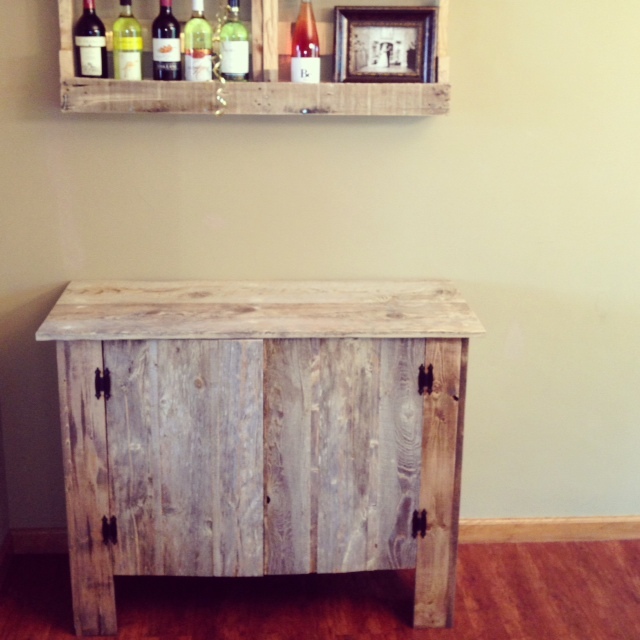
Finished this project using scrap pine for the frame and shelves and old barn wood for the doors/siding/table top. Turned out great, can't wait for other projects to finish.
Mon, 09/09/2013 - 15:03
Do you have plans for this project that you are willing to share. I really love the piece!
Tue, 09/10/2013 - 13:23
hello, I really don't have plans for the project but I could send some pictures to you that would show how it was contructed. For the legs, lower shelf box, and table top box I used precut standard board (scrap board from Menards, $1 a piece. and then I glued the doors together and the side skirts, the back I just screwed on from the inside and these parts were all the barn wood.
Tue, 09/10/2013 - 13:24
Thank you, the end result was very rewarding. Now I just have to fill it up with something before my kids start putting their toys in it.
Built this bed from the look of the project done by Ana. Used 4x4s for the legs and used a router to make slots for the 1x8s to fit in. Everything was built as I went because our house was built in 1907 and nothing is square and it also has vaulted ceilings.
First piece of furniture every built. I added some quarter round and 1x4 blocks. Finished with a grey stain and paste wax. Everyone asks me is where did I buy it and how did I afford it.
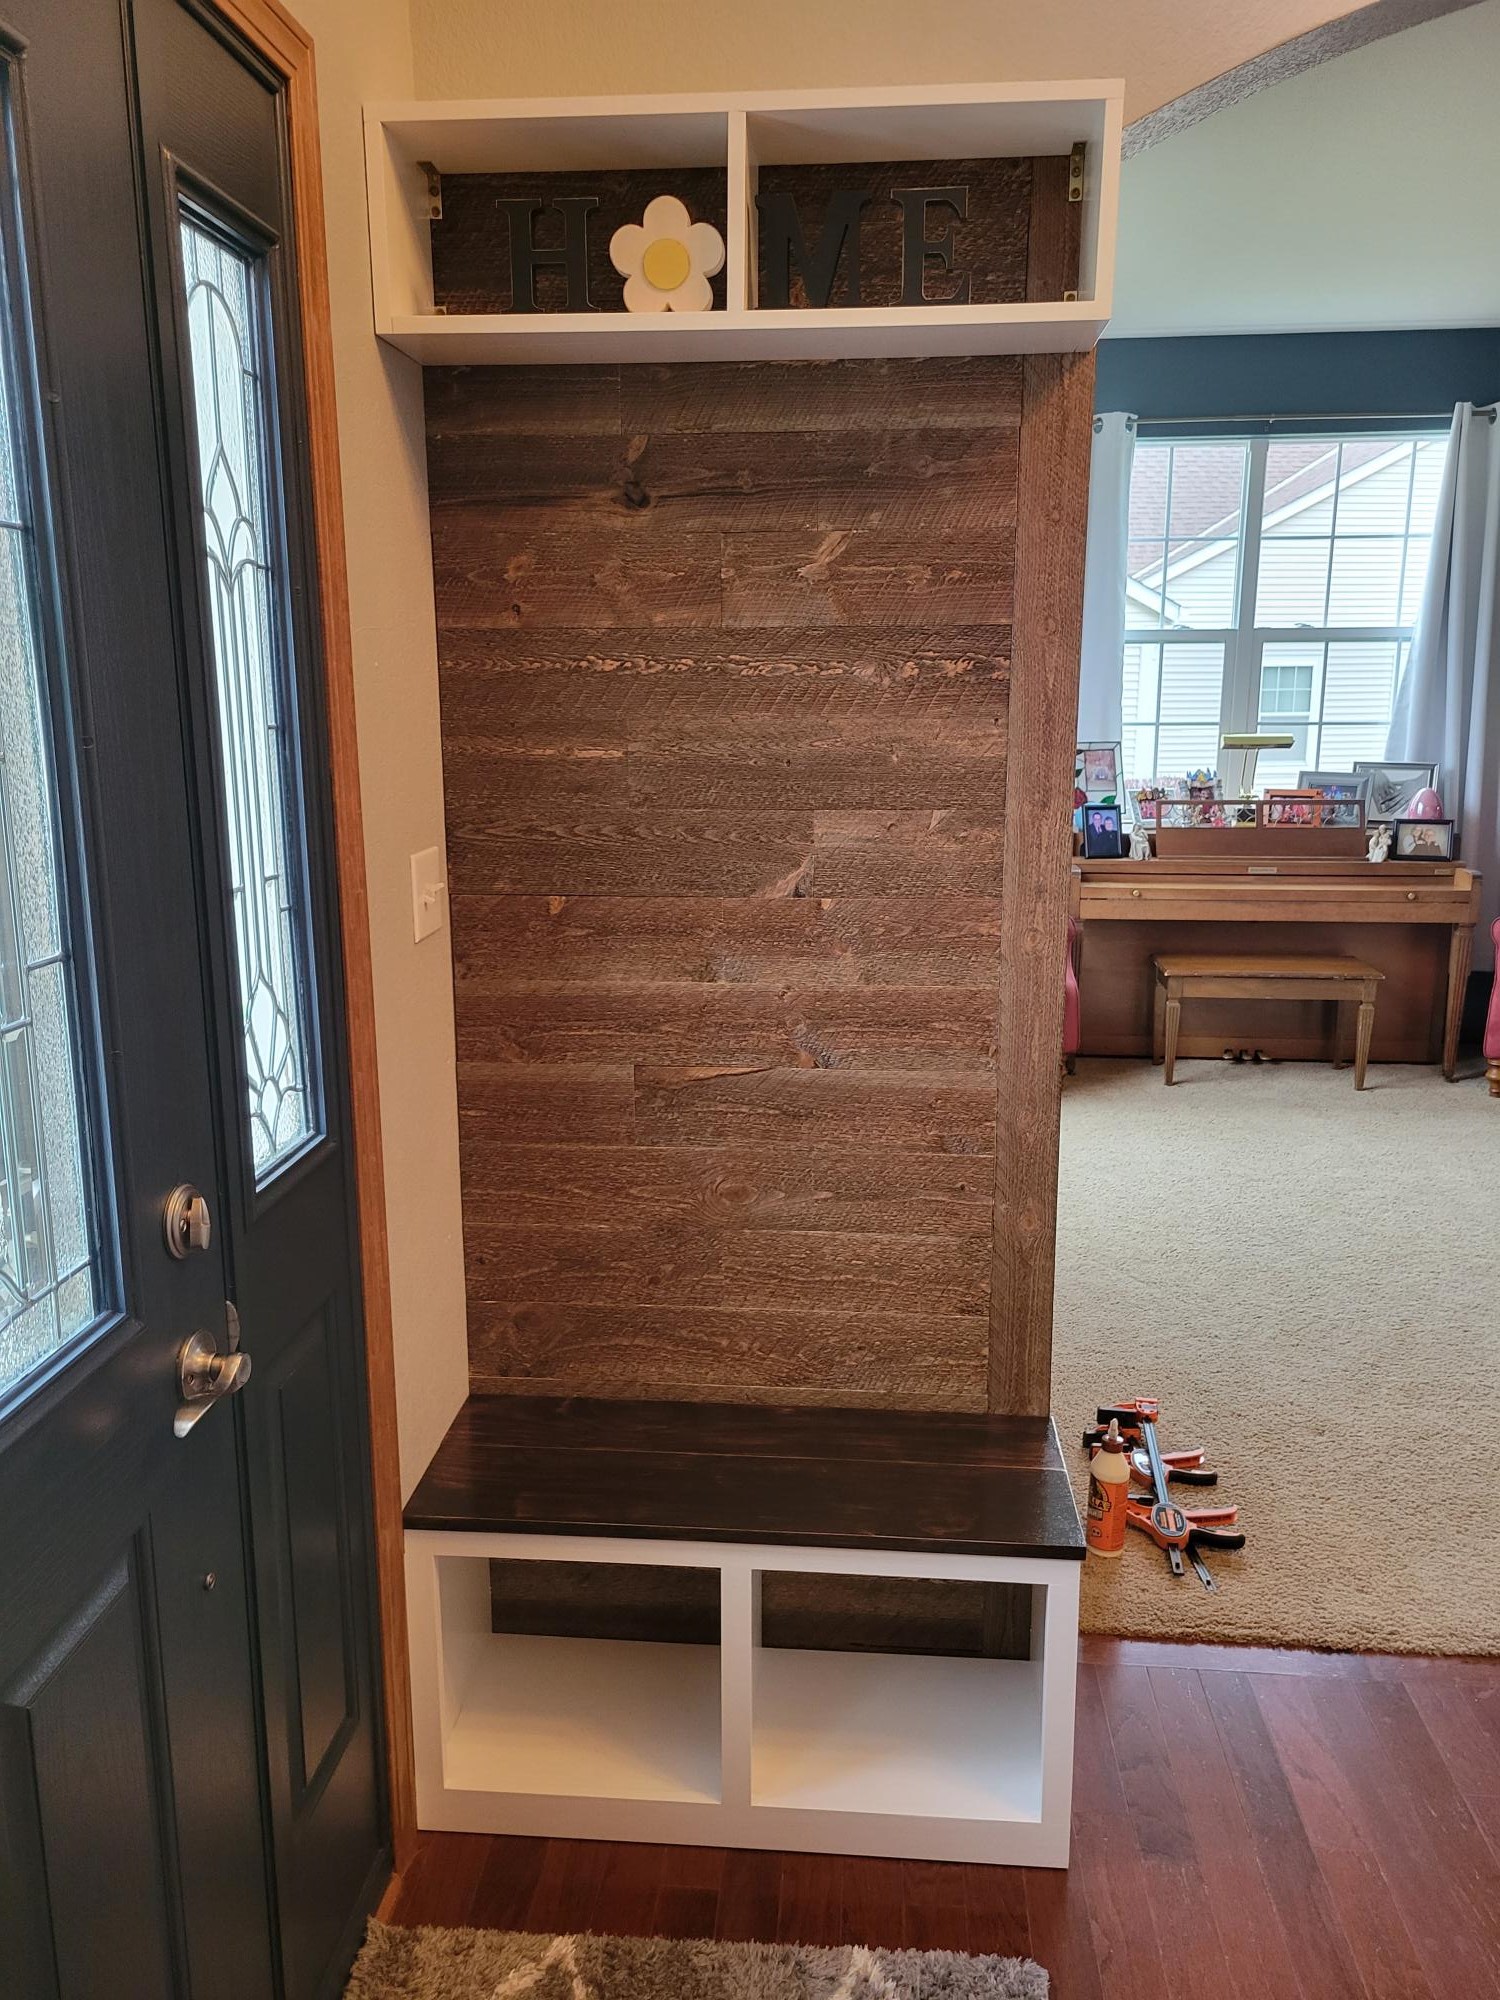
Sitting bench with shoe cubbie underneath. Barn boards for backing and shelving above.
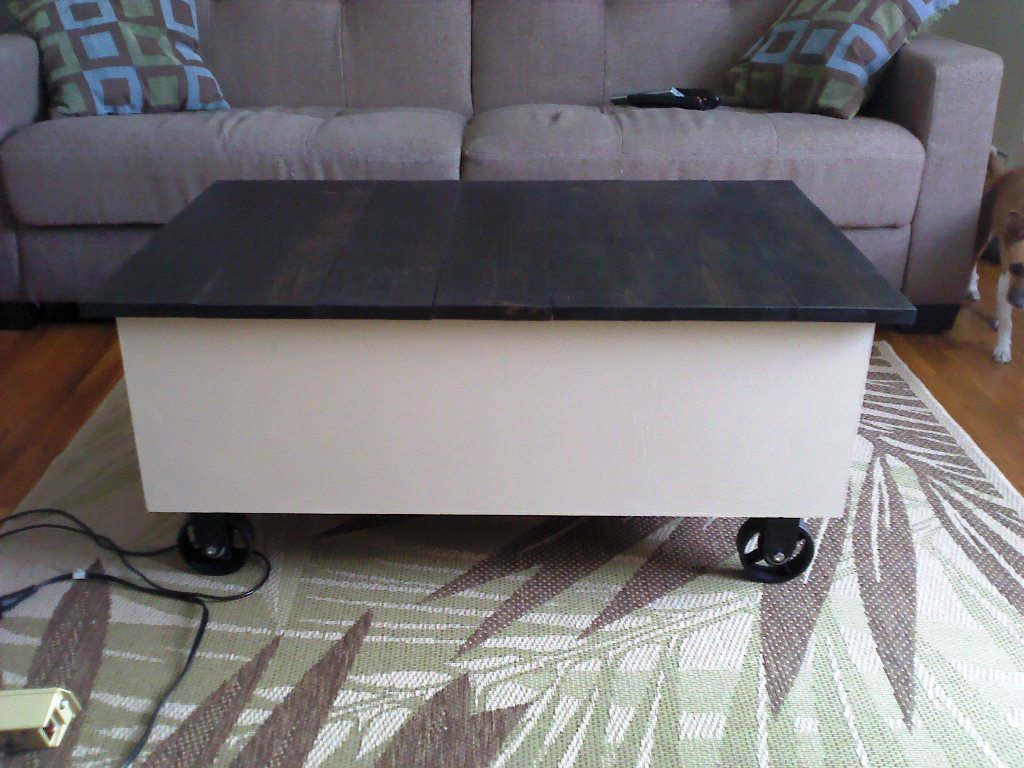
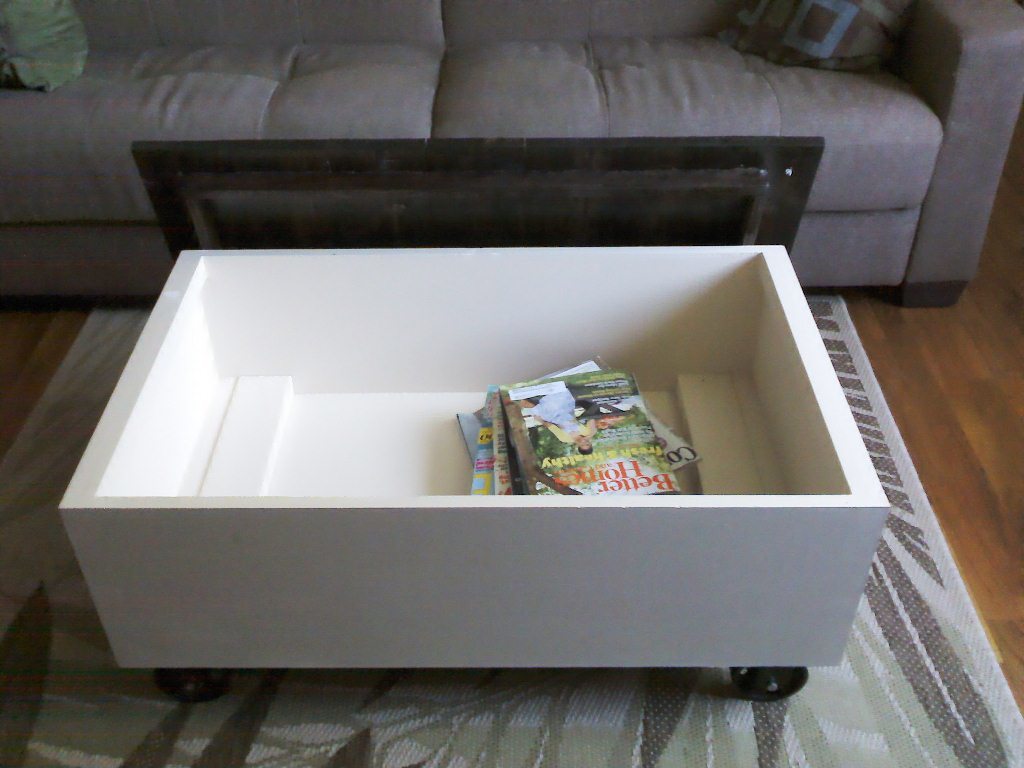
I modified the factory cart coffee table plans to make a coffee table with a removable top for storage. The result was more Pottery Barn than Restoration Hardware. I put a piece of plywood on the bottom, to make an enclosed box. Then modified the frame under the 1x6's of the top, to make it fit snugly in the opening of the top of the box. The sides of the box were 1x12's I had leftover from another project. Actually, everything was leftovers, except the 1x6's for the top, and the castors. The 4 inch castors were painted flat black with high heat wood stove paint (also a leftover from refinishing our pellet stove). I used smaller castors, since the table was already taller than the original plans.
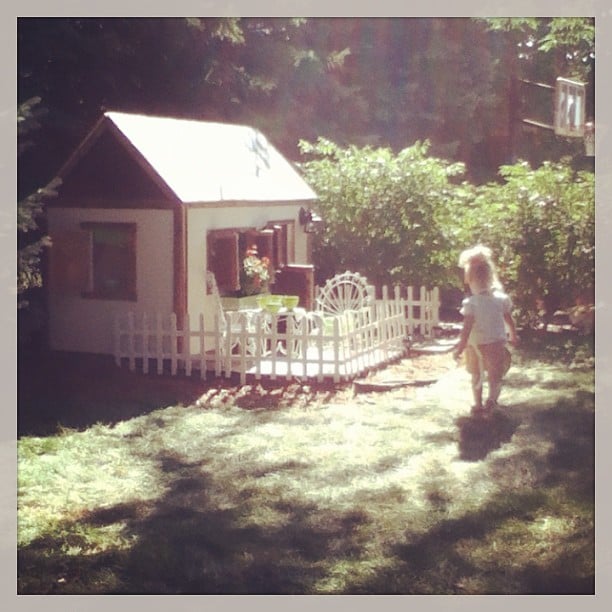
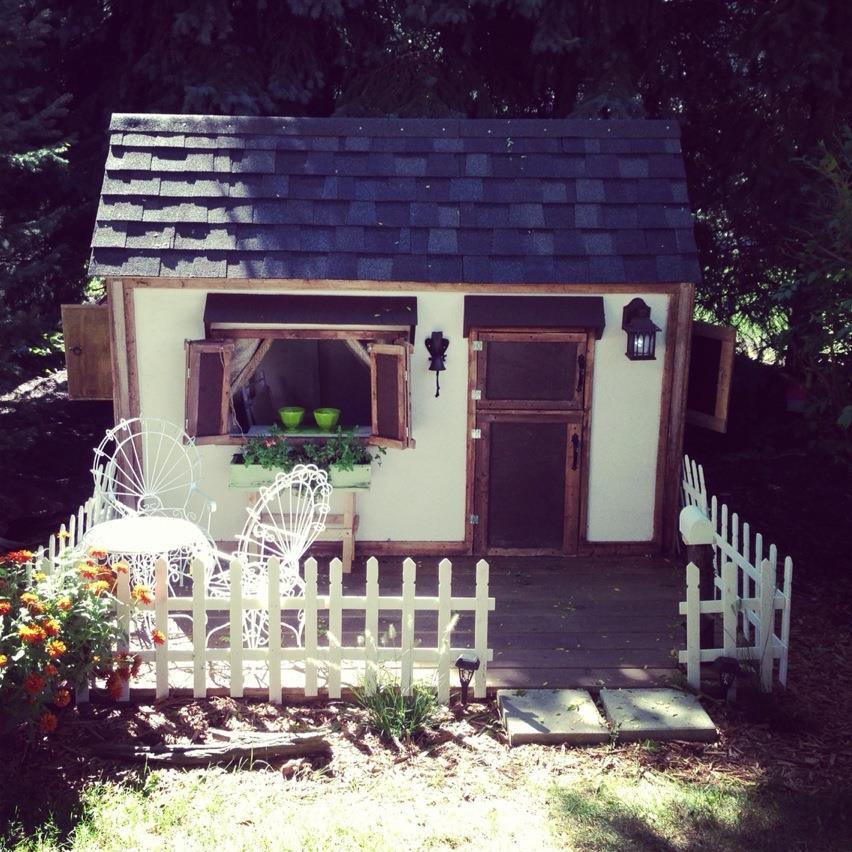
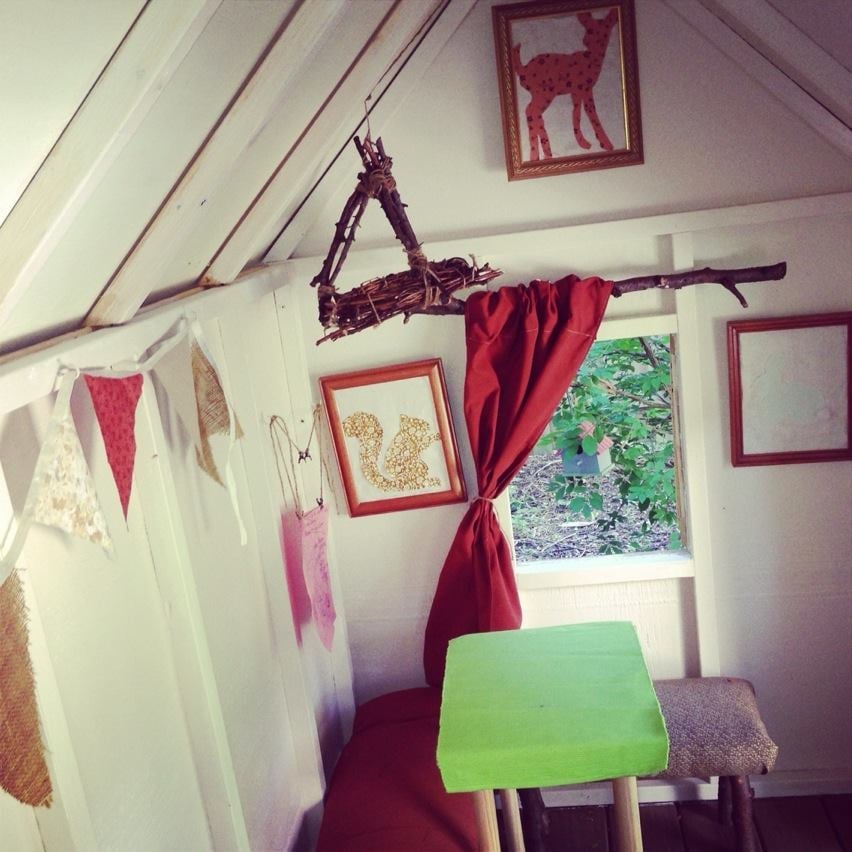
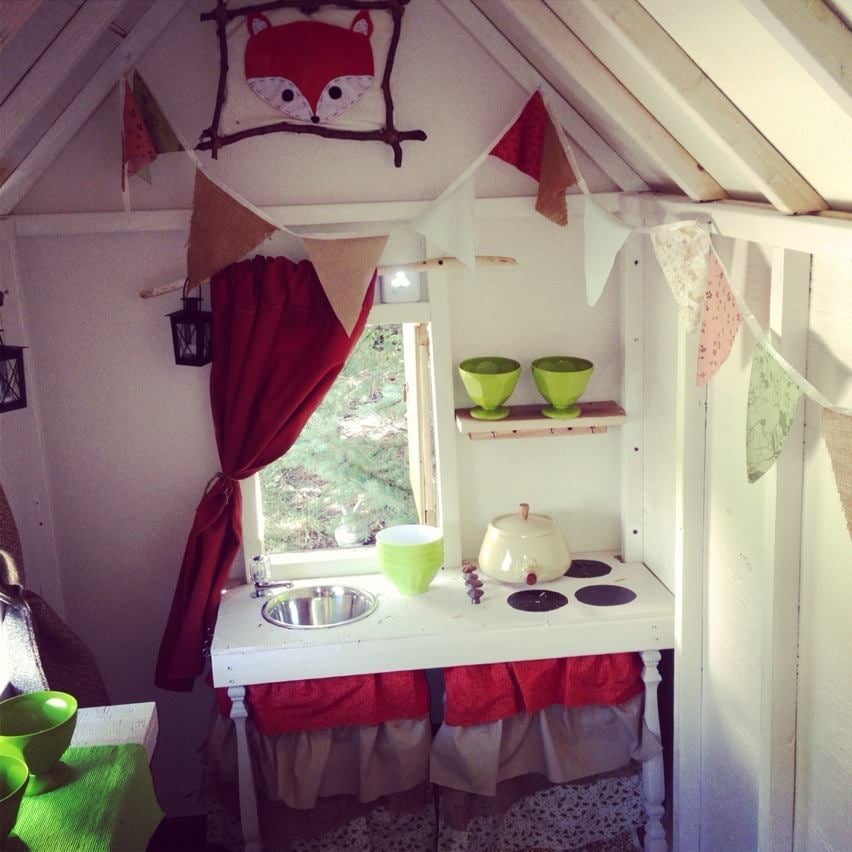
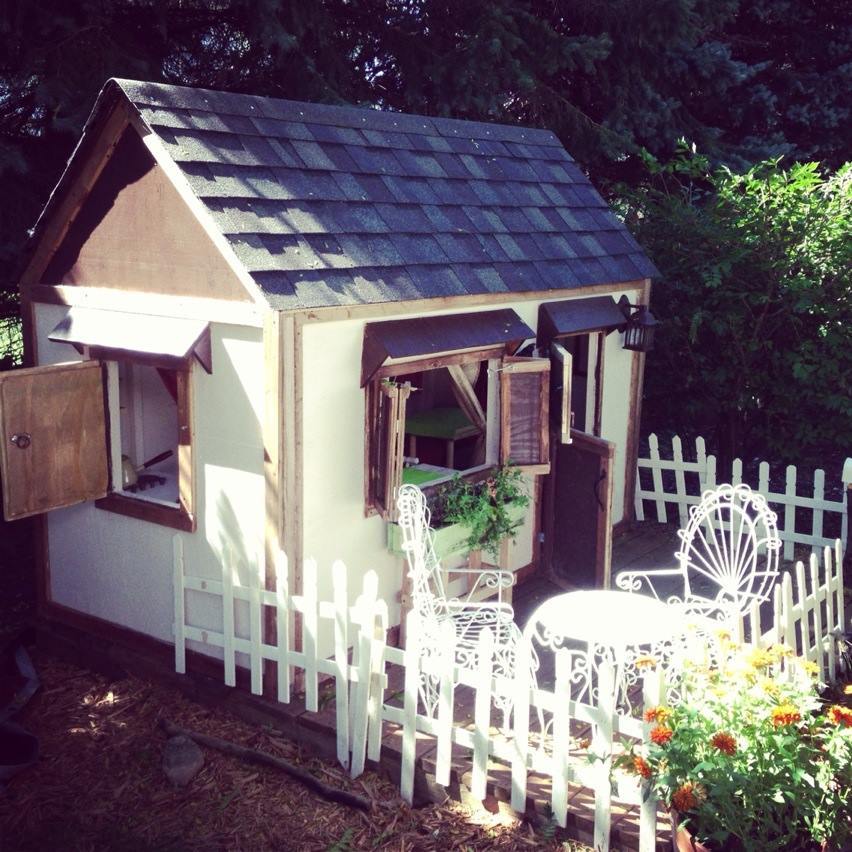
This was something I had always wanted to build for my nieces and nephew! it was a blast to build and see it come together. Two people working on this job is best. I loved the look of being able to open the doors top and bottom! I added the awnings above all the windows and doors to prevent as much water going into the playhouse as possible. The roofing was a little overwhelming at first but as we got going it turned out just fine! I wanted to lantern in the front to actually light up but I didn't want to run electricity so I got the lantern and put a motion sensor battery light on the inside and it works great! I also put one on the inside for more lighting there too, along with 3 battery "candle" lanterns. For the inside decoration I went with a wood land theme, put a growth chart on the inside wall to measure their height each year, and even made face masks! This is always and ongoing project for me seeing as how i'm always adding something new. The little ones love coming over and getting mail in the mailbox. Thanks Anna for the playhouse plans! I'm excited to see my nieces and nephews imaginations grow with all the possibilities the playhouse brings!


Thu, 09/12/2013 - 14:04
This is like the picture perfect childhood for me. I LOVE it. Great build!
Tue, 07/29/2014 - 14:04
So I had a hard time figuring out which house to build for my daughter and your house gave me such inspiration! I cannot wait to make this for my little girls 2nd birthday. She loves play pretend. Thank you for your inspiration!
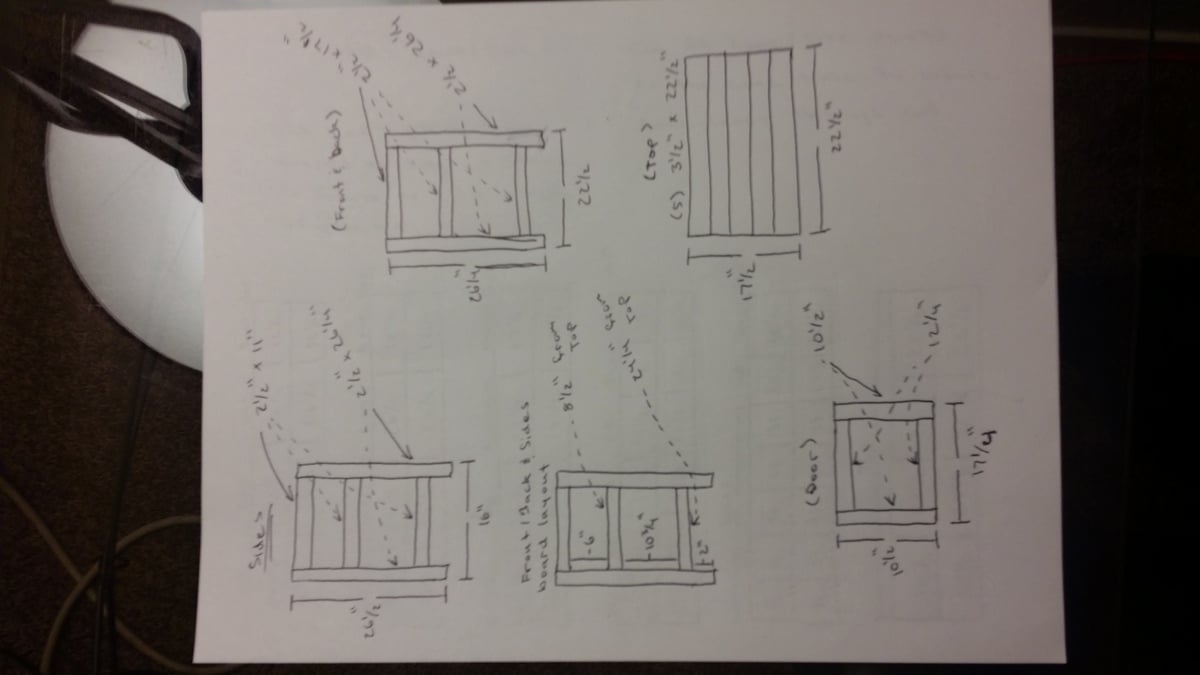
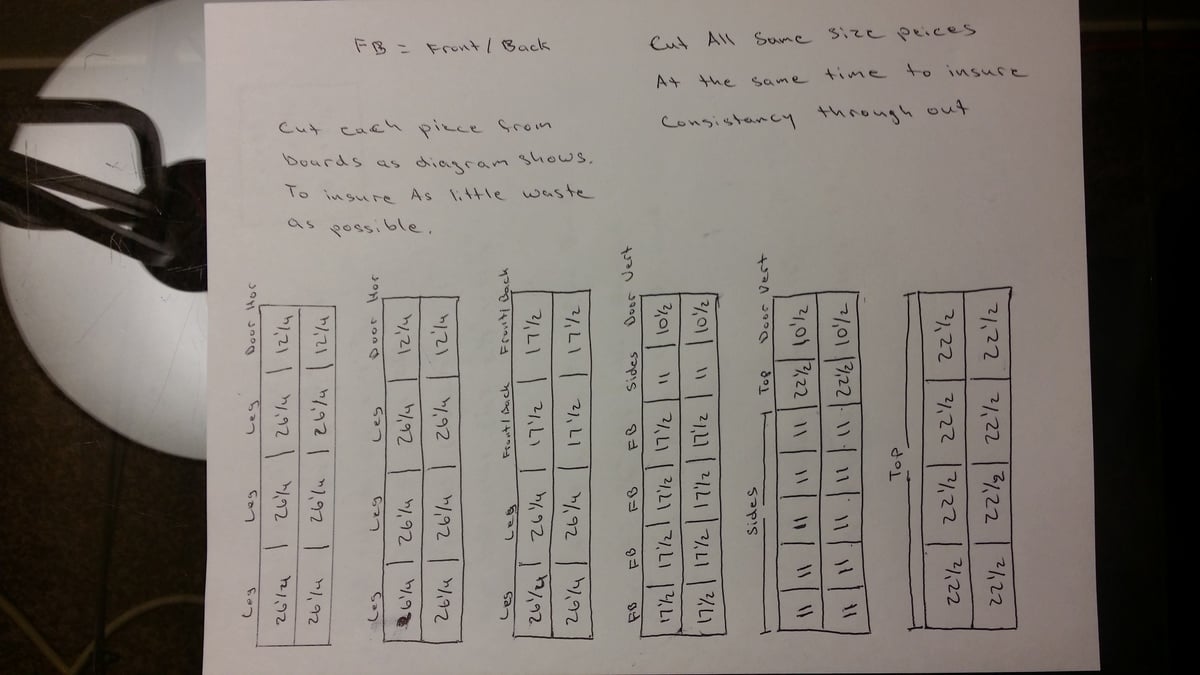
I included some pictures of very rudimentary drawings I did of all the cuts of wood you would need to build these if anyone wants to take a stab at it. The drawings are rudimentary but you can definately build from them
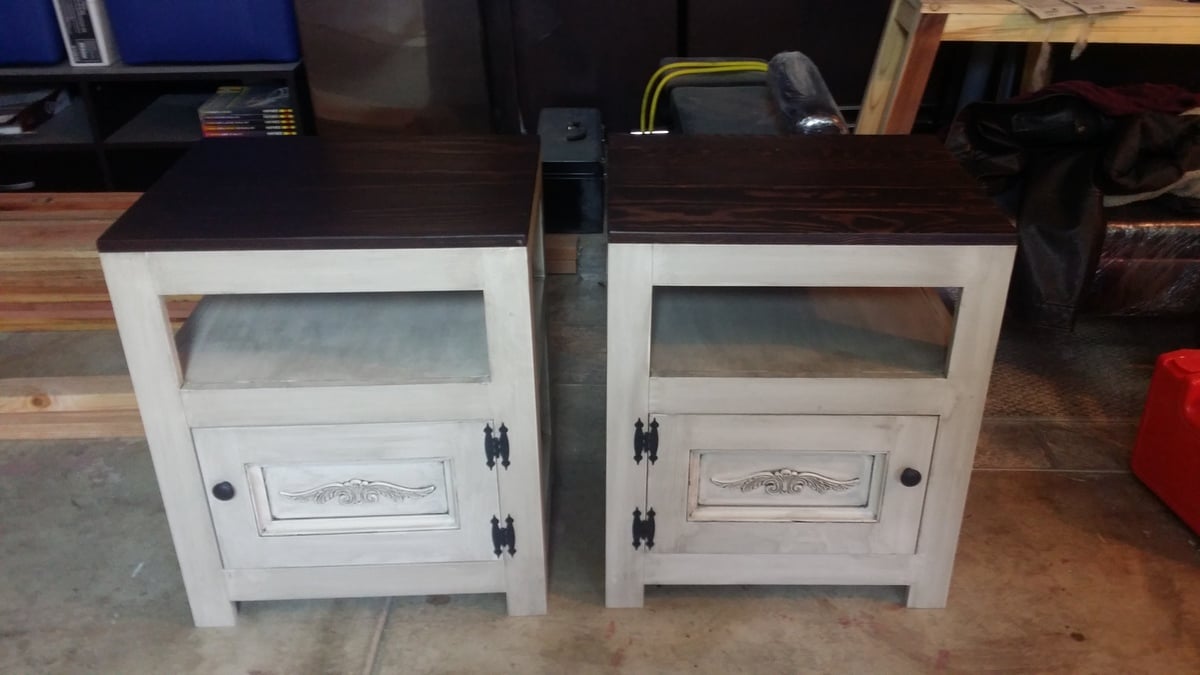
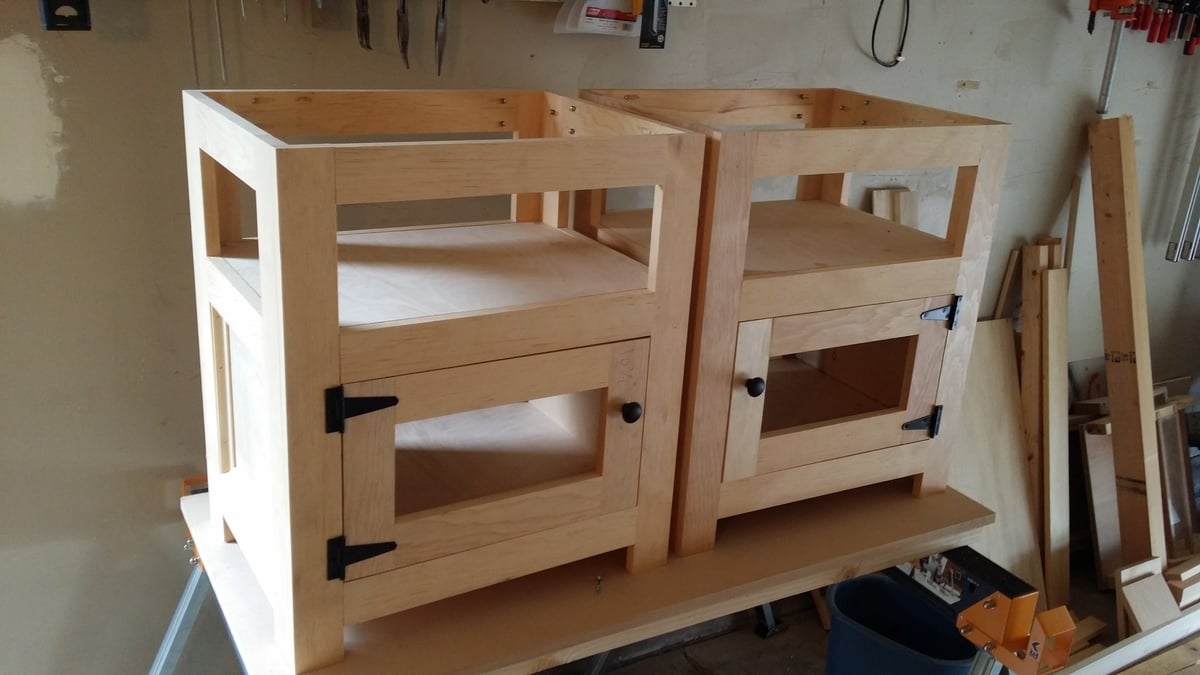
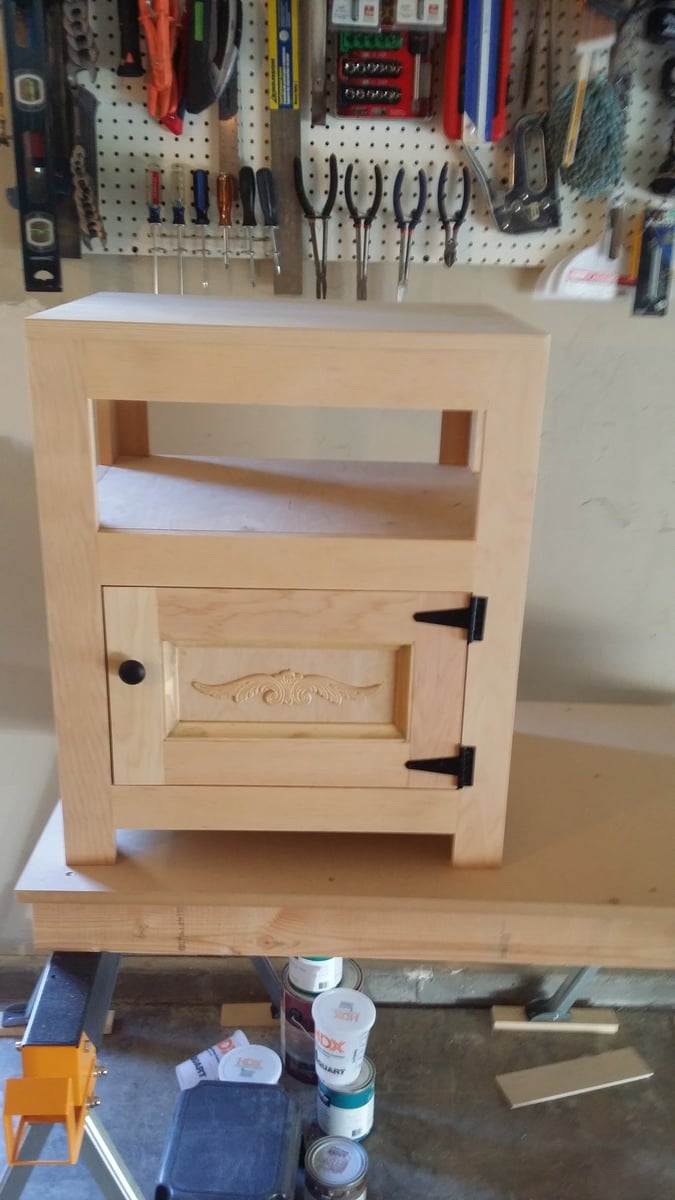
Another idea I got from the kentwood posts. Actually this was a brag from another user that got the idea from the kentwood nightstand post. So I took to building it. It is built out of solid pine. For middle shelf and bottom shelf are cut from 3/4 thick plywood as my local store didnt cary pine large enough for the shelves and I did not feel like gluing slabs of pine together. Though I ending up putting slabs of pine together for the top, because I wanted that to be pine like the rest of the nightstand. I drilled a few pocket holes in each piece of pine. Glued the edges and screwed them together with pocket holes which worked out great and I didnt have to clamp and wait for them to dry. The inlay on the door is something I found at my local home depot. It I glued it on and put a couple of pin nails around the eadges.
I finished the night stands with a cream white latex paint and glazed over the paint with valspar antiquing glaze which gave it a great ages grayish look. Then sprayed it with a couple coats of Varethane Soft Touch Matte Polyurethane. Which I dont recomend using. I only used it because it was the only matte poly I had laying around. If I were you I would opt for a much better poly to go over waterbased paint like General Finishes High Performance Poly. The top I stained with General Finishes java gel coat and Gel coat poly. I wasnt digging the way the gel coat looked on the pine nor did I like the color of the stain paired with the color of the nightstands. so I have since then sanded off the gel coat and stained the top an onyx which to me looks a lot better. Sorry I do not have any pictures of that.

Wed, 11/18/2015 - 08:09
Very nice attention to detail! All the small things that you've done different/better that have made this piece unique, very talented!

In reply to great project! by kbdesigns
Wed, 11/18/2015 - 16:56
Well thank you very much. I like to be unique or at least try to be unique. Though sometimes it can be hard to pull away from the cliche and the usual. I dont take all of the credit though. Got the idea from another users brag post on the kentwood nightstand page. I added my own person touches to the build but its still fairly similar.
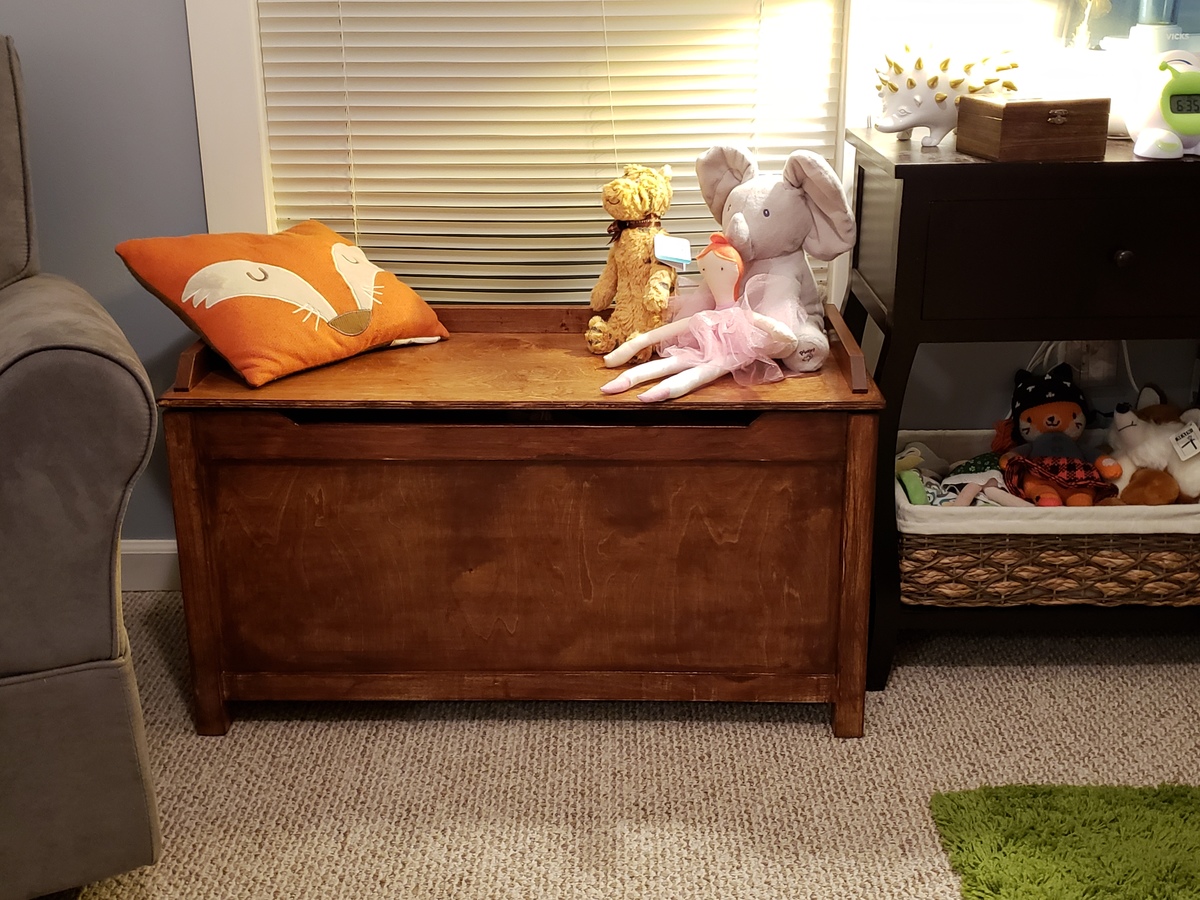
Toy chest for our daughter.
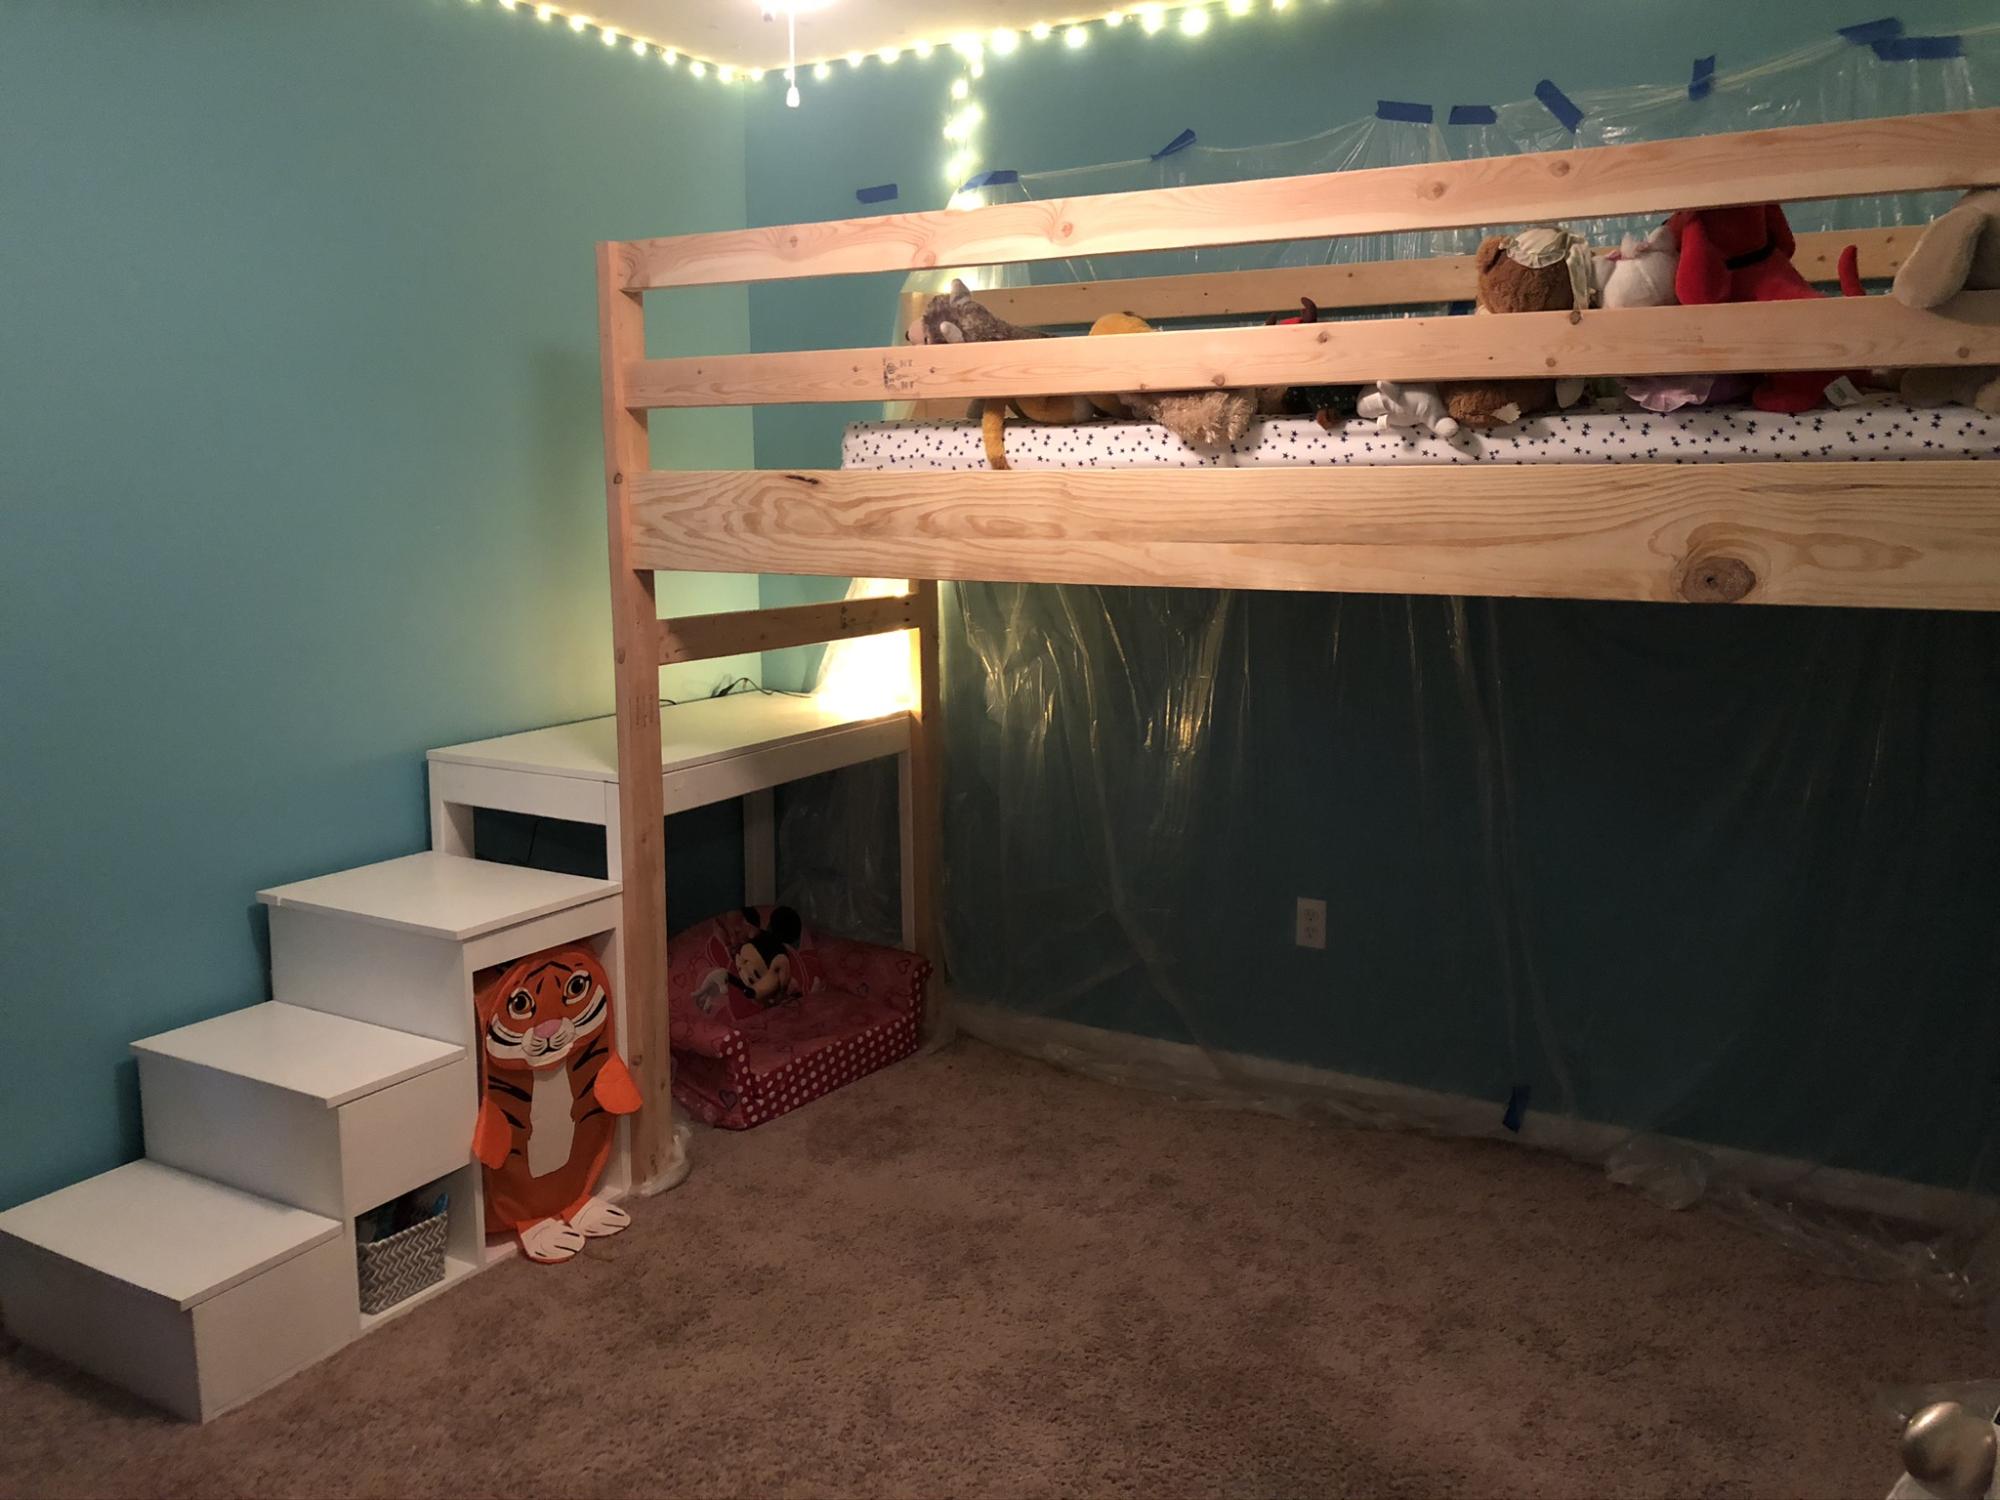
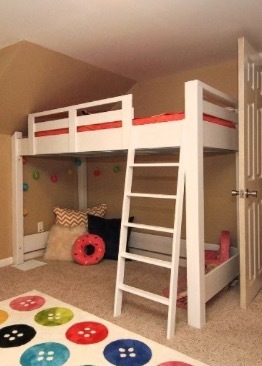
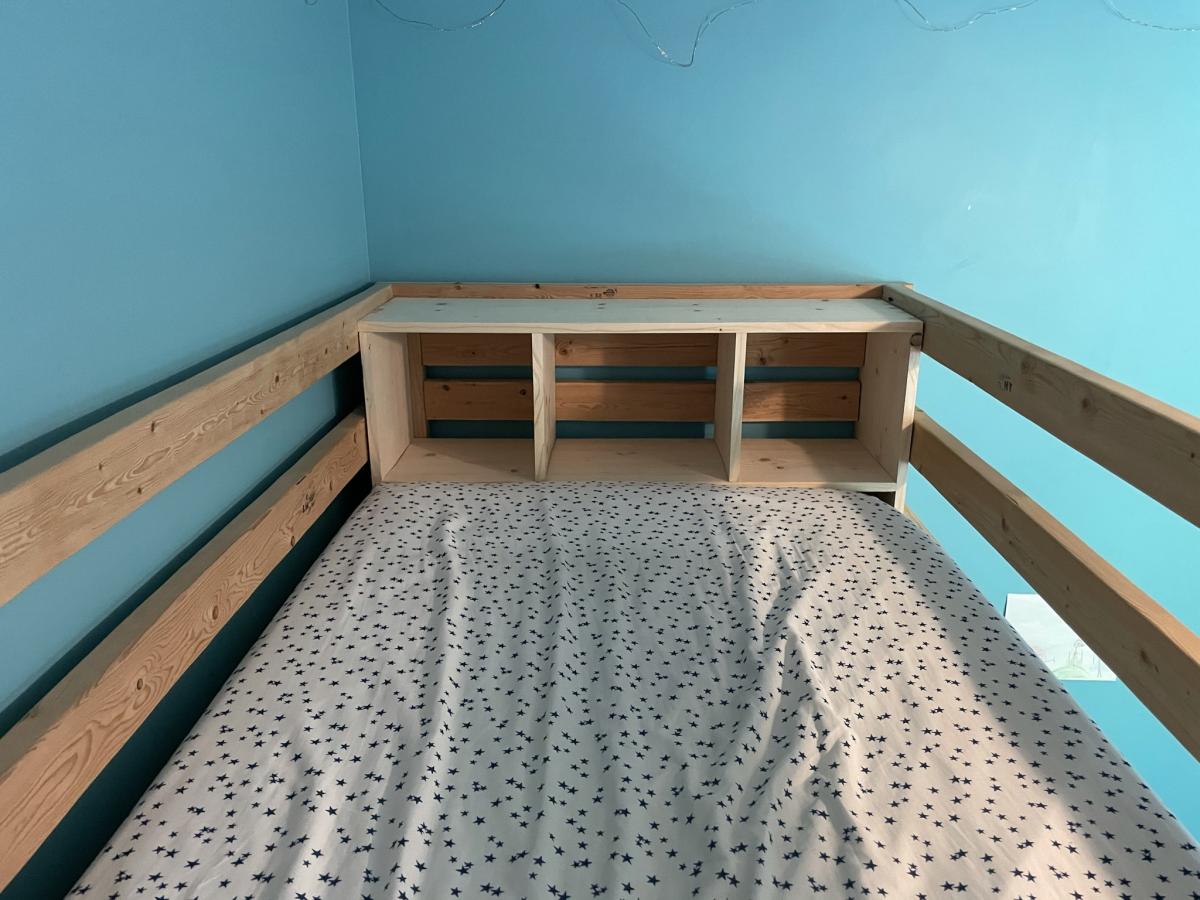
I used the Camp Loft Bed plans and adapted the stairs to have storage and a place for laundry (from another plan from Ana White). I also added a small bookshelf to one end. They wanted the bed to extend to the full width of the wall. The bookshelf helps hold the mattress in place and also gives great storage for books and stuffed animals. I wish I had a pic of the bed completely painted, but as you can see, my granddaughter moved her stuff in immediately! She was so excited to sleep up there. (It has since been completely painted.)
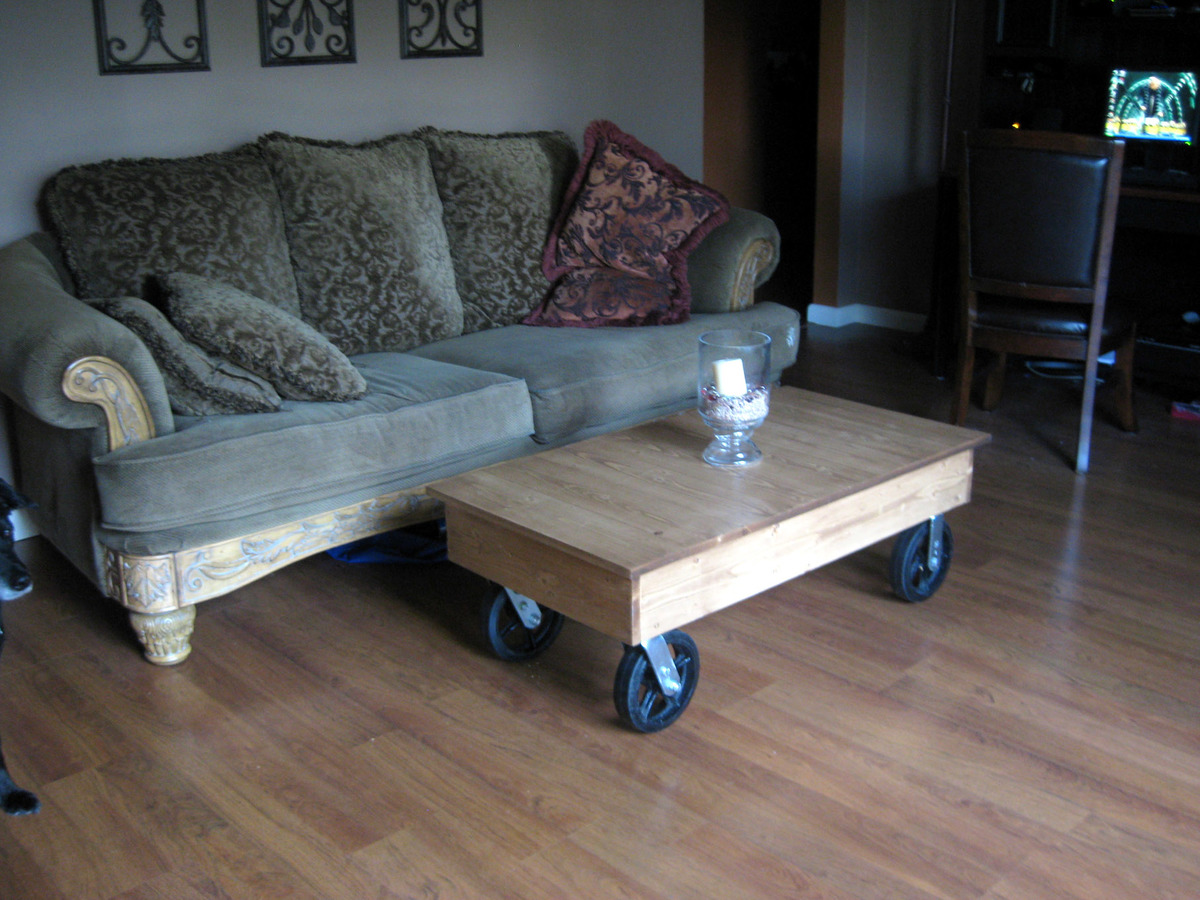
My wife wanted me to build her a coffee table that looked like an industrial cart for about the last year. I saw this plan on the Ana White web site, and it was just what she wanted. The hardest part of this was finding the wheels for the cart.
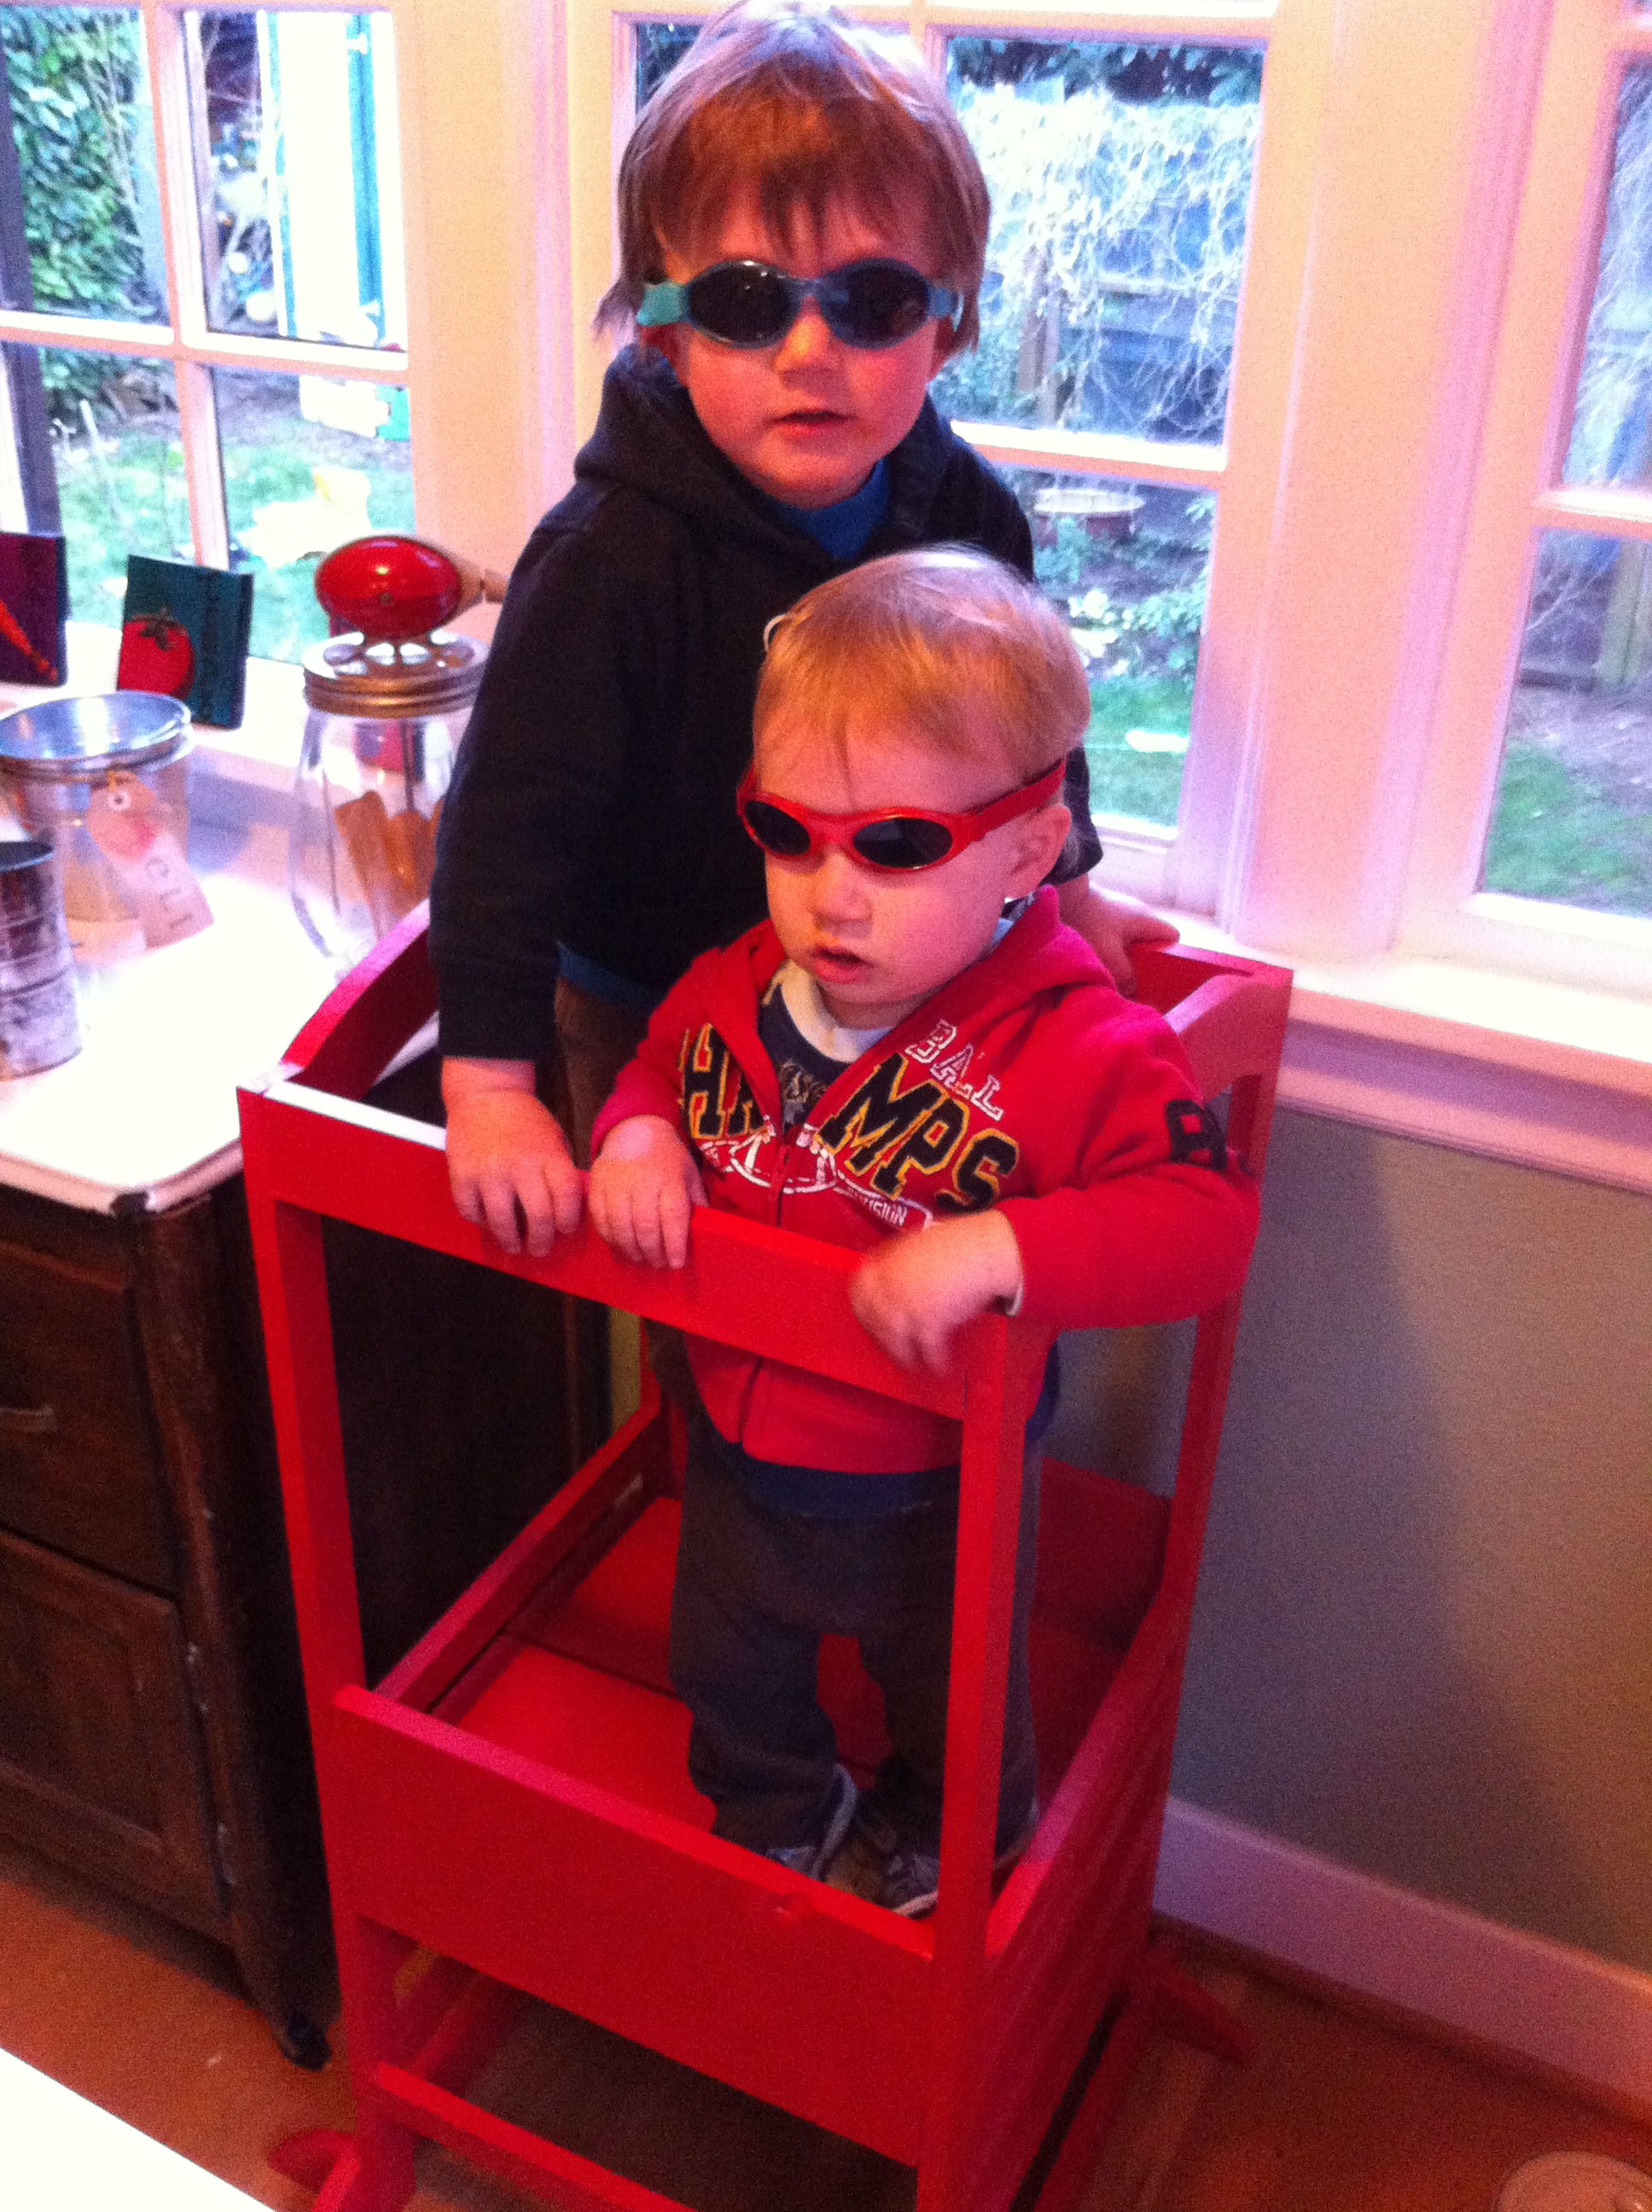
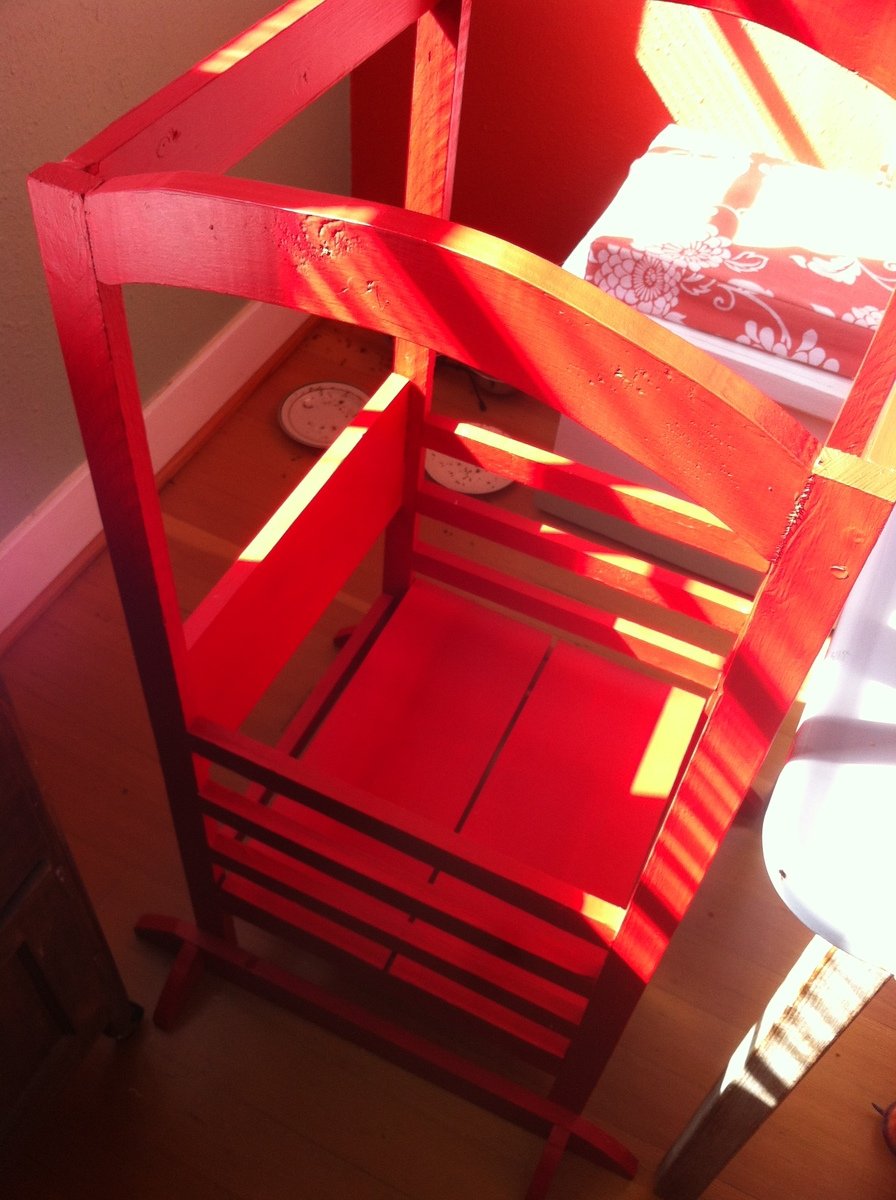
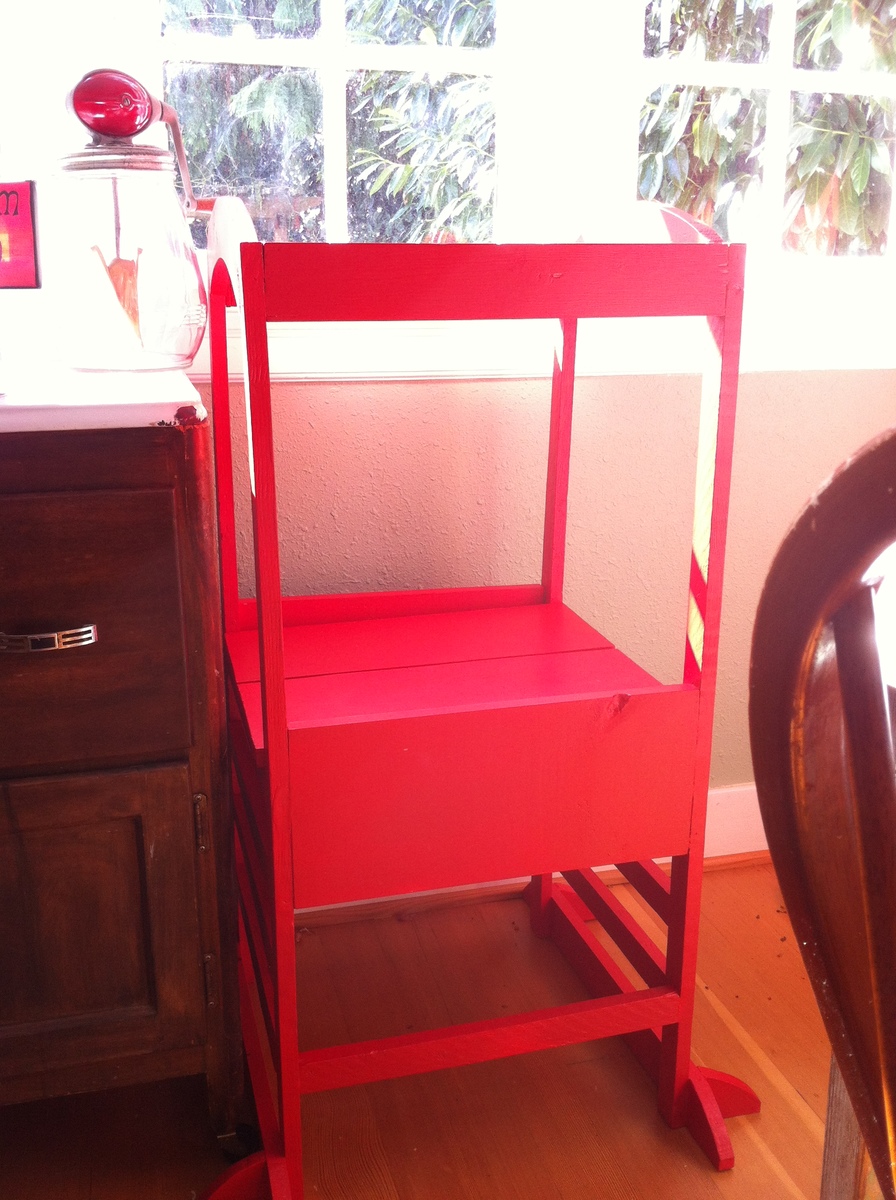
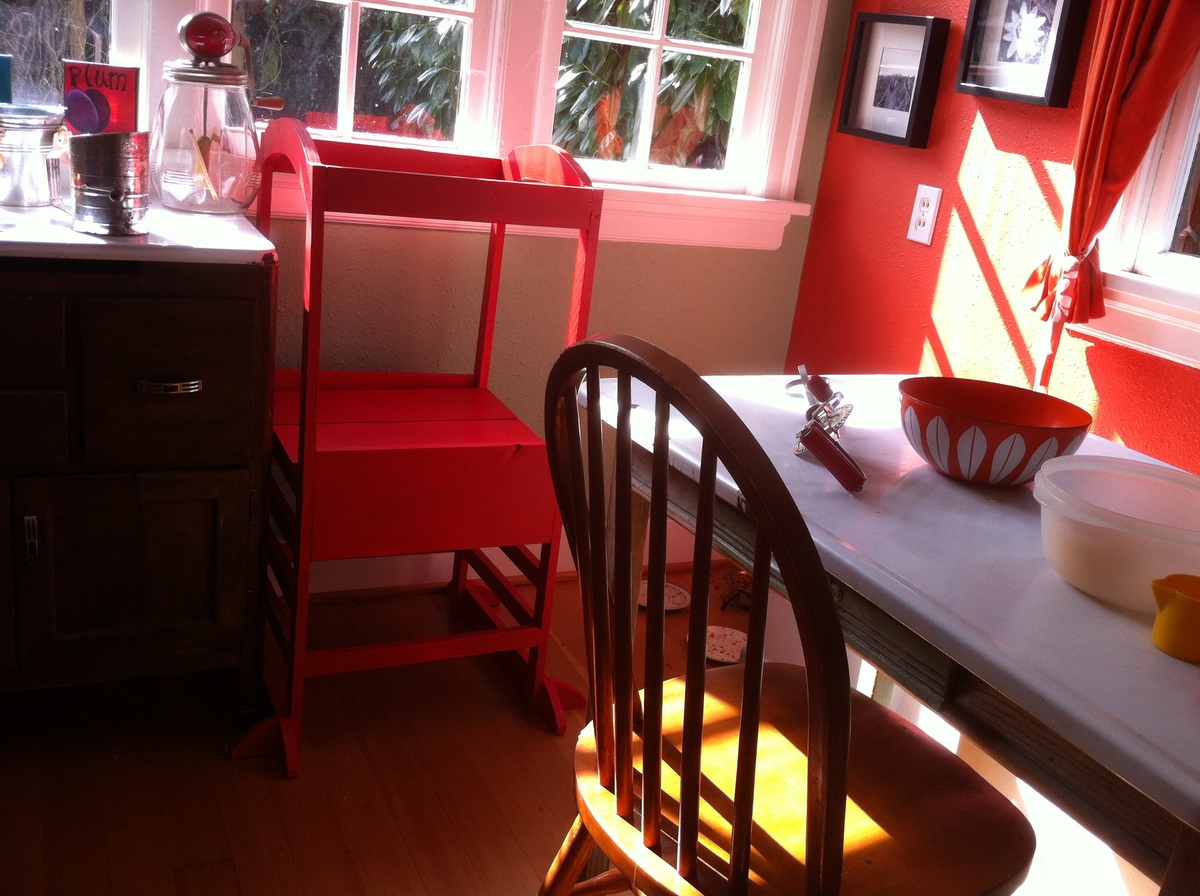
Well, as my first project off of ana-white.com, I decided to make my two little guys the Little Helper Tower. I had seen store versions that cost $200 or more, so was excited to be able to have something that we wouldn't normally be able to buy.
It was supposed to be a Christmas present. It was finally painted and ready to go by mid-March. Which is to say, I couldn't find time to work on it too much, though it also took me much longer to do than what Ana said, which is not unusual for me.
The main problems I faced were 1x2s that I bought wet and that warped by the time I got around to using them; not having an honestly flat surface to work on, not having lots of experience with my jigsaw, so my top arches and bottom curves are not that attractive, and using some leftover red paint that took about 3 layers, plus the primer, to cover well.
In the end, I have a working helping tower with a movable floor that both my kids, now 2 and 4, can use in the kitchen (mainly - we didn't make the folding kind because the hinges were way too expensive!, so it doesn't move around too much) and it has helped my little guys help me on endless baking projects. My 2-year-old still can't get out of it himself, but my 4-year-old swings on it like a monkey. Thanks, Ana, for all your inspiration! I have a list a mile long of projects I want to tackle. Hopefully I'll get to one soon!
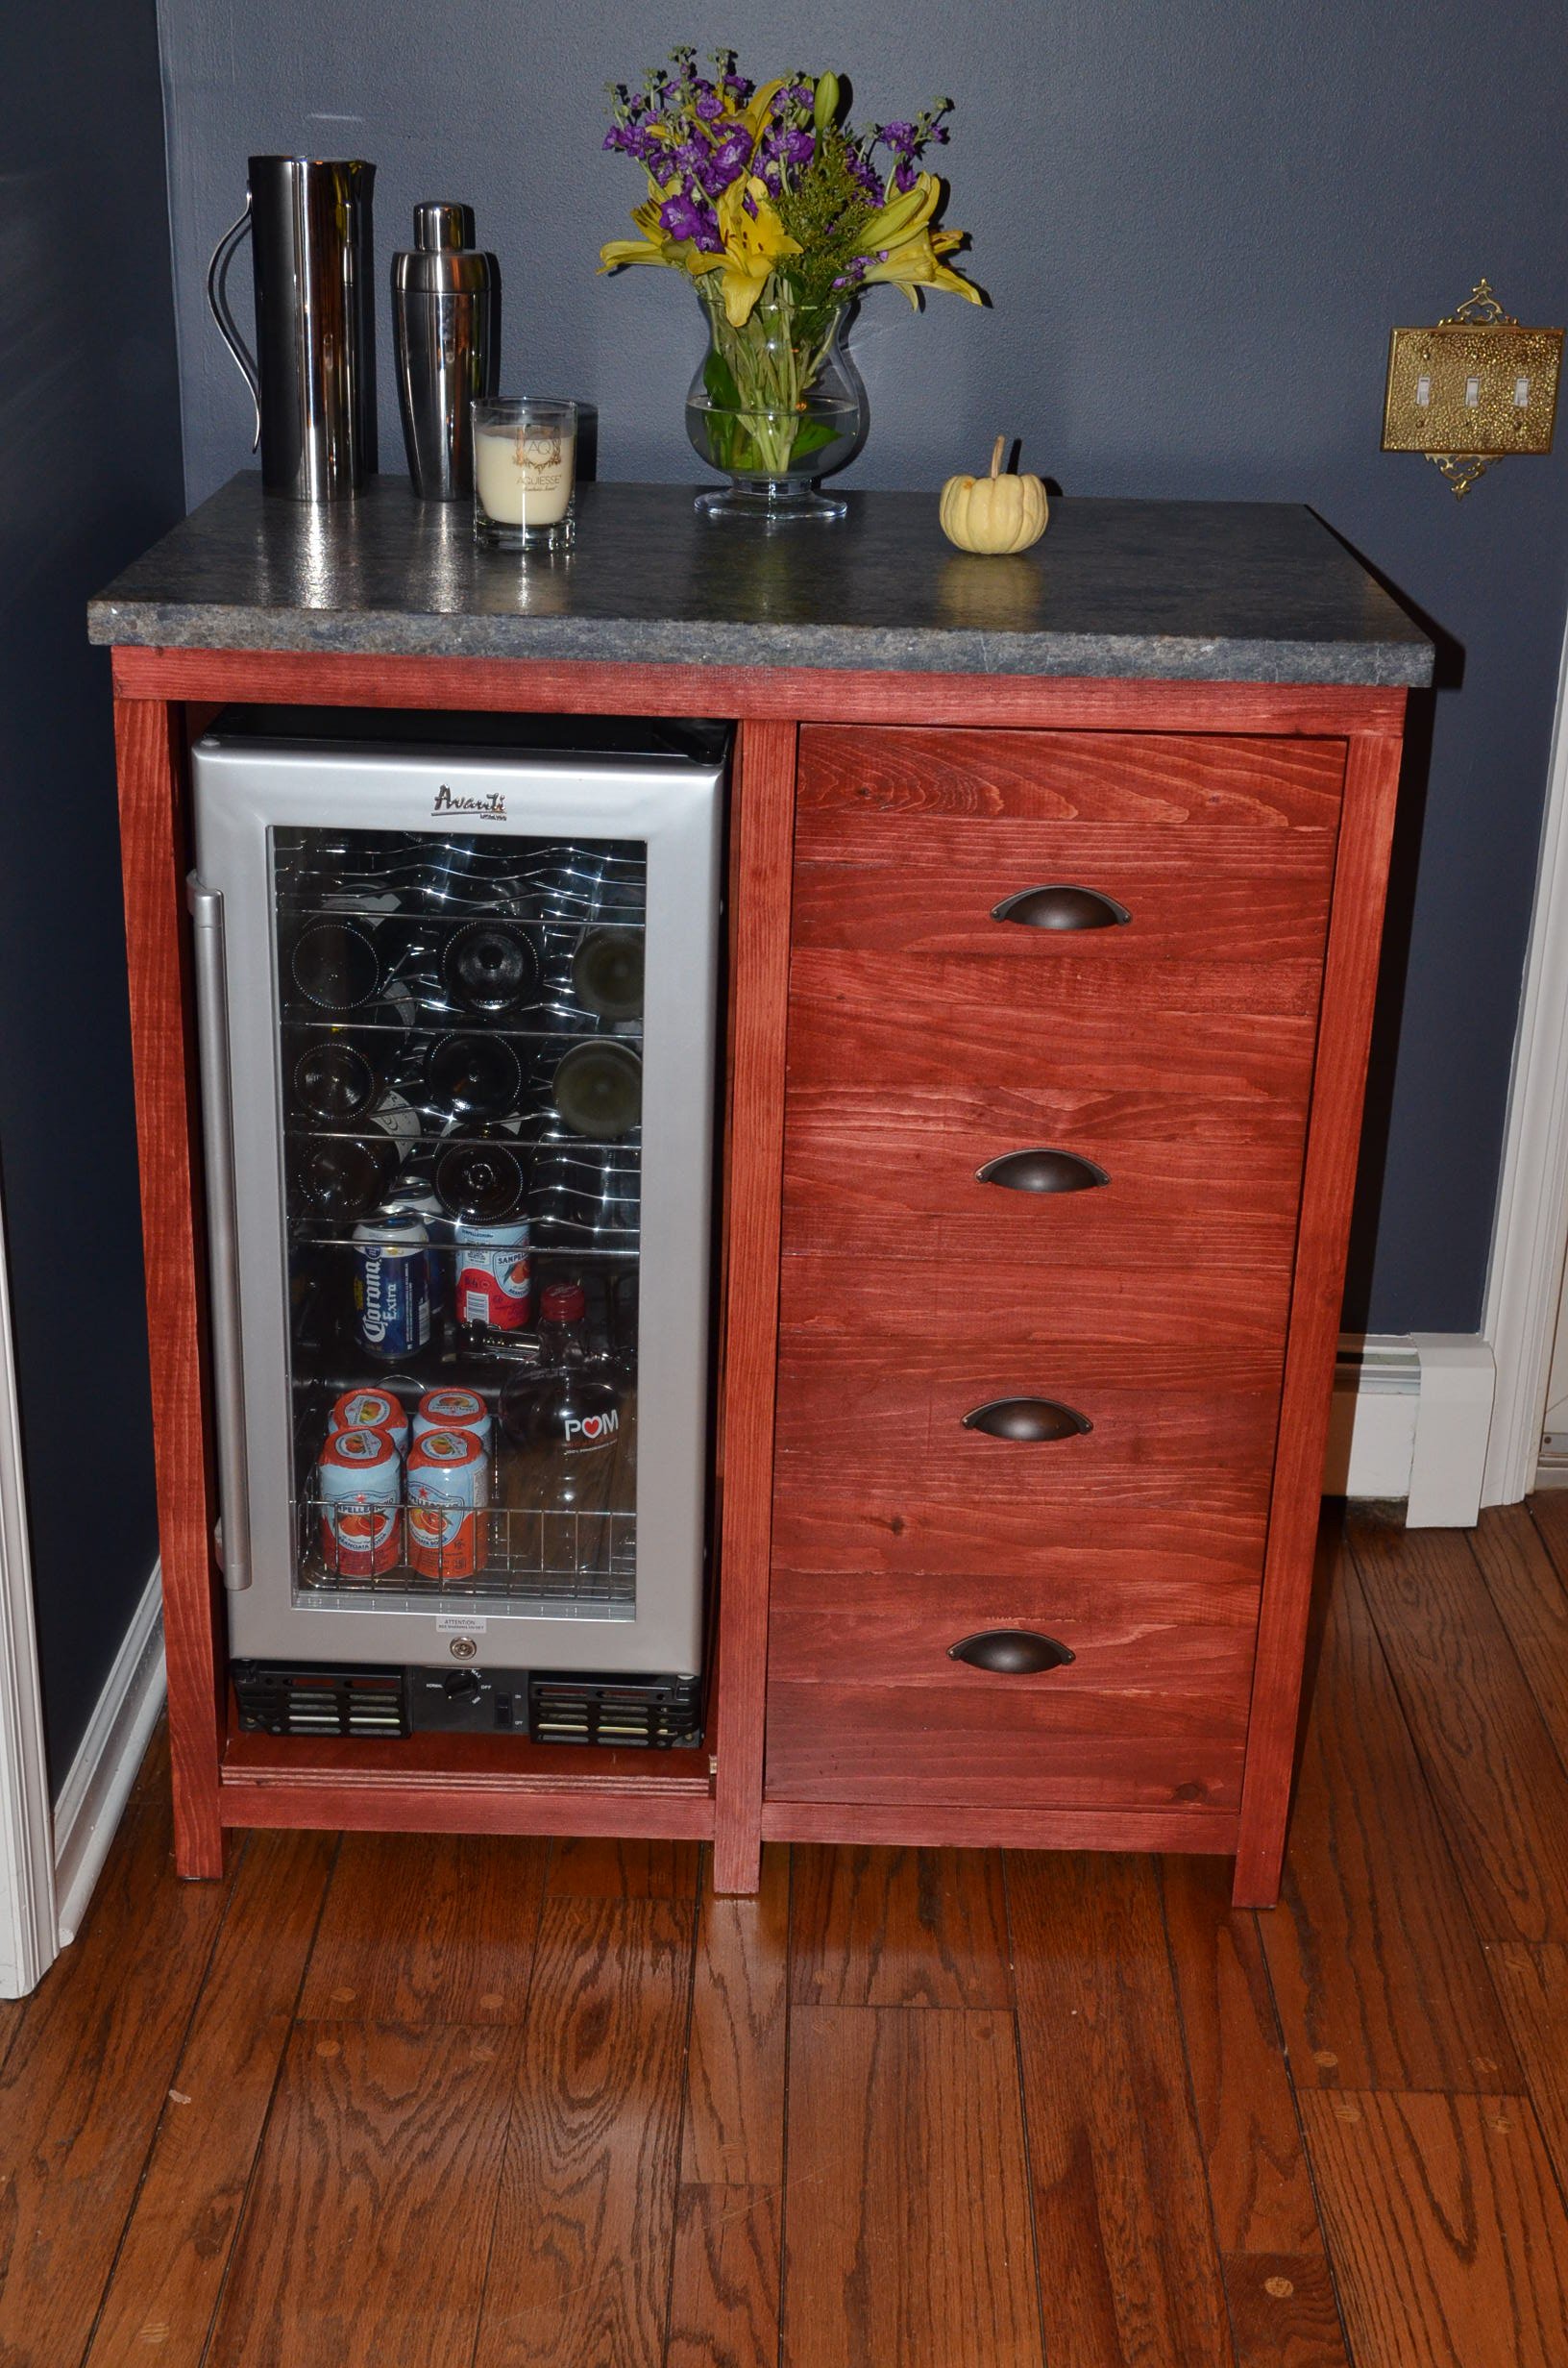
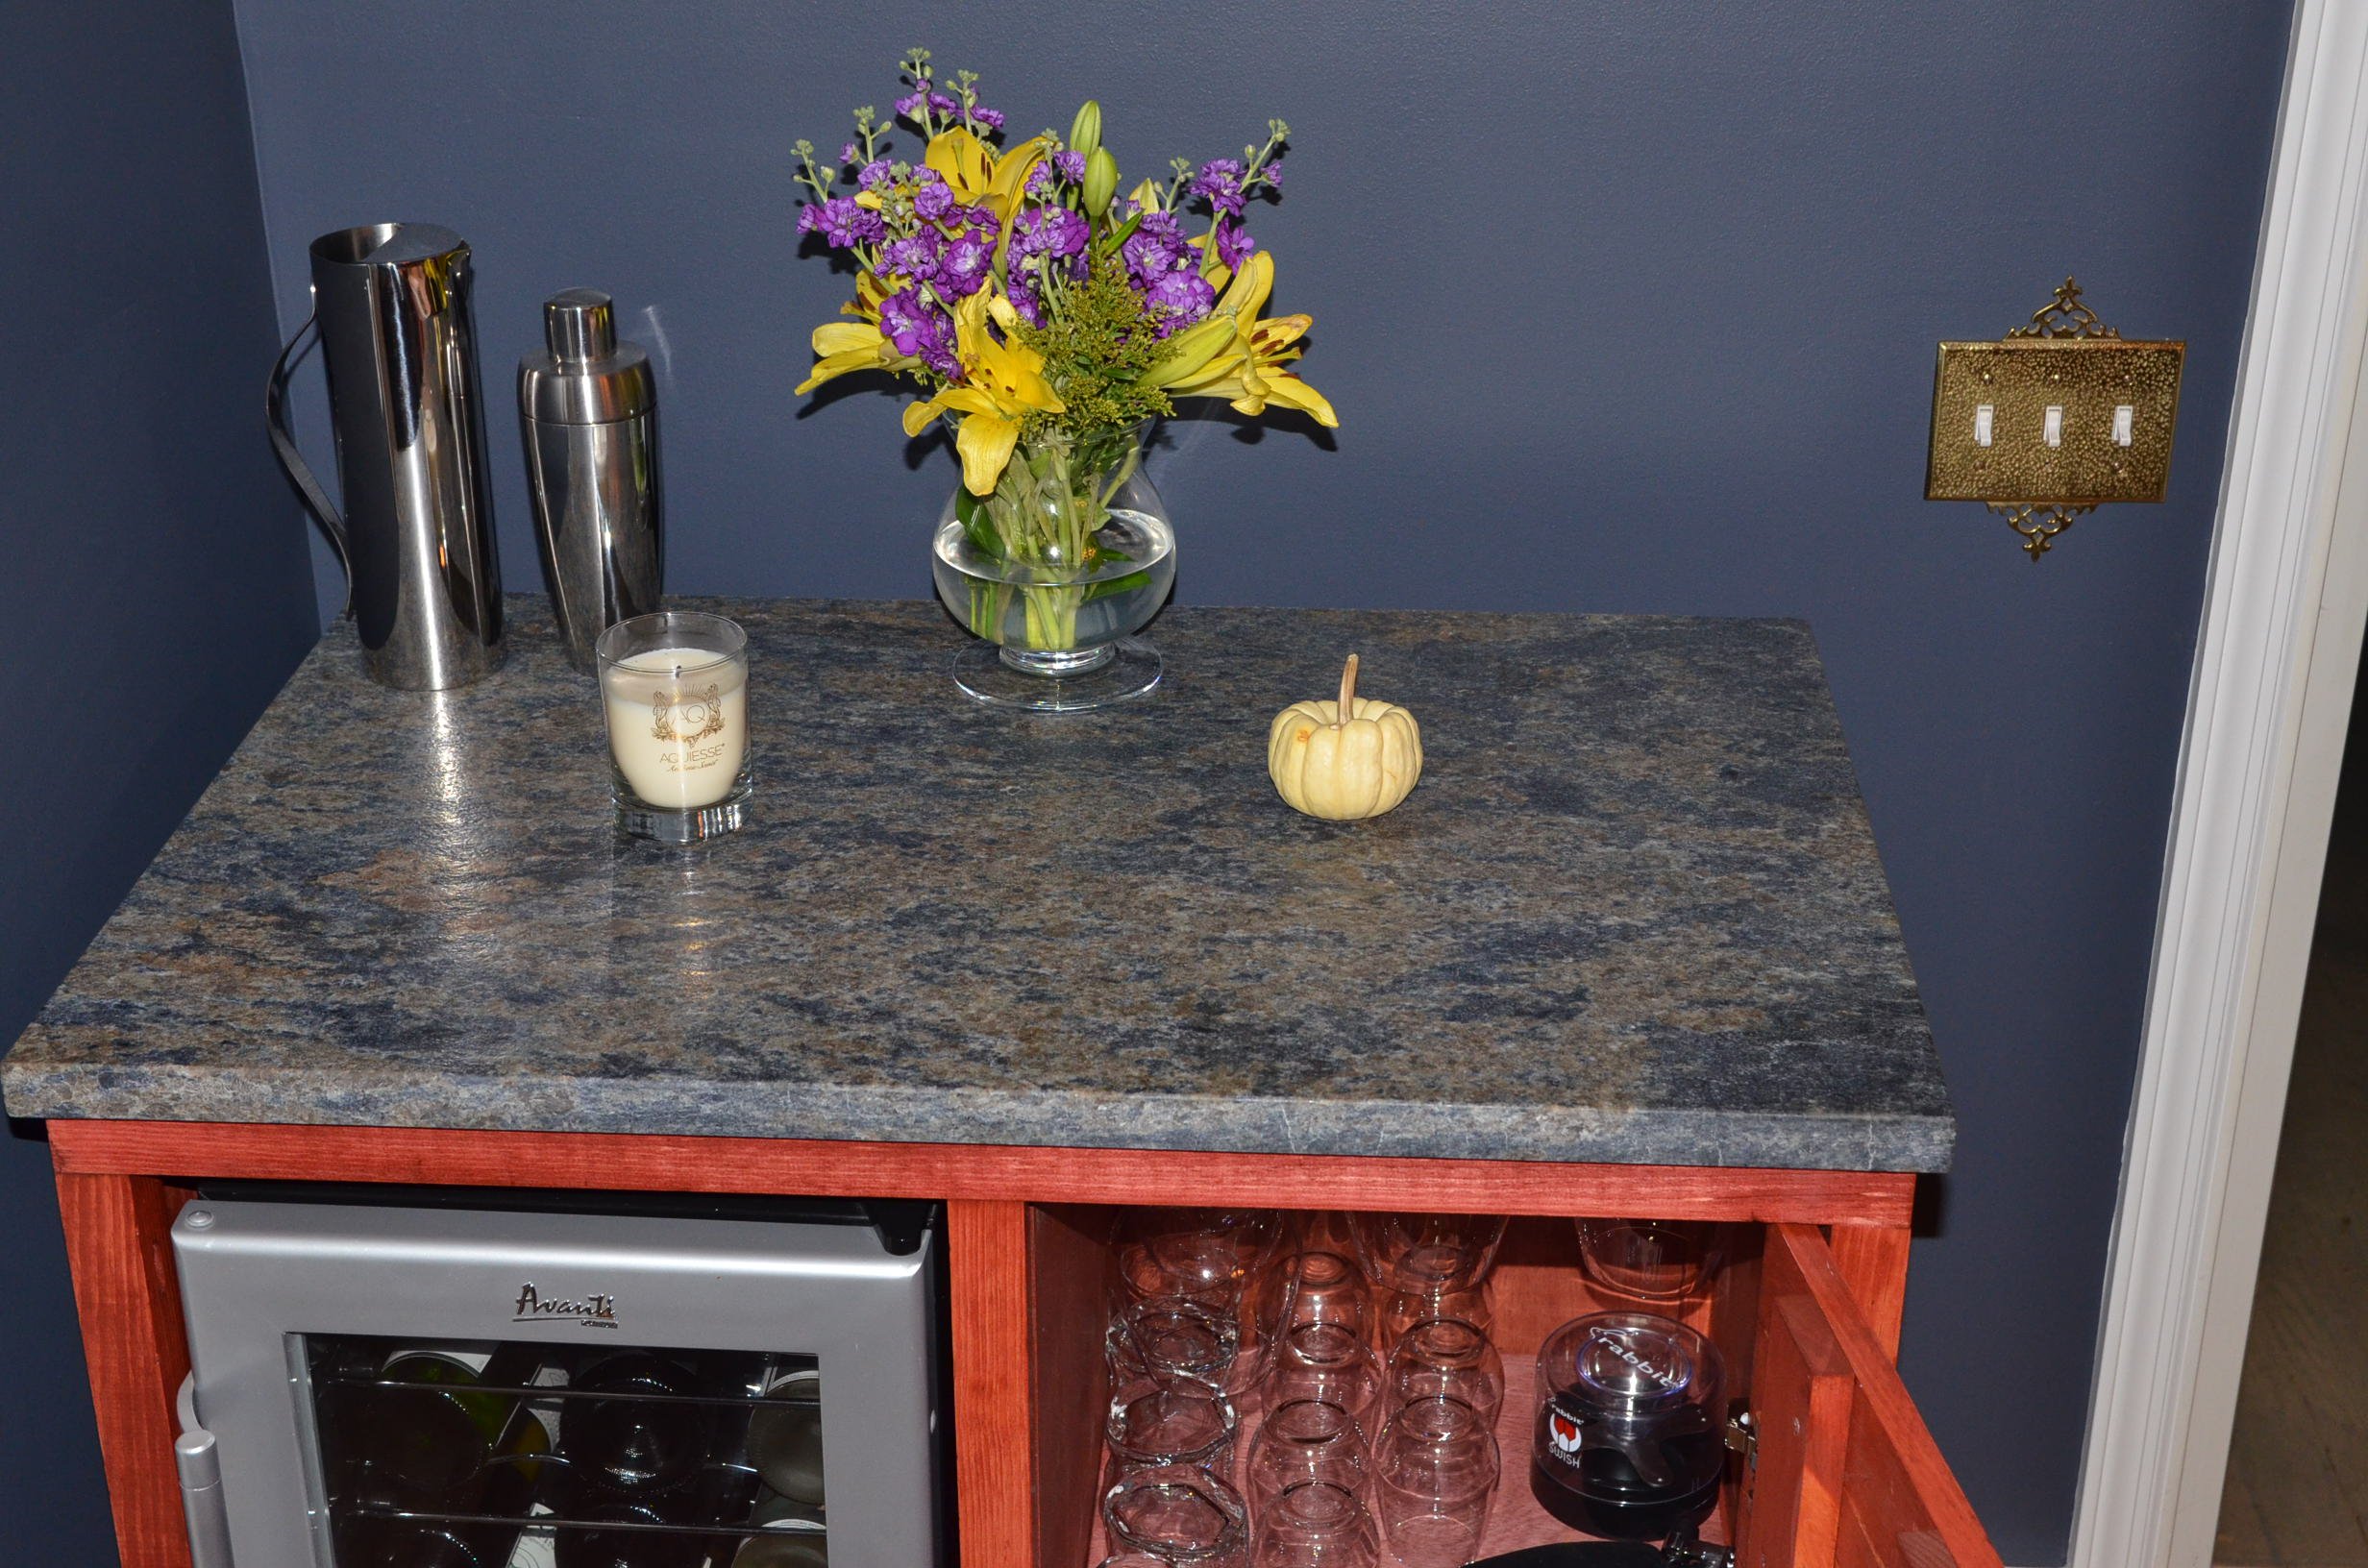
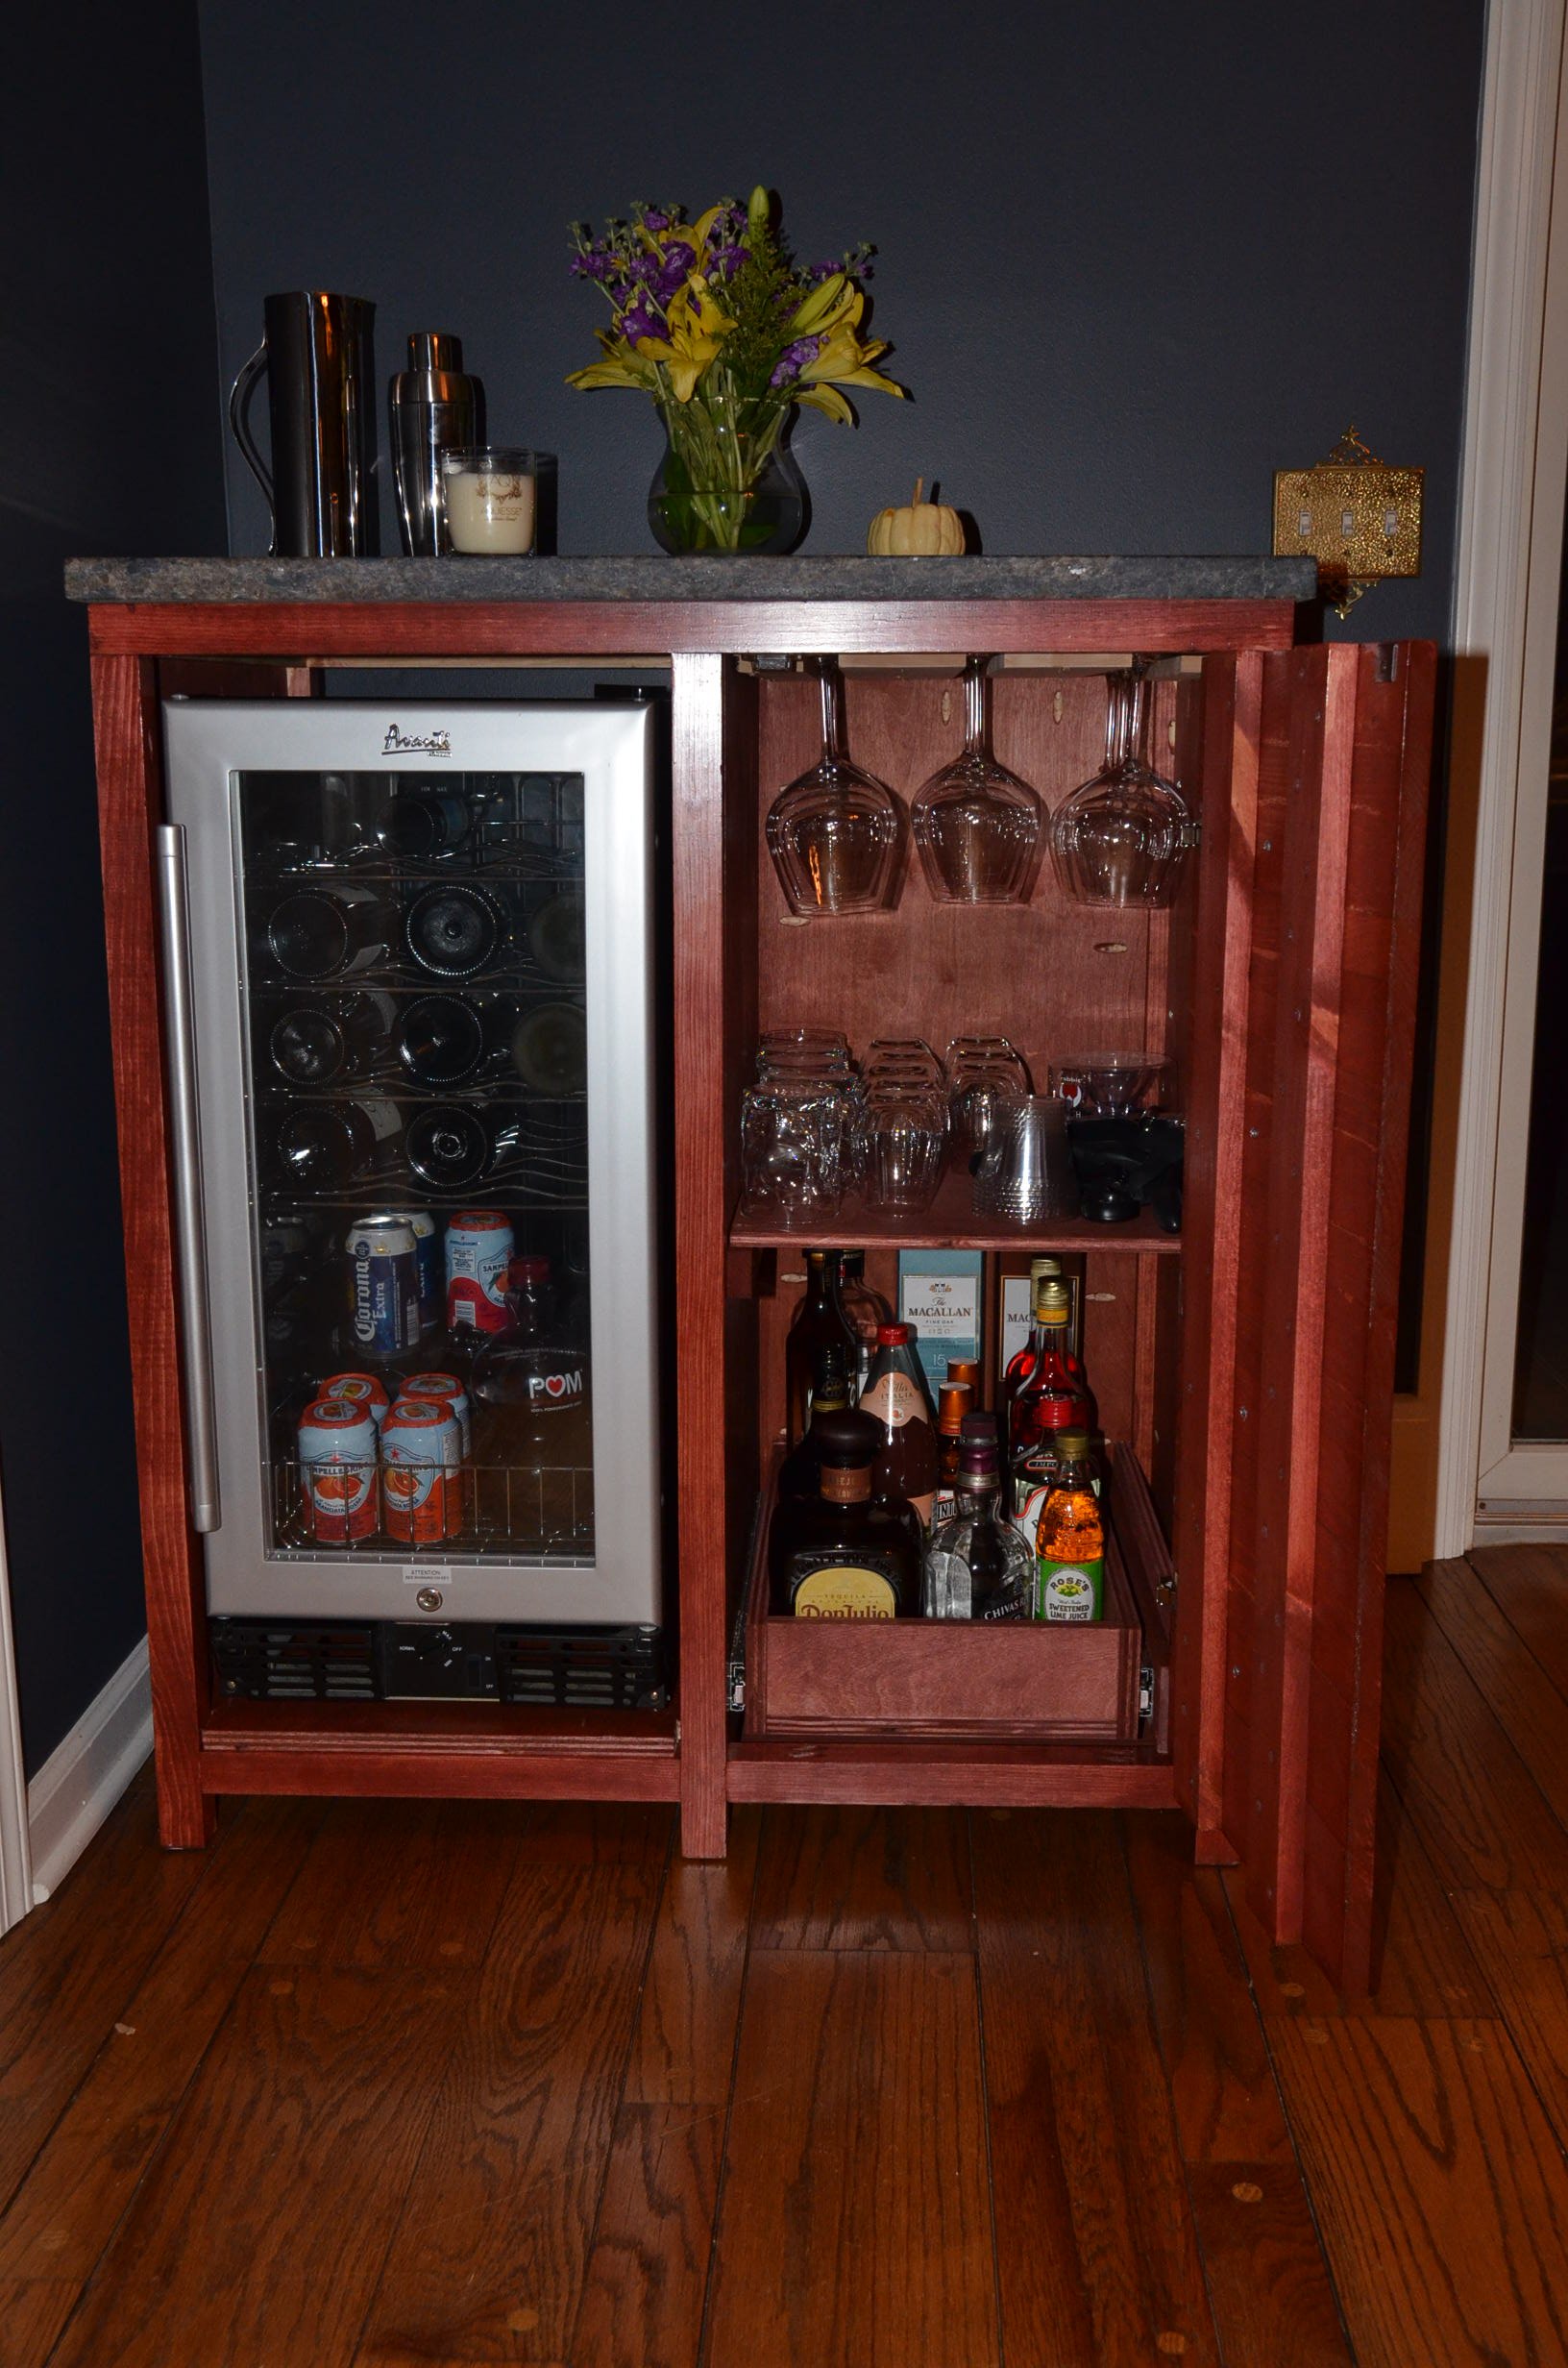
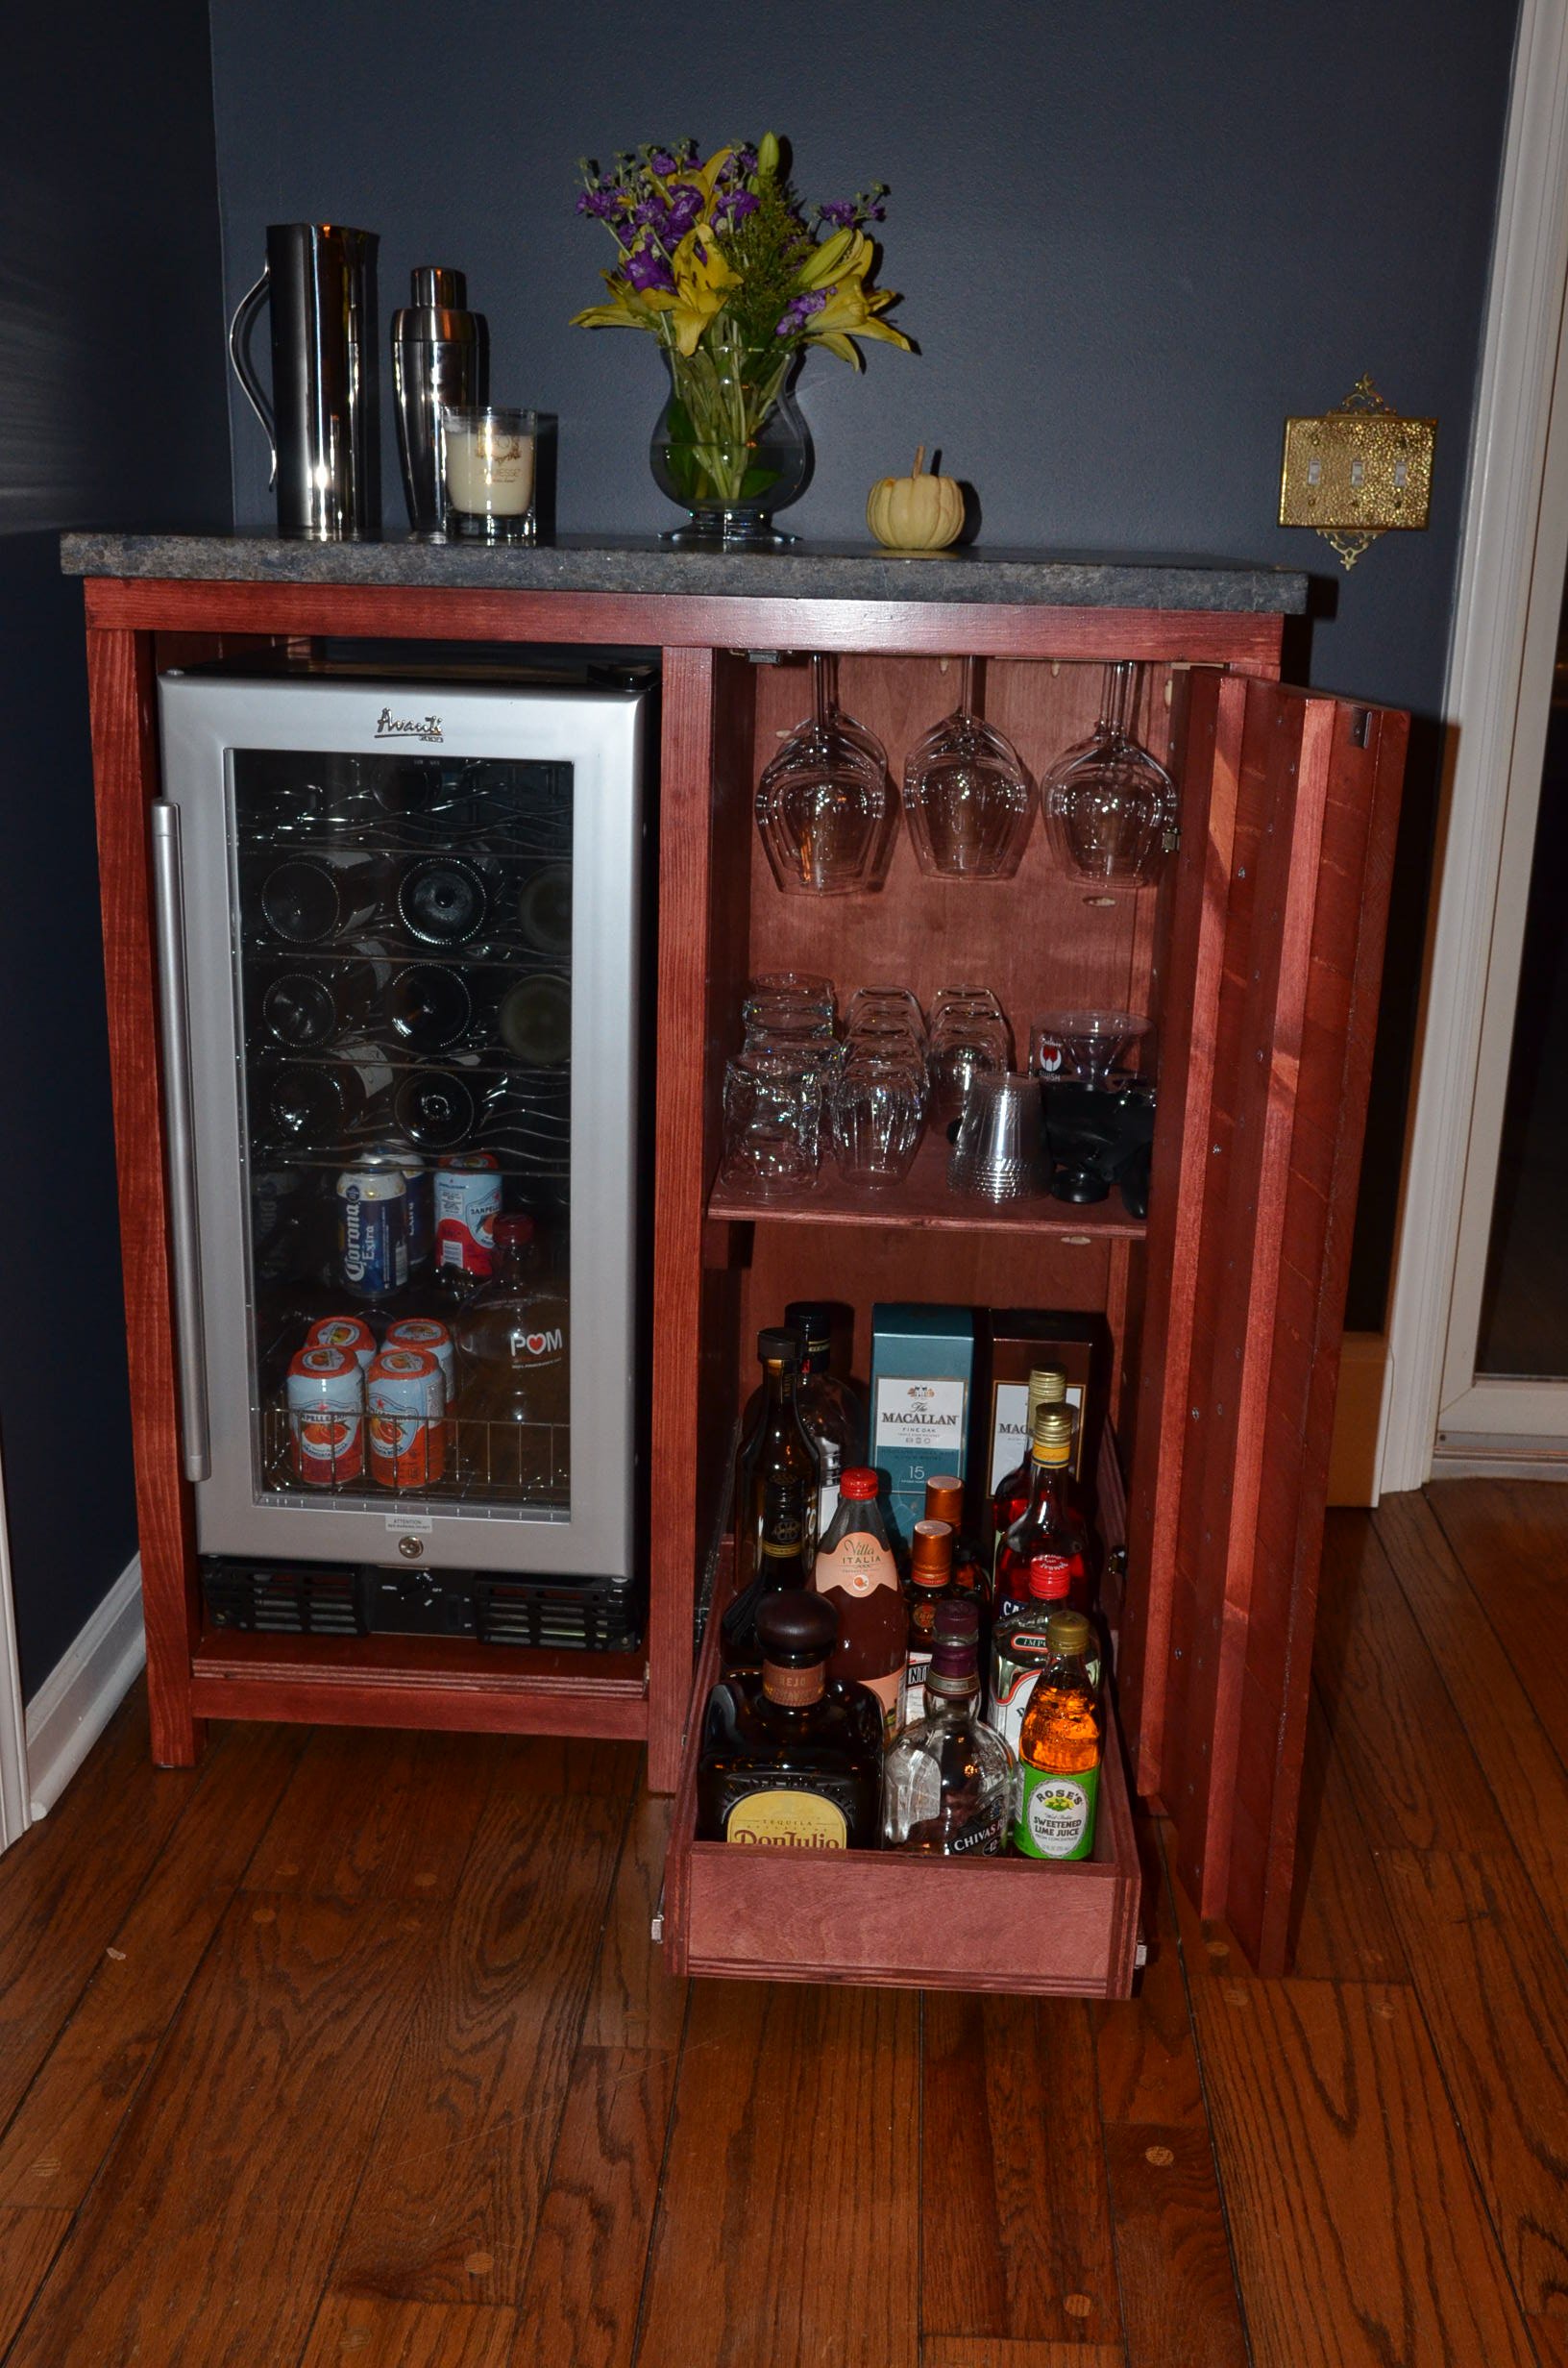
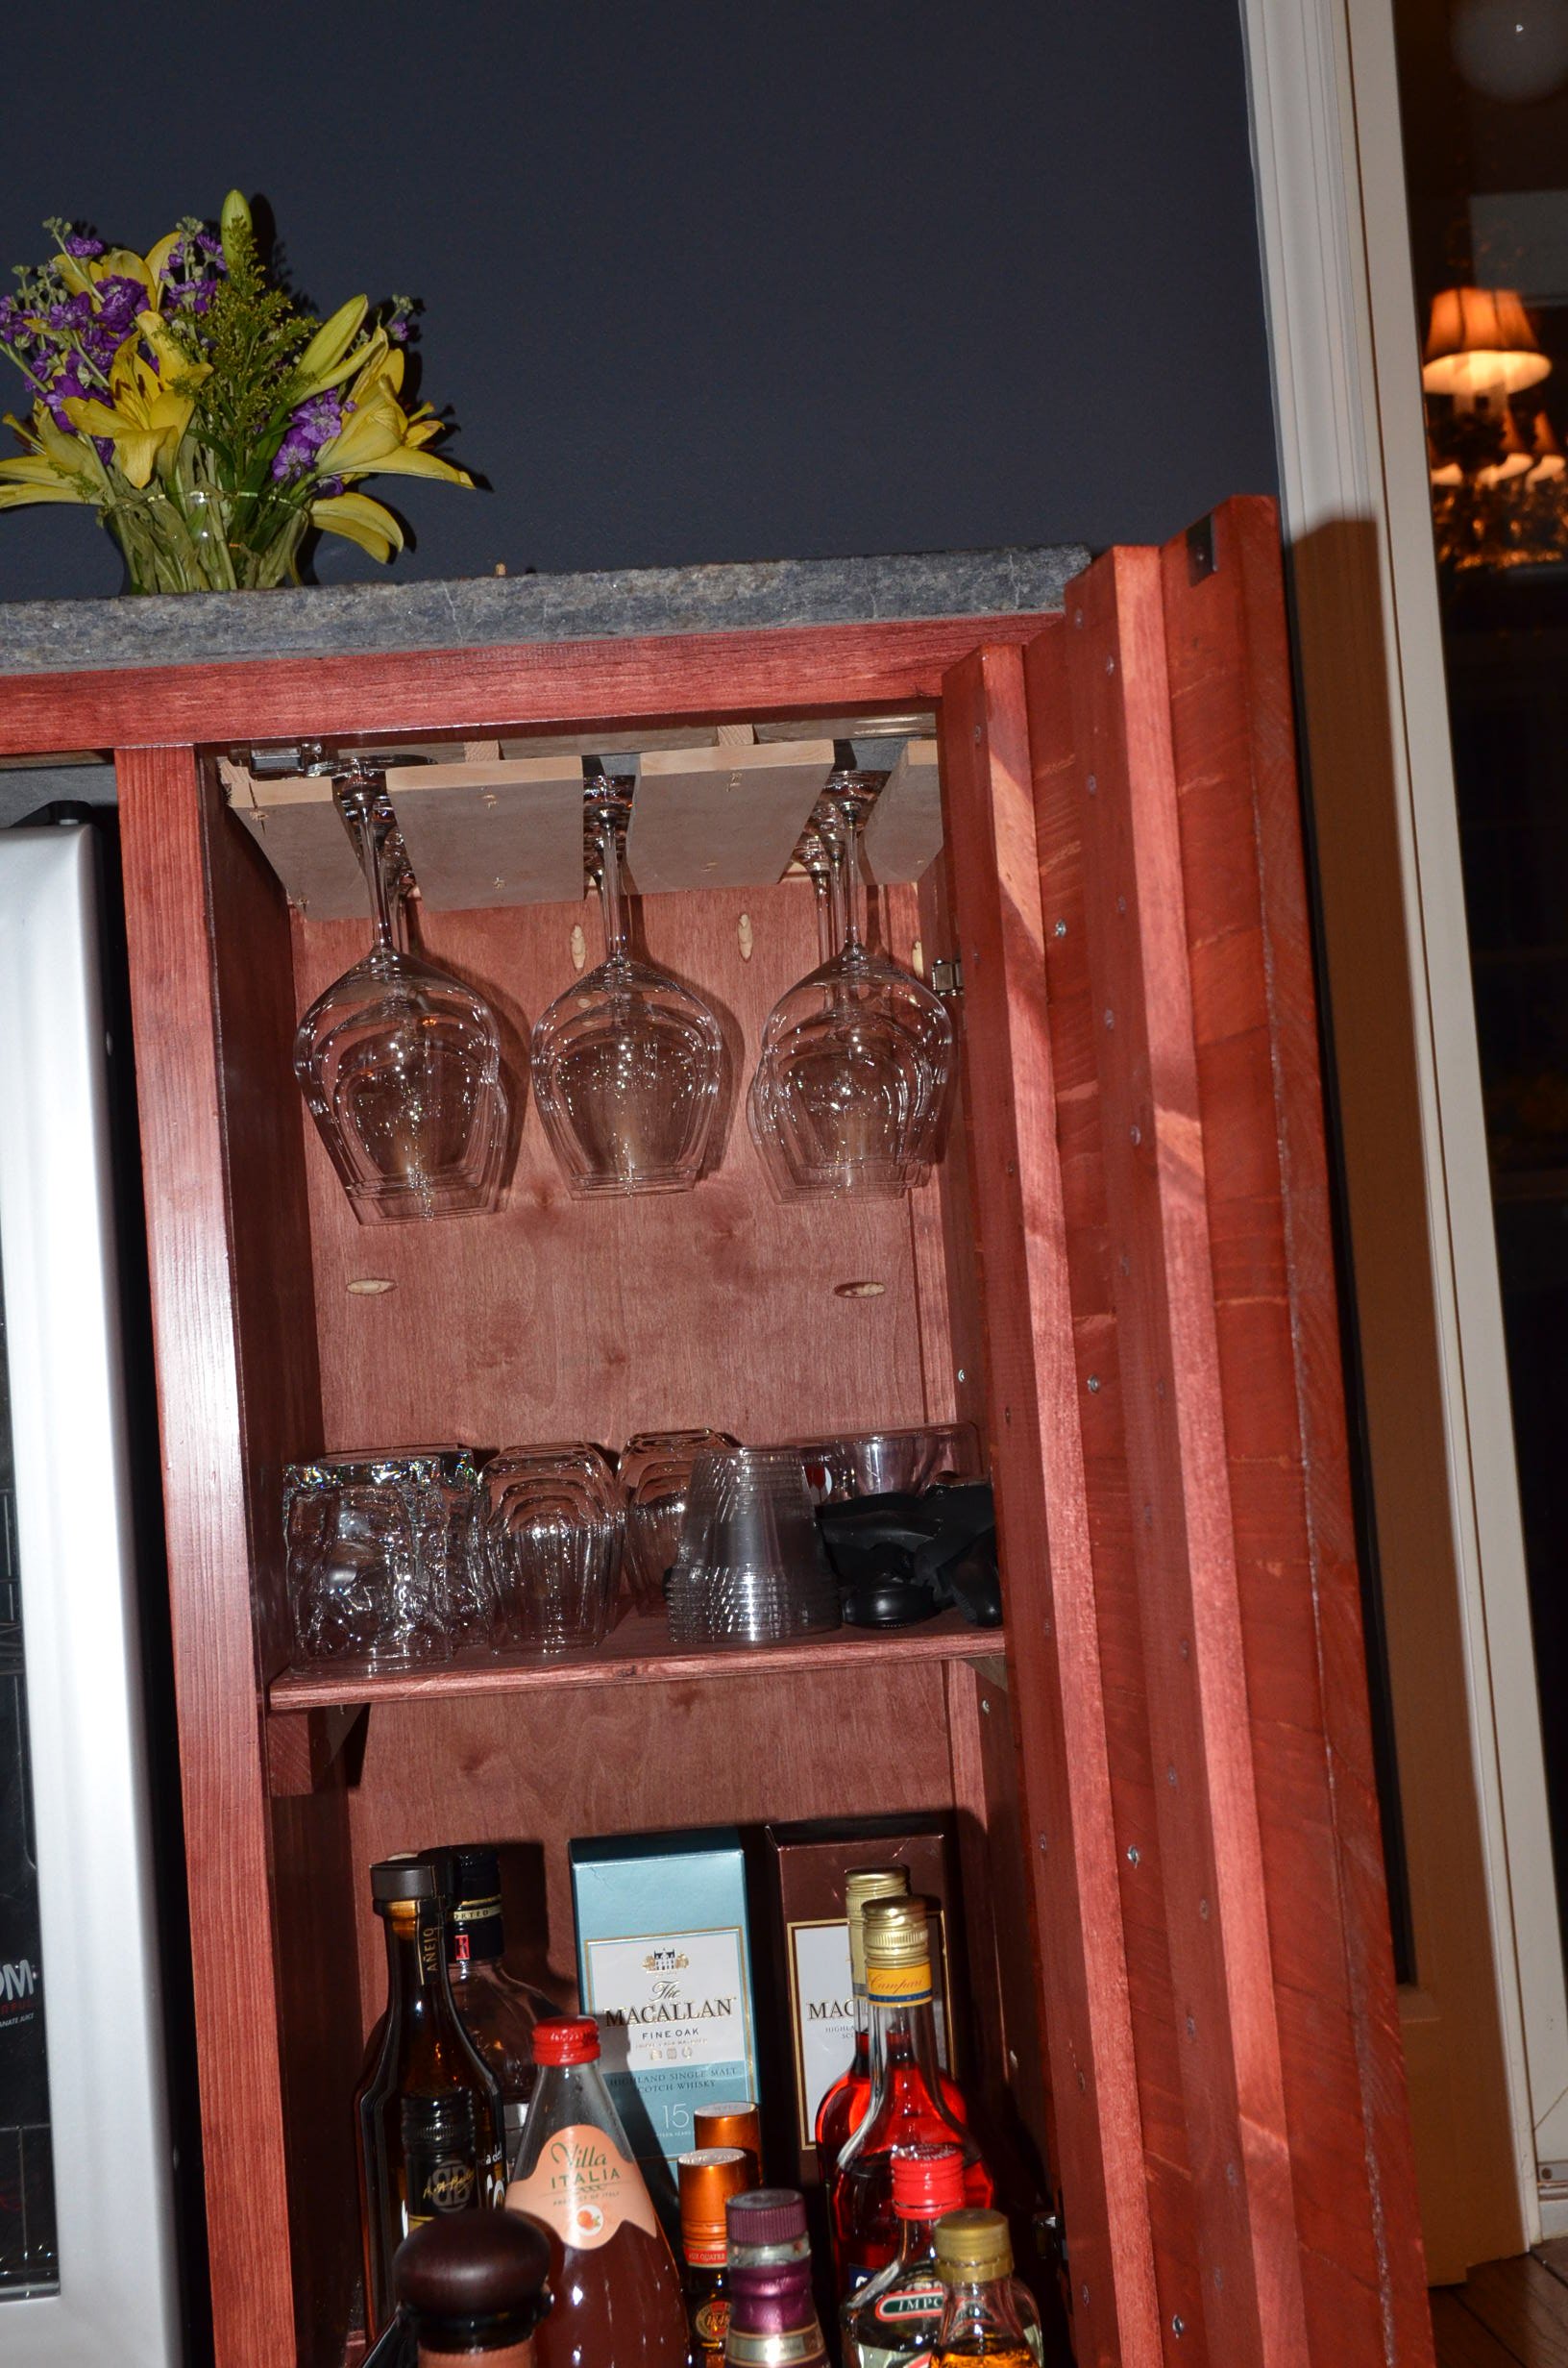
I had this wine refridgerator that my wife gave to me years ago for a birthday and it really needed a home since it's been sitting in the corner of our dining room for several years. After seeing some of the adaptations of the Printer Cabinet, I decided to try to modify if for my use. I put pencil to paper and came up with a two sided design that would hold the refridgerator and all of our wine/bar glasses as well as some liquor. It came out much better than I expected since this was my first real go at making any kind of cabinetry. Measure twice, cut once really works. I am eager to start my next project. Thanks for the inspiration!

Ran on the wood through planer to get rid of that rounded edge stud look on the wood. Fun little project.