Community Brag Posts

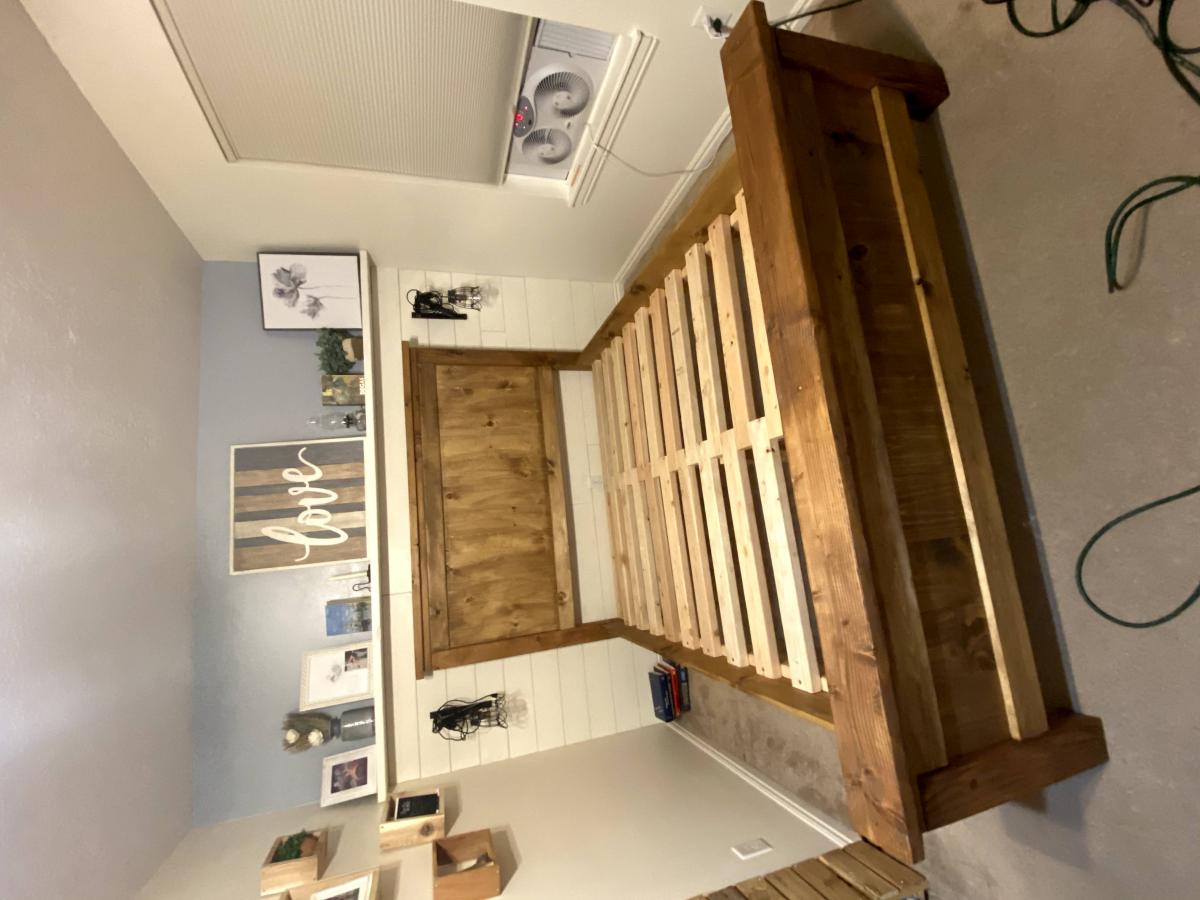
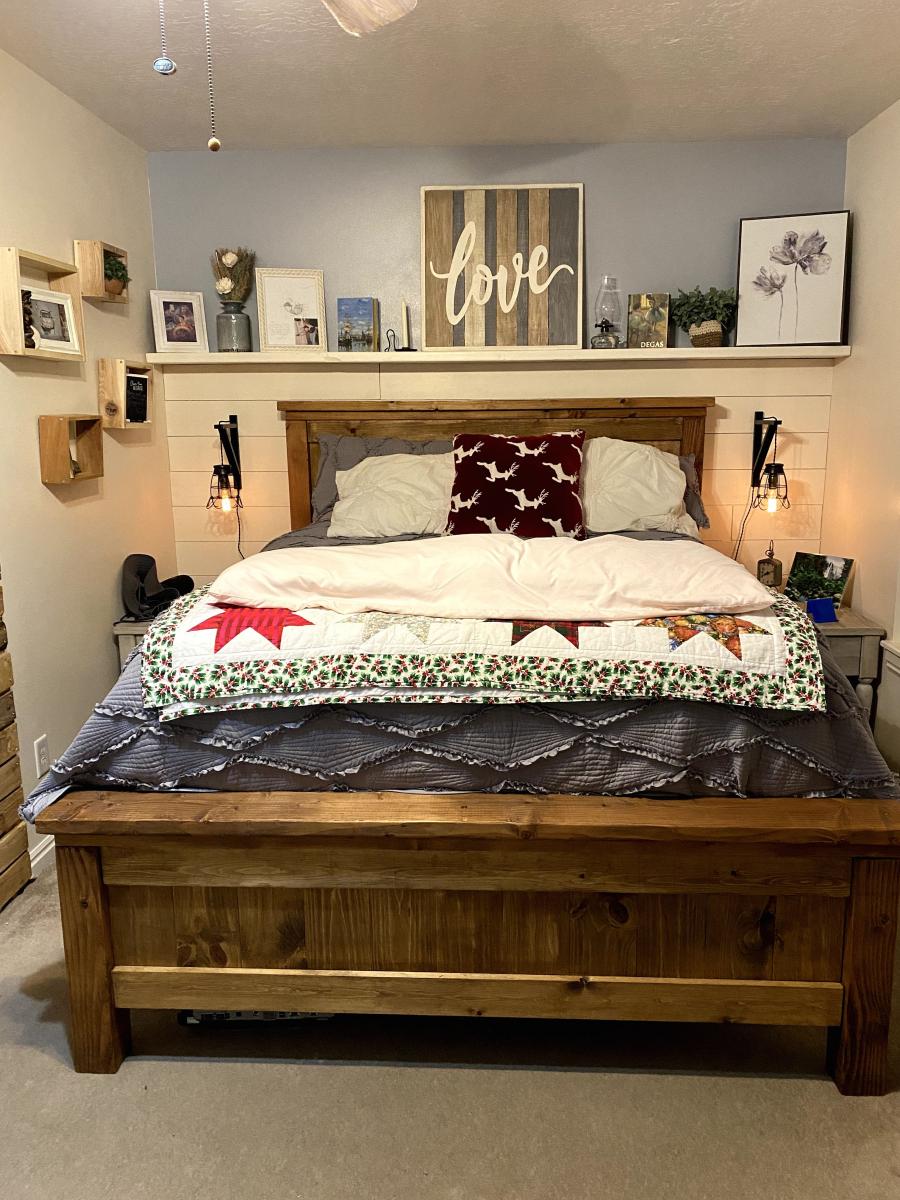
Farmhouse Queen Bed
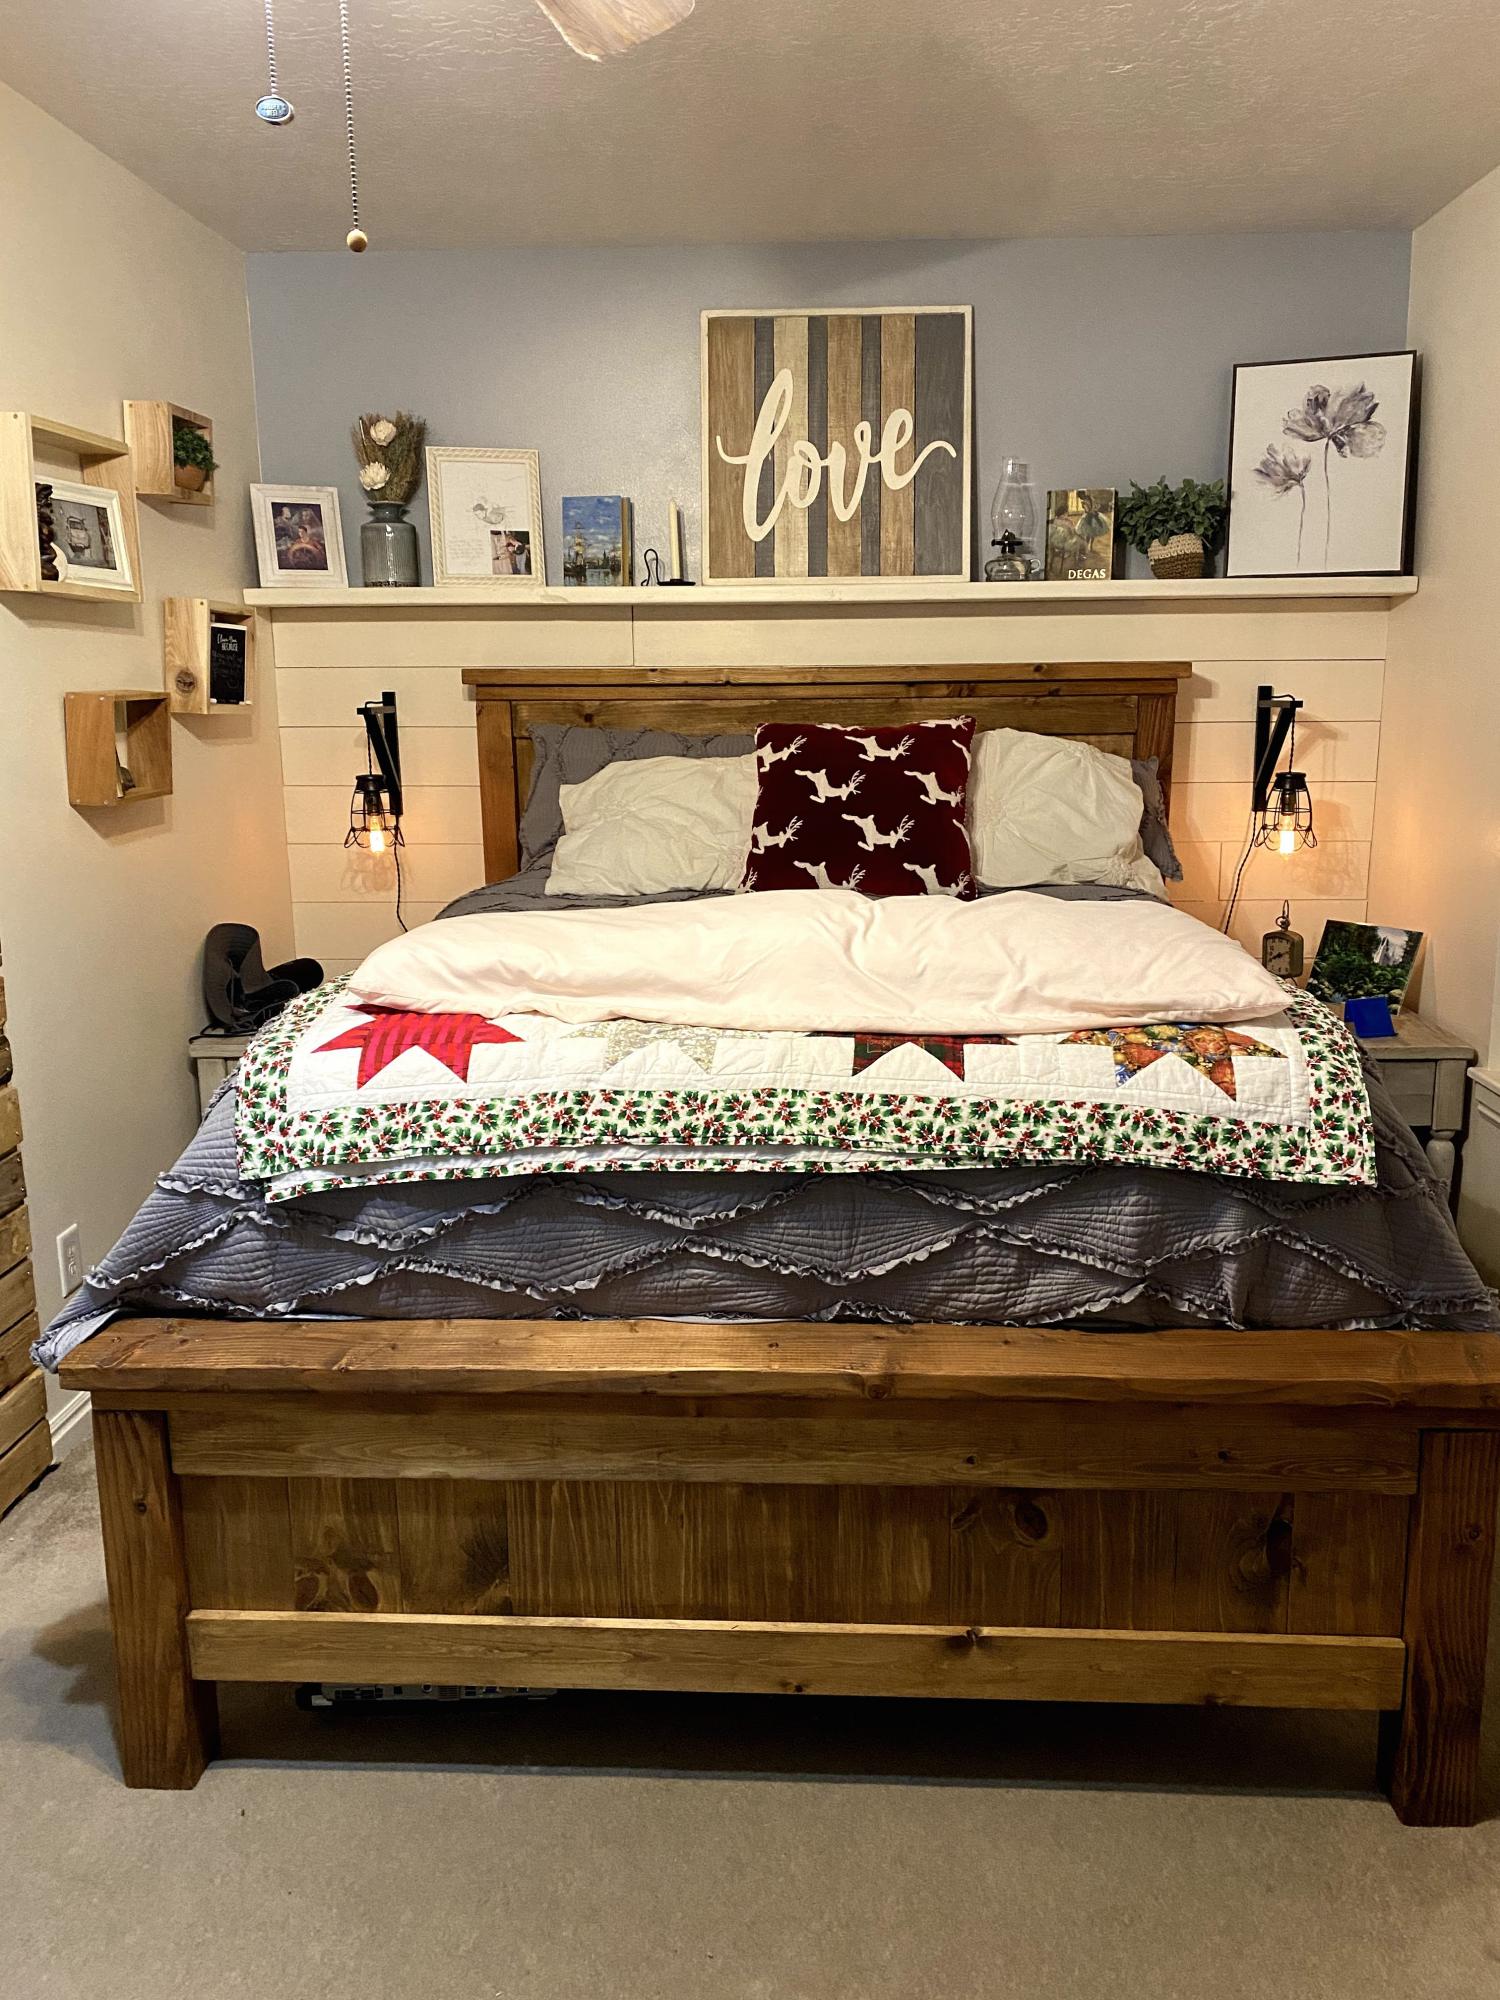
This was my first project I have every really made following plans and really the second project with wood. It was really fun and the only thing I would say was that I would have sanded all the parts before putting them together. I did that for the foot board and it made the process much easier in the end. This took me around 7 hours from start to finish.
Built from Plan(s)
Estimated Cost
$230
Estimated Time Investment
Day Project (6-9 Hours)
Finish Used
Early American stain used.
Recommended Skill Level
Intermediate
Comments
Tue, 09/29/2020 - 17:07
Very nice!
Looks great, and all those little tips and tricks are very helpful!
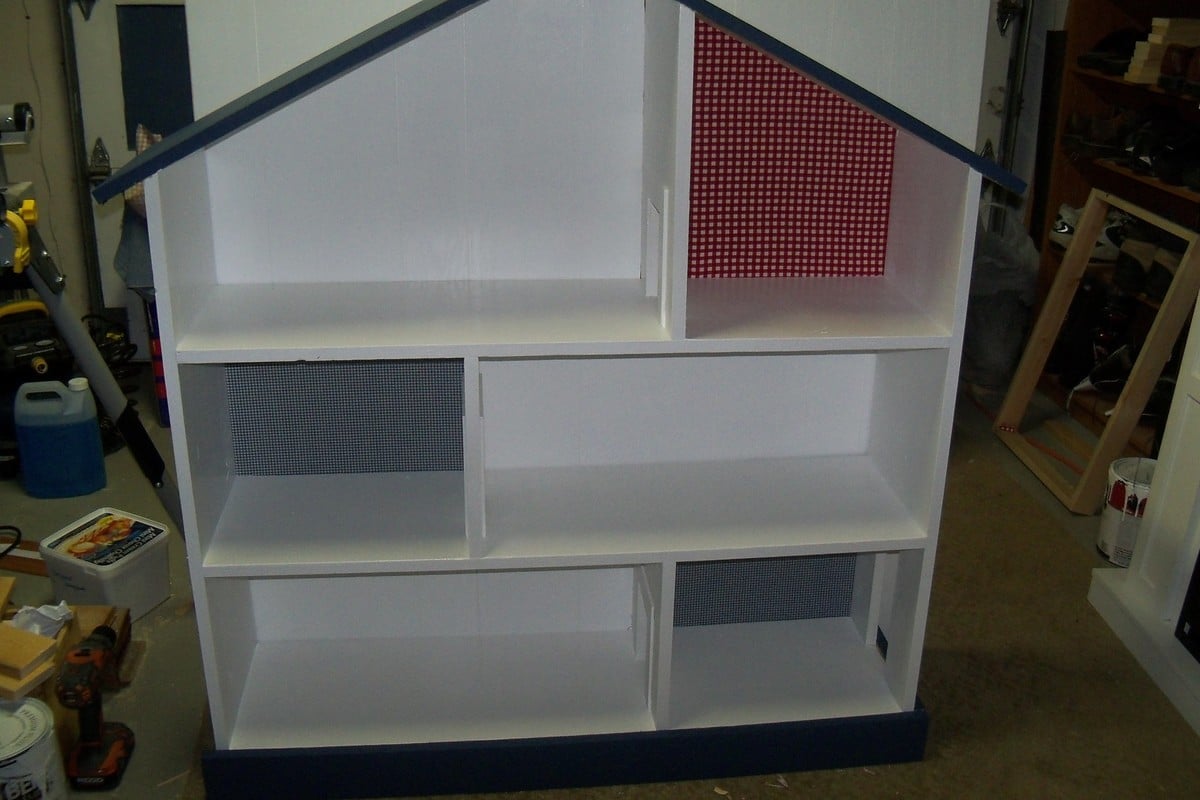
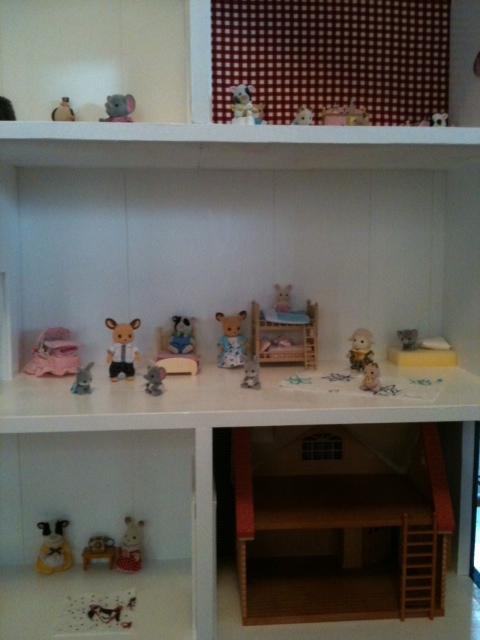
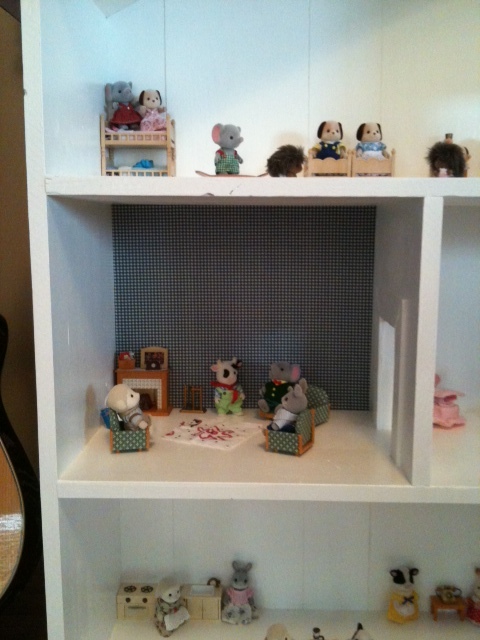
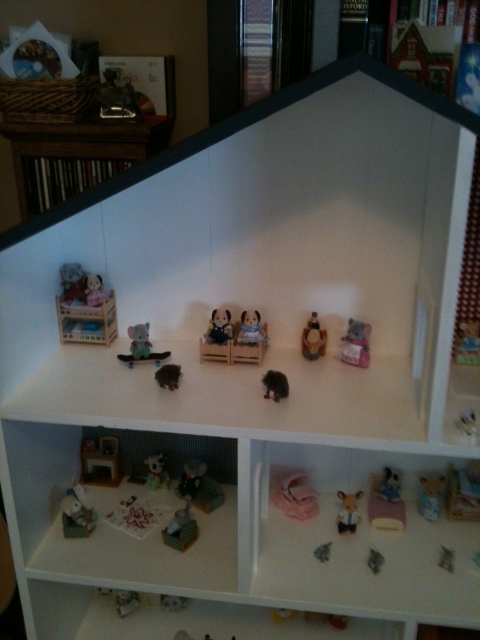
Doll house book shelf
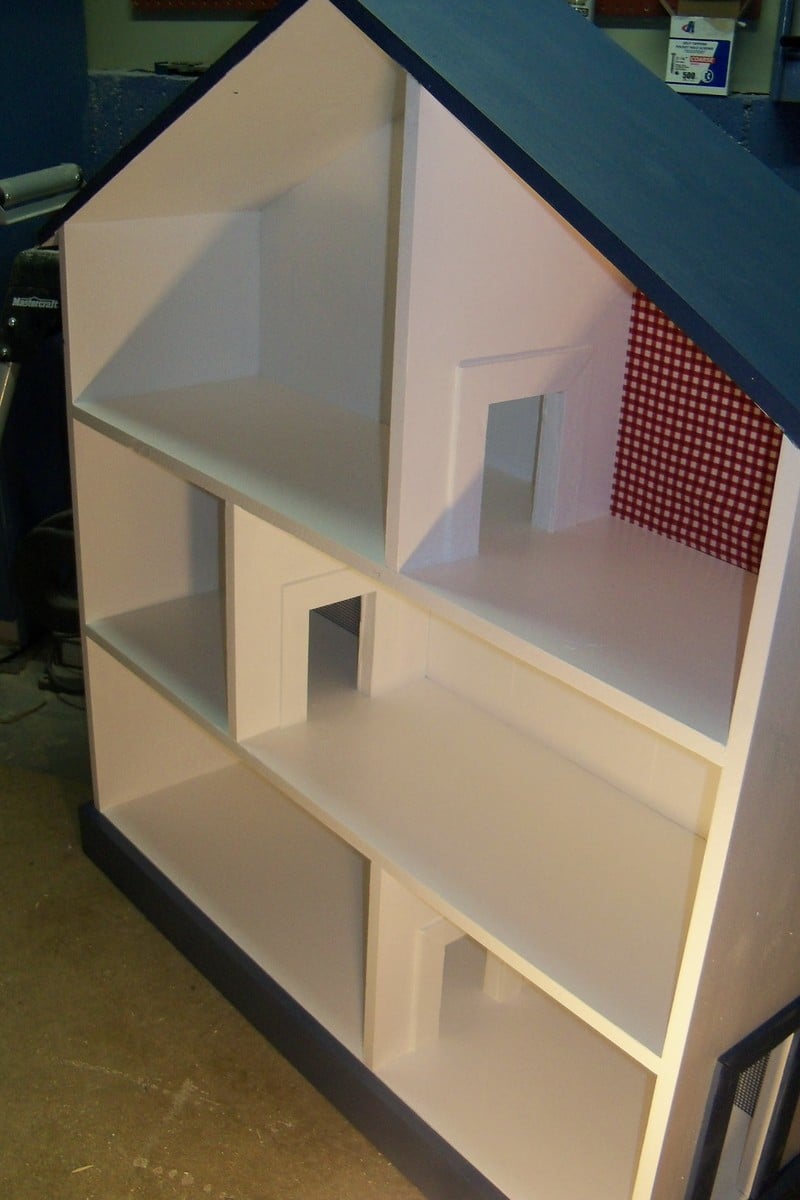
Doll house book shelf: made this for a friend and her daughters. At first I didn't realize my chop saw could not cut the 12 inch wood, had to use my circular with clamps. I think if I build again I might try mdf as it is cheaper or pocket drill some wood together.
This was a bit harder to build than I thought it would be had help from hubby!
Built from Plan(s)
Estimated Time Investment
Week Long Project (20 Hours or More)
Finish Used
White high gloss door and trim paint the blue is a custom colour I made and had tinted at Home Depot.
Recommended Skill Level
Intermediate
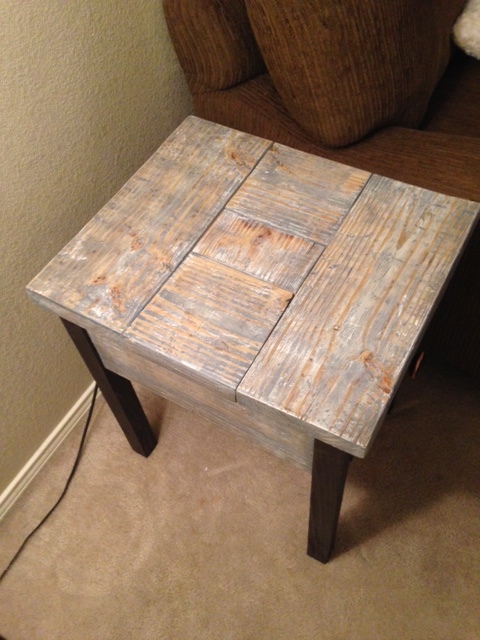
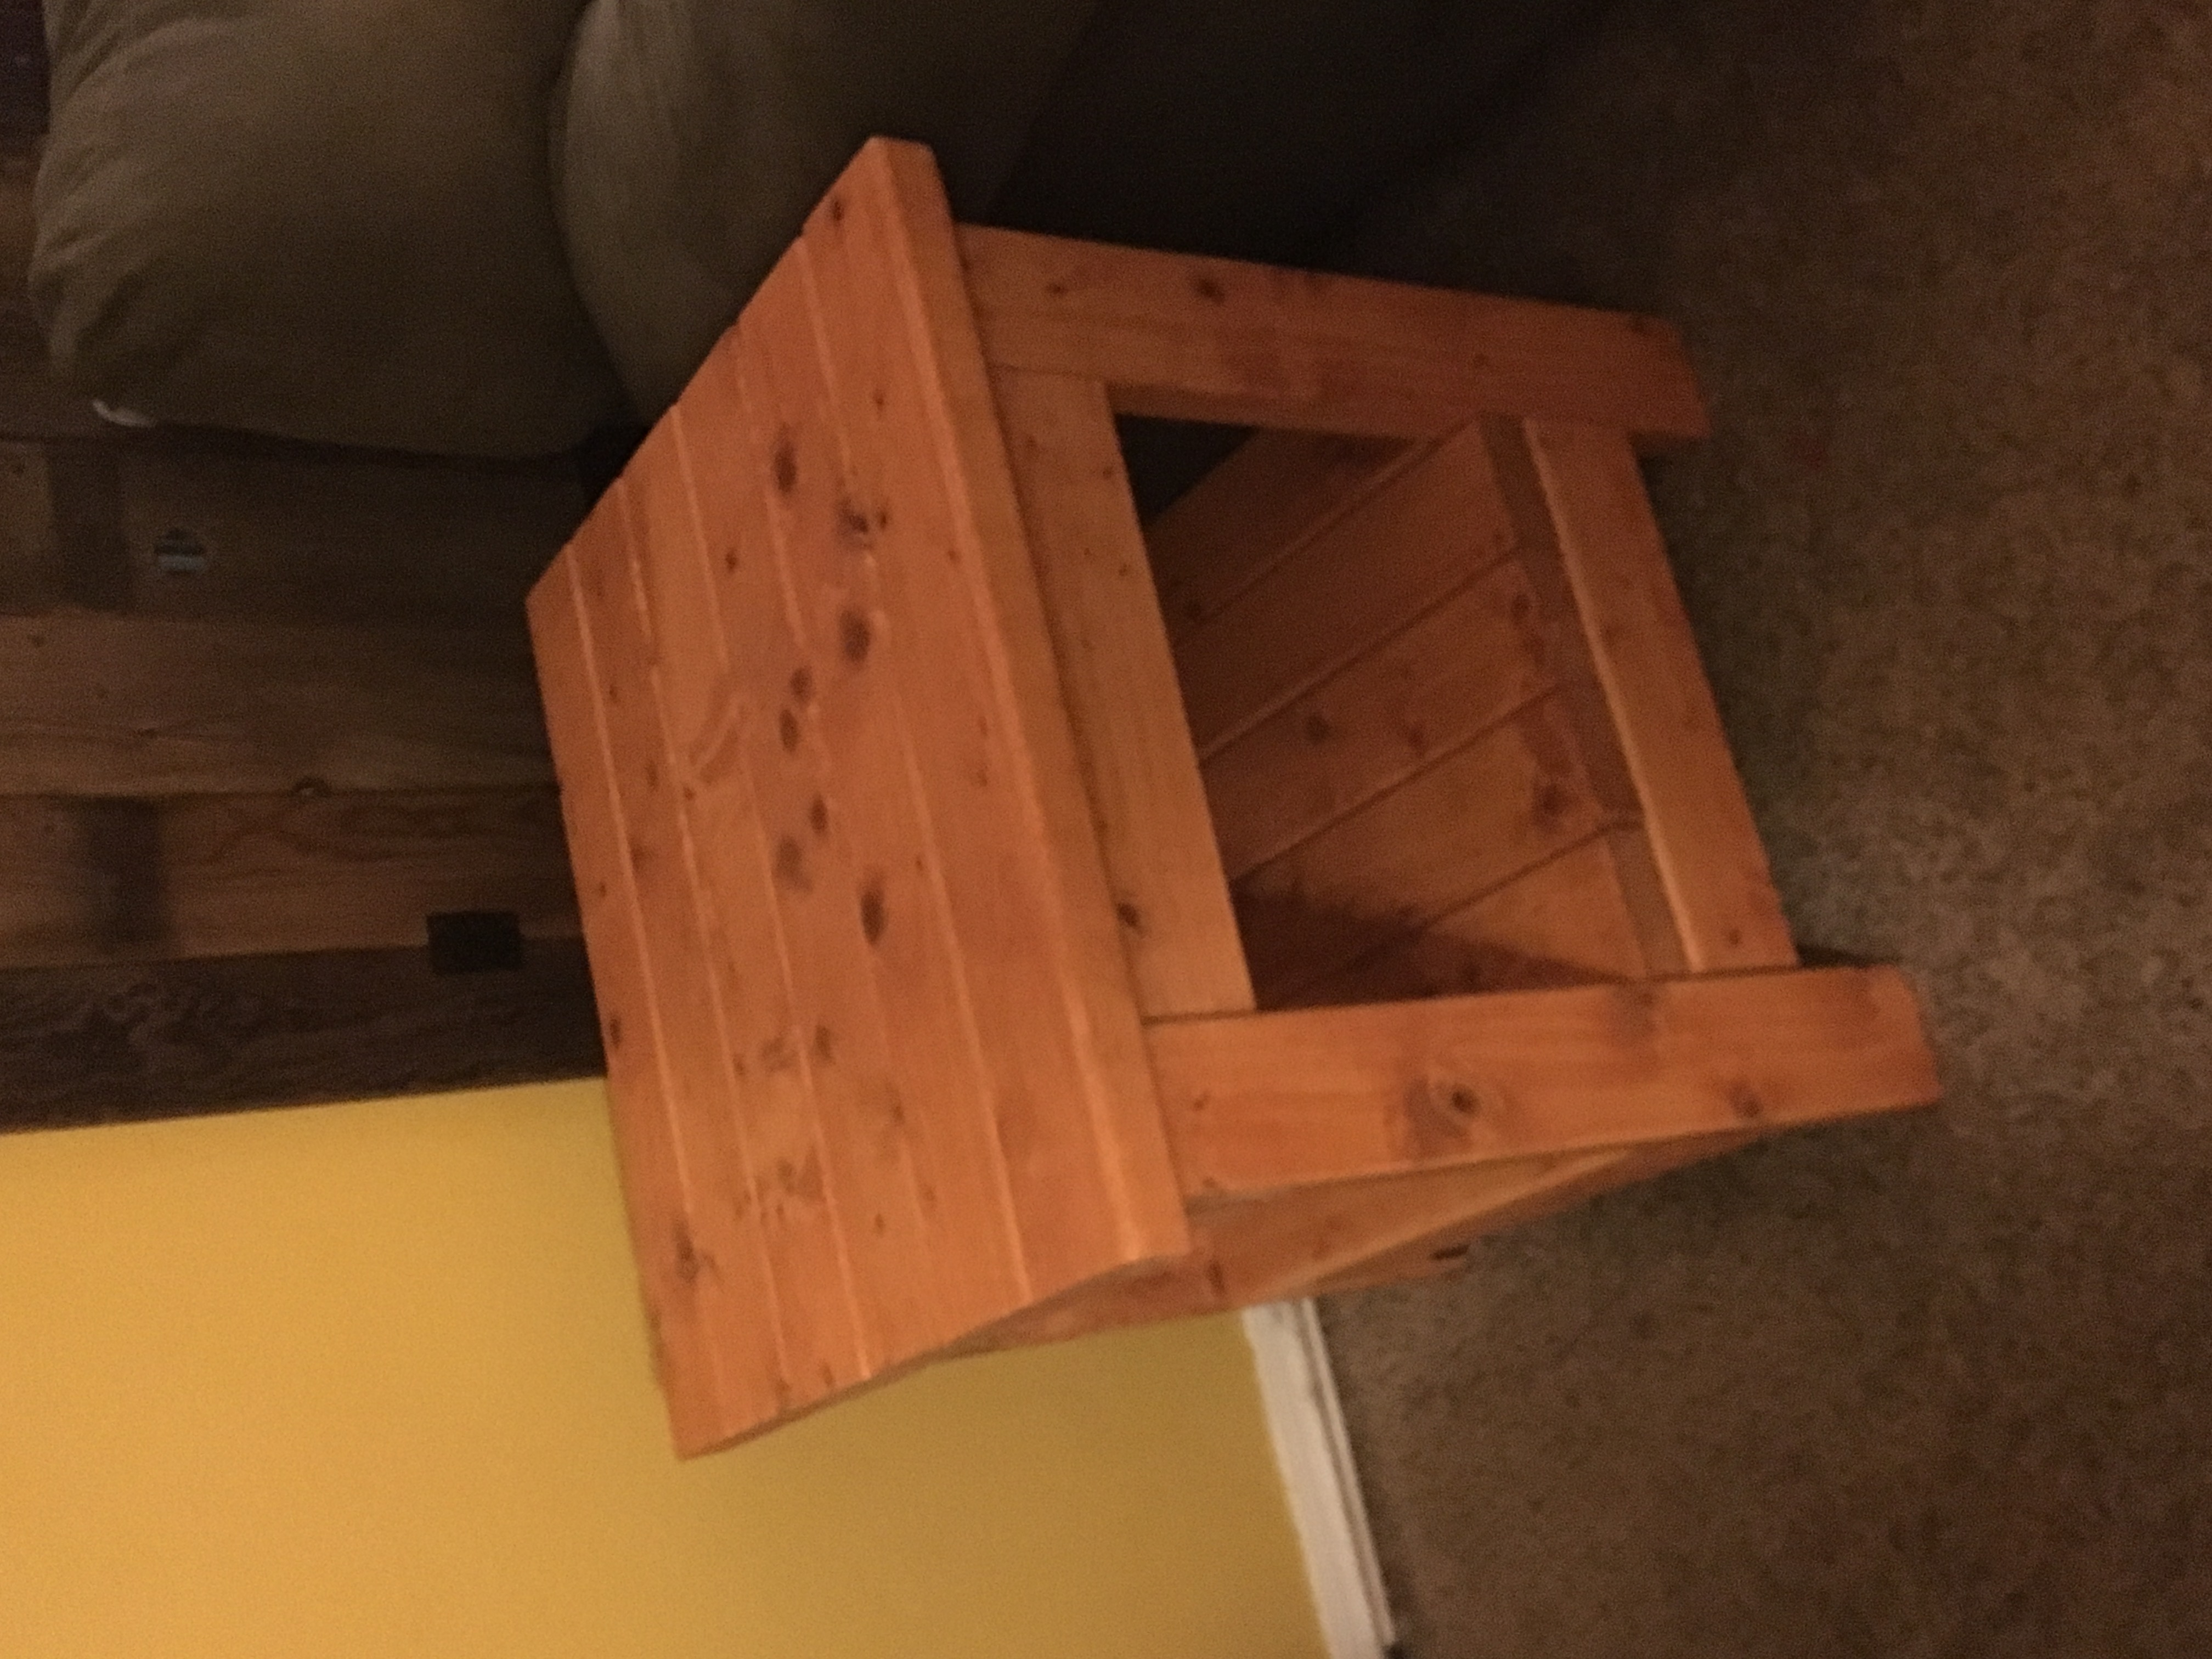
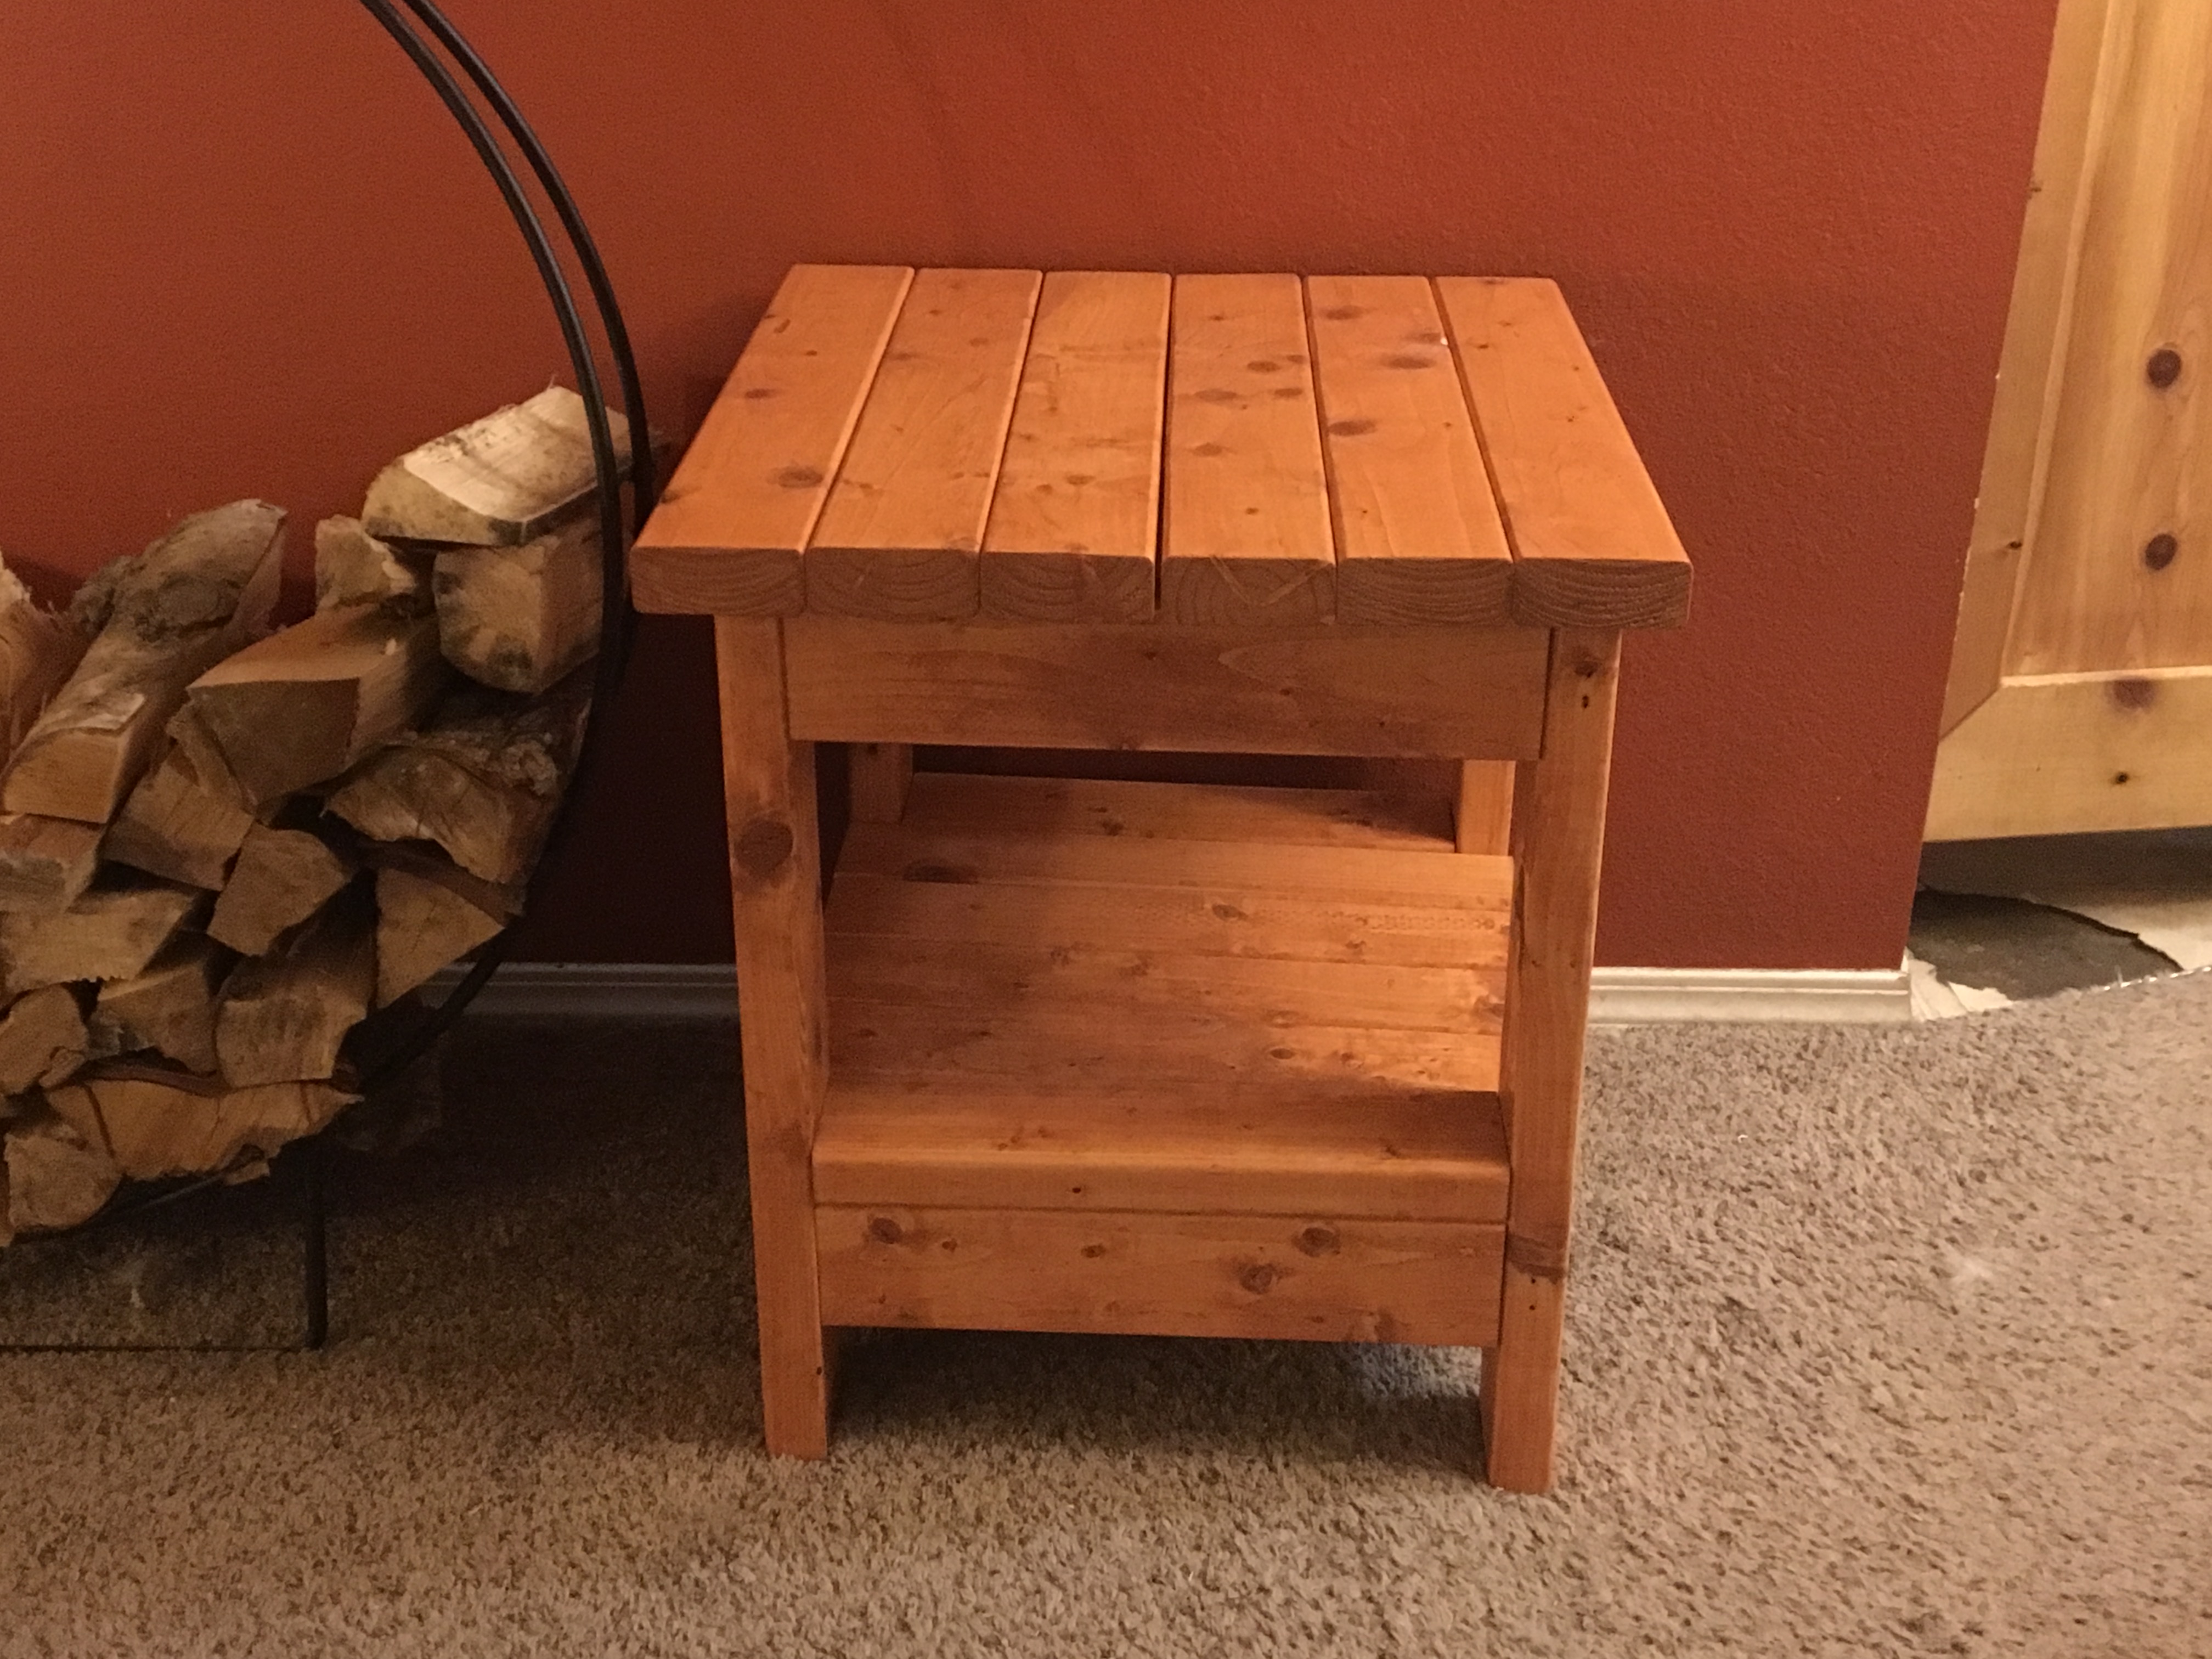
End Table
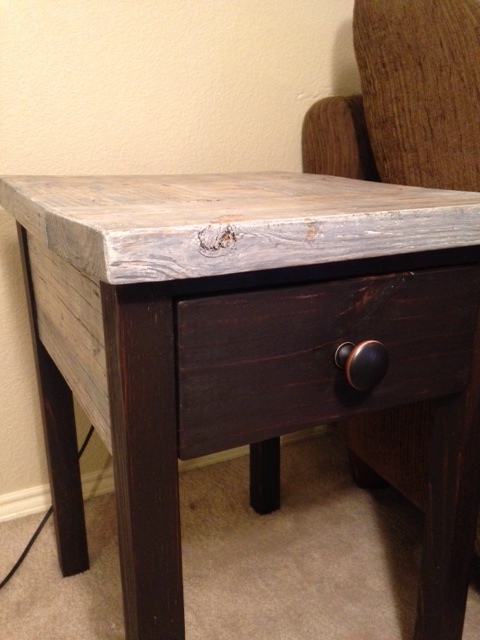
I used some of the remaining reclaimed boards from my buffet table build to make an end table for the living room. The build itself was very similar to the buffet table, just to a smaller scale. I didnt have long enough boards remaining, and had to get a little creative with the top, but I'm pretty happy with how it turned out.
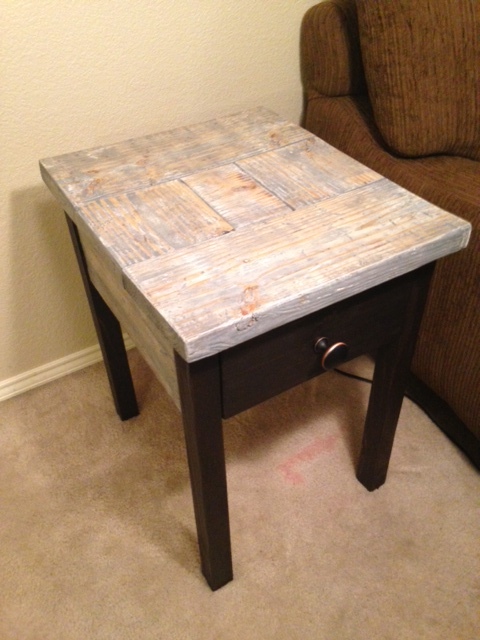
Estimated Cost
25$ or so after wood for the legs and drawer, drawer slides, and knob.
Estimated Time Investment
Day Project (6-9 Hours)
Finish Used
Top and aprons - light coat of primer, weathered grey stain. Wait til dry and sand everything down to expose the layers.
Legs and drawer - Dark stain (kona) and poly over everything
Legs and drawer - Dark stain (kona) and poly over everything
Recommended Skill Level
Beginner
55" x 44"- Custom Size
I made this table 55" x 44" and it came out great. Fun project and not very difficult. On to the next project!
Estimated Cost
$200
Estimated Time Investment
Day Project (6-9 Hours)
Finish Used
Minwax stain...any color works. I highly recommend spending time sanding the top and sides enough to get that smooth finish.
Recommended Skill Level
Intermediate
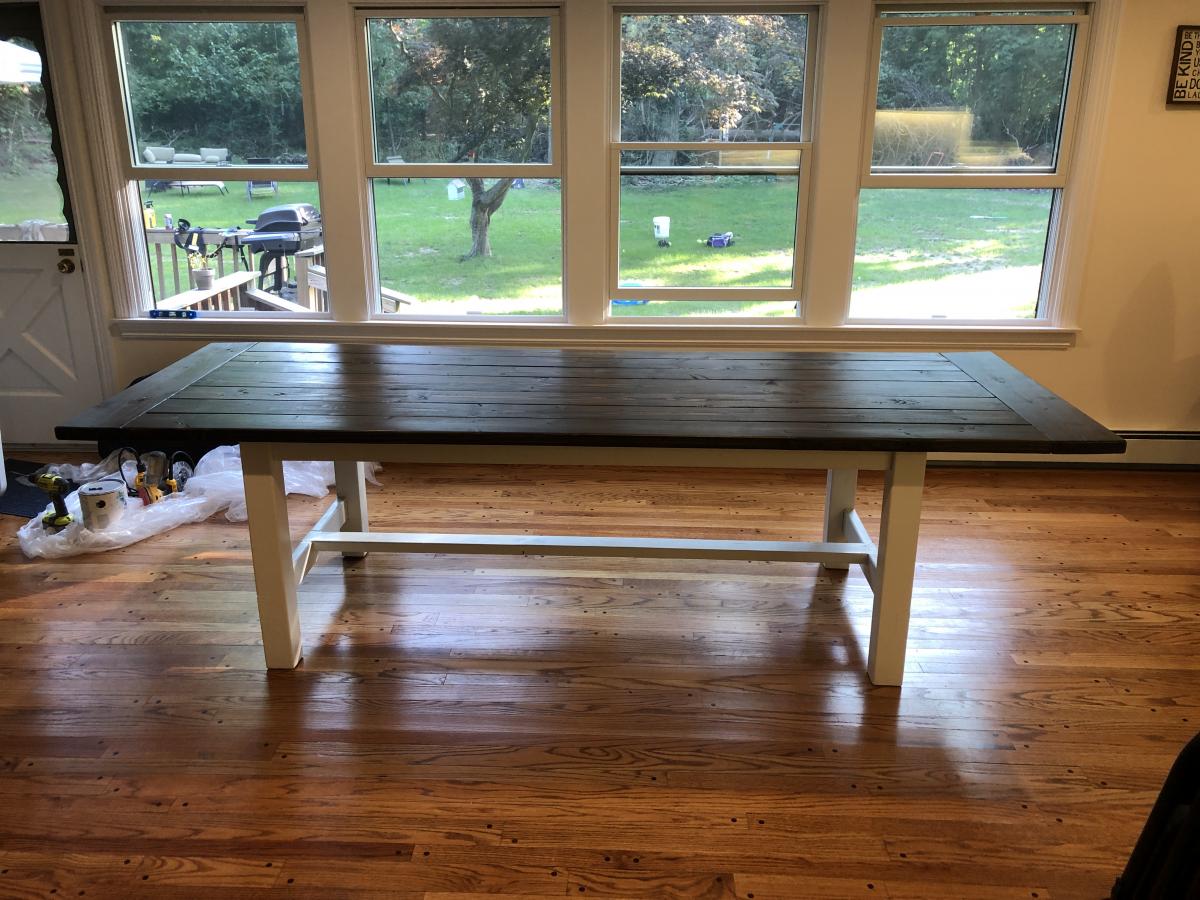
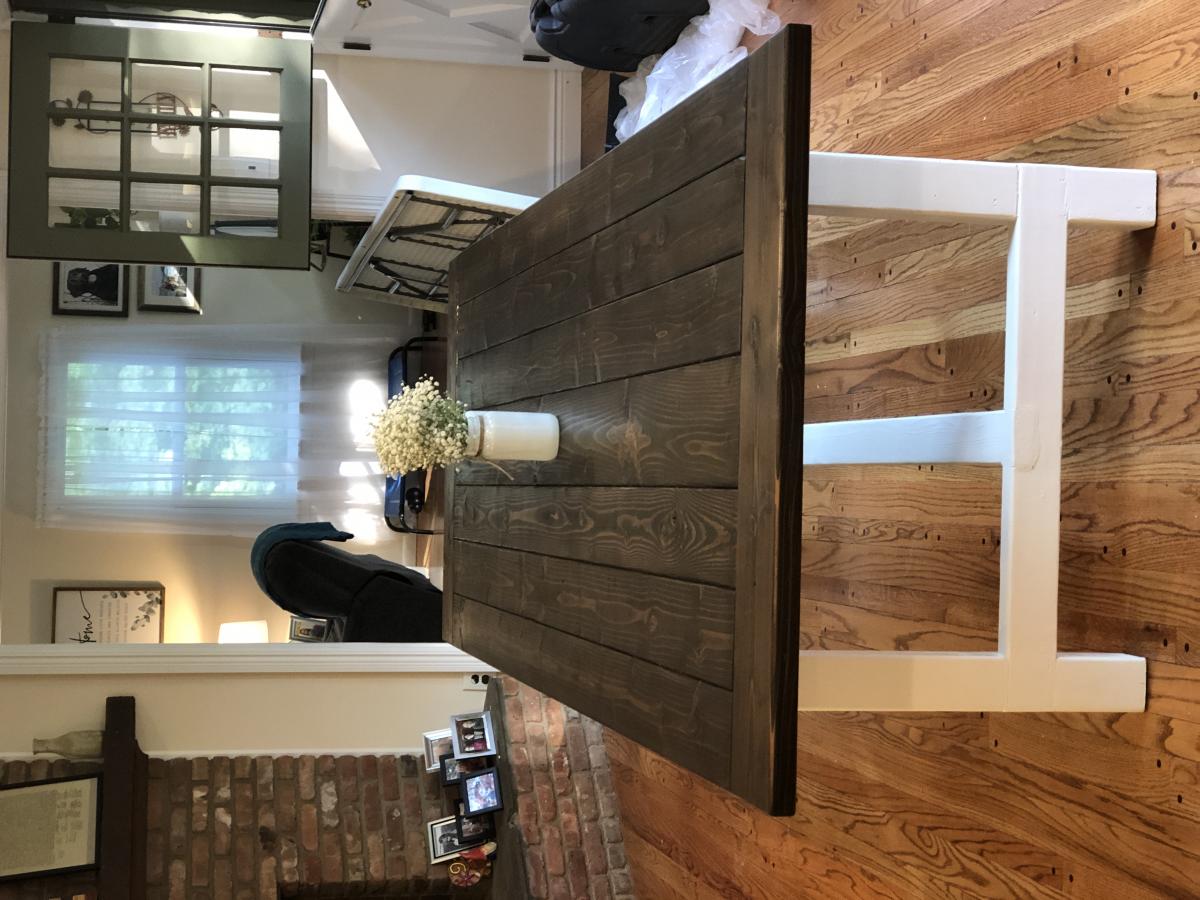
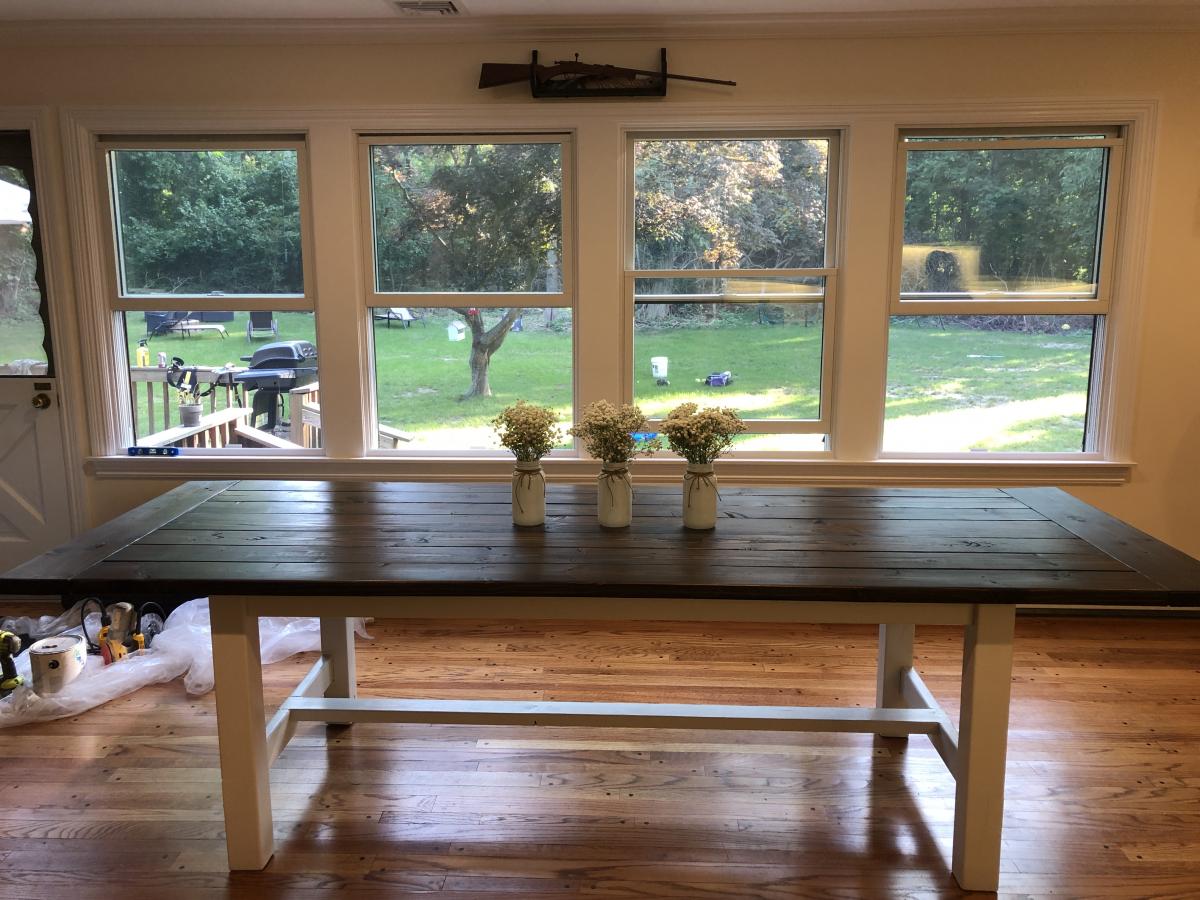
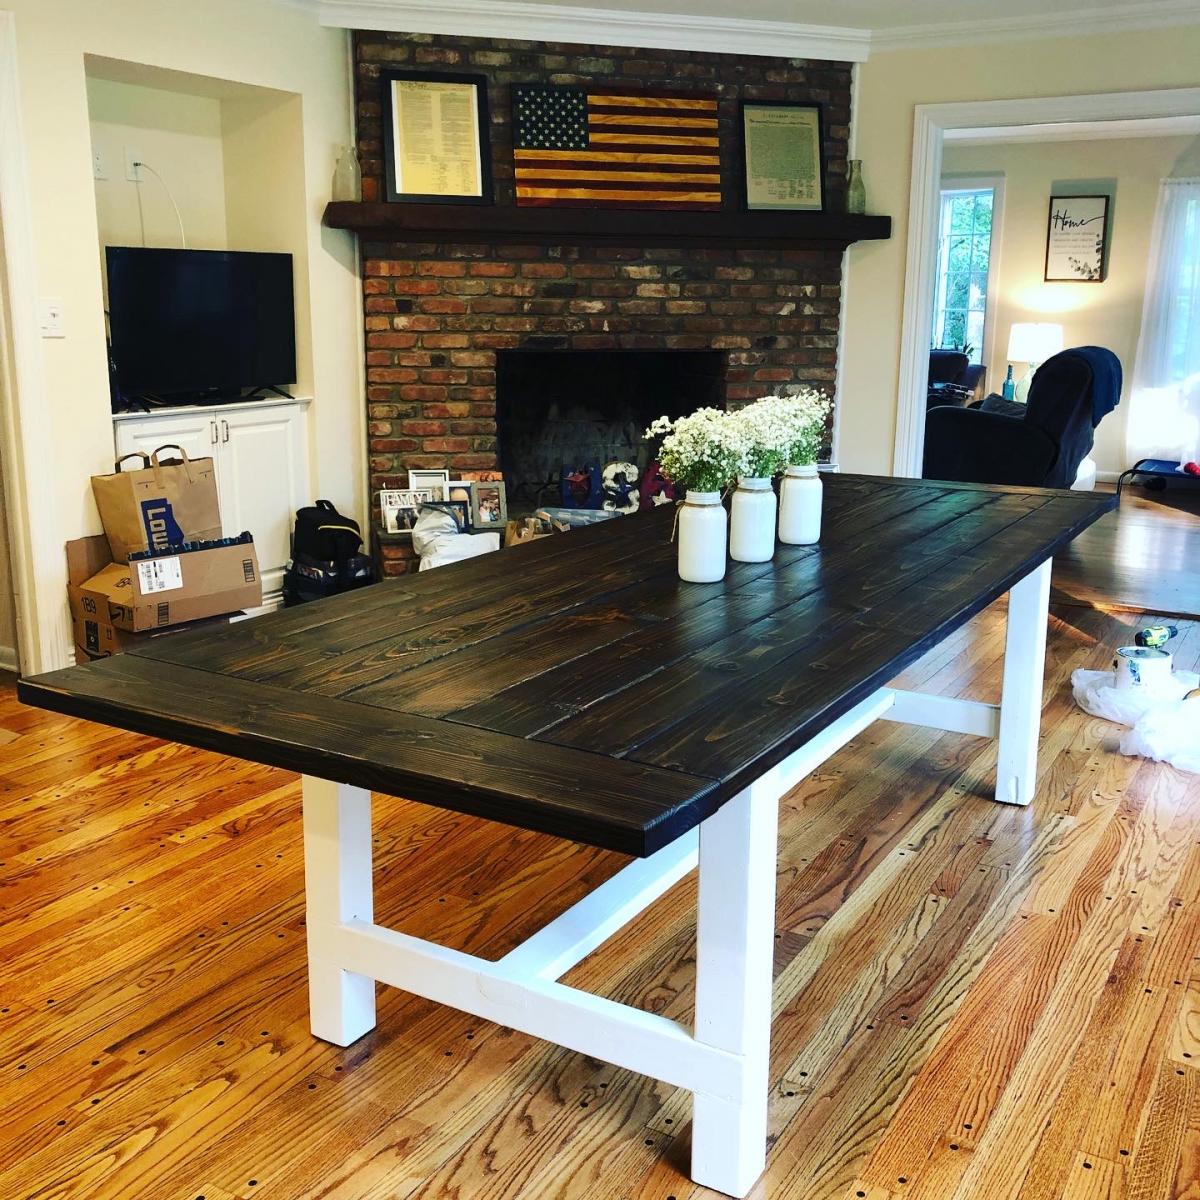
Farmhouse Table with Pocket Holes
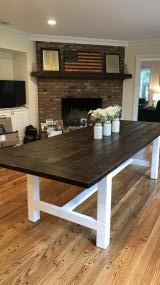
I used the plans for the base but made the table 10 feet long. Came out GREAT!
Built from Plan(s)
Estimated Cost
250
Estimated Time Investment
Weekend Project (10-20 Hours)
Recommended Skill Level
Intermediate
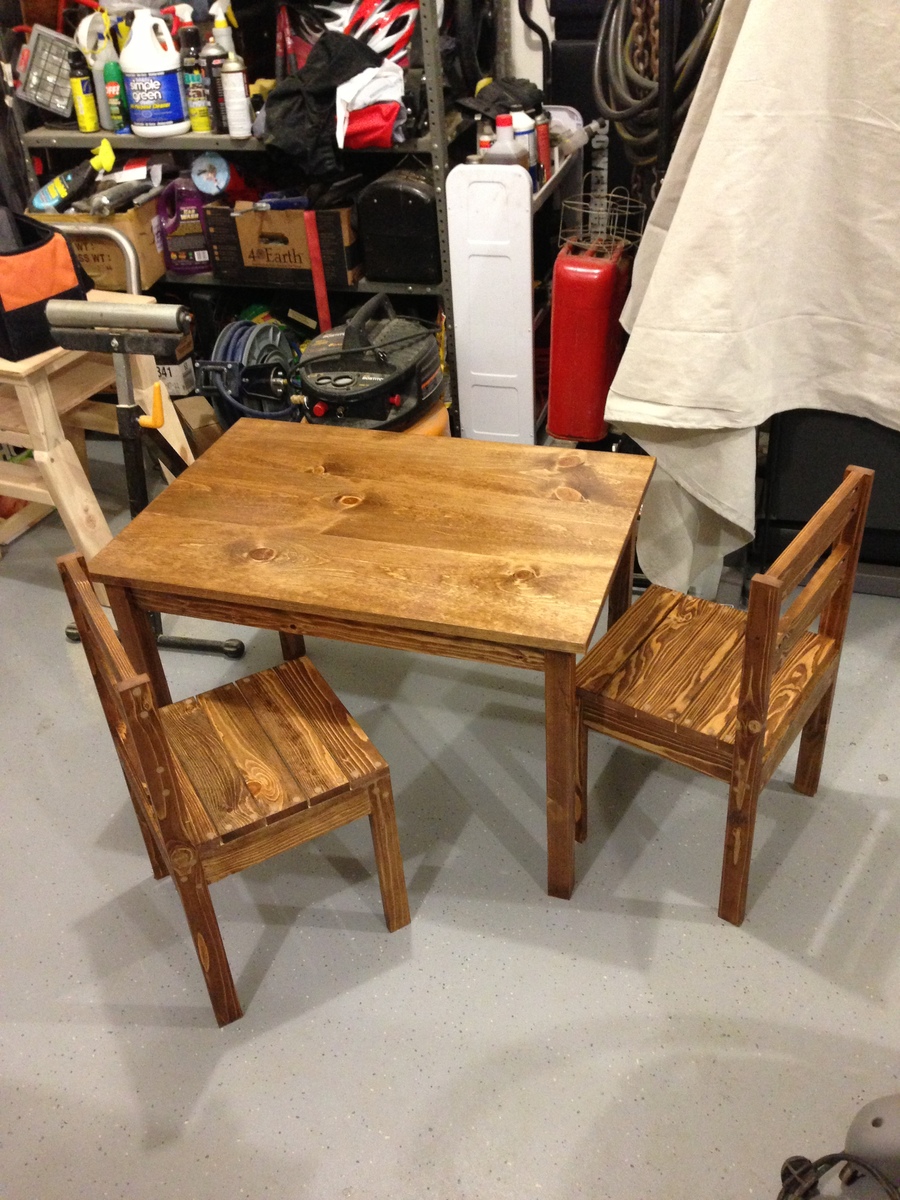
Clara Table and 4 Dollar Chairs
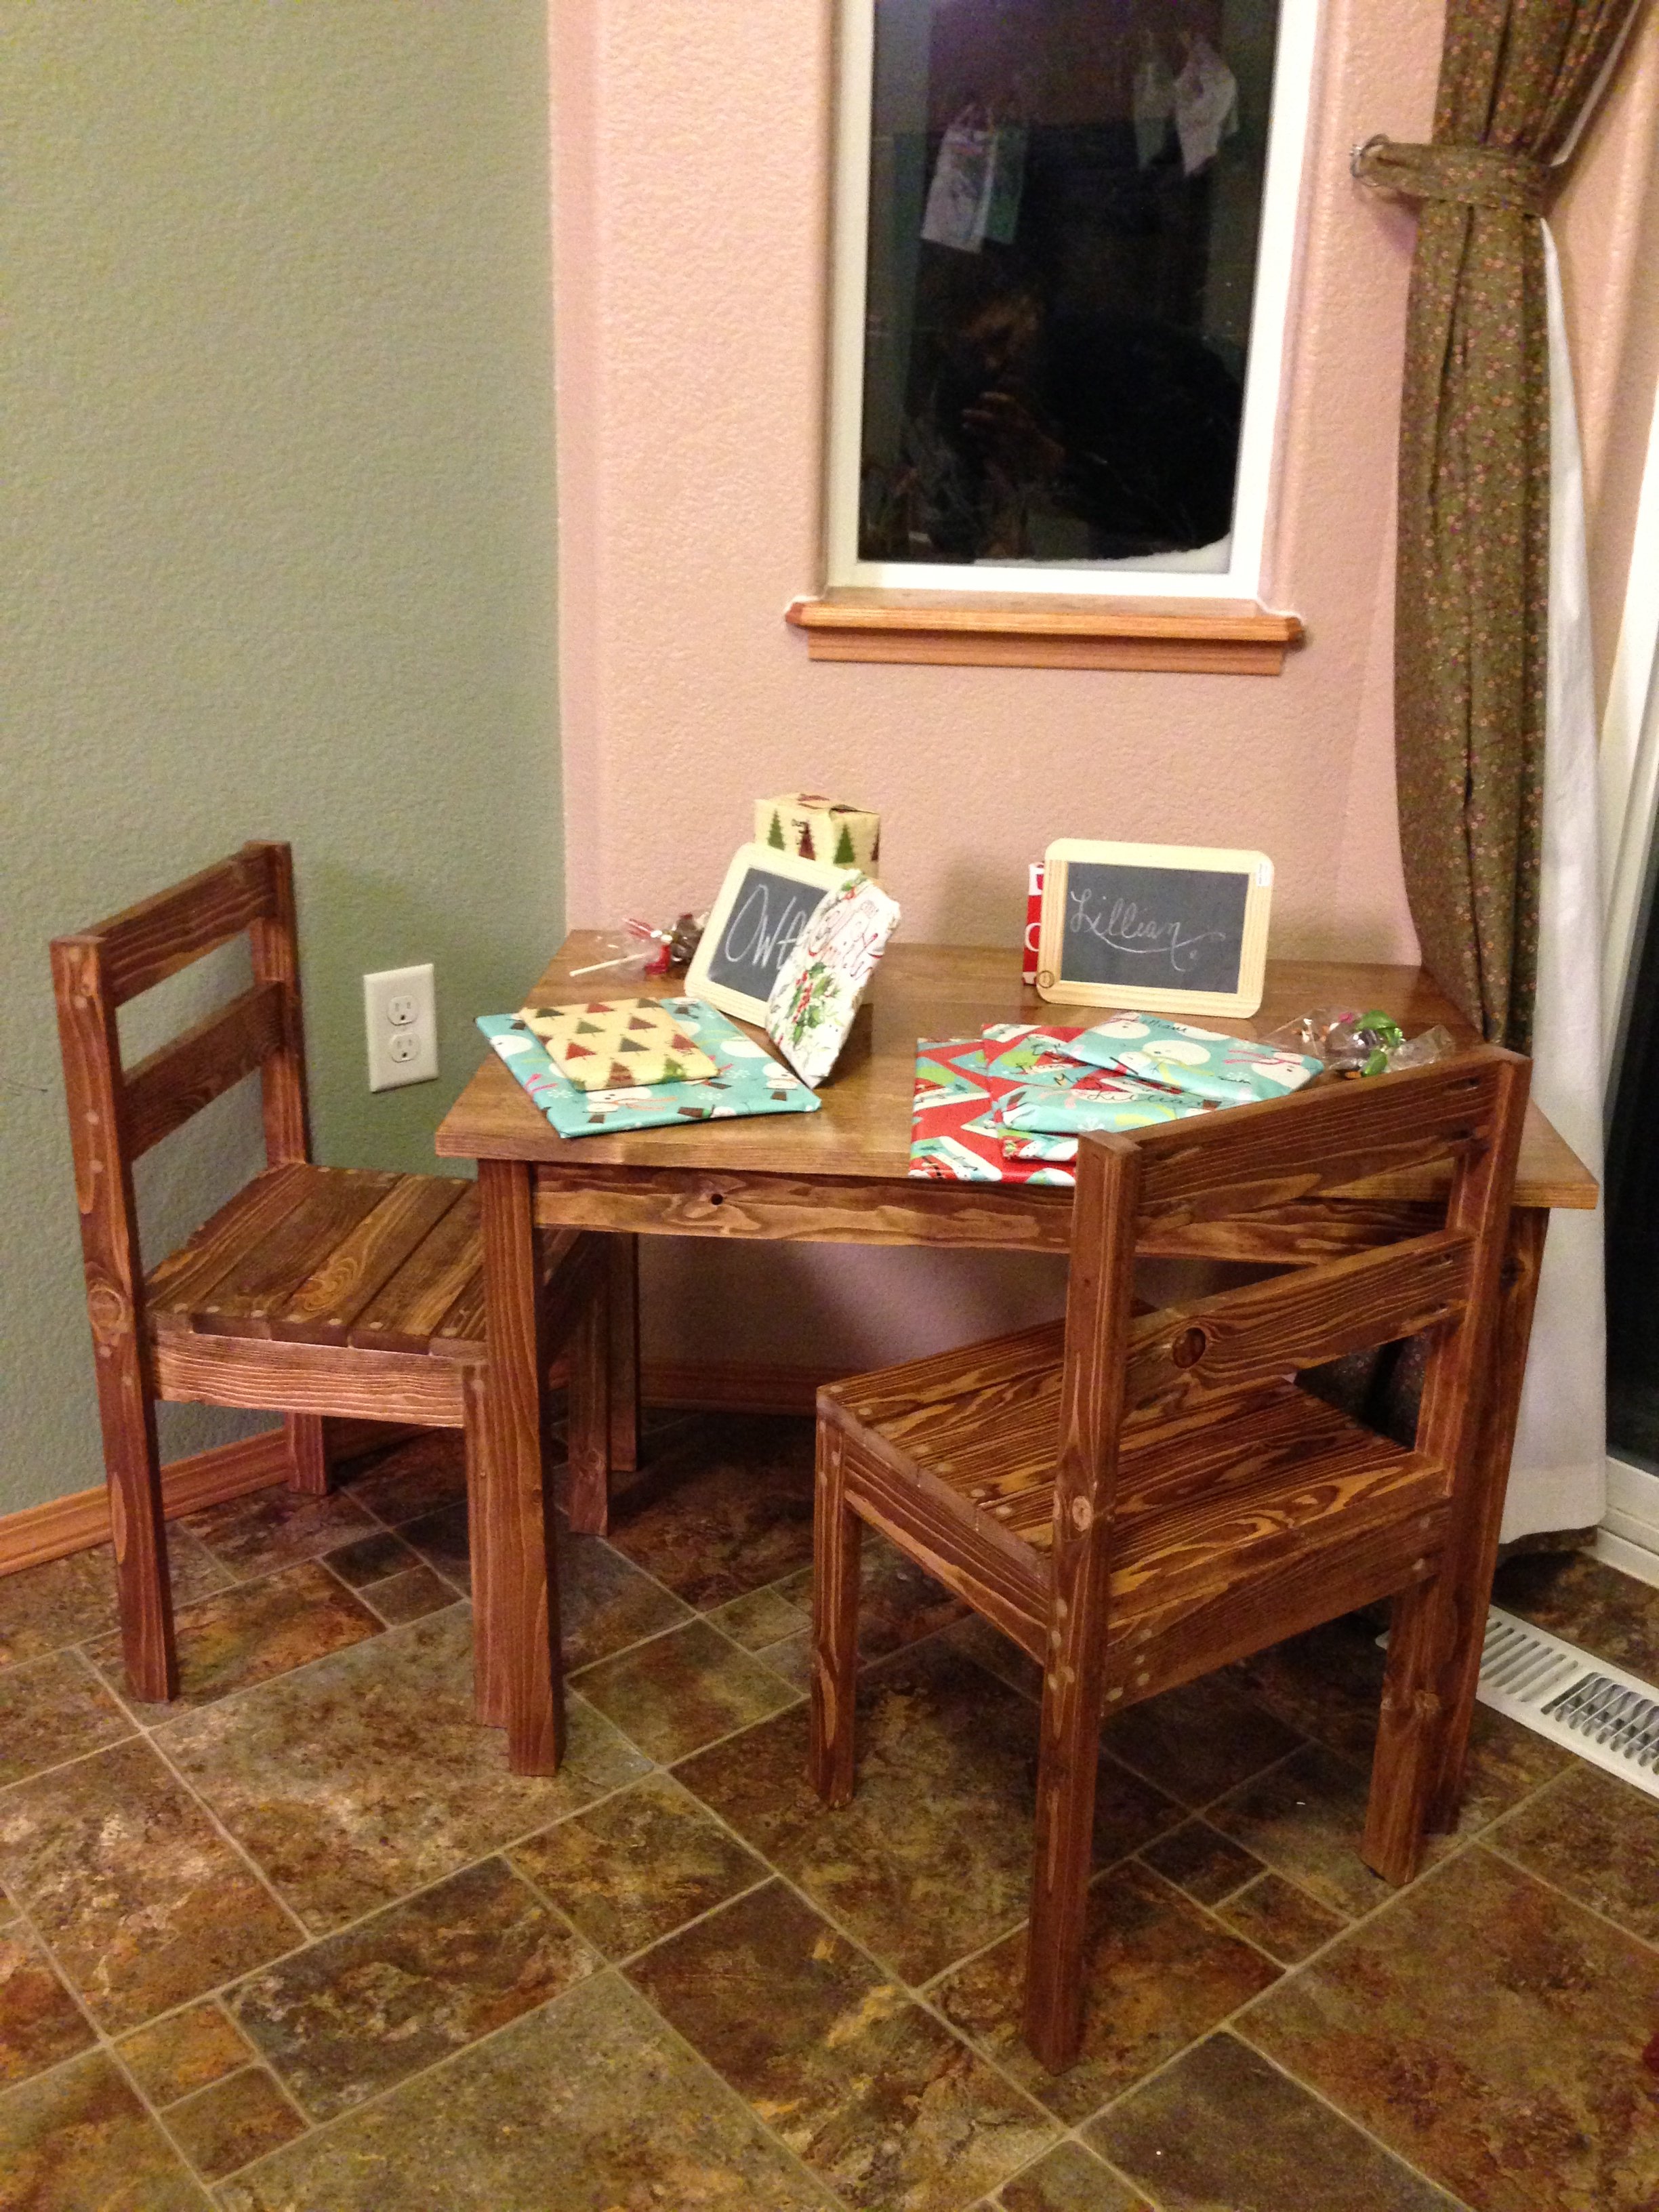
I recently built the Clara table and the four dollar stack-able chairs for my two kids as a Christmas present. Like most plans on this site, they were easy to follow and the materials were easy to find. I own a Kreg pocket hole jig, so putting the pieces together was really easy. It took me about two hours a chair and around three to assemble the table. I used glue along with the pocket holes, so the joints are nice and strong.
I sanded and finished the table and chairs with a stain called "Early American" and I thought it turned out nicely. I also coated the table top with a polyurethane, to give it a nice, durable finish. Not only did it add some shine to the top, but also made the #2 pine I used much more kid resistant!
Thanks again for the great plans, I look forward to building more.
Built from Plan(s)
Estimated Cost
$60
Estimated Time Investment
Afternoon Project (3-6 Hours)
Finish Used
Minwax Early American stain.
Sand all parts with 60-80 grit. Fill all holes with wood filler. Resand with 120 grit. Sand table top with 220 grit prior to stain. After two stain coats, coat table top with polyurethane. Resand with 220 after two to three hours. Coat with polyurethane and let dry overnight.
Sand all parts with 60-80 grit. Fill all holes with wood filler. Resand with 120 grit. Sand table top with 220 grit prior to stain. After two stain coats, coat table top with polyurethane. Resand with 220 after two to three hours. Coat with polyurethane and let dry overnight.
Recommended Skill Level
Beginner
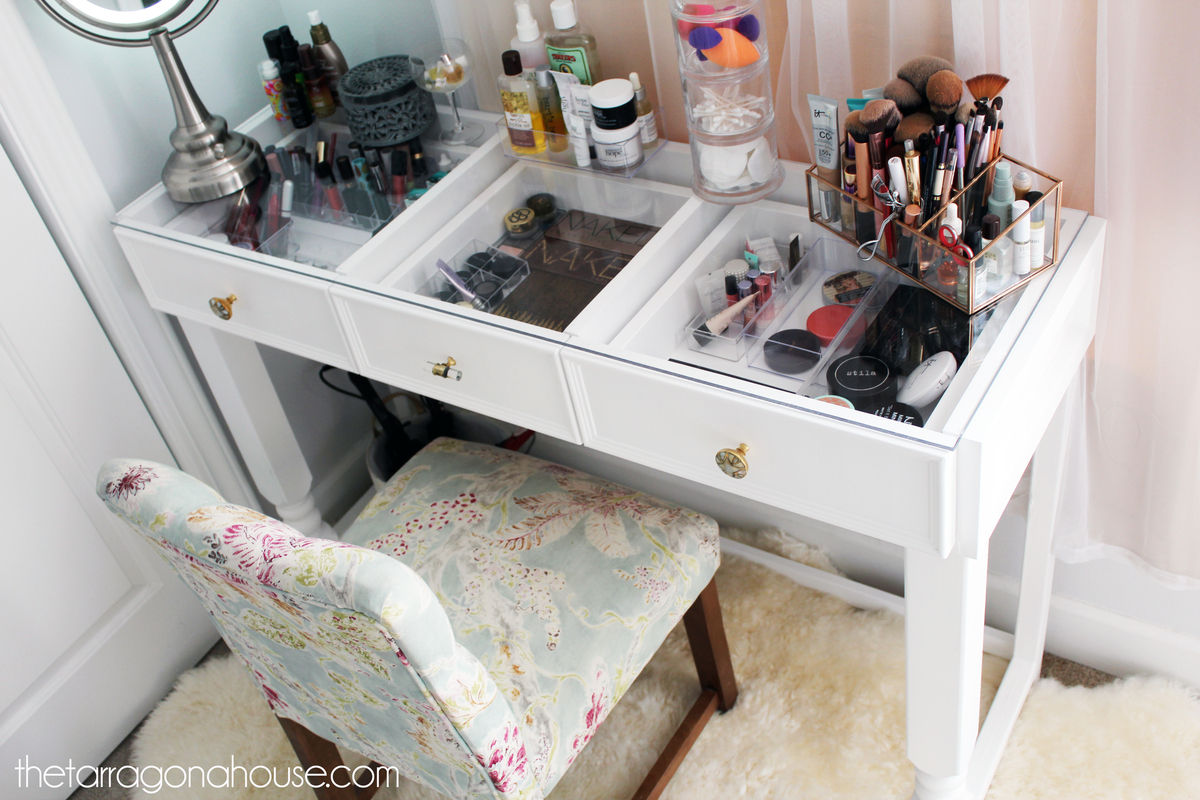
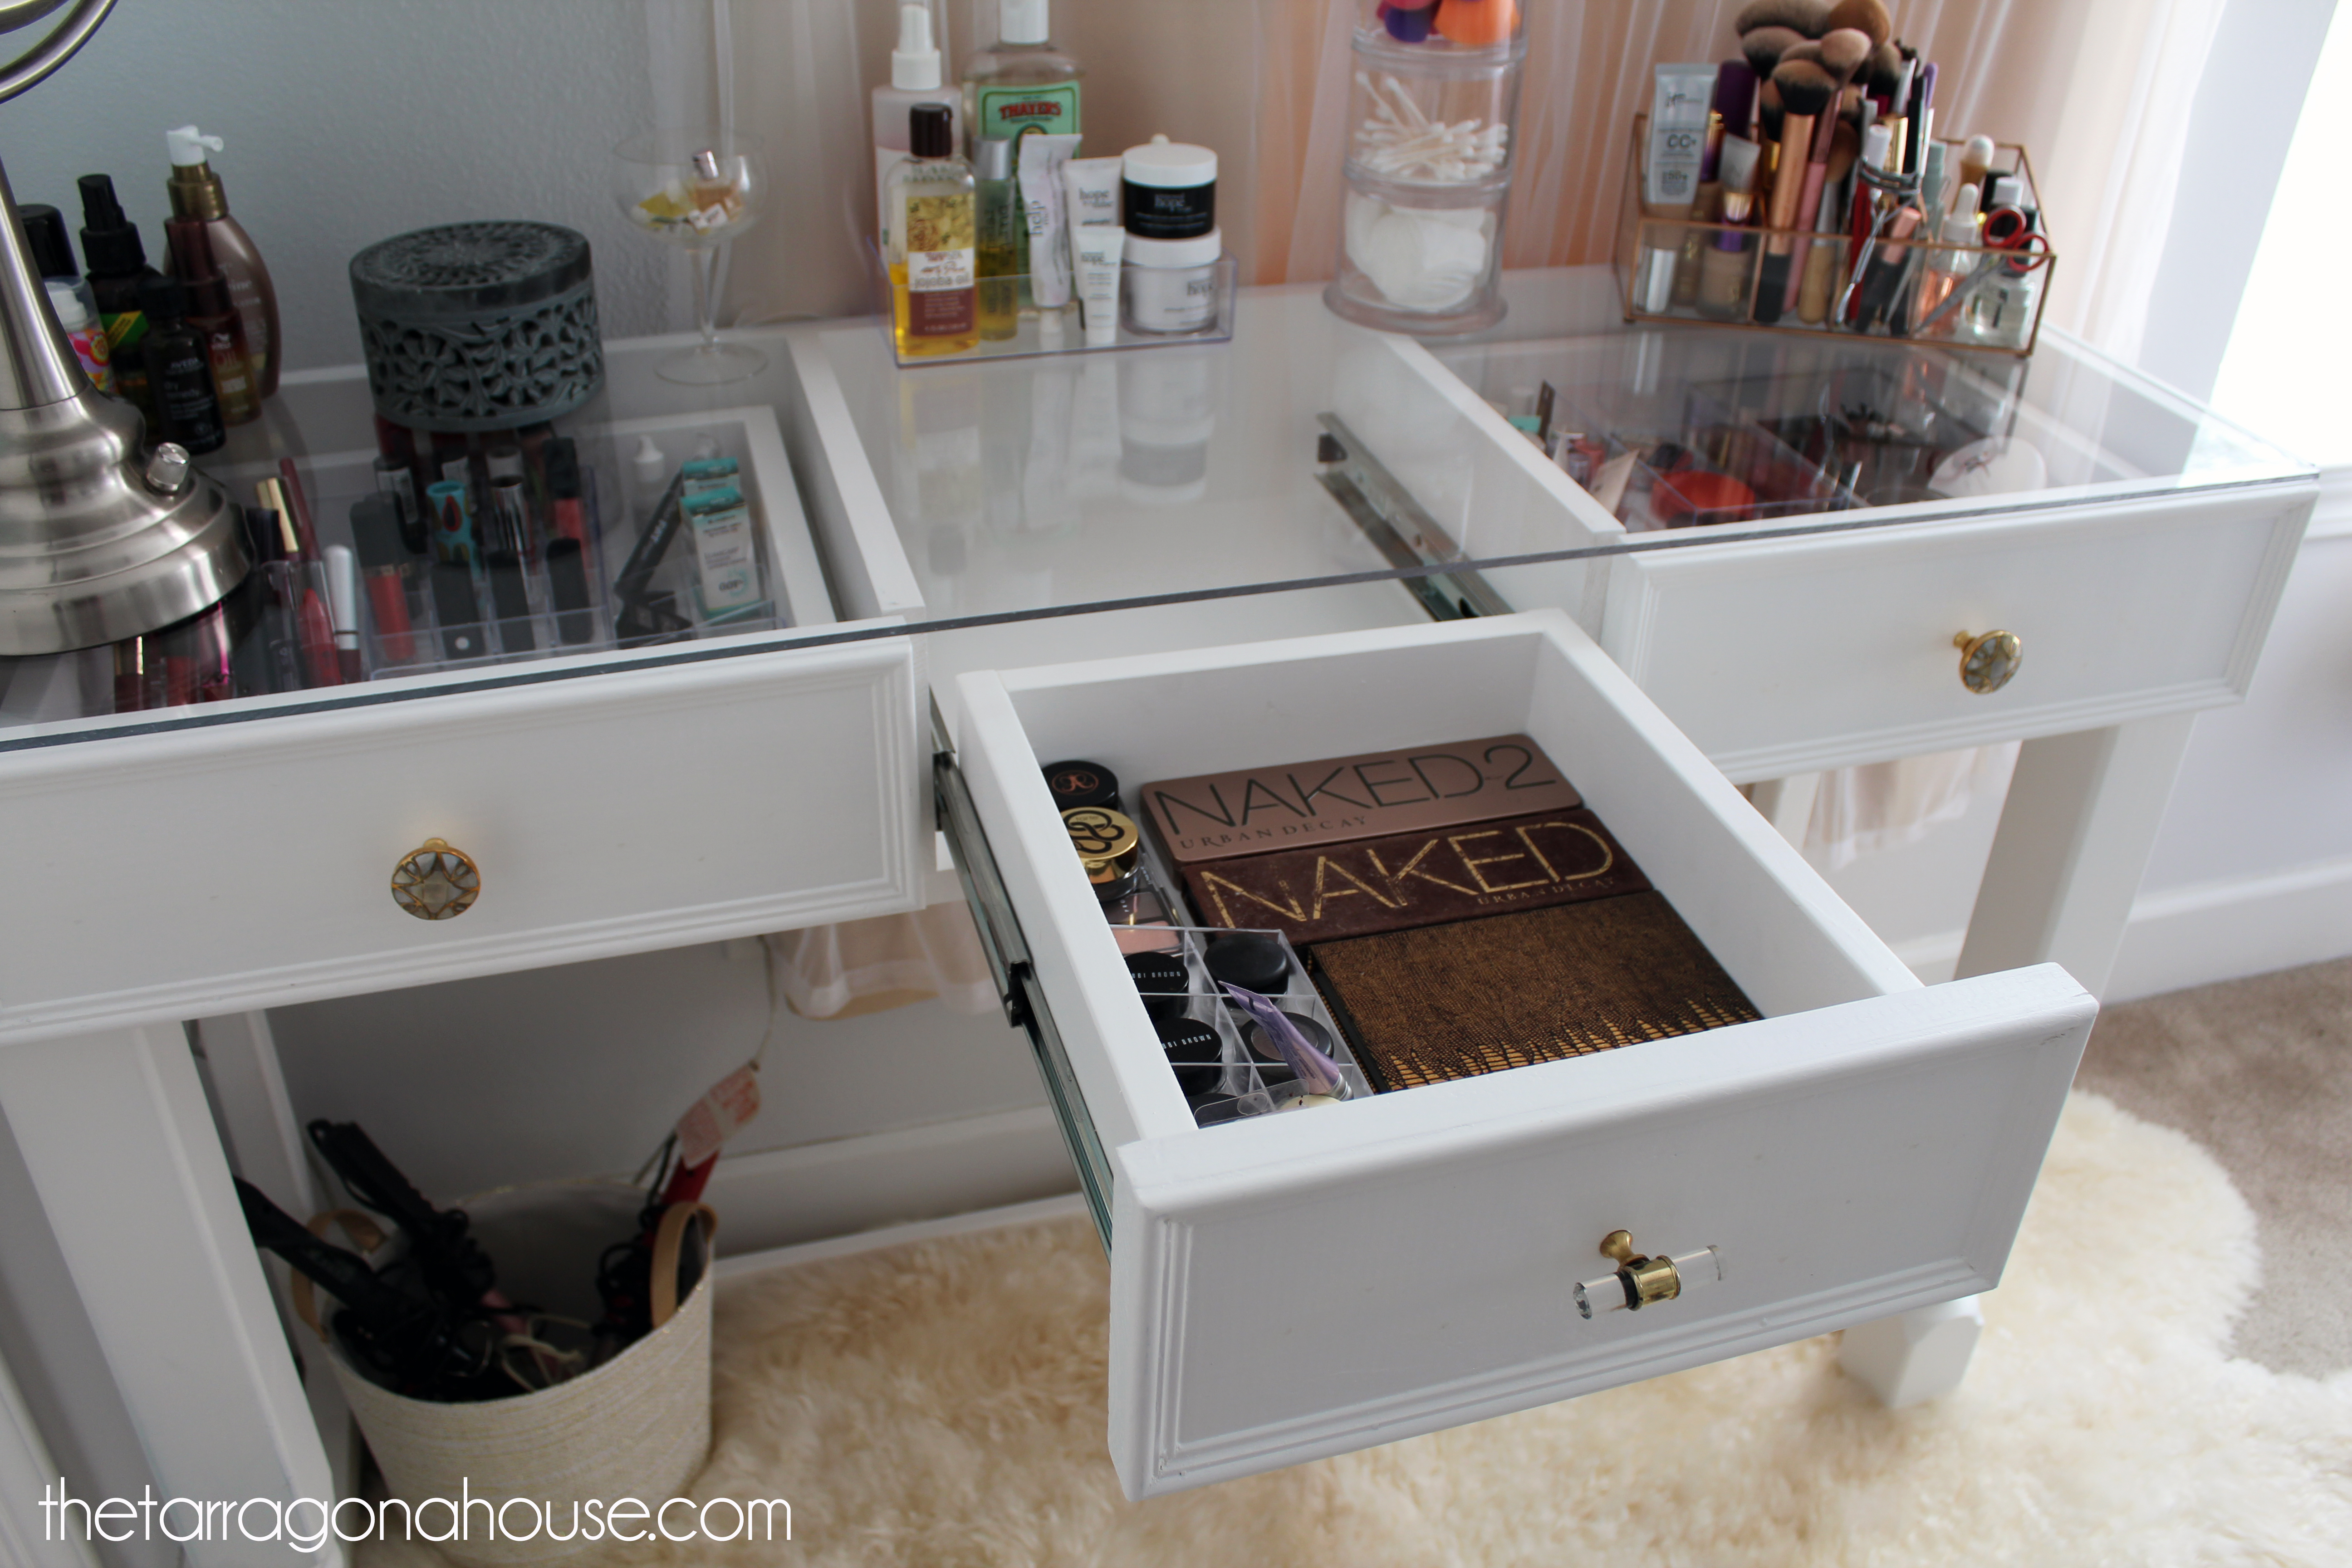
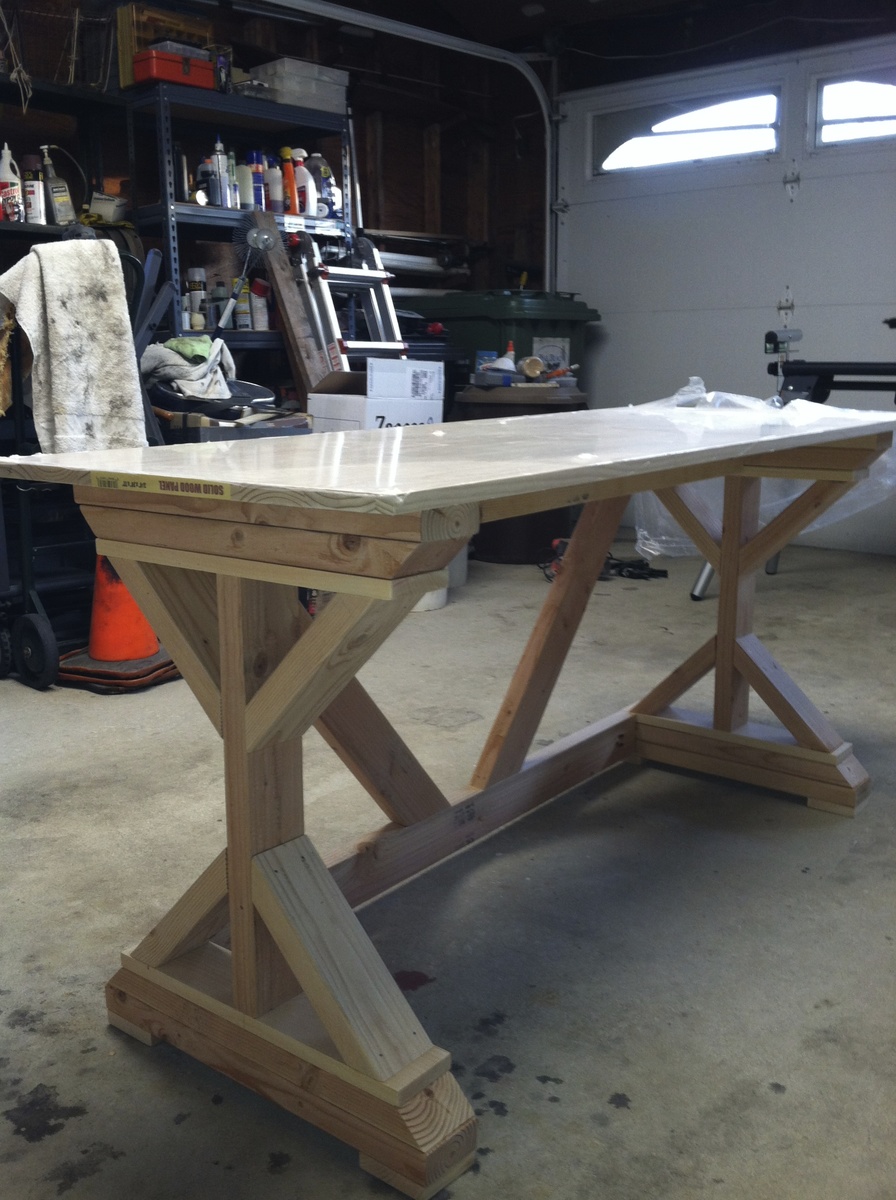
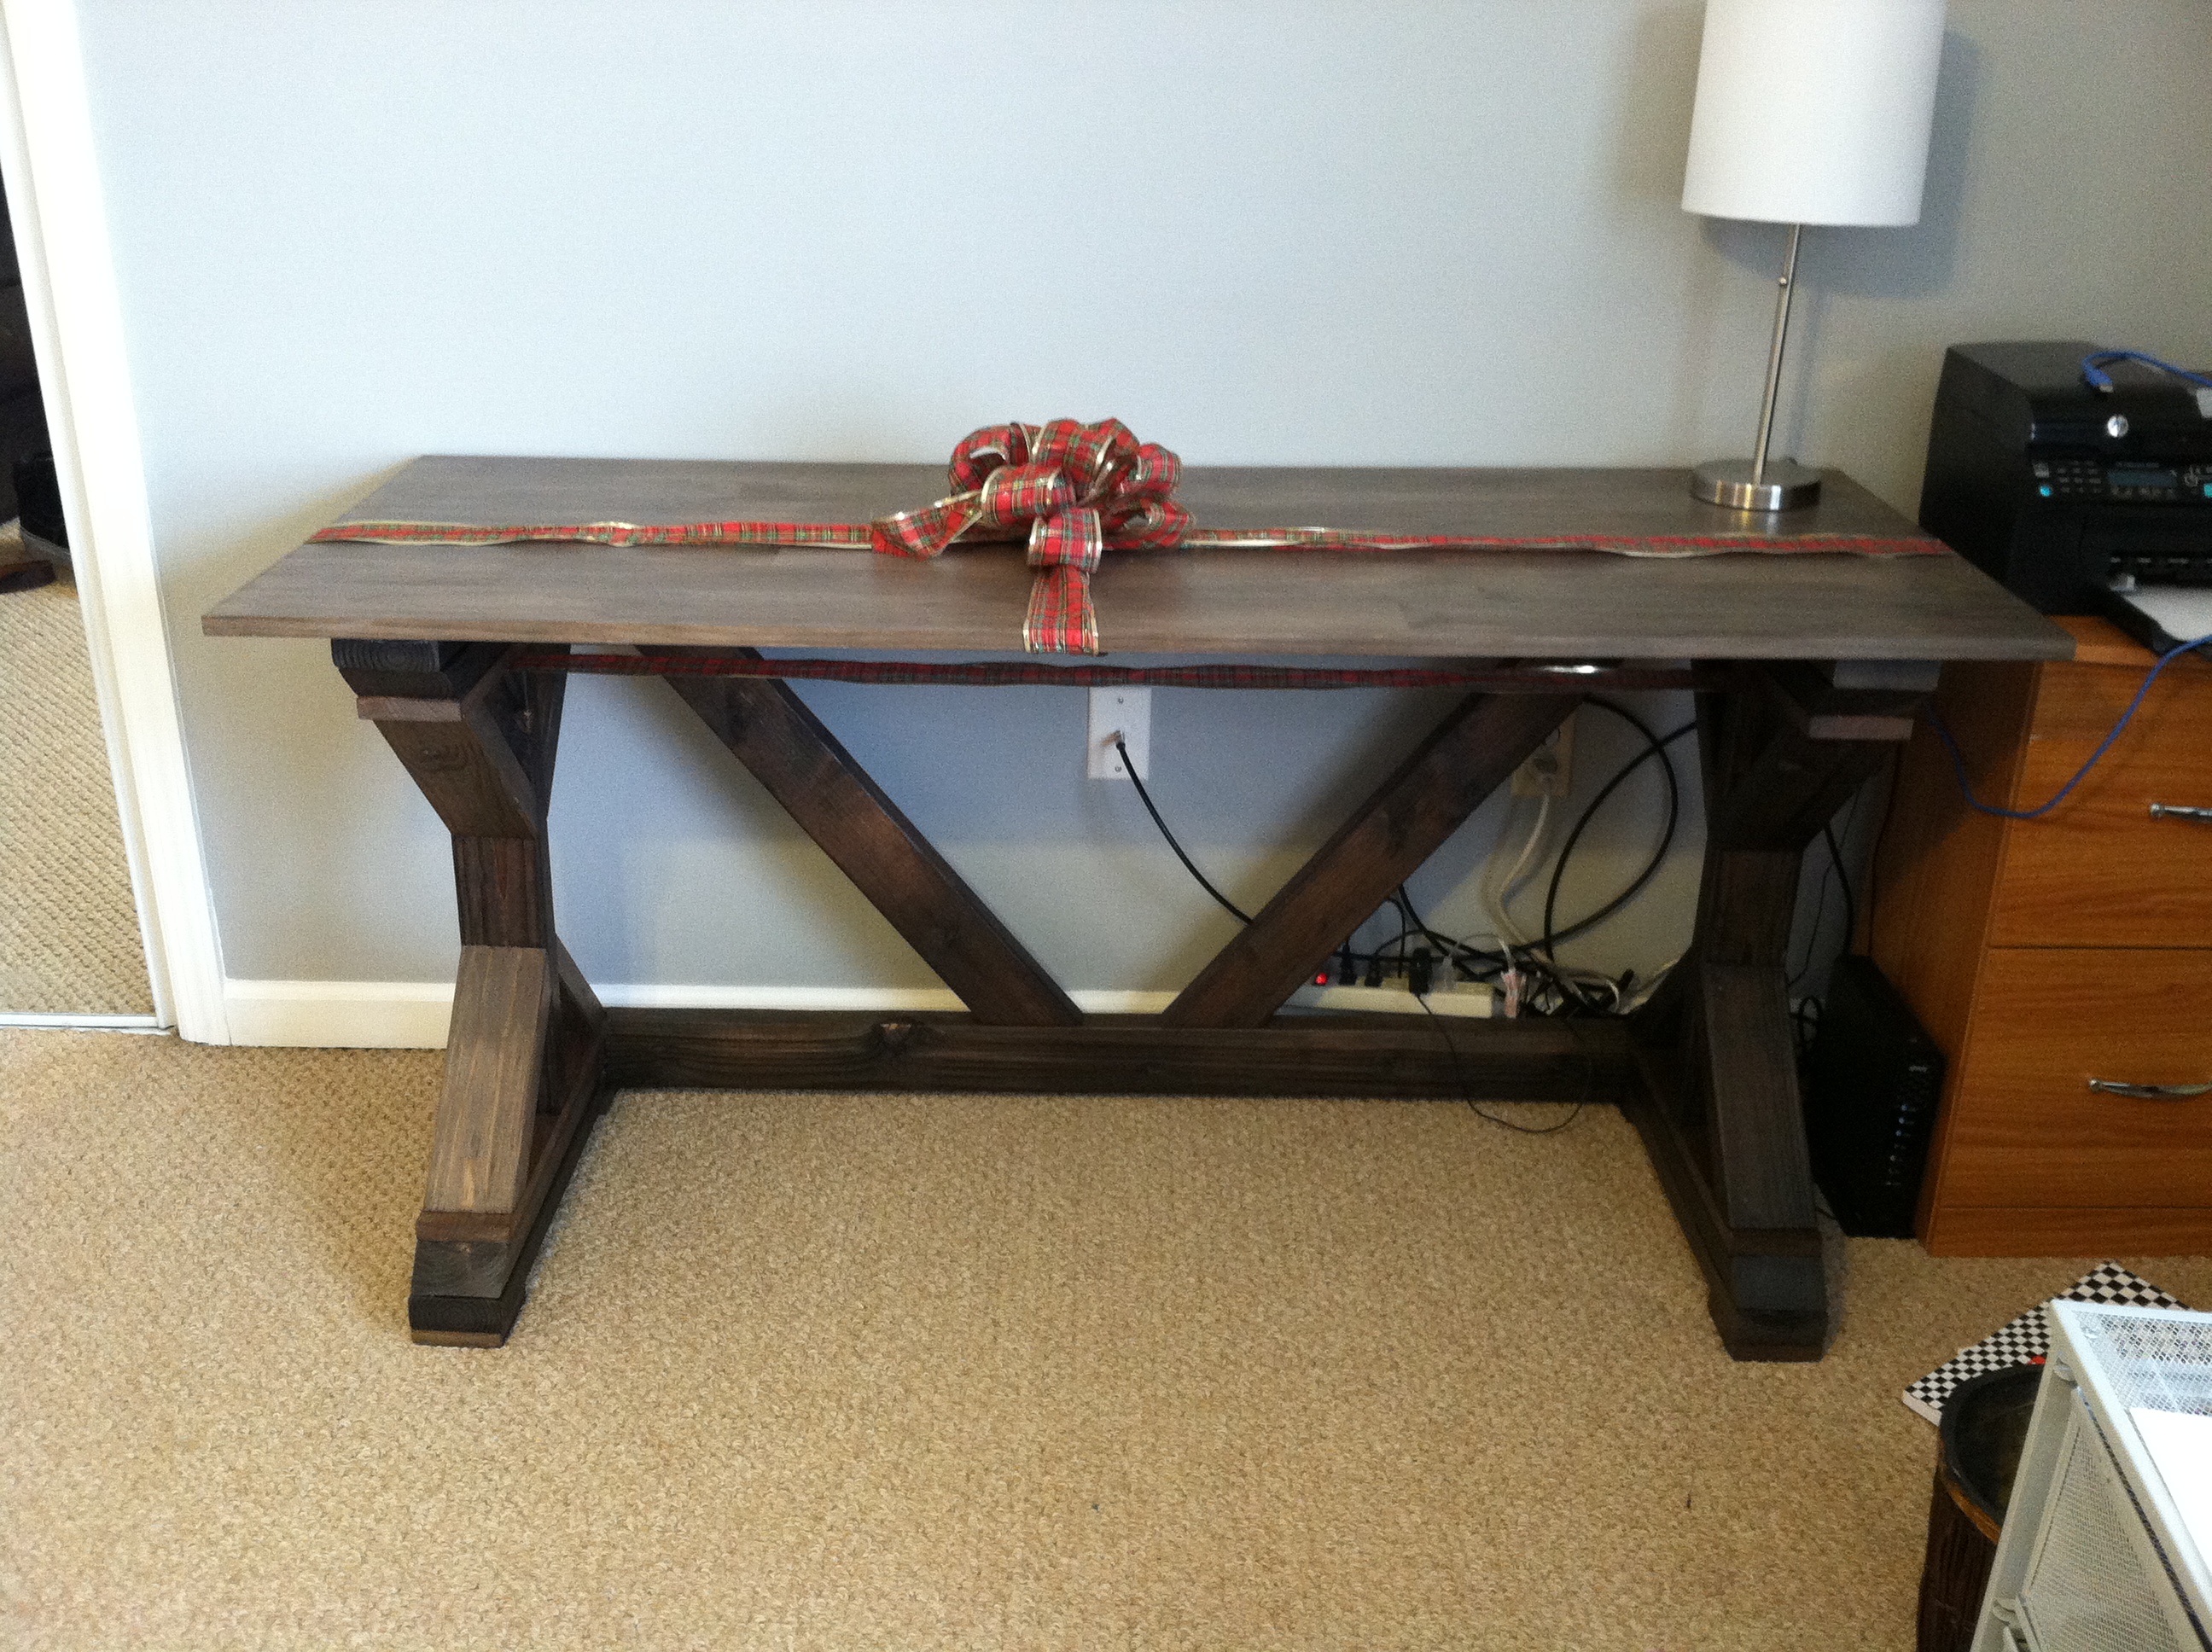
Fancy X Desk
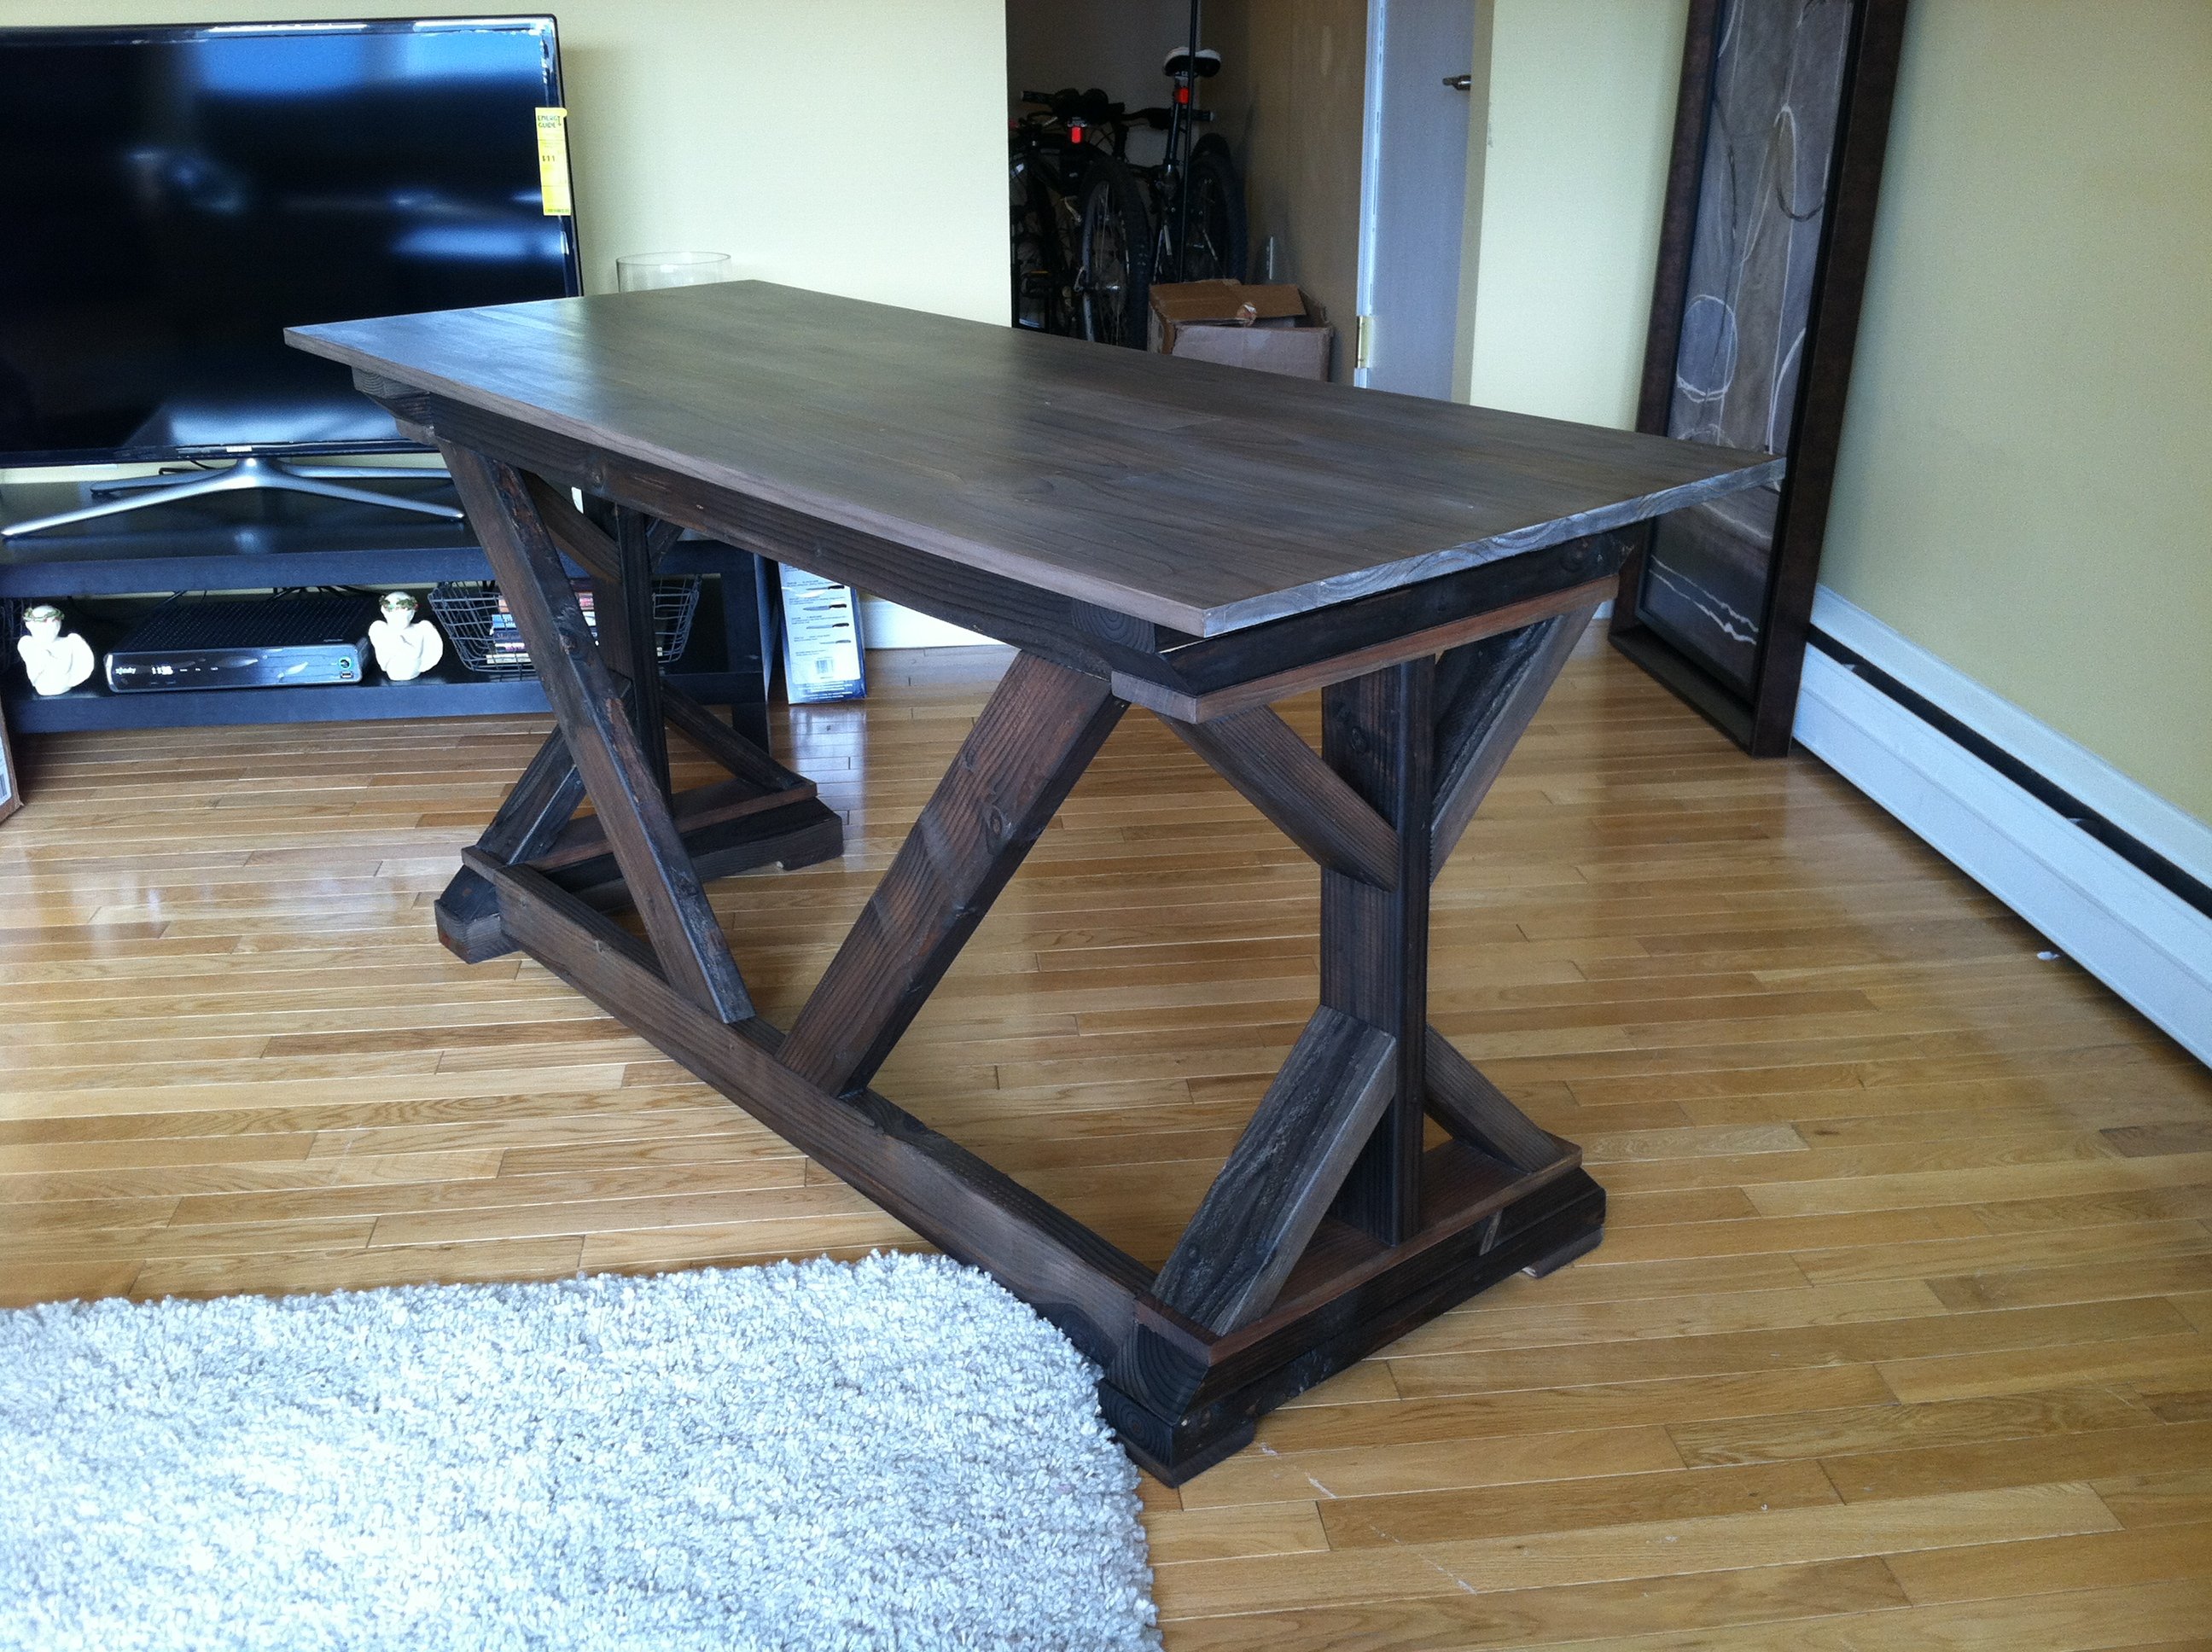
This was my first build. After searching high and low for a desk for my husband for Christmas, I decided to build him one......2 weeks before Christmas. With some help from my father, we somehow pulled it off! (without killing each other) I followed the plans exactly, except for one thing. I used a pine panel for the top so my hubby would have a flat writing surface. I purchased a 6ft panel (i think) and cut it down to 5ft. When he went away on a business trip, I transported it from my parents house (where the build was taking place) and assembled it. Then I put a big red bow on it and surprised him! Don't know how I'm going to top that gift!
Built from Plan(s)
Estimated Time Investment
Weekend Project (10-20 Hours)
Finish Used
Steel wool and vinegar for the whole thing finished with a poly topcoat.
Recommended Skill Level
Beginner
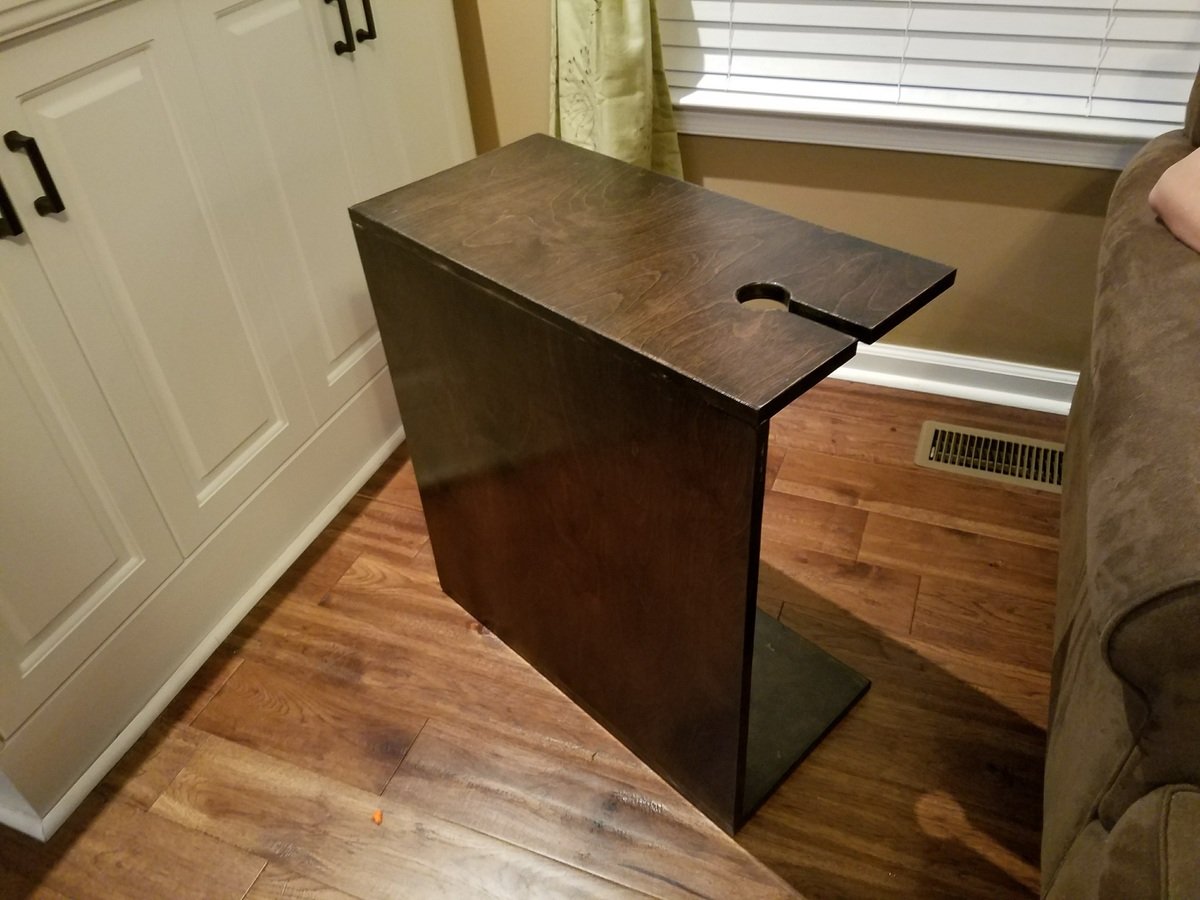
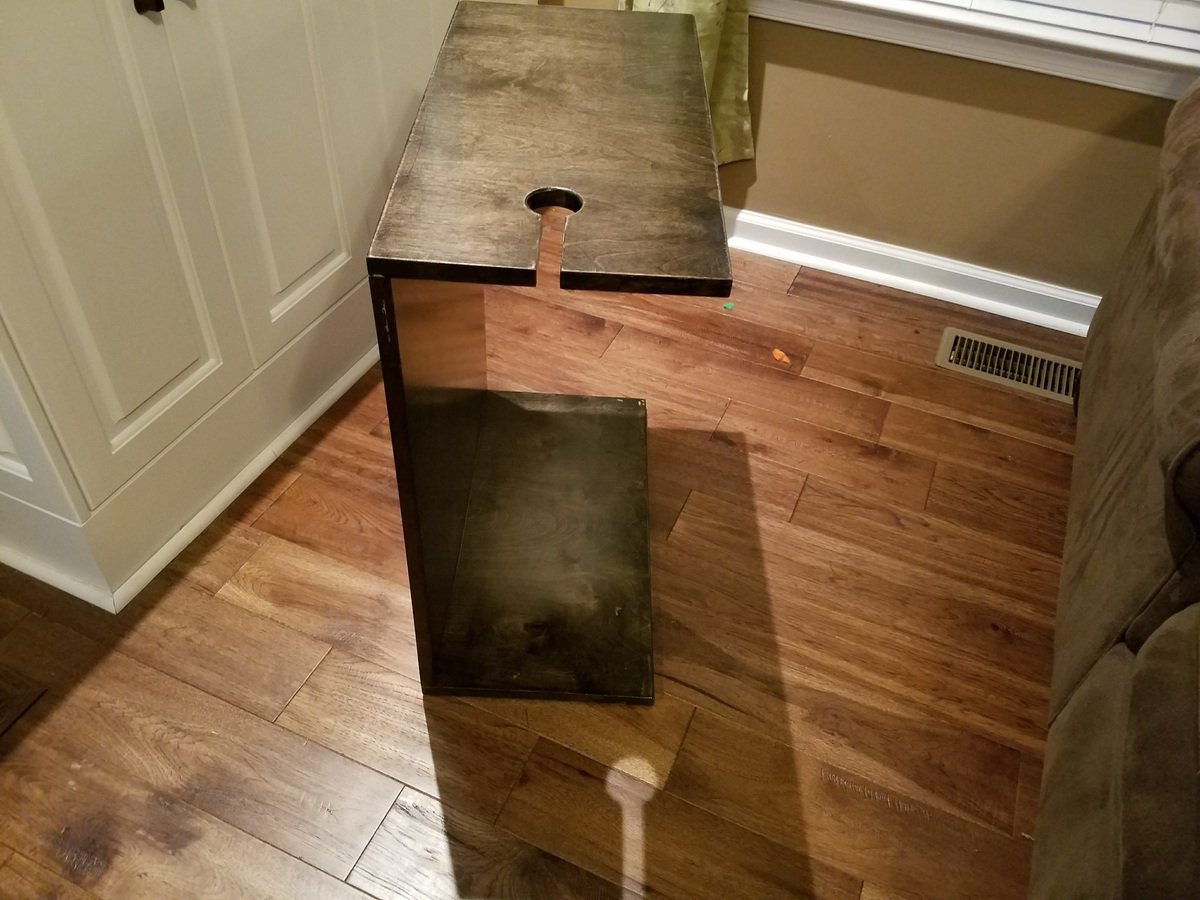
C table with Keyhole slot for wine glass
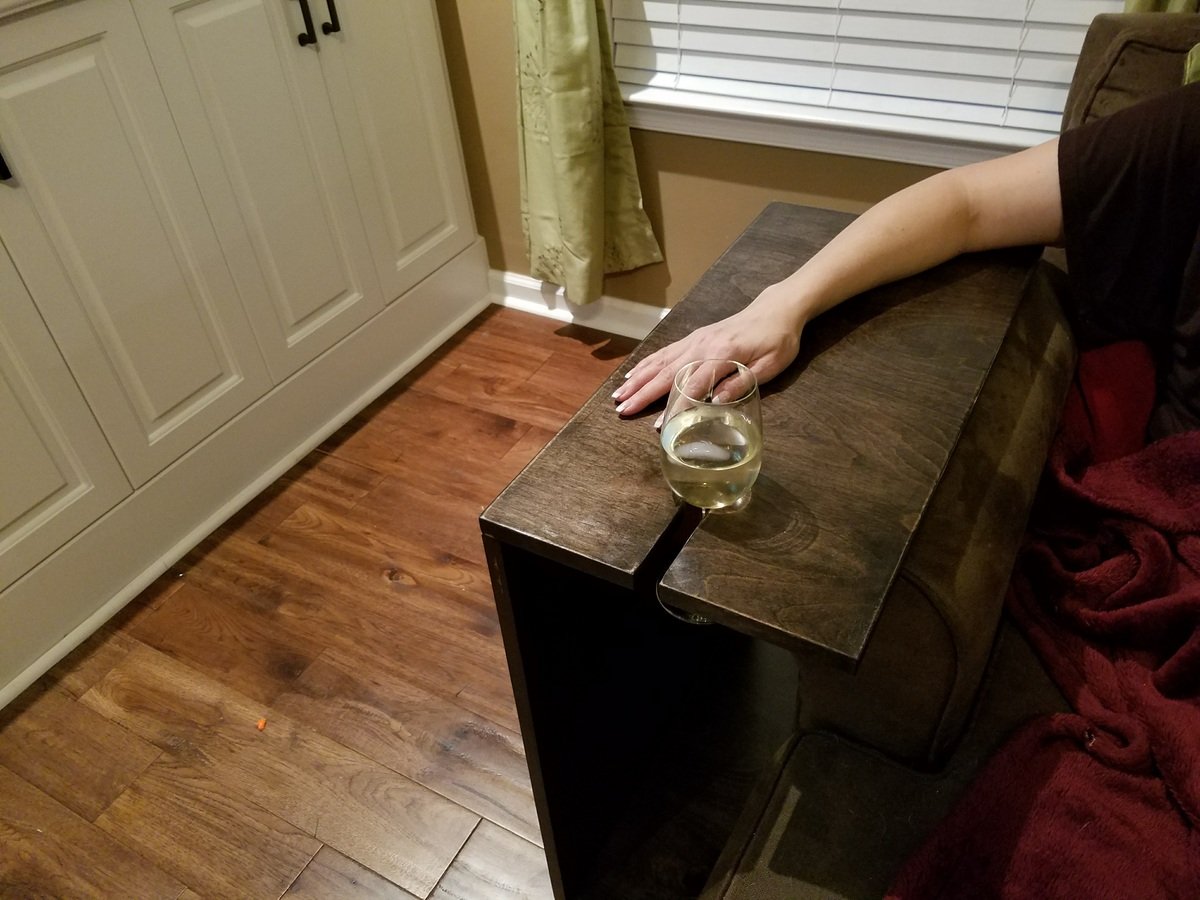
This was a great simple design, My wife now has a place for her wine glass and doesn't need to worry about the dogs knocking it over. It also doubles as a workspace or table by simply turning it sideways to stradle her while sitting on the couch.
Estimated Time Investment
Afternoon Project (3-6 Hours)
Recommended Skill Level
Beginner
$5 Recycled Wood Adirondack Chairs
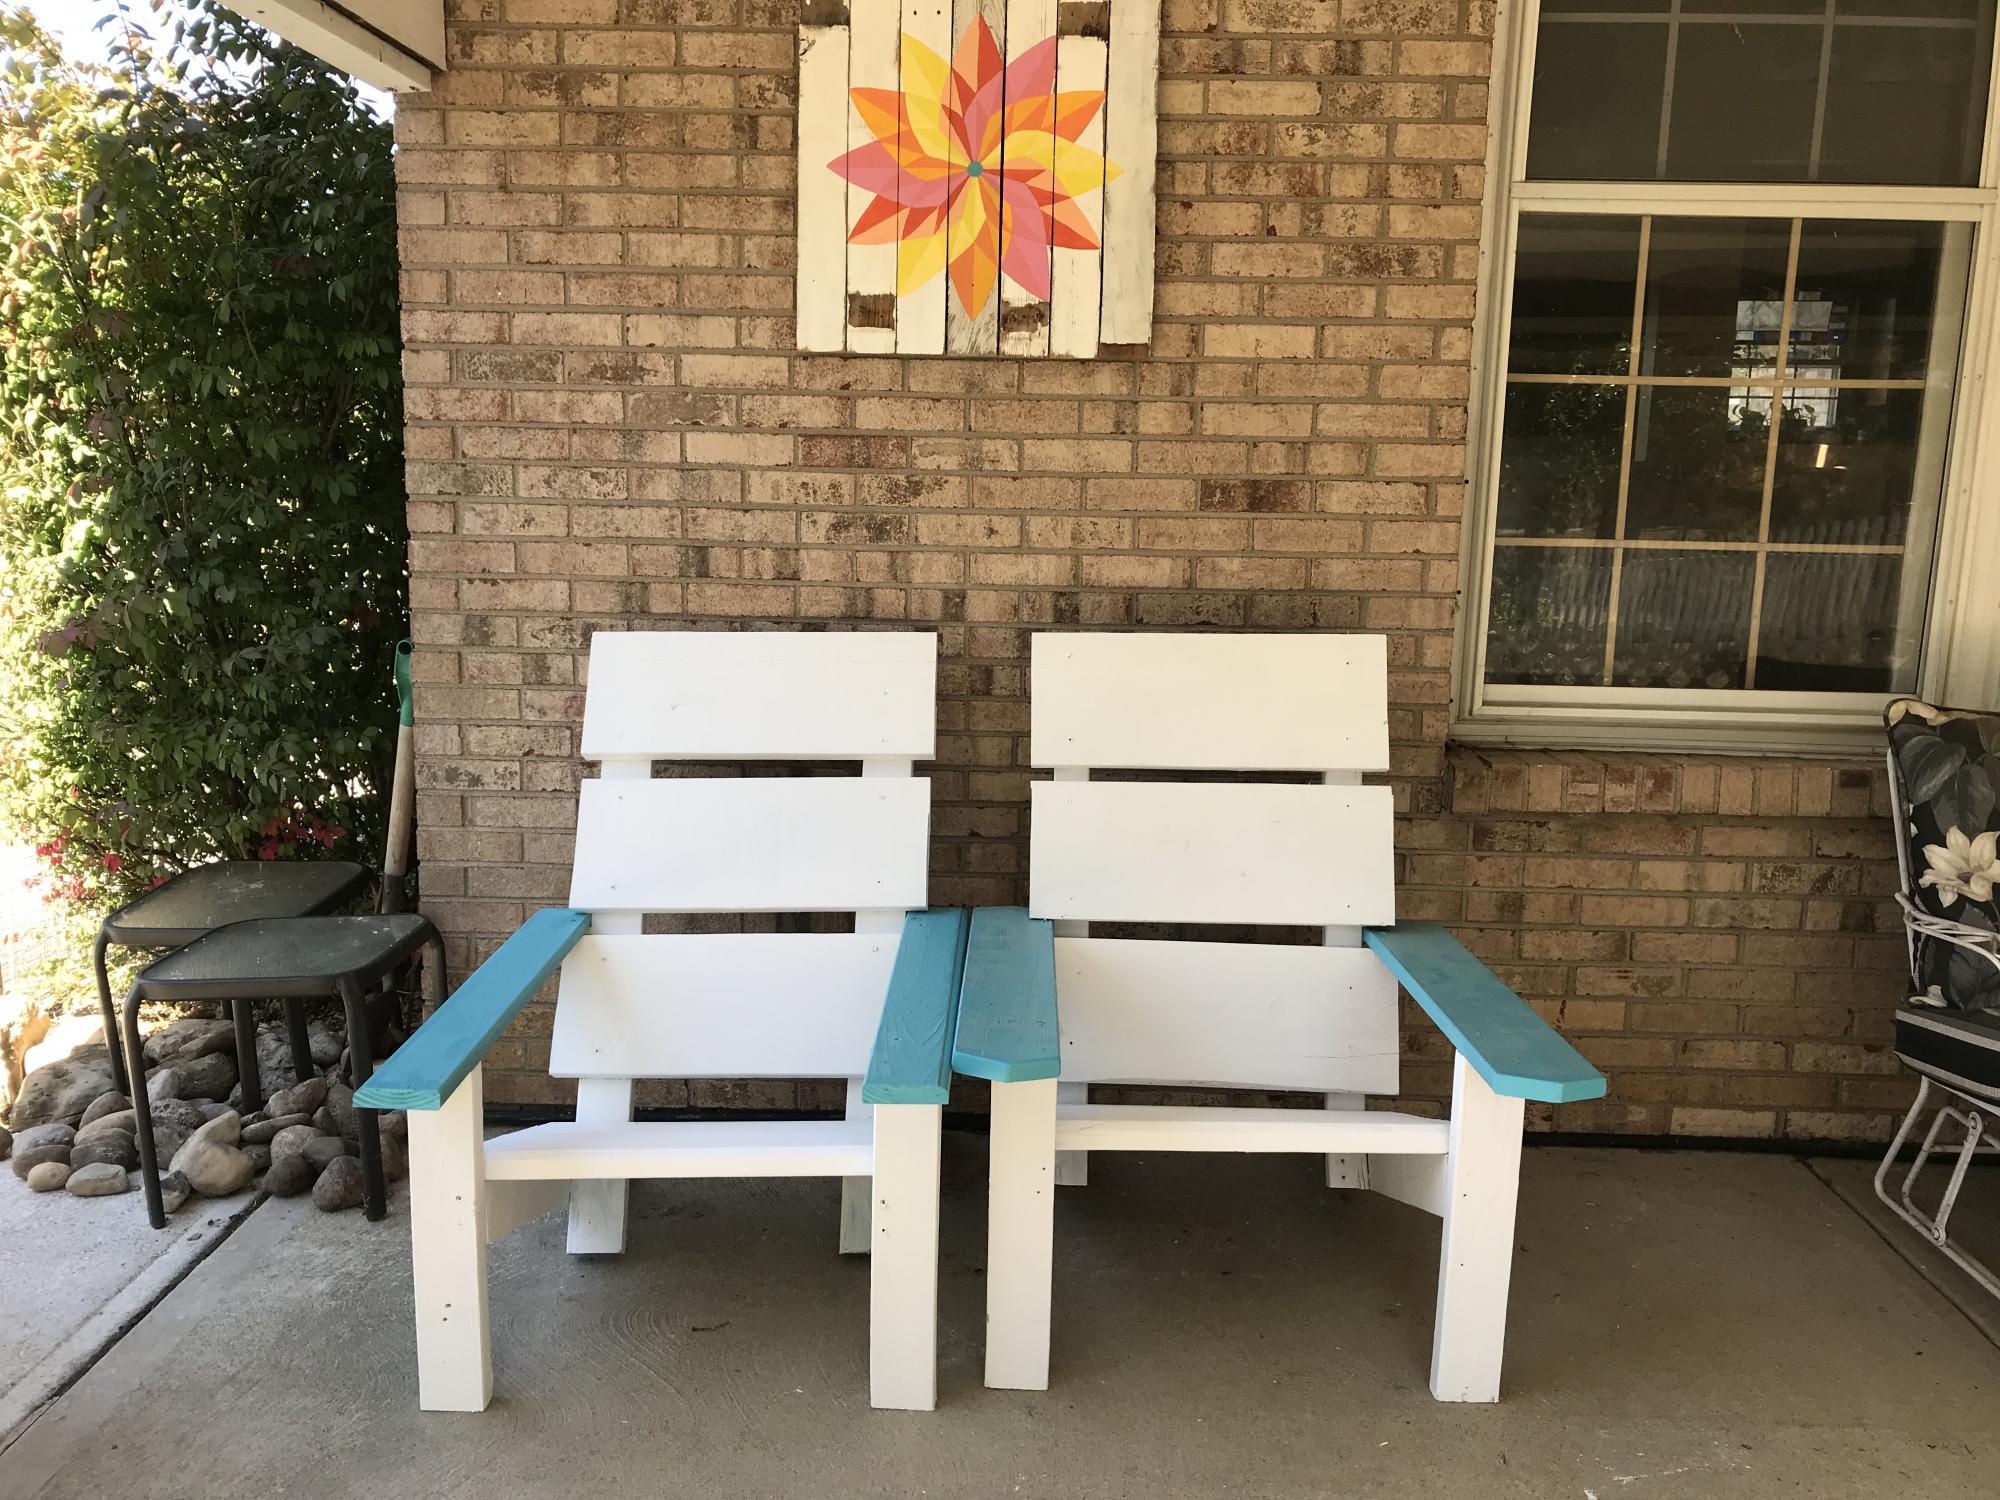
A few months ago I noticed two 2 X 10 X 10s in the damaged wood pile at Home Depot so I snagged them. I am a veteran so I get 10% off on top of the 70% off. The rest of the wood and even the screws and paint were from other projects. Thanks for the awesome, free plans. They are comfy for me at 5'8". Whoop whoop!!
Built from Plan(s)
Estimated Cost
$5 each
Estimated Time Investment
Afternoon Project (3-6 Hours)
Finish Used
The white paint is Behr for fences and the blue paint is named Mermaid Treasure.
Recommended Skill Level
Beginner
Comments
Sat, 10/10/2020 - 11:12
Love that!
Thank you for your service, I am happy to hear you are enjoying them!
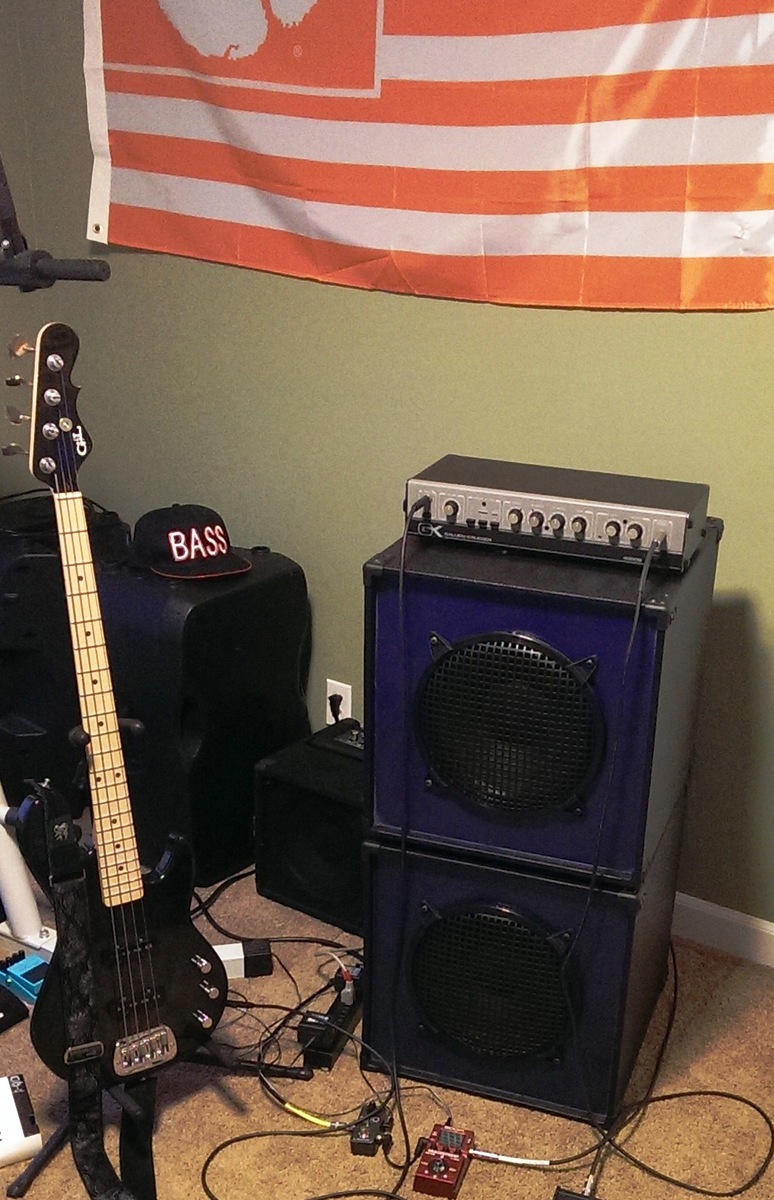
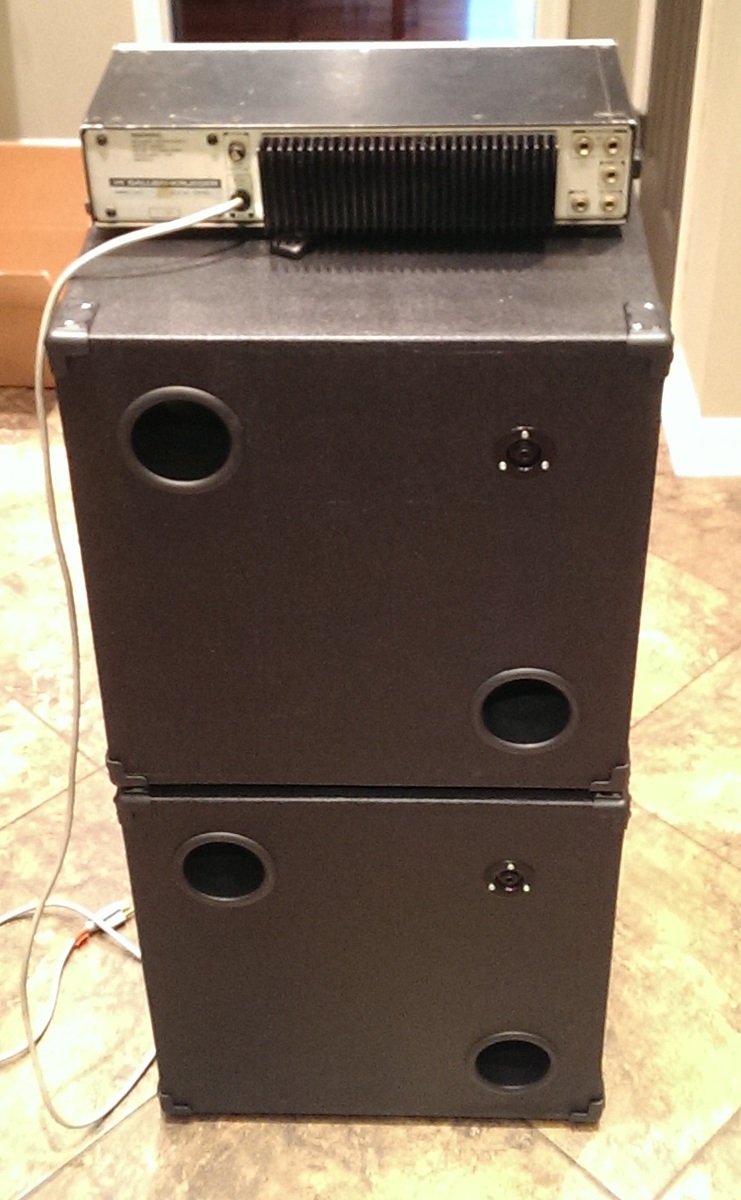
Bass Speaker Cabinets
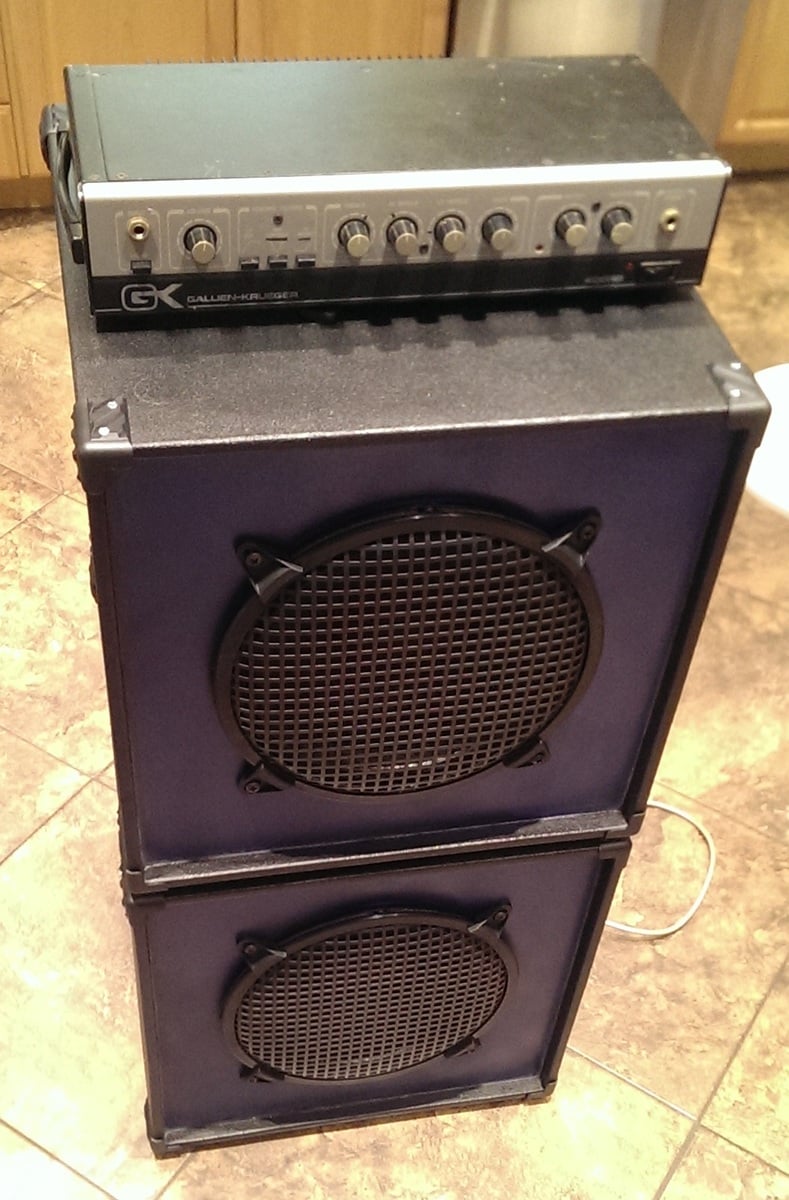
A little bit of a different project for me. My husband concocted a plan to build his own bass speaker cabinets to take to band gigs. Wanted them to be lightweight and easy to carry. He bought the speakers, grates, ports, cable jacks, corner bumpers, and handles. I built the boxes :)
Built out of two sheets of half-inch birch plywood and coated with Duratex speaker cabinet texture coating for wear resistance.
Estimated Cost
Birch Ply: $90 Duratex Coating: $25
Estimated Time Investment
Weekend Project (10-20 Hours)
Finish Used
Duratex http://store.acrytech.com/Speaker-Cabinet-Texture-Coating-Duratex-Roller-Grade-Trial-Size-Kit-Black.html
Front face: blue/metallic spray paint w/ clear coat
Front face: blue/metallic spray paint w/ clear coat
Recommended Skill Level
Beginner
Comments

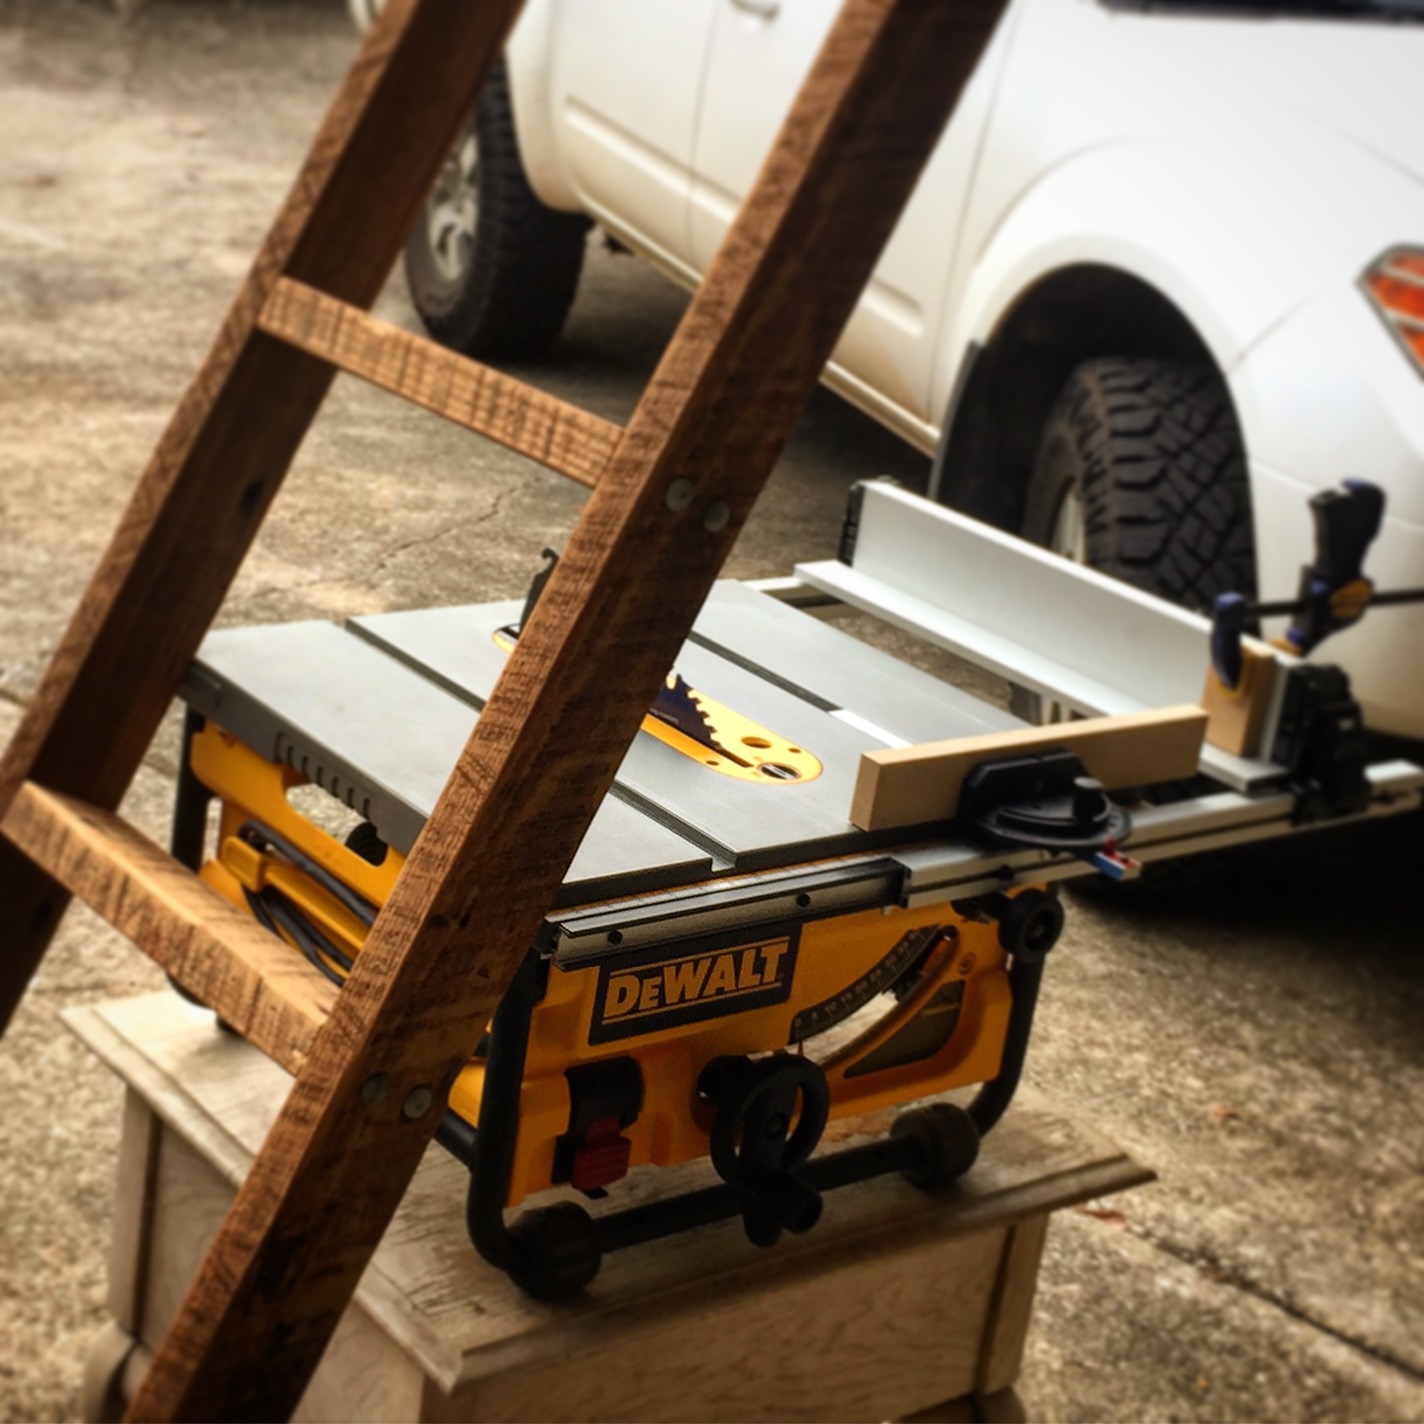
Blanket Ladder
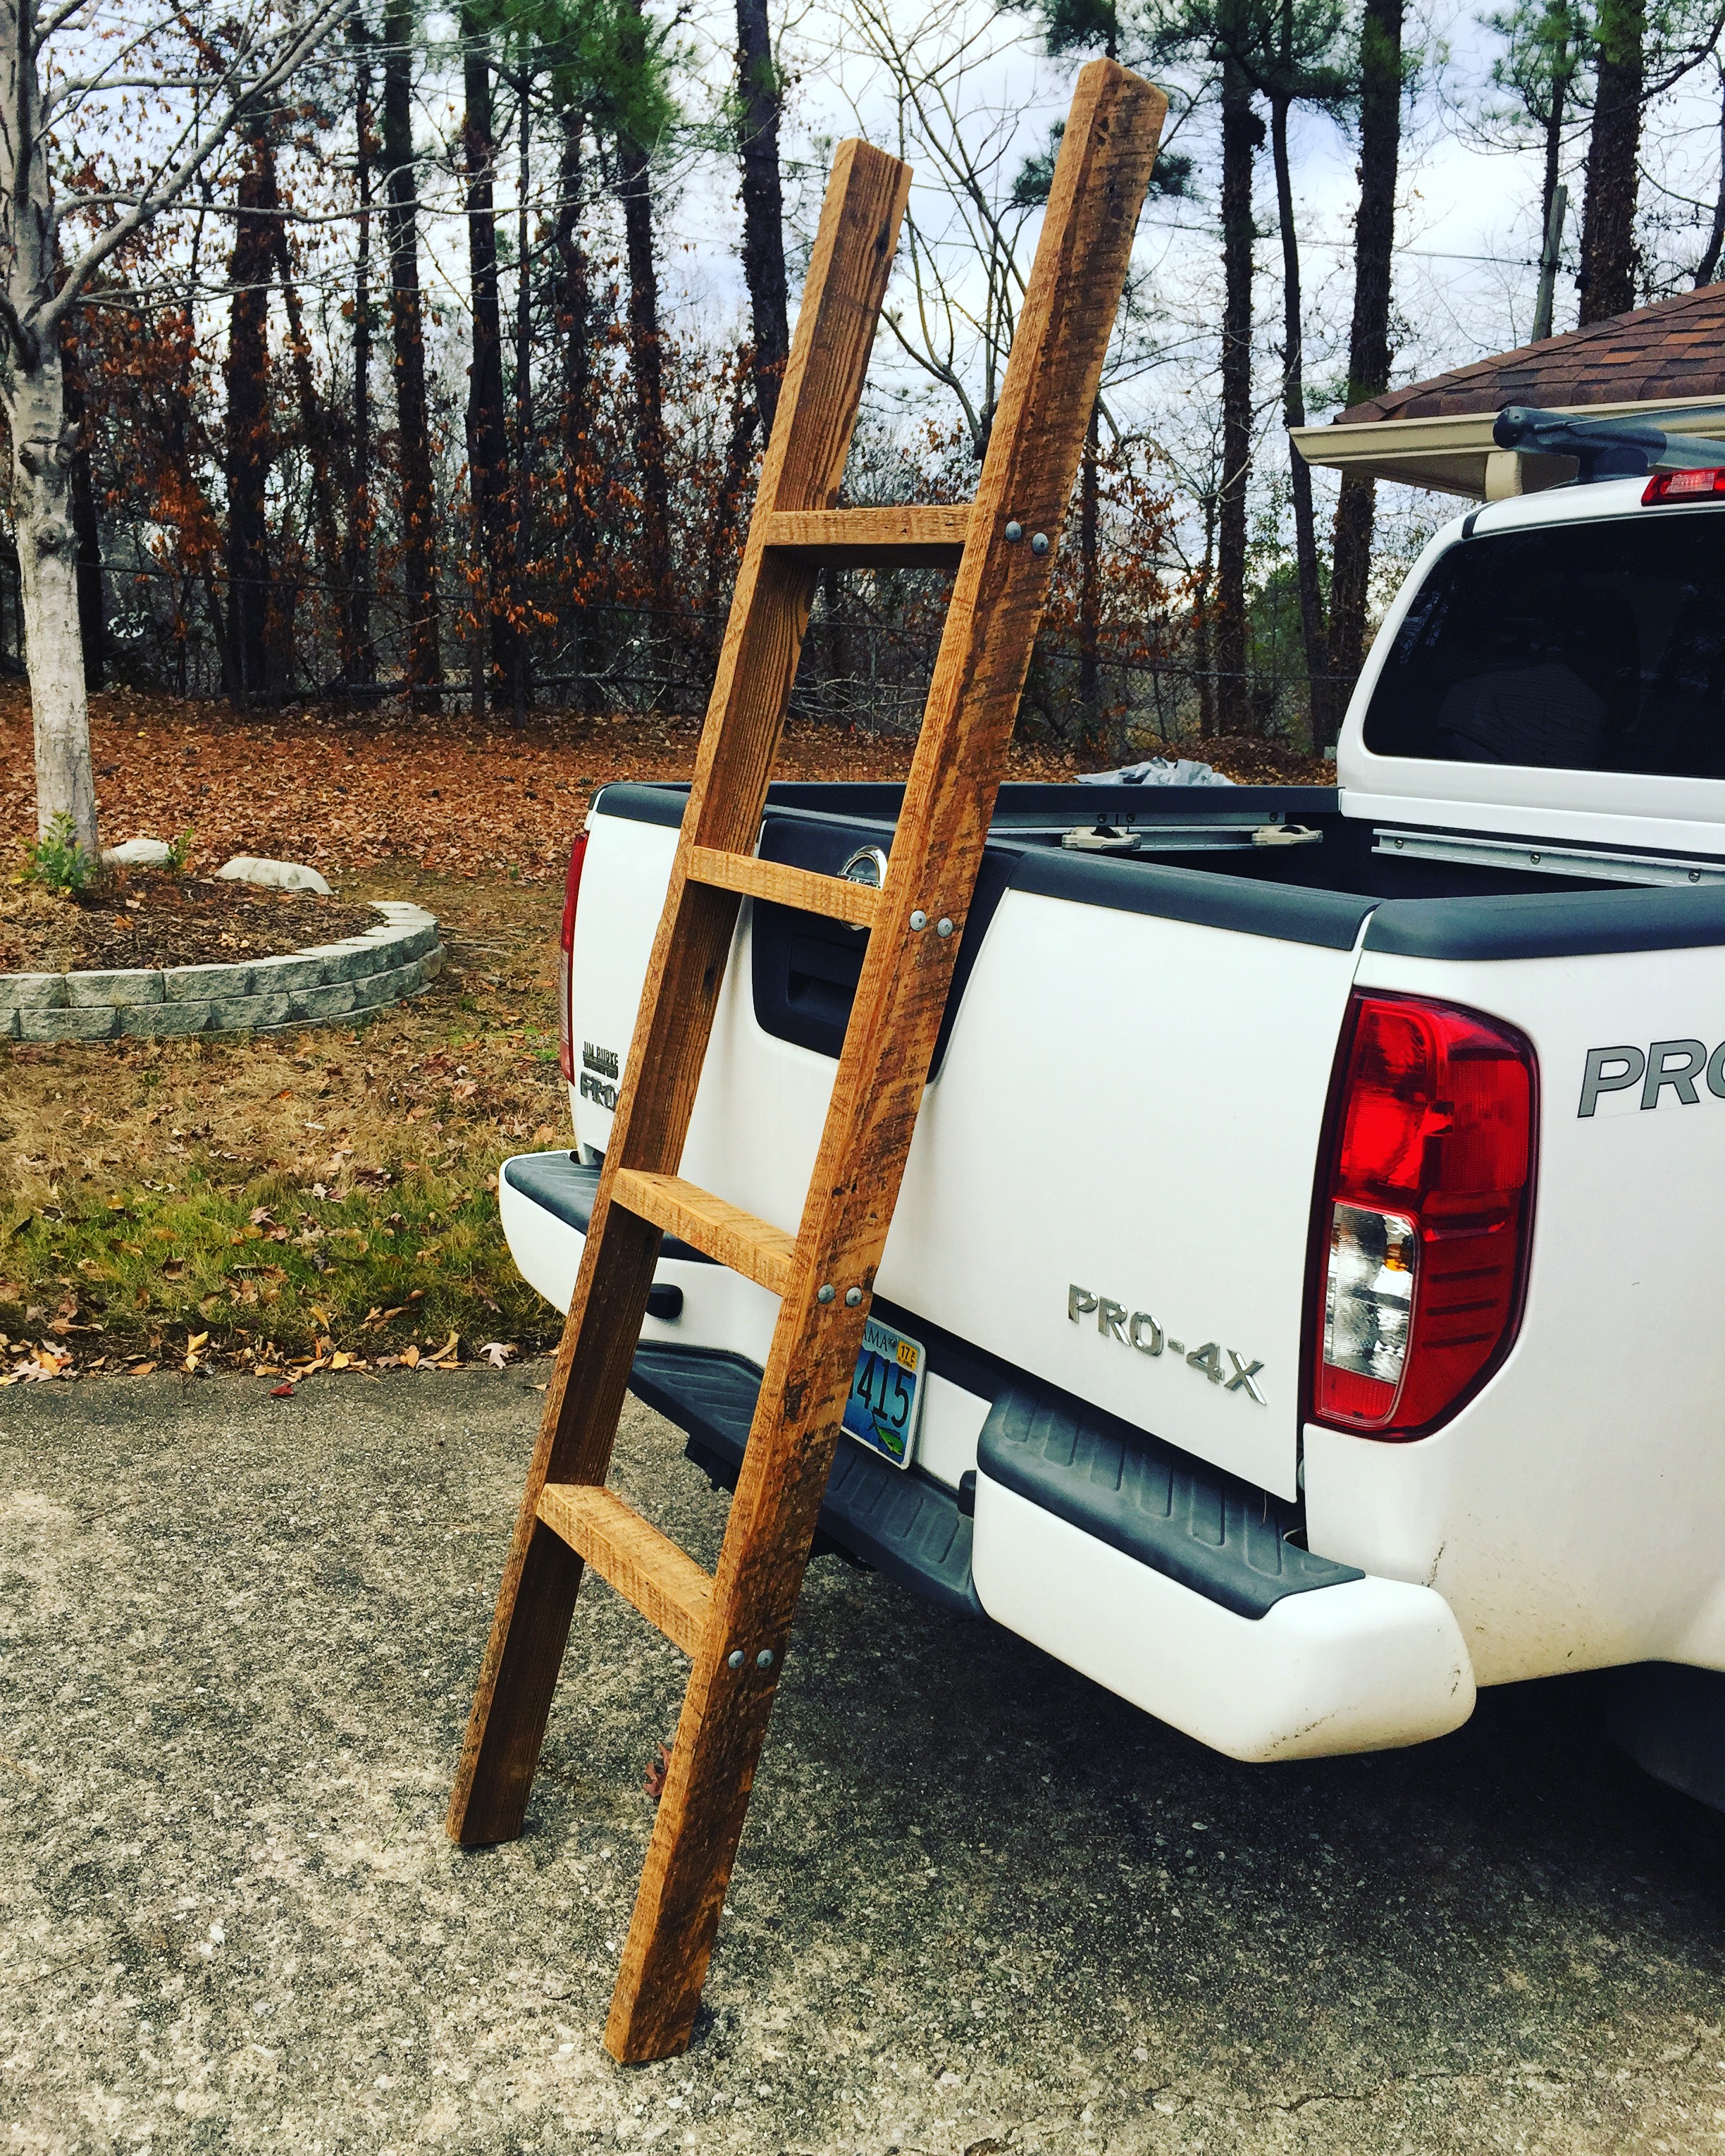
Reclaimed this wood from a >100 year old home that was being renovated. The plans were from www.akadesigns.ca
Built from Plan(s)
Estimated Cost
Wood - Free
Bolts - $20
Bolts - $20
Estimated Time Investment
An Hour or Two (0-2 Hours)
Recommended Skill Level
Beginner
Grandy Barn Door Consoles

I started a custom woodworking bussiness about 18 months ago. Since then we've build everything from consoles to dining room tables to baby cribs. And to this day, I still refer to Ana White plans. Thanks a bunch!!


Estimated Cost
100
Estimated Time Investment
Weekend Project (10-20 Hours)
Finish Used
Minwax Dark Walnut
Minwax Early American
Minwax Jacobean
Minwax Clear Gloss
Minwax Early American
Minwax Jacobean
Minwax Clear Gloss
Recommended Skill Level
Beginner
Childs toy stove
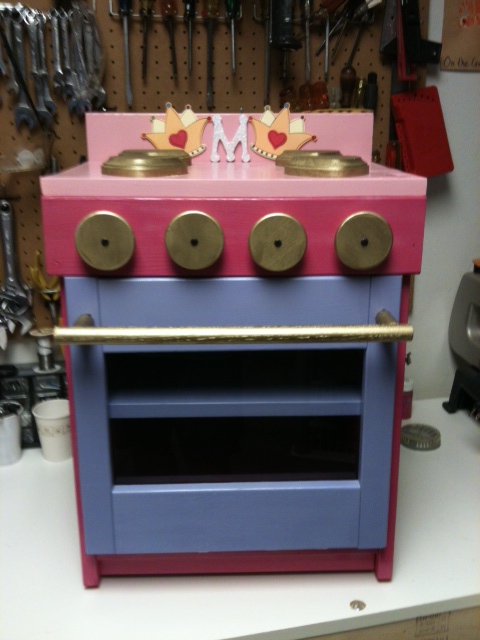
I built this stove for a close family friend for her 3rd birthday. For the burners I used heart shaped wooden cutouts. I also added her first name initial to the backboard as well.
Estimated Cost
$30
Estimated Time Investment
Weekend Project (10-20 Hours)
Finish Used
High gloss spray paint
Recommended Skill Level
Intermediate
Pallet Christmas Tree

Built this pallet christmas tree for decorating the house during the season, nothing too difficult, just cut/paint/assemble.
Estimated Cost
$0.50 in screws
Estimated Time Investment
An Hour or Two (0-2 Hours)
Finish Used
Paint
Recommended Skill Level
Starter Project
Thanks for the plans!
Awesome table plans! This thing is super sturdy.
Built from Plan(s)
Estimated Cost
$160
Estimated Time Investment
Week Long Project (20 Hours or More)
Finish Used
Gray stain with matte poly sealer.
Recommended Skill Level
Beginner
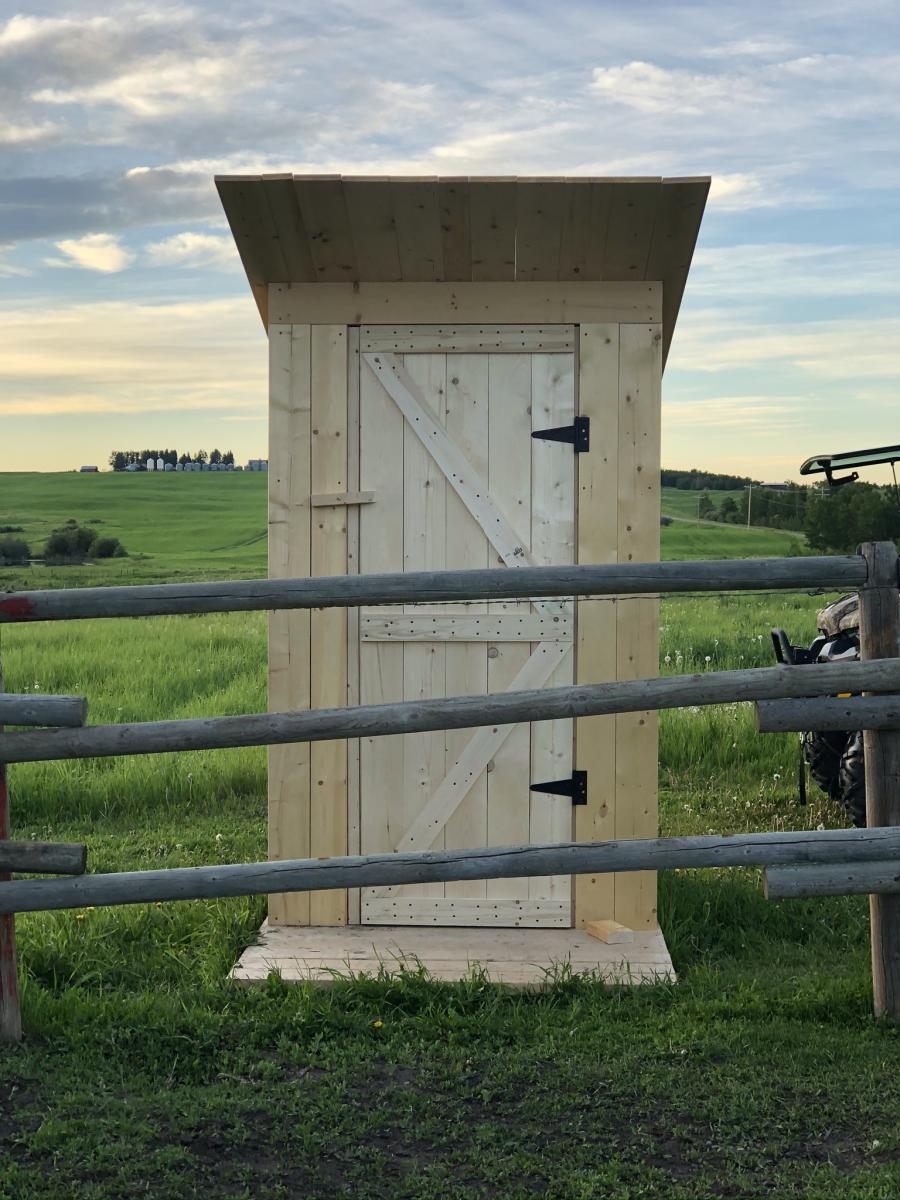
Outhouse
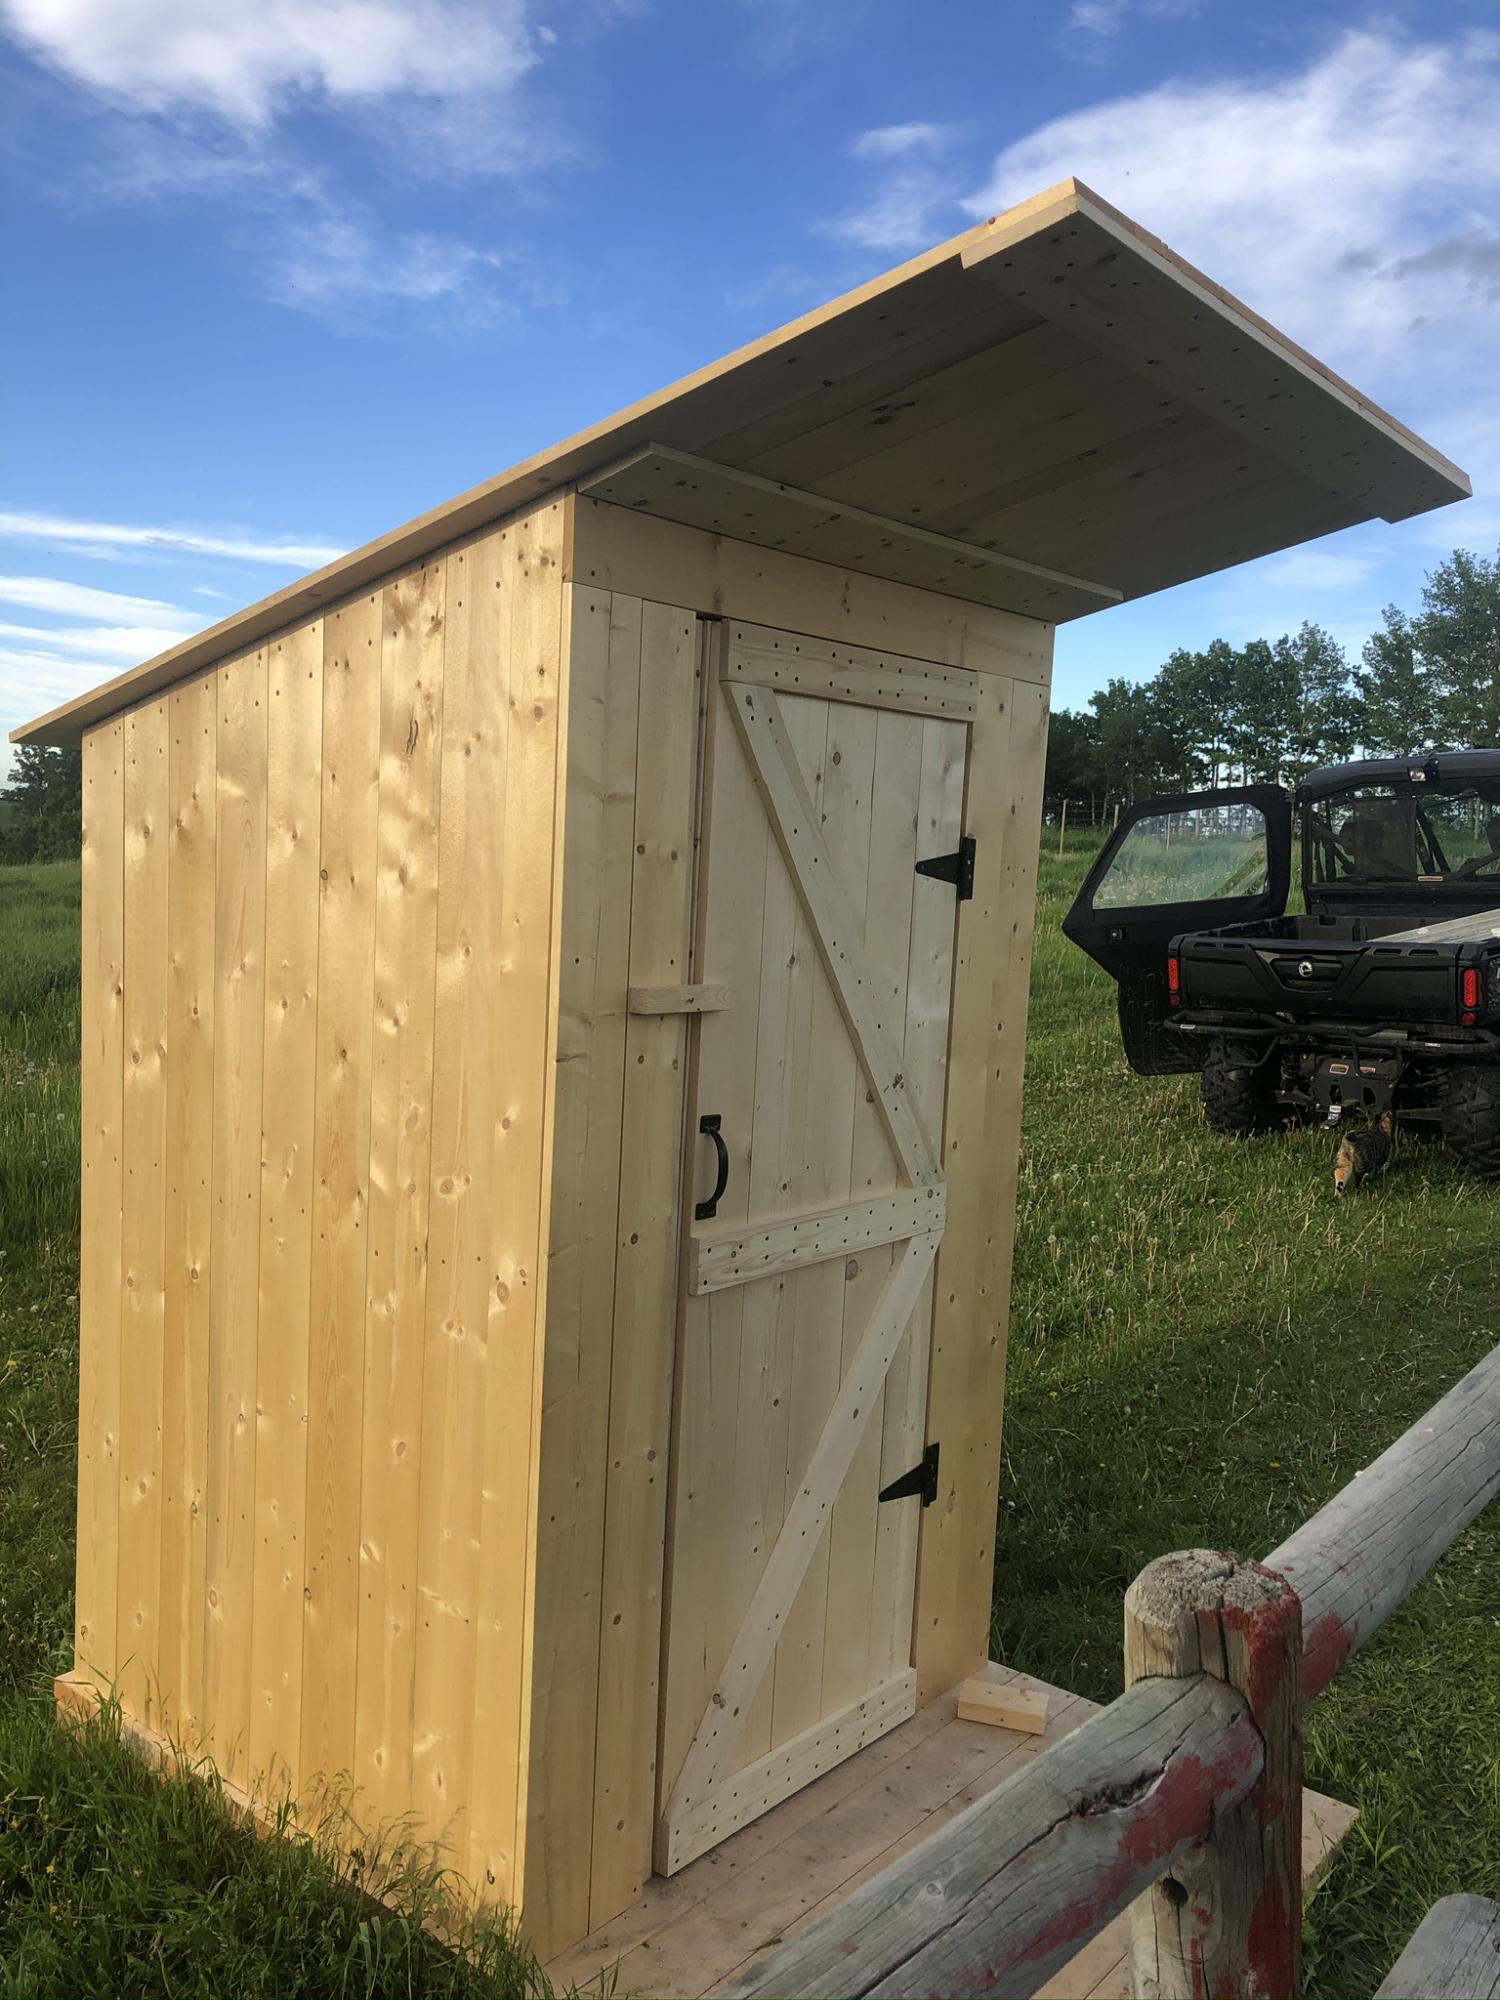
I built this outhouse for beside our barn. My first large project and I’m really pleased with how it turned out!
Built from Plan(s)
Estimated Time Investment
Week Long Project (20 Hours or More)
Recommended Skill Level
Intermediate
Comments
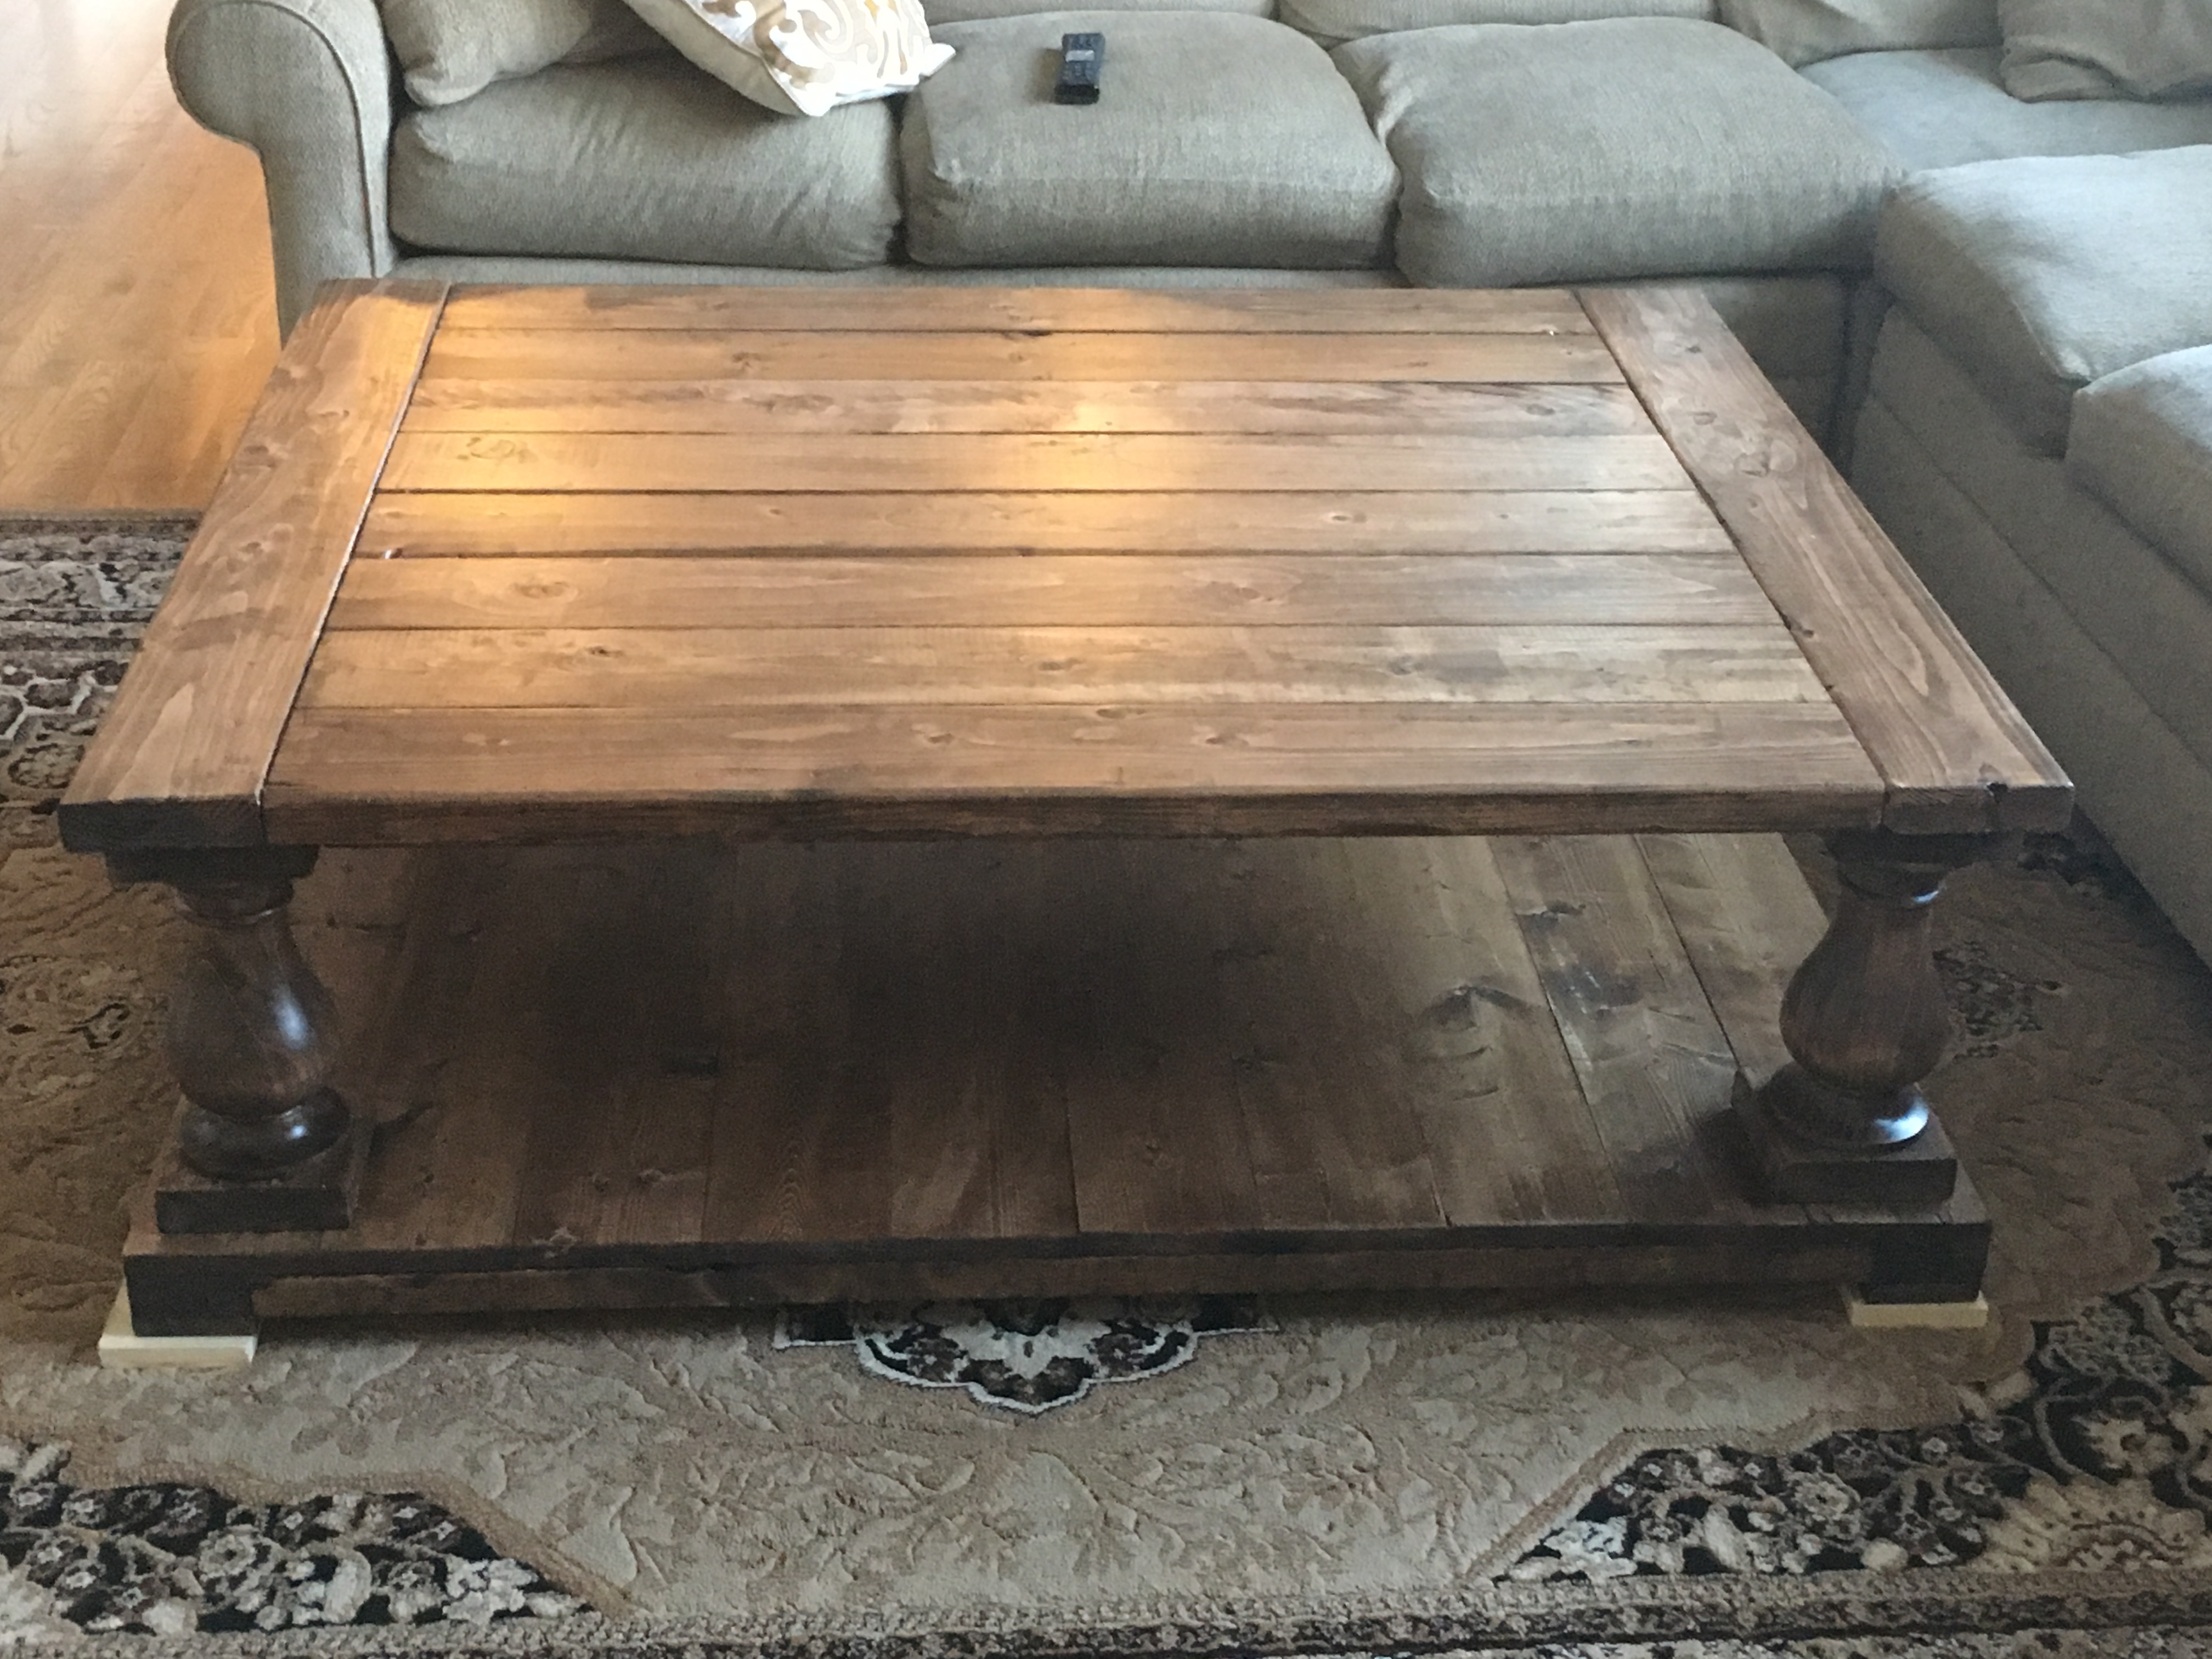
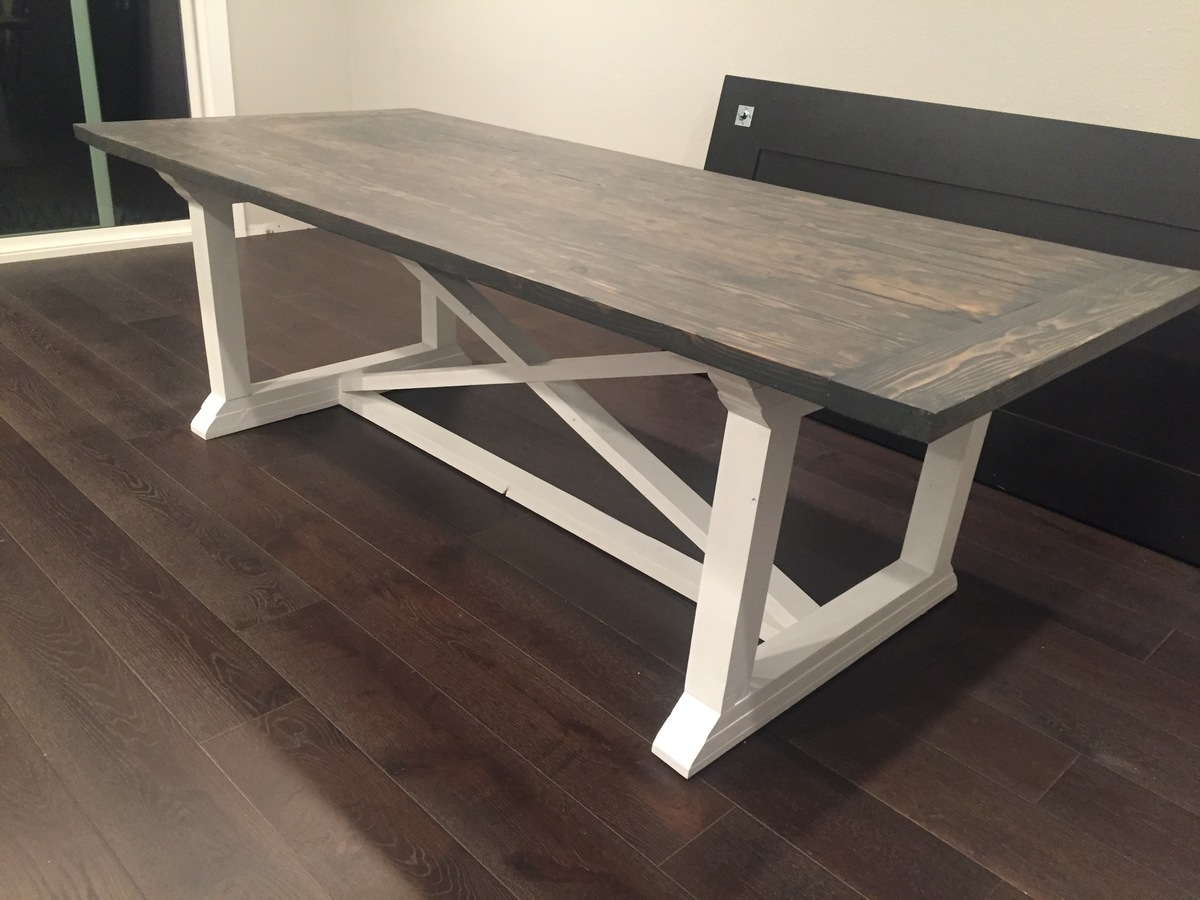
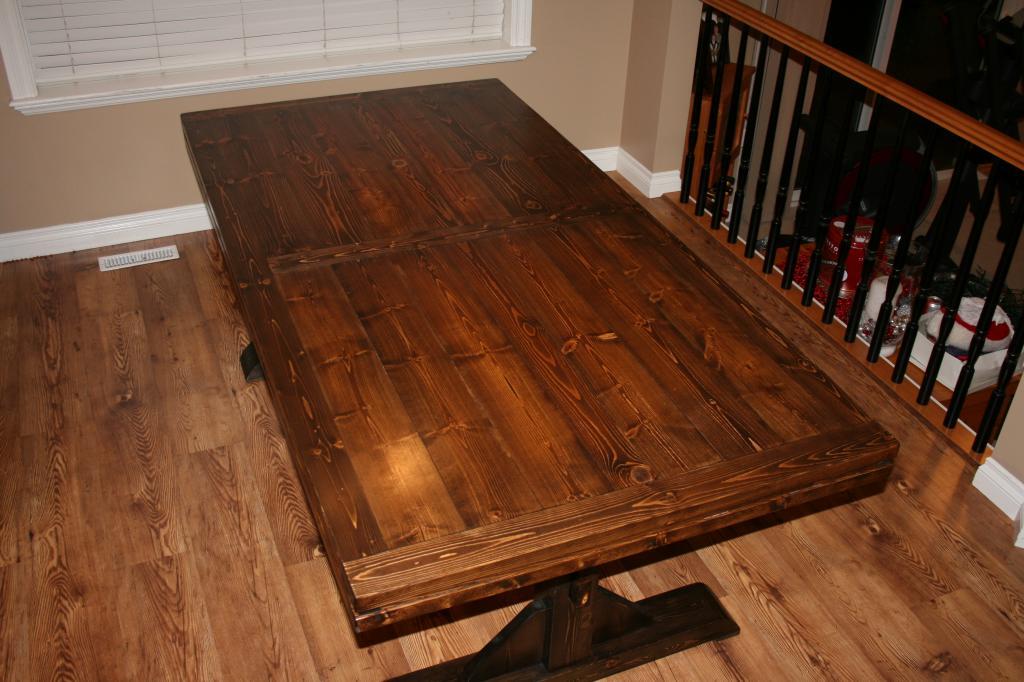
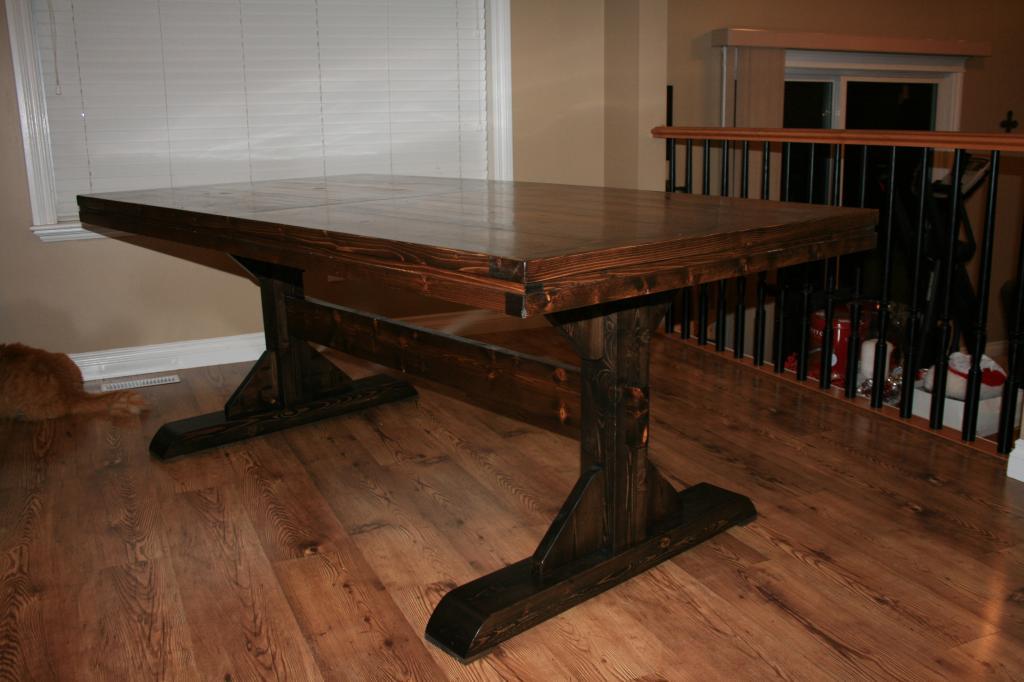
Pedestal farmhouse table

After my wife pinned the triple pedestal table, I took a look at the plans and redid them for a double pedestal table 78"x40". This is the first wood project that I have done in close to 12 years, it was good to get back to wood and I look forward to builing some more.
Estimated Cost
$200
Estimated Time Investment
Weekend Project (10-20 Hours)
Finish Used
Varathane stains and minwax wipe on poly. The stains I used are Varathane Kona on the pedestal legs and a mixture of Tuscan (2 coats) and 1 coat of Kona over top, on the table top and spreader beam. This was followed by 4 coats of Minwax wipe on poly.
Recommended Skill Level
Beginner
Tryde end table
Fun weekend project! I had never tried pocket hole joins before. The Kreg jig worked out great. Looking forward to trying a bigger coffee table in this same style. Thanks for the plans!
Estimated Cost
$50 or so including wood, stain and poly finish
Estimated Time Investment
Weekend Project (10-20 Hours)
Finish Used
Minwax American Maple and wipe on poly
Recommended Skill Level
Beginner
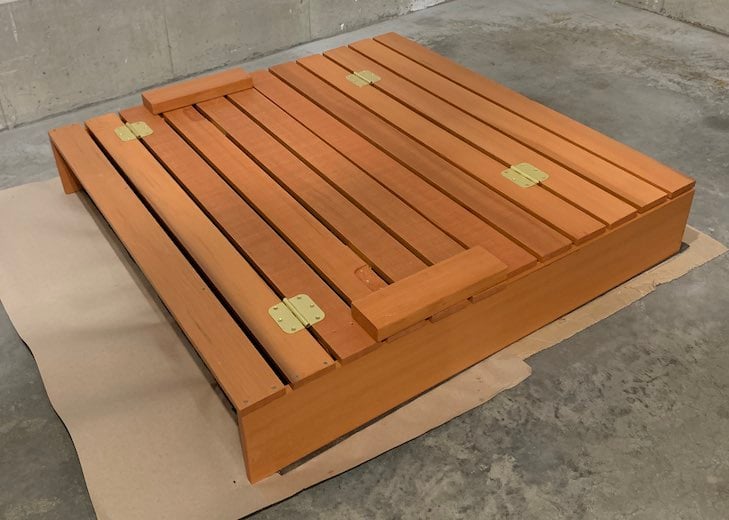
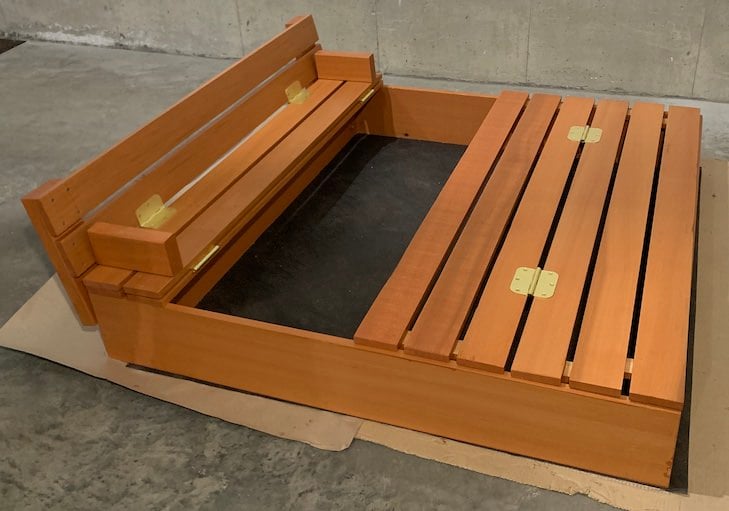
Sand Box with Built-In Seats using Cedar Wood and 1 Seat
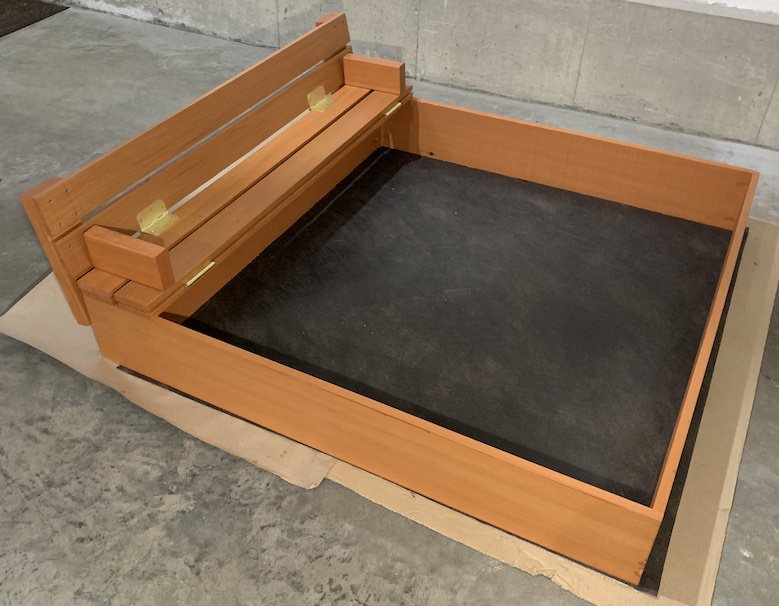
Followed the original plan except below changes:
- Only one seat to make it more spacious
- Made 2 groups of 3 planks each and connected both using hinges so it can cover the end without seat
- Stapled Hardware Cloth with landscape fabric
Cedar wood was the most expensive thing in this project, since I would want it to last long.
Built from Plan(s)
Estimated Cost
150
Estimated Time Investment
Weekend Project (10-20 Hours)
Finish Used
Thompson's WaterSeal Stain & Sealer
Recommended Skill Level
Starter Project
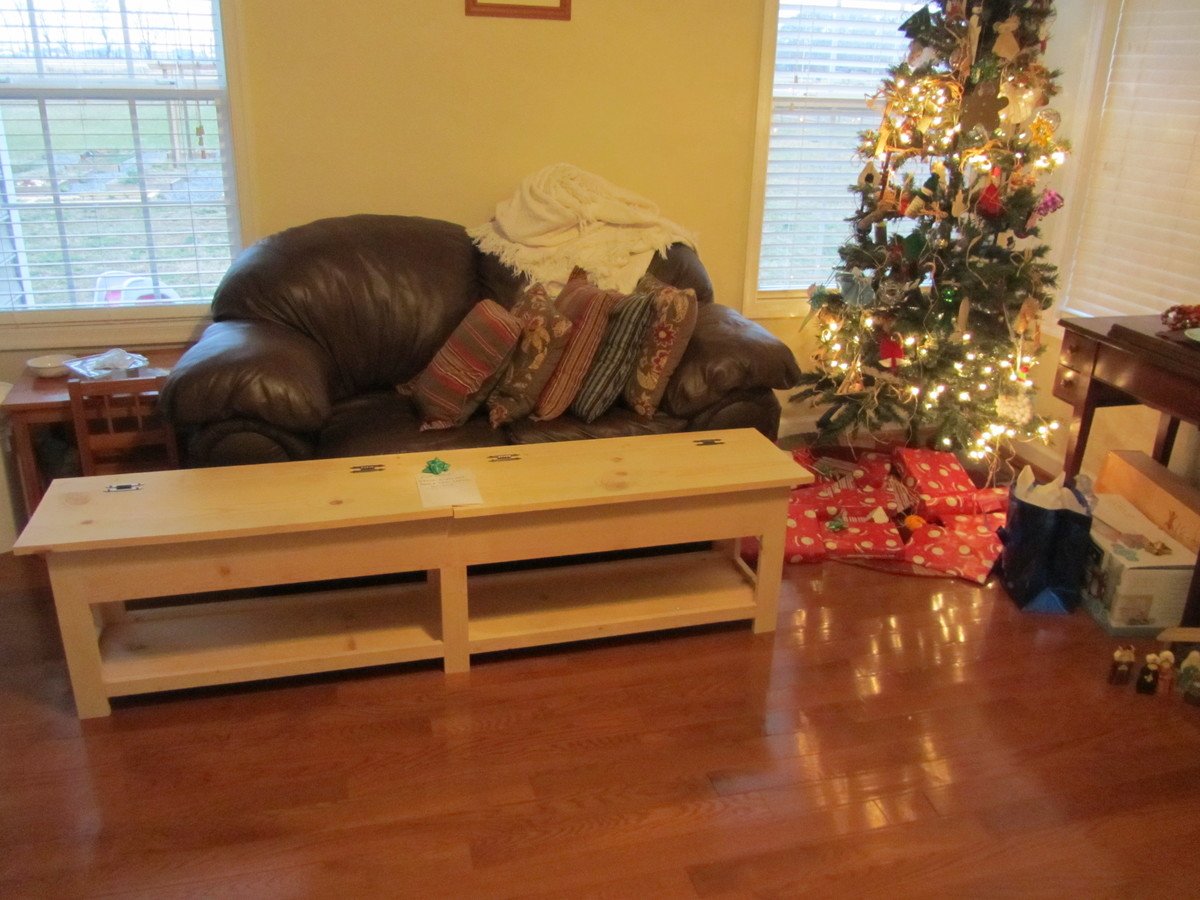
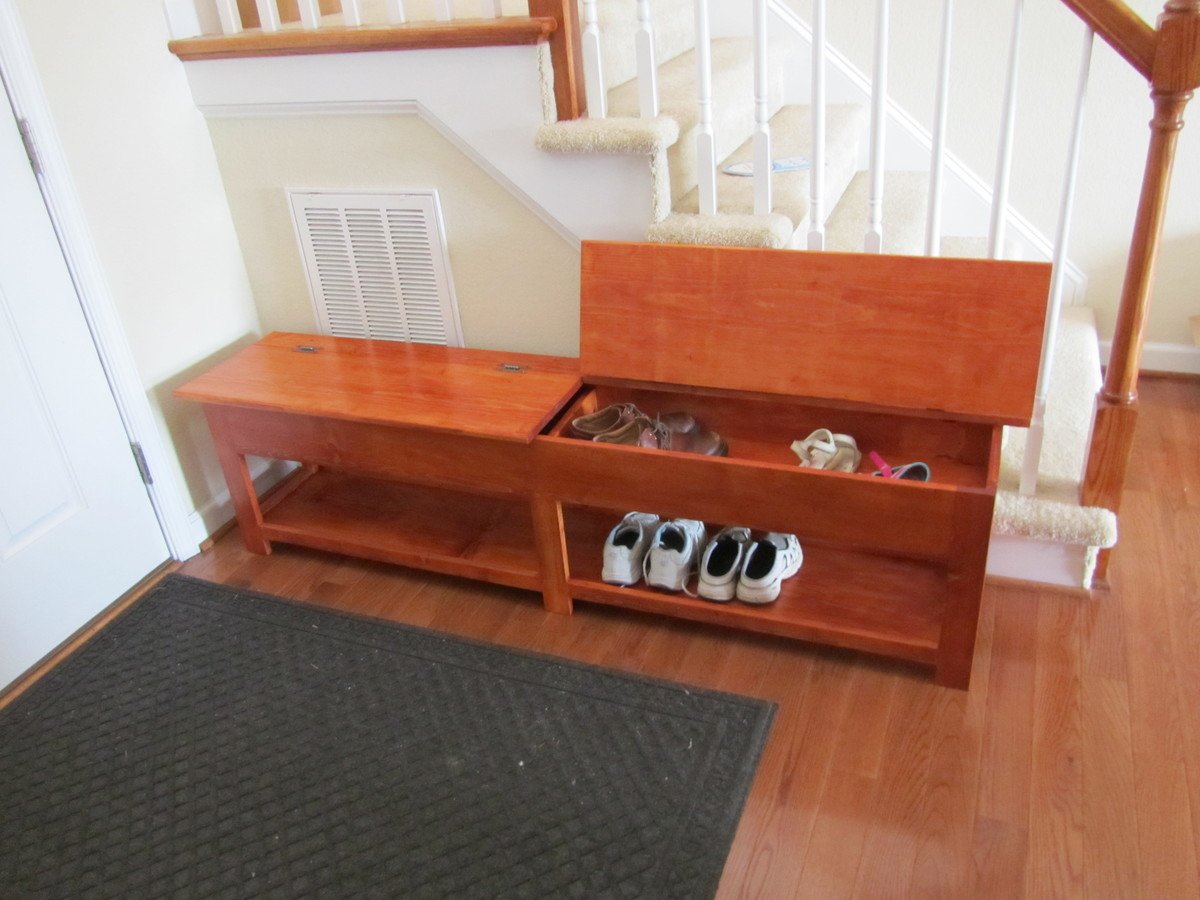
Flip Top Storage Bench
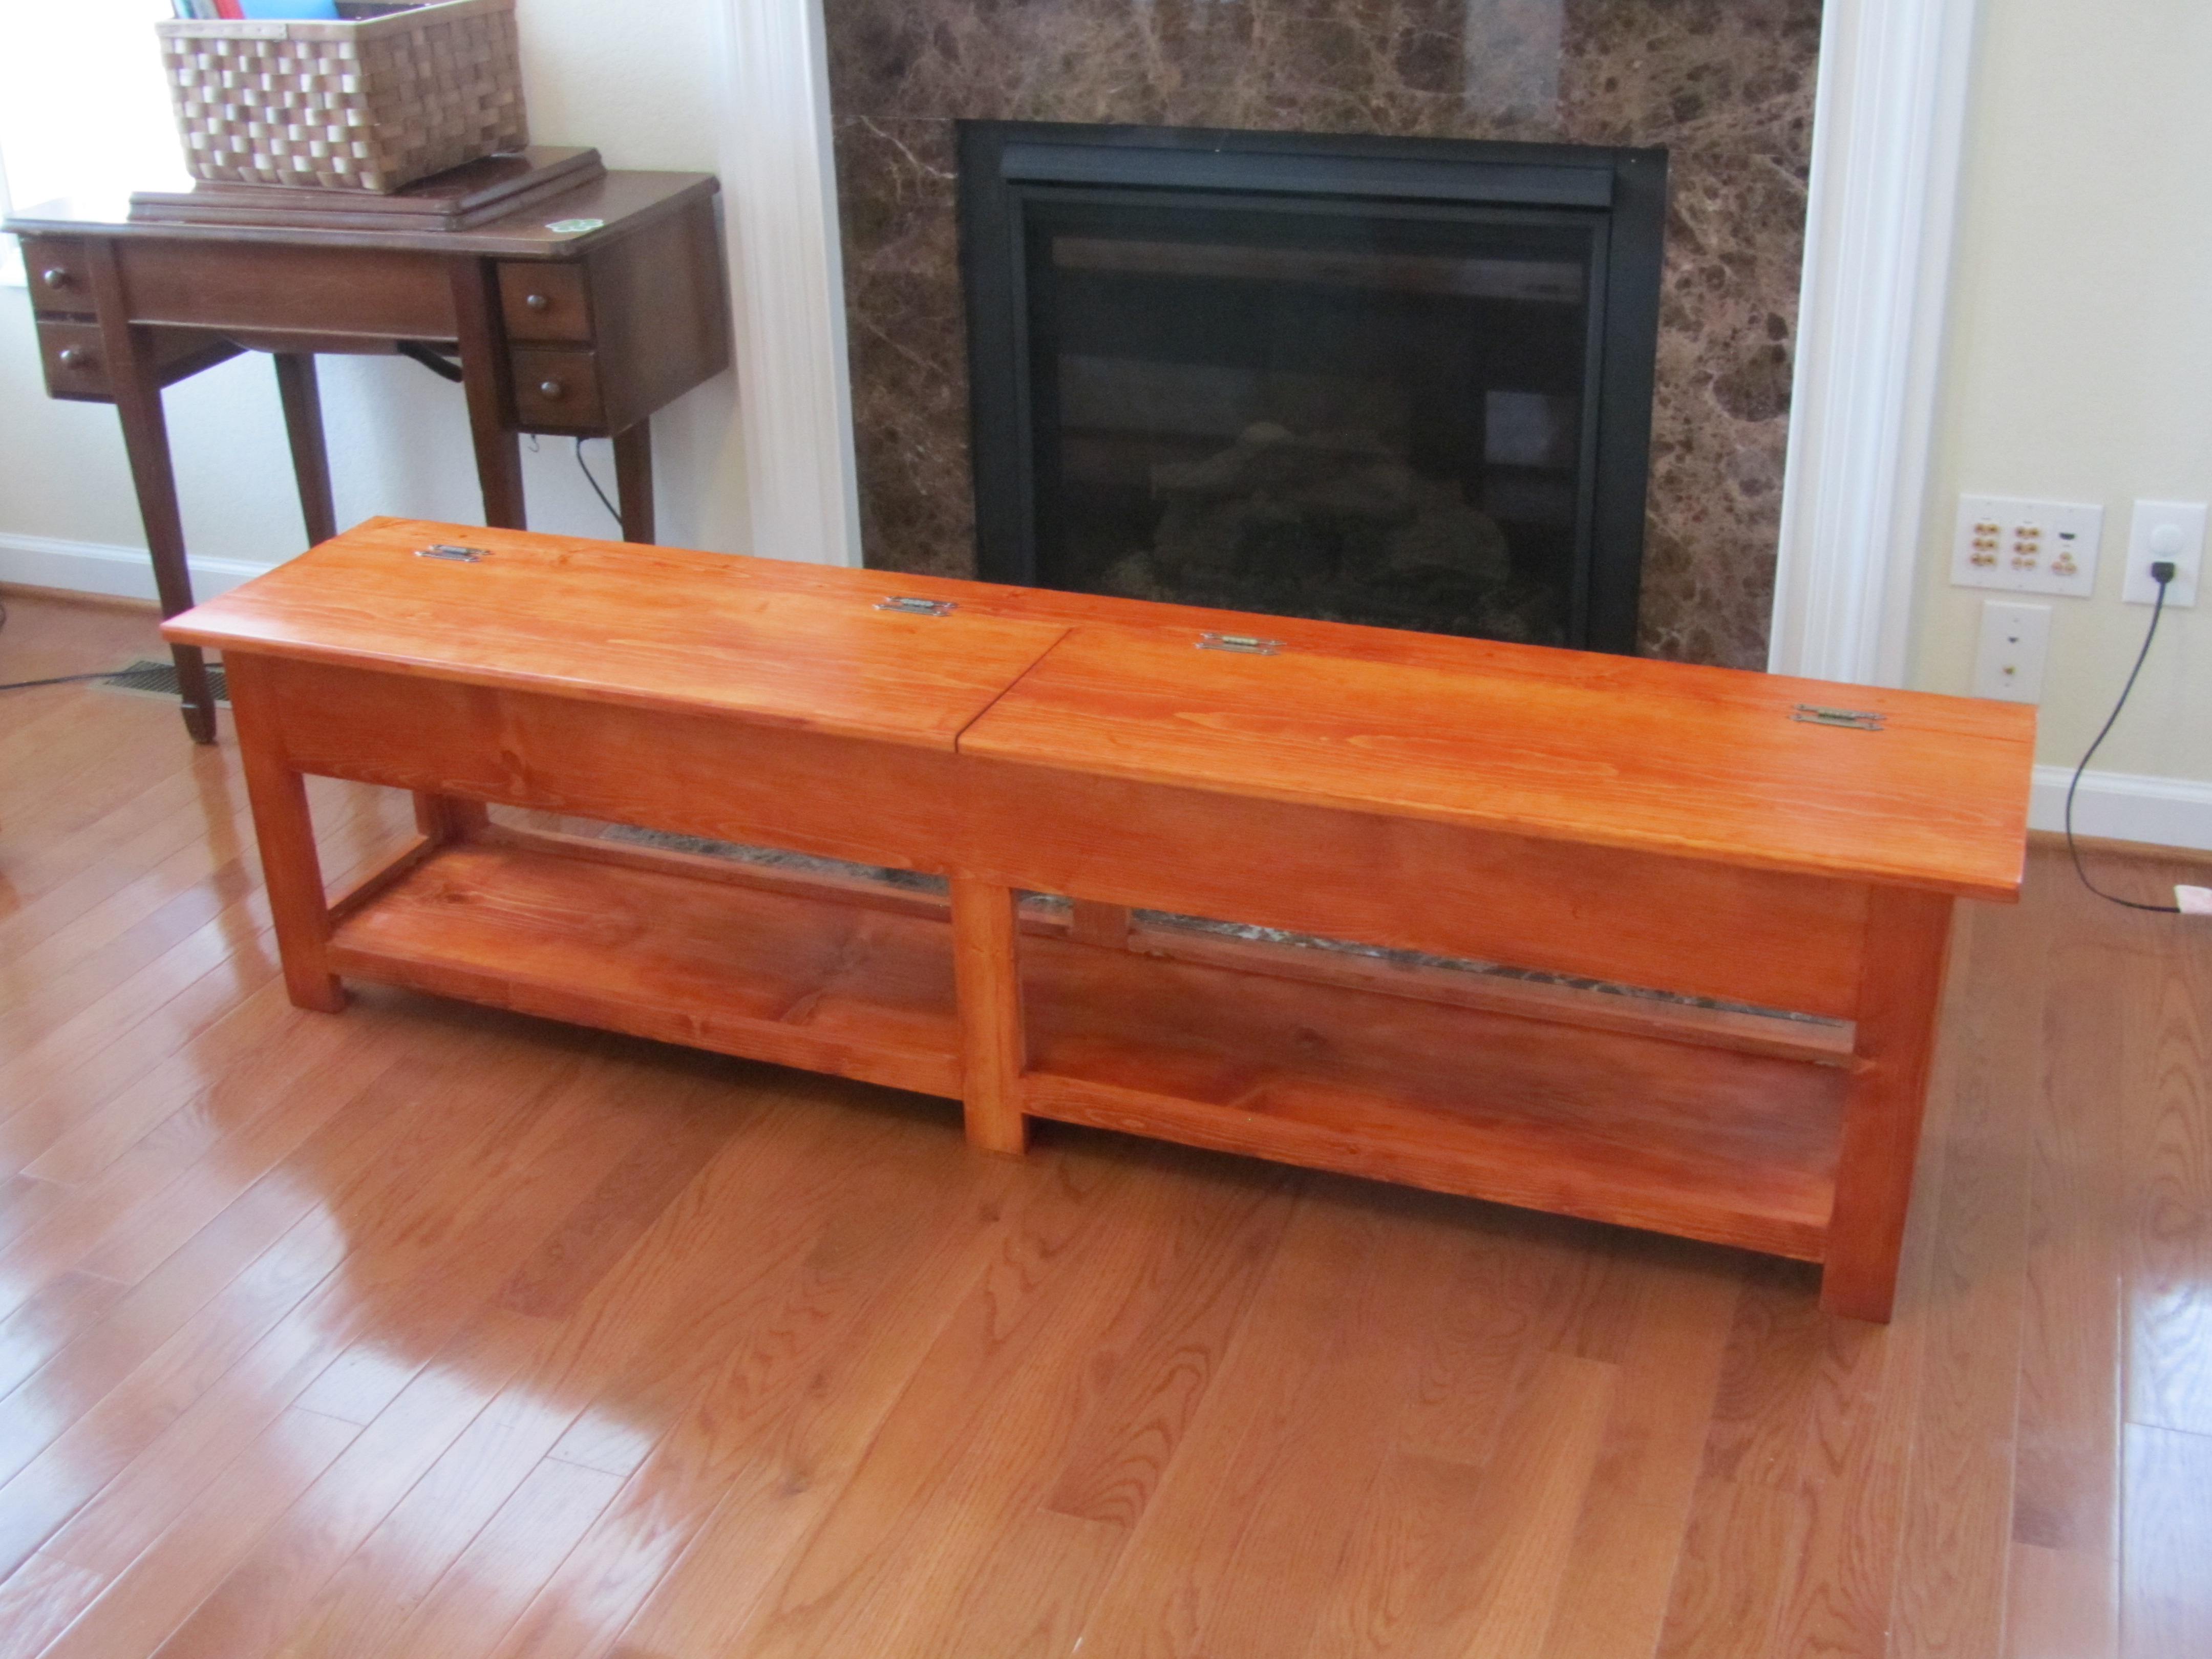
We needed somewhere to store shoes and sit while changing shoes, so I built this based on the flip top storage bench plans at http://ana-white.com/2012/10/plans/flip-top-storage-bench-new-plans
Total length of the project was 6 feet, so I added a 1x3 support at the middle. I made the storage top deeper so that it would hold adult shoes by using 1x6s instead of 1x4s.
I made the top into two "doors" so that they would be smaller and easier for our children to handle. I also rounded off the front edge with my router to make it easier on bottoms and shins.
Built from Plan(s)
Estimated Cost
$50
Estimated Time Investment
Weekend Project (10-20 Hours)
Finish Used
Finish was with MinWax prestain conditioner and MinWax Gunstock stain according to label directions, then 3 coats of polycrylic with light sanding between the coats.
Recommended Skill Level
Intermediate
Comments
Fri, 02/08/2013 - 11:14
This is beautiful!
You've done a beautiful job. I like the extra length and how you divided the top so it's not so unwieldy.
Comments
theidrag
Thu, 07/09/2020 - 10:15
Plans
Where do I find the instructions to build this
simi
Sun, 11/29/2020 - 01:27
Hi Ana, where can I find the…
Hi Ana, where can I find the instructions for this project?
ellyrosee
Fri, 02/26/2021 - 21:59
Where is the instructions ?
Where is the instructions ?
luvbnmom07
Sun, 11/10/2024 - 10:19
Are these plans available?
Are these plans available?