Modern Outdoor Chair with Tilted Back
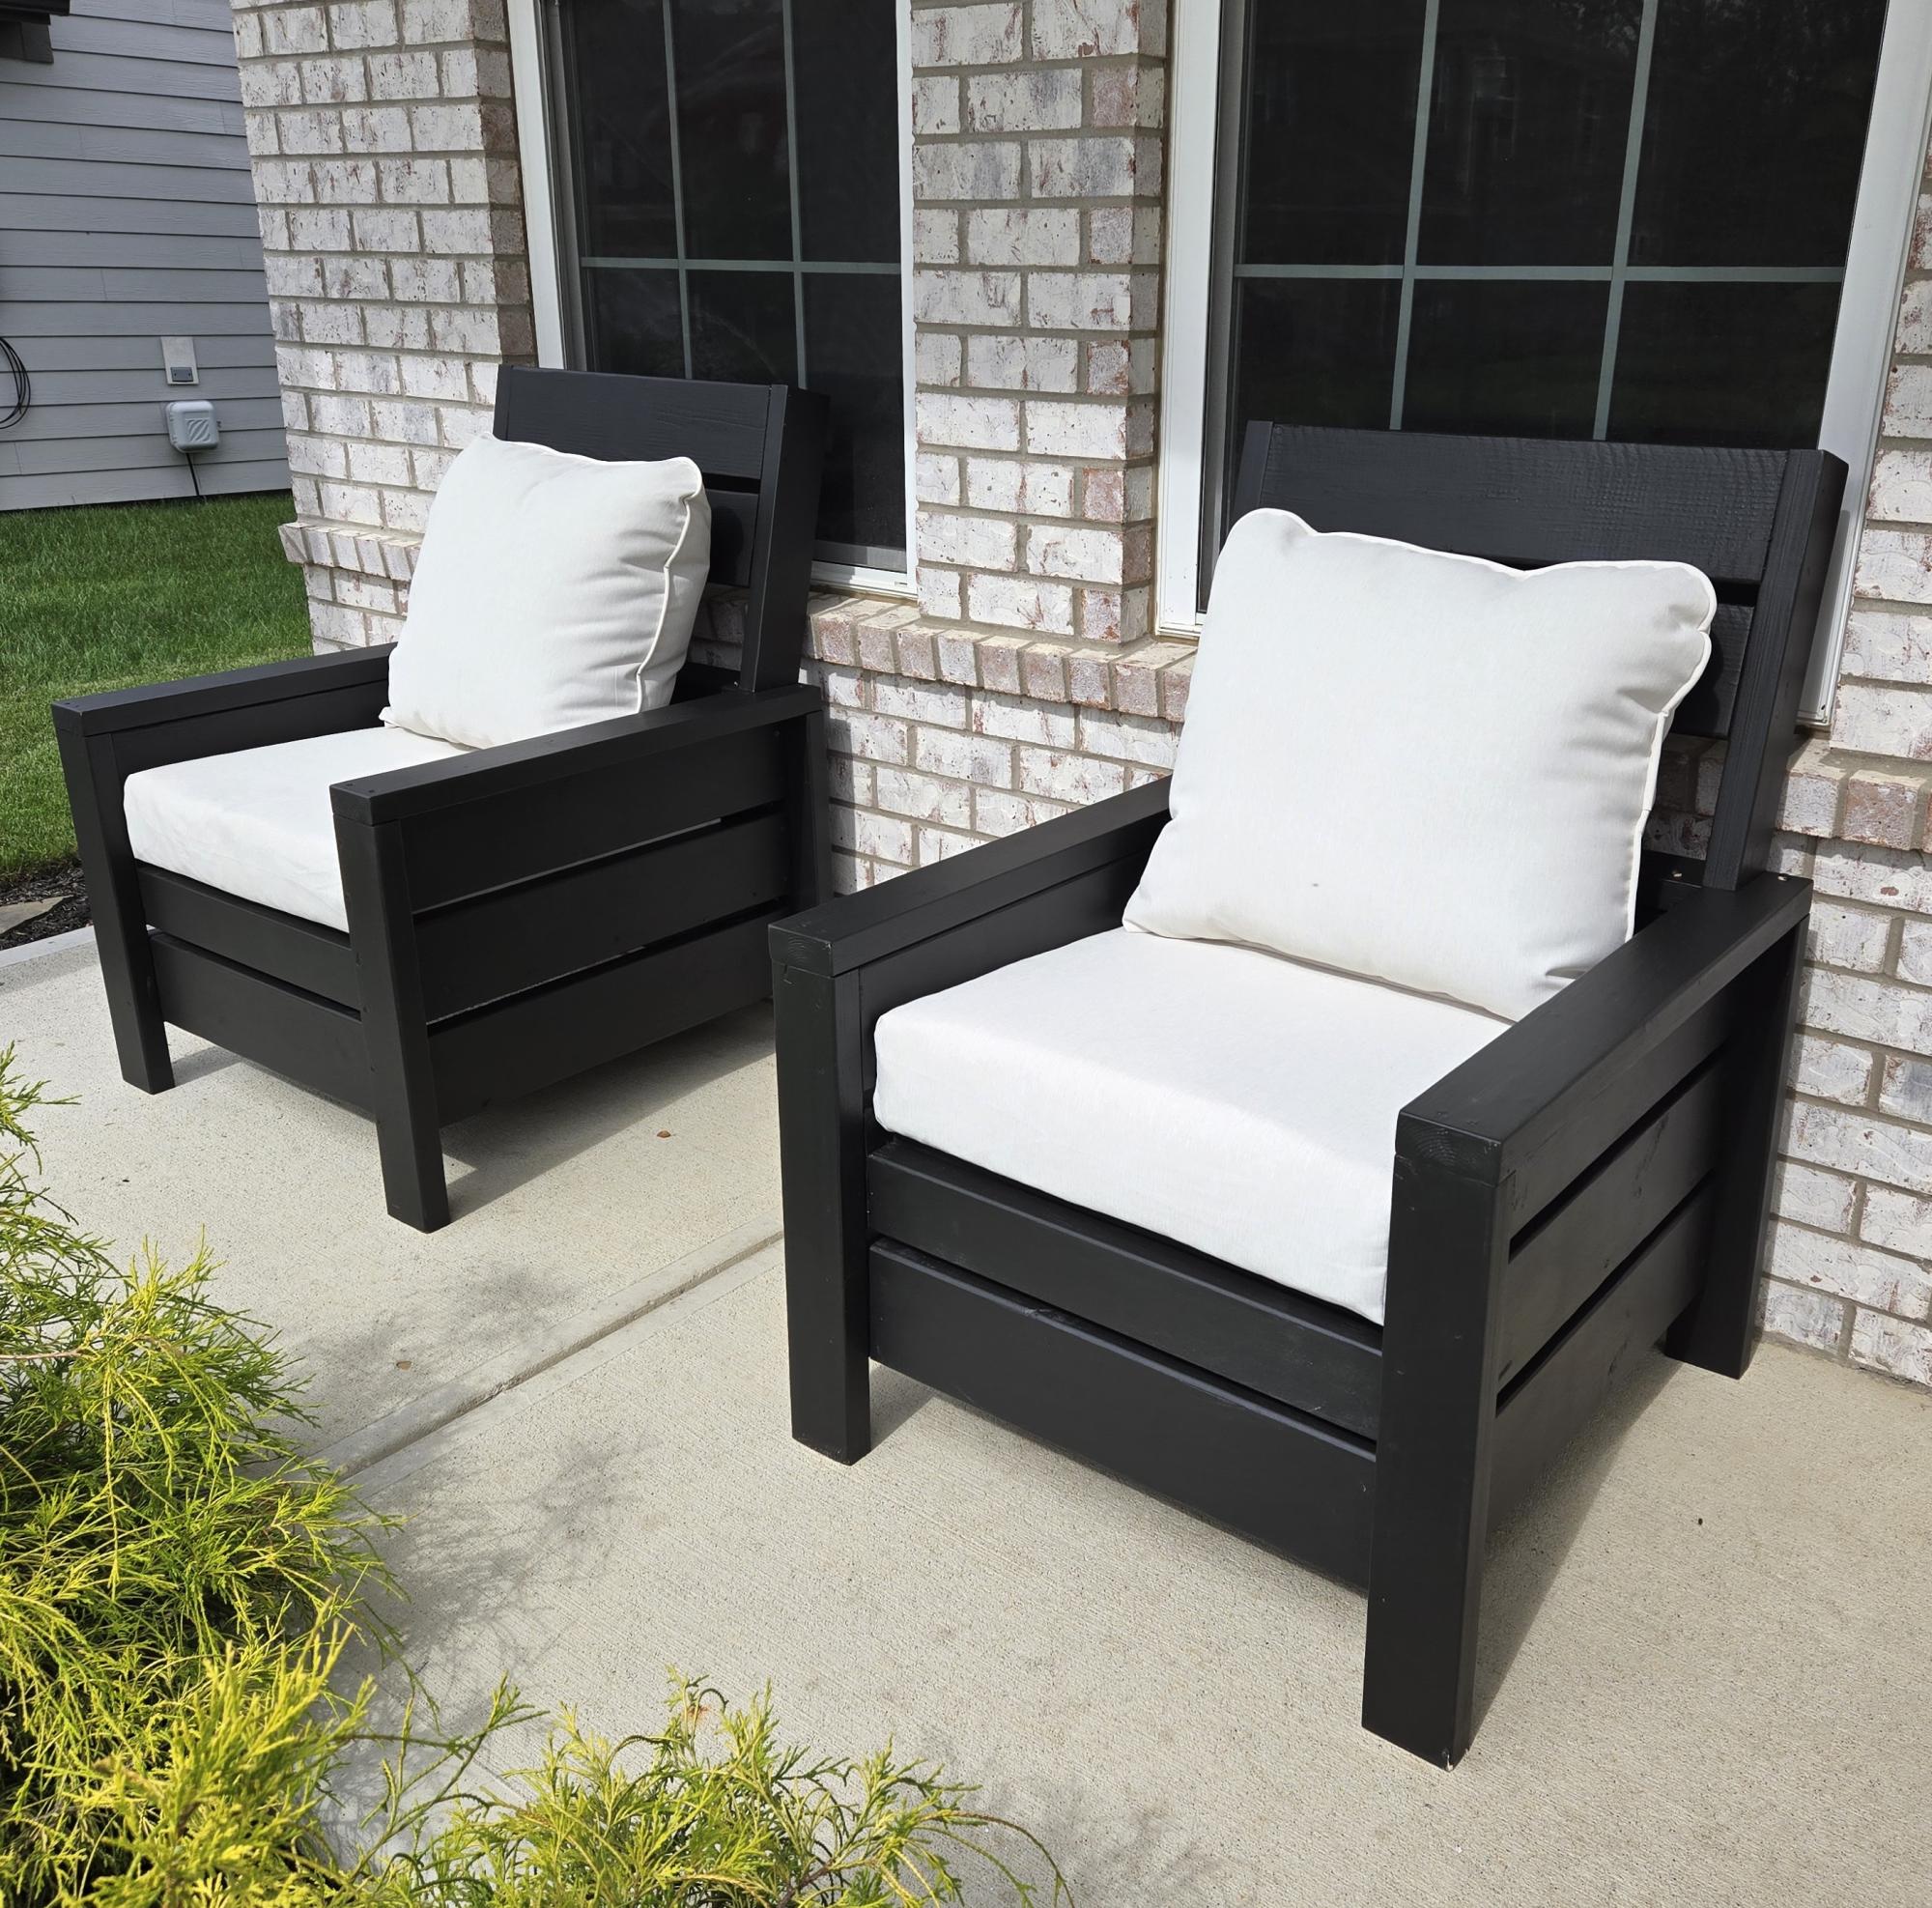
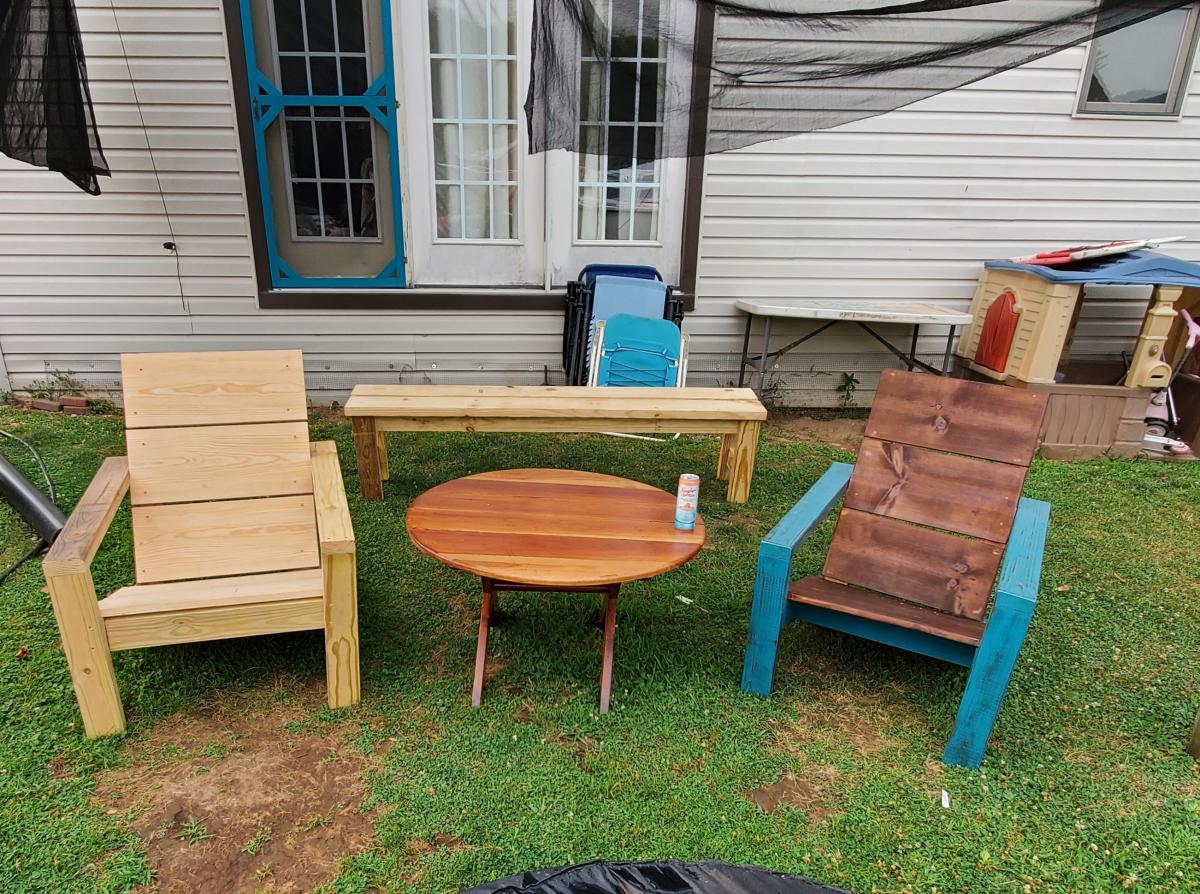
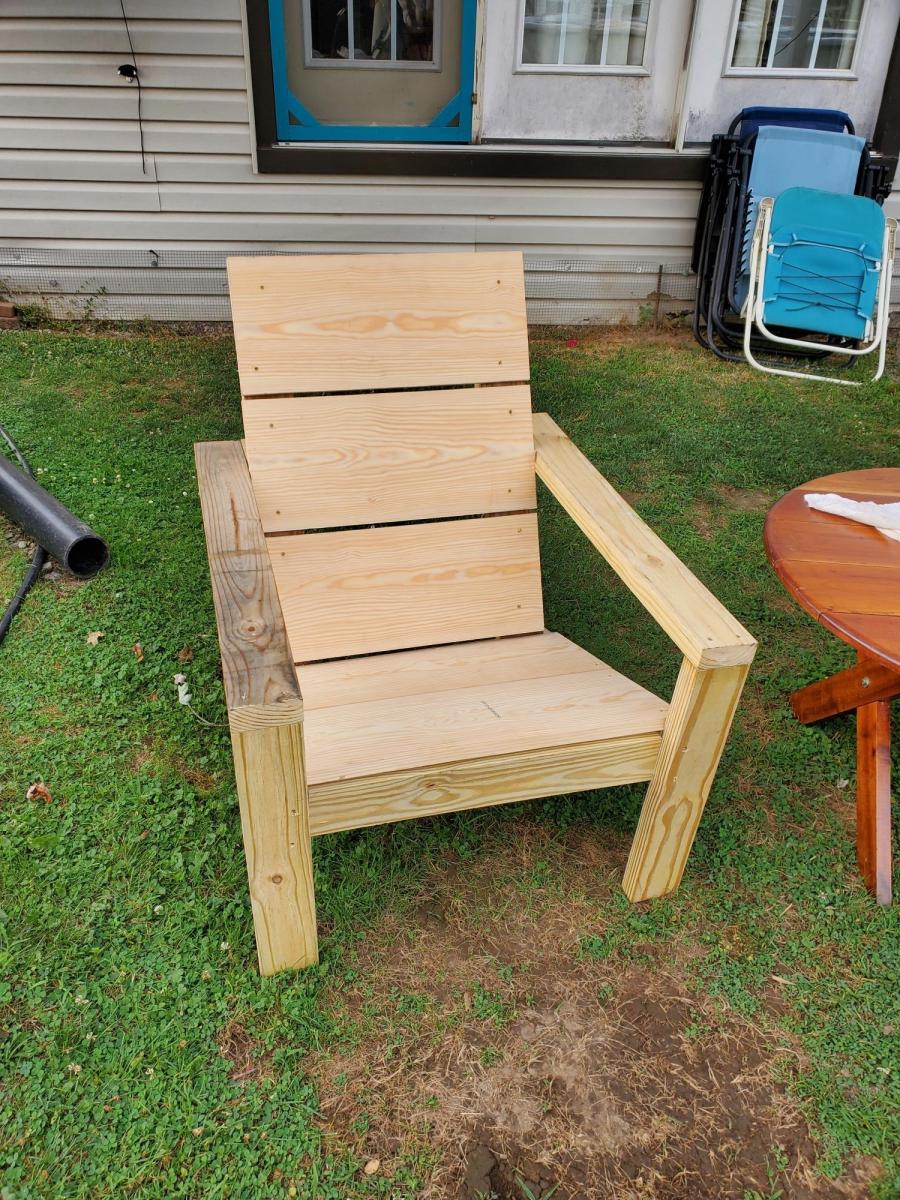
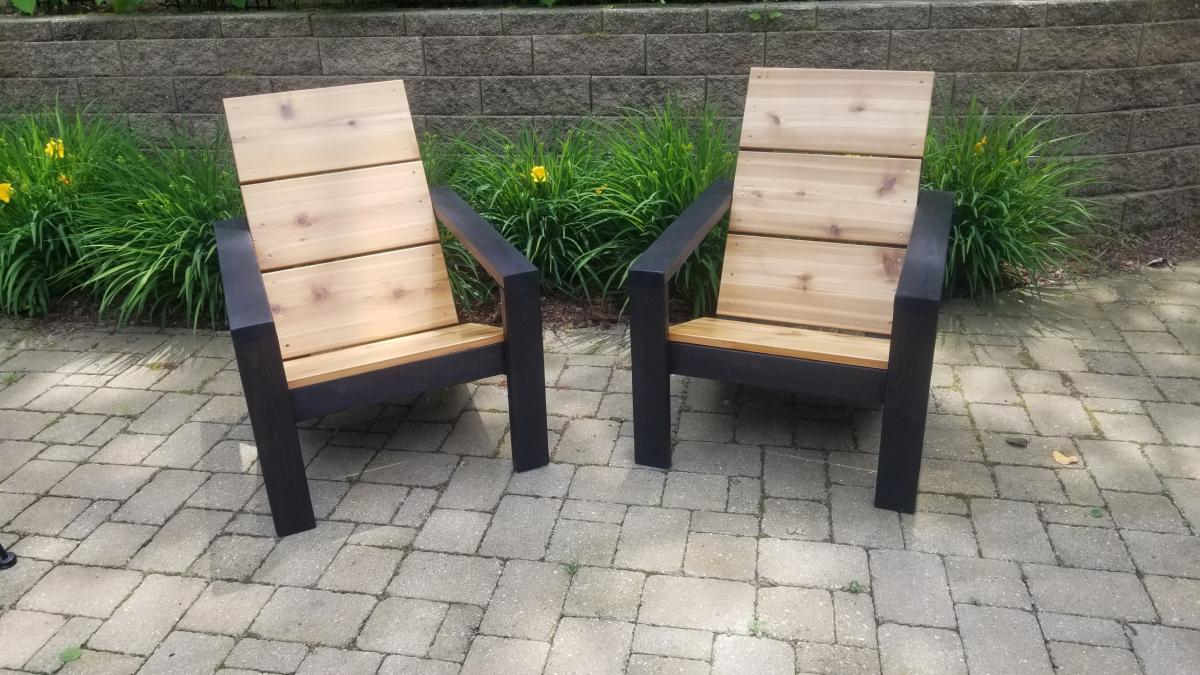
Awesome front porch chairs. Added a back and tilted the seat back for more comfort!
Michael

Awesome front porch chairs. Added a back and tilted the seat back for more comfort!
Michael

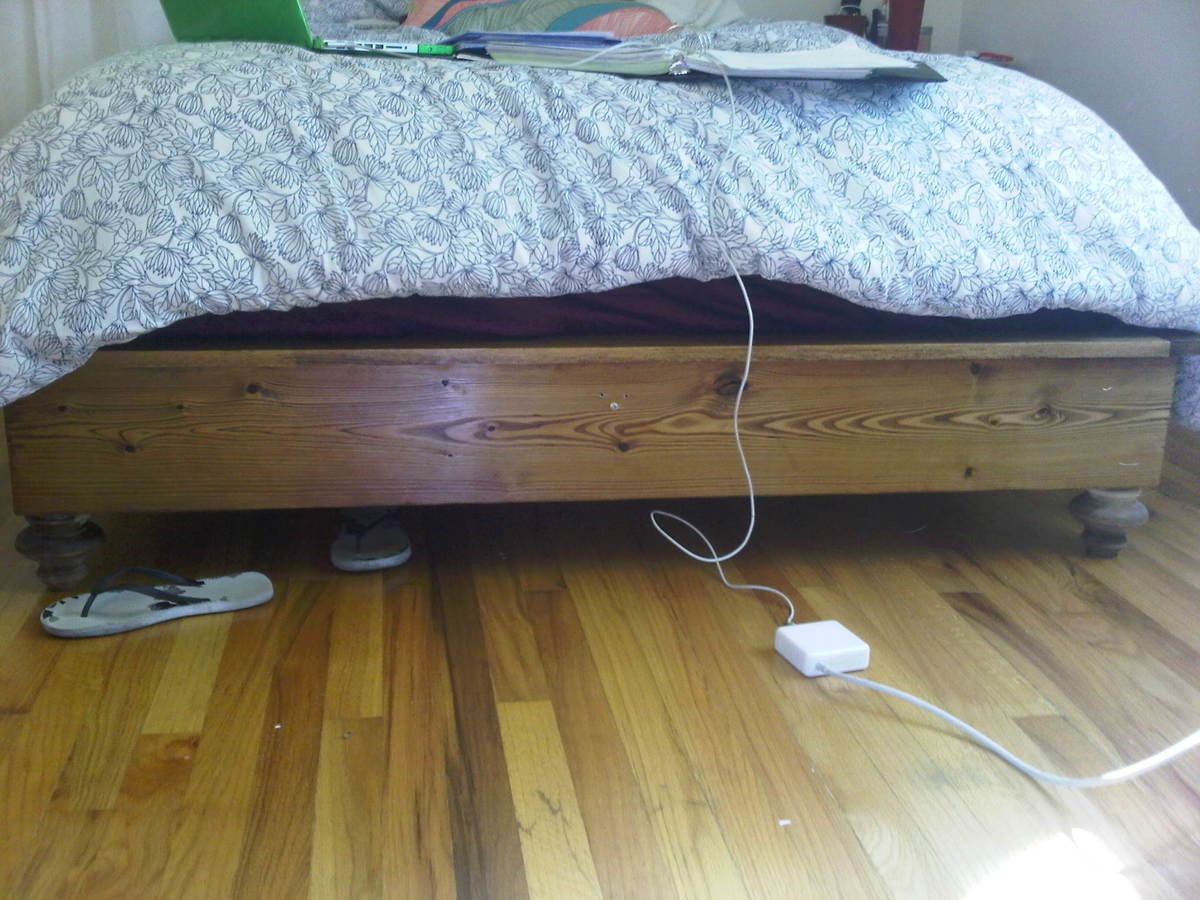
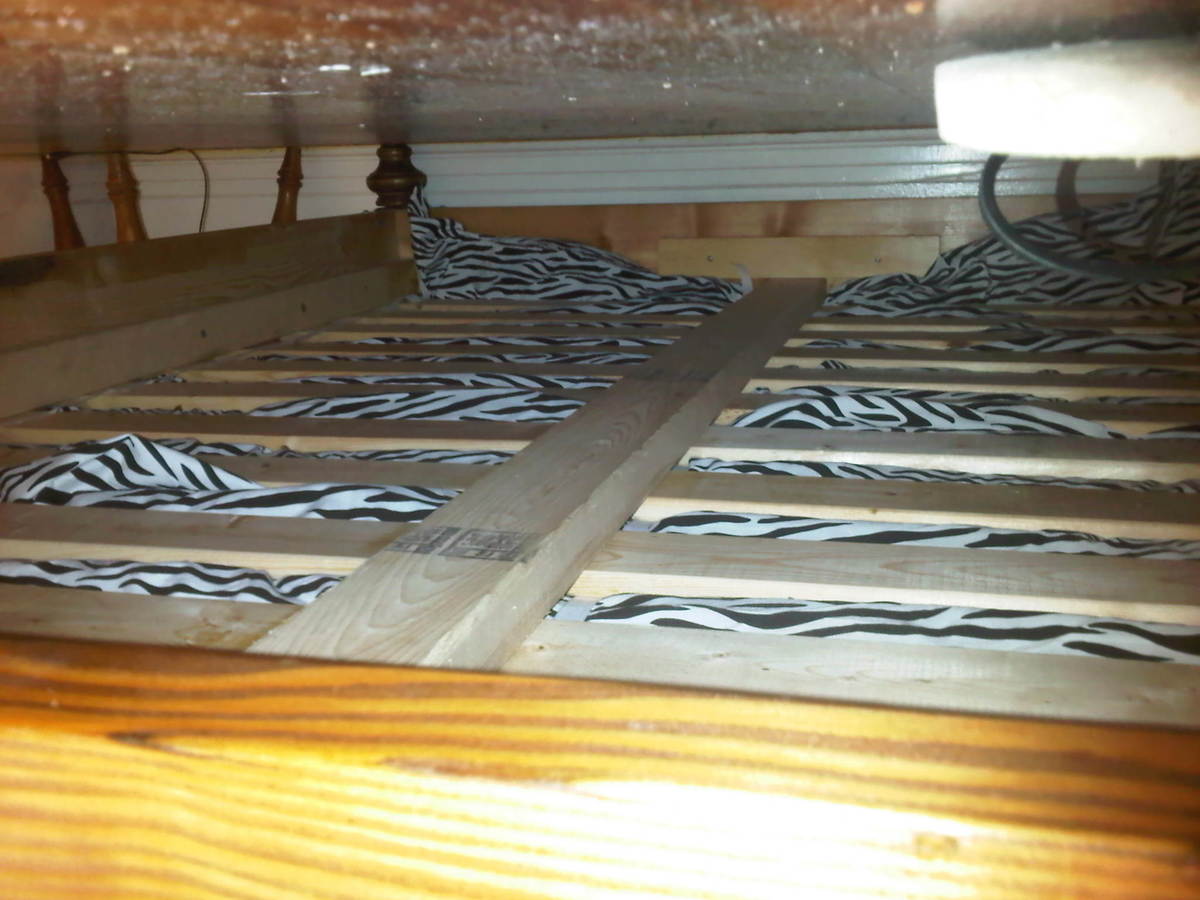
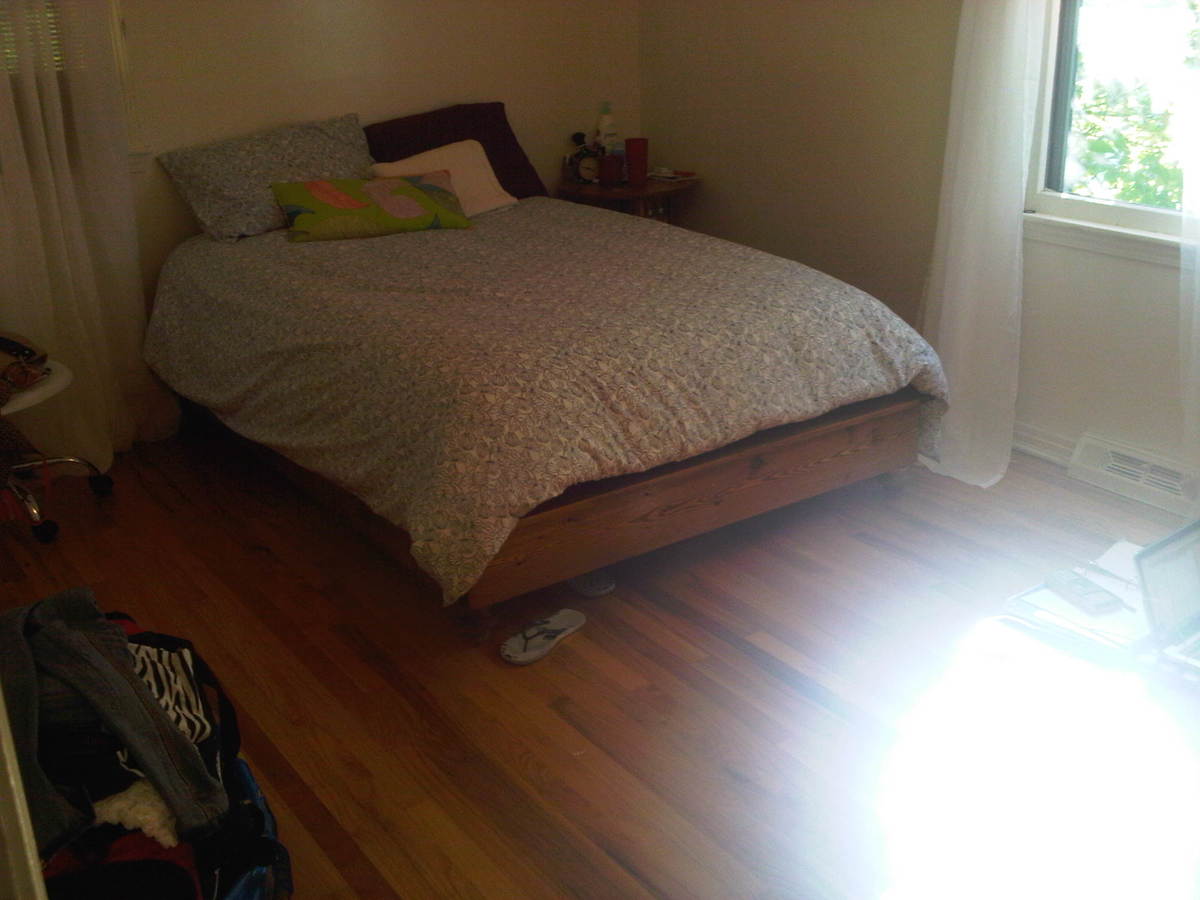
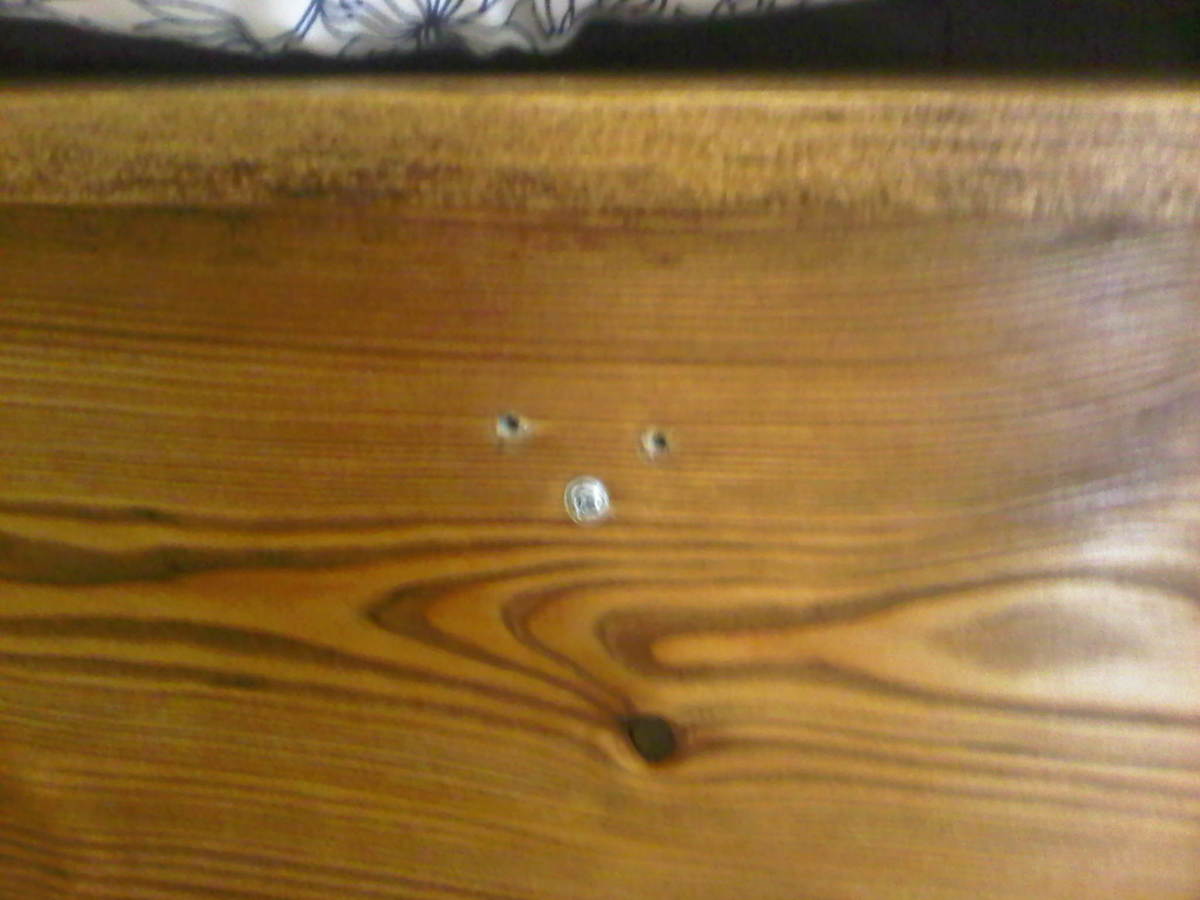
I'd say all together i spent about 5 days working on this... but i did it all by myself and i'm a newbie! I used studs i found at home depot. My tulip legs were $8 dollars a pop and I bought a drill/kregjig and sanding paper because I've never built anything before. I hand sanded the whole thing!!!! This was my first build... but it did break once: For the center support i used two 2 1/2" screws and screwed it from the outside and the screws just ripped through the wood. but i replaced it.. put in new screws and attached little 1x2 pieces under both ends and i plan to adding 2 legs in the center. You an see in the photos i attached where the old screws were, and how i solved the problem under the bed by adding the like 1x2 pieces. I've had it for 2 weeks completed now.. and although the center support gave out once... it's been good and solid since! I hope this was help to anyone considering making this bed! P.S. just buy a sander... hand sanding is painful and boring!
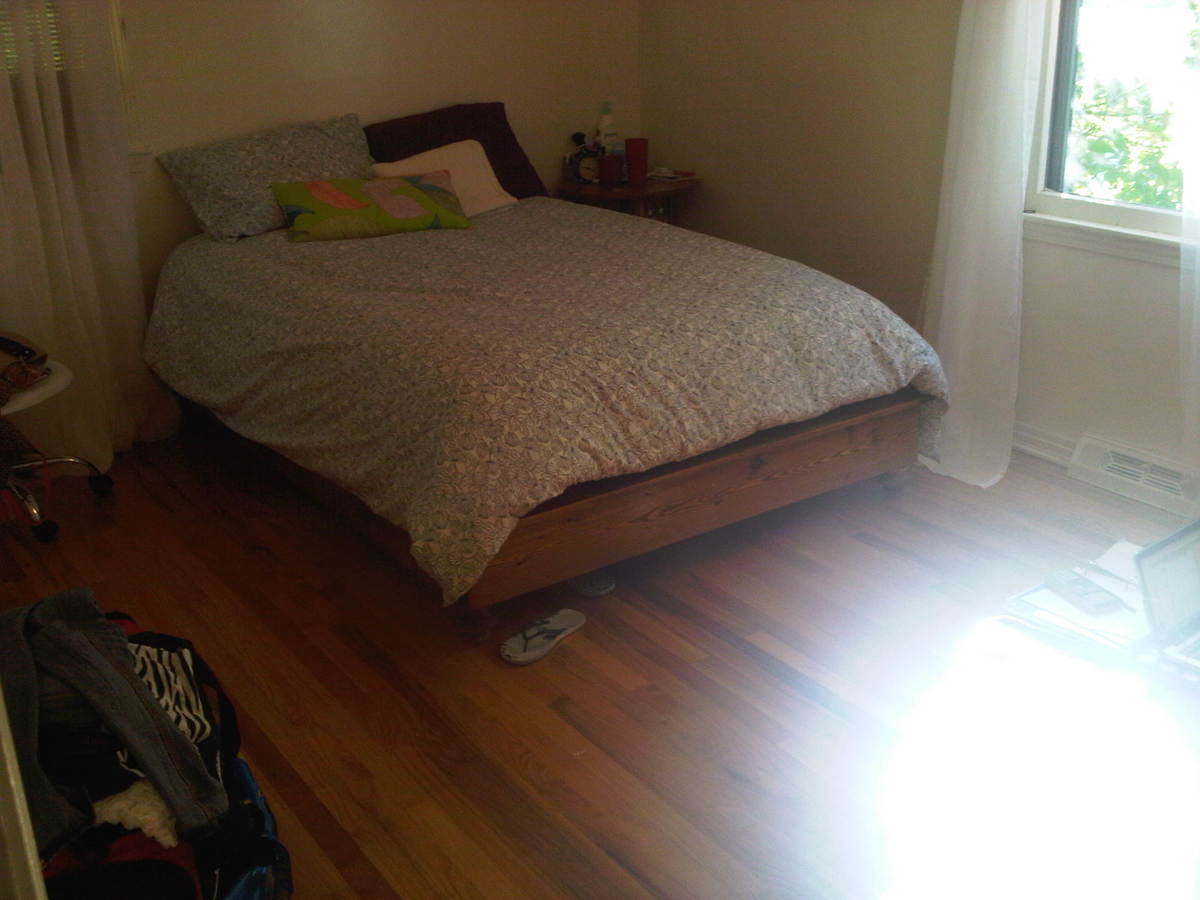
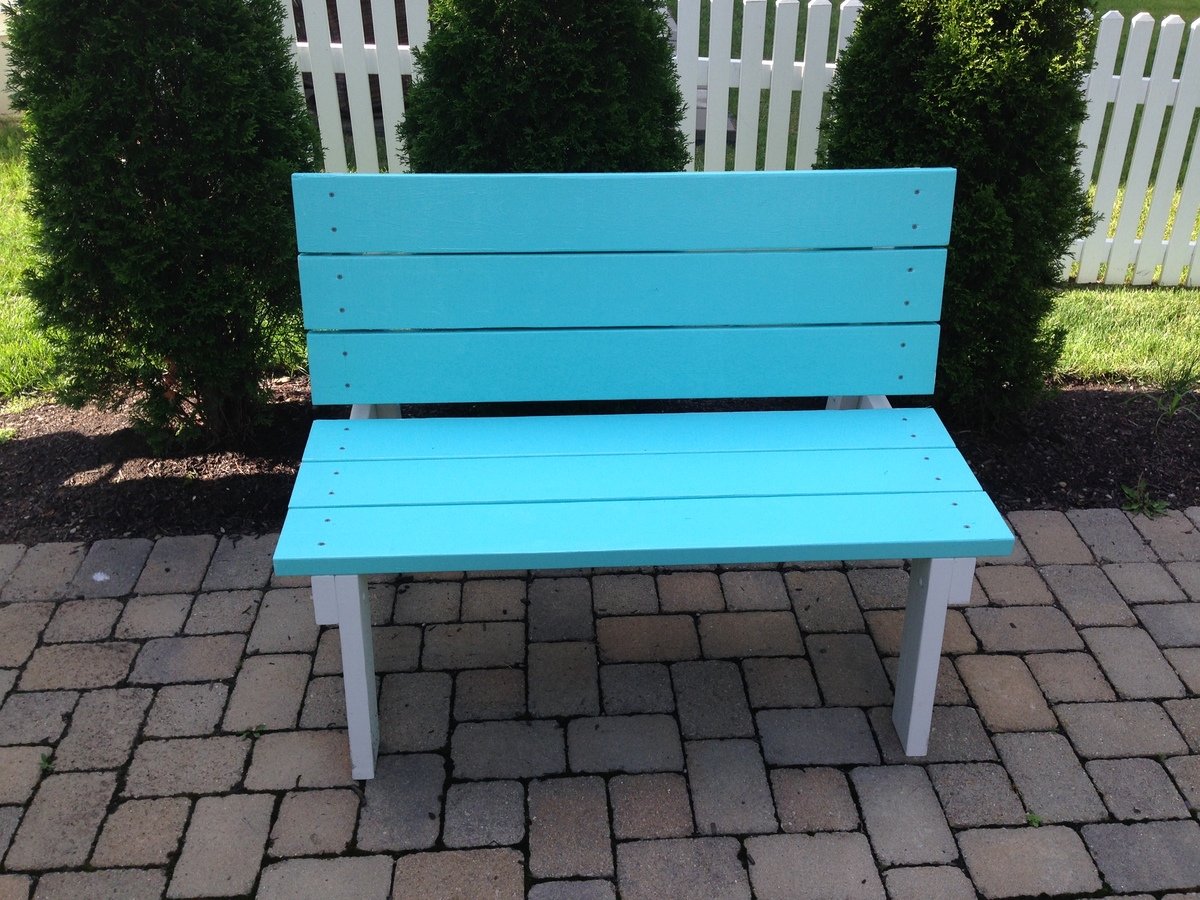
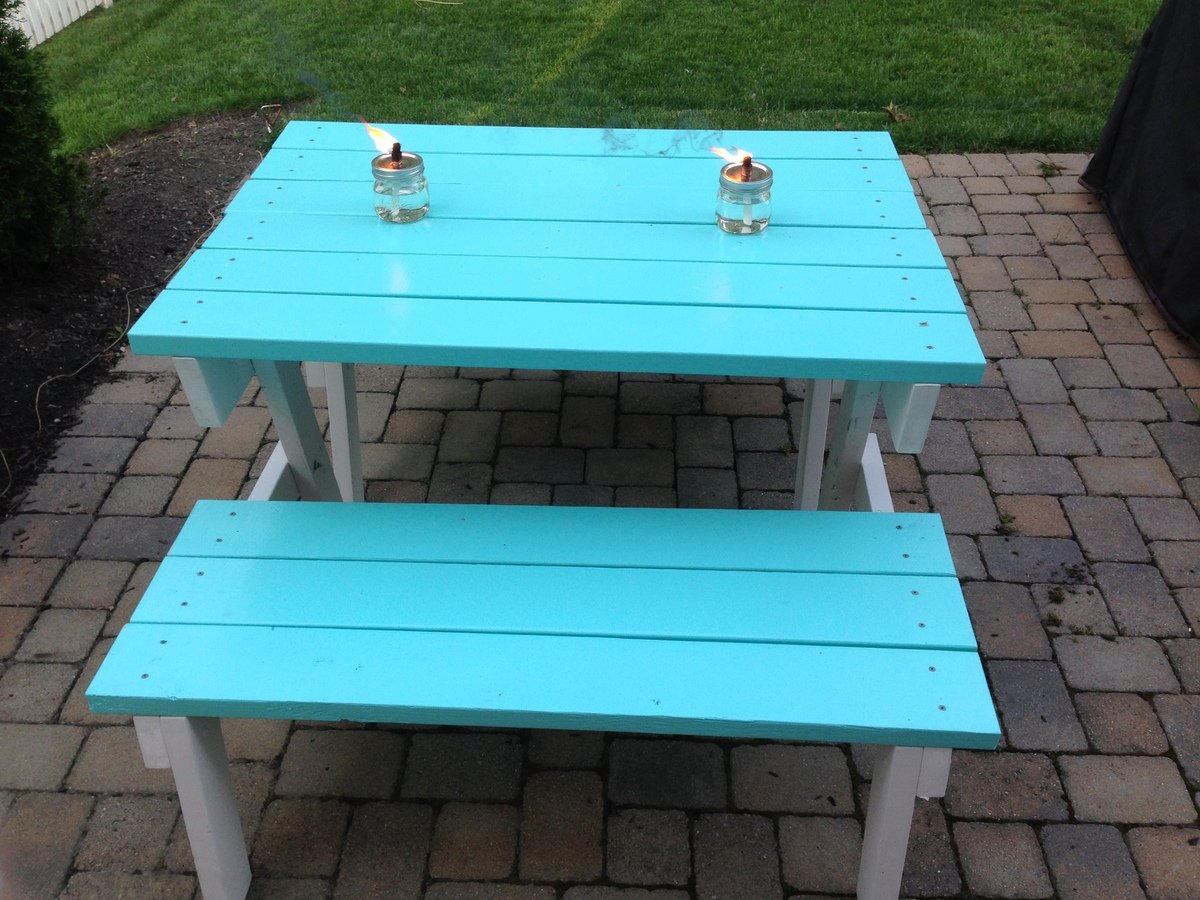
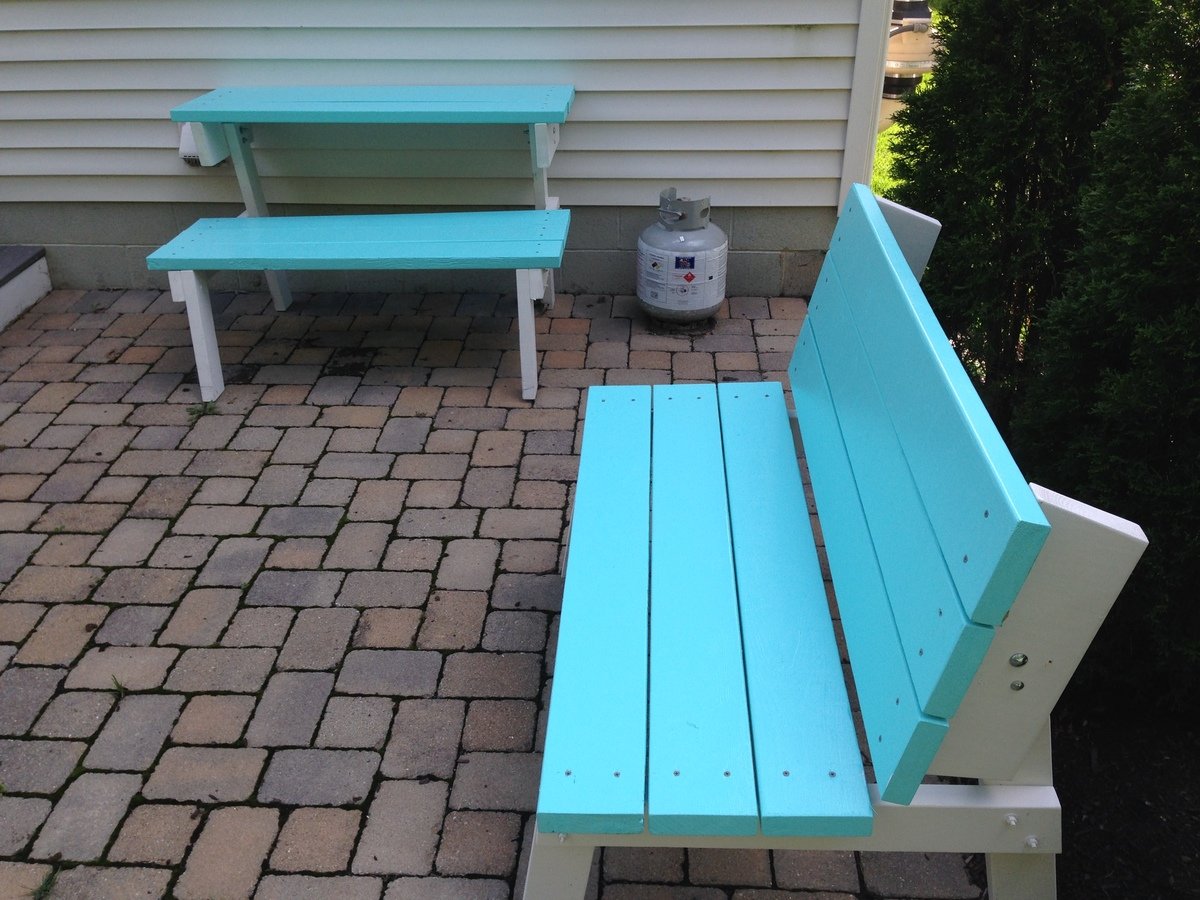
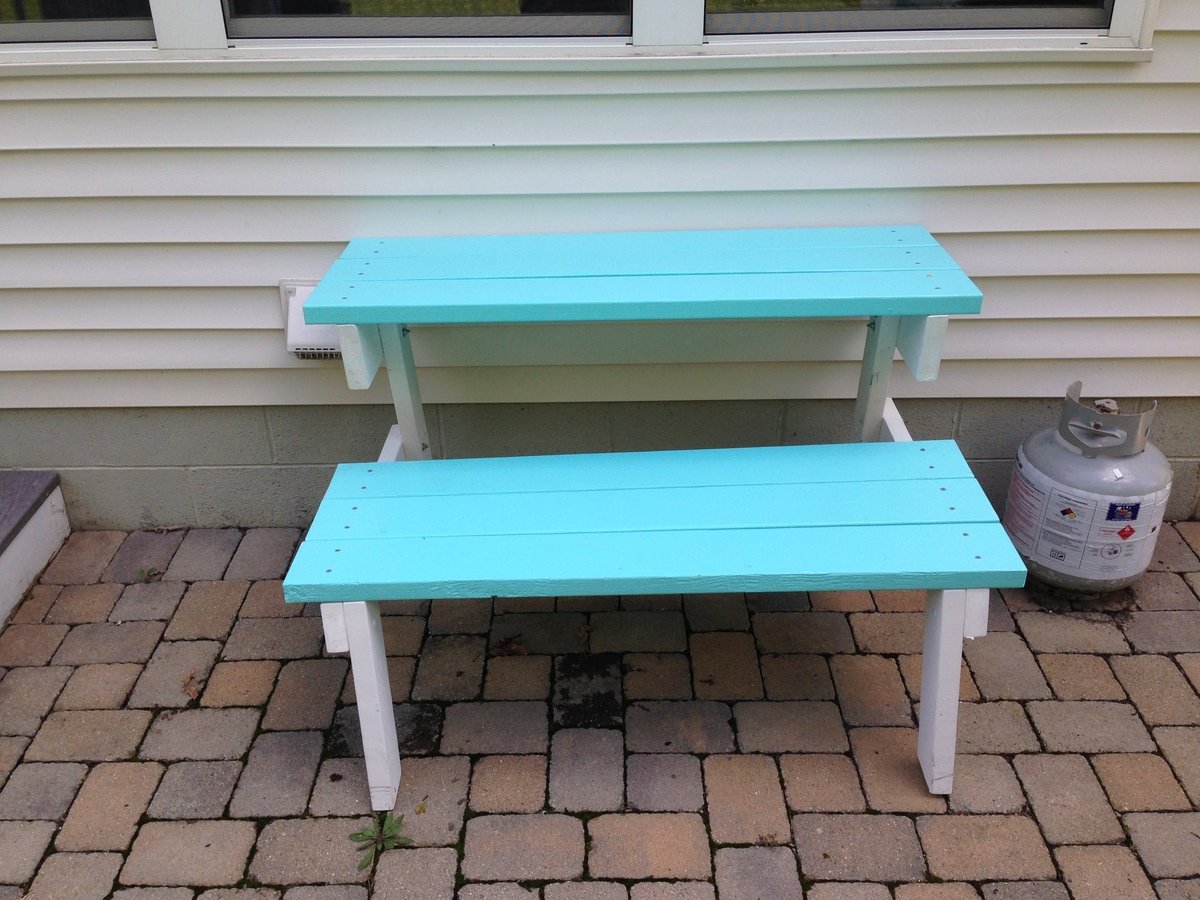
This was my first project like this from website, the instructions were clear and easy to follow. I did this over a weekend all total it took 10 to 15 hours with the bulk of that going to priming and painting the wood.
The table is a little small (as is mentioned in the instructions). If I was going to make it again I might try 6 foot boards for the benches and top. I made a couple of modifications, one intentional and one unintentional. The intentional changes was bolting the frame together with carriage bolts. Others had mentioned that it was wobbly and I'm a bigger guy and didn't want to take a chance. The unintentional change is that it's an inch shorter than it should be. I was cutting the first pieces and thought it said 27 when it said 28. That wasn't a big deal as I shortened the other piece by an inch.
I'm very happy with how they turned out except that one of my benches isn't completely square. The top of the bench and table is square but somewhere in all my drilling and bolting together its off a little bit. I need to take it apart to determine where I am off and fix it.
I mentioned that it was $100 to build, it was $40 for the wood and $60 for all the other little stuff, screws, paint, primer, bolts, etc. Of course I have enough left from most of that to complete another bench or two if I just get the wood.
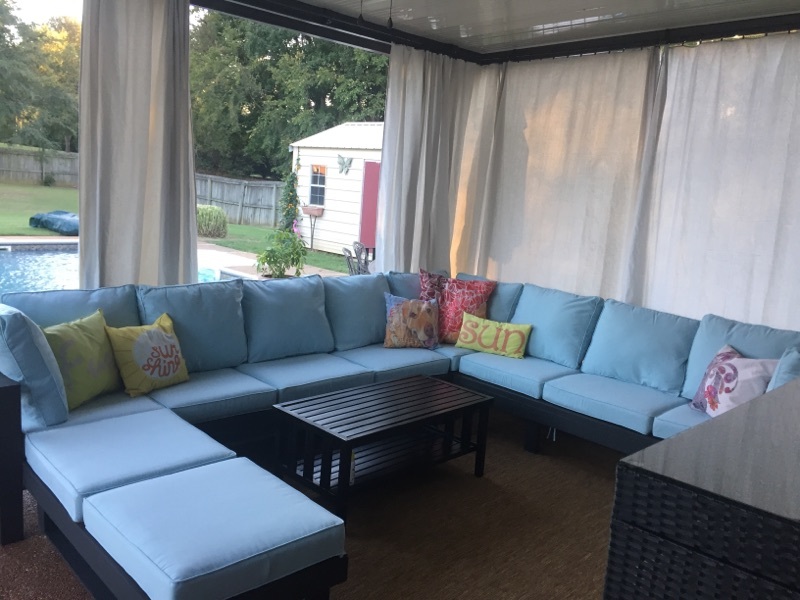
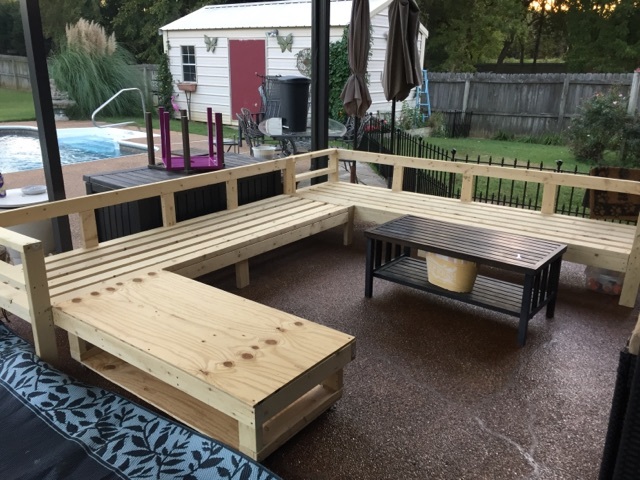
Thank you Ana! the directions were right up my alley! We have never built anything and now we cant wait to build our next piece! we used your insturctions and made minor modications to accomodate our cushions. We got brave and designed our own ottoman and put it on casters :-) We also added a few back support and legs.
We used one coat of deck over paint
Cushions were on sale at ballard http://www.ballarddesigns.com/ballard-basic-seat-and-back-cushion-set-w…
Quality of cushions is amazing! they were the most expensive part. We spent $600.00 on cushions.
Wood, putty, paint and screws about 350.
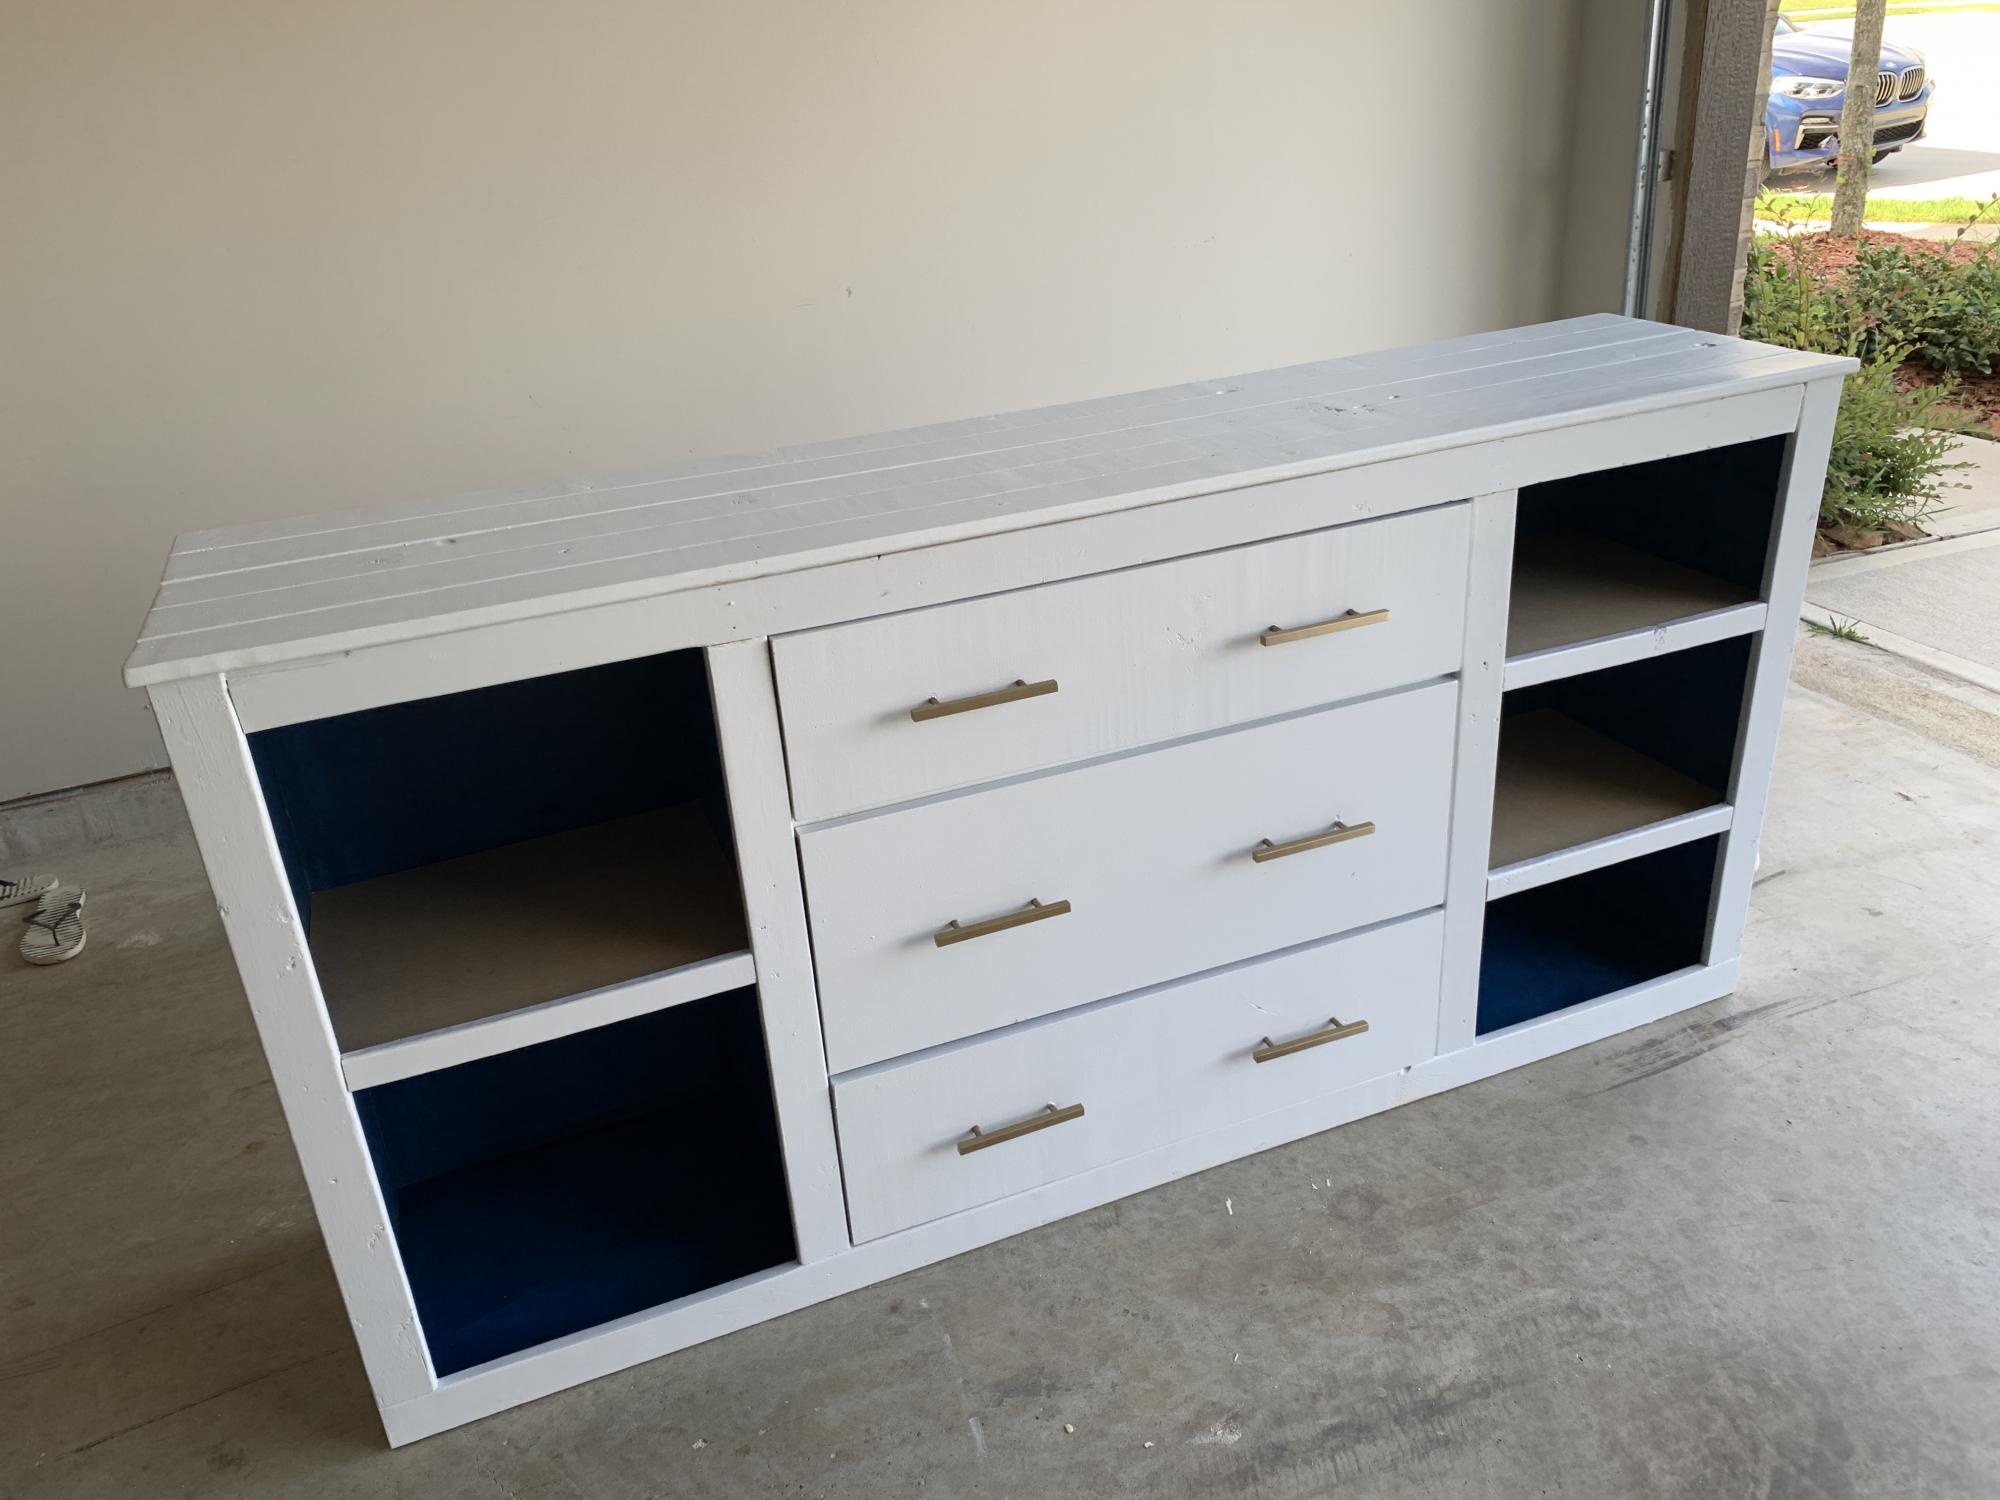
This is my third DIY project and it was a difficult one...I would recommended a beginner (like me) to do this alone. It took two weeks to get it done but I am impressed with how it turned out!
I needed storage for my office and decided to make this on a smaller scale. The doors did not work for me (and it may be because of the type of wood I used) so I decided to leave them off.
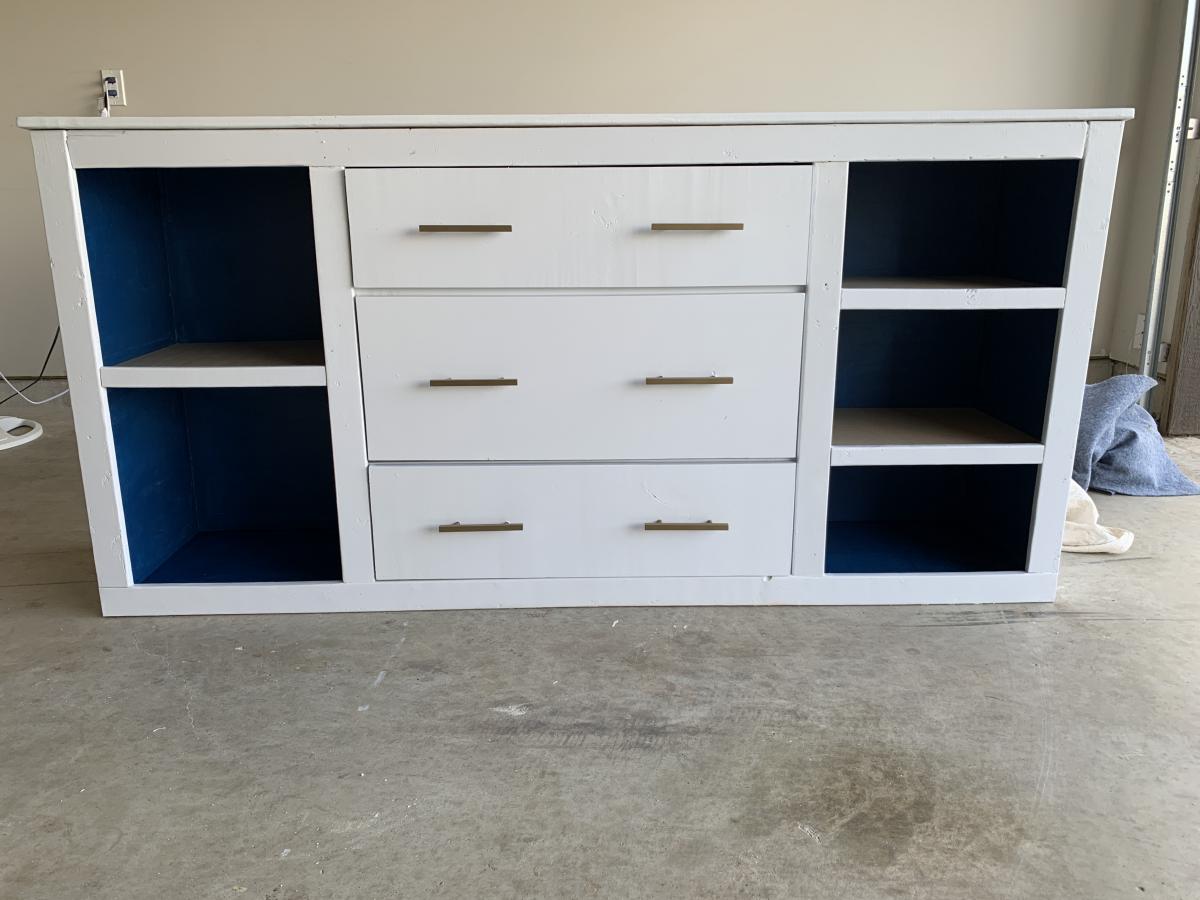
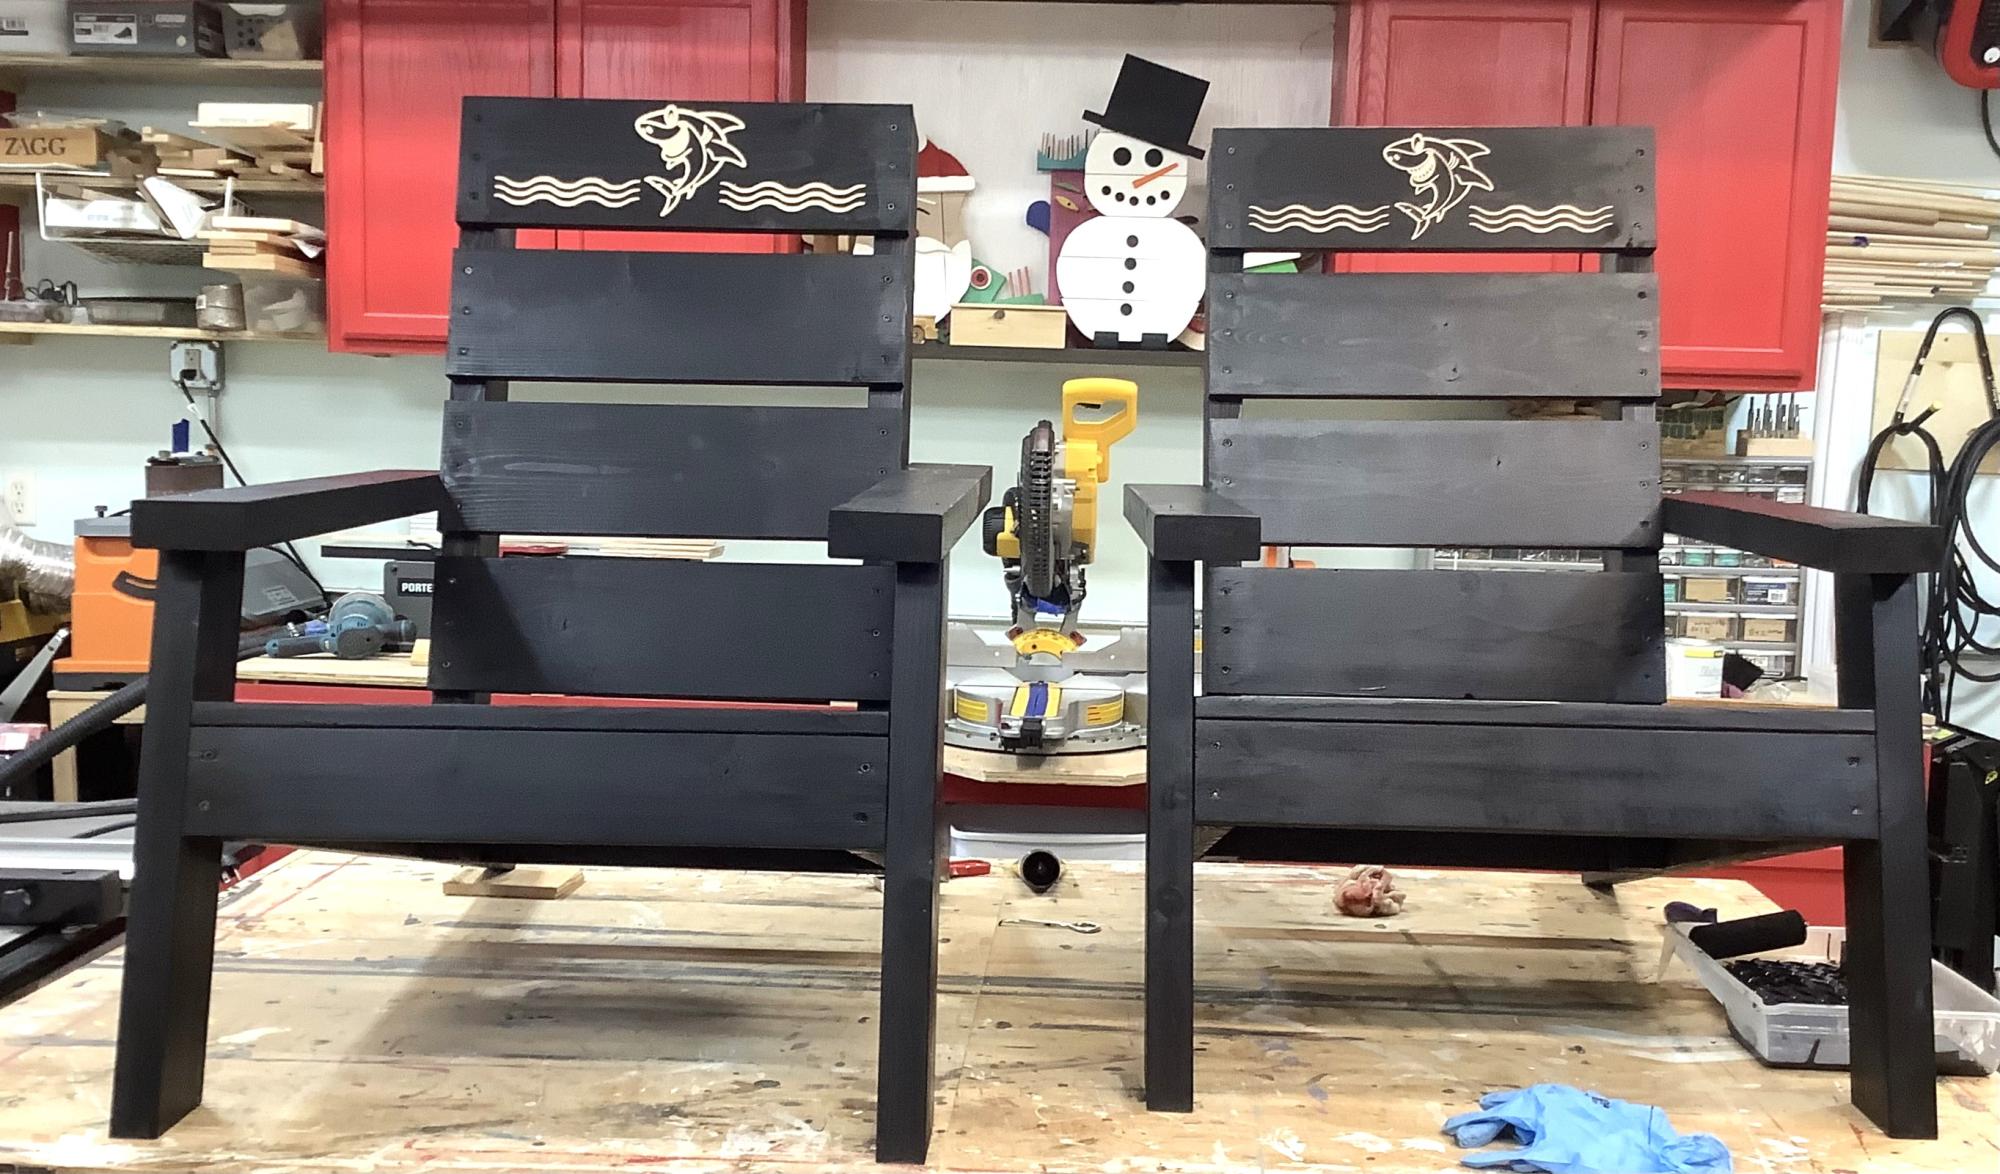
The chairs were a fun build we live on the coast , I thought what a great way to add some fun so I set up my C and C machine and made his and hers sharks chairs.
Robert McEvoy
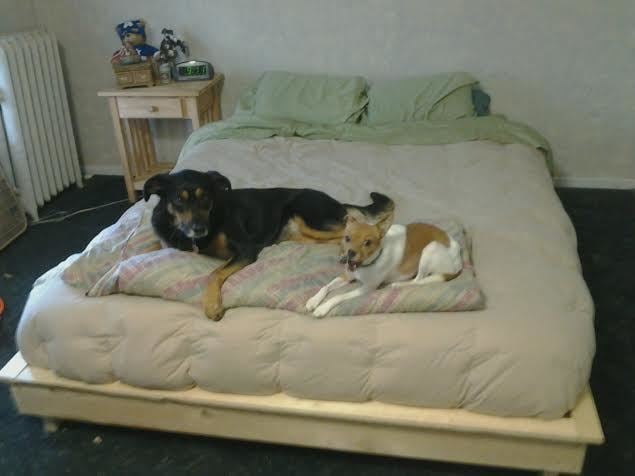
Queen- Hailey Platform Bed
This is my first build. I have always had metal loft beds and it's so nice to have something lower and not so noisy. Had to alter for a Queen- no problem.
My dad helped me out and now I know how to work all the tools pretty well. We used a countersink for all the screws instead of a kreg jig.
All that is left is to stain and I have not decided if I want a headboard yet. Definitely the first of many projects!!!
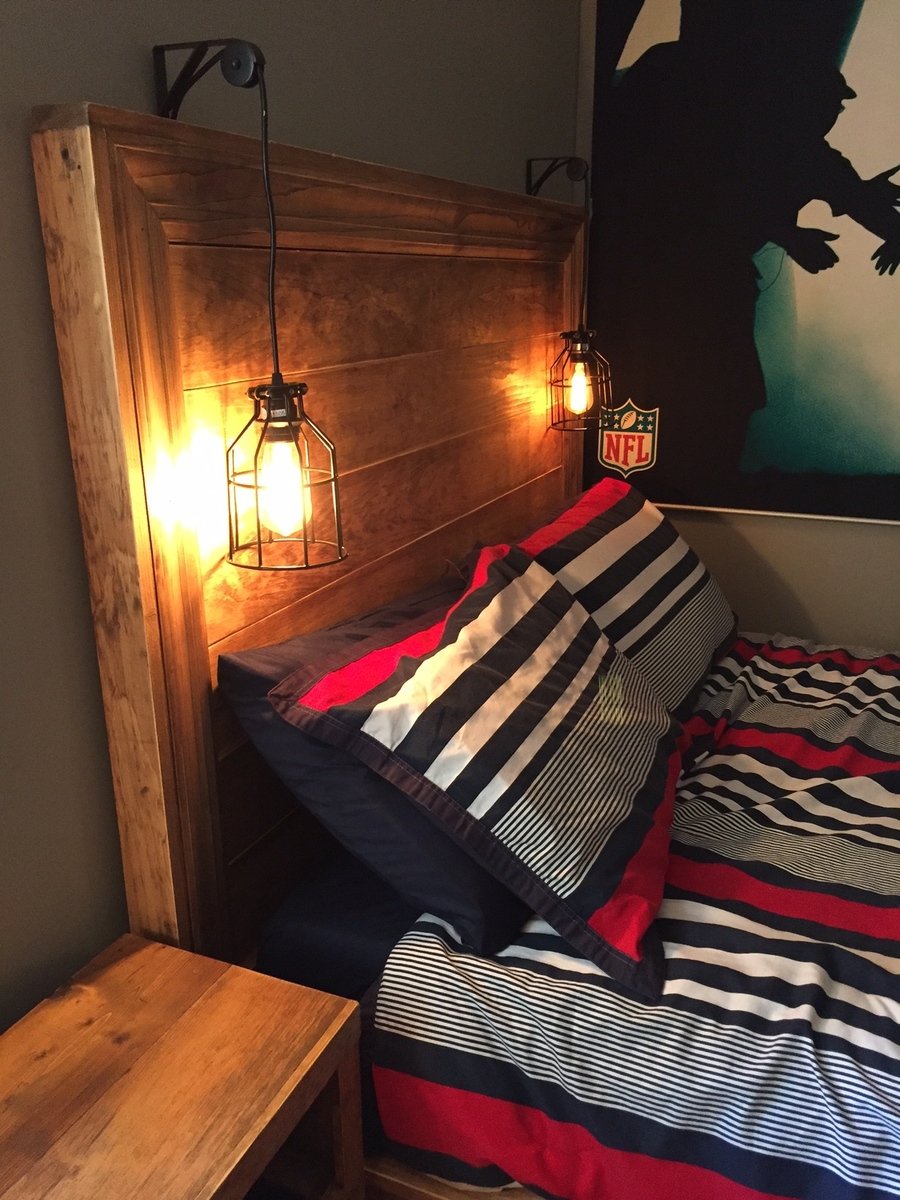
I love this bed in my son's room. They were wonderful plans that were easy to follow. The only change I made was to make the feet slightly taller so he could slide underbed storage containers underneath. My only mistake was not planning ahead for how I would attach the headboard to the frame. It ended up not being necessary because the weight of the bed pins it against the wall, but If I ever wanted to make this for someone else I would want to solve that piece first.
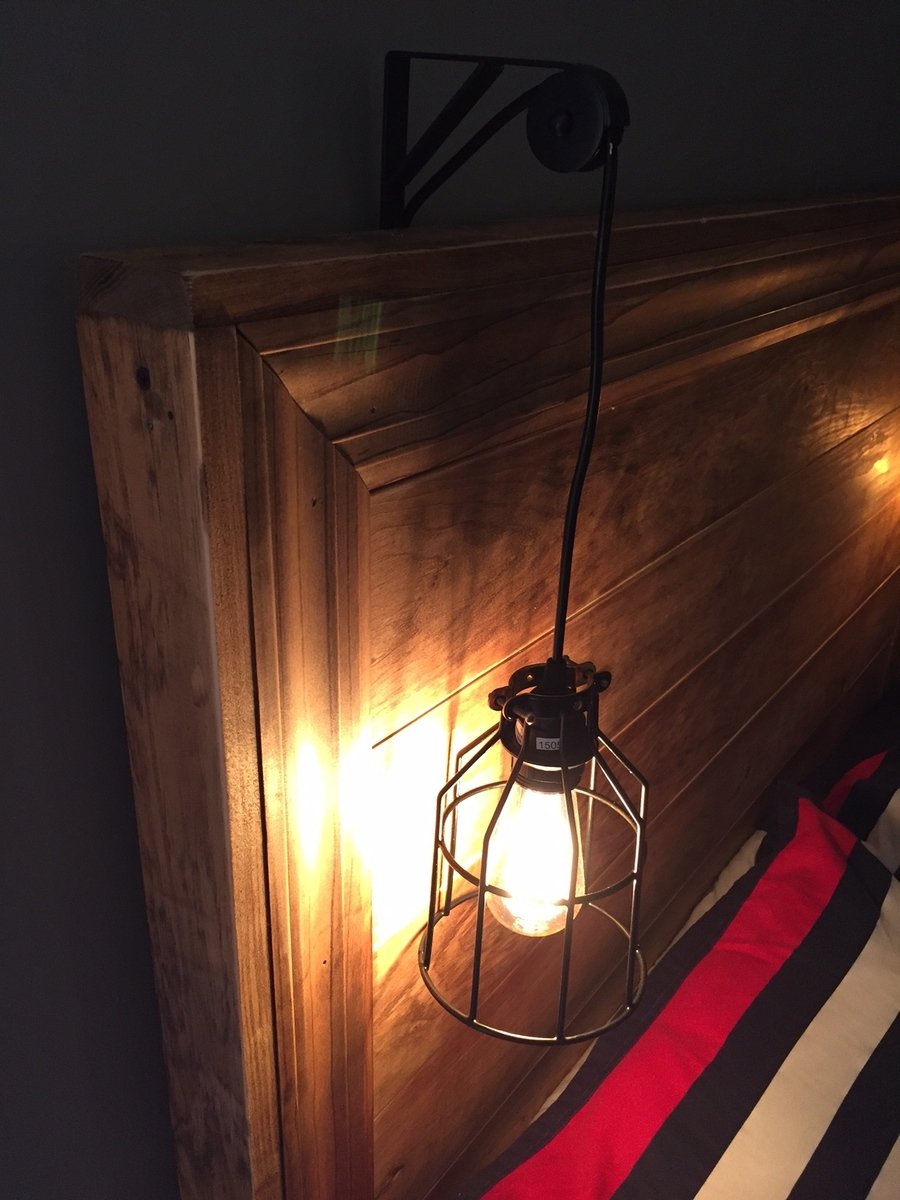
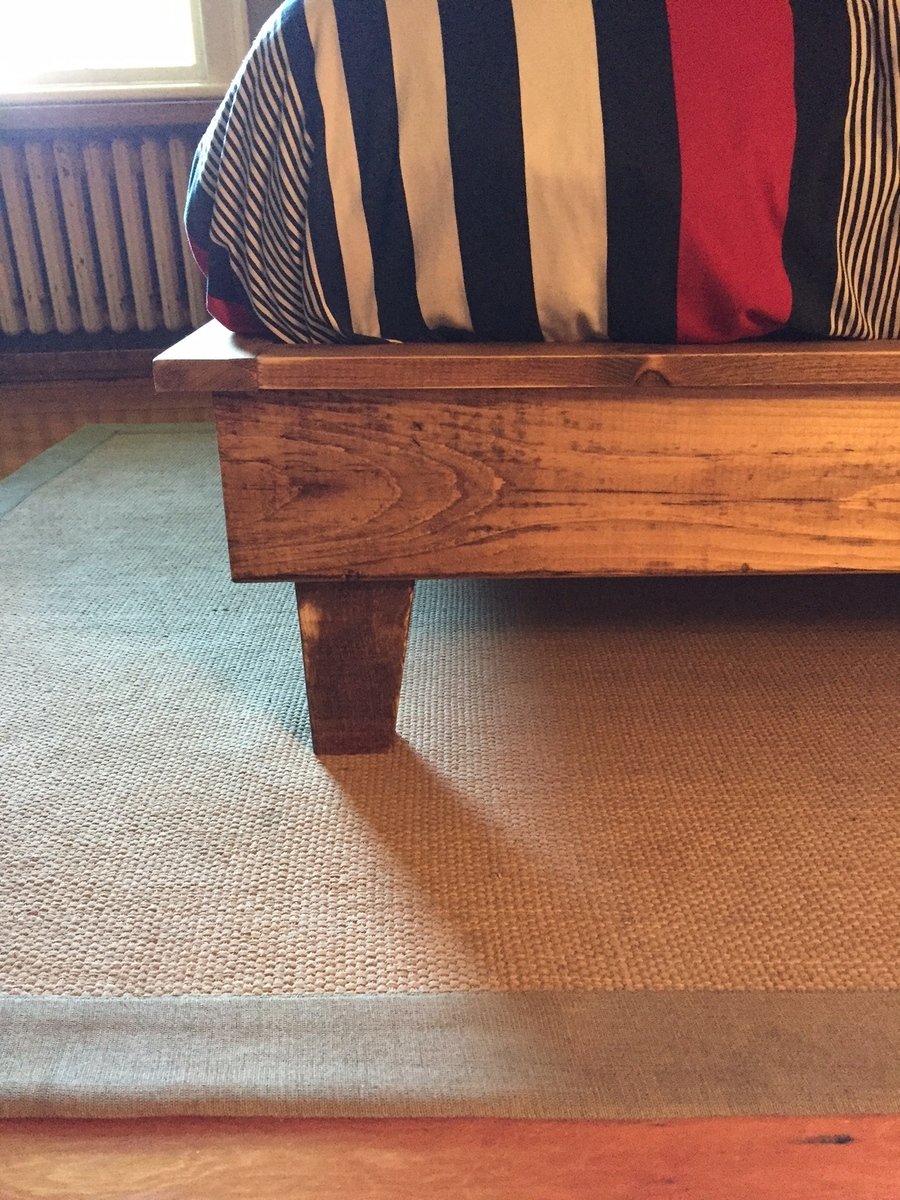
Mon, 07/15/2019 - 13:53
Amazing job, I love the hanging light fixtures....and the matching side table....and the matching barn door. A dream bedroom for a kid! Thanks for sharing!
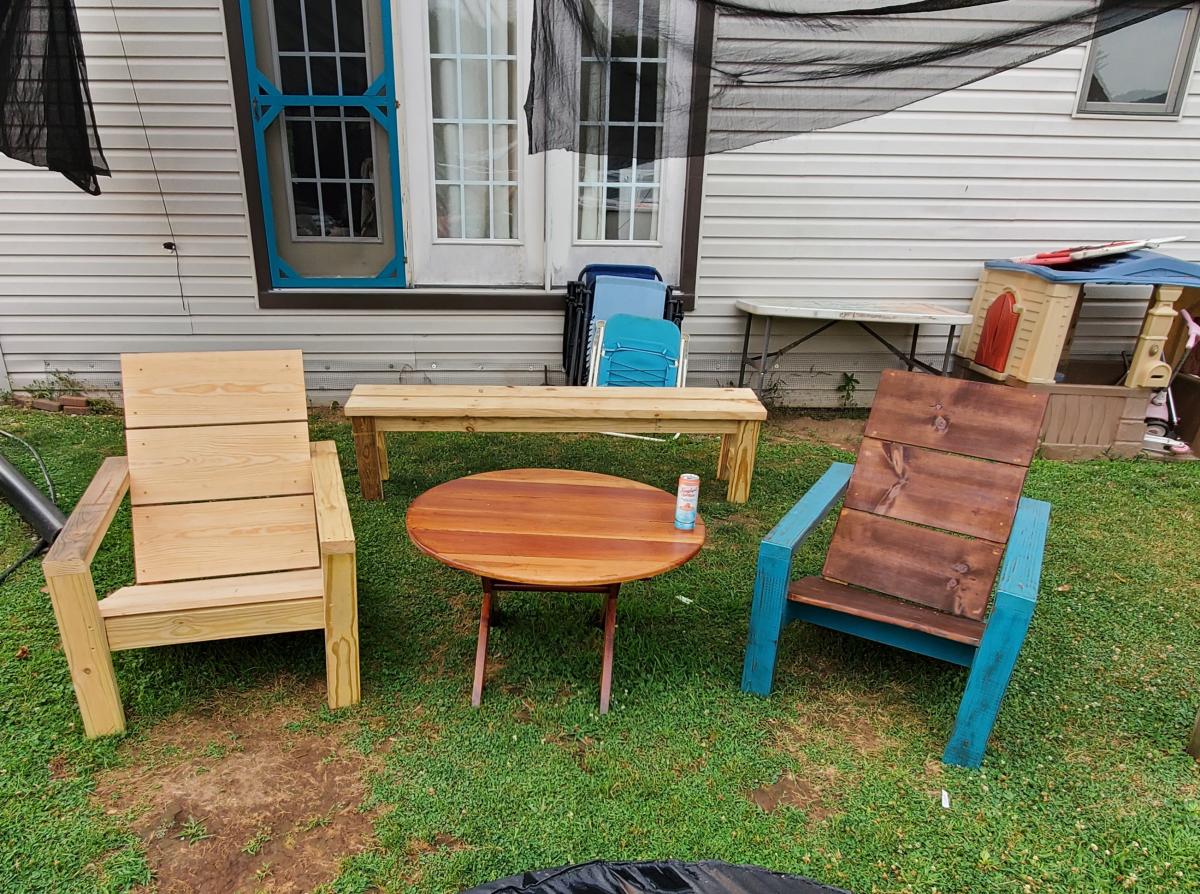
I LOVE this project!!!! Great directions! Amazing results. It makes a very comfortable, and sturdy chair. So far, I have made two. Three more to go. 😄
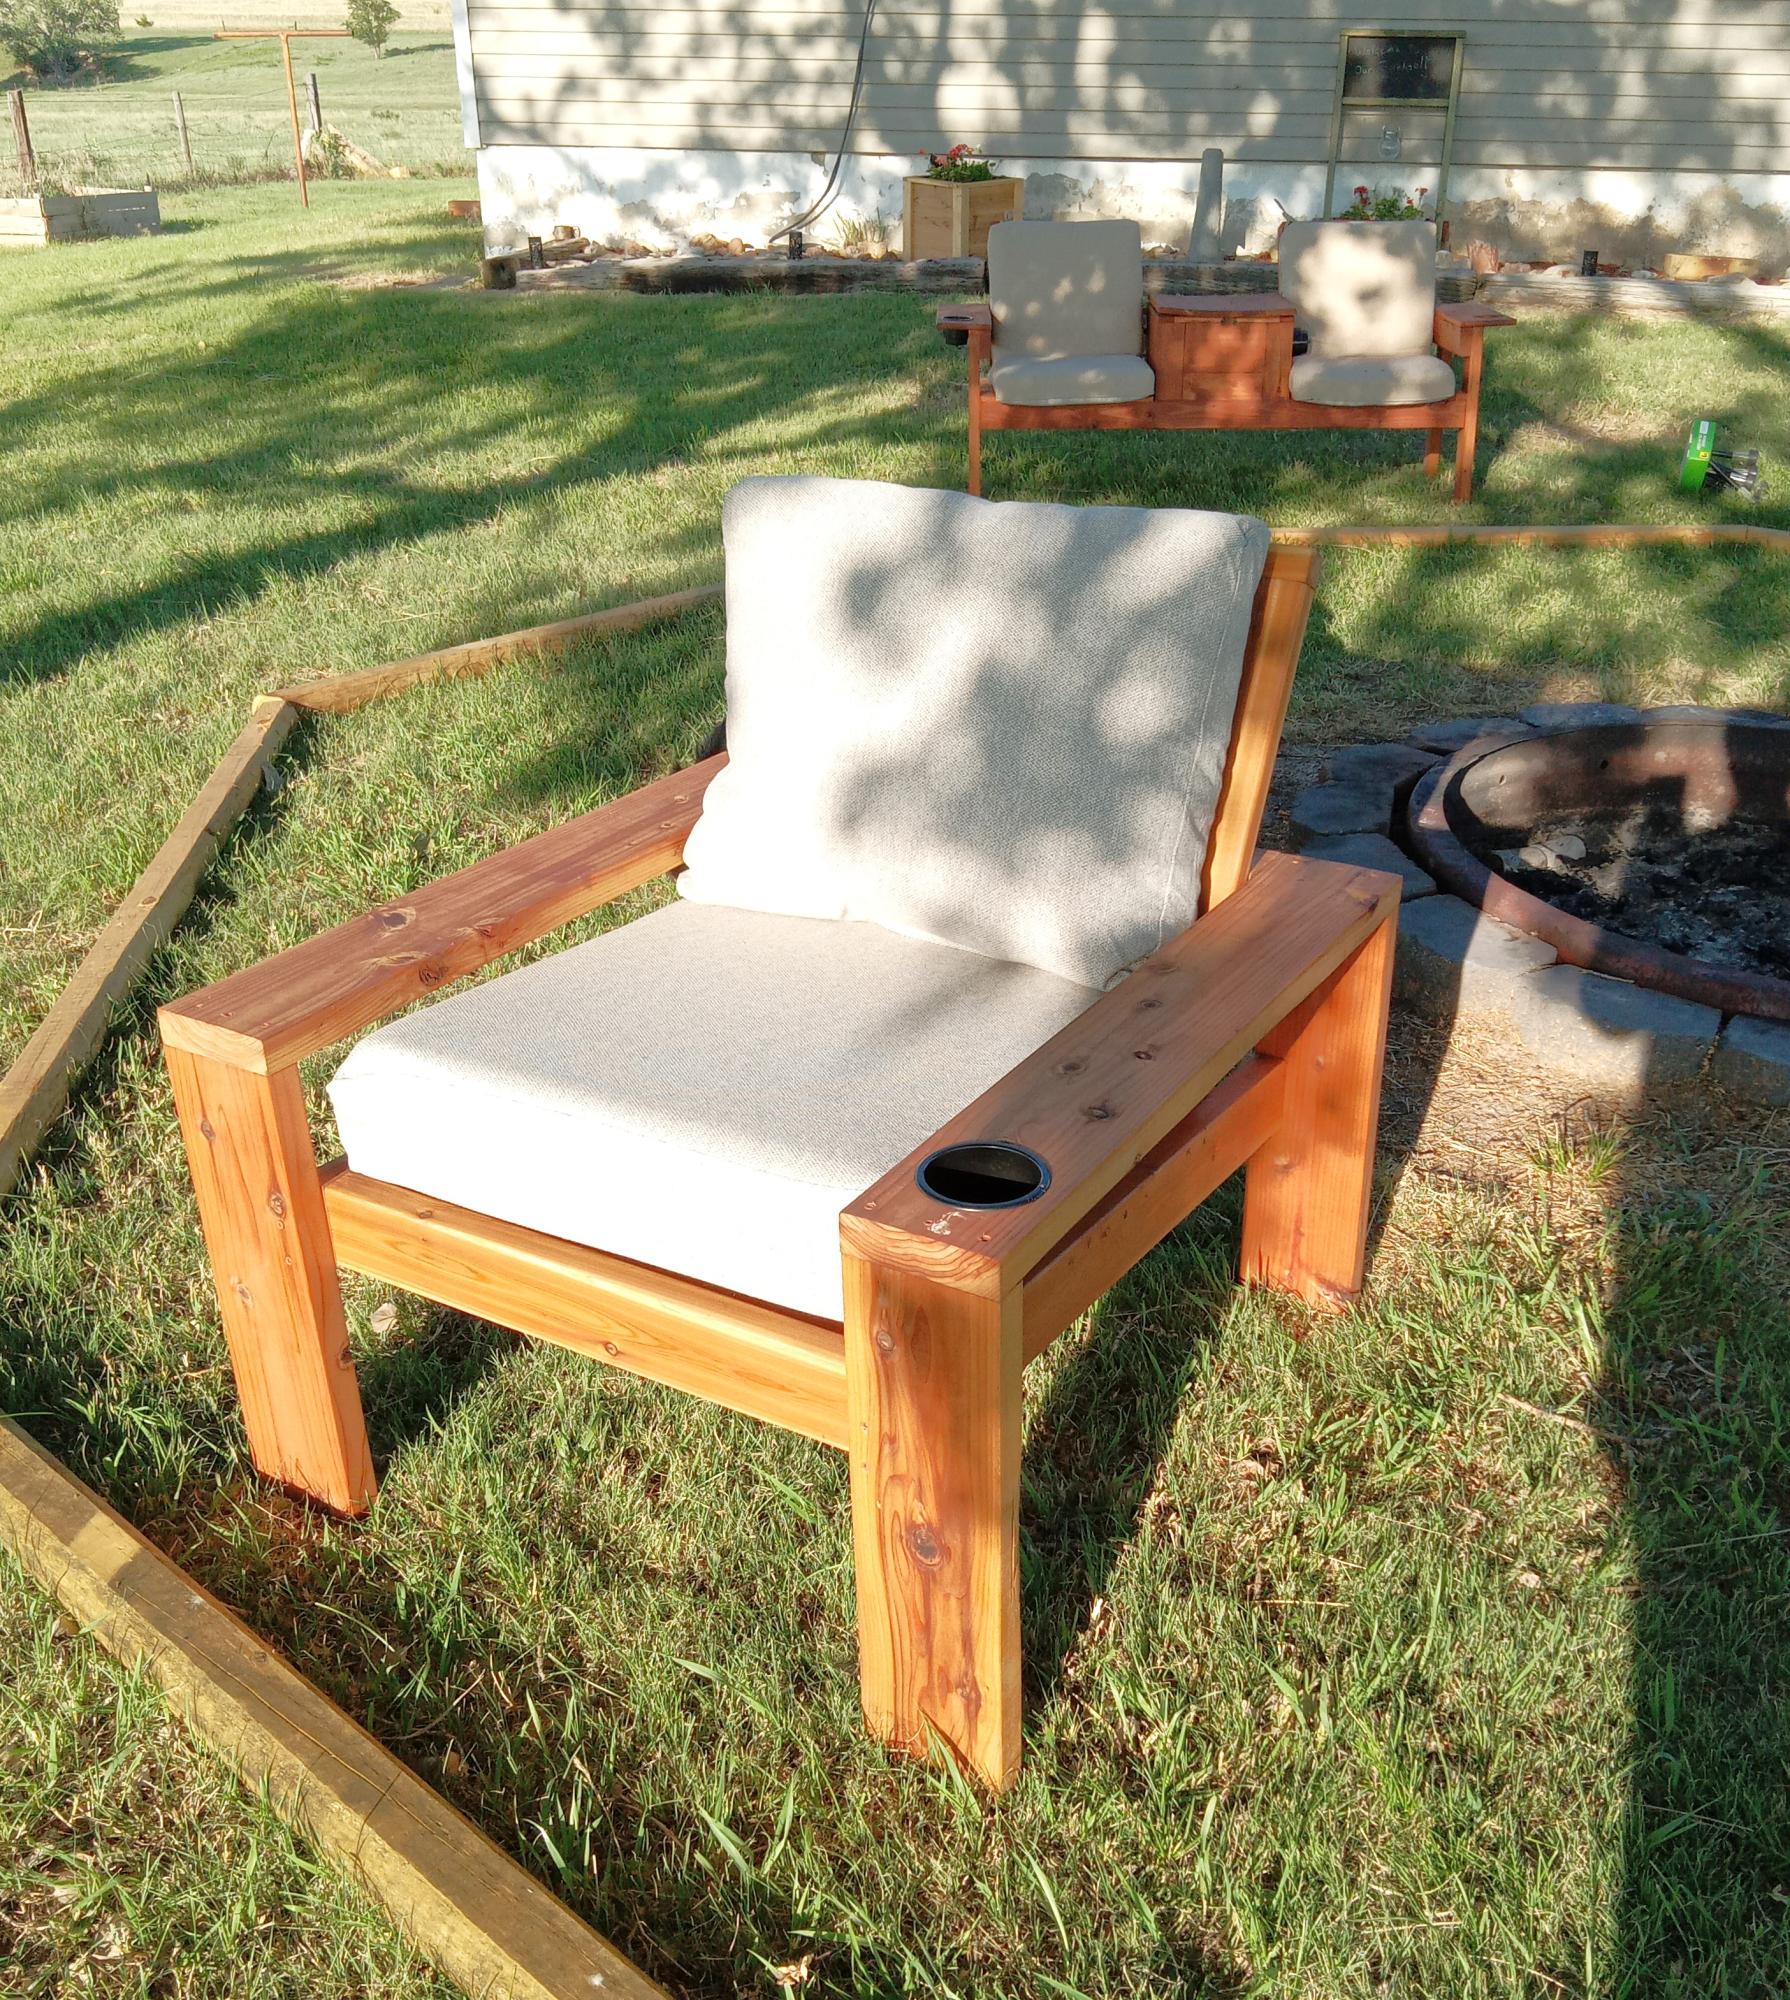
Made from the Ana White. Deep seat cushions lounge chair plans with a few modifications. I used 2x6's for the legs and arms so I add cup holders and I added three horizontal back slats using pocket holes. Love the way they look!
Cortney Hall
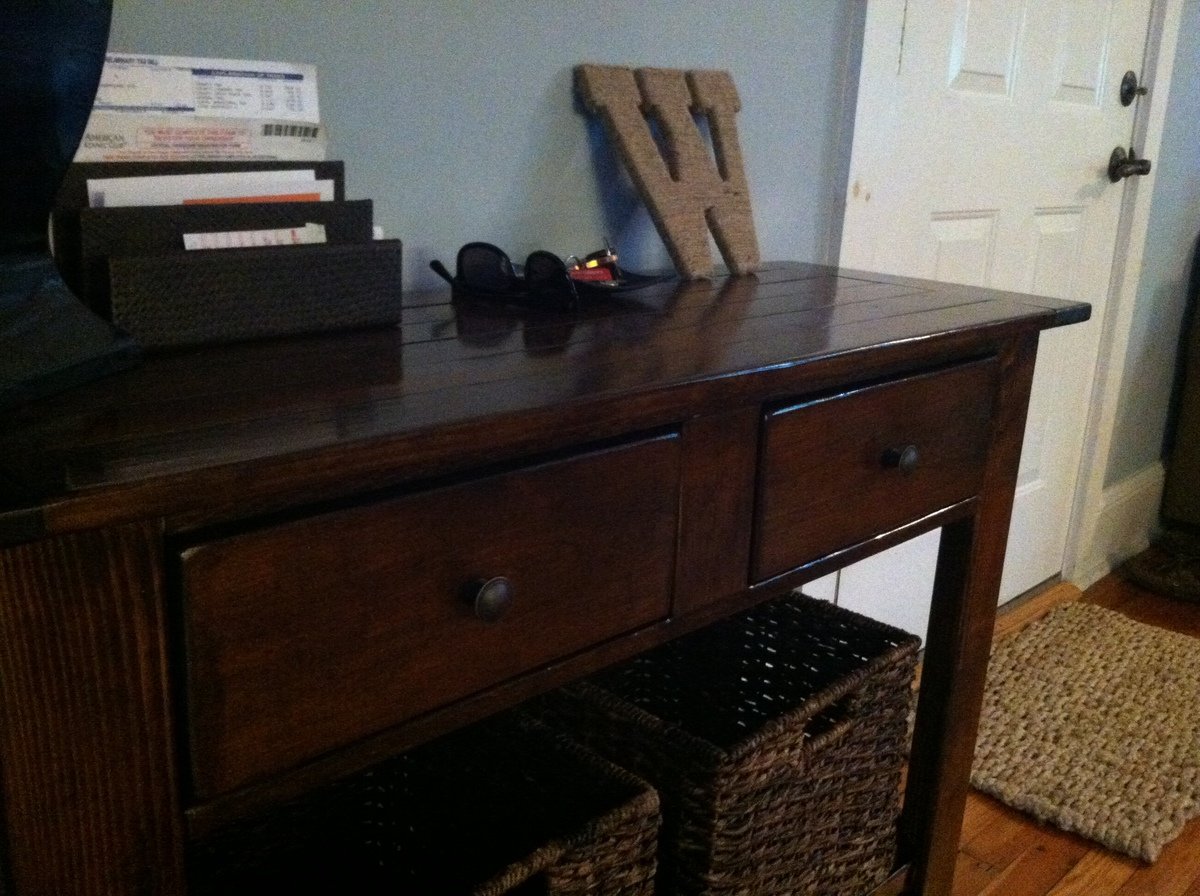
I ended up combining two of the different plans (Benchwright, Tryde) because I wanted something that matched my Hyde Pottery Barn coffee table but that had drawers. My console table only needed to be 44" wide, so I ended up removing the middle 2x4 that was part of the Benchwright plan. I also used 1x2s for the bottom shelf because it was over a vent, and I knew that I was going to be using baskets for storage down there. I also used actual drawer slides because I knew that my console table would be used pretty frequently. The hardest part of the whole table was installing the drawers and making sure they were sliding smoothly and that the front of the drawers were flush with the front of the console table. Favorite part of the entire plan was the planket top...I love how it turned out!
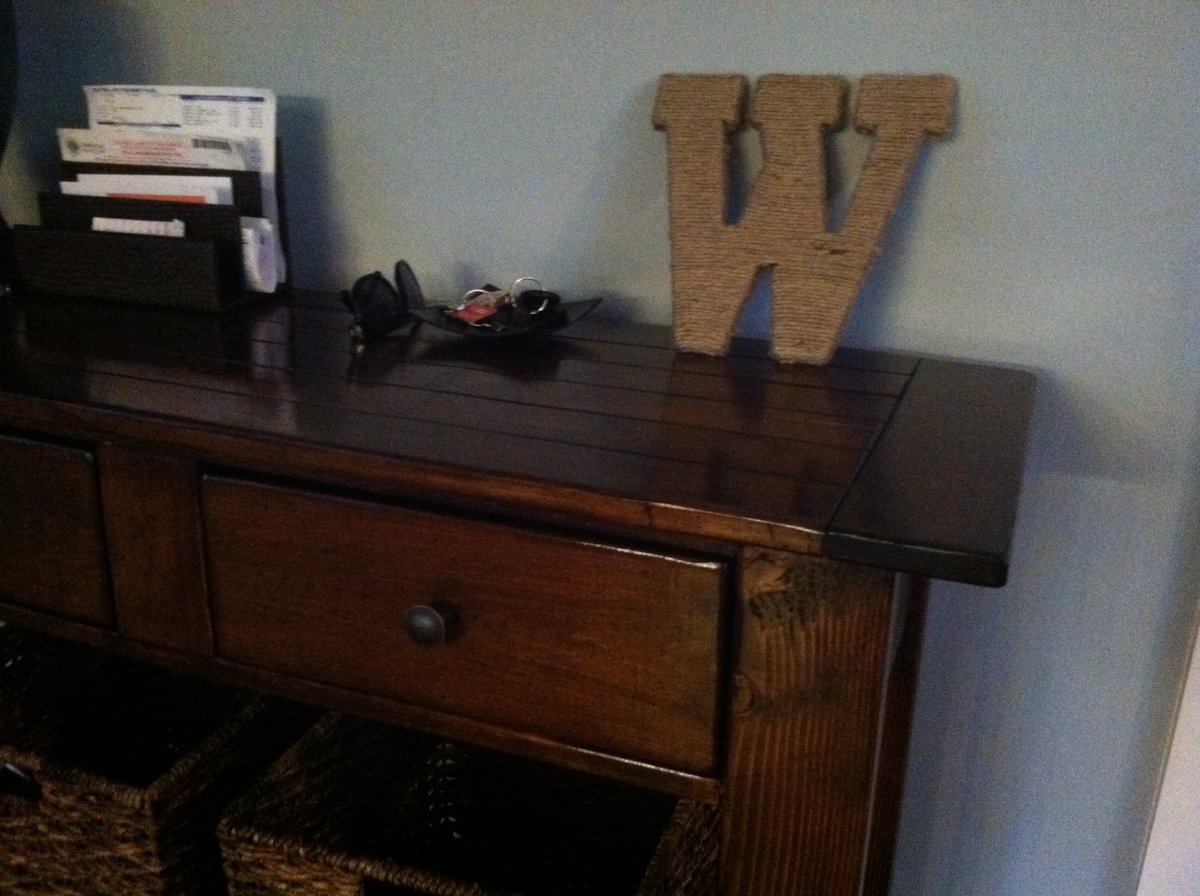
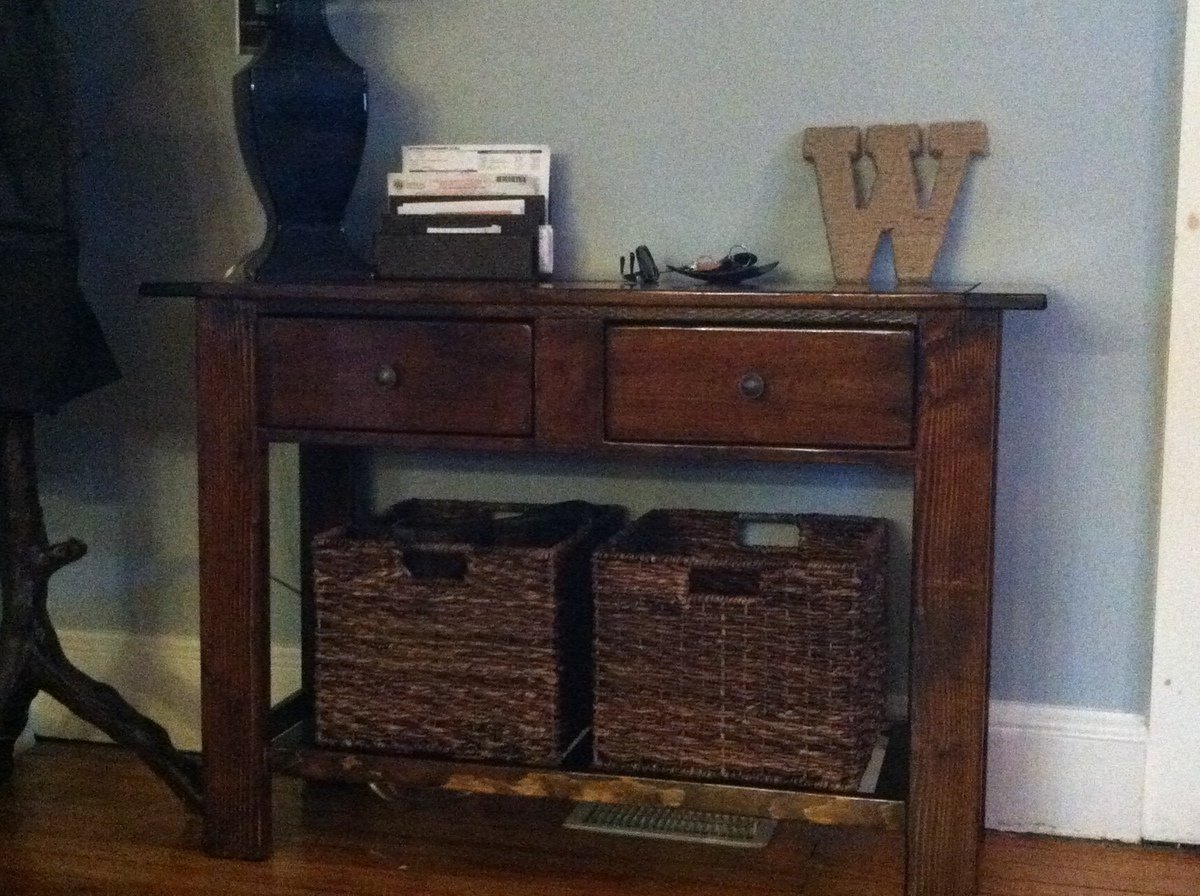
Thu, 02/23/2017 - 13:16
This is exactly what I have been looking for! Are the legs made out of 4 x 4's?
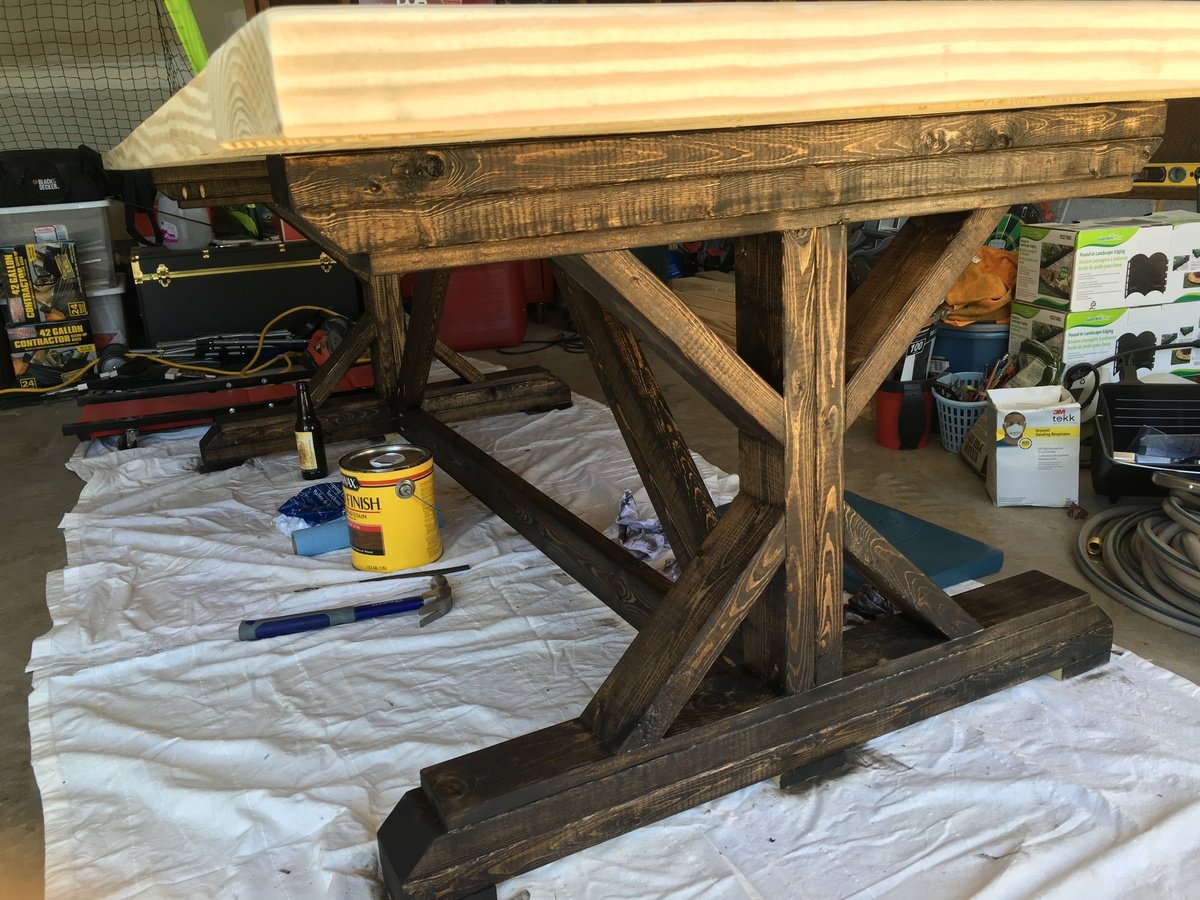
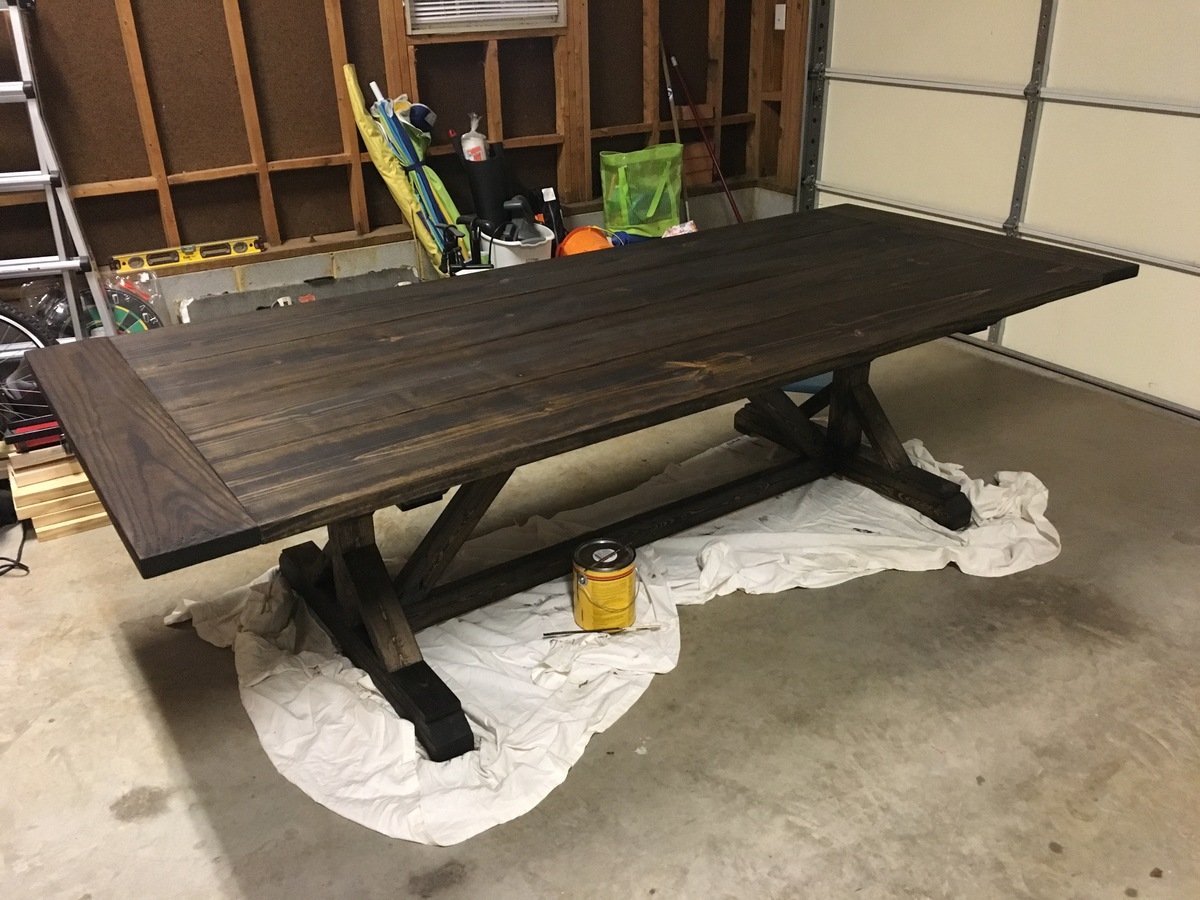
This was my first project and couldn't be more pleased. Took about 20 hrs, and $120 including new materials (brushes, etc.) with borrowed tools. I filled cracks on top of table with wood putty and stained with Mission Oak; looks great, but make sure to dry wood putty with heater or hair dryer to avoid cracks if you go this route. Thanks Ana for the plans!
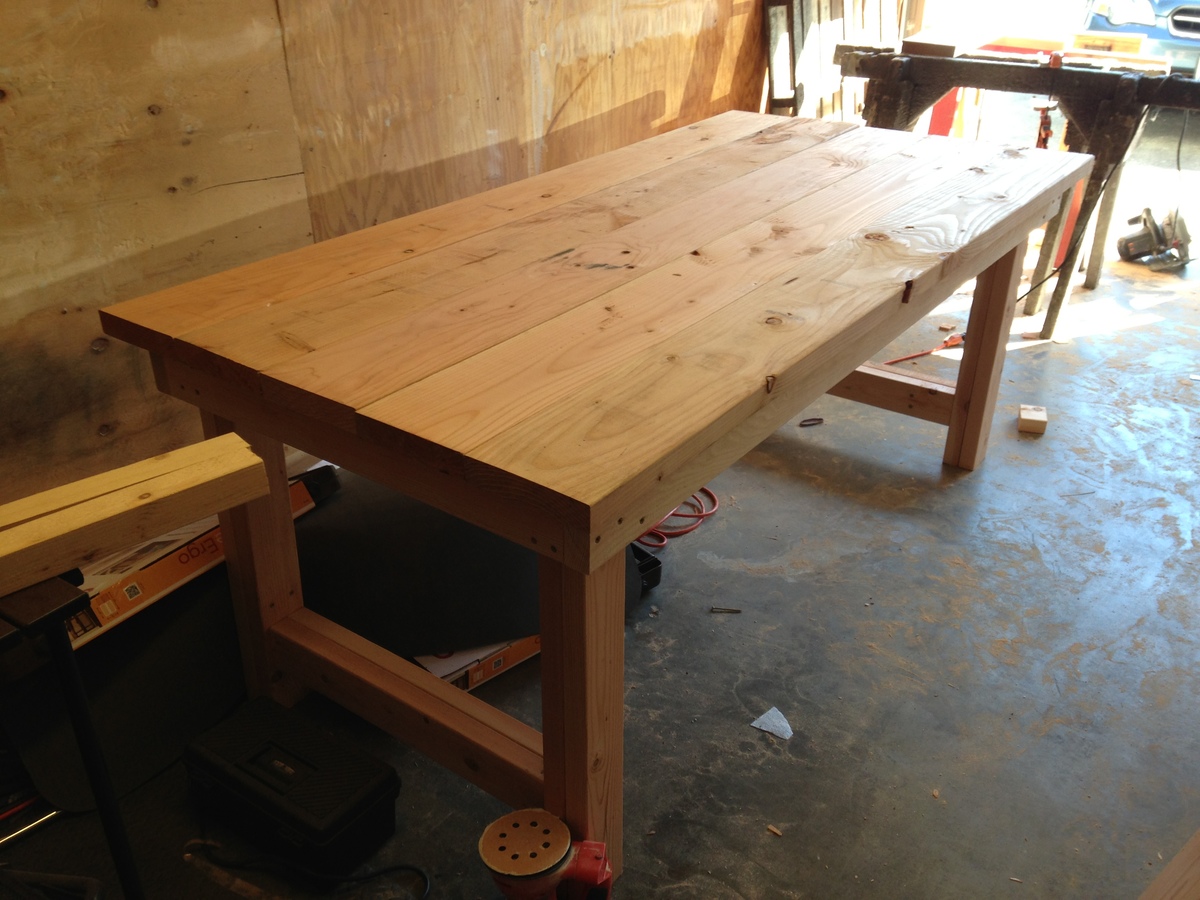
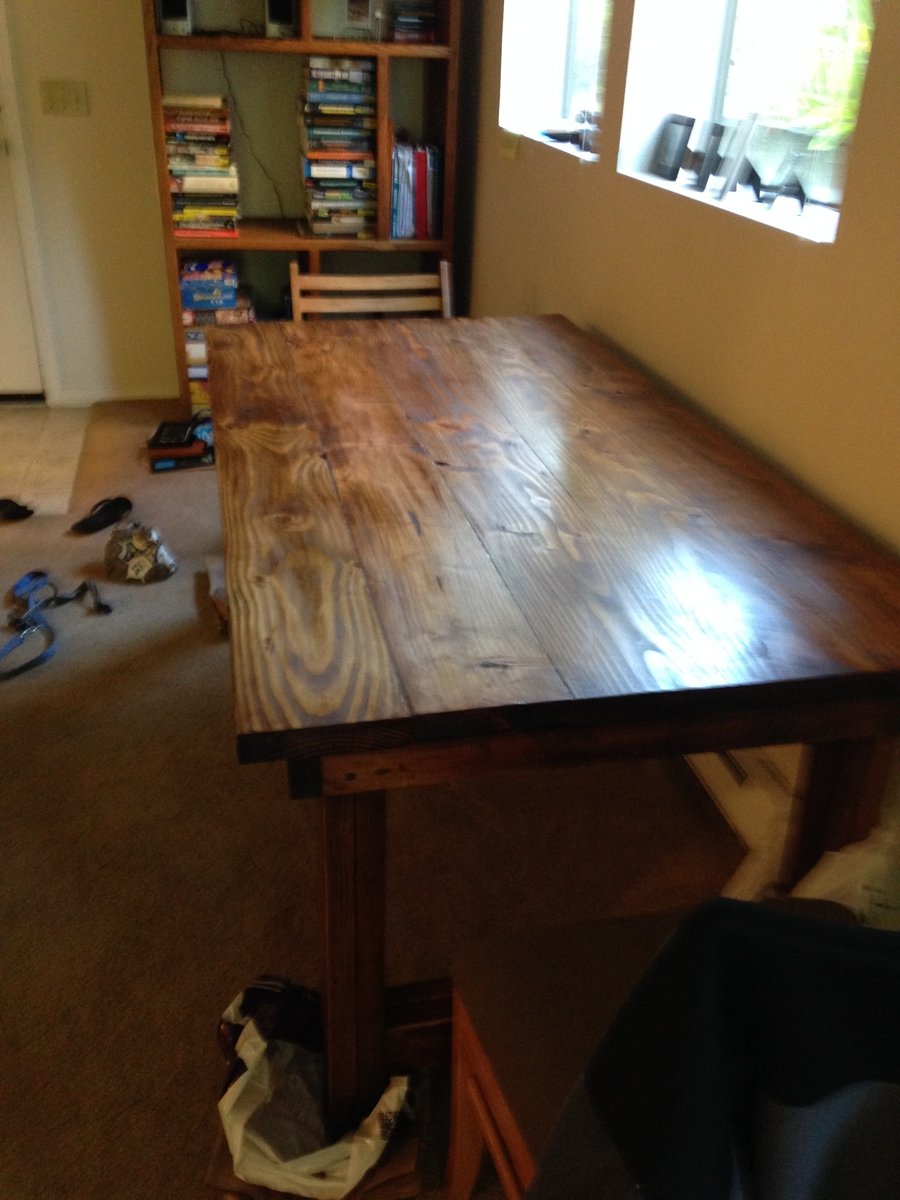
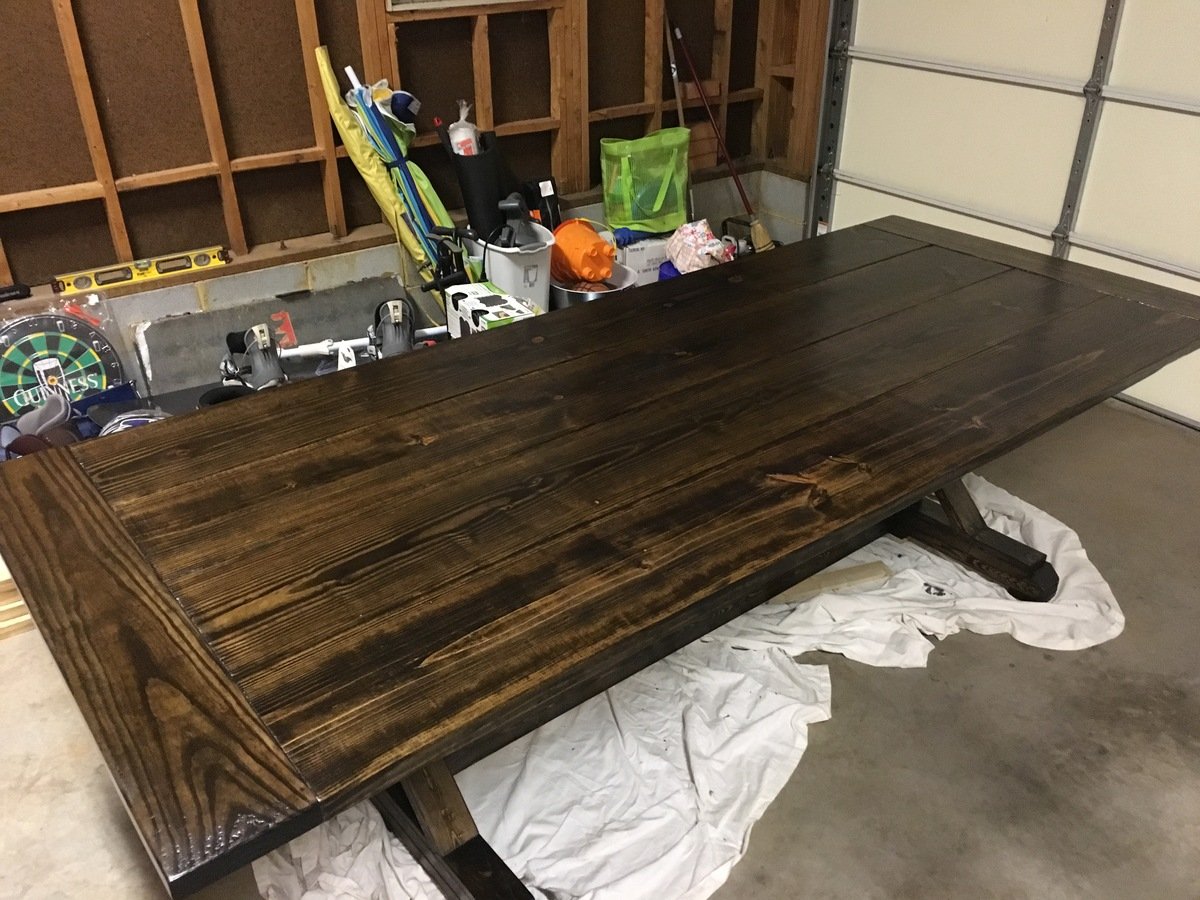
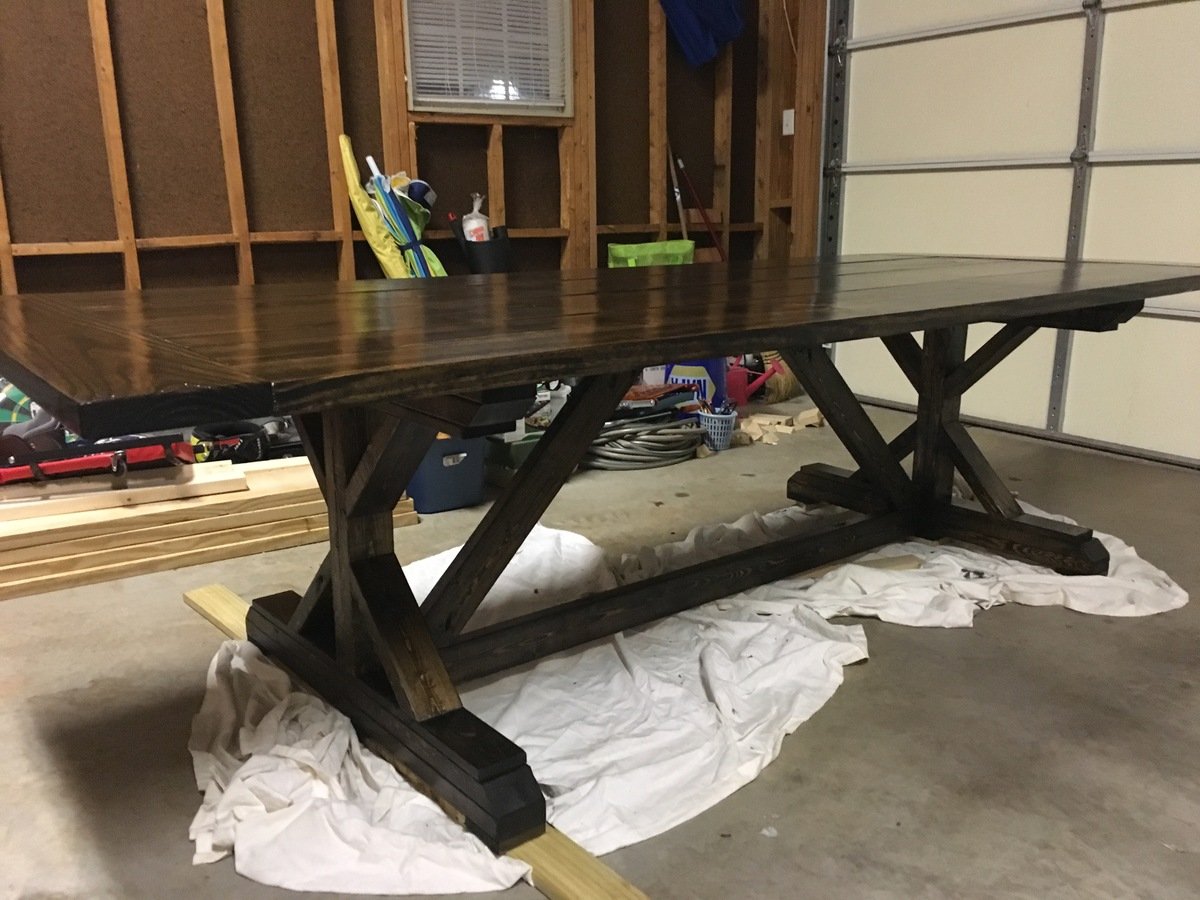
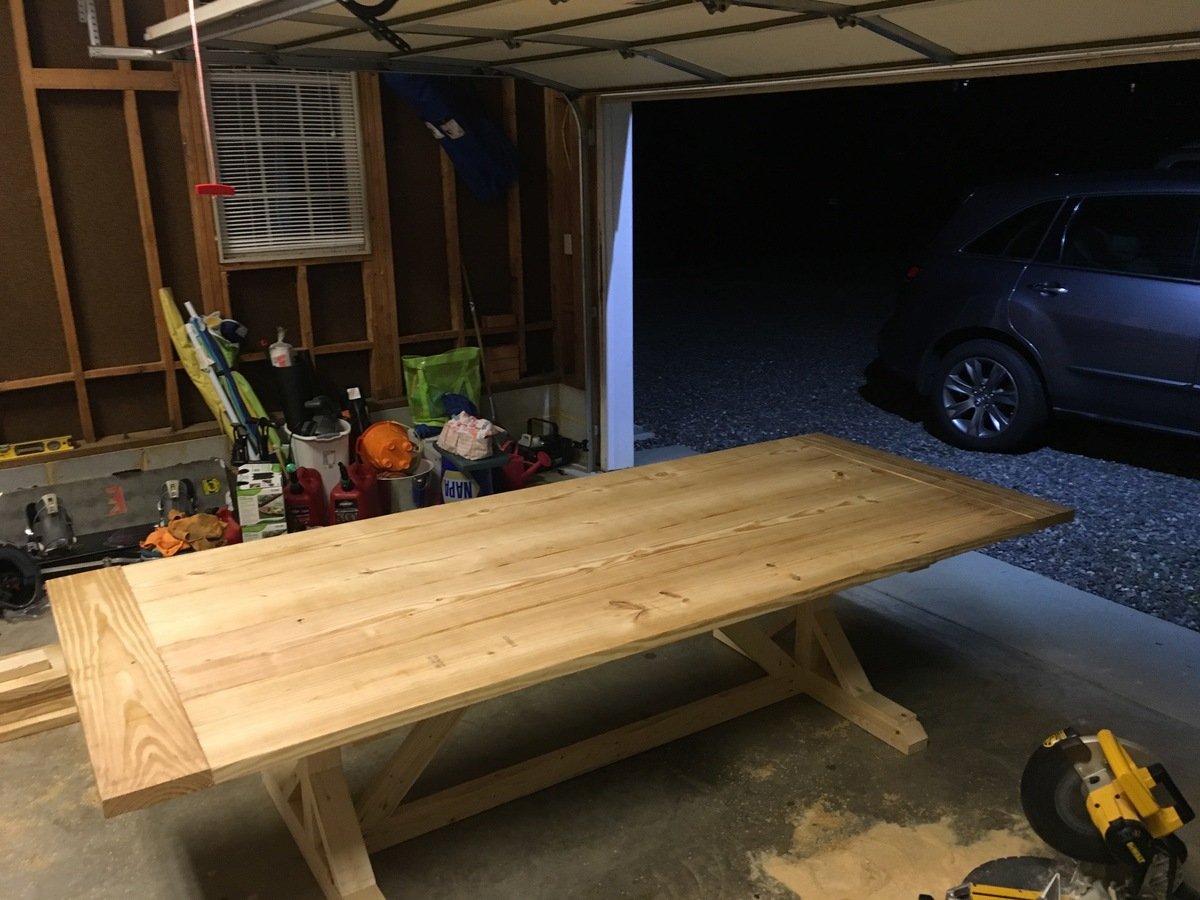
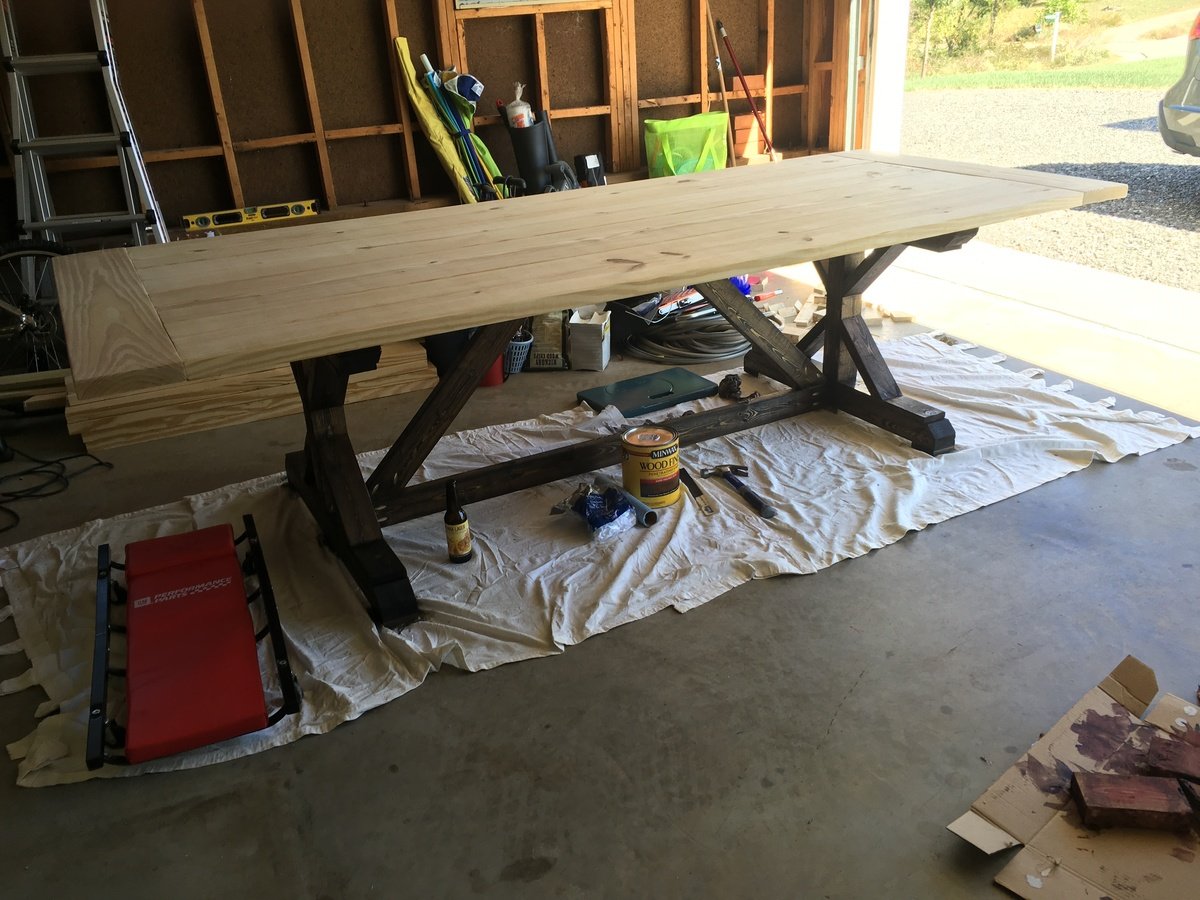
First piece of furinture I've tried to build, went surprisingly smooth. Raw table only took 5 hours to construct; an hour or two to sand; and then the waiting game after two coats of stain and 4 coats of poly. Used southern yellow pine for the top, dark walnut stain, and spar pro series semi-gloss poly.
Mon, 01/16/2017 - 19:16
I used the pocket hole jig to drill pocket hold along the center support that runs parallel to the top boards and also drilled pocket holes on the top supports of the legs that run perpendicular to the top boards. Alternating pocket holes on both inside and outside faces of the top support boards gives it some added strength.
btw, sorry for such a delayed response.
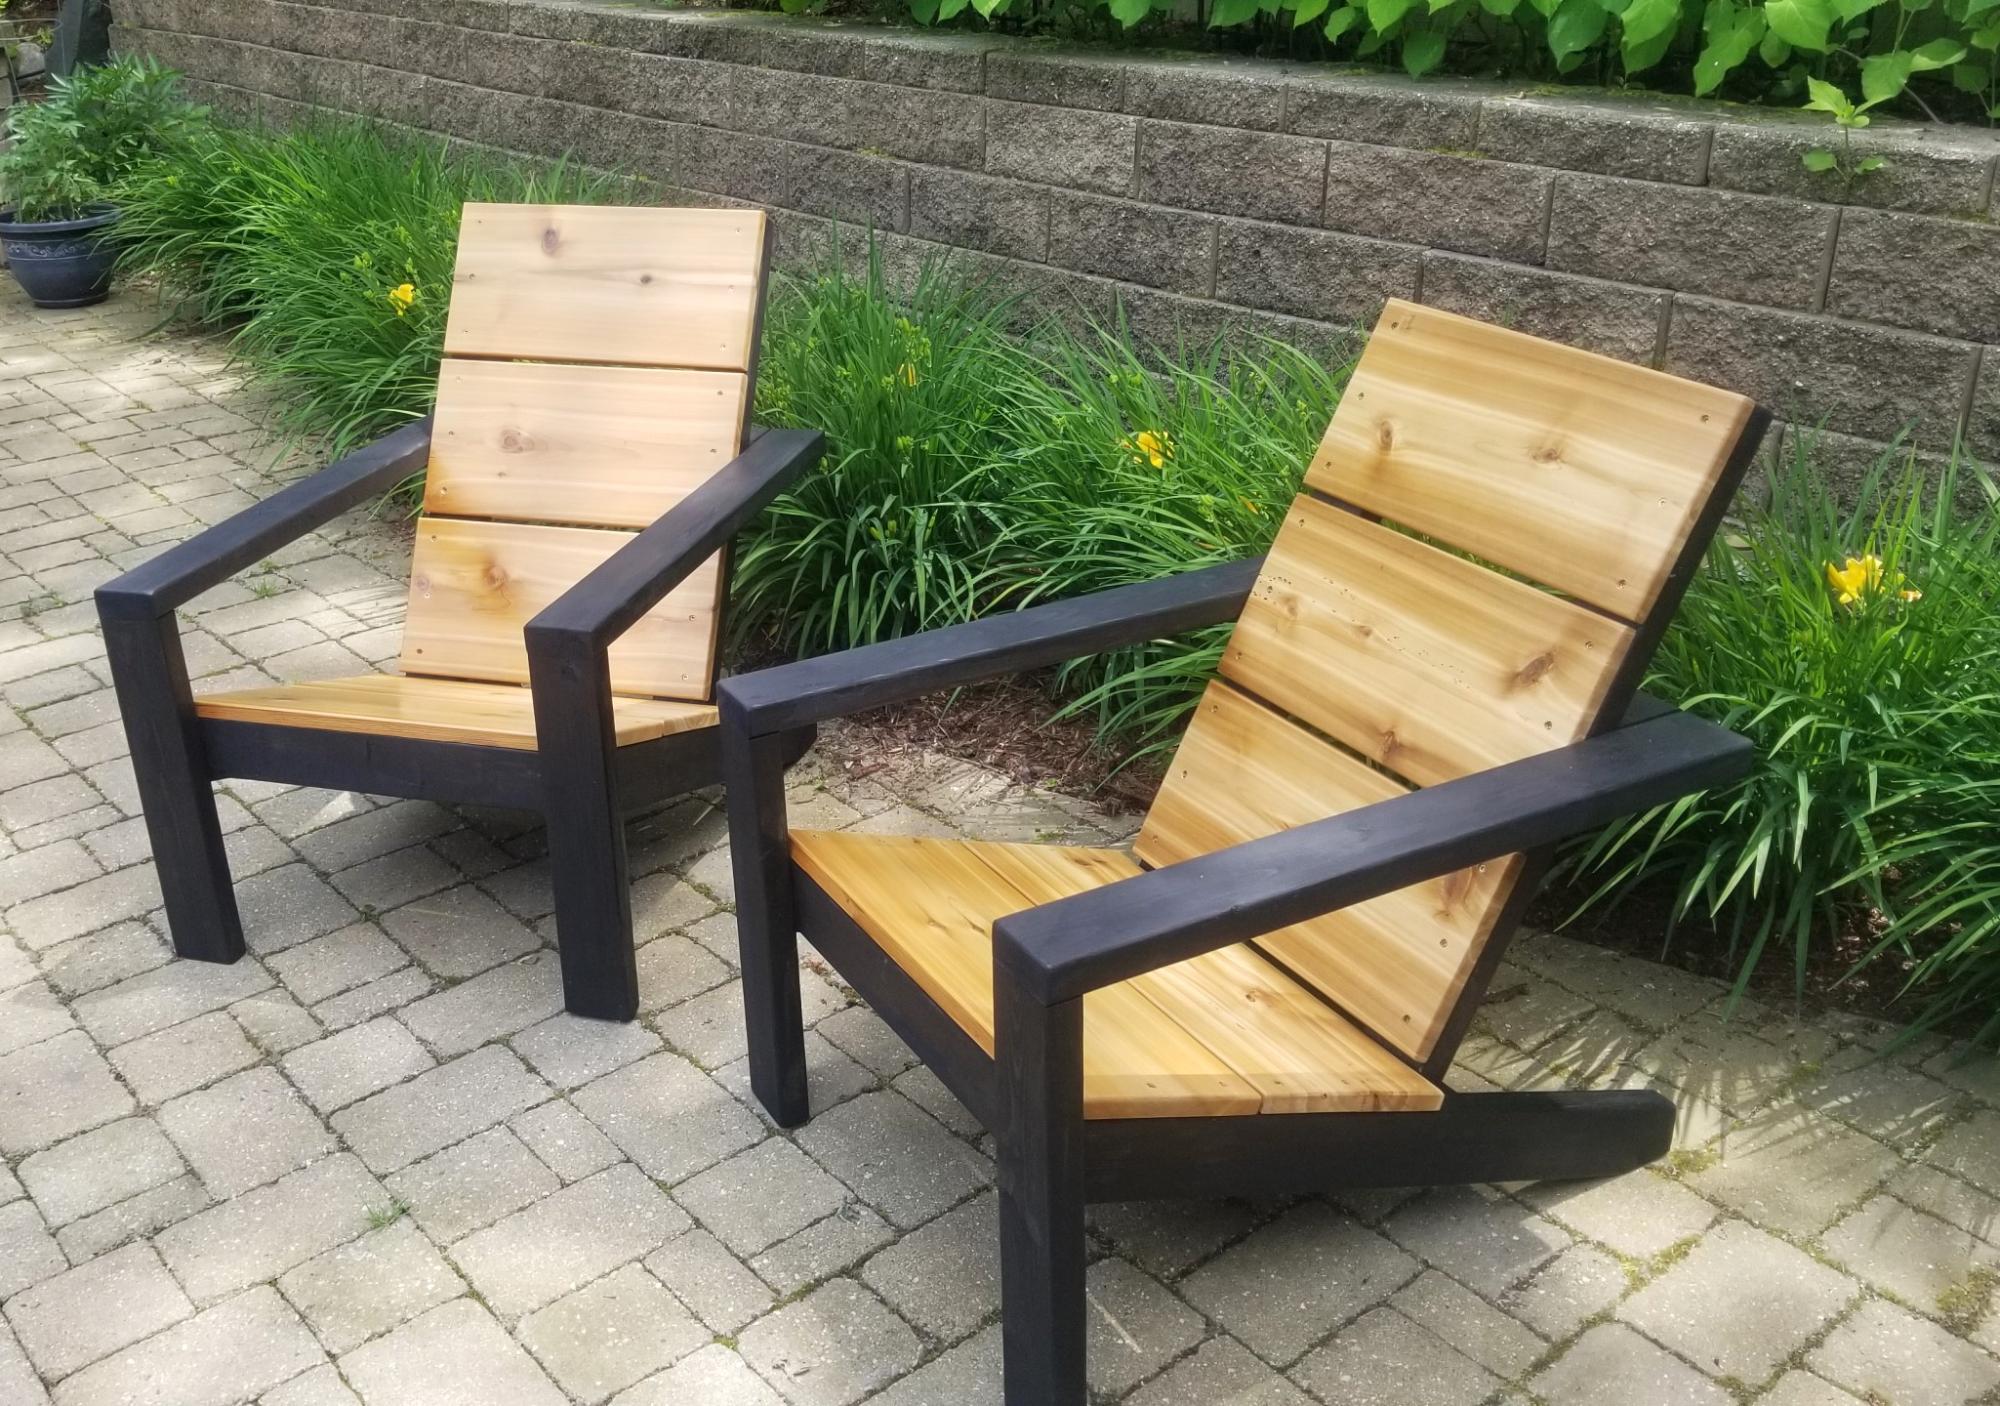
Great project plan, thanks Ana. Followed Ana's plans the only thing I did different was to coutersink and plug all visible screws.
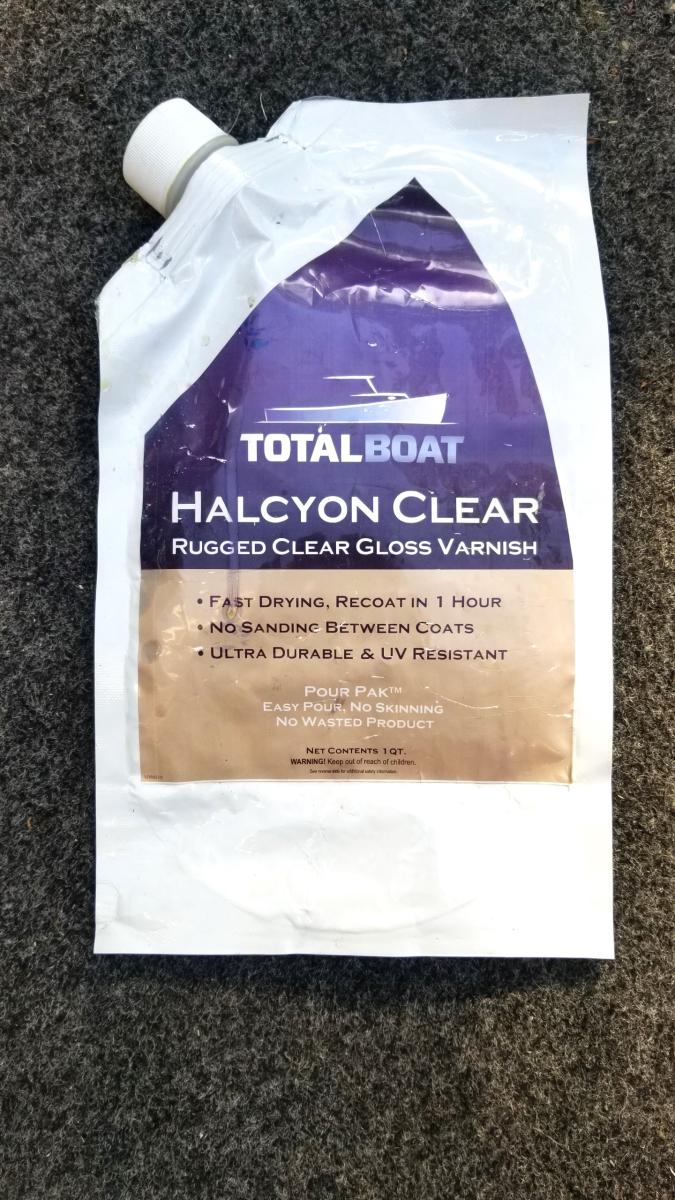
Chair seats are cedar with a few coats of semigloss total boat varnish on the cedar. This enhanced the visibility of the cedars wood grain. I like the way the flat and gloss work together.
I bought covers on Amazon to help protect them from the sun a rain.
John Harrison - Michigan
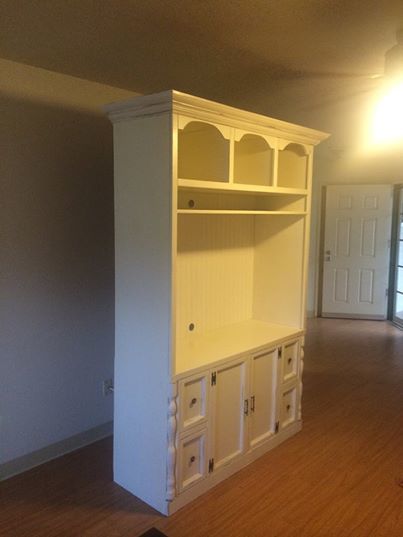
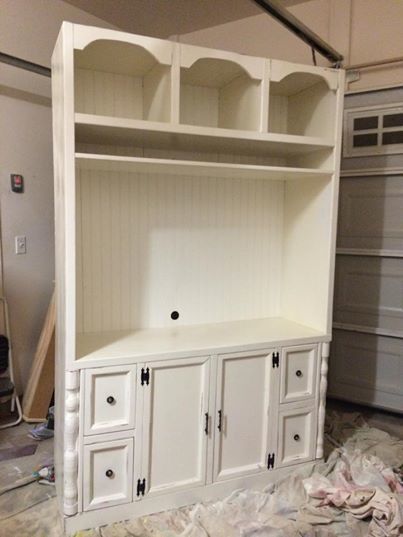
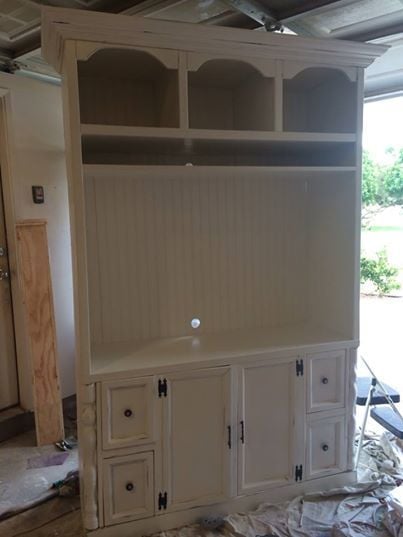
Swiss coffee Entertainment Center... Distressed. All Trim work made by me.
I built this makeup vanity to fit a 40" wall. I was inspired by the design of the DIY breakfast bar. The hutch sits on the top and has plenty of storage. The front drawer fronts are hinged at the bottom, this storage space holds a hairdryer and iron or makeup with a cord pass through at the back. The stain is a mixture of three colours.
Sat, 11/05/2016 - 07:47
Can you link to the plans you based your inspiration off of? I can't seem to find it on the site. Thank you!
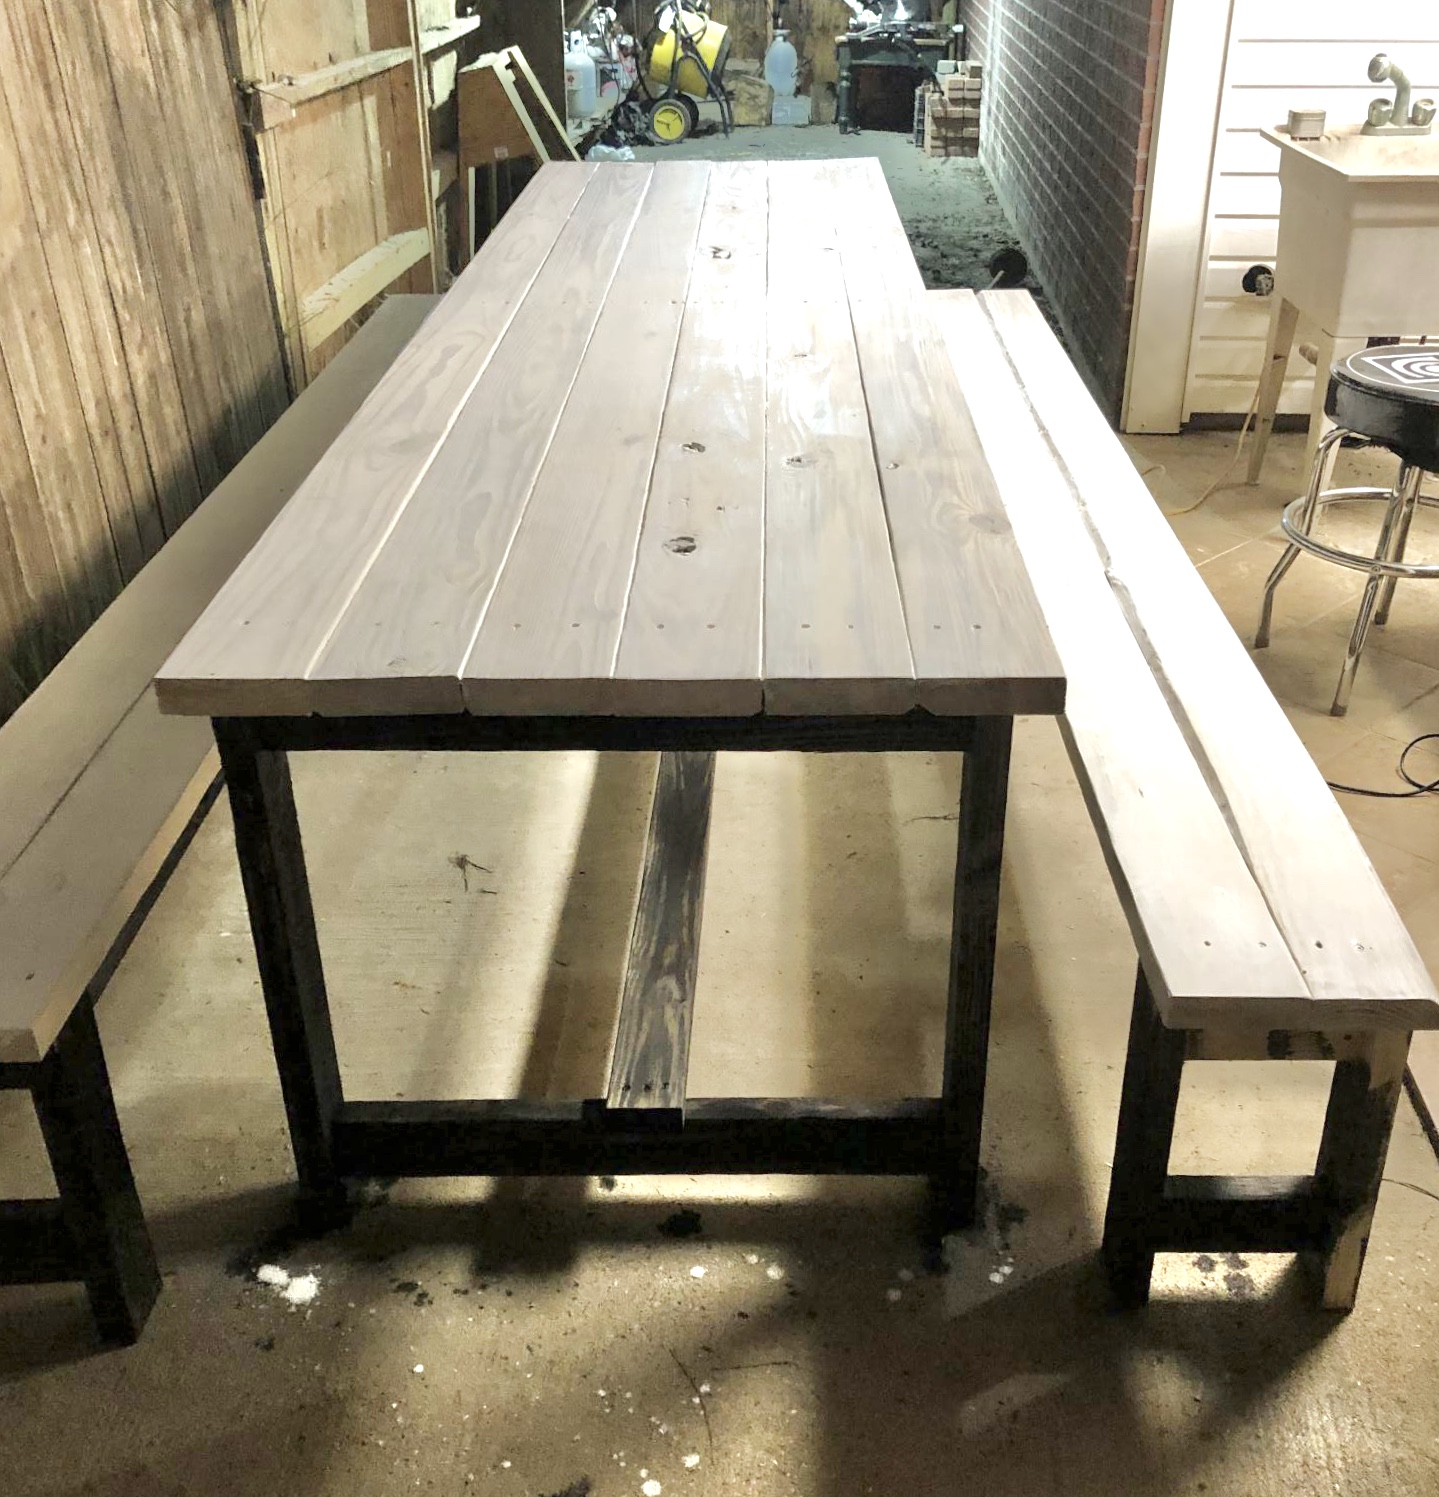
We built a larger version of the farmhouse table. It’s always been a dream to have a massive table for family dinners. I loved the look of the table and have wanted to attempt it for a couple of years. I finally got the courage up. We kept the legs the same size and just used 10 ft 2x6 and stretchers. It’s extremely solid and heavy! We are exhausted, it took all day! But we are so proud of ourselves. It’s definitely not perfect but it was our first and we love it!
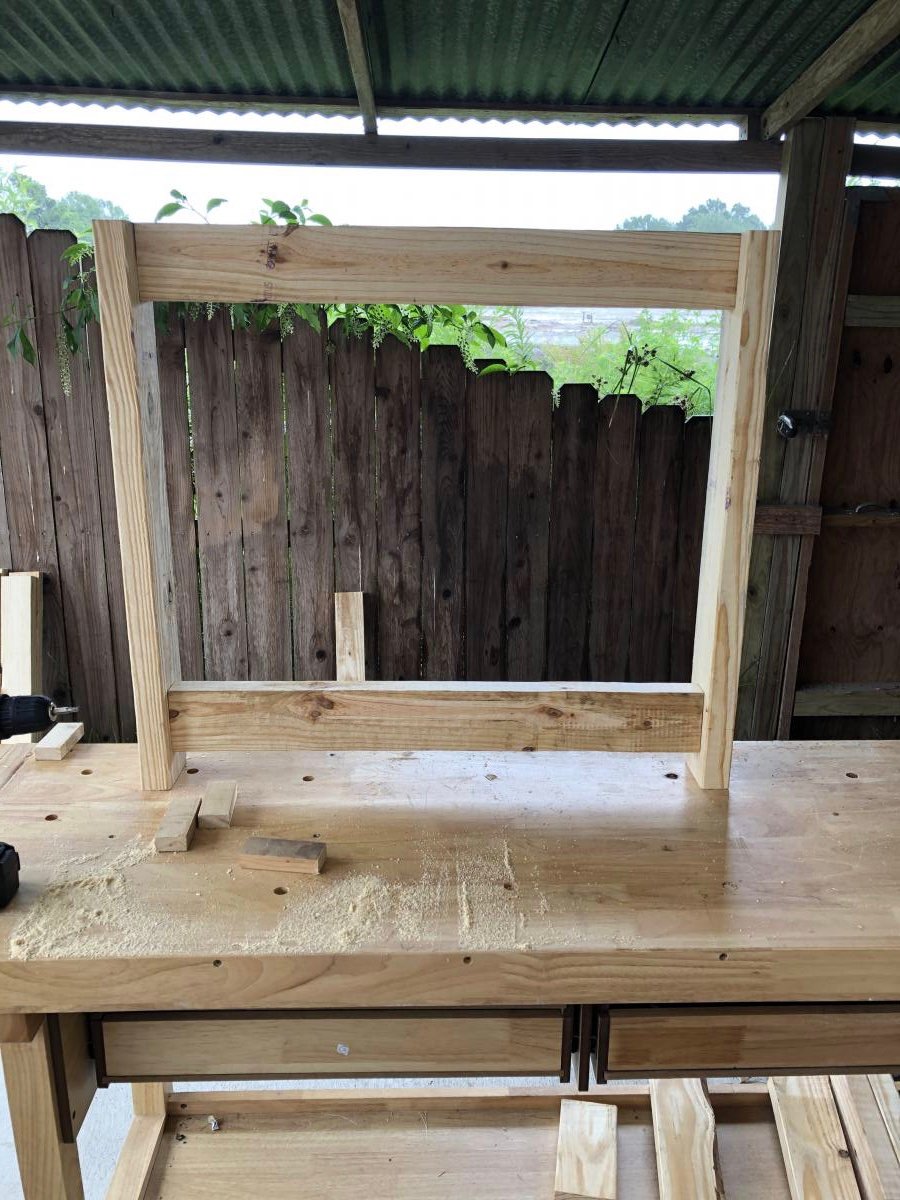
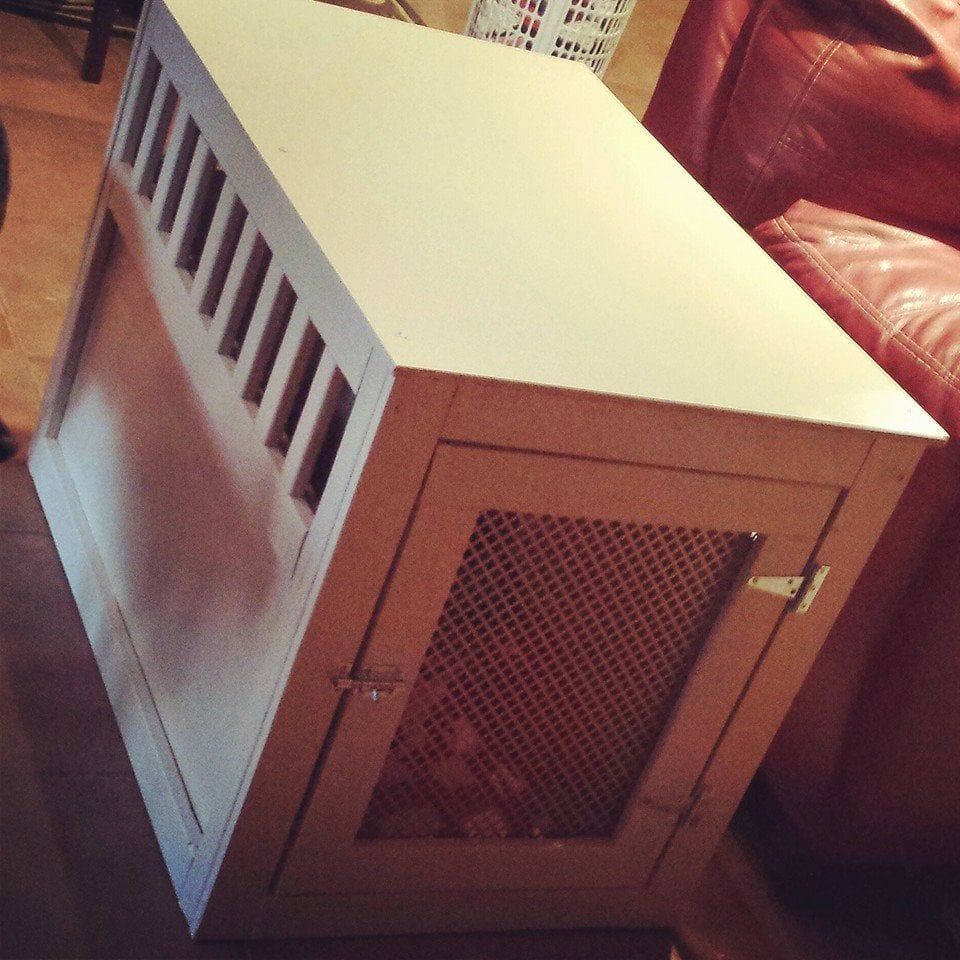
Built this project for Mindy, our dog who needed a new crate. We used metal screen for the front door, and probably would use it fo the sides too for the future. Lessoned learned, be more accurate in cutting pieces! I also didnt find the door plans! So i had to wing it!