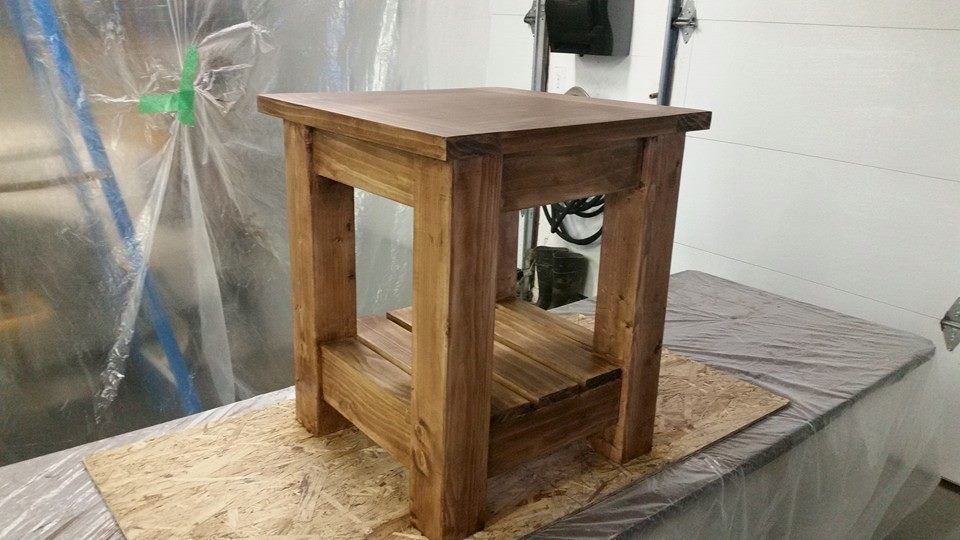
Kentwood Nightstands #My First Project
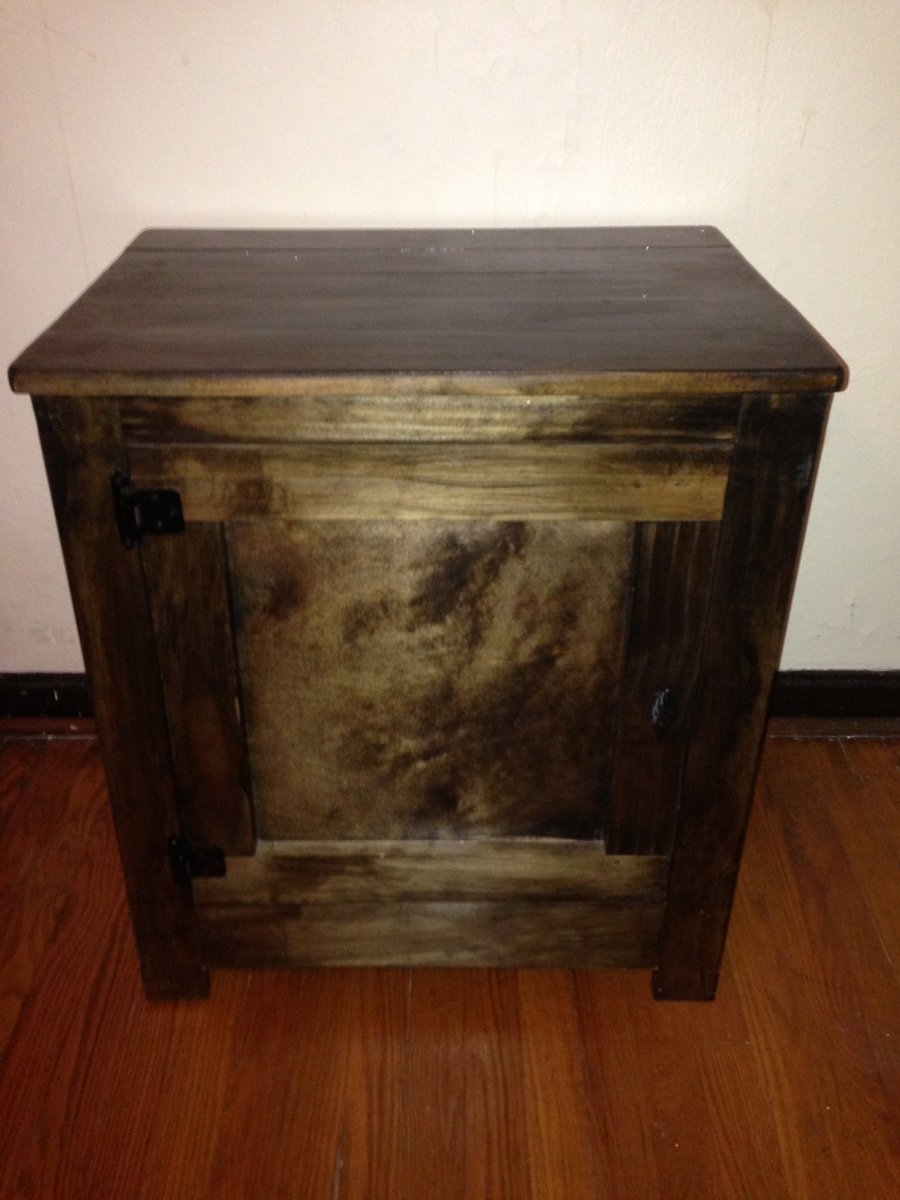
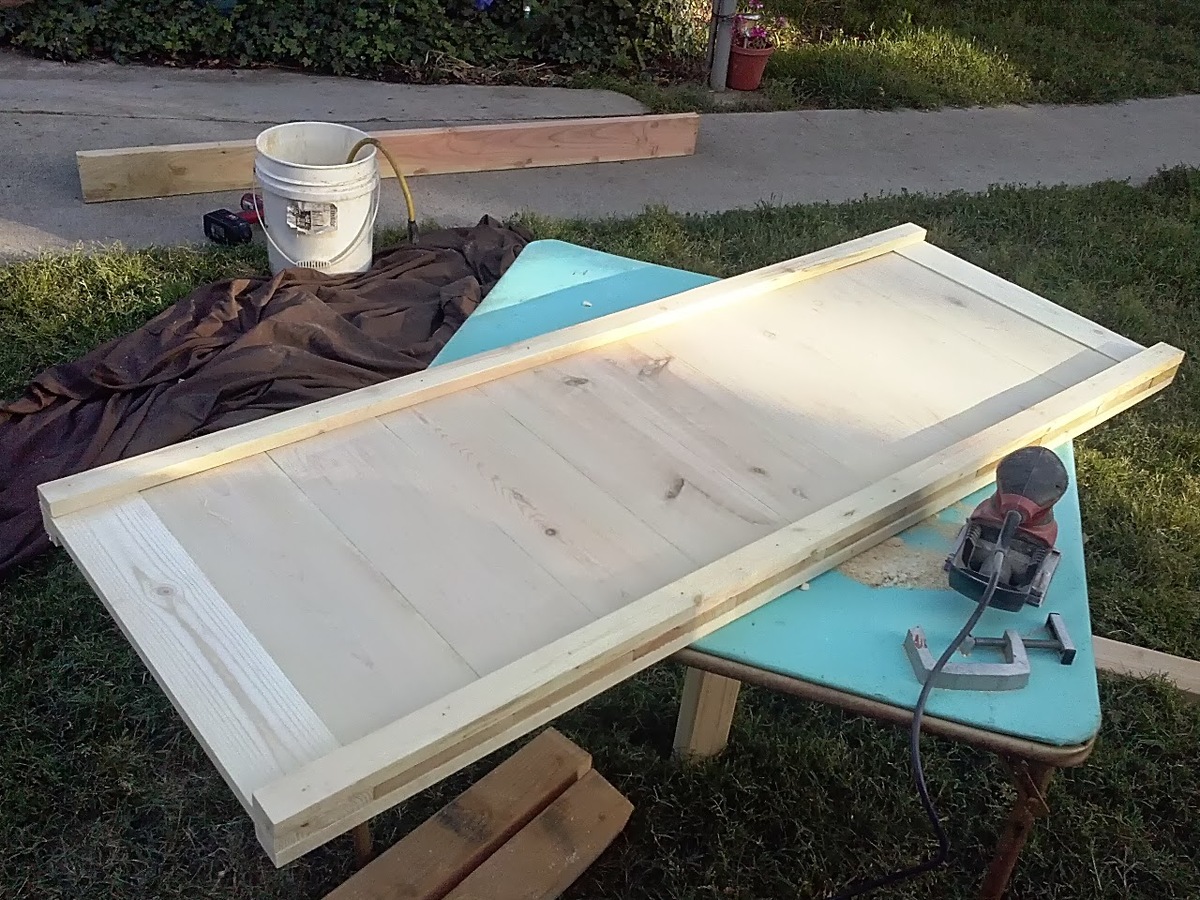
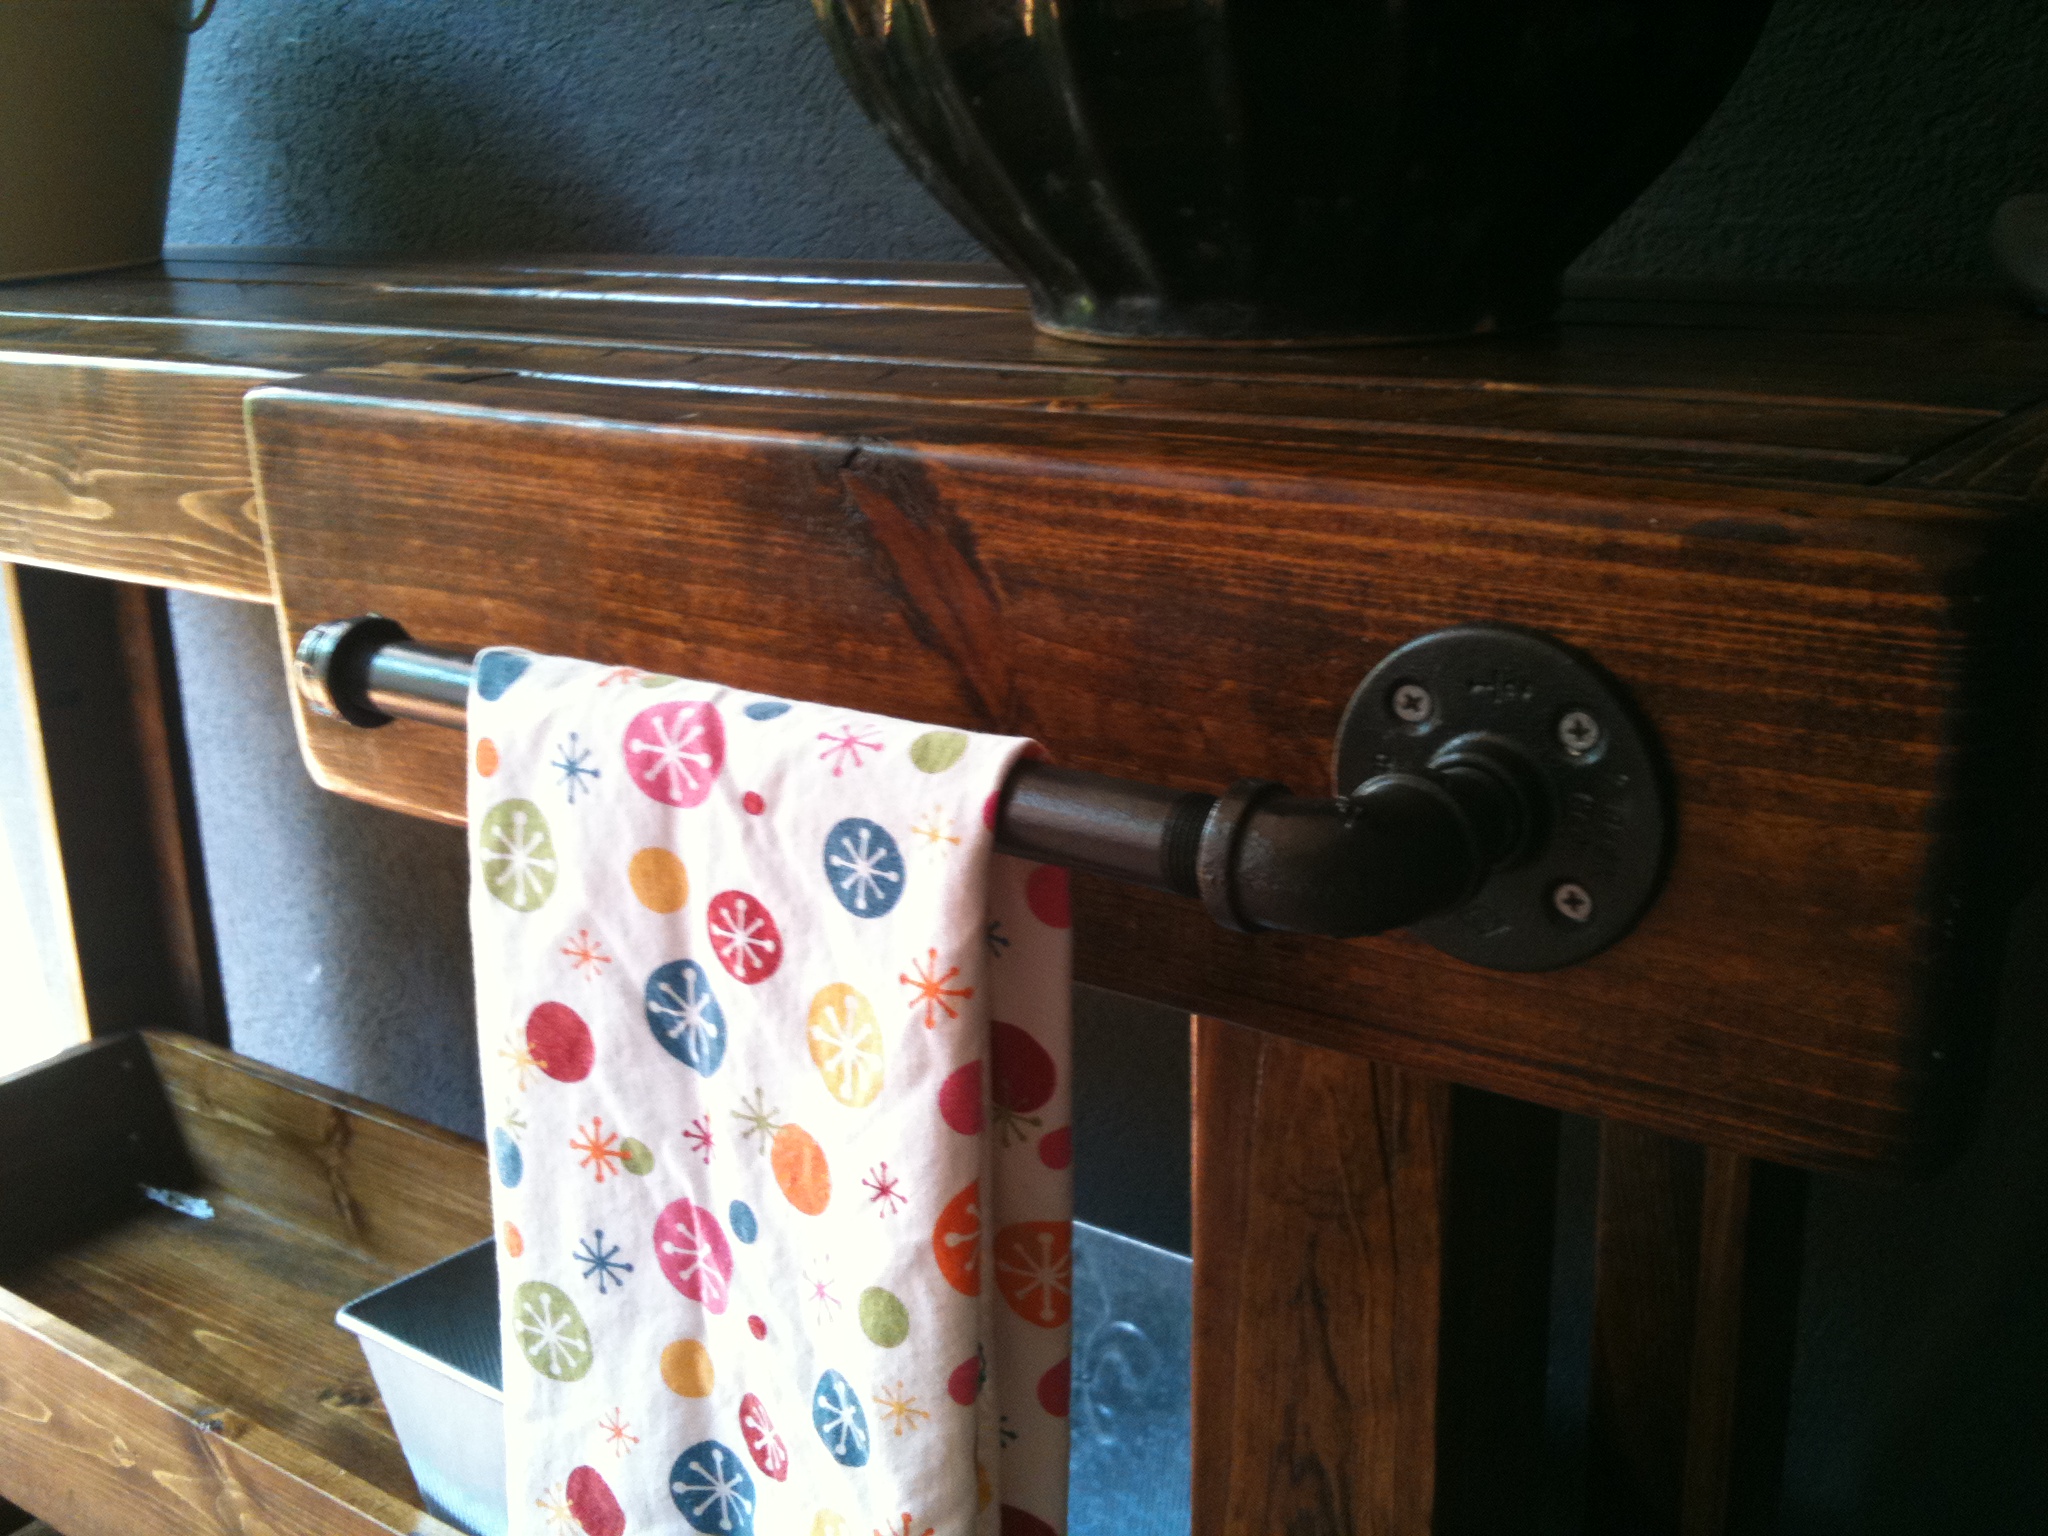
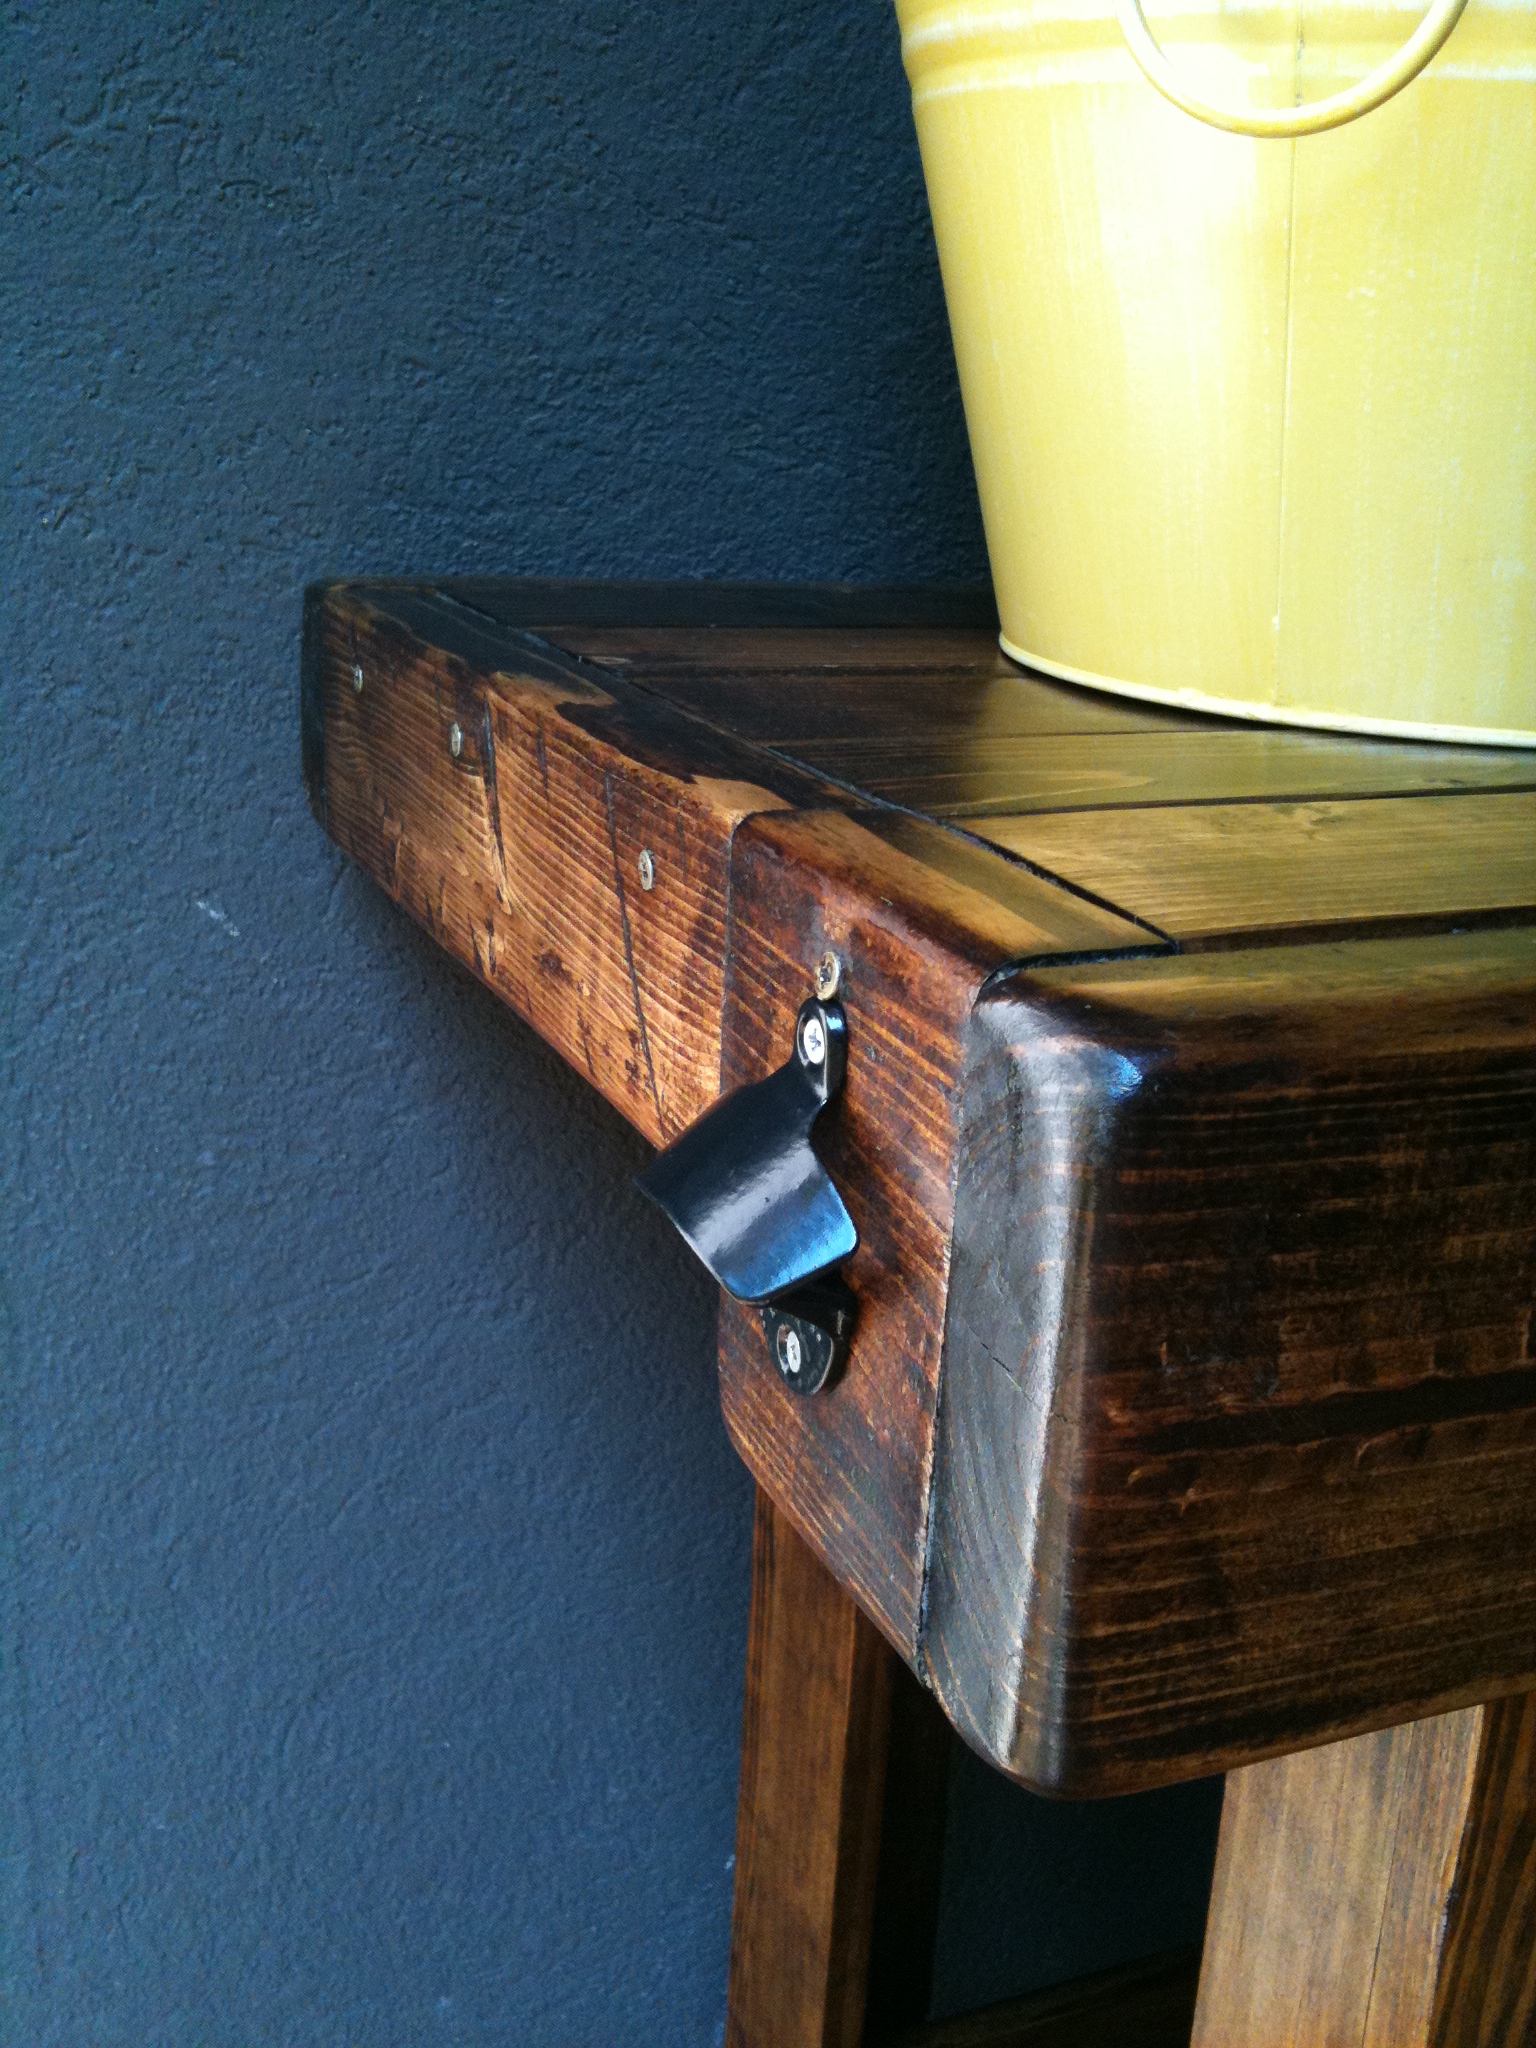
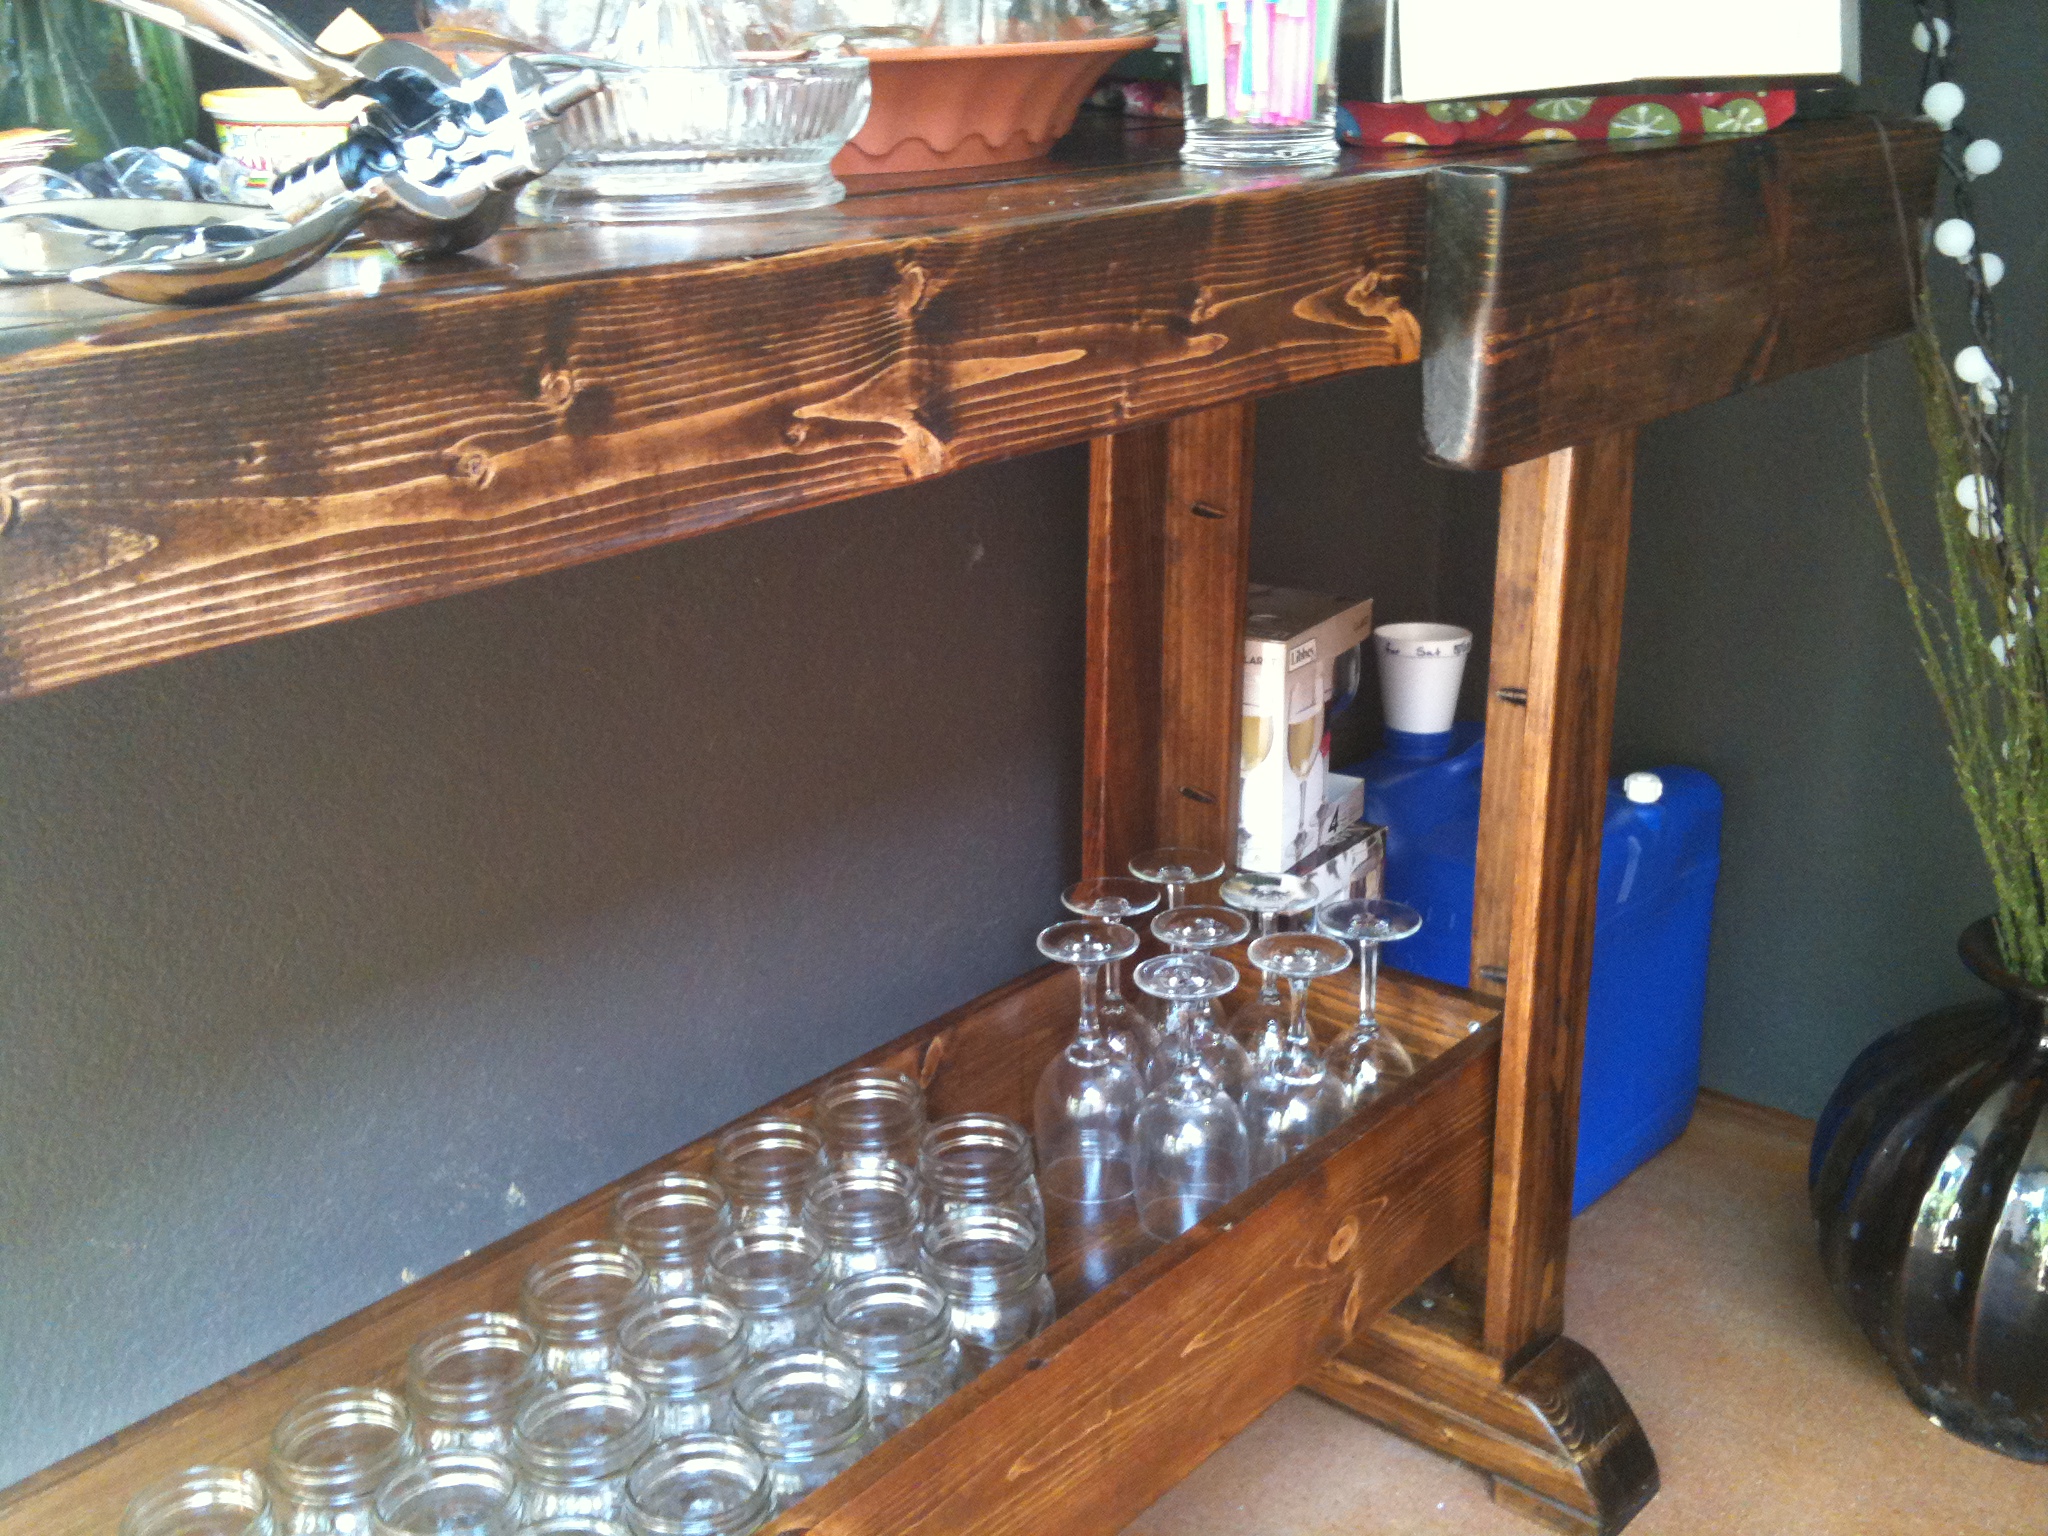
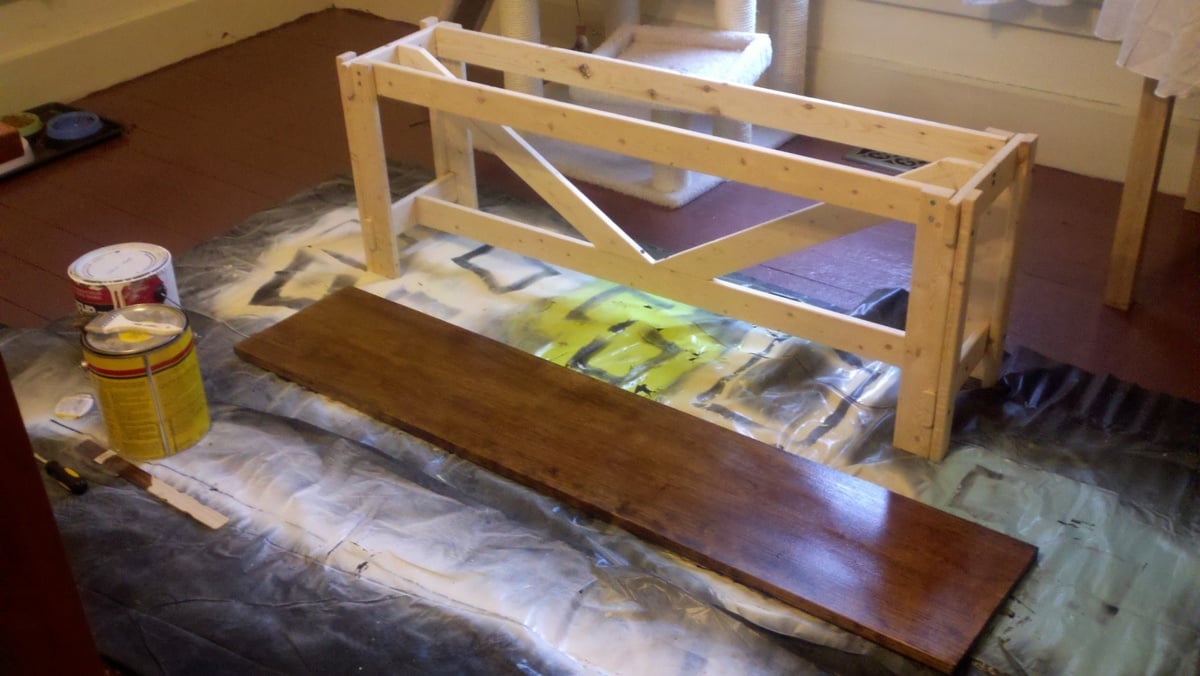
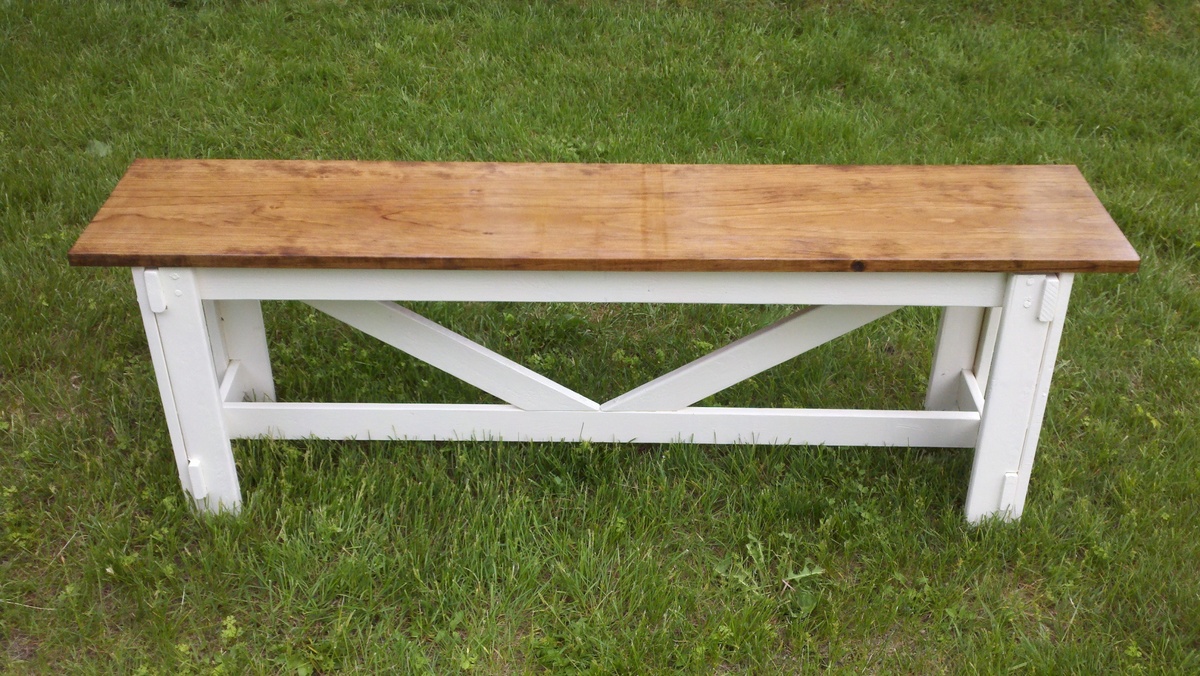
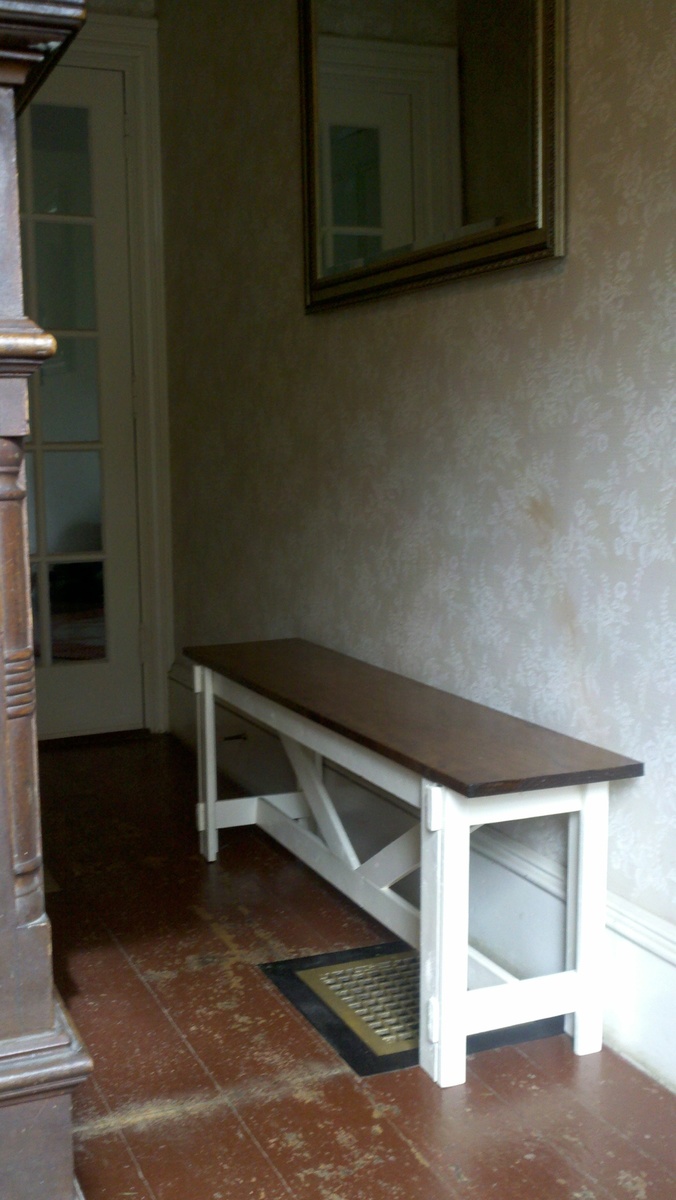
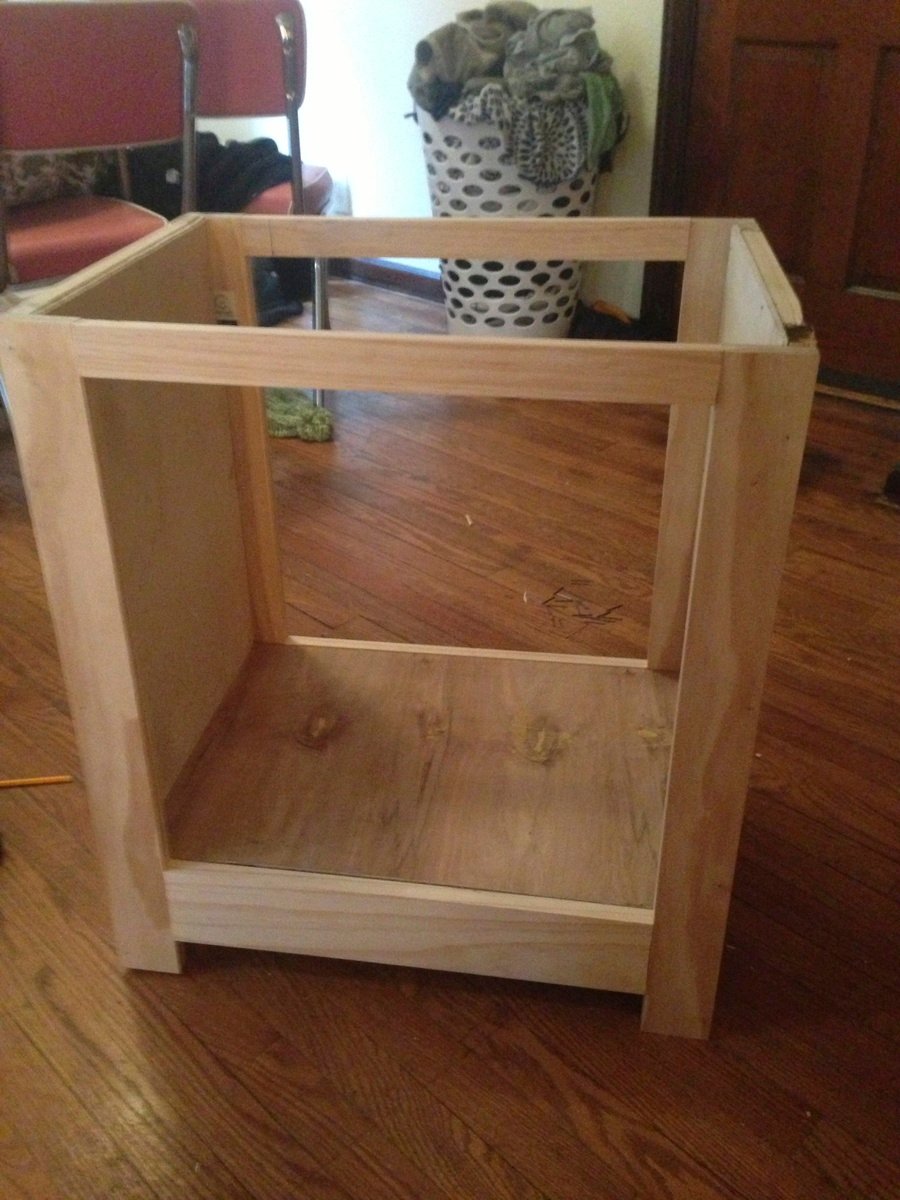
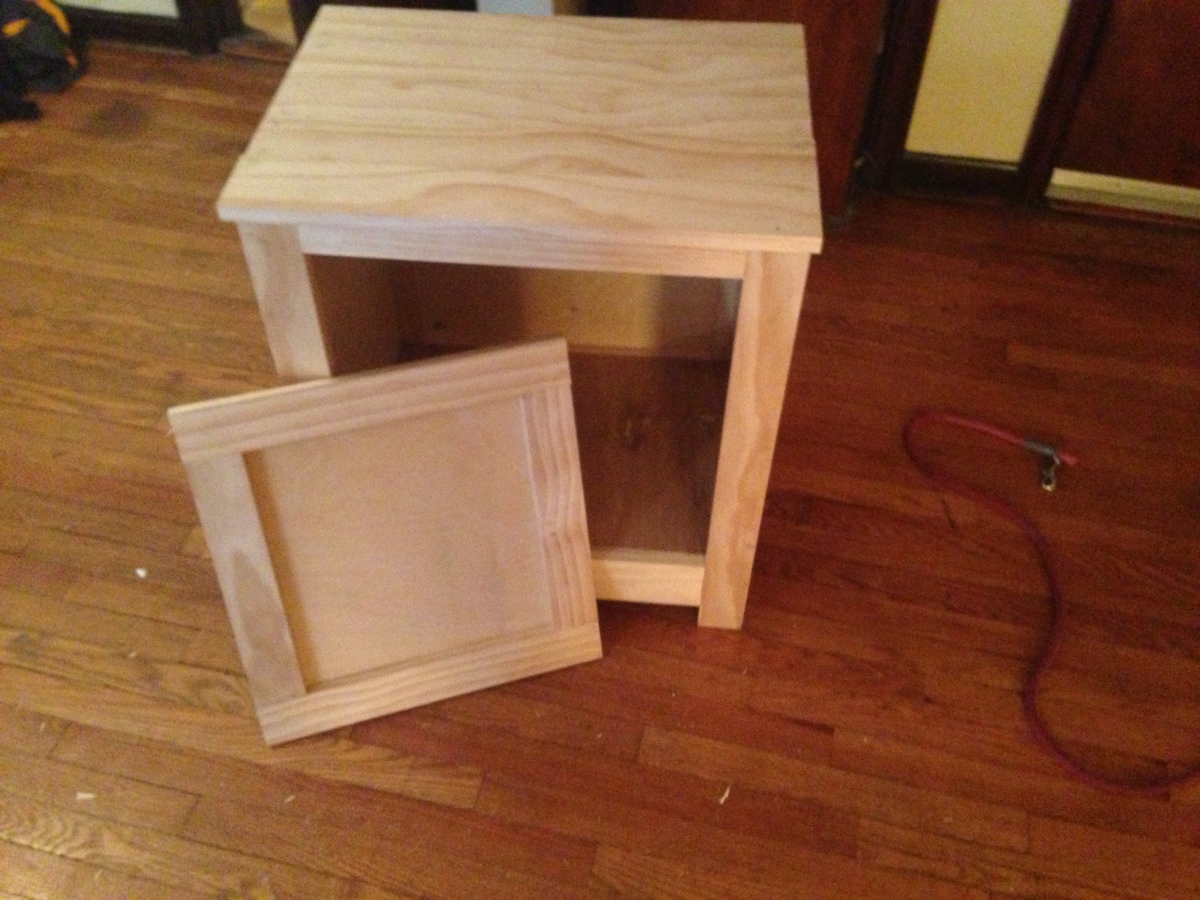
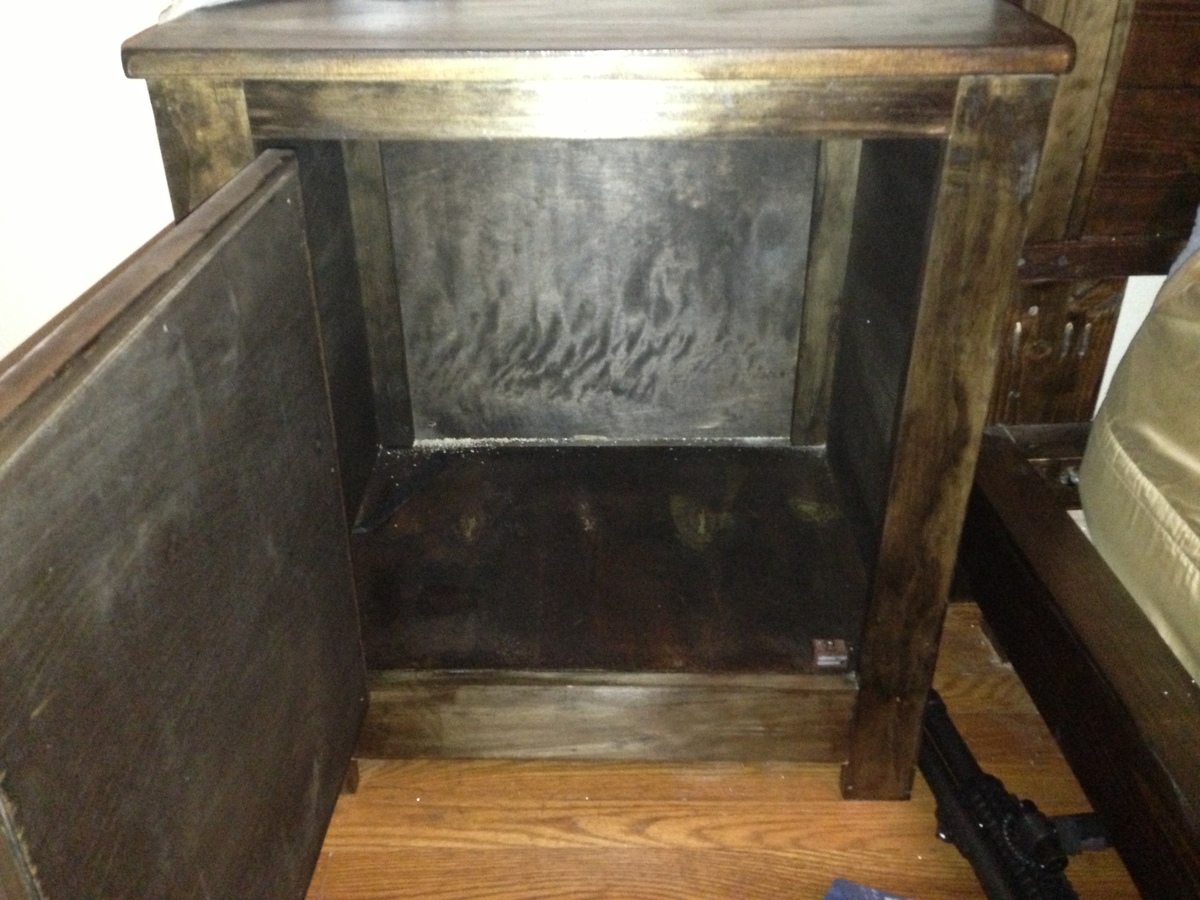
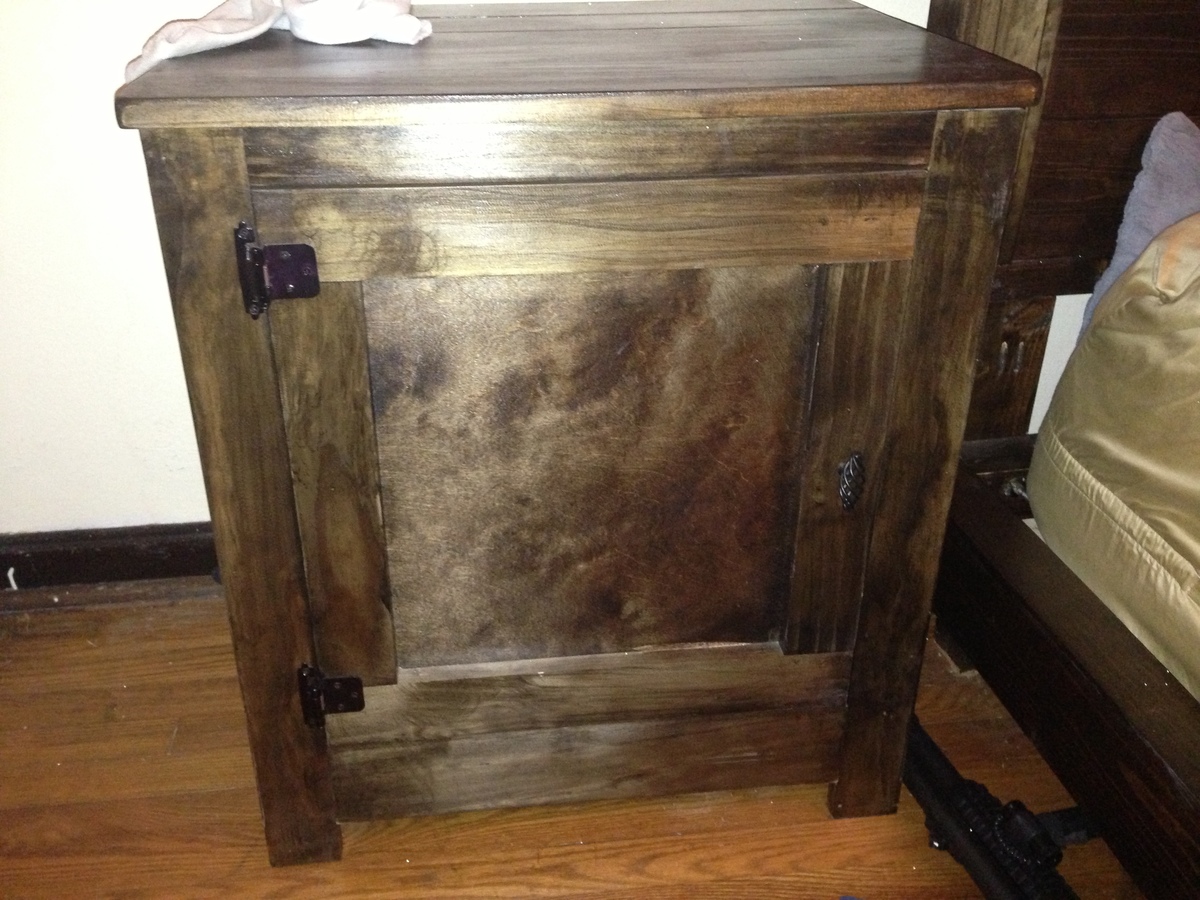
This was my first project I did this many months back and I have just now started to put up brags after getting into building furniture for about 8 months now. This project was much easier than I expected and I did the build out in about two hours. When I did this project all that I had tool wise was a mitre saw, a drill, and a tape measure so if you want a project that uses minimal tools this one would be a great one to start with! I think that I spent around $125 on this bedside table and that number is a little bit higher because I used all premium wood because it was my first project. I stained it with Jacobean oil based stain and then I used the polycrylic finish (both by minwax) which turned out great I think!

Estimated Time Investment
Afternoon Project (3-6 Hours)
Finish Used
Jacobean oil based stain
polycrylic clear coat finish
polycrylic clear coat finish
Recommended Skill Level
Starter Project