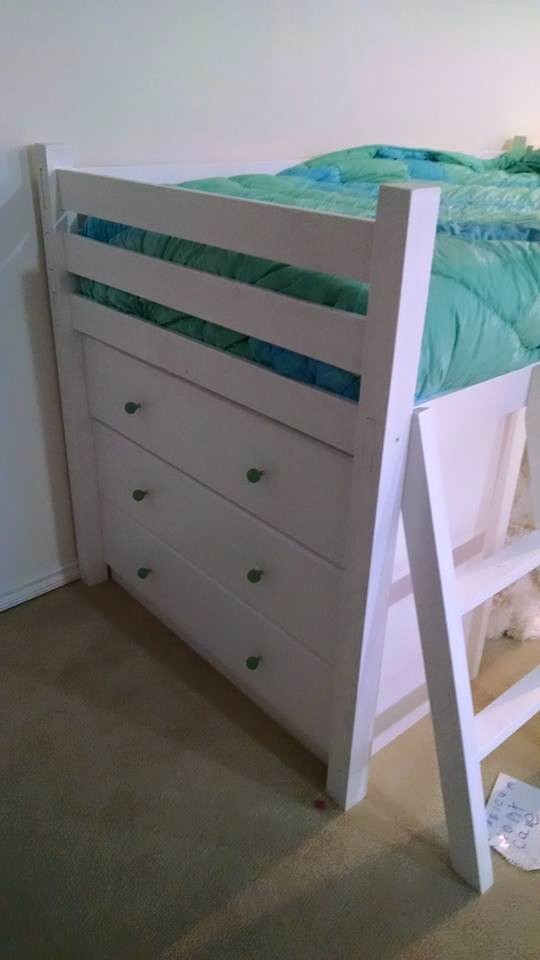
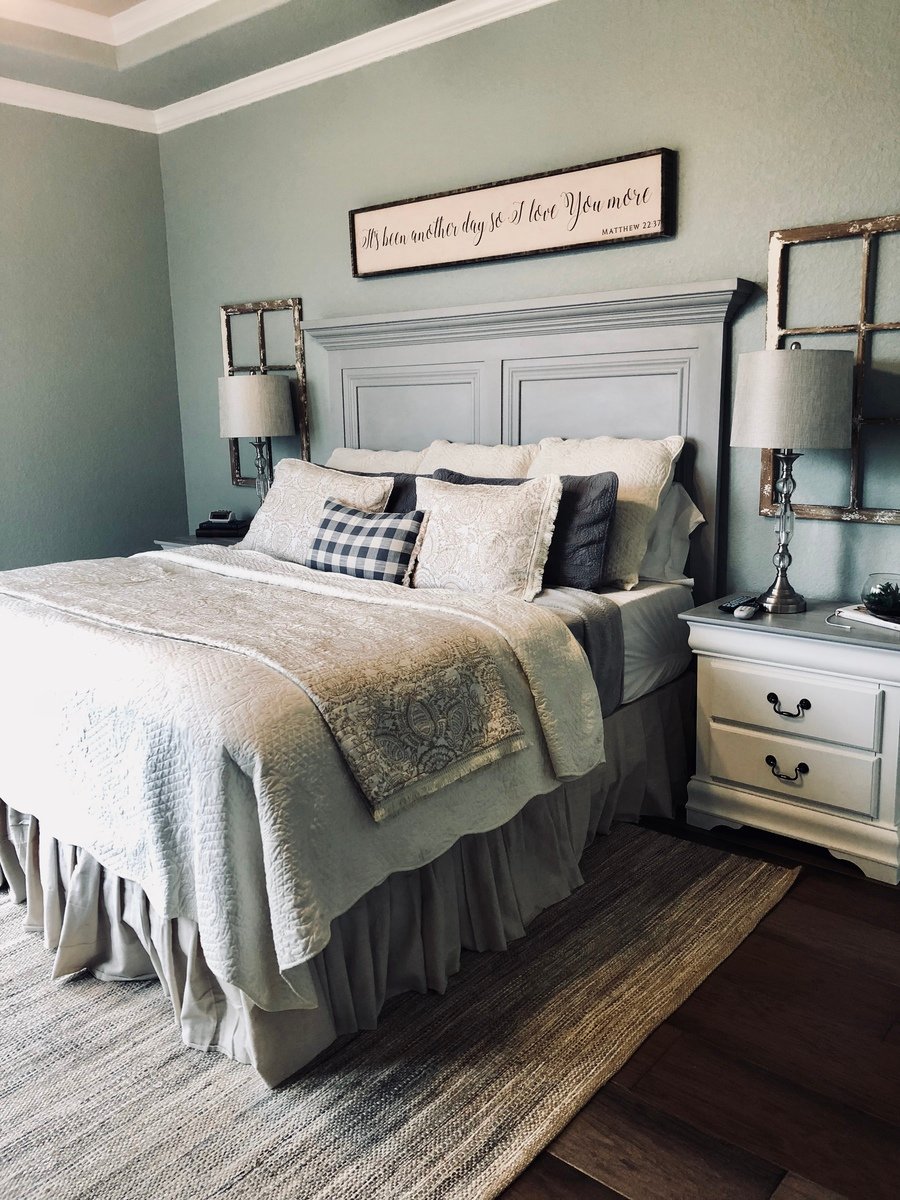
I used the Hailey plans with the following modifications because there's no such thing as TOO sturdy.
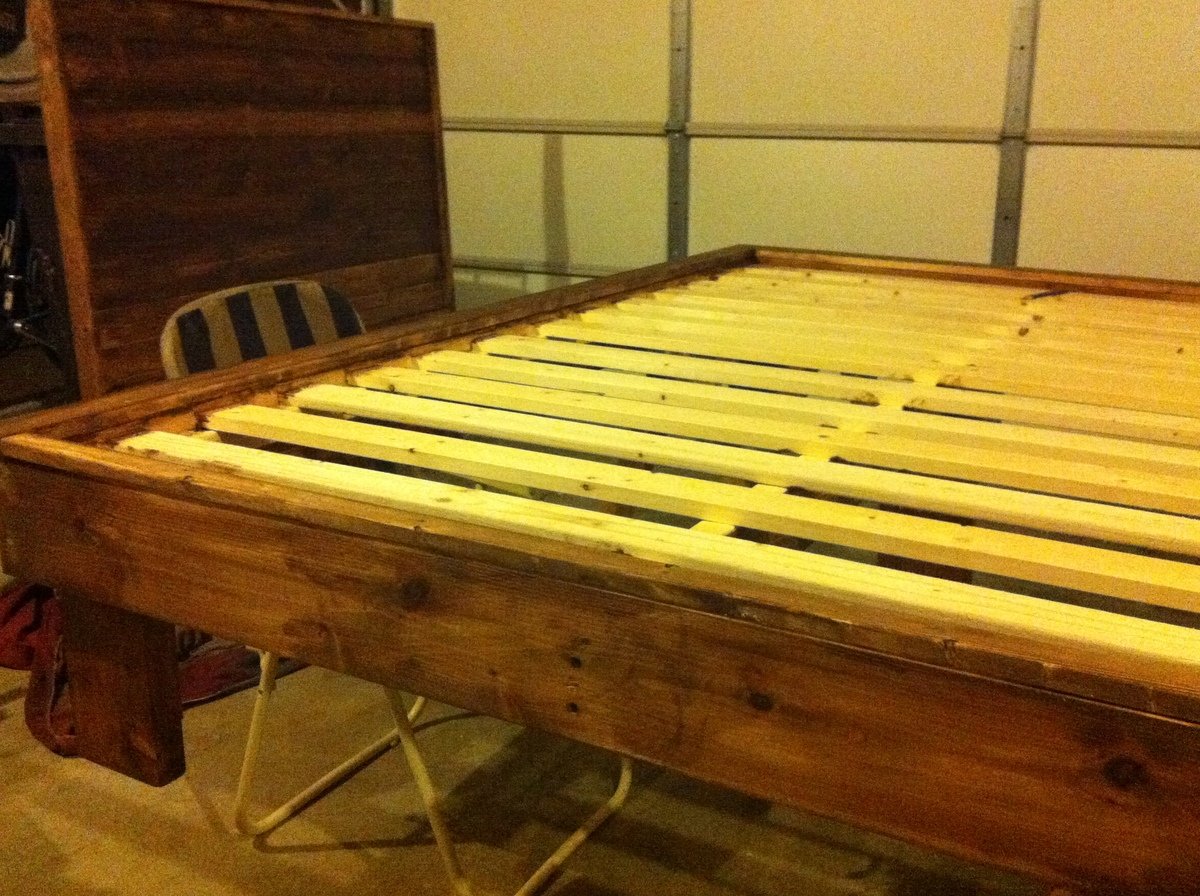
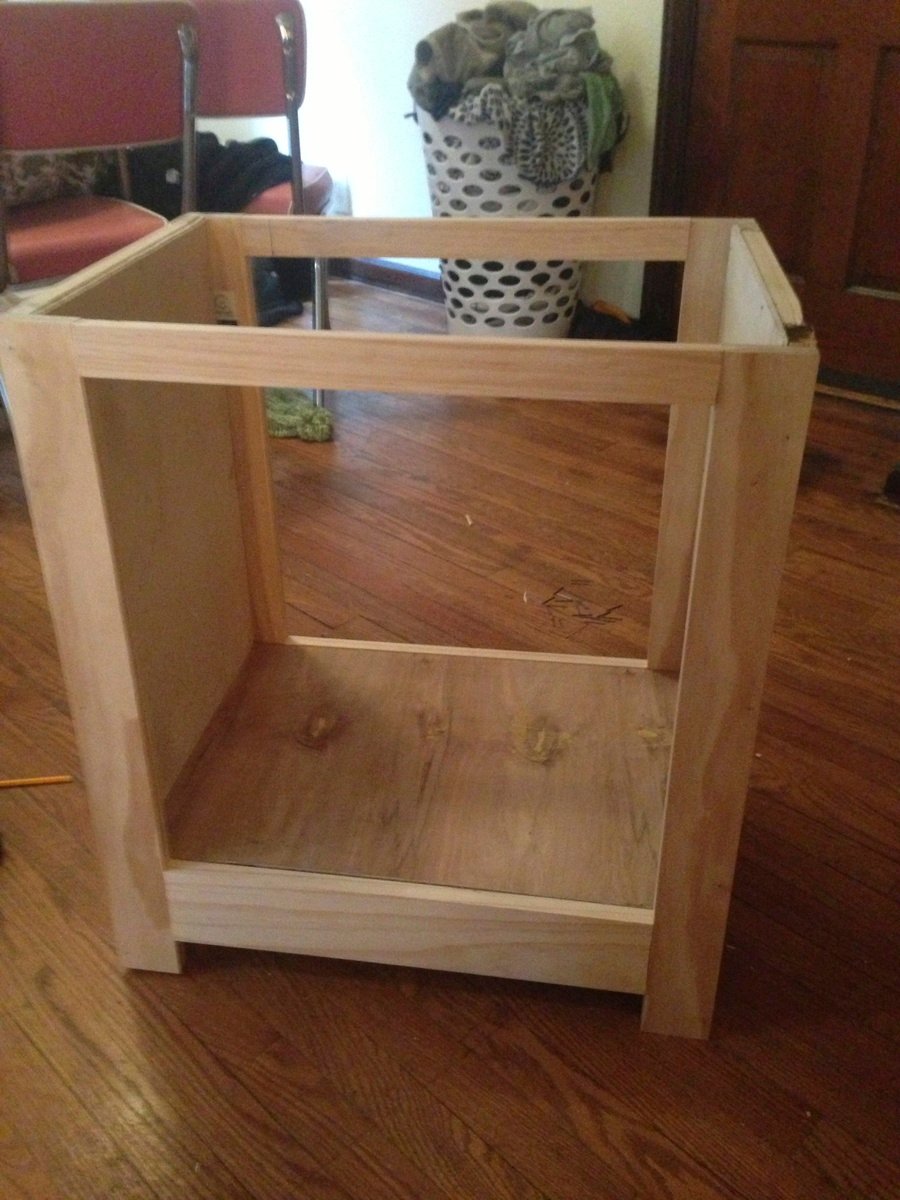
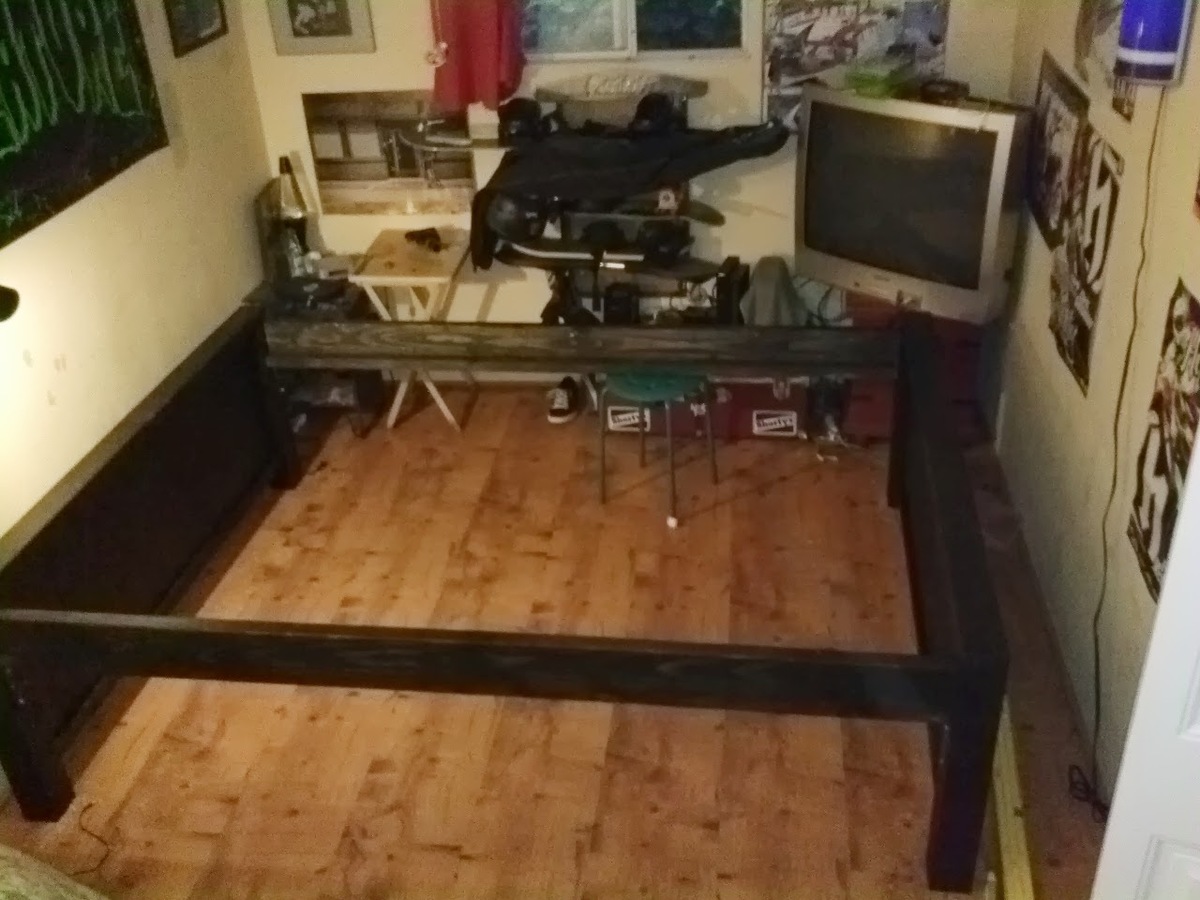
Instead of 2x4s on their own, I used the leftover lengths of my 2x6s for legs, joined at the corners (Kreg pocket hole screws) with 2x4s for a chunkier look and a very stable bed.
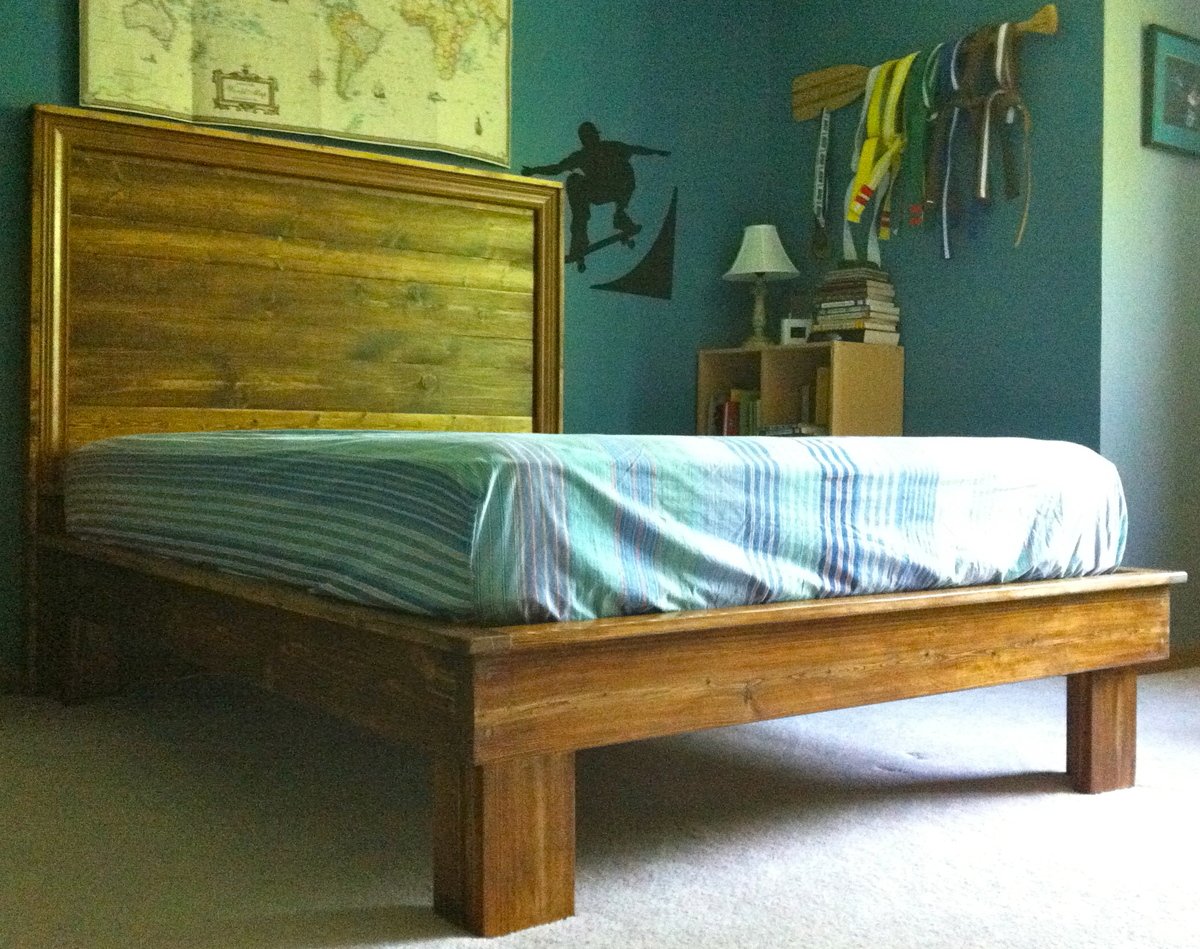
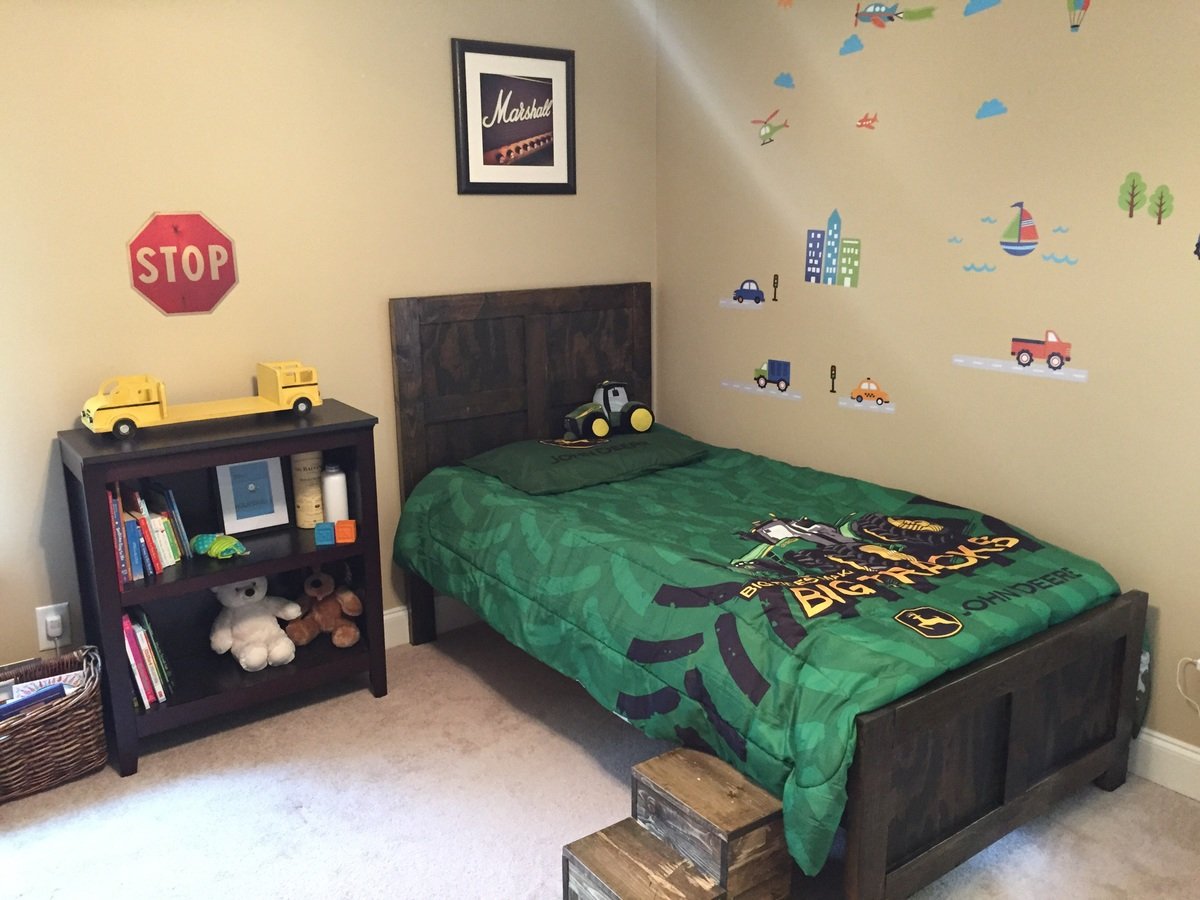
I made the legs 5" taller than the plans called for. Otherwise, the bed simply seemed like it would be too squat for my tall son.
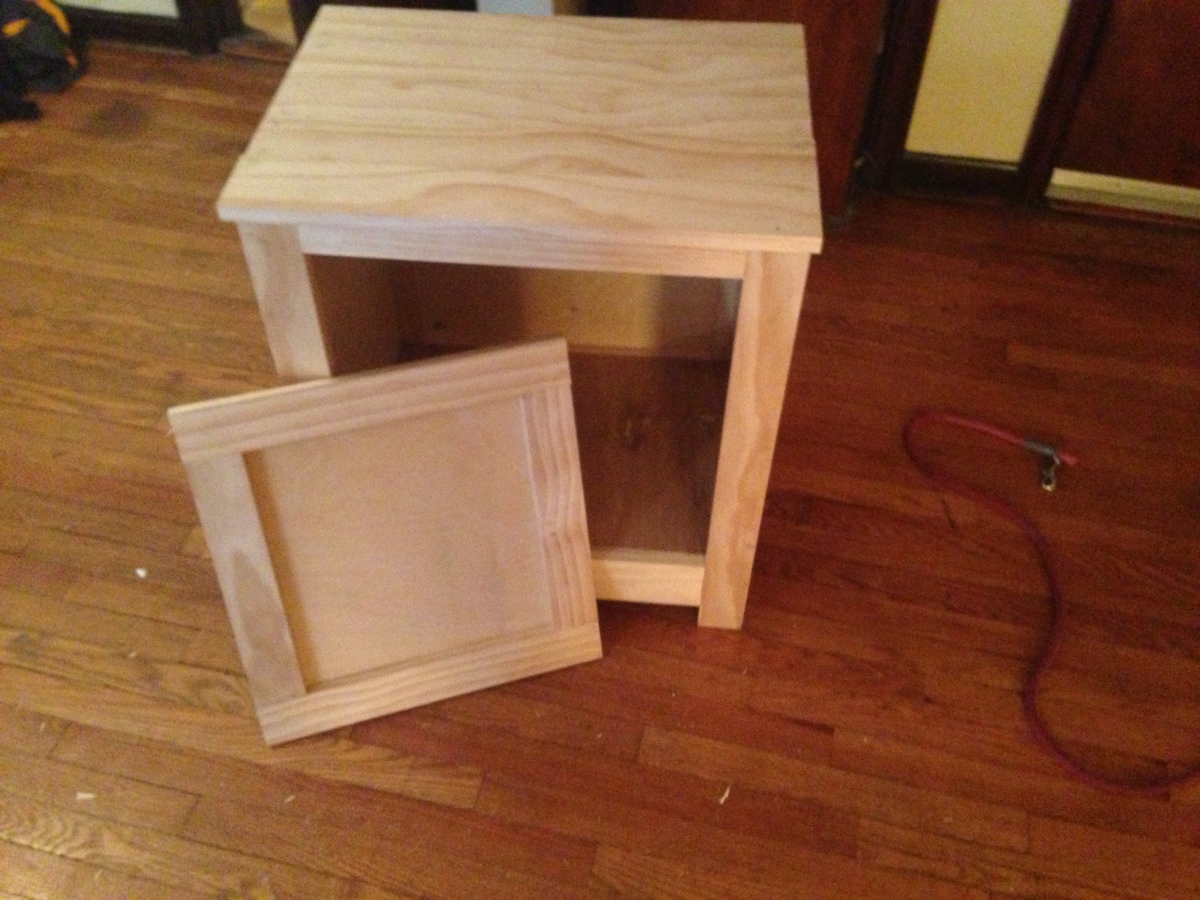
For the casing/trim, which is pricey, I went to the Habitat Re-Store and found two matching pieces for $3.00 a piece.
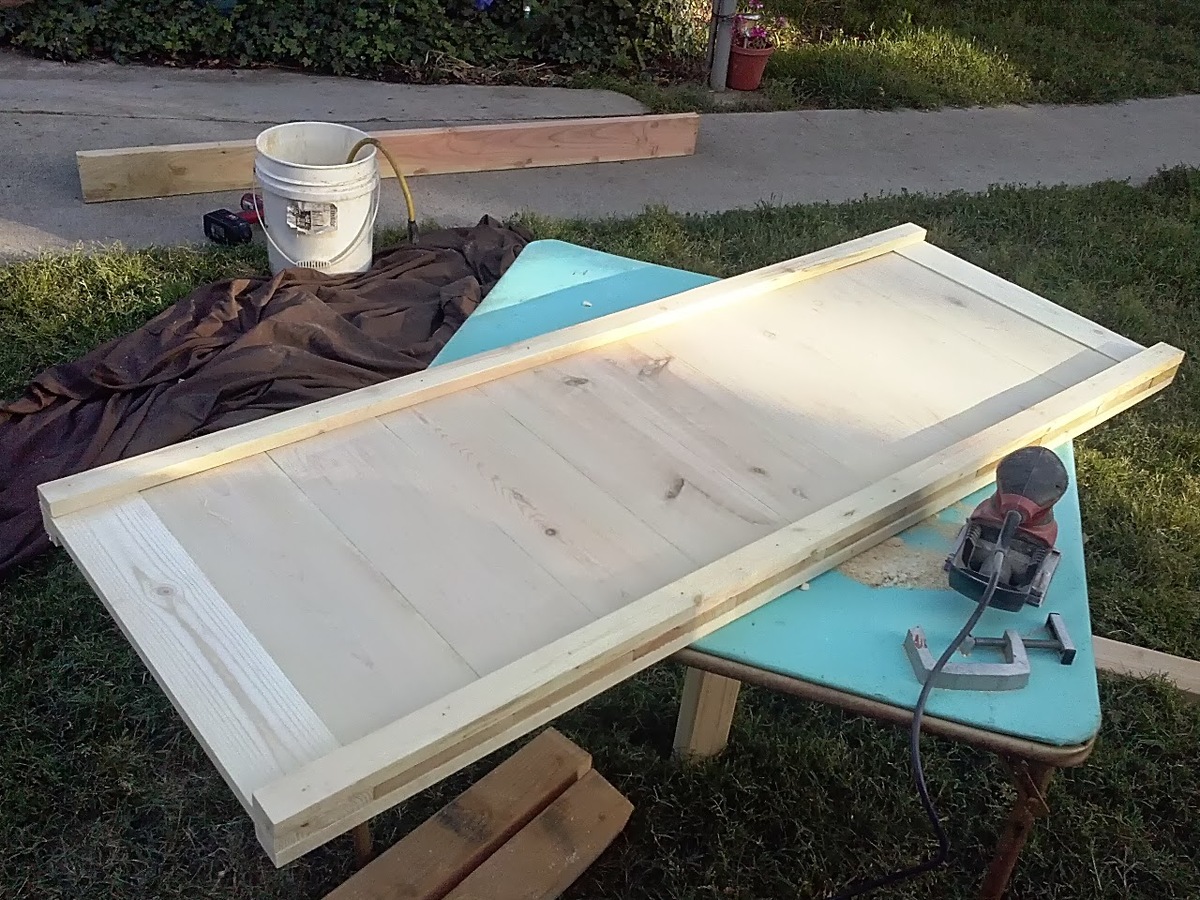
I deviated from the plan by adding the trim last, after the headboard was otherwise complete. I had considered painting the casement, but decided to leave it all wood-tone, and I'm glad that I did.
The furring strips at my local big blue box store were so terribly warped that I used pine boards instead. This increased the overall price, but decreased frustration and time spent sanding. I work slowly and deliberately as it is, always worried about mis-measuring, so anything I build takes twice as long as anticipated.
With every project I undertake, my wood filler shows and my budget exceeds the amounts in plans and other brag posts. The bed and headboard combined cost me about $230 to build. That's still a great budget, but $80 more than I'd hoped after reading Shanty 2 Chic's inspiring details.
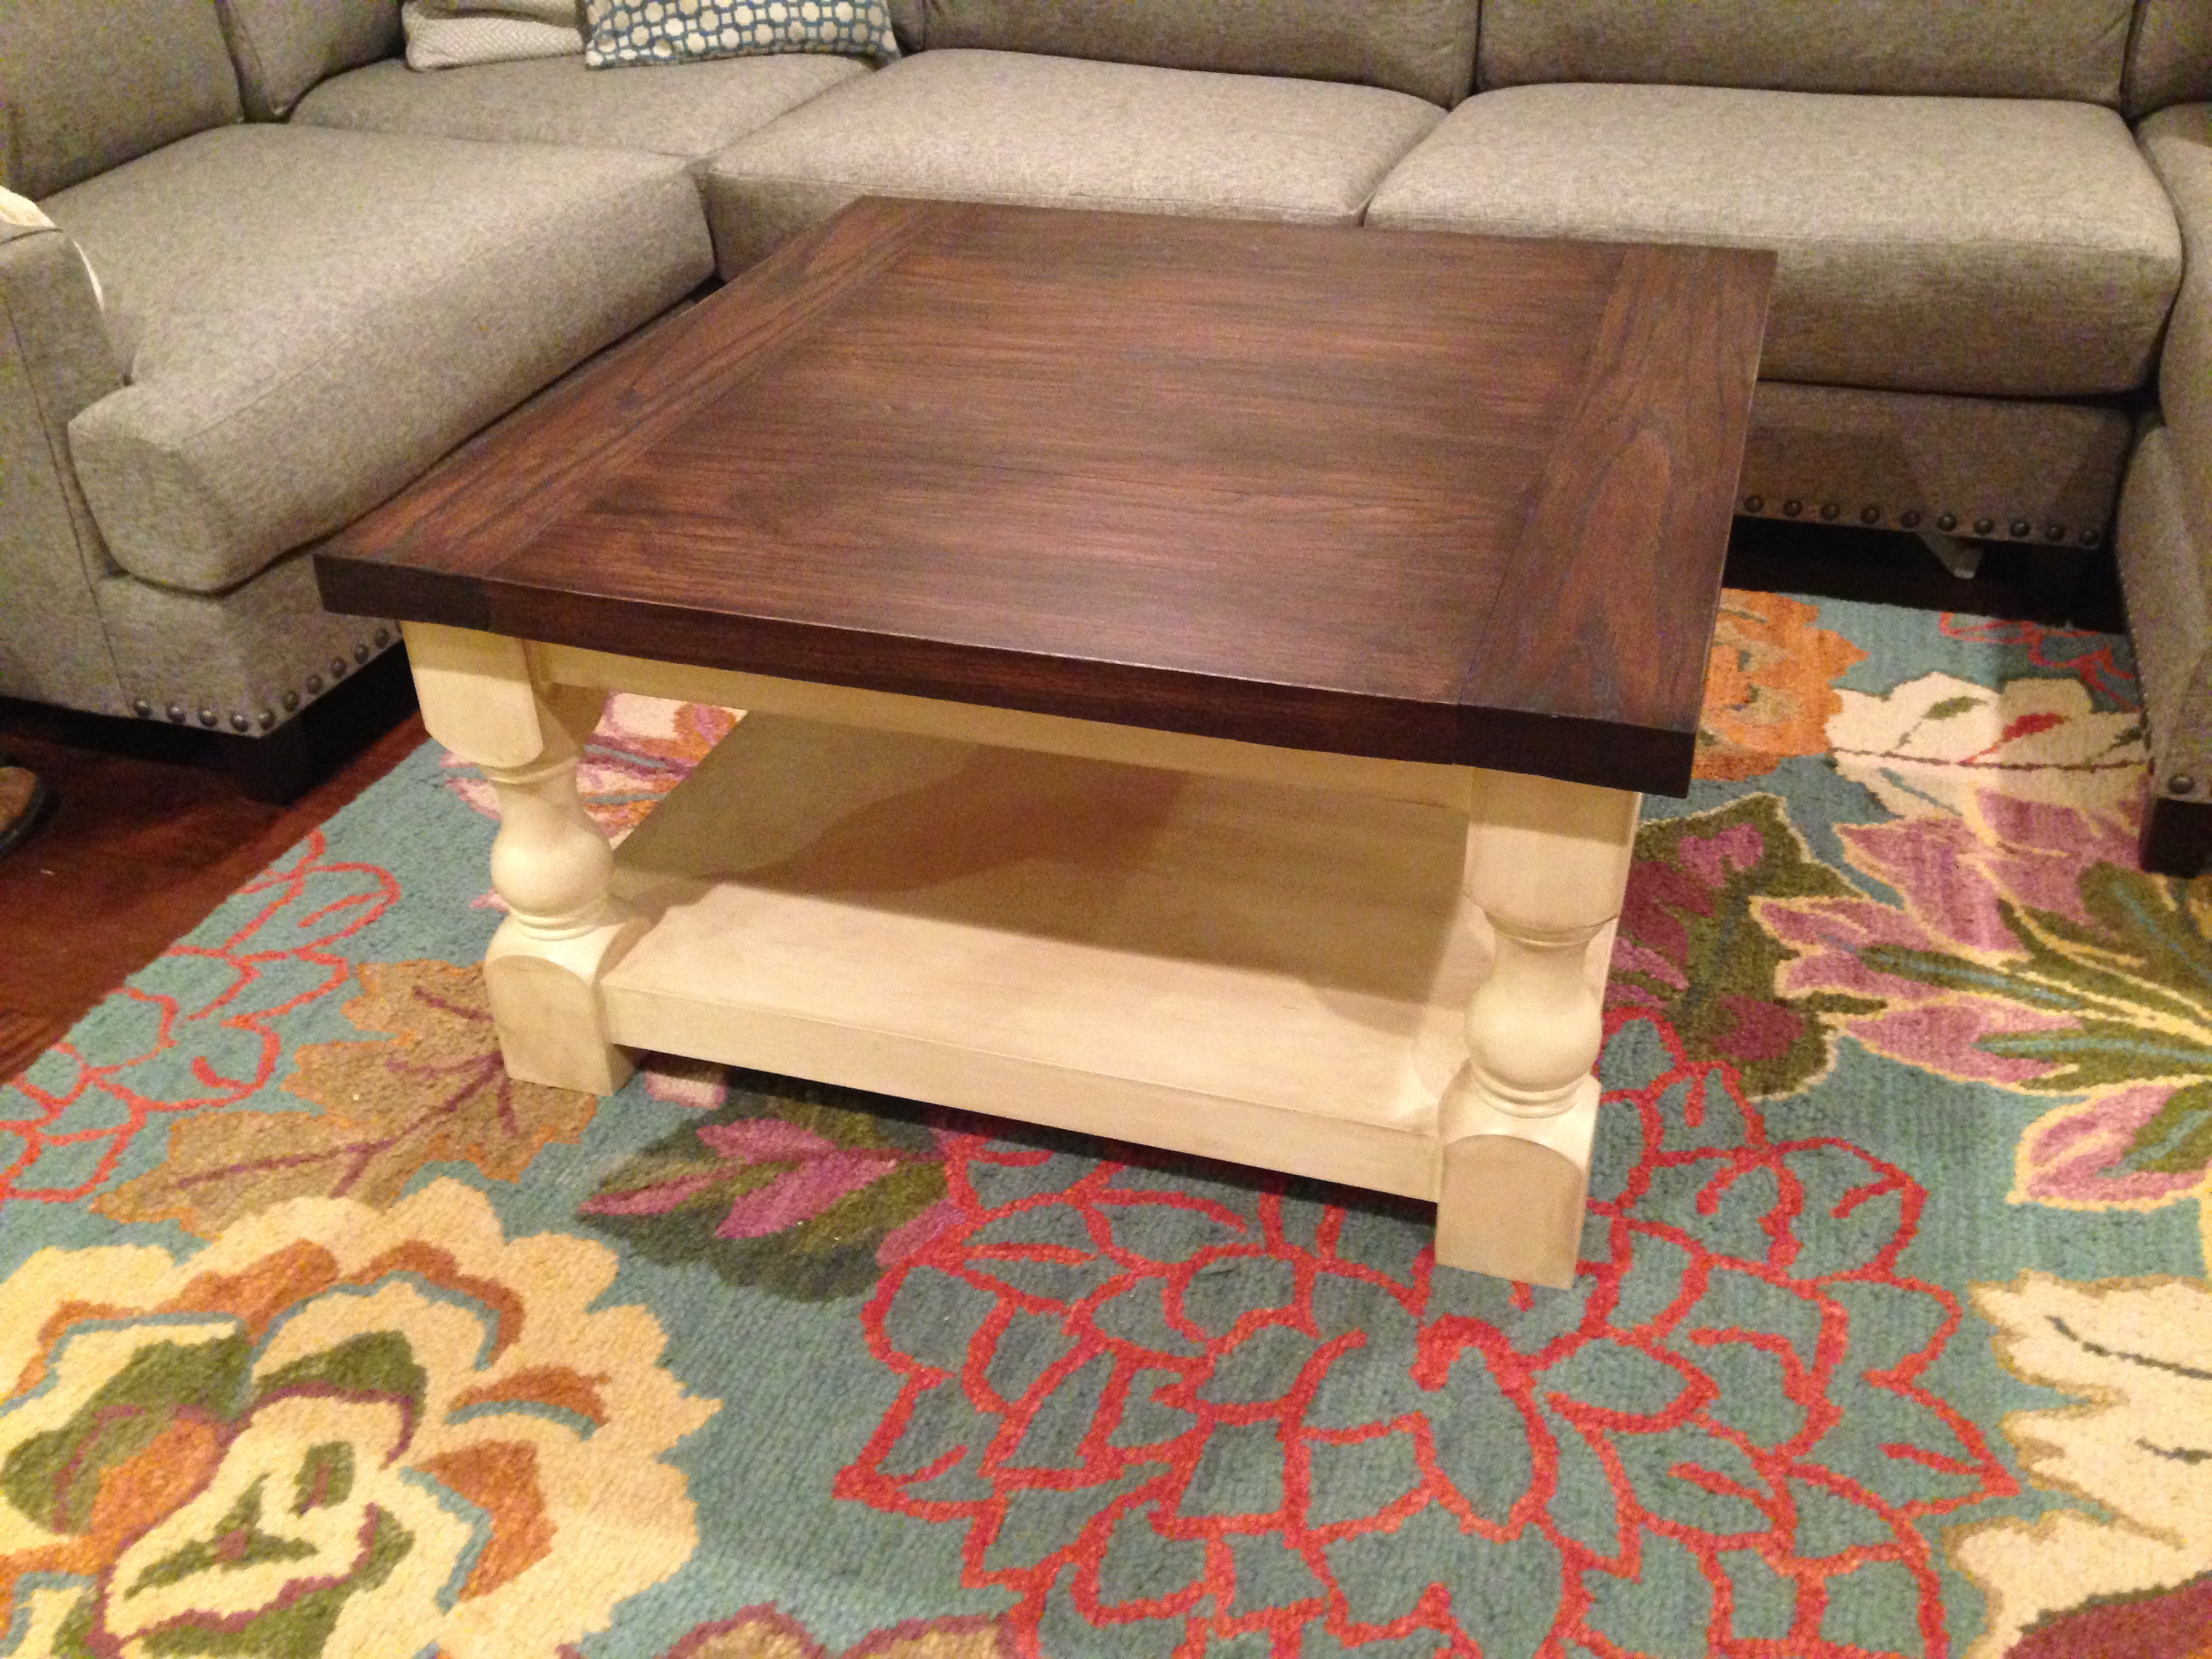
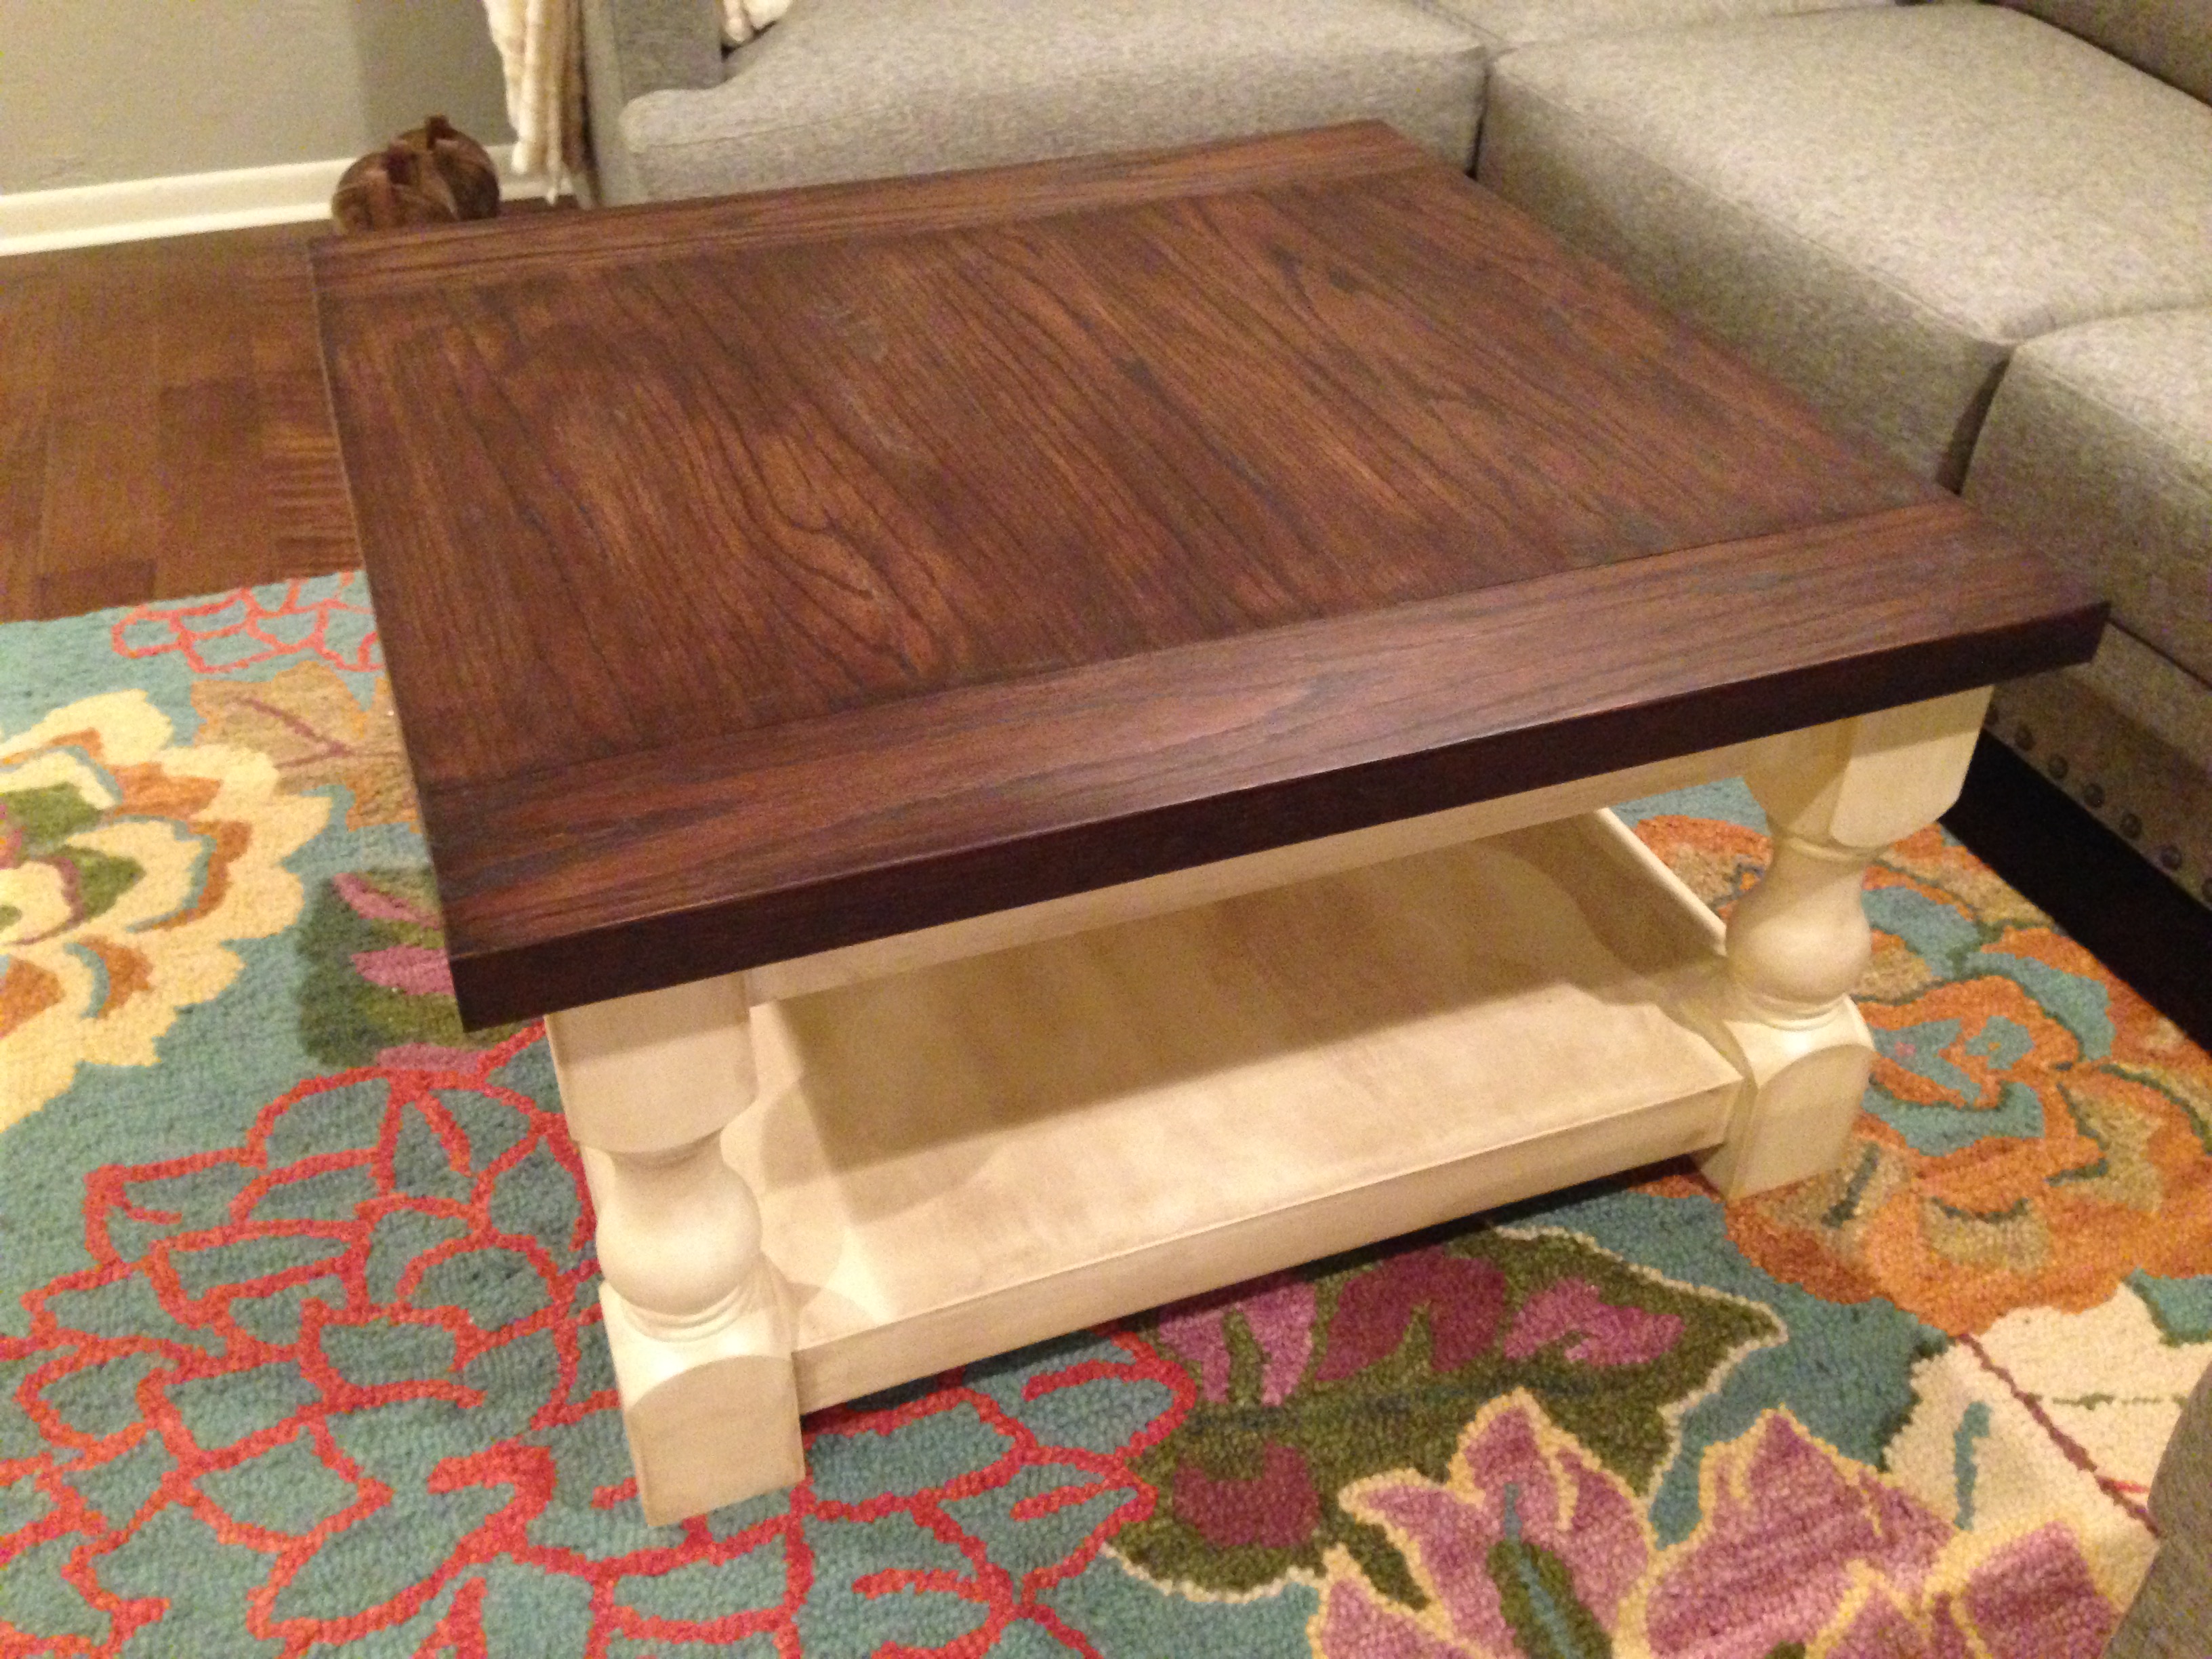
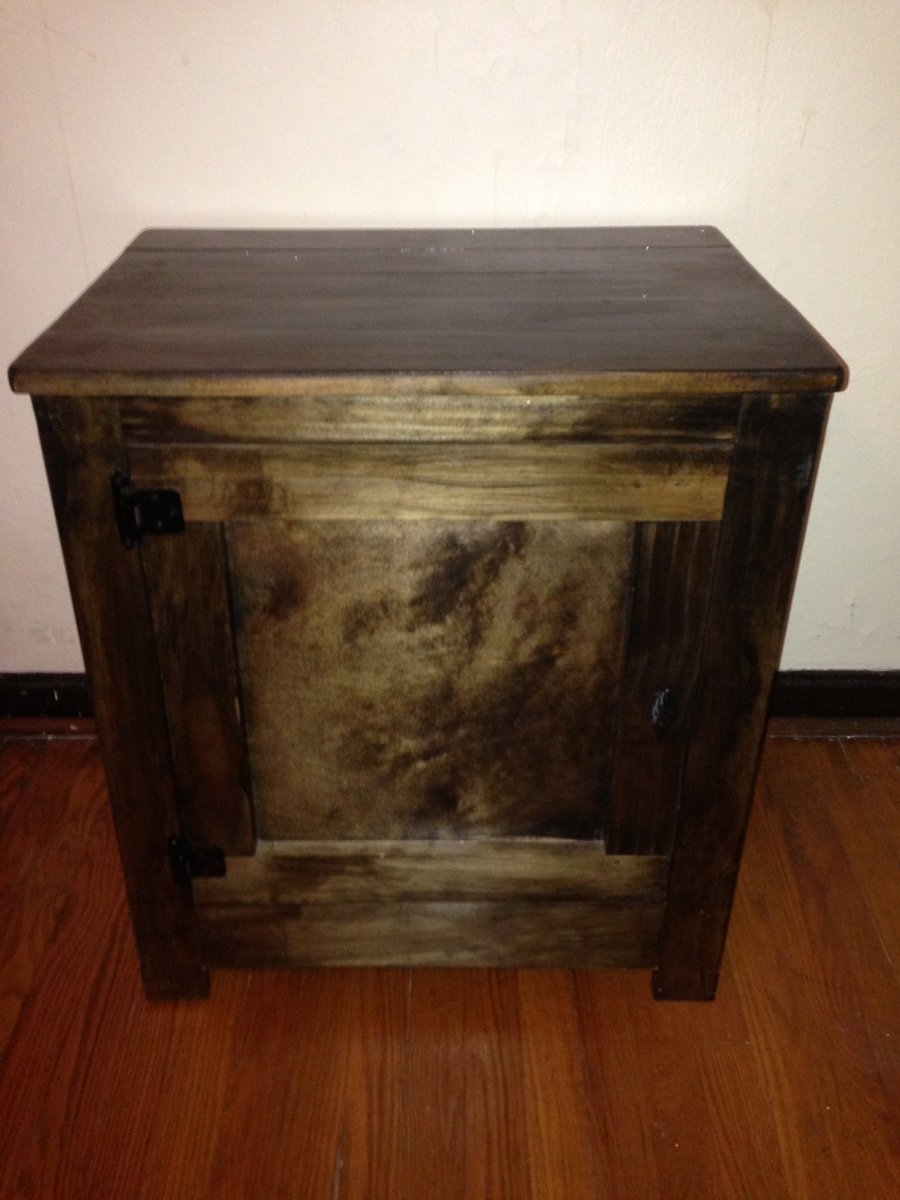
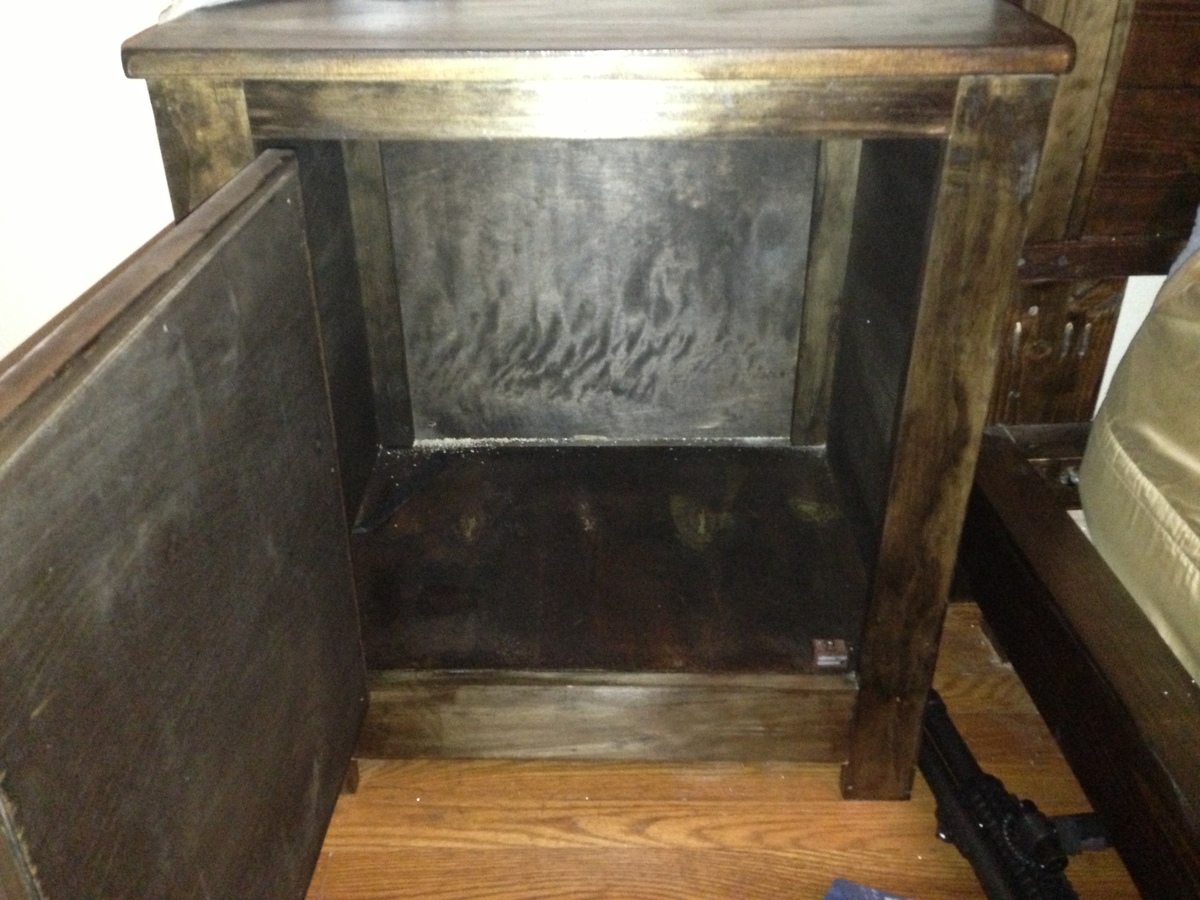
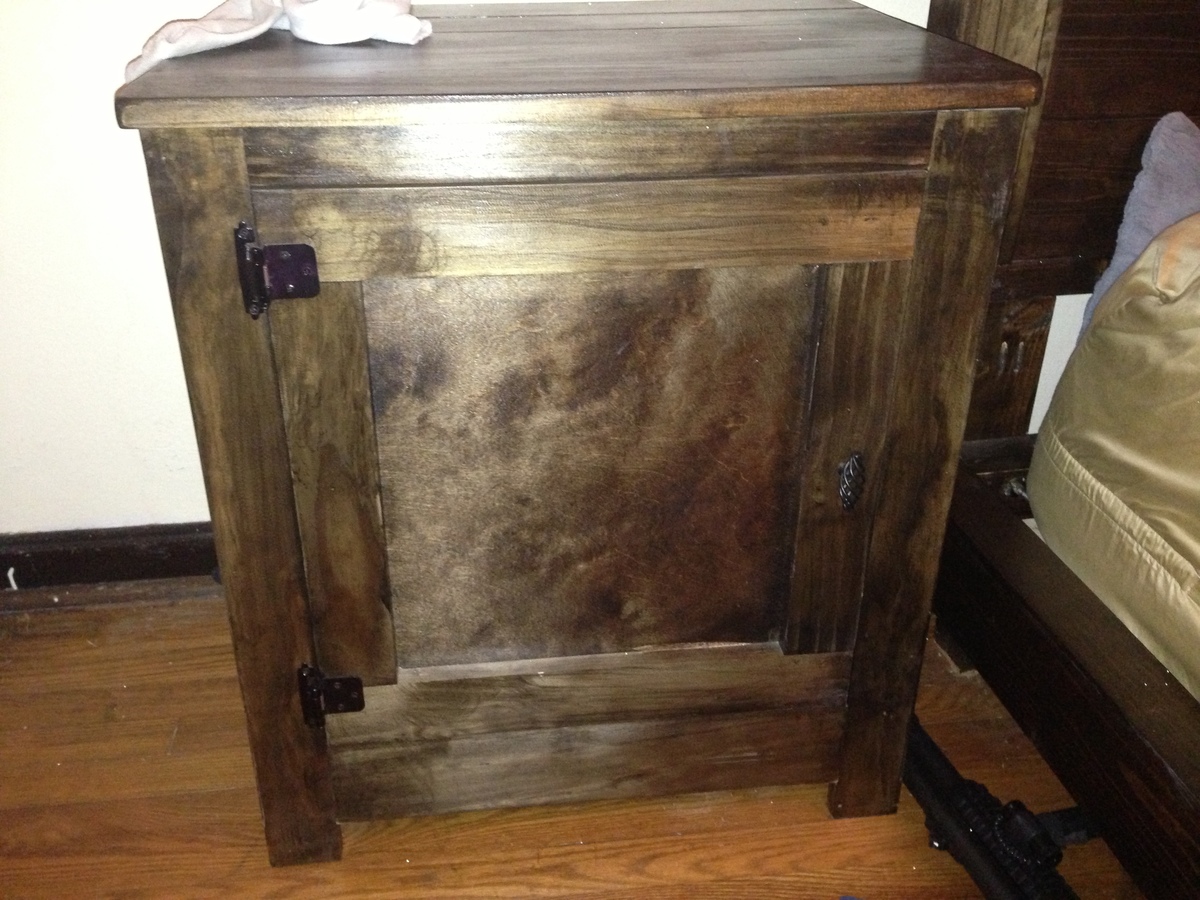
The stain on this bed is Minwax Provincial 211, and I used three coats of Minwax's water-based poly.
Best of all, my husband and I carried this bed from the garage, up the stairs, around the corner, and into a bedroom while it was fully assembled with legs. (He lost the bet on that one, saying I'd regret wood-gluing it all together ahead of time.)