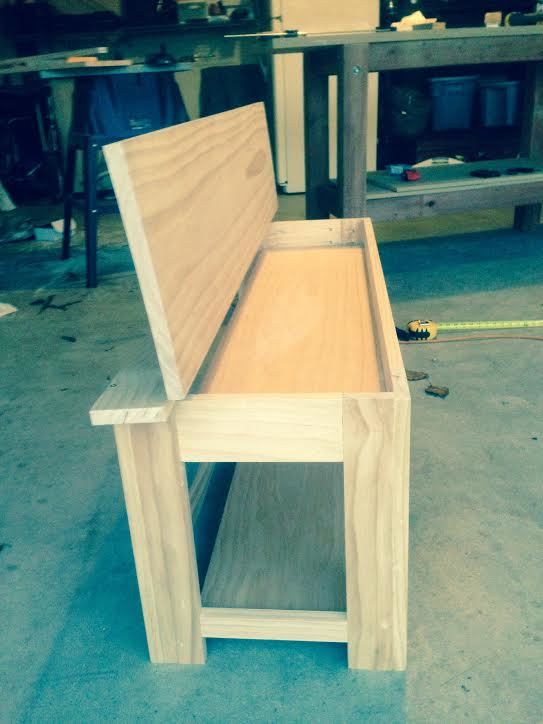
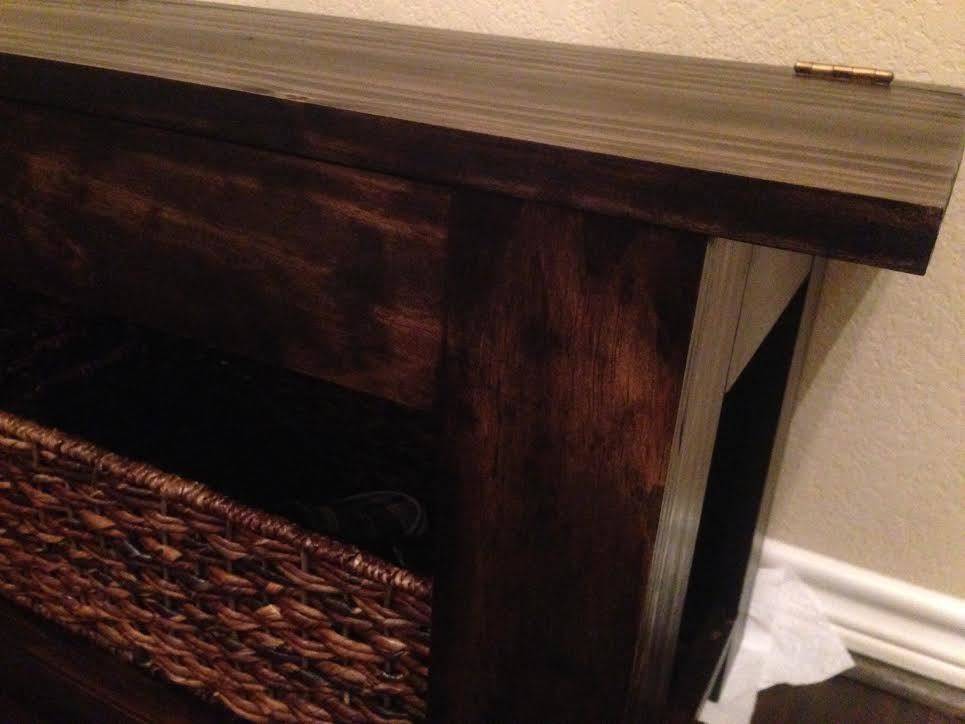
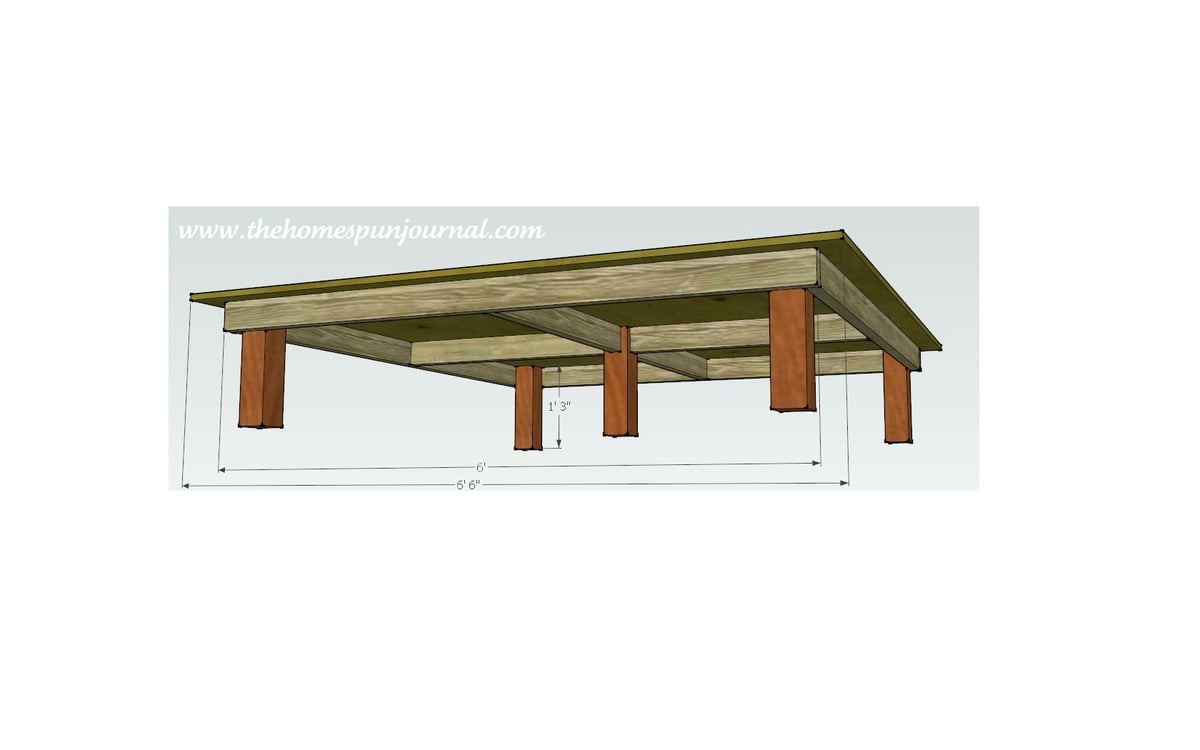
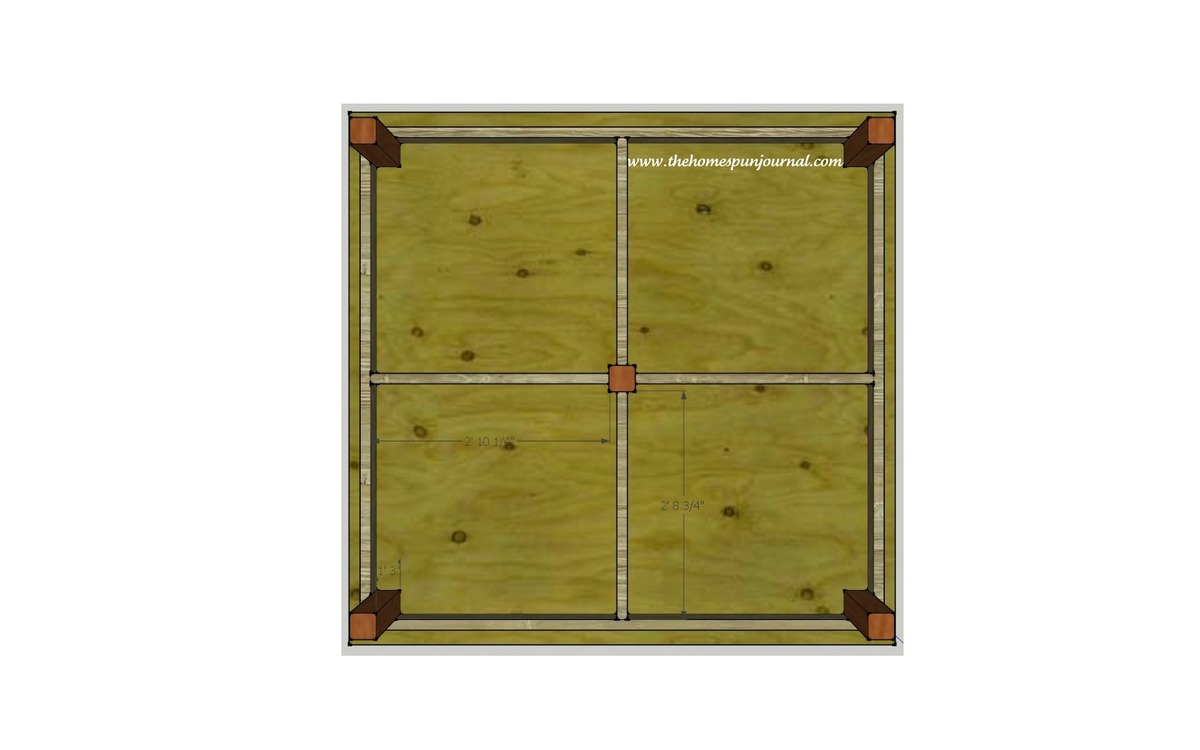
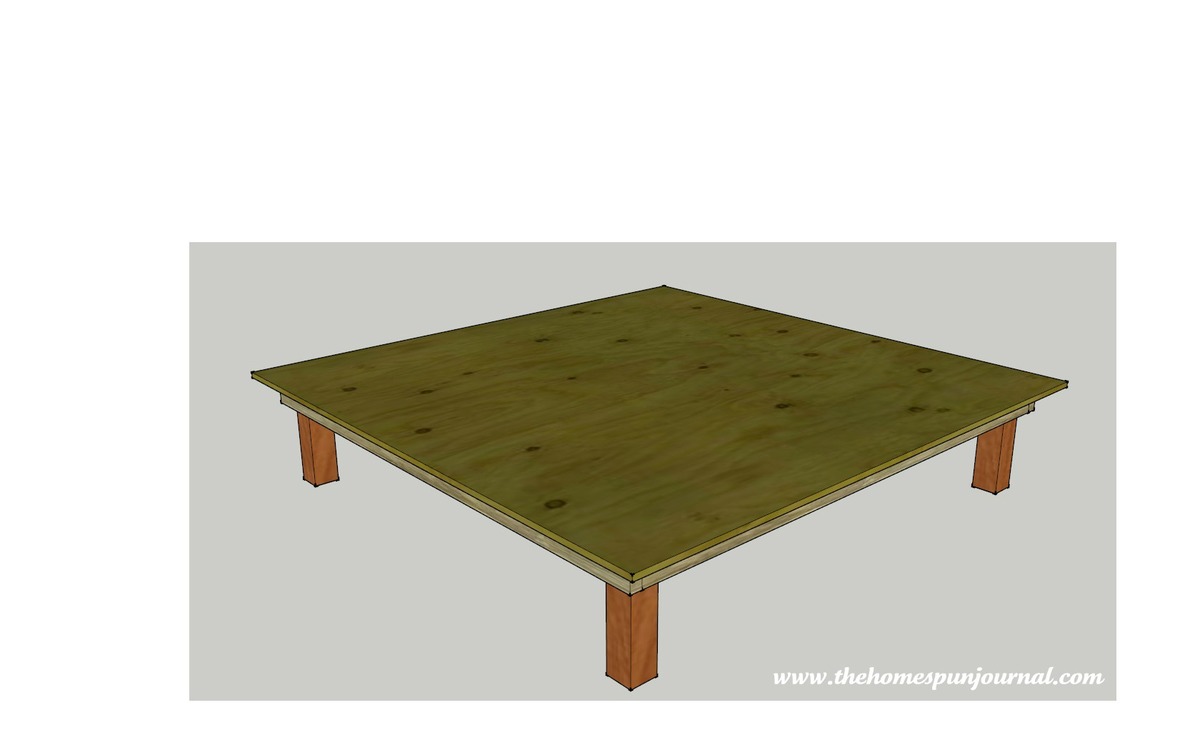
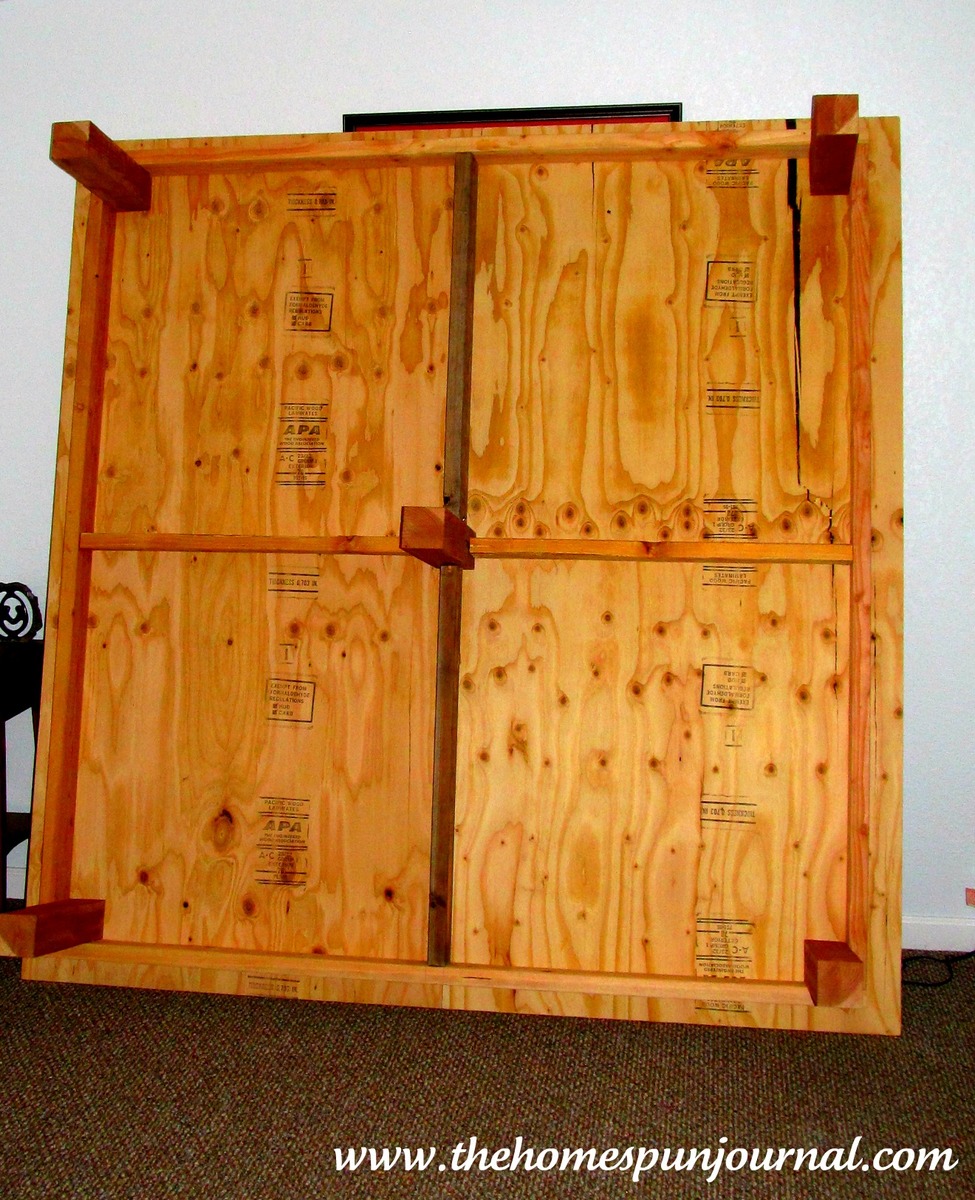
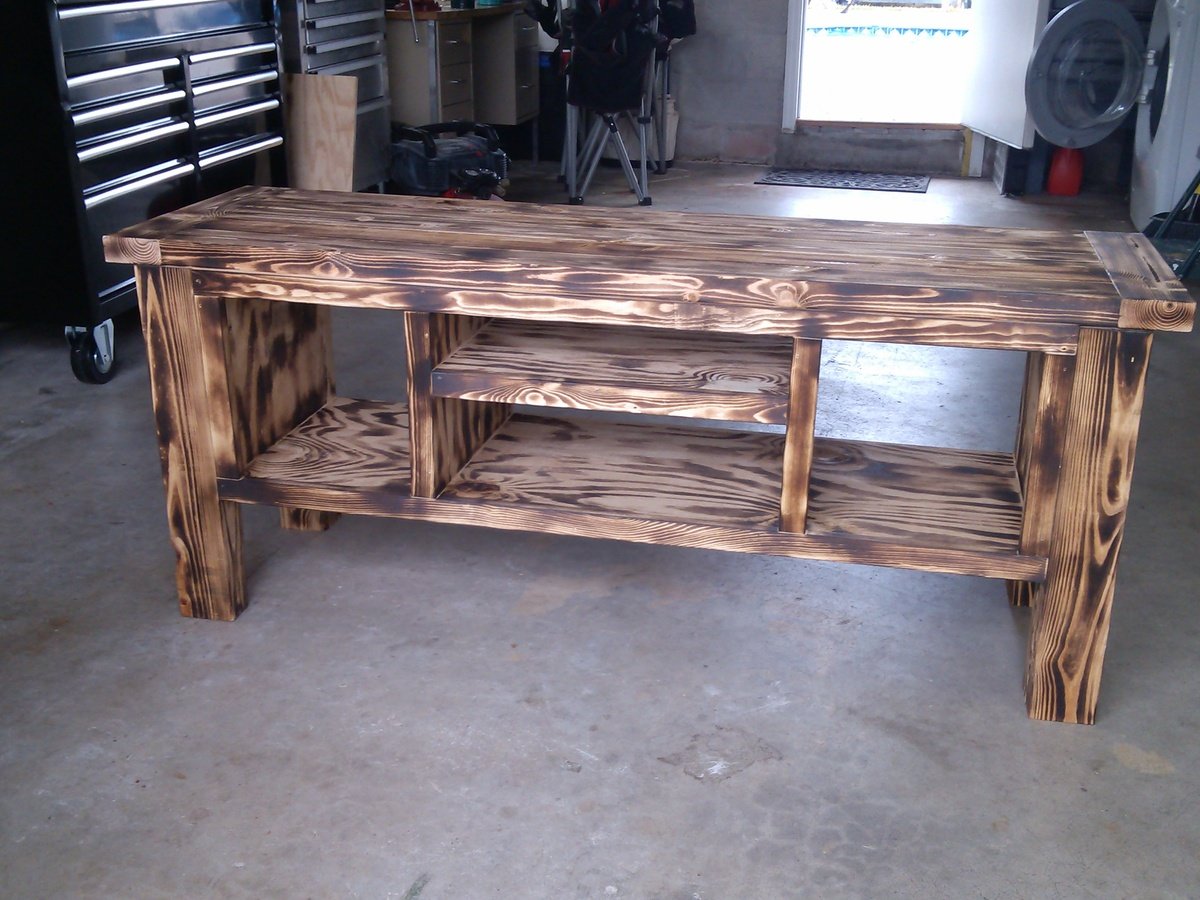
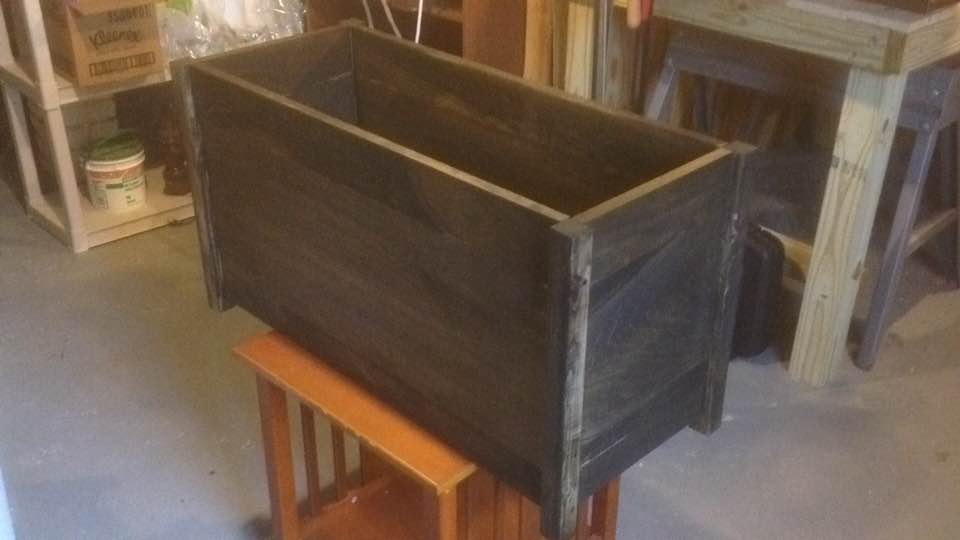
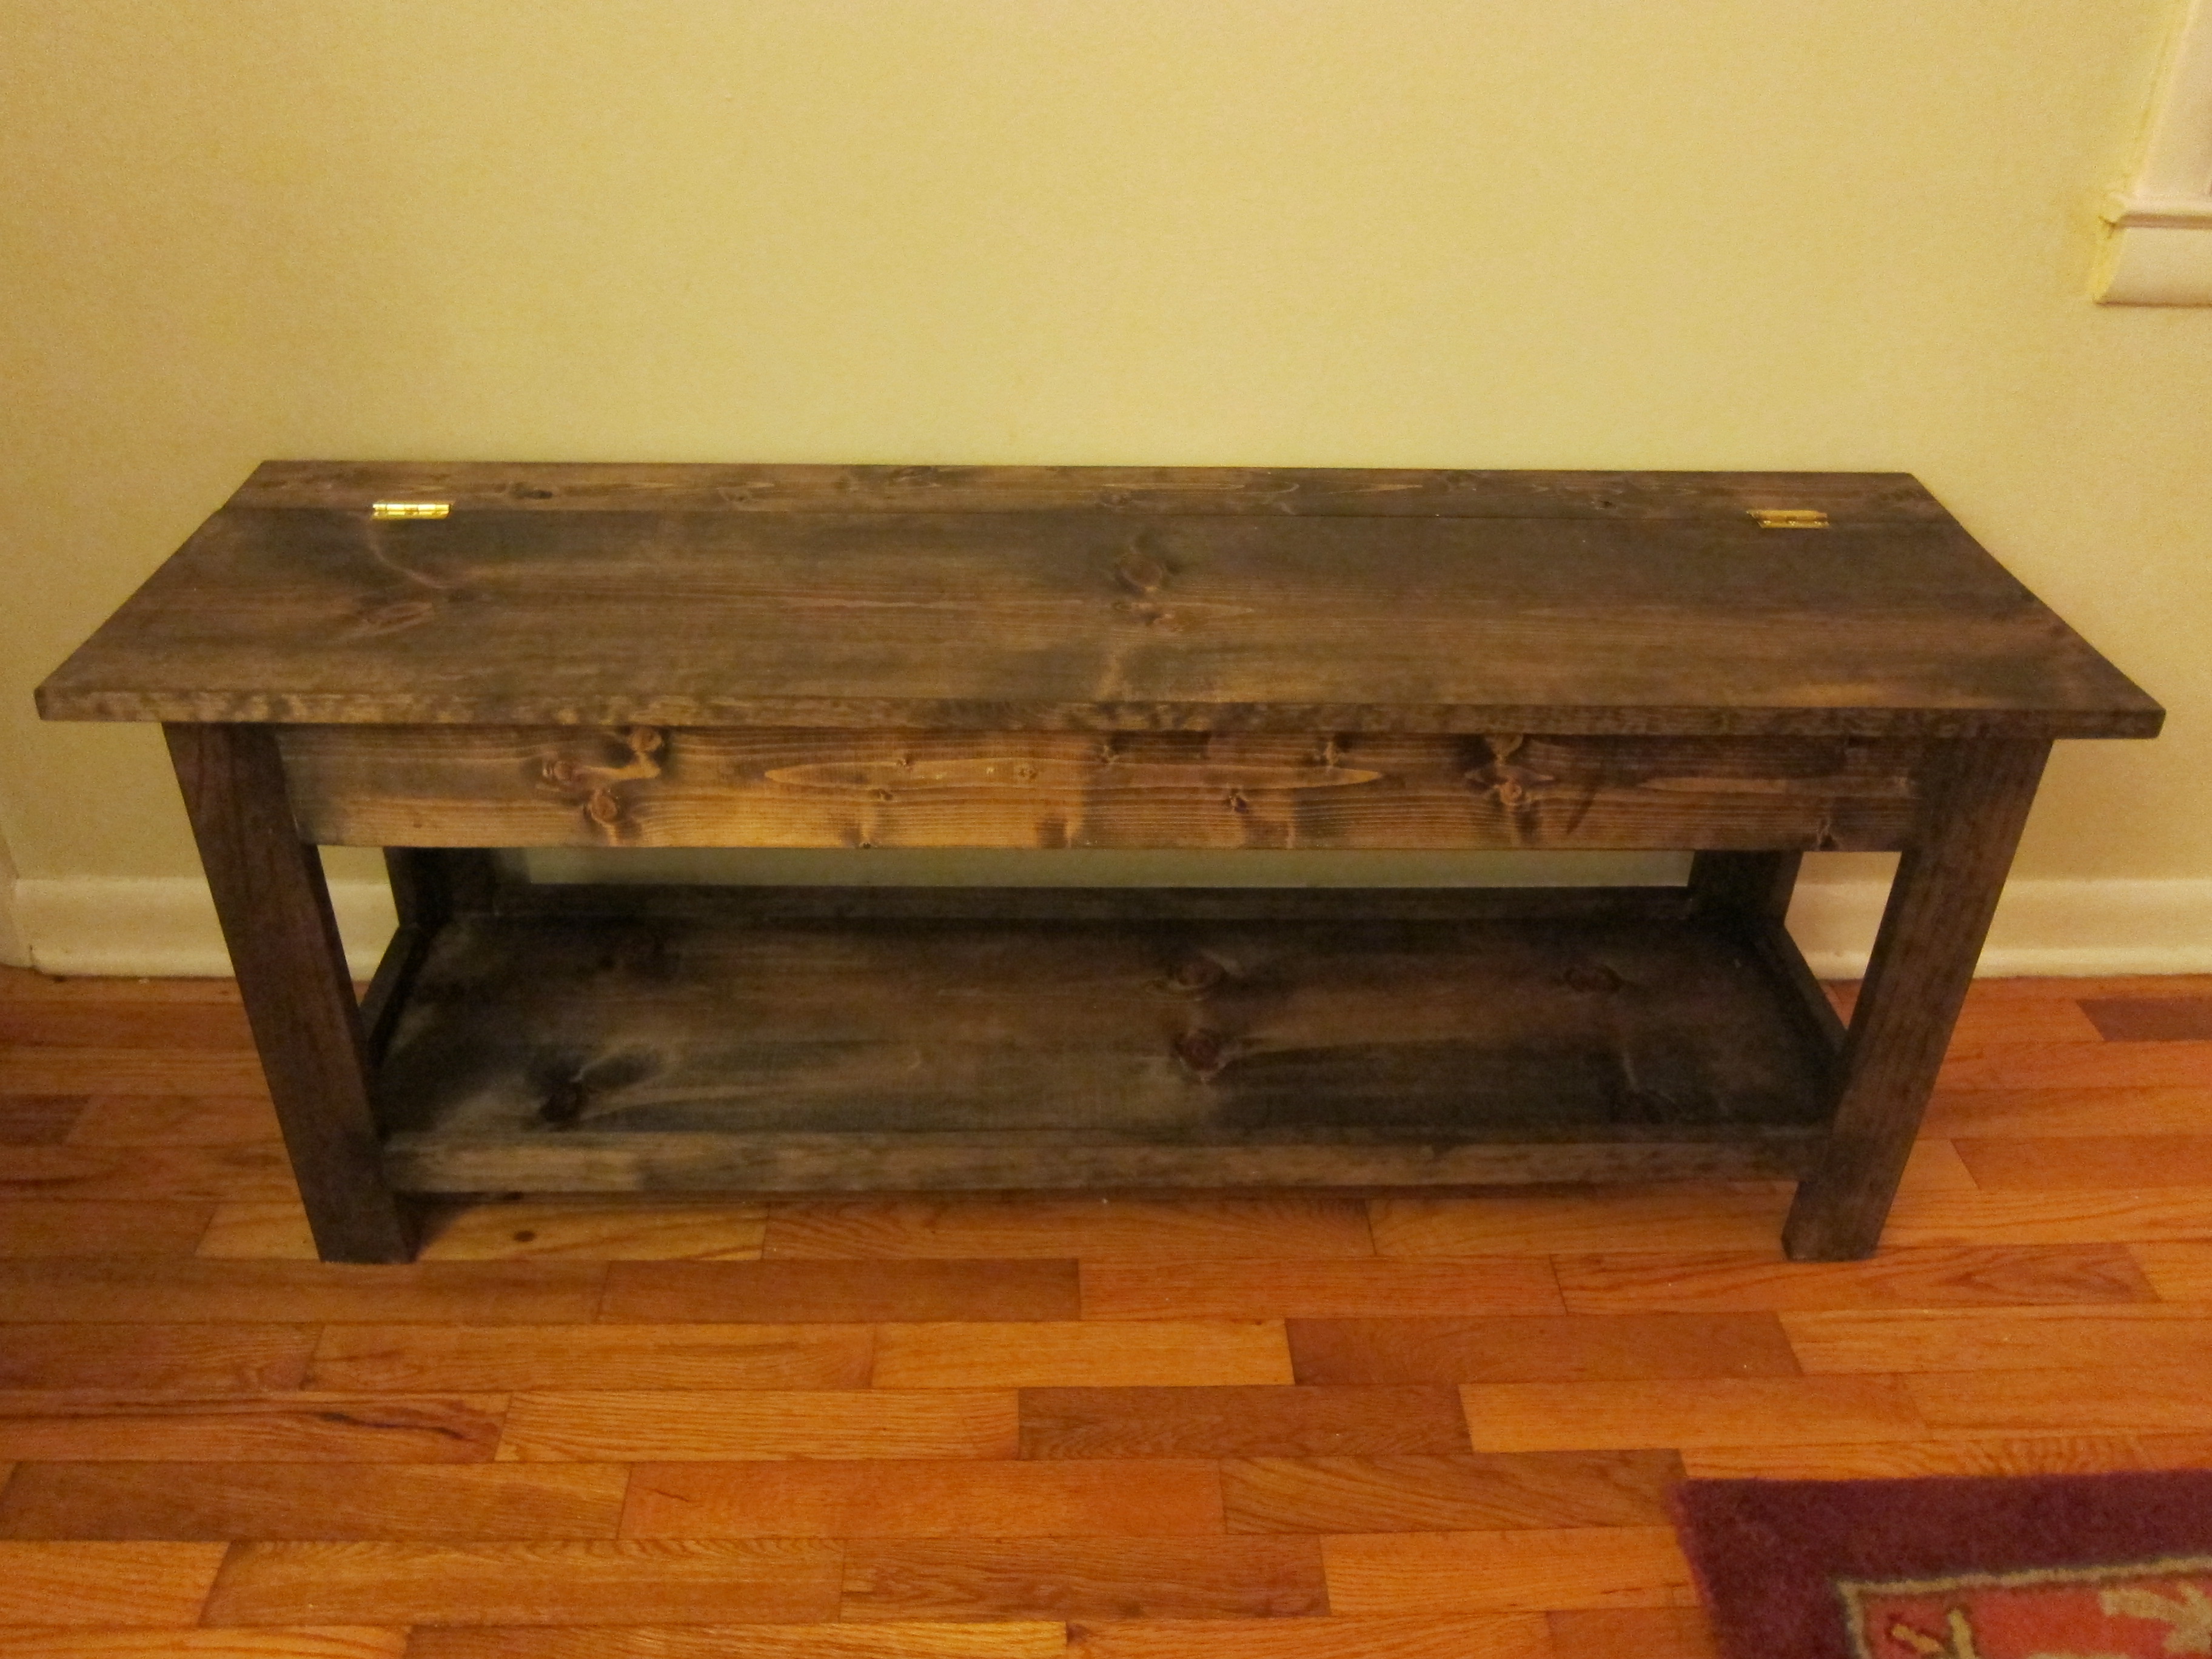
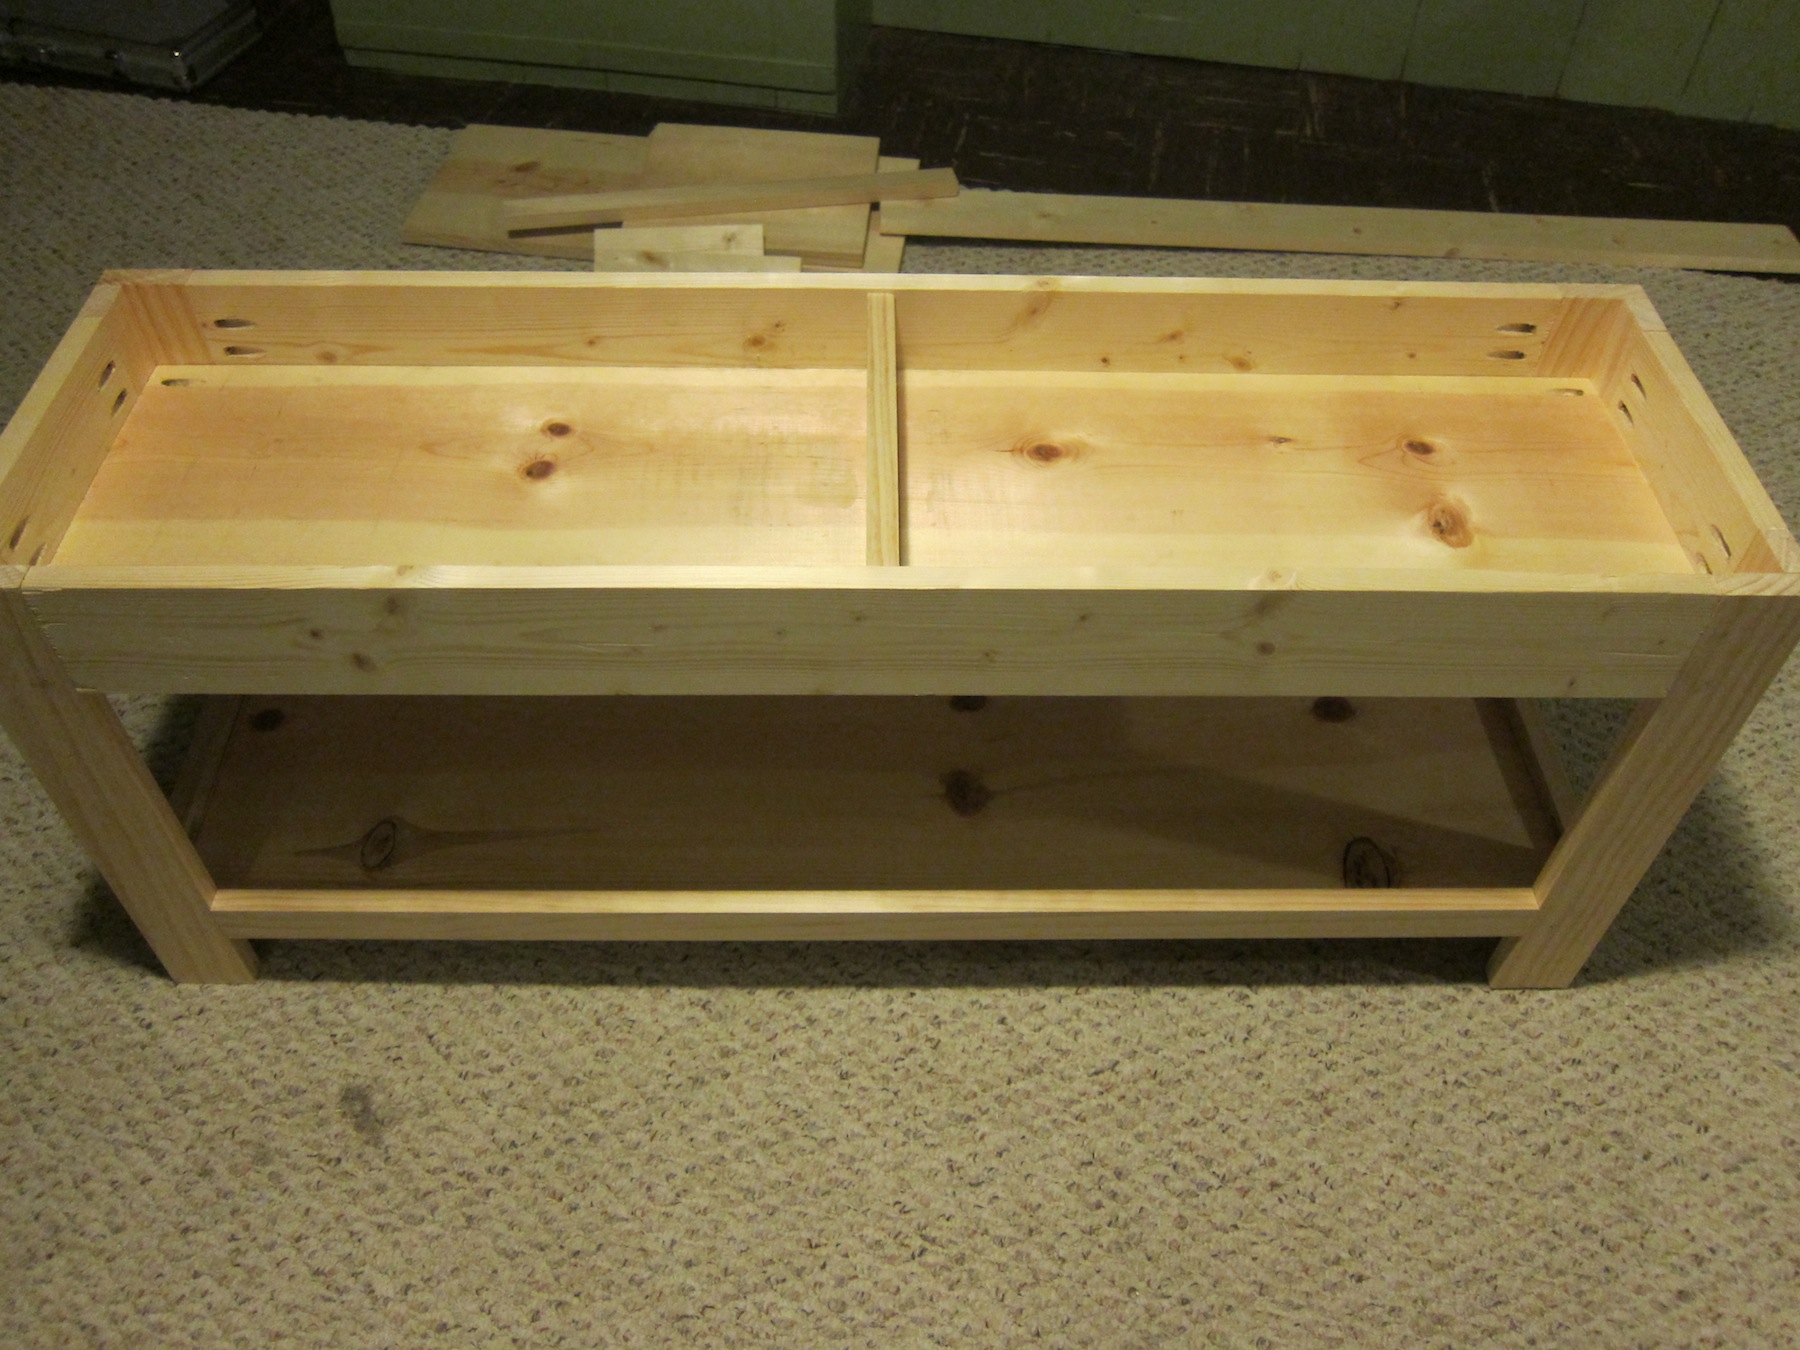
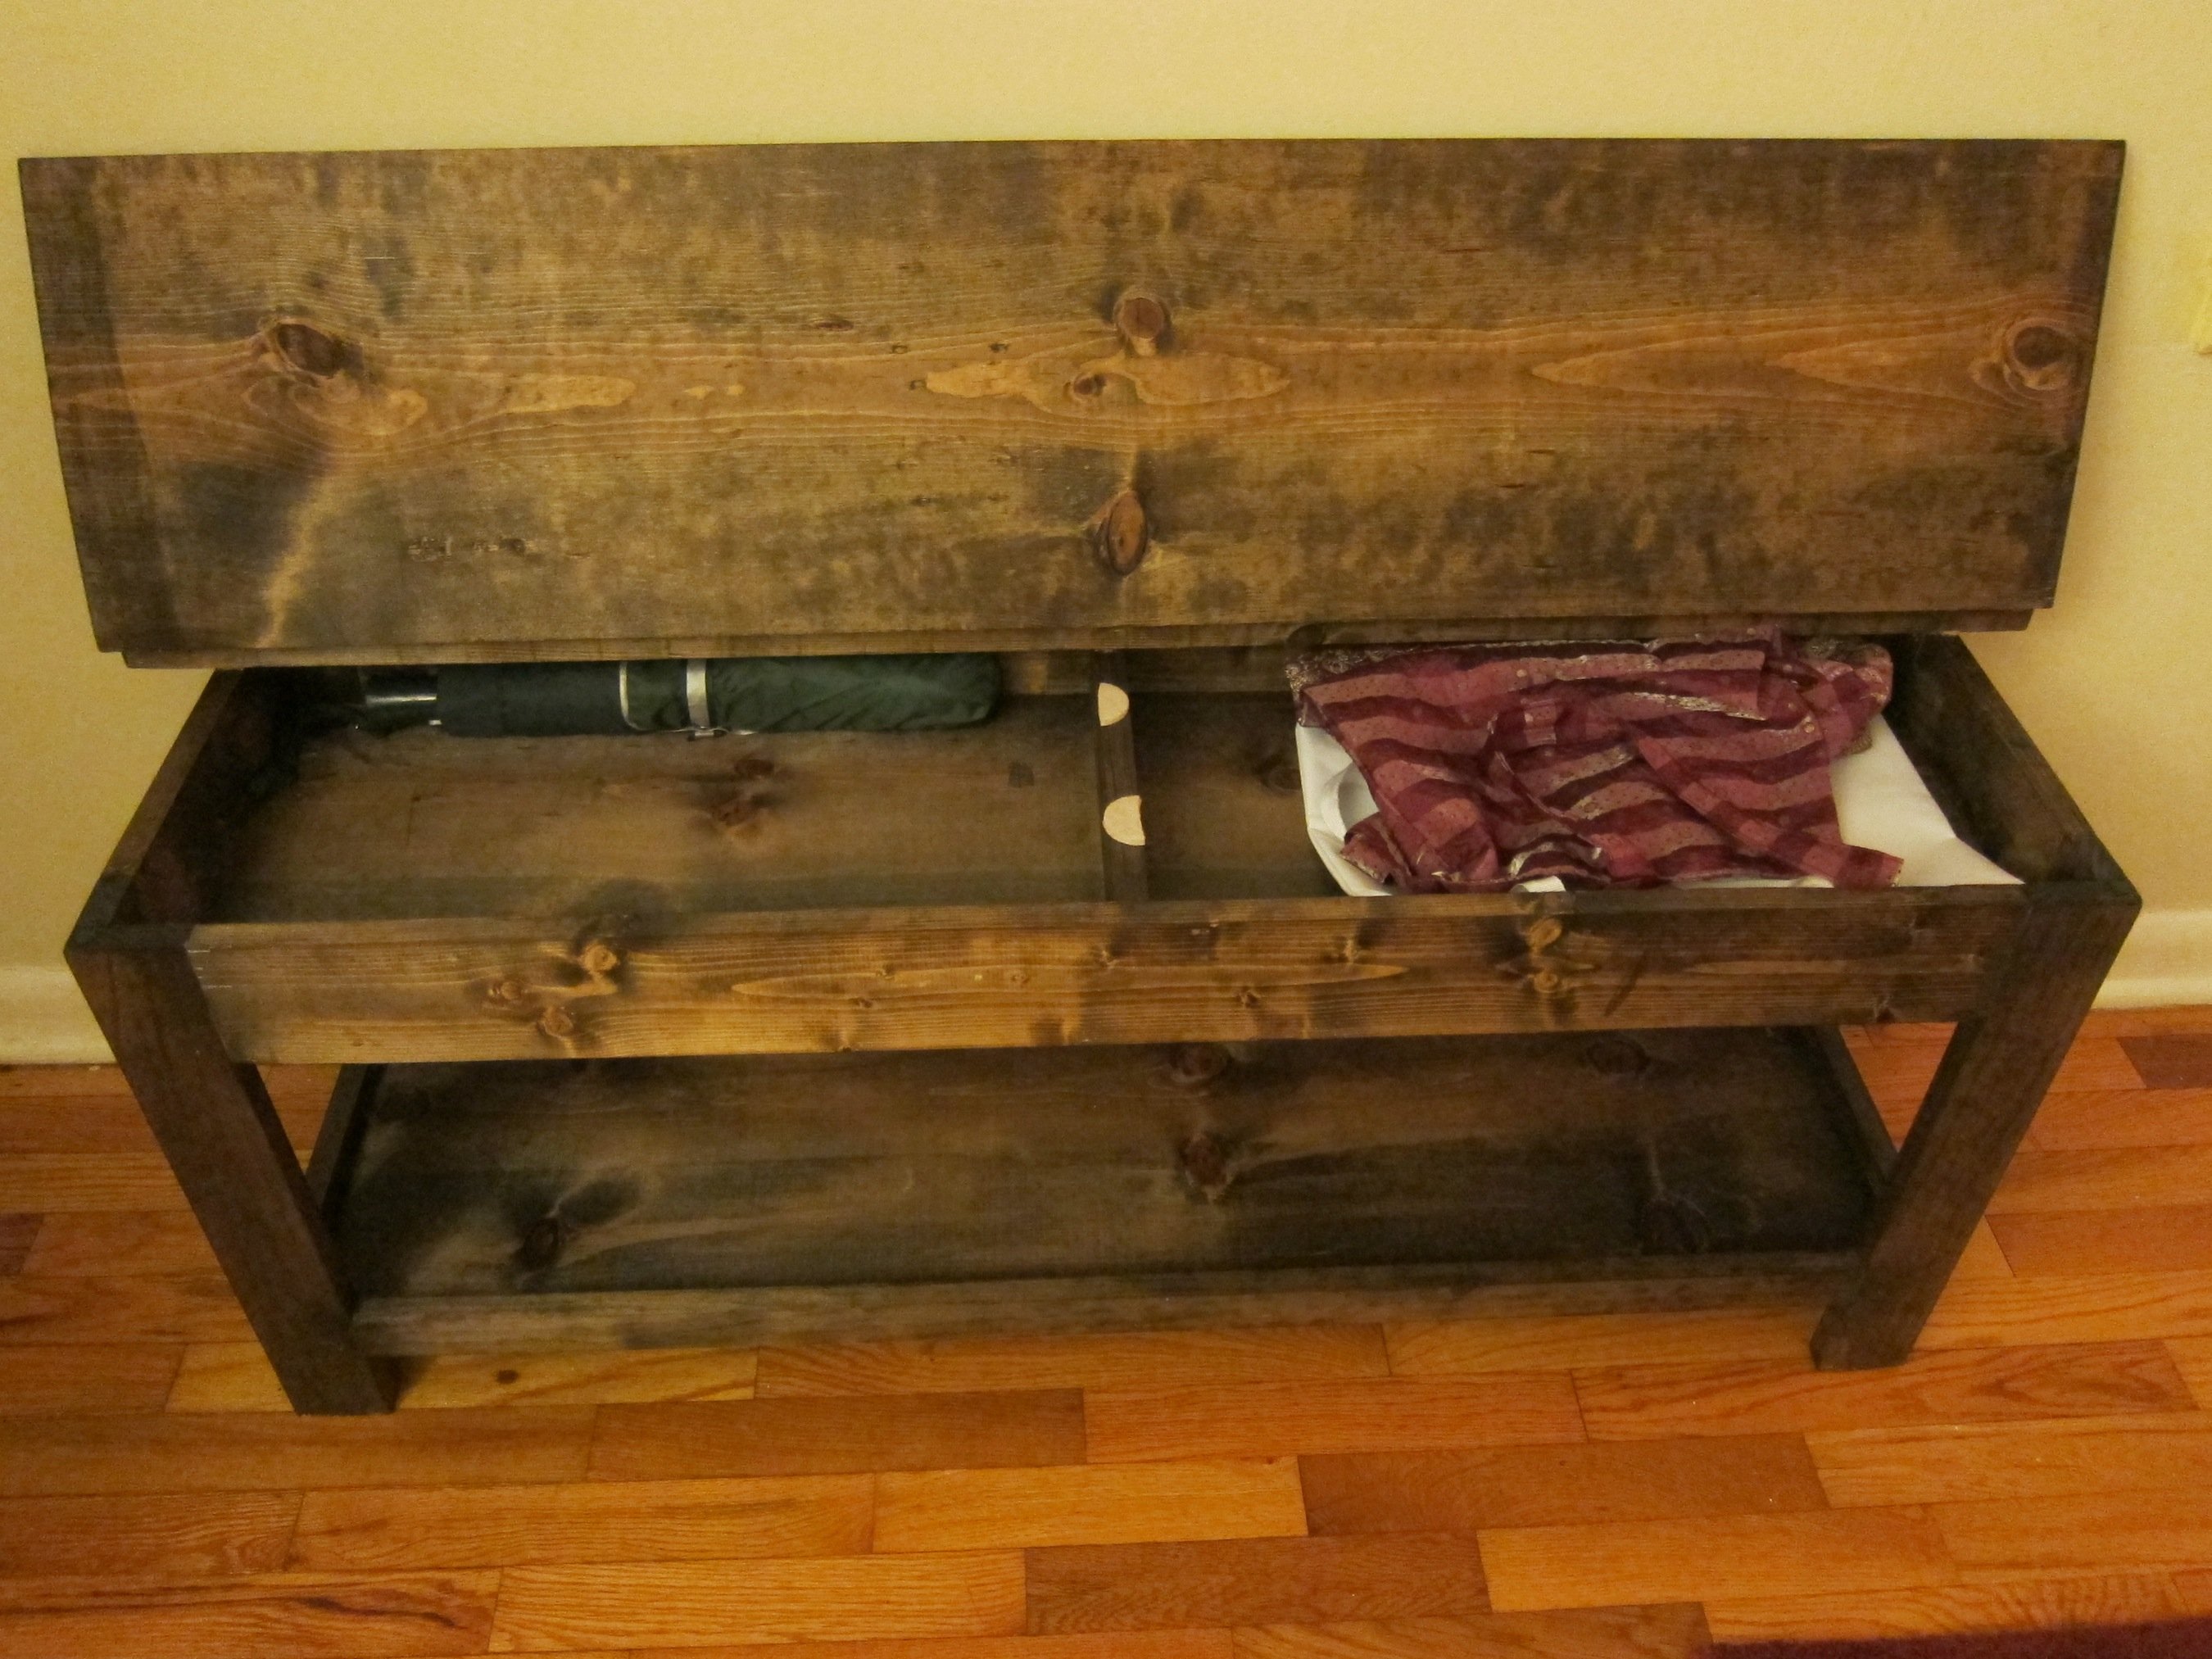
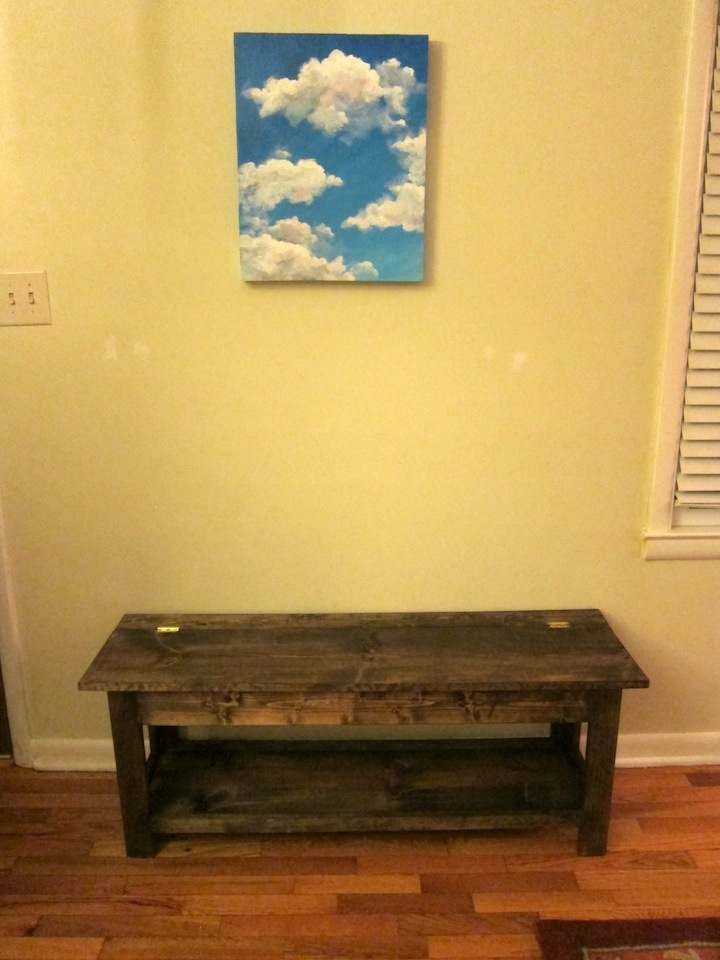
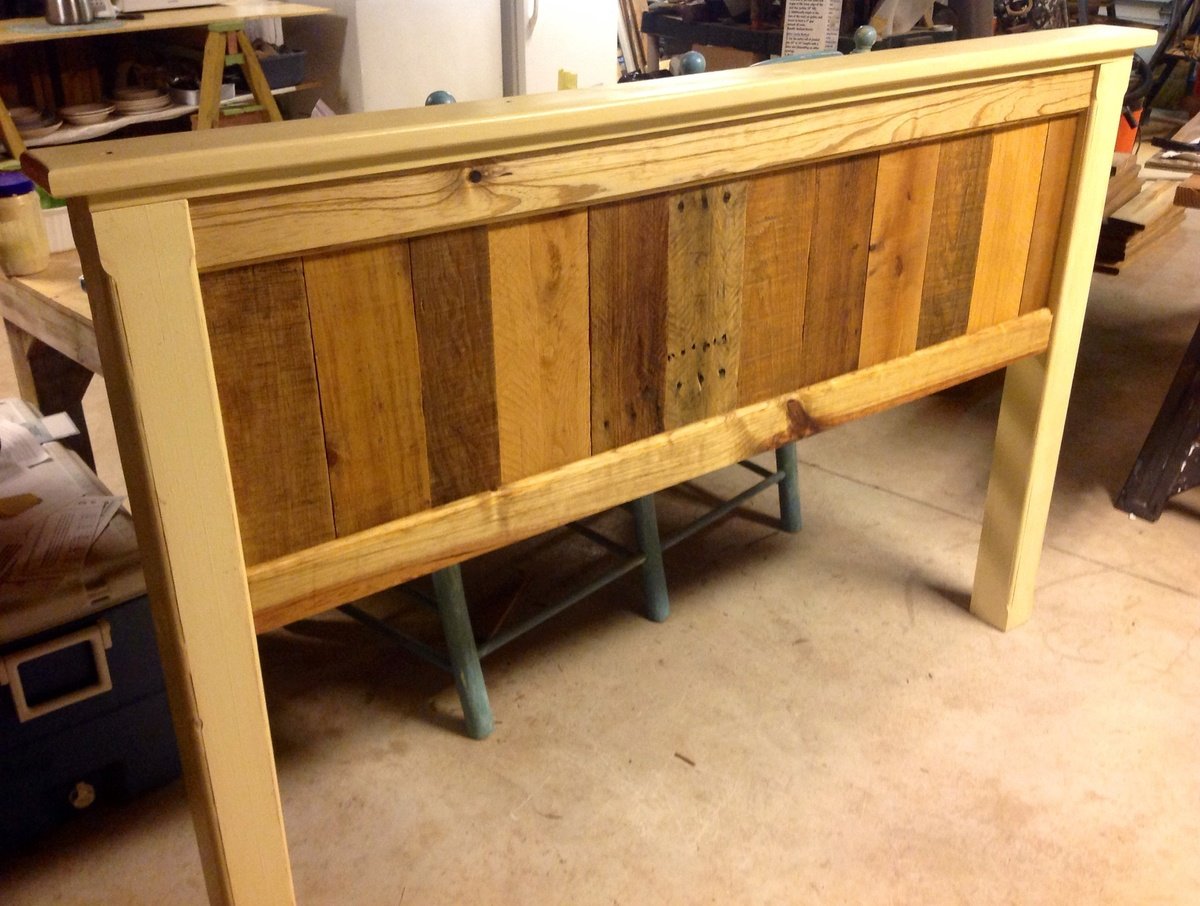
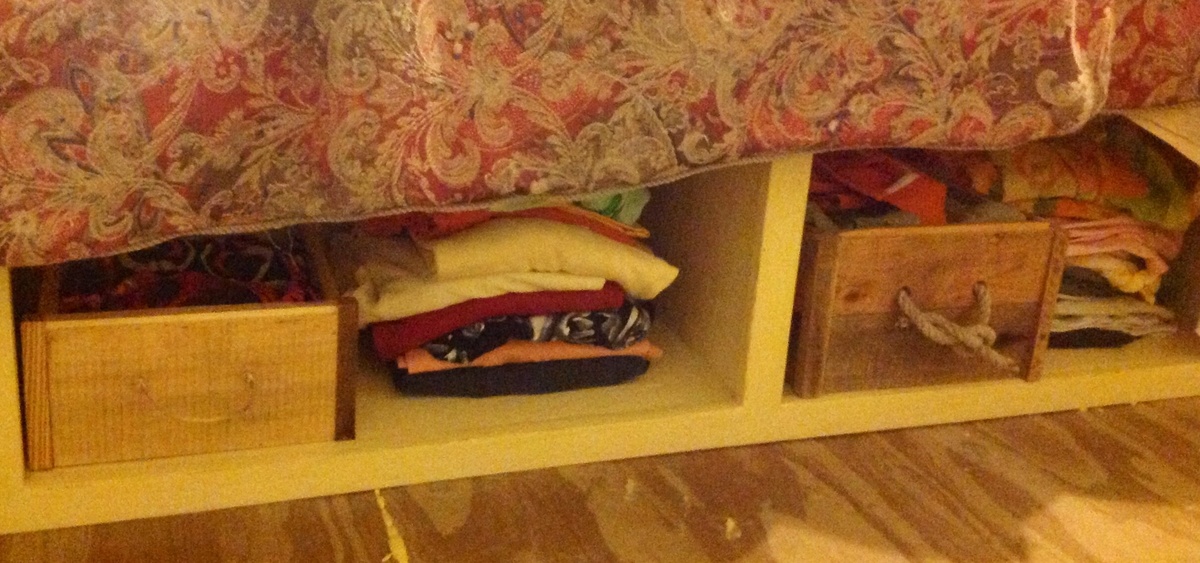
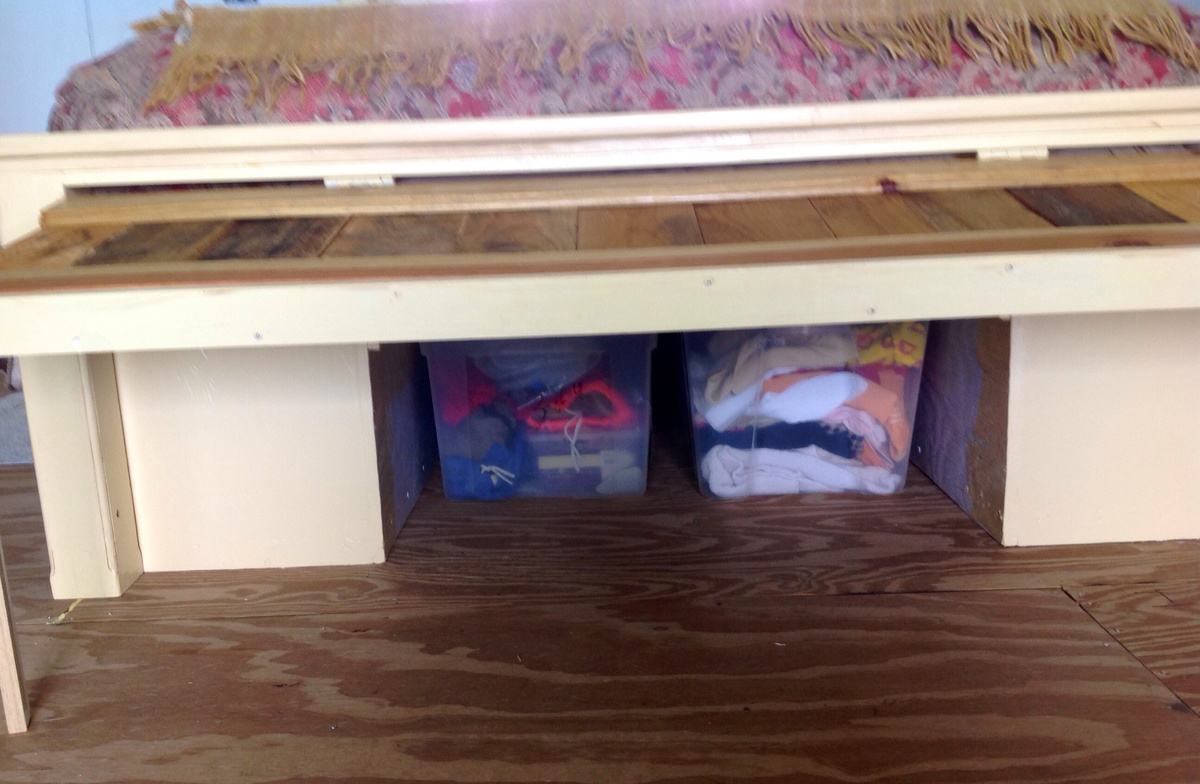
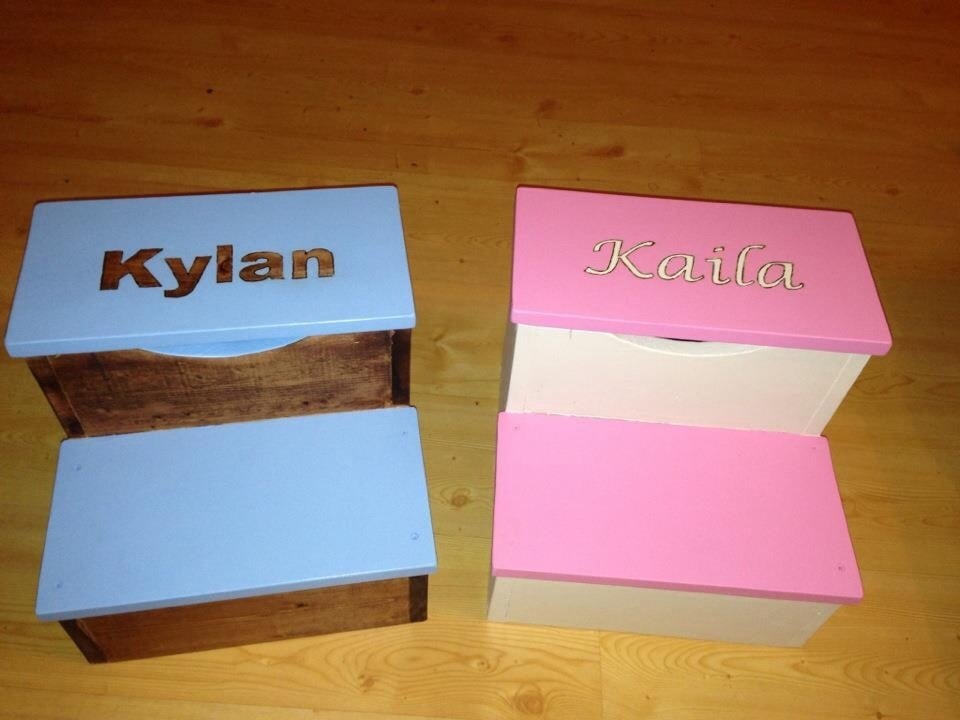
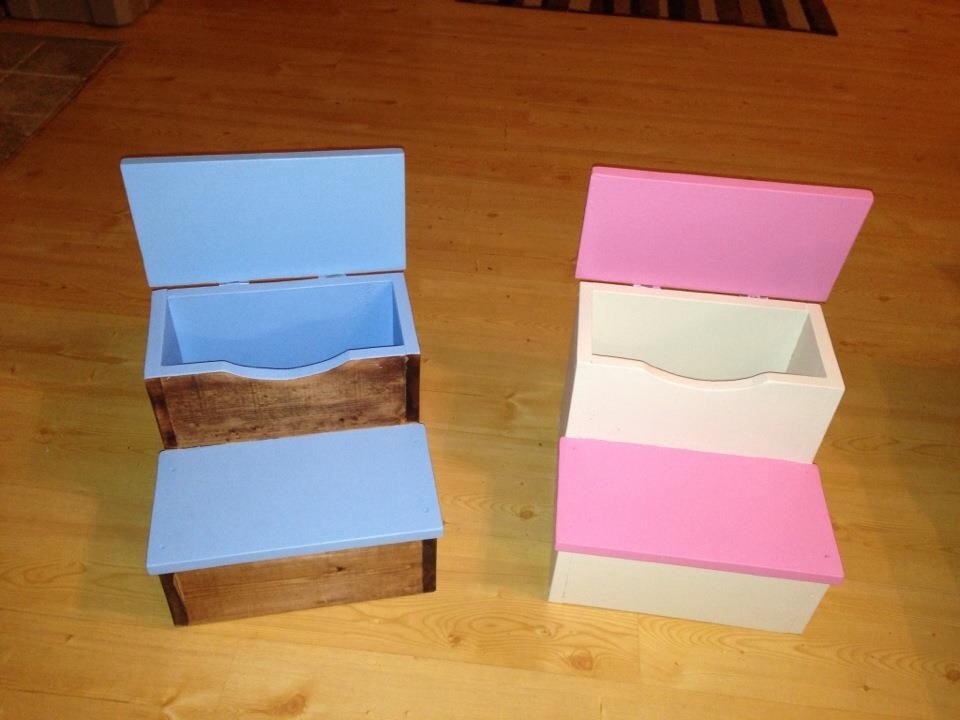
Shoe Storage Flip Top Bench - First Attempt at "Woodworking"
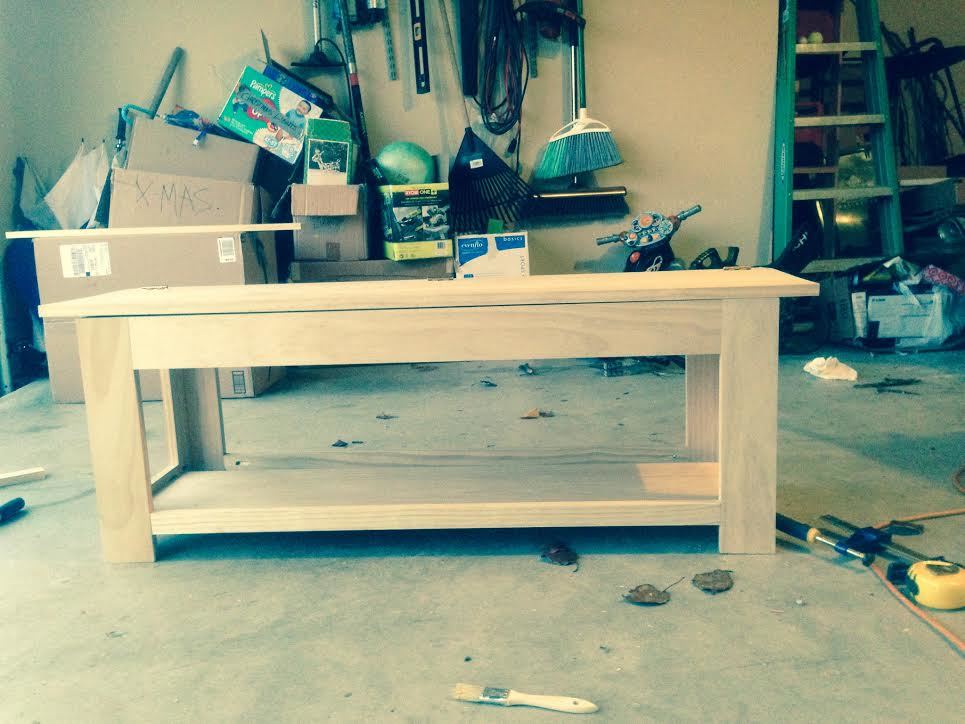
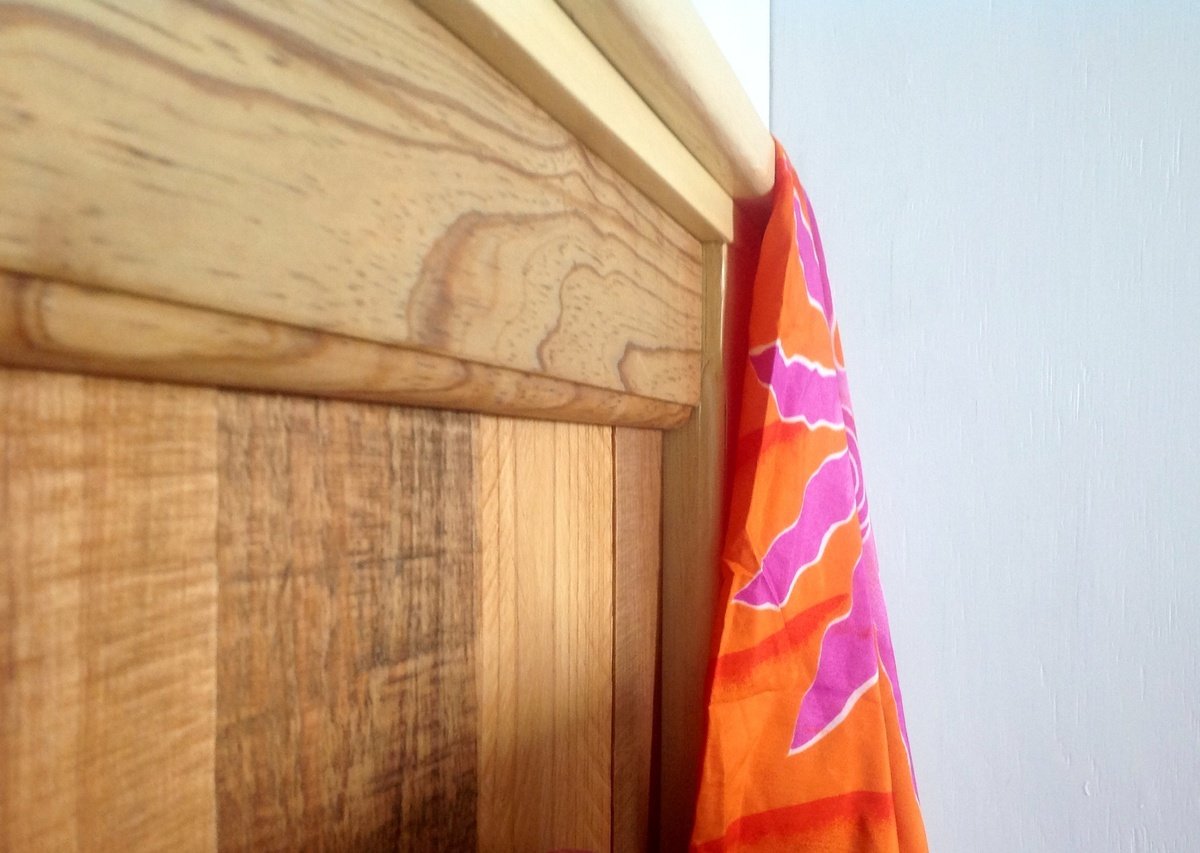
This is my first attempt at building and your website made it possible. There were a couple of mistakes, I admit. This was especially true with the finish. I did my best, but I'm a little impatient with letting things dry.
I am also having a difficult time estimating how long it took to build as I am the sometimes proud father of 3 boys...aged 2, 4, and 5....resulting in frequent stopping, starting, and intermittent chasing down the street. I need an exterior lock on the garage.
Thanks so much for your website Ana.
Built from Plan(s)
Estimated Time Investment
Day Project (6-9 Hours)
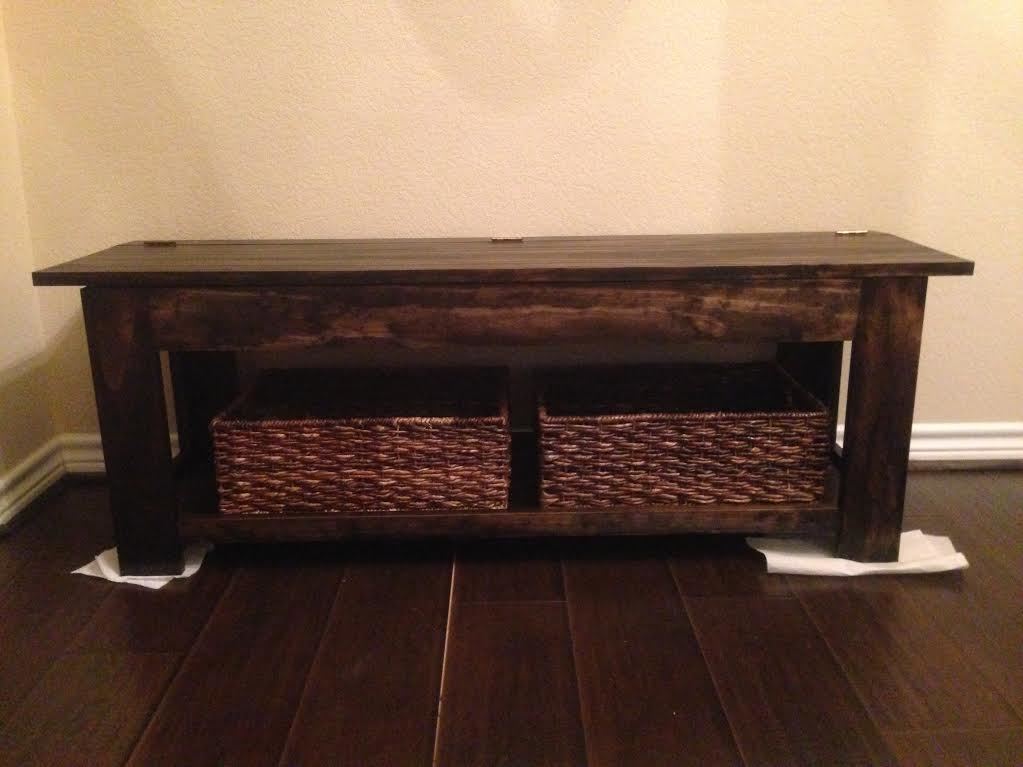
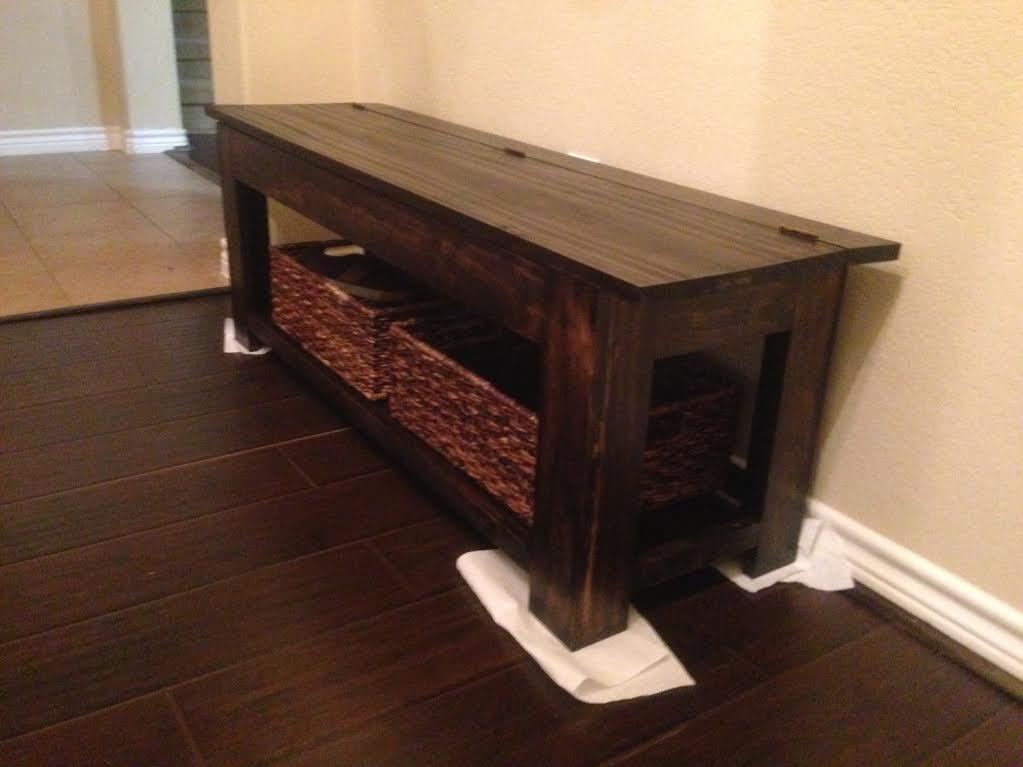
Finish Used
Minwax English Chestnut - Two Coats
Minwax Jacobean - One coat
Minwax Polyurethane
Minwax Jacobean - One coat
Minwax Polyurethane
Recommended Skill Level
Starter Project


Comments
Ana White
Thu, 12/26/2013 - 15:49
GREAT!
You did an amazing job!