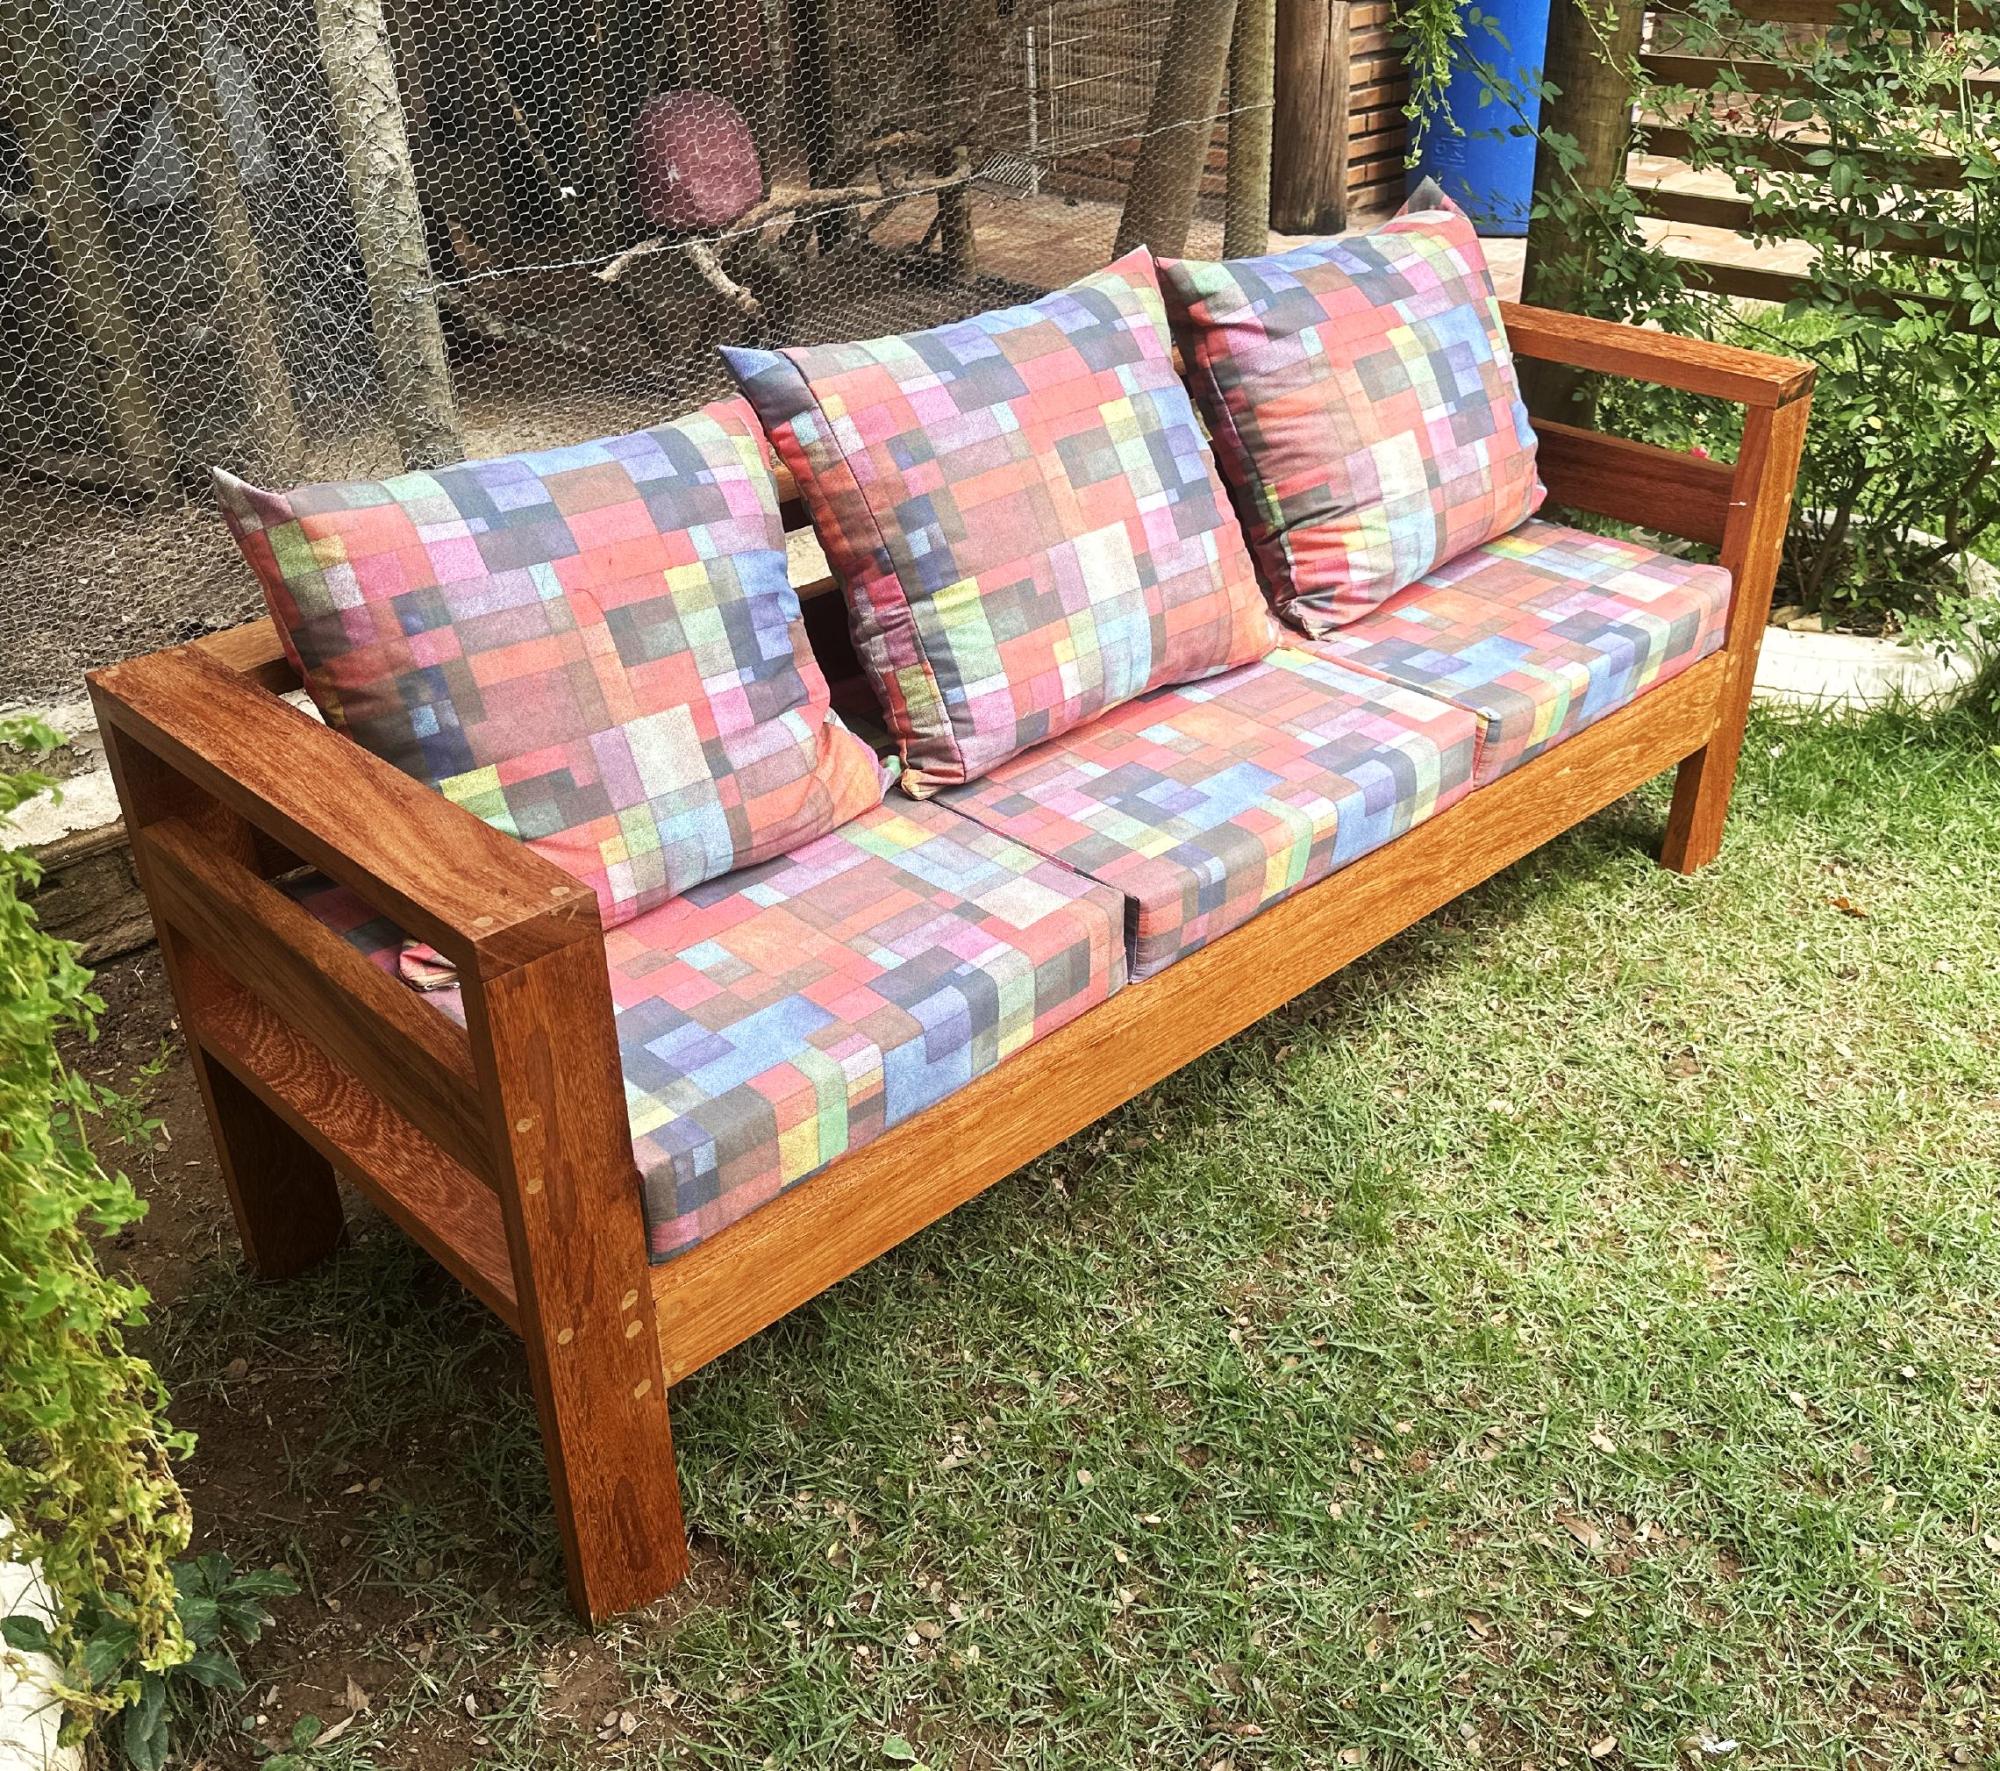
2x4 Outdoor Chair and Loveseat Set
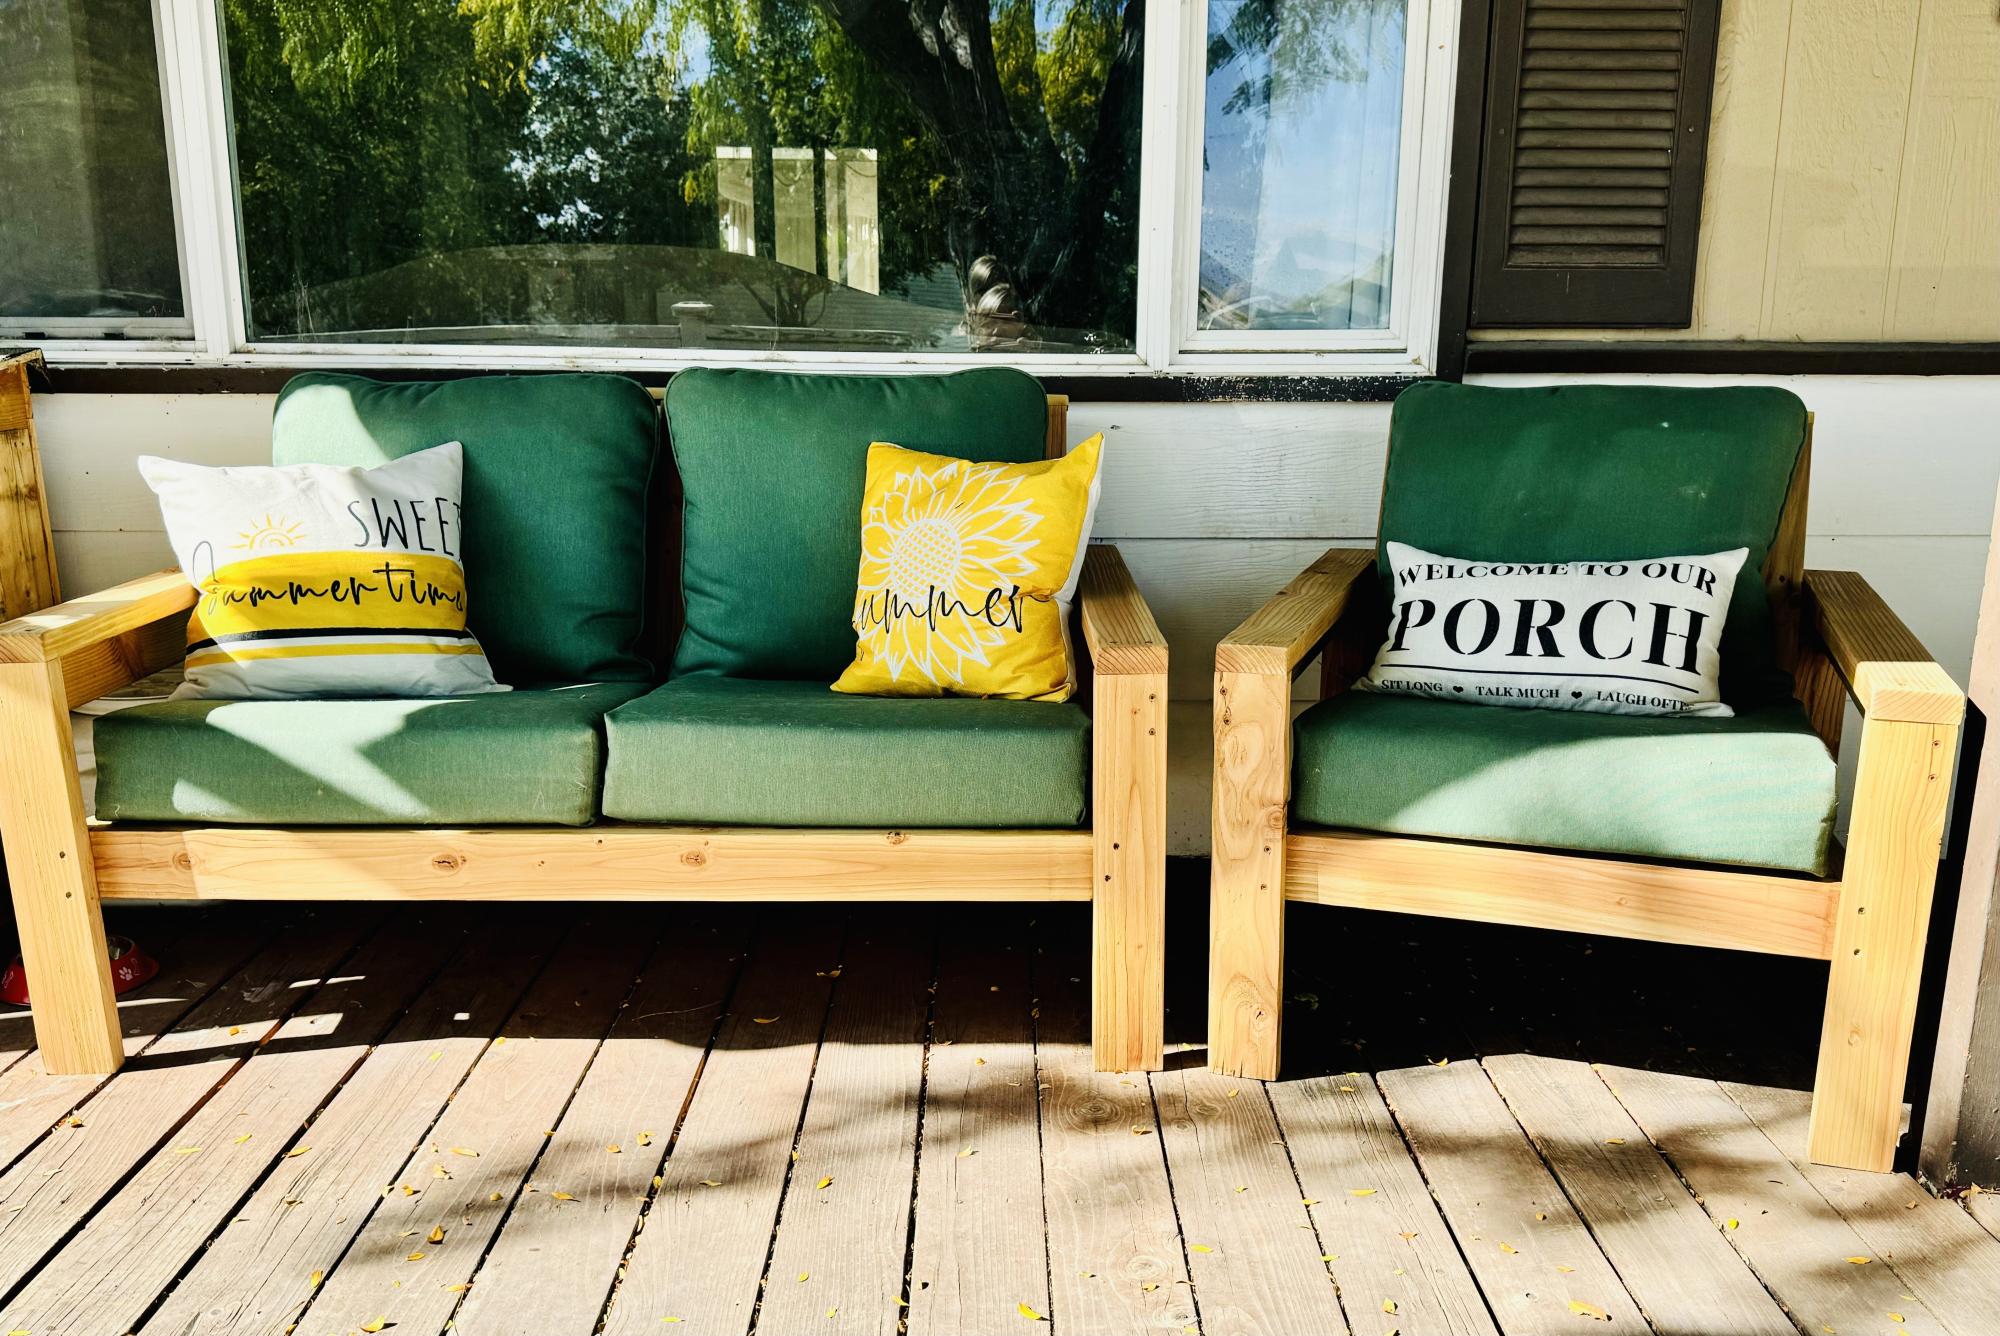
I love the ease with which this set came together! I adapted the plans for a loveseat and a chair for 24x24 deep seat cushions I had picked up on sale in the spring. I spent about $70 on douglas fir 2x4 studs. I spent three partial days on this project: one to cut all the pieces, one to assemble, and the last day for sanding and staining. After assembling the chair, I decided to move the back support of the loveseat forward by 1 1/2 inches and attached the back seat support at 23” because I’m a bit shorter (5’4”) and my feet didn’t touch the ground when fully seated in the chair. It worked out perfectly for me and my husband loves the chair. Now we have beautiful and sturdy seating on the porch. I love how easy Ana’s plans are to follow and the videos are immensely helpful.