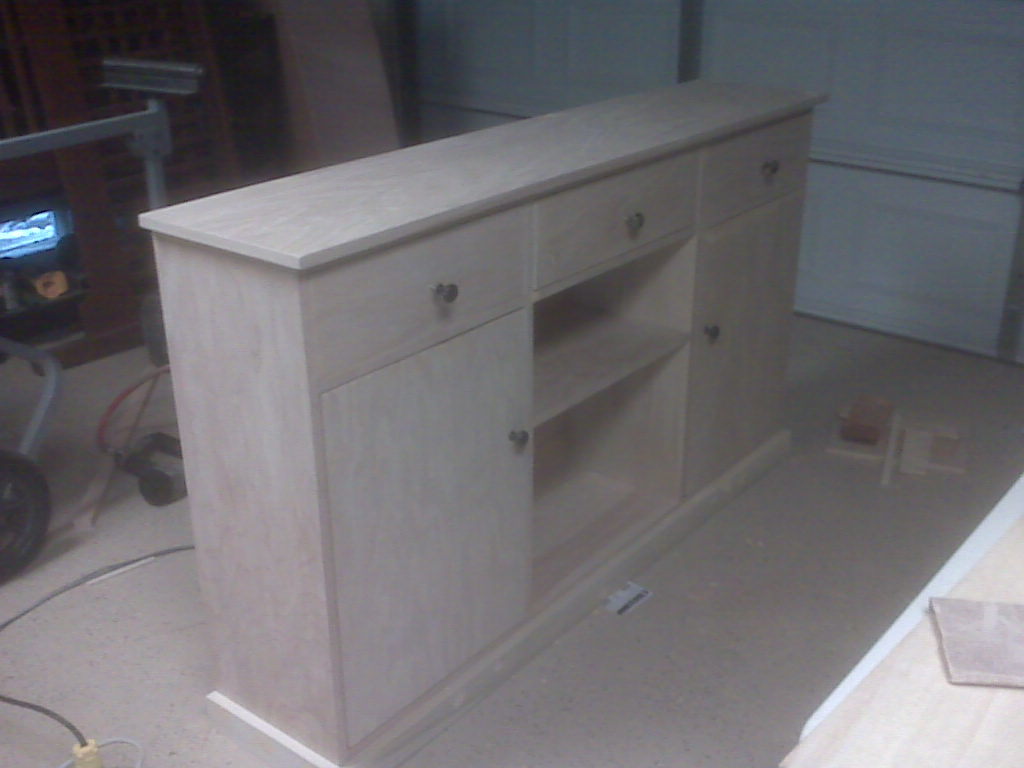
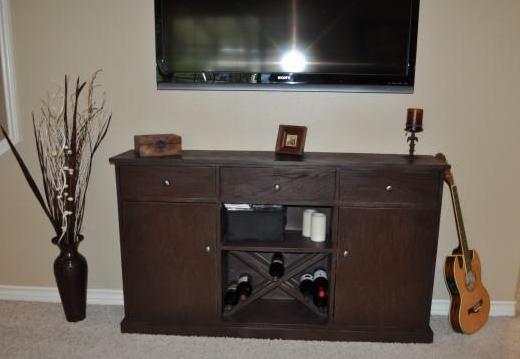
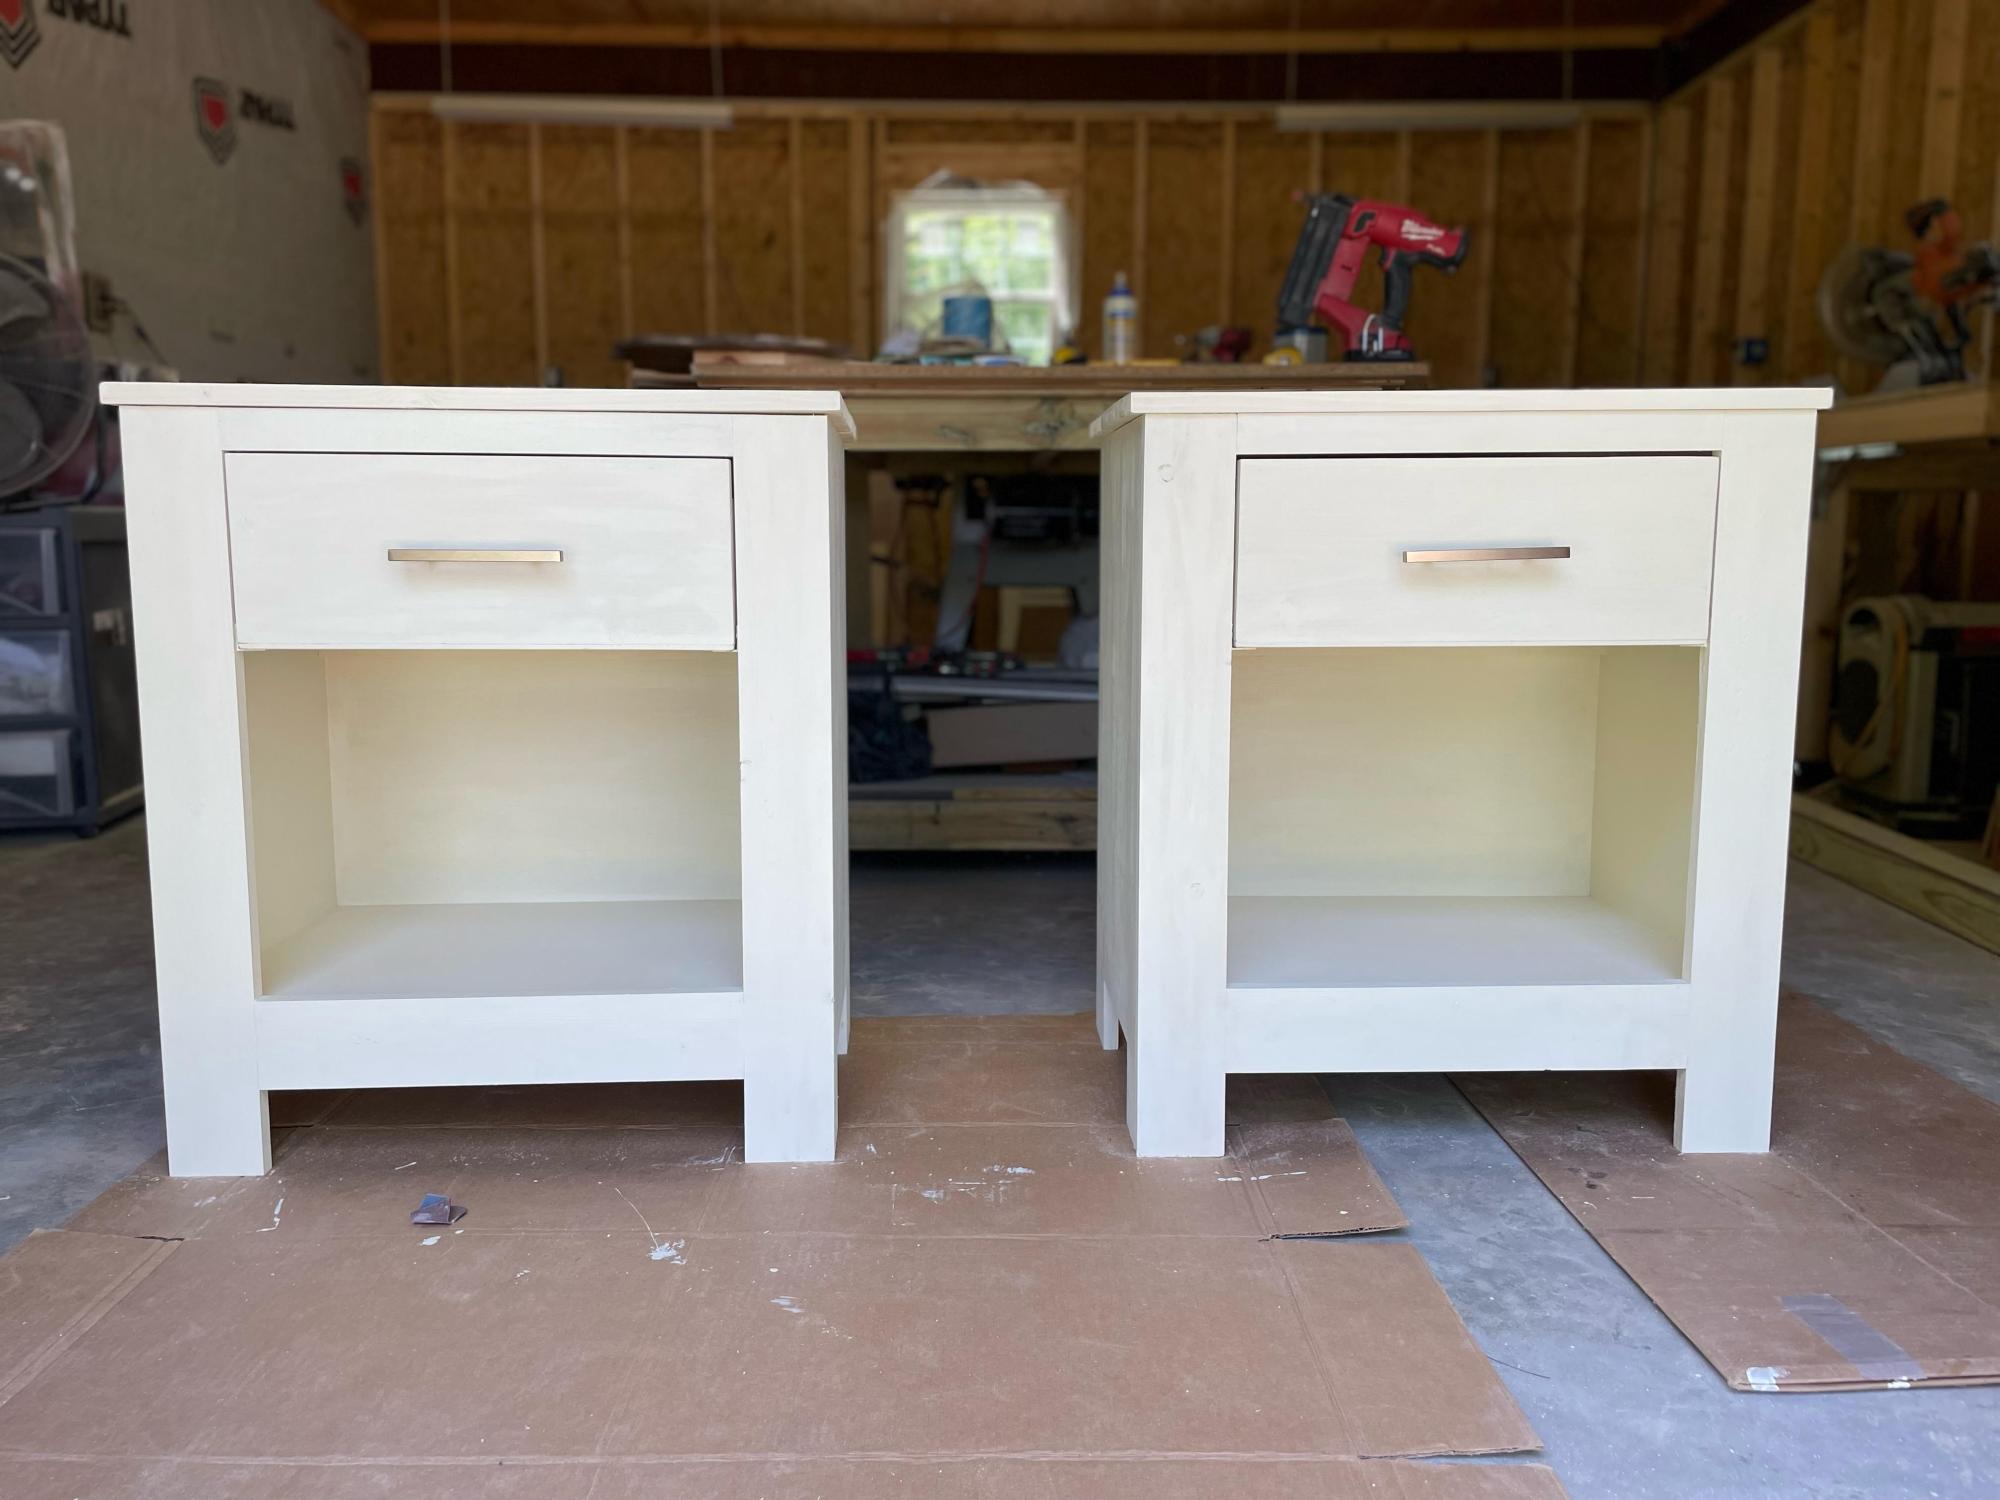
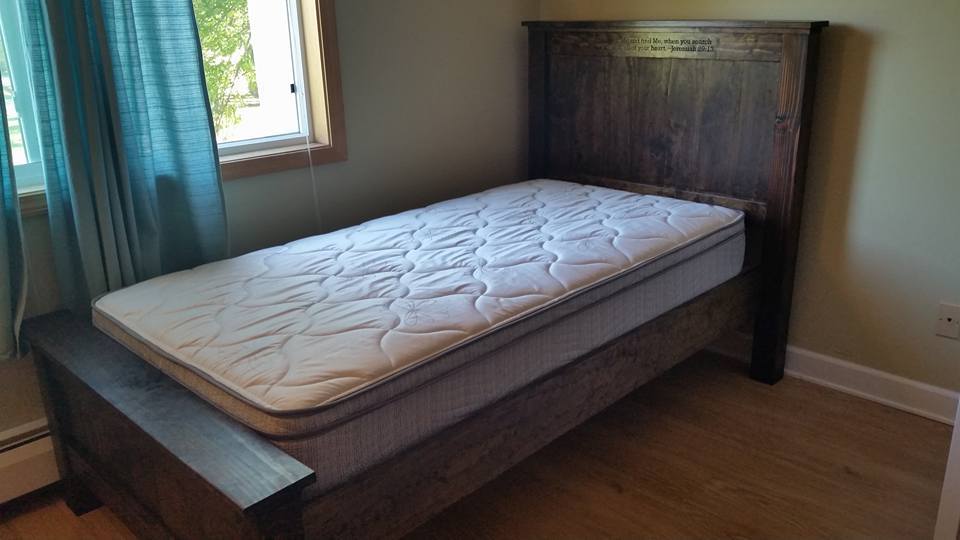
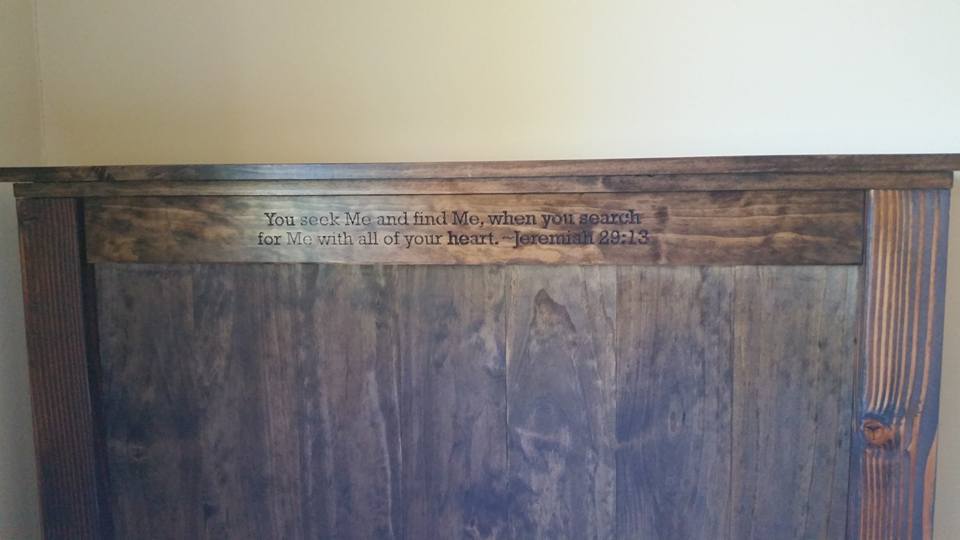
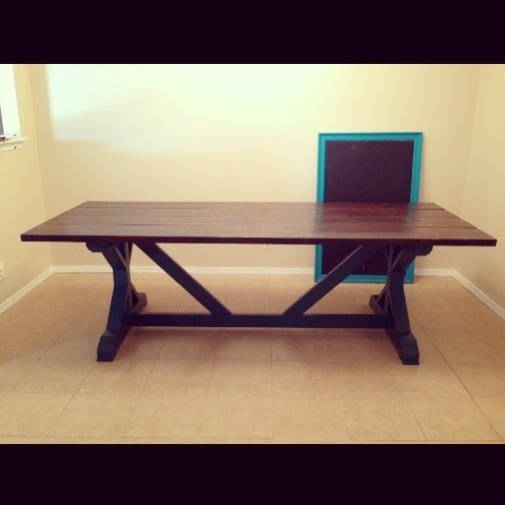
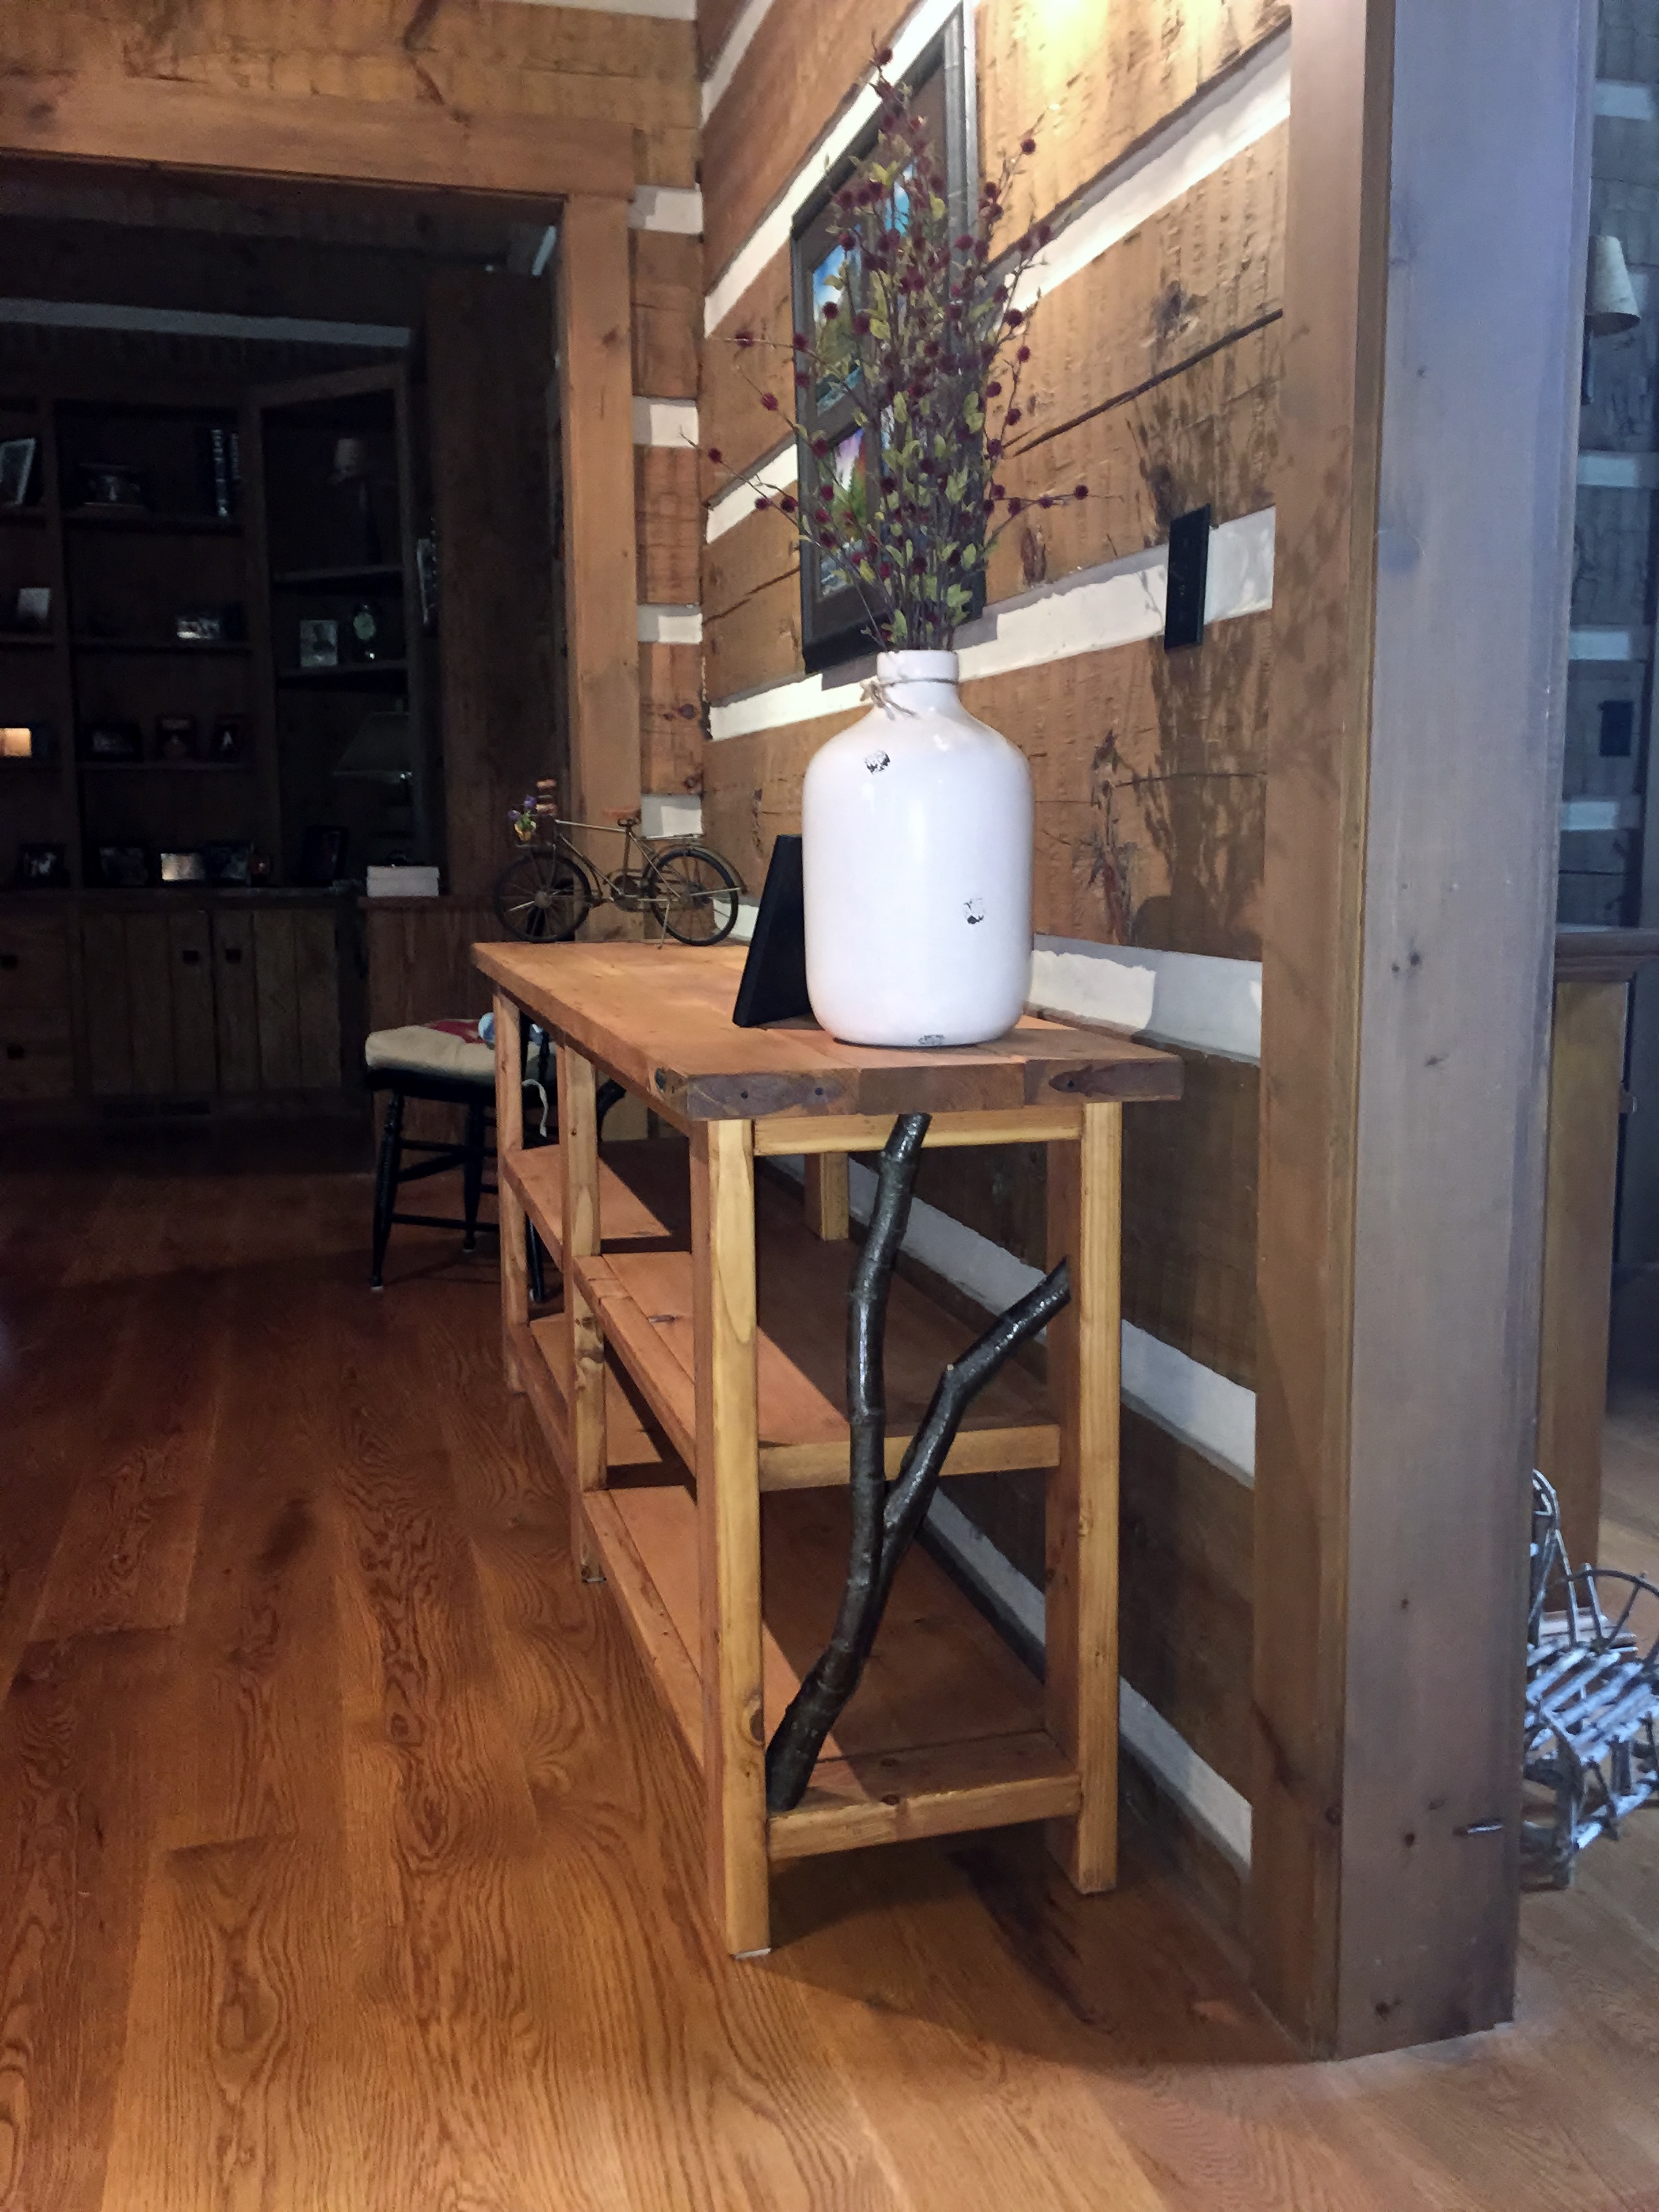
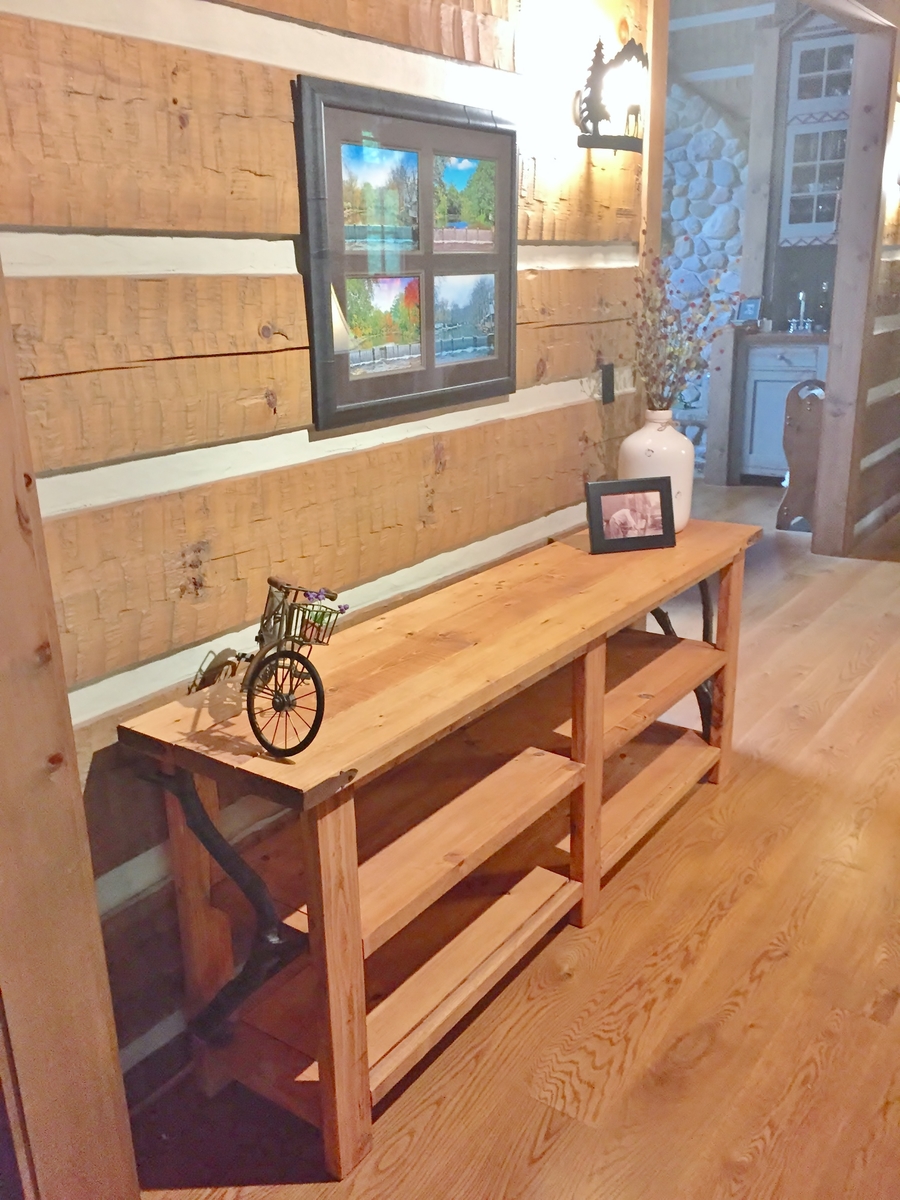
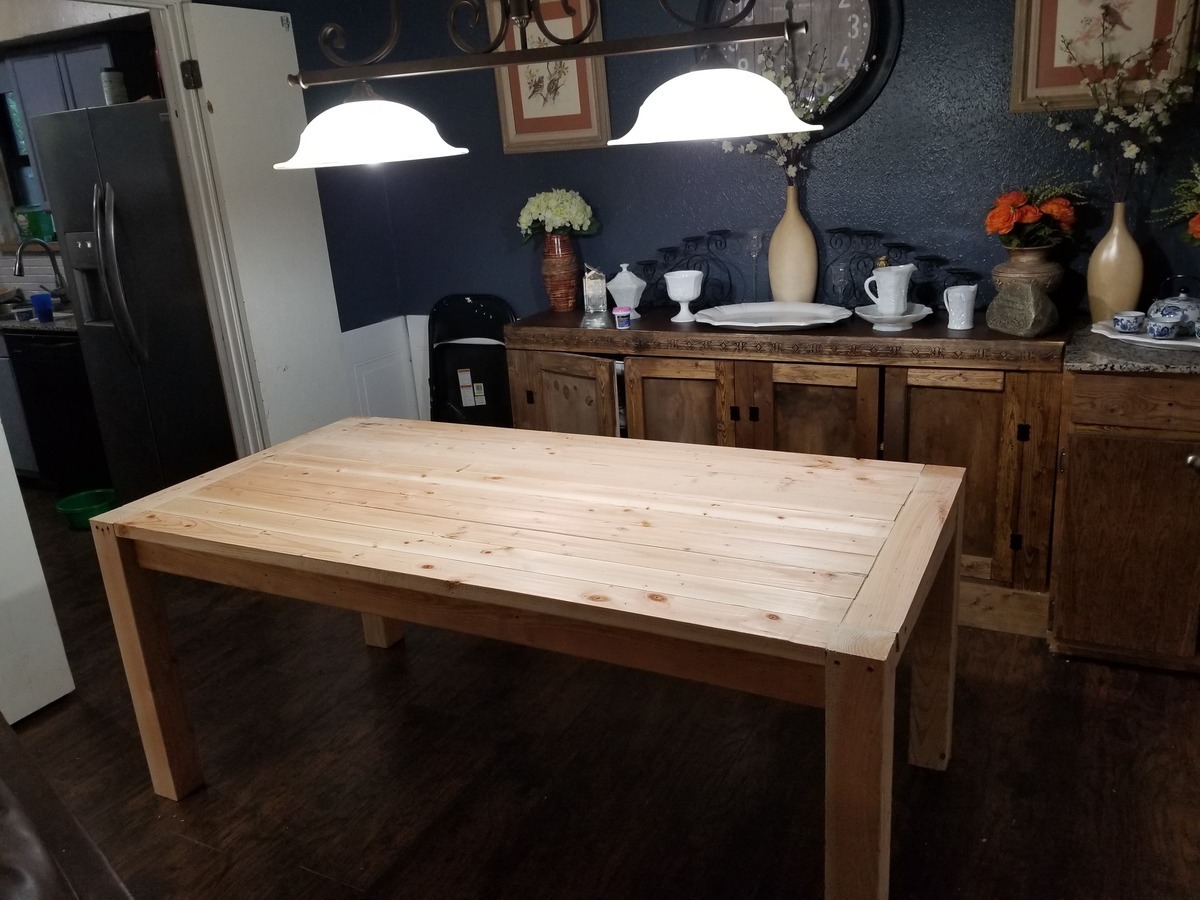
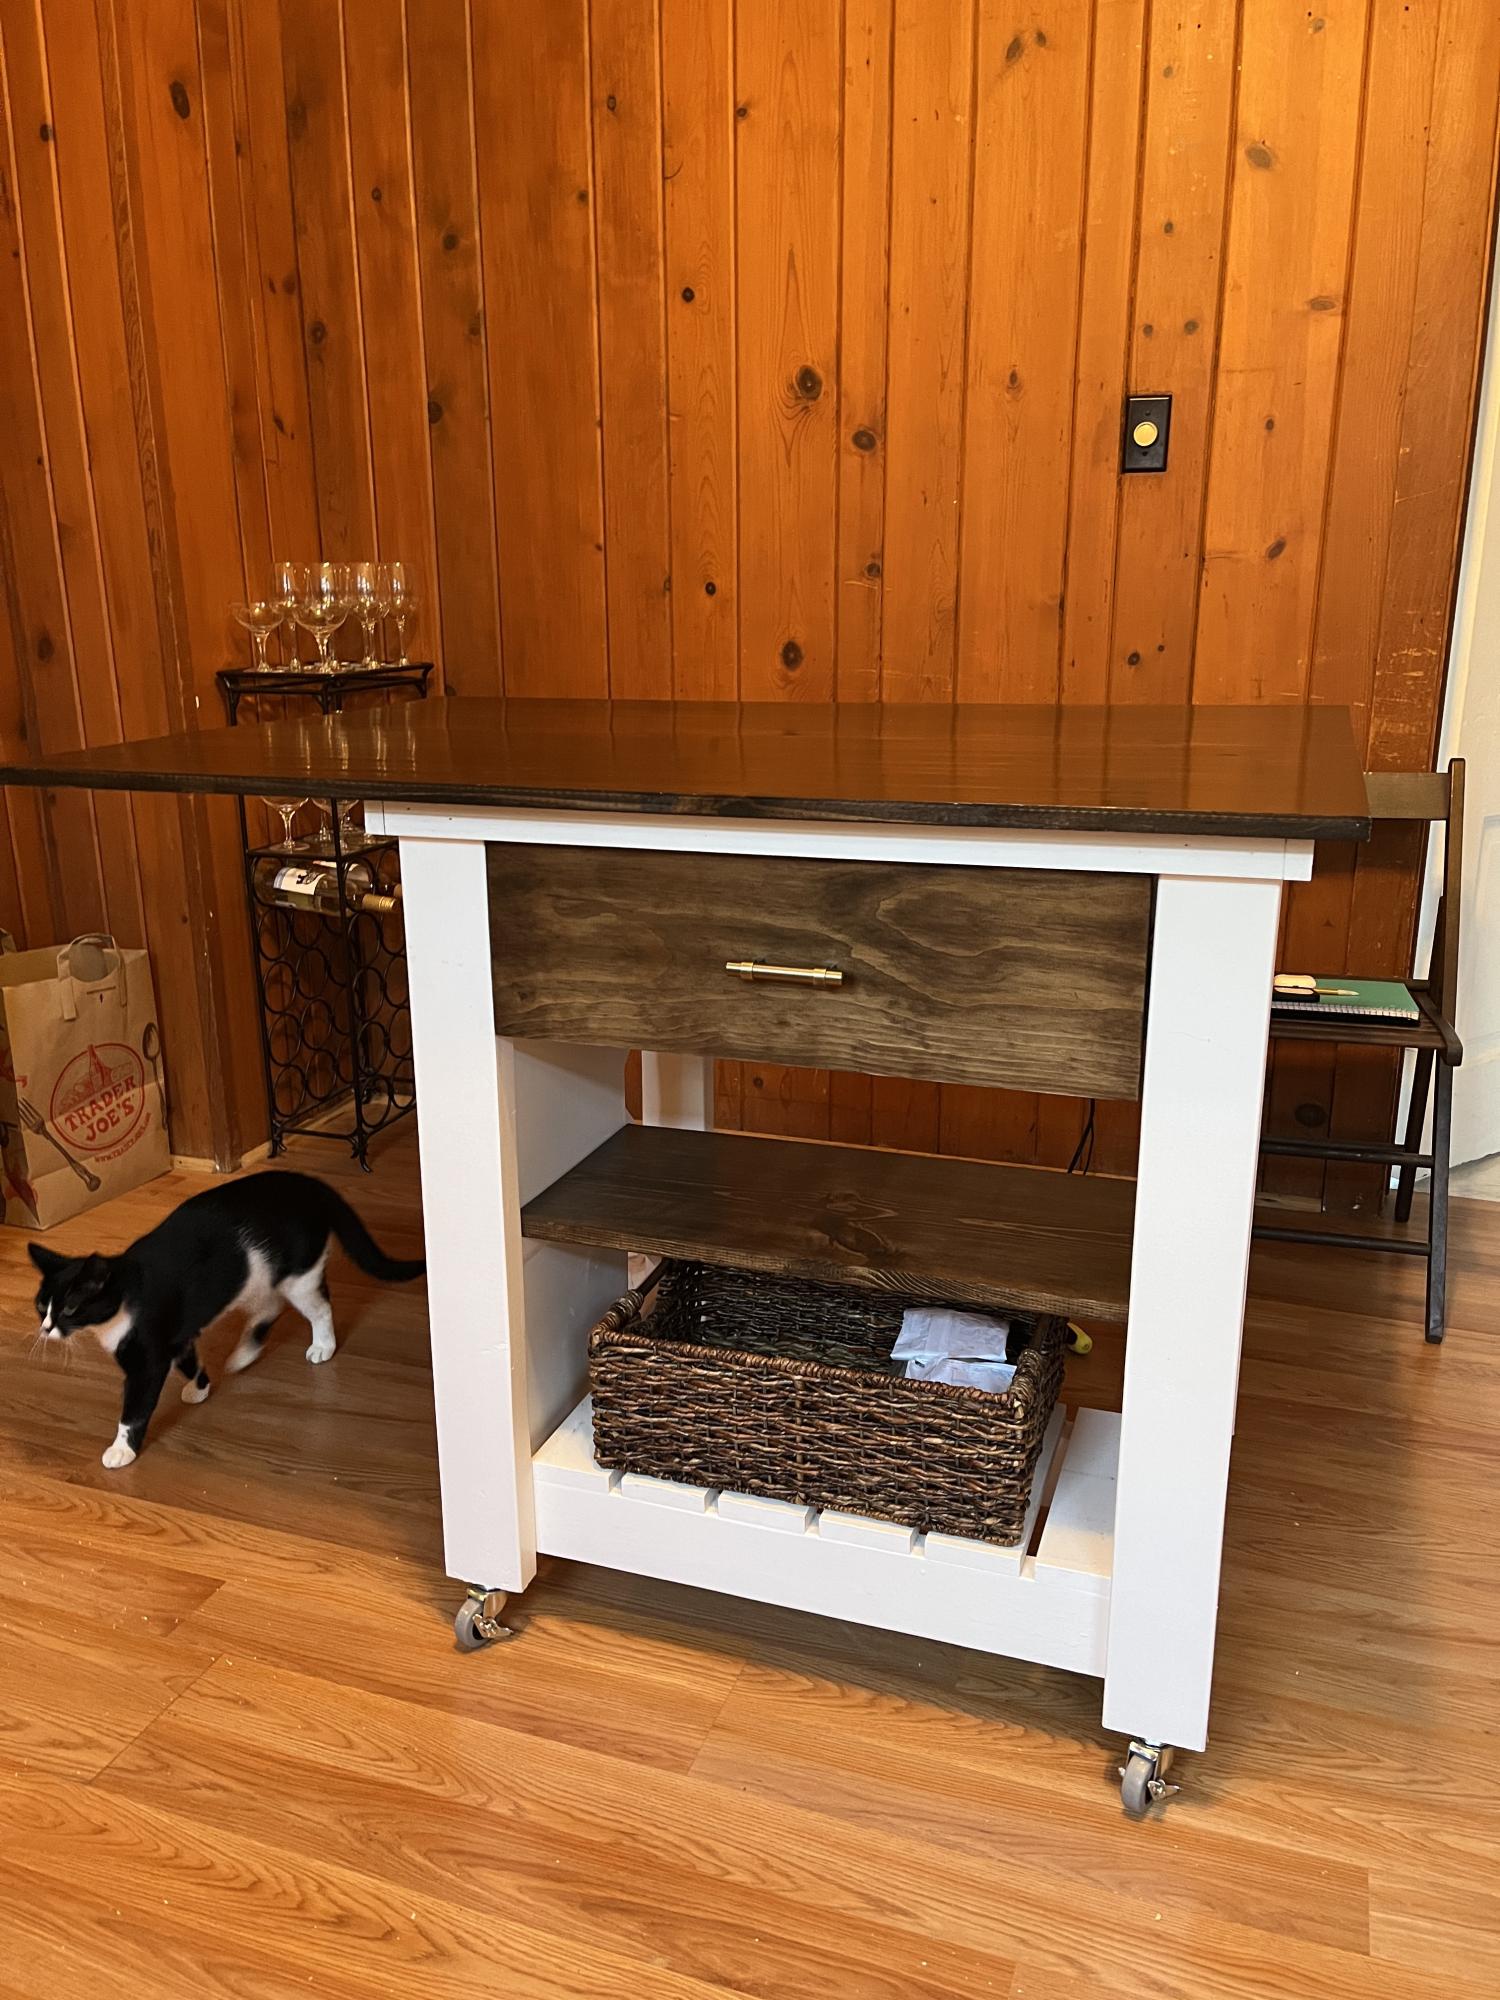
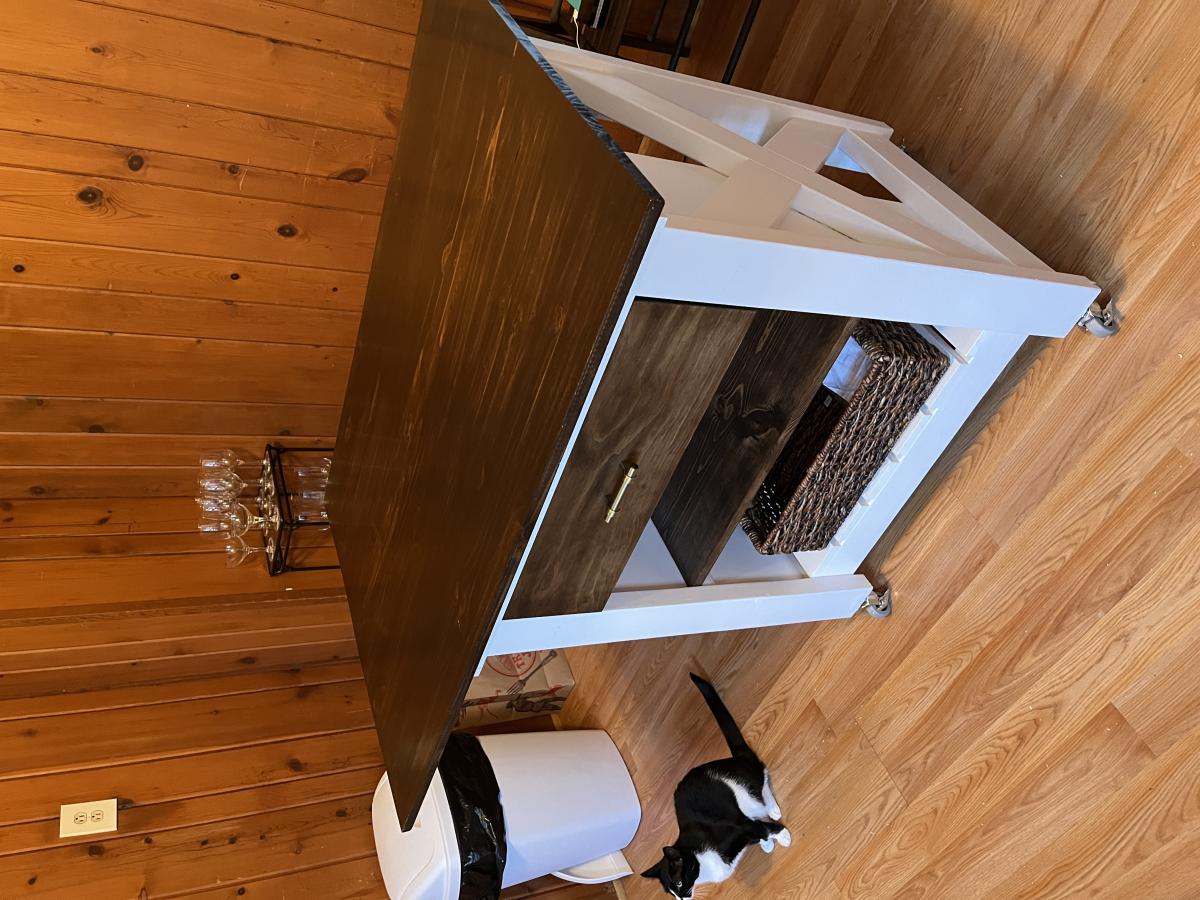
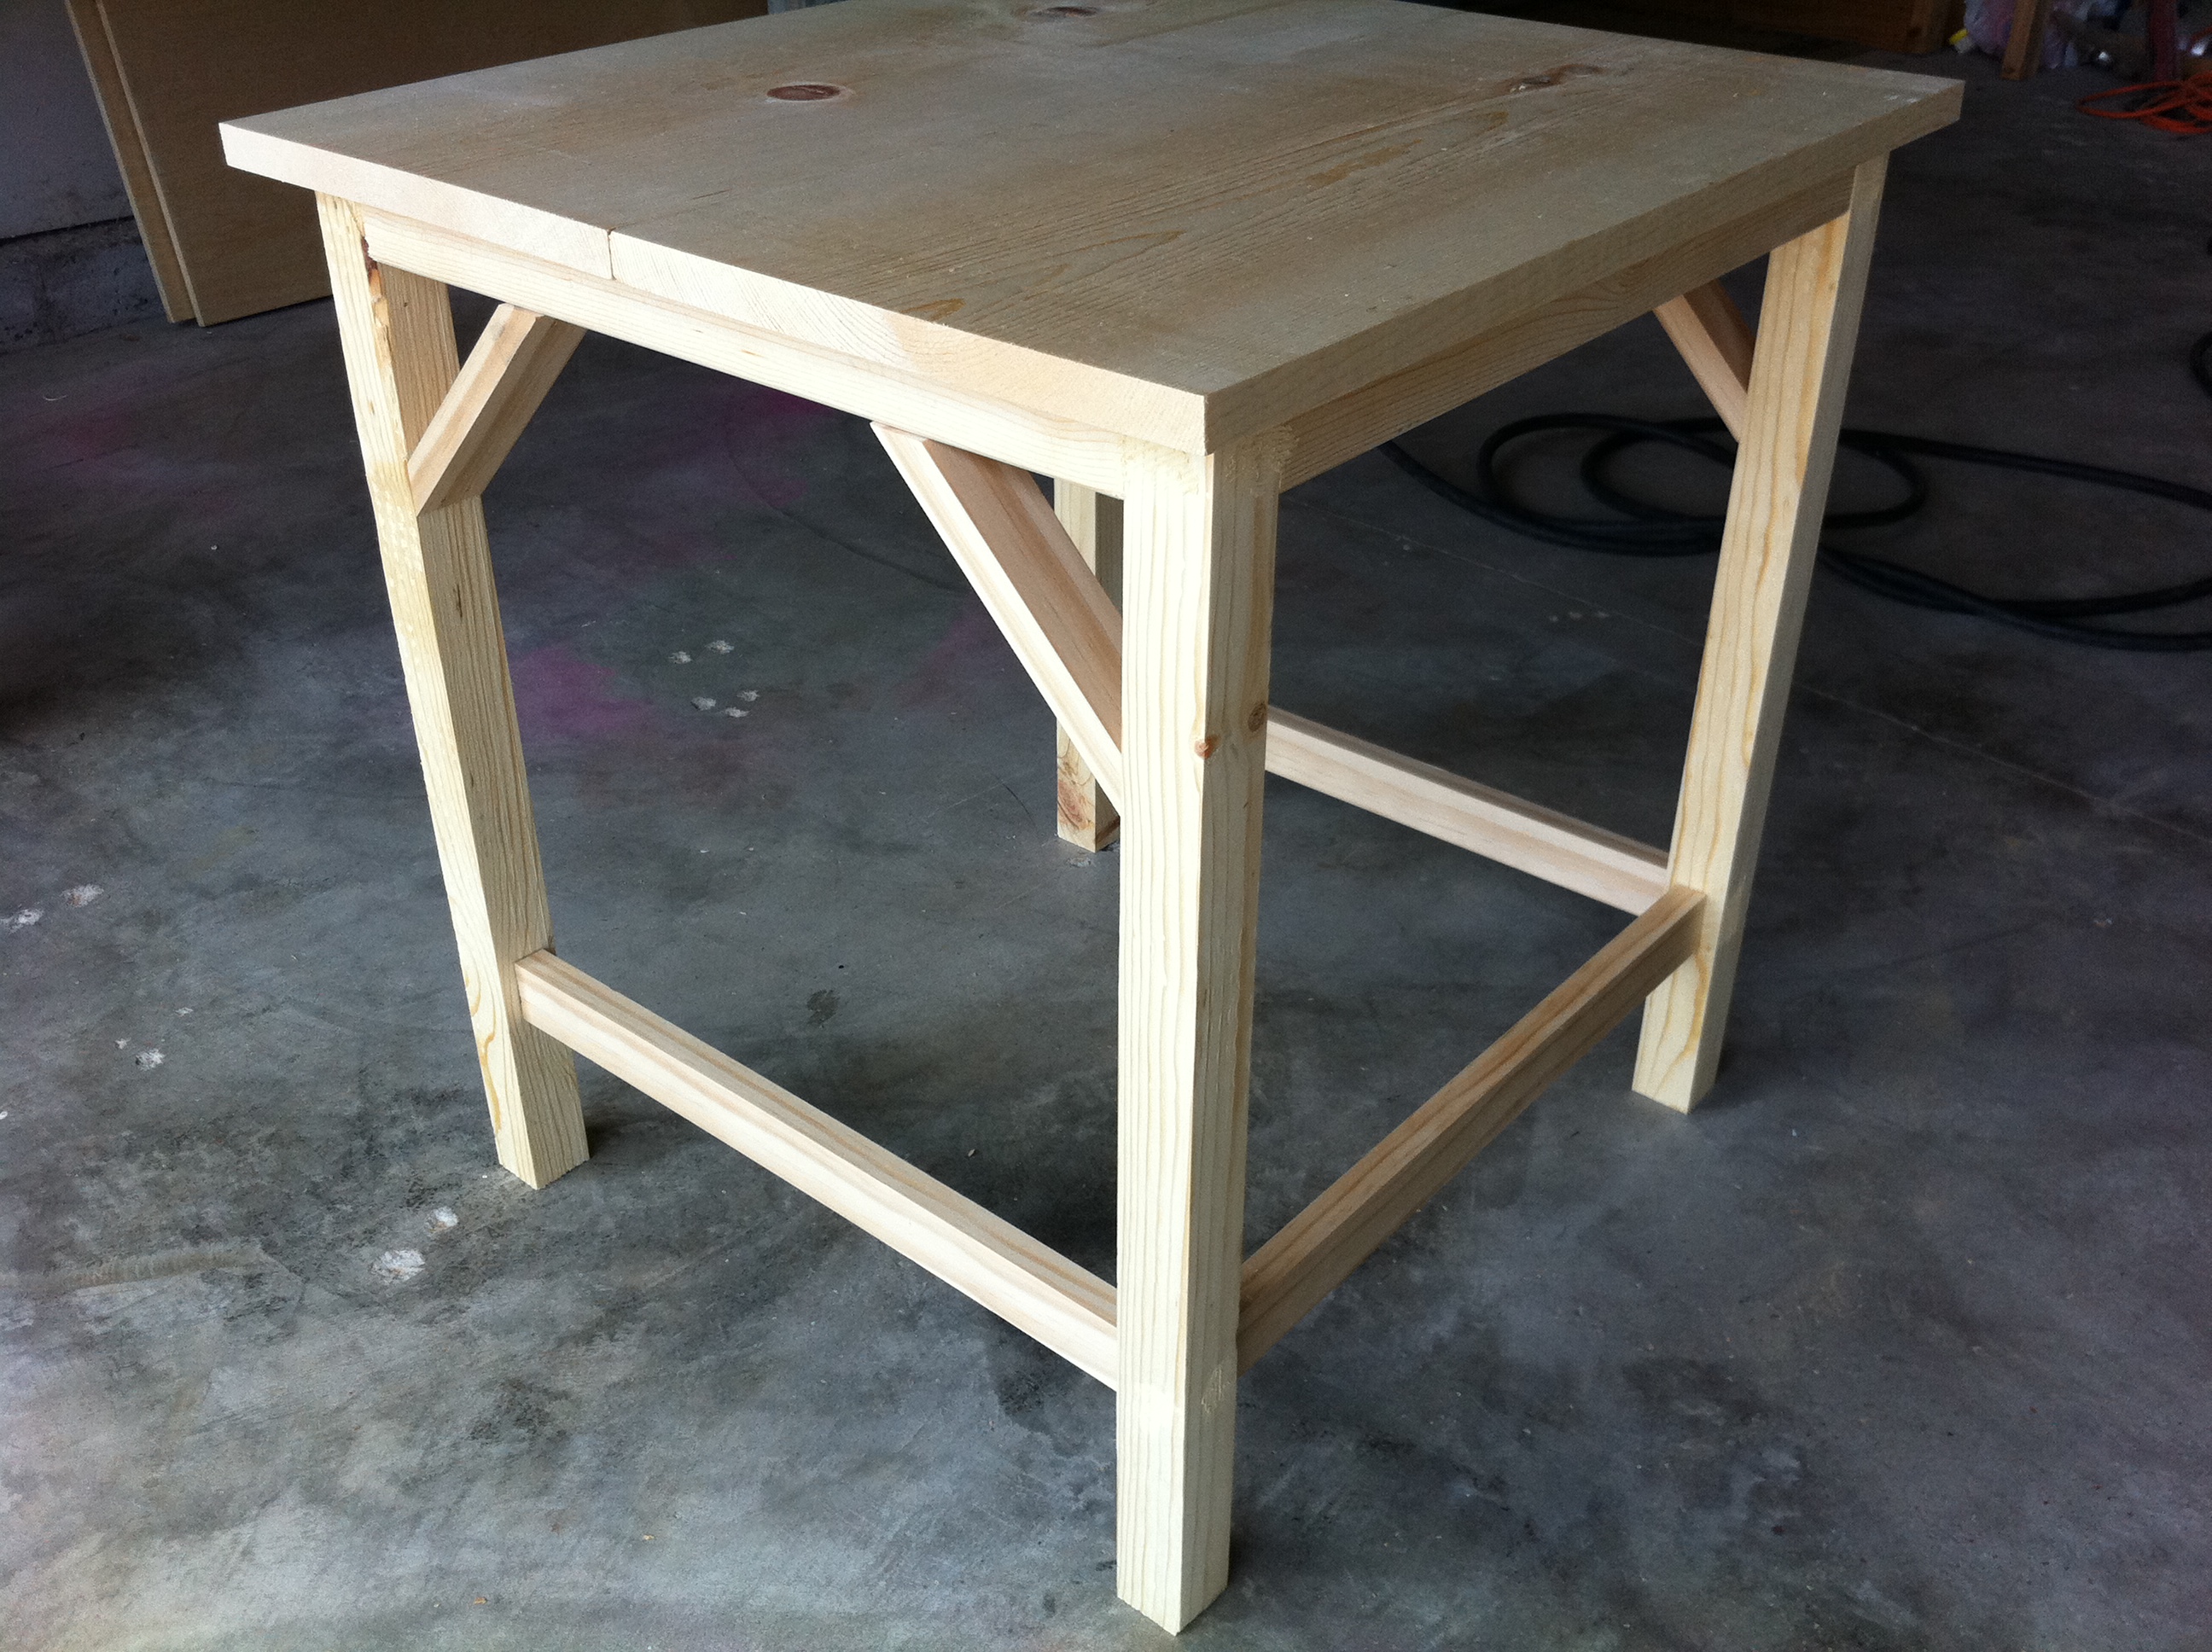
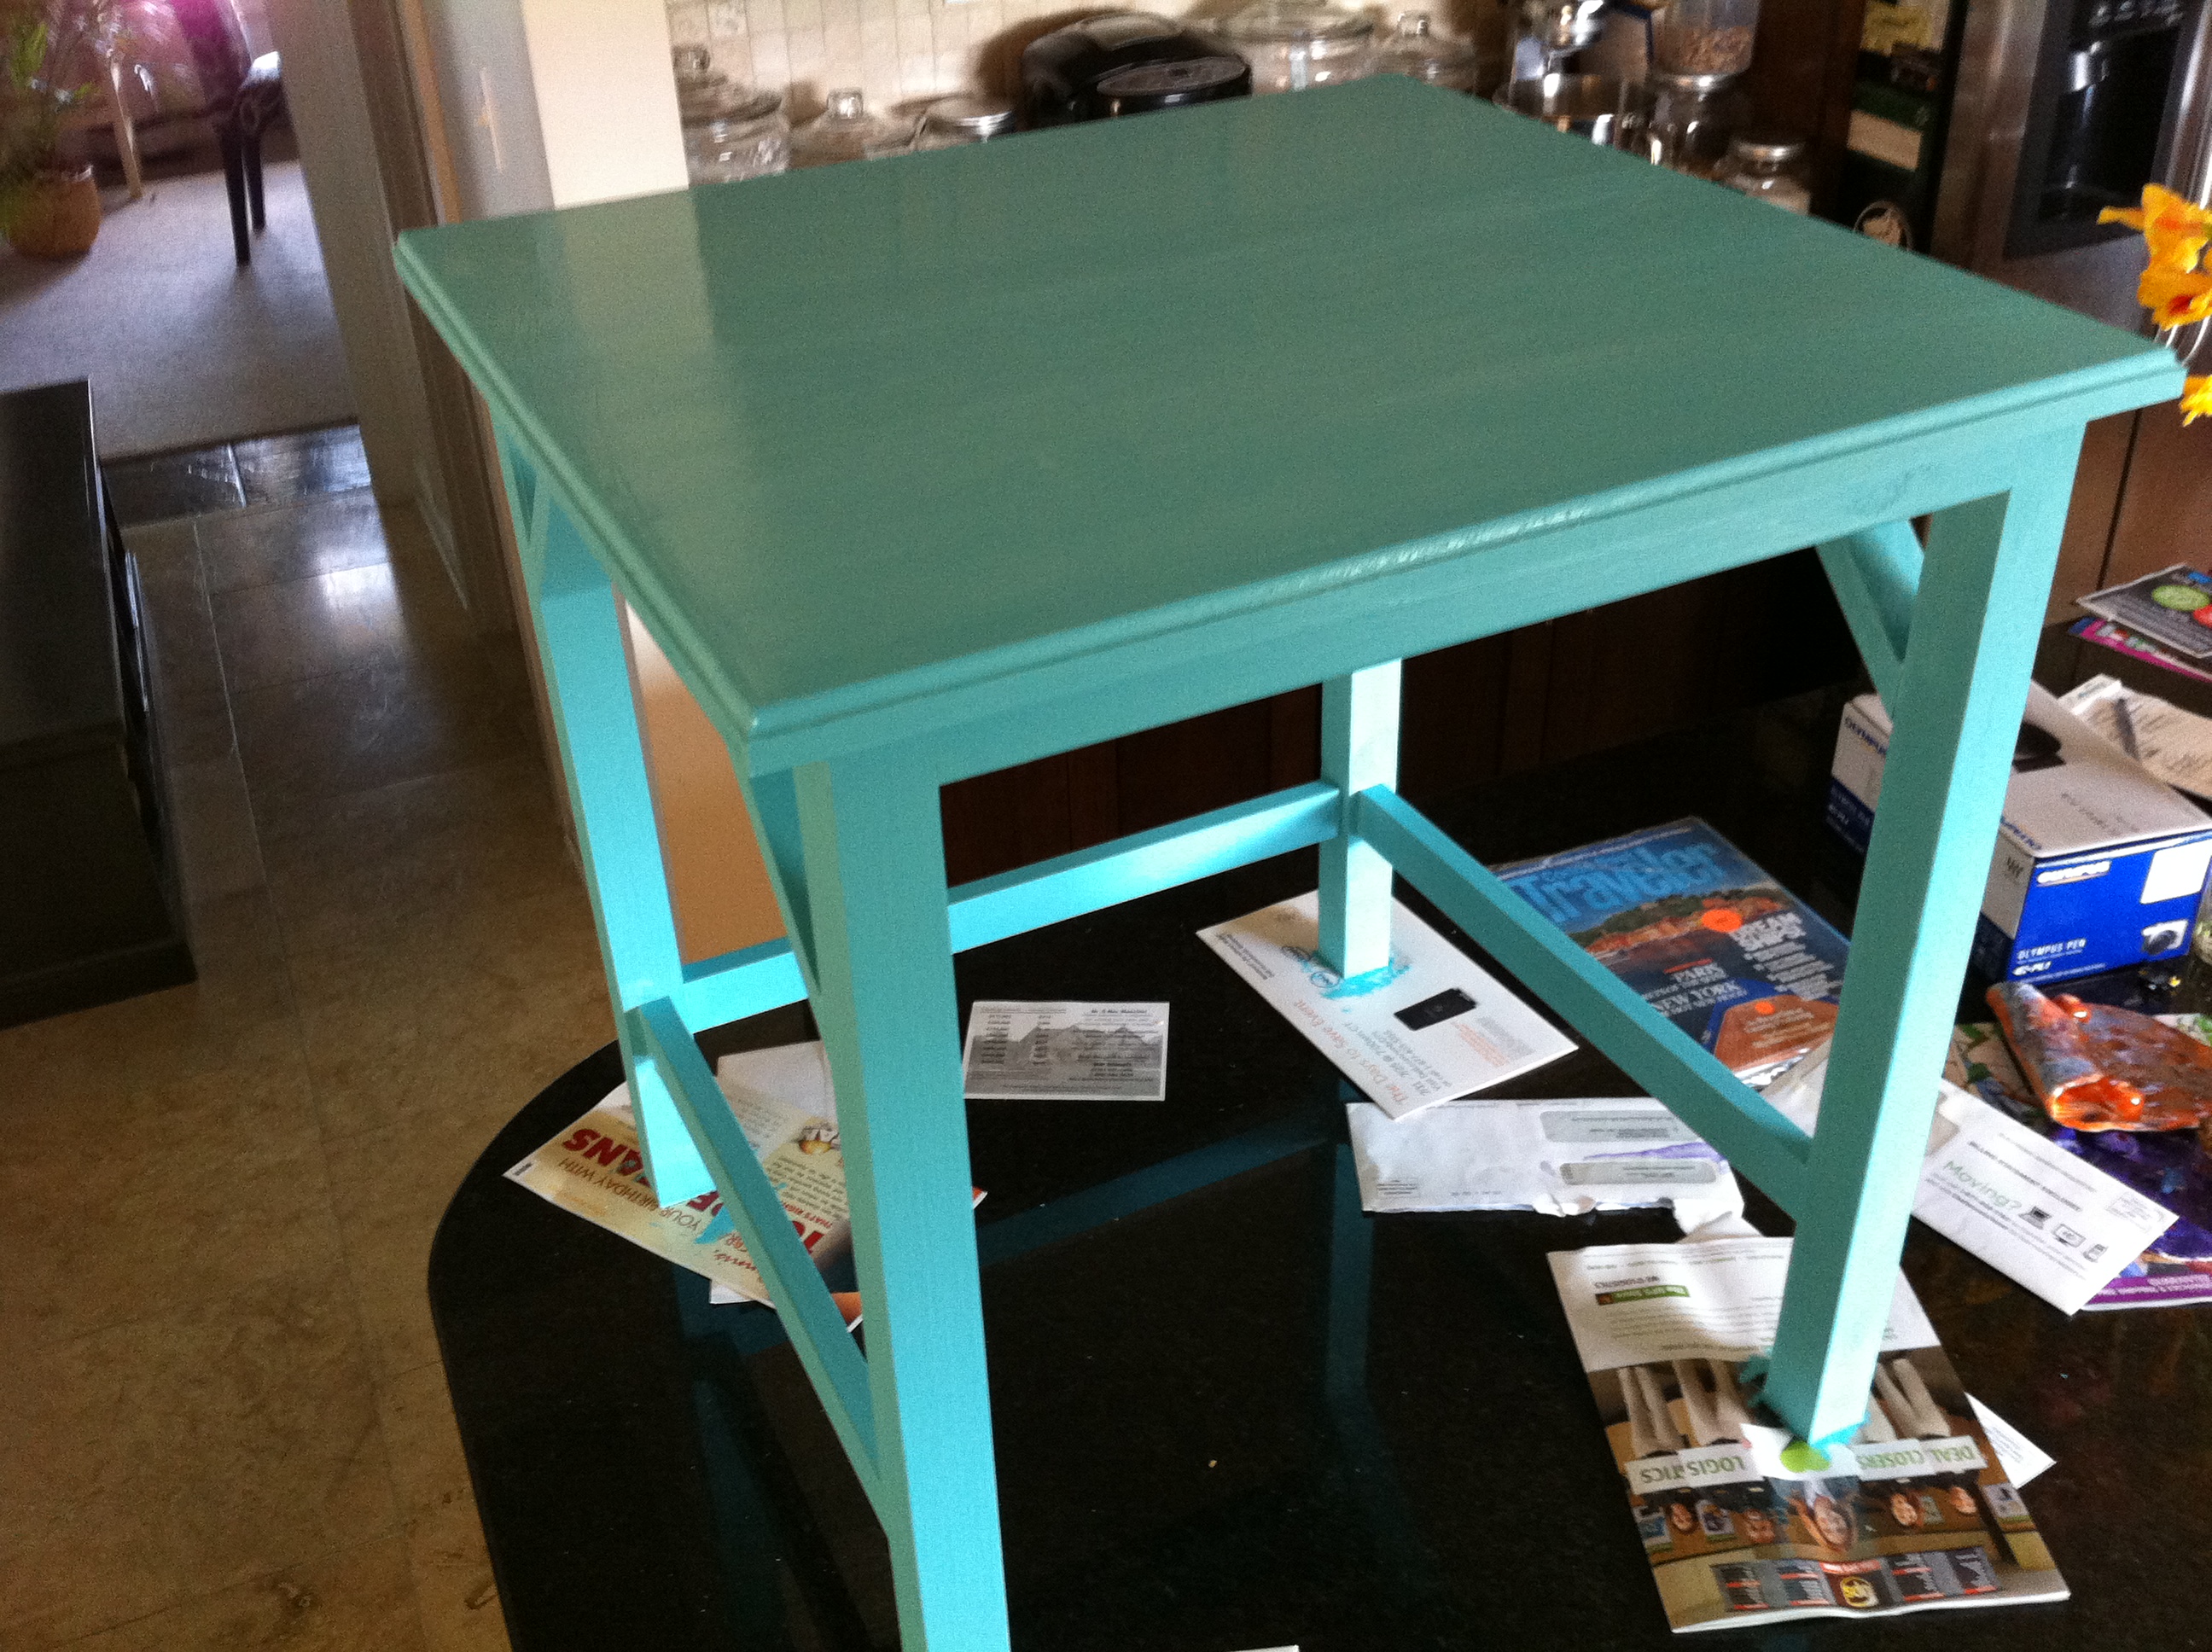
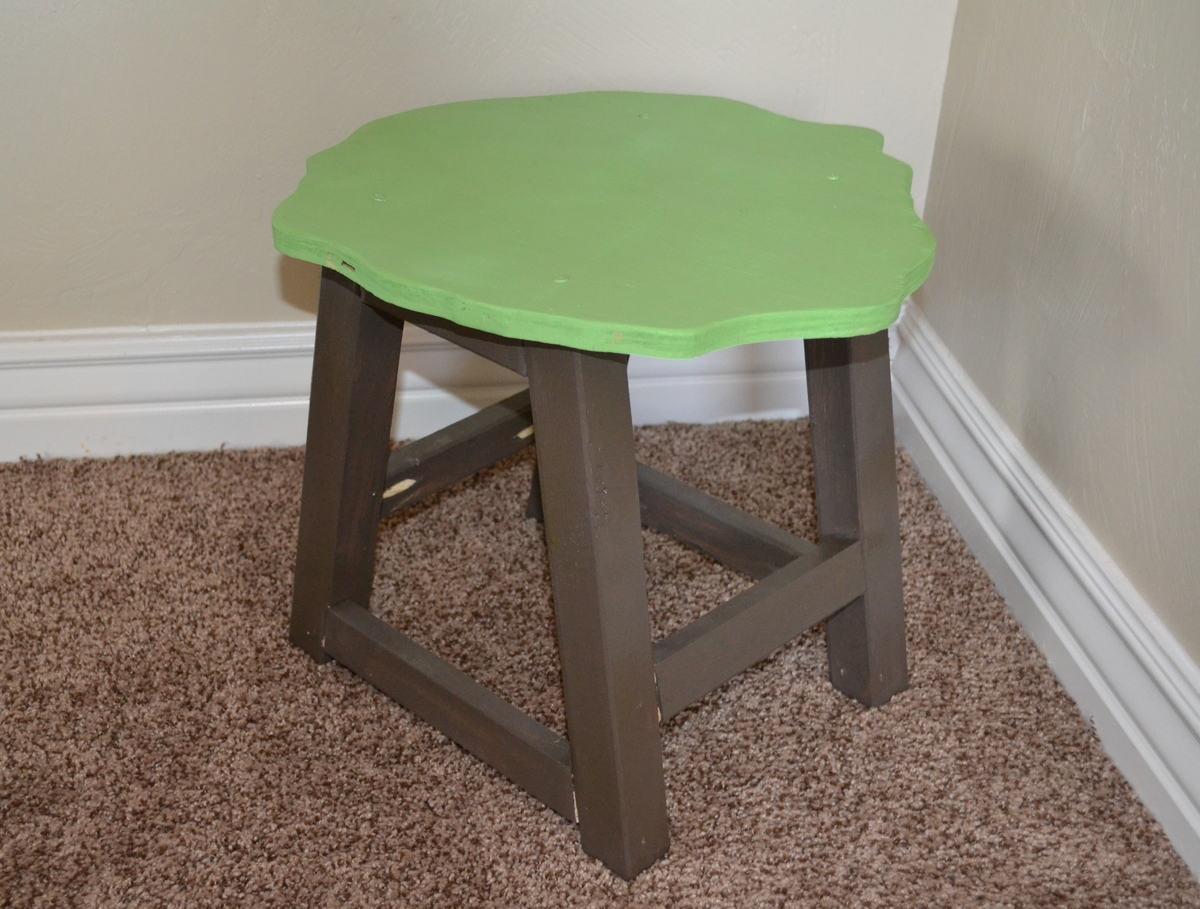
End tables to match the Media/Wine storage cabinet
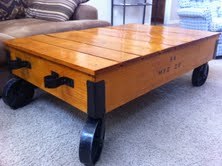
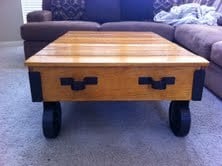
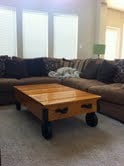
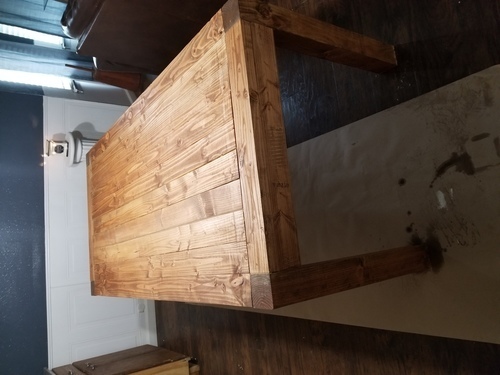
Just want to thank you, Ana, for the wonderful plans and this site. I'm still so surprised that I was able to build something that looks so nice and is so functional. Since stumbling upon your site I've been able to put aside my fear of the "big" tools and do something that I've wanted to do for years. Since the media/wine cabinet I built for my daughter, using leftover material I built these end tables to match. She and my son-in-law are pleased, too.
I've got a couple more projects in progress right now for my son and my other daughter is putting her list together - I'm just so happy to be doing this!
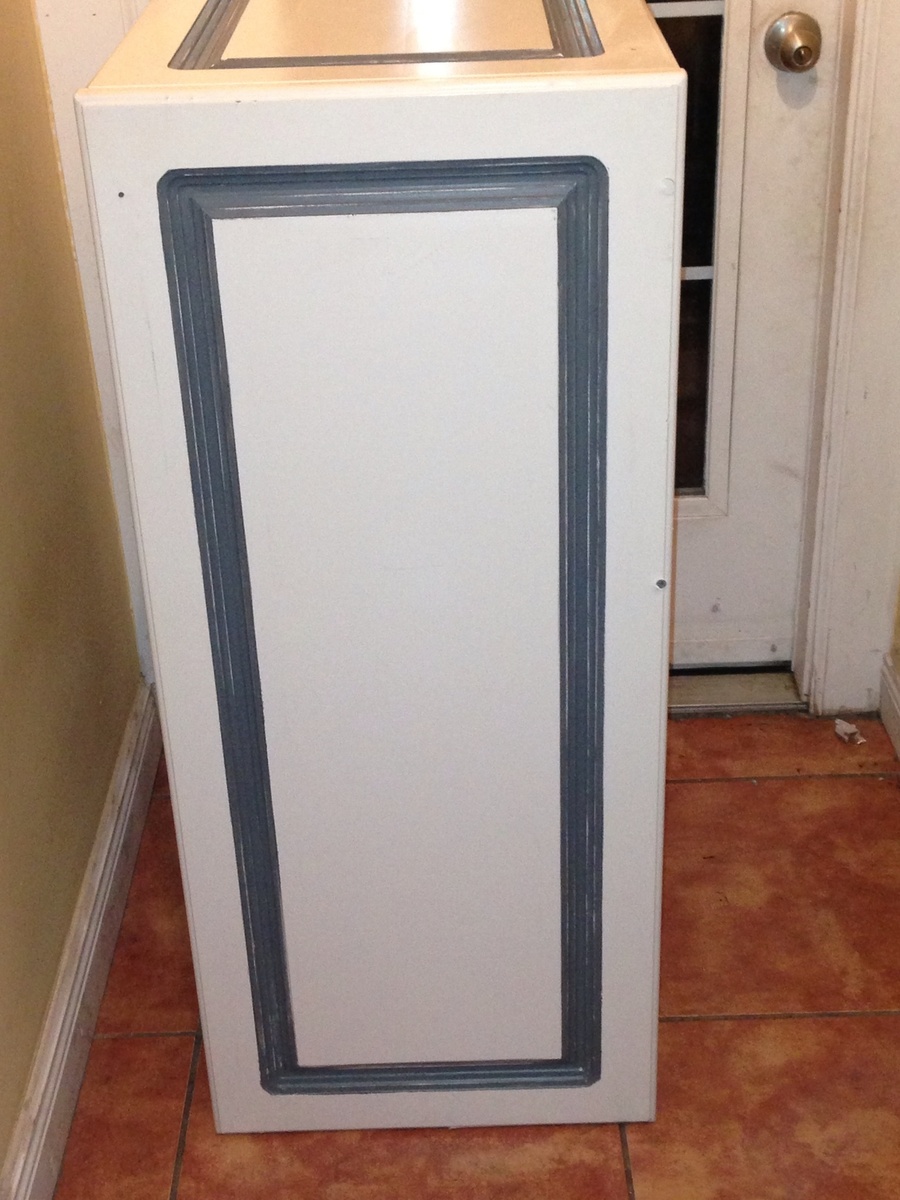
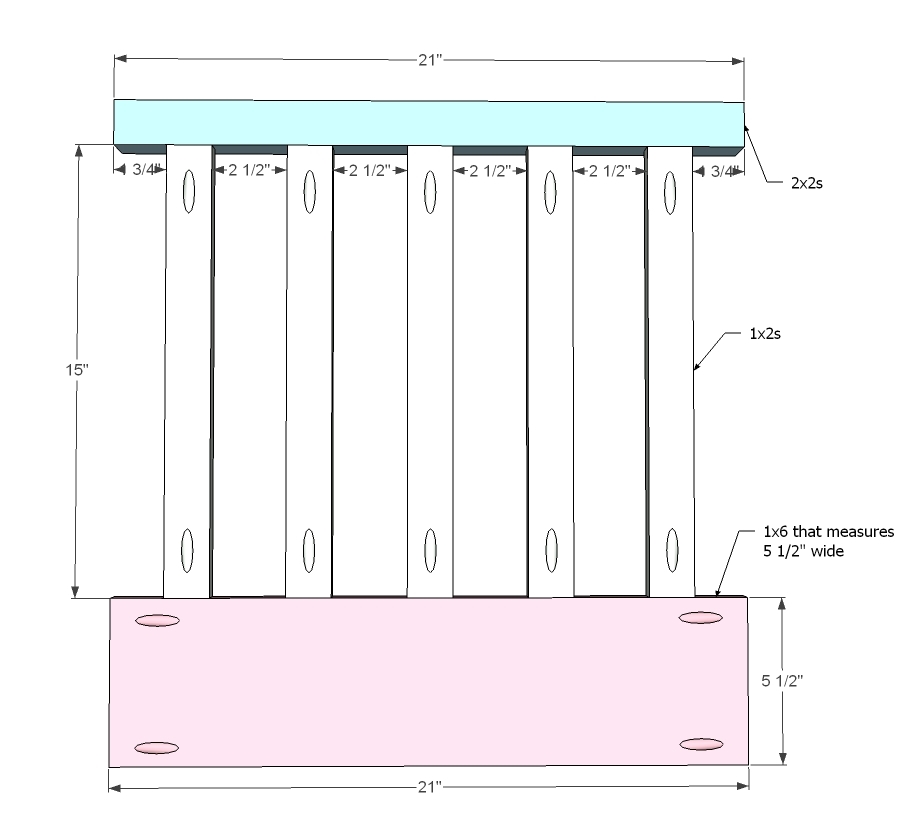
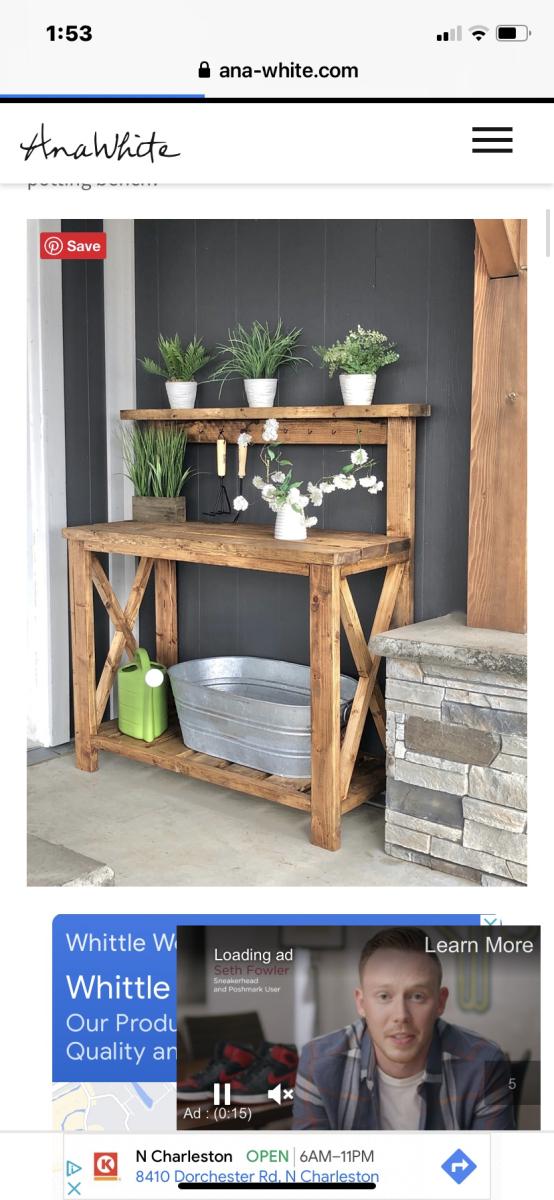
These tables are similar to the narrow cottage end tables, but without the drawer.
Built from Plan(s)
Estimated Cost
Maybe $10 for both because I used mostly scraps
Estimated Time Investment
Afternoon Project (3-6 Hours)
Finish Used
I painted it using Spray paint in Espresso. I did put two coats of semi-gloss spray poly on it.
Recommended Skill Level
Starter Project


Comments
Guest (not verified)
Thu, 07/14/2011 - 16:31
Nice job! I am interested in
Nice job! I am interested in this console as well. I am scared of drawers and cabinet doors though! Were they that bad?
sgilly
Mon, 08/22/2011 - 12:20
drawers
Thanks. I kind of made it up as I went along!
Actually, the drawers weren't as scary as I thought they'd be - at least not at this size. This wasn't deep enough for me to use drawer guides, but they seem to work fine as is.
delaco32 (not verified)
Wed, 08/10/2011 - 02:48
i enjoy your article. great
i enjoy your article. great job. keep it simple
sgilly
Mon, 08/22/2011 - 12:22
Thank you.
Glad you liked it.