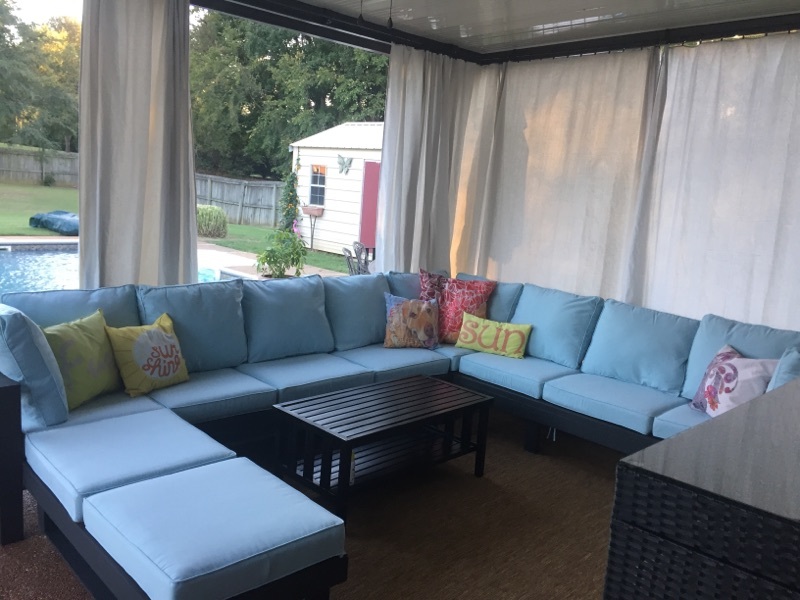
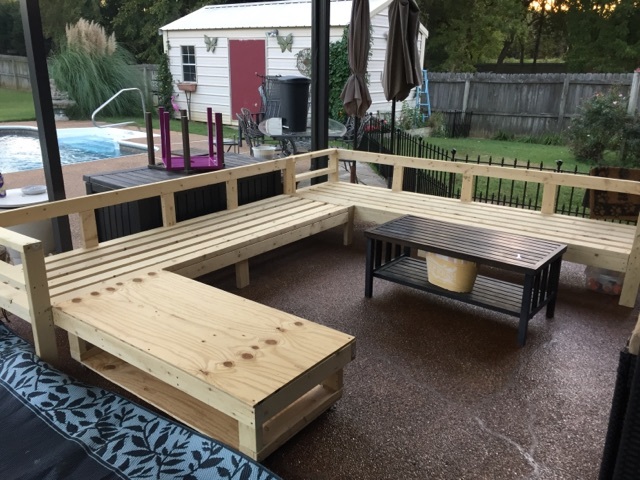
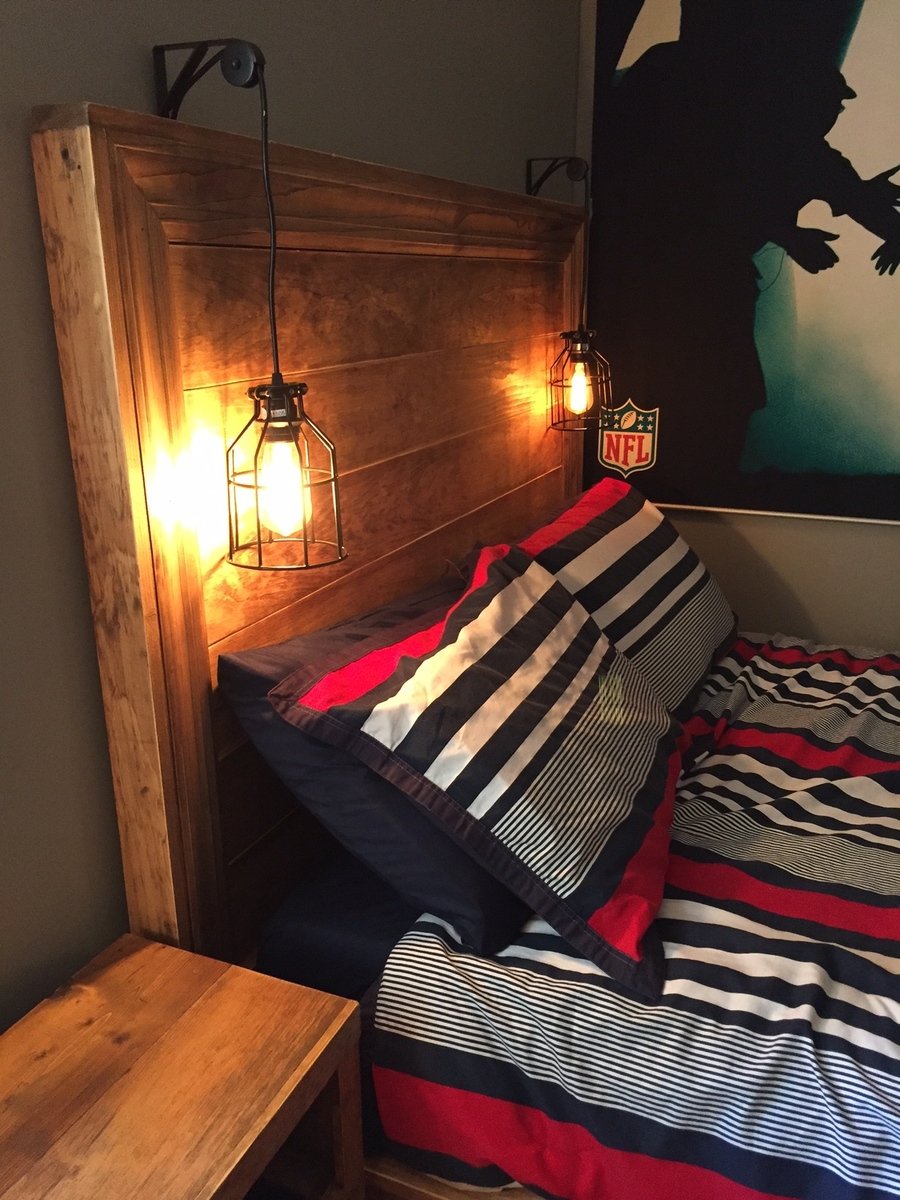
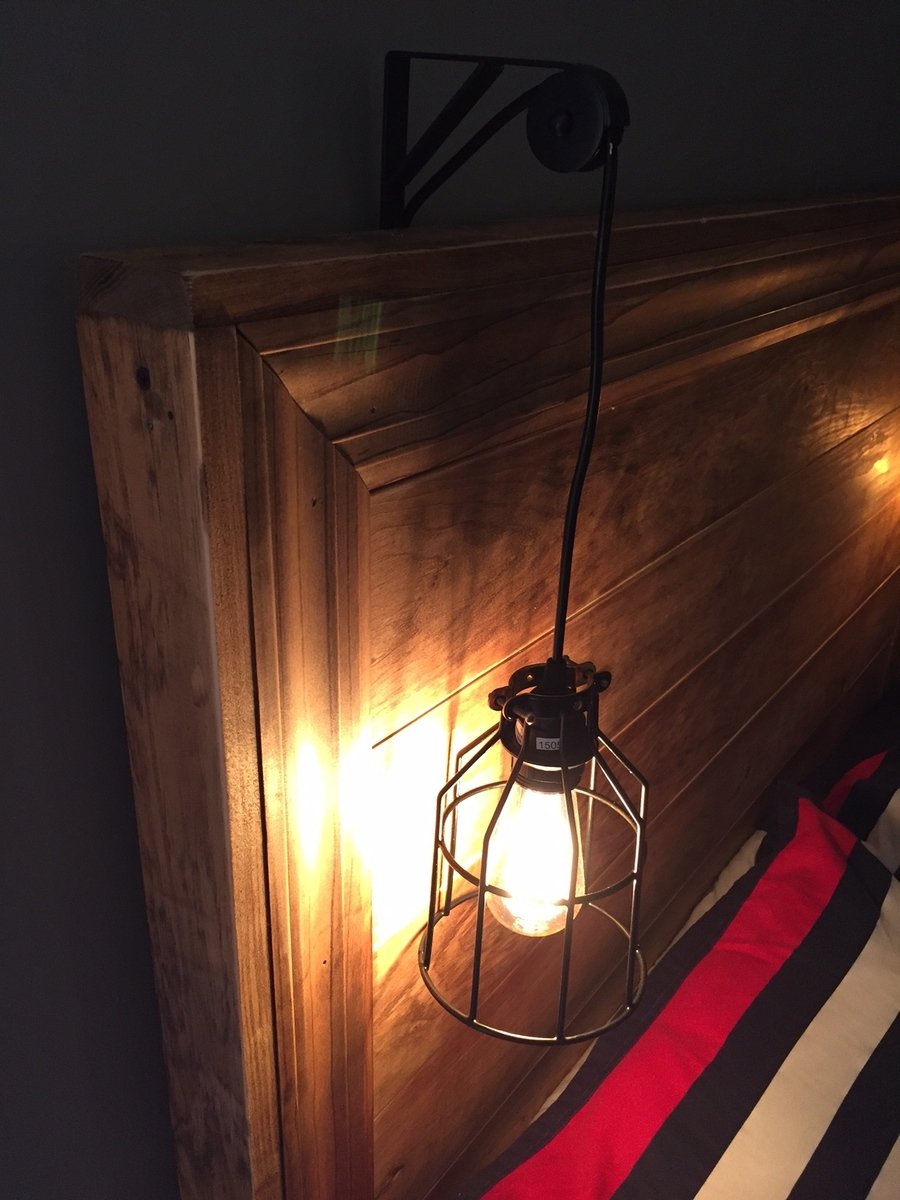
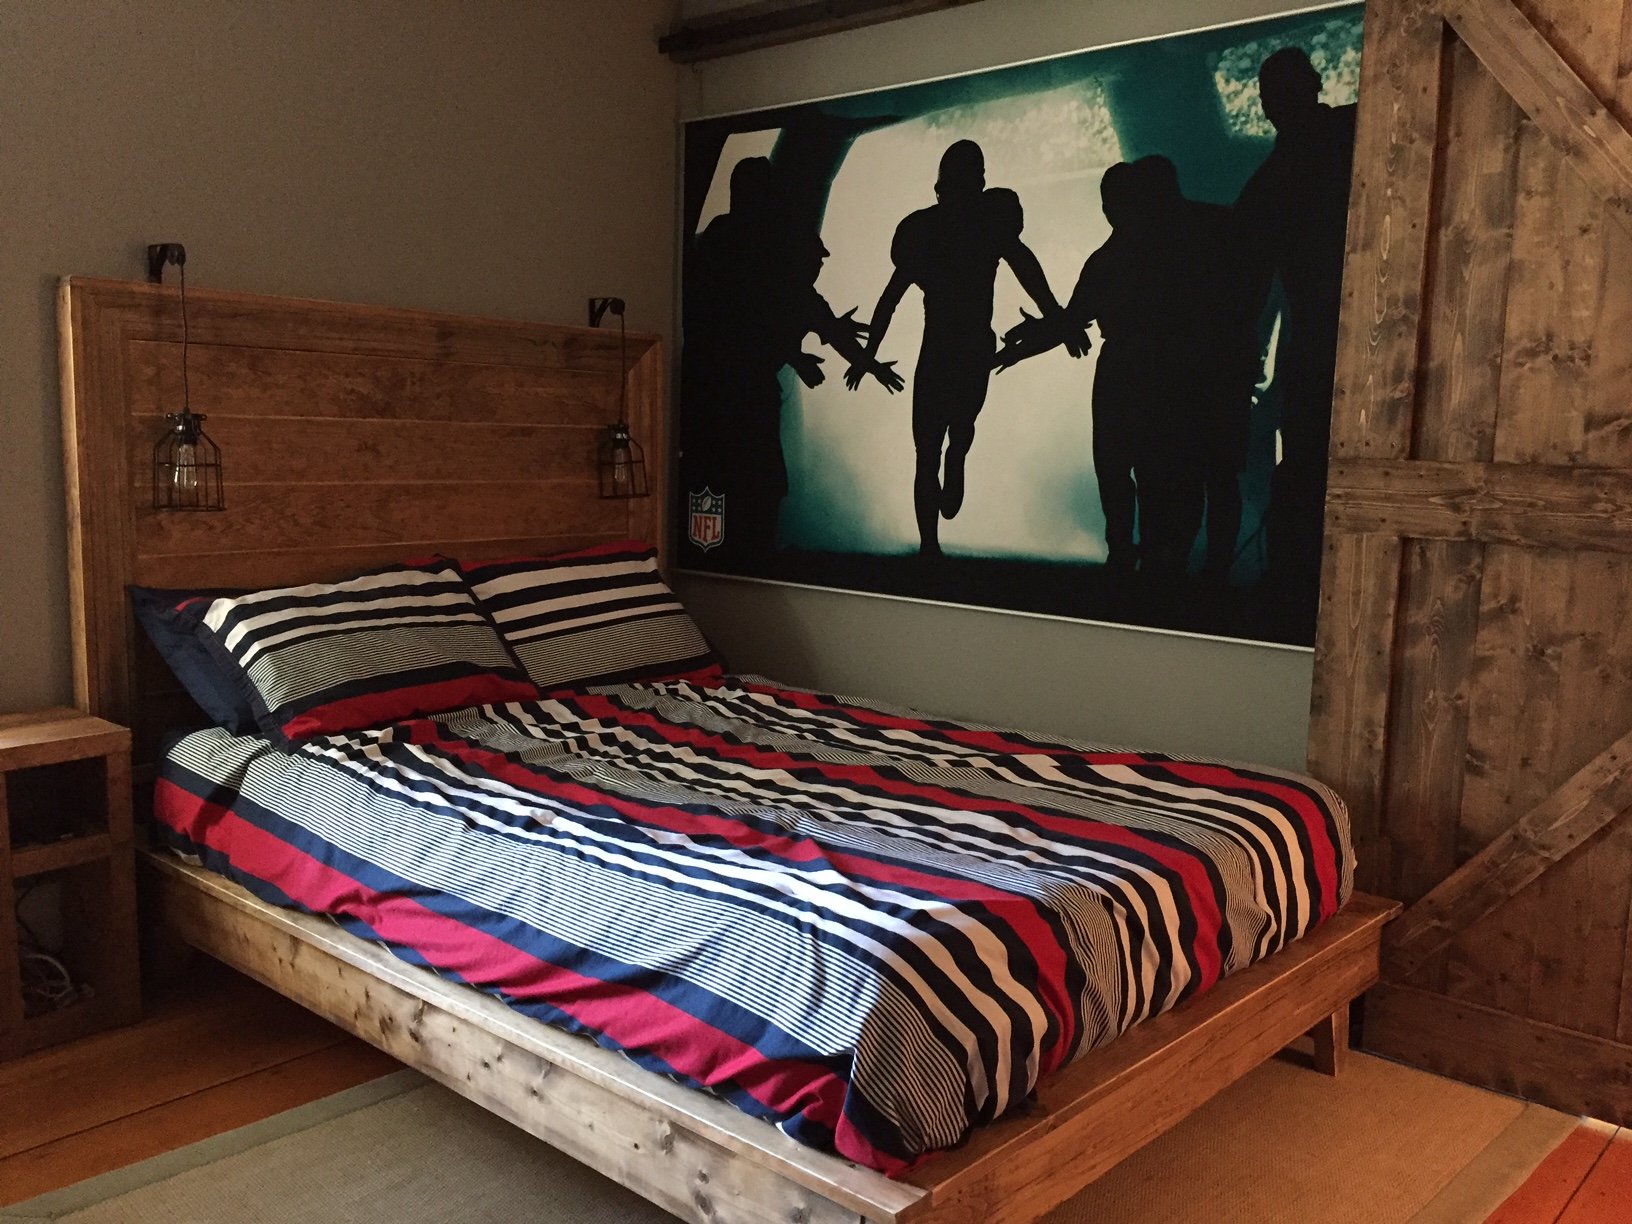
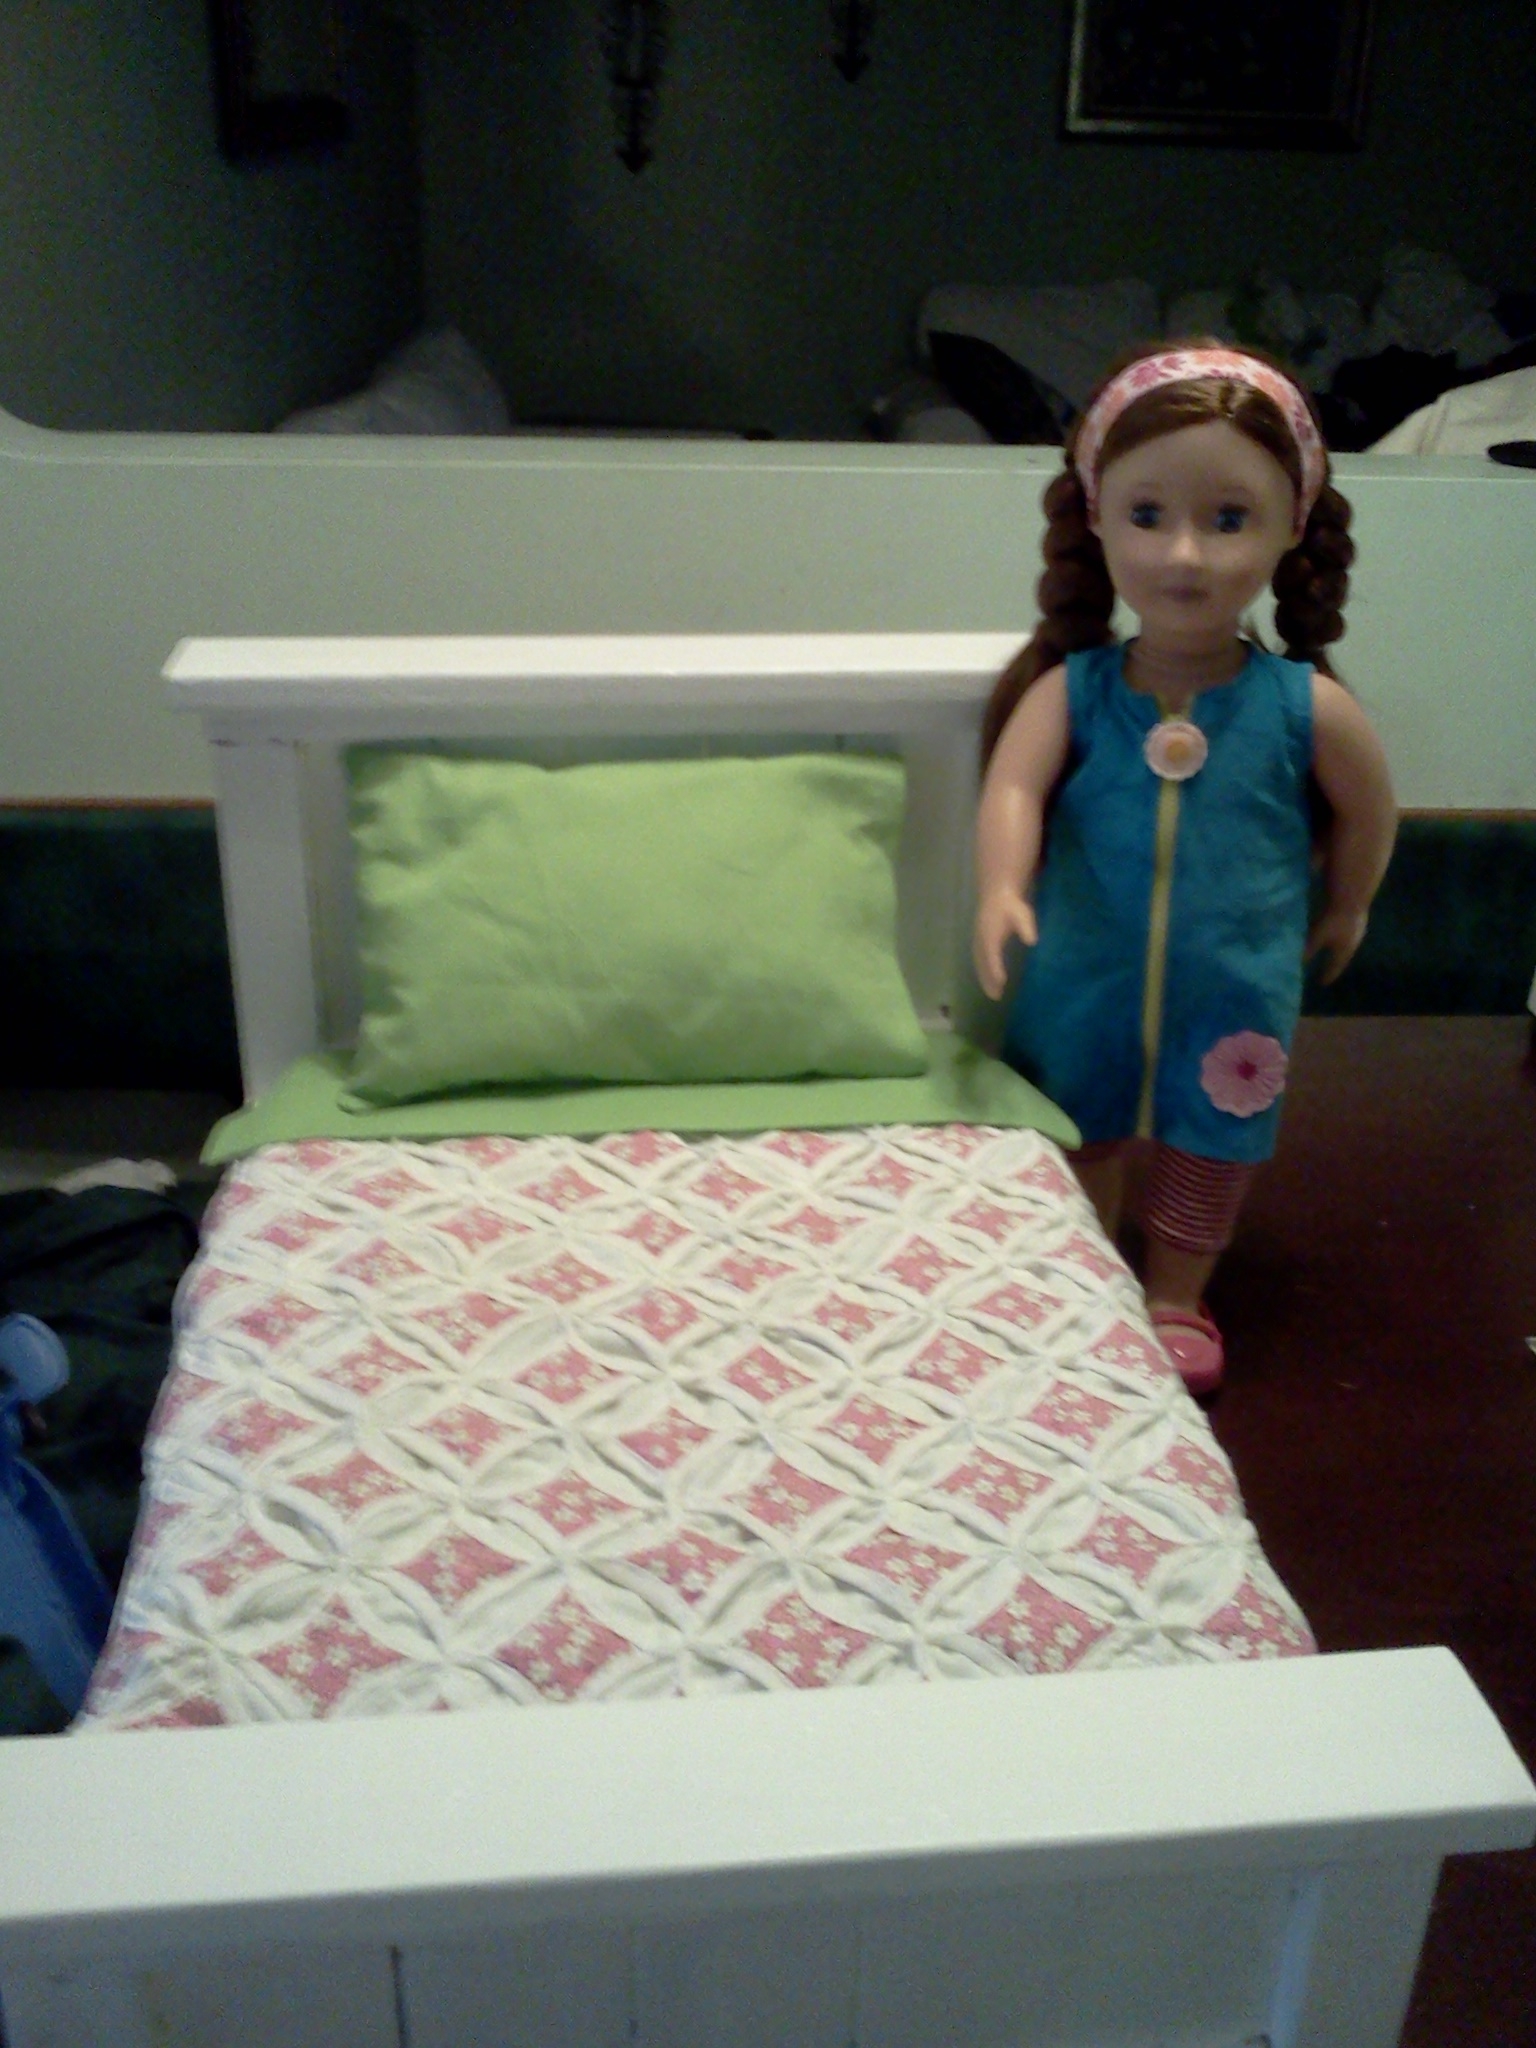
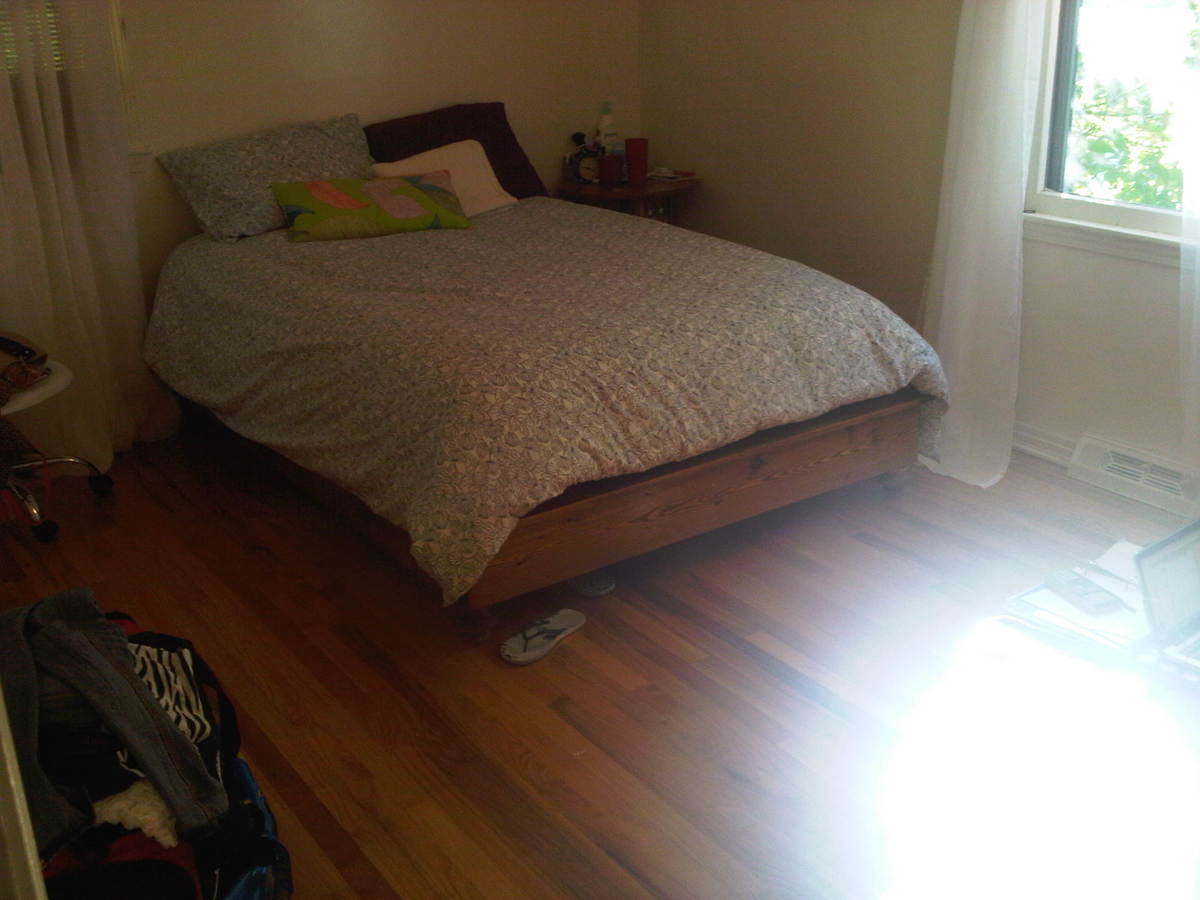
My Hailey/Chestwick Bed Combo?
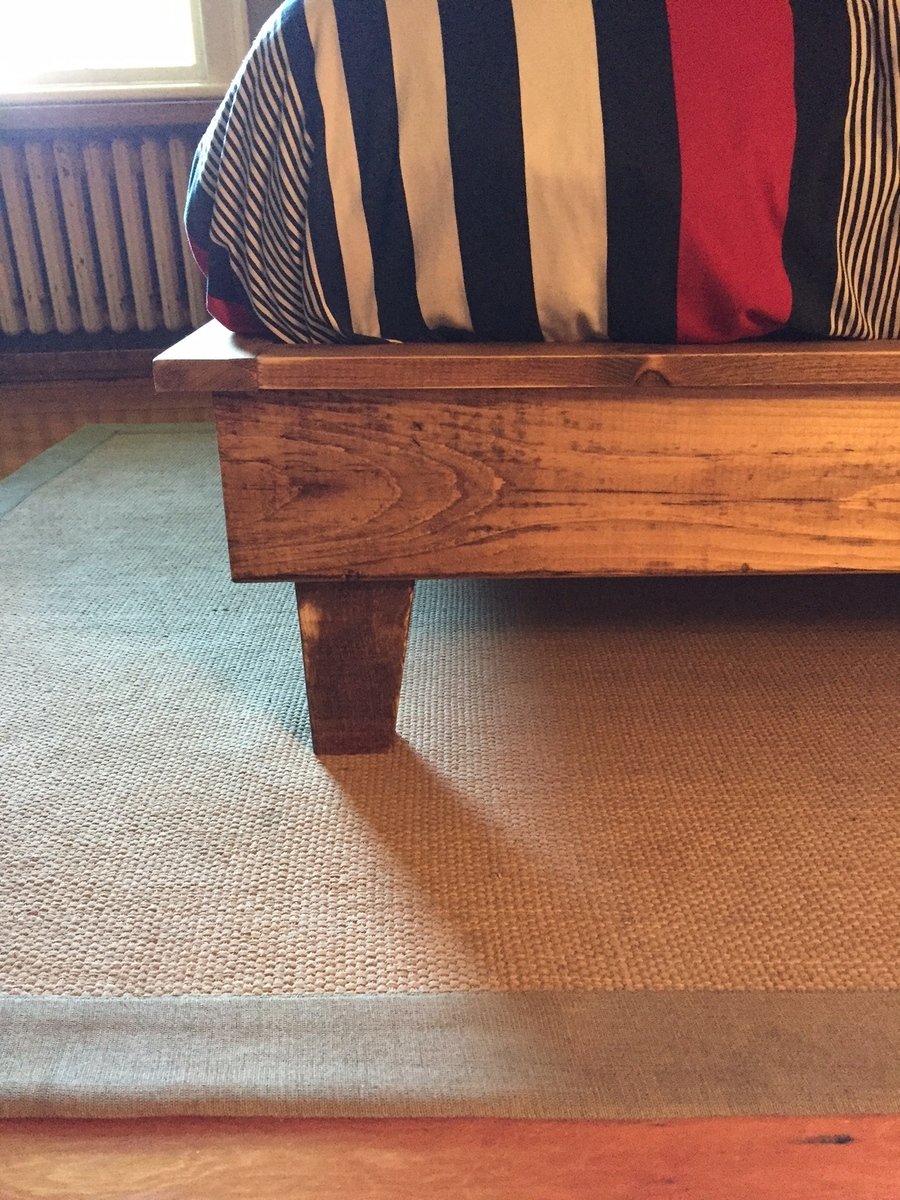
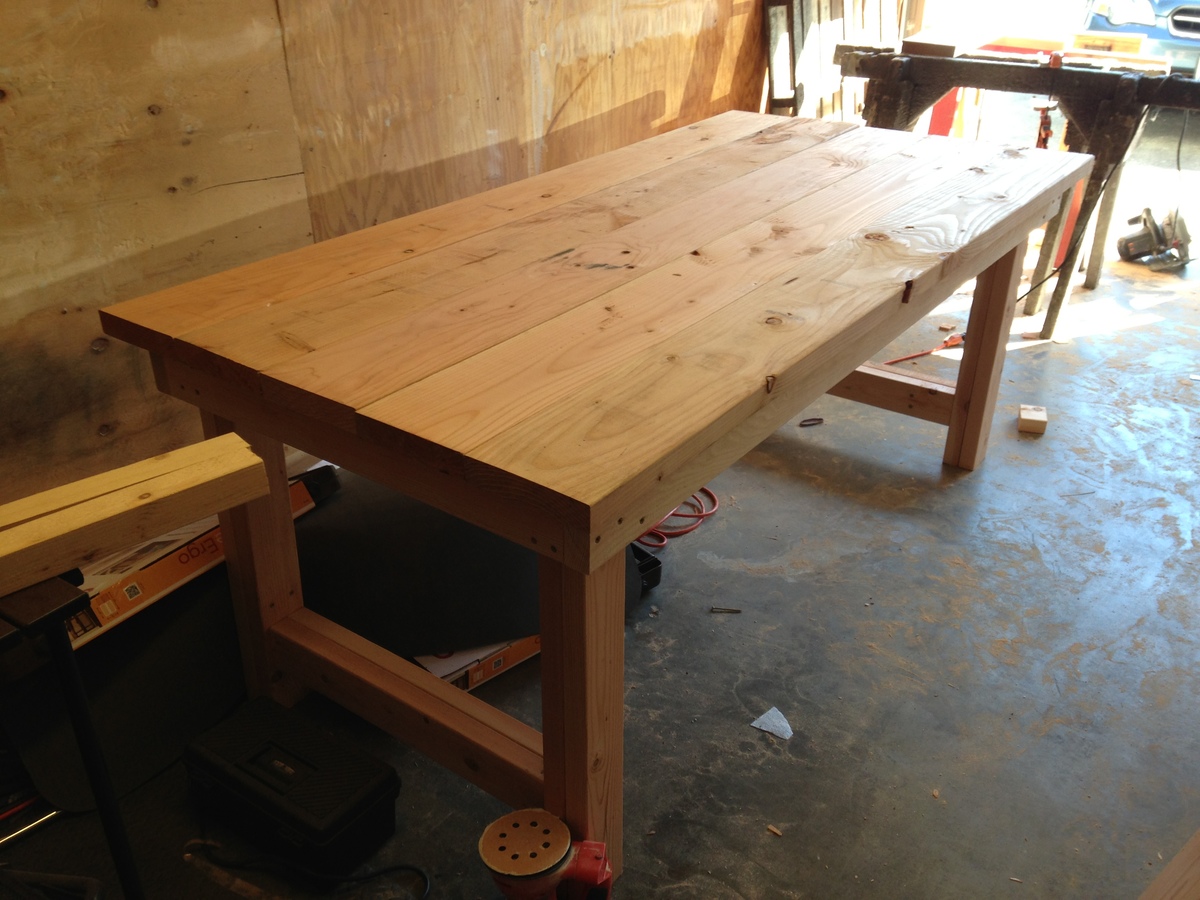
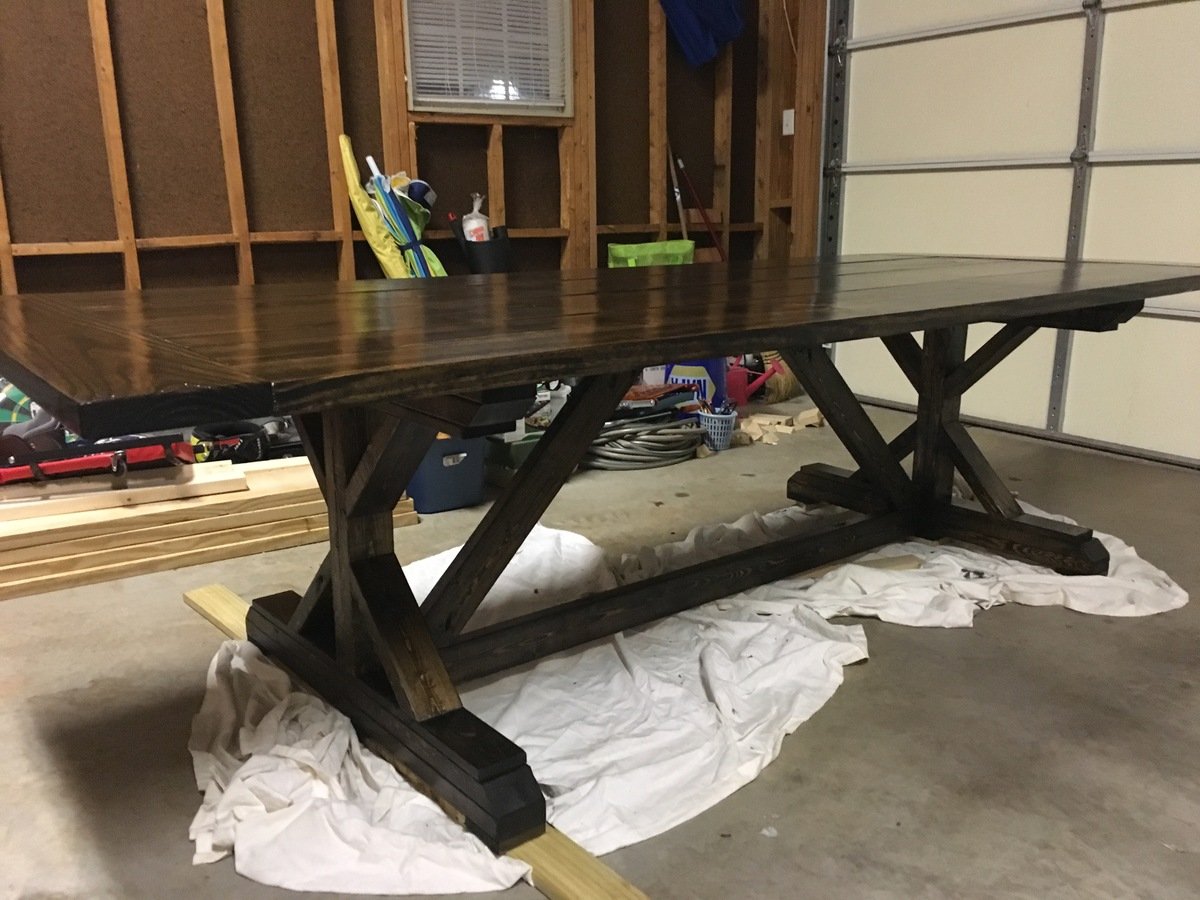
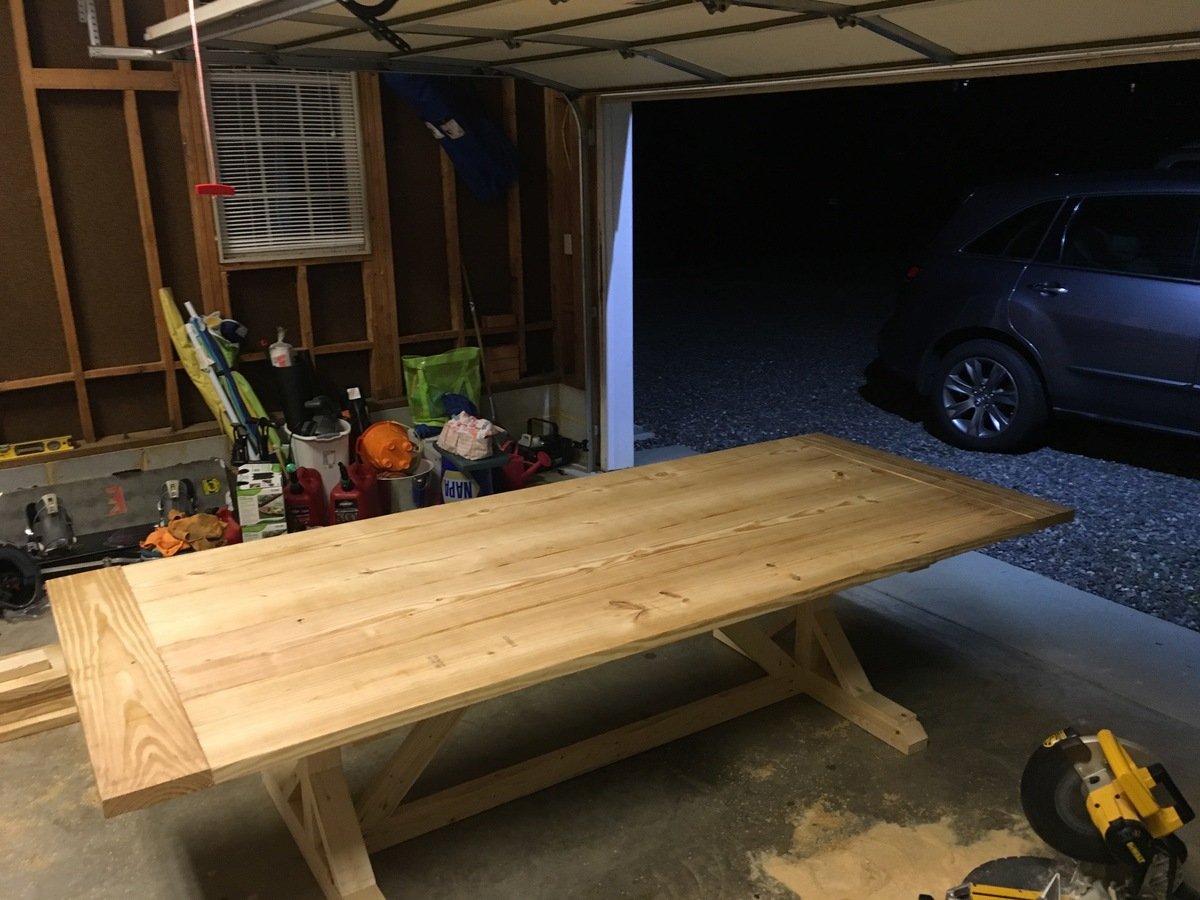
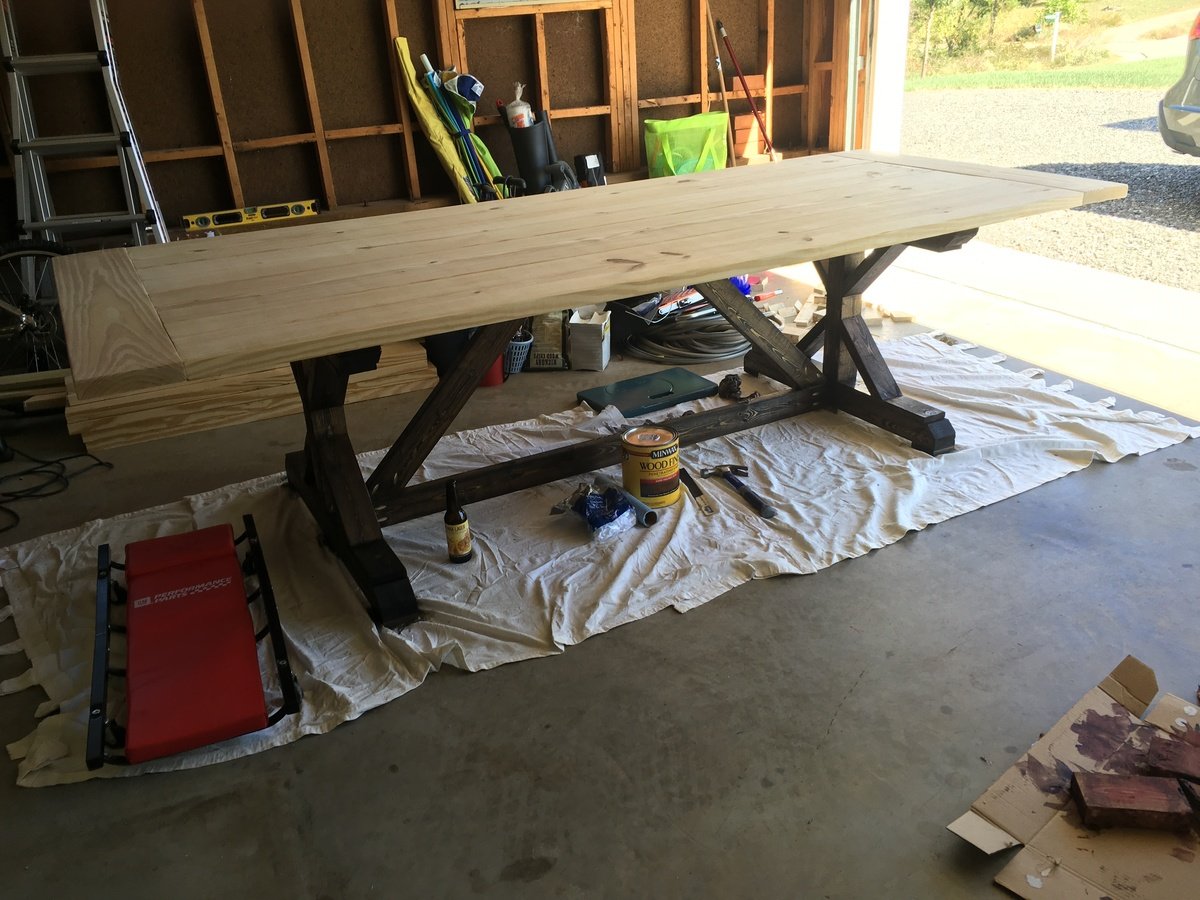
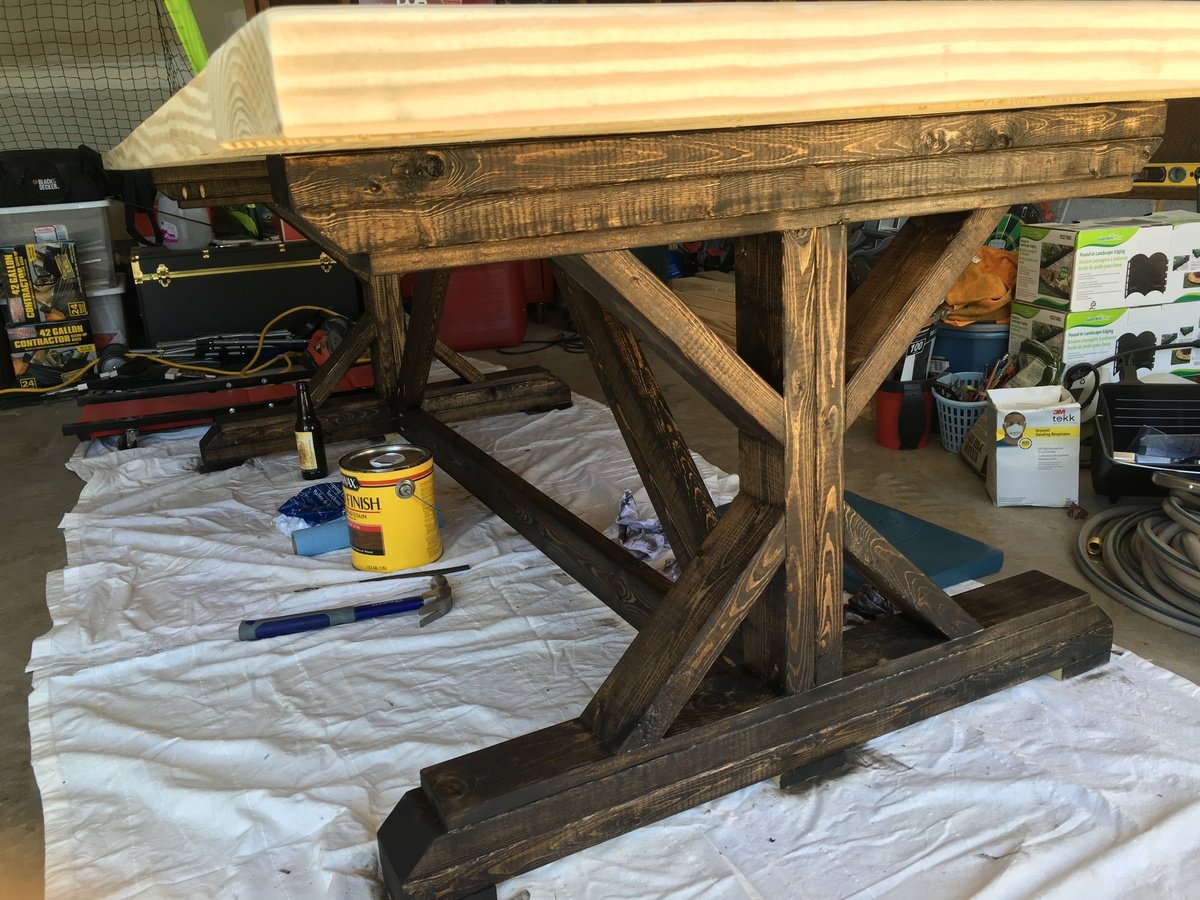
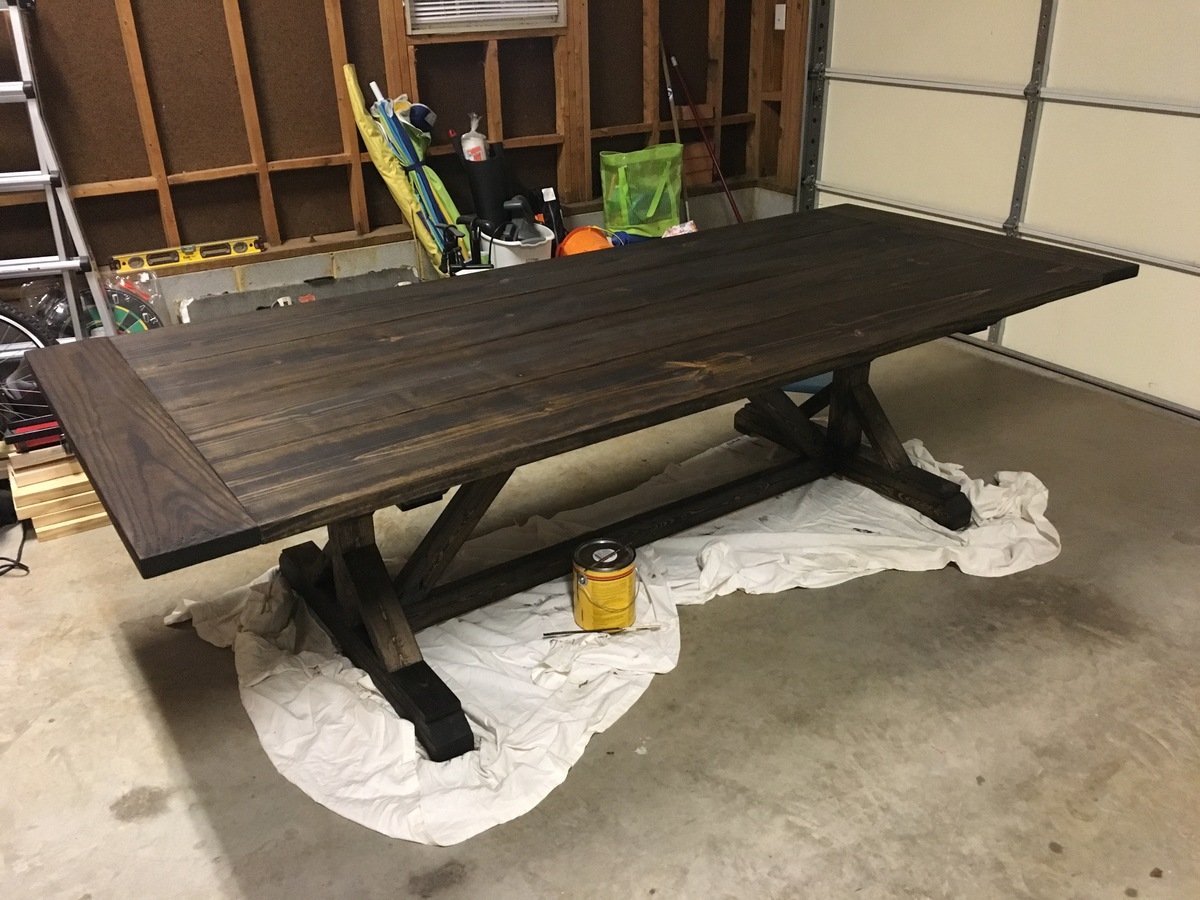
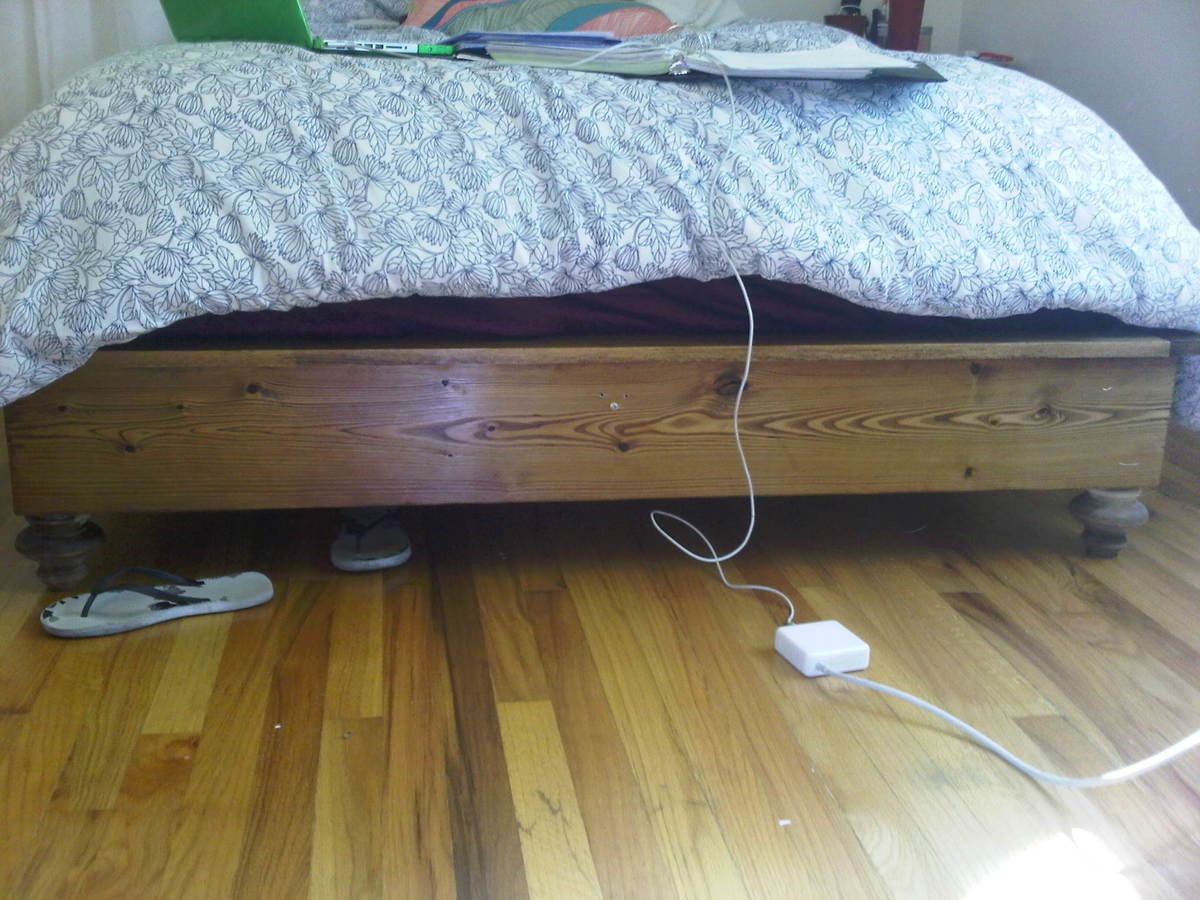
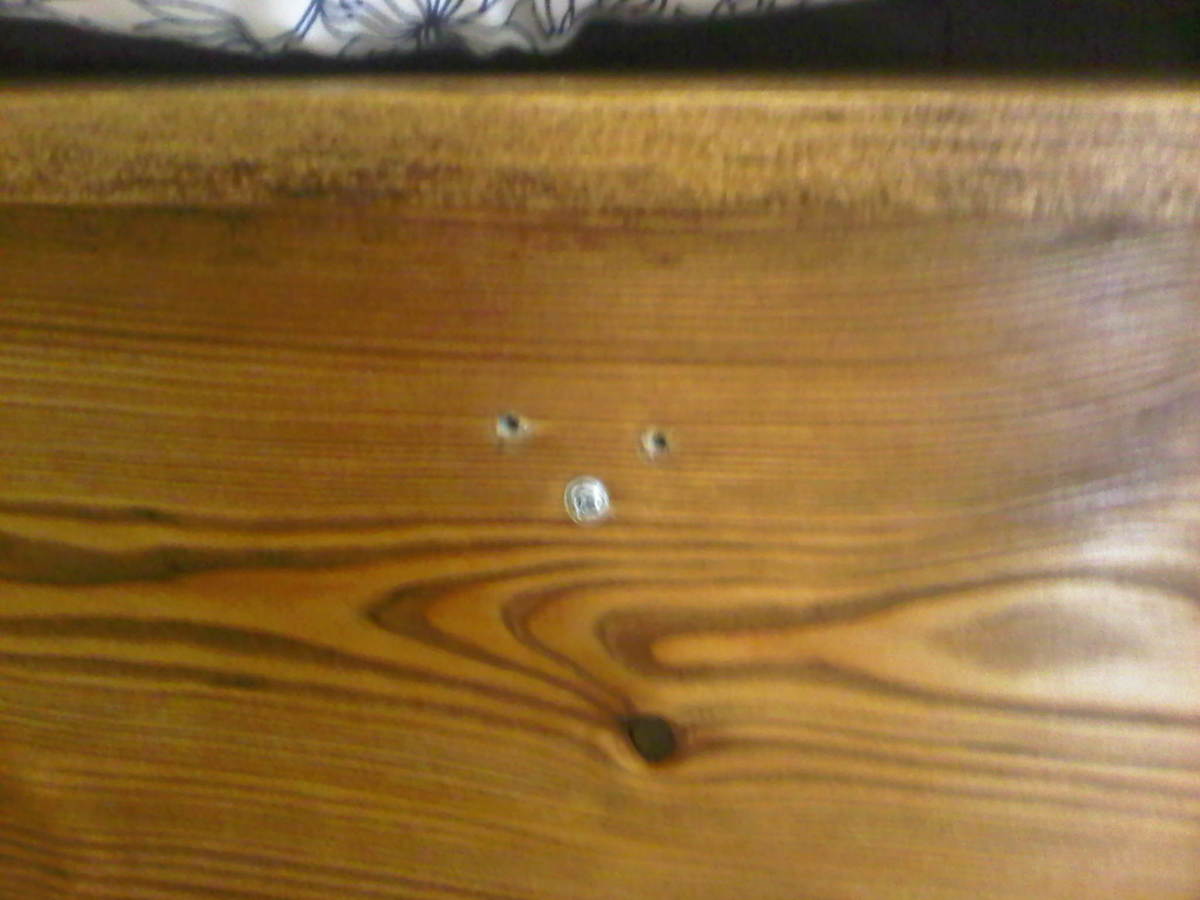
I'd say all together i spent about 5 days working on this... but i did it all by myself and i'm a newbie! I used studs i found at home depot. My tulip legs were $8 dollars a pop and I bought a drill/kregjig and sanding paper because I've never built anything before. I hand sanded the whole thing!!!! This was my first build... but it did break once: For the center support i used two 2 1/2" screws and screwed it from the outside and the screws just ripped through the wood. but i replaced it.. put in new screws and attached little 1x2 pieces under both ends and i plan to adding 2 legs in the center. You an see in the photos i attached where the old screws were, and how i solved the problem under the bed by adding the like 1x2 pieces. I've had it for 2 weeks completed now.. and although the center support gave out once... it's been good and solid since! I hope this was help to anyone considering making this bed! P.S. just buy a sander... hand sanding is painful and boring!


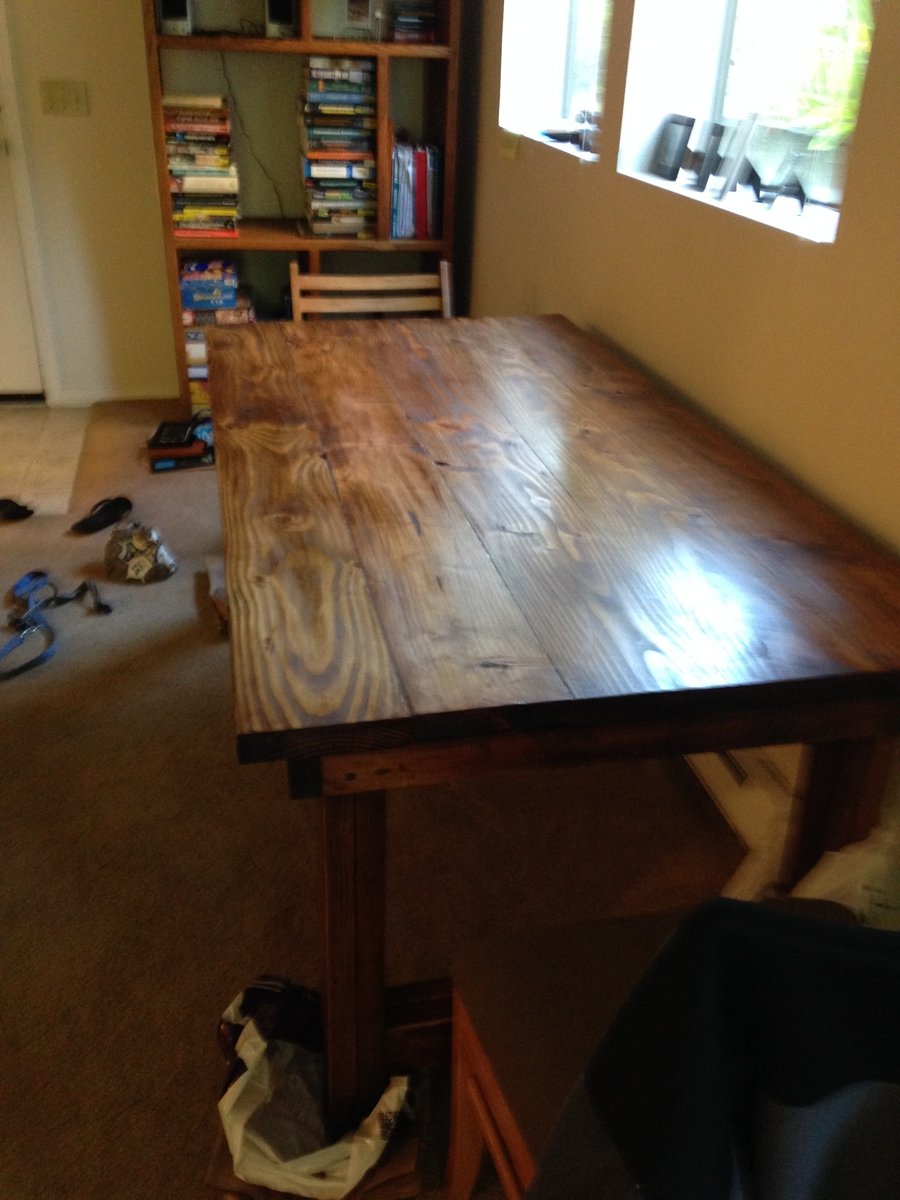
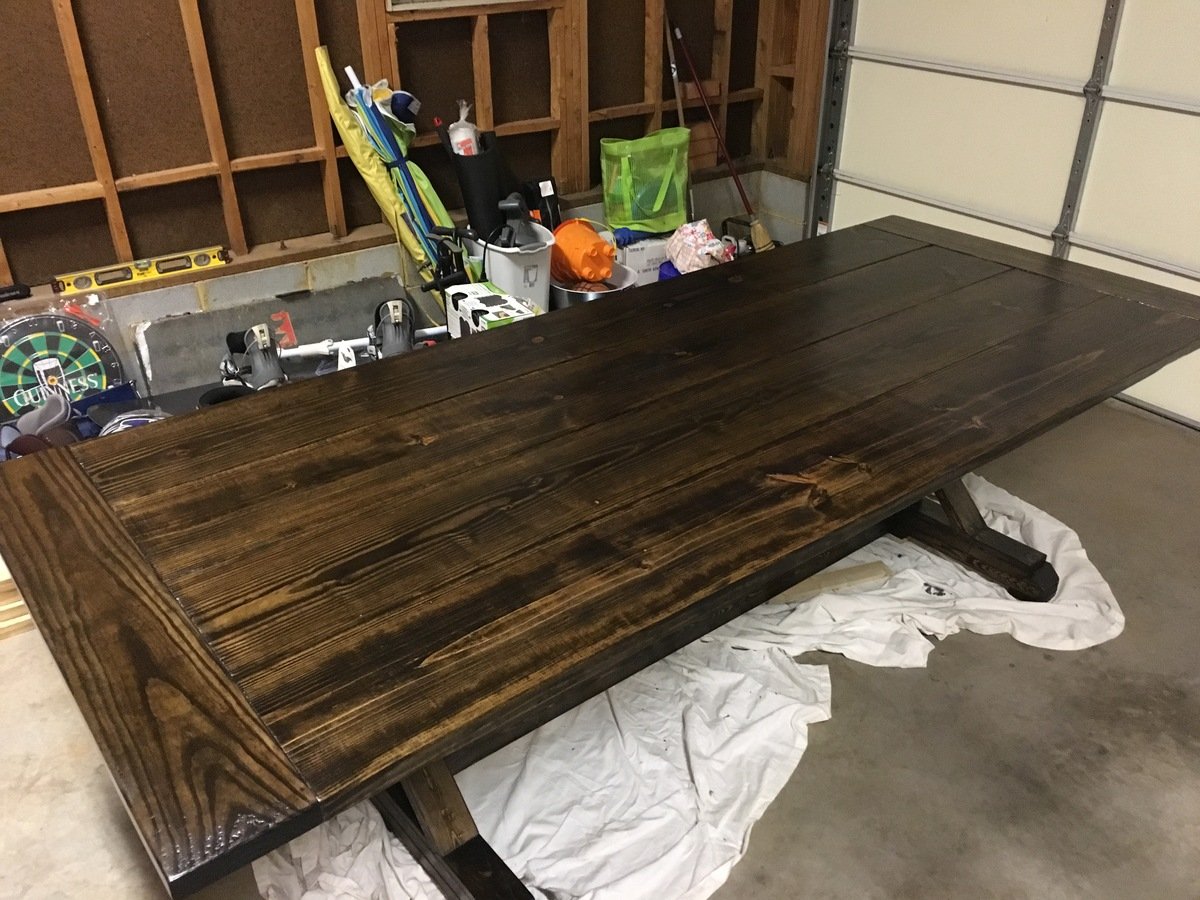
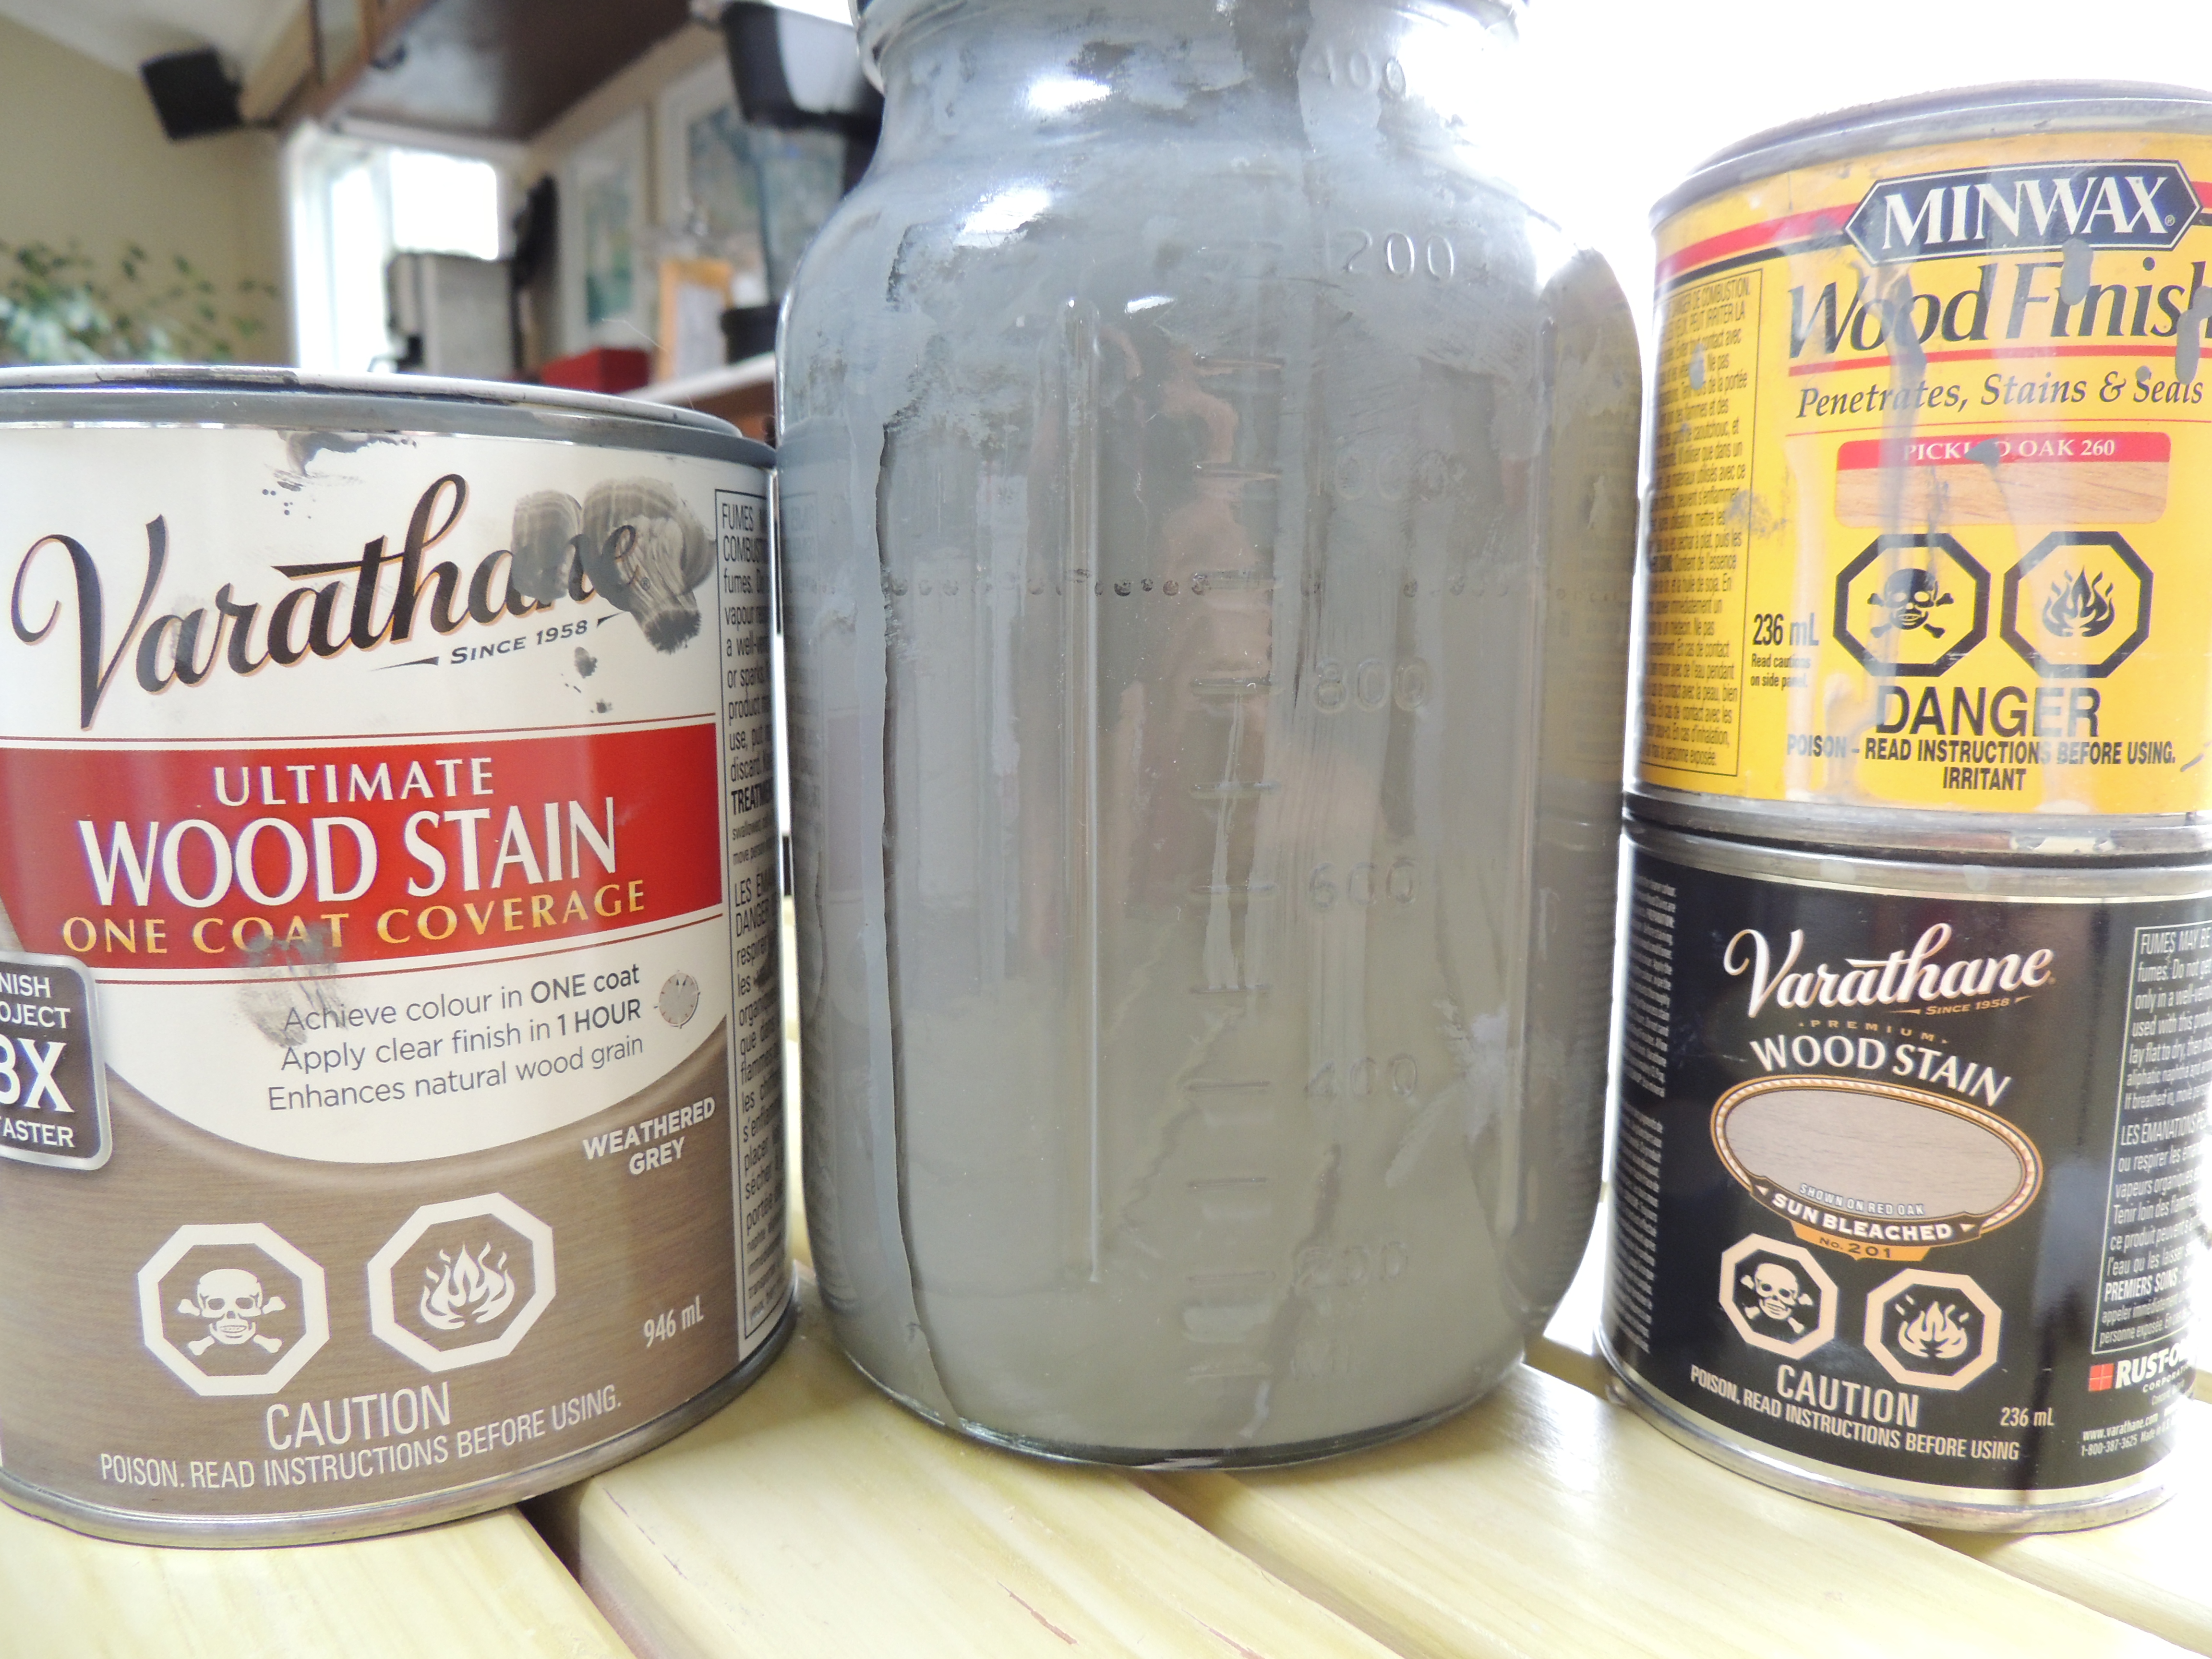
Minwax fast drying polyurethane