Community Brag Posts

My First Project

Submitted by sbonander on Thu, 03/18/2021 - 08:16

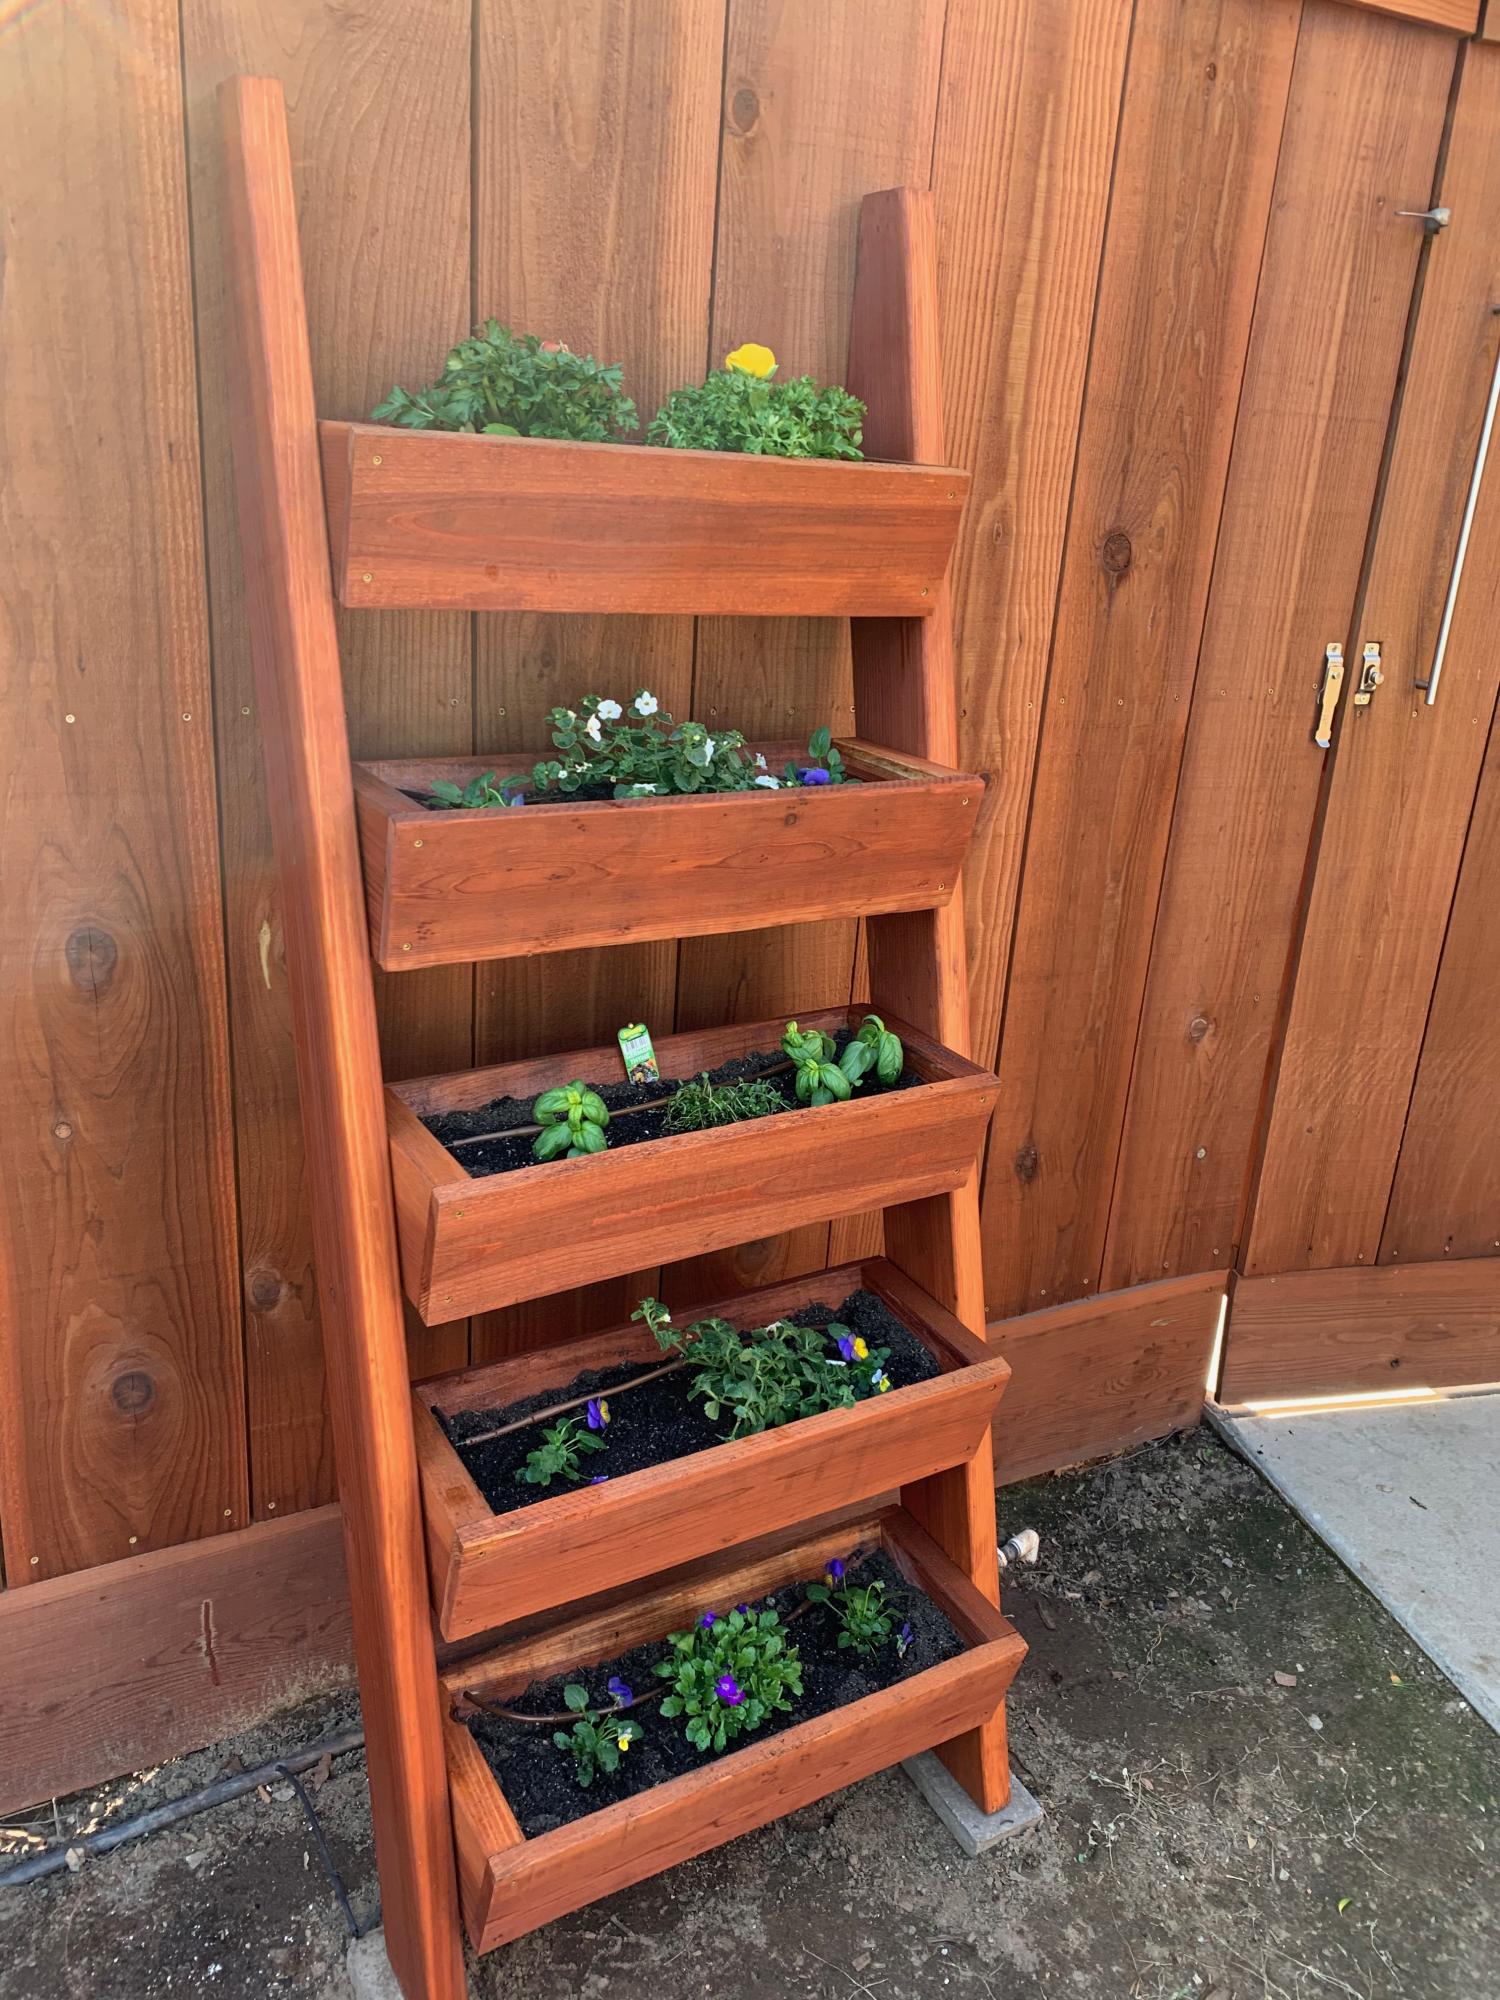
I learned so much for this first project. I used redwood instead of cedar and finished it to match our fence. I coated the inside with flex seal. Next time, I'll drill drain holes nearer to the front edge of each box so they drain into the box below a bit better. I angled the bottoms of each box with a band saw on a 15 degree tilted platform. They fit like a glove! Thanks for a great plan.

Comments

Seasonal And Holiday

Boys Room Makeover

Submitted by agarrigan on Mon, 03/11/2013 - 14:08

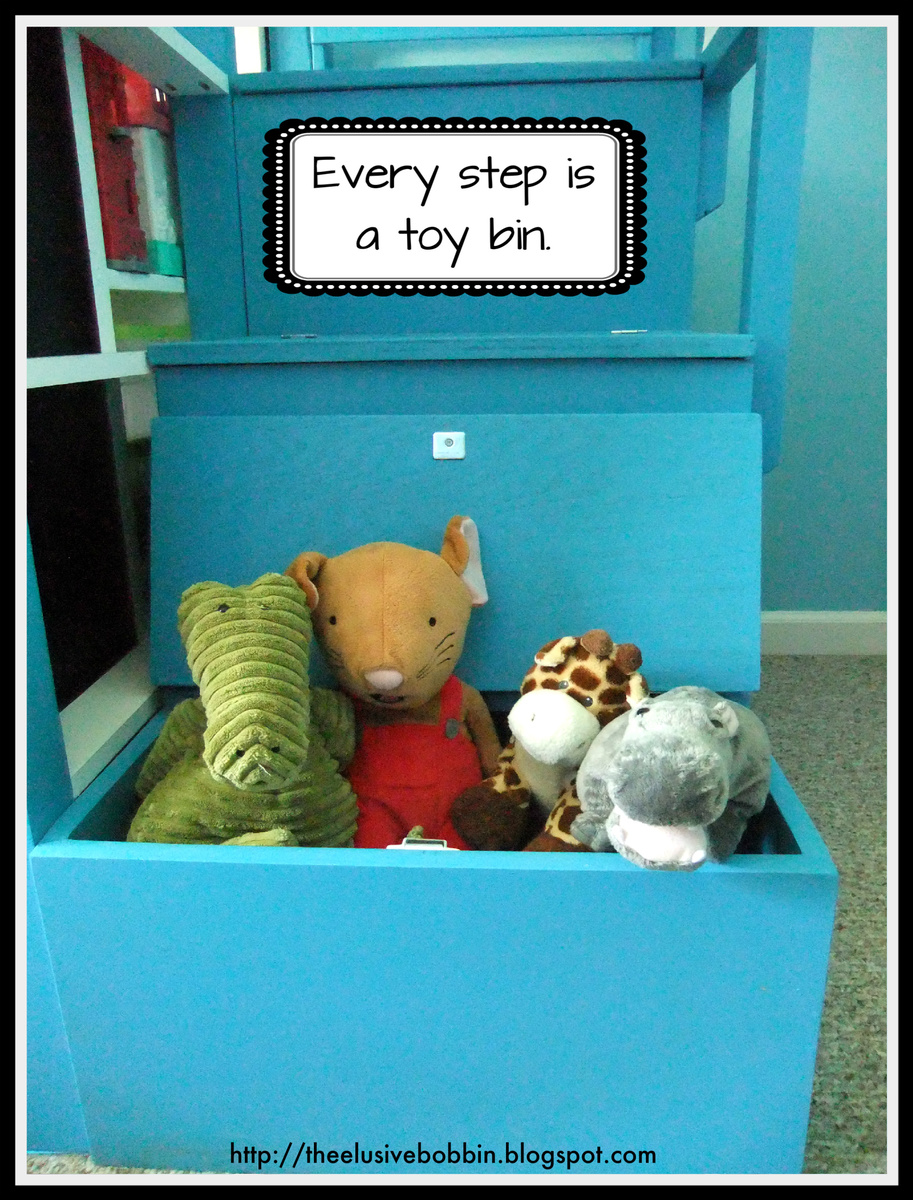
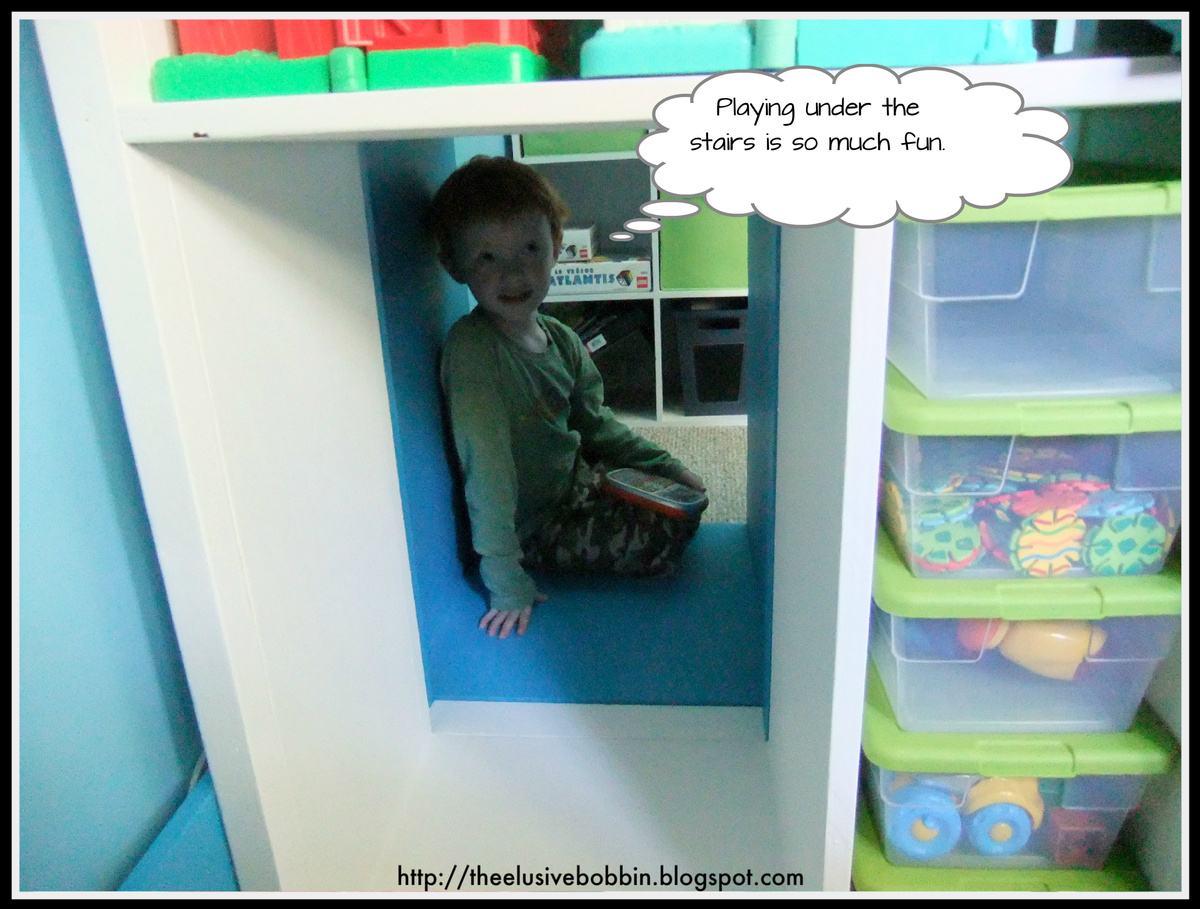
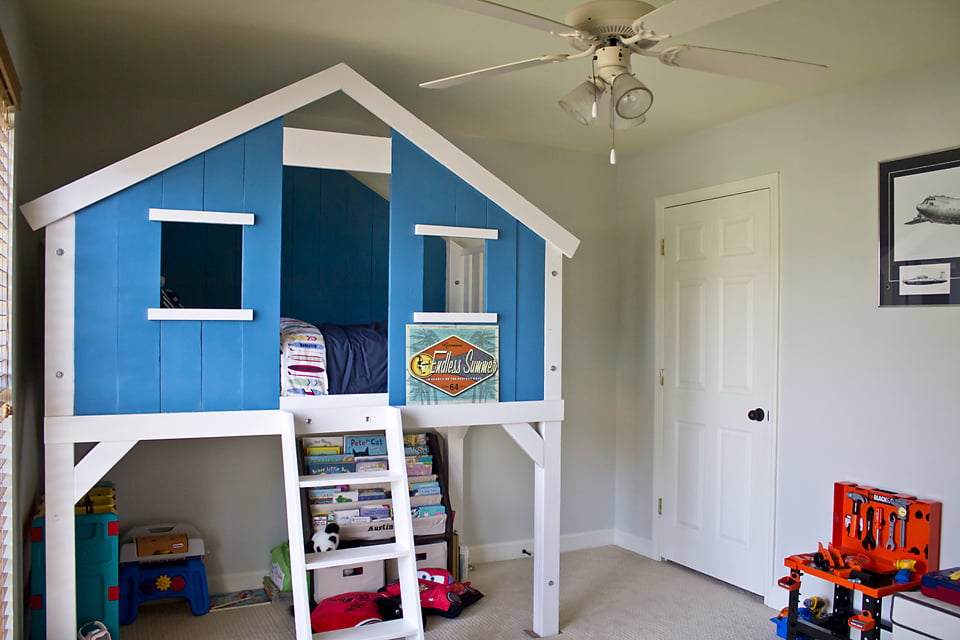
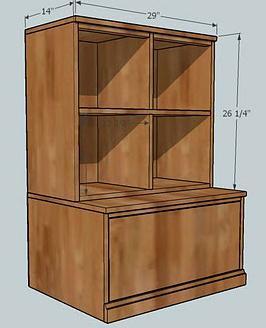
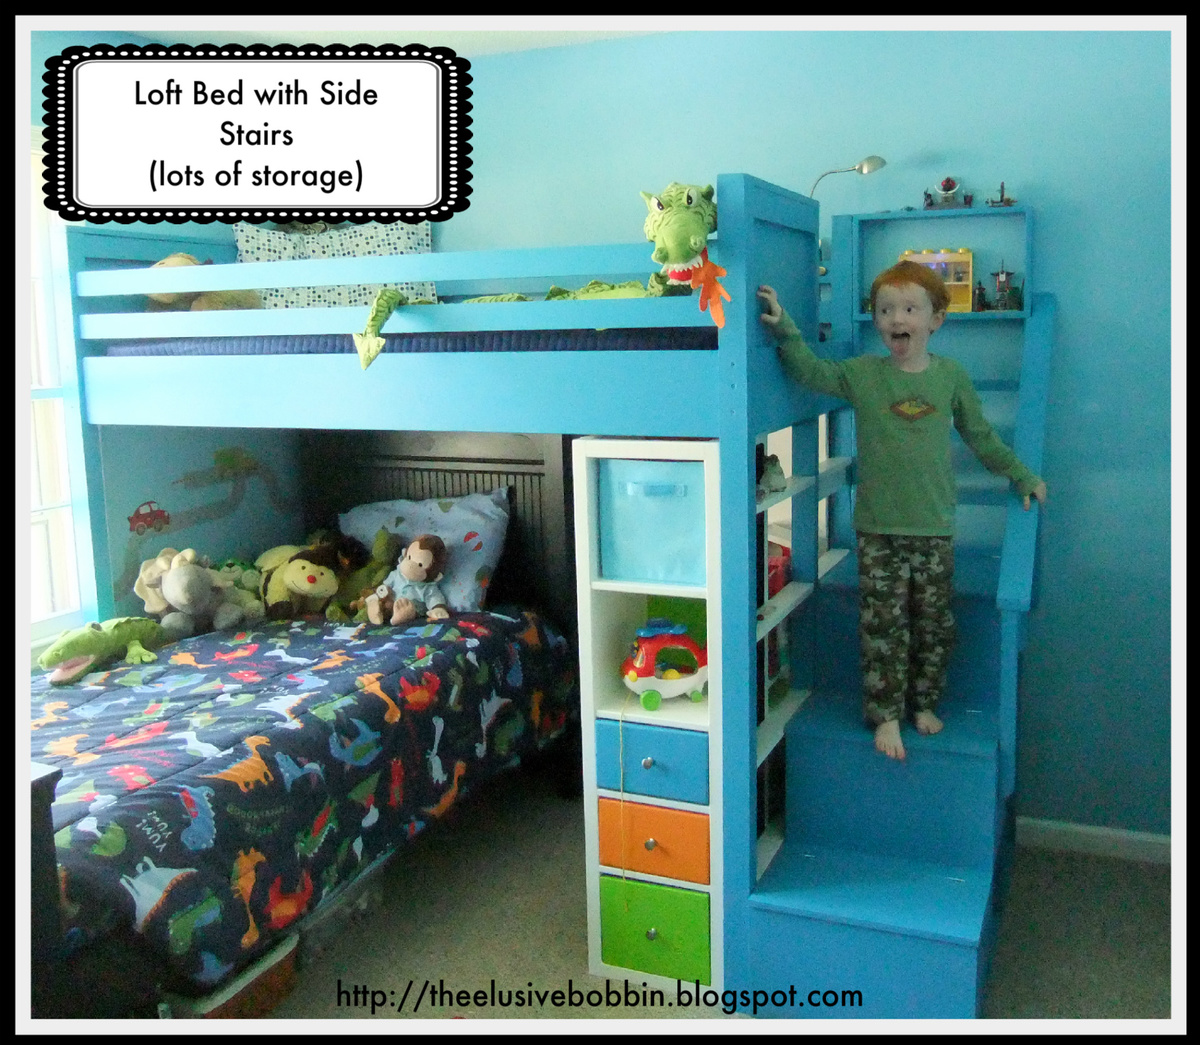
My husband and I made this for our boys last spring, while we were still in our old house. It's a modification of Ana' loft bed, with stairs that I drafted myself, a smaller version of Ana's flat bookshelf at the top, and a modification of Ana's dresser bookshelf from the cabin collection underneath. It has tons of storage and a tunnel/hiding spot that goes under the back step all the way through the dresser bookshelf. My boys loved this, and it made a huge difference in their room. Oh Ana, where would I be without you? Thanks for the great plans and inspiration.

Oh, and if you want to see more pictures including before and after shots of the boys room, check out my blog.

http://theelusivebobbin.blogspot.com/2012/03/finding-space-aka-boys-roo…

Estimated Time Investment
Week Long Project (20 Hours or More)
Finish Used
Flat latex paint.
Recommended Skill Level
Intermediate

Comments

robsaem

Tue, 11/25/2014 - 07:52

I absolutely LOVE this bed design.  Do you have a complete set of plans for this bed?  I tried to follow the separate plans for each part, but it is a little confusing.  I am a newbie, so wanted to make sure I do this right.   Thanks so much!  Robin

Restaurant High Chair with an add-on

Submitted by rbgreene04 on Sun, 01/18/2015 - 18:57

After my 6-month old daughter outgrew, or just got tired of sitting in her bouncy seat on the table while Mommy and Daddy ate, I decided to build her a high chair. I loved the plans and it looked pretty easy. It took me longer than expected, but I was using scraps and trying to be efficient with my cuts and waste. After making the chair, my wife said it'd be nice if we painted it Minnie Mouse themed, so I cut the ears using the jigsaw and attached them with pocket holes. I could have just made them as part of the chair (the back piece) but the idea didn't come until after the chair was complete. To make the ears, I just used a compass and quite a bit of an eraser. I used grid lines and tried and retried and retried and retried until it looked almost Minnie Mouse-ish. I was going to try a bow, but didn't want to to ruin it. I'd also like to try to inlay a bow, but that would mean not being able to paint it so that was a no go. I haven't added the safety straps yet, but I have them and will be putting them on before she sits in it--so no need to call social services.

Built from Plan(s)
Estimated Cost
Around $30-40 including paint
Estimated Time Investment
Weekend Project (10-20 Hours)
Finish Used
I taped off the ears and lower stretchers and spray painted the body of the chair. Then I used a brush and brushed on two coats of the black for the ears and bottom stretchers. Lastly, I used a circular sponge brush from a hobby store to make the polka dots. I'm not very good with the sponge brush so I had to fill in with a small detail brush. I don't like the brush lines so I'm going to try and sand with 350 or 400 grit to get rid of the brush strokes. Then, I'll probably sand up to 600 grit to get a smooth finish.
Recommended Skill Level
Beginner

Comments

Wood Headboard

Submitted by hwwelch27 on Wed, 03/13/2013 - 19:58

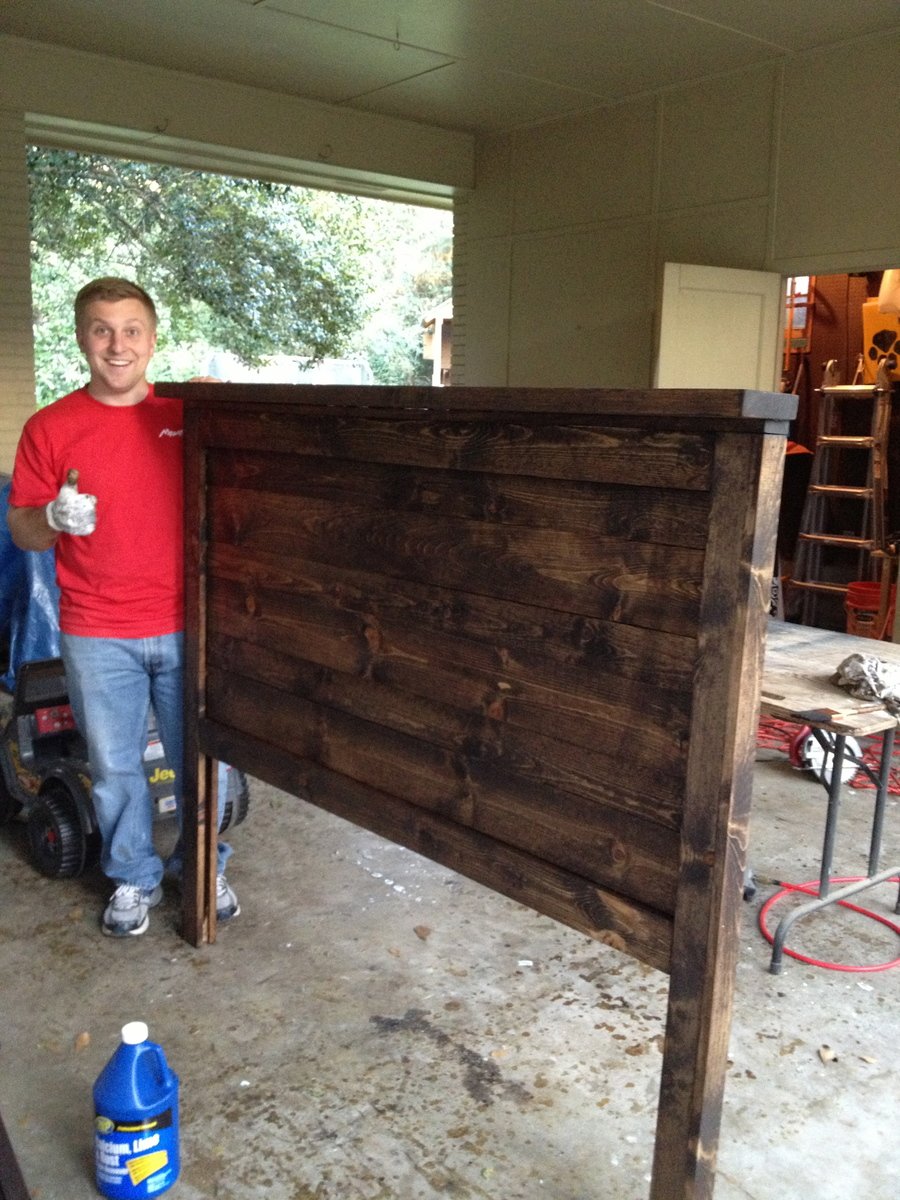
I spent a Saturday gathering supplies and building this headboard. It was a great plan. I did not have any reclaimed wood available so I went out and bought some new wood then I stained it. We absolutely love the way the stain turned out!

Estimated Cost
$100
Estimated Time Investment
Day Project (6-9 Hours)
Finish Used
Minwax Dark Walnut Stain
Polyurethane coat on top
Recommended Skill Level
Beginner

Media Center

Submitted by brittanyj on Wed, 01/21/2015 - 08:59

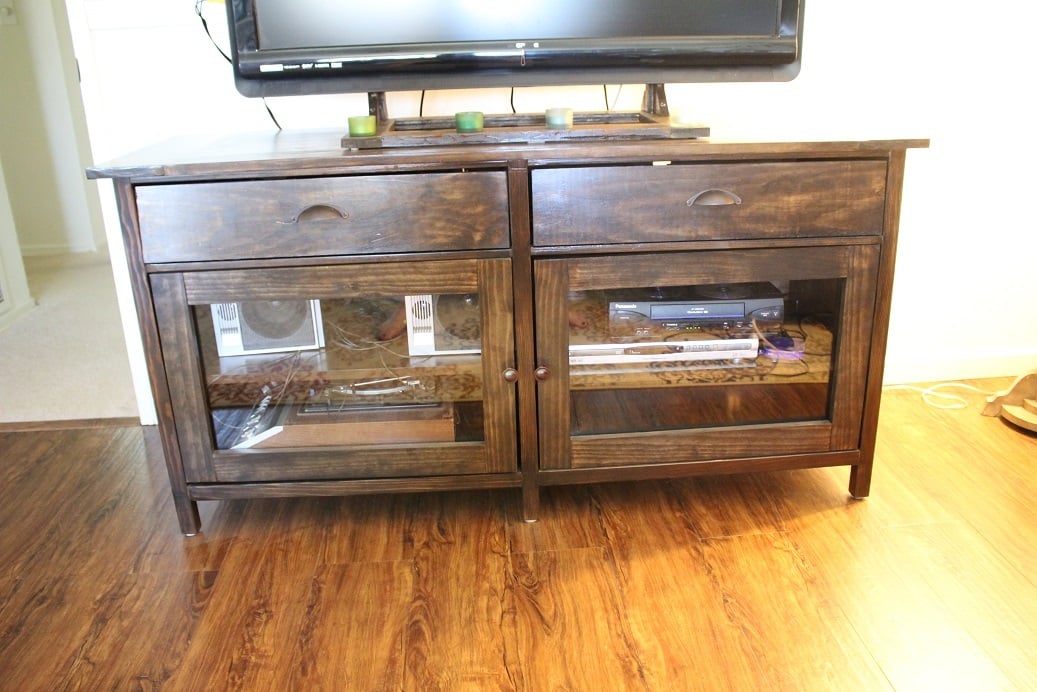
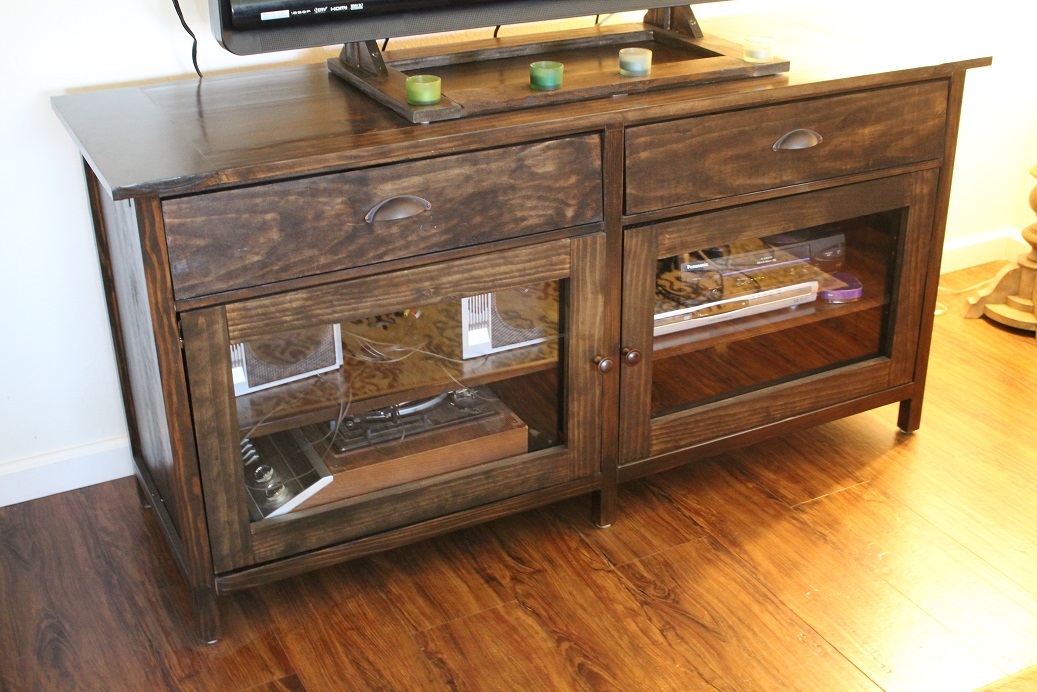
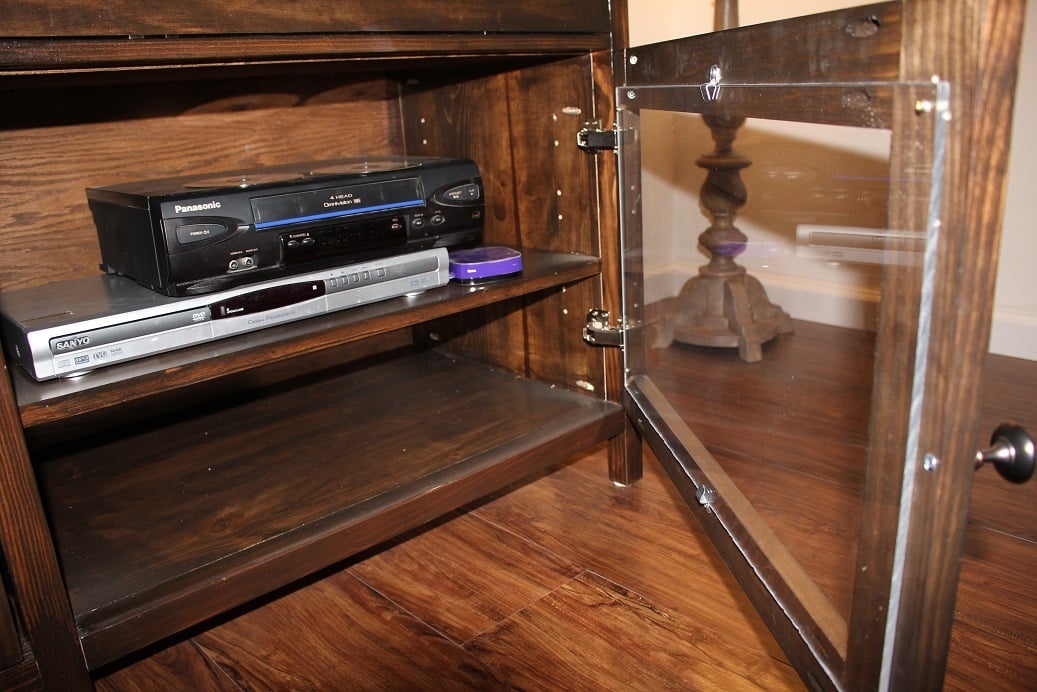
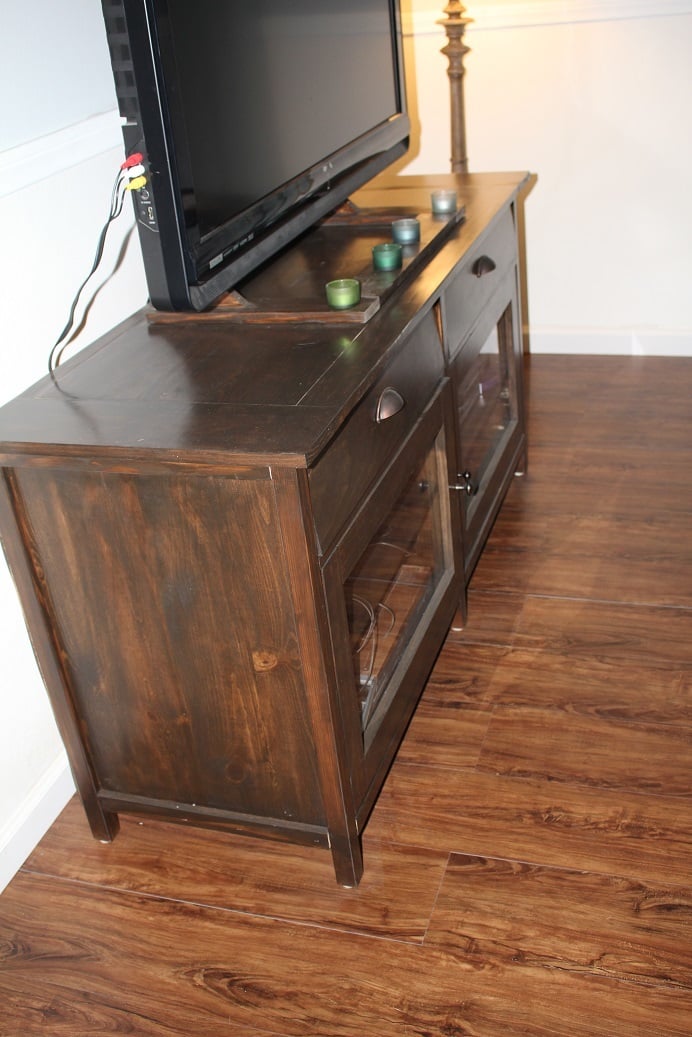
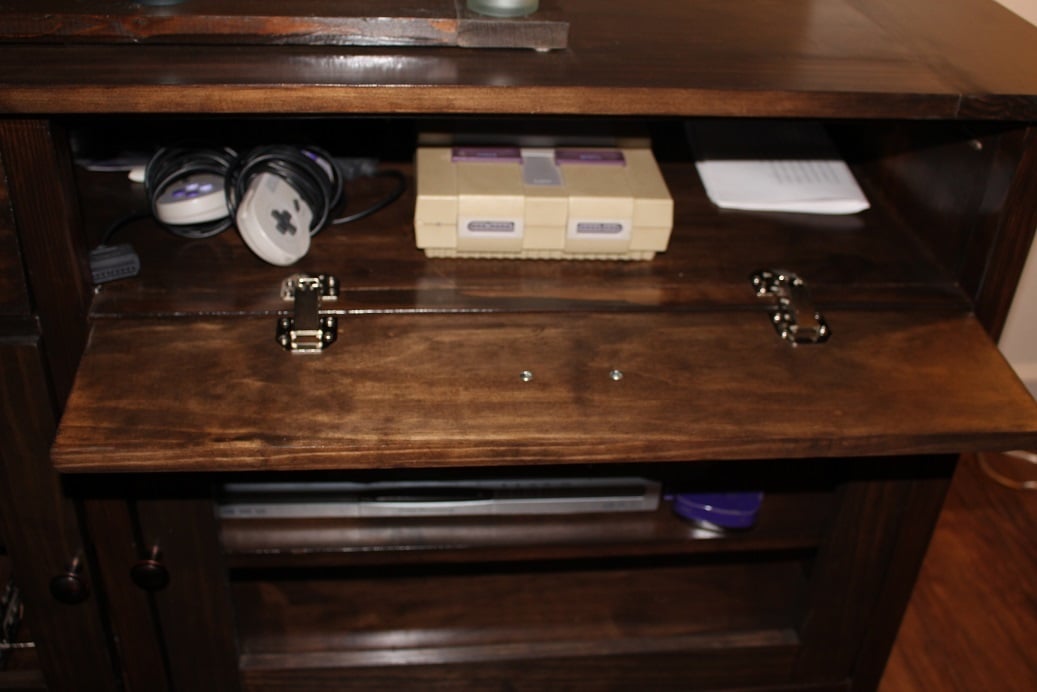
Made this media center for a DIY TV show at my home and I think I'm proudest of this project!  It turned out so beautifully.  Shelf pin jig was used for movable shelves inside, ORB handles and knobs, a very smooth poly'd top, and plenty of room for our components.  The doors were the hardest part.  Being inset, they just didn't want to fit and would scrape the frame.  Lots of repositioning of the hinges.  The thick acrylic for the doors was a little difficult as well- it cut easily enough in the table saw, but screwing in threatened breakage.  It was also hard to fit them where their fasteners didn't compete with the knobs or shelves.  I also made the TV stand to match the media center (and because I didn't want to buy one!)  Love this project!

Built from Plan(s)
Estimated Cost
$120
Estimated Time Investment
Weekend Project (10-20 Hours)
Finish Used
kona stain, poly
Recommended Skill Level
Intermediate

Comments

DIYER_MD

Wed, 01/21/2015 - 14:37

This turned out nice. I did notice that you are showing the pocket holes on the inside. In the future you can get the Kreg pocket hole plugs to fill these holes. You glue them in the holes and you can then sand them down even and you will not see any of the holes.

Great job.

Garden Shed Douglas

Submitted by sambelg on Sat, 04/22/2017 - 07:45

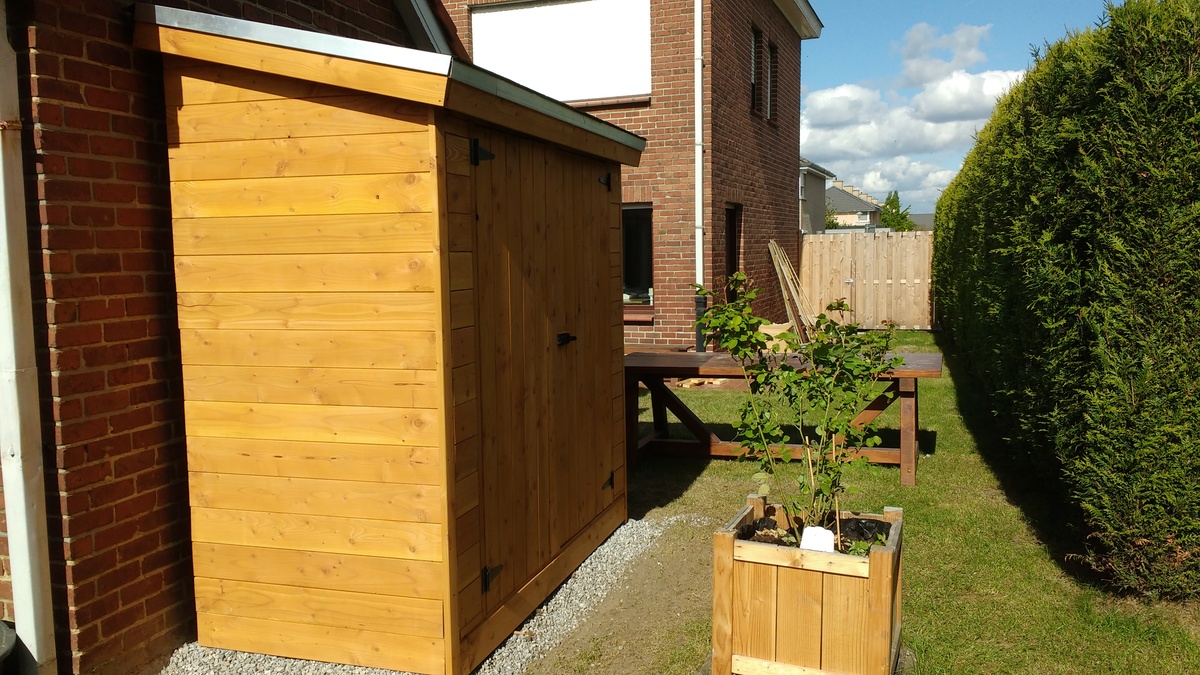
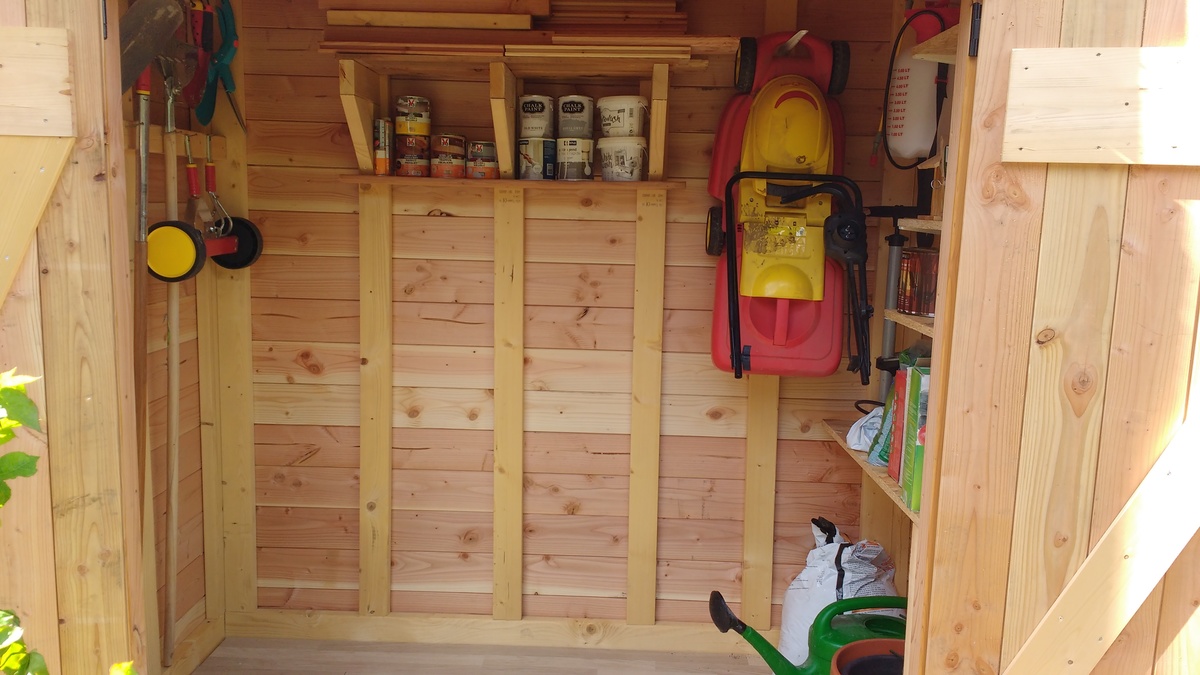
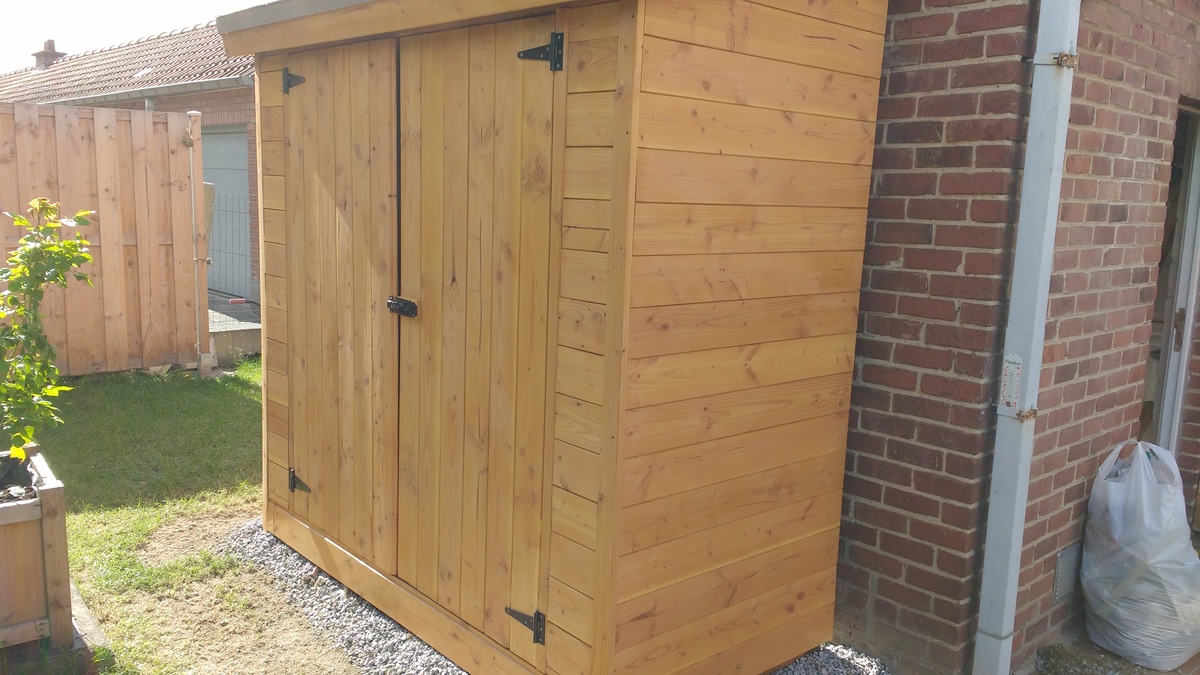
Garden Shed out of douglas wood

i added wooden floor .

Built from Plan(s)
Estimated Cost
700 euro , wood is very expensive where i live
cedar would have made it very pricey
Estimated Time Investment
Week Long Project (20 Hours or More)
Finish Used
Pine stain Xyladecor
Recommended Skill Level
Intermediate

Comments

whitedog9

Thu, 06/15/2017 - 12:48

Greetings, I like your workmanship - It looks great! I have a couple questions if you would be so kind as to answer them. I like how you turned the studs sideways. How did you attach the studs to the 2x4 plate that you have turned on its 1 1/2" edge both top and bottom. I am thinking of toenailing or driving 3 1/4" GRK screws through the 1 1/2" sides of the 2x4's and into the 1 1/2" edge of the top and bottom plate. I know that Kreg has a jig out that uses oversize screws-it is specifically designed for 1 1/2" and larger (up to 3 1/2").


How did you secure the bottom plate to the wooden floor. I am thinking that you may have used 1/4" or 5/16" lag bolts down through the 2x4 and on into the frame of your wooden floor.


Thanks for your reply,

Cliveous (Reggie) Ogg

Floating Shelf planter box

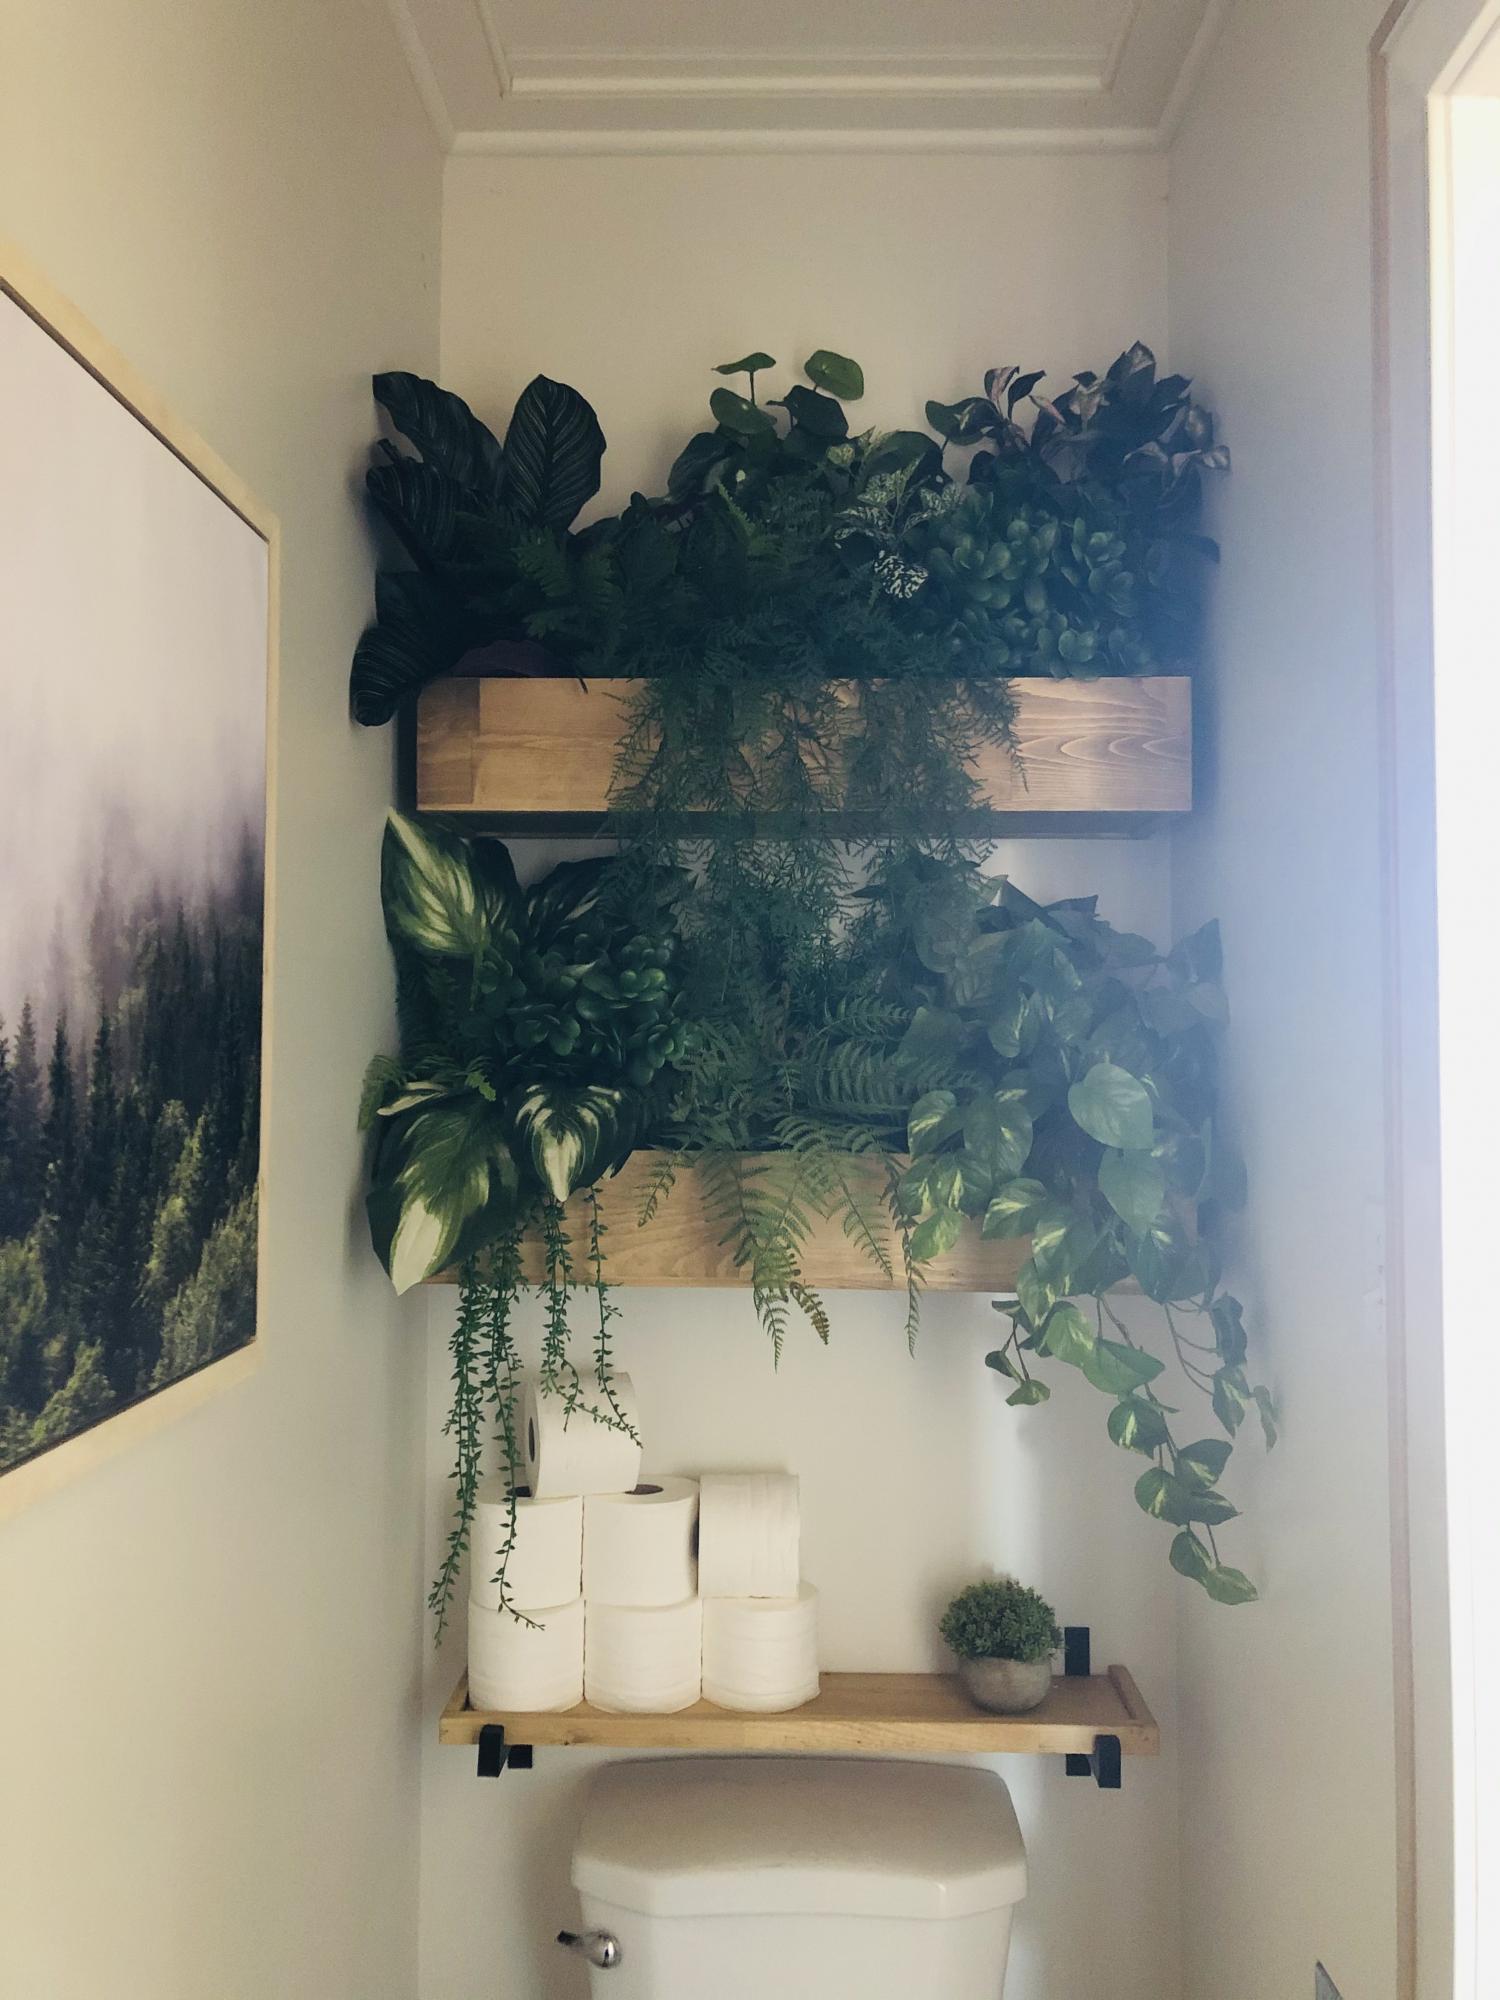
I wanted some greenery in this tiny bathroom. I followed the build plans for the floating shelves and simply didn’t add the tops so I could use as planter boxes!

Built from Plan(s)
Finish Used
Wood conditioner, minwax Early American, minwax Weathered Oak.

Comments

The Little Clubhouse That Could

Submitted by momof2as on Sat, 03/16/2013 - 15:38

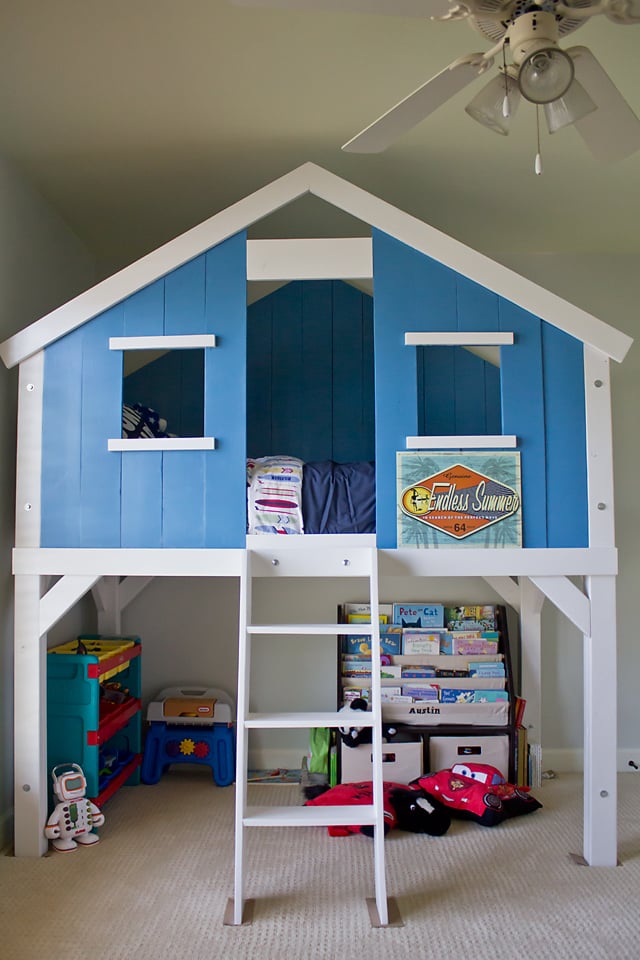
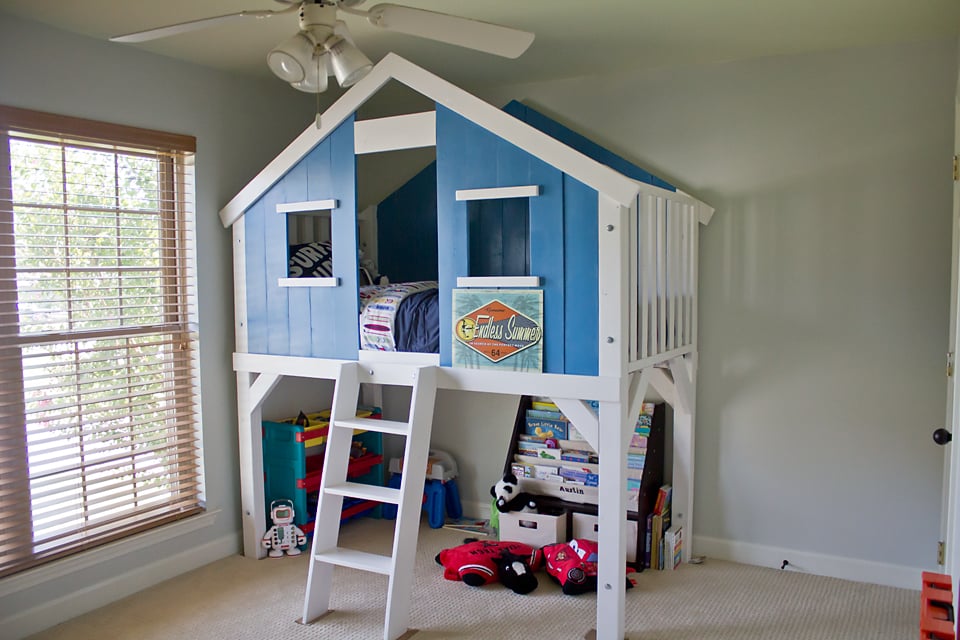
So in late December 2011, I asked my son if he was ready for his big boy bed. I had found a bed in a PBK catalogue that I loved. There was no way I could afford or justify the $1400 price tag plus tax and shipping so I had ventured onto ana-white.com and found a suitable option instead. His response to my question was, "No." Queue the Price Is Right losing sound. So, I waited.

Sure enough, six months later, he tells me. "Mommy, I want you to build me my big boy bed now." I lit up with excitement. So I logged onto this wonderful website and began to search through the loft beds for the original plan. When the list of loft beds popped up, my heart almost stopped. It was June 2012 and there IT was. Posted in May 2012, the PBK clubhouse bed of my dreams! I was beyond excited. I knew that Ana wouldn't let me down!

I printed out the list and told the hubby to get the truck we were headed to my favorite blue store. Now, I have never built ANYTHING in my life, but I had drooled over enough plans on this site to know that Ana wouldn't lead me astray. So, a few hundred dollars later in lumber, we pull into the drive way with all I needed to get started. My wonderful husband unloaded everything and began organizing the garage. When I saw he was done, I said, "Thanks babe, now can you watch A while I get started on all the cuts." I saw his heart break. He thought he would be making the bed. He had no idea, that my intentions were to do this on my own. (I have OCD and my husband does NOT and we have a crooked fence to prove it)

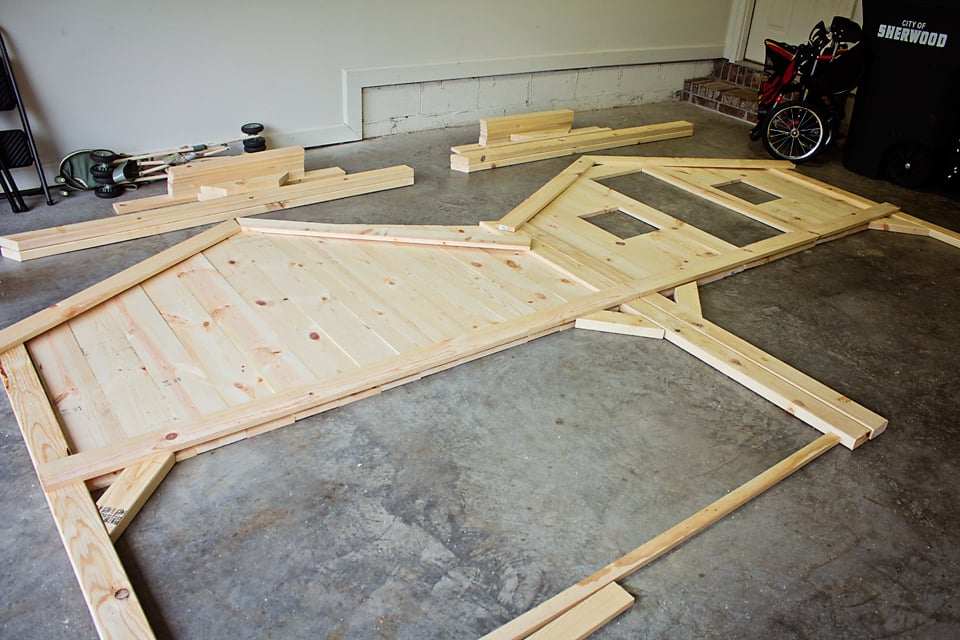
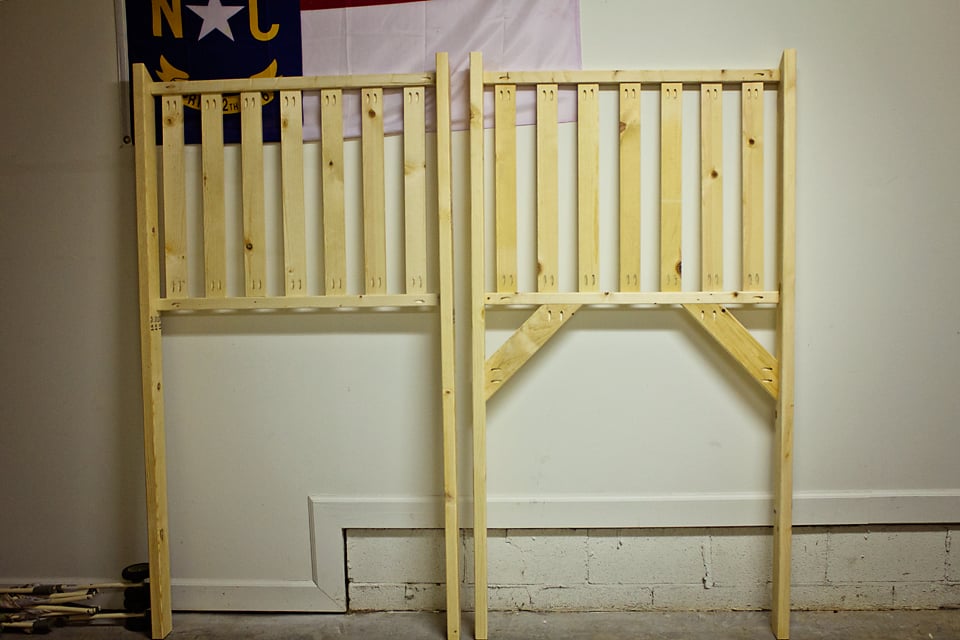
So in one night I made all the cuts and assembled the ends of the bed! Happy Dances!

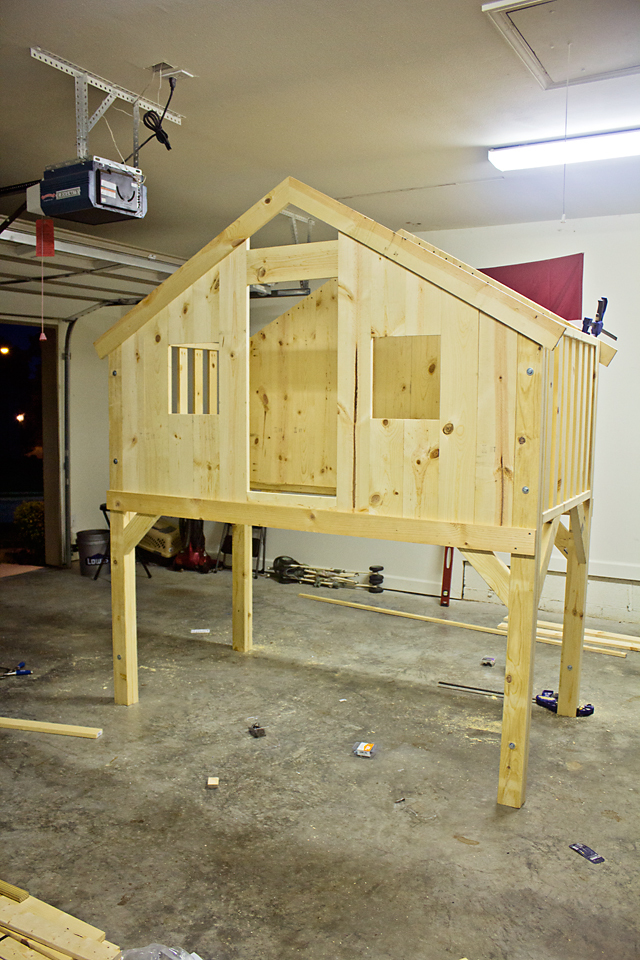
The next day, I assembled the front and back of the clubhouse and it was standing tall in my garage that night. I was fortunate to have a great baby sitter Saturday and Sunday.

While this project could have been finished in two to three weekends, I (well, my son) chose July for this build which is not so smart so the sanding and painting had to wait until the cooler evening and night hours. Eventually, I had to set it up in my living room to paint it (I spray painted the primer on outside and sanded that before bringing it in). Once I did that, two coats of blue and white, a two full coats of the finish and the bed was DONE!

My three year-old was so proud of his new digs and he told everyone he showed, "My mommy built that for me, all by herself!" Talk about one of the sweetest things I've ever heard, praise from a three year-old.

P.S. We removed the cardboard from under the feet after the curing period for the finish. It was dry, but to be safe (my OCD) I put the cardboard there for a week. I didn't want the feet to get stuck to the carpet under the weight of the bed.
Built from Plan(s)
Estimated Cost
$500
Estimated Time Investment
Week Long Project (20 Hours or More)
Finish Used
China Blue Latex Paint (eggshell)
White Latex Paint (eggshell)
Satin Finish
Recommended Skill Level
Beginner

Comments

JoanneS

Sat, 03/16/2013 - 17:14

What an awesome build! Better than PB bed! You did a fab job - Looks like it was built by a pro!

cjpyles

Mon, 06/10/2013 - 09:52

Just wanted to let you know that your post almost brought me to tears. I was so inspired that you took this on yourself, as your 1st build, that I think I'll do the same! My husband could build this in a day, because he's the most talented person I've ever met... but its important to me to teach our little girls that mommy's can build things, and fix things too. My motivation will be that moment when my 3 year old (because it might take me another 6 months to finish- hahaha) tells everyone that HER MOMMY built it for her all by herself.
You rock!
And I'm in love with this site- thanks Ana!!!

Portatore di Luce

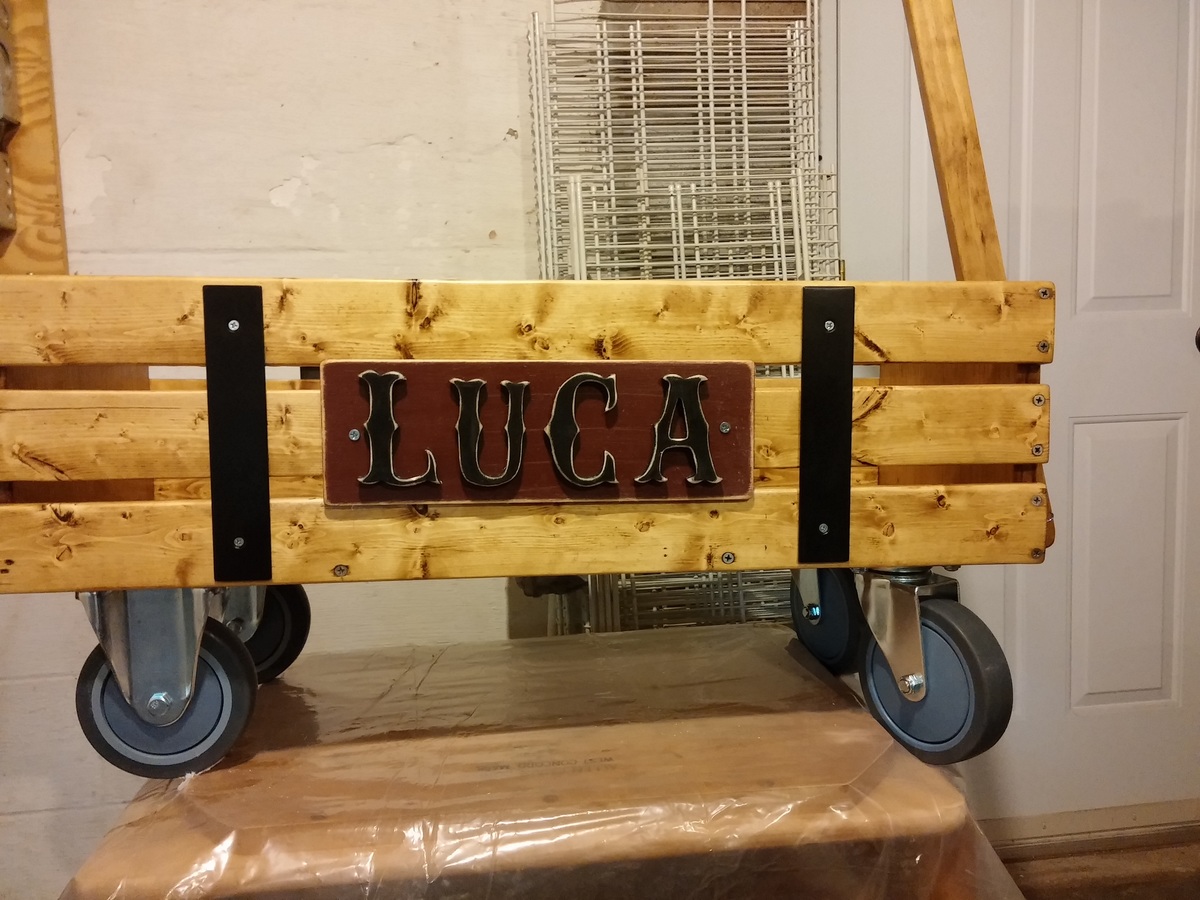
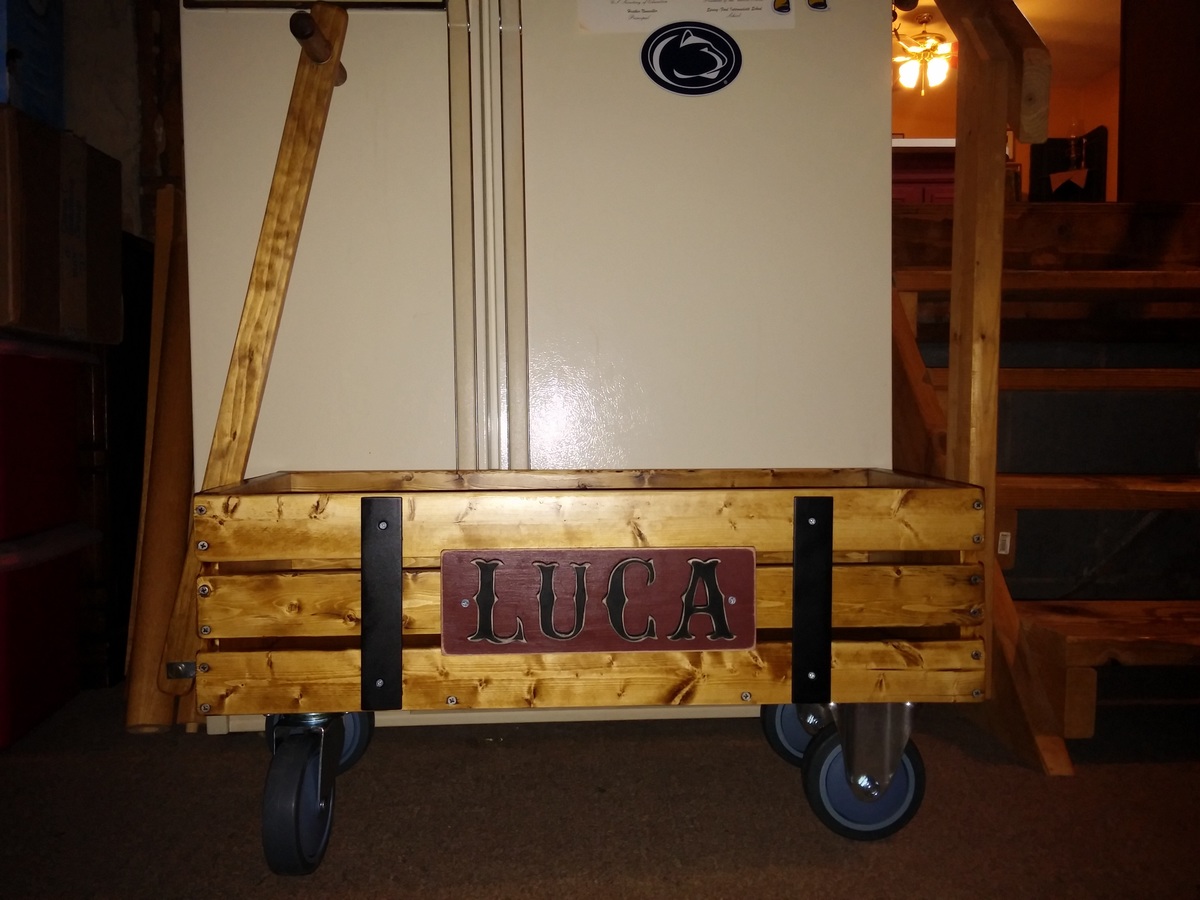
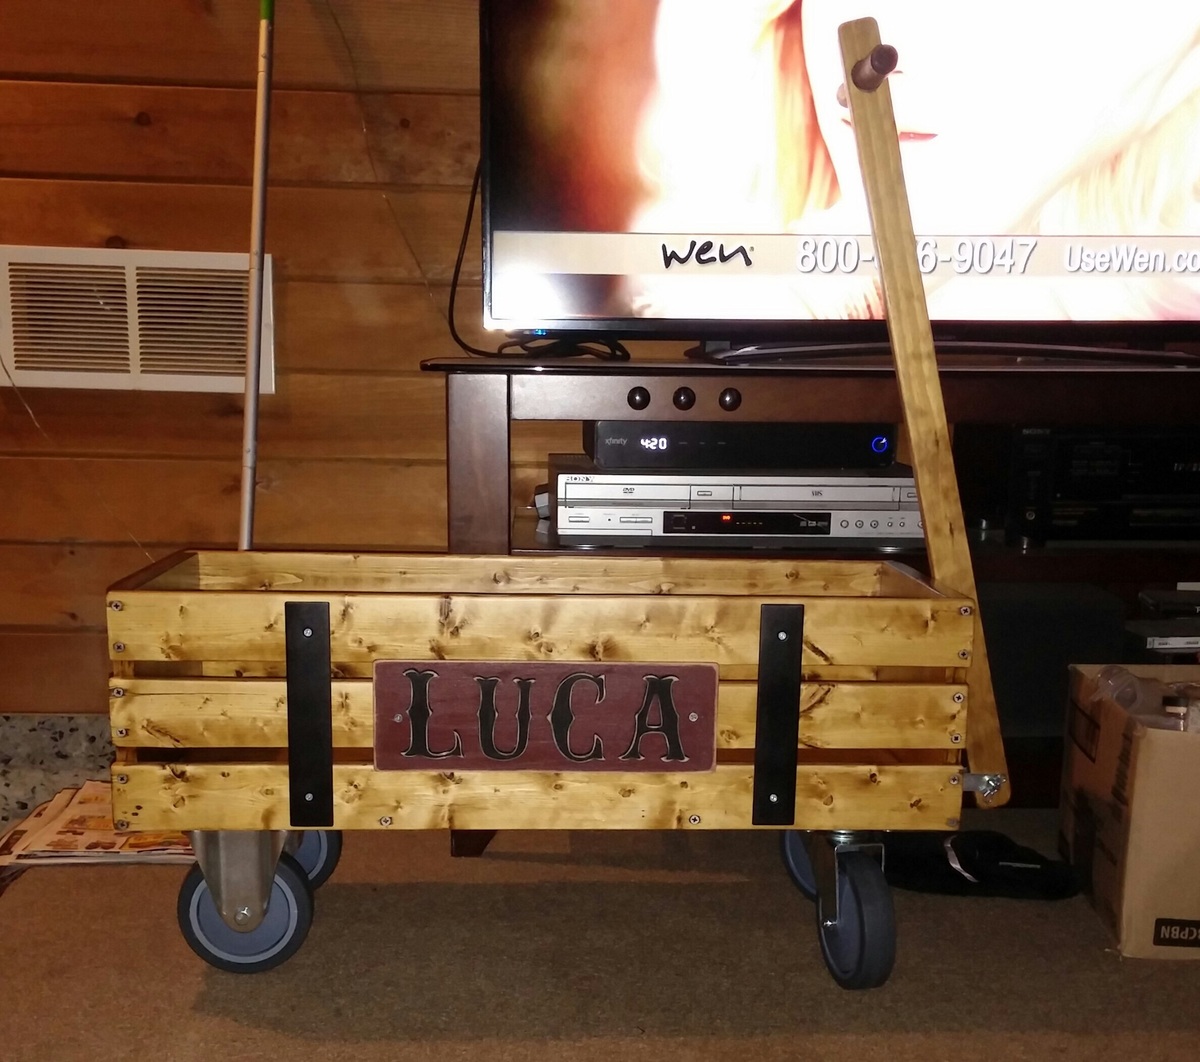
Totally enjoyed making this for my very first brand new step-grandson Luca.  Learned a few new tricks along the way and had a blast!  

Built from Plan(s)
Finish Used
Minwax Early American with a triple coat of Helmsman to protect it from the outdoor elements.
Recommended Skill Level
Beginner

Comments

7 person sectional.

Submitted by Anonymous (not verified) on Sun, 04/23/2017 - 21:01

Added a fourth seat to the sectional peice. This way it fills the space on my deck much better. Plans worked great. Both peices

completed in under 3 hours. 

Estimated Time Investment
Afternoon Project (3-6 Hours)
Finish Used
It will be painted.
Recommended Skill Level
Beginner

Littlest helper tower

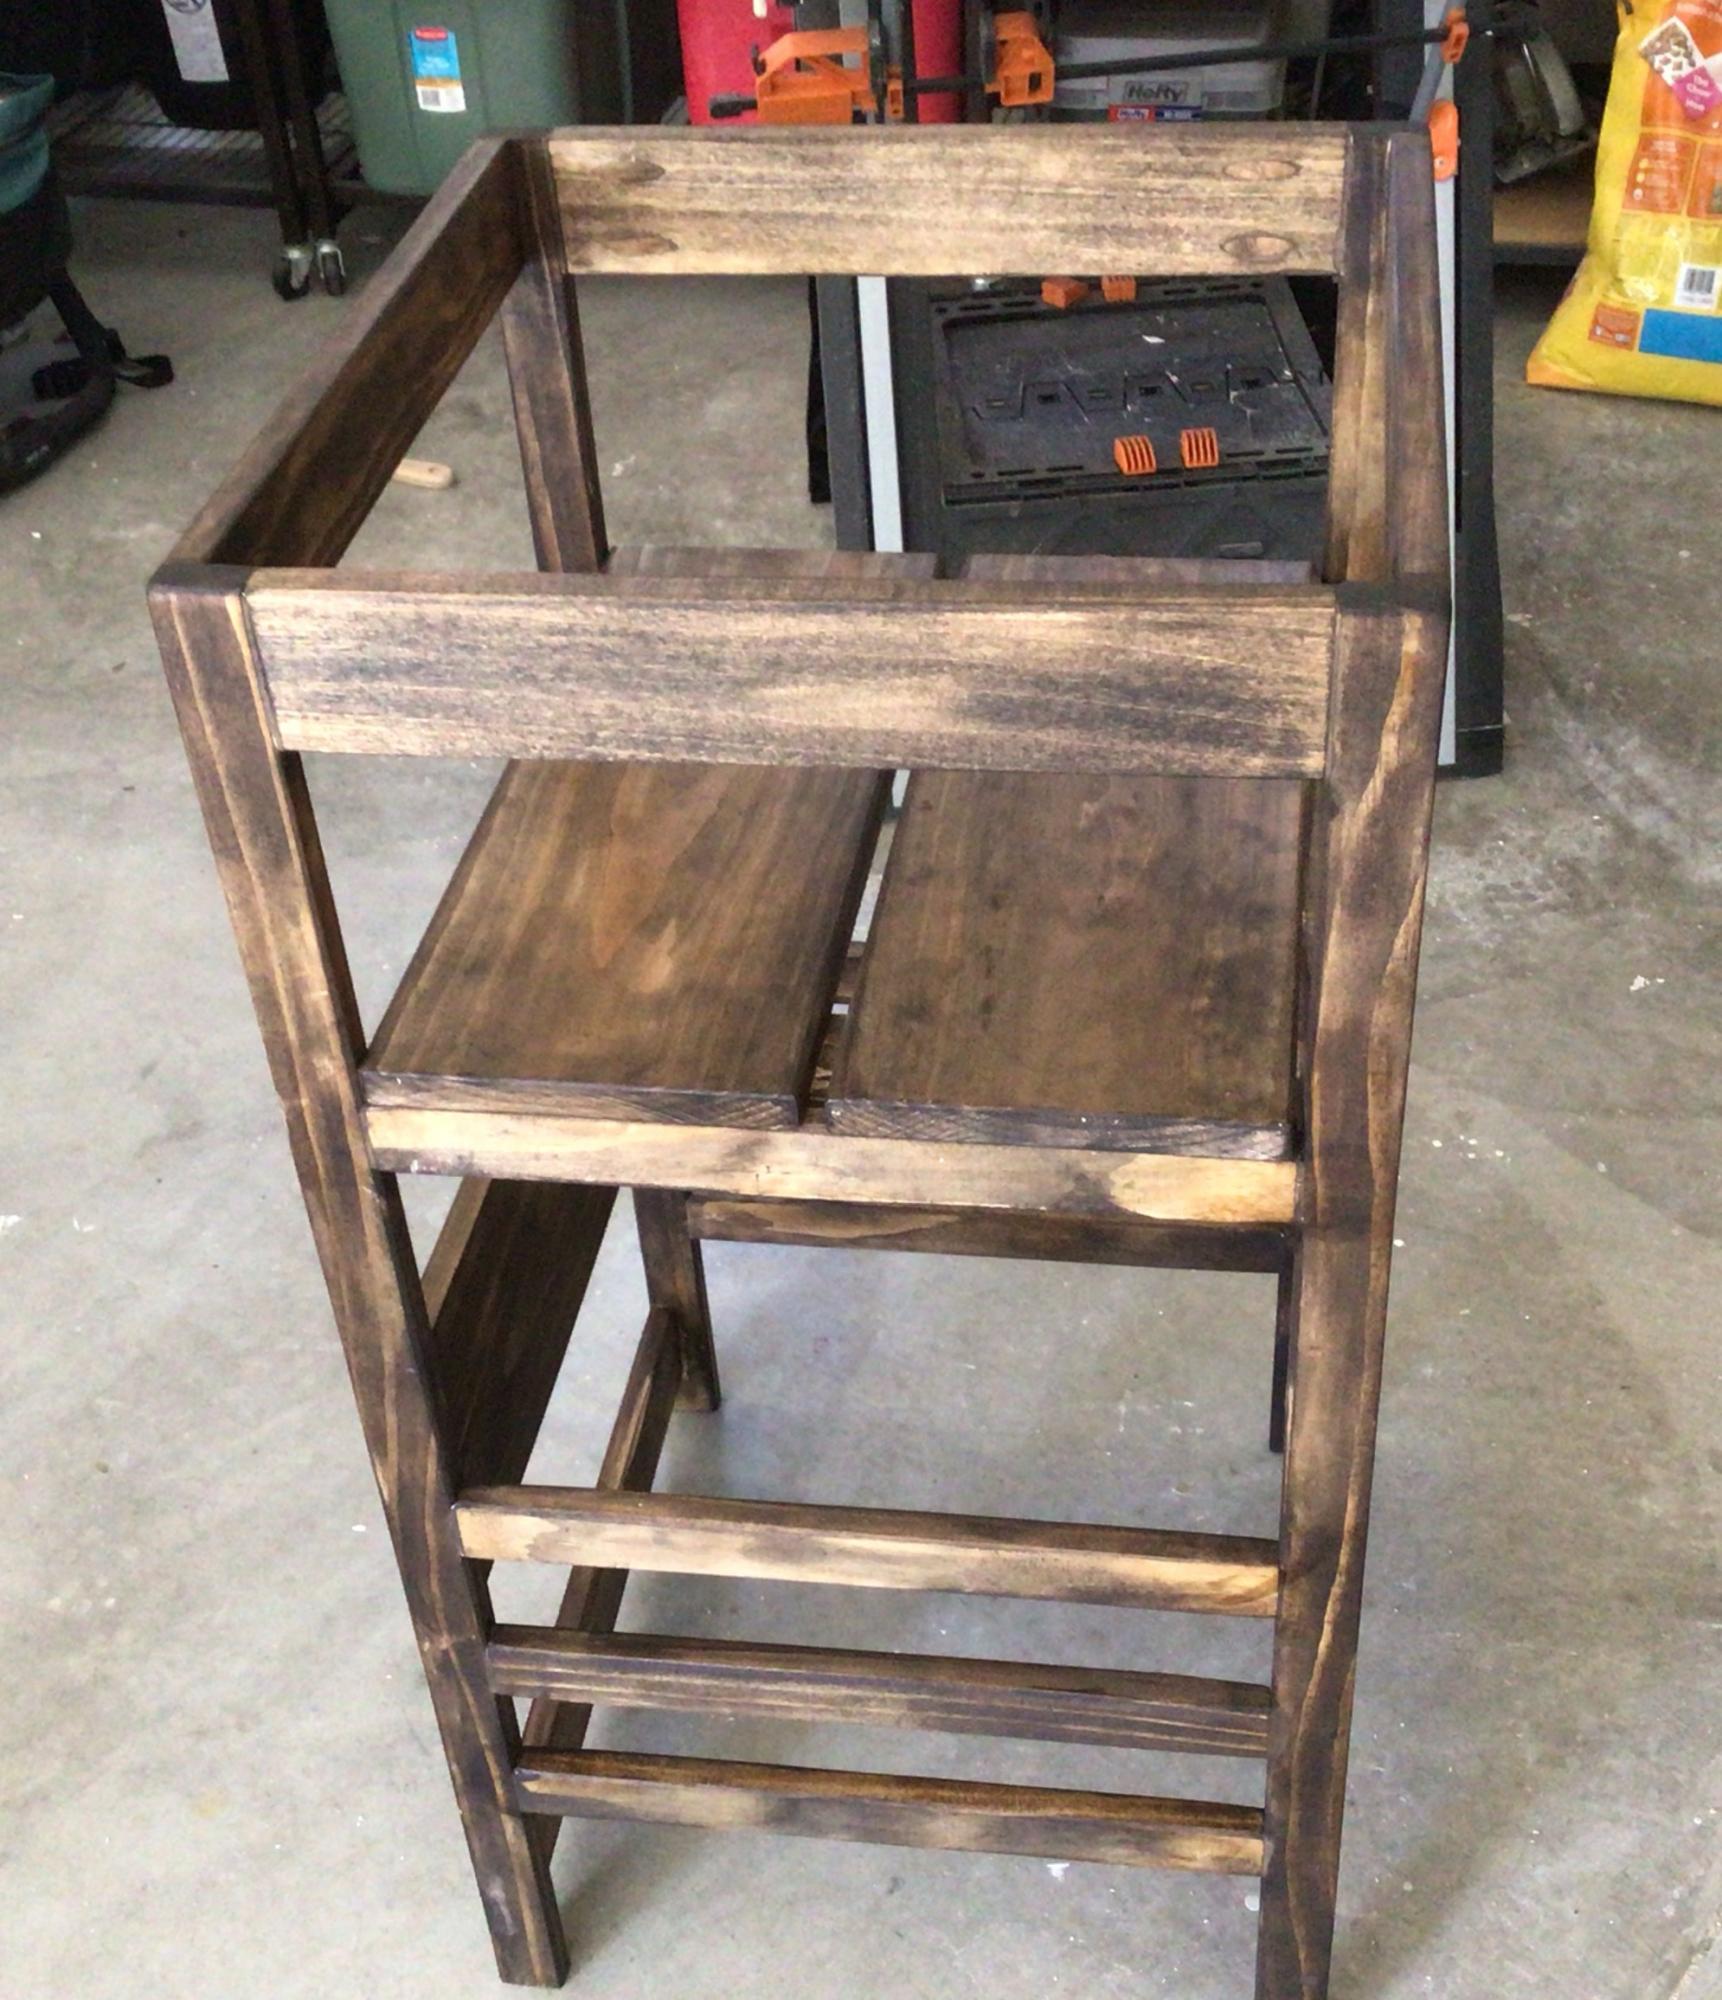
Finished this over the weekend and put it into service....our grandson loves it! I did add a level for him to sit at the counter!!!!

Comments

Pallet Inspired Coat Rack

Submitted by webjr on Tue, 01/27/2015 - 17:49

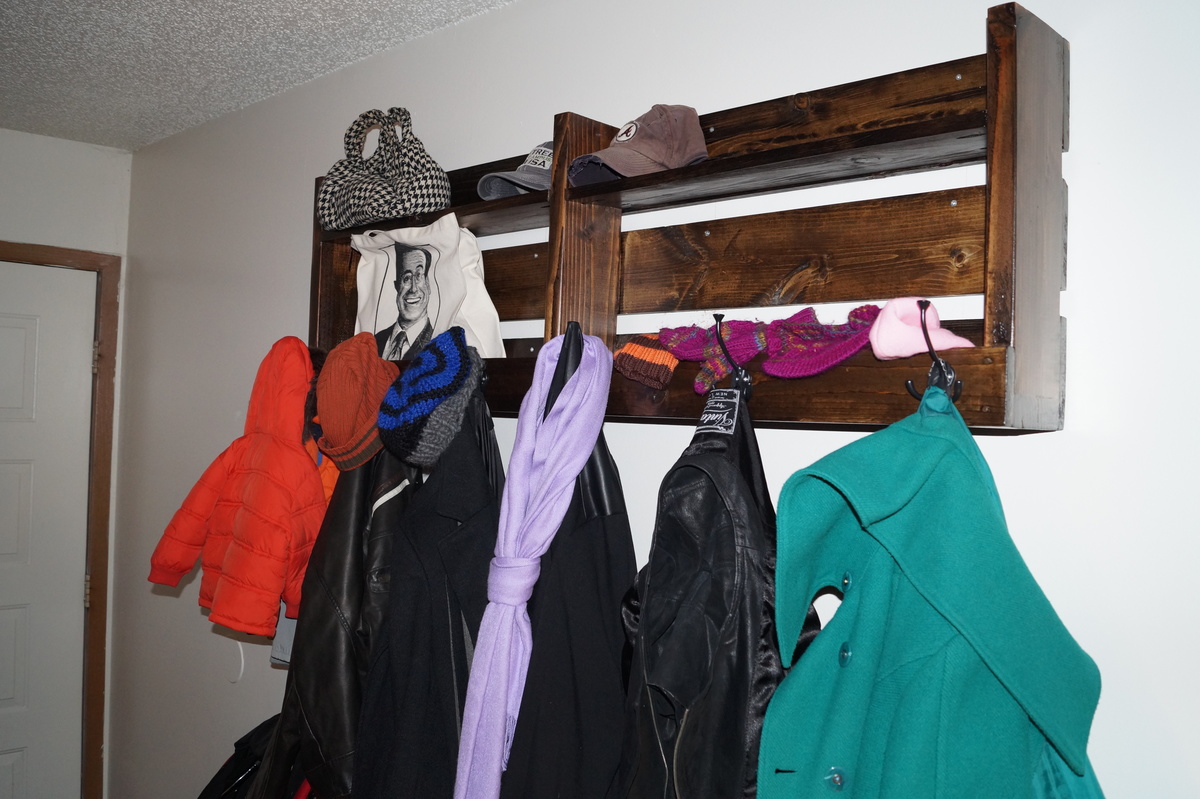
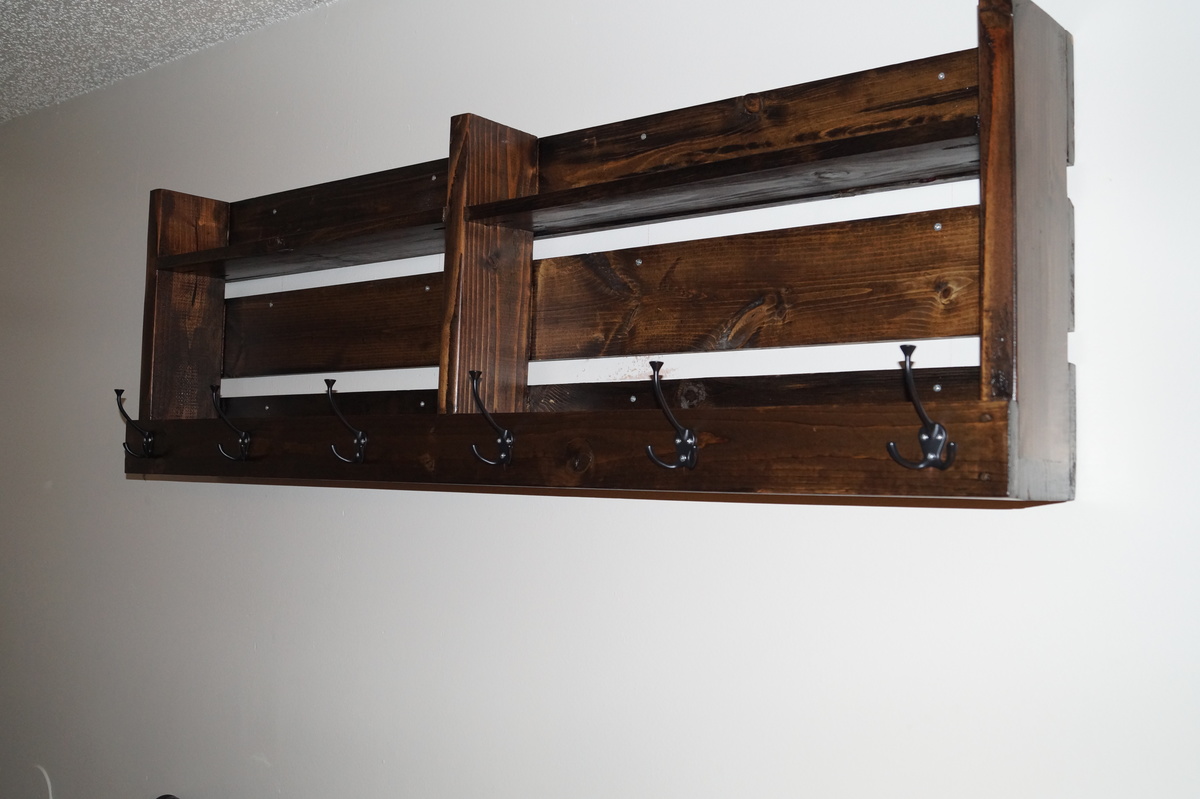
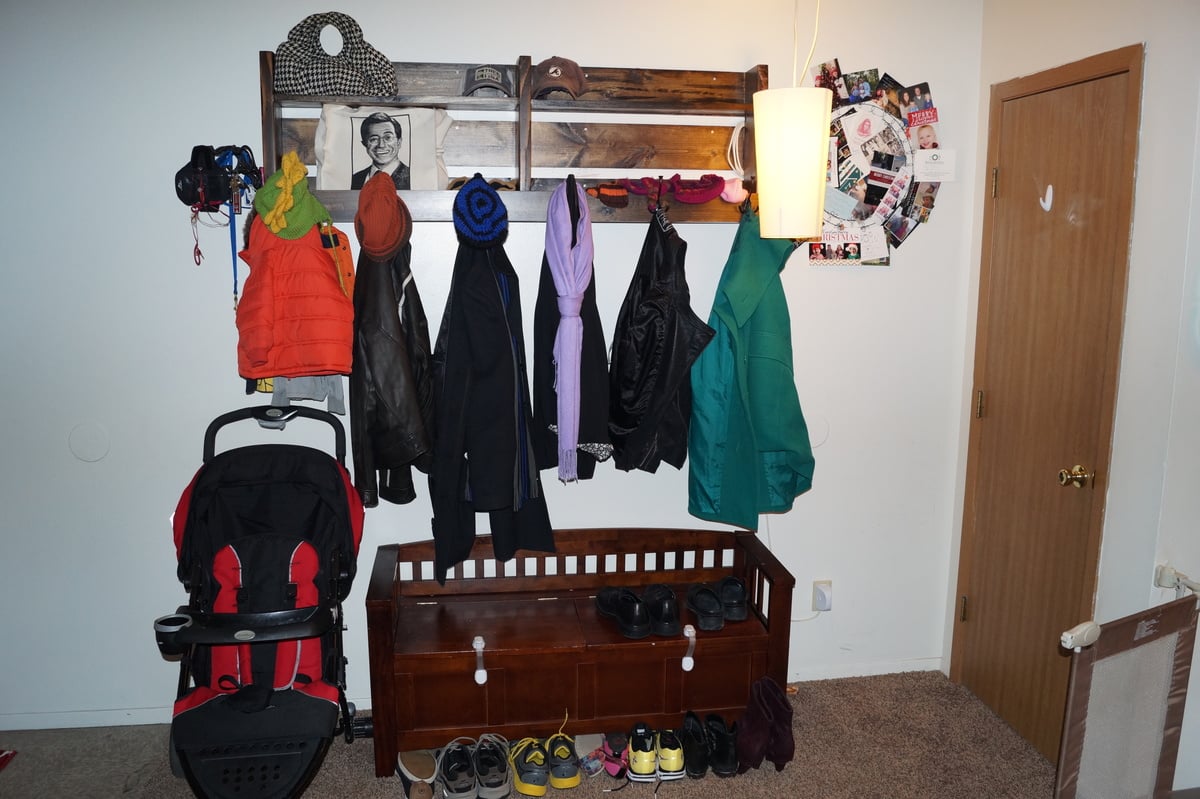
This is my version of the pallet inspired coat rack. I didn't have the room for the 8-foot version in the original plans so I cut it down to 5 feet. Otherwise it follows the plans as listed, just with shorter cuts.

Stain is dark walnut.

Estimated Time Investment
Day Project (6-9 Hours)
Finish Used
1) Minwax wood conditioner
2) Minwax Dark Walnut oil stain
3) Minwax polycrylic overcoat
Recommended Skill Level
Beginner

Laundry Pedistal

Submitted by Anonymous (not verified) on Thu, 04/27/2017 - 12:15

We have a very small laundry room that does triple duty as a dog kennel and mud room. This riser is a perfect storage solution! The fact that I can see directly to the back of the Washer, and transfer clothes without bending over, is an added bonus! The building plans are sturdy and easy to follow!

Estimated Cost
$100
Estimated Time Investment
Weekend Project (10-20 Hours)
Finish Used
High gloss egg shell interior paint by Behr
Recommended Skill Level
Beginner

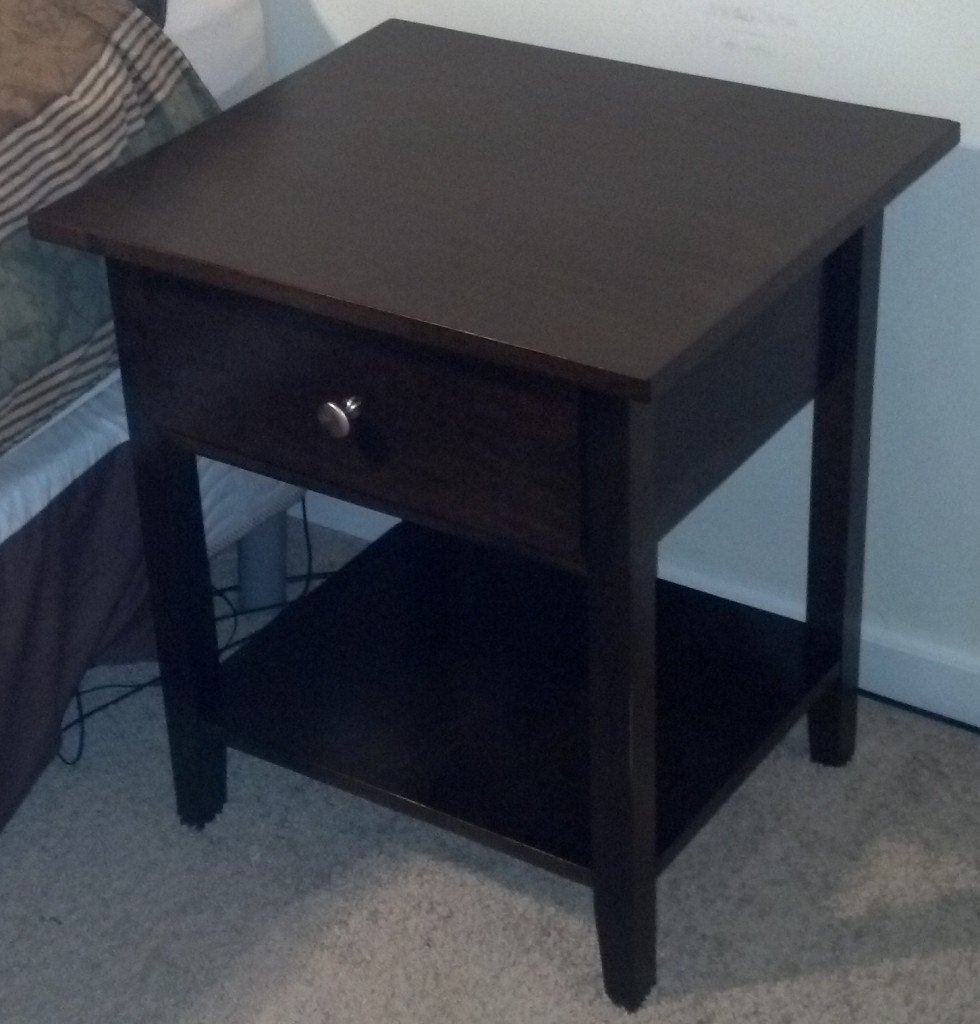
Pottery Barn Hudson inspired Bedside Table

Submitted by NeoMoses on Thu, 03/21/2013 - 06:26

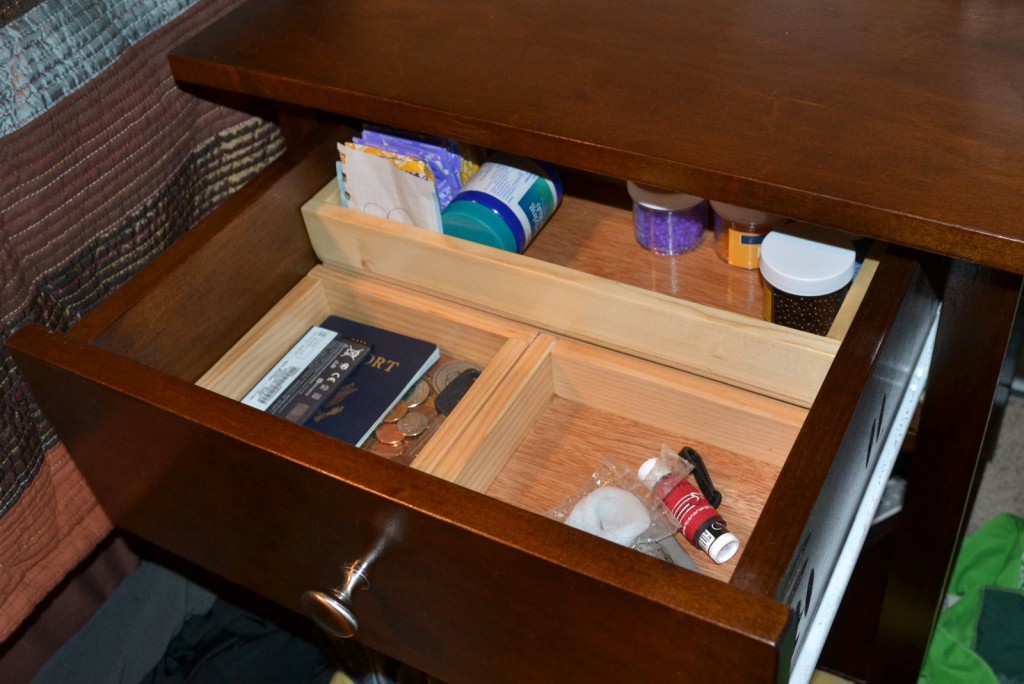
I needed a set of bedside tables and decided to build my own. Using a Pottery Barn Hudson table as the inspiration, I made these 2 tables. They are very similar to Ana's Farmhouse Bedside Tables. I have more details on how these were made from inexpensive plywood on my website. Enjoy!

Built from Plan(s)
Estimated Cost
$75
Estimated Time Investment
Weekend Project (10-20 Hours)
Finish Used
Stain & Sprayed Polyurethane
Recommended Skill Level
Beginner

Comments

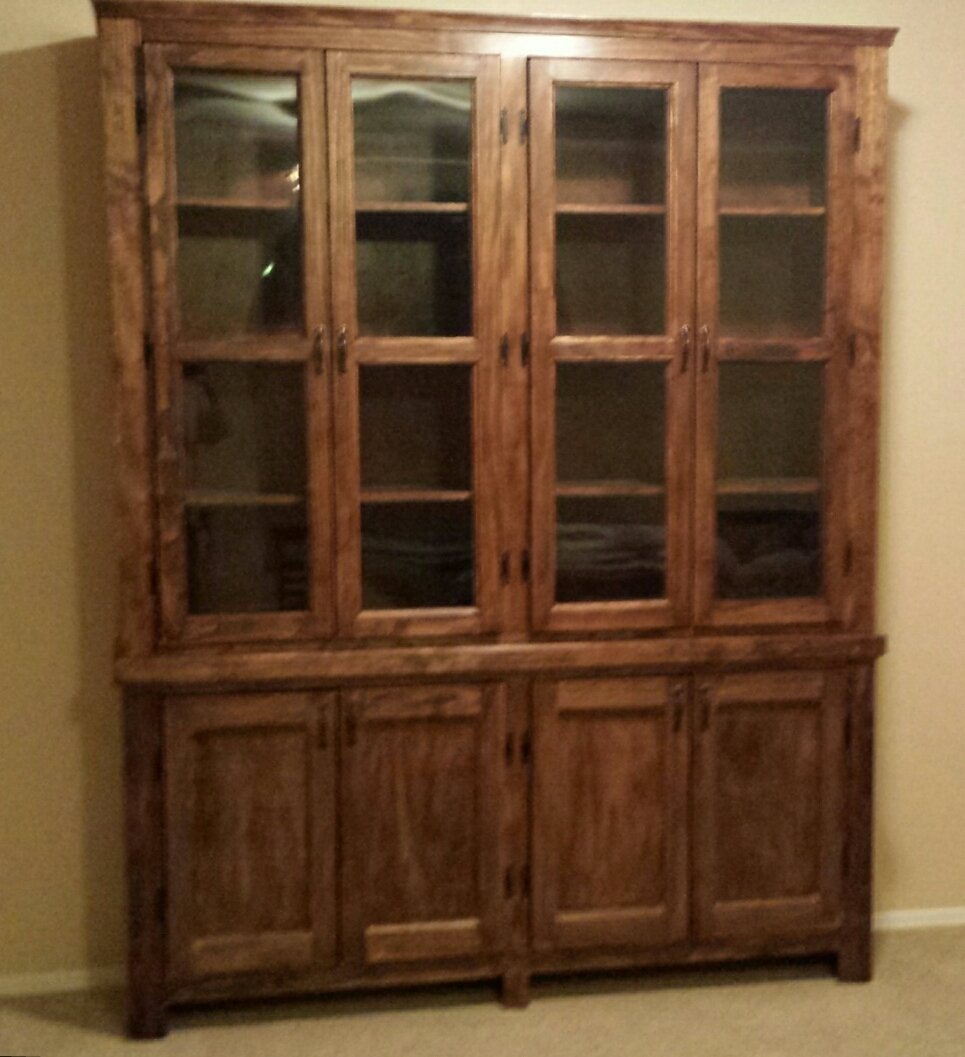
Hutch

Submitted by Miles35 on Sun, 02/01/2015 - 10:12

My Brother and I have always wanted to craft furniture and this piece was our first project. We took our time and really payed attention to details. We're pretty proud of how it turned out. It was a challenge but a whole lot of fun.

Built from Plan(s)
Finish Used
Min Wax Pre-Stain Wood Conditioner
Min-Wax English Chestnut
Min-Wax Espresso
Min-Wax Polycrylic Clear Satin Water Based
Recommended Skill Level
Intermediate

Comments

JoanneS

Mon, 02/02/2015 - 18:18

Congrats on an awesome first project! It's a very professional looking piece, you did a beautiful job. The stain colors you chose are beautiful!

Weekend project

Submitted by Anonymous (not verified) on Sun, 04/30/2017 - 20:24

Although I didn't exactly follow your steps, I got a few great ideas from your blog post. Thanks for sharing!

Estimated Time Investment
Weekend Project (10-20 Hours)
Recommended Skill Level
Intermediate

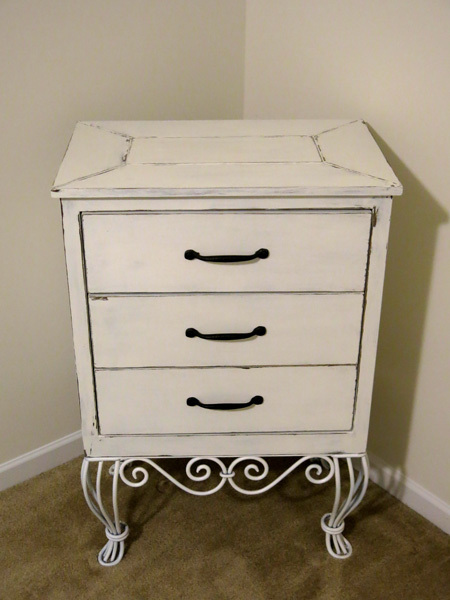
Antique Chest of Drawers

Submitted by AndyH on Thu, 02/05/2015 - 18:25

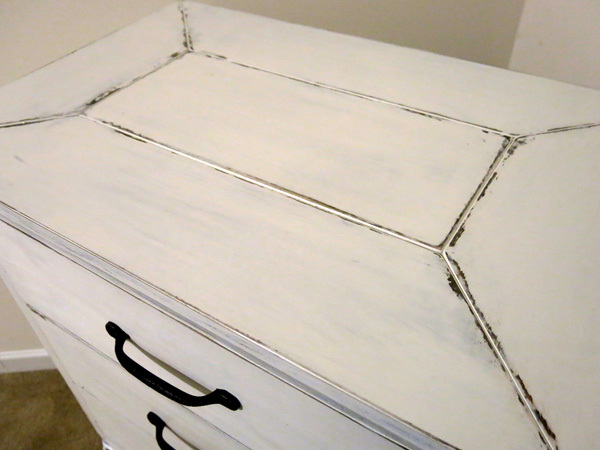
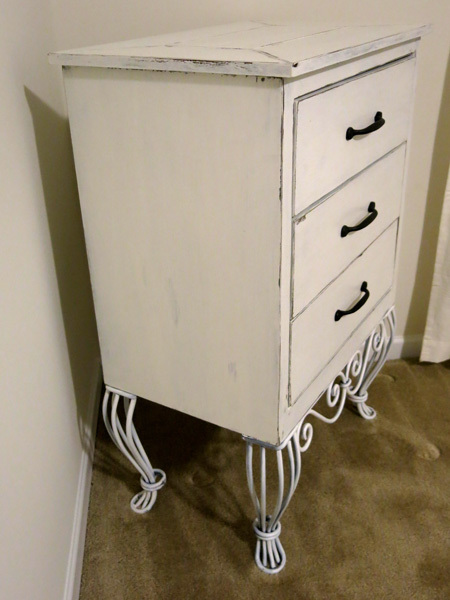
Had some bronze legs off an old coffee table.  Used the two shorter end pieces to try to make an antique looking piece to go with a white metal framed bed in a guest room.

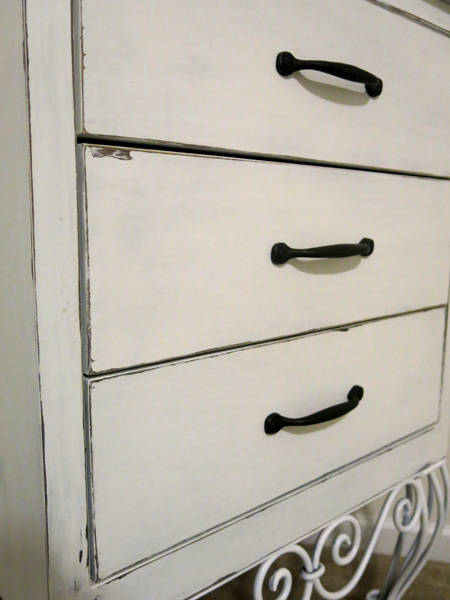
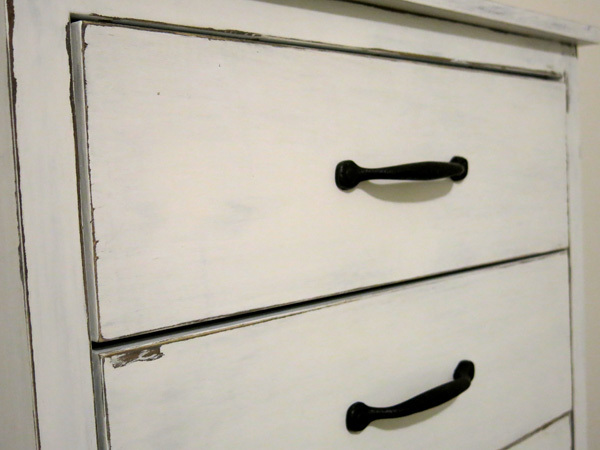
Stained and then painted and sanded back to give a weathered and antique look.

Have said a week long project just because of the time waiting between coats.


Estimated Cost
$110 including handles which were $22 for three.
Estimated Time Investment
Week Long Project (20 Hours or More)
Finish Used
Minwax Jacobean Stain, Vaseline, White Satin Paint. Applied the stain and let dry for 24 hours. rubbed thin smear of vaseline on areas wanted to show through the paint. Painted and let dry for 24 hours. Sanded by hand with 400 grit paper. Painted again and let dry another 24 hours. Sanded again by hand with 400 grit paper.
Recommended Skill Level
Beginner

Kids picnic table

Submitted by Markb25 on Fri, 04/23/2021 - 23:33

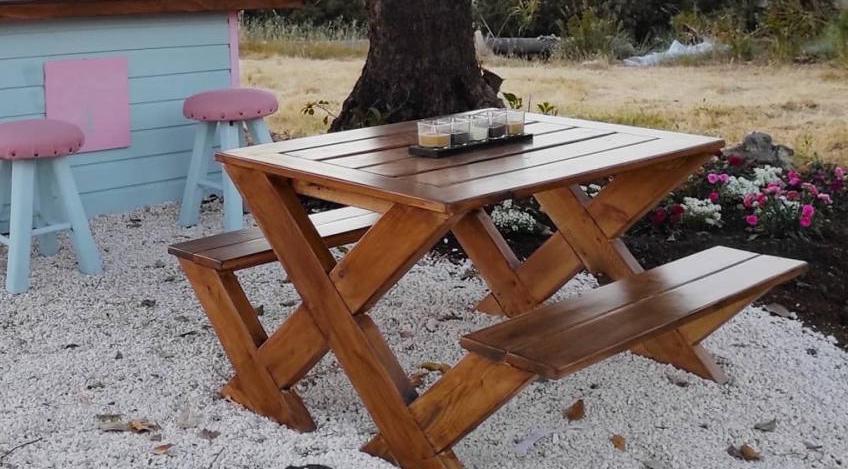
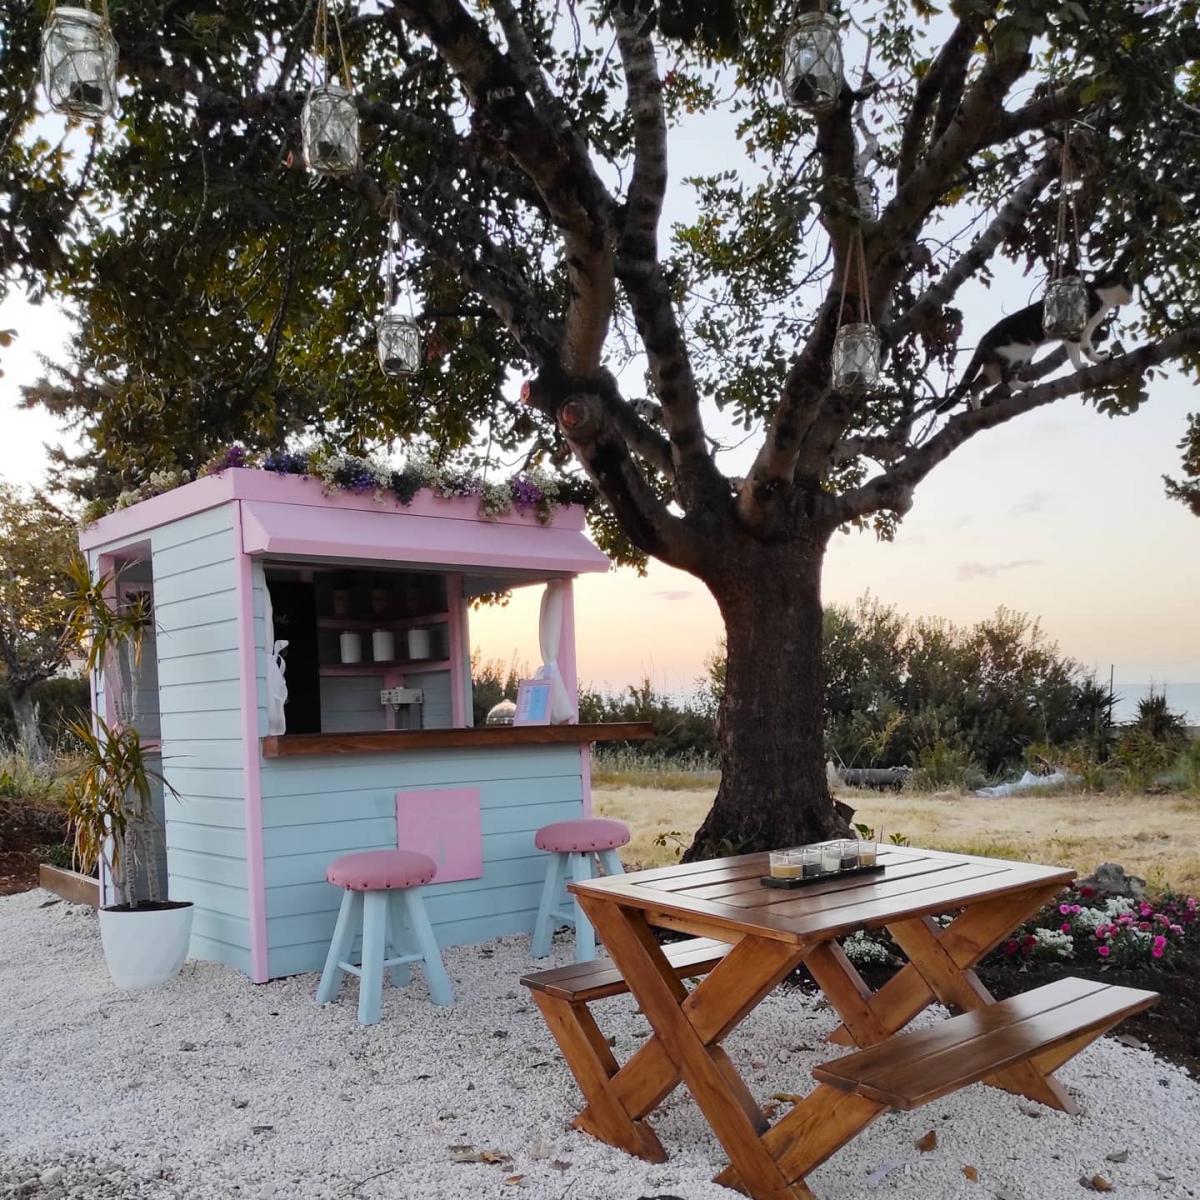
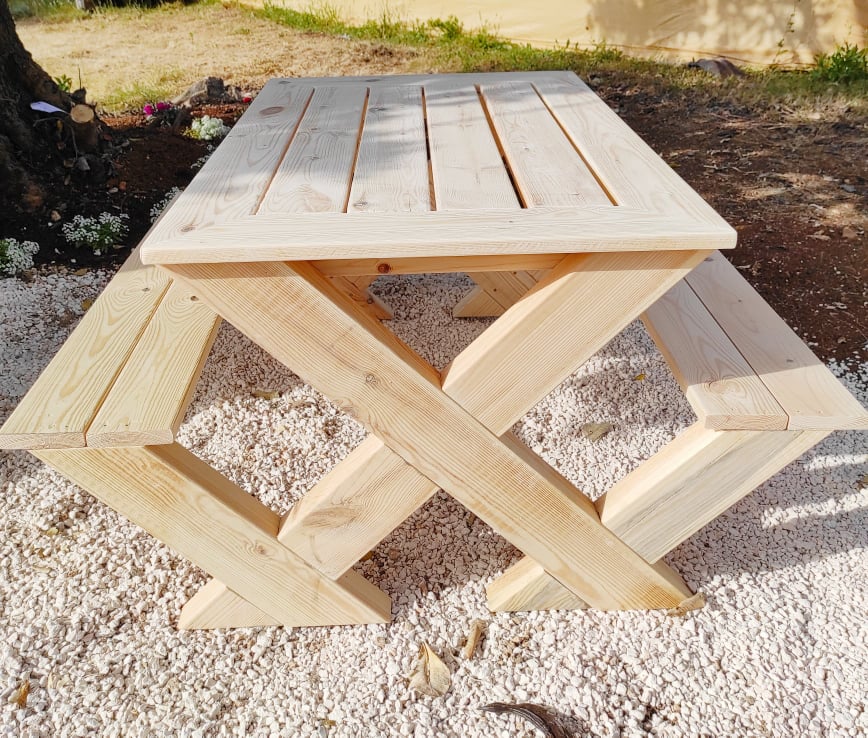
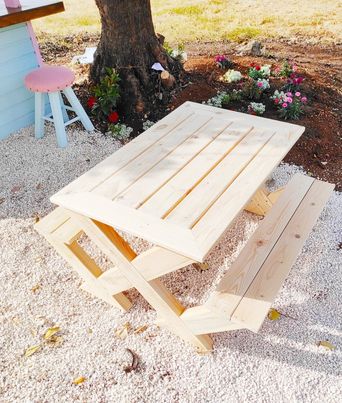
I needed a picnic table to go with a playhouse I built for my daughter, this one is a modification of one saw on here with a few amendments. the original plan has the top from 6x6 in a traditional looking row and the seats also from 6x6 however, finding a straight piece of 6x6 in Cyprus is like trying to find a unicorn so I opted to use 2x4, I also decided to change the look of the top give it a solid edge all around. We can't get Cedar etc over here so I've had to use Nordic fir treated with high protection wood stain by V33.
Estimated Cost
150
Estimated Time Investment
Afternoon Project (3-6 Hours)
Finish Used
High protection wood stain in Walnut by V33
Recommended Skill Level
Beginner

Comments

Seasonal And Holiday