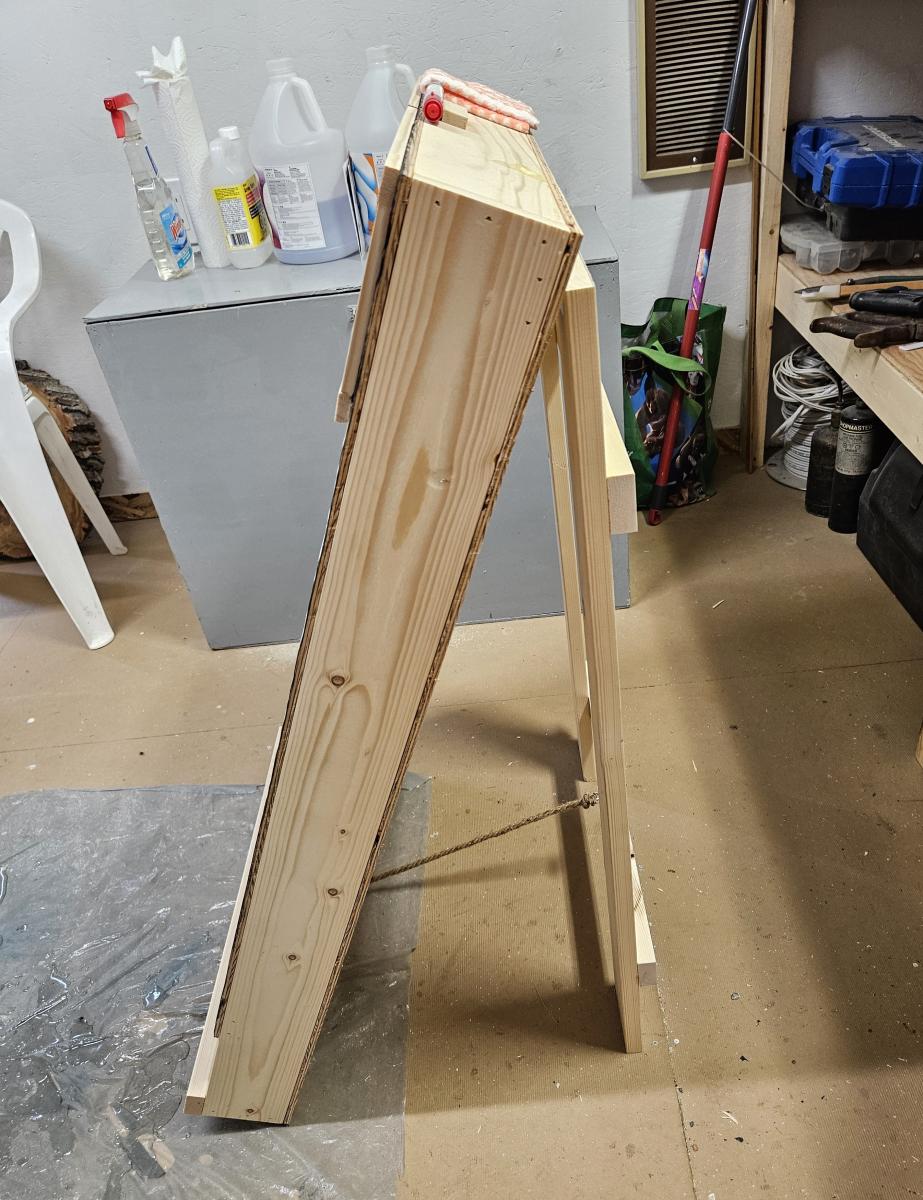
Truss Dining Table
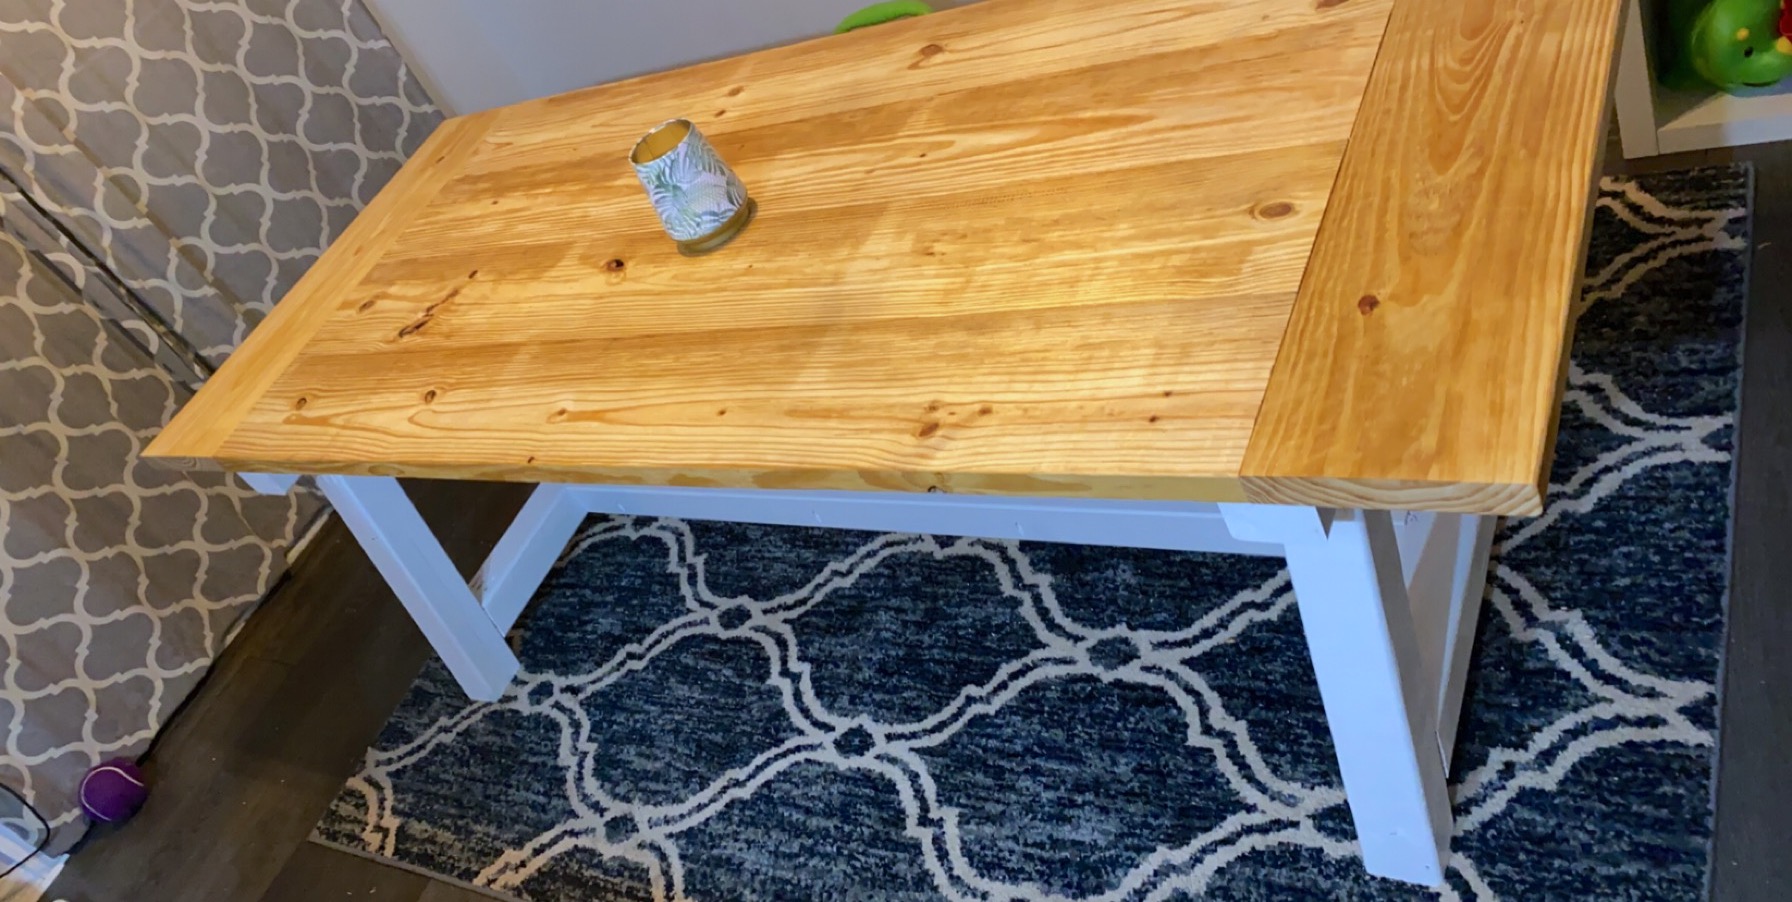
Built this table for my wife a few weeks ago. Pleasantly surprised how it turned out. Love this site and it has sparked a real joy within me in woodworking.

Built this table for my wife a few weeks ago. Pleasantly surprised how it turned out. Love this site and it has sparked a real joy within me in woodworking.
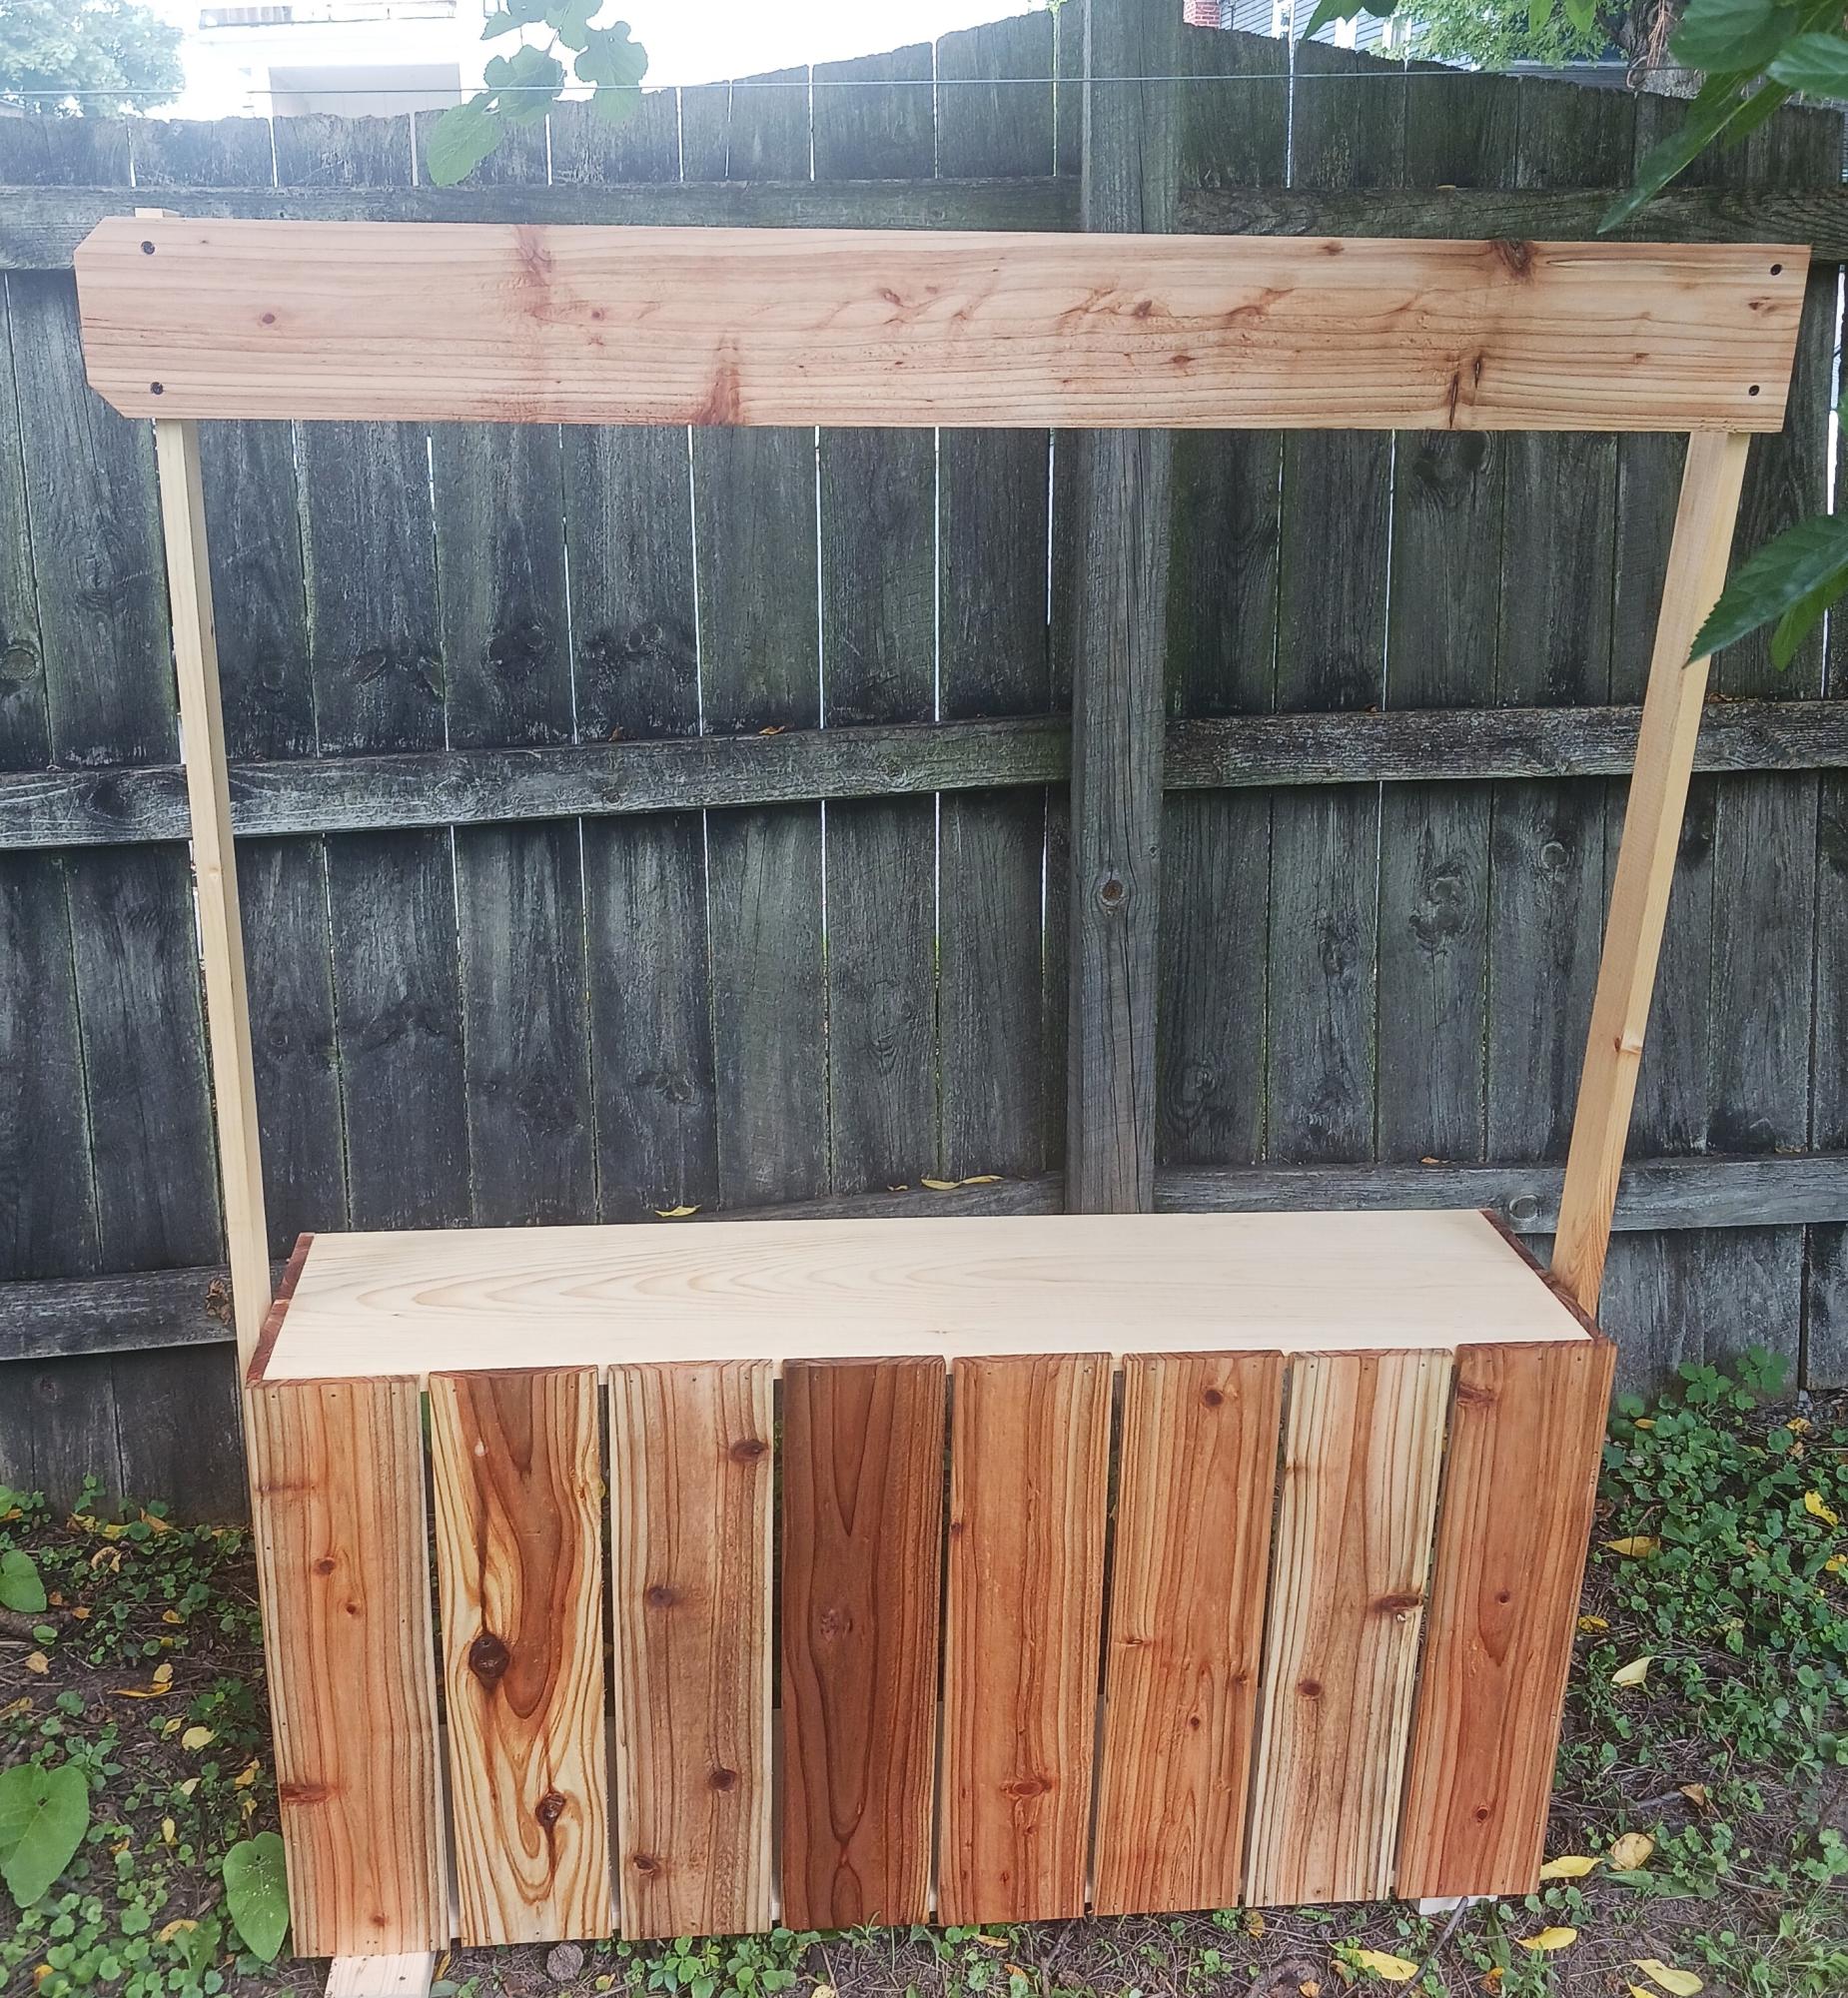
Simple Cedar Fence Picket Lemonade Stand
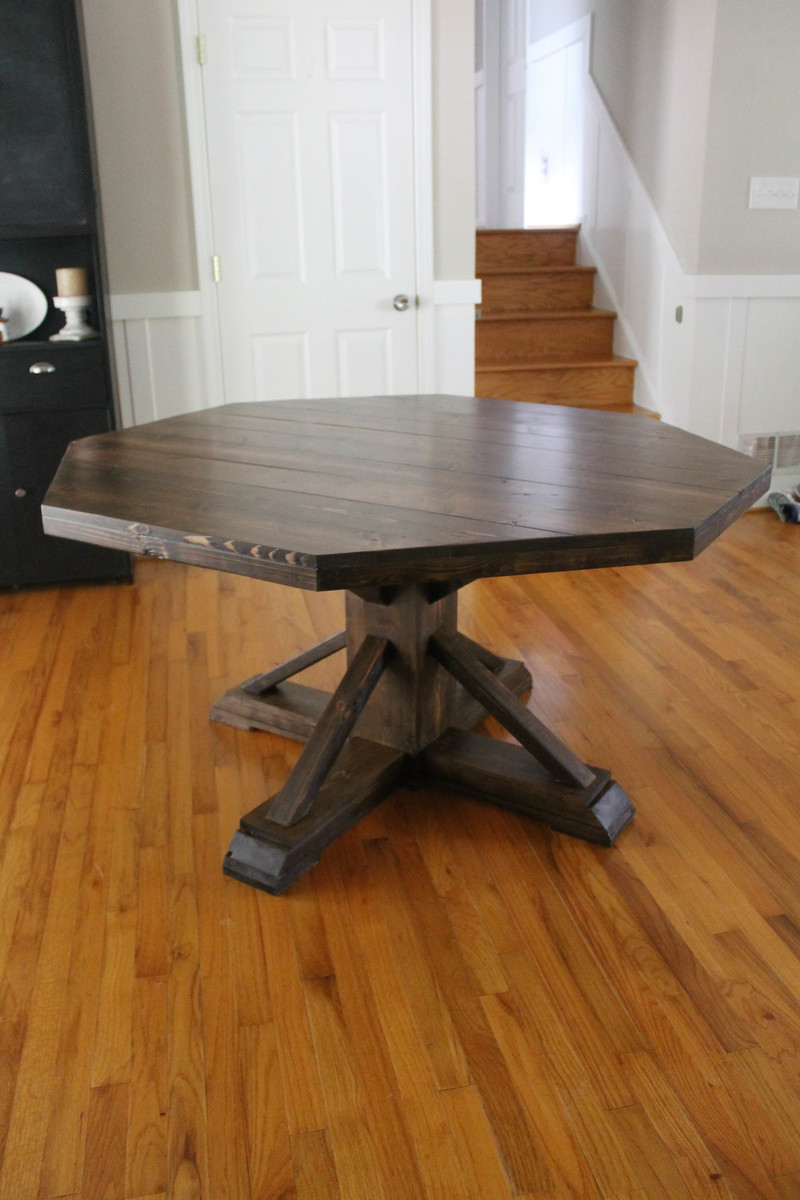
Why an octagon shape? I wanted a round table and my husband wanted square, so we met in the middle and built this! Very easy and fun to build!
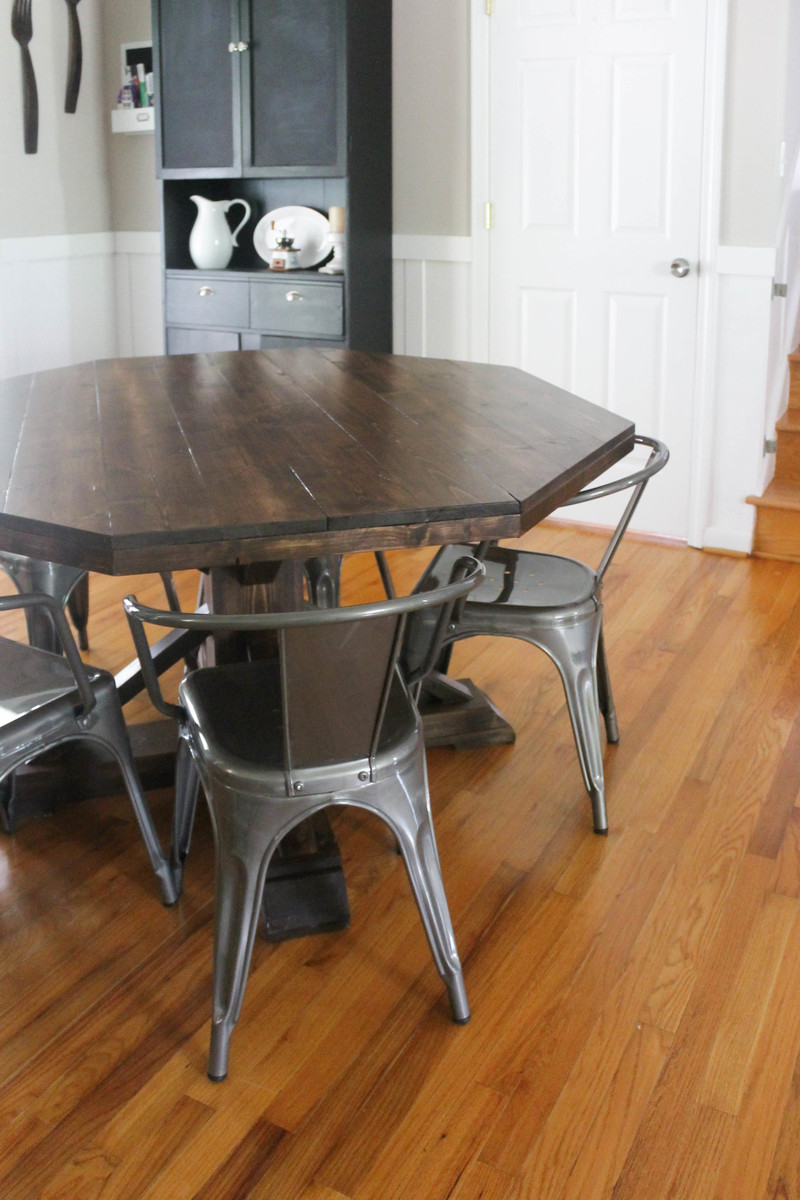
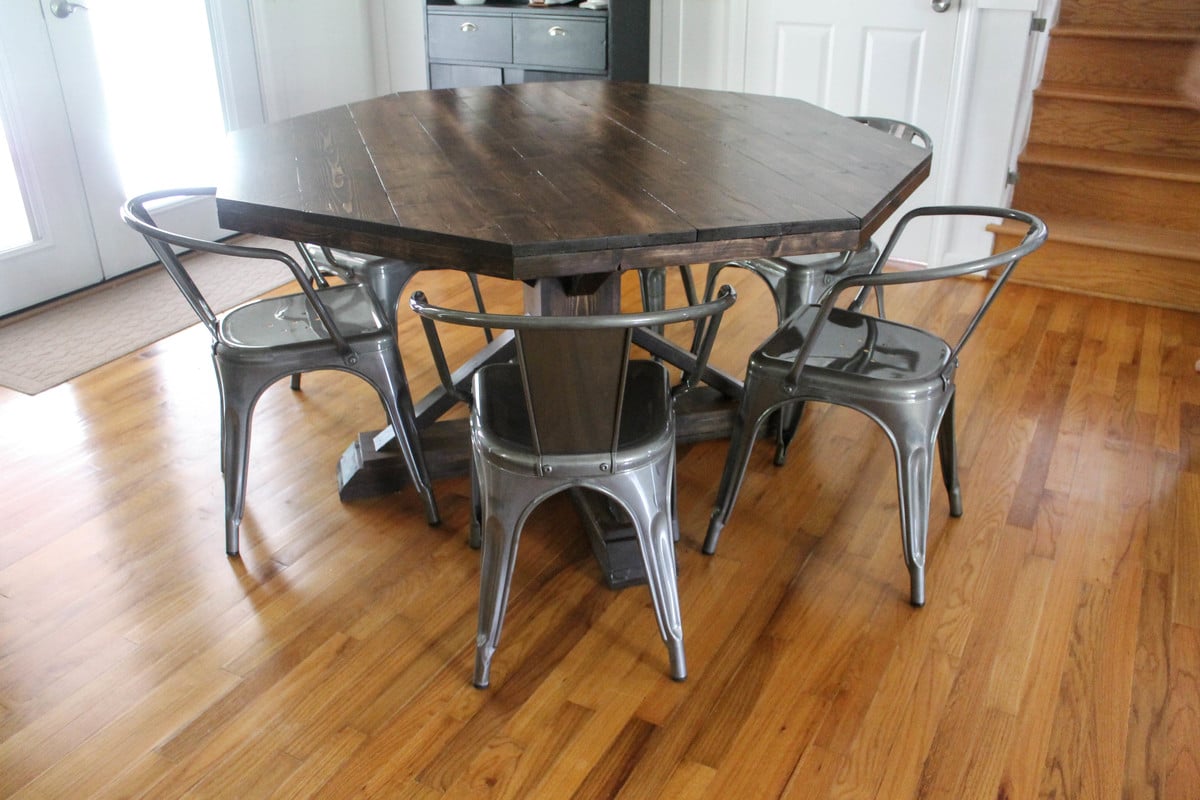
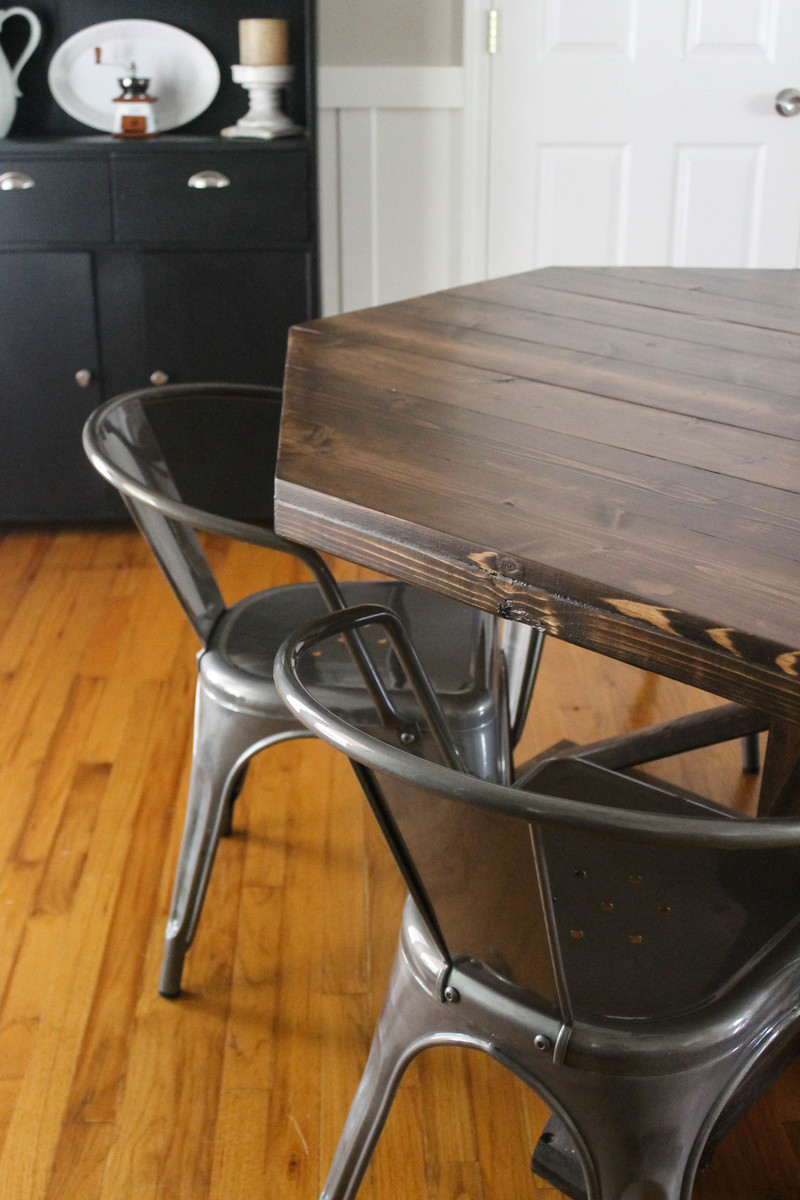
Wed, 08/20/2014 - 09:51
I love this! It looks great and sturdy (and heavy! lol). just curious, where did you get your chairs?
In reply to I love this! It looks great by booksnotbombs
Wed, 08/20/2014 - 17:50
Thank you! I got the chairs from Target from the carlisle collection. :)
Thu, 08/21/2014 - 07:40
Thank you for the reply! We have a beautiful old solid wood turned-leg farmhouse table (and matching chairs) that has been in my family since the 60's that needs to be refinished, but it just isn't our style. So we're thinking of building our own in our more modern style but would have to get chairs to accompany it. I LOVE these, so I think we've found our new chairs! I hope our table turns out as beautiful as yours.
I still have plans to refinish the old table and pass it along to someone who will show it as much love (aka abuse) as it received in my childhood...

Hi Ana,
My wife and I wanted to creat a caboose bunk bed for our boys. When we saw the cabin bed plans we loved the look for the caboose. We used your plans as a guide and made a few modifications. We are really happy with how it turned out! It just needs a ladder and maybe some train wheels. Thanks for sharing your wonderful ideas. They have inspired us!
Travis and Krista Lundell

Tue, 07/09/2019 - 19:32
Hey there. Do you have measurements or a description of how the top modification part was done?
my father wants to make a caboose bunk bed for my train Fanatic Son.
Thanks,
-Amanda
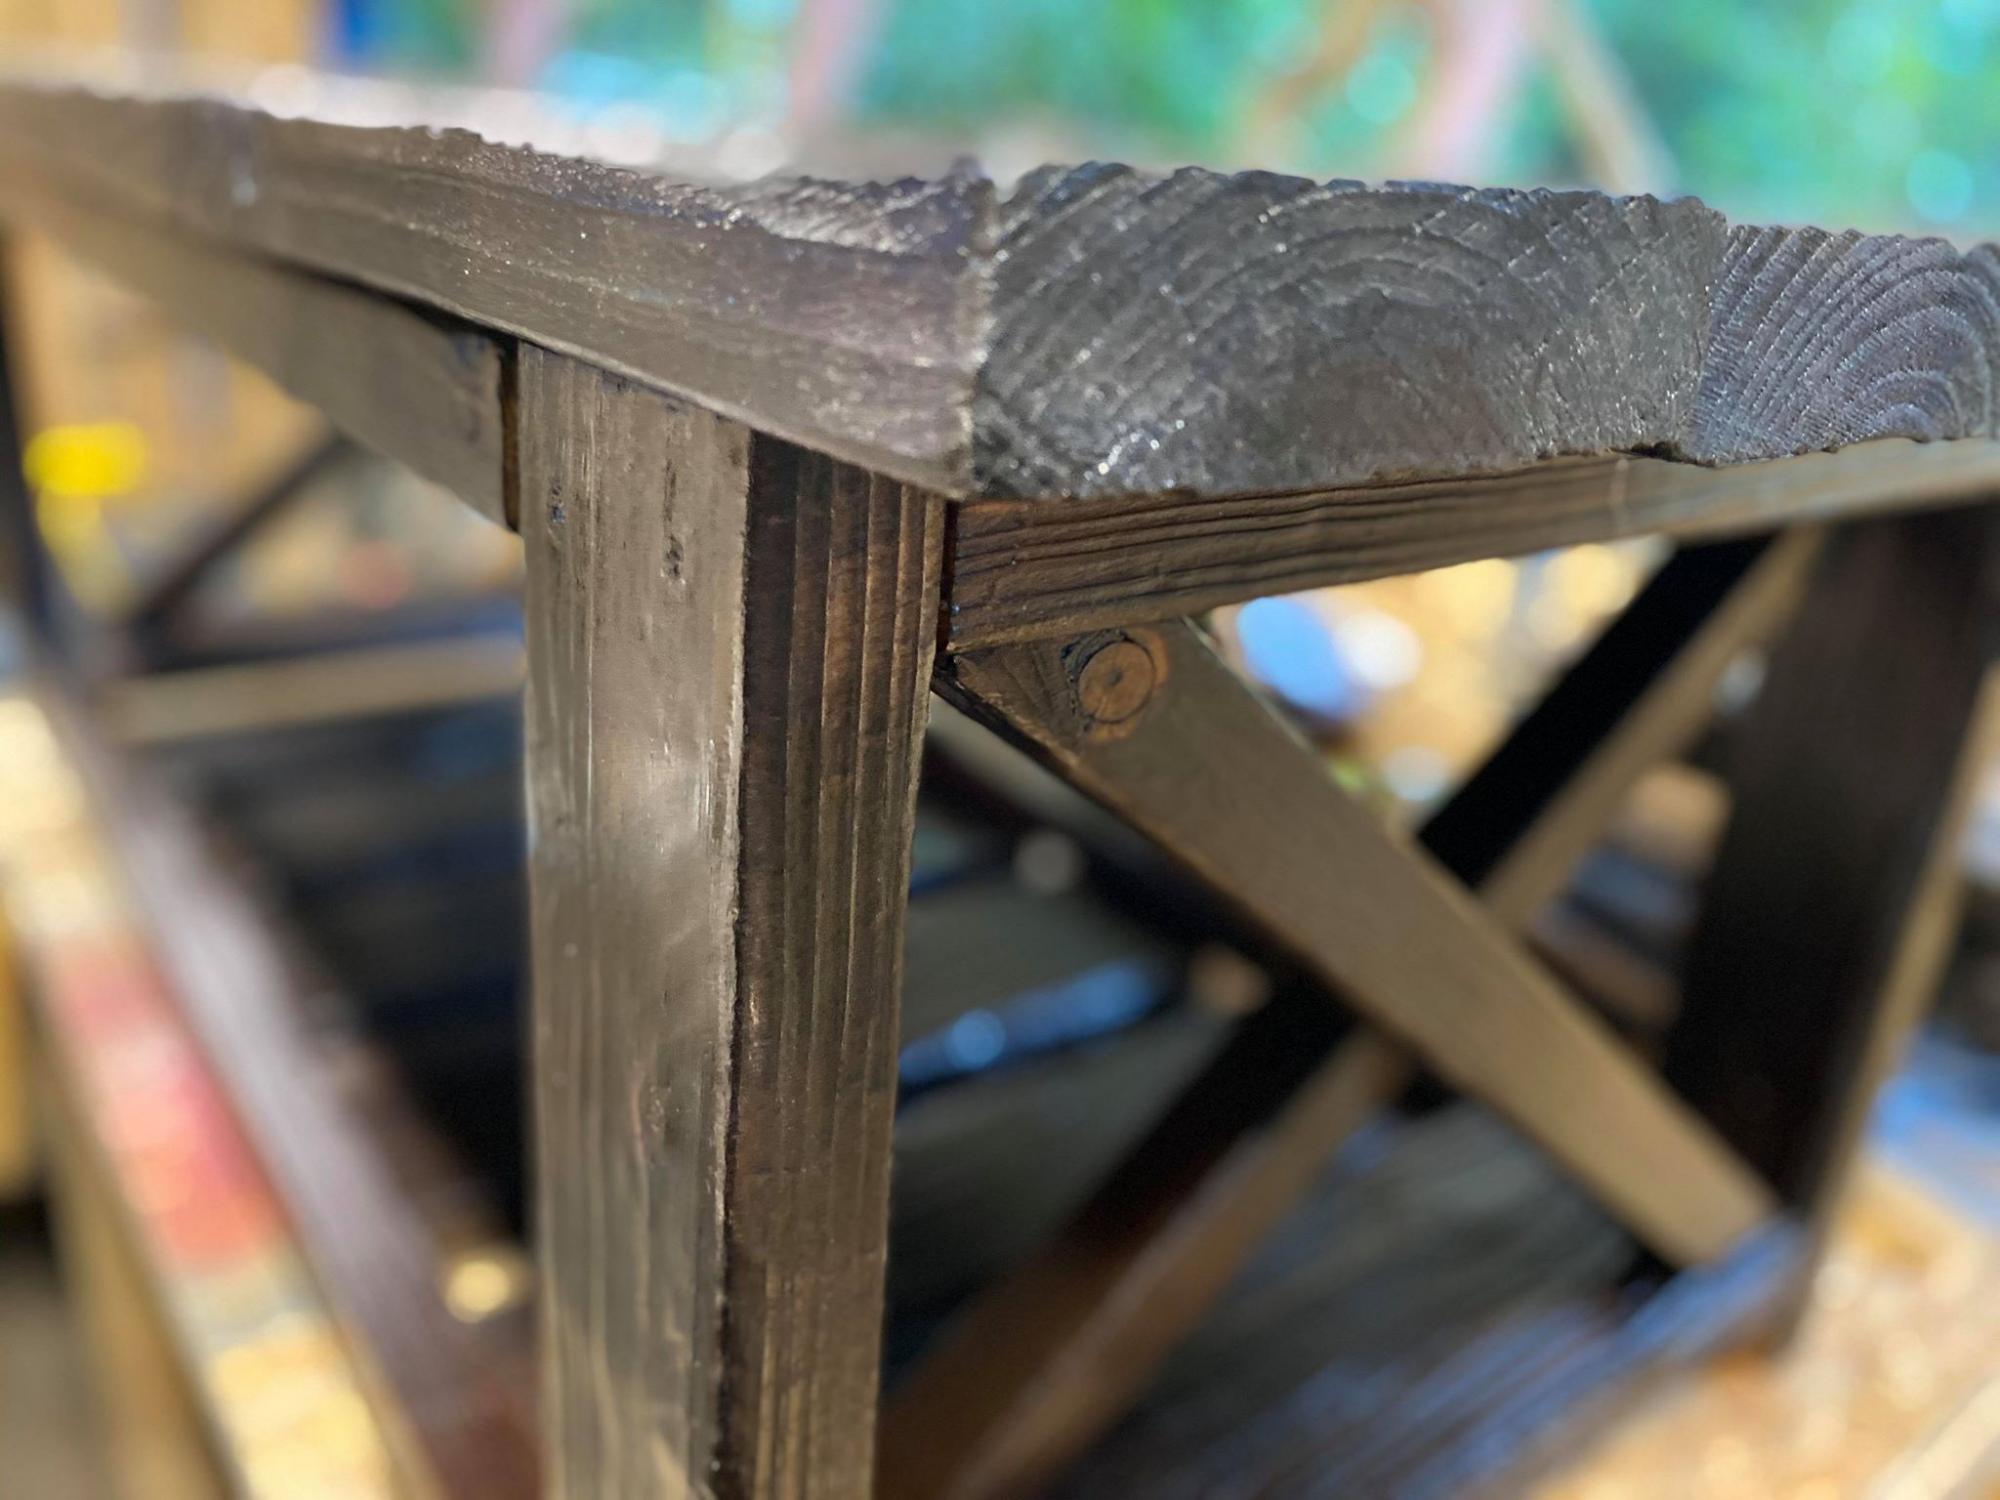
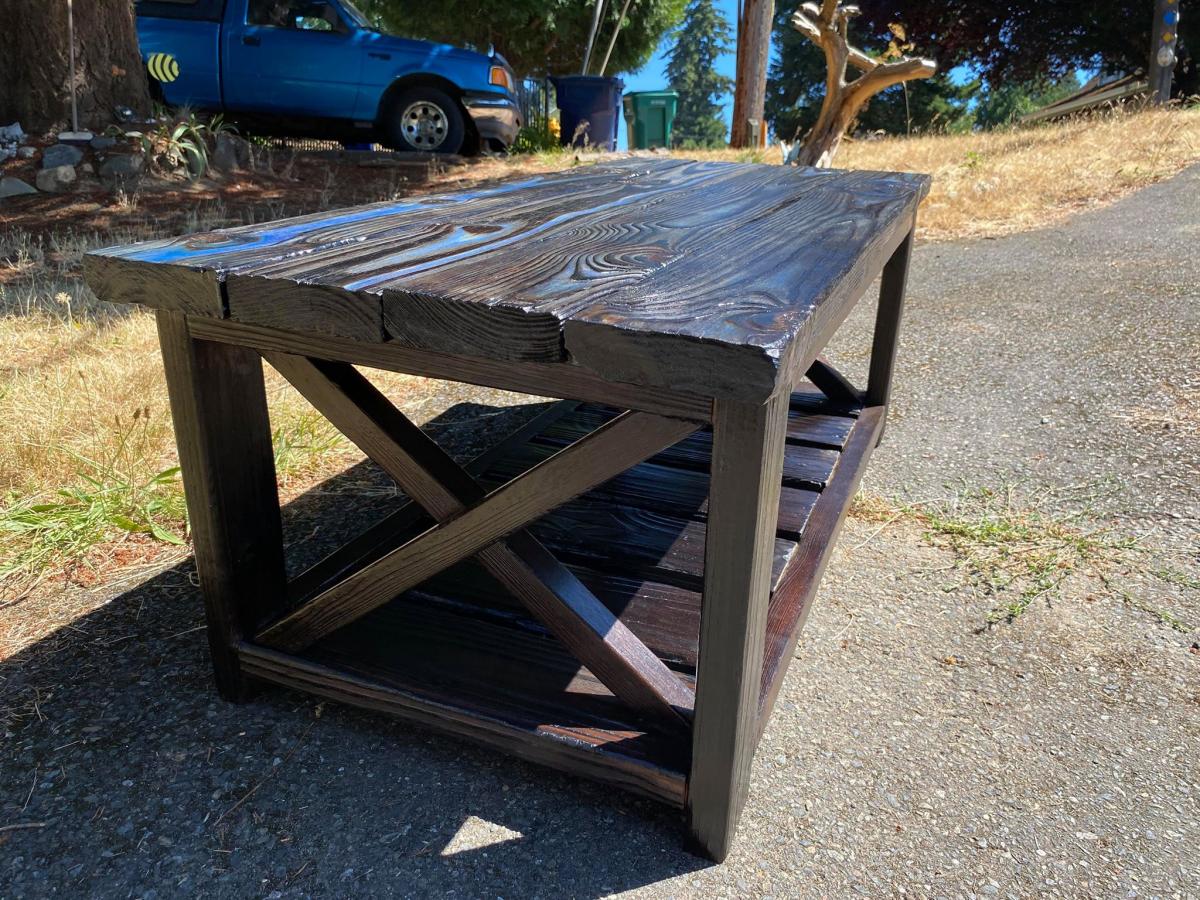
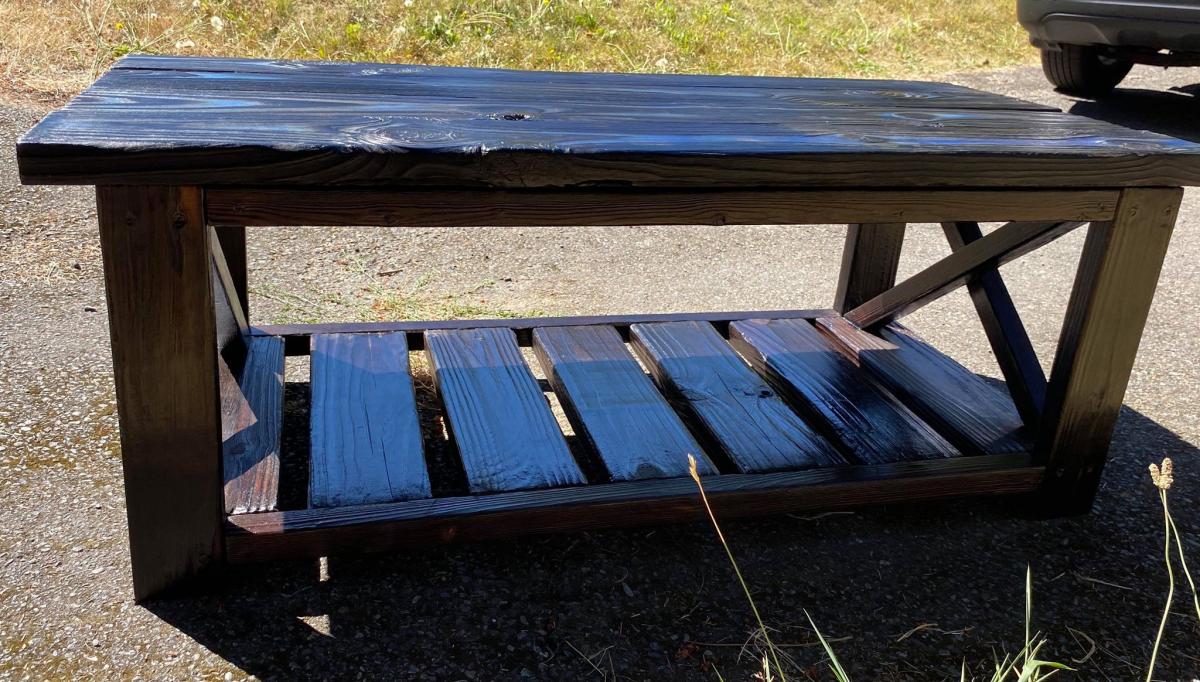
I have been wanting to start woodworking for a good while now, and I finally had the oppurtunity to venture into my shop and actually build. This is my first build, and im rather happy with how it came out, and im constntly finding motivation to grow and learn more from these plans, quick shoutout to Miss Ana White and her family, as I am a big fan of the DIY culture she and her family represent.
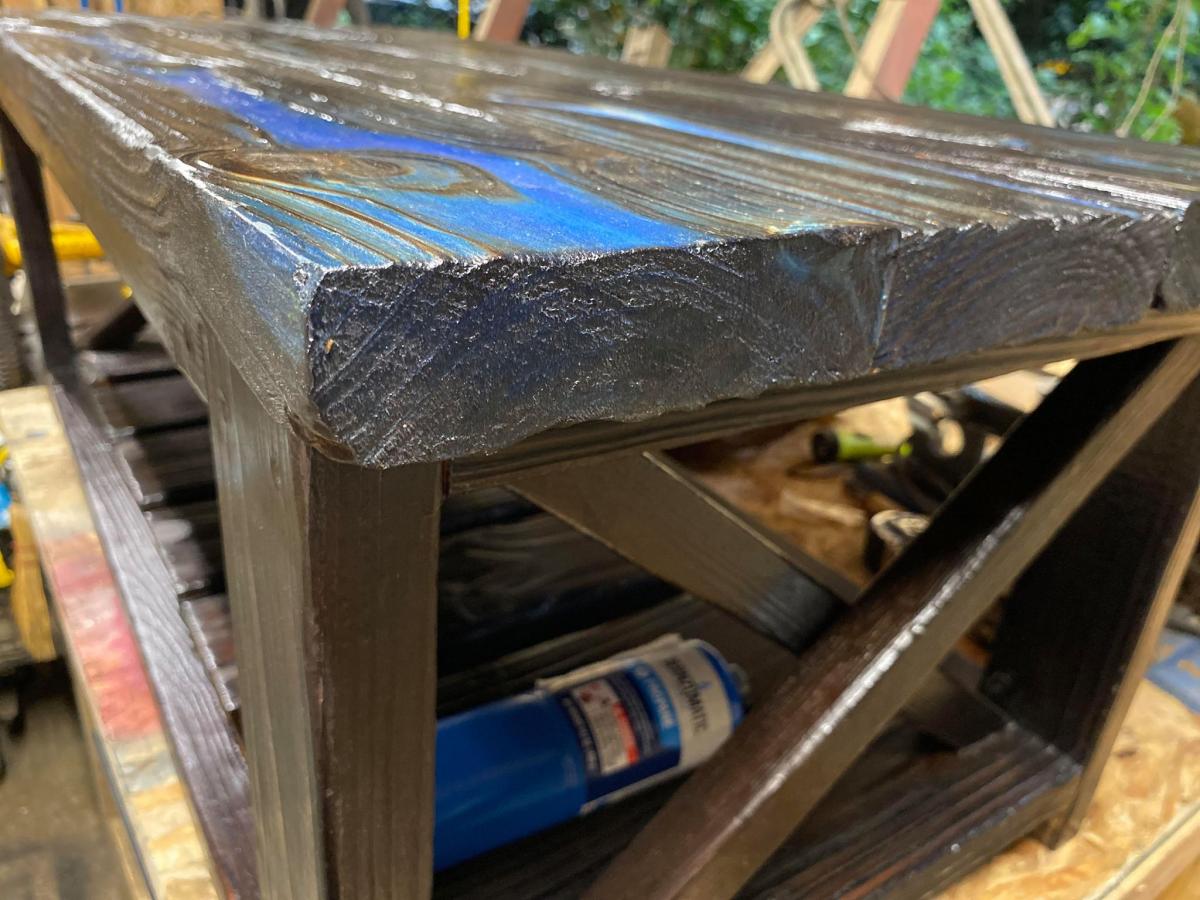
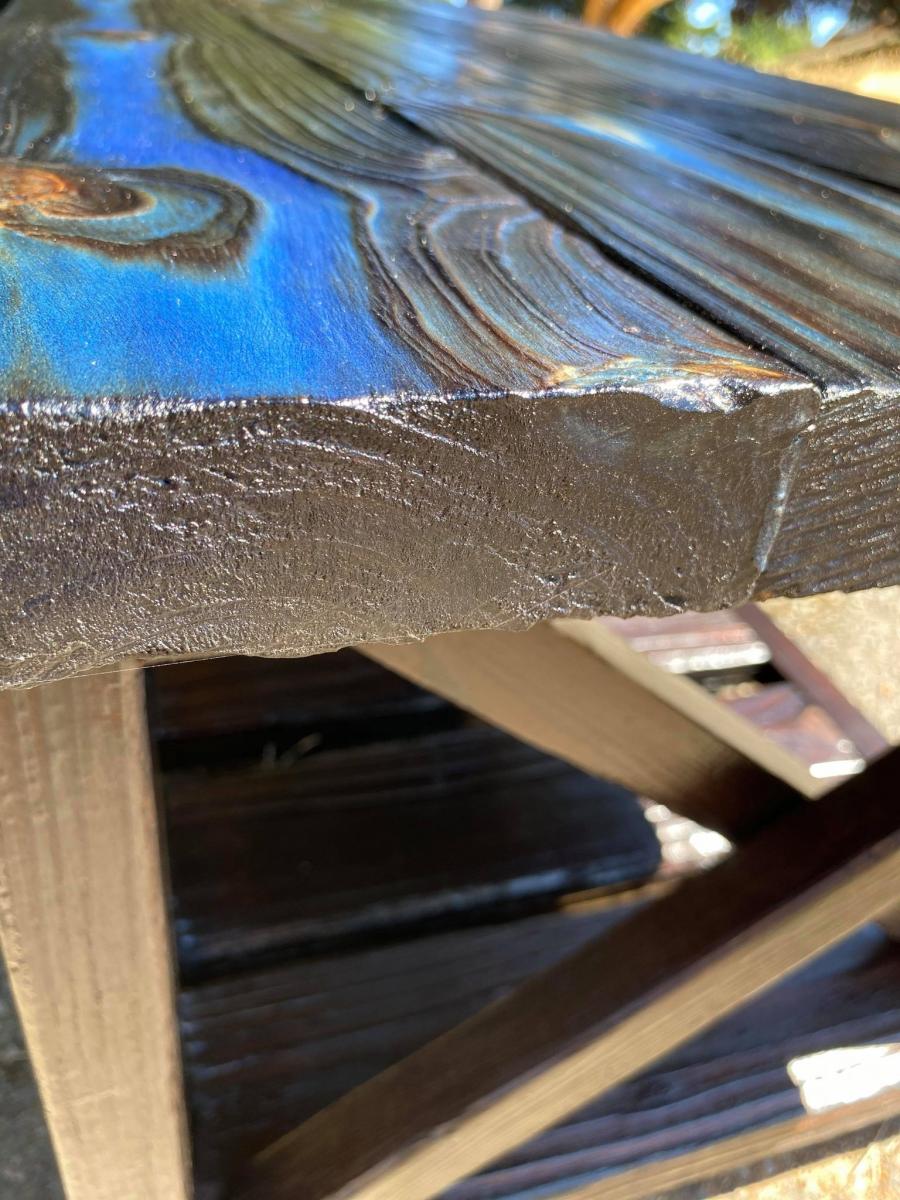
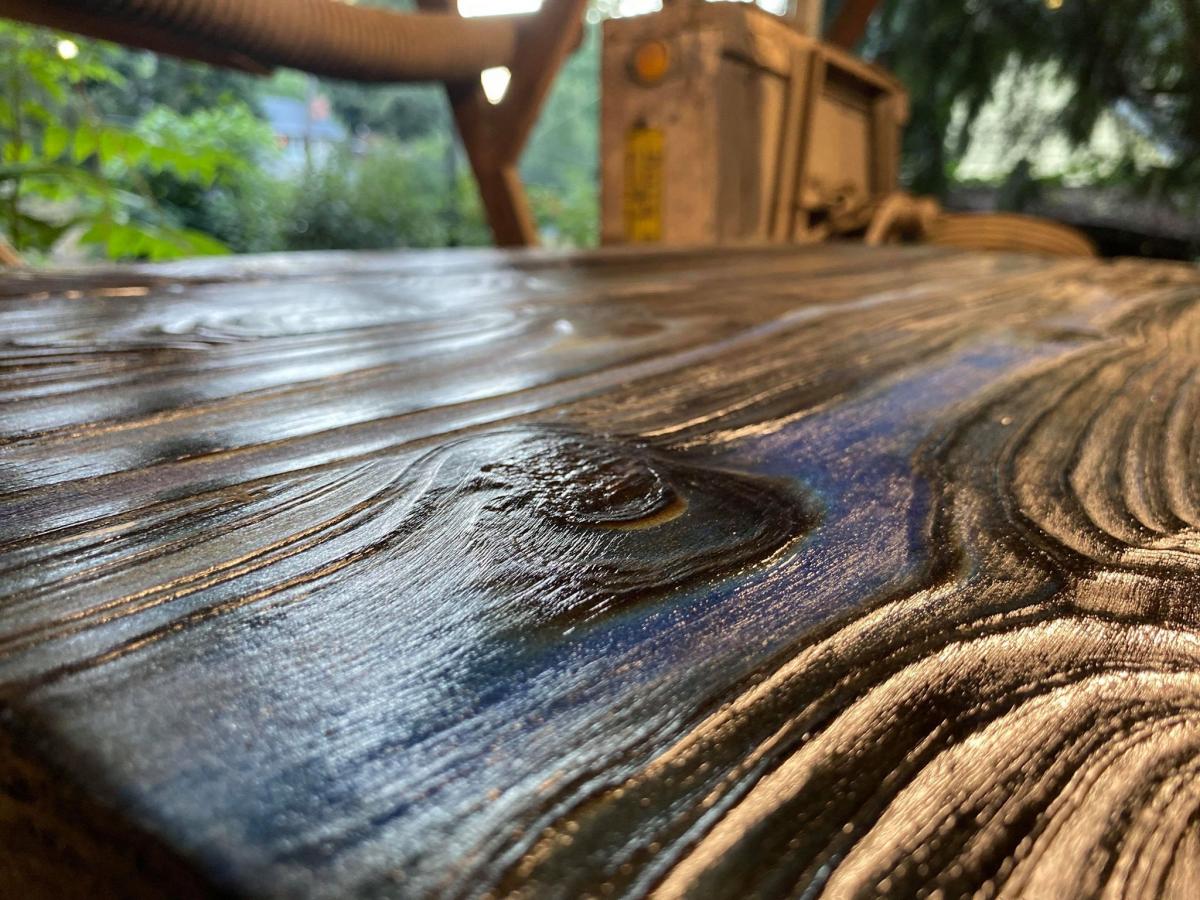
The table top is reclaimed lumber i salvaged from an old skid at an old job. Ive had them for years and finally was able to put them to good use rather than just burn them. (id still say thats good use.) The shou sugi ban inspired techique of burning and carving the char out has been a favorite of mine, and so I attempted to use it in this project. However because of this, the project also took more time than it probably should of. As a result though this table has a good contrast and texture to it. I also love the feeling of a "real" product and this table defiitley has that feel.
I found myself in a few different situations that I had learned from. I didnt want to have my screws visible in this table, and I didnt realize that until I had already put some of them in. I dont have a stainable wood filler so the task was on to find a way to fill these holes, and make them a little less noticeable. I settled on woodglue, char from when I carved out all the boards and some Ebony stain I had laying around. the result was something that burned decently and somewhat seemed like it belonged. It blends well enough with the darks in my opinion.
Overall I learned alot from this and am already beginning my next one. Thanks again to Ana White and the community. And thanks to all who took the time to read my long babbling post. Happy building!
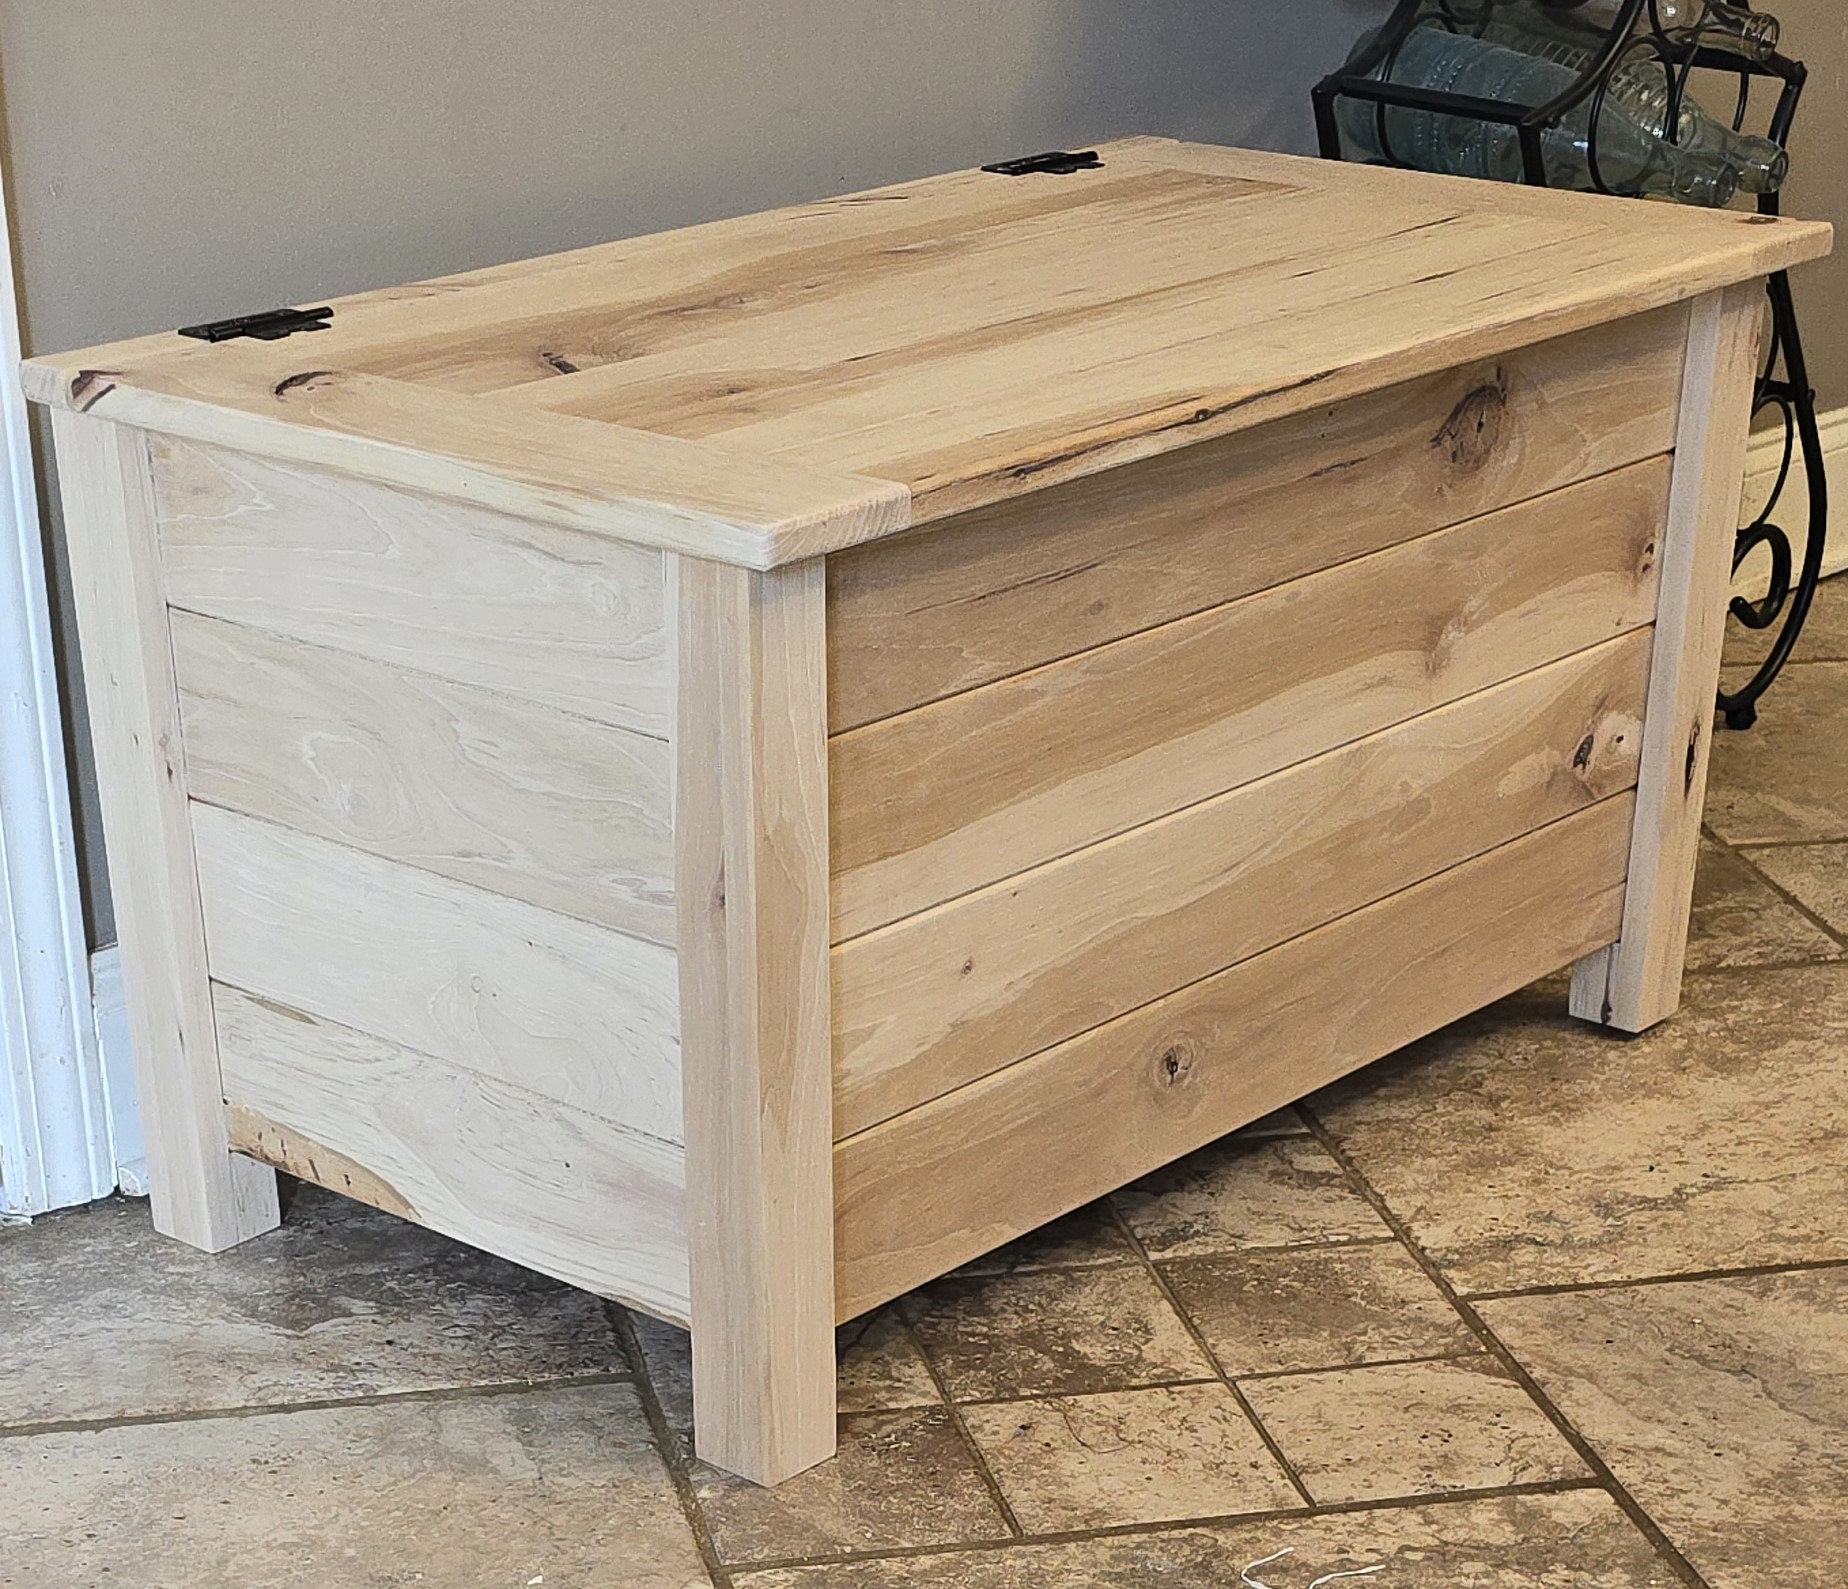
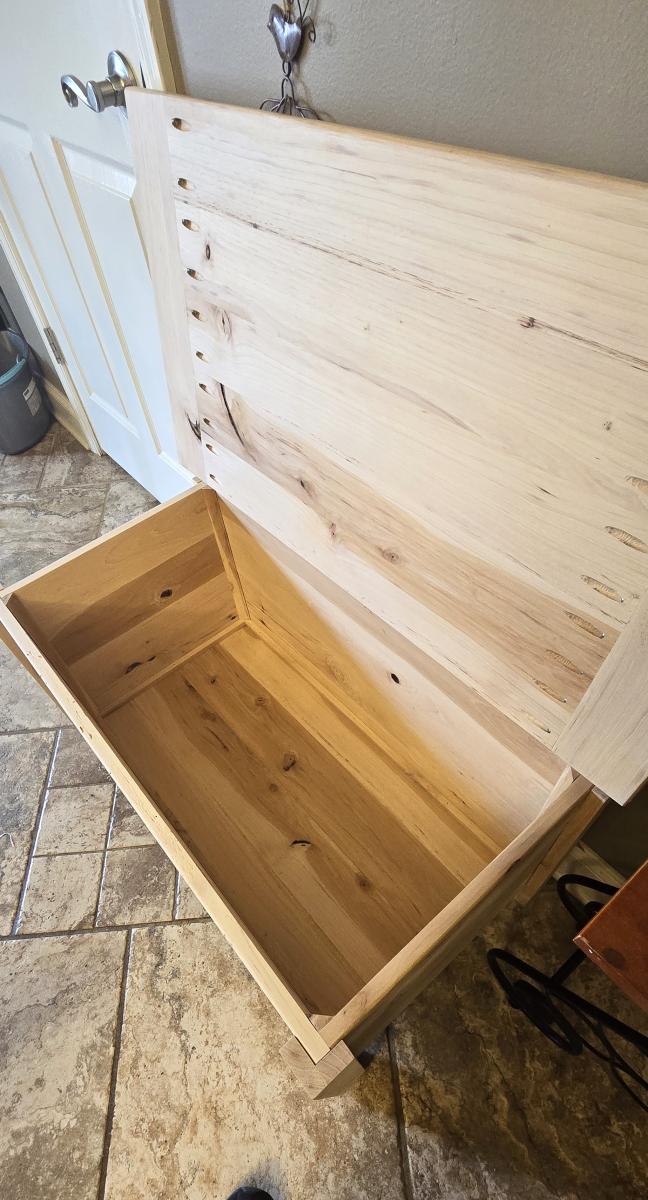
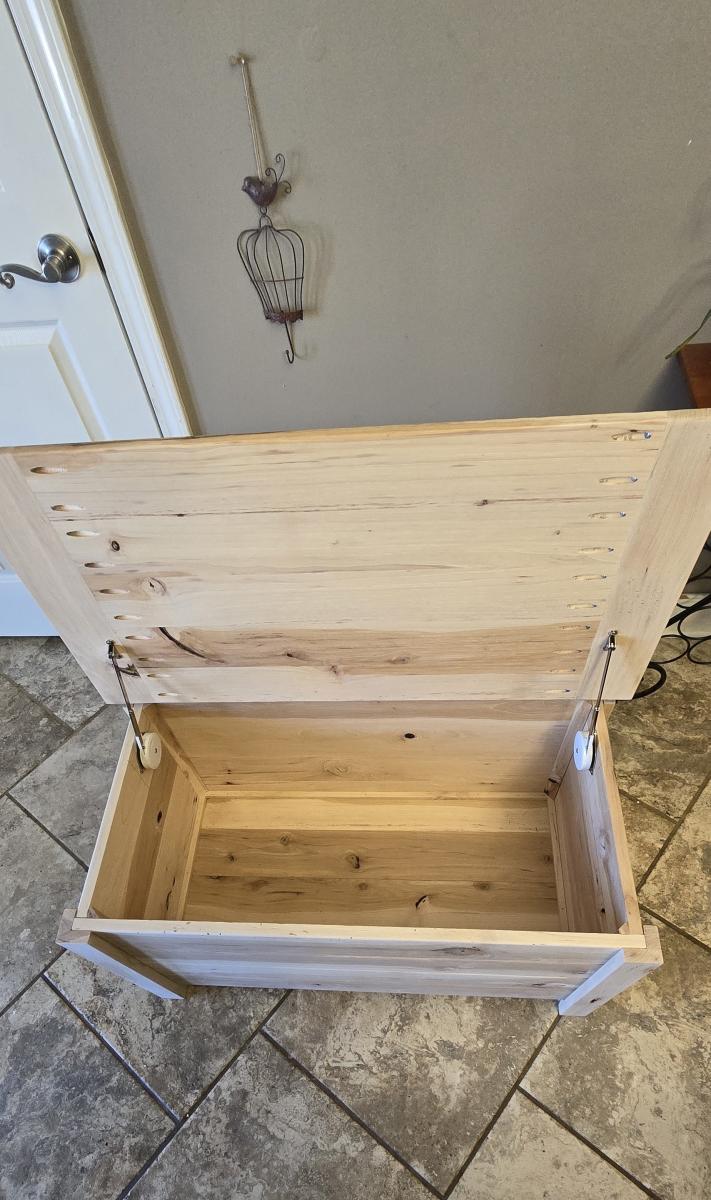
Built this for my granddaughter for her day, I made this out of pecan no plywood top or bottom, just glued up pecan to make the panels, routed the side panels to give it the individual board look. I made it 16 inches deep from front to back instead of the 13 in these plans. It's also 2 higher cause I didn't want to attach the bottom directly to the bottom, it's inside with base, this picture is taken before I sprayed it with high gloss polyurethane.
Garmans Woodscapes
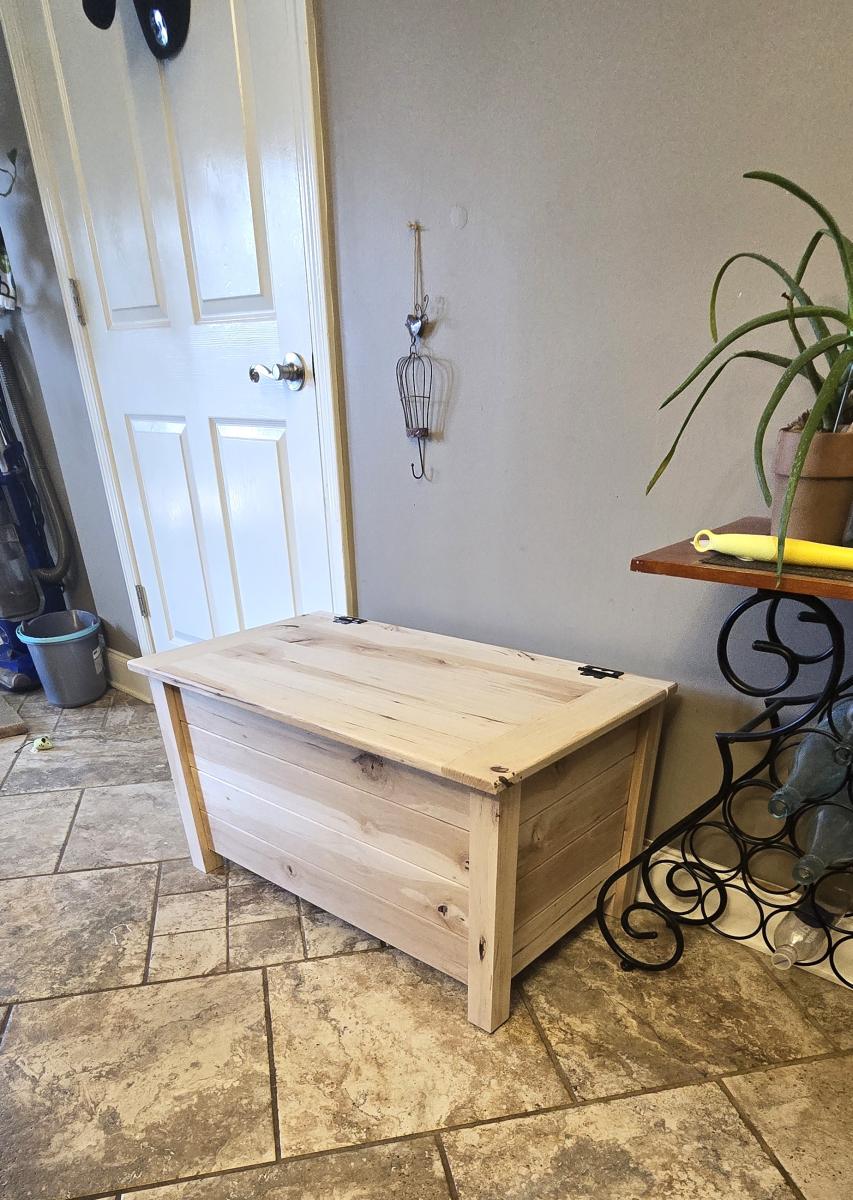
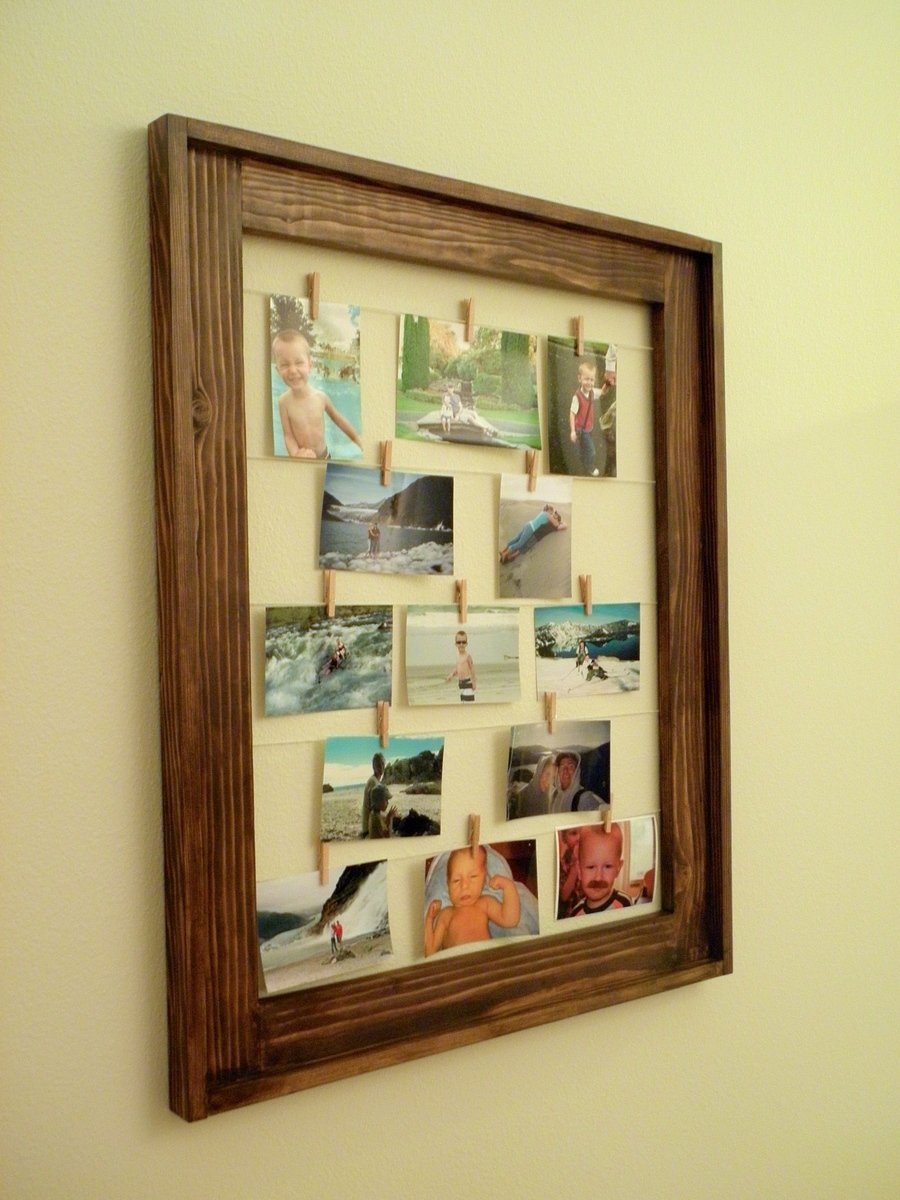
I loved the simplicity of this project. I scaled down the original size, to make the 1x3's 33 inches high by 22 inches wide. I also went with my kreg jig set at 1/2" and used 1" screws. I did this because I cracked the first board without even blinking when the kreg jig was set to a depth of 3/4", using 1 1/4" screws.
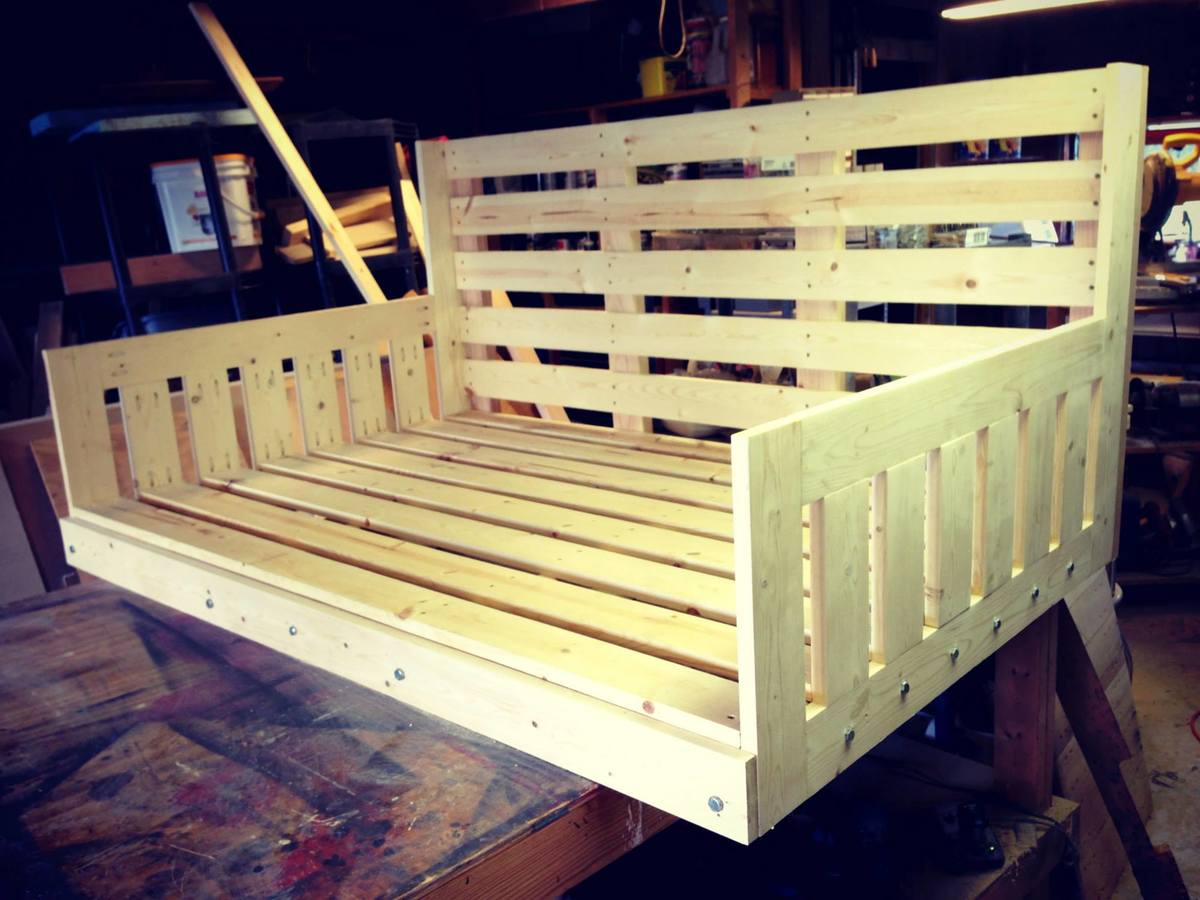
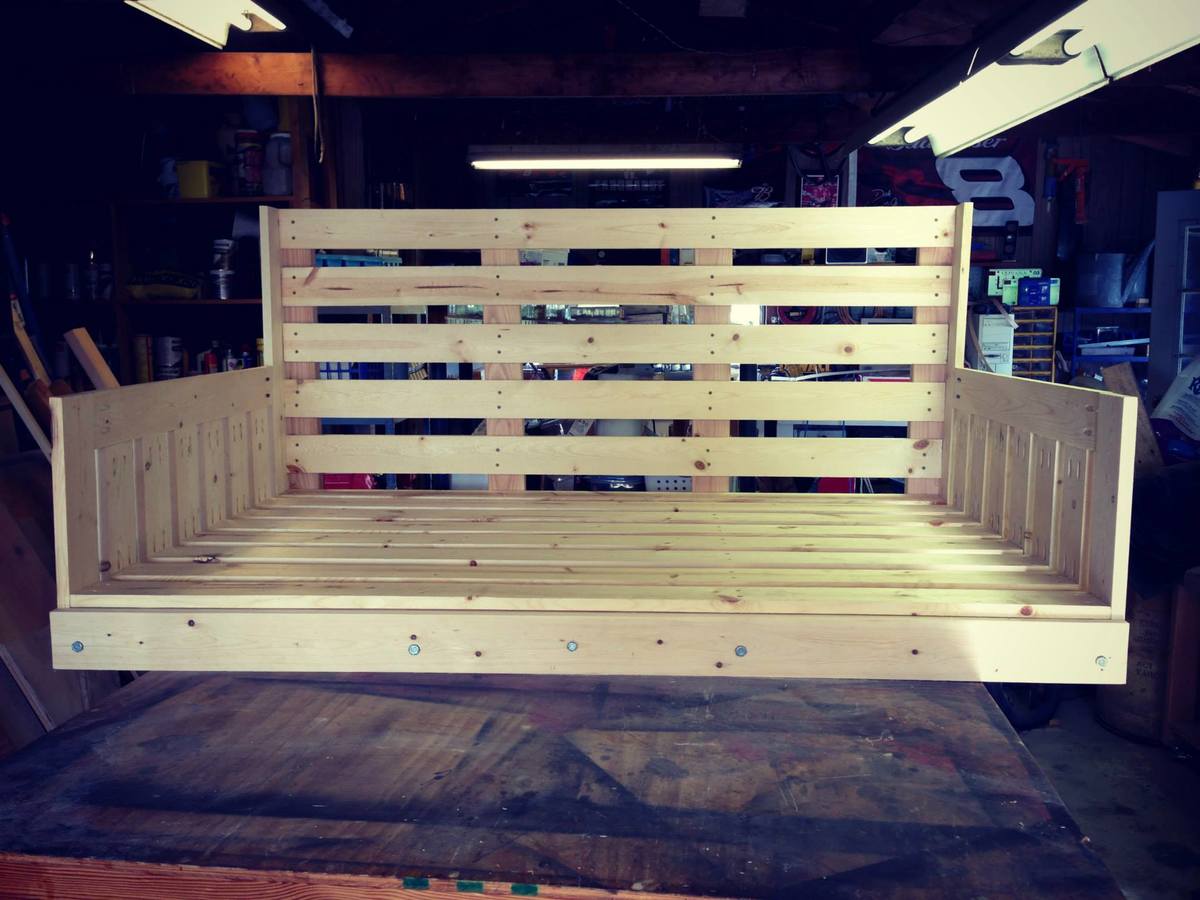
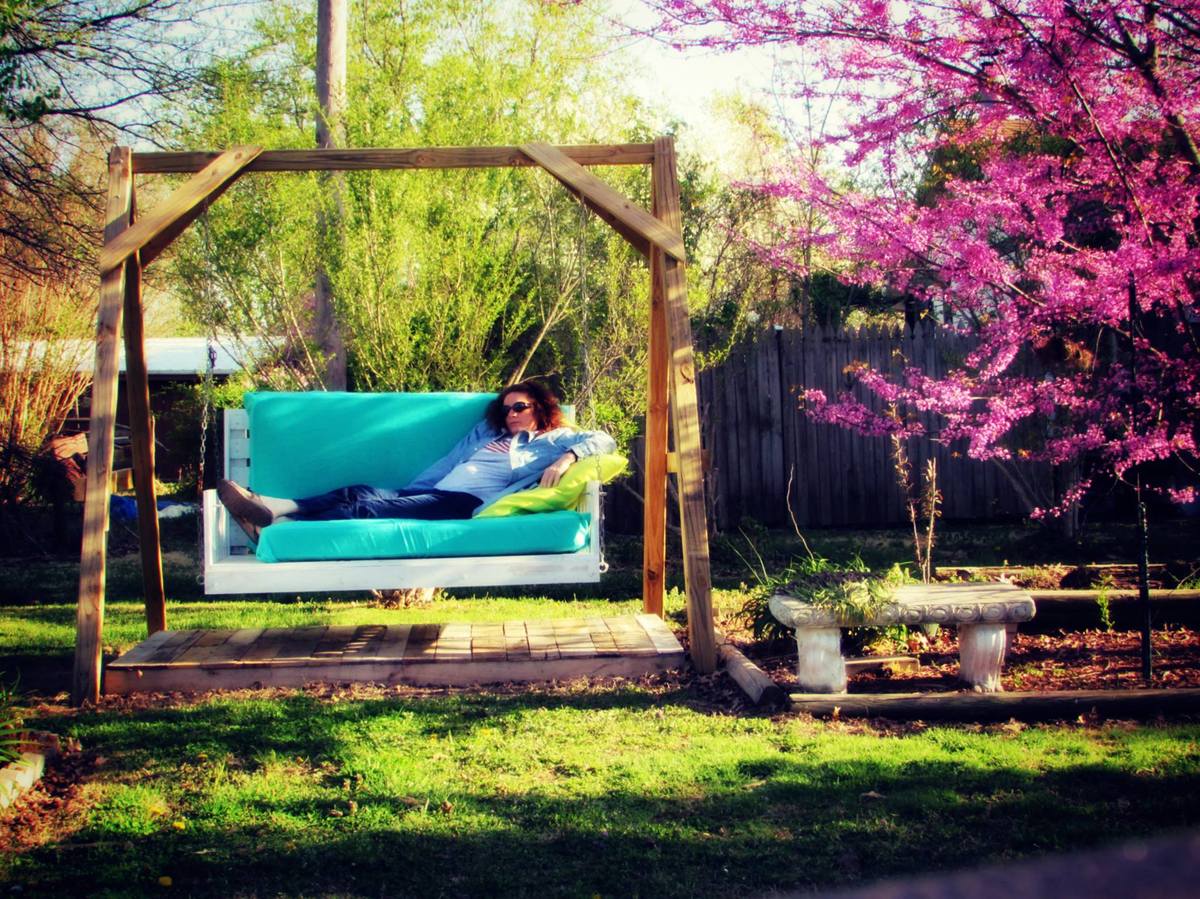
Don't get in this bed swing unless you have time for a nap. This is a modified version of the "large modern porch swing". Very comfortable to lie down and swing. The mattresses are 2 baby crib mattresses that I found really cheap at a yard sale and on Craig's list. I probably should have shortened it several inches to fit the crib mattresses, had I known in the beginning that was what I was going to use. I made the swing myself, but had help with the A-frame. My friends are envious.
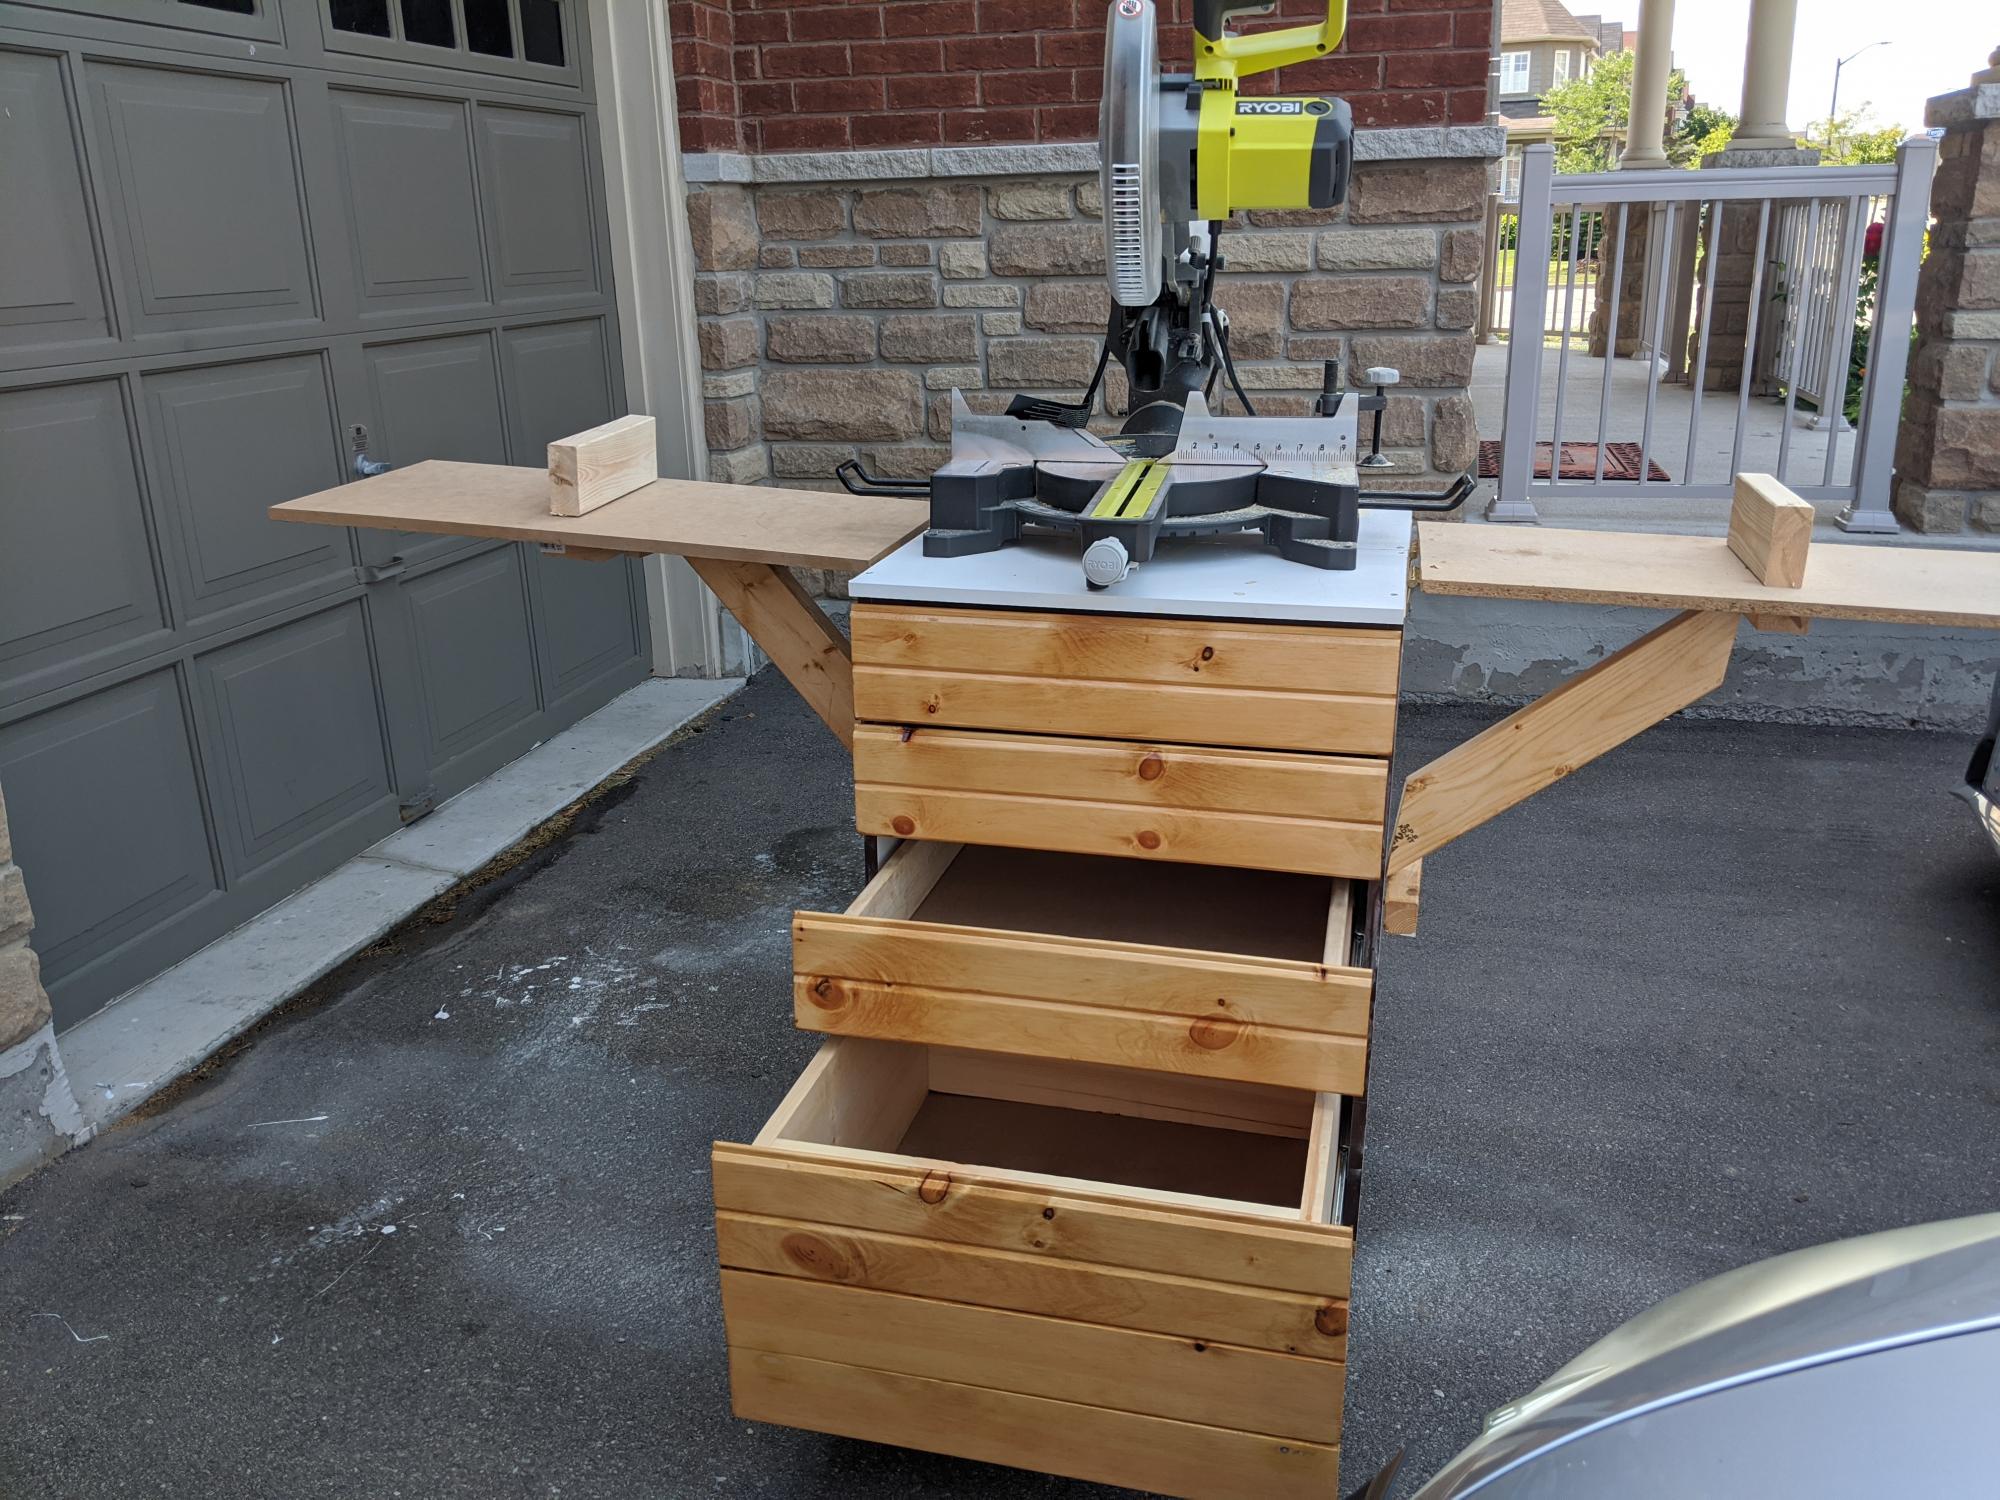
Miter saw cart with tools chest
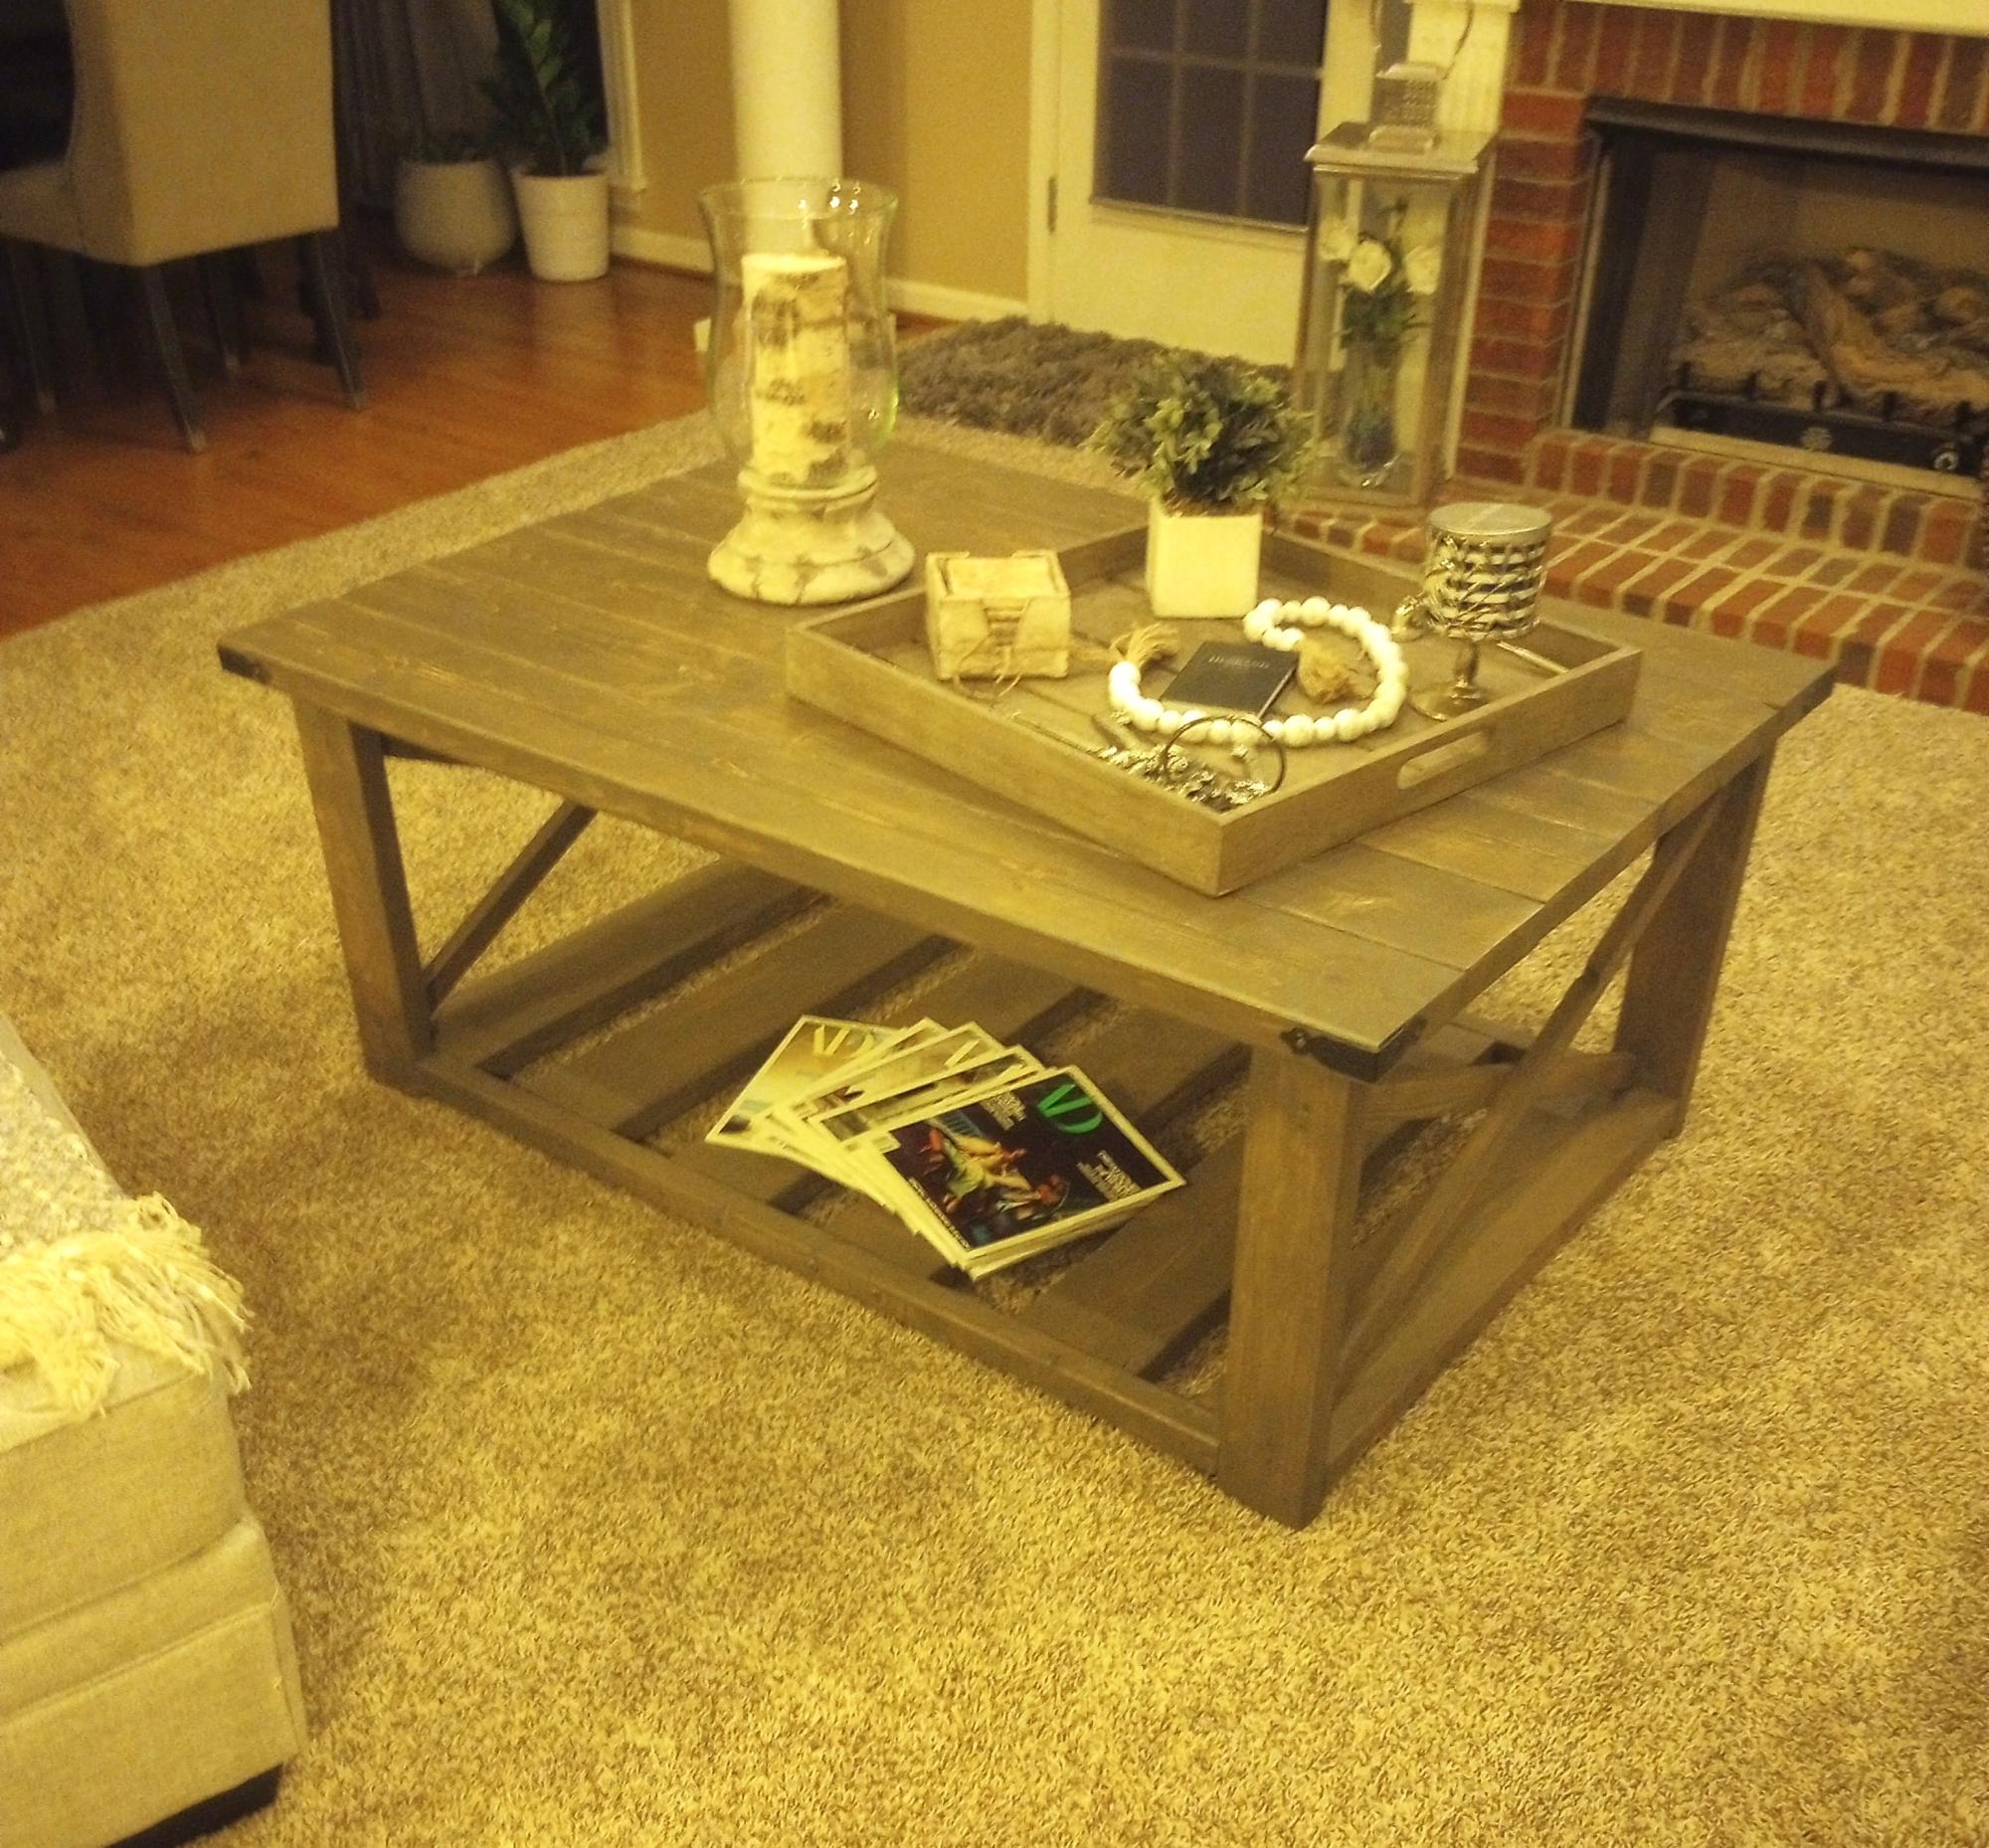
Coffee table I made inspired by you.
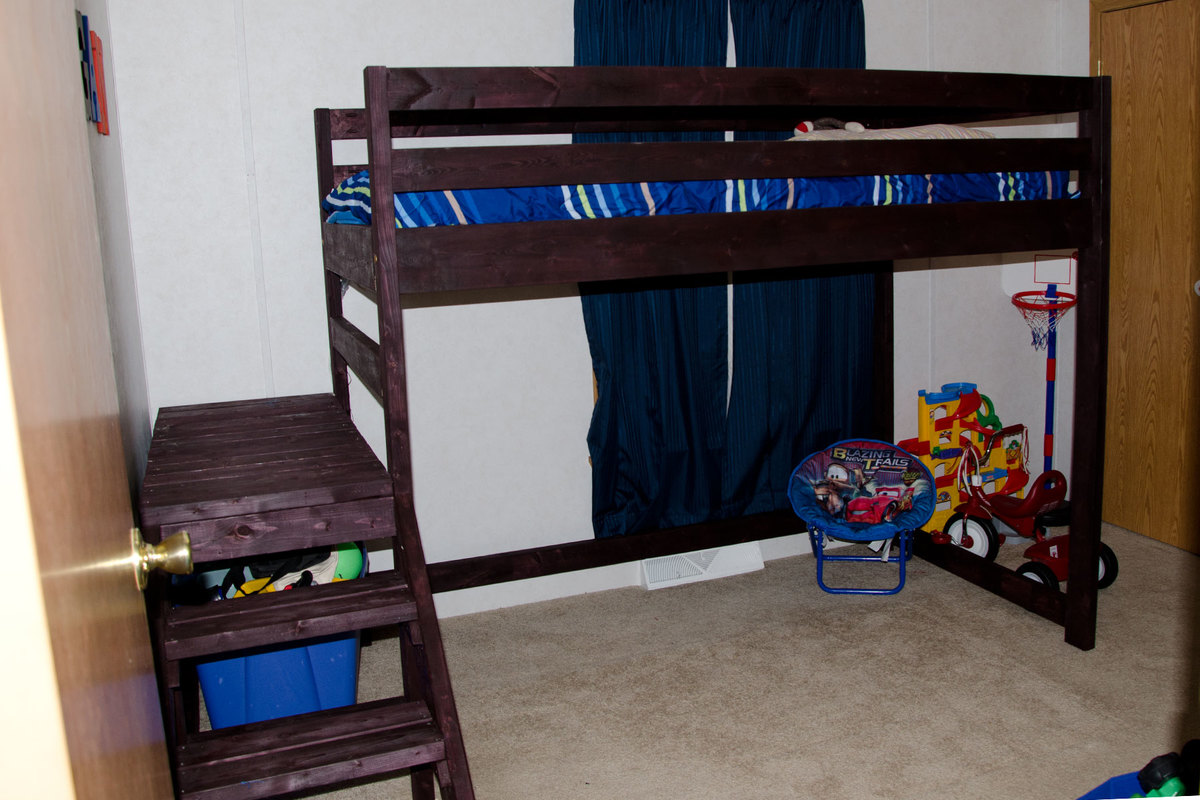
My son has a very small room so this bed is perfect! It gives him much need play space. He loves it! It was super easy to build. I added a support across the back to make it even more sturdy. Thanks Ana for another great plan!
My 40”x80” dining room table with equalizer extension slides that bring it to 110” when both leaves are installed. This was initially inspired by the Farm Hose trestle table. I've got details in some blog posts on my build. It’s not exactly the most complete blog with every detail, but it has a bunch of pictures along the way.
Sun, 11/08/2020 - 09:01
This is amazing and exactly what I'm looking for.. do you have plans for this table?
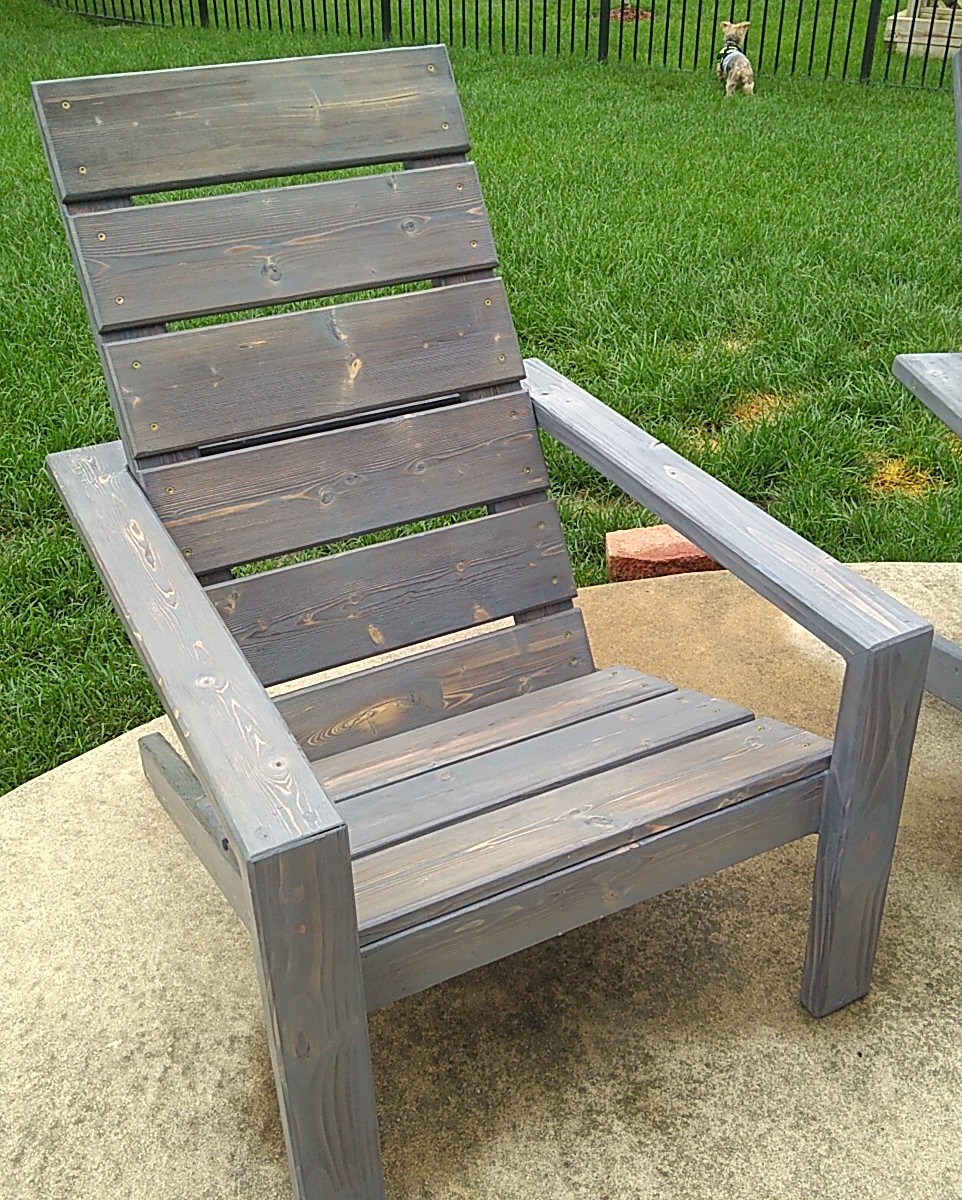
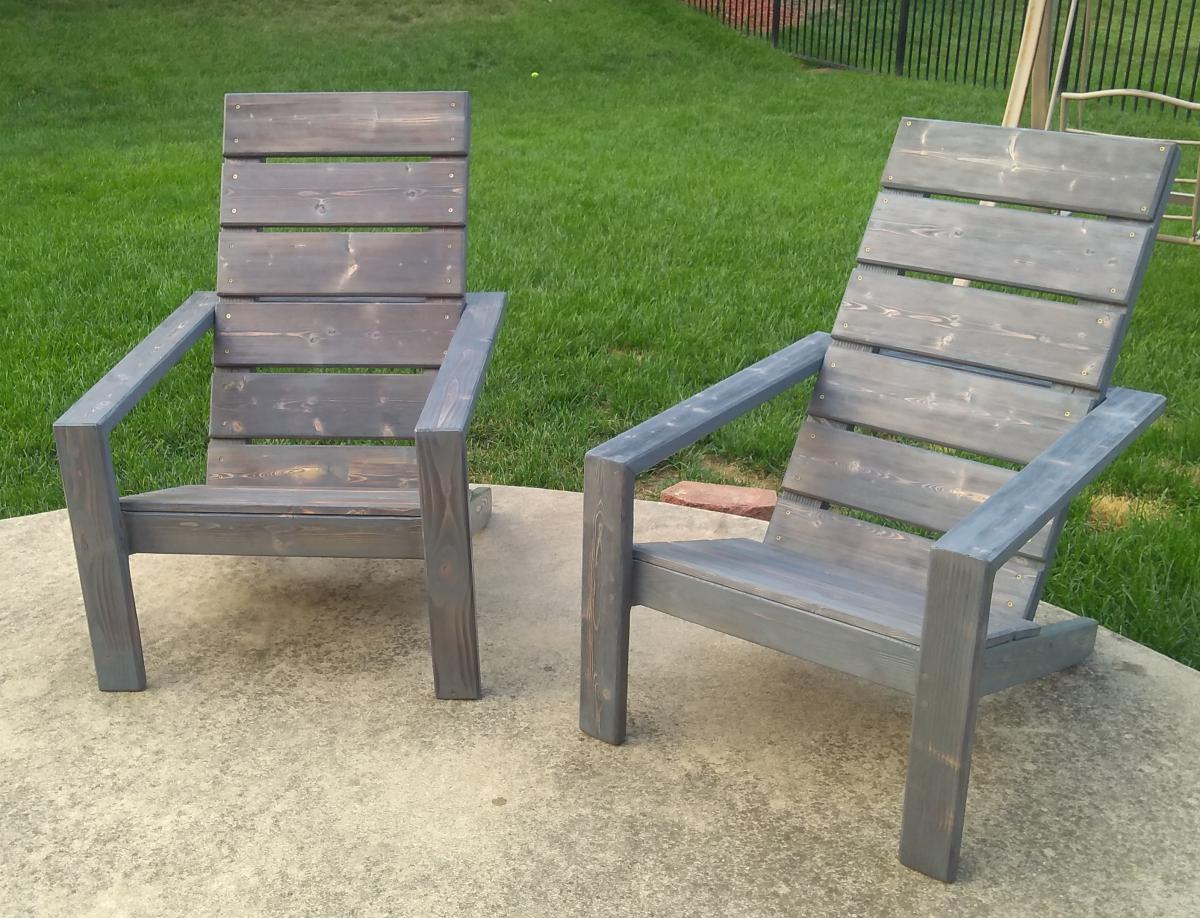
Chose 1x6 instead of the 1x10s in the plan and made the back supports a few inches taller to support my head laying back. 1st chair came out great however the second chair I made the seat wider just under 24in wide (had all the 1x10s precut to 24in at home Depot to easily transport them home.) My knees feel less cramped when sitting down in the wider chair.
Since I used warped scrap wood I had laying around I milled the 2x4s with jointer and planer. Way too much work honestly.
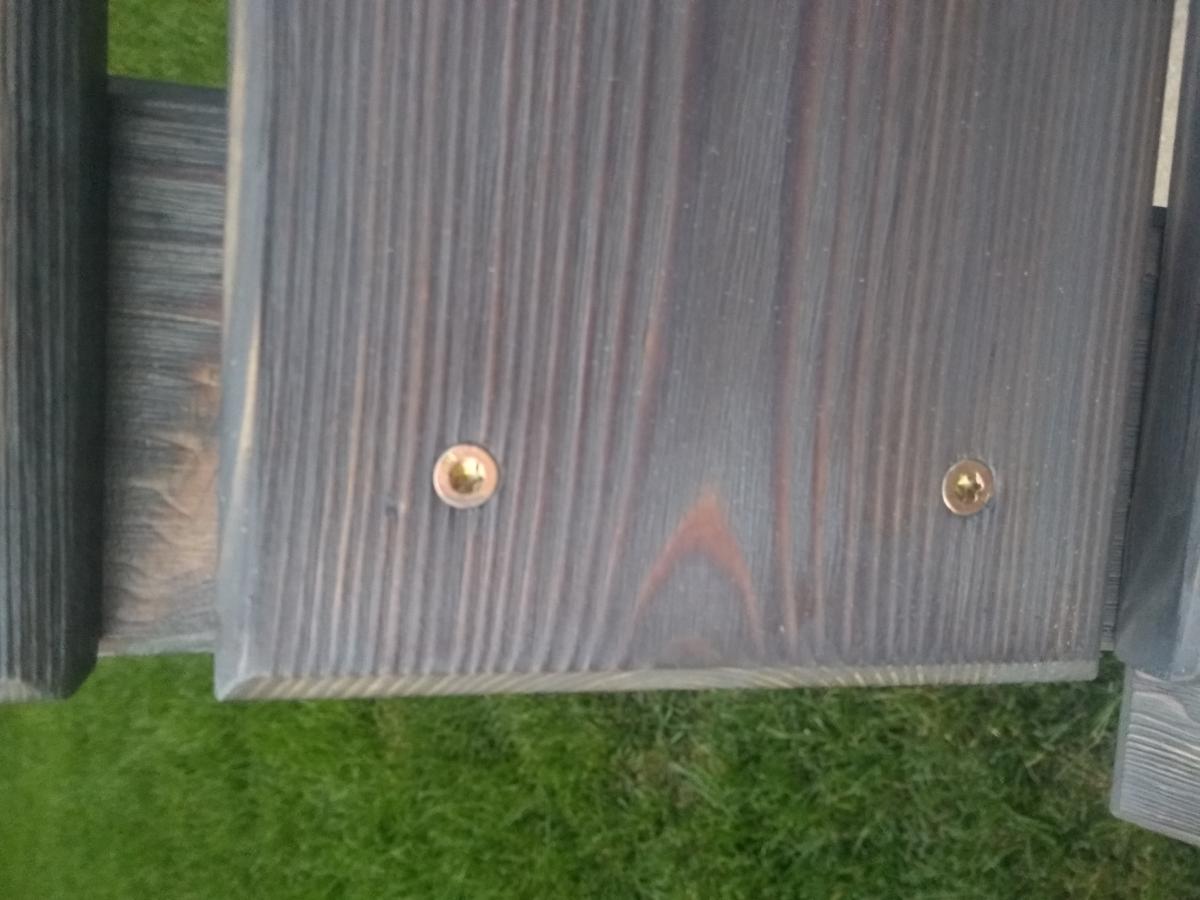
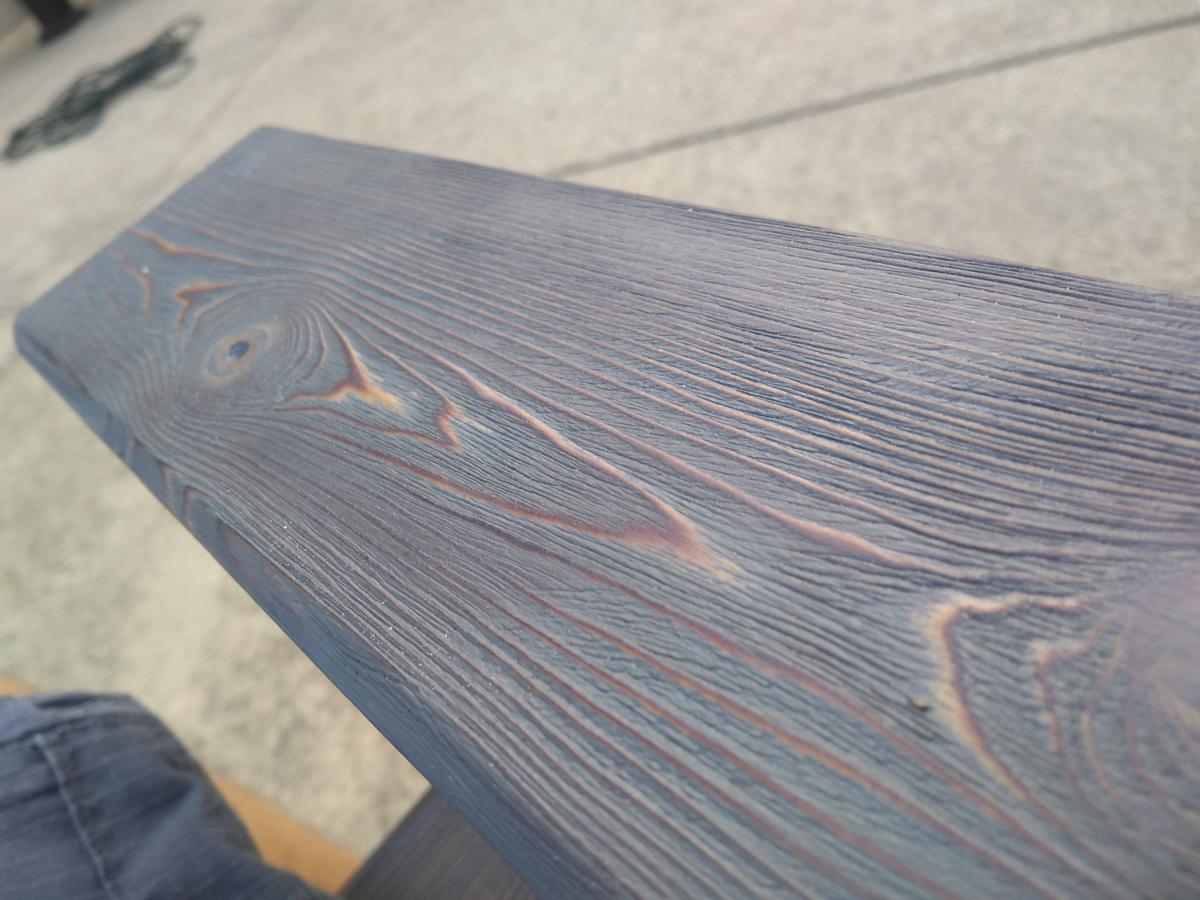
Glued and assembled the frame with dowels, Routed a 45° bevel on all edges then finished and sealed all faces before assembly. I used untreated lumber so I sealed all faces before assembling to give it a better chance of surviving on my uncovered patio. I also used a thick epoxy on the feet base that touch the ground to prevent rot.
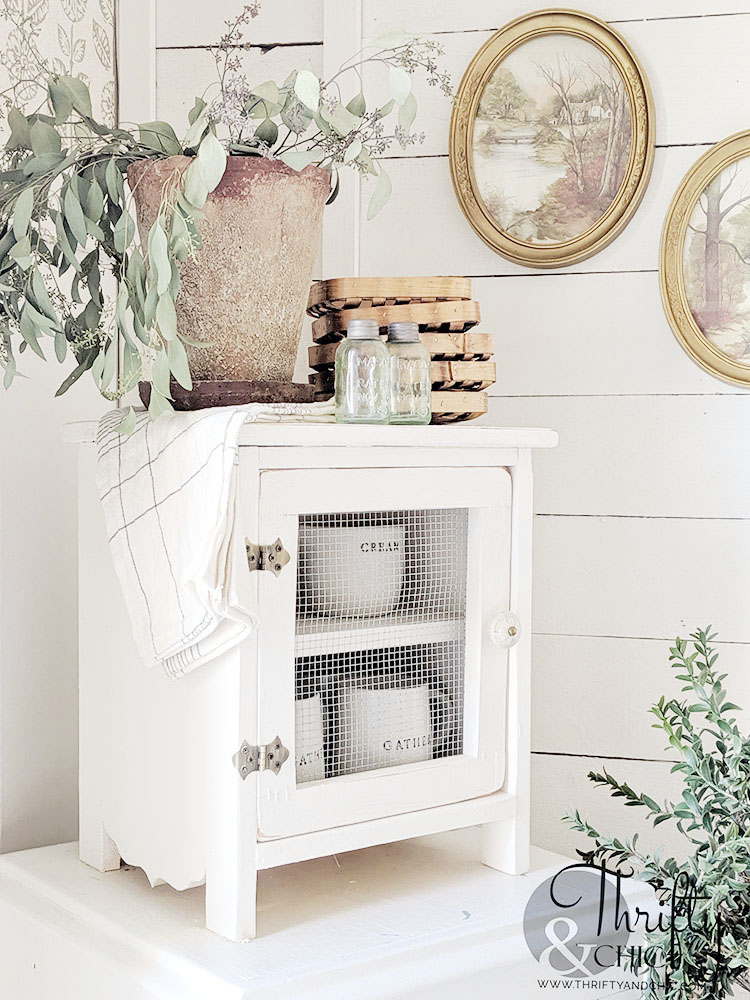
Making pie safes have apparently become a hobby 😂 these things are just so cute! They can be made from pretty much just scrap wood you have lying around, some glue and nails. I’ve painted mine and have stained them. This time around I added the cute design to the side bottom and bead board to the back.
Visit Thrifty and Chic for the full tutorial with modifications!
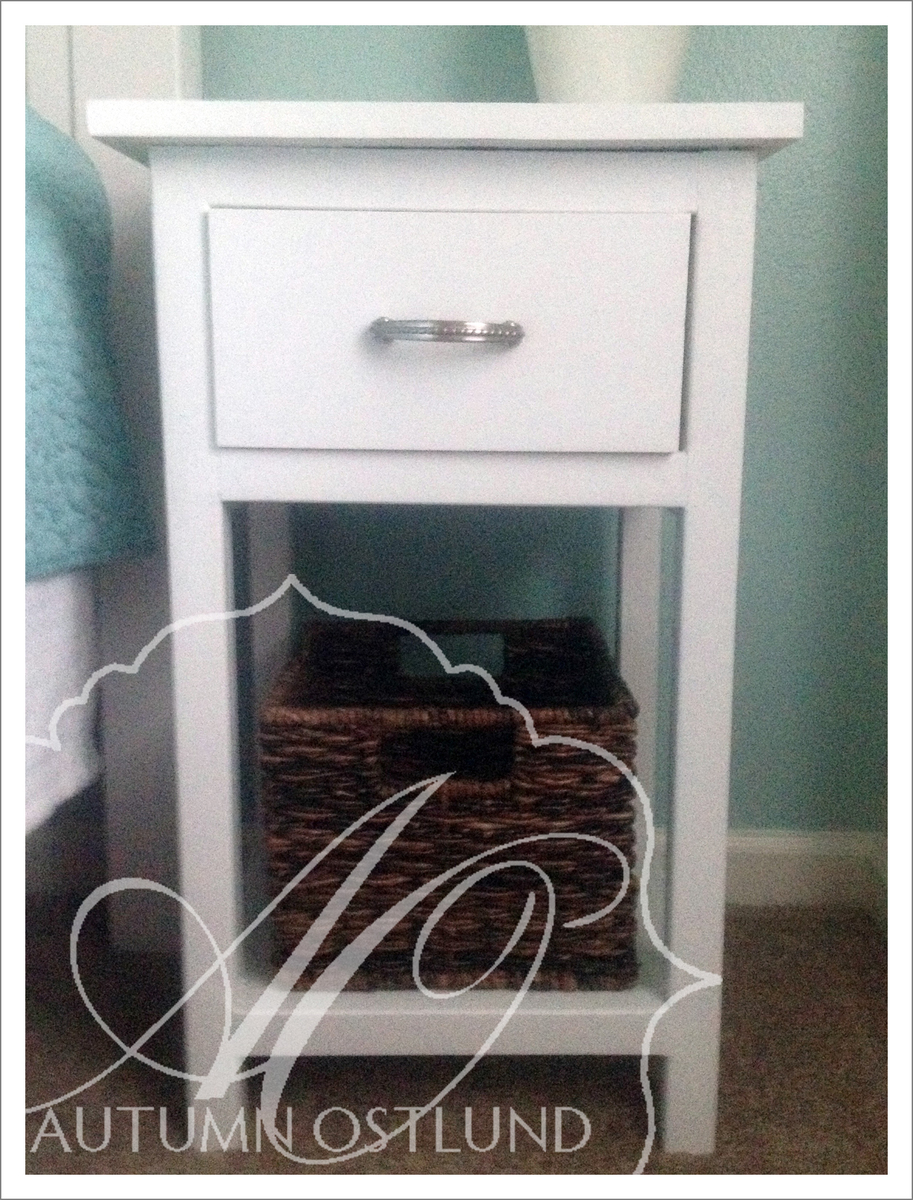
I built 2 of these to go beside my queen farmhouse bed. I think I would put drawer slides on them if I were to build them again.
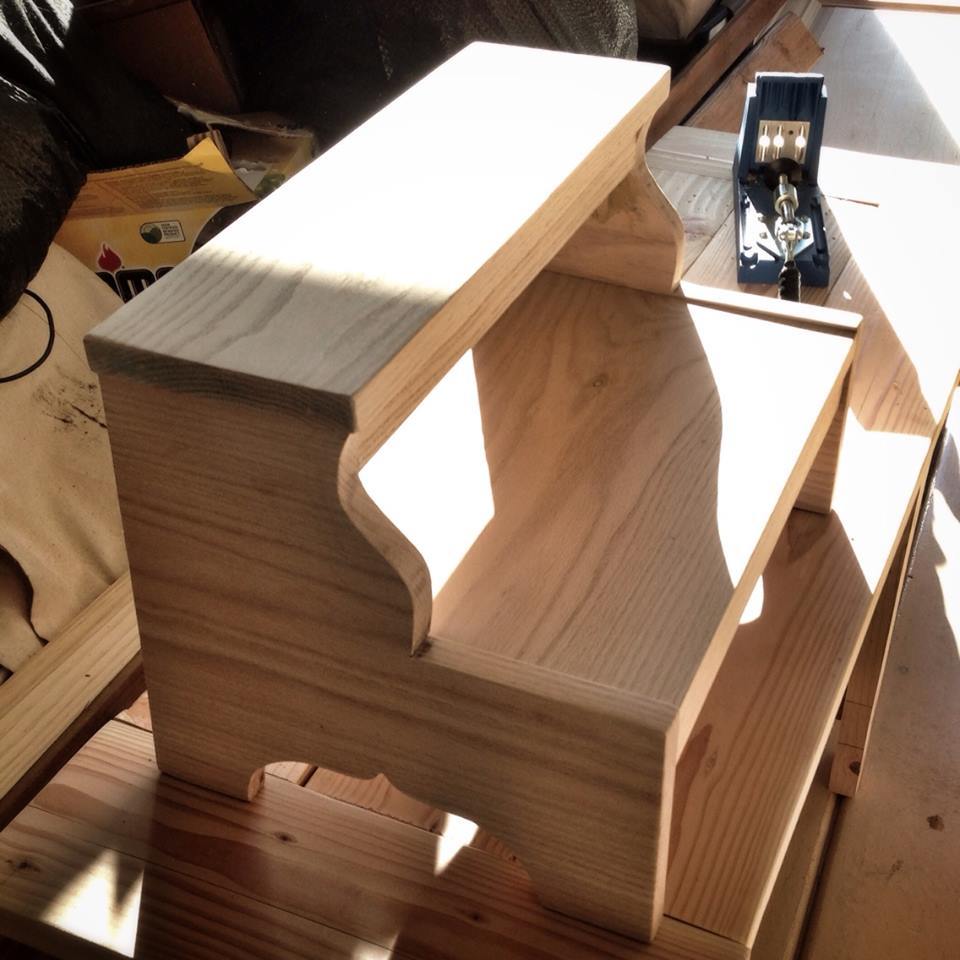
I bought a box of oak scraps from a local lumber store - sold a firewood for $6.00 and I was able to get enough big pieces to make this step stool for my granddaughter.
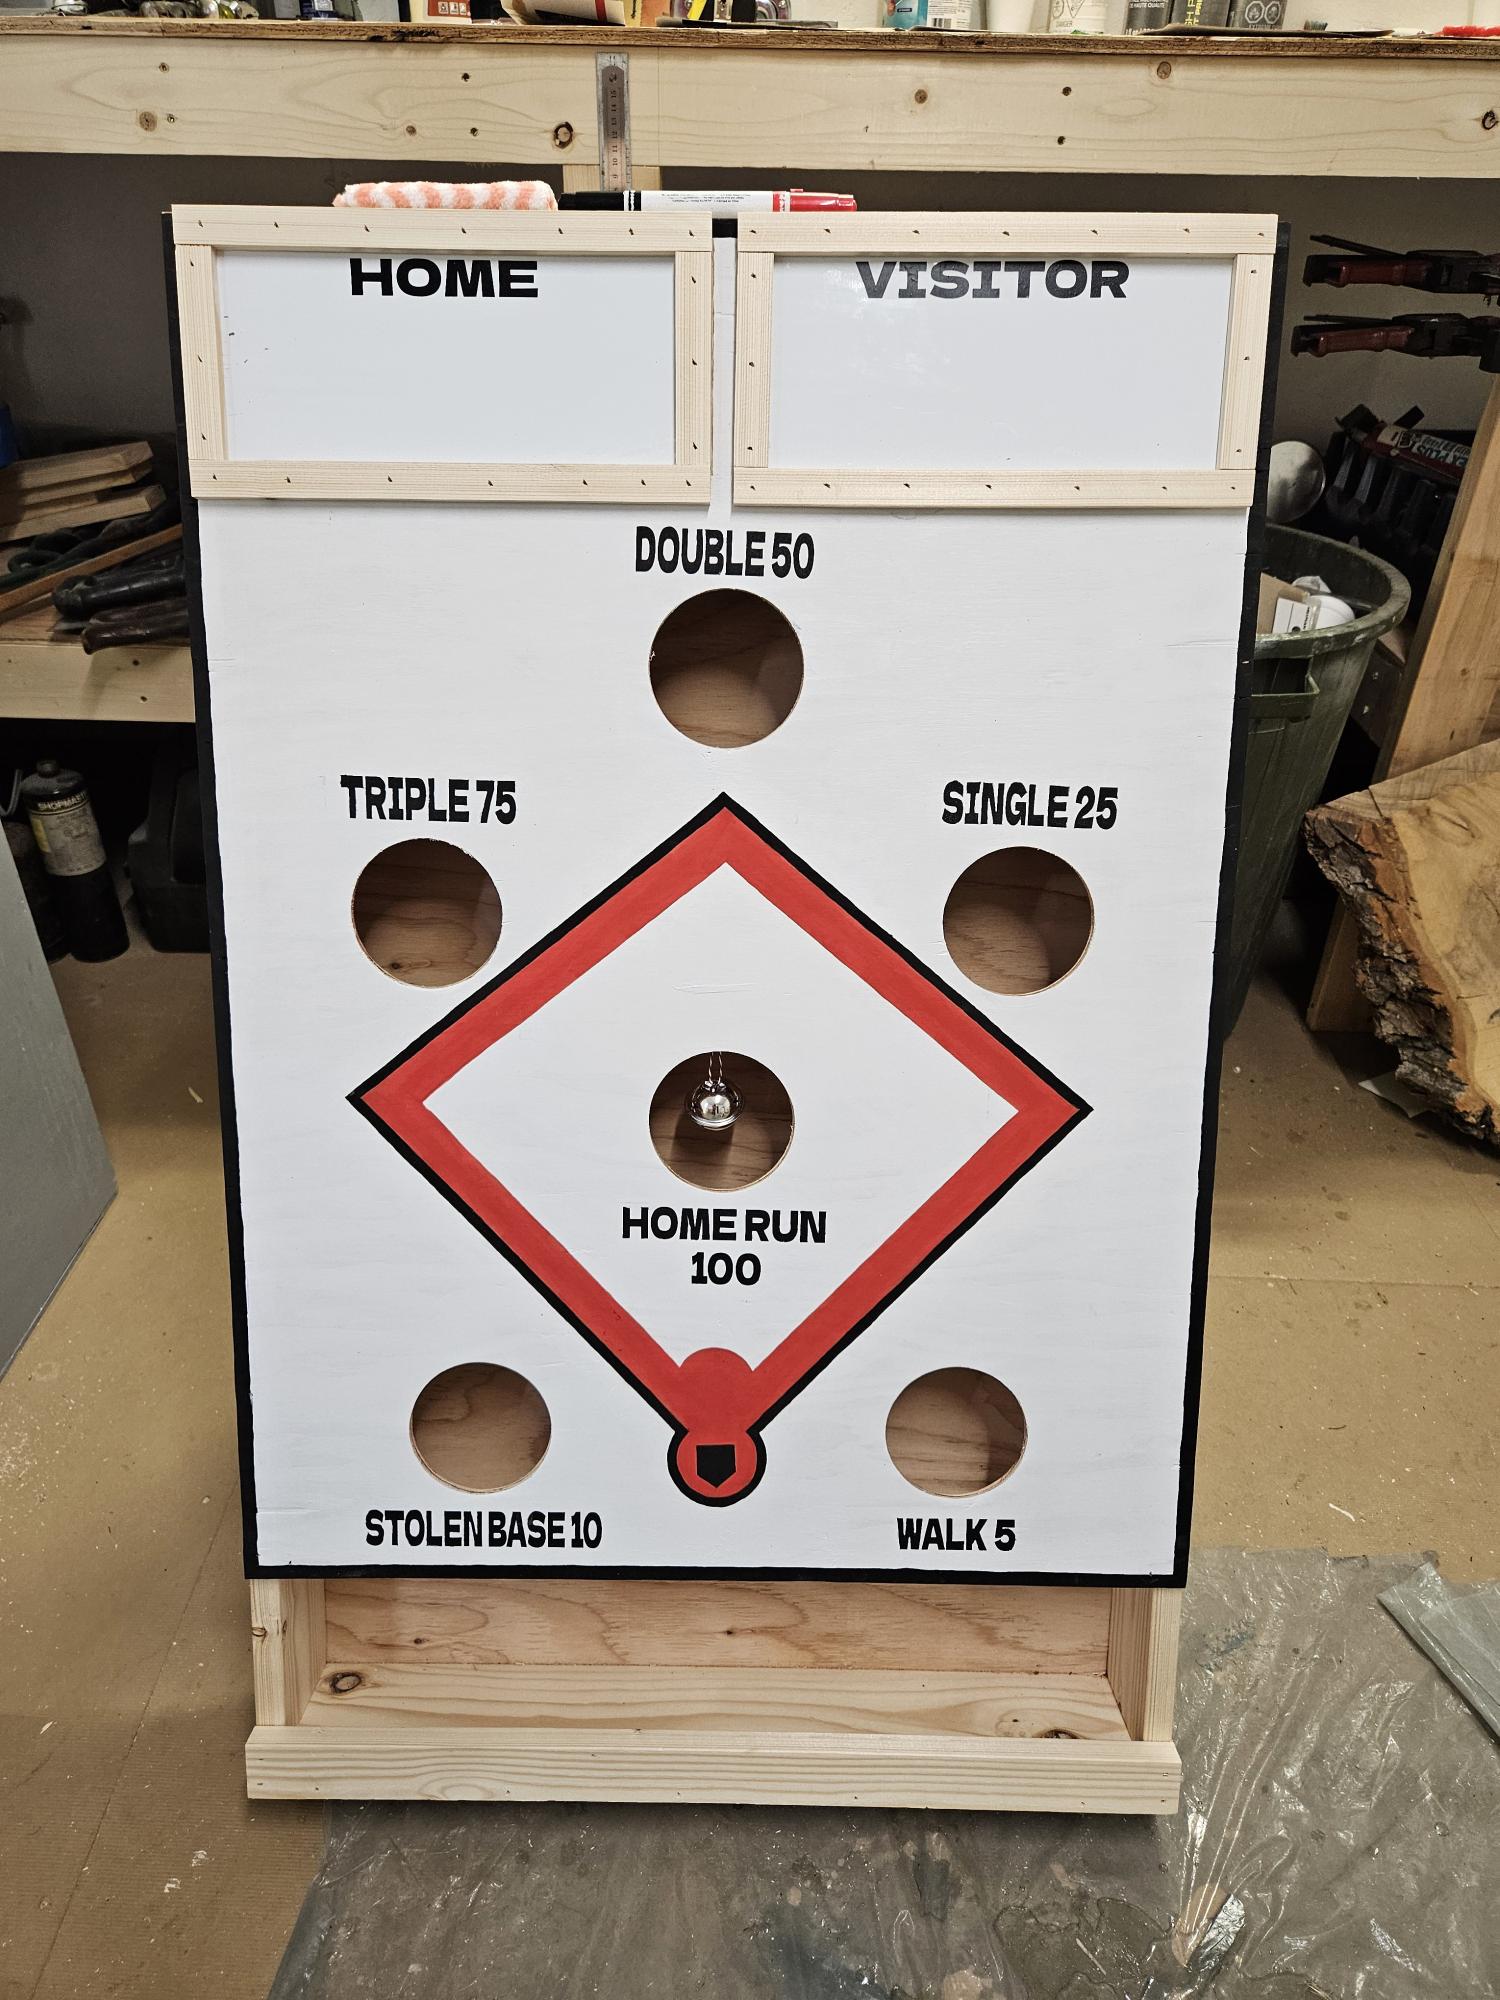
I used your plans to build this one, but I put a back on it and legs instead of hanging it on a wall. This was made for a senior center, so they can use it inside or outside
Donna Brown
Miniota, Manitoba
Canada
