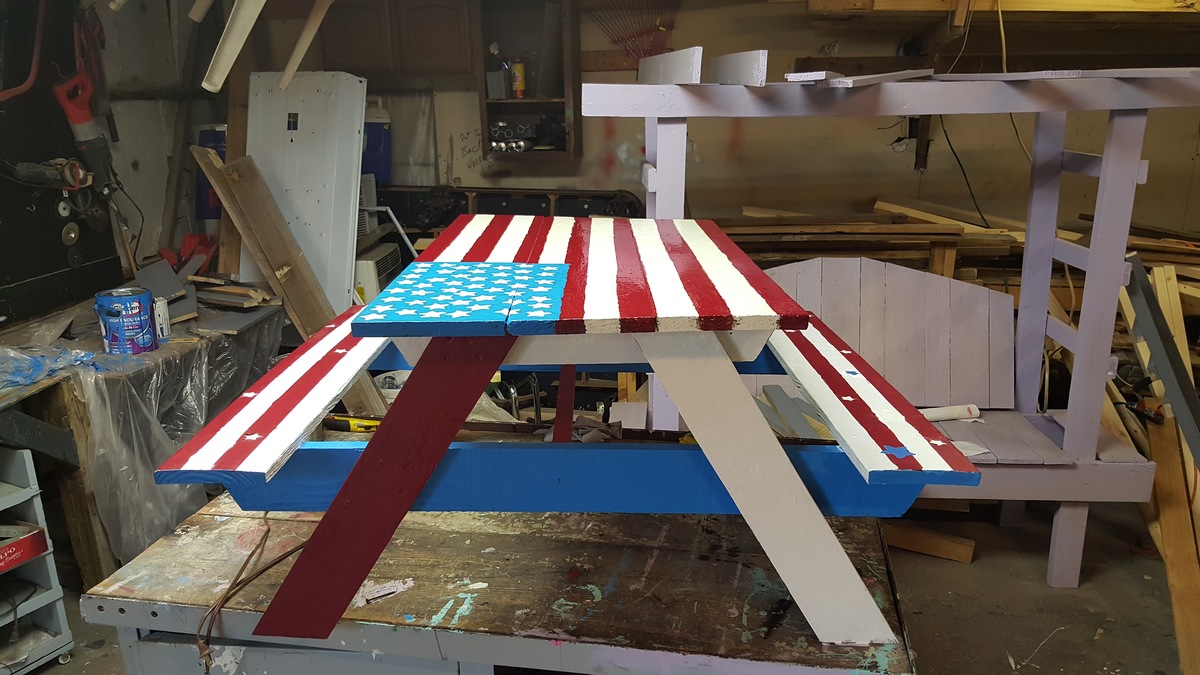
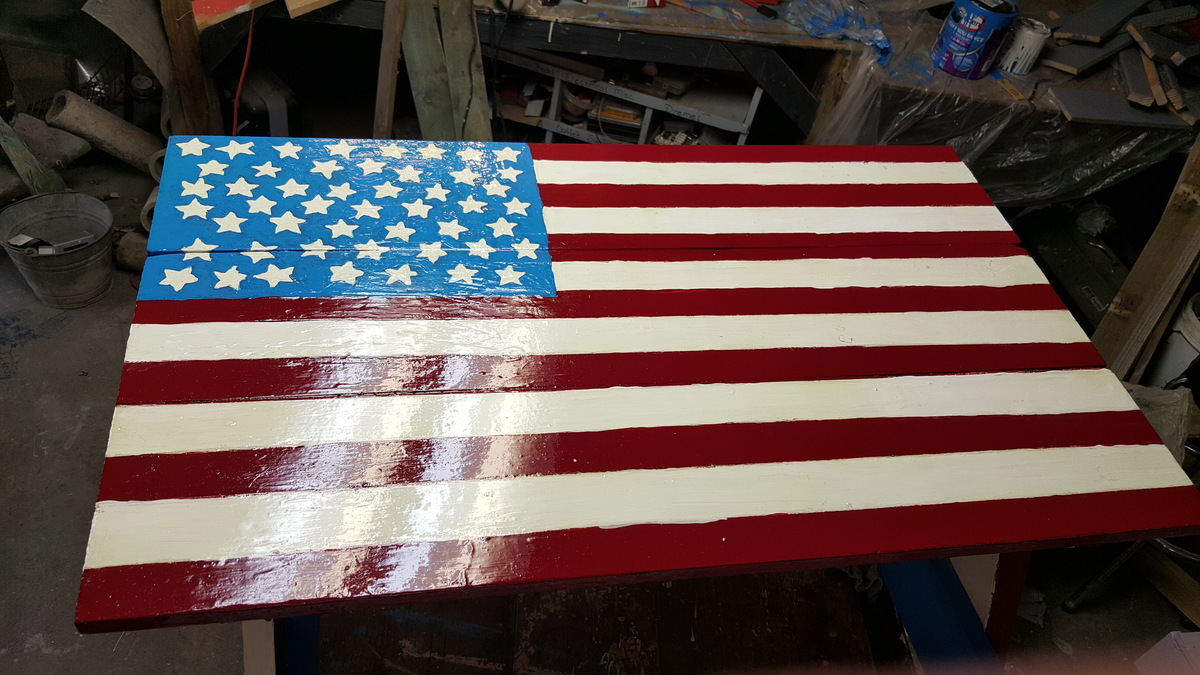
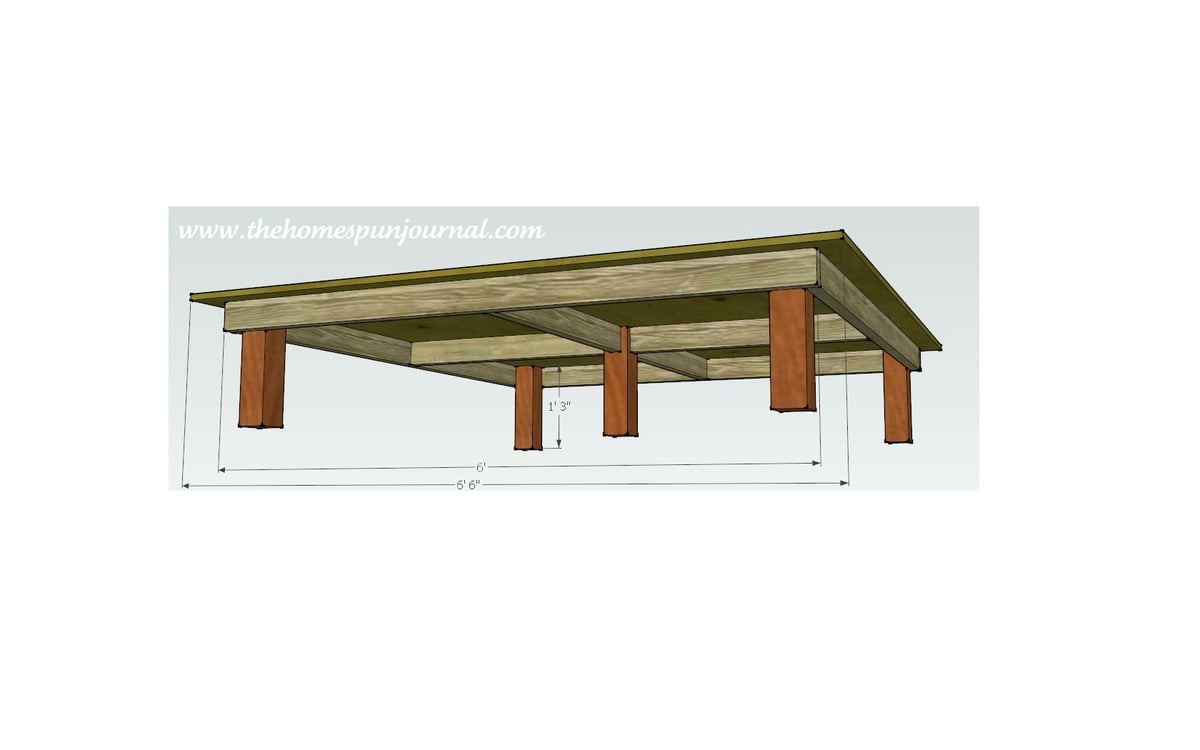
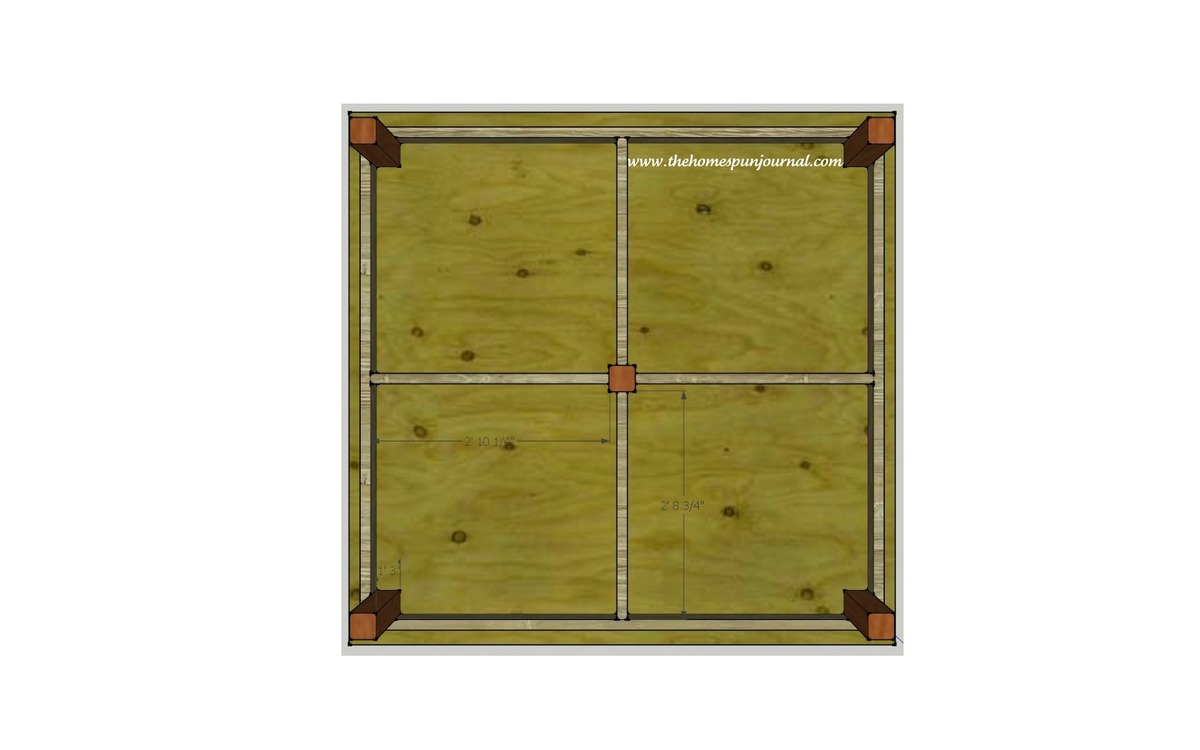
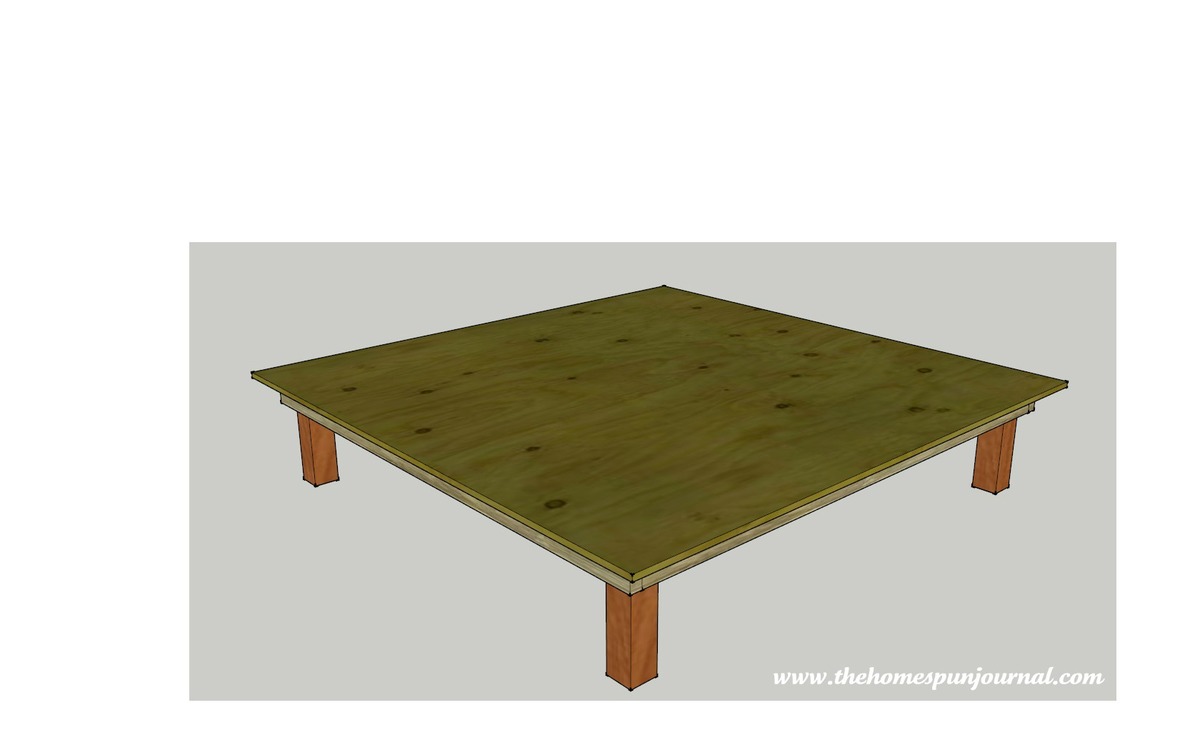
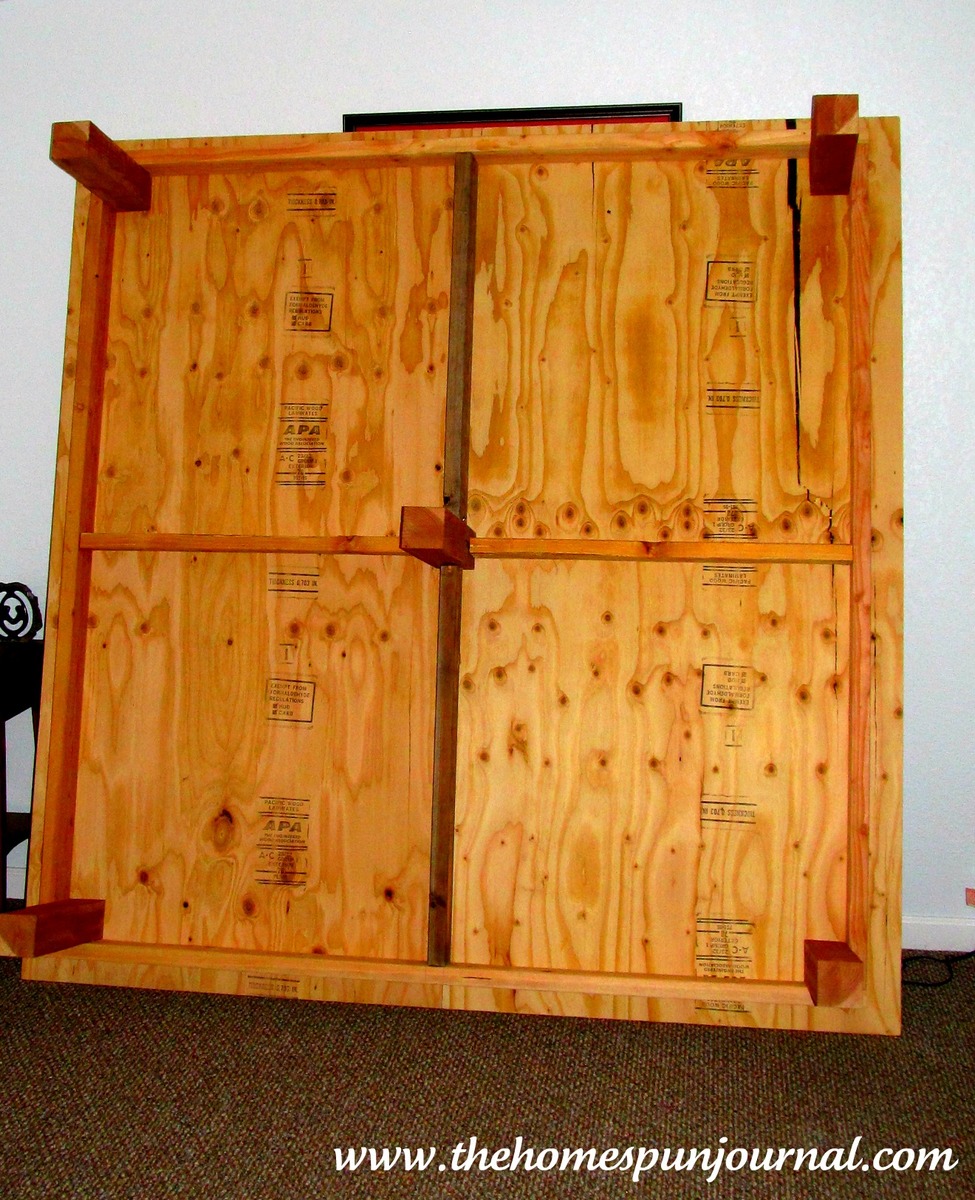
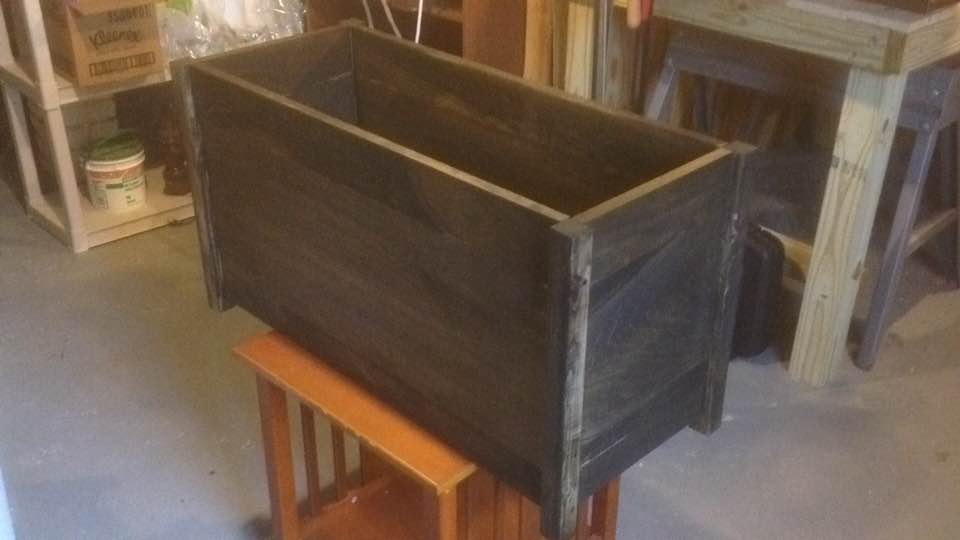
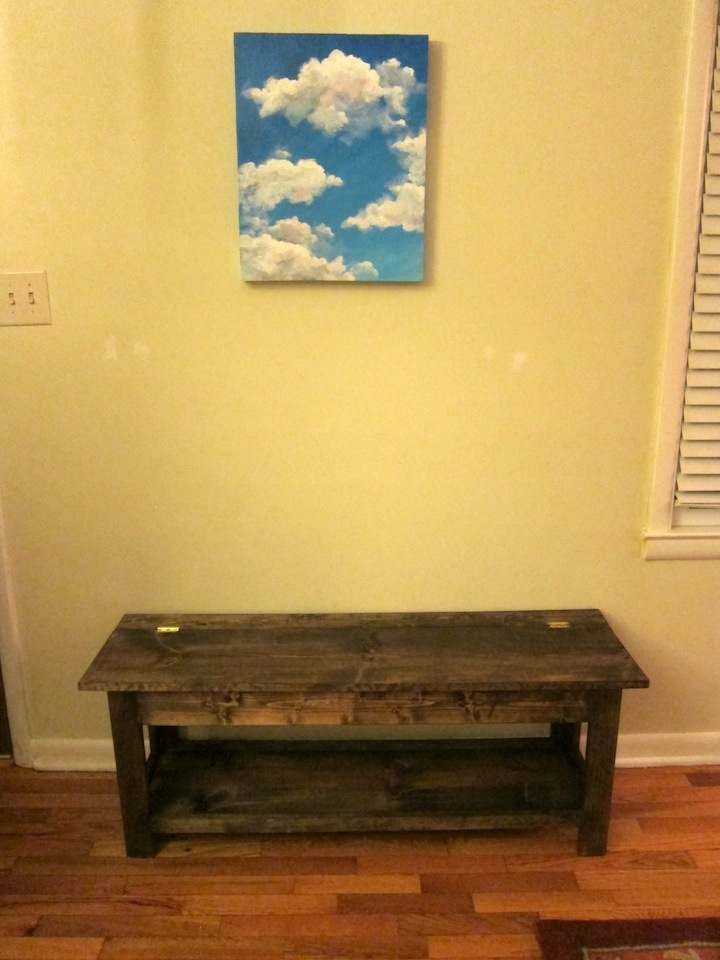
West elm knock off coffee table
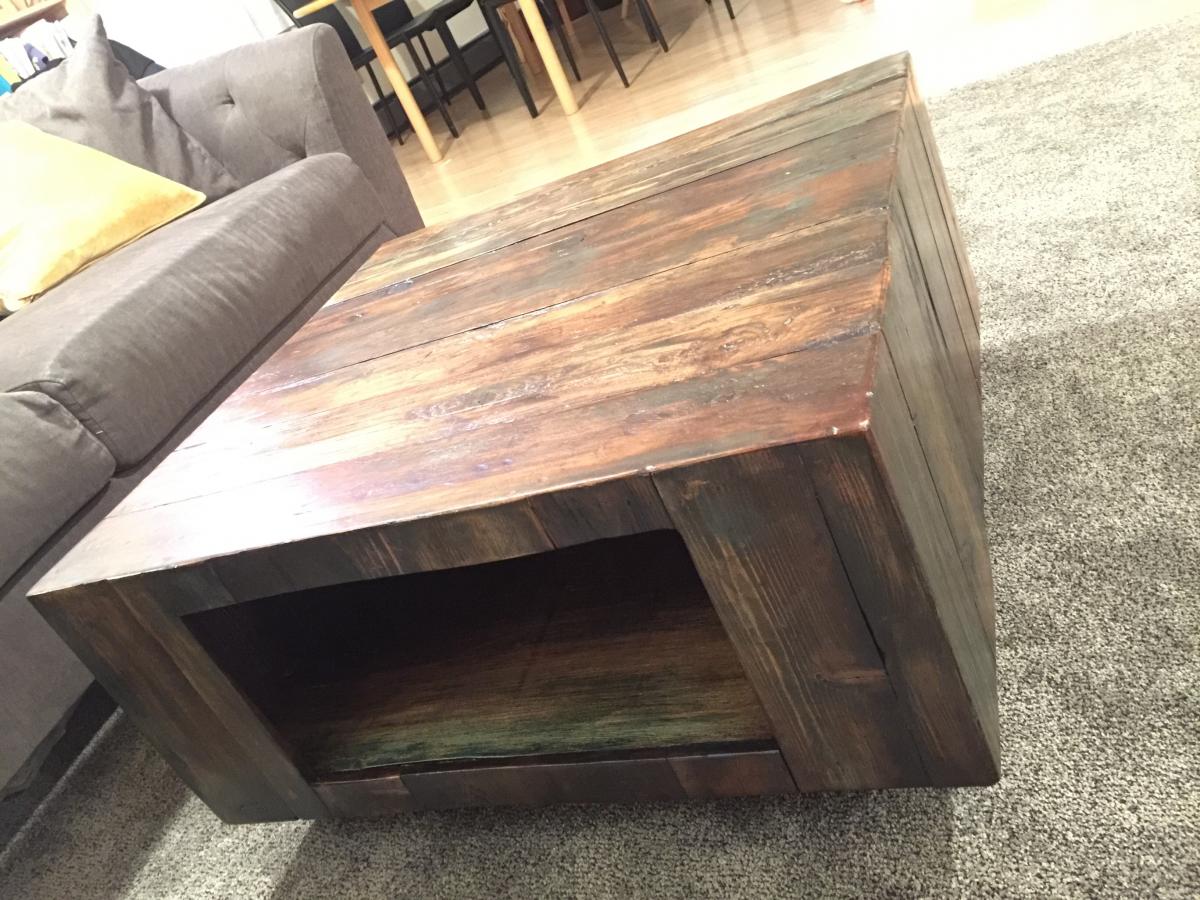
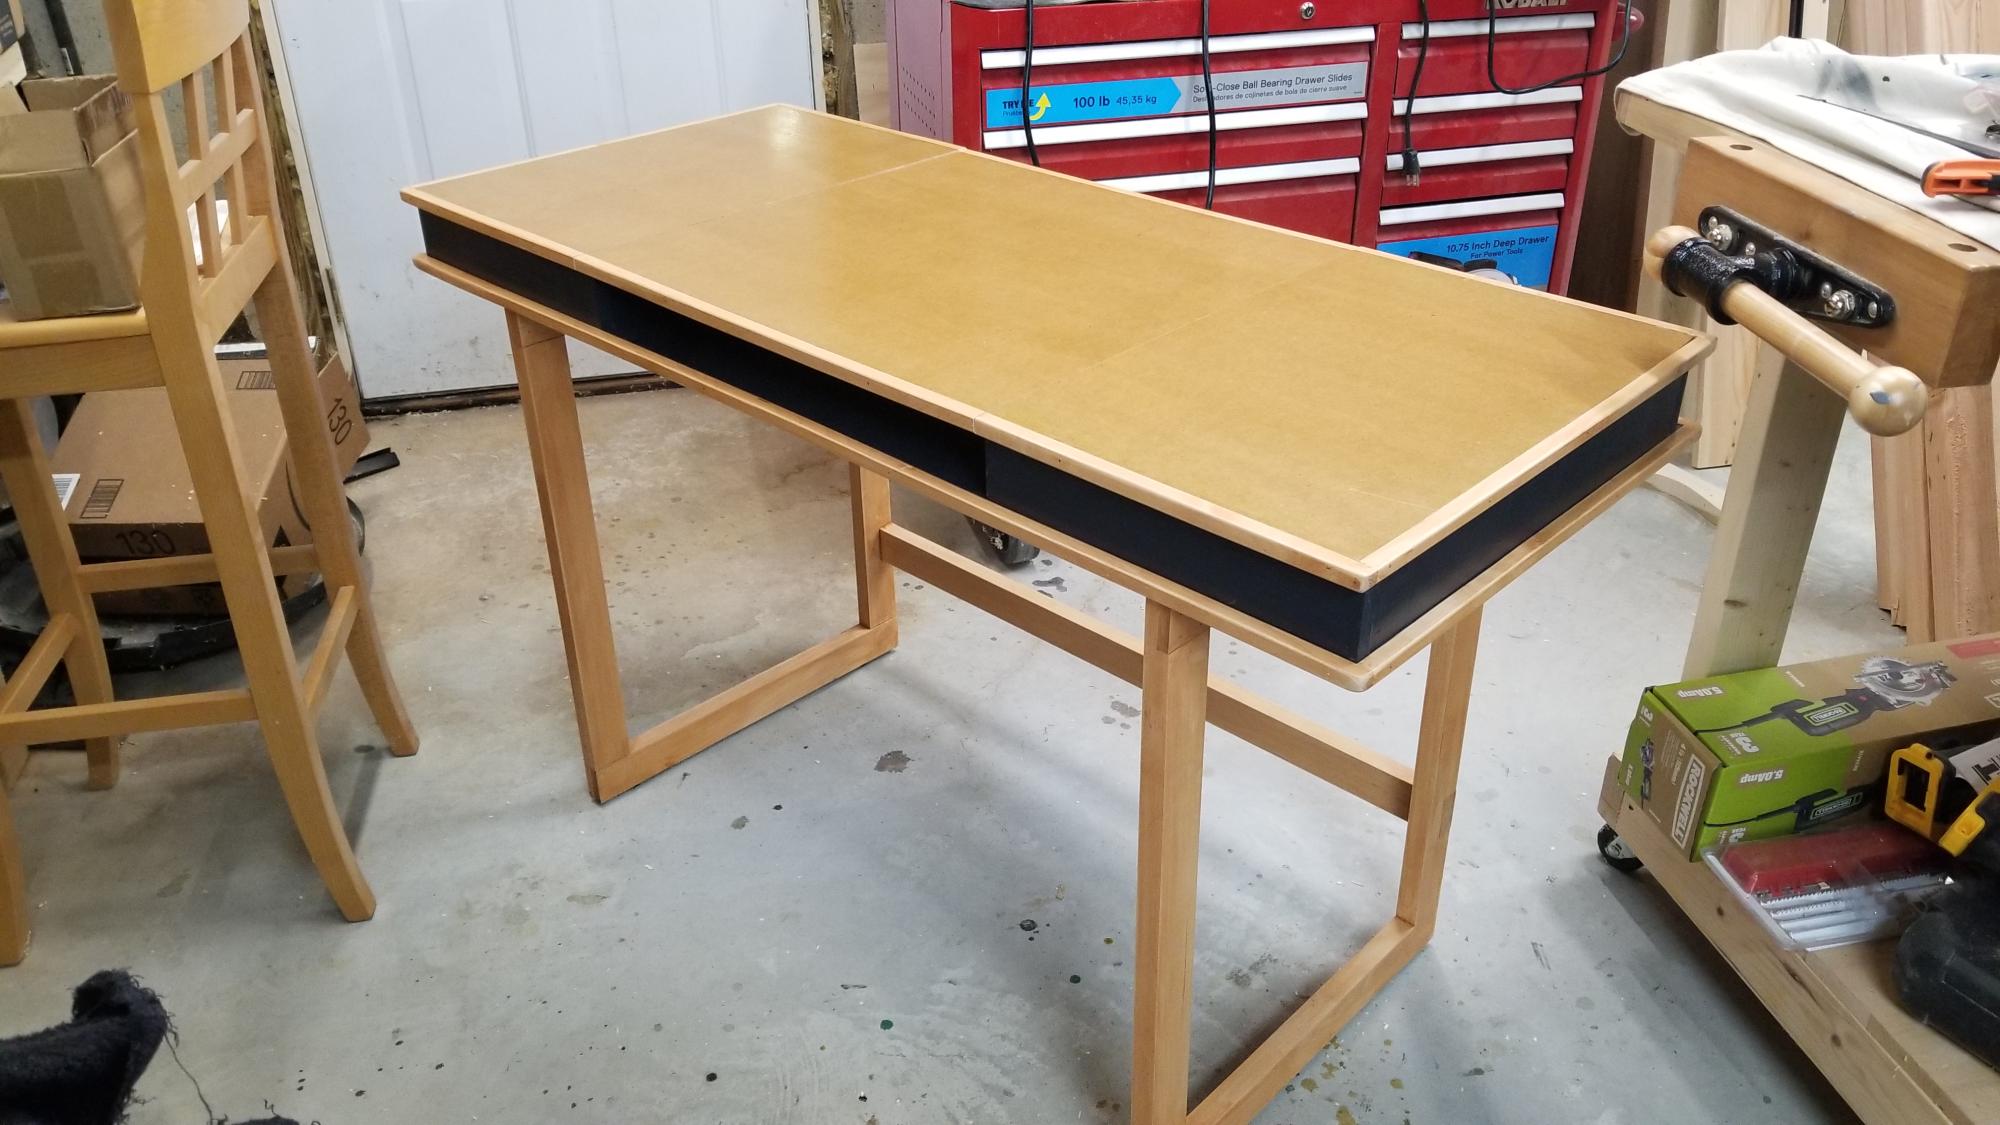
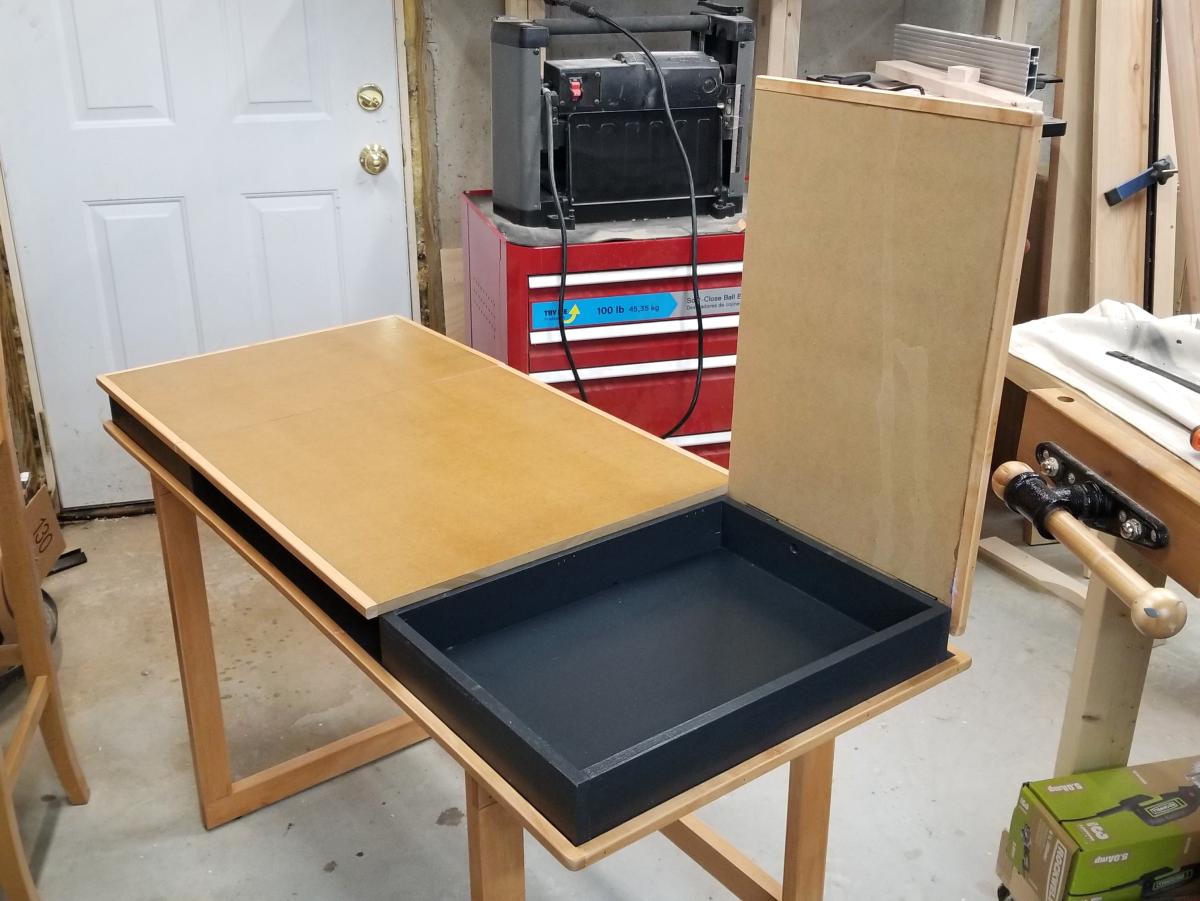
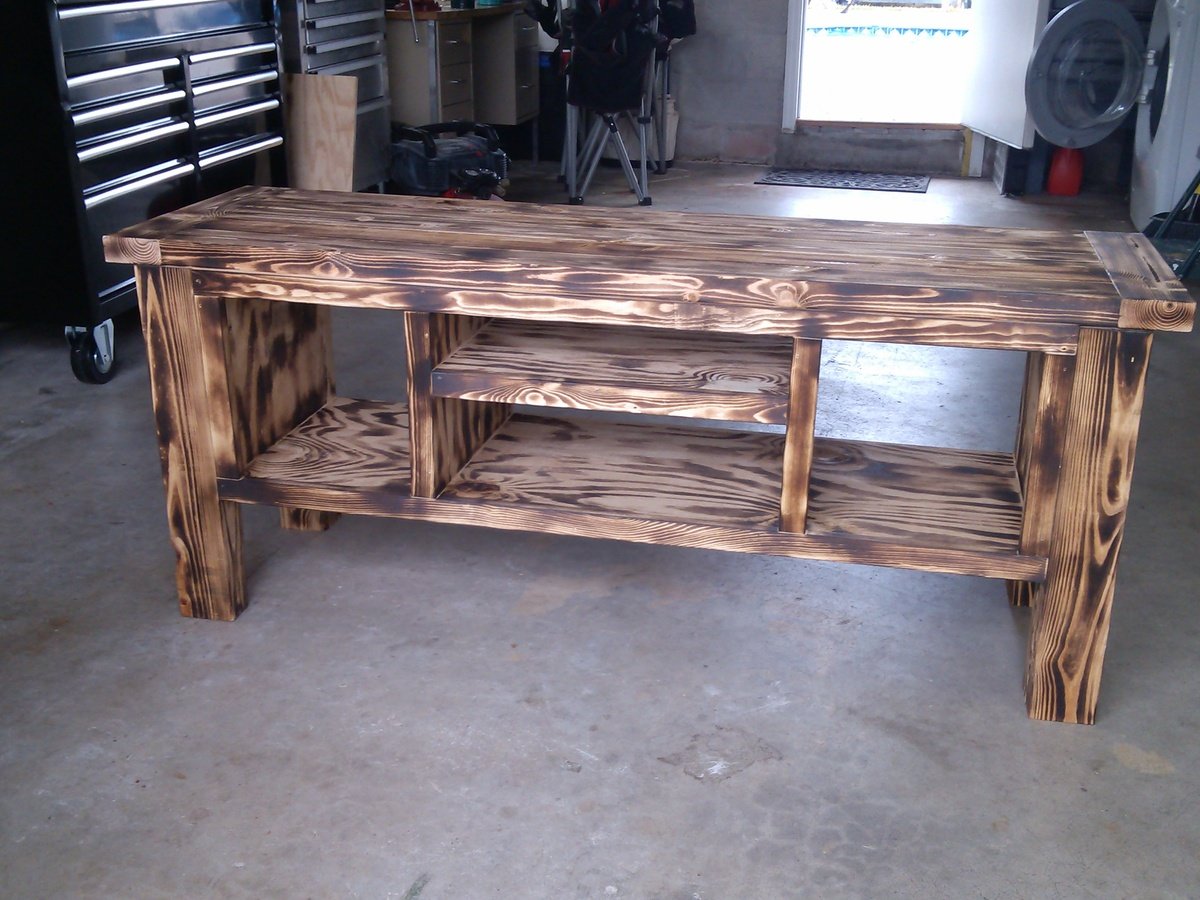
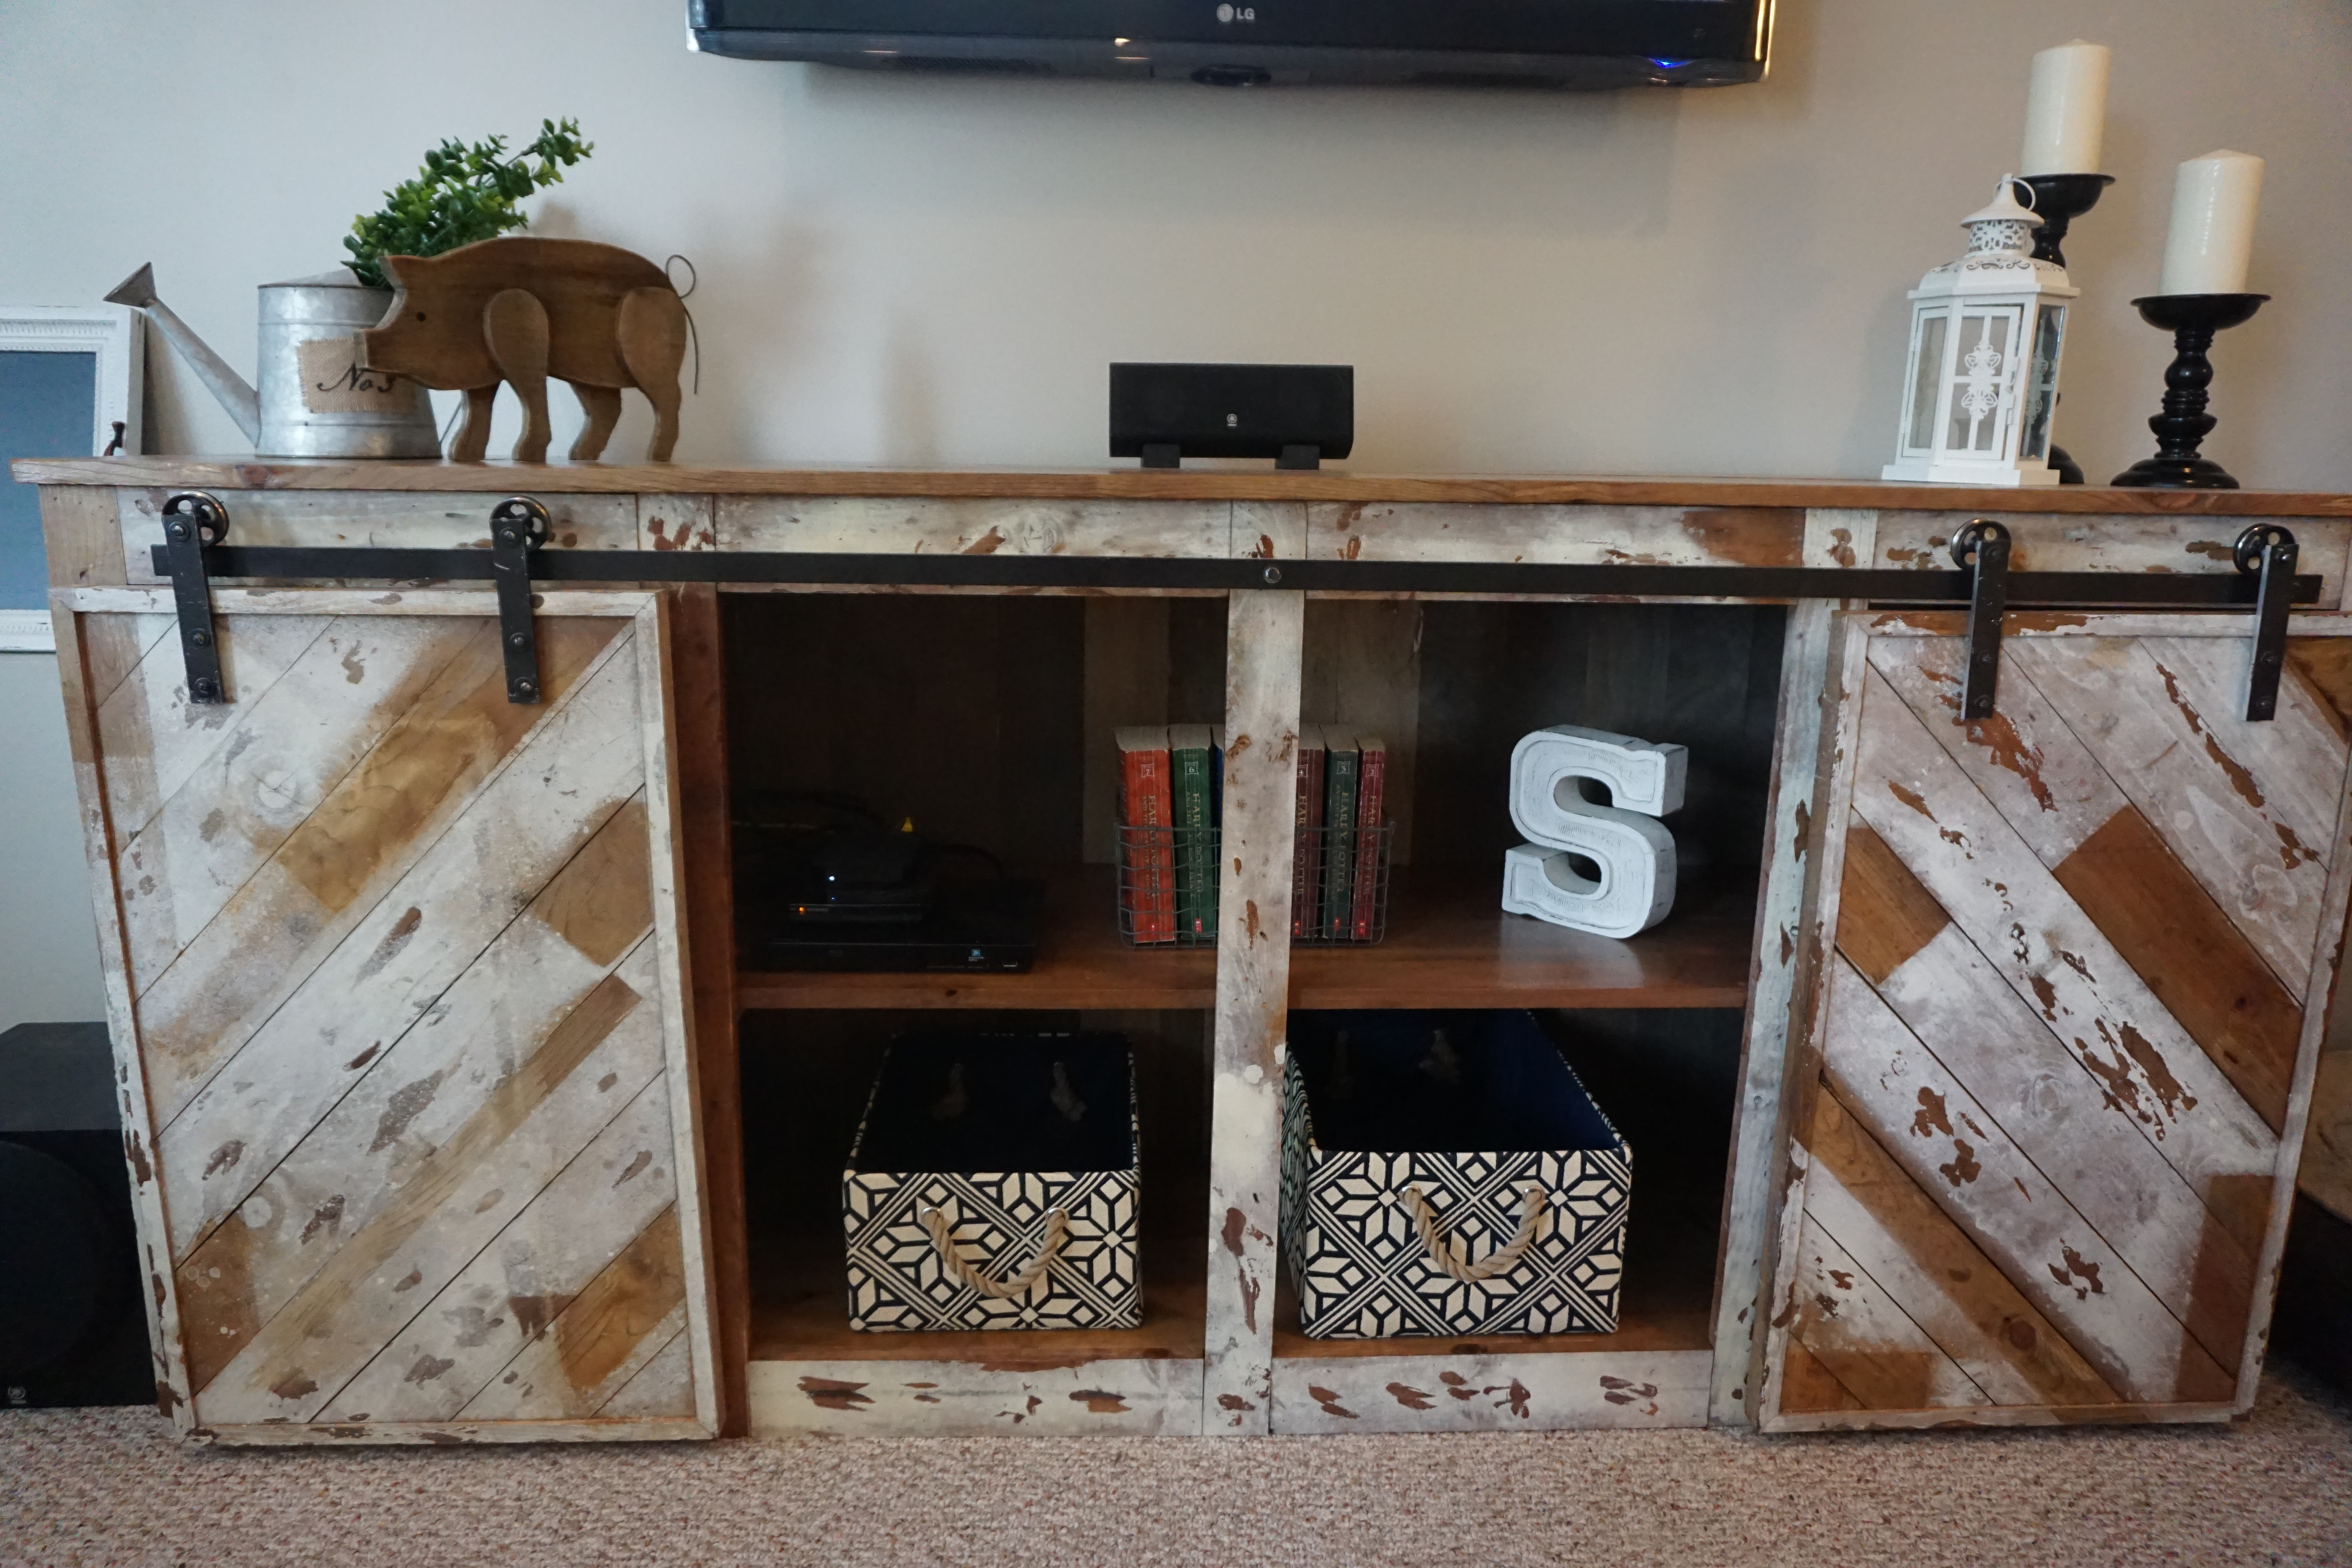
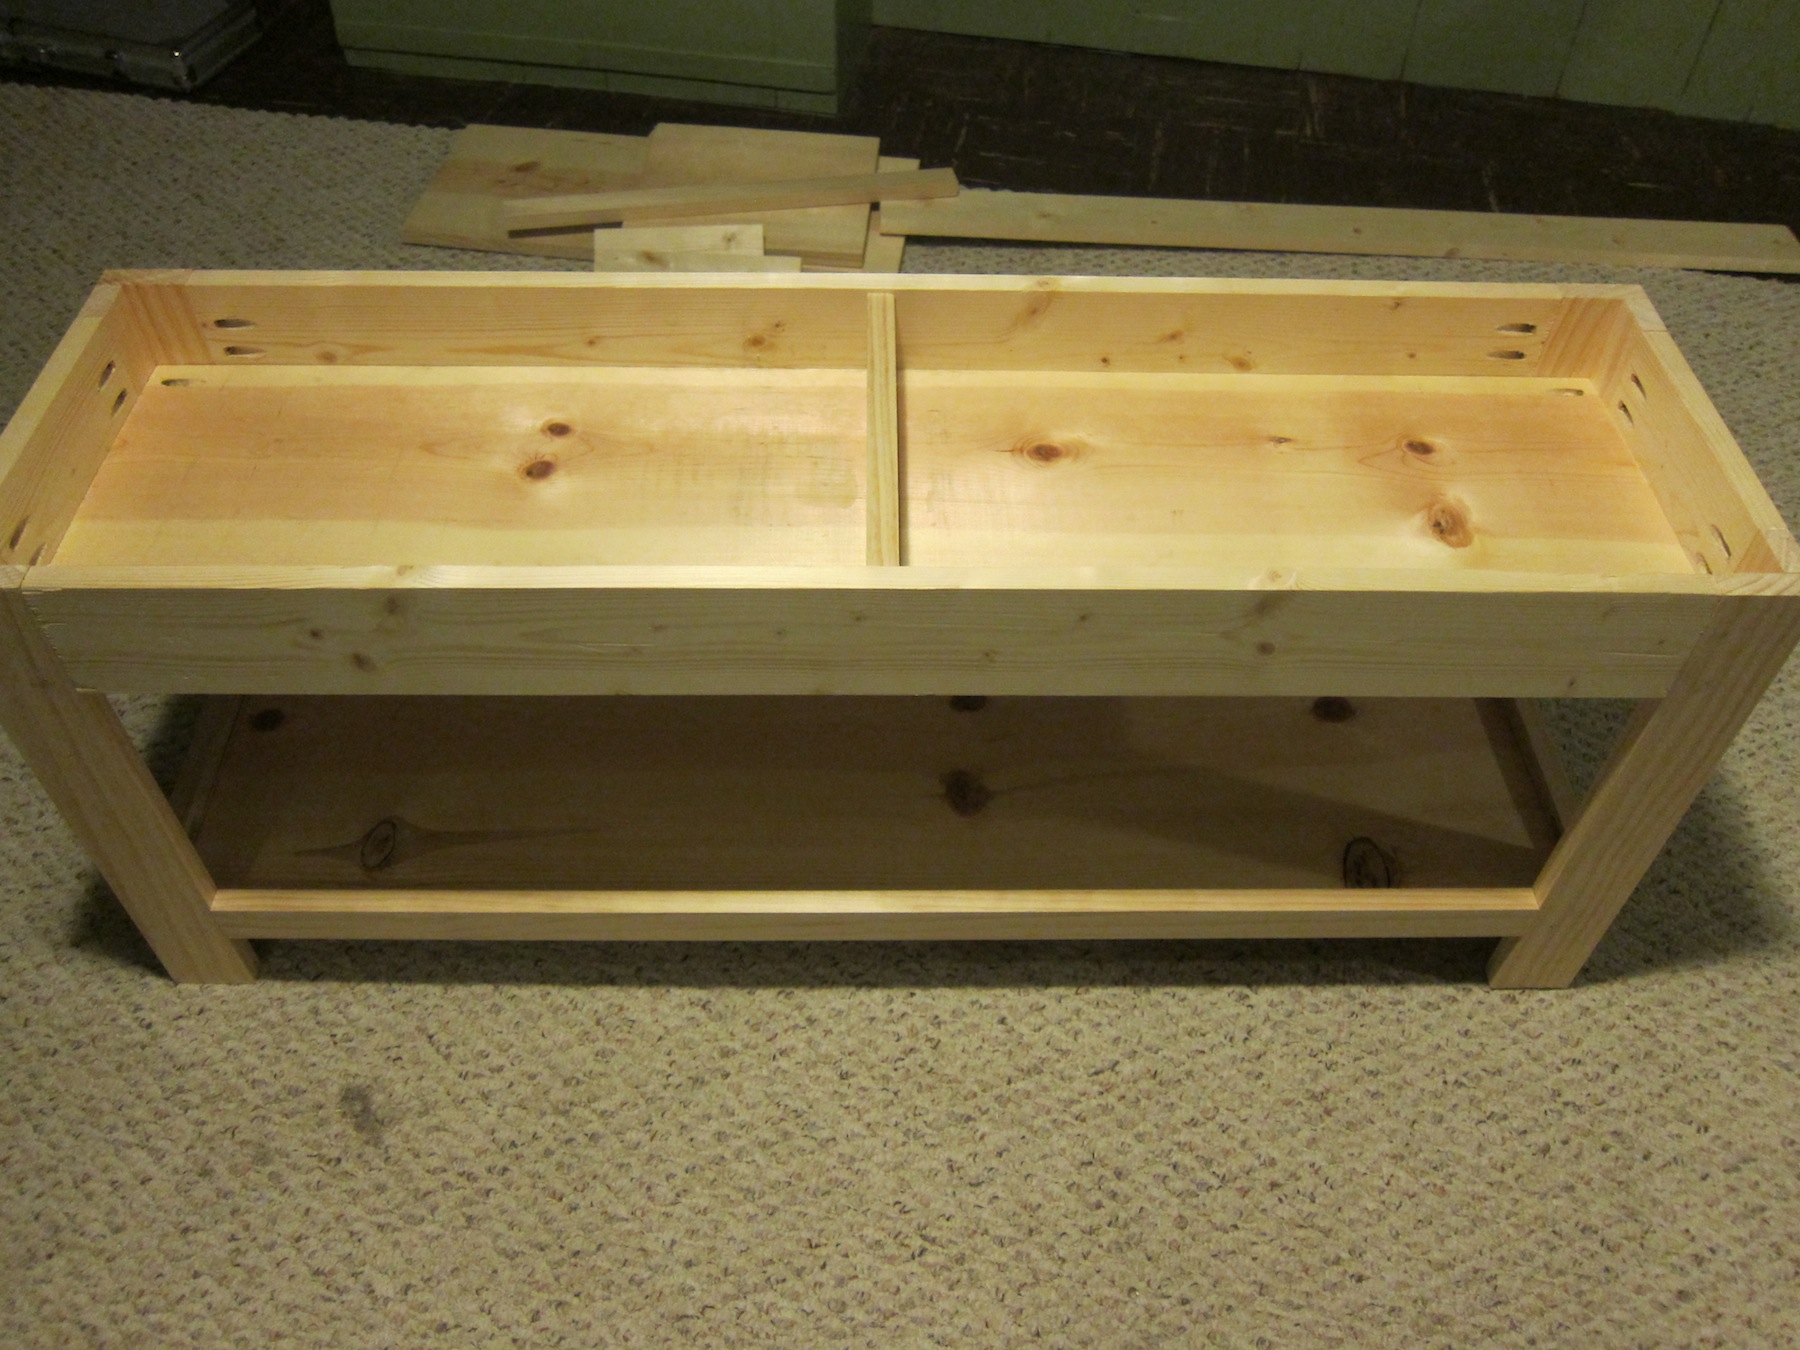
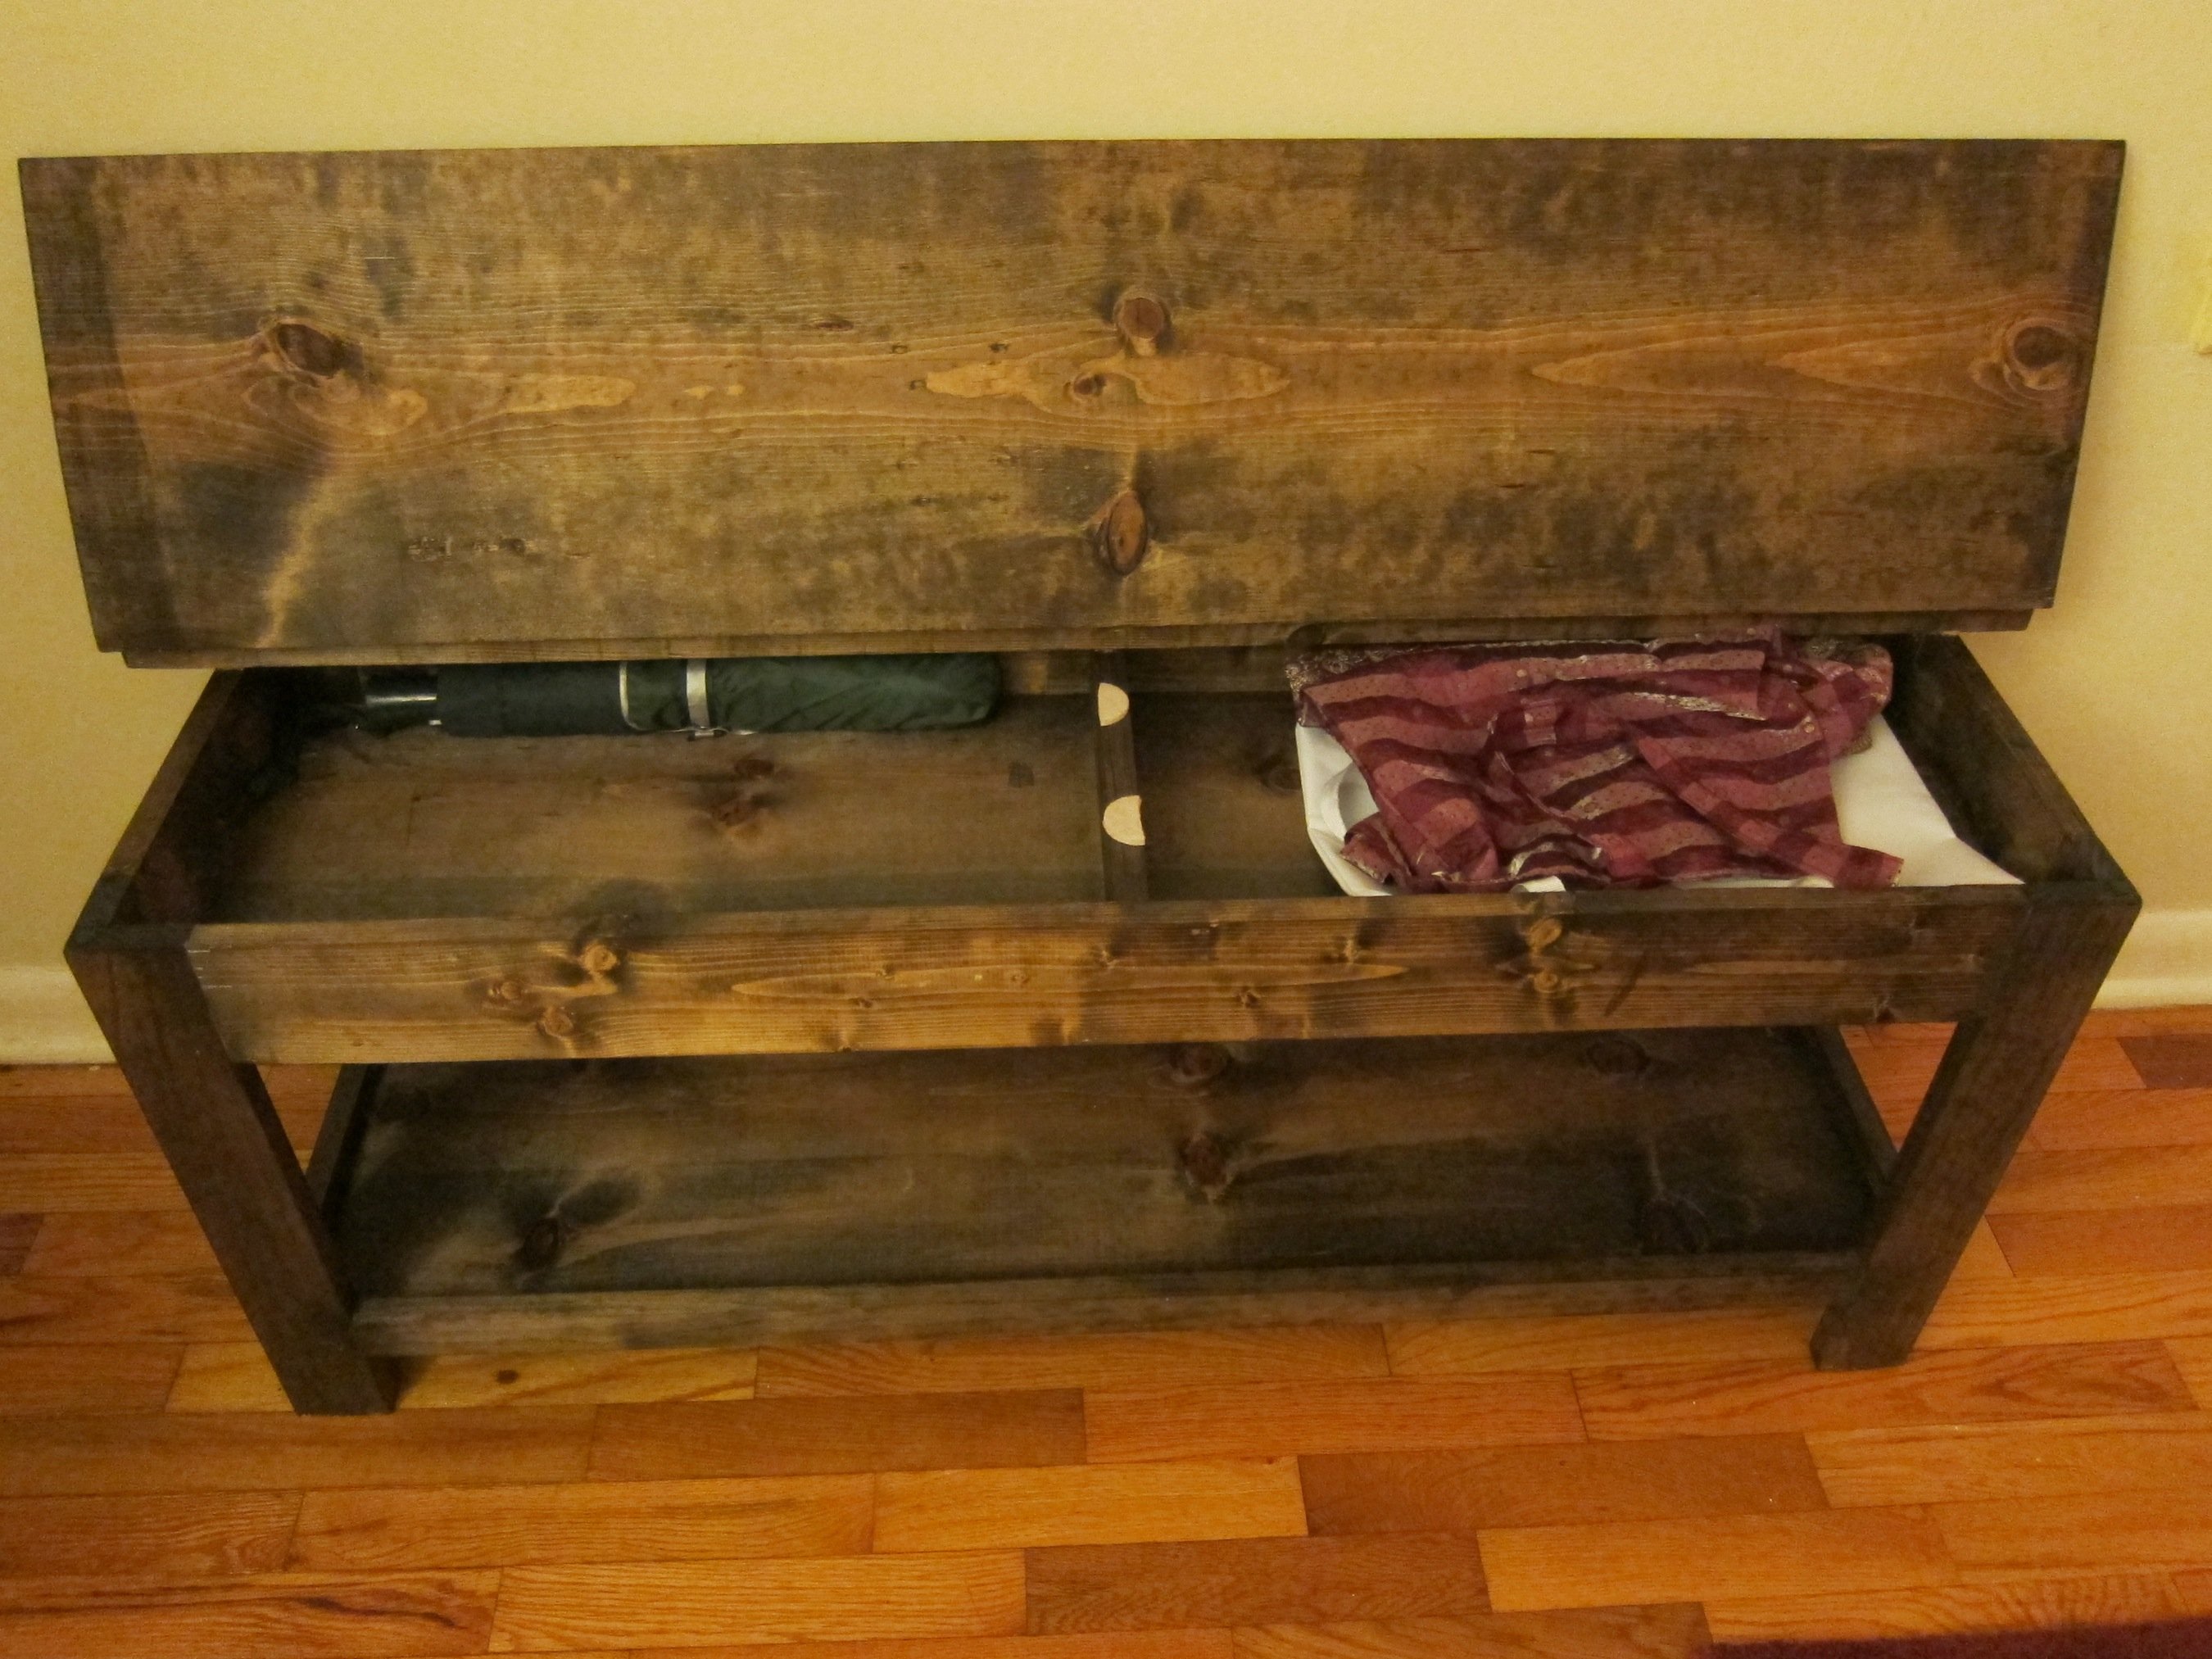
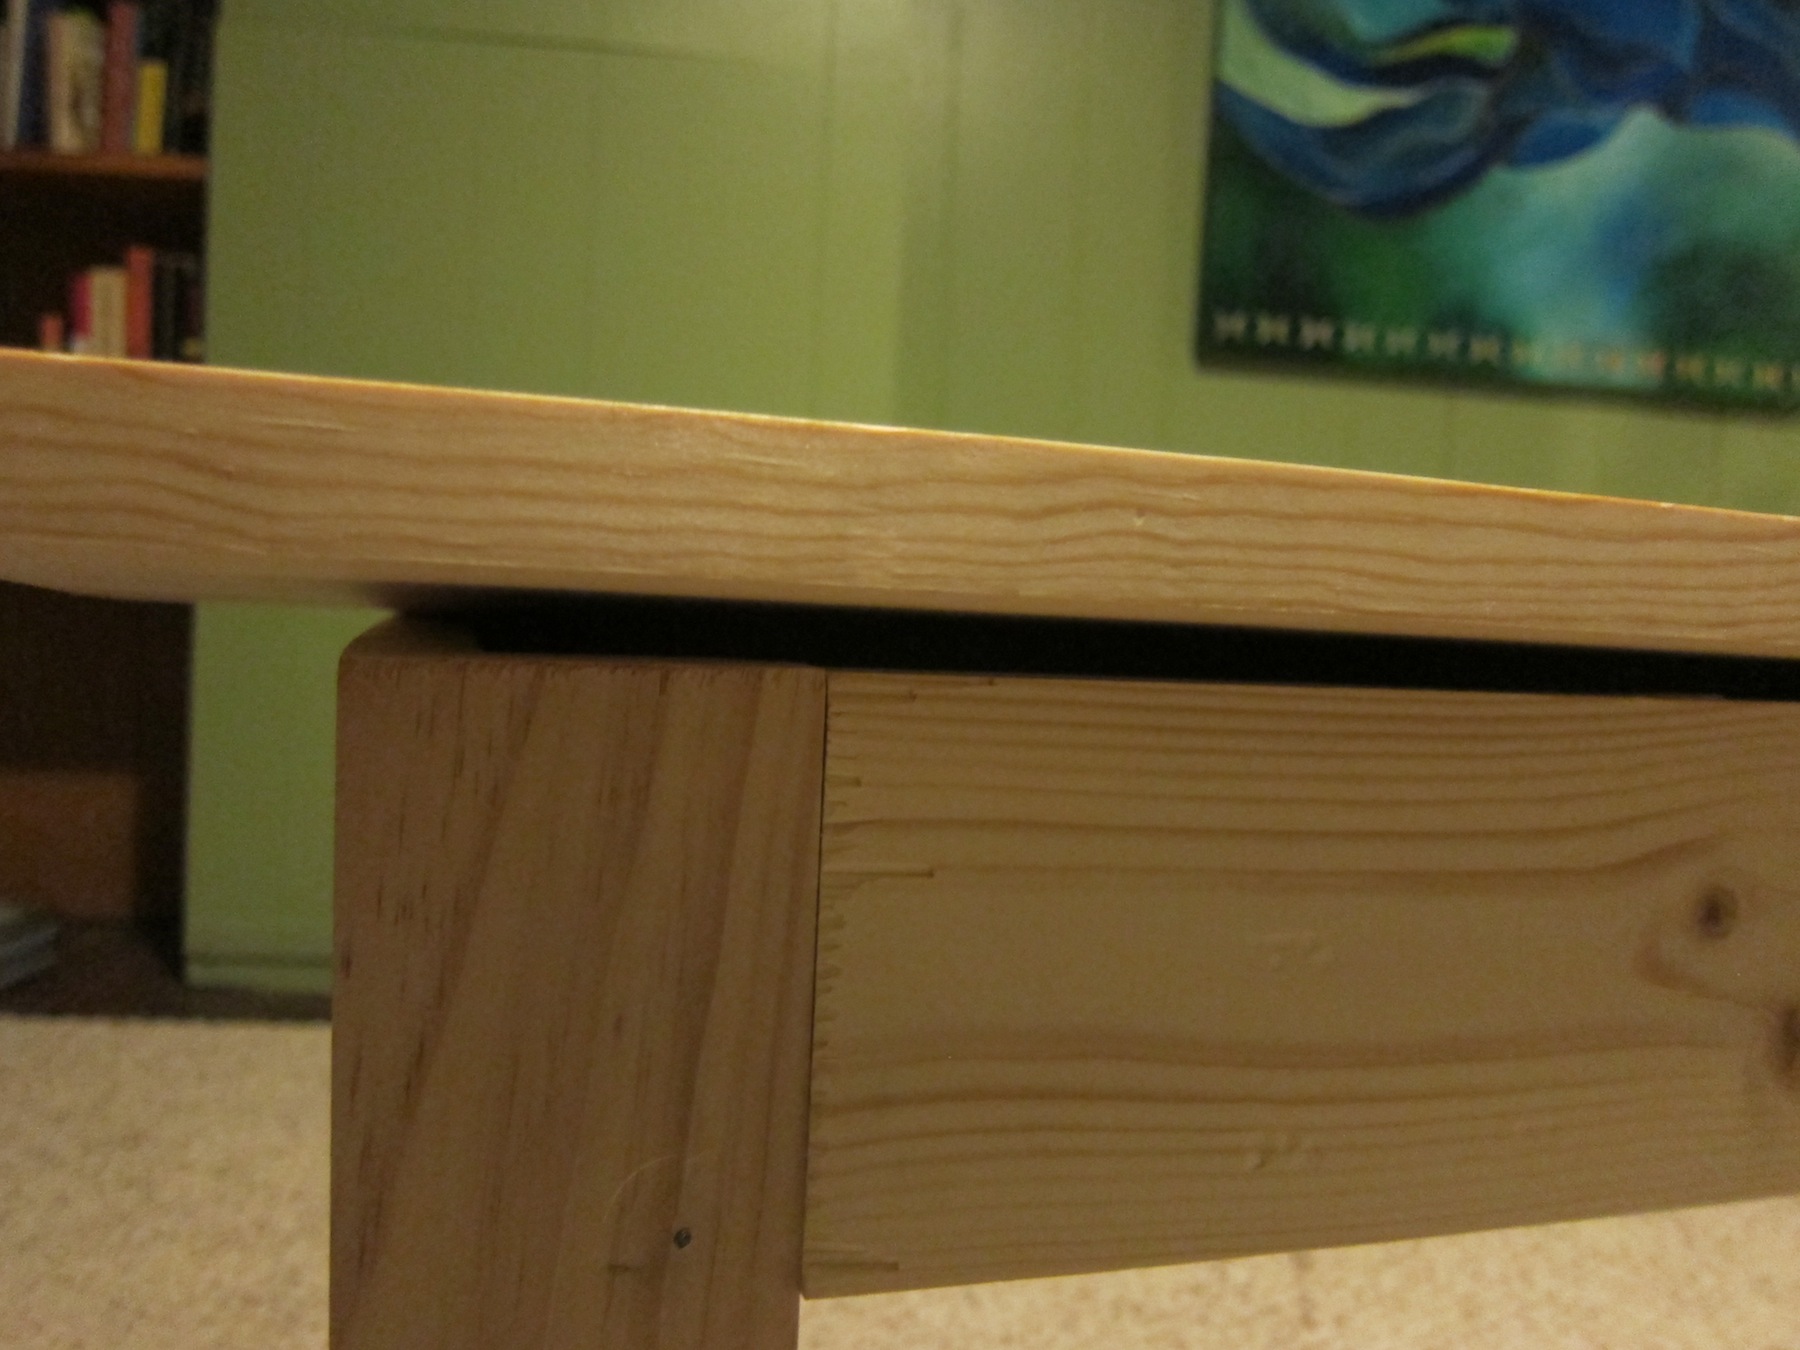
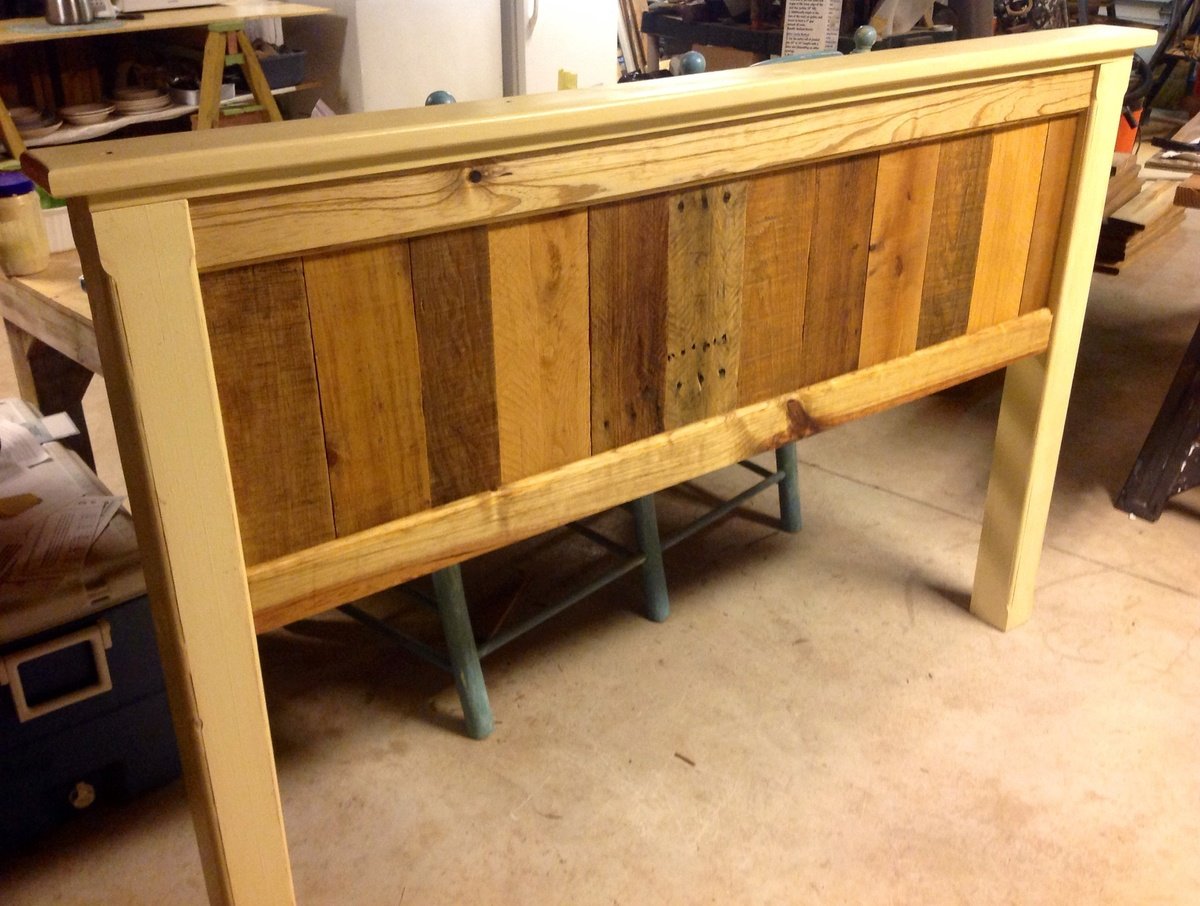
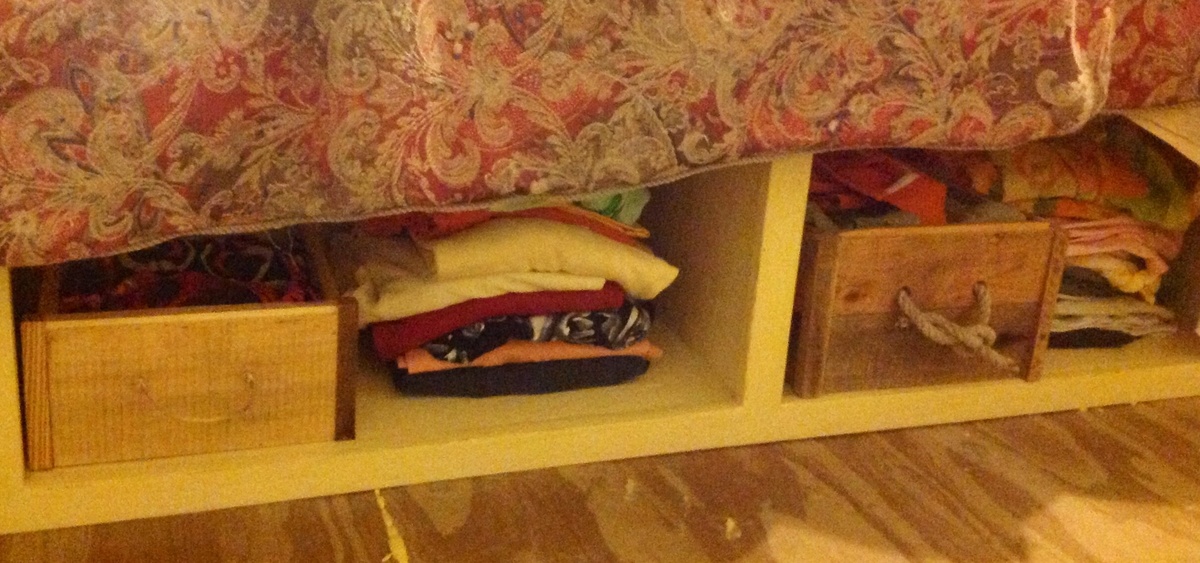
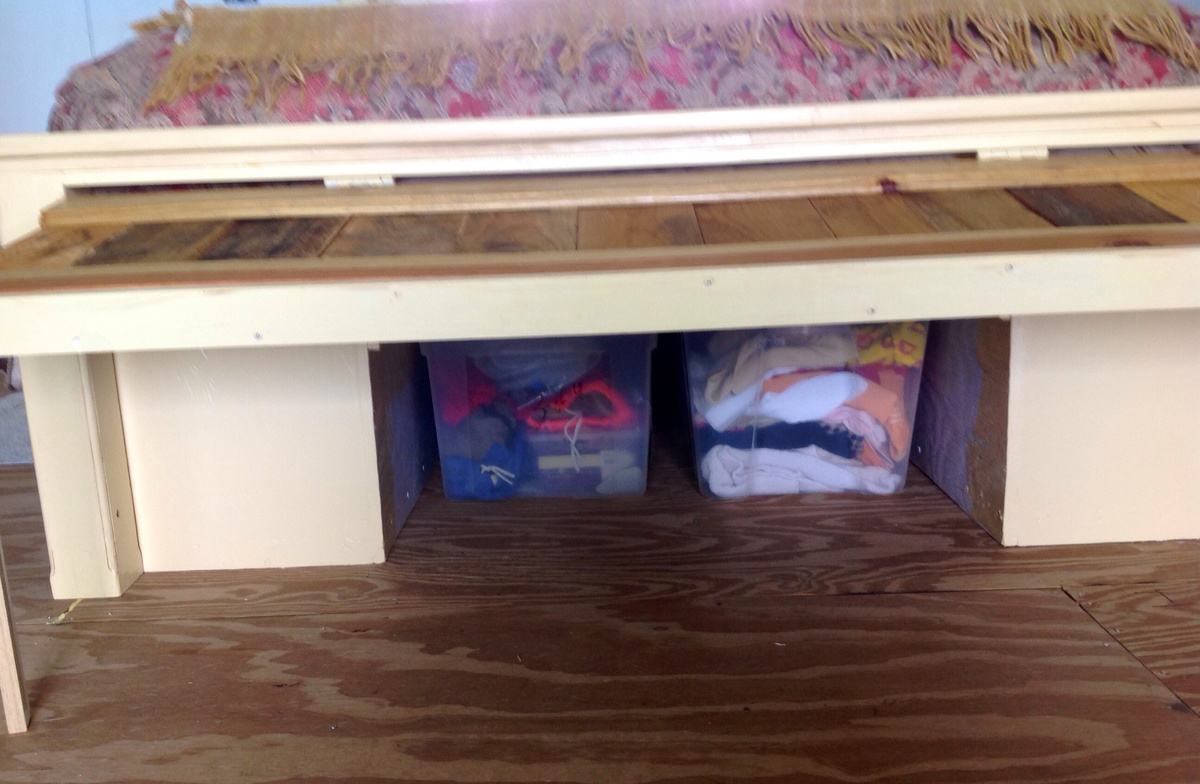
This is the first piece of furniture I have built that I want to put in our house. I used a lot of our tools for the first time. It was really fun and definitely took me a long time but learned a lot in the process. I used all scrap wood from old fencing & old projects. And I had to make an opening for storage on one side! What do you think? :)
Built from Plan(s)
Estimated Cost
$50-60
Estimated Time Investment
Week Long Project (20 Hours or More)
Finish Used
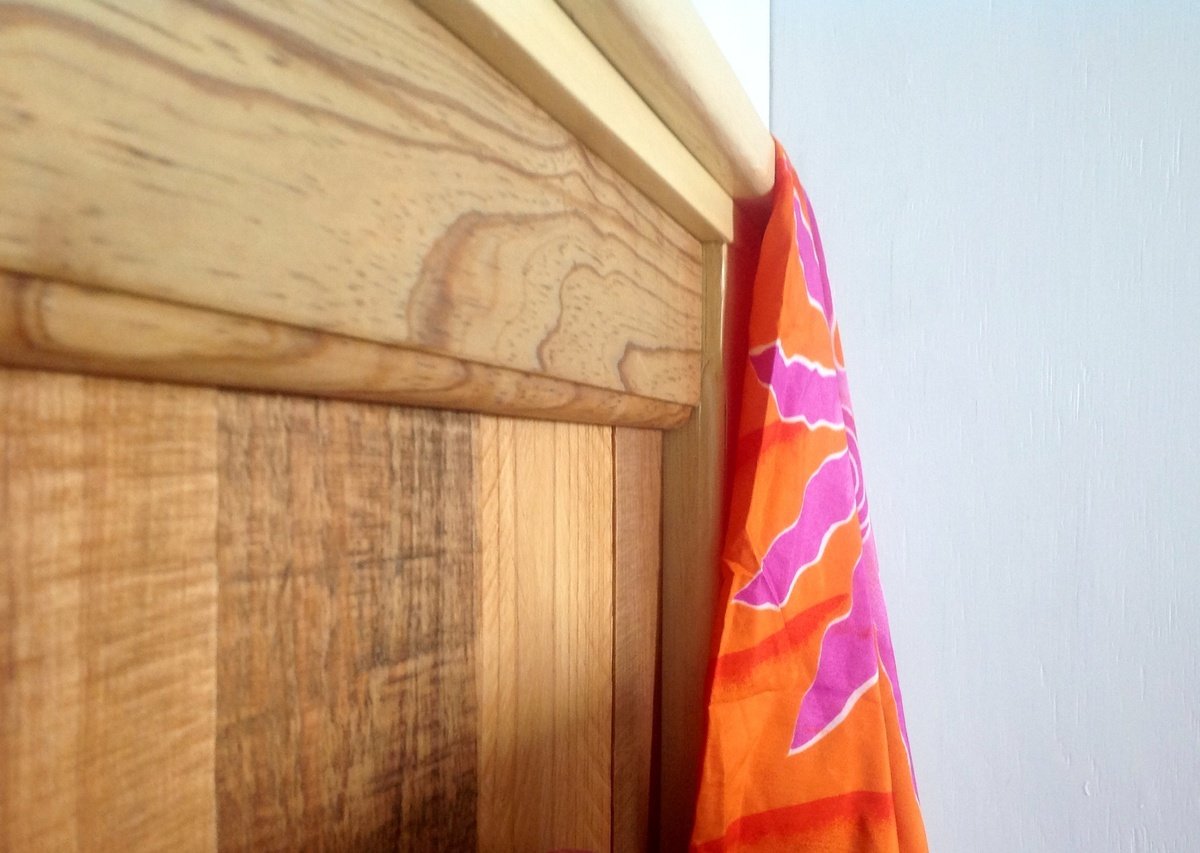
Wood stain with a mix of royal blue unicorn spit and polyurethane top coat. I had to use a wood hardener as well because the old wood I used had some dry rot. It worked well but it changed how the stain took to it a bit
Recommended Skill Level
Intermediate