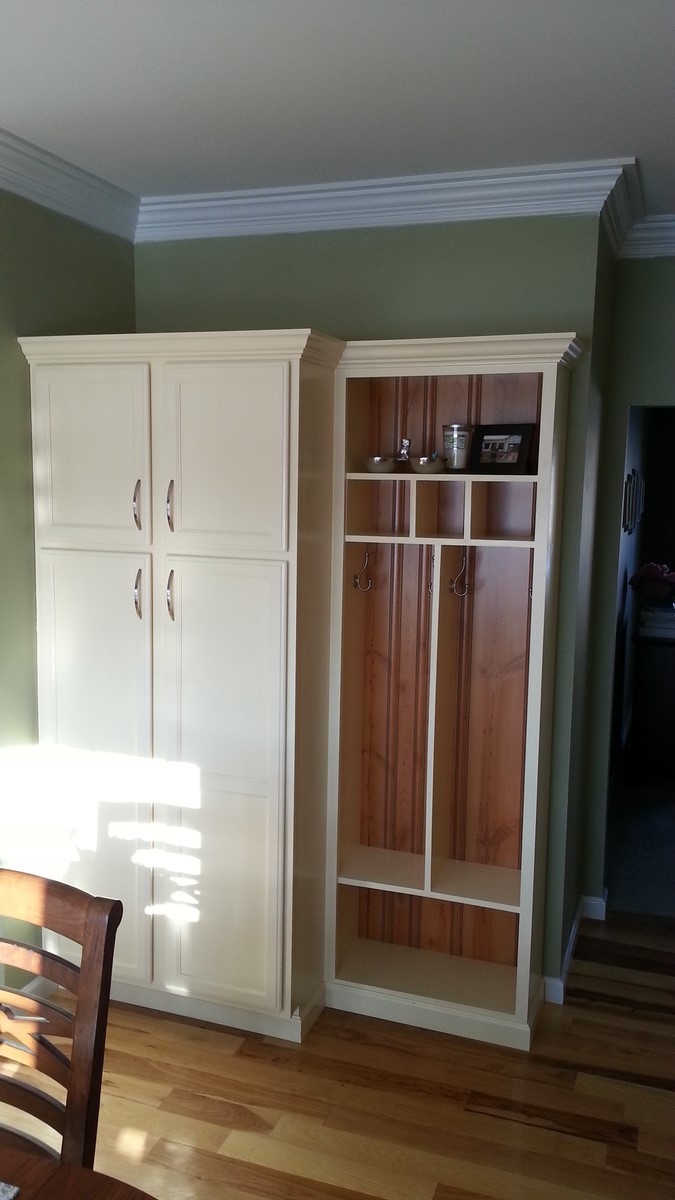
Hi Ana! This project was pretty much inspired by ALL the great things you build on this site, as well as from watching a 'Fixer Upper' marathon (hence, the white color and shiplap). Last Christmas, I promised my sister that I'd build her a hall tree since she's now up to 10 grandkids and needed more hooks for all those coats and hats. Unfortunately, I also came down with a WICKED case of vertigo, so no power tools for yours truly. : (
Well... The vertigo finally cleared up, so it was time to get out my trusty ol' Kreg Jig and fire up the tools.
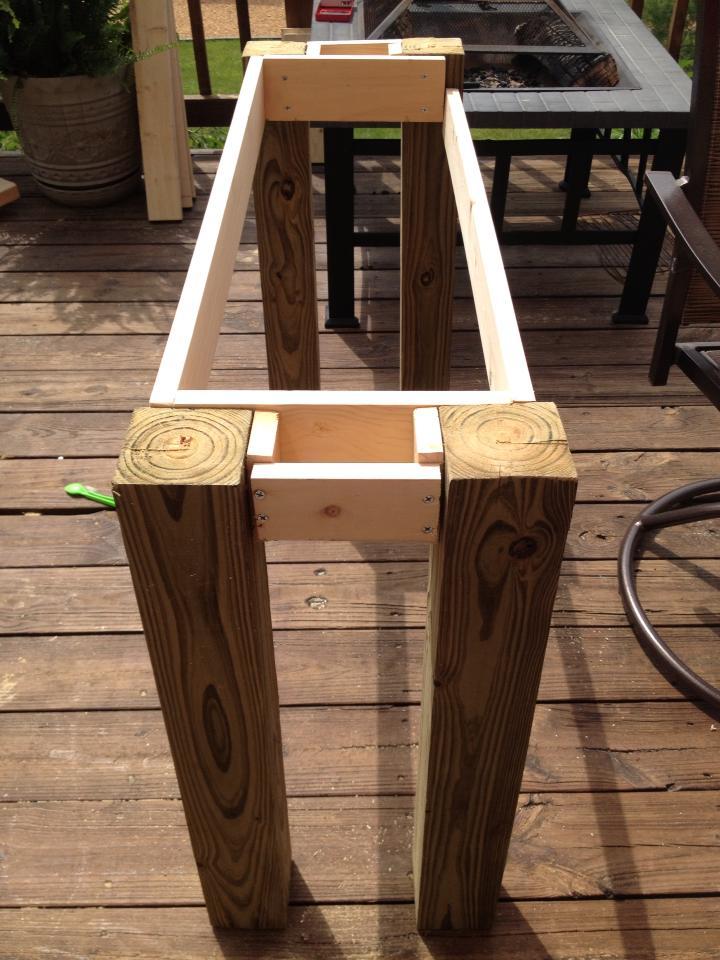
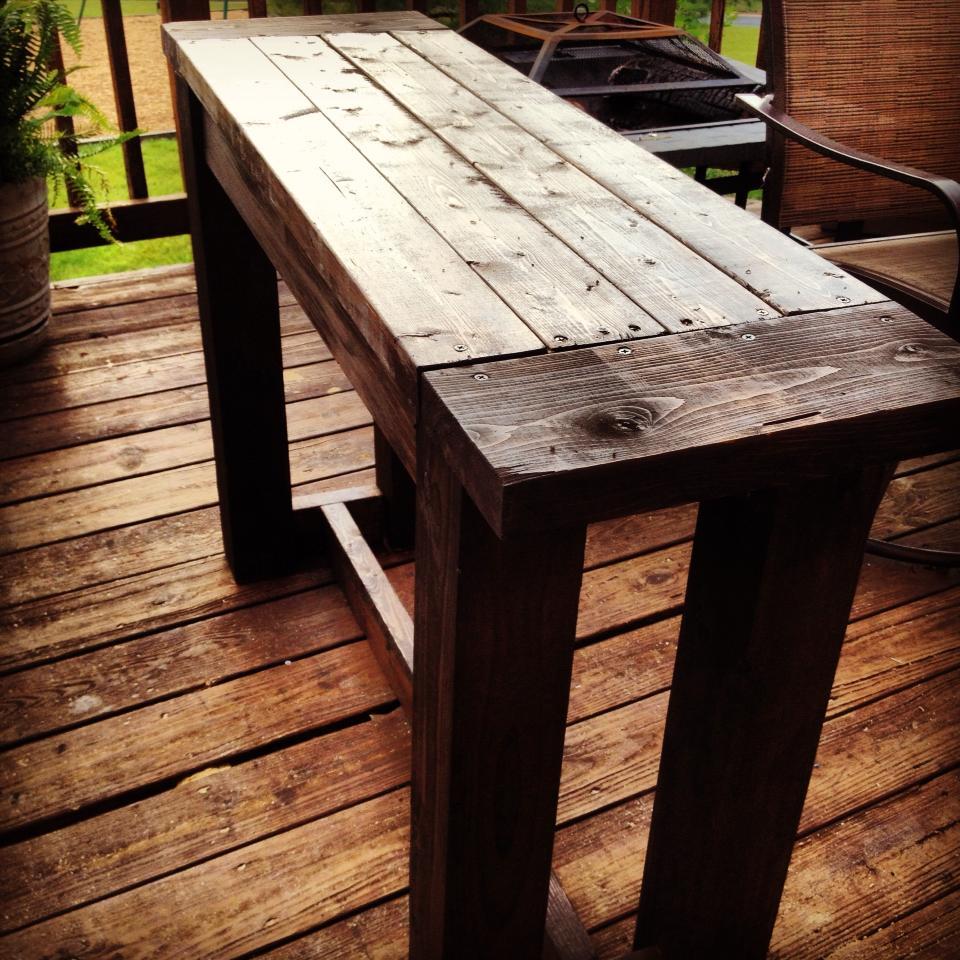
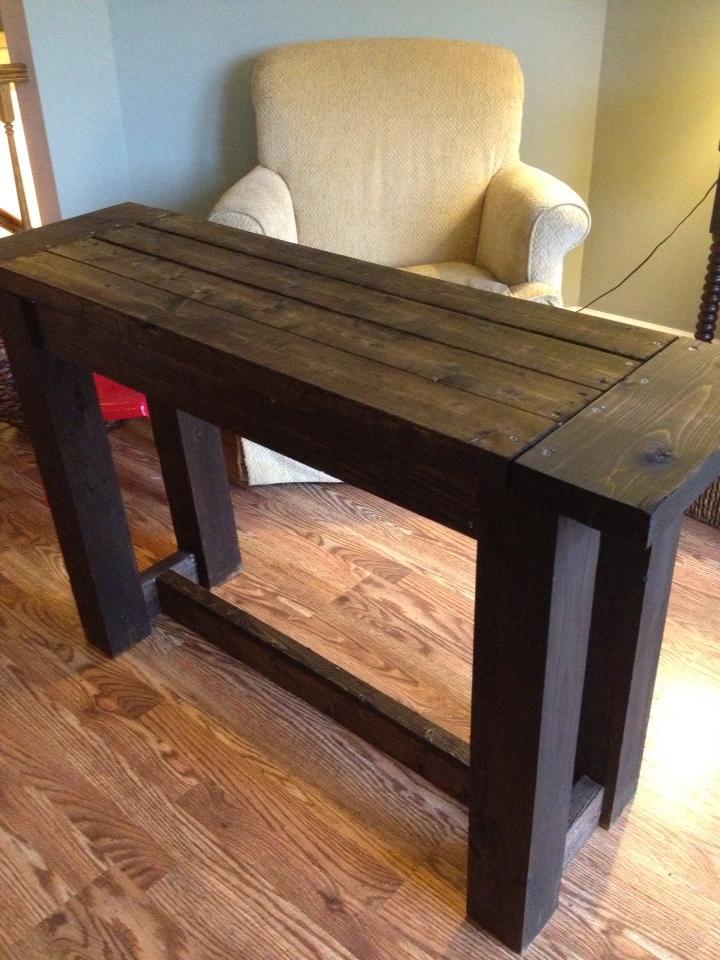
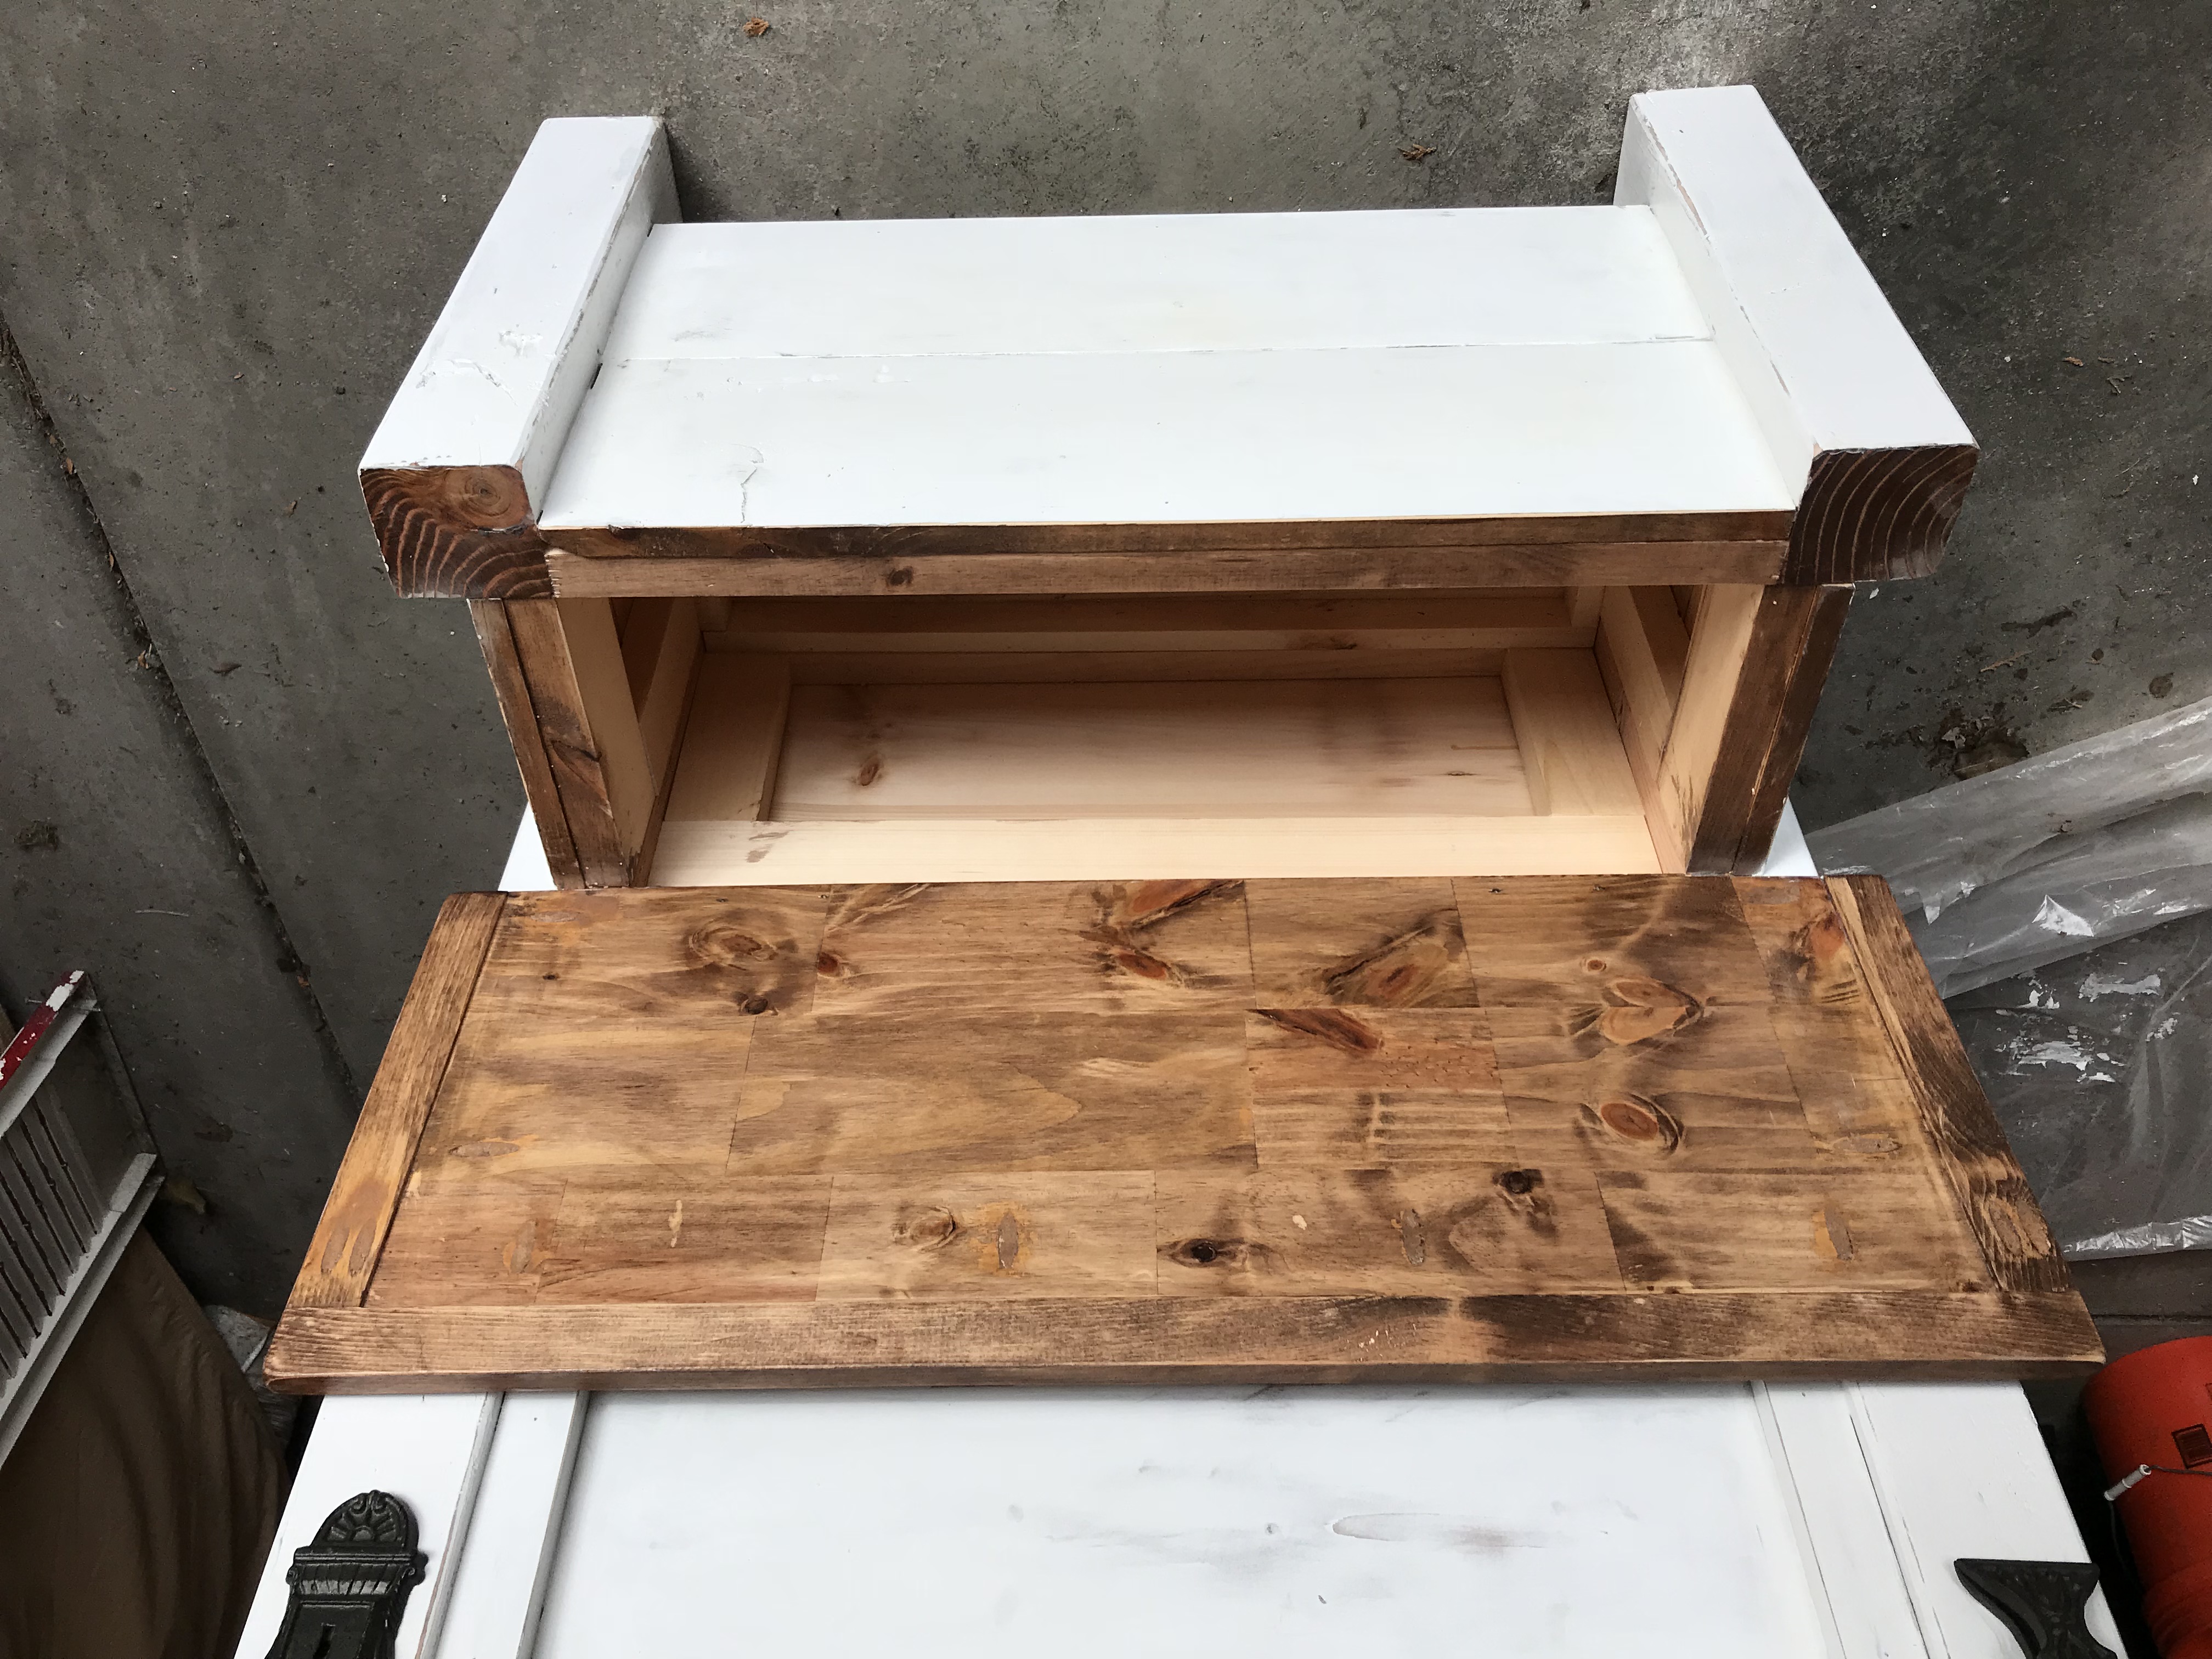
This project started with 2 4x4s. I cut 17 1/2" off each, then used the long pieces as the back and the sort pieces as the front legs. Then I built a rectangle (shored up by some cross supports) out of 2x3s and used those to attach the back legs together with pocket holes. I did the same thing with the 2 front legs, then attached the 2 sets of legs together with shorter pieces of 2x3s that framed up the side.
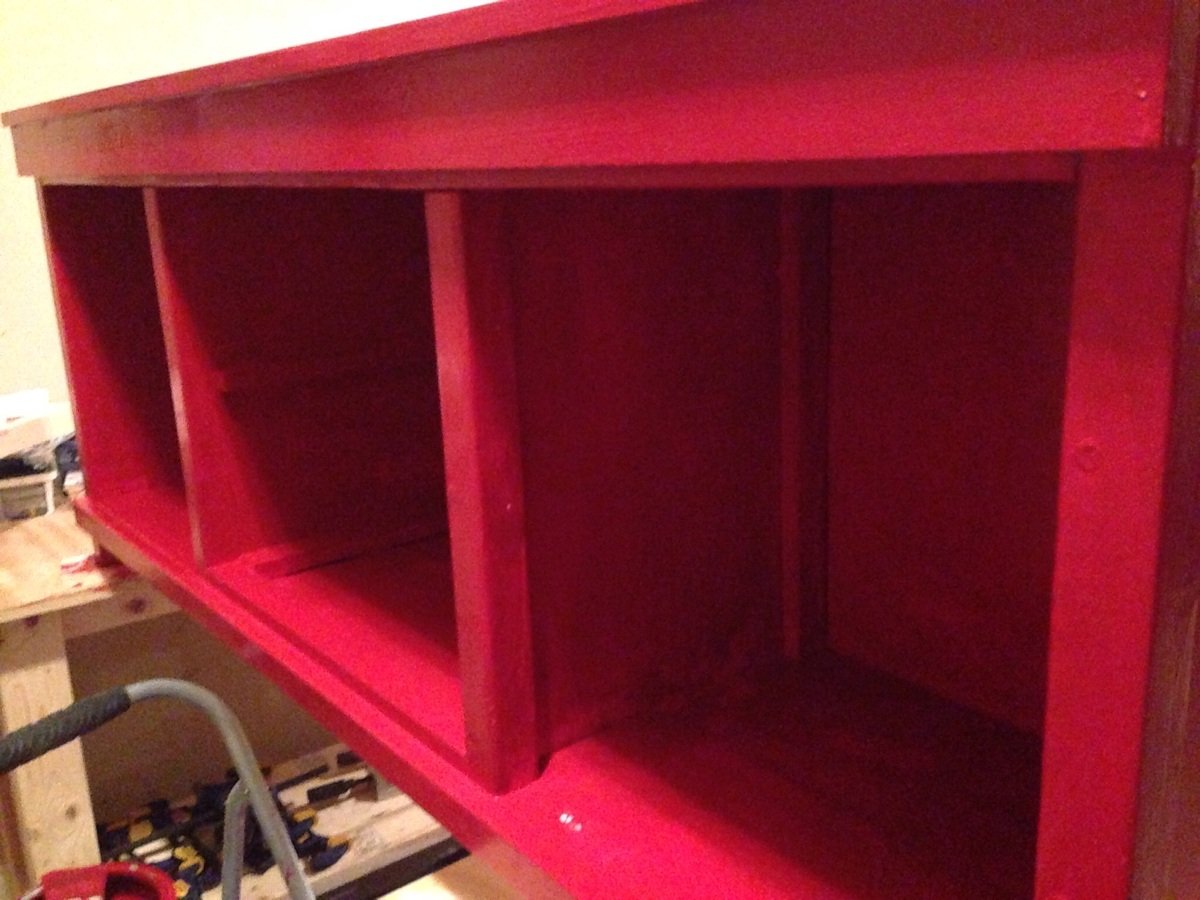
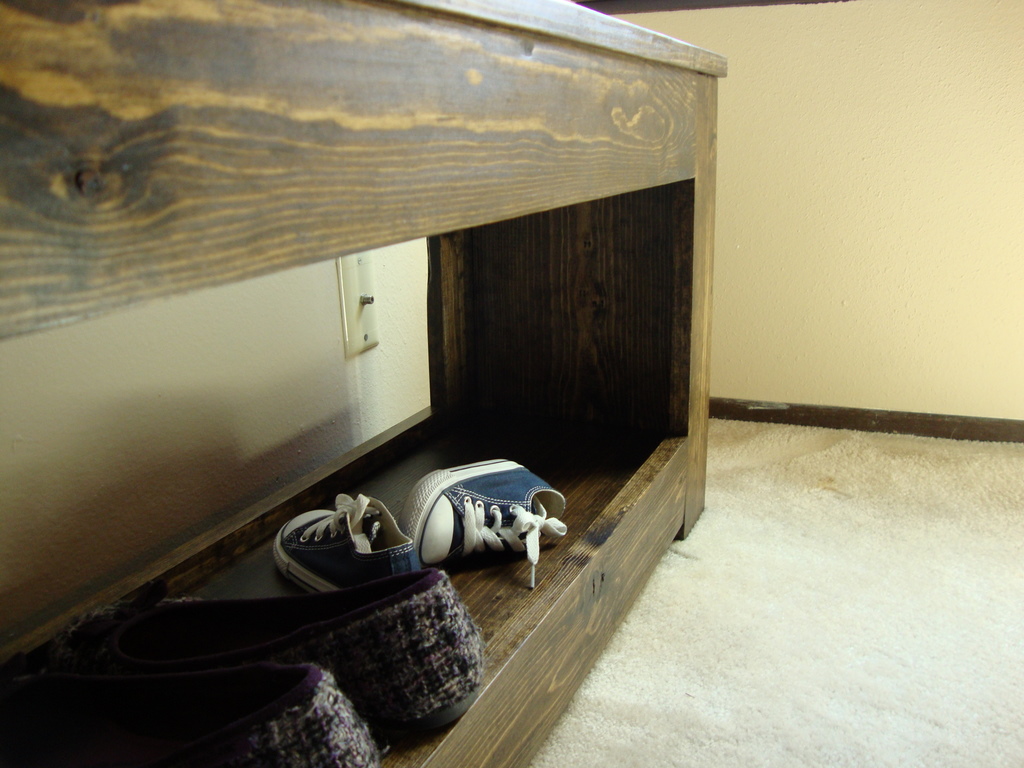
Next, I added a front to back support to the underside, and then attached the bottom of the seat on top of that. I built the front, back, and side pieces of the bench section by cutting a couple of 8' x 8" x .5" planks to size, and attached 2 pieces to each side by gluing and nailing them to the frame. Then, I rans some shiplap up the back (glued and nailed to the back frame) and topped it all off with a mantle.
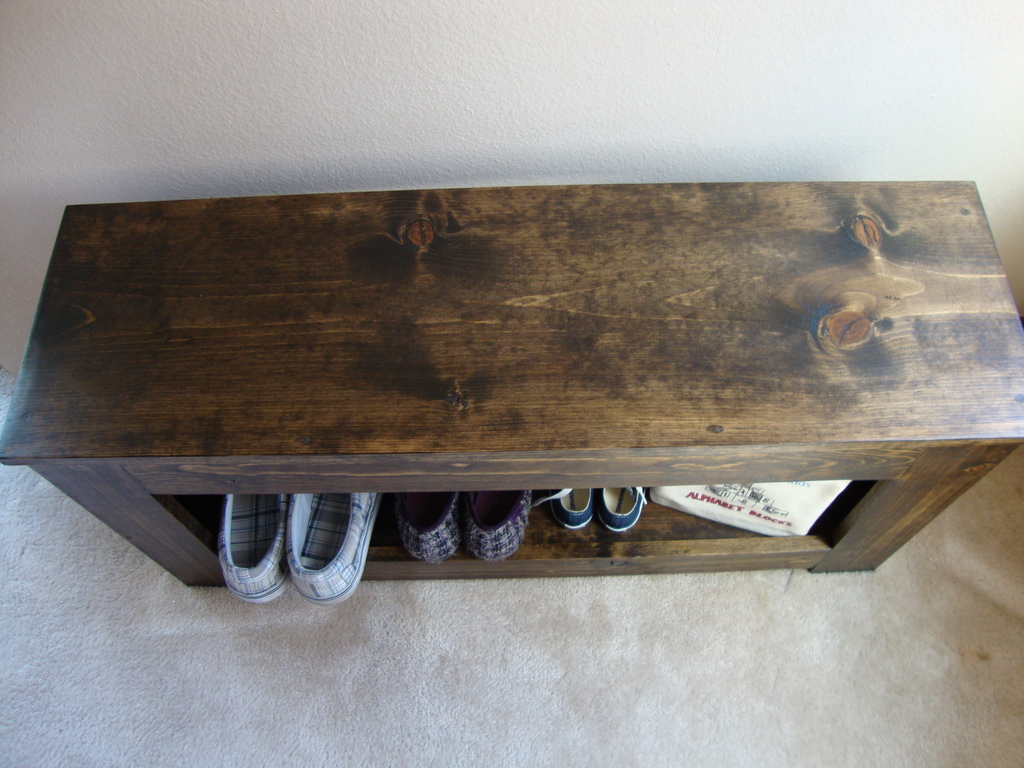
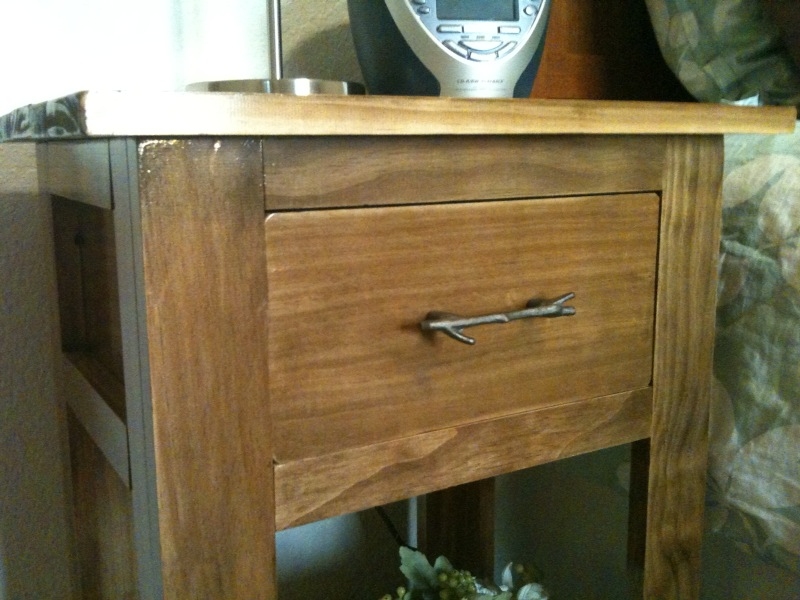
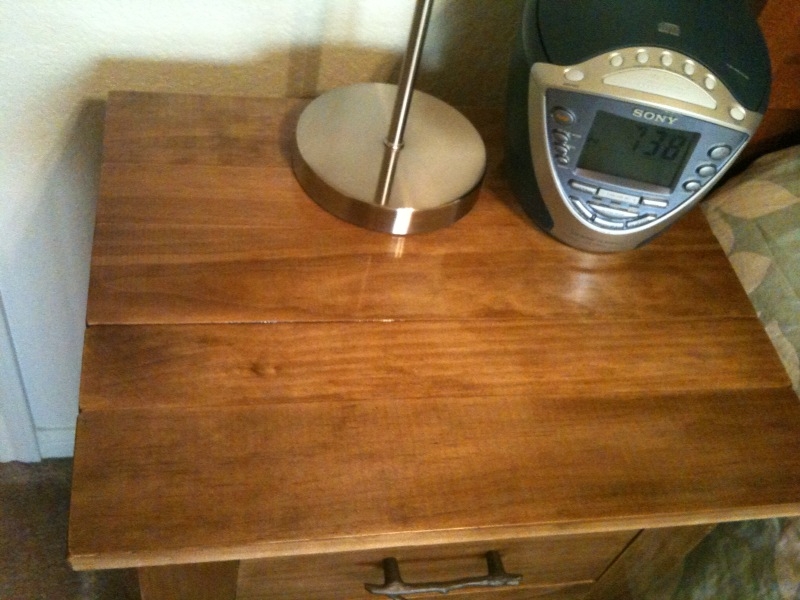
For the seat, I used a 12" project board ($11 at Lowes for a 6 foot section) because I love all the knotty details and nail marks. I framed it out with 1x1 and attached with pocket screws on the underside. I finished that piece by staining it in Rustoleum Dark Walnut.
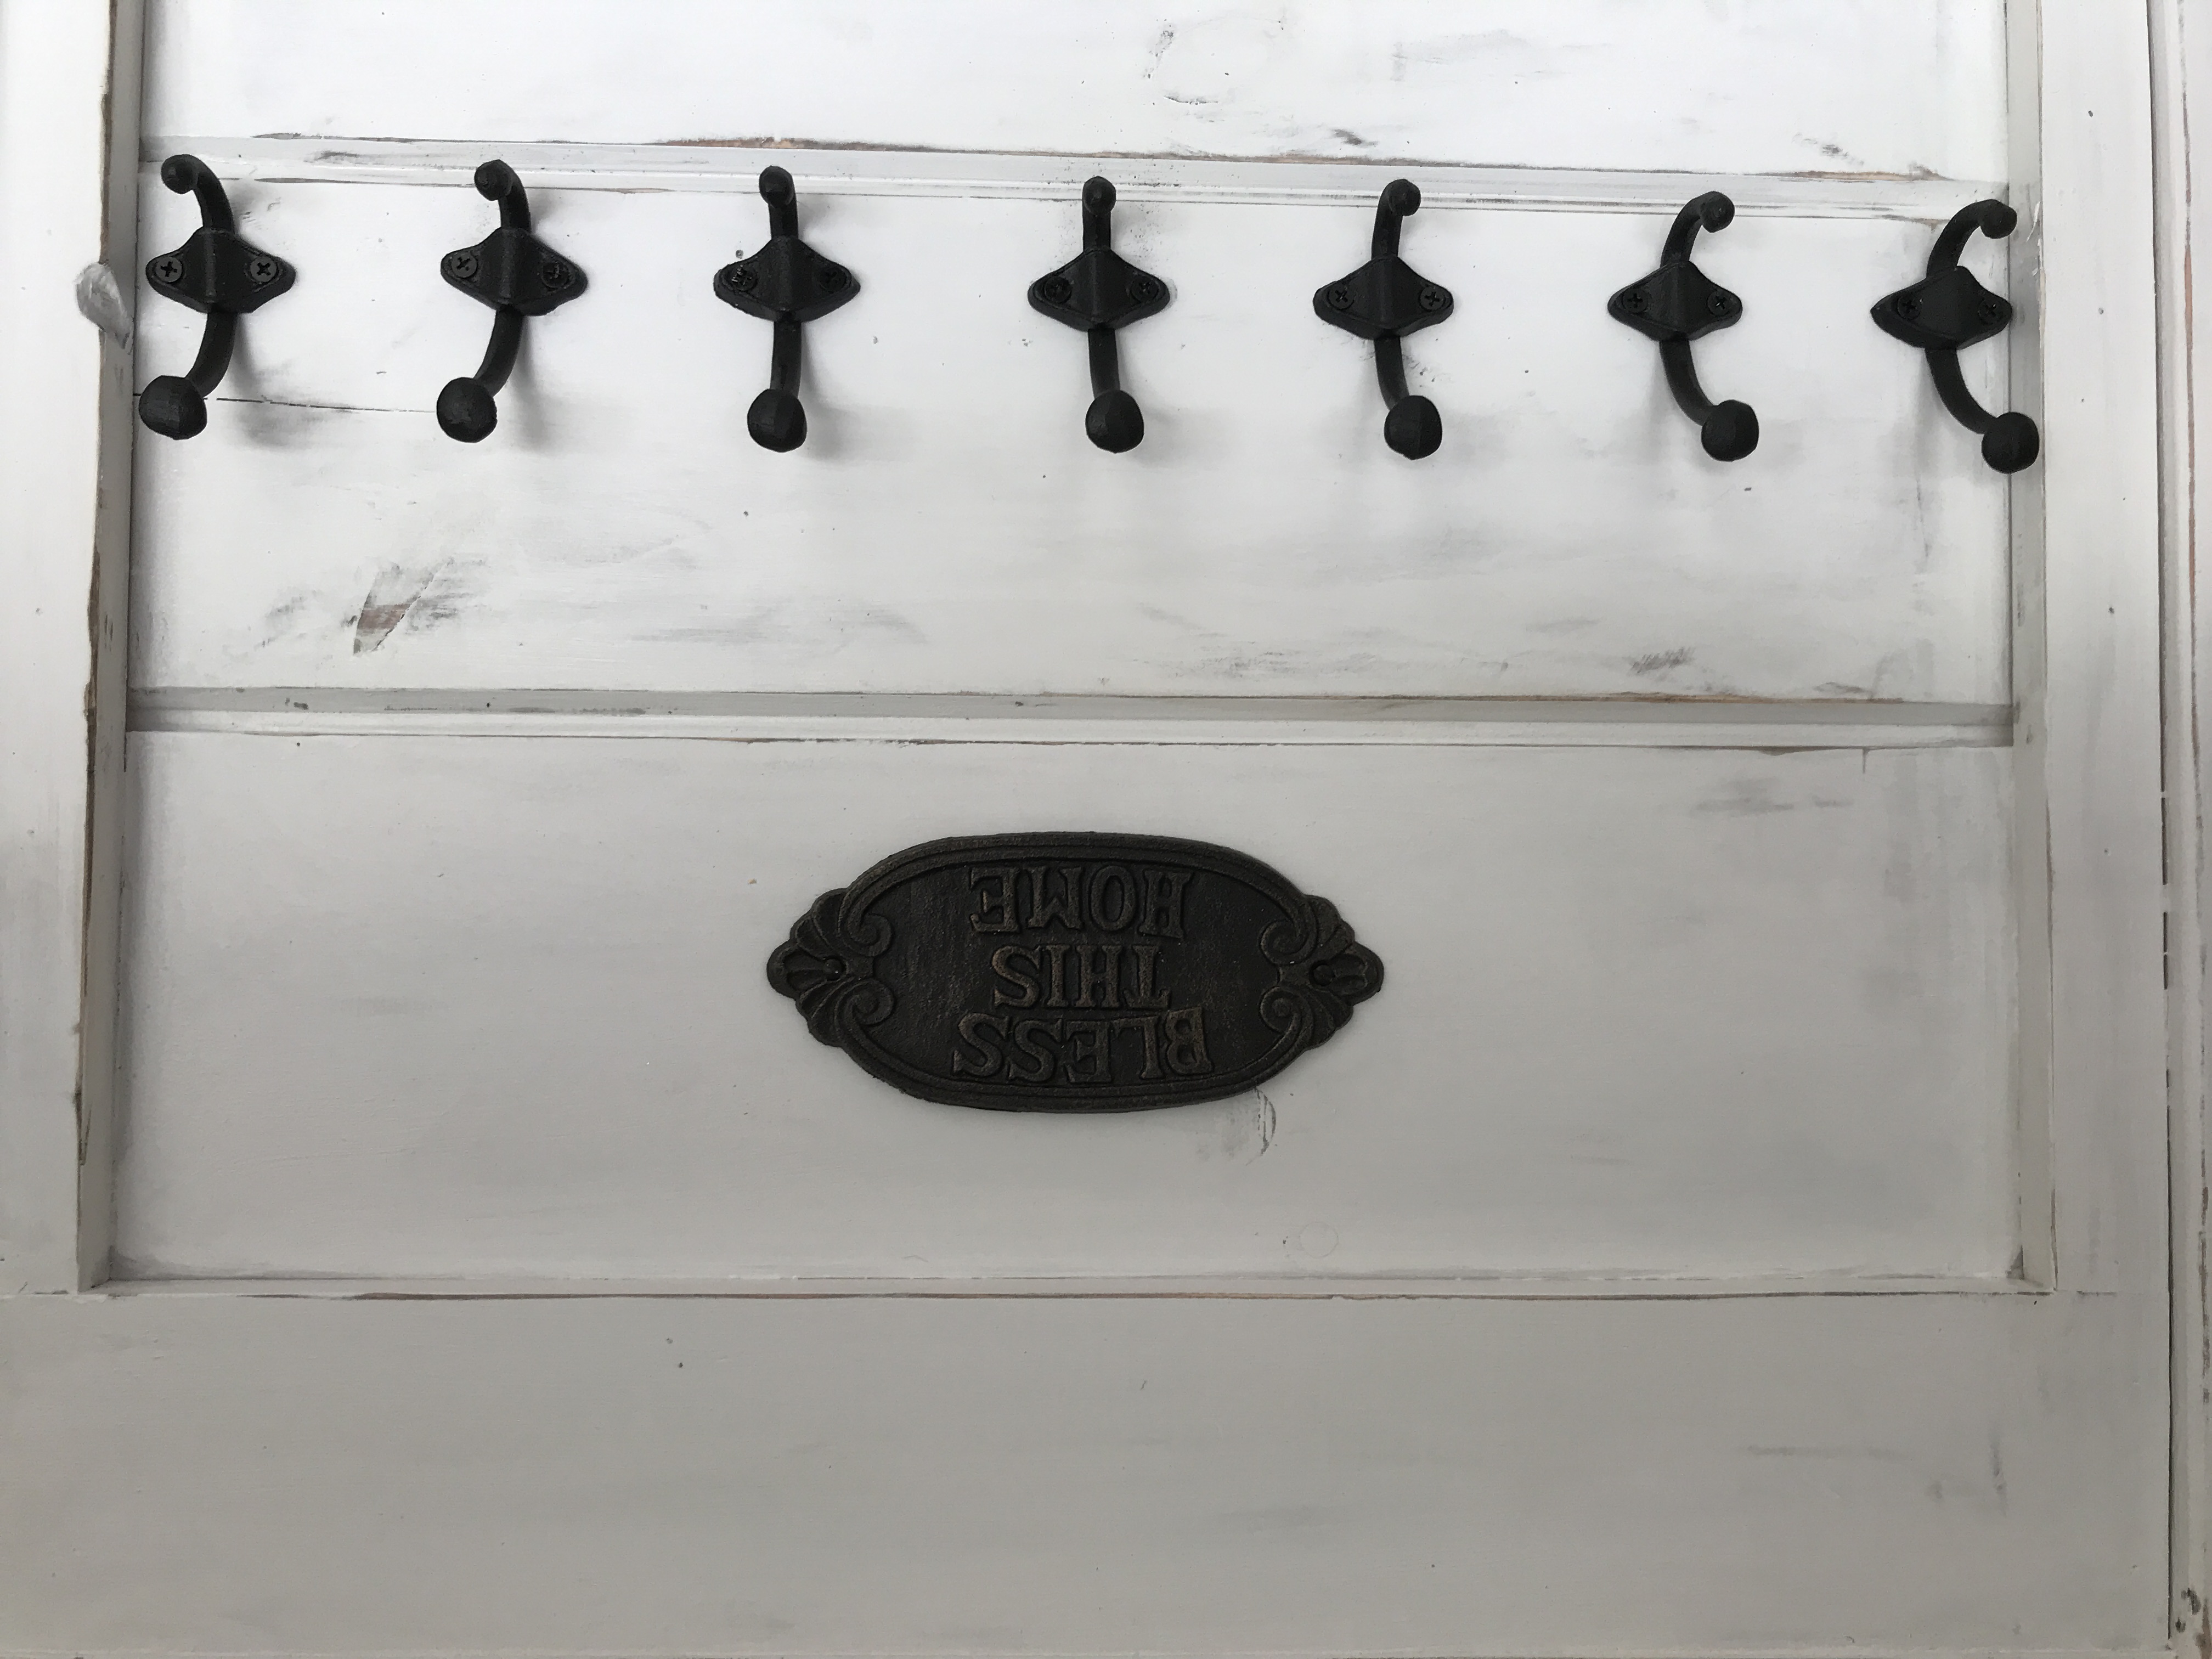
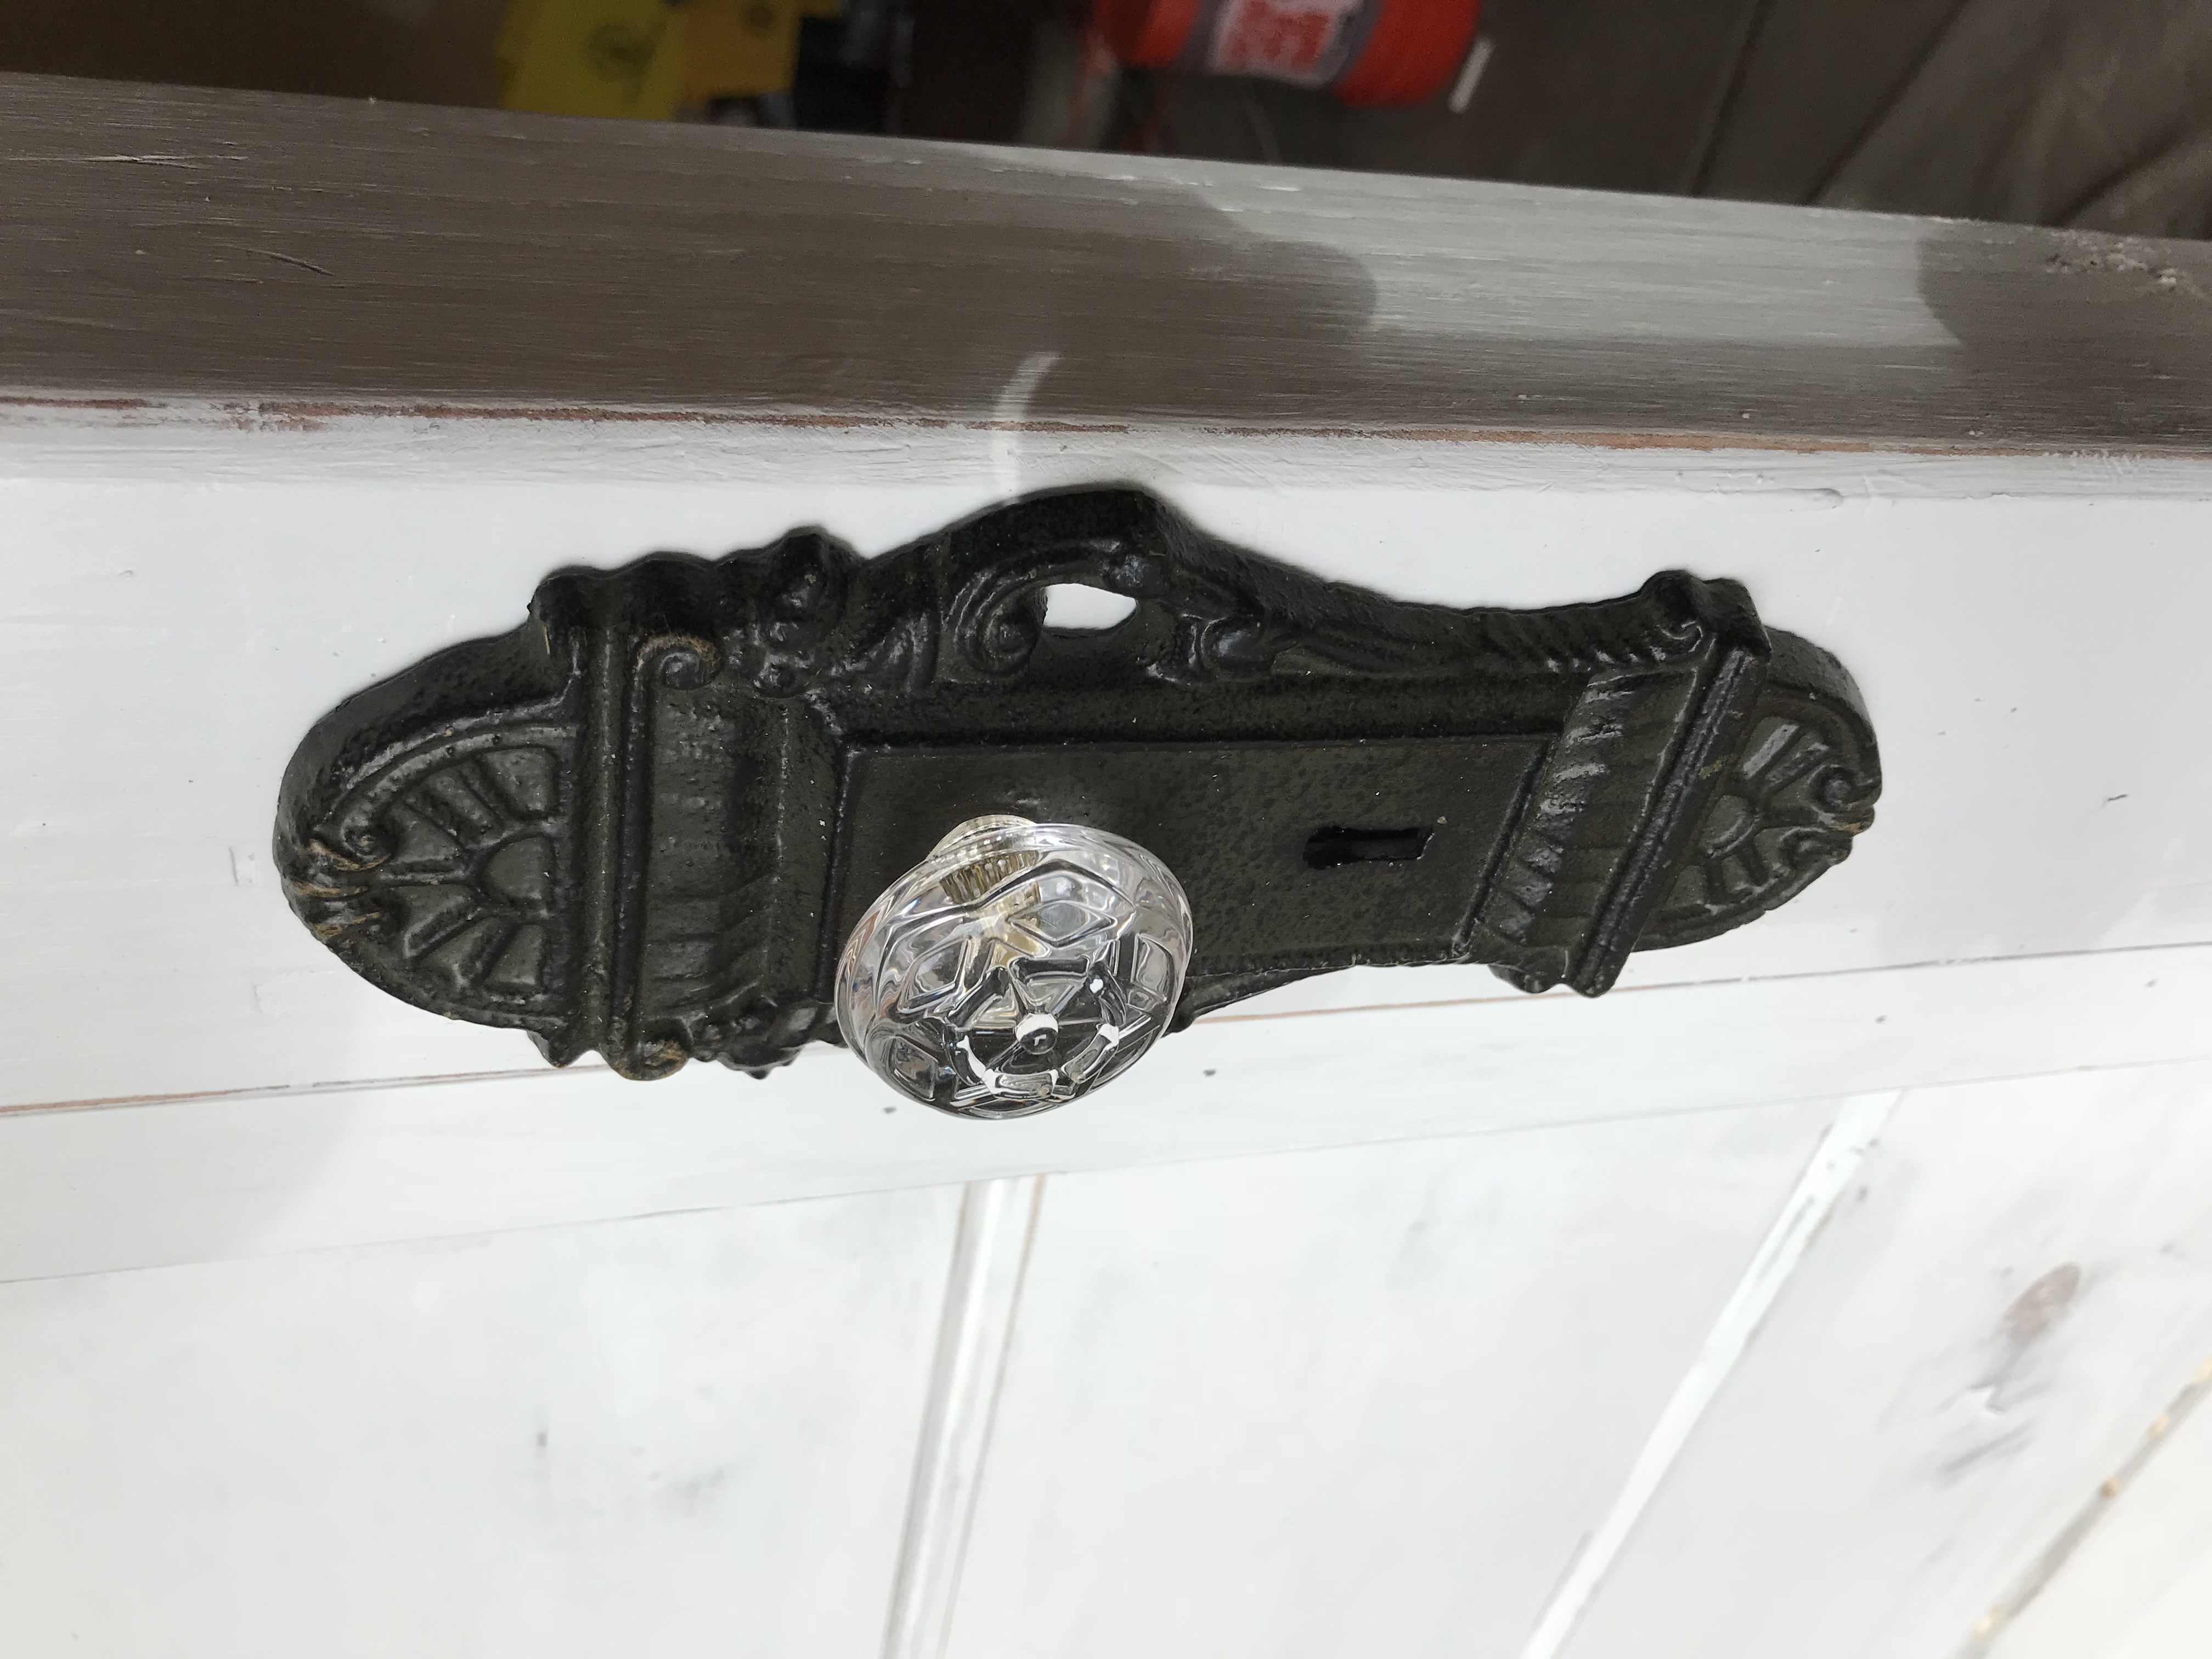
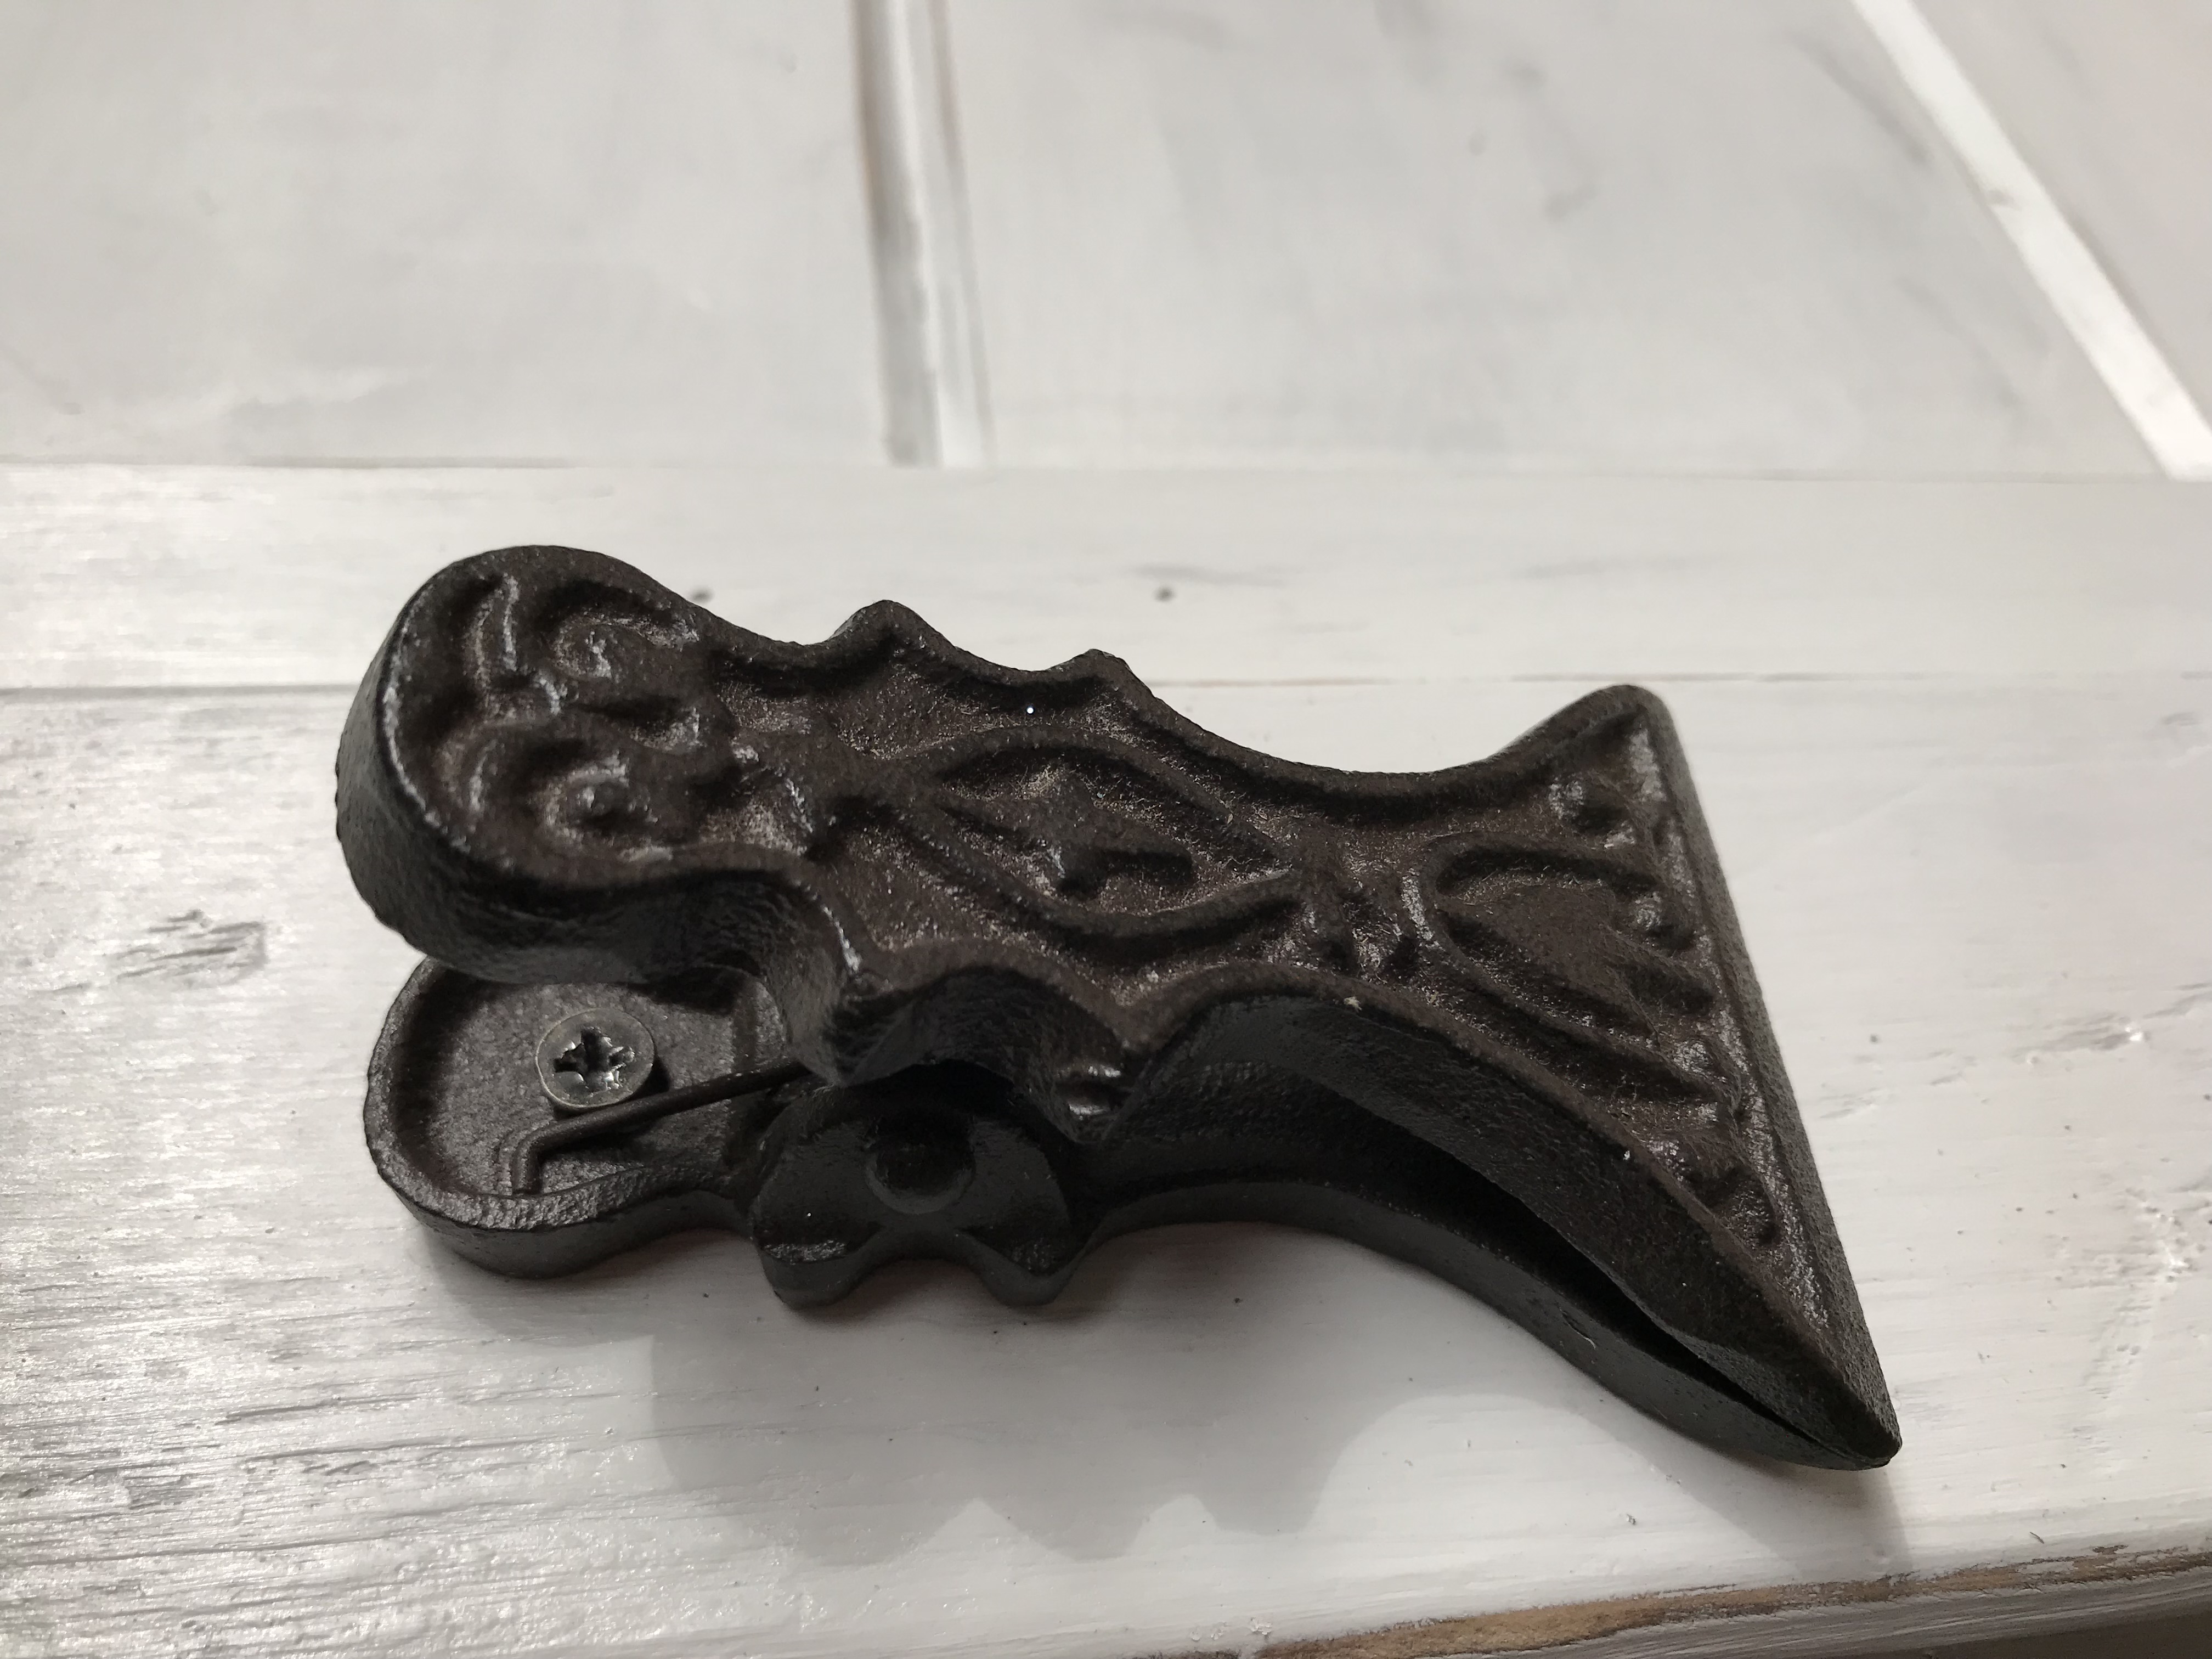
As for the rest, I just framed the shiplap section with leftover 1x1s, then sanded and stained the whole piece with the same Dark Walnut stain (so that something would show through after distressing). Finally, I applied 2 coats of Rustoleum Linen White Chalk Paint (LOVE that stuff!), distressed it, and topped with one coat of Minwax 1 Coat Poly (ALSO love that stuff), and added some hardware and country do dads from Hobby Lobby (Rustic Hooks, 'Bless This Home' Sign, Decorative Doorknob, and "Mitten Clip" for wet mittens and gloves coming off little hands) . What do you think? ヅ


Comments
JoanneS
Tue, 05/12/2015 - 14:20
Awesome!!
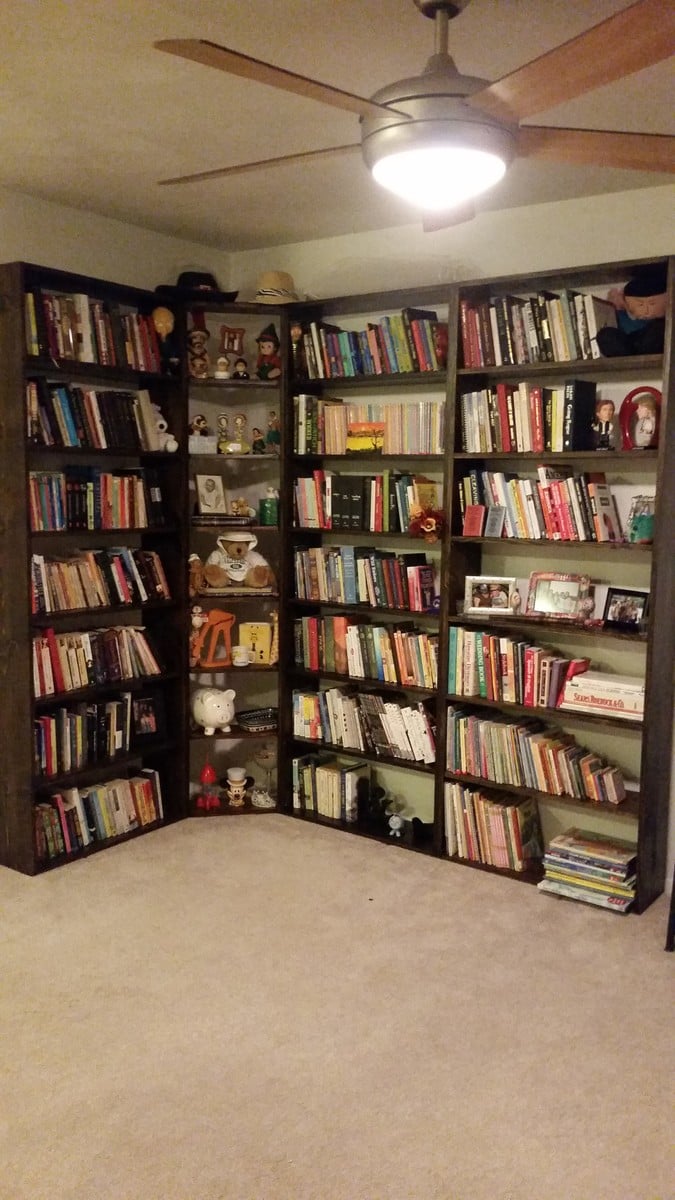
You have built an awesome library! It looks beautiful!