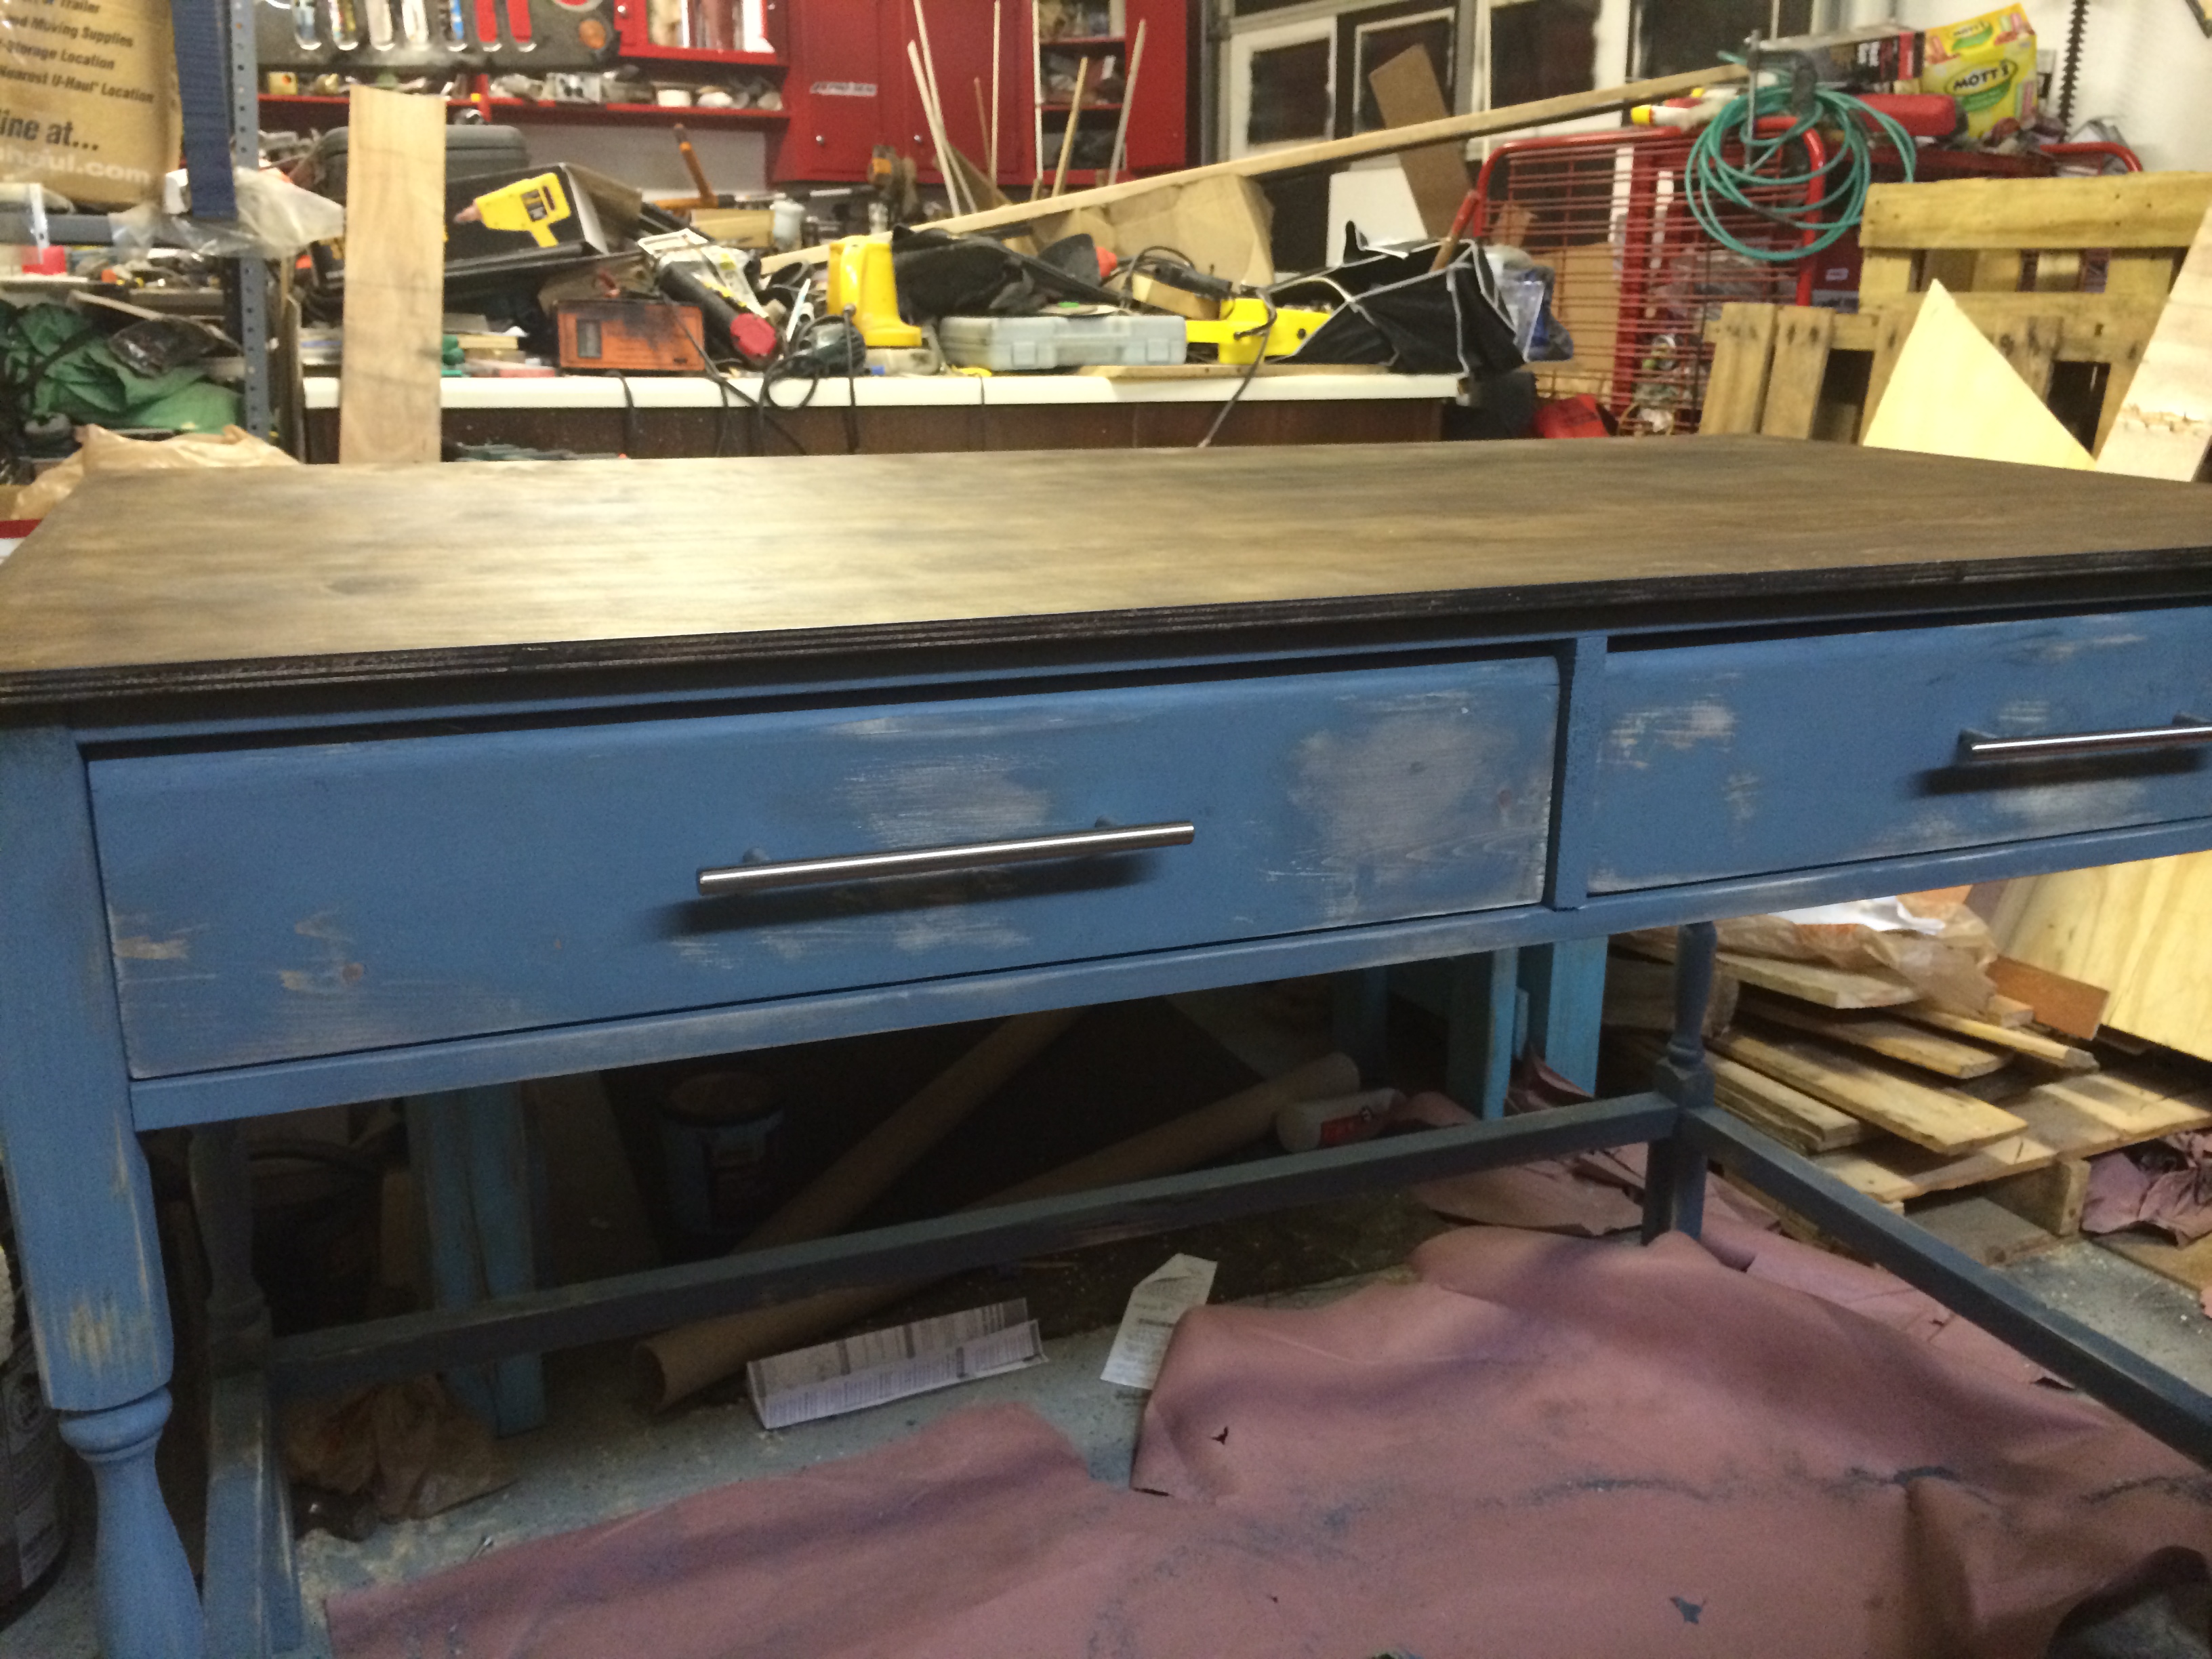
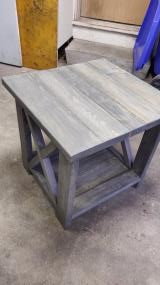
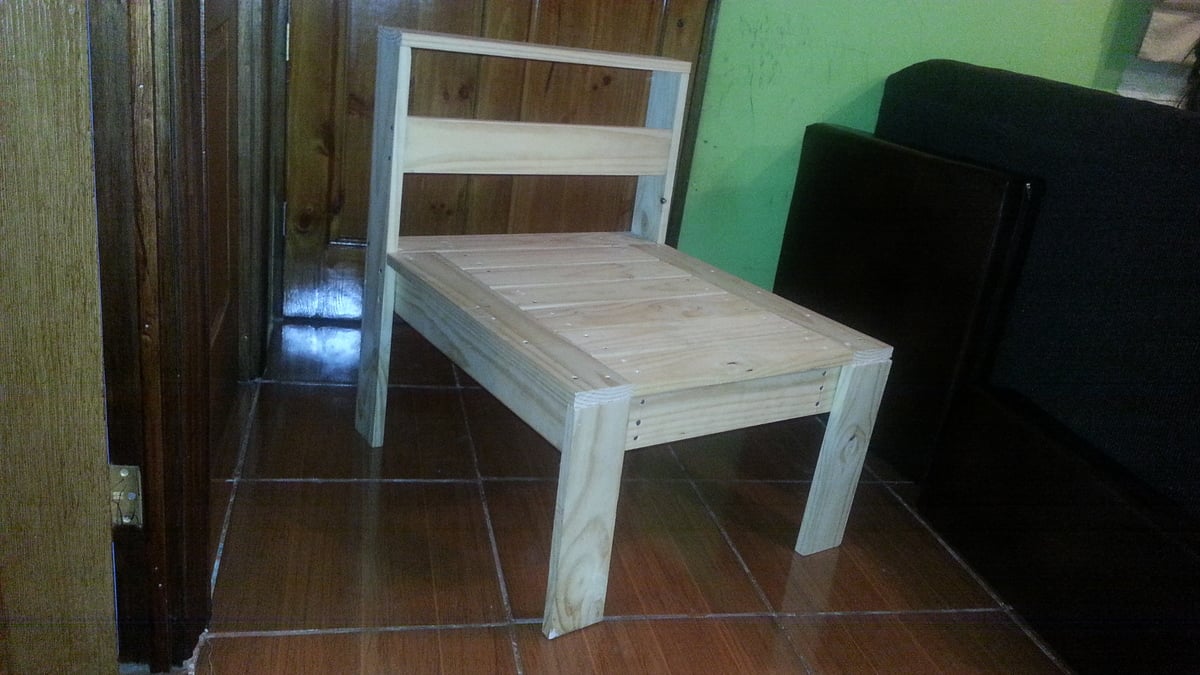
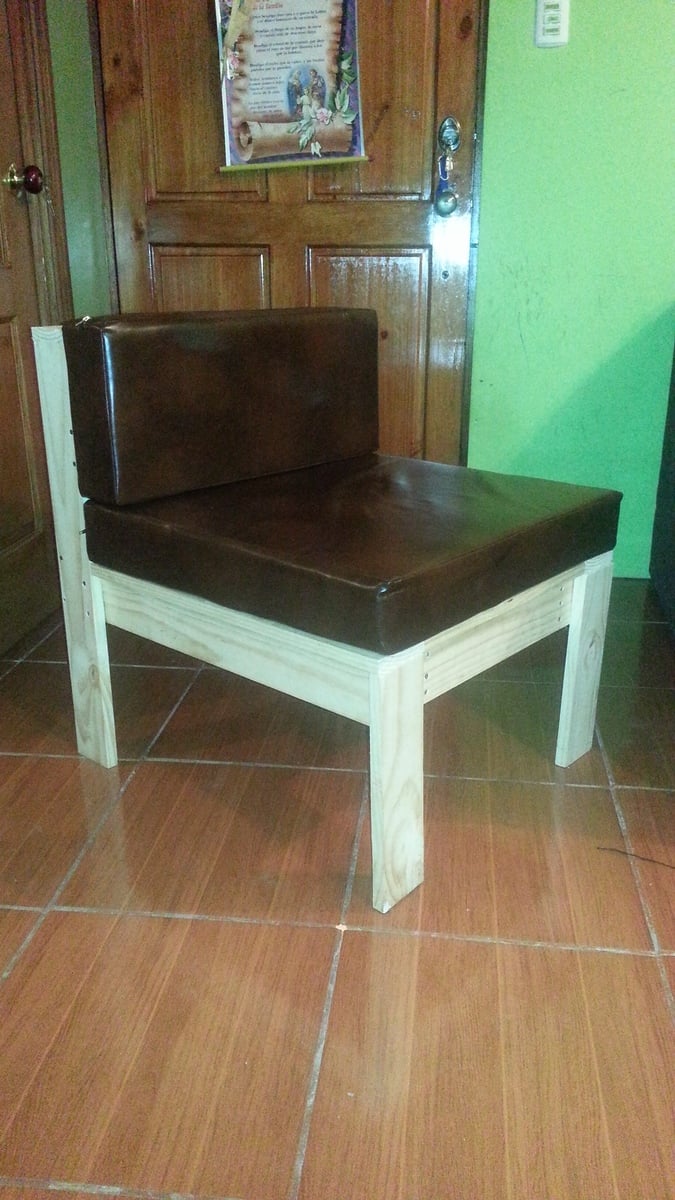
Simple Modern Outdoor Sectional Armless Section
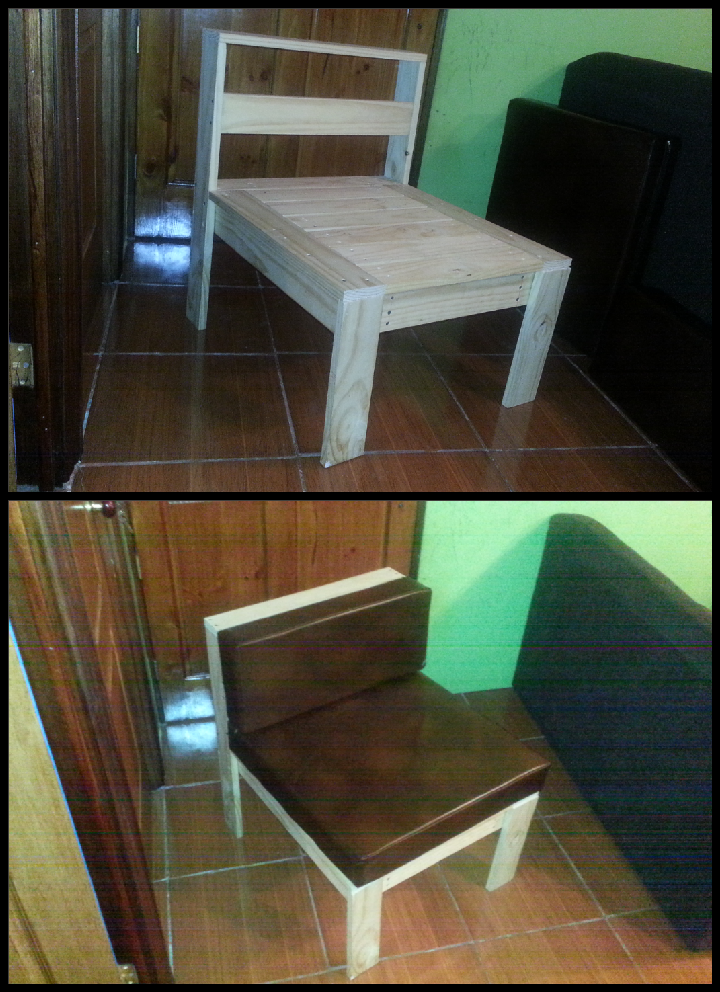
Esta Es la copia del Proyecto Llamado, Moderno sencilla Pecado Seccional Sección brazos al aire libre, Si me Hizo Fácil Por los Planos tan faciles, Pienso HACER mas y de colores llamativos, Gracias Ana.

Built from Plan(s)
Estimated Cost
$ 50
Estimated Time Investment
An Hour or Two (0-2 Hours)
Finish Used
Como consejo les puedo decir que deben ir verificando las medidas y cuadrar el asiento.
Recommended Skill Level
Beginner