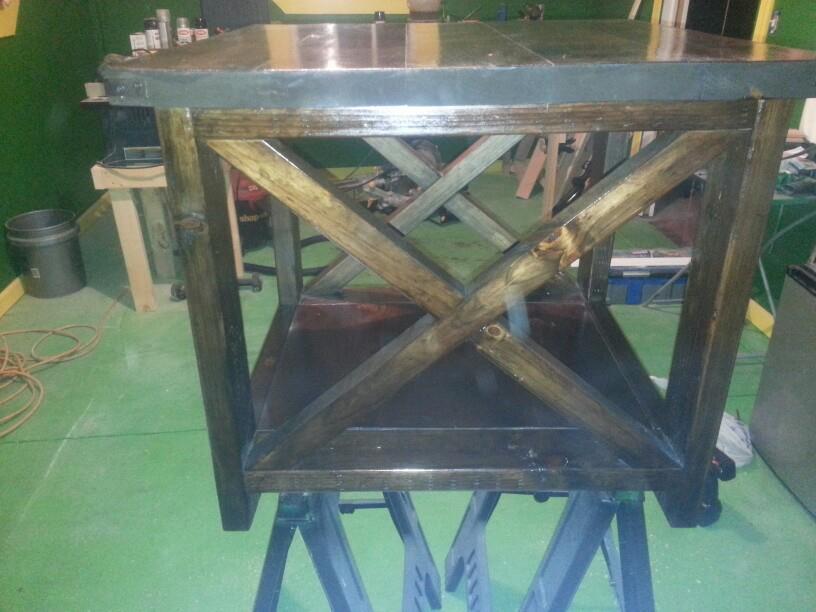
Tall Wood Planters
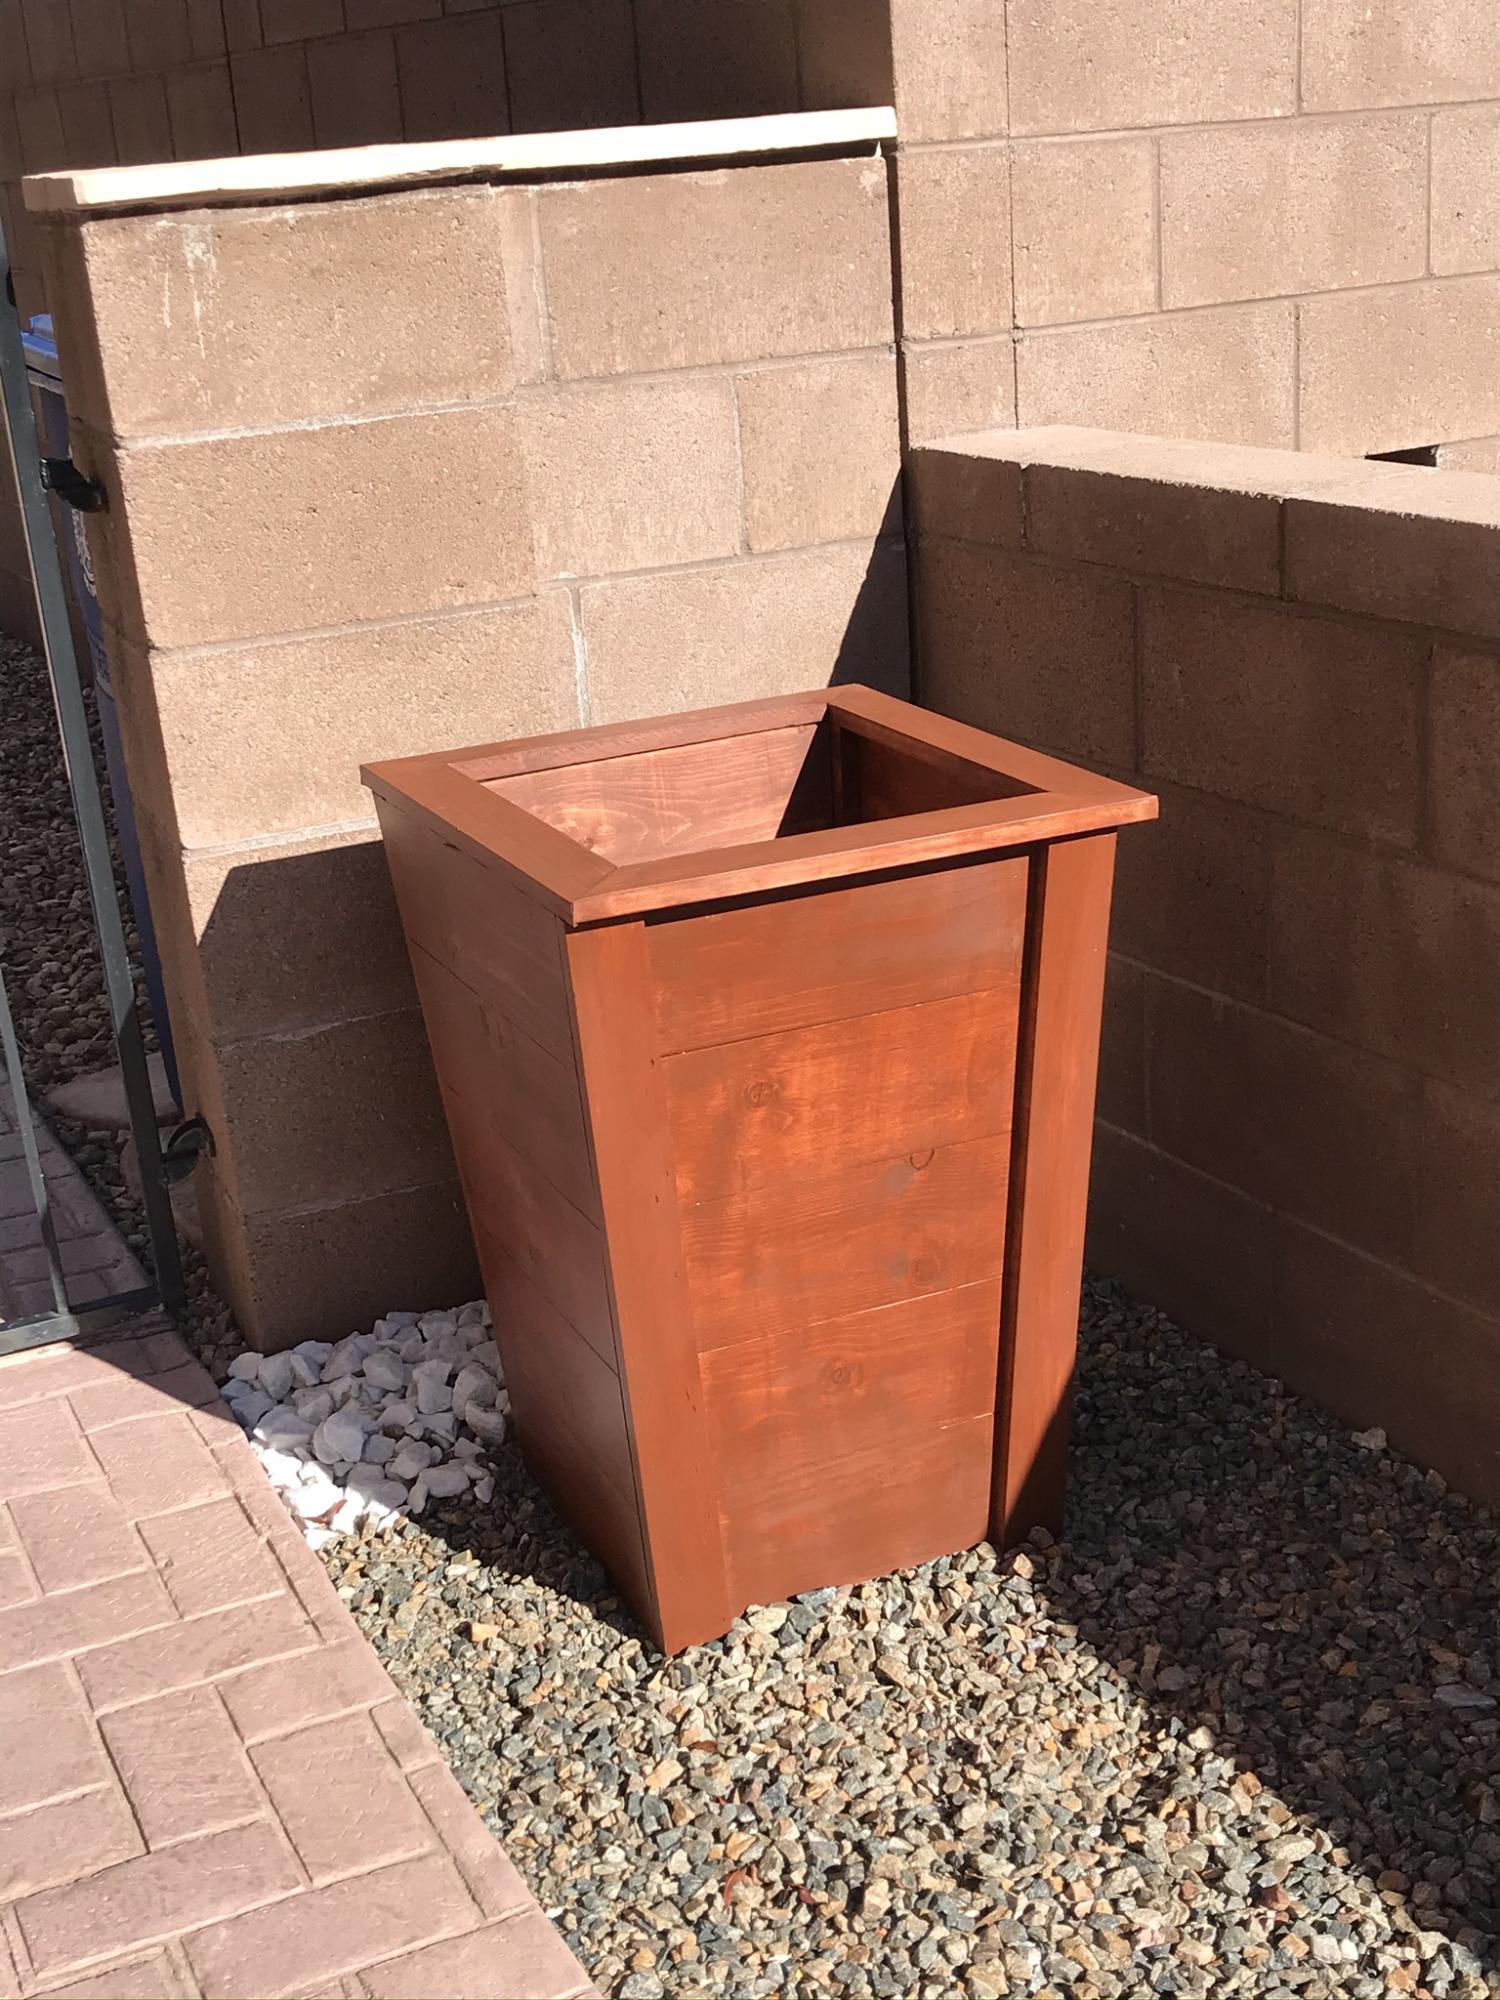
This planter was easy to make. Two days including finish.
Built from Plan(s)
This planter was easy to make. Two days including finish.
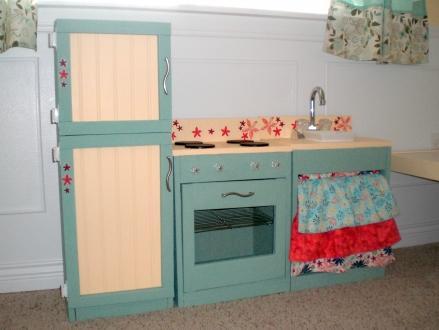
I had SO MUCH FUN building this play kitchen. I looked at all the different play kitchens on the site and took what I liked. I love bead board and I LOVED the oven light idea. I’m 7 months pregnant and was still able to put this together. My lower back was starting to complain by the end so it is good I finished it up when I did. I used a kreg jig jr. instead of a nailer. For this project I wish I had a nailer, I think it would have been easier. Maybe I’ll get one for Christmas! Up next – the cabin collection!
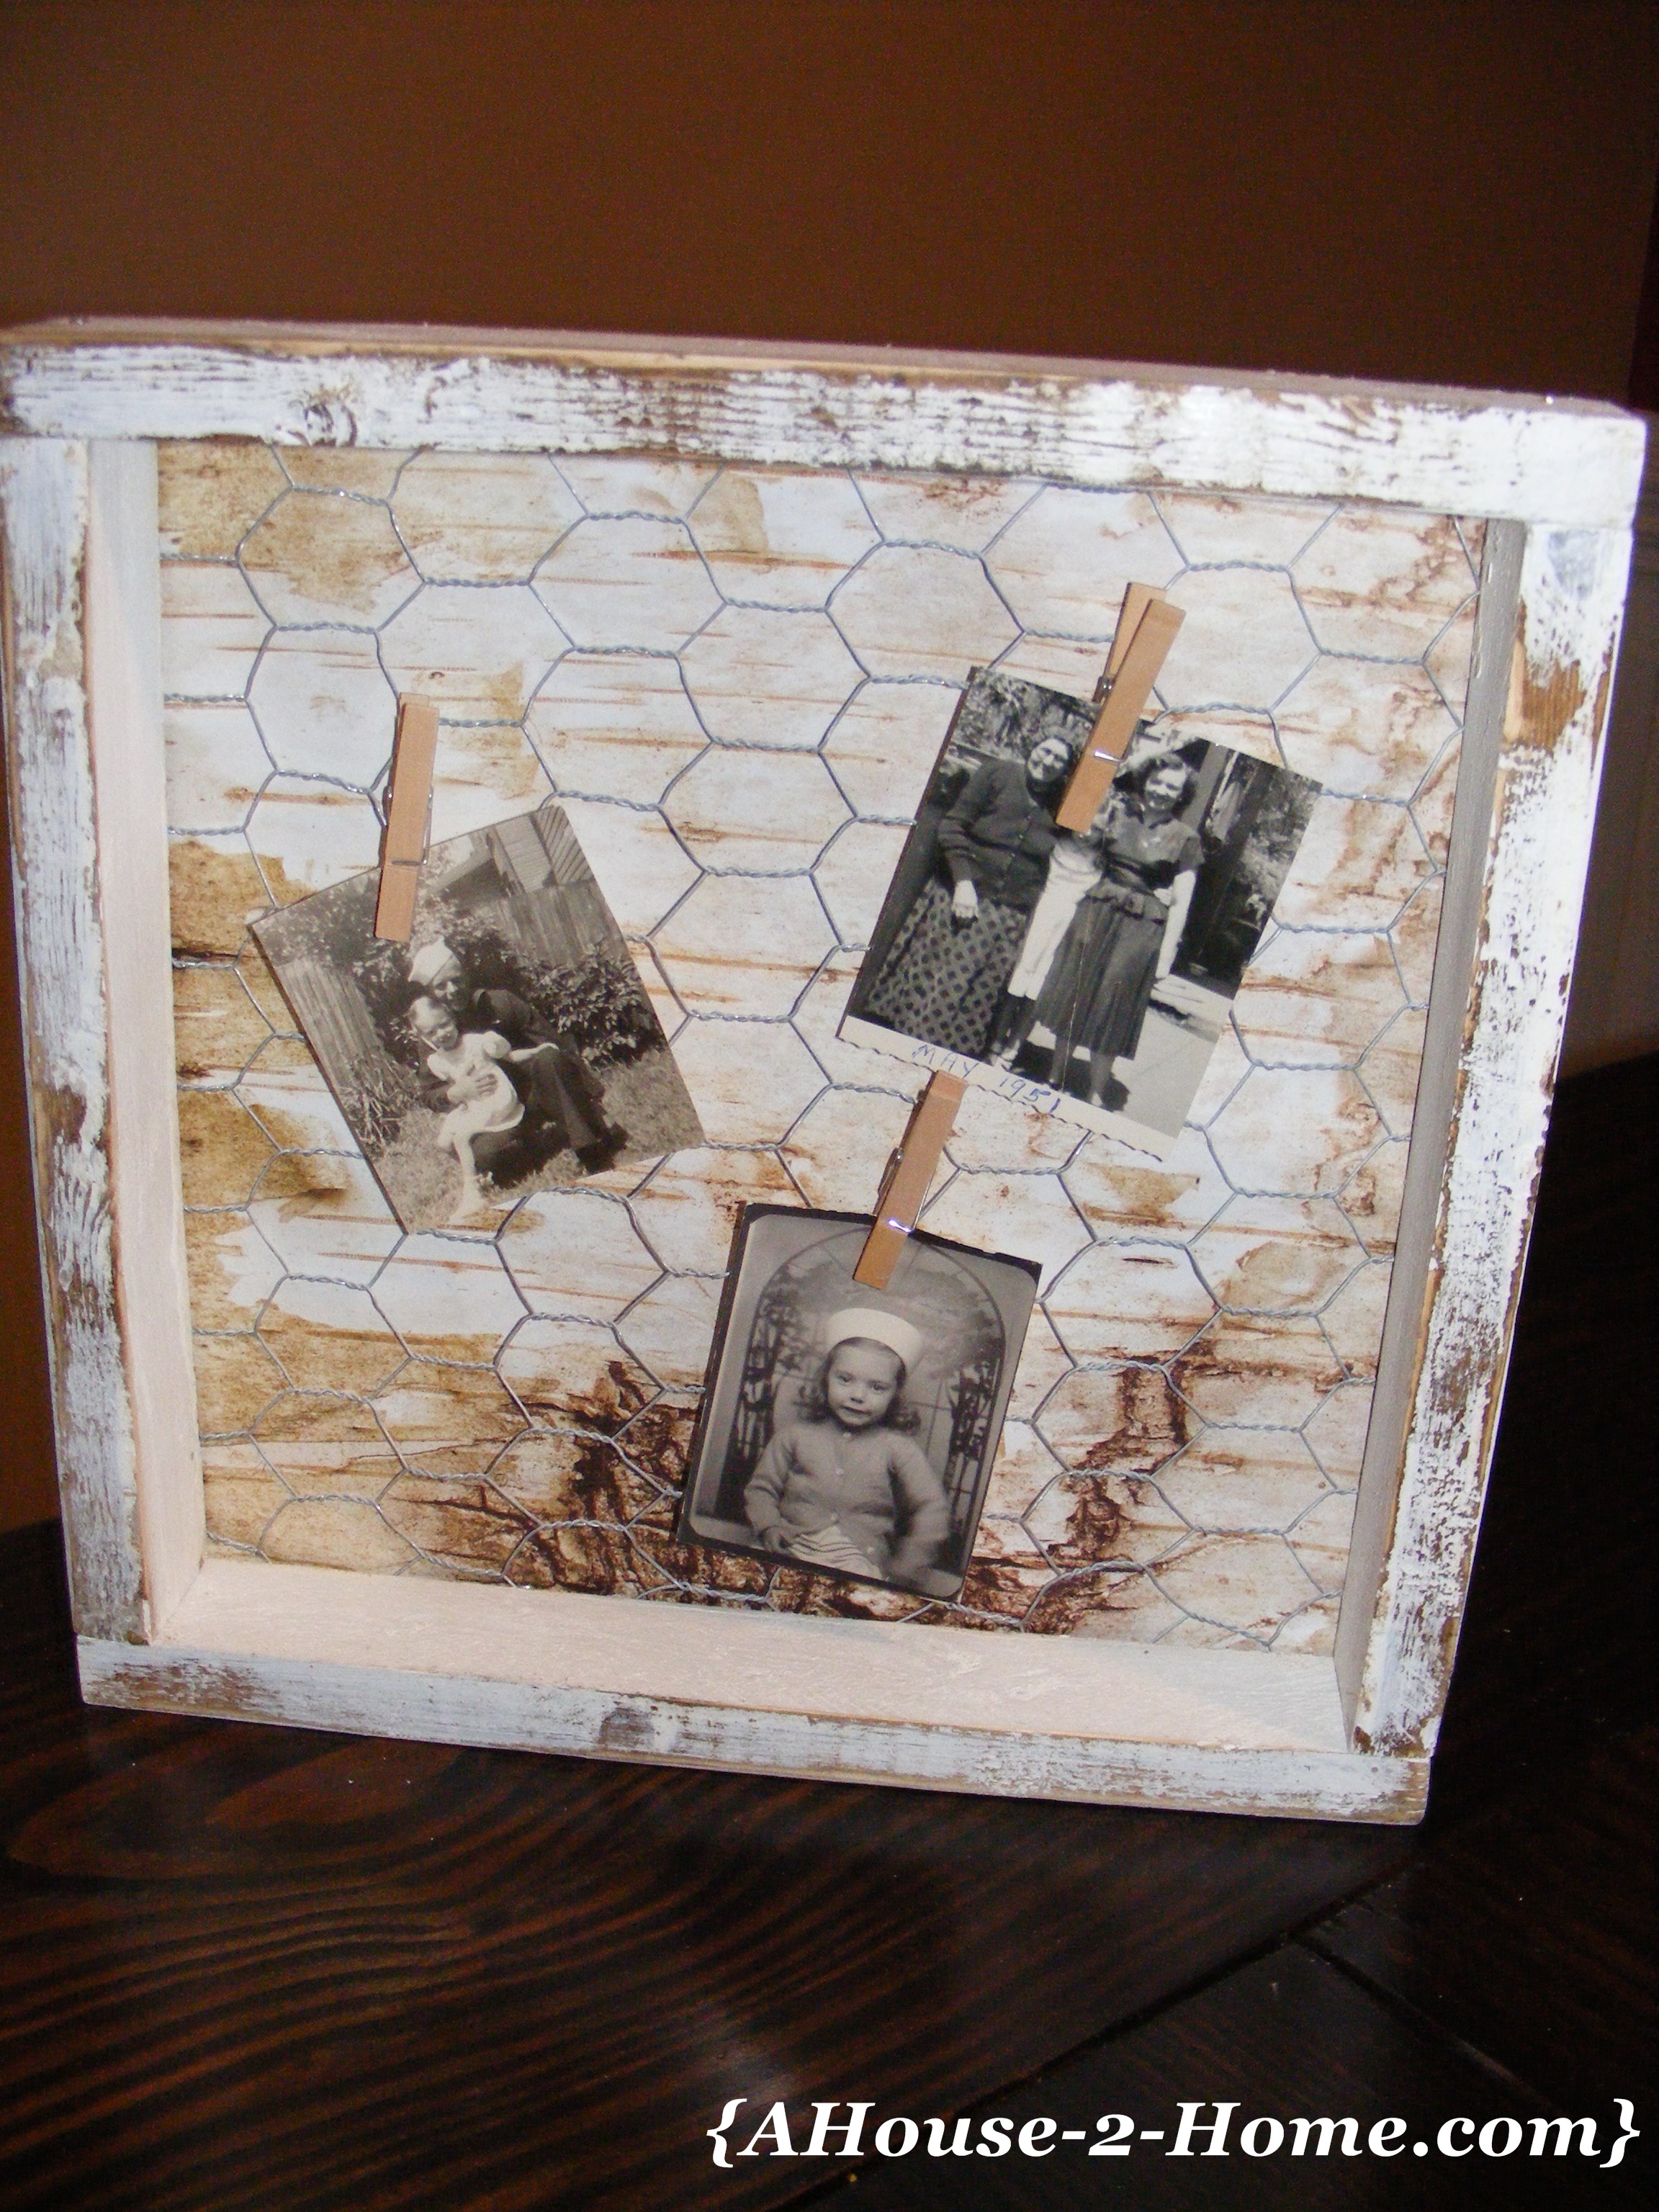
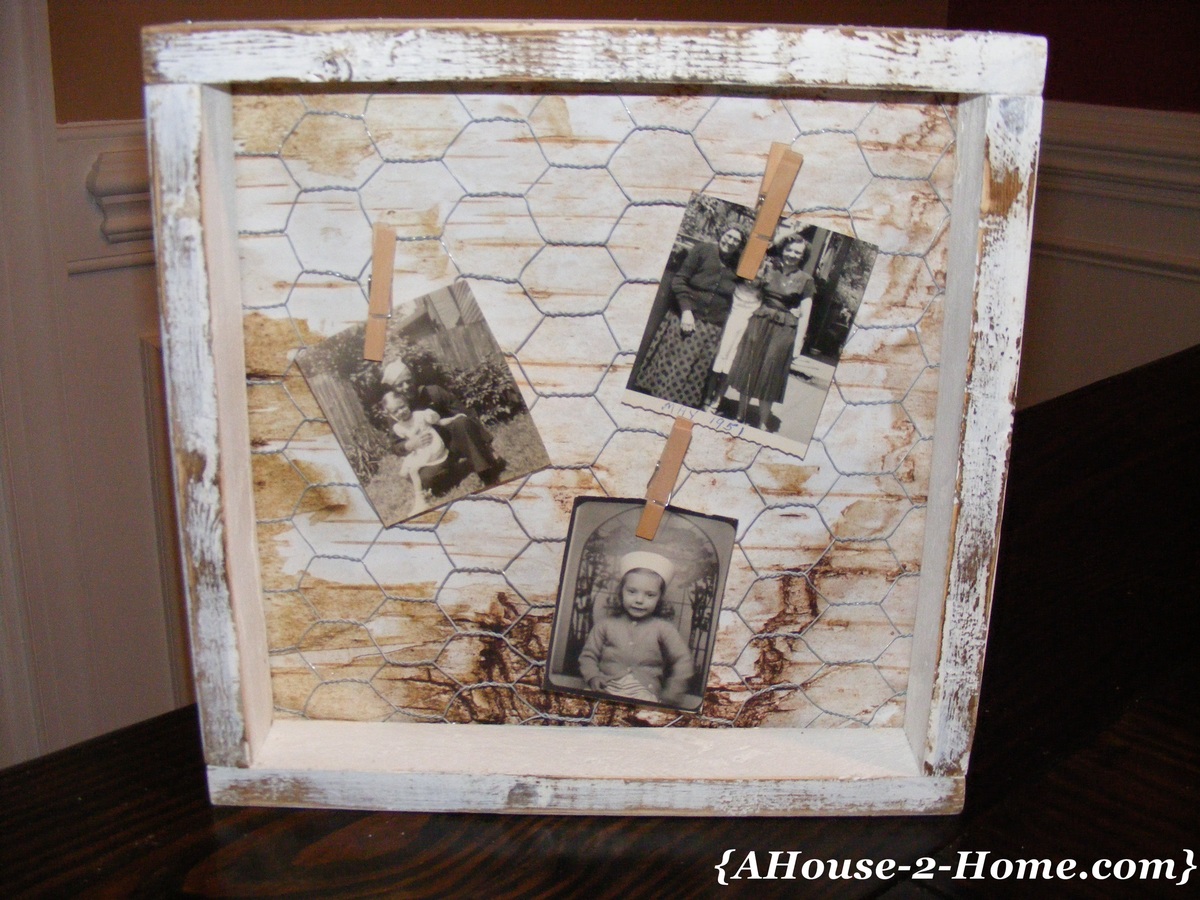
I needed a way to display some old pictures... I just love the look of old pictures and and wanted something different than an ordinary frame.This is one of the easiest and cheapest picture display project you can do.
A full tutorial can be found at www.AHouse-2-Home.com
Feel free to leave a comment on our site, we greatly appreciate them!

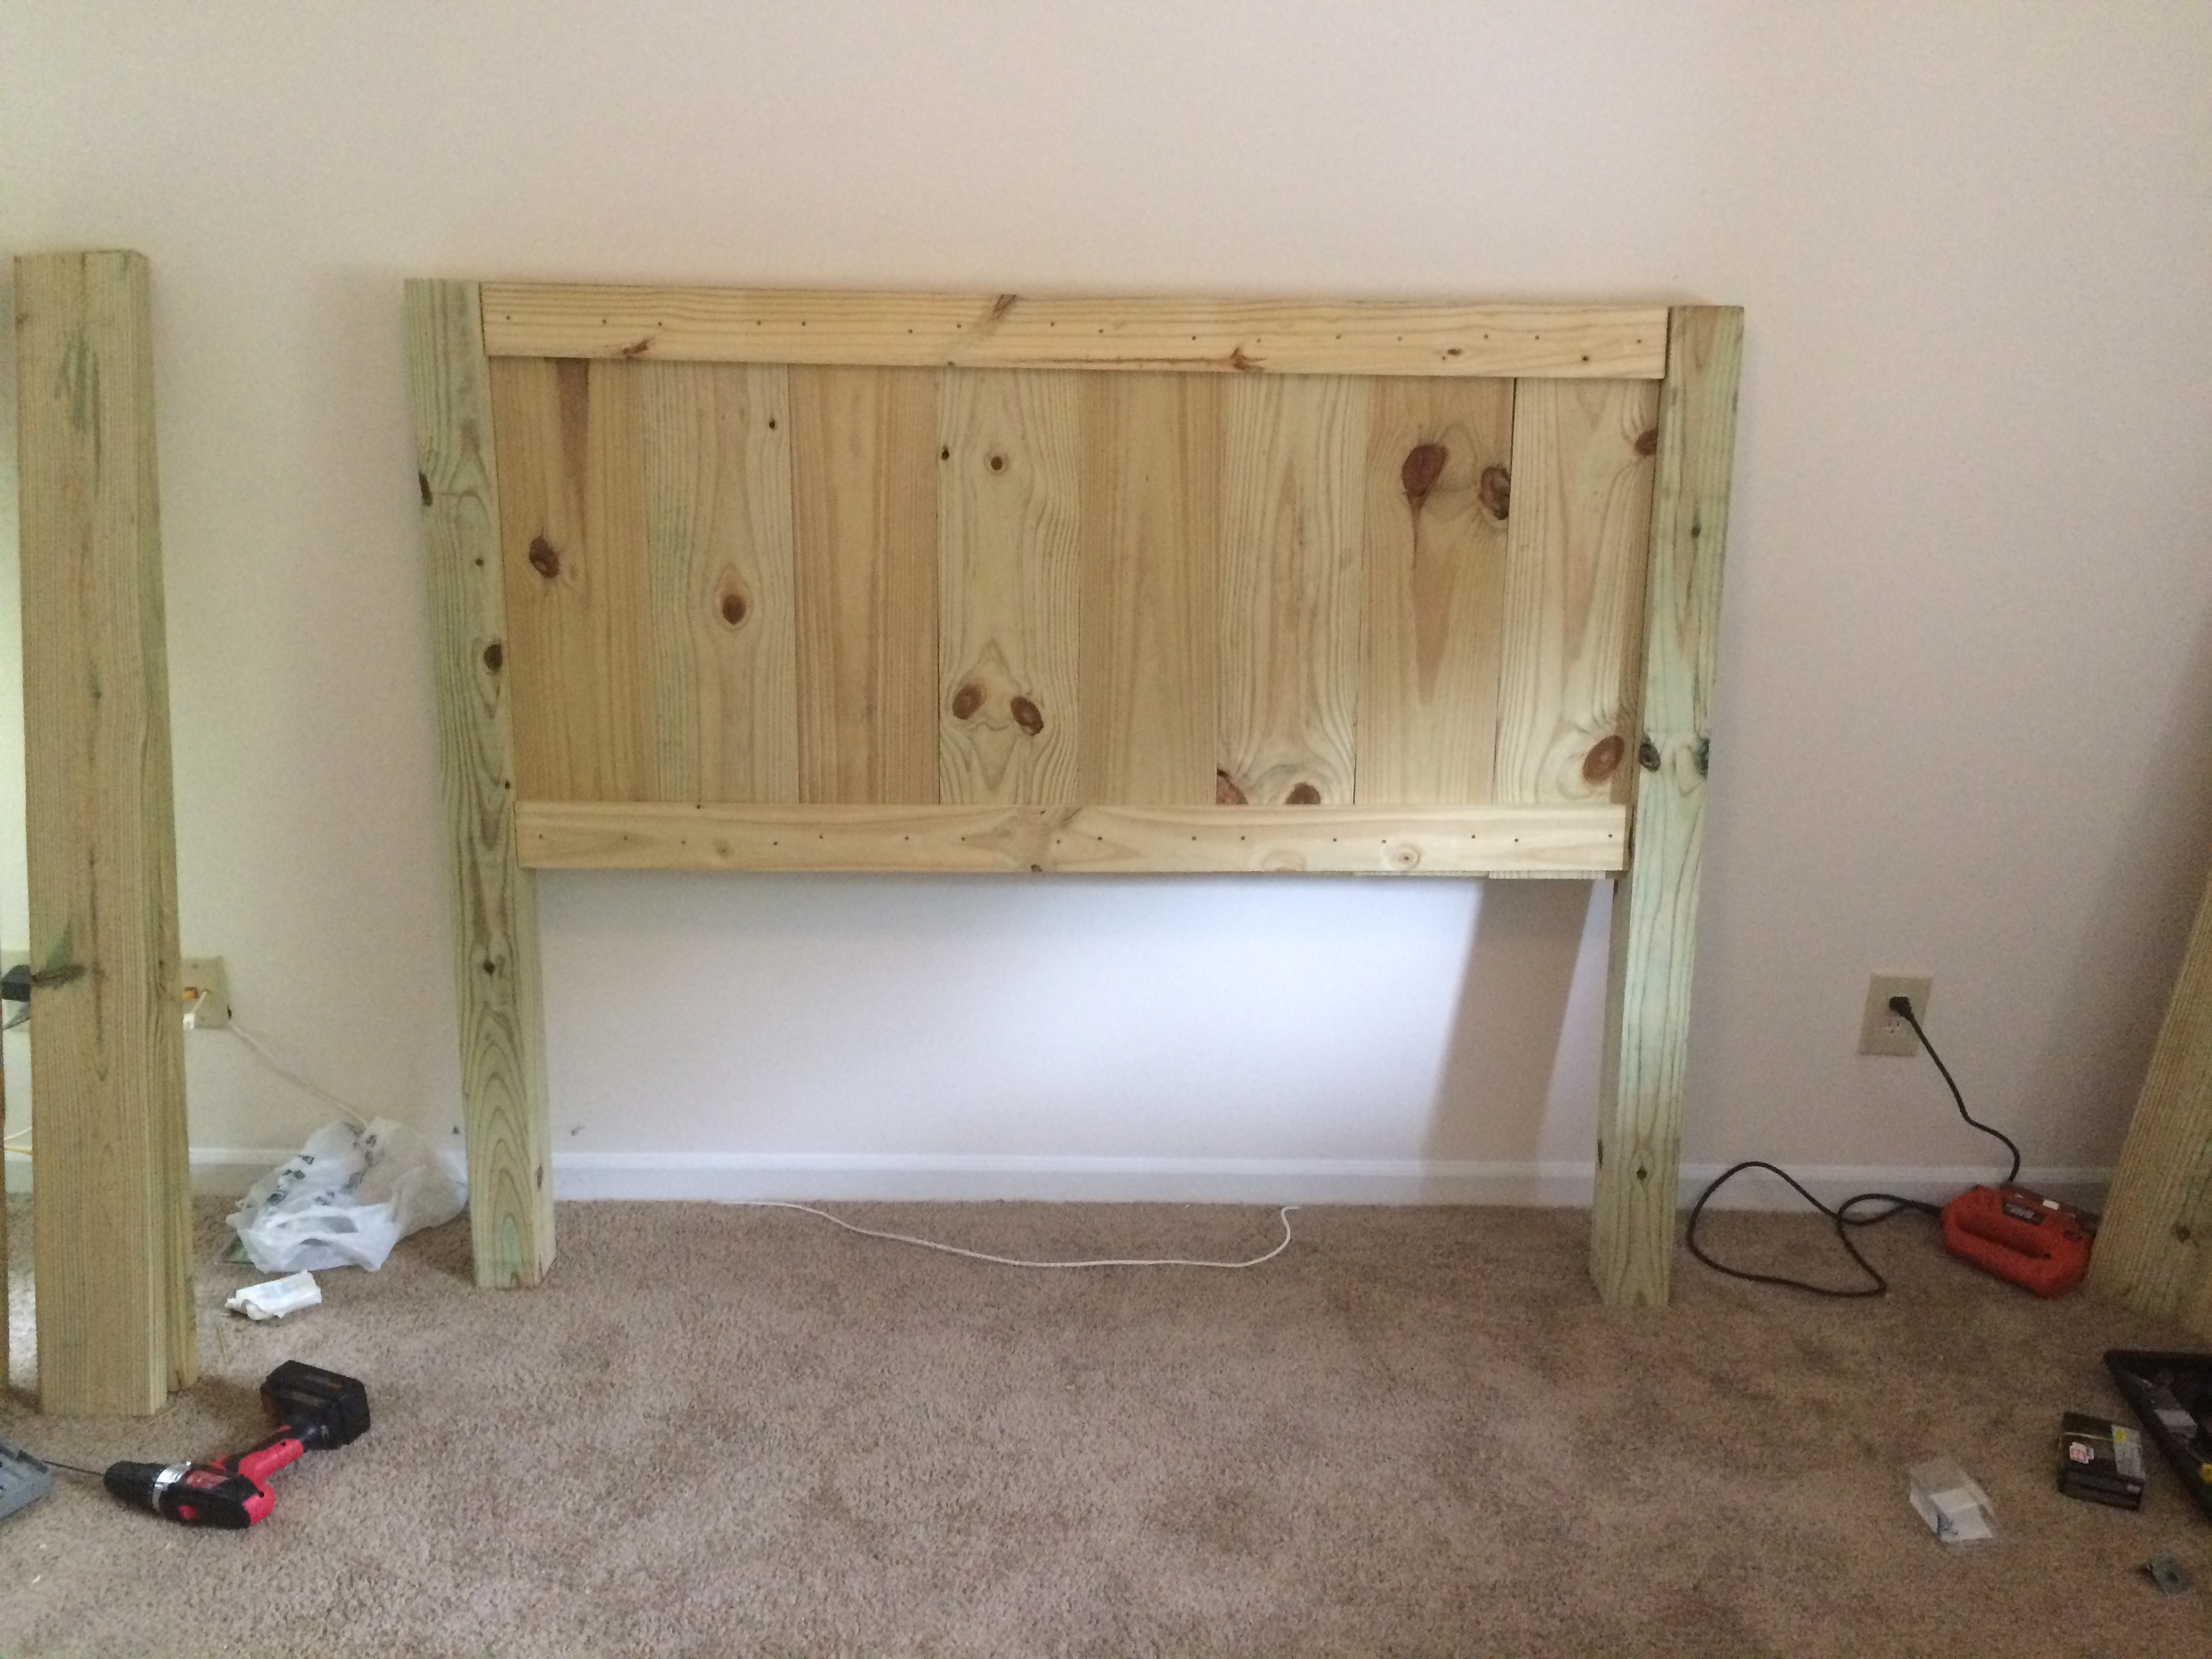
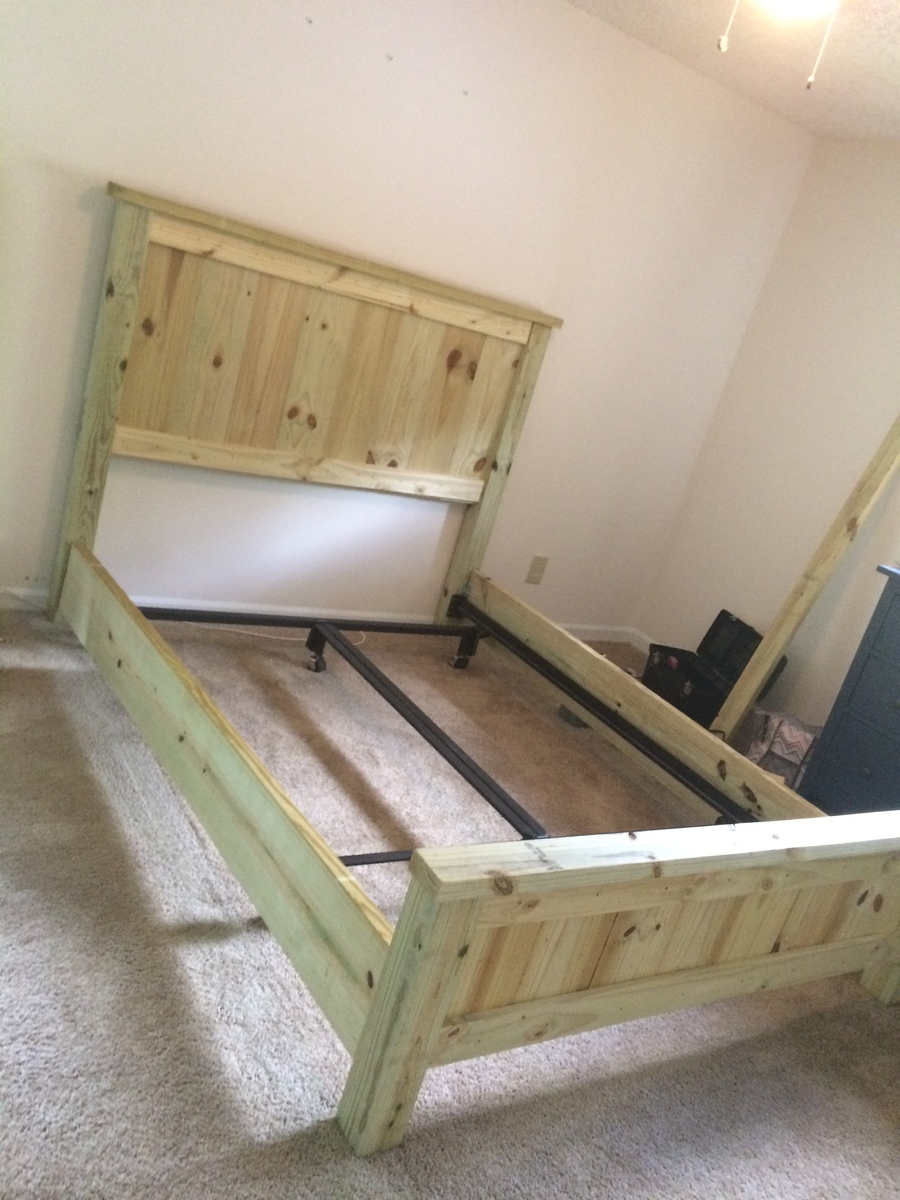
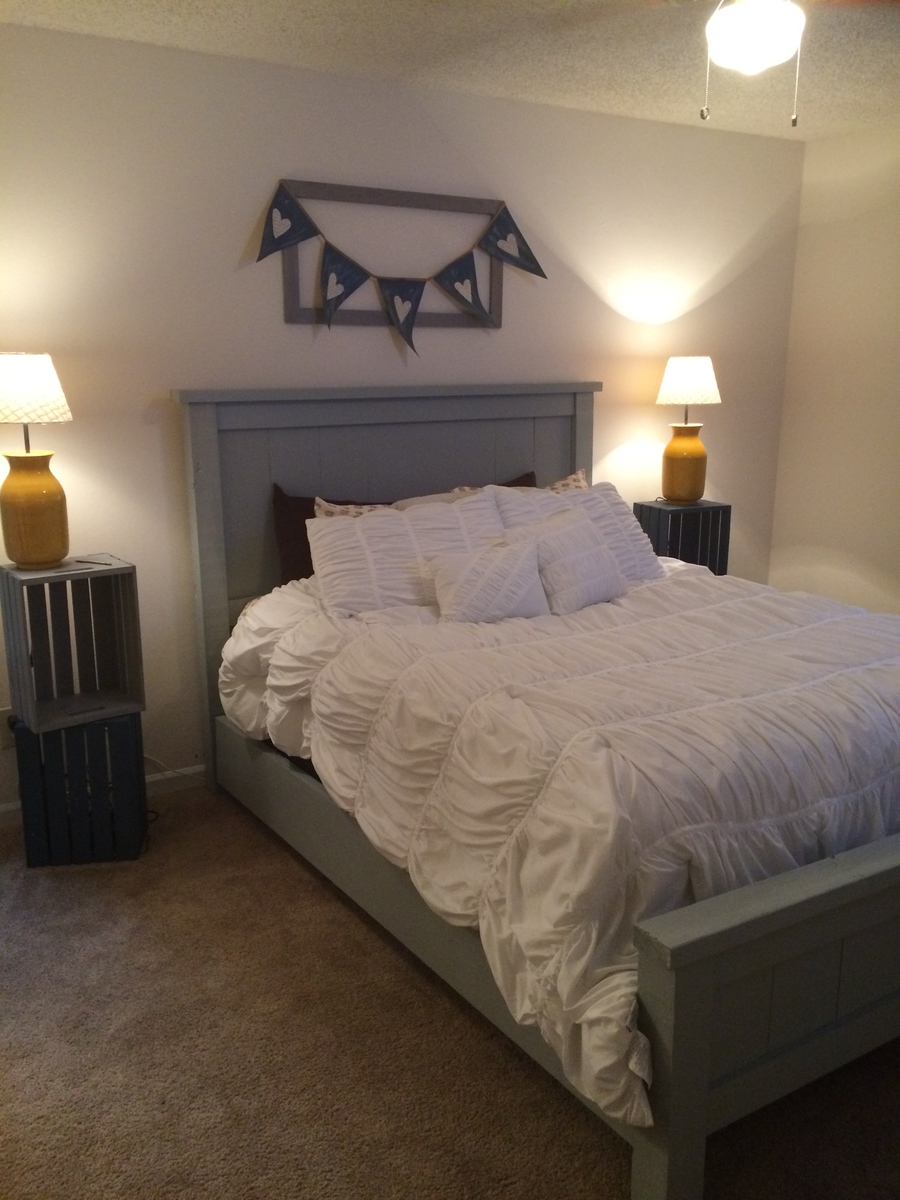
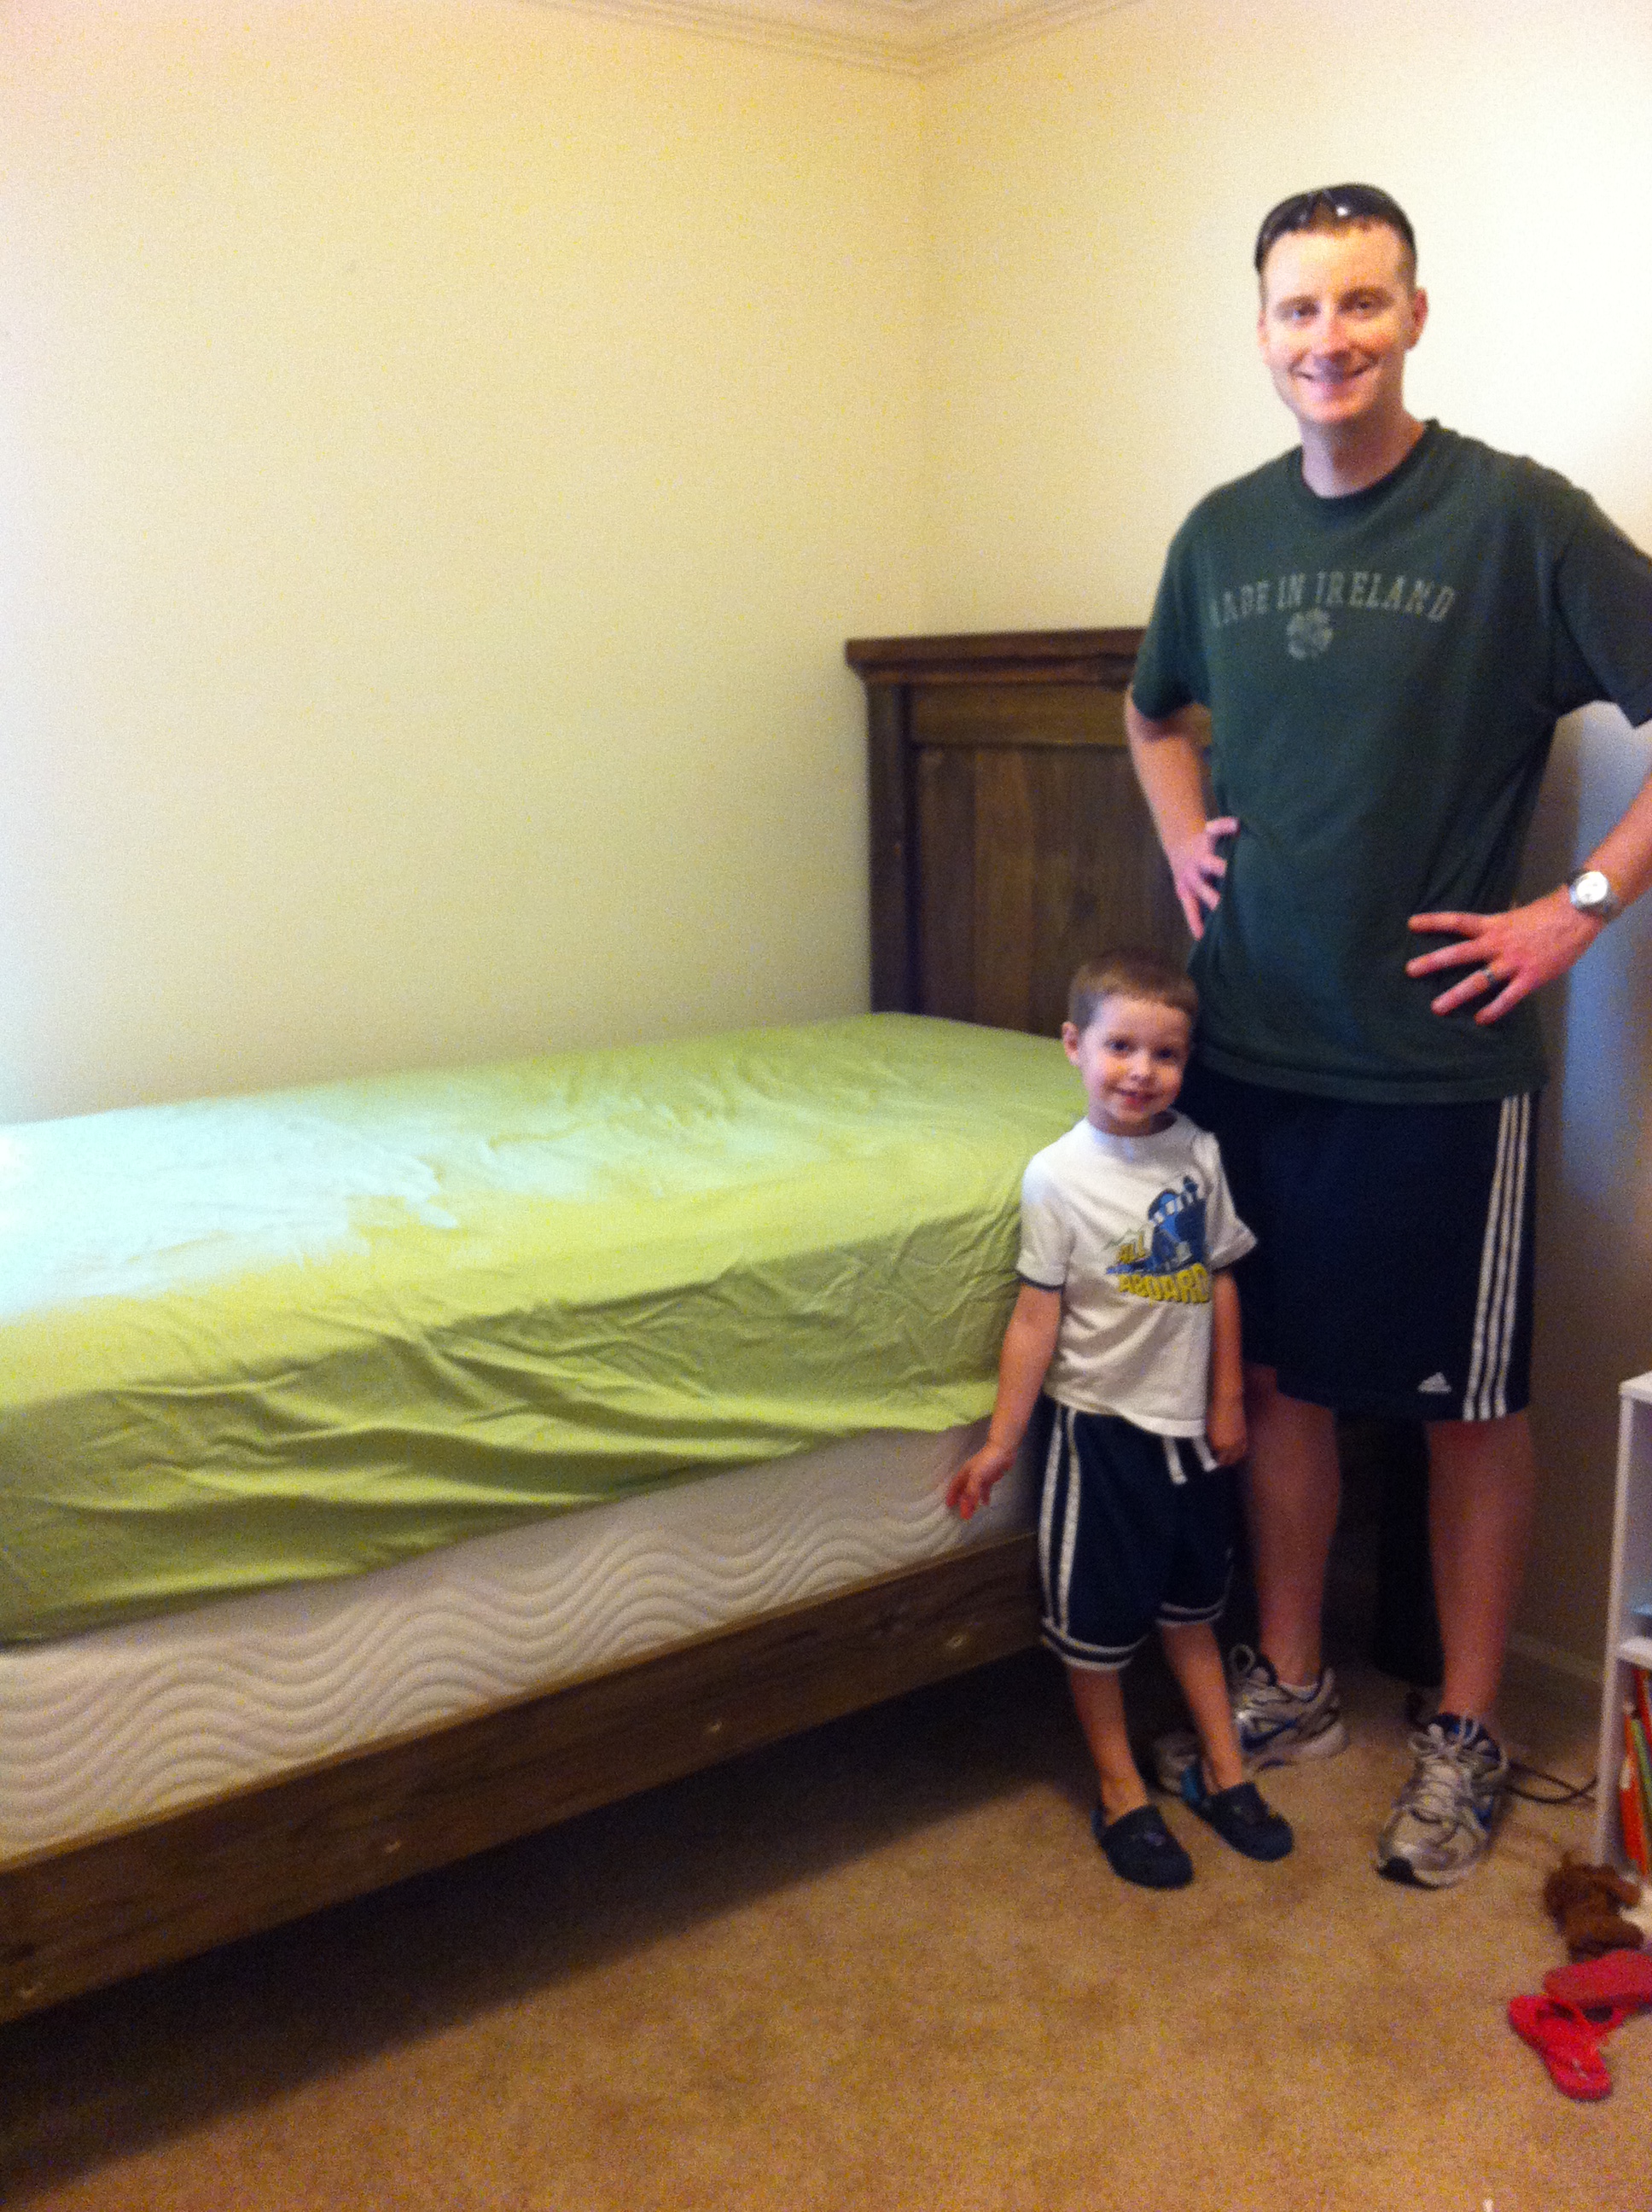
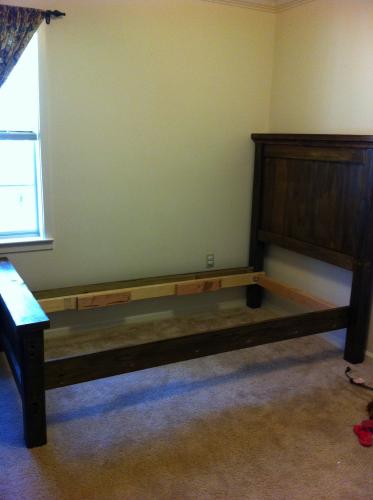
This is my favorite build so far! I love the look of this bed!
One thing I wish I had known was how long it was going to be. The bed is a good foot and a half longer than my mattress, which is a standard queen. I would recommend measuring and cutting your side rails according to your mattress - I think I am going to go back and shorten mine.
Also - I used my bed rails, instead of the slats this called for. I also used bed rail hooks (I ordered them from Amazon for $20) so that I can take this bed apart.
Behemoth of a build, and definitely took a long time to make.

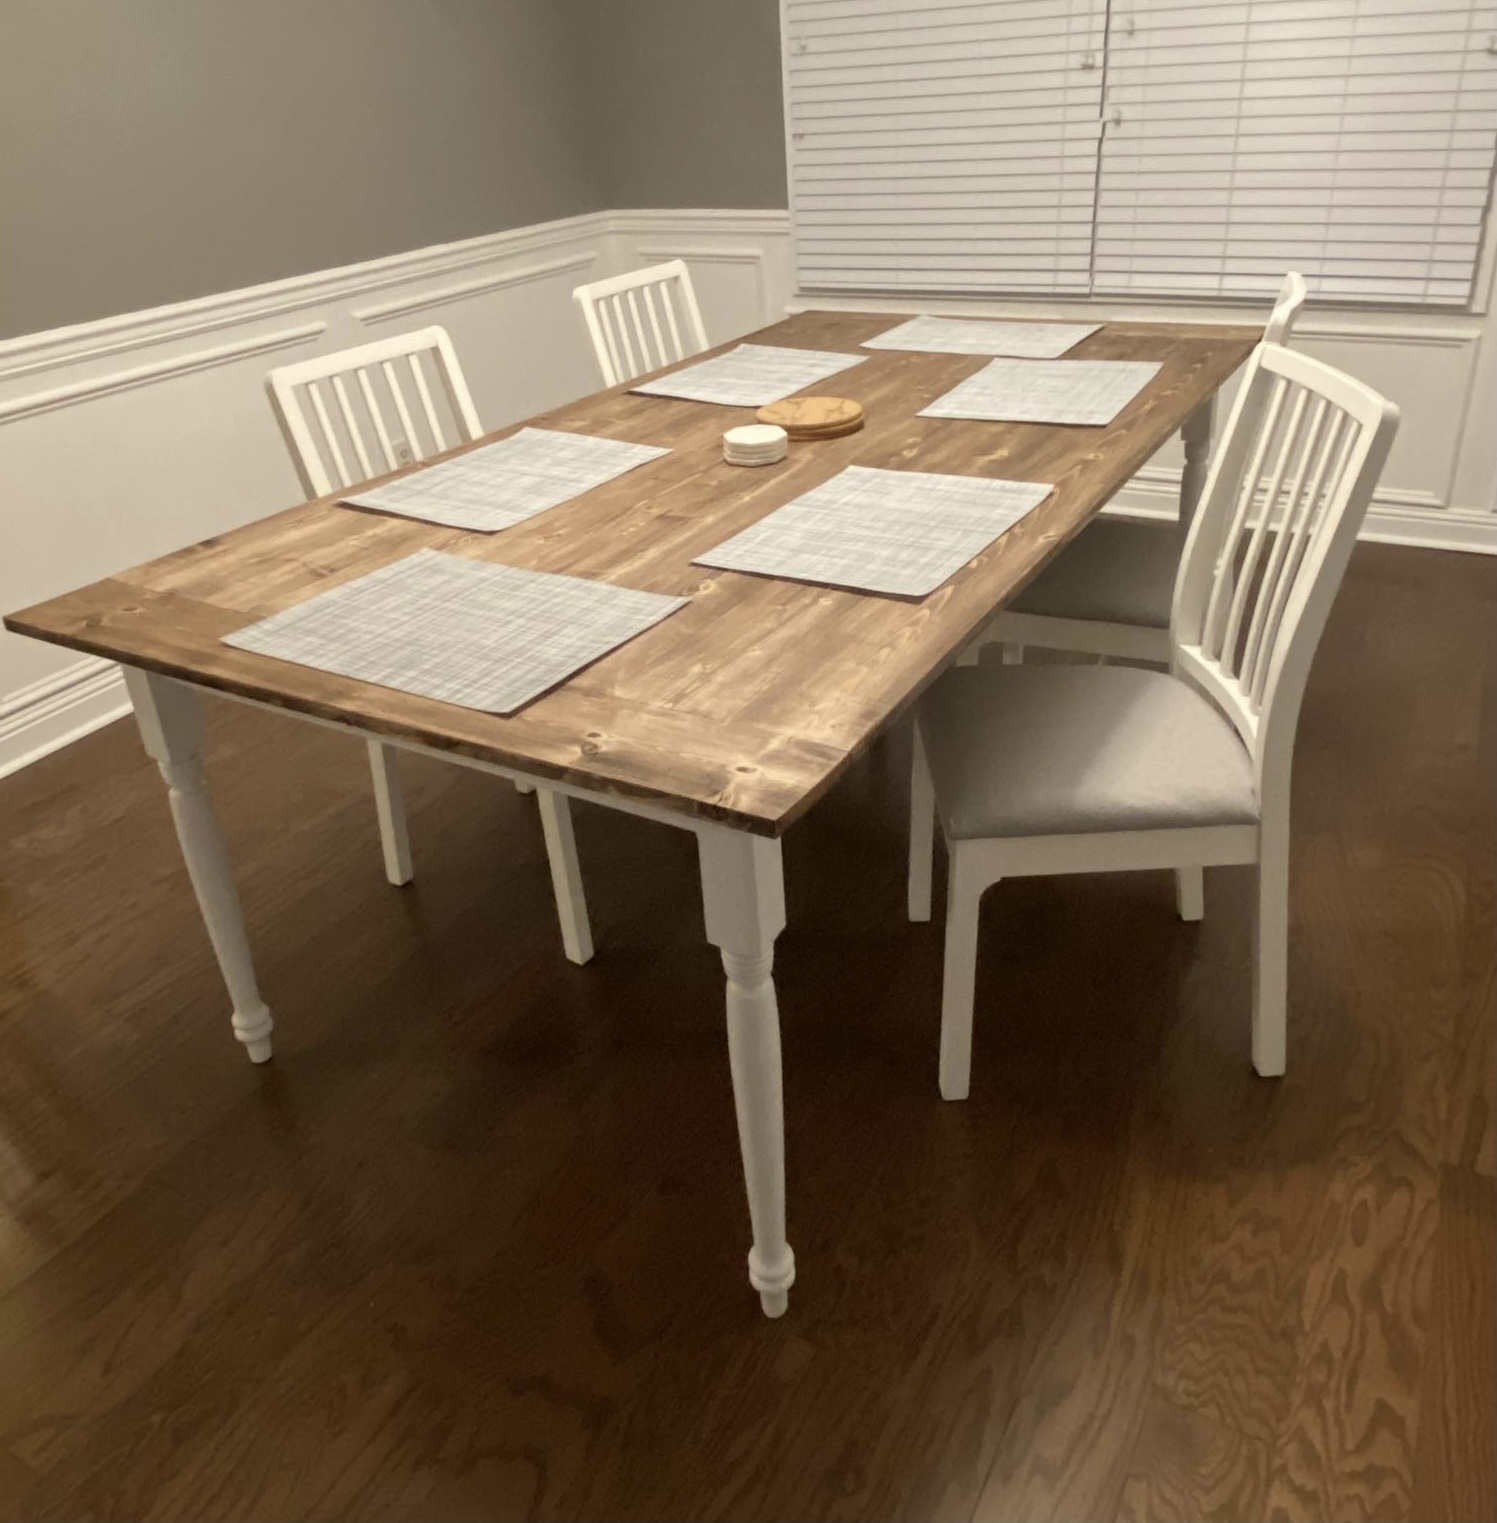
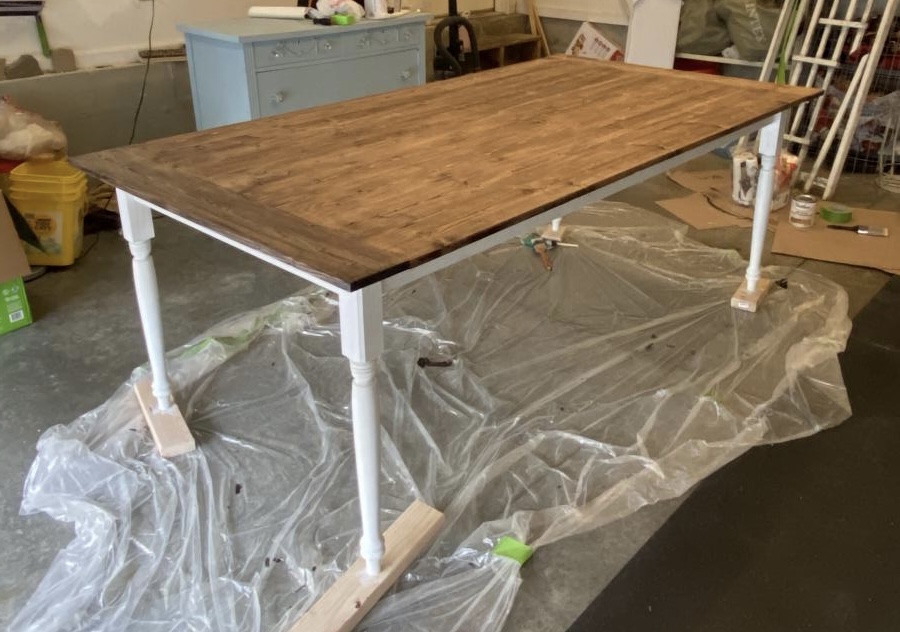
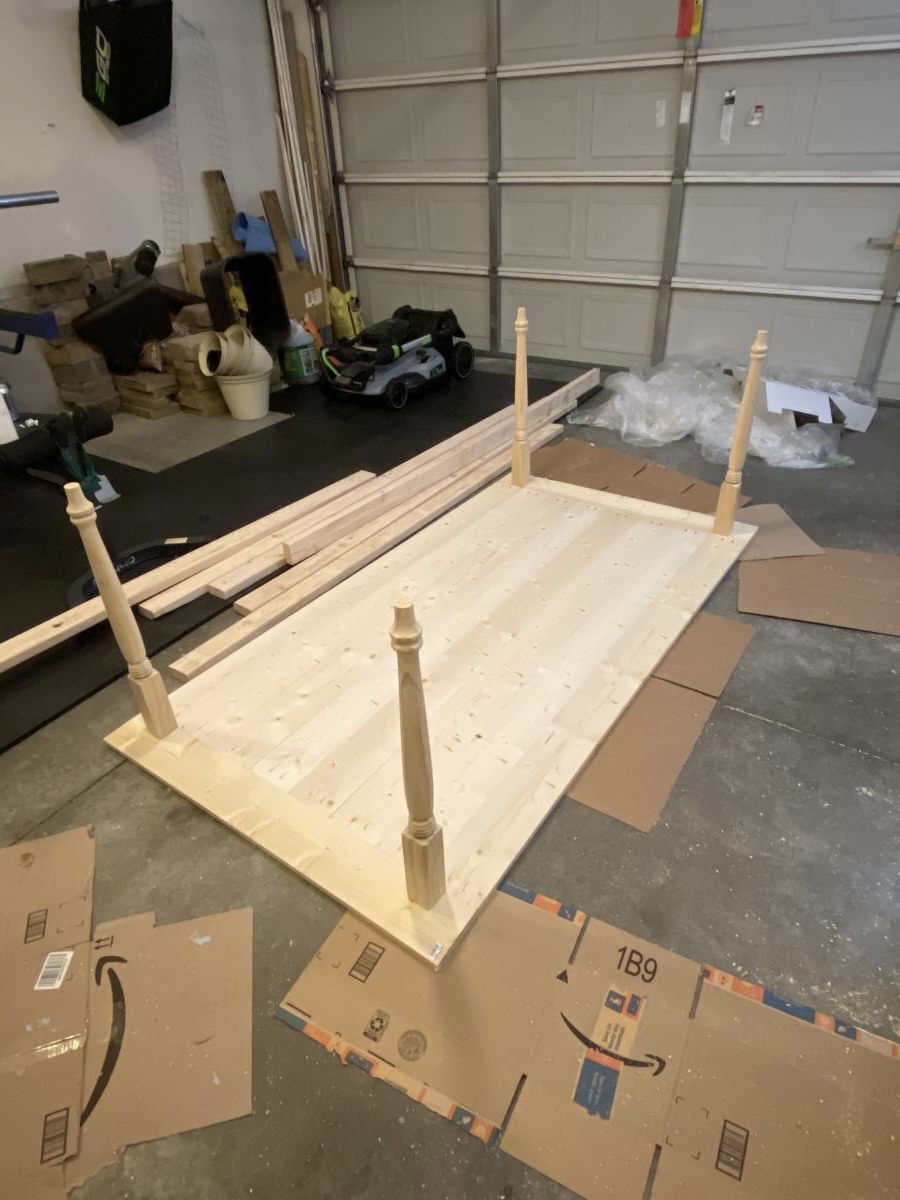
We could not find a table that we liked within our price range so we decided to take matters into our own hands. Thanks to Anna White we were inspired to create this piece, our first wood building project ever!

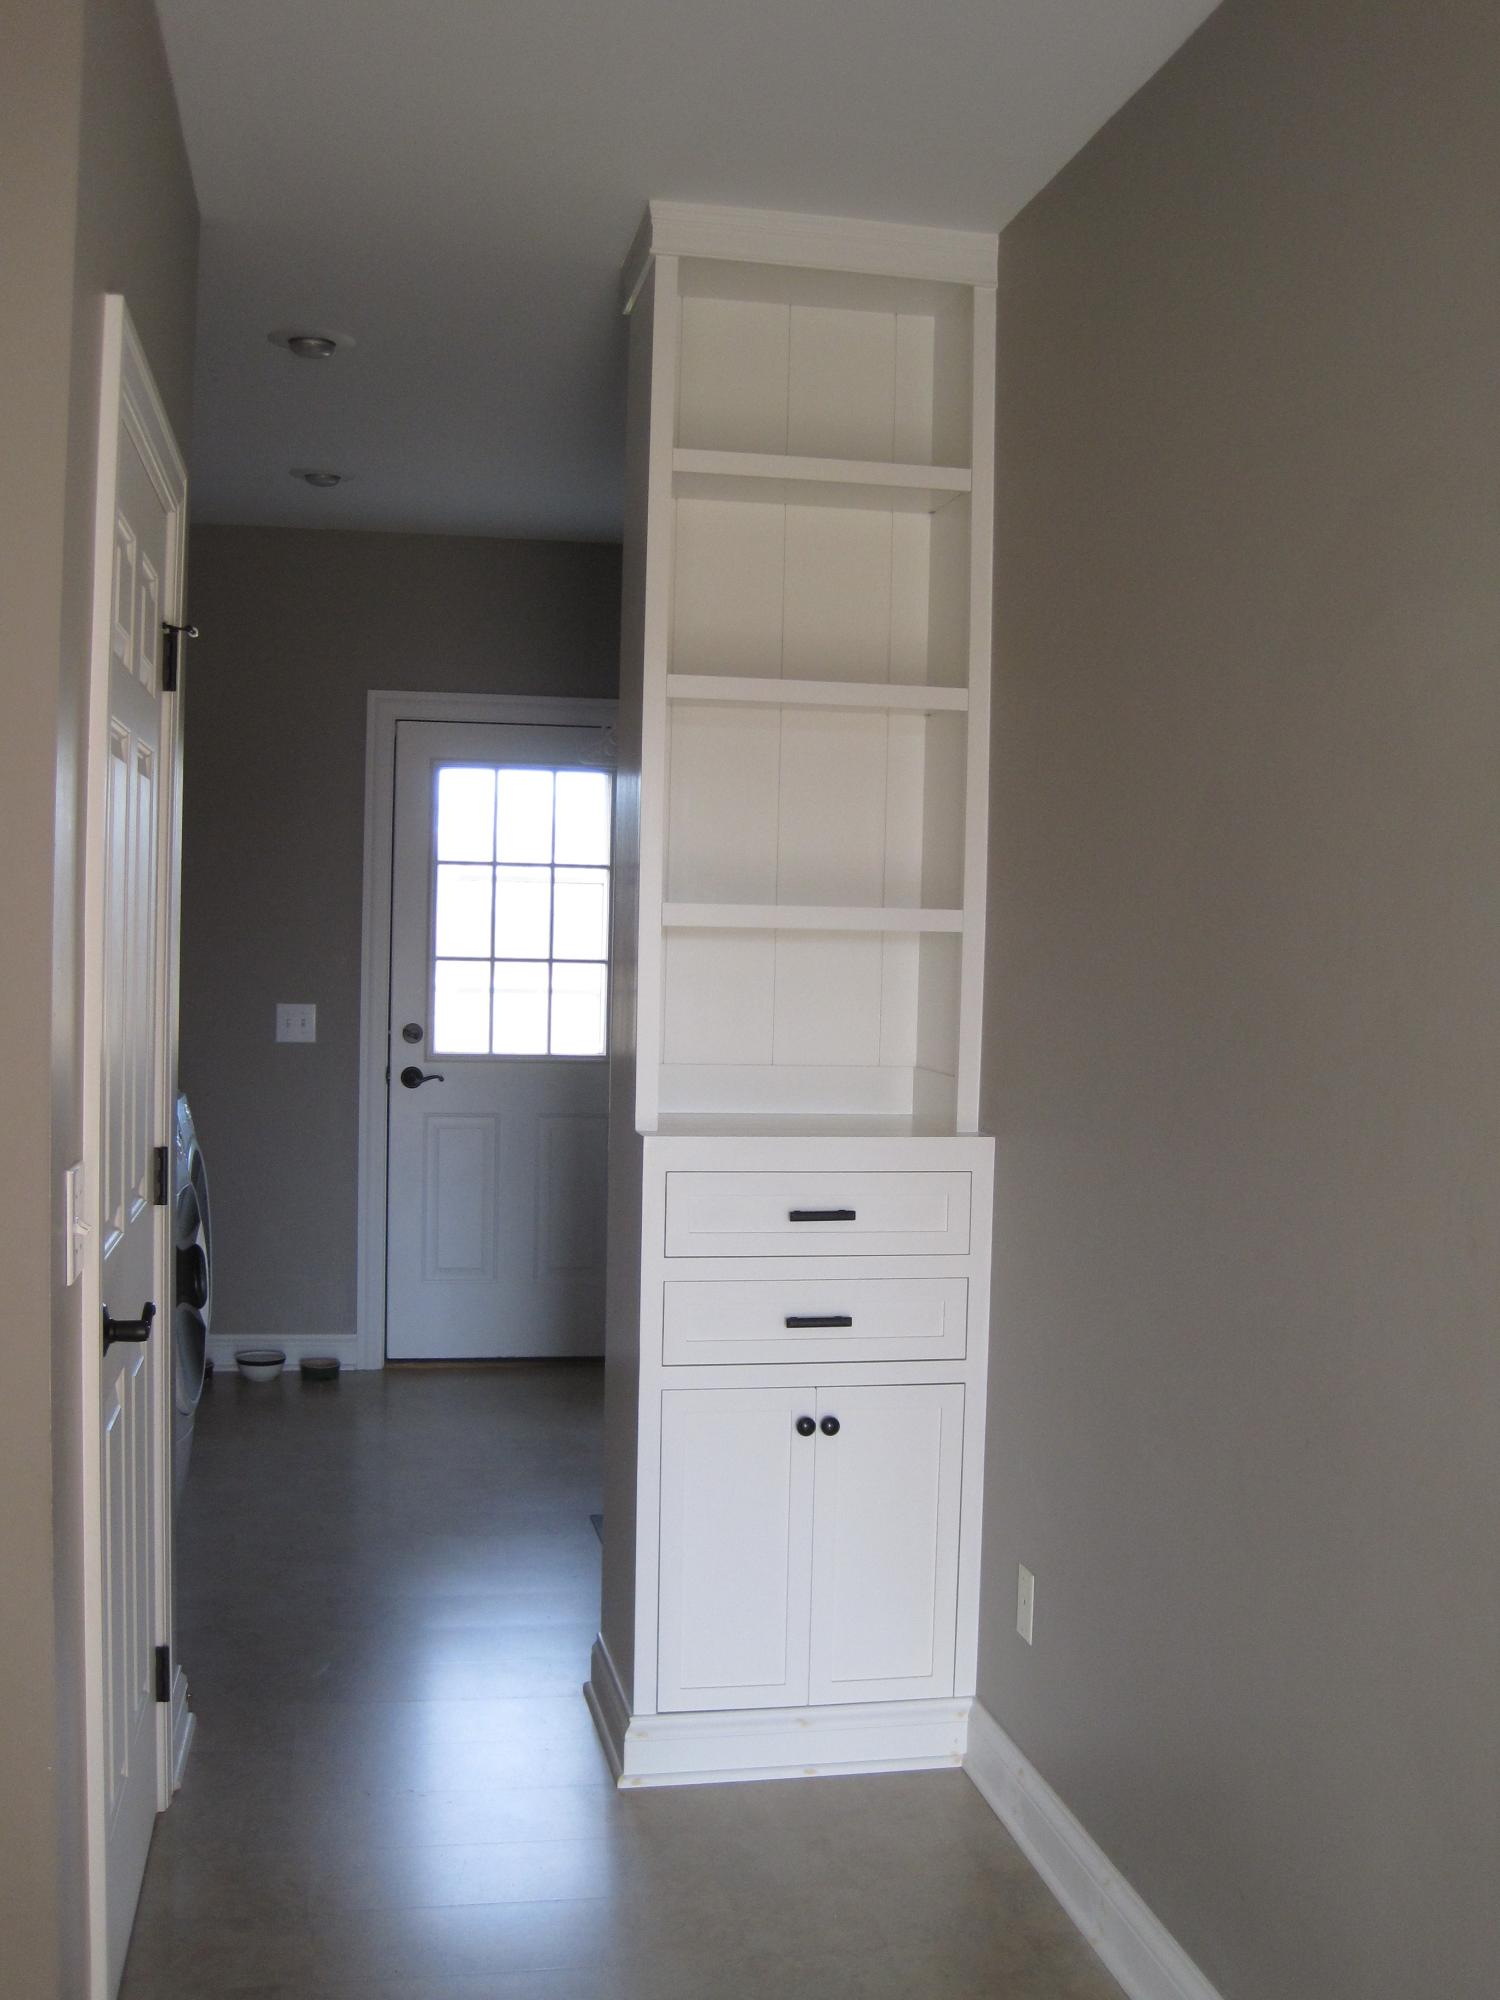
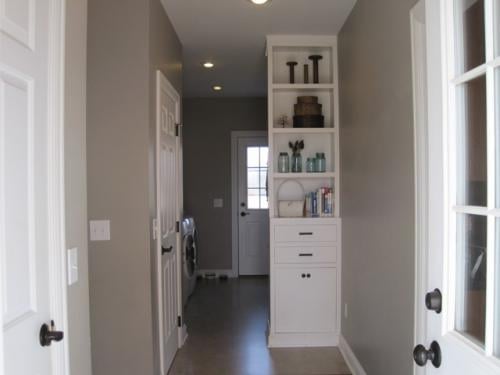
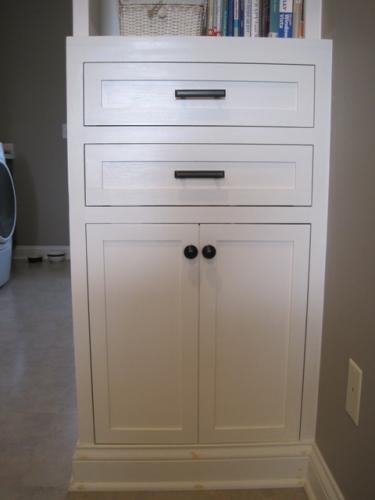
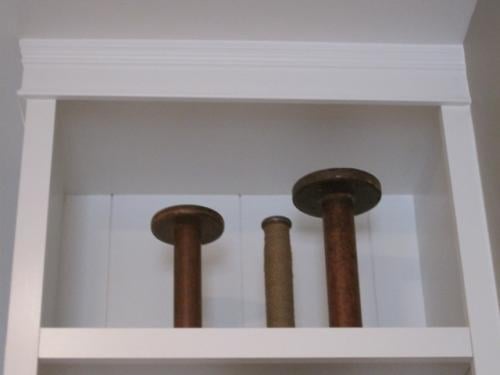
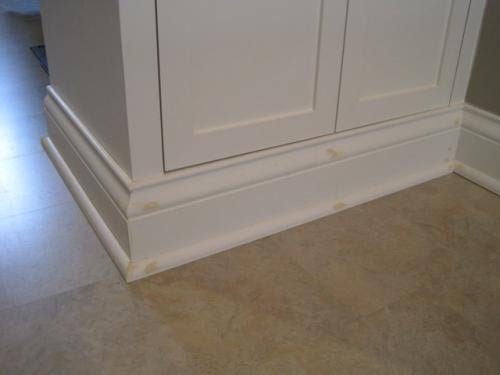
This is my third Ana White project and I modified it quite a bit from the plan. I was inspired by the PB Logan Collection that Ana has a knock off plan of called the Classic Storage Wall and Hutch. You can read more about the whys and hows of this project on my blog pinktoesandpowertools.wordpress.com in the Cabinet and Hutch-laundry room category under woodworking (there are currently 17 posts about this project--yowza!). But the modifications that I made from Ana's plans were that I had to make it less wide, I added two drawers in the cabinet, and I put a back on this that mimics the PB picture (which happens to be the wall behind their open-backed units, not an actual back). The base also hides a cat litter box behind it, so the back is open and the doors do NOT open--they are a fake front. No need to peek in at a litter box and it eliminated the cost of hinges. I learned A LOT during this build! First experiences were: using a circular saw, making a straight cut jig for a circular saw to cut plywood, using a jigsaw, using a compressor and nail gun, cutting crown and base molding miter cuts, tearing out base molding to fit the cabinet, cutting out an electrical outlet in the cabinet and extending the outlet, learning how to remove pneumatic nails that find their way out to the front of your project, and probably more that I can't think of now! The back isn't quite done, but it won't be too much prettier than what the picture shows, and you can see how the litter box looks. I might turn it sideways and cut out a hole in the side--haven't decided on that yet... I am really pleased with how this turned out and I'm excited to start on my next Ana White plan (probably modified, knowing me!).

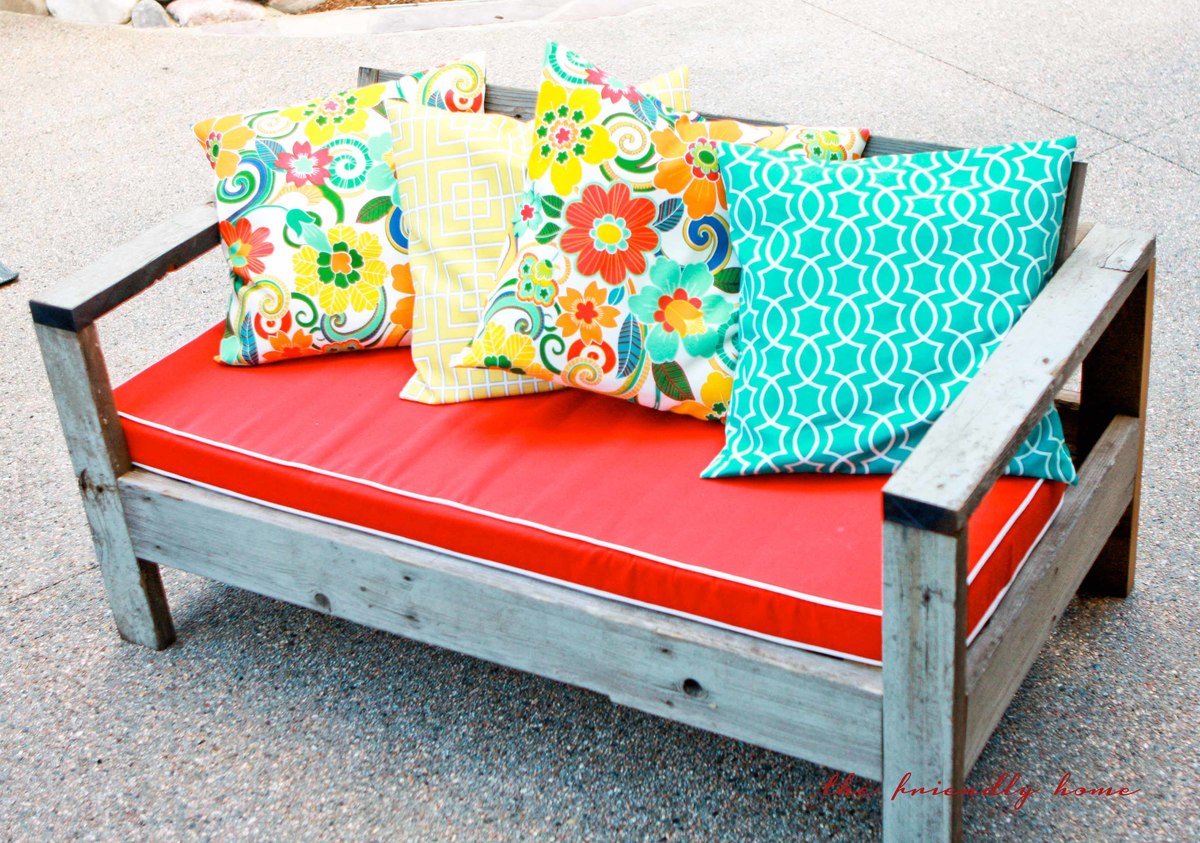
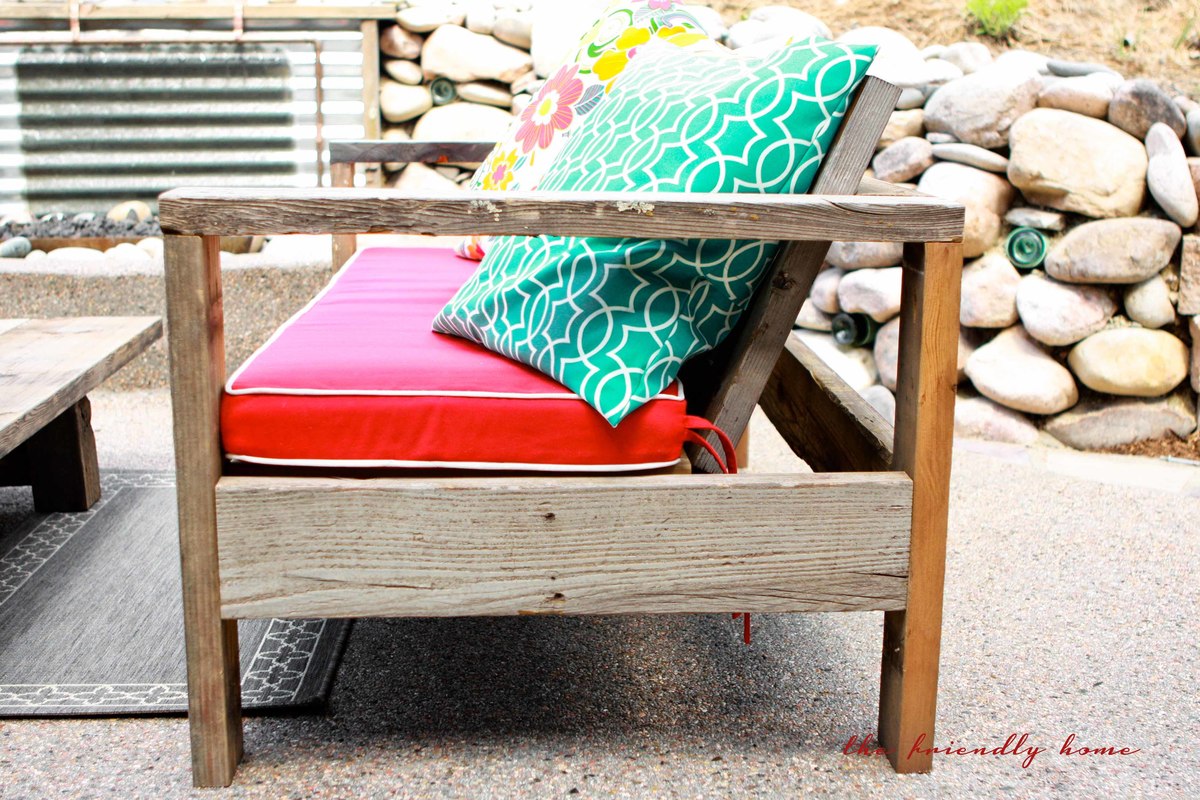
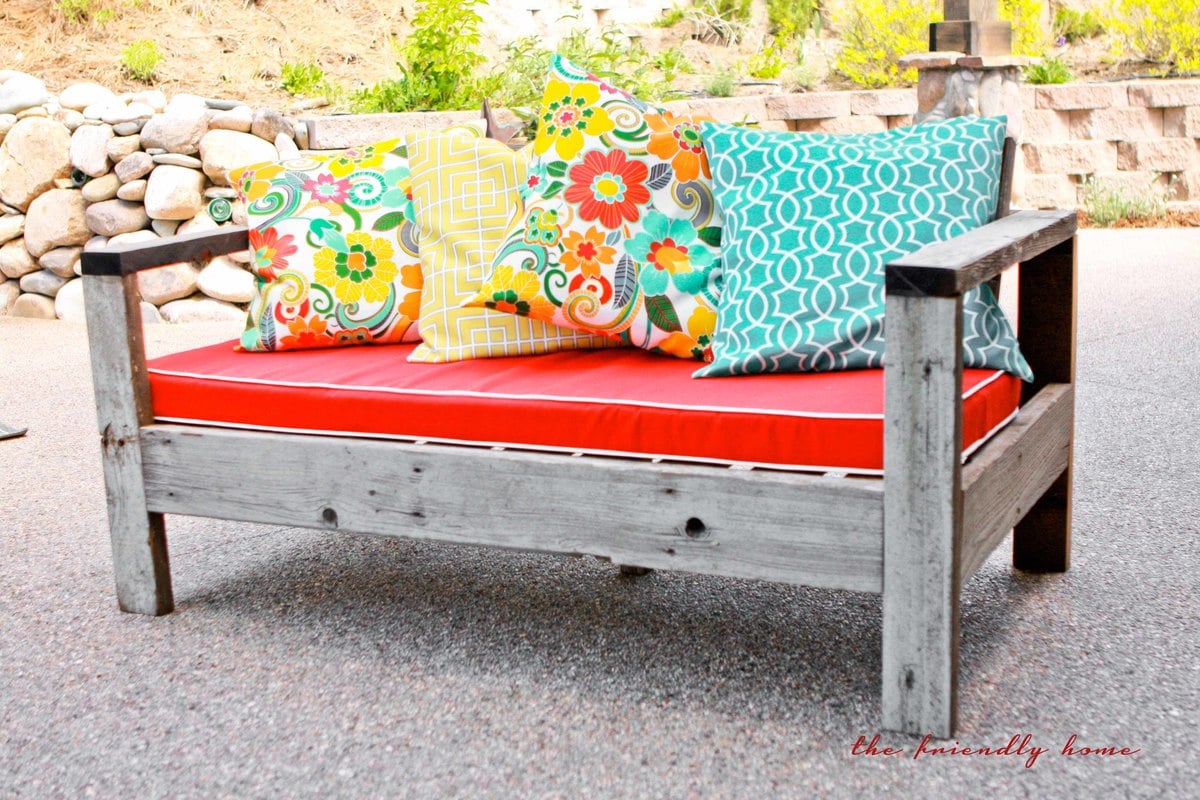
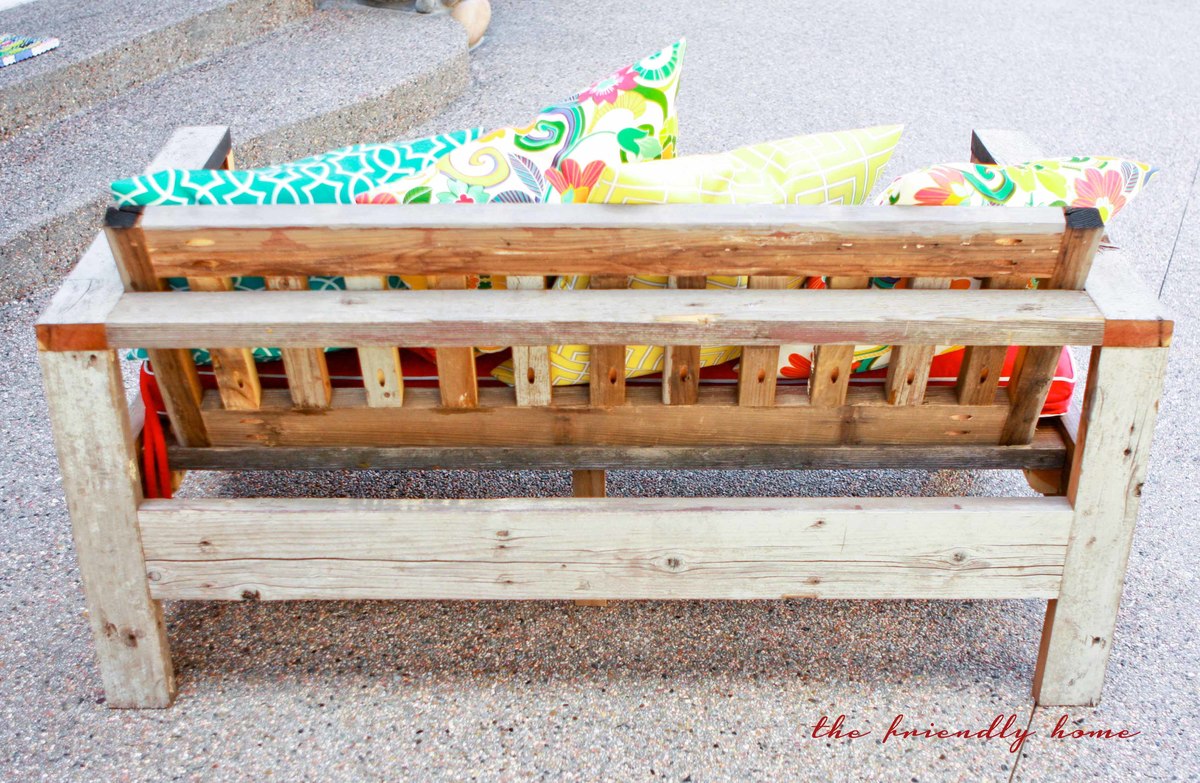
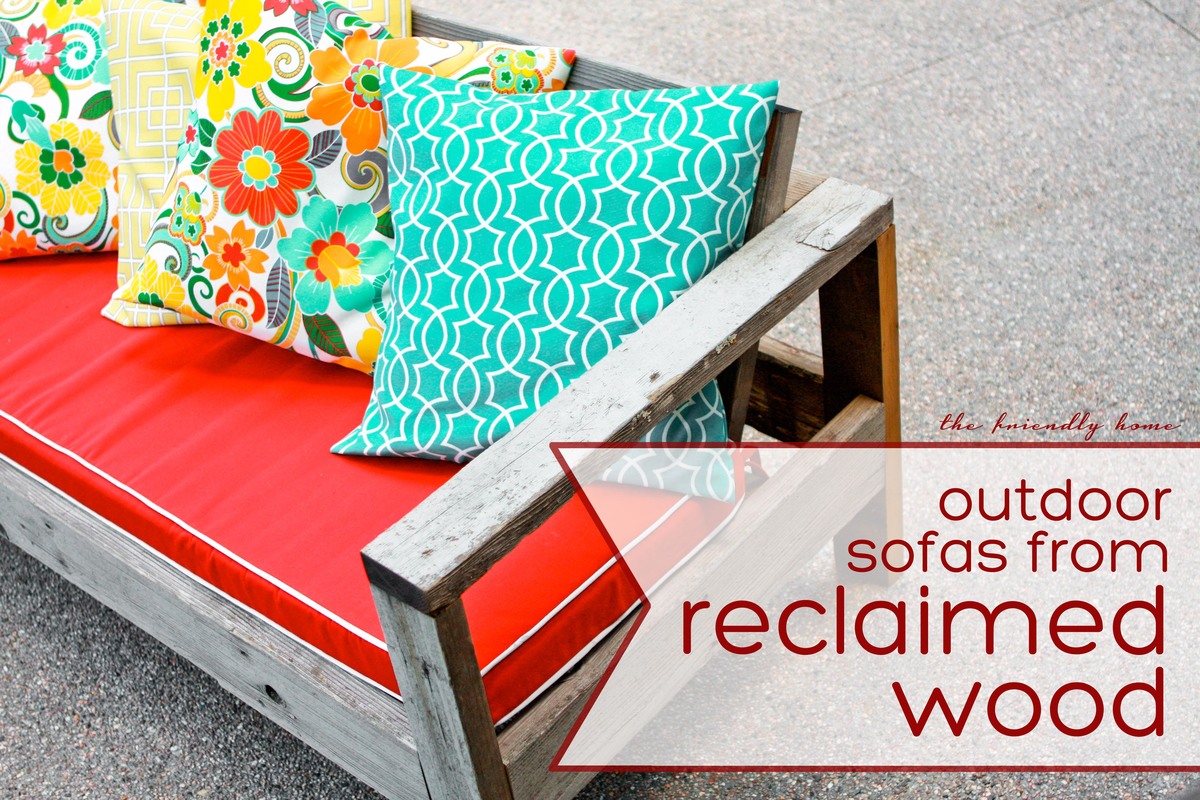
Using Ana's plan as a guide, I built two of these sofas to fit an outdoor cushion I already had. I used wood from our old deck -- a great way to re-use and save money, too!
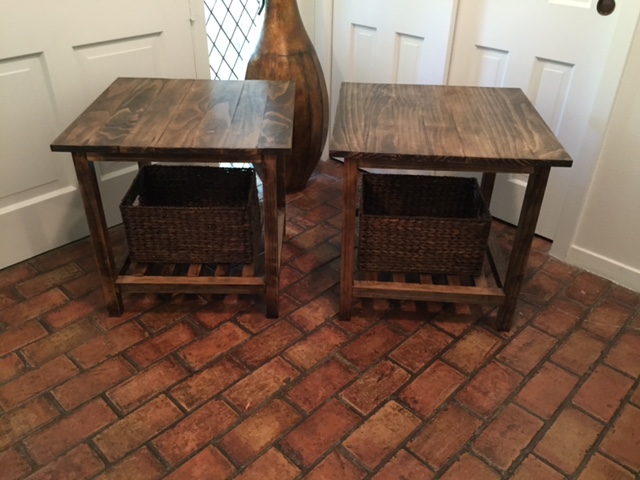
Built a set of Conner Side tables for my Daughter and Son-in-law that live in Austin Texas.
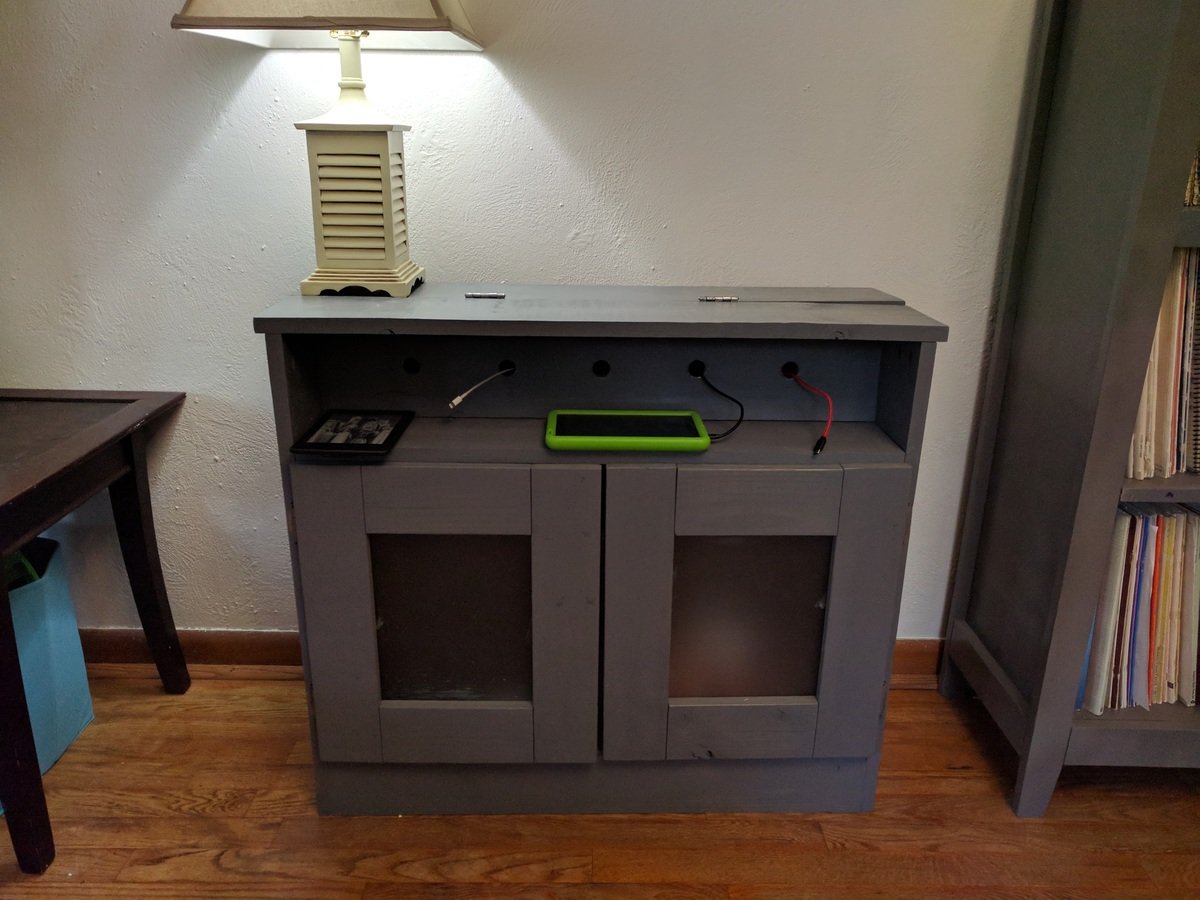
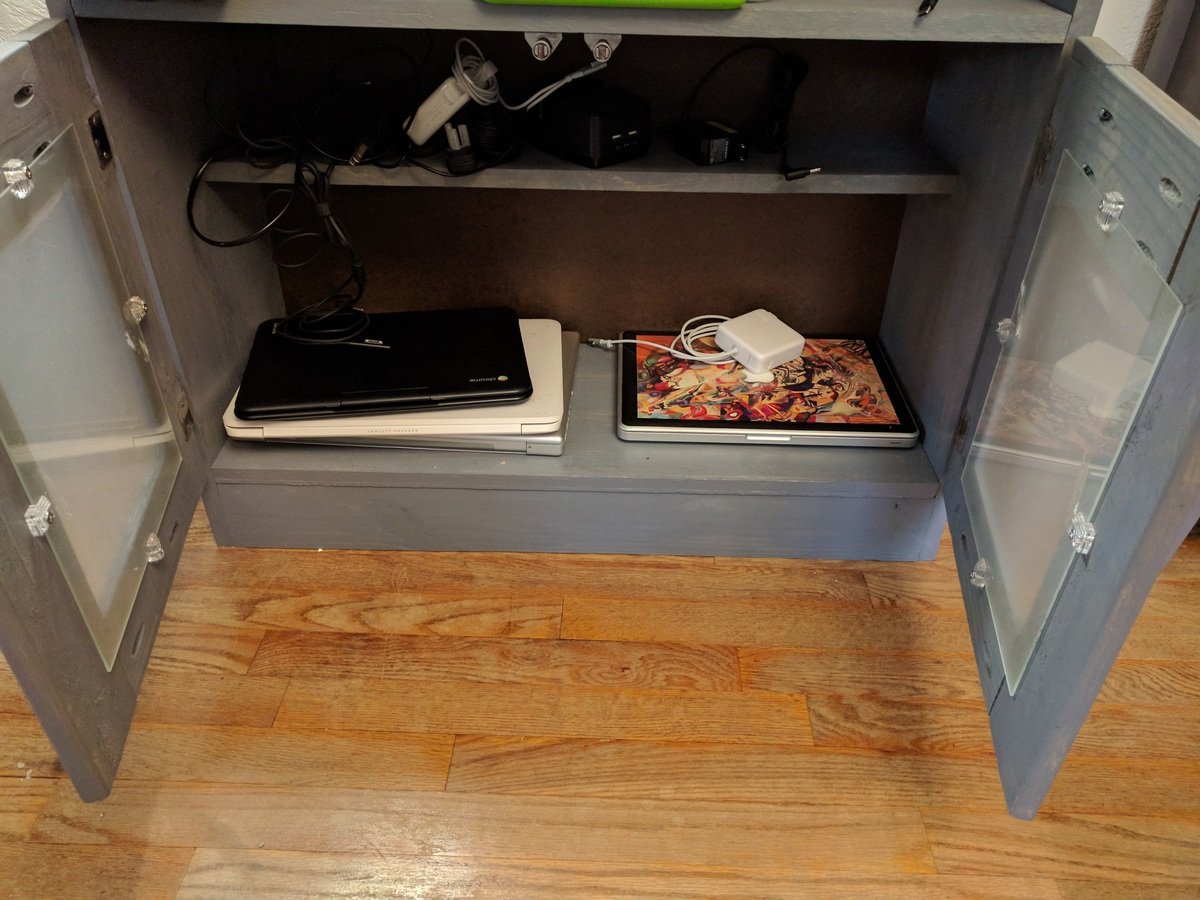
I used the charging station plans as my first attempt at building something using pocket holes, and also my first real attempt at building any piece of furniture from scratch. I stuck pretty much to Ana's plans except for not cutting the front footer (I didn't own a jigsaw at the time) and using panes of frosted glass as the center of the doors.
As a piece of furniture it gets used every day, but it has been most invaluable to me as a learning experience. I've built many pieces of furniture in the time since I made the charging station, growing my skills each time. But this project was where I started, so it always feels a little extra special to me.

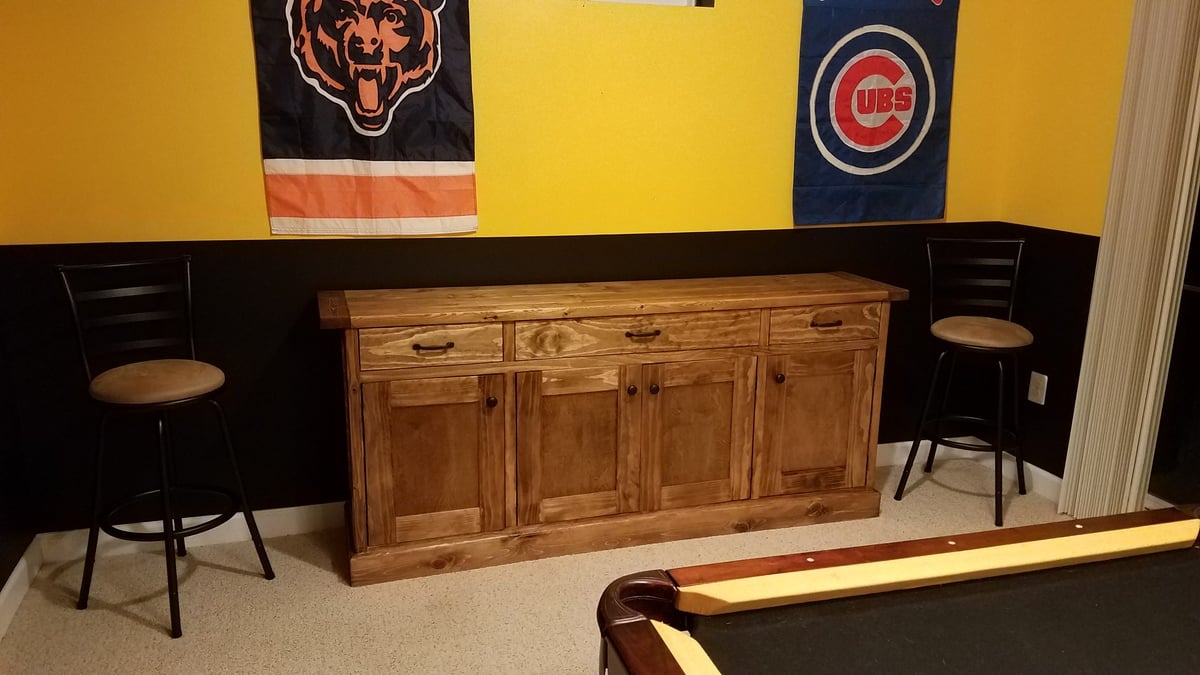
My covid bar. Kept me busy for a while. There were no plans used for this bar.
My first "real" project!
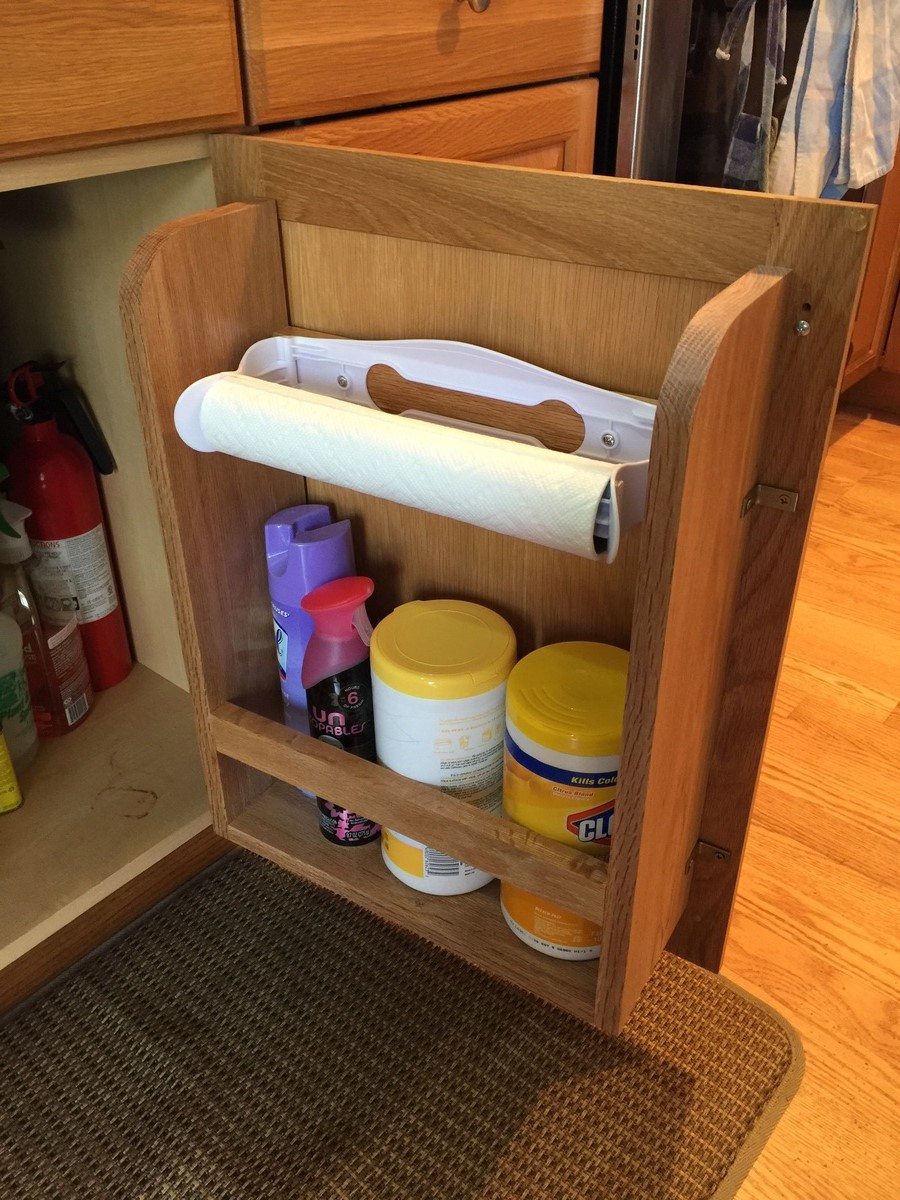
We have been looking for a place to keep our paper towels that doesn't require giving up and counter space or under cabinet space. Thanks, Ana!!
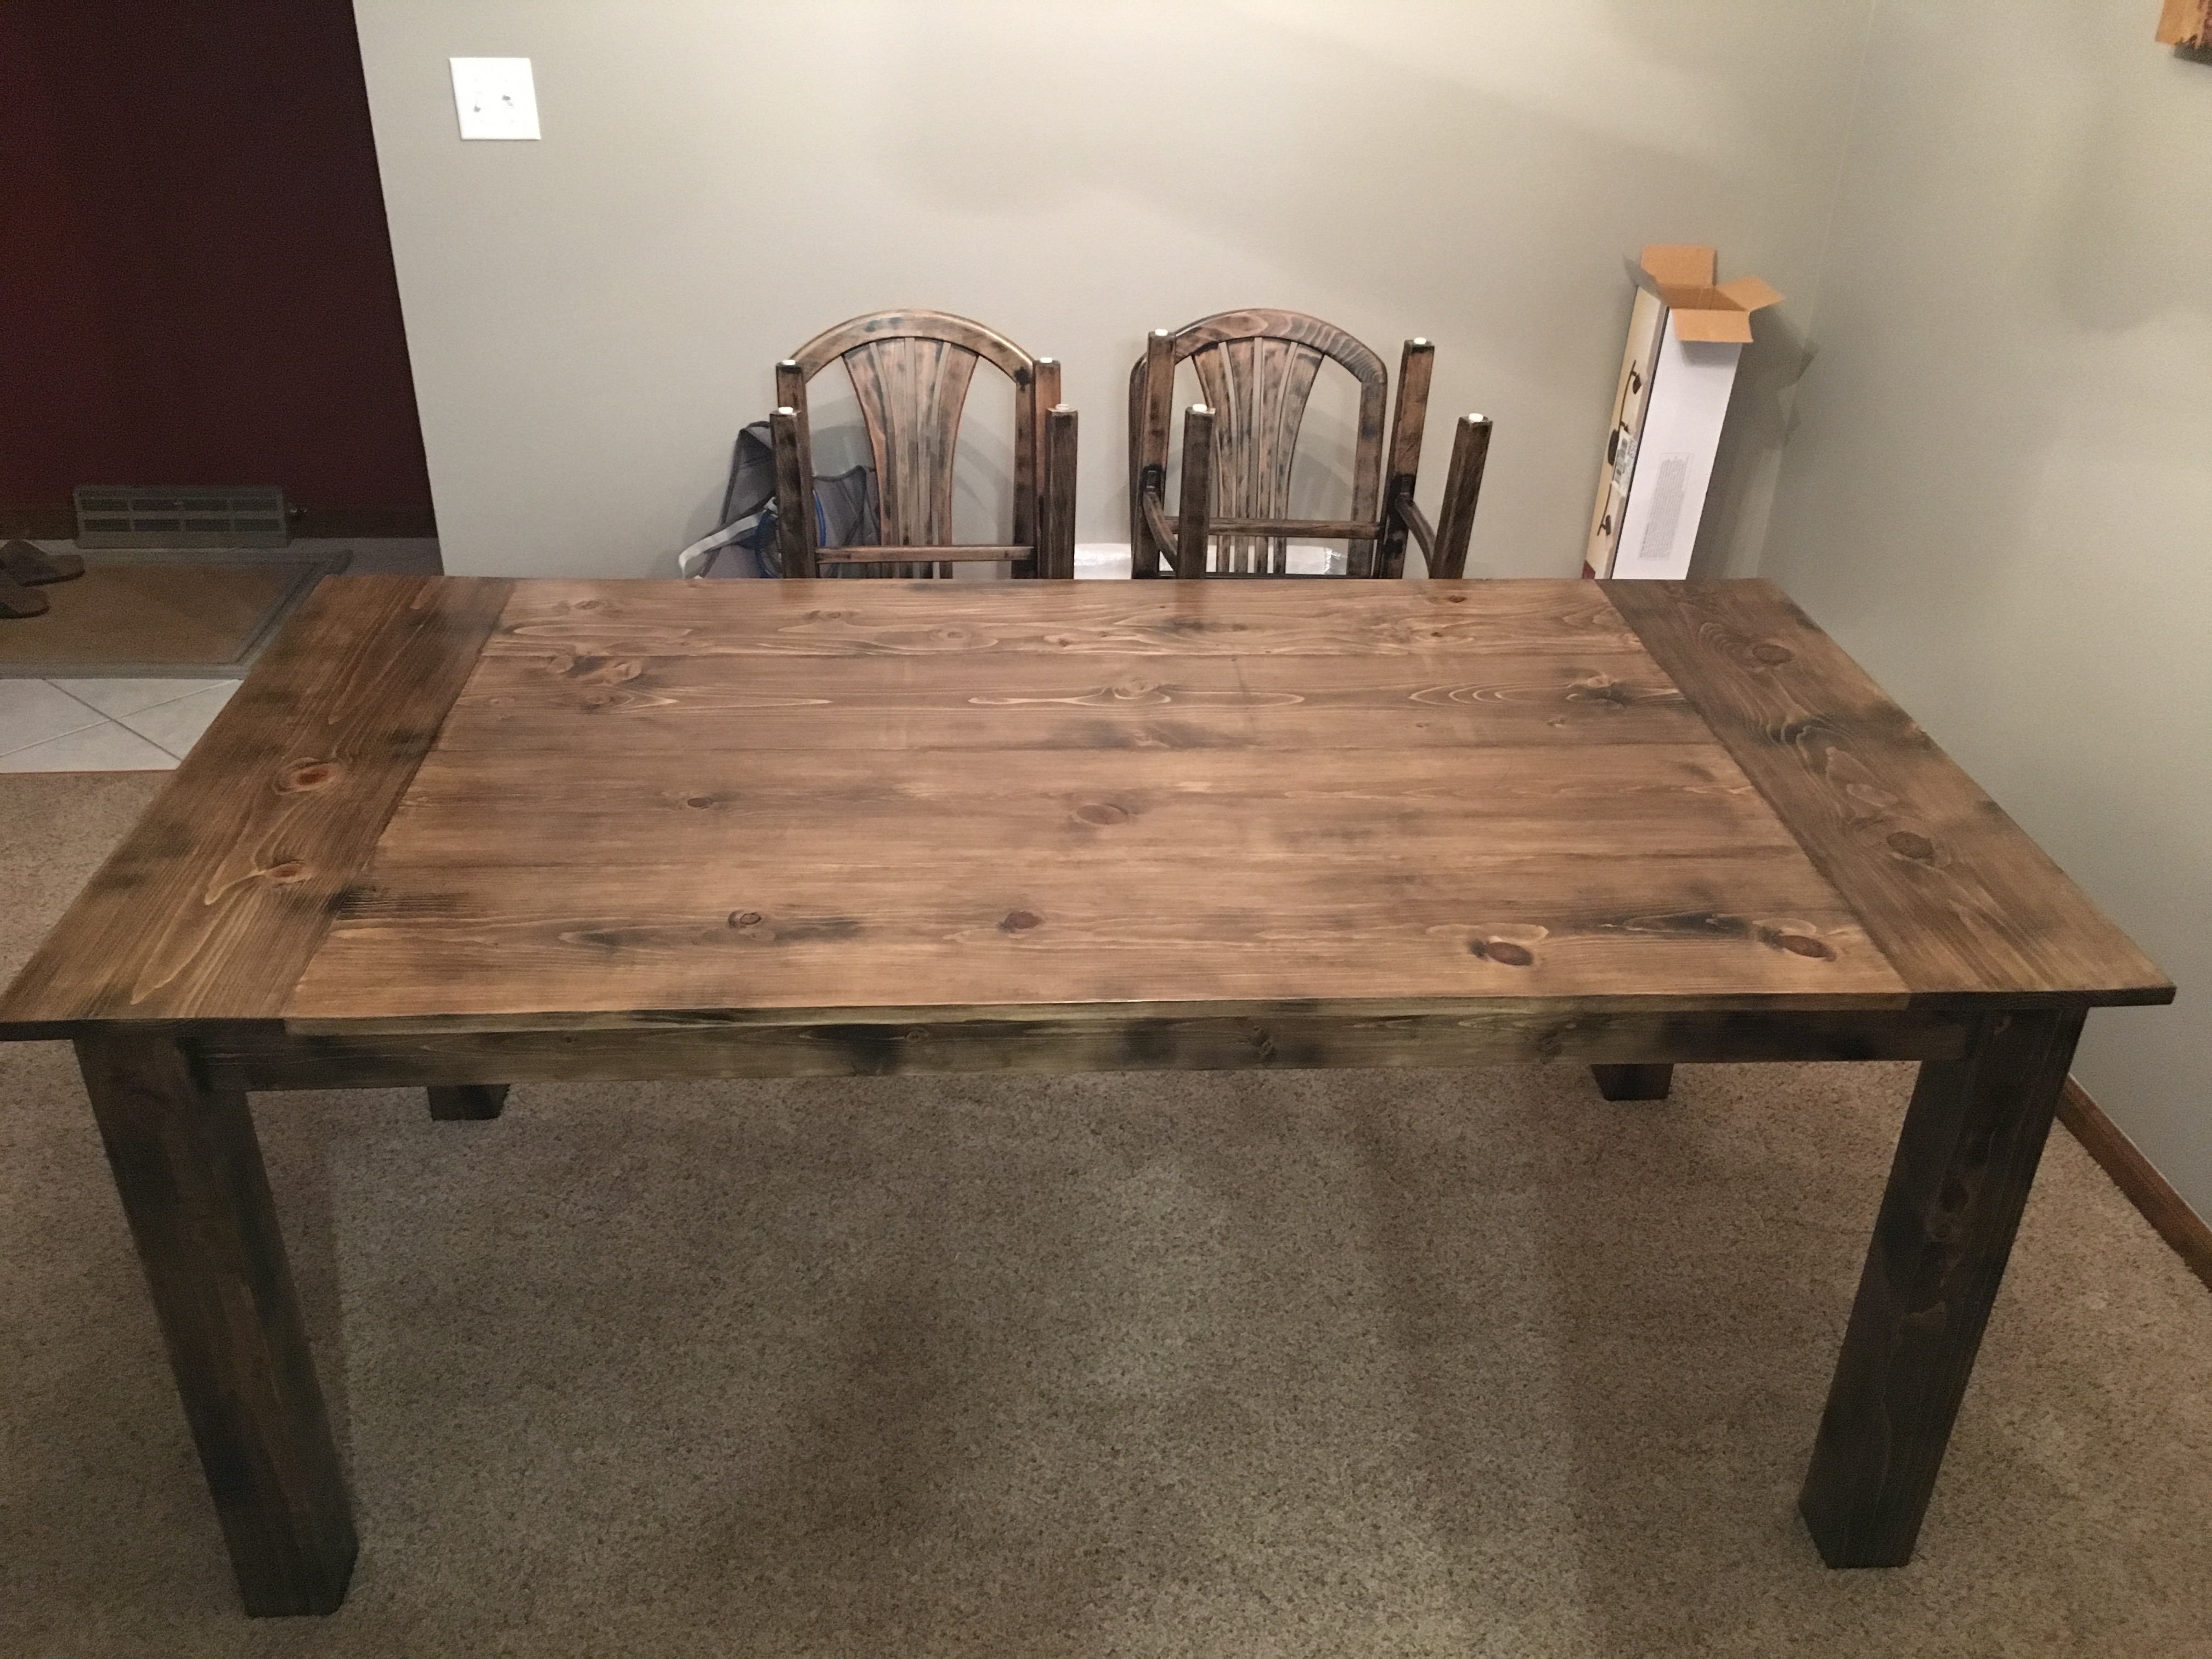
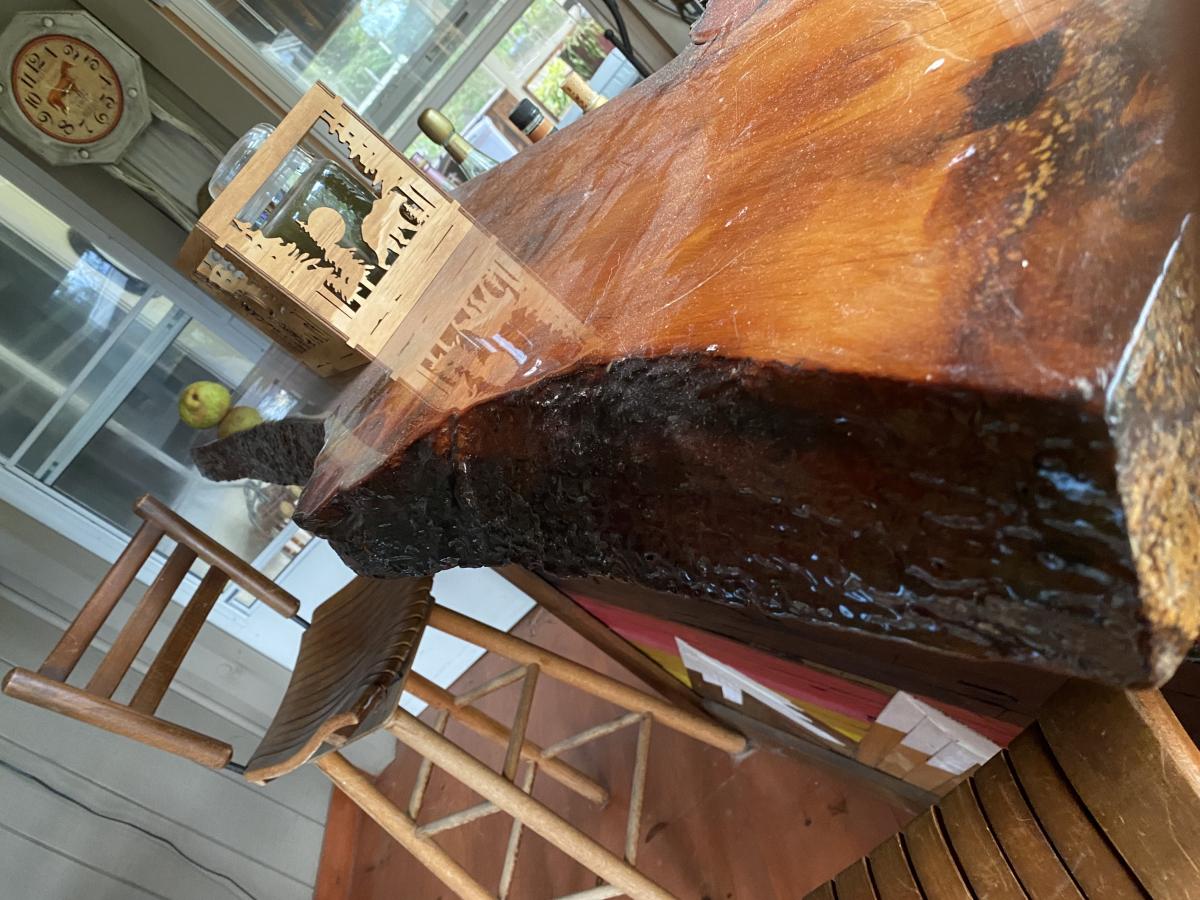
Built this table with some modifications from the rustic table plans. Made it 6ft and added the breadboard end. Fun project!
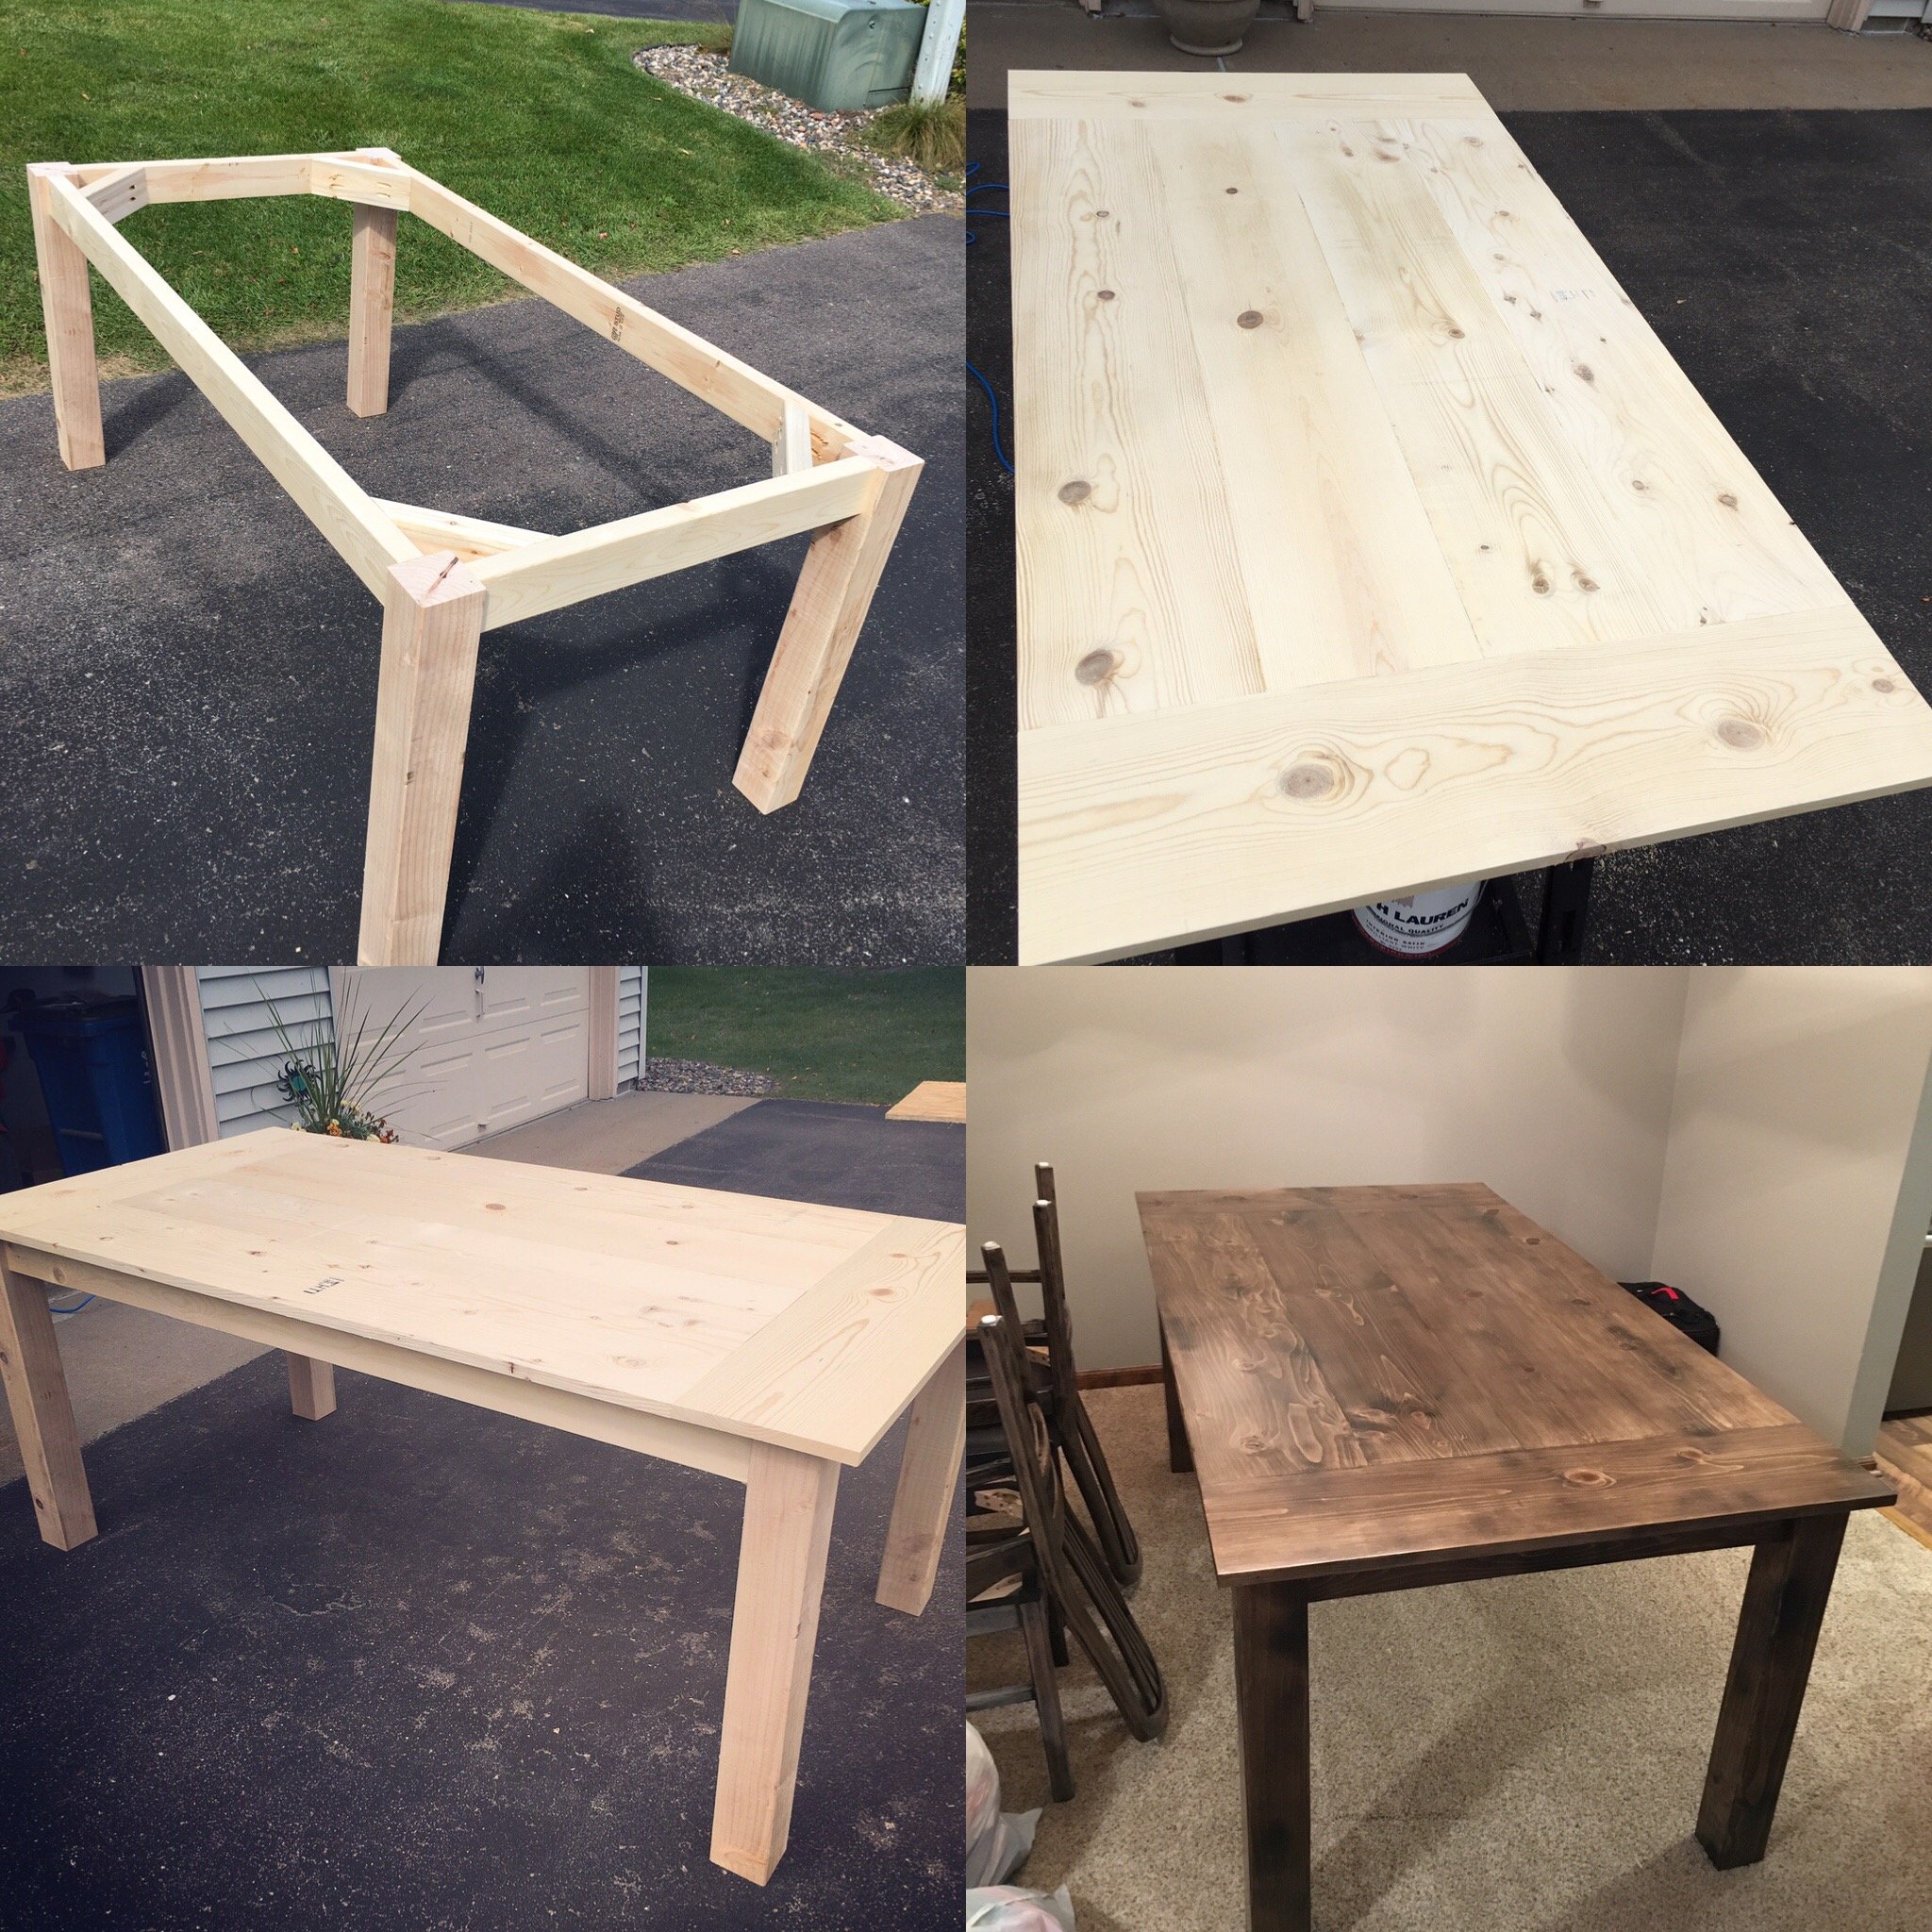
Got it finished. Took a week exactly, with having to work and a few minor setbacks. We LOVE it!! Can't wait to start the next one!!

My first attempt at making something this caliber!
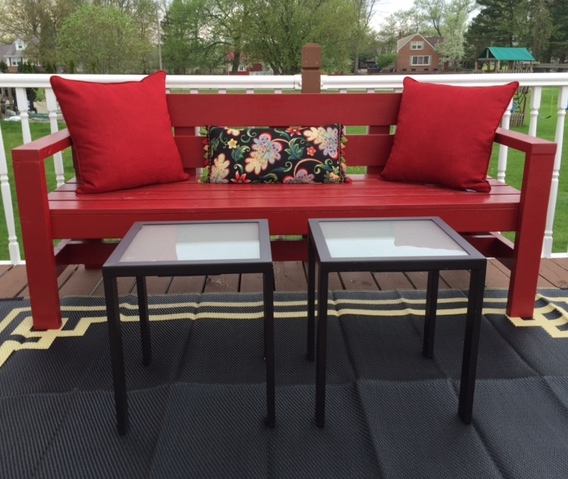
Our deck was lackluster to say the least. It had been a while since we did anything with it and we didn't spend much time out there because of it. I wanted to add something cozy to encourage us to hang out there more. I searched the internet and came across this bench. It was just the thing! My son and I spent a couple of hours building it, and another day or two priming and painting. Now it looks great! We are out there all the time. Thanks Ana!!

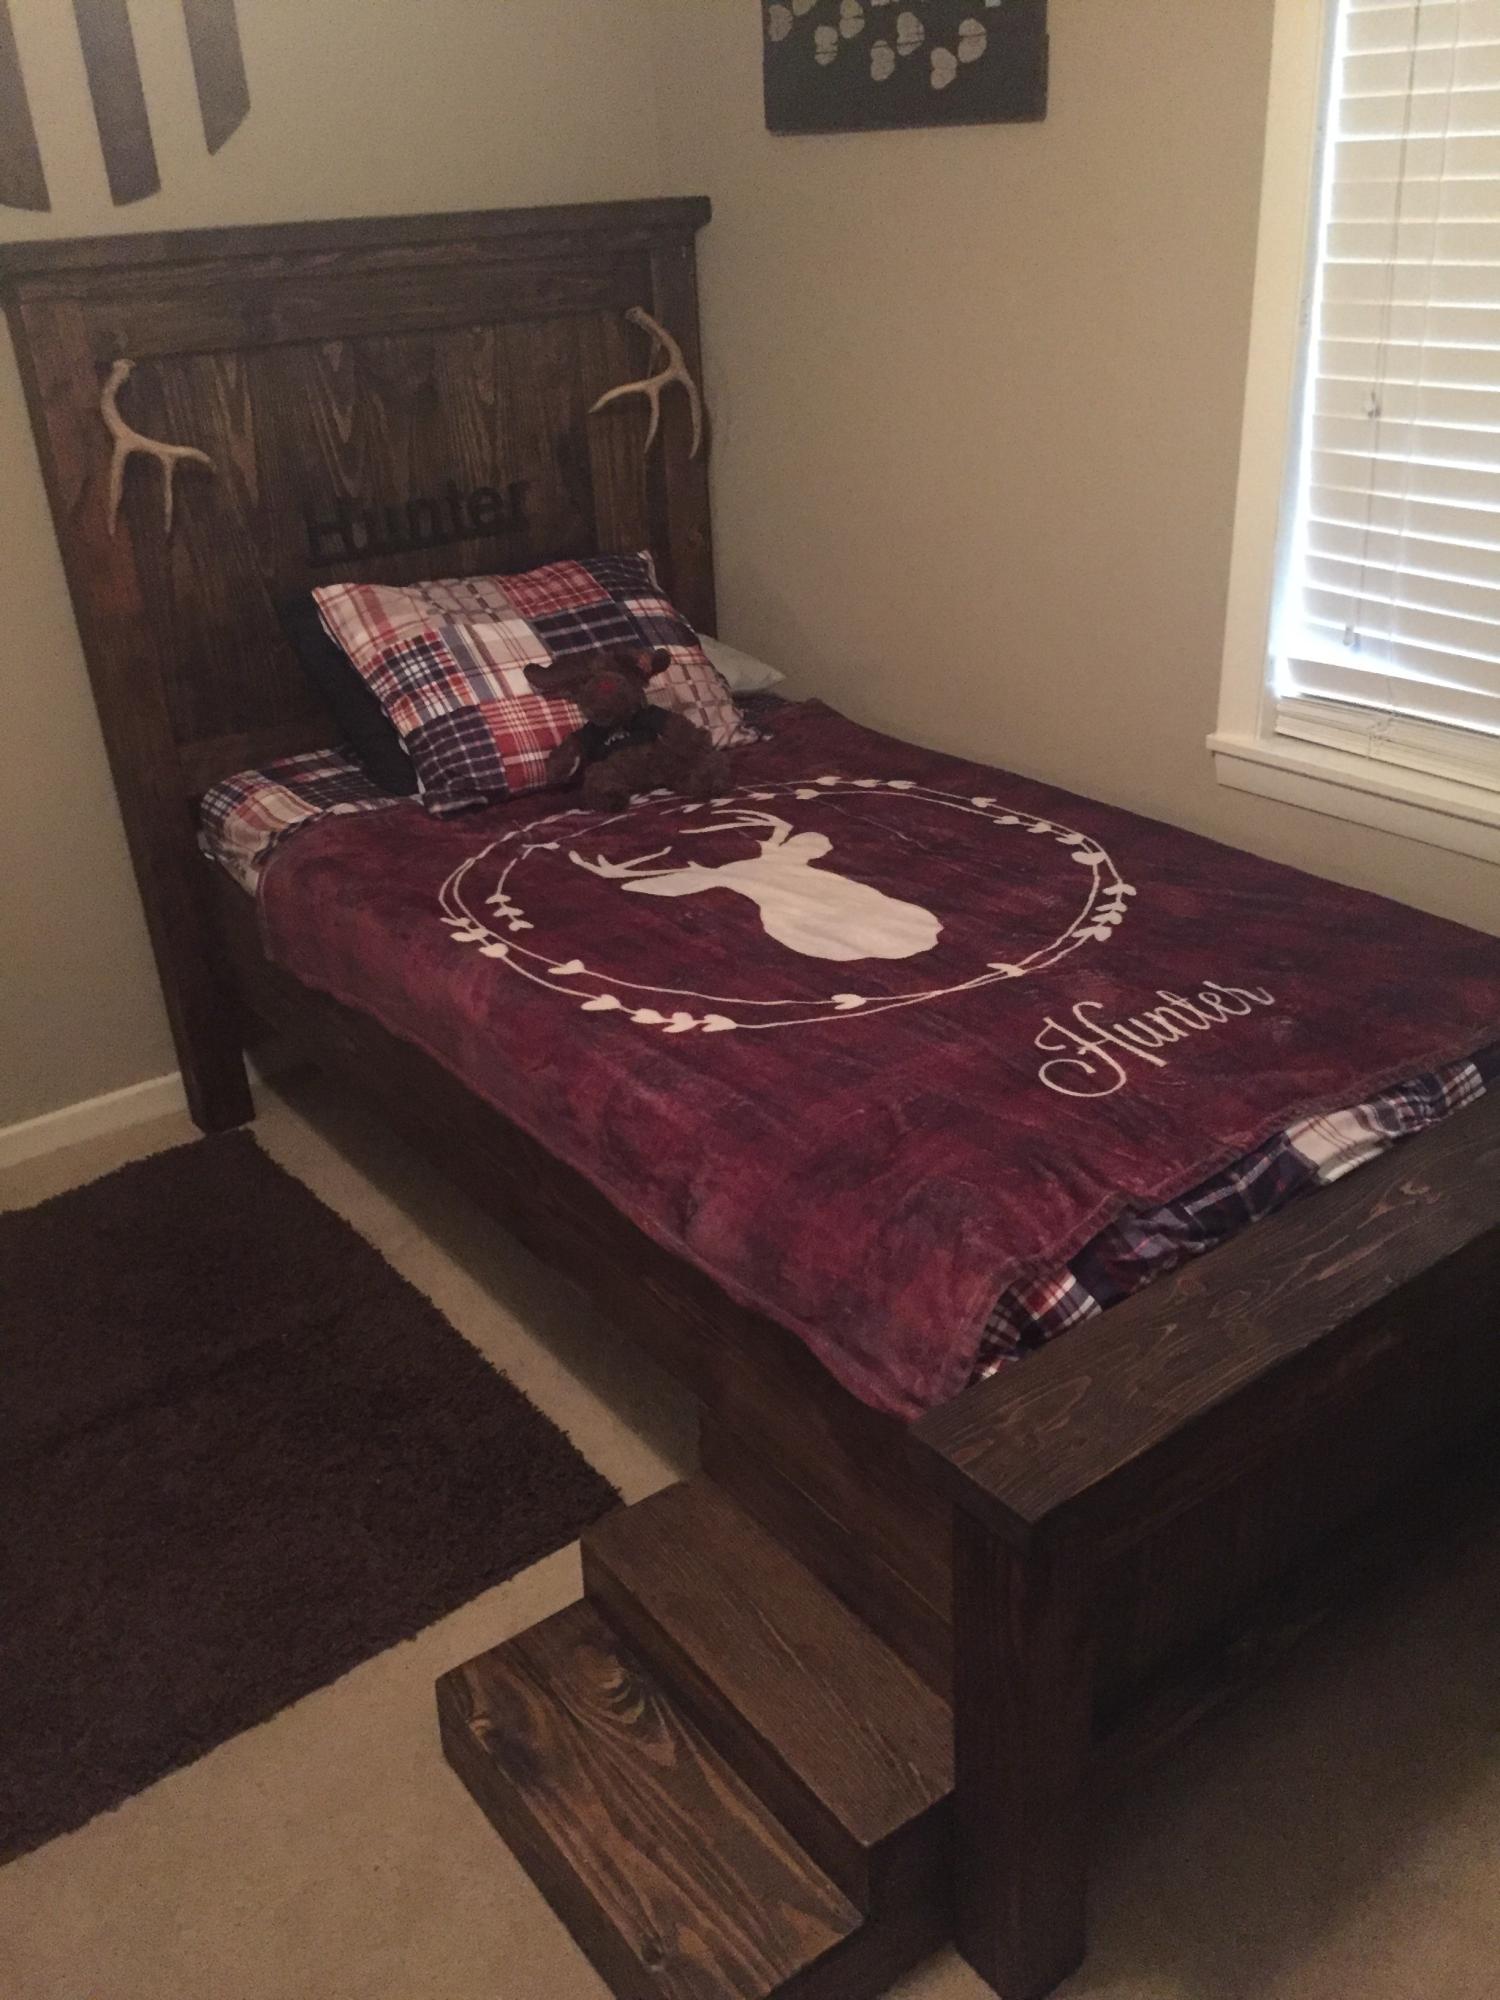
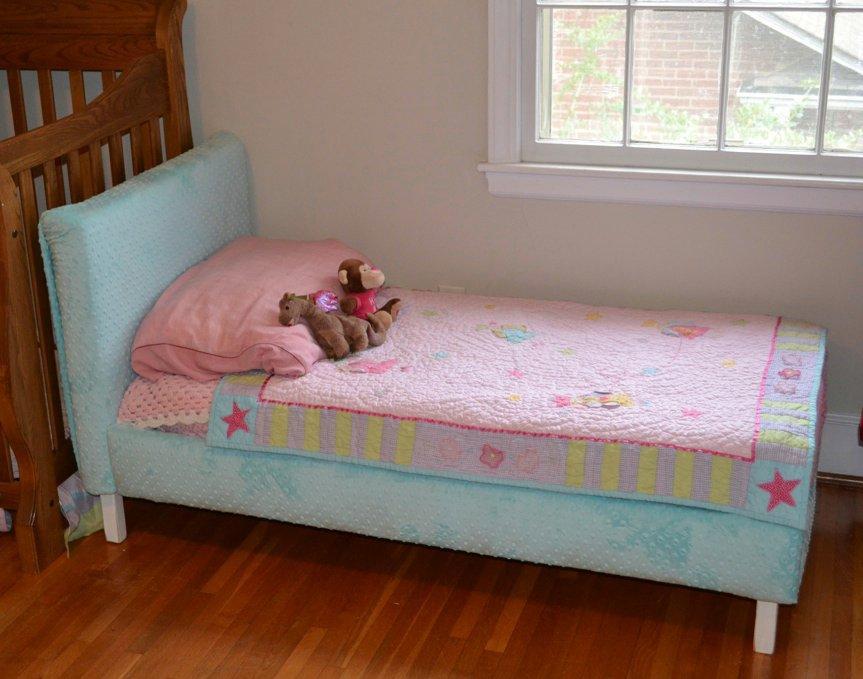
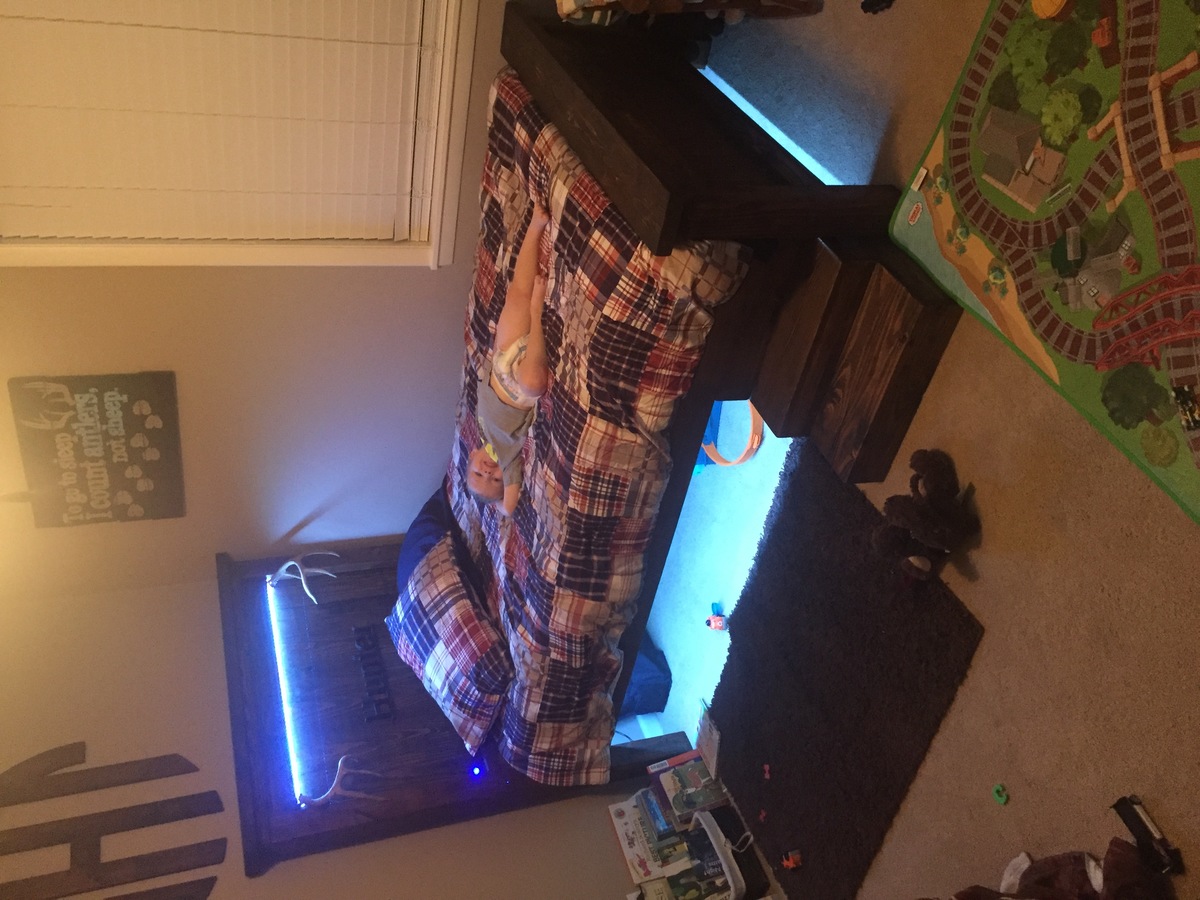
This is the first bed I have built. It turned out better than I expected. The plans were great and easy to follow. I completed the bed from start to finish in two days. The steps I made from leftover material.
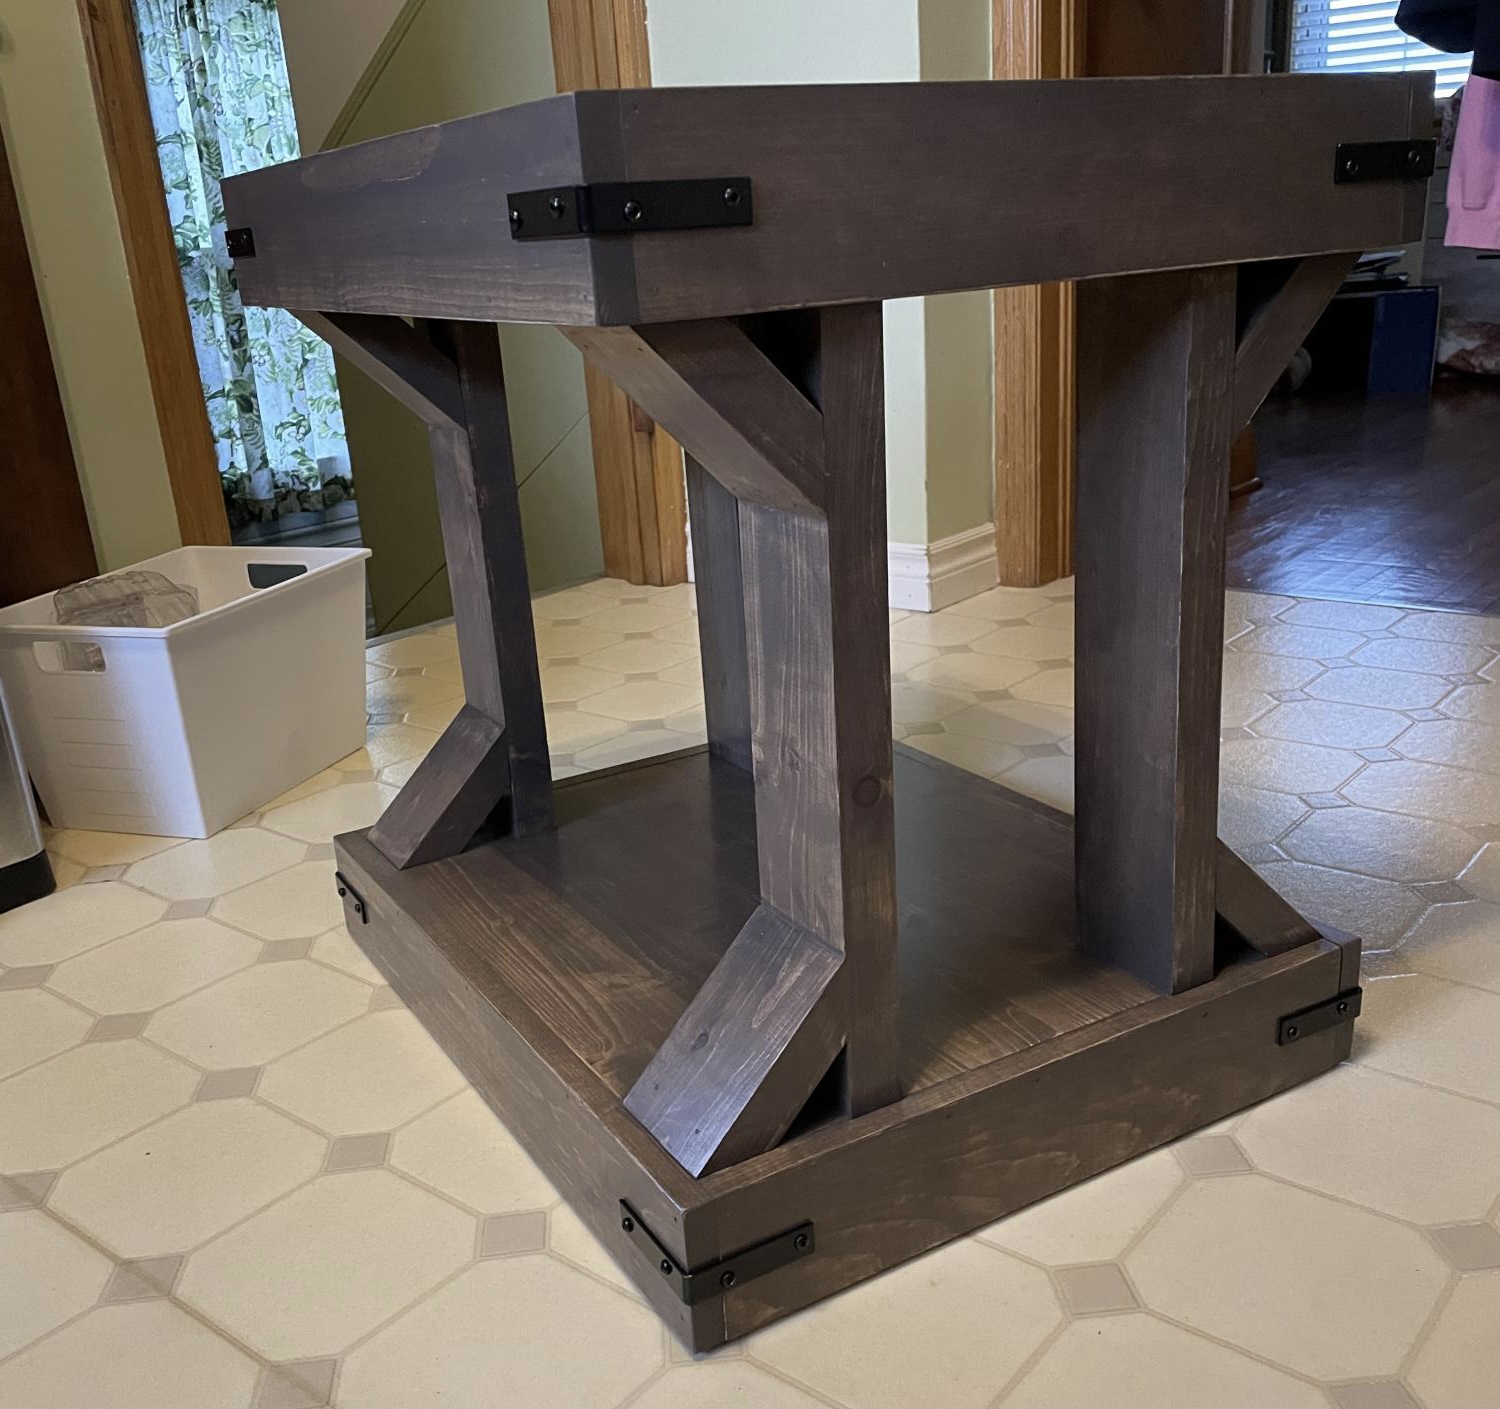
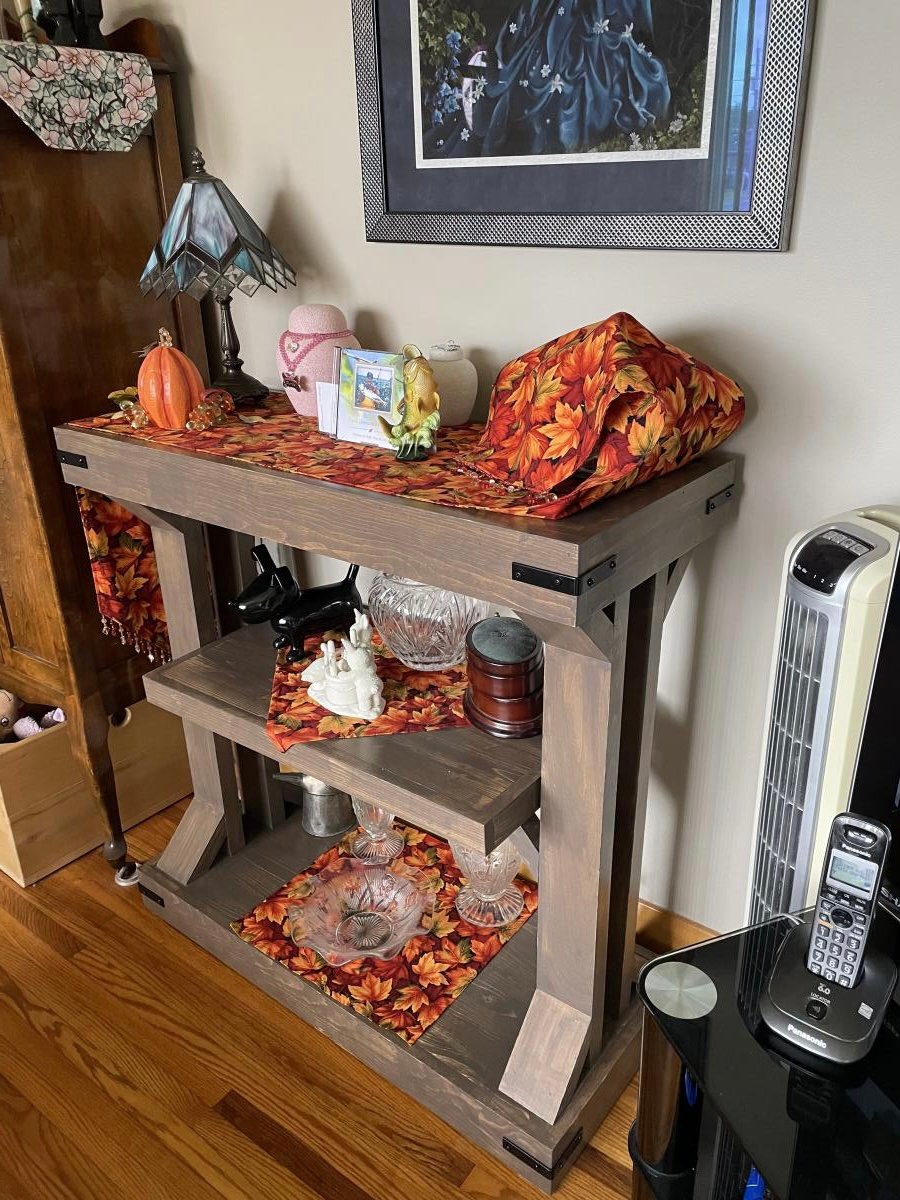
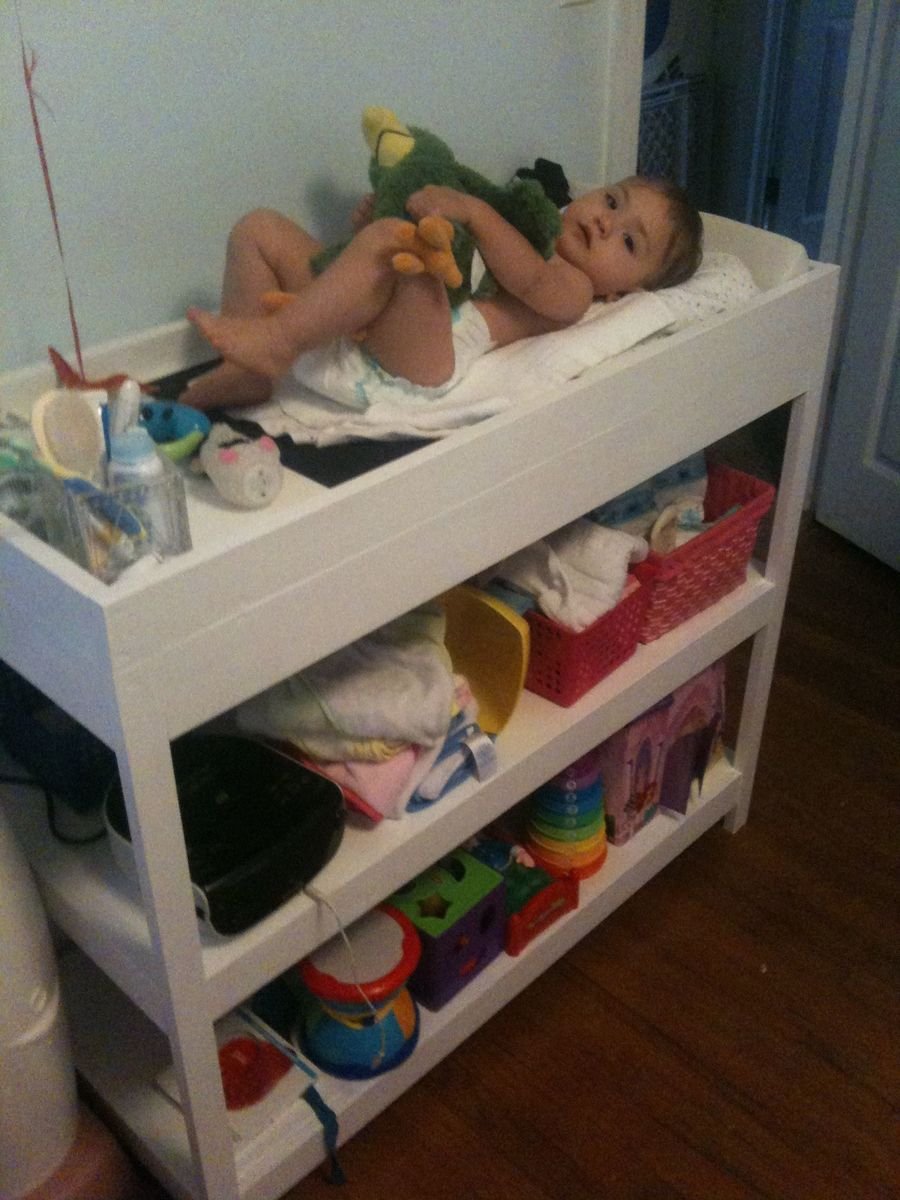
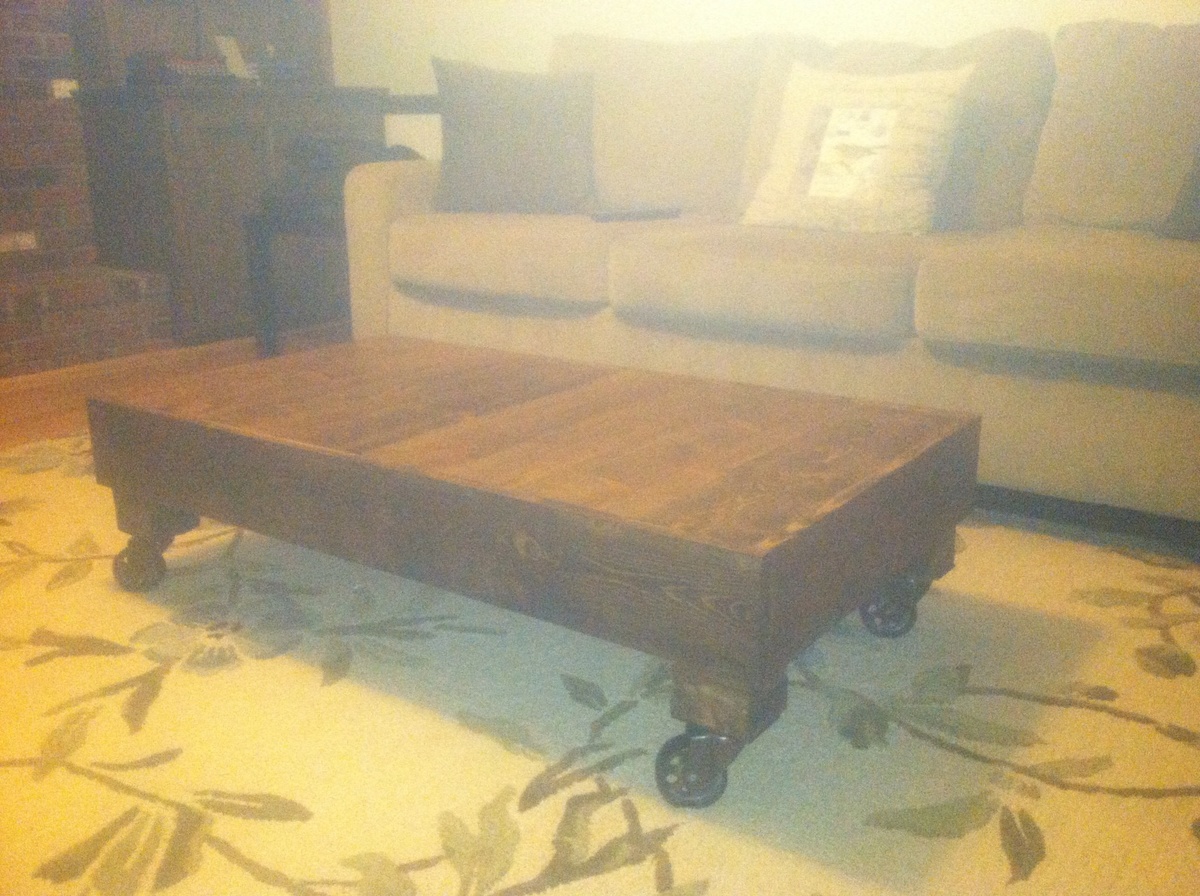
I made the coffee table, an end table and I modified the console table to add another shelf because I have too much stuff lol! These are my first wood projects and I am happy how they turned out 🥰
This was my first wood working project ever. I followed Ana's plan exactly except for the trim and partitions. I learned a lot from this project such as the correct pre-drilling hole size and the need for countersinks (I had quite a few split boards). I used Pine for the boards and MDF for the shelves but if I had to do it again I think I would go for plywood. All in all it was a rewarding project. The hardest part was the wood putty.
Comments
Ana White Admin
Wed, 10/06/2021 - 10:12
Fantastic planter!
That looks amazing, way to go!