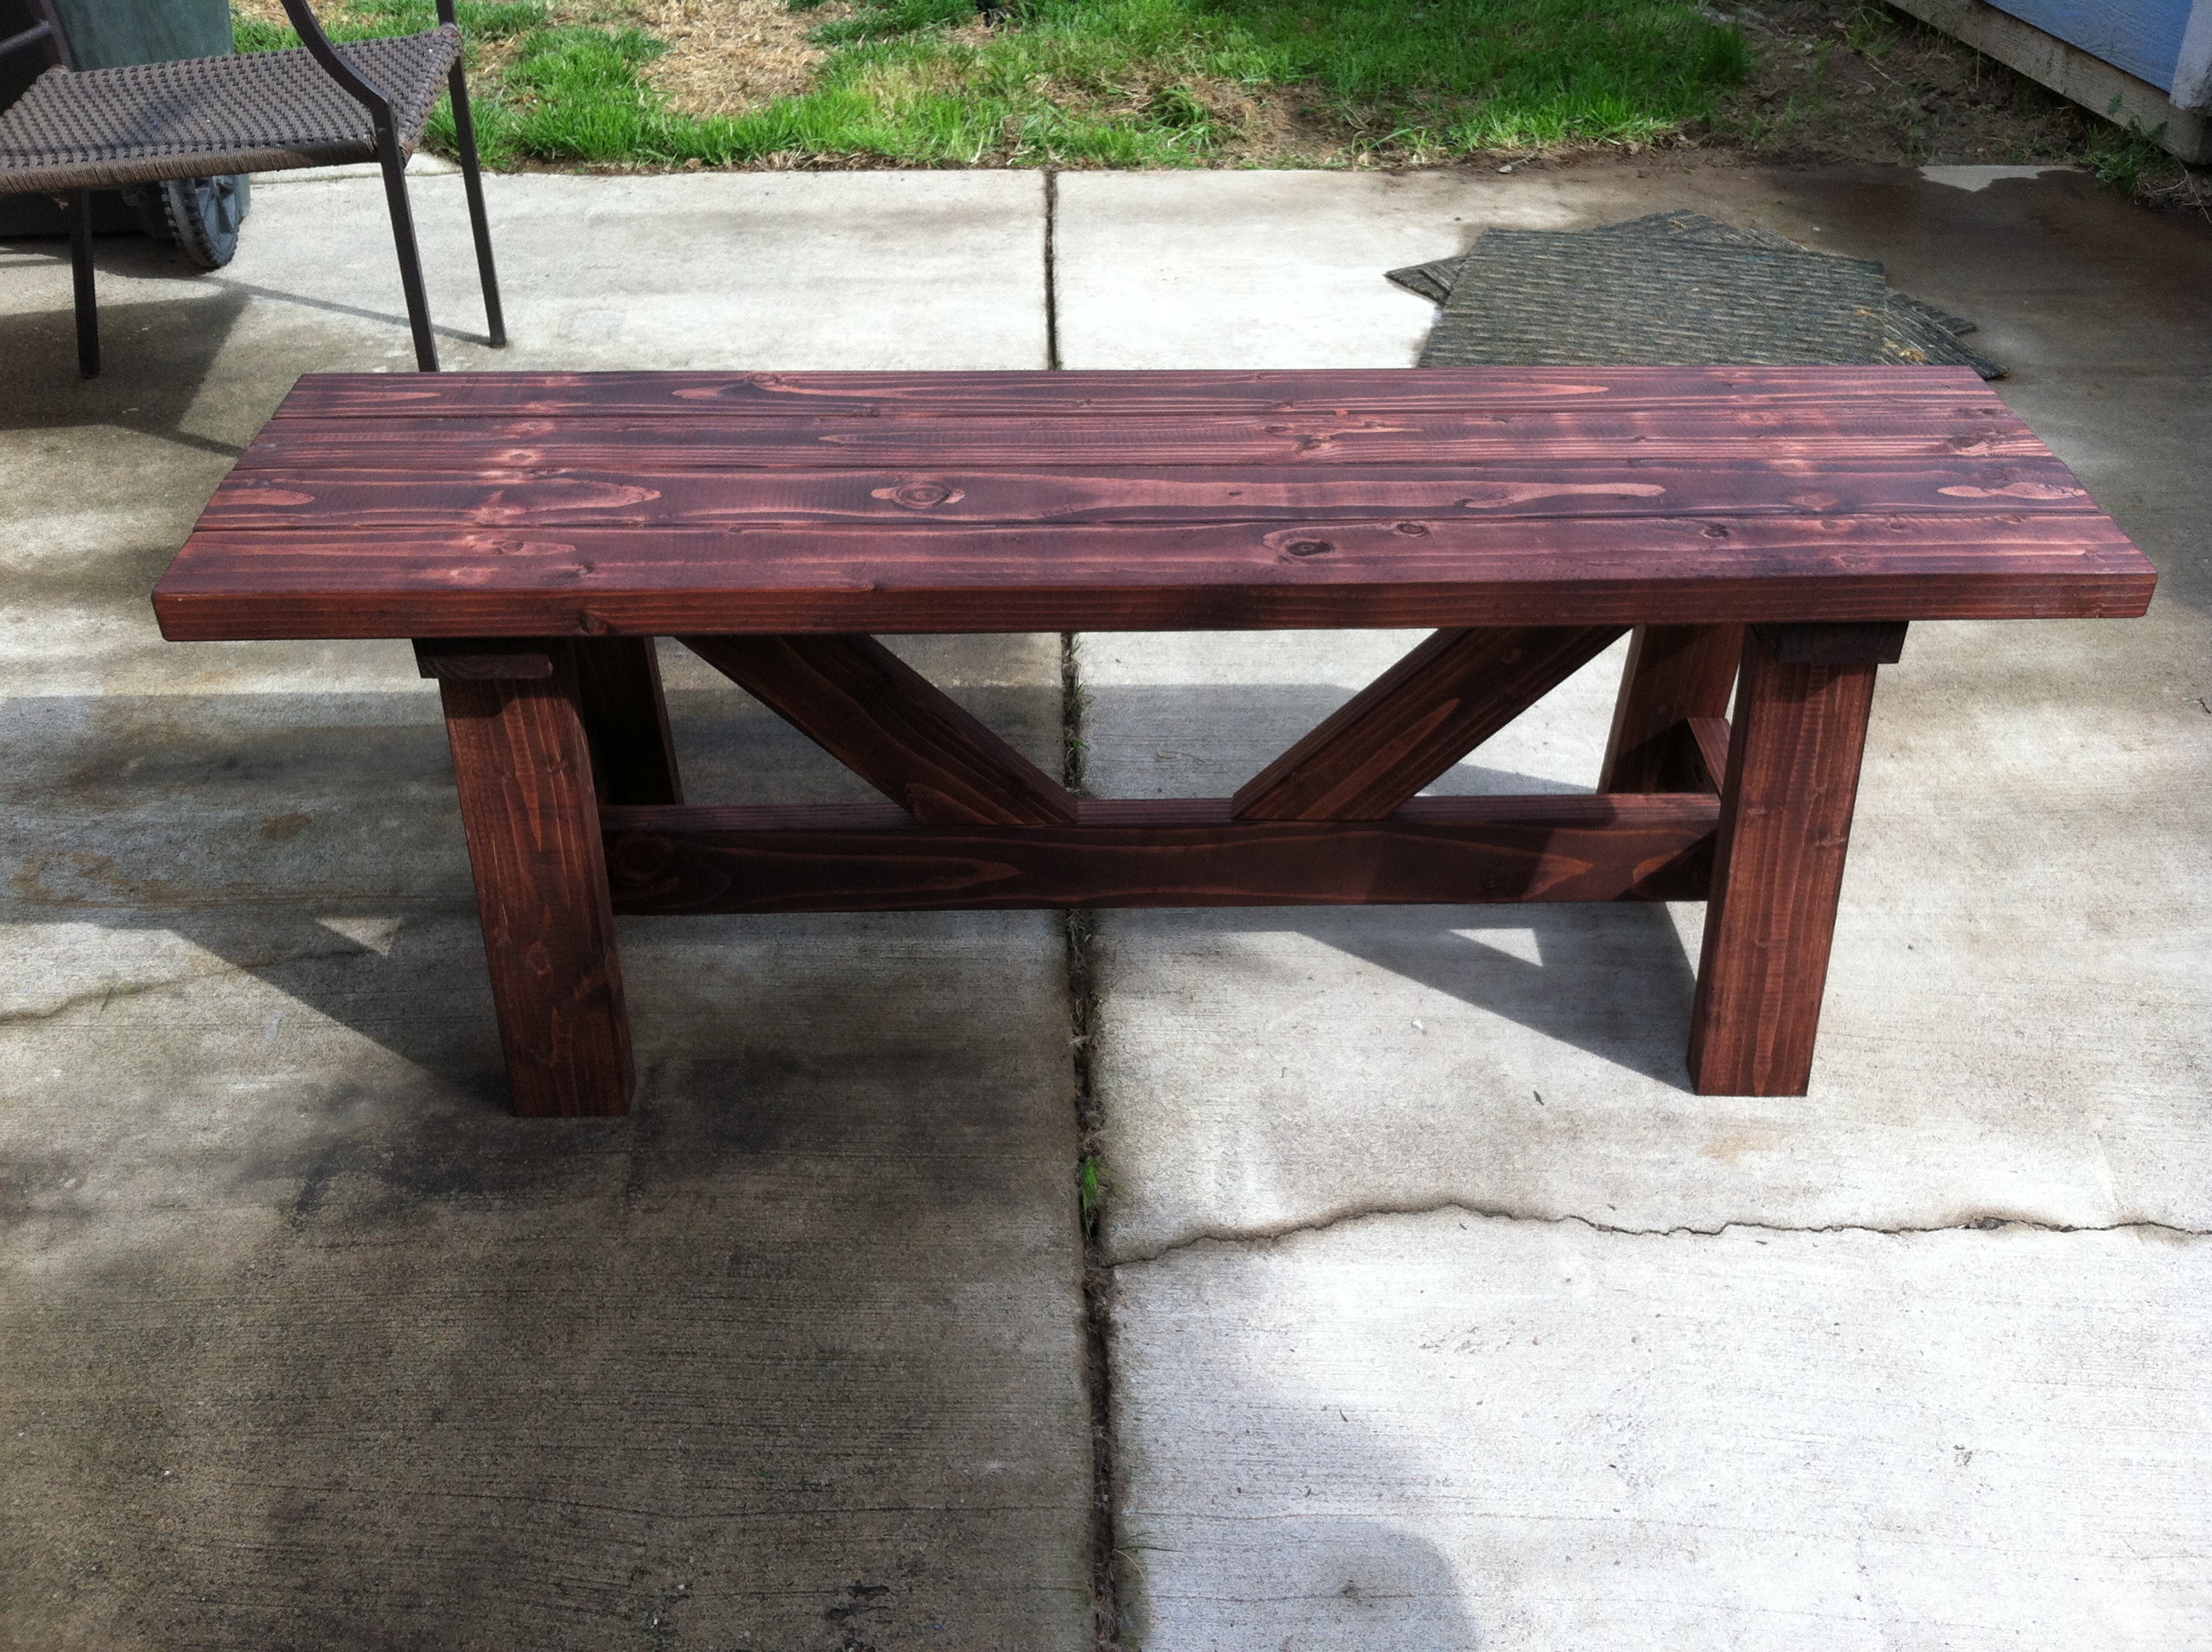
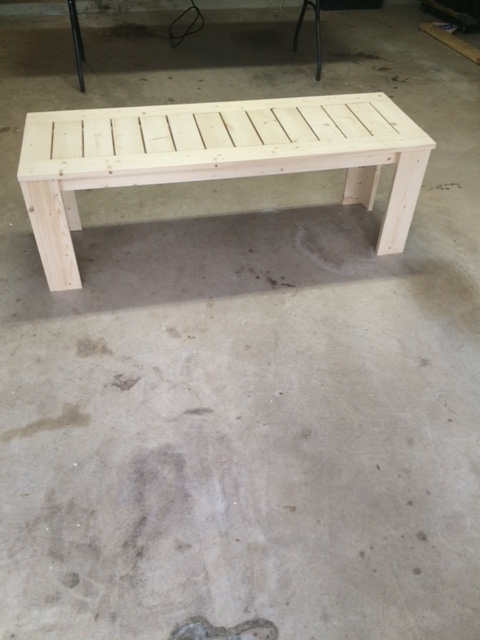
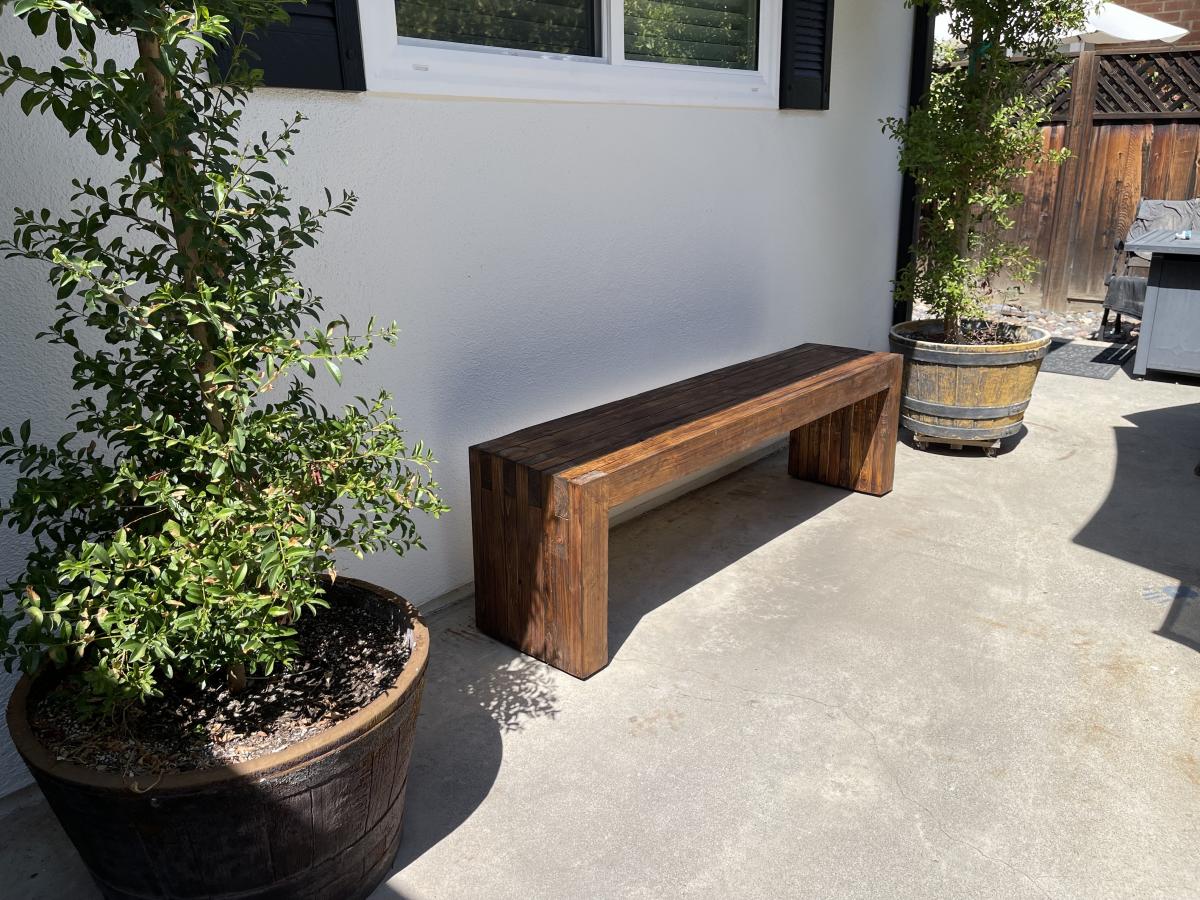
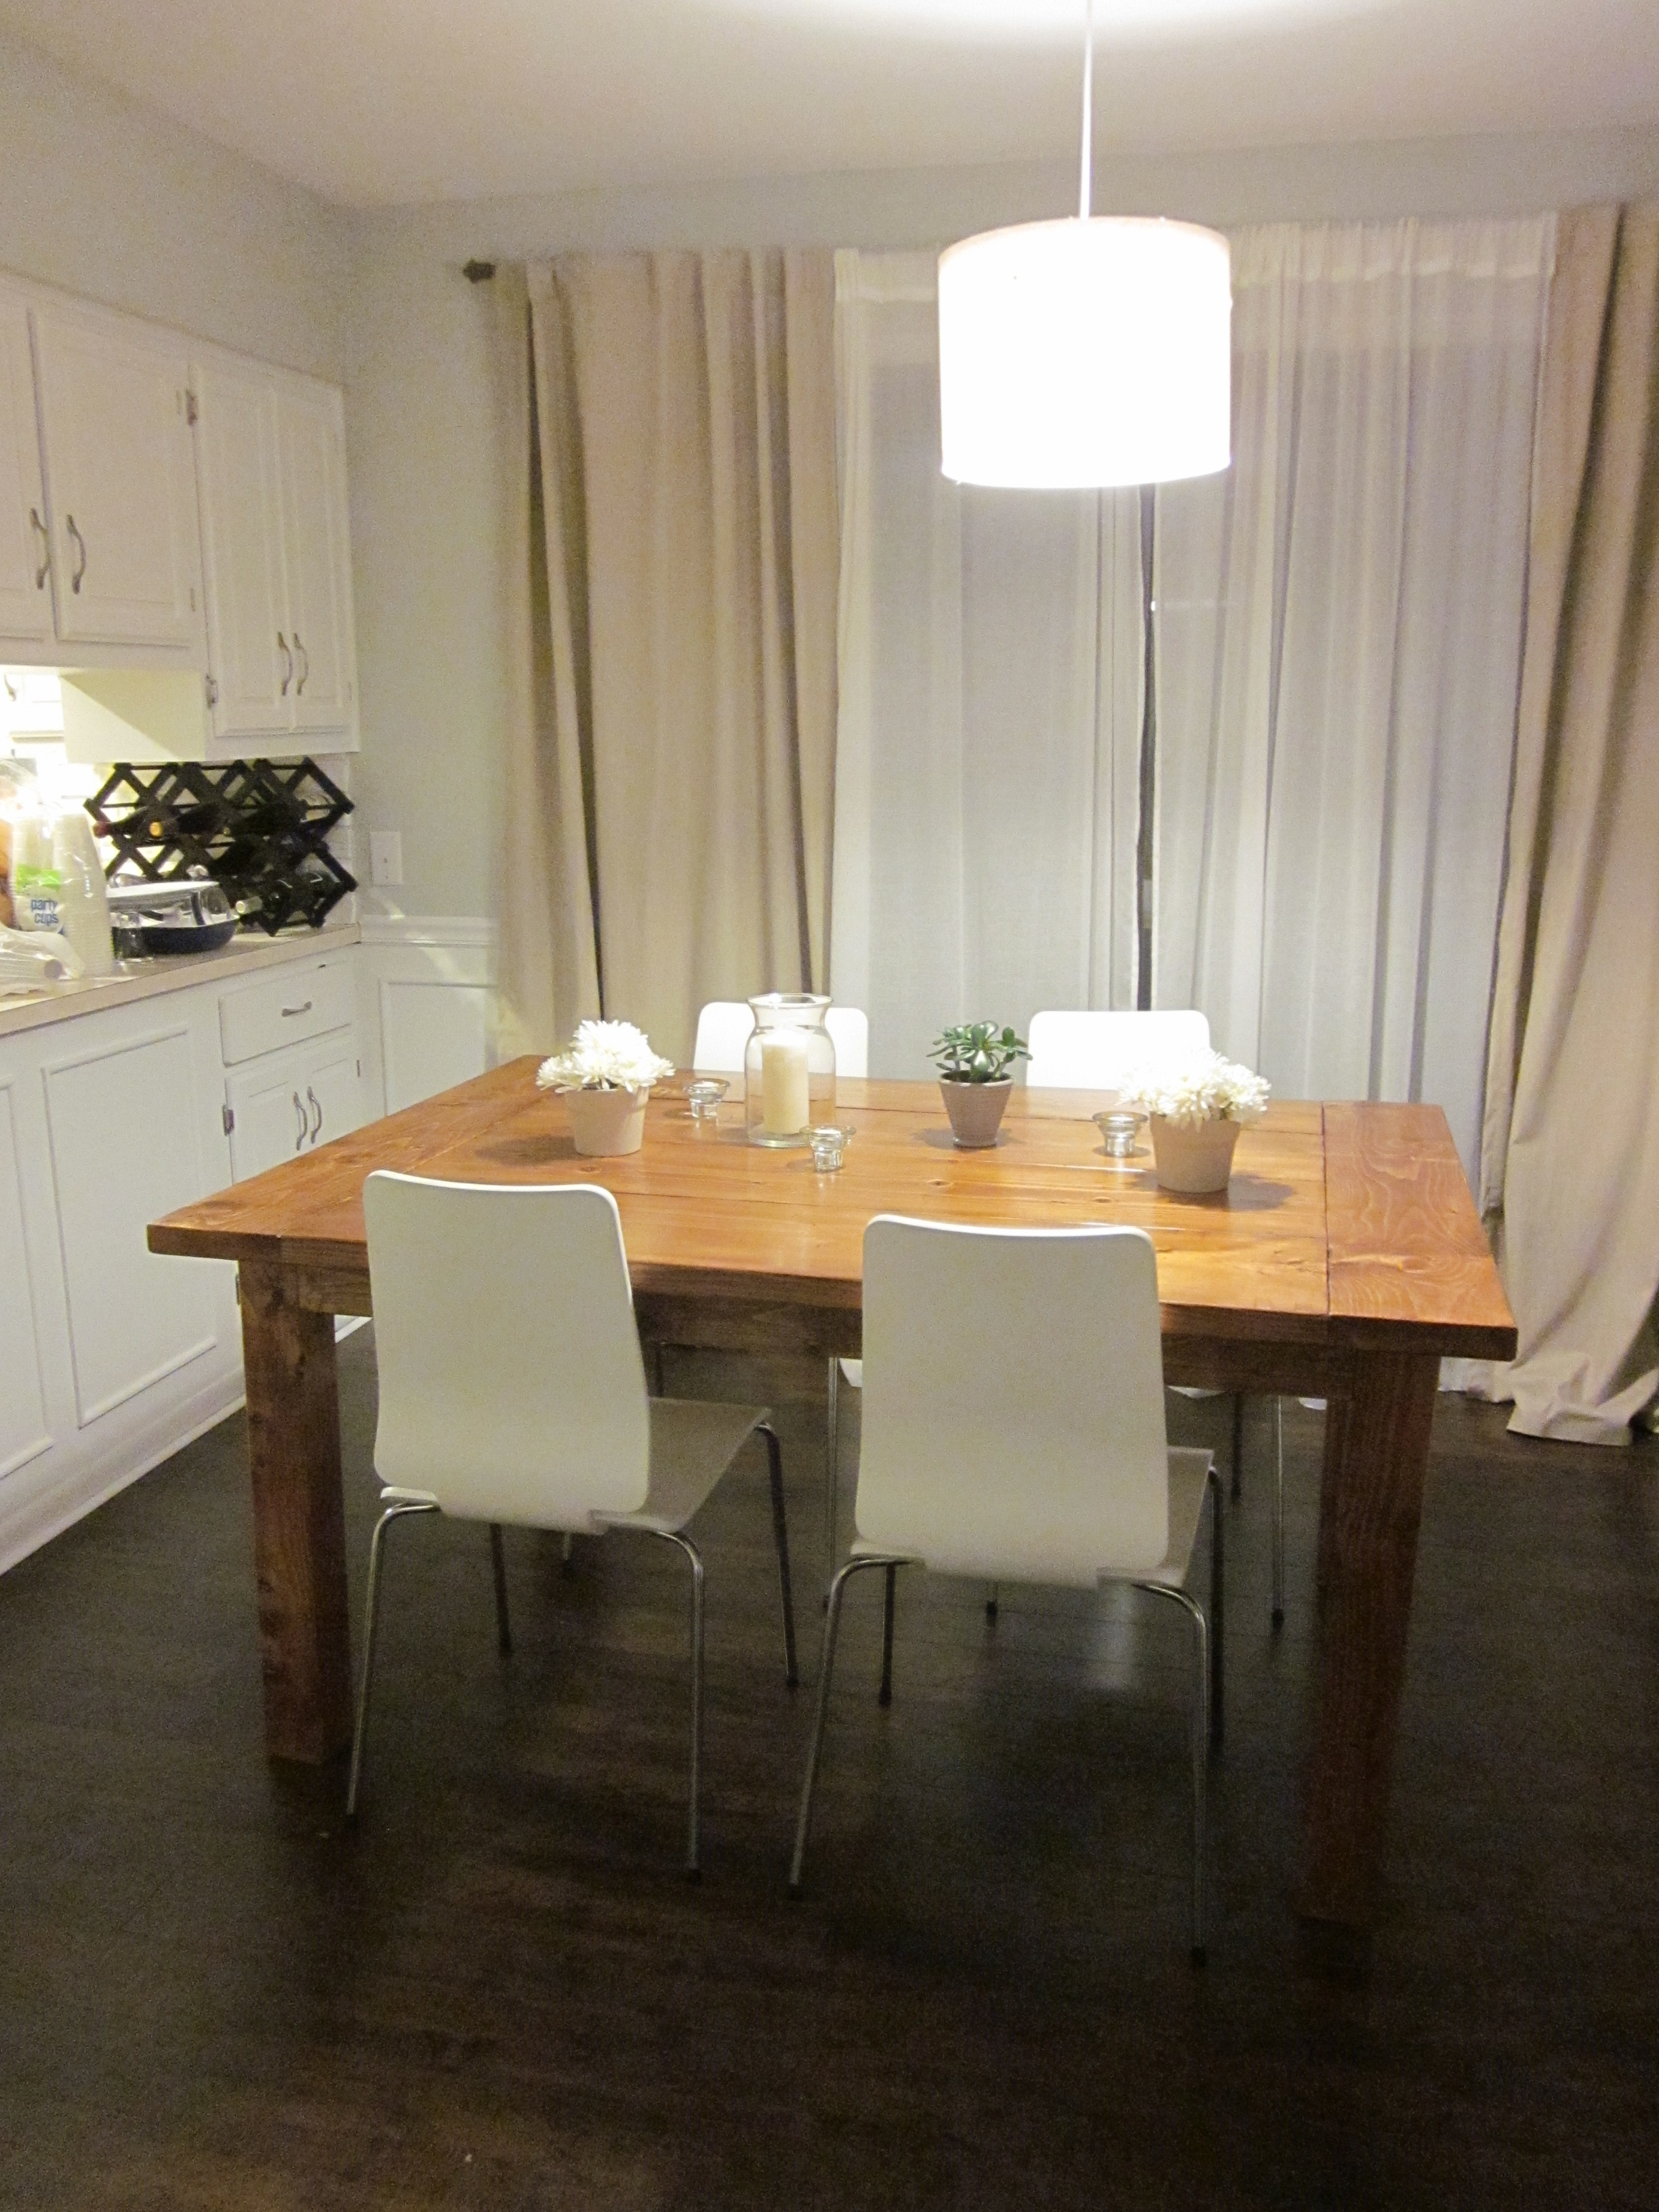
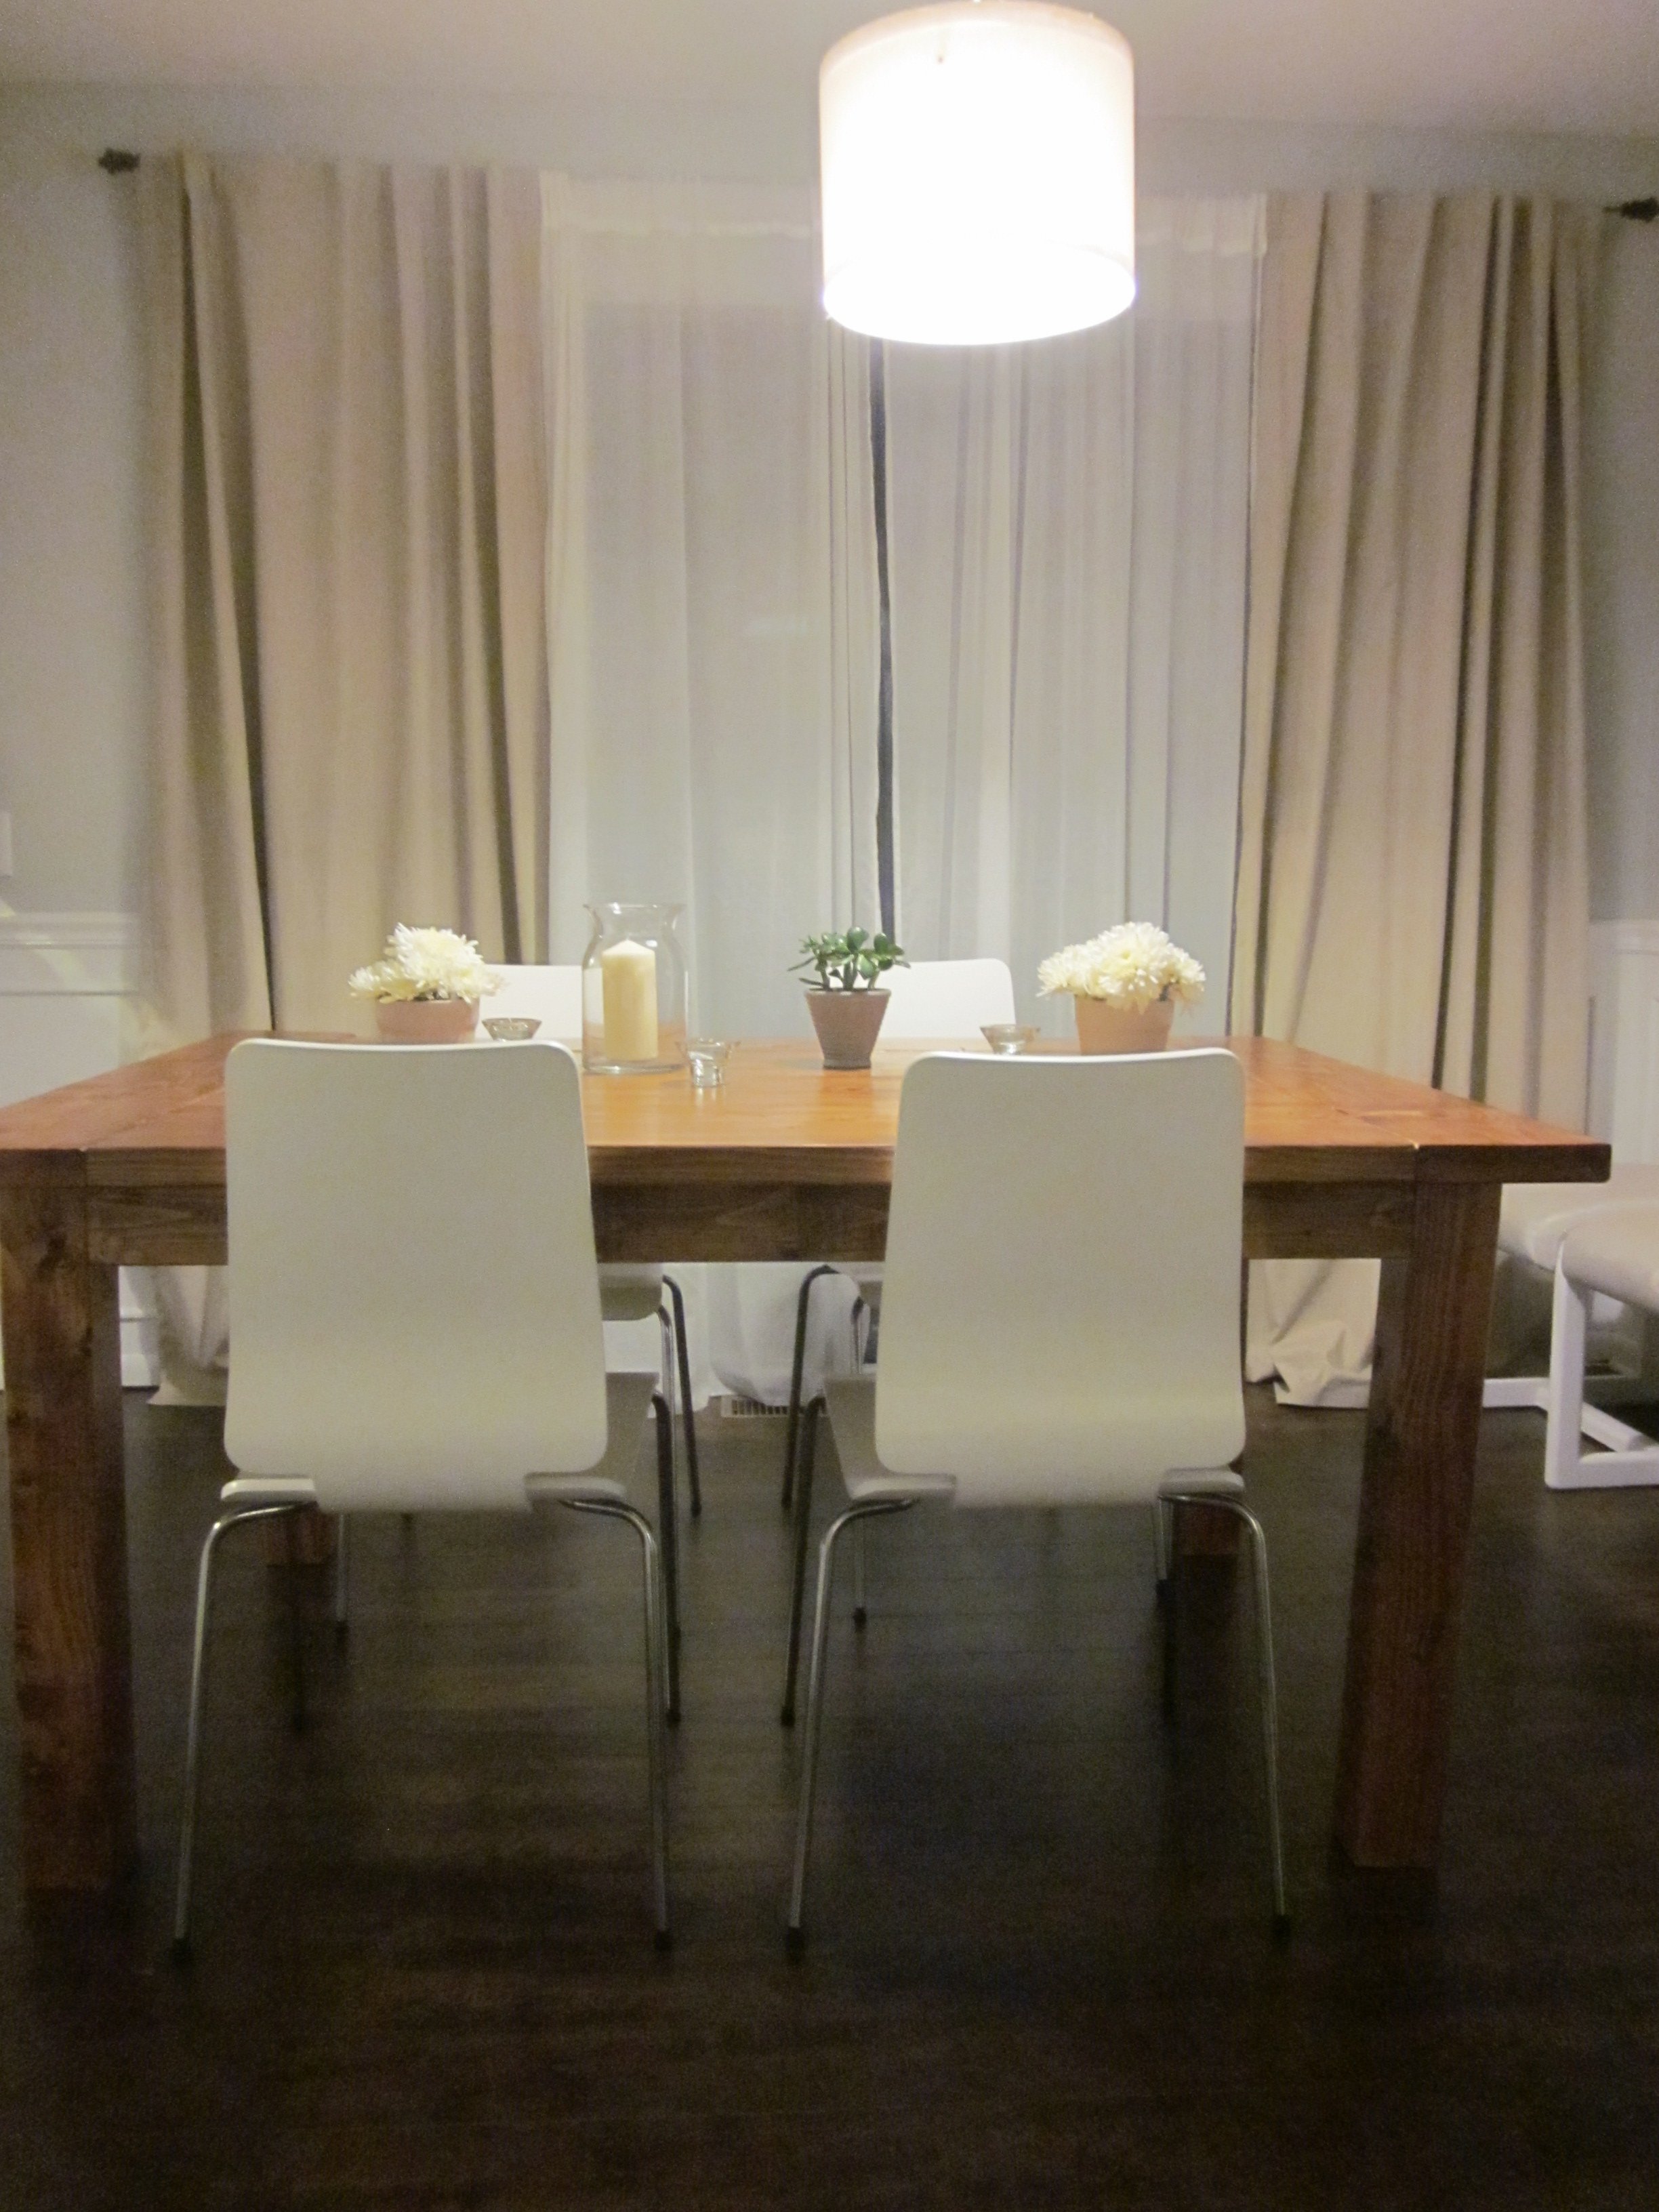
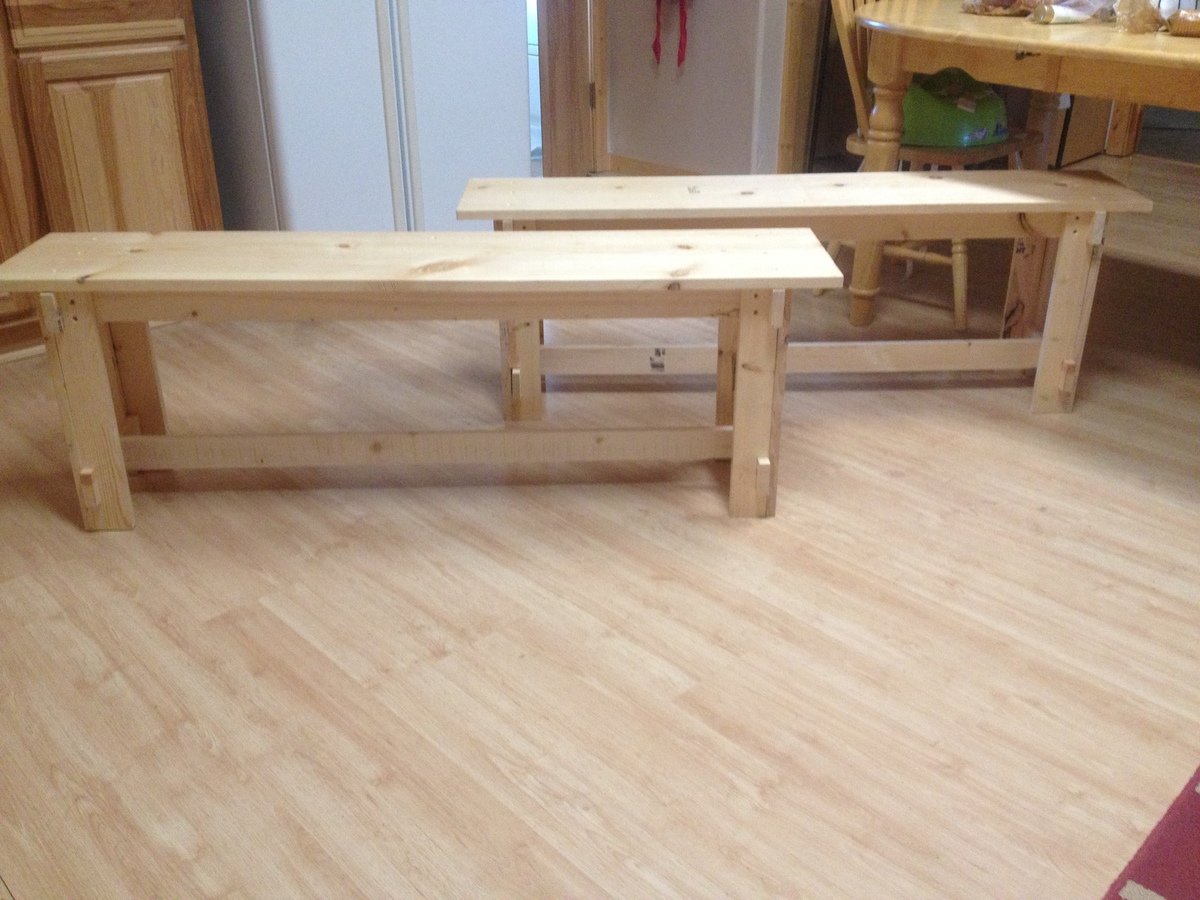
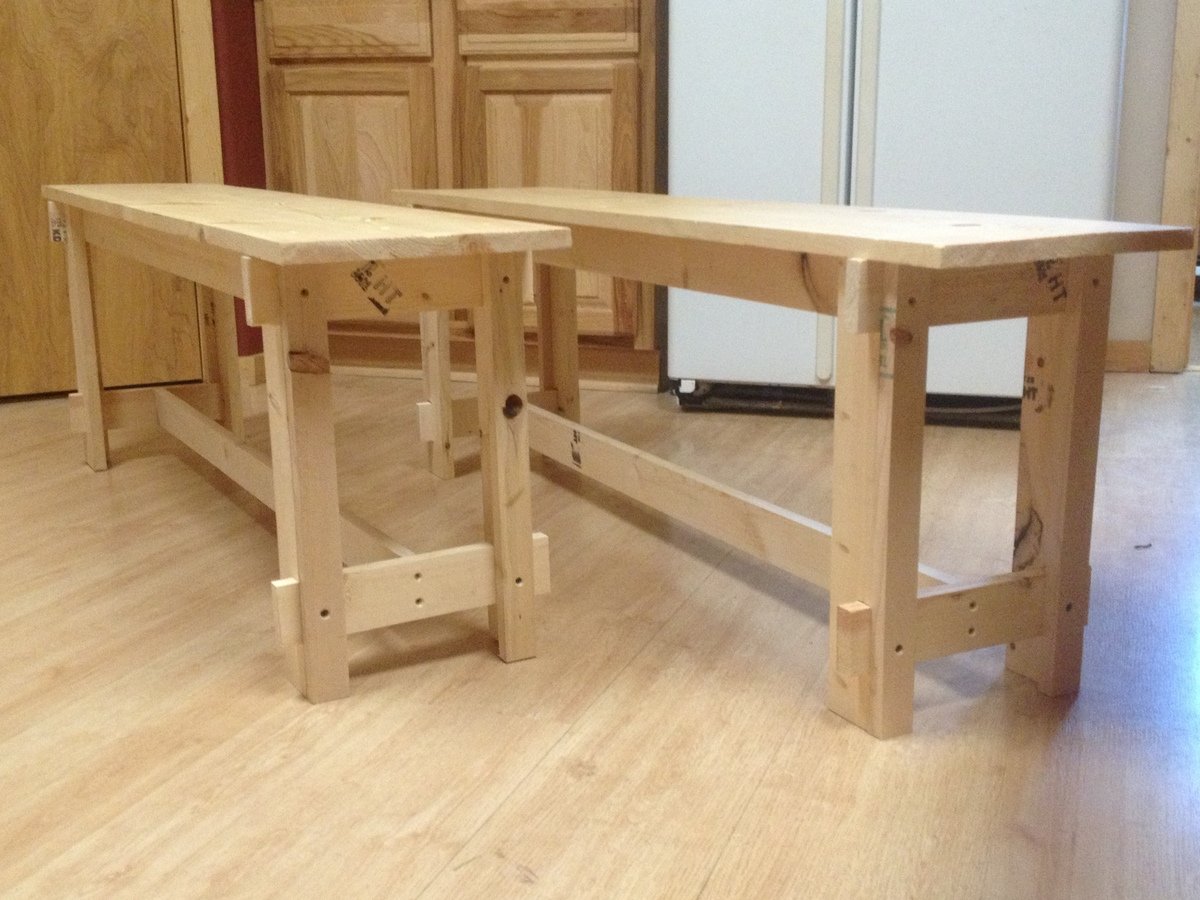
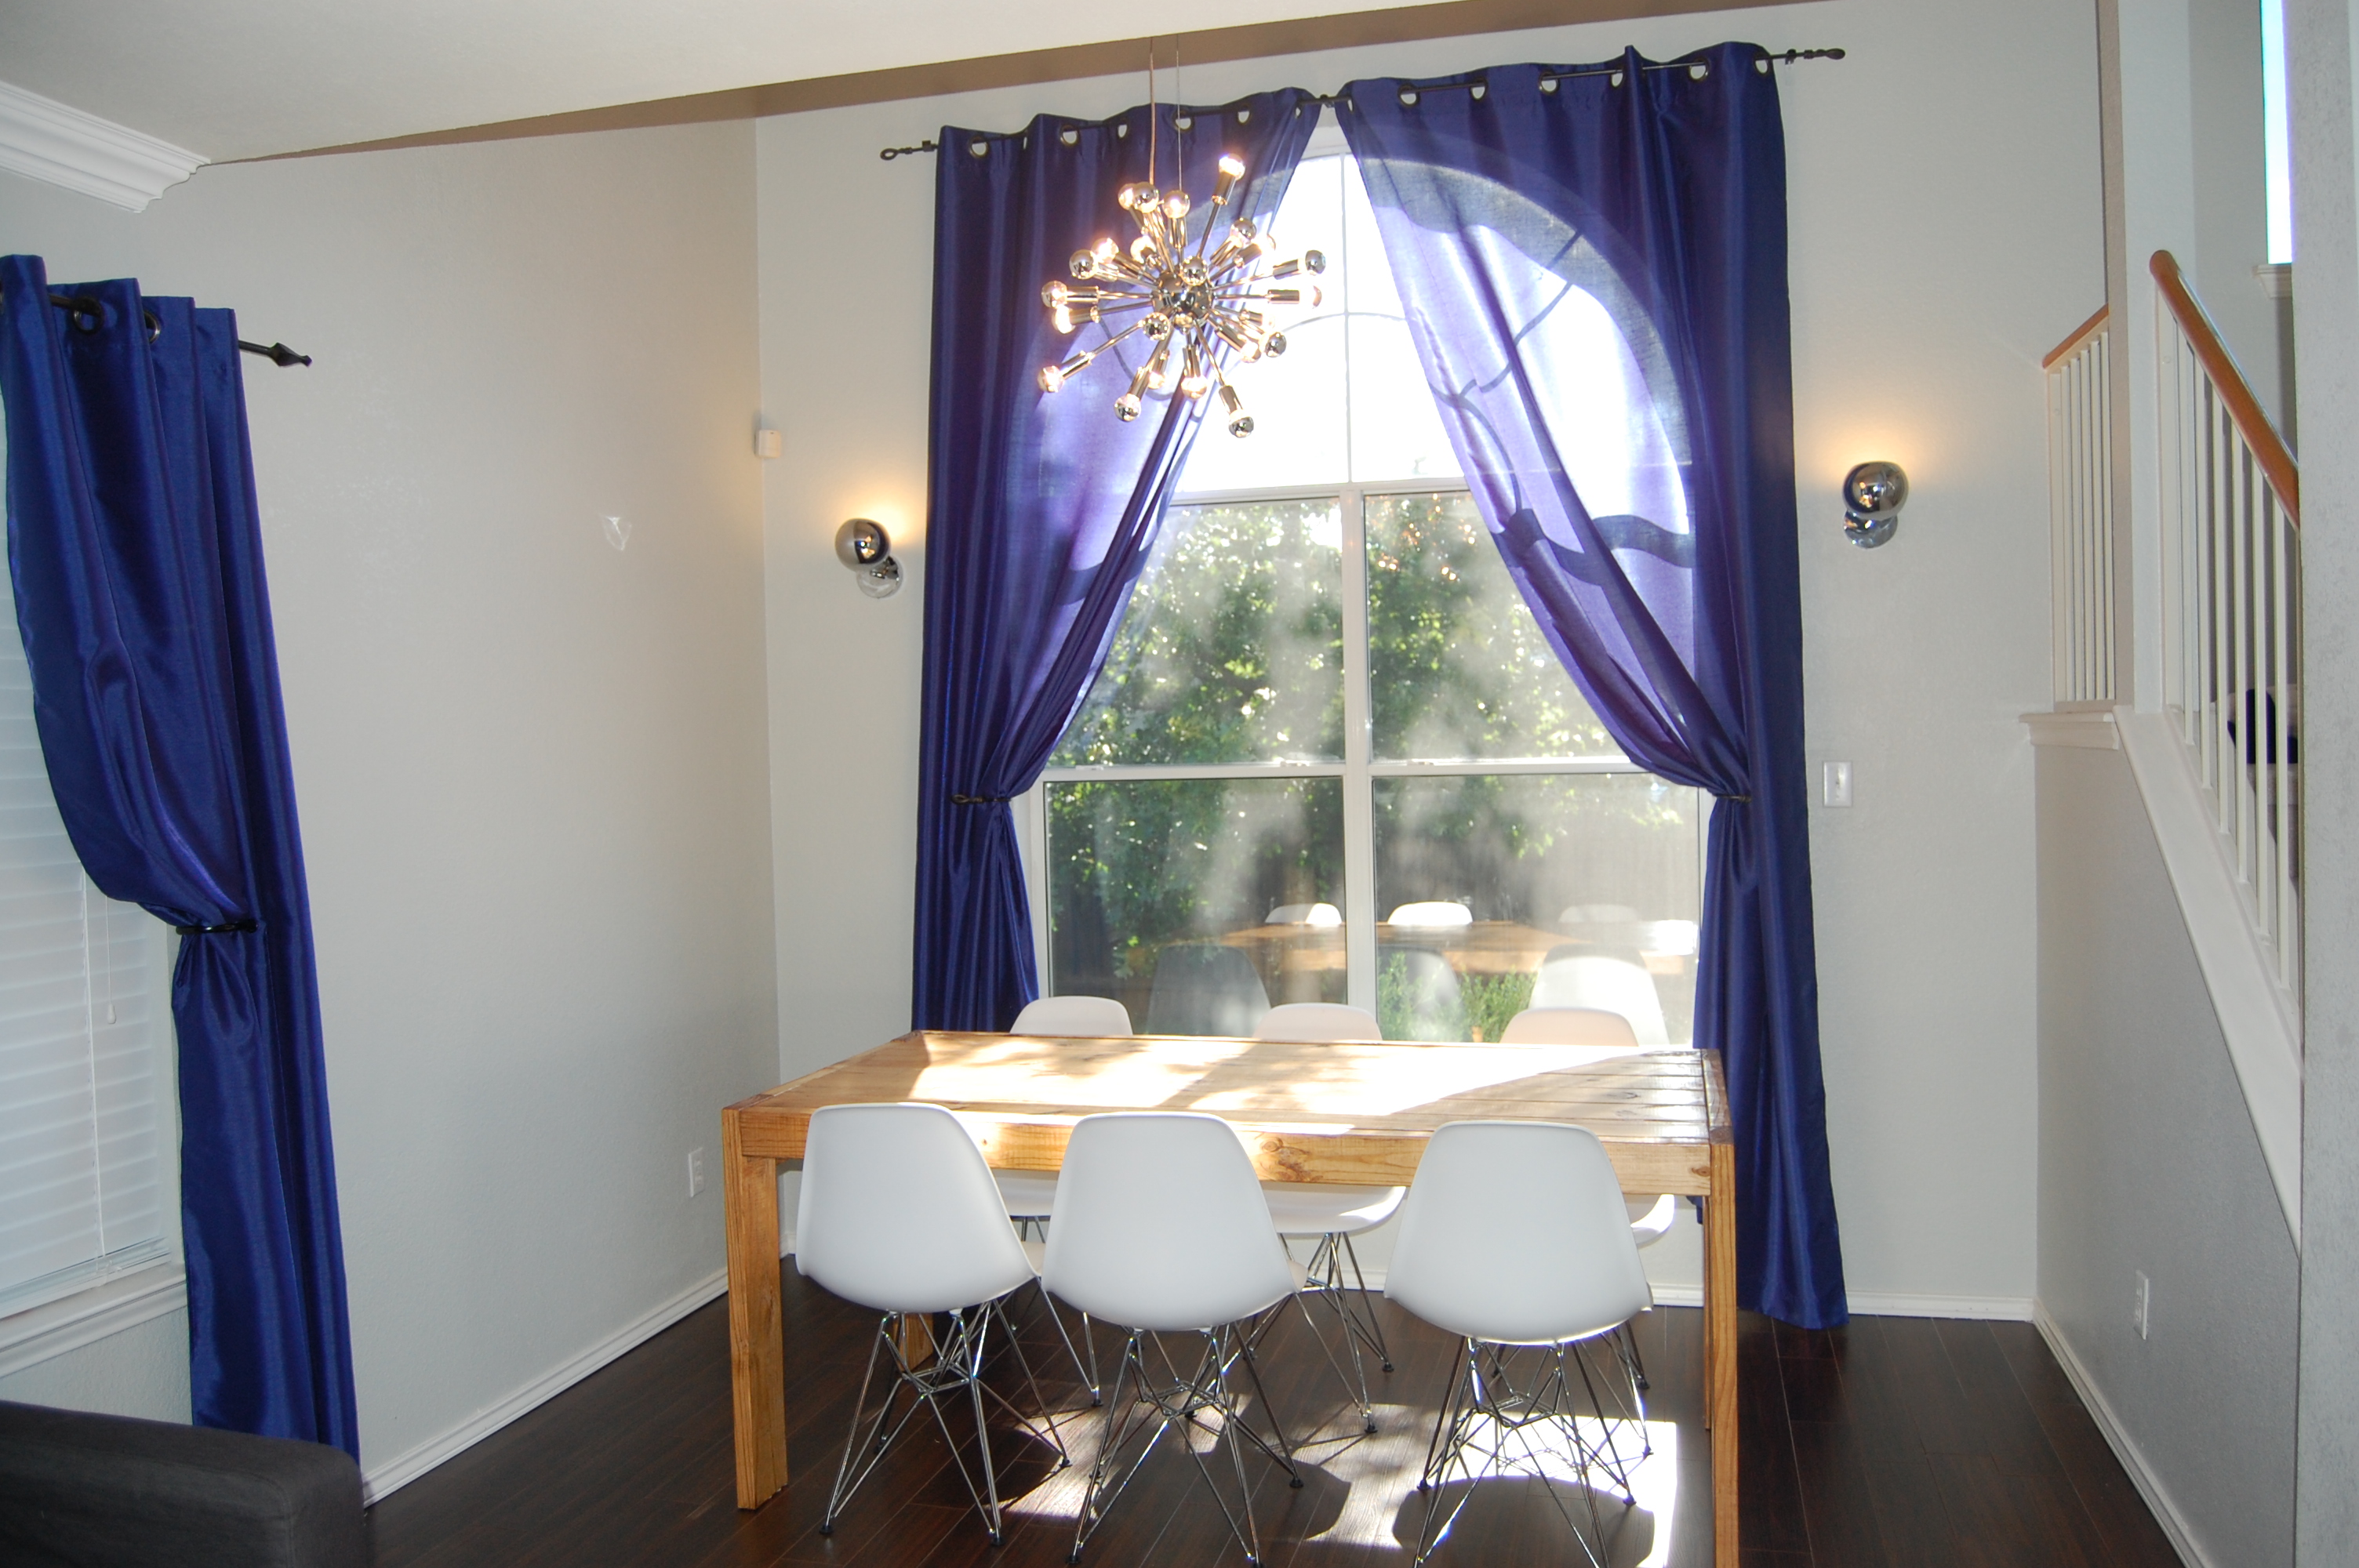
I have always loved benches at the dining table. They are so practical for cleaning, kids, and for cramming extra people at a table! We are (mostly) happy with our current table, but I was so sick of 6 clunky chairs floating around my kitchen, and these benches were the perfect solution. They were very simple to make and are exactly what I wanted!
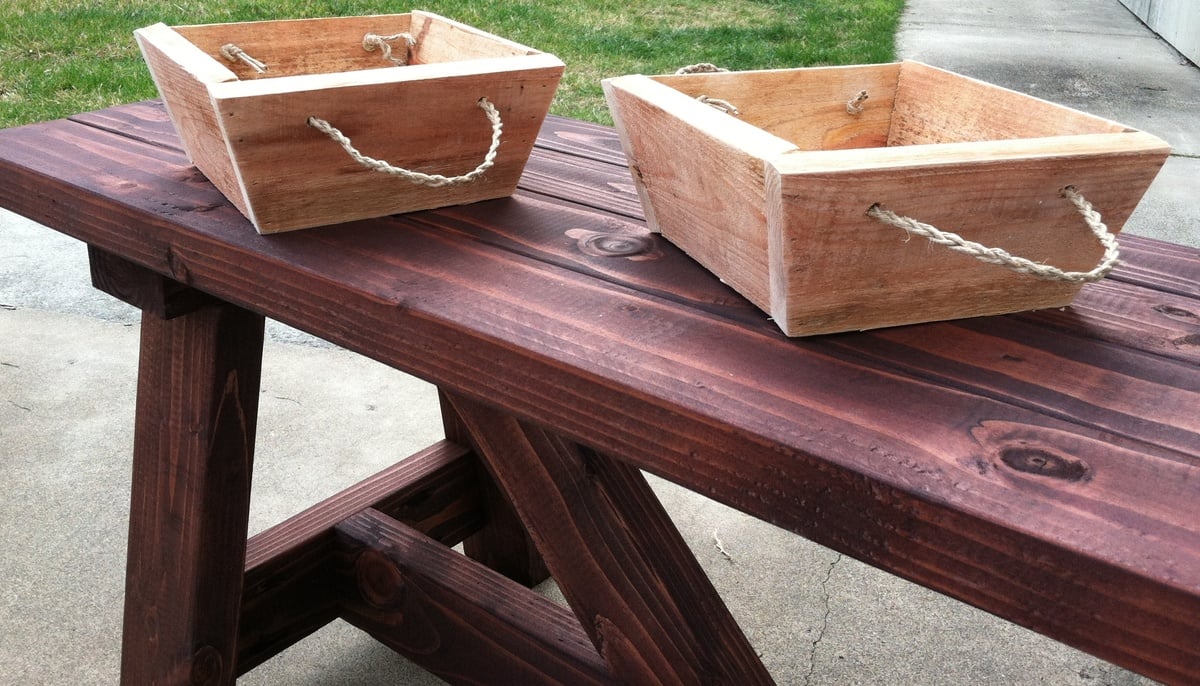
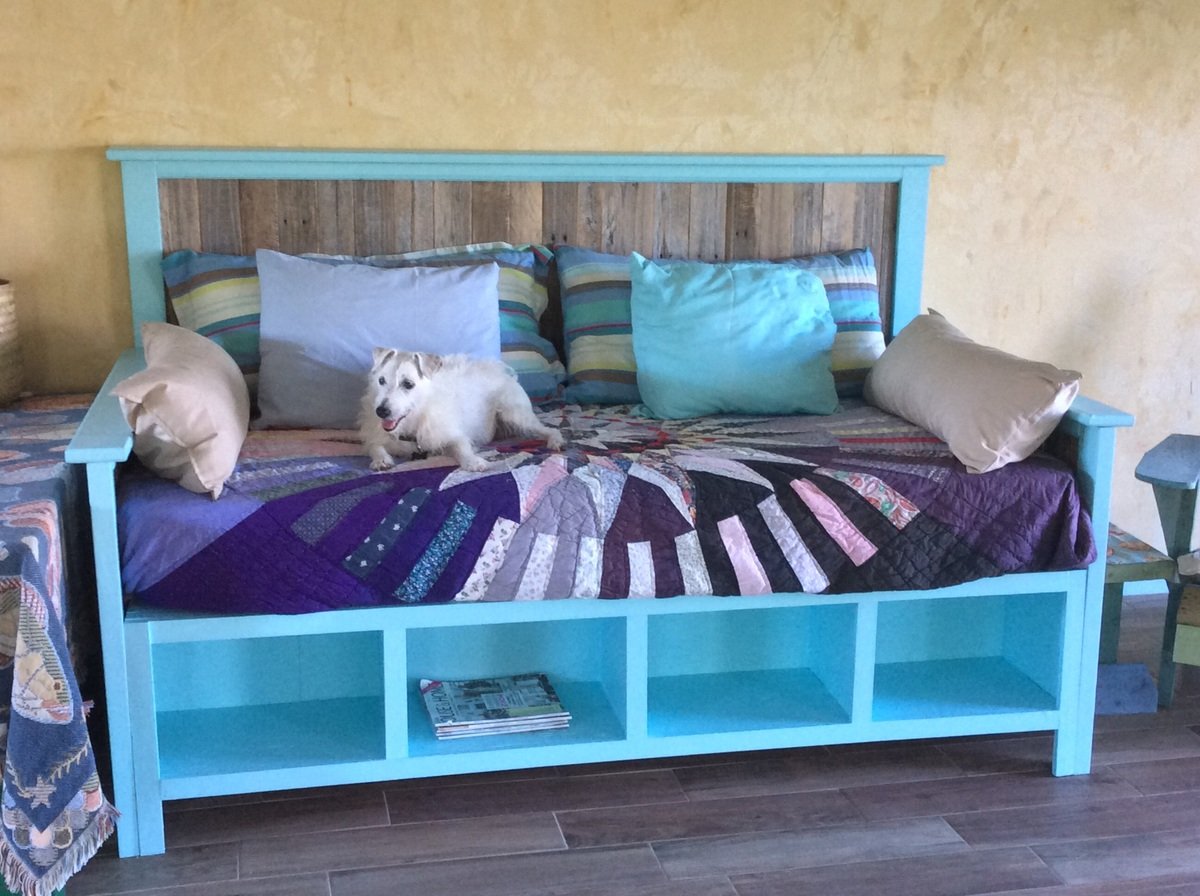
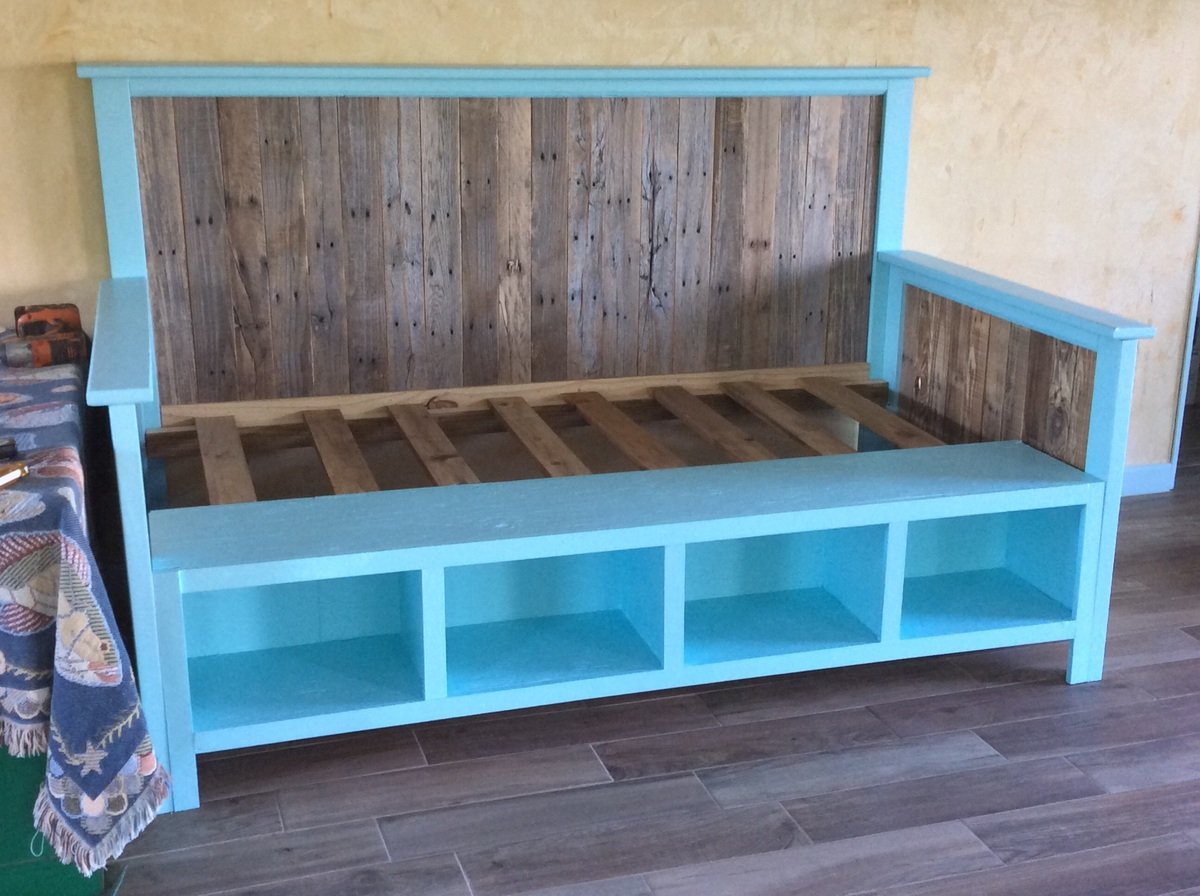
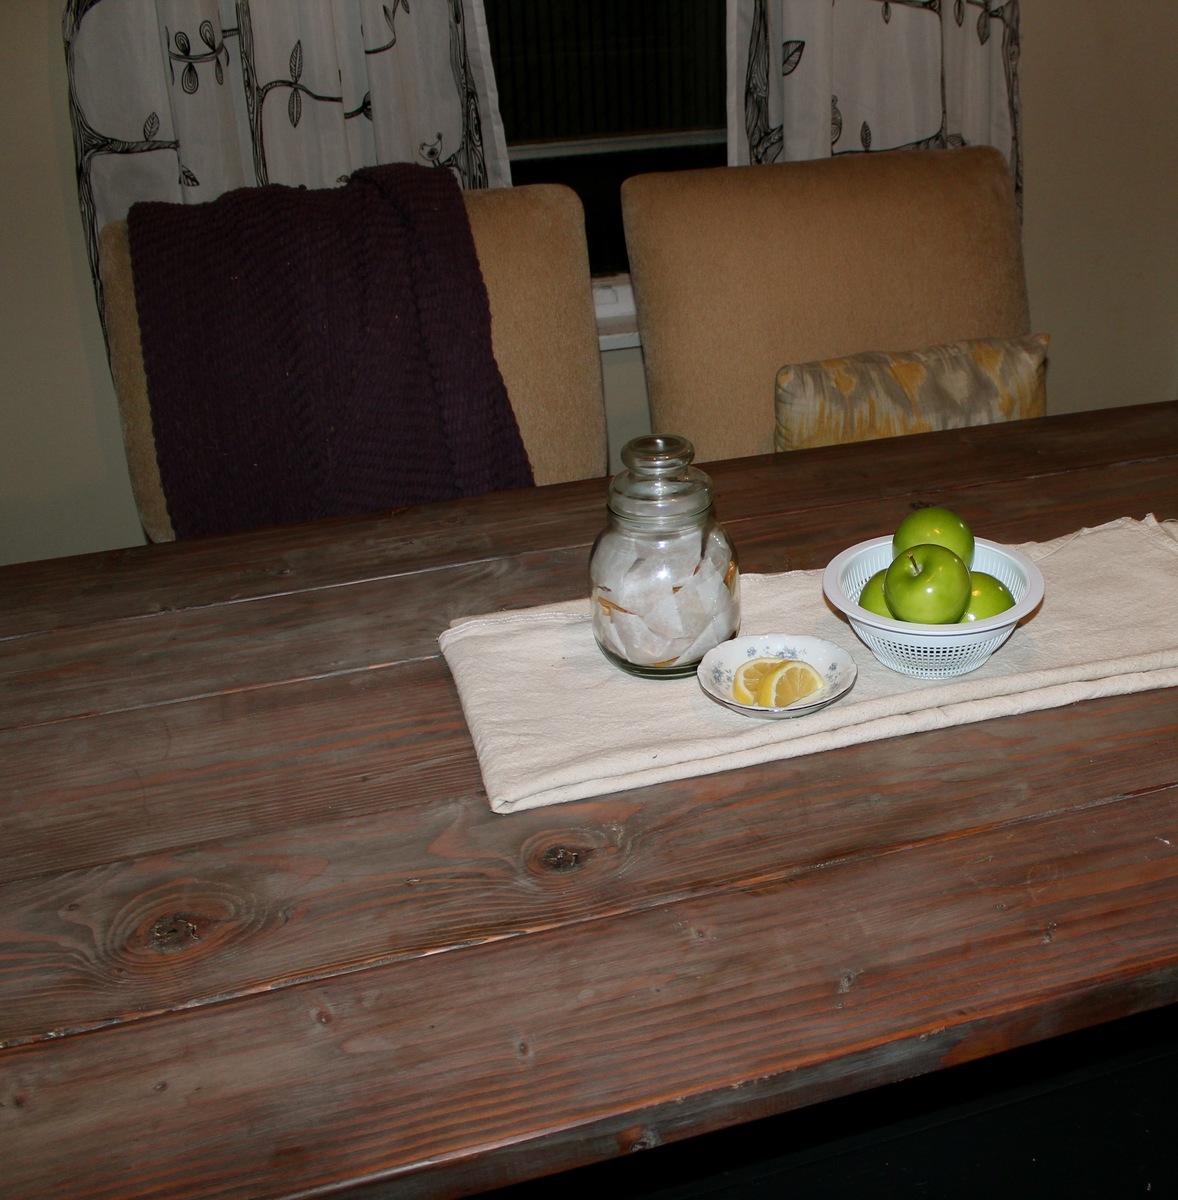
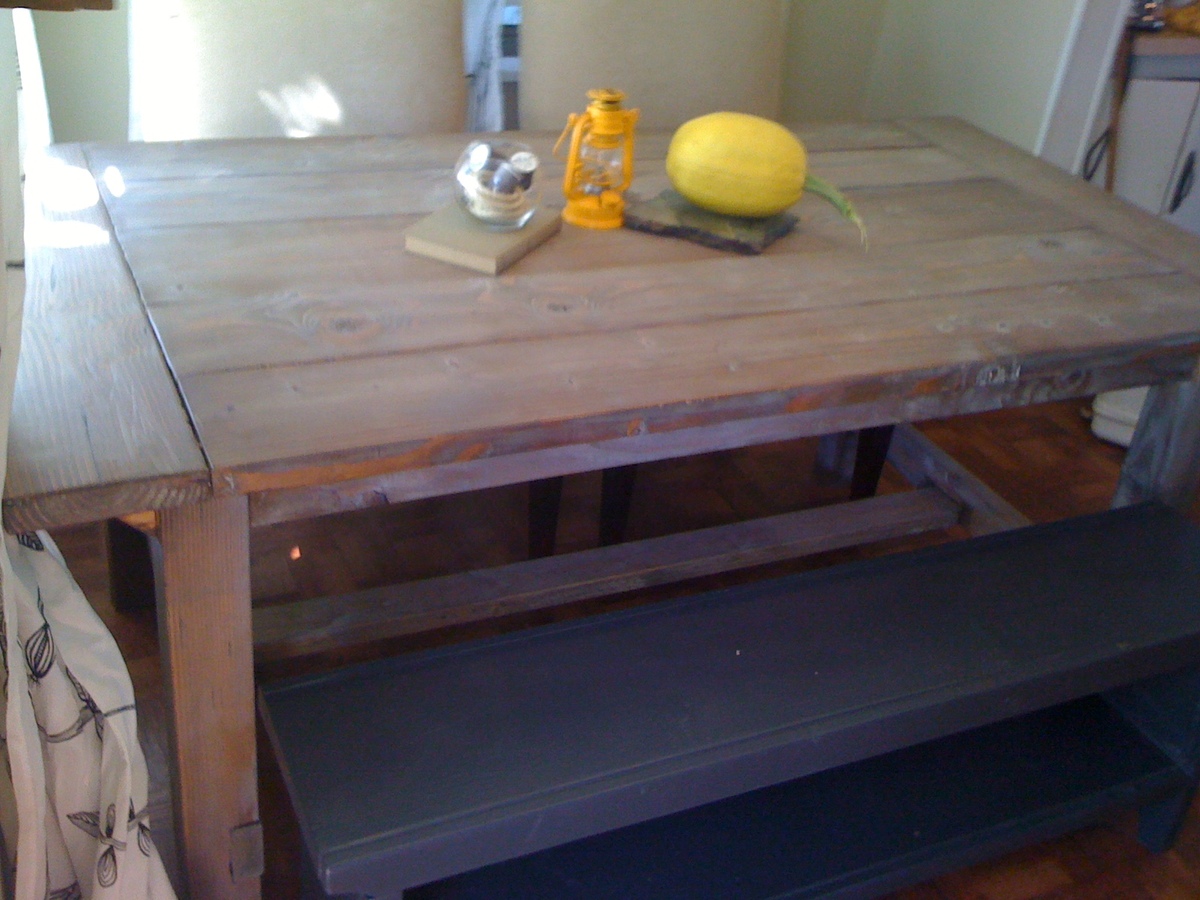
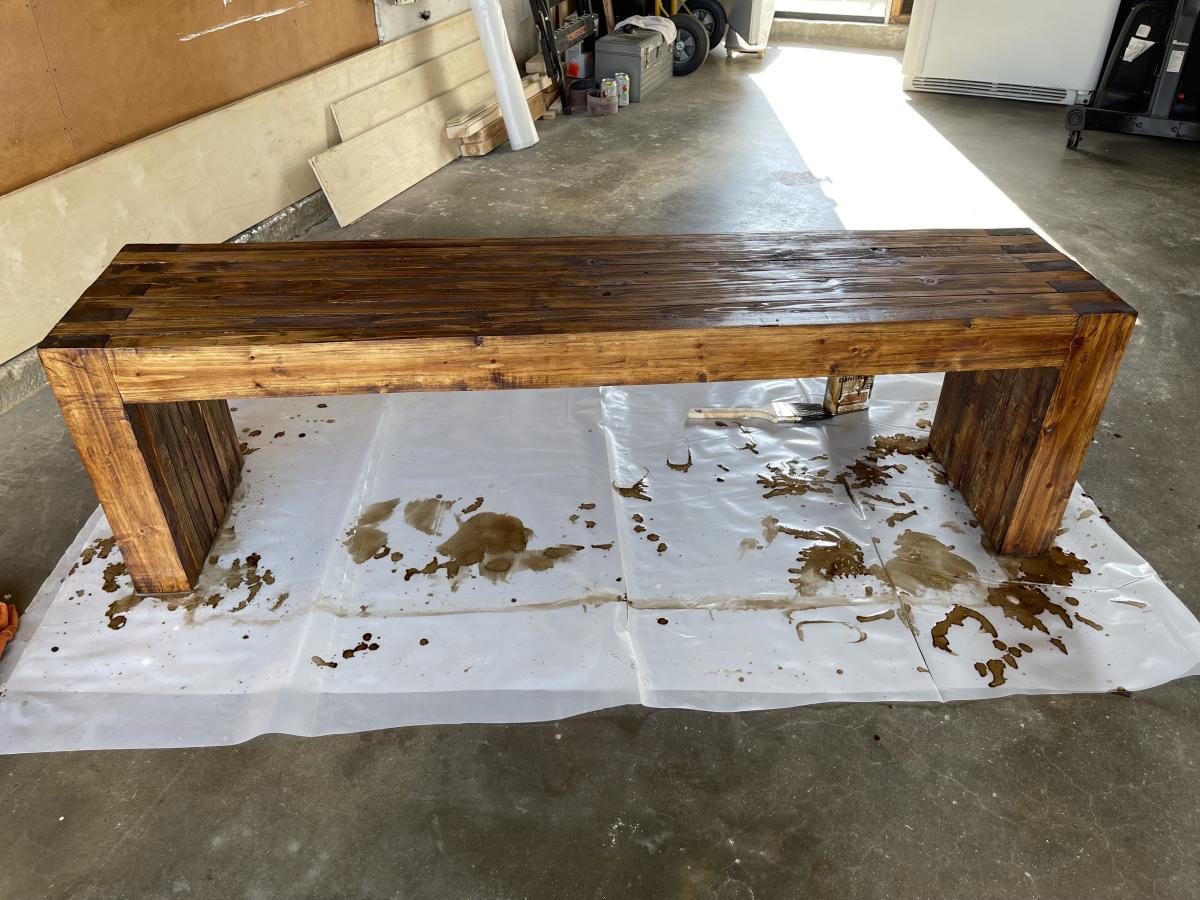
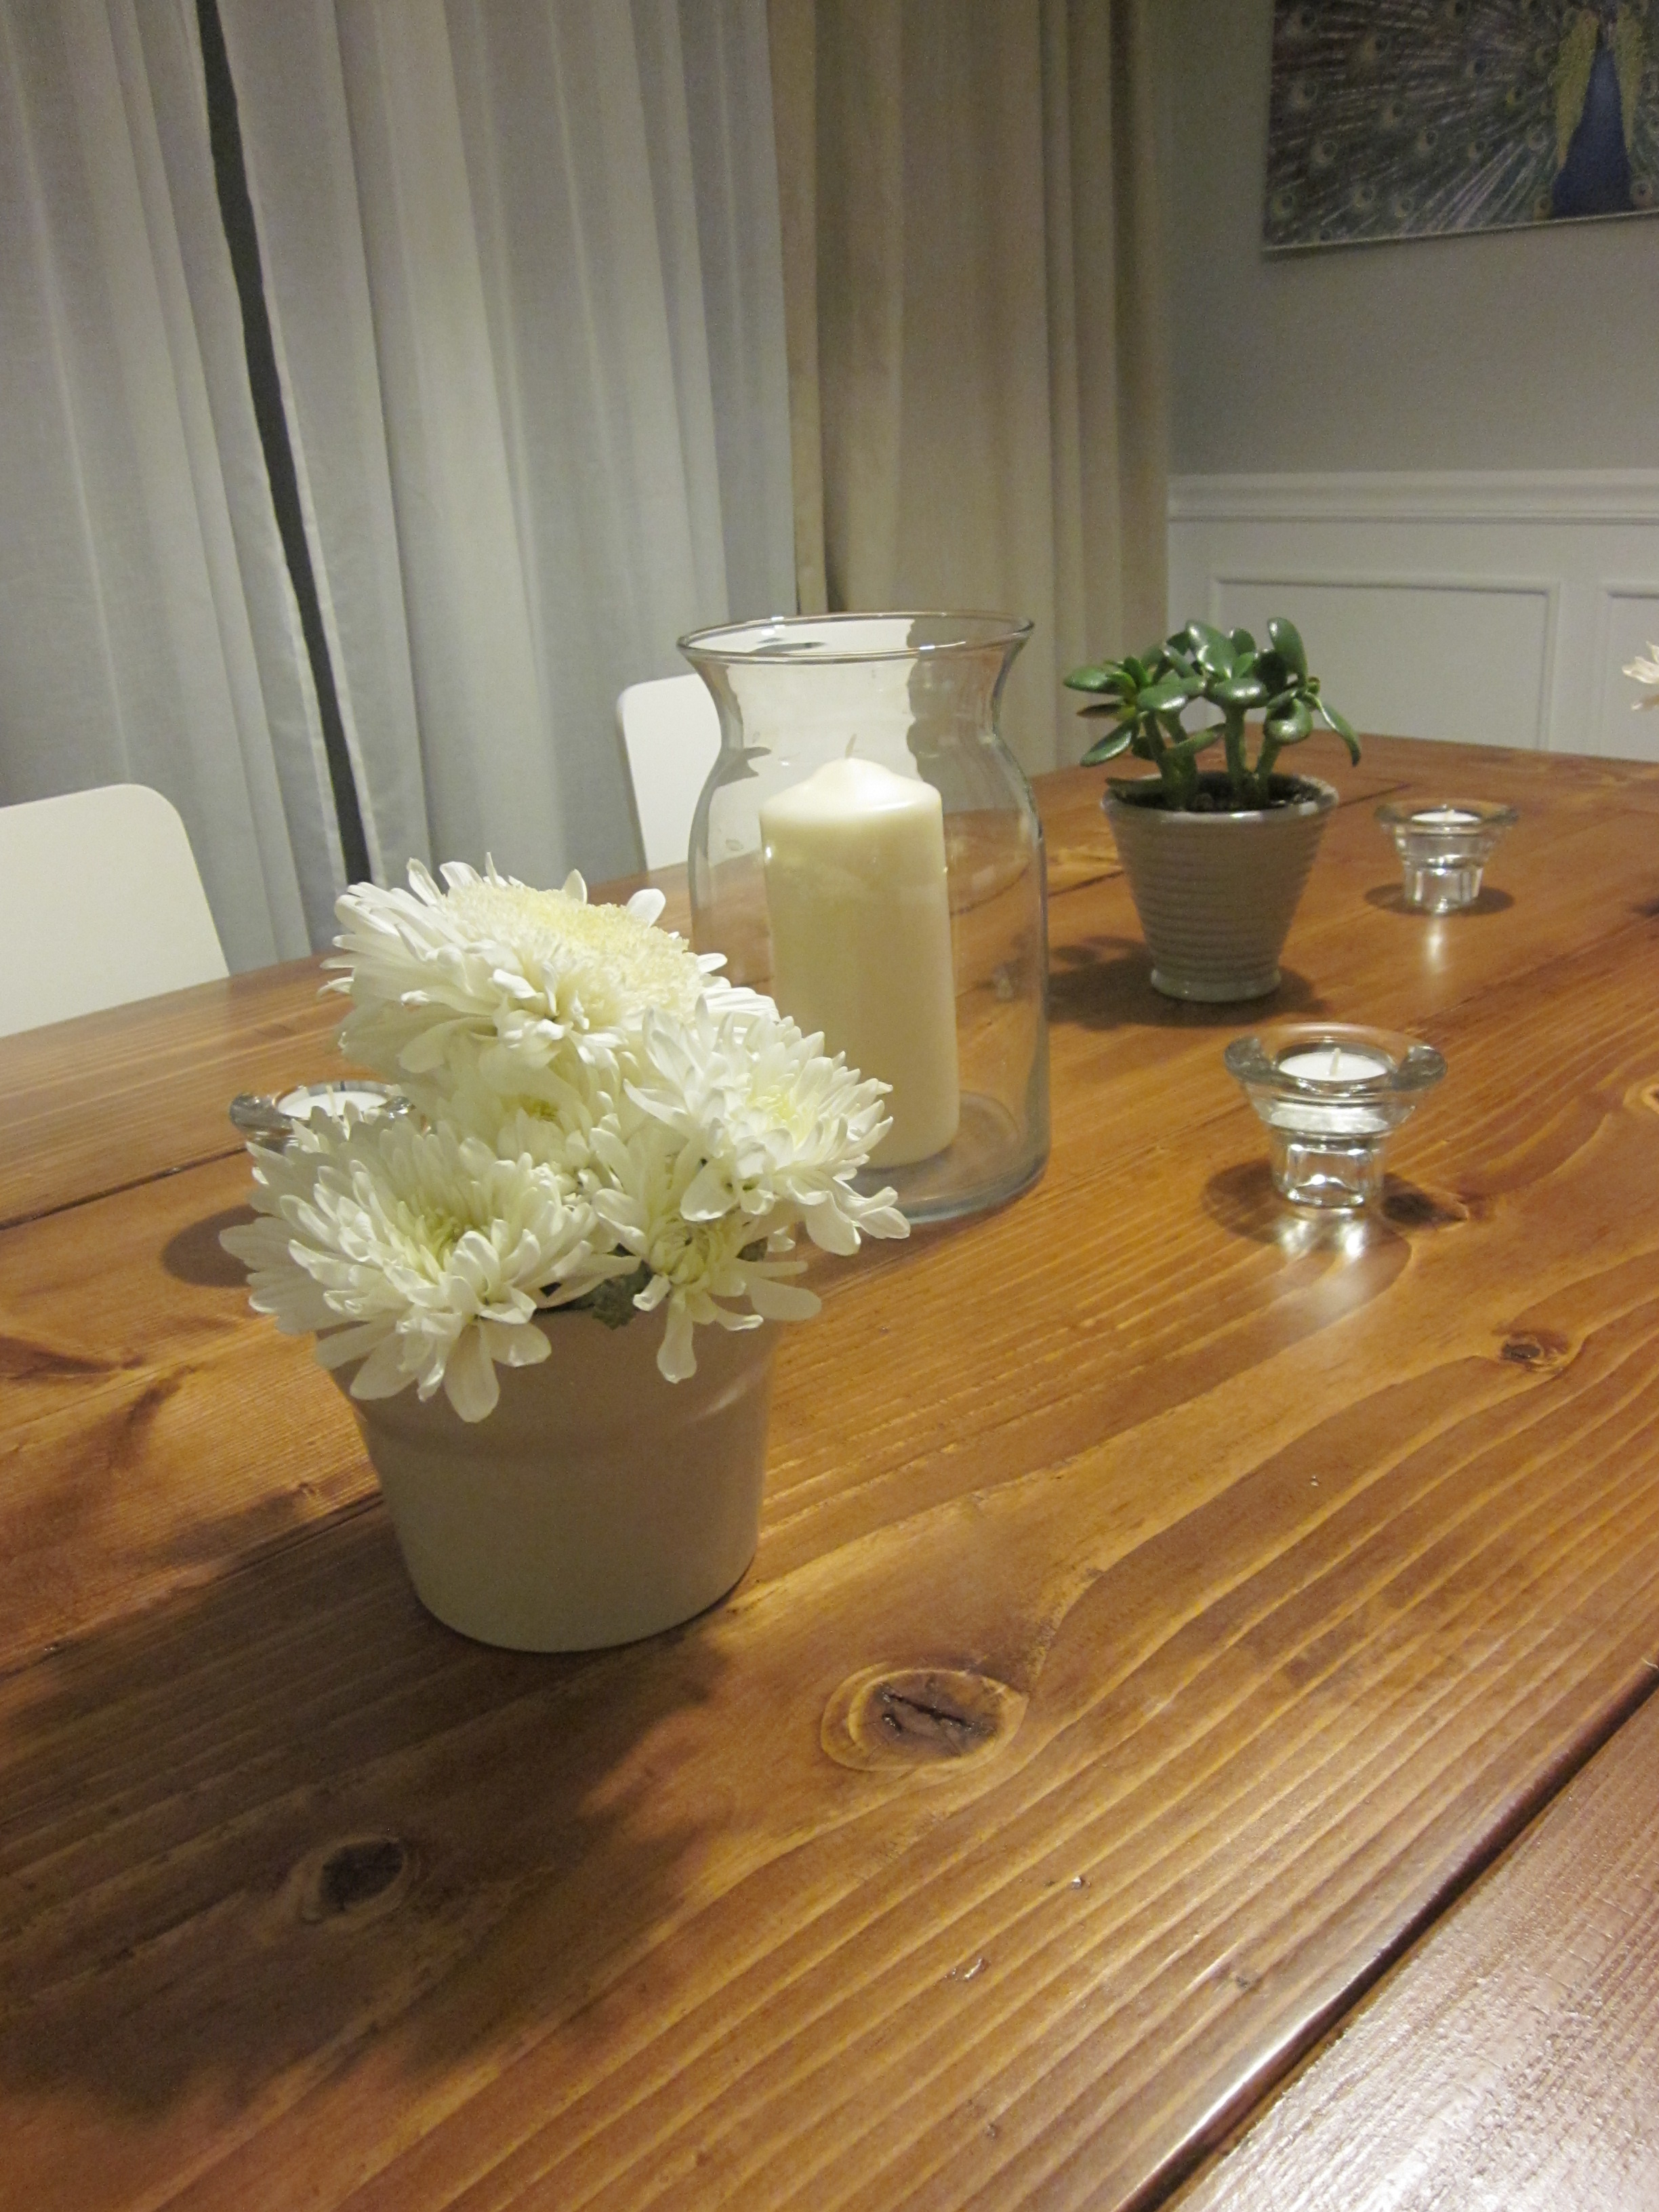
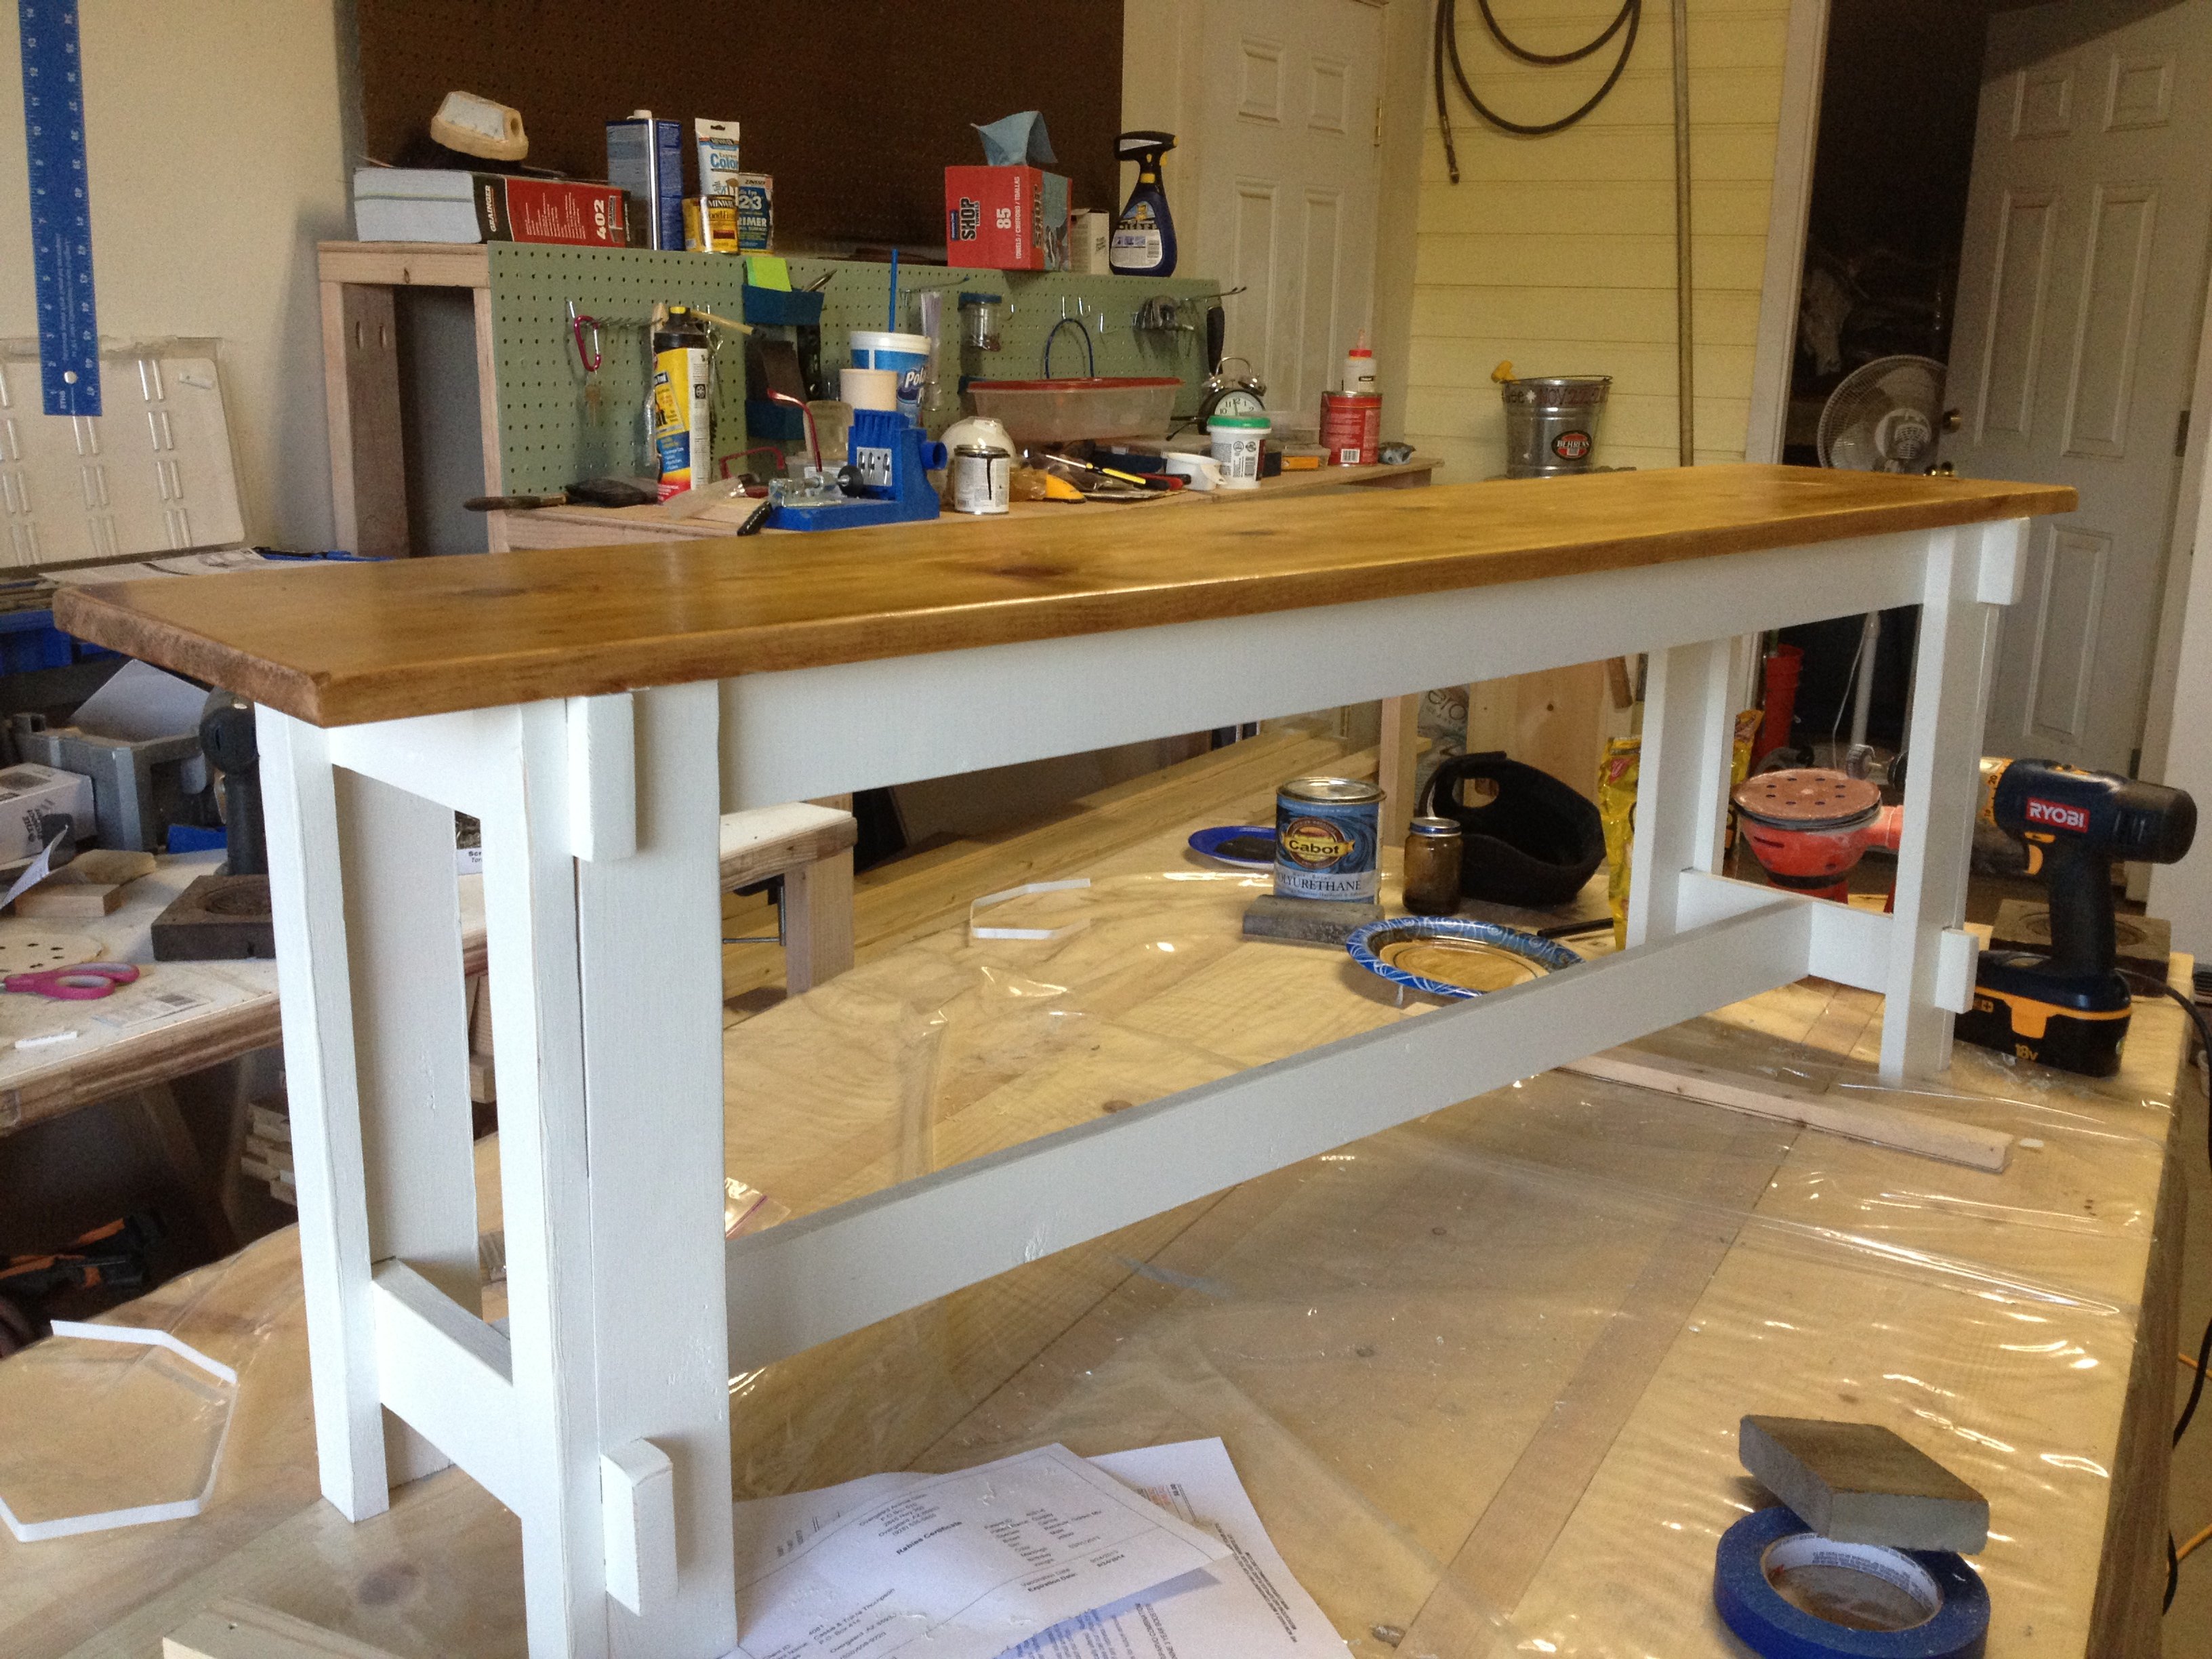
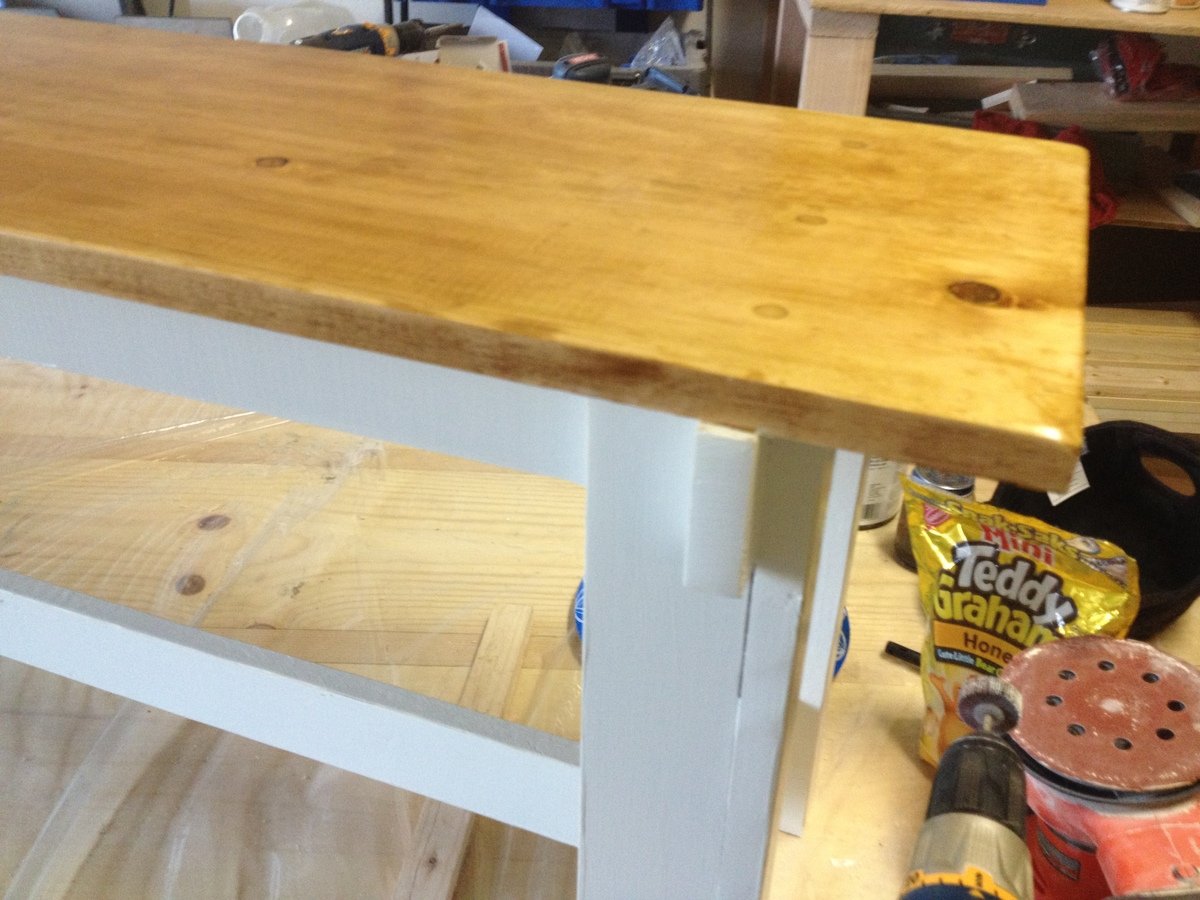
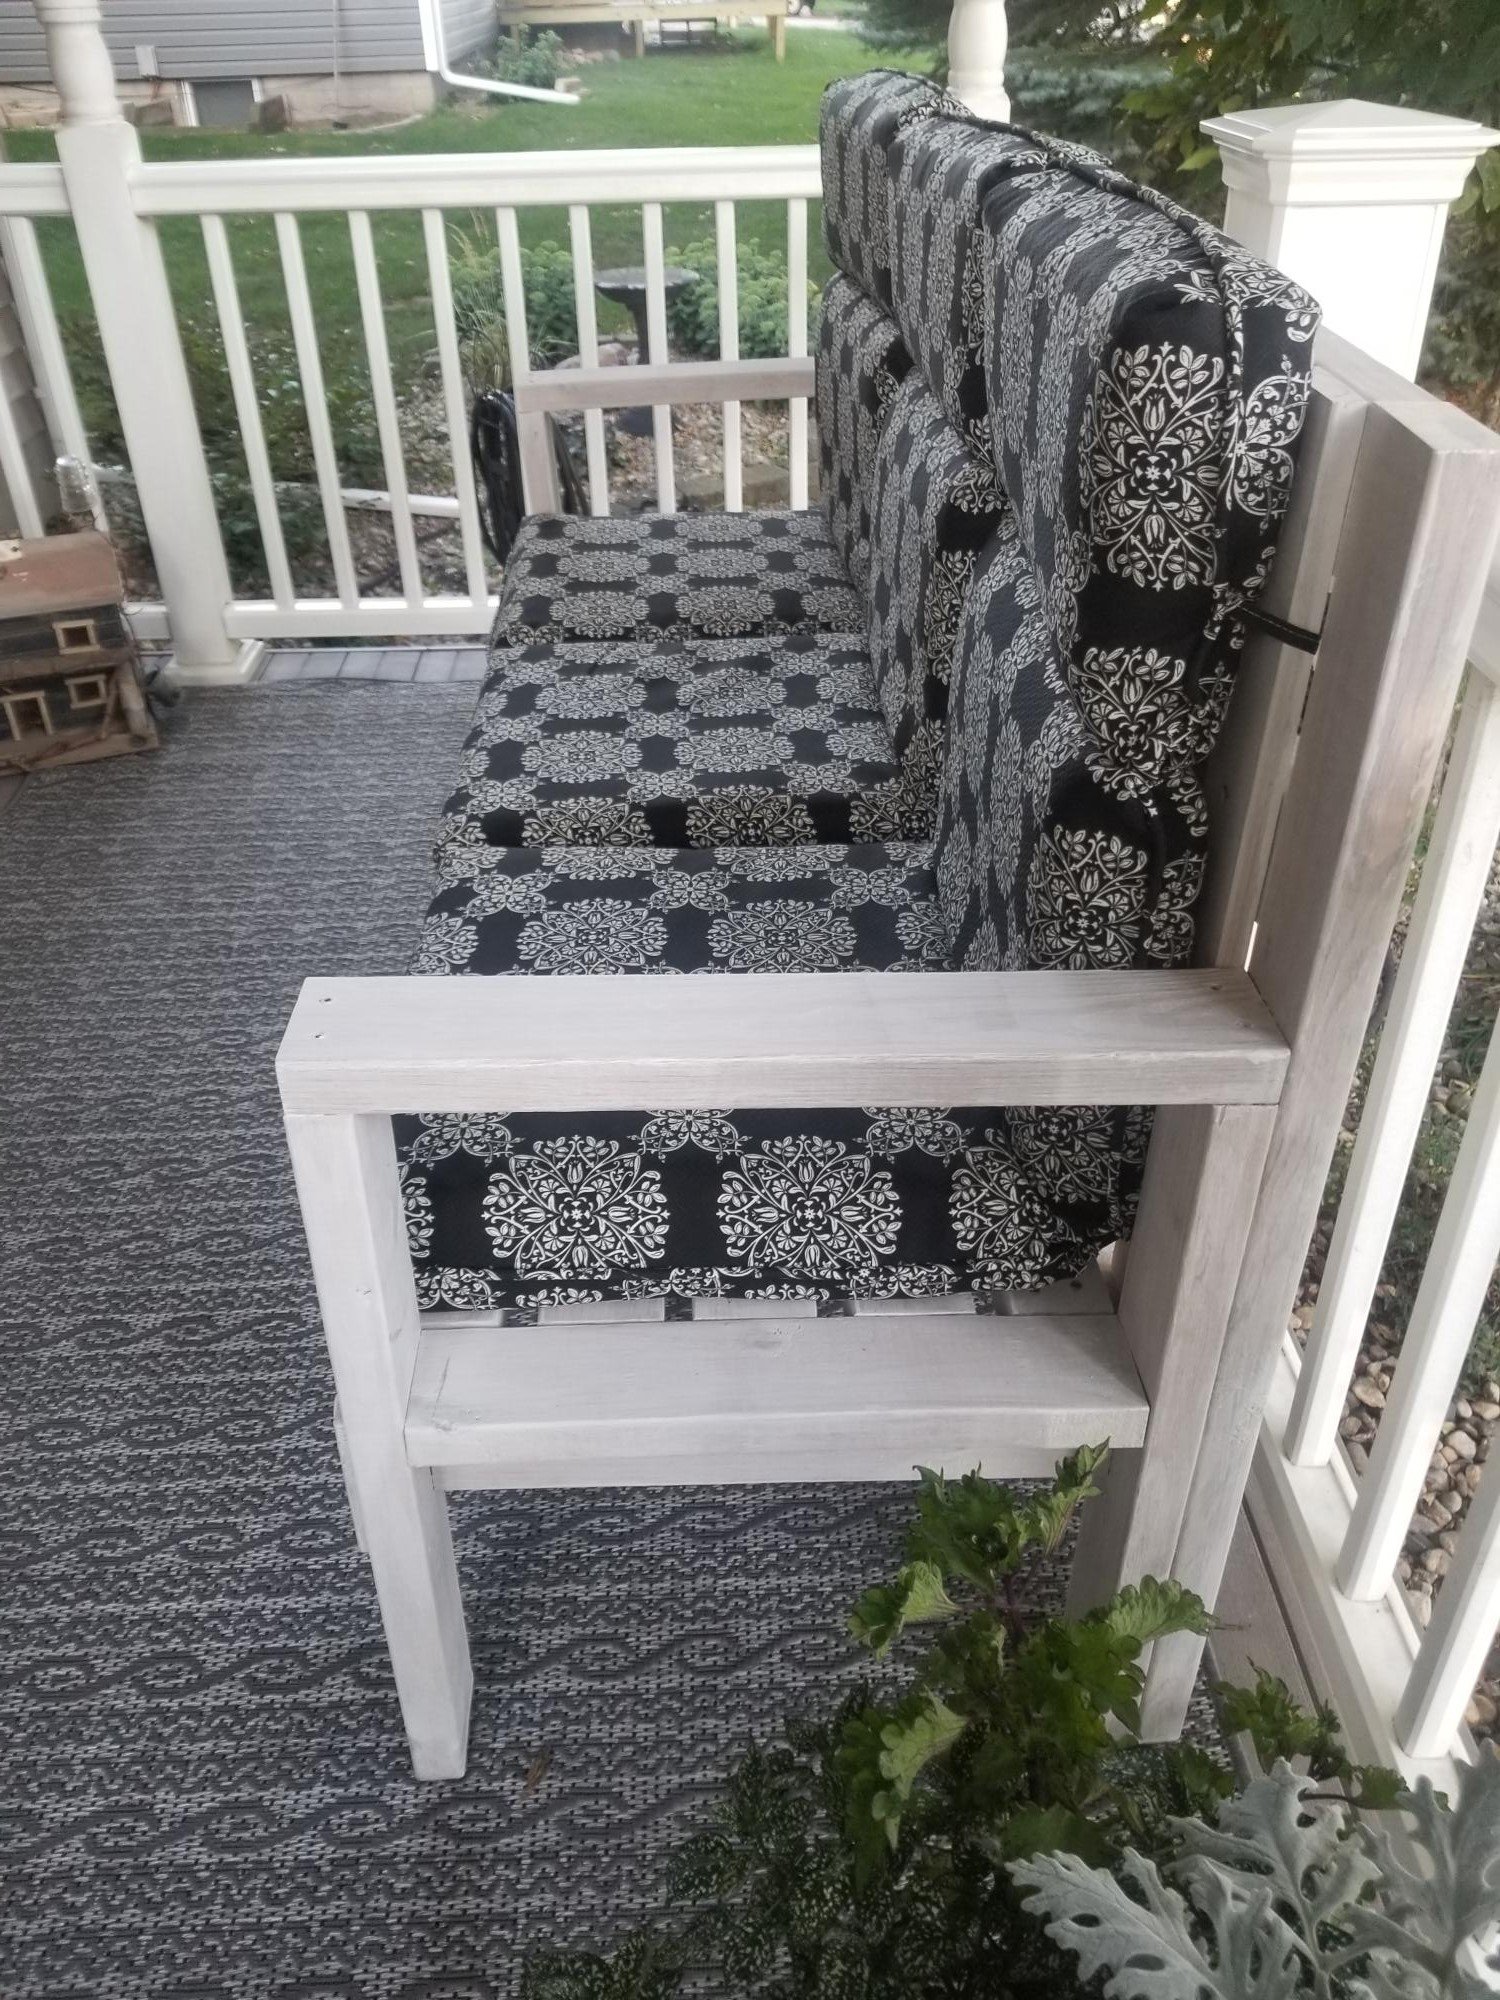
I mixed my own color of stain for the top board from two Cabot colors (Golden Oak and Walnut) to create a color that break up all the oak in the room, while still fitting in. I painted the bases of the benches a creamy ivory for the same reason, to break up all the oak, and distressed the edges lightly.
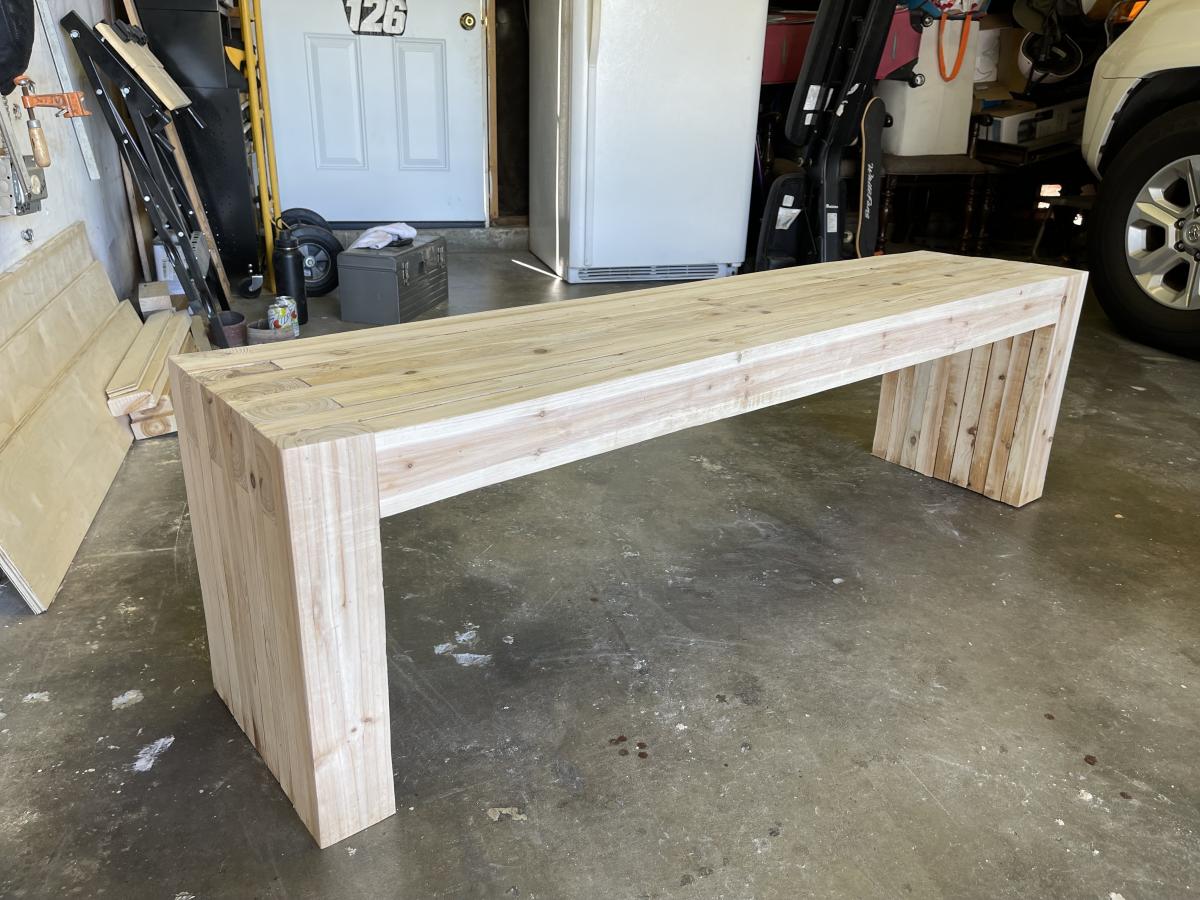
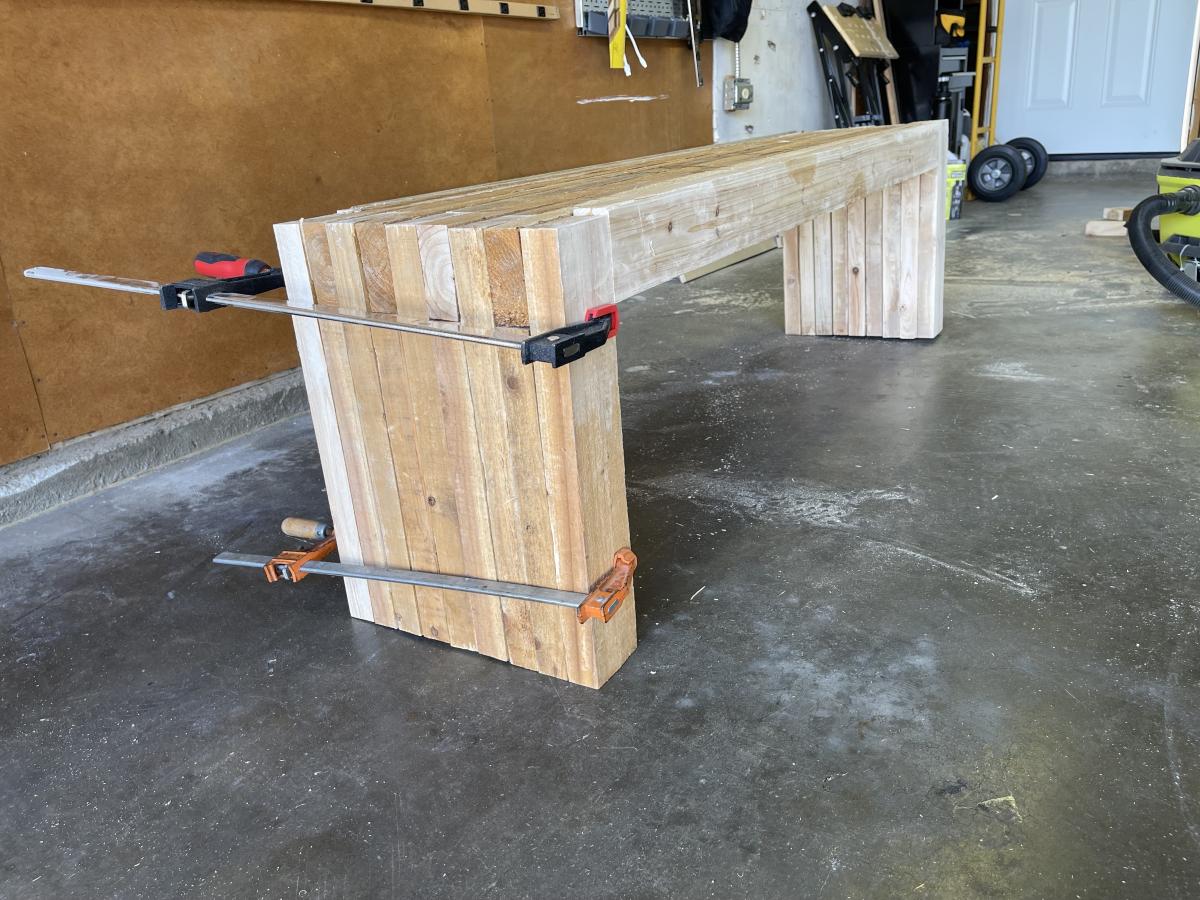
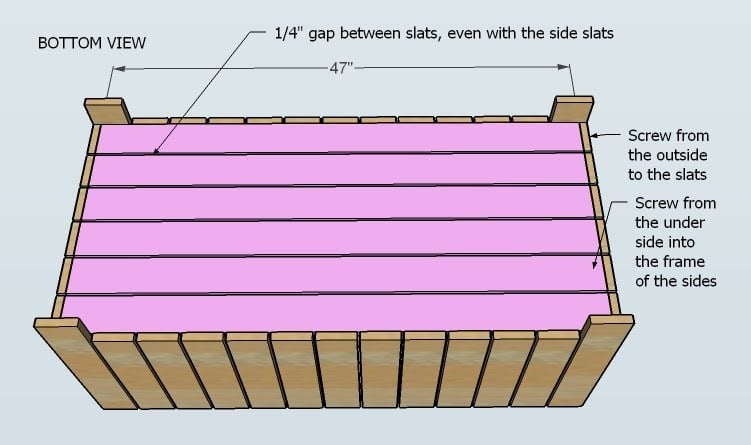
I omitted the "x" feature in the plans because I was happy with the look of just the board along the bottom.