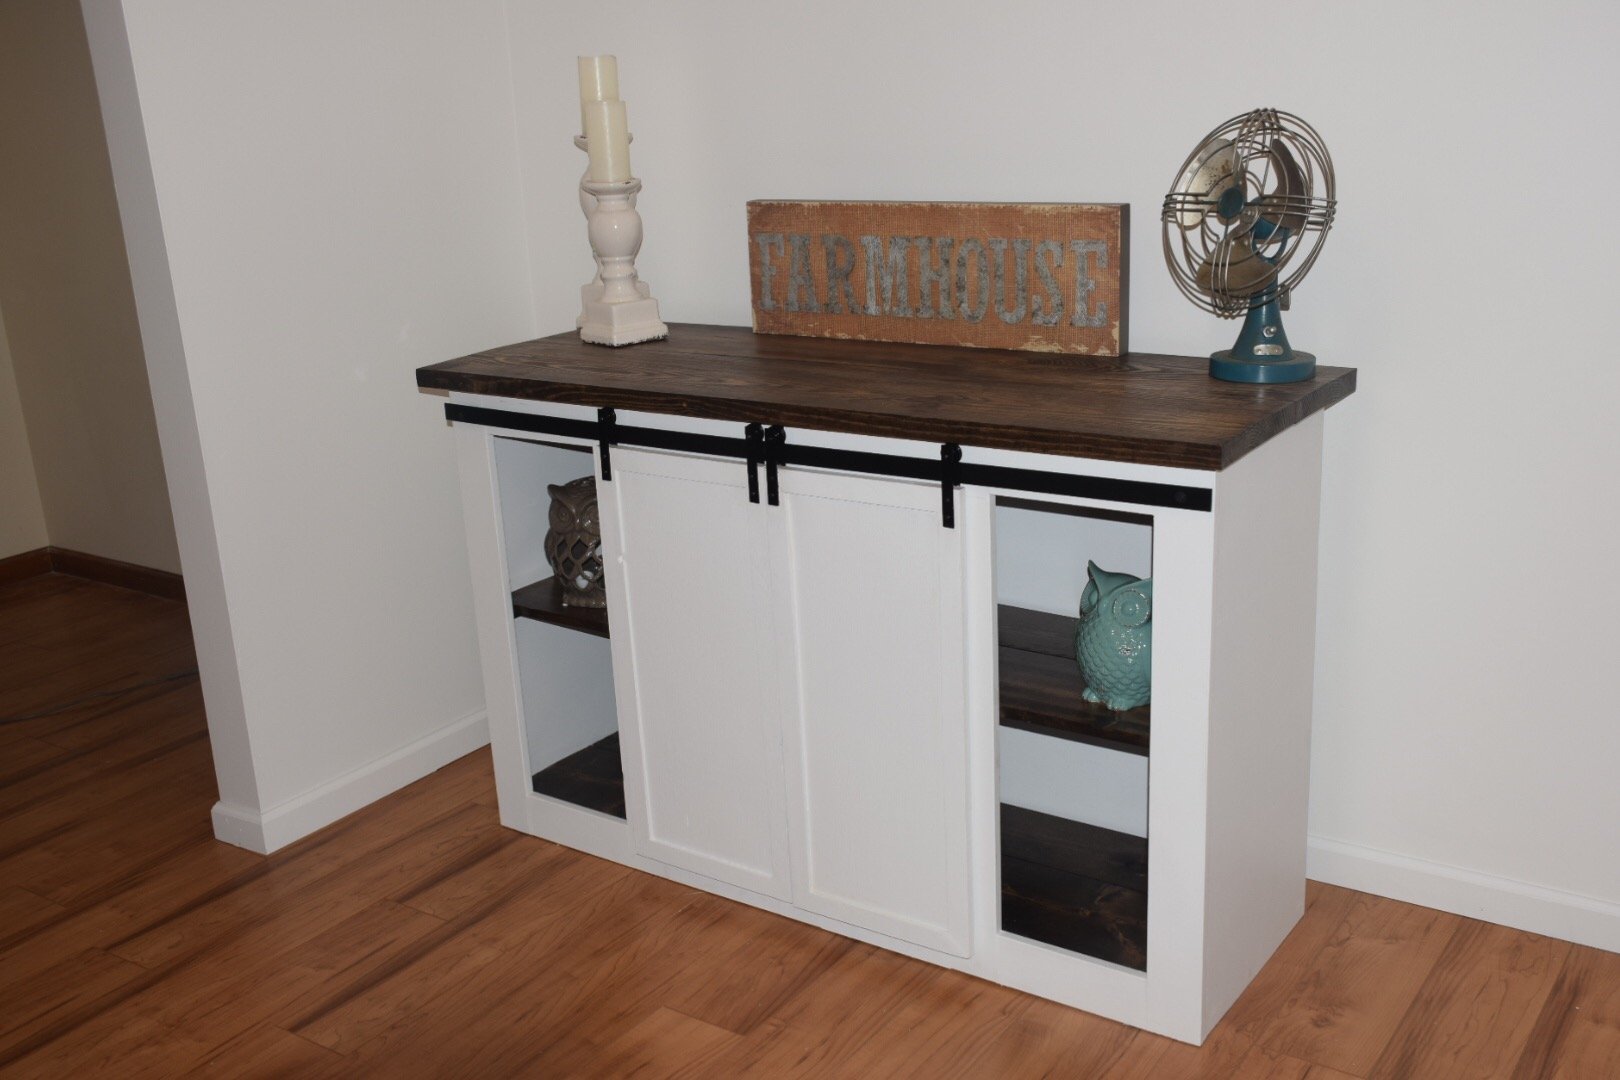
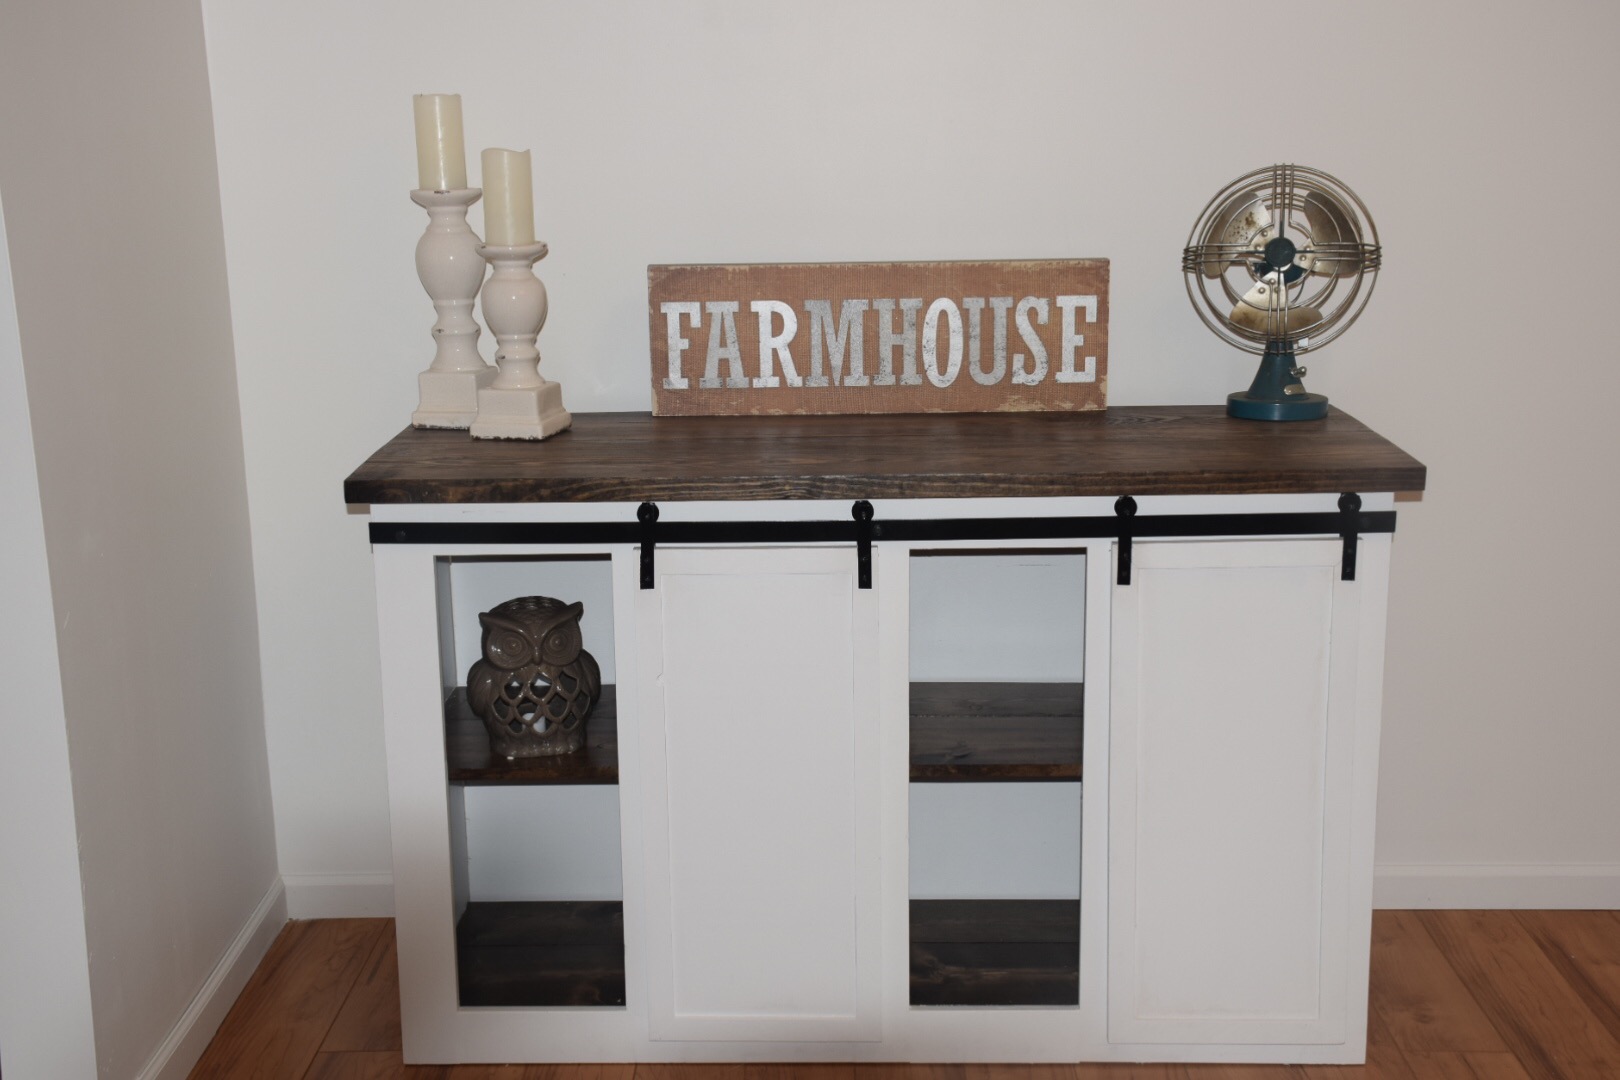
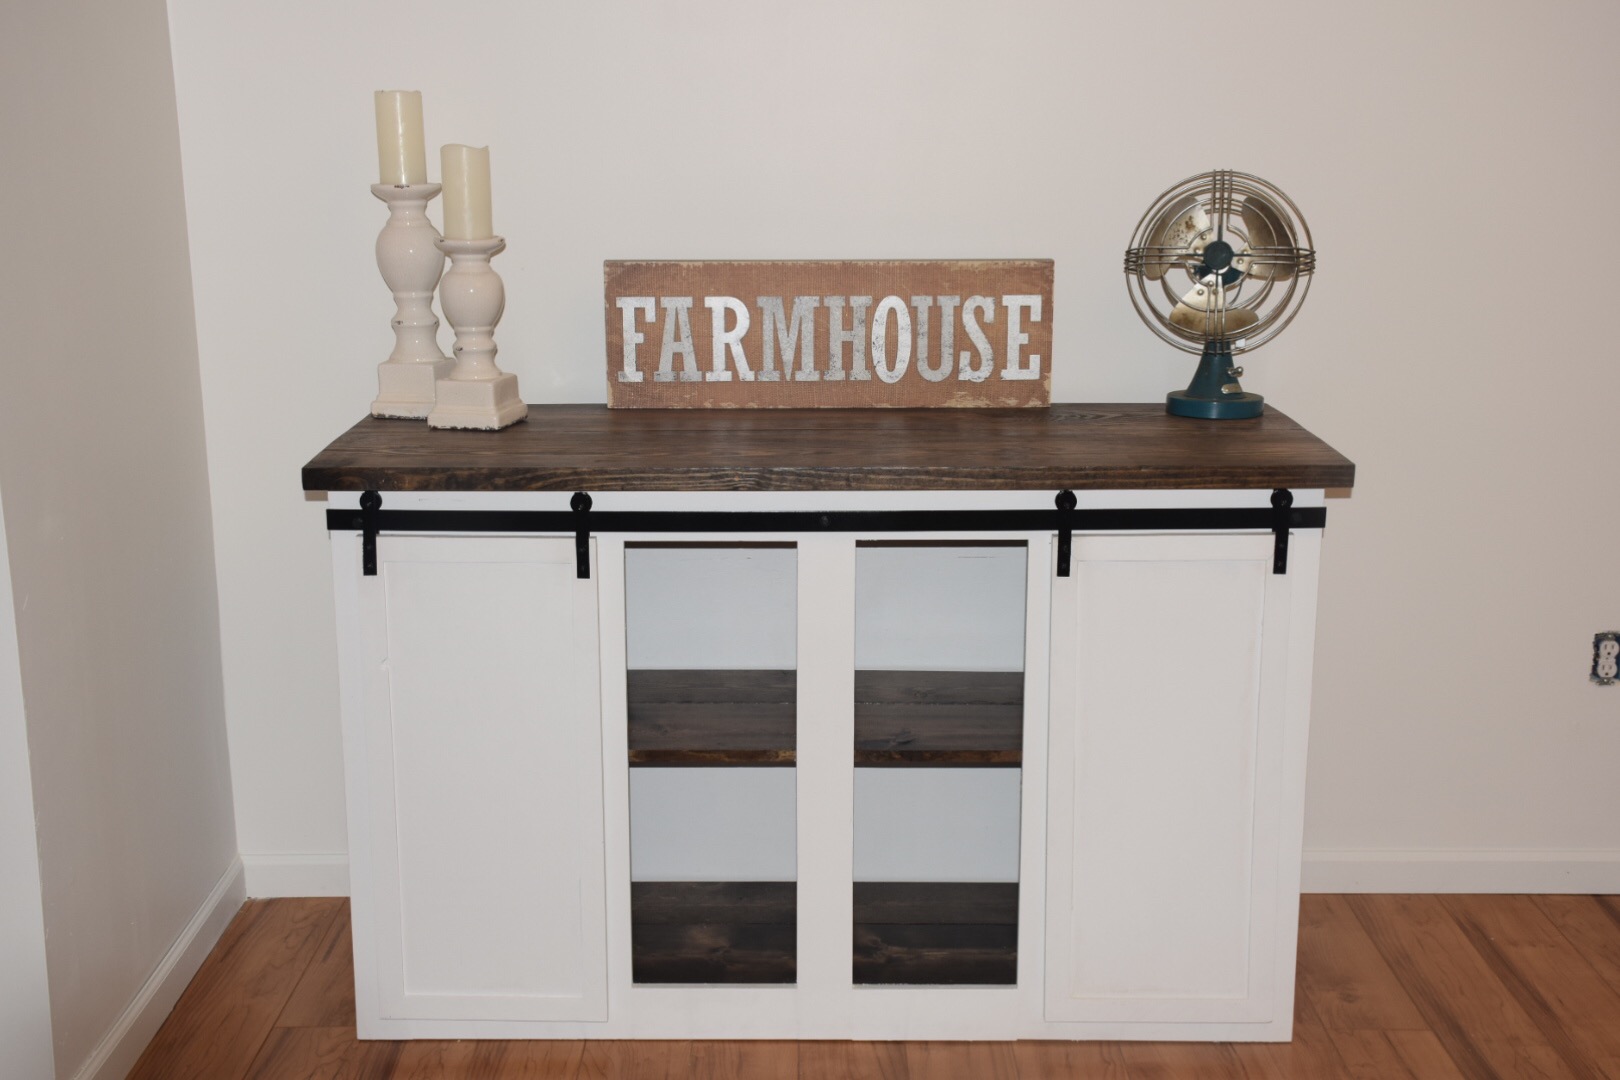
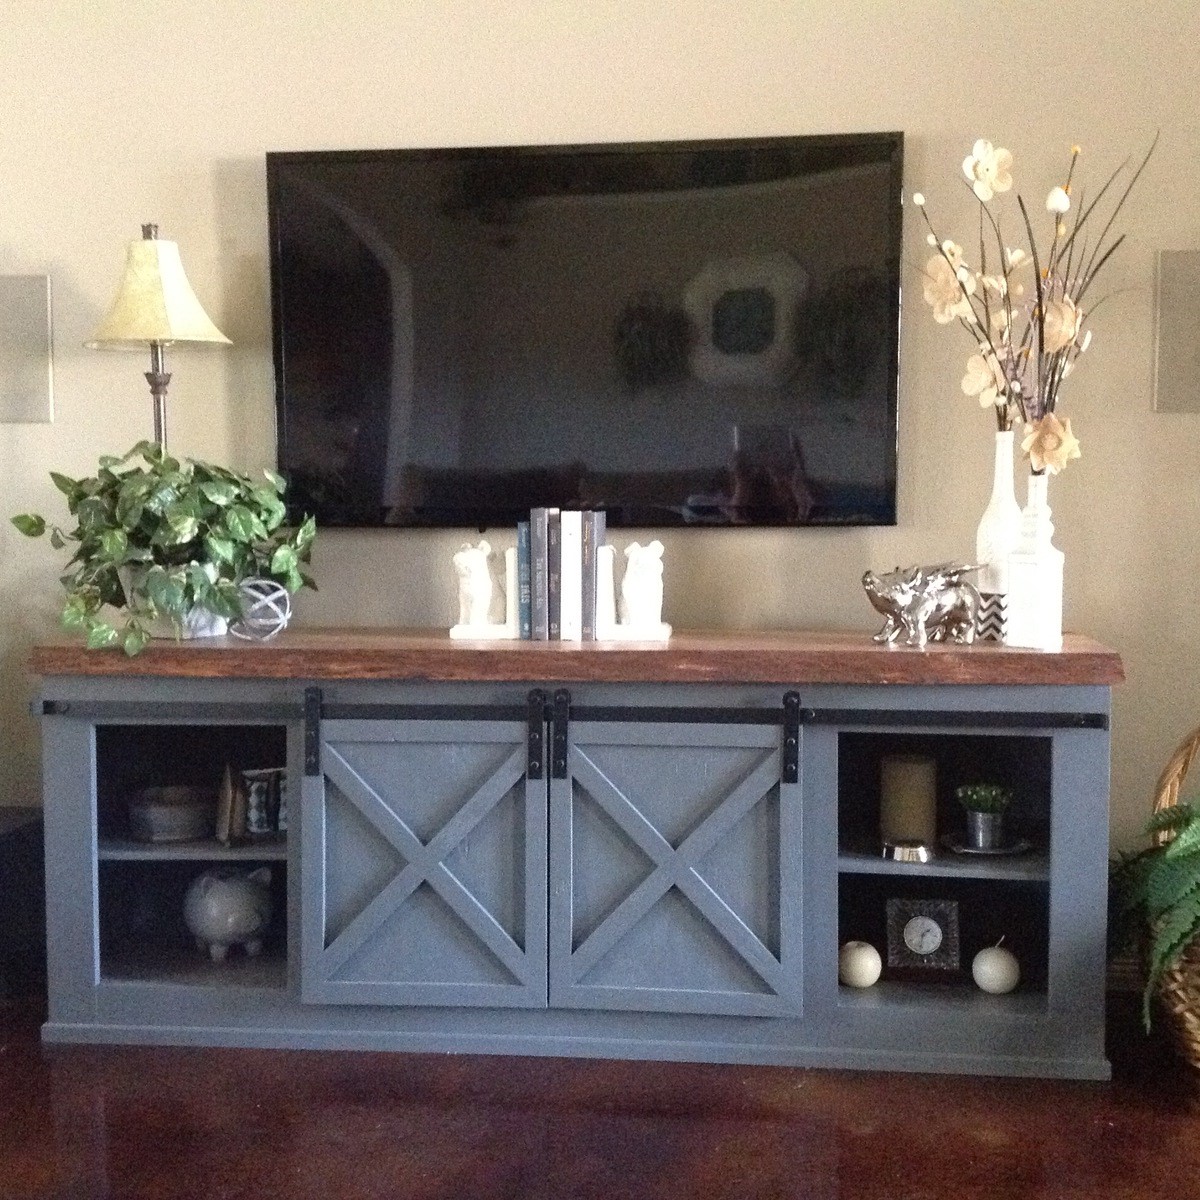
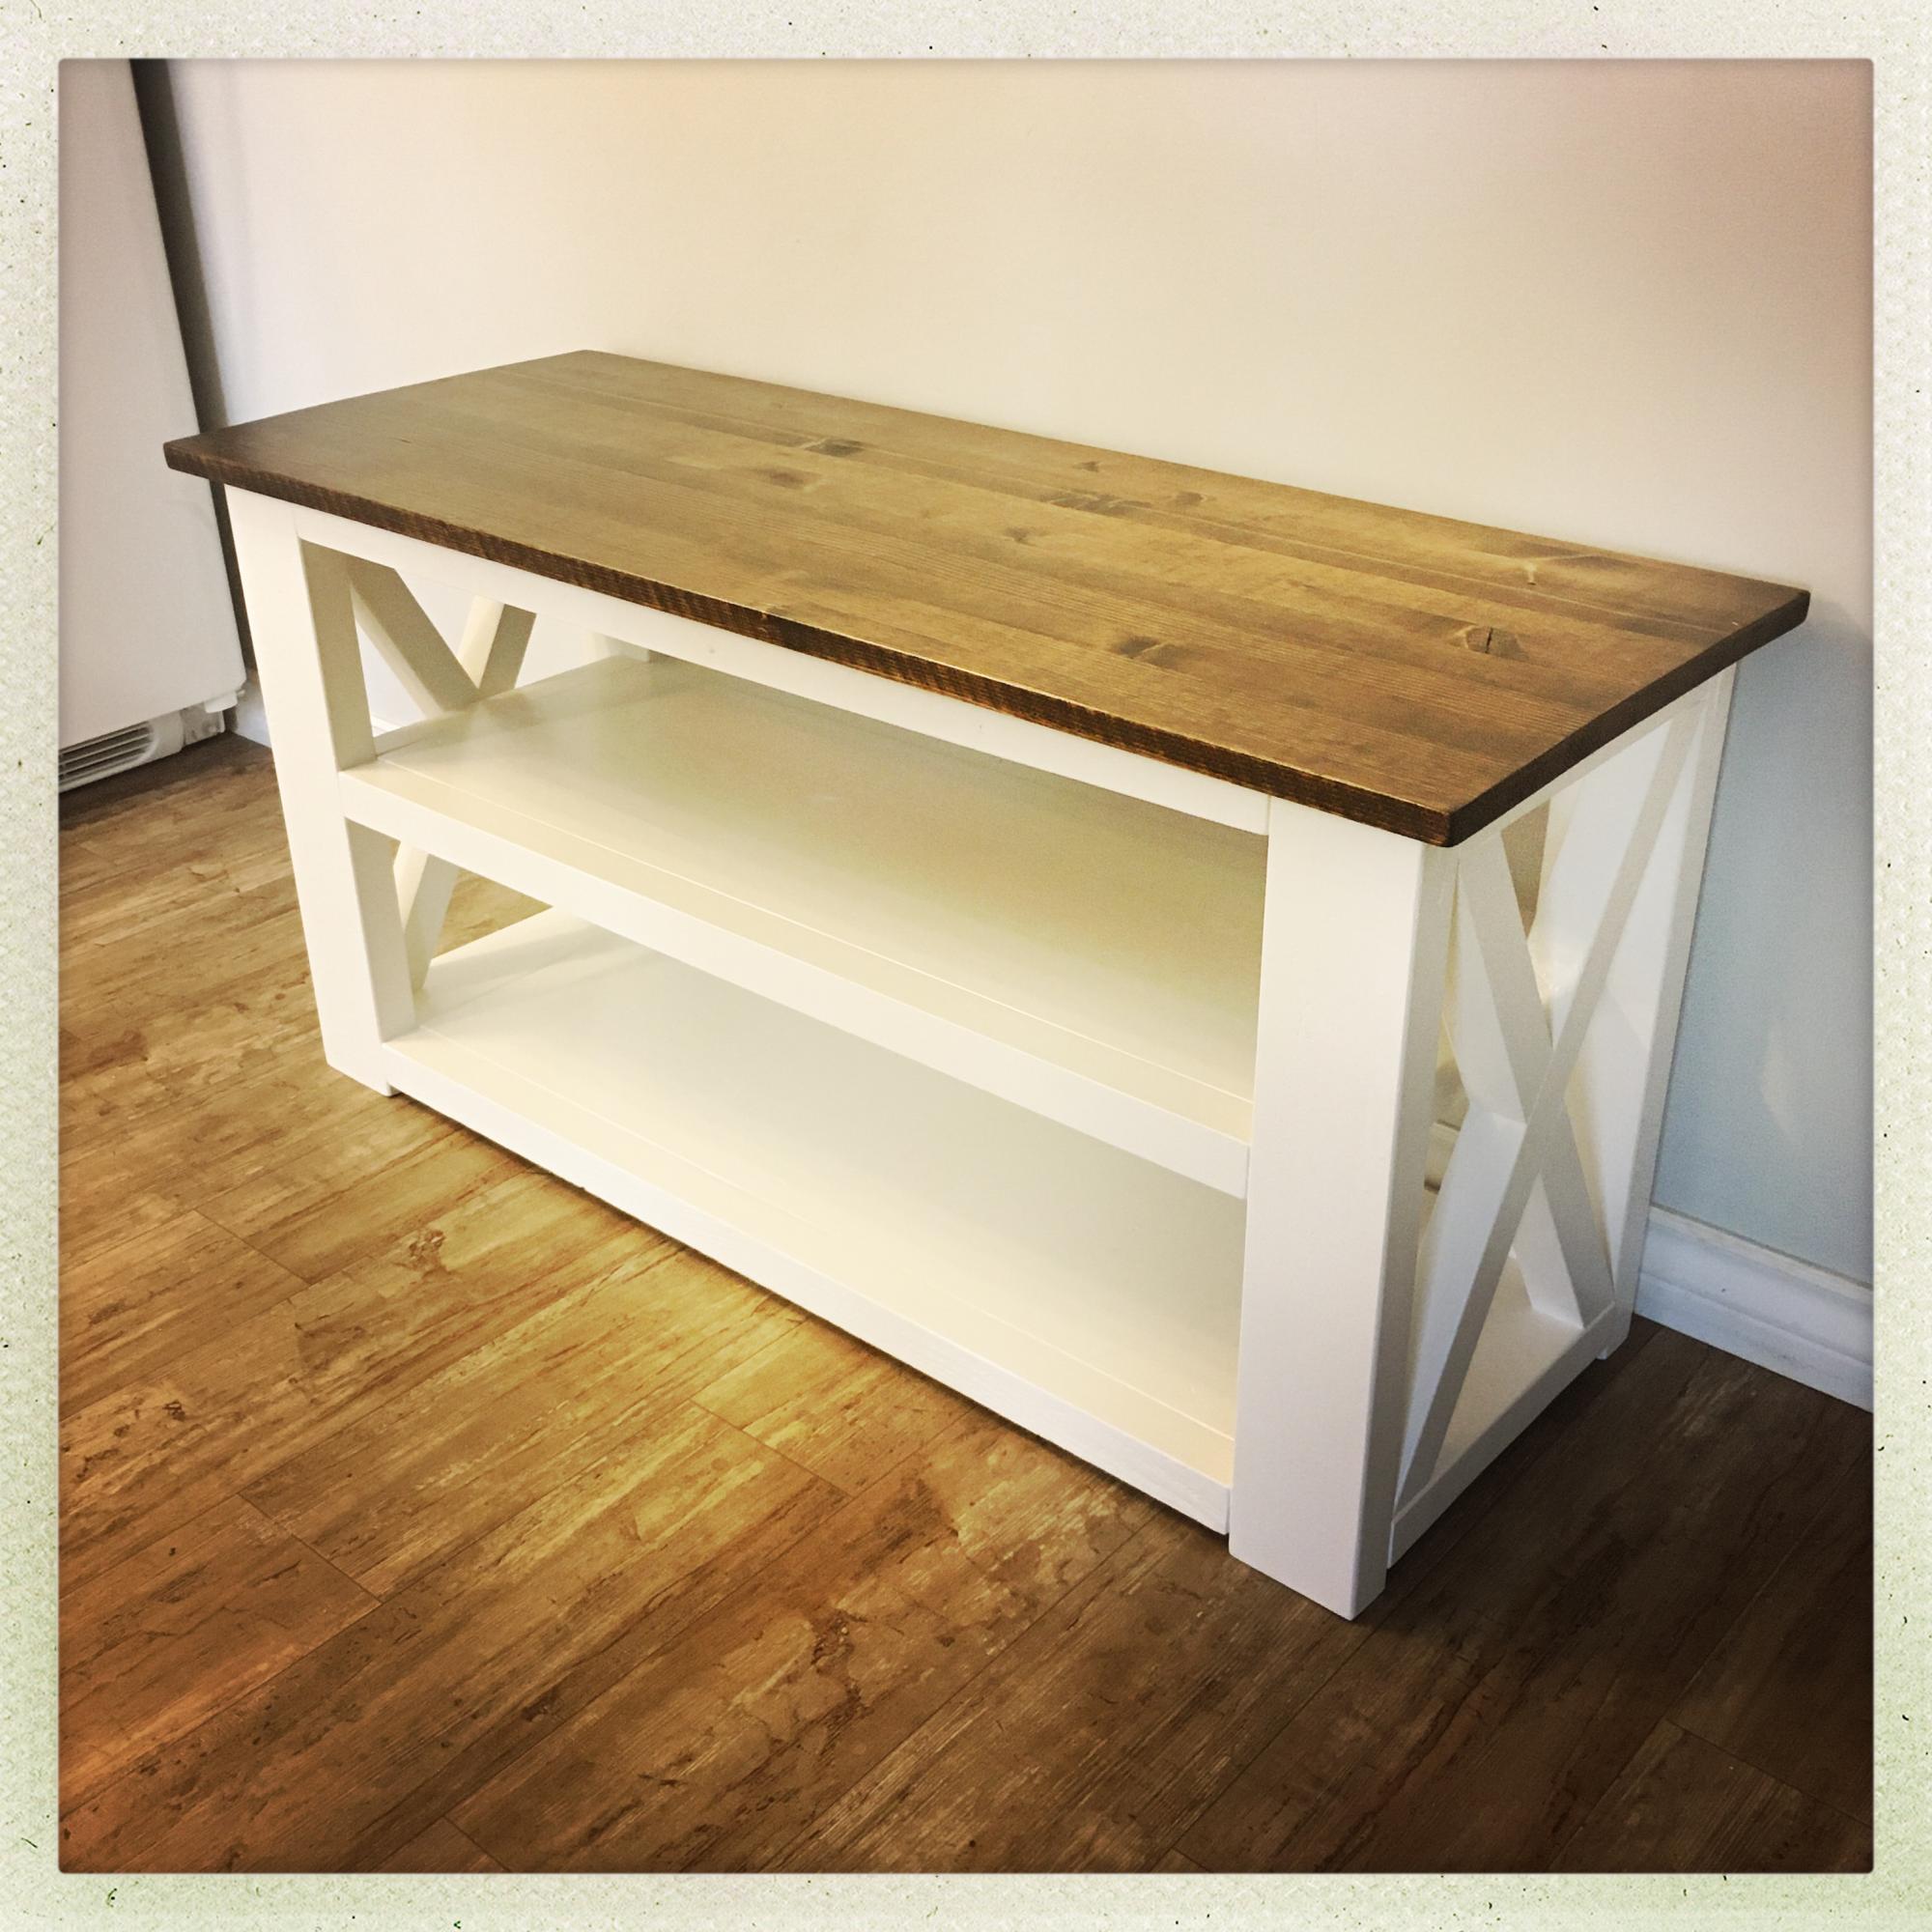
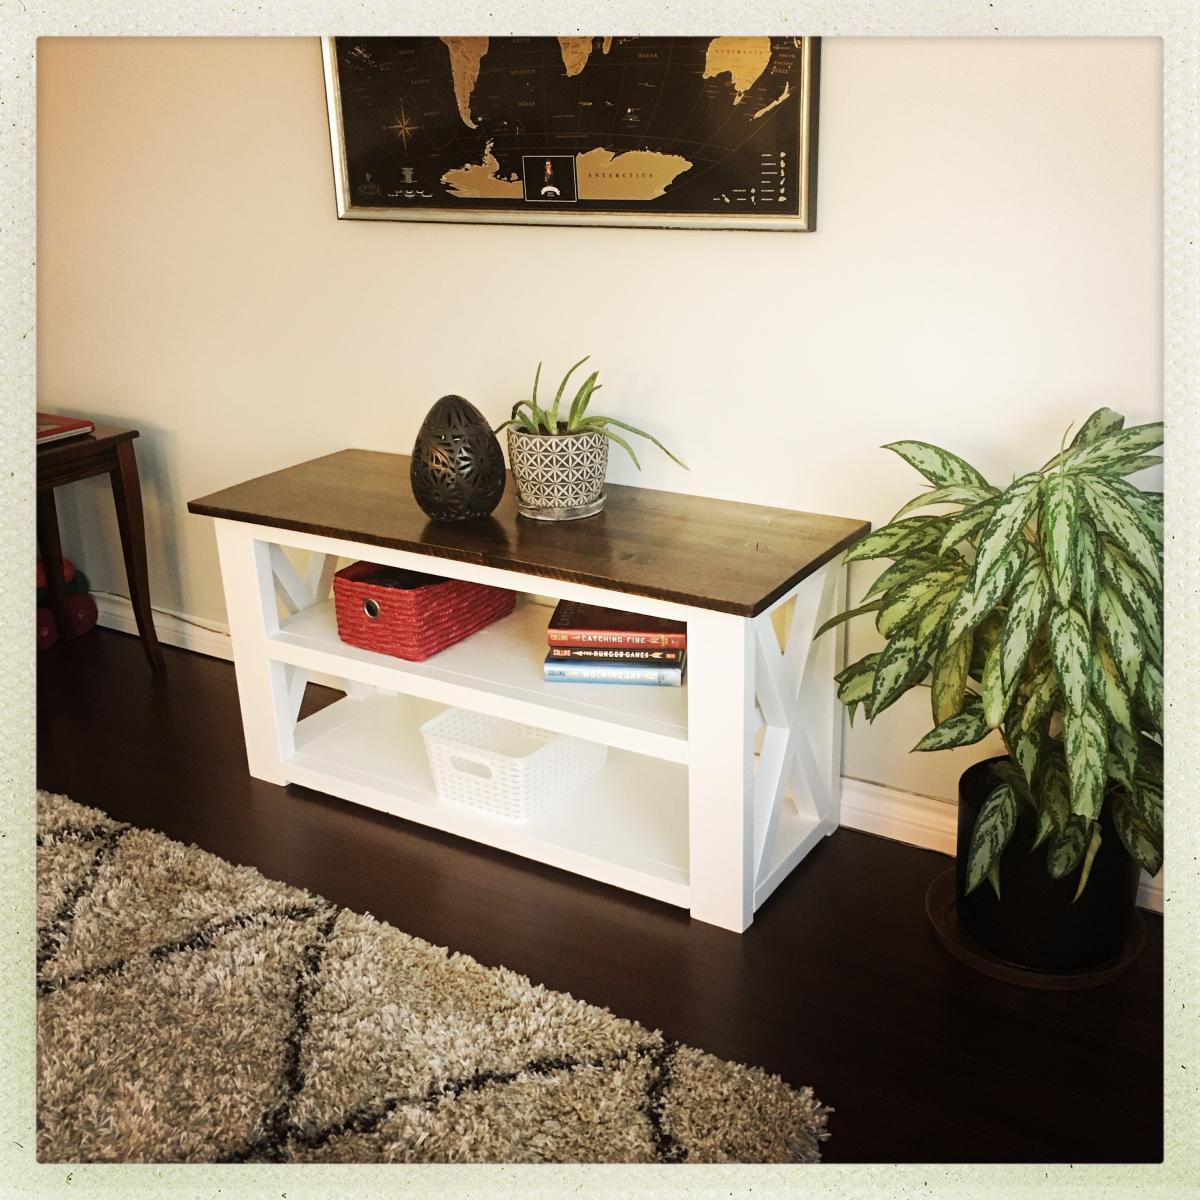
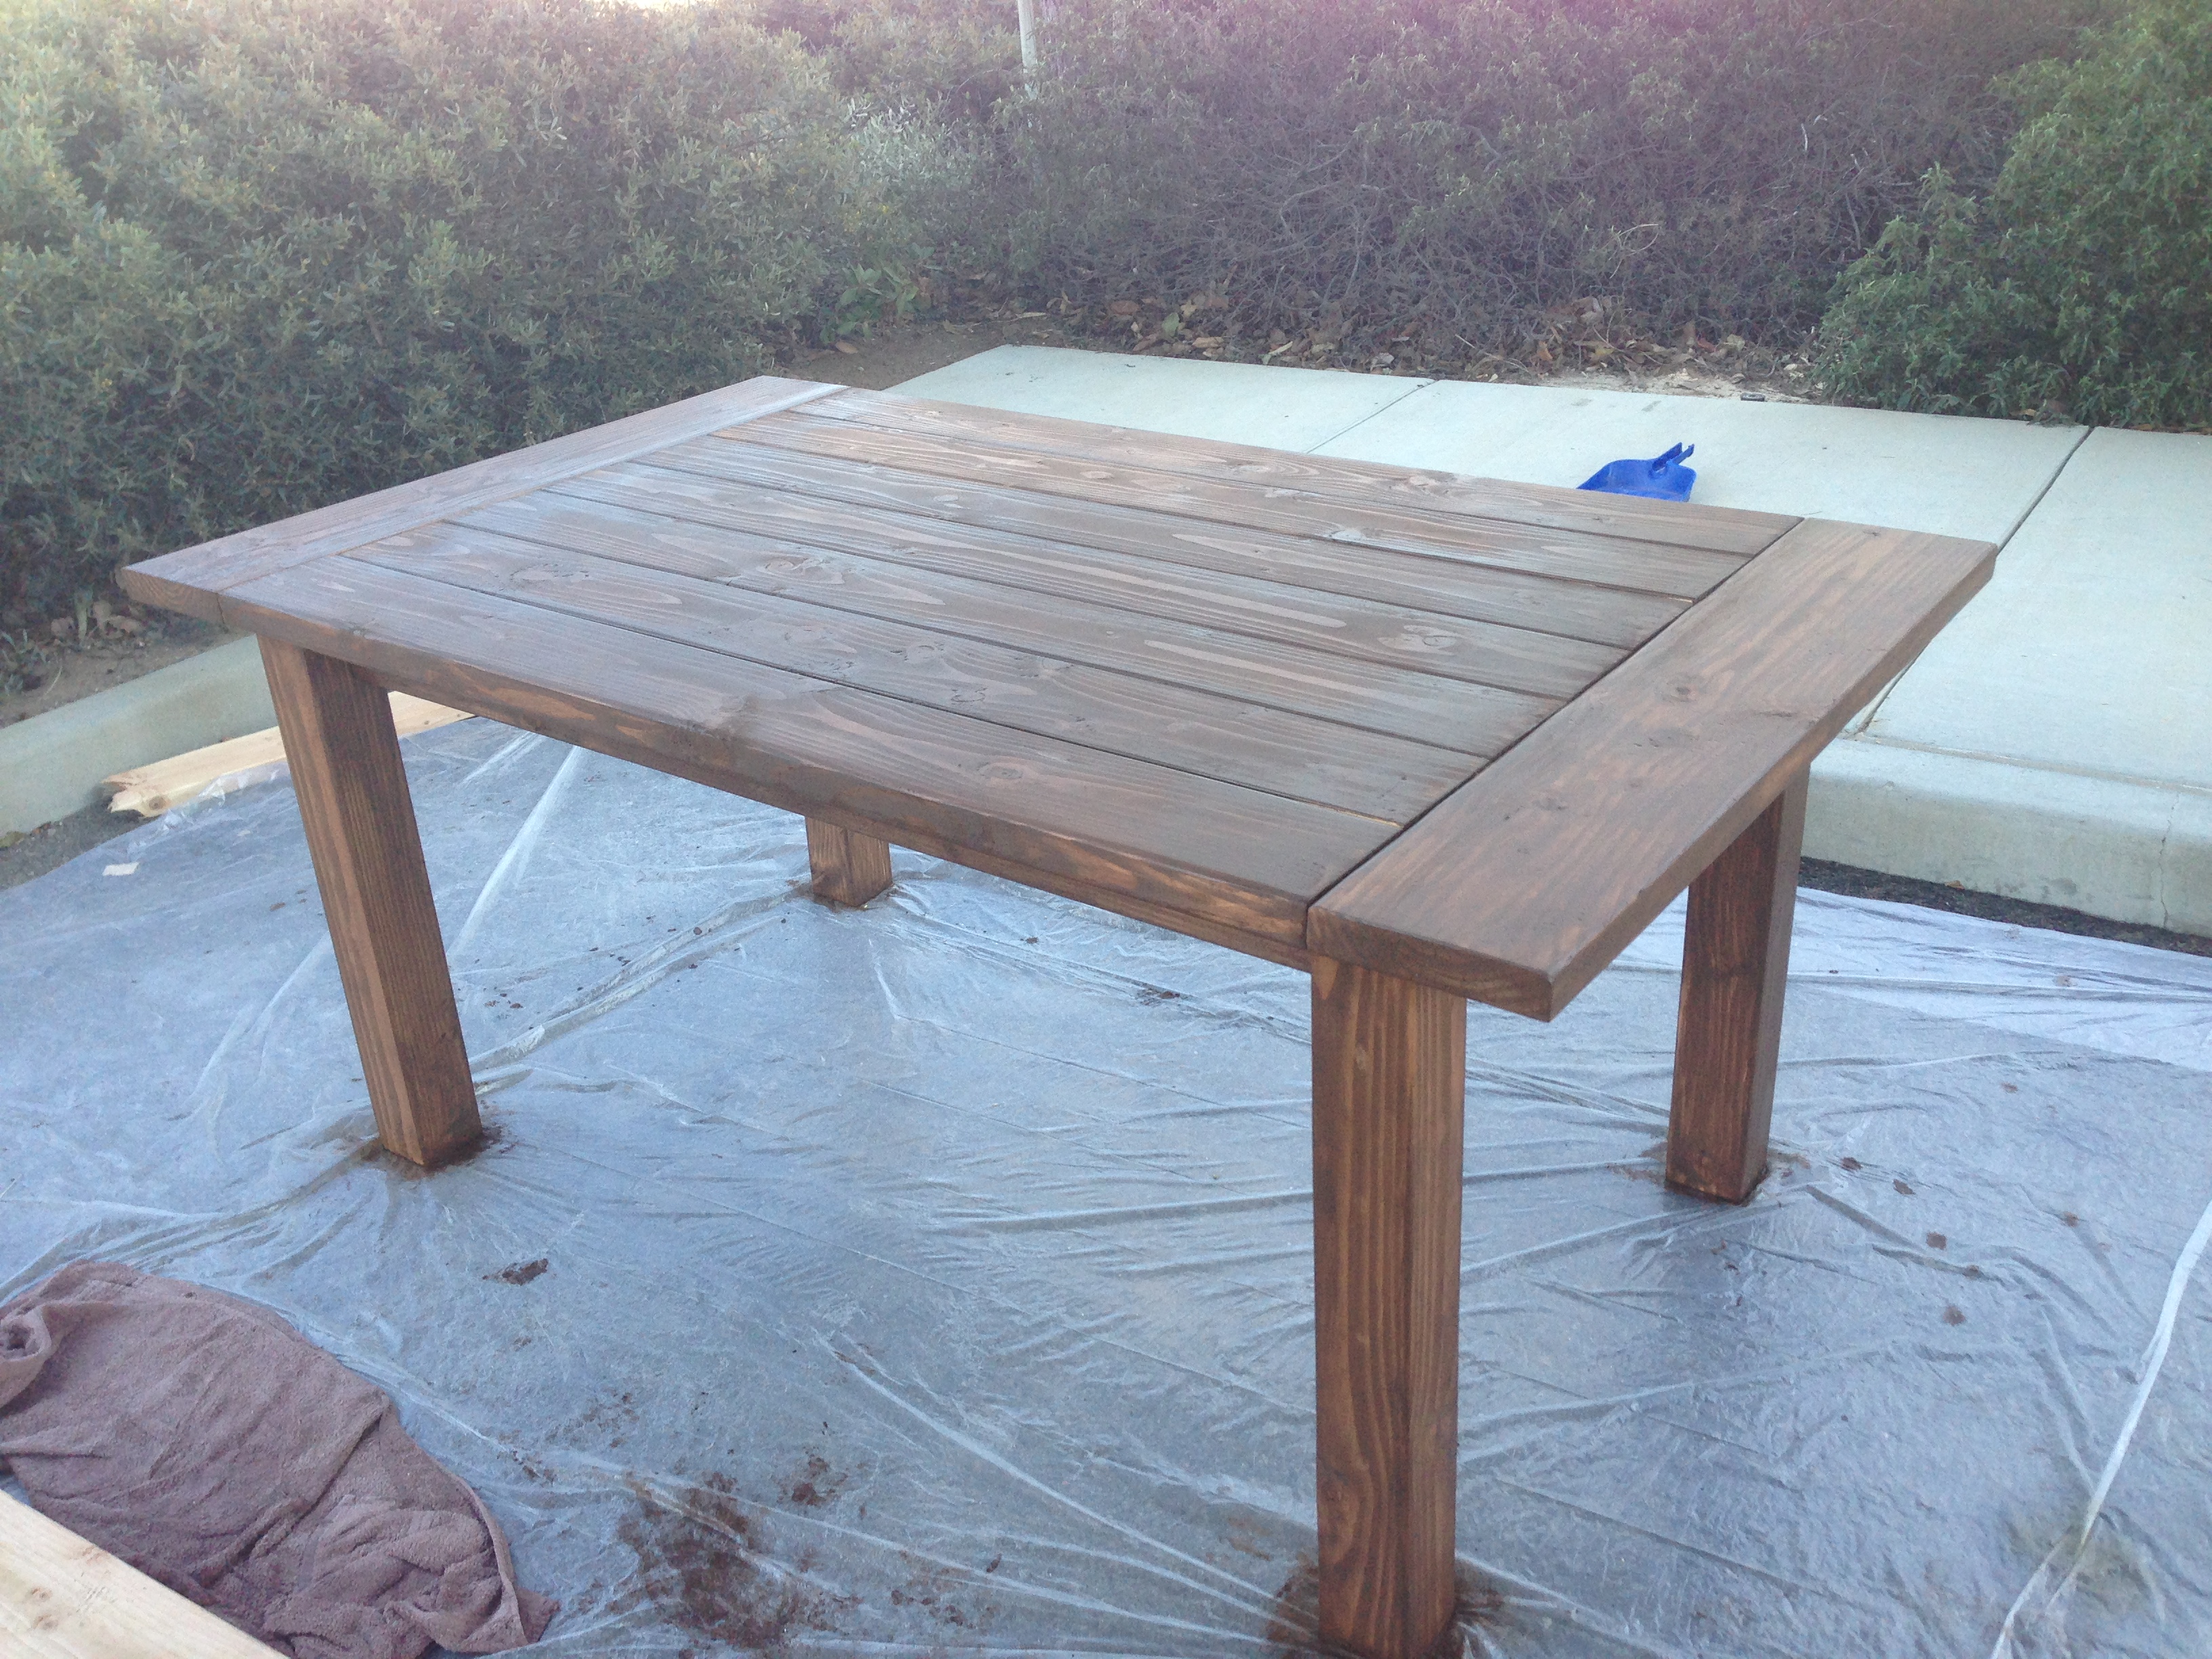
Barn door entertainment center
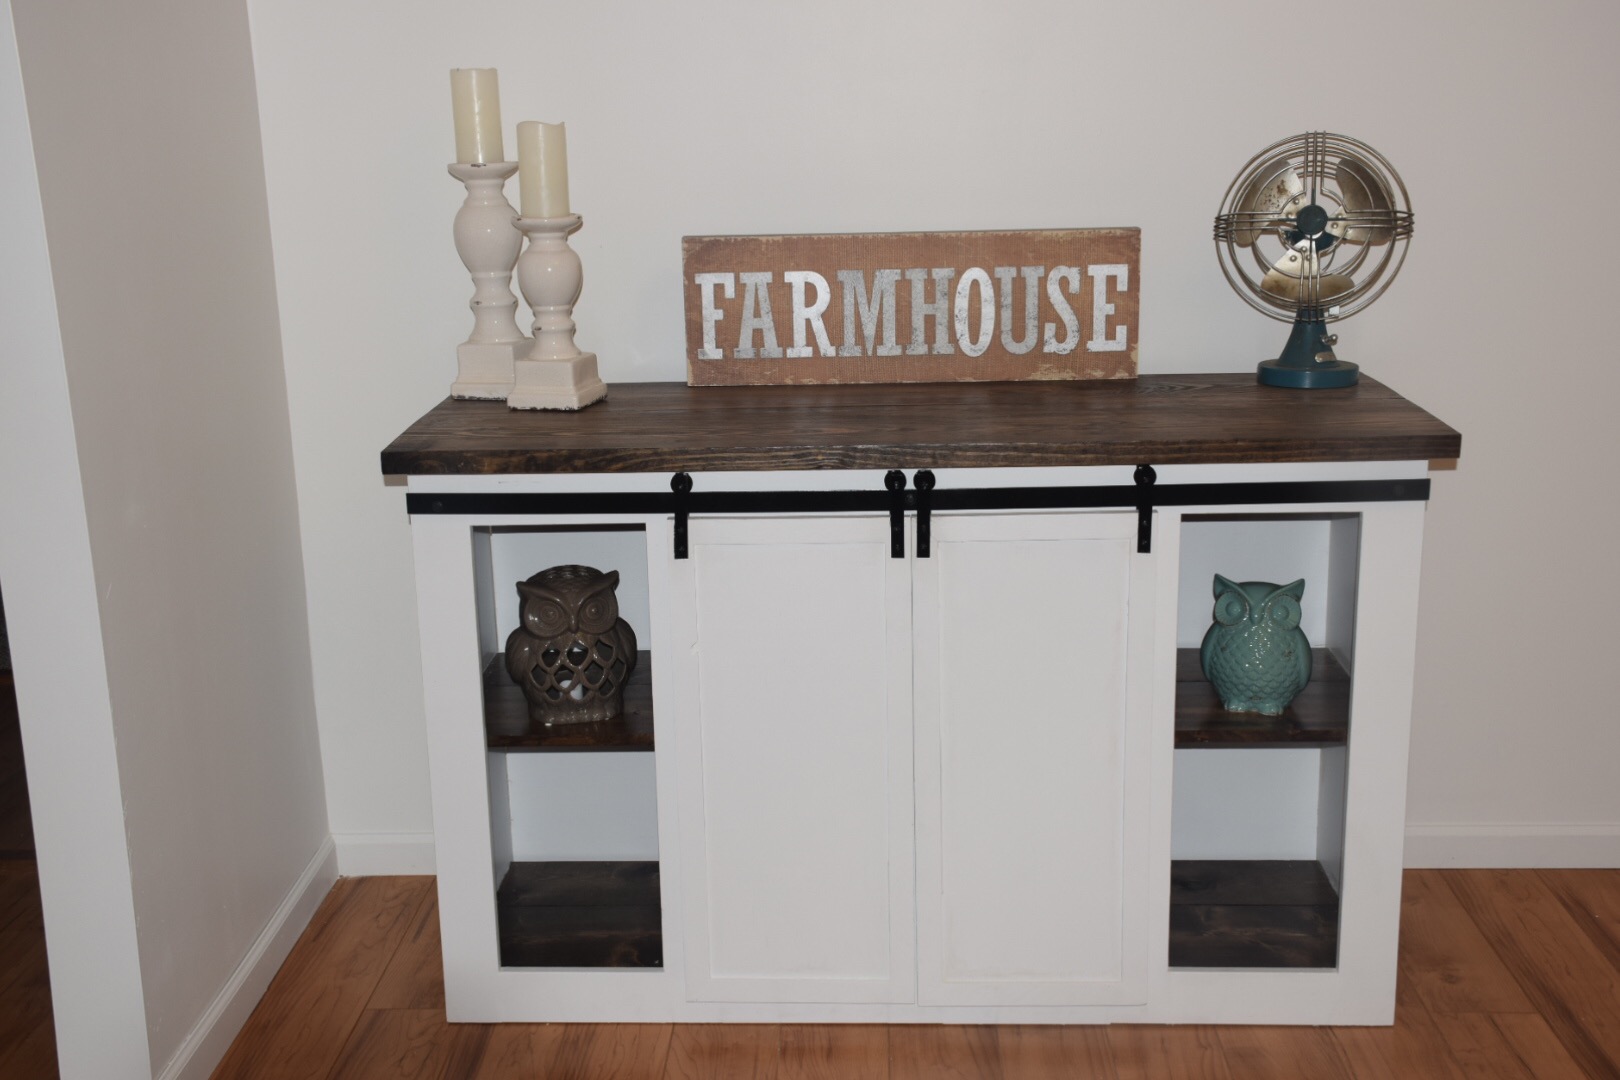
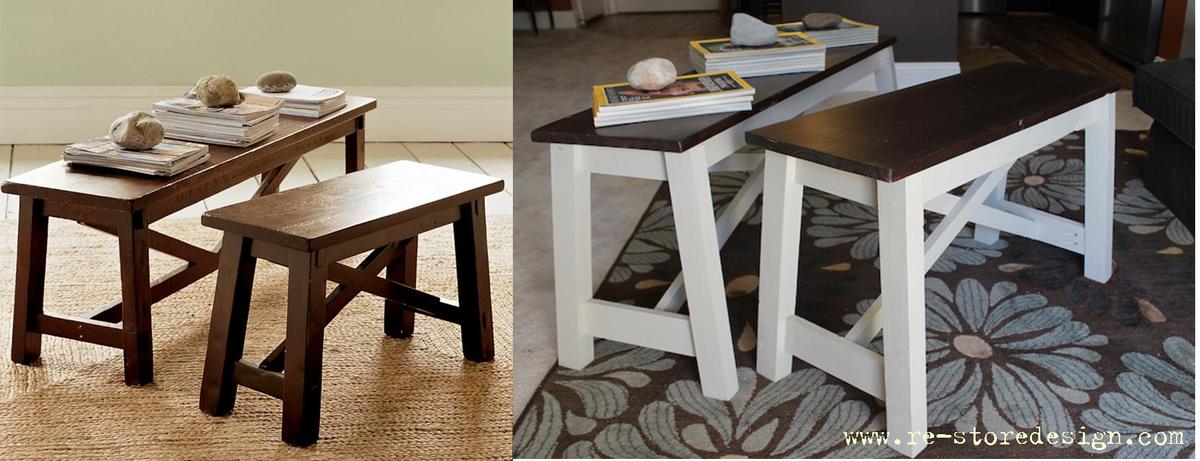
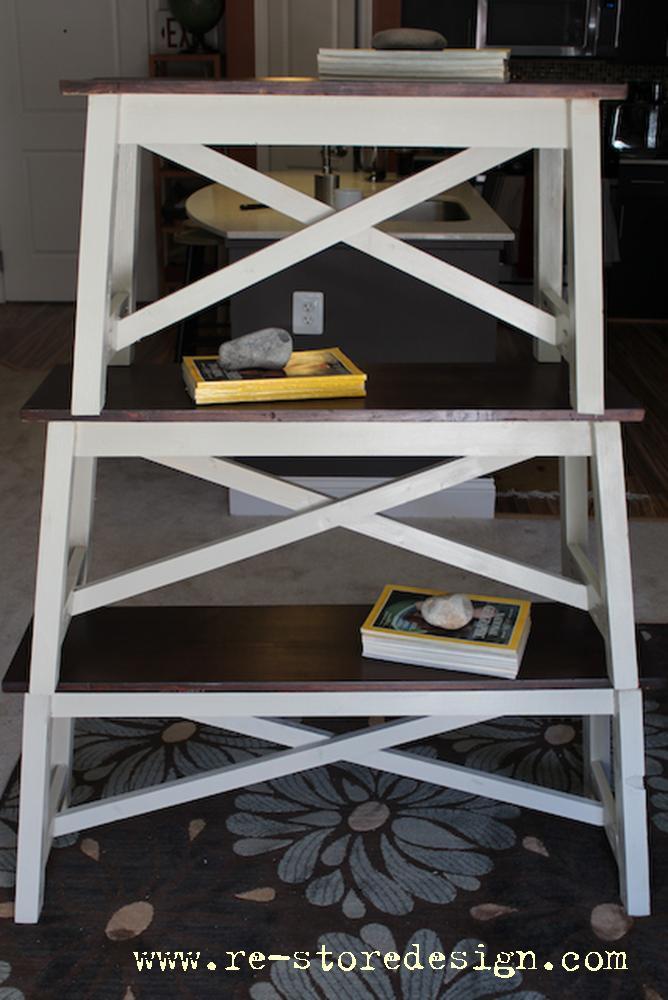
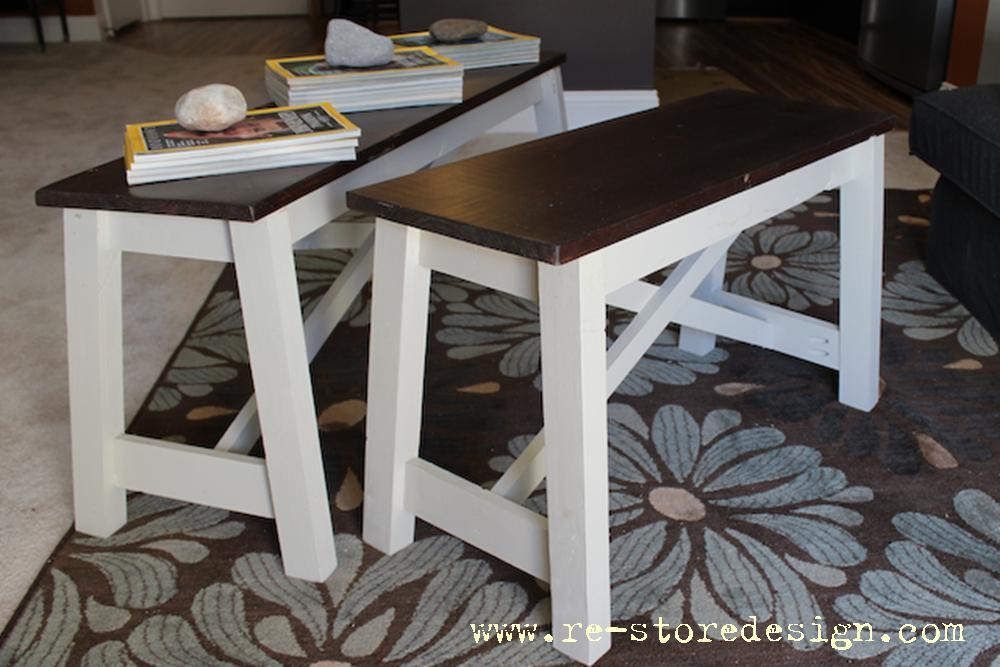
Barn door slider with all 3 shelfs stained dark walnut with a white cabinet
Built from Plan(s)
Estimated Time Investment
Weekend Project (10-20 Hours)
Finish Used
Dark walnut and white paint with several coats of poly
Recommended Skill Level
Intermediate


Comments
Parrish
Mon, 02/20/2017 - 15:12
Where do I find the plans
Where do I find the plans I have looked everywhere for the sliding barn door console plans