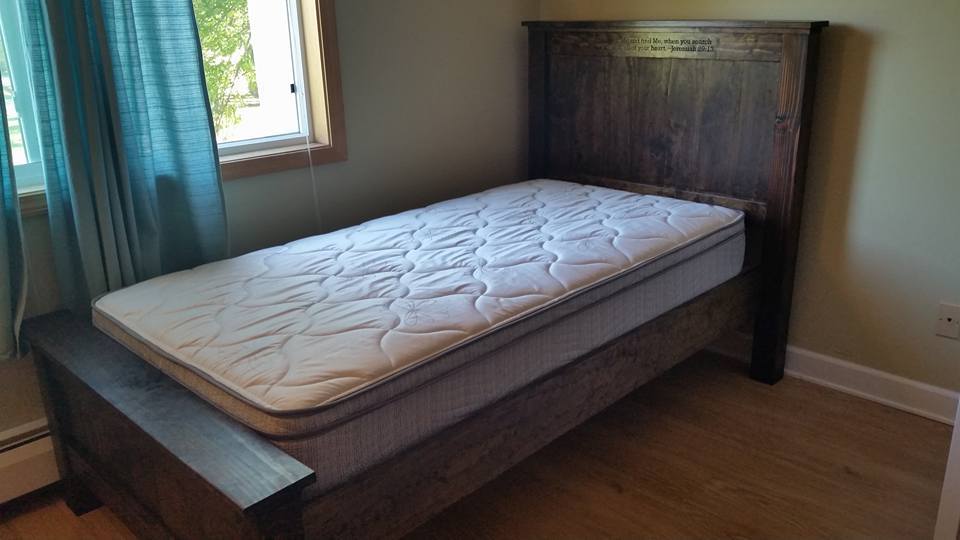
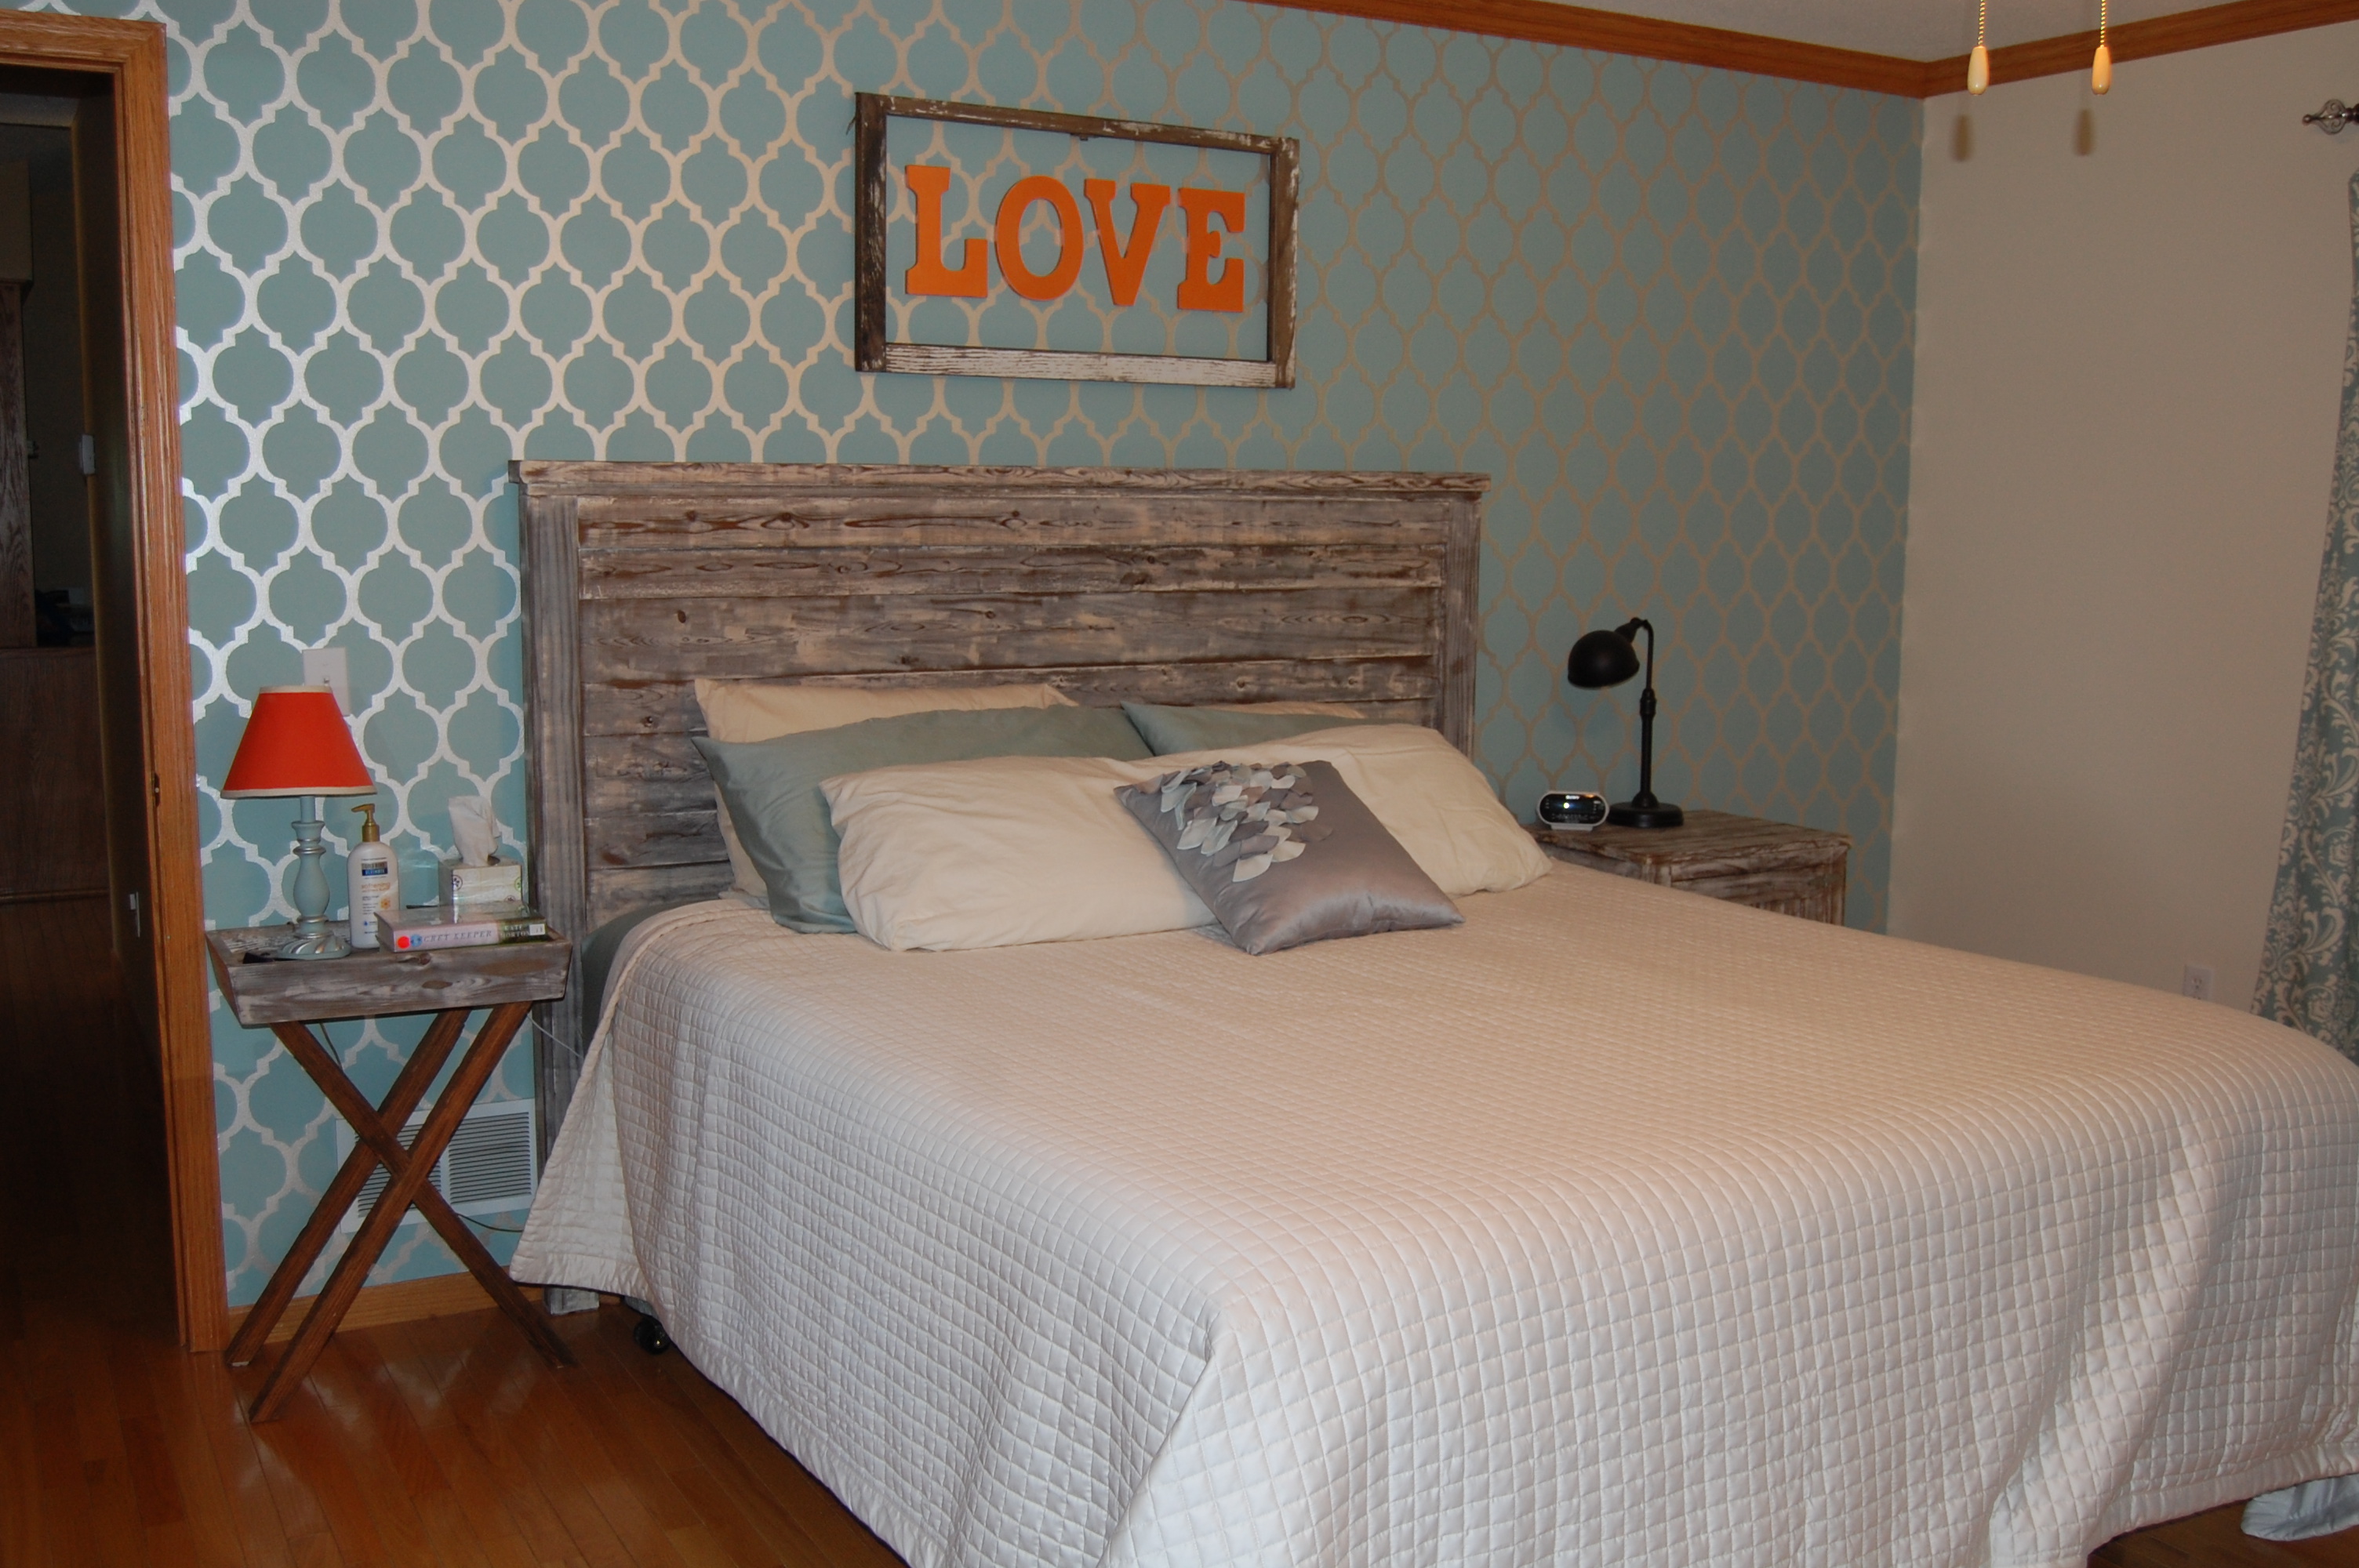
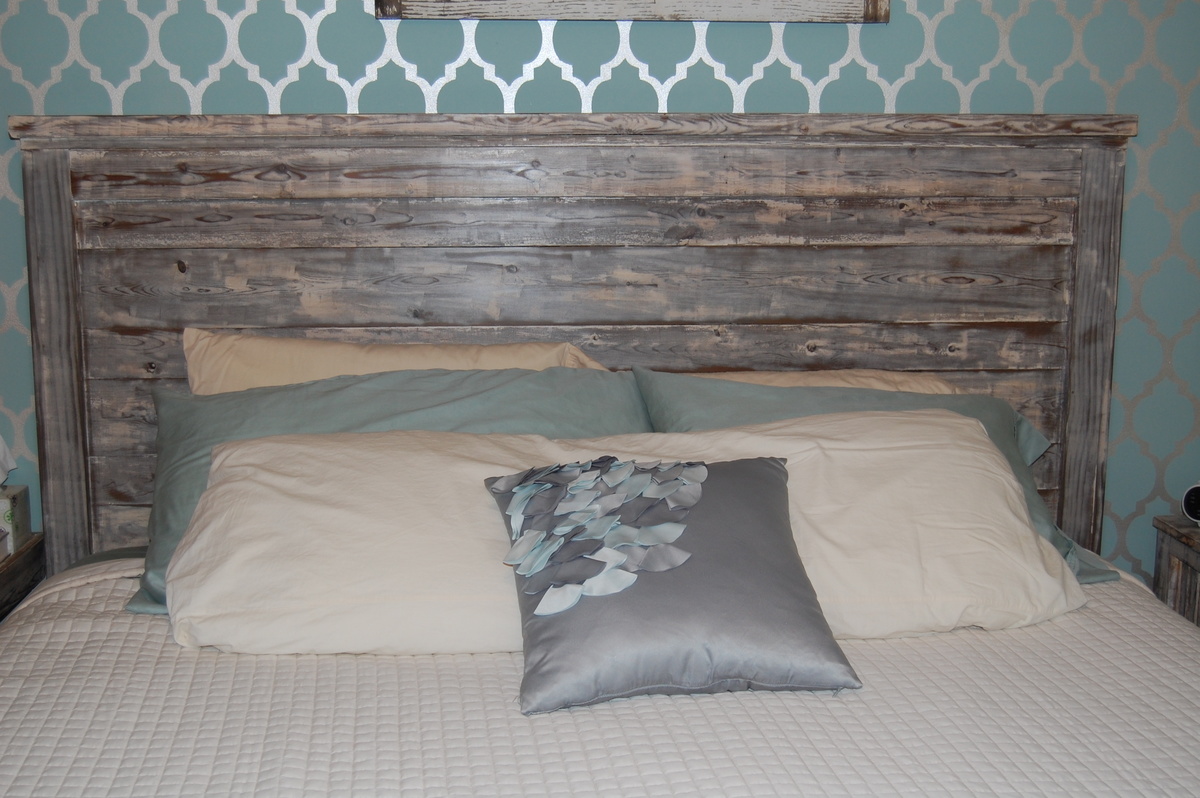
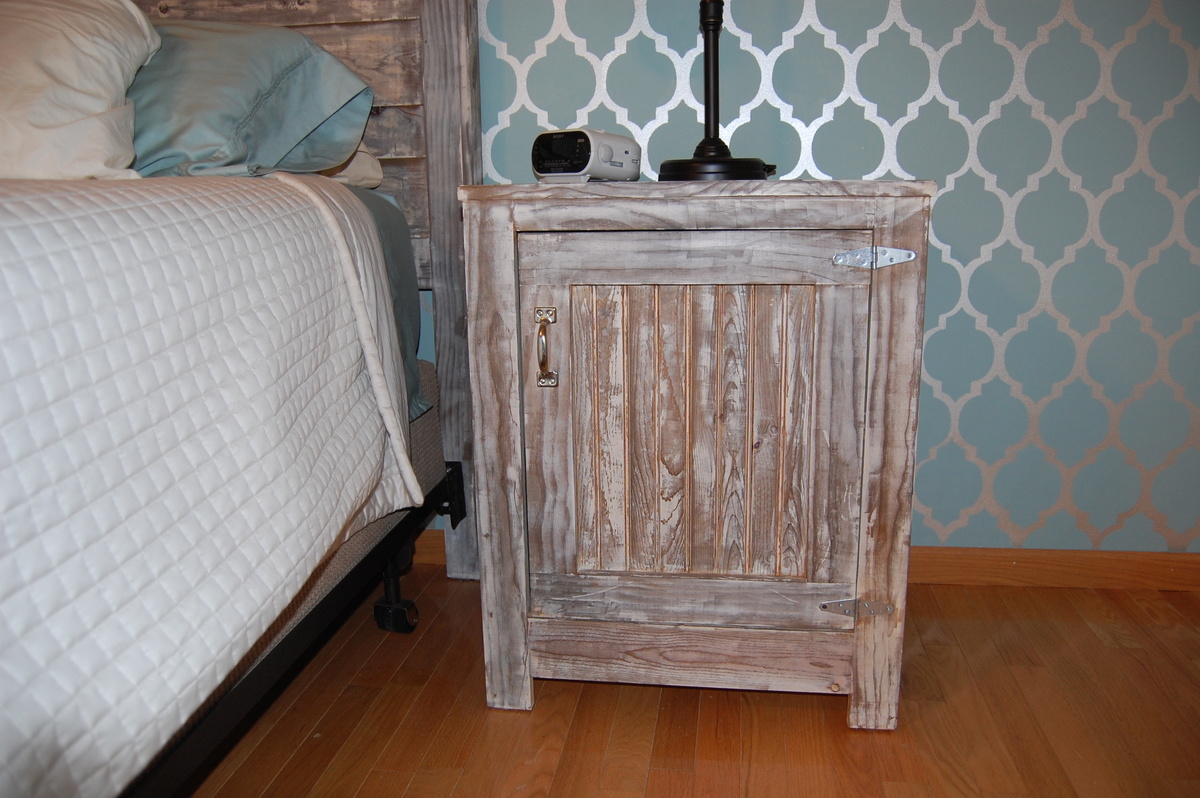
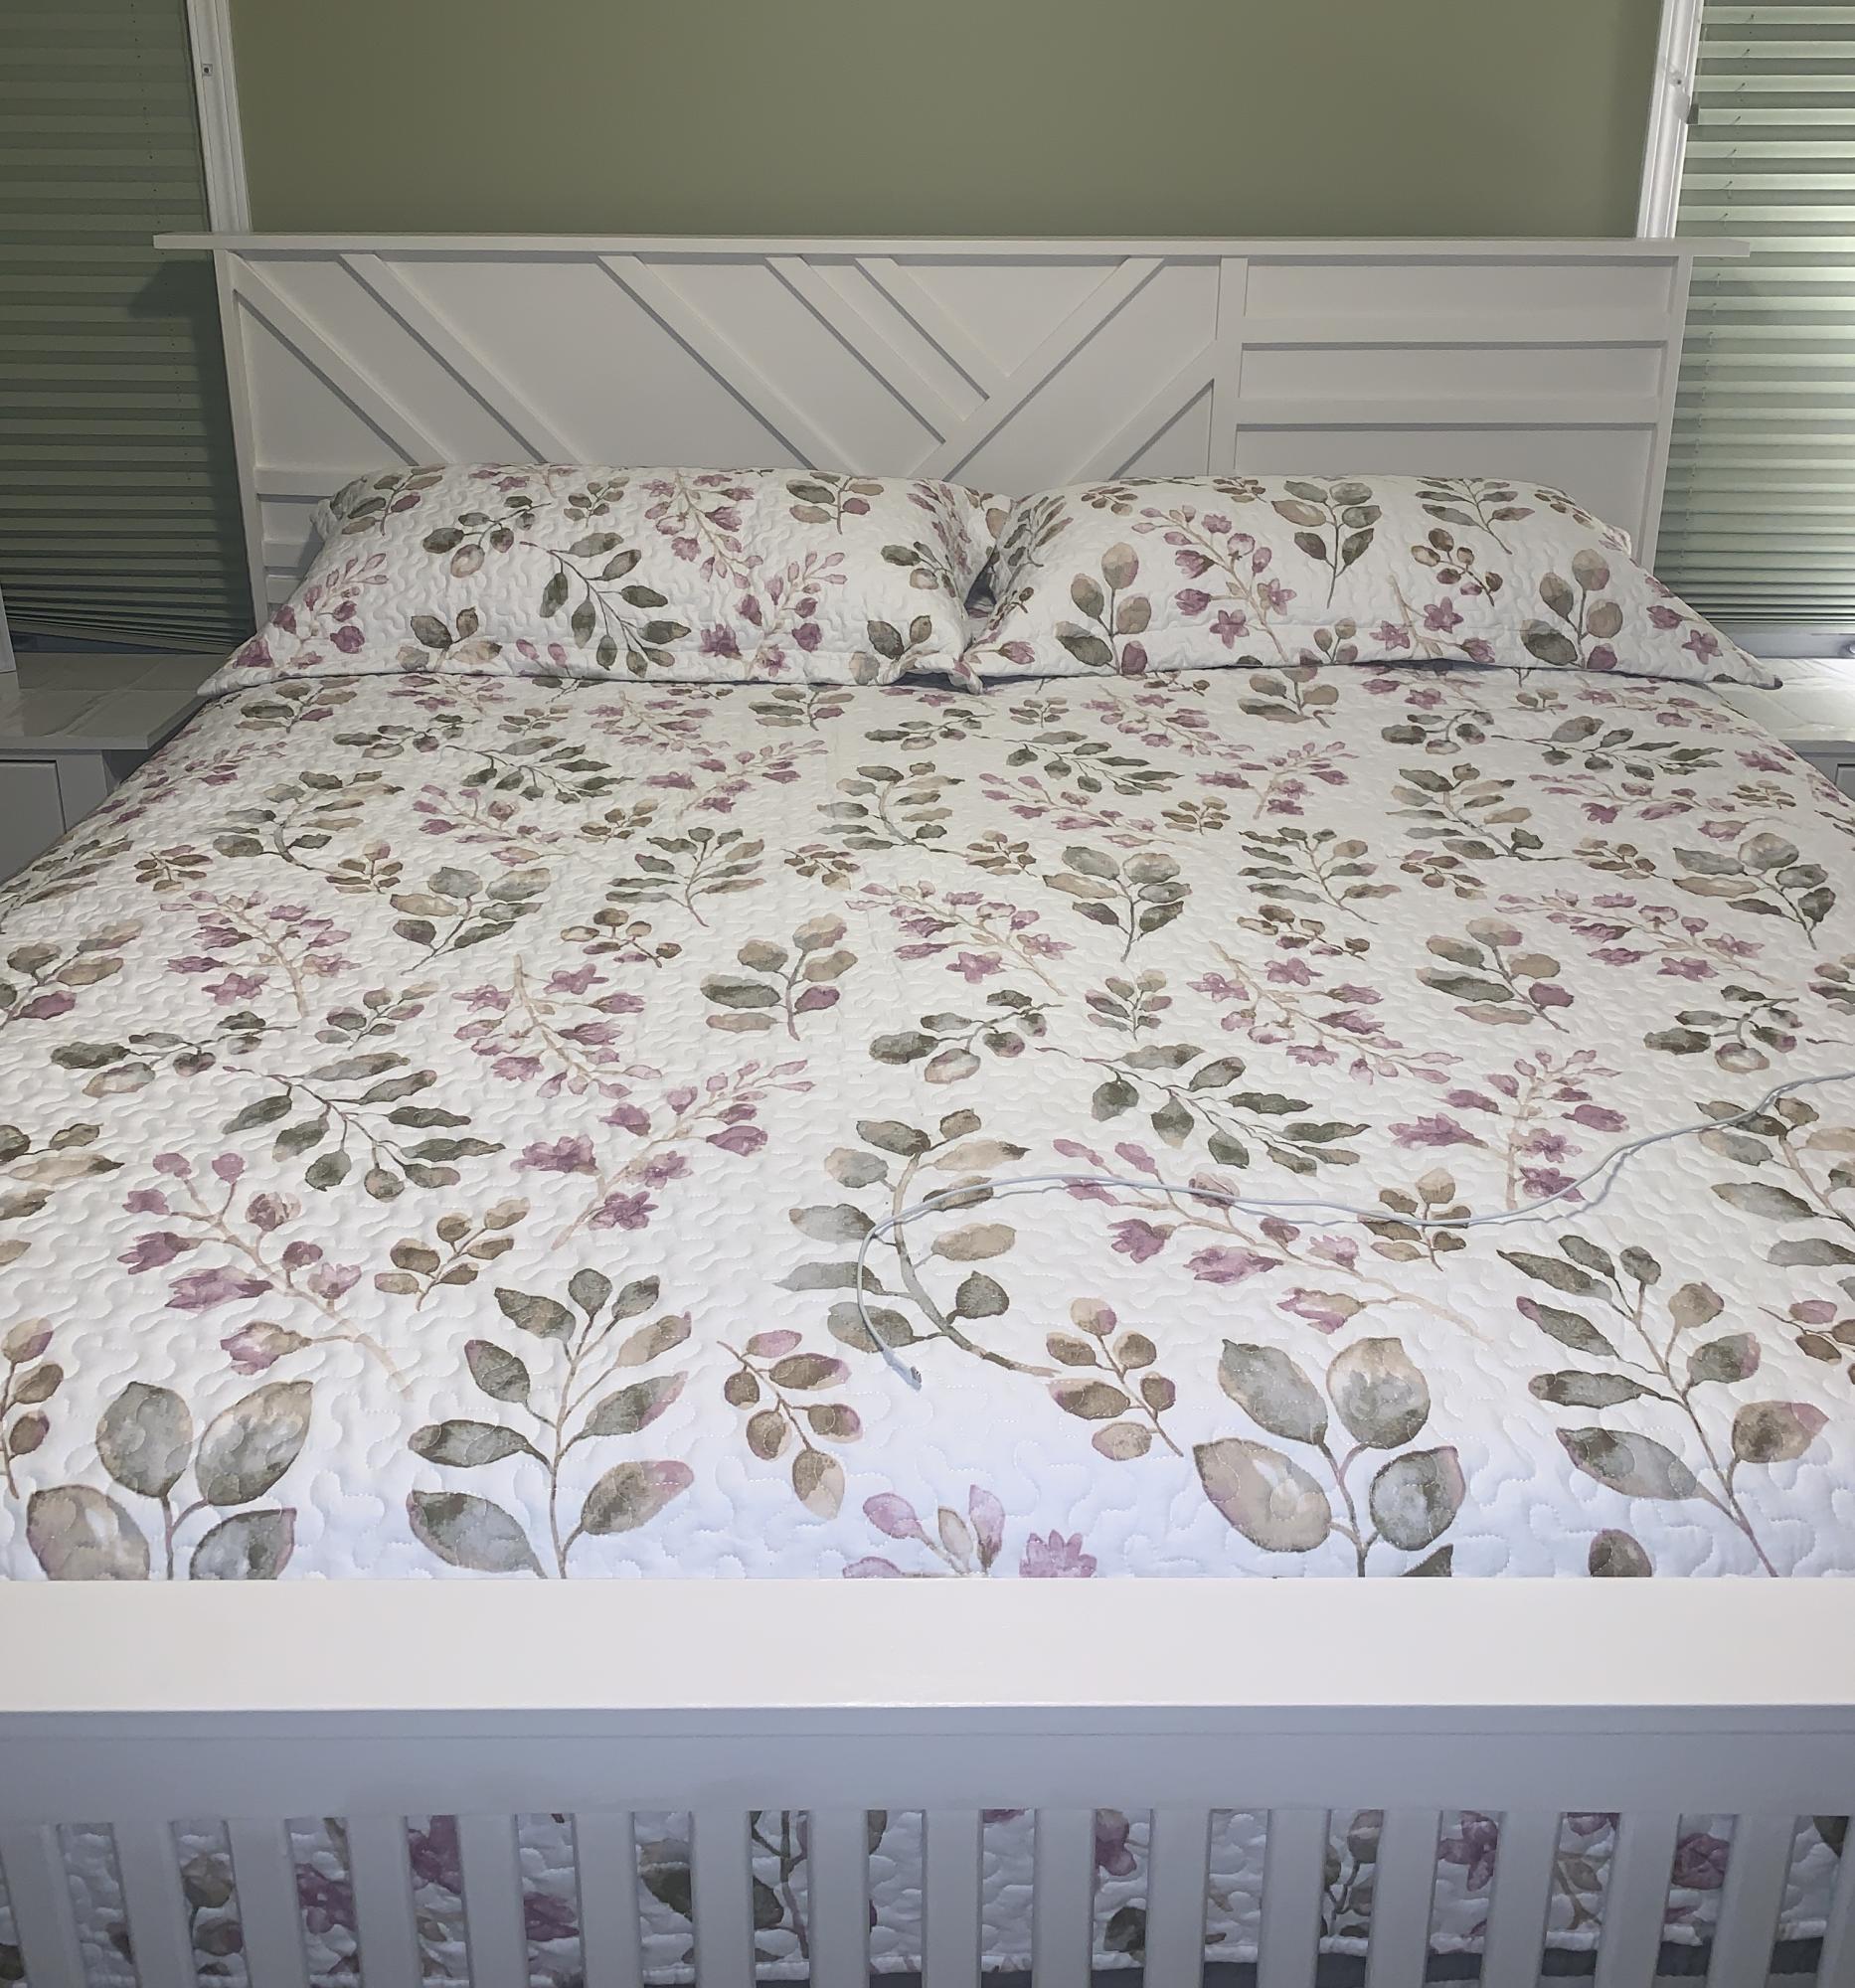
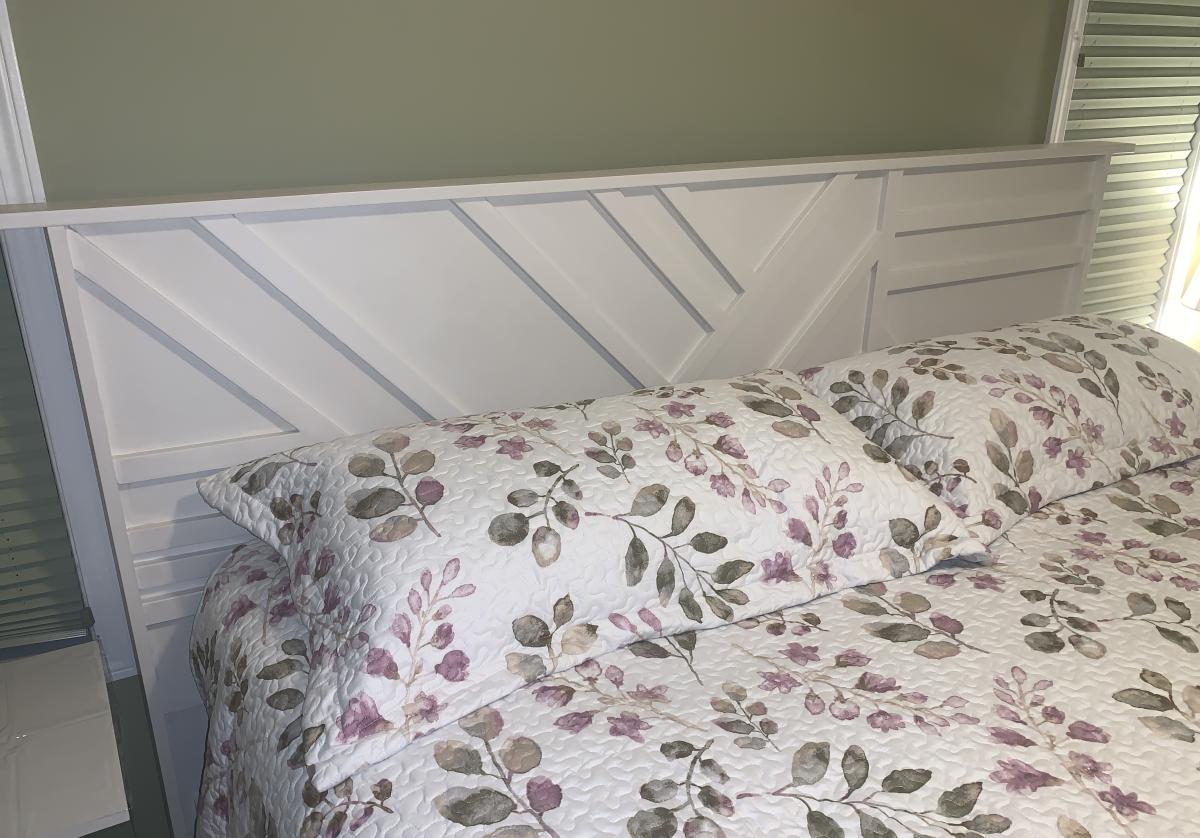
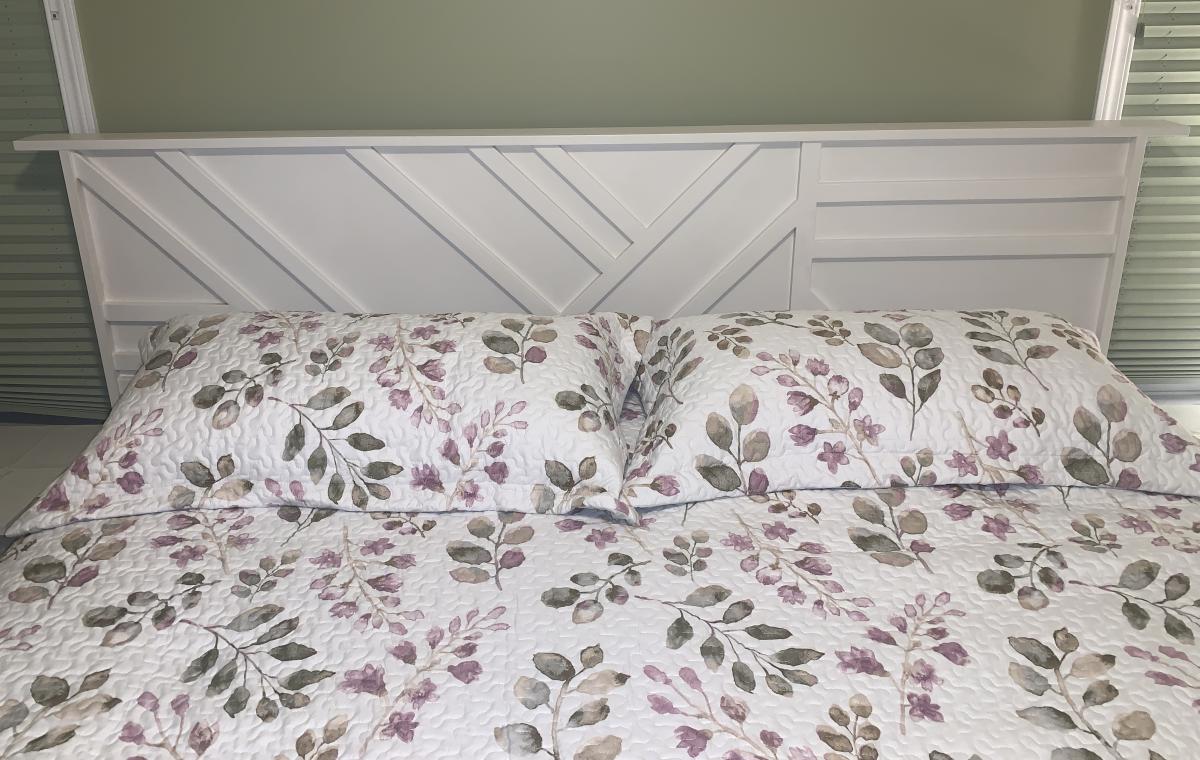
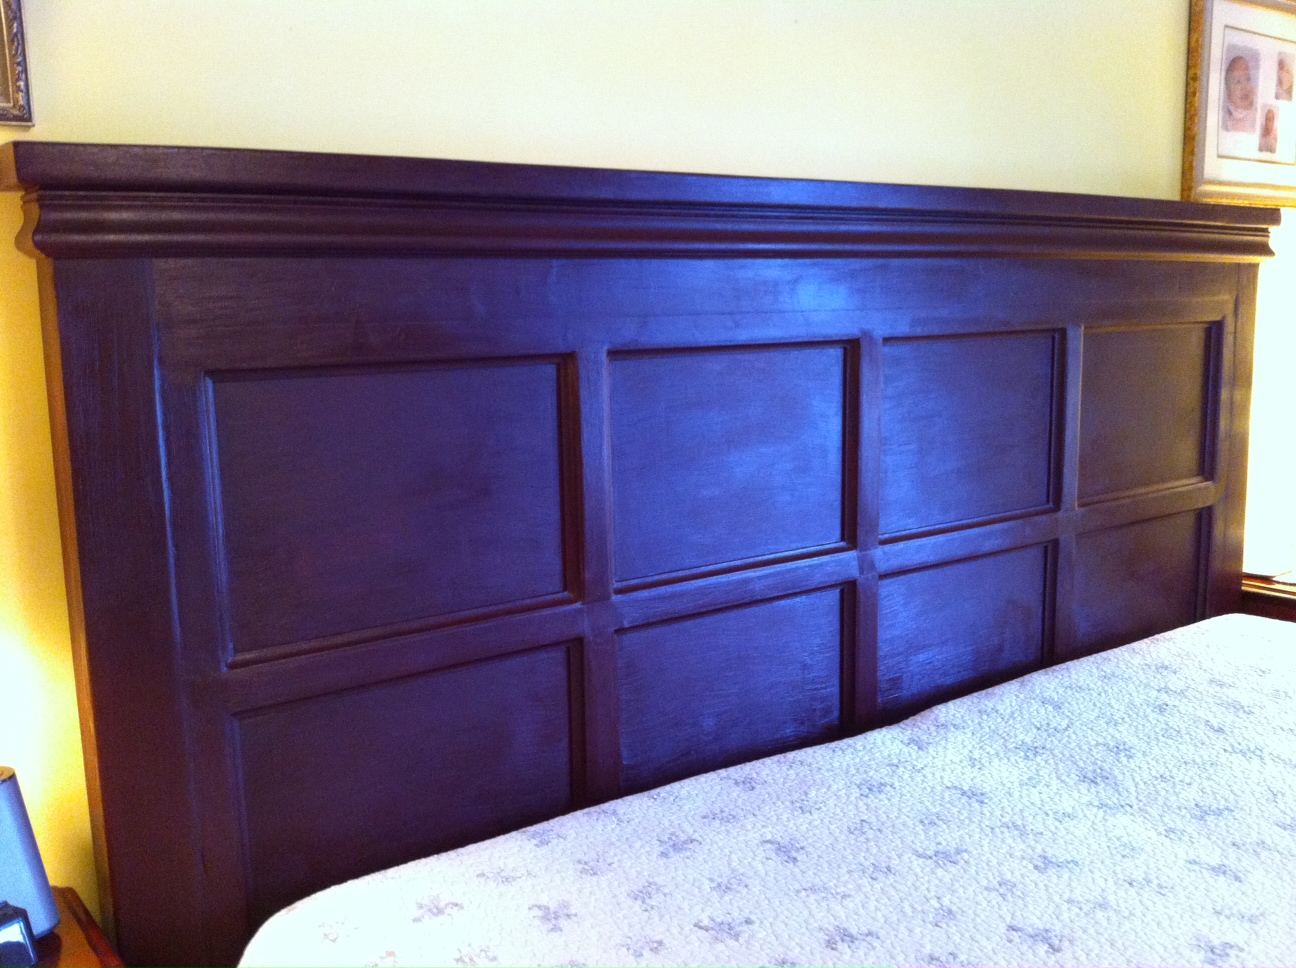
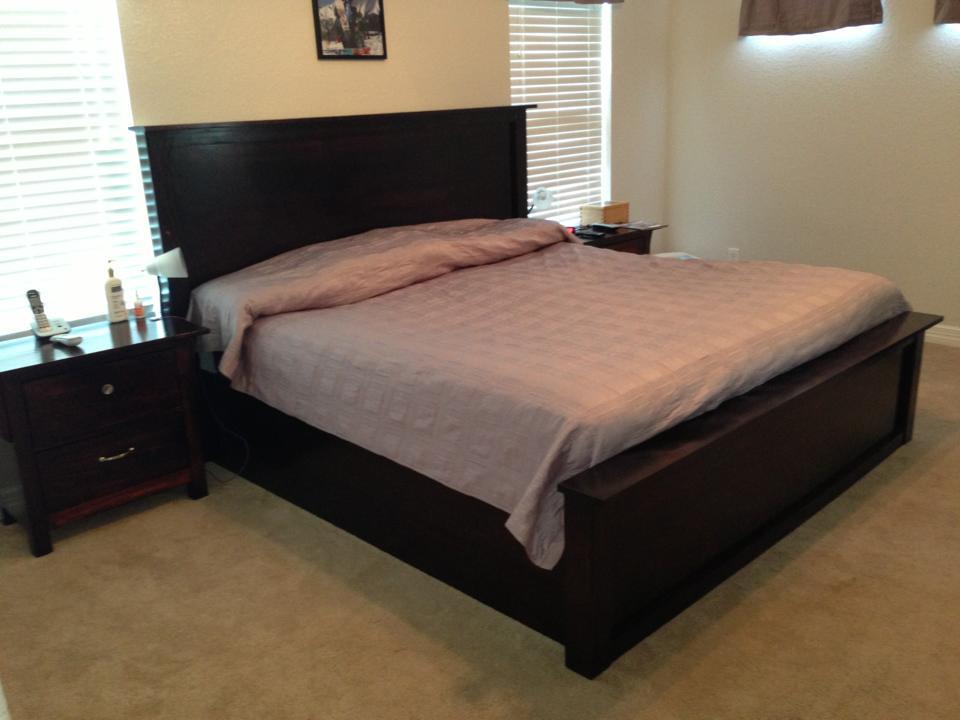
My husband and I bought our California king Sleep Number bed several years after we bought our solid wood bedroom furniture and it was too big to use with the bed that came with our dressers. After our most recent move, I decided I would have to finally part with the dressers in order to have a bedroom set that matches, which was hard because I love the simple, classic style of the dressers. Then I found this site and the plans for the Cassidy bed.
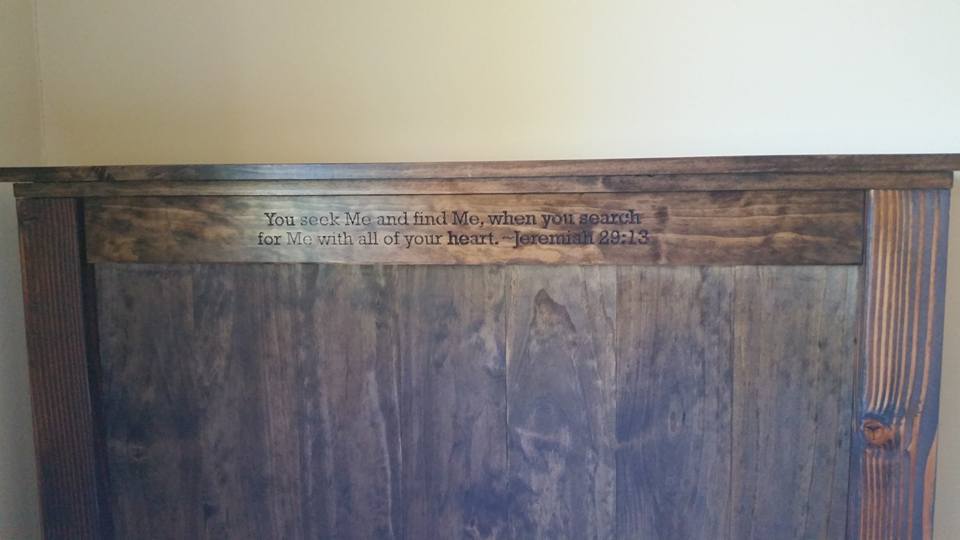
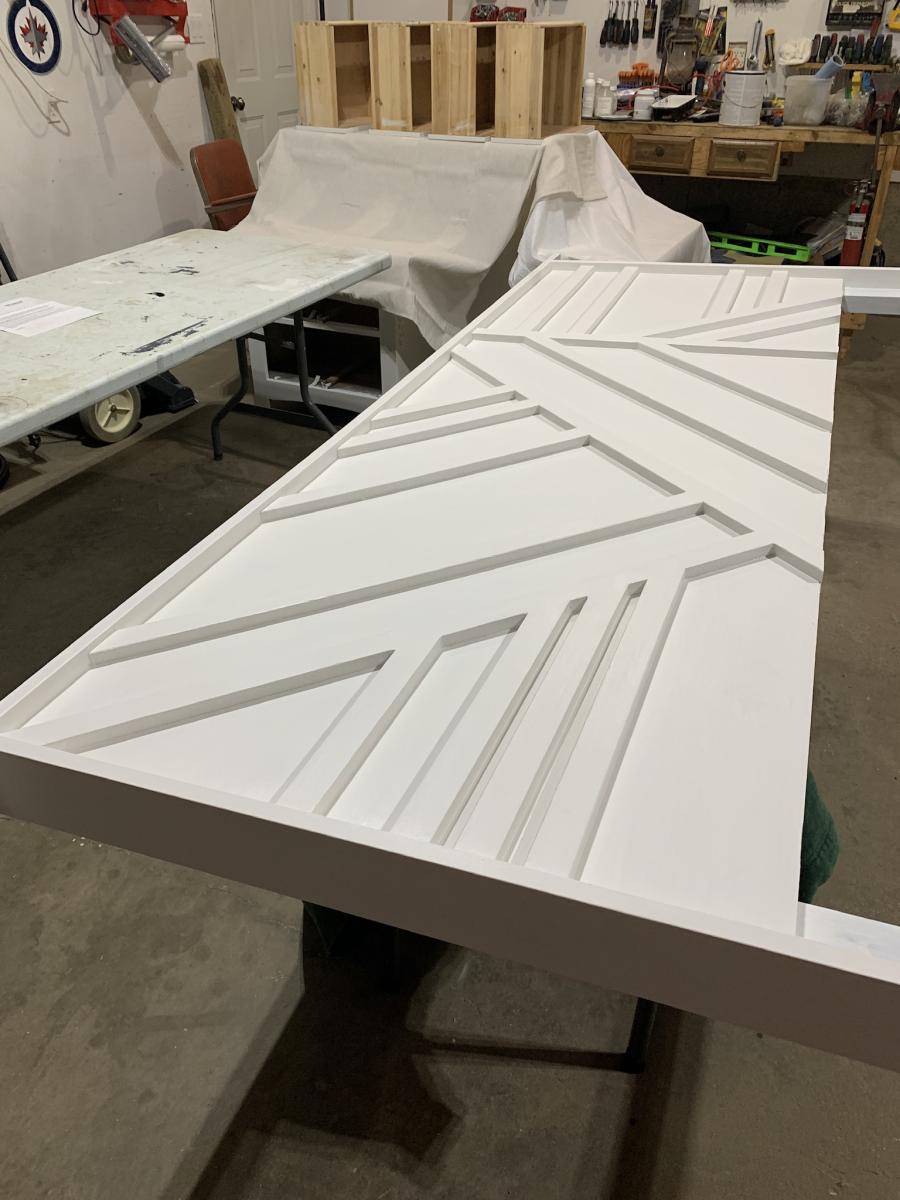
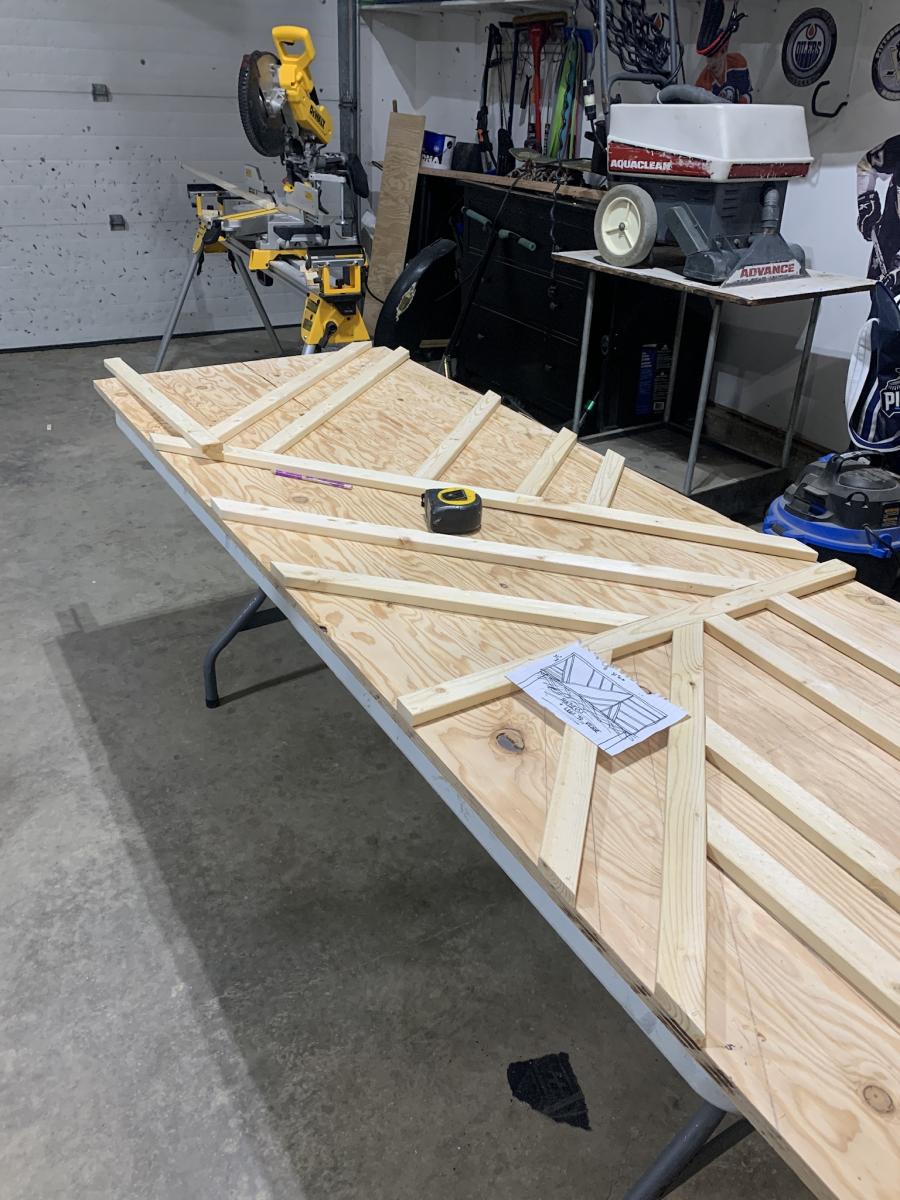
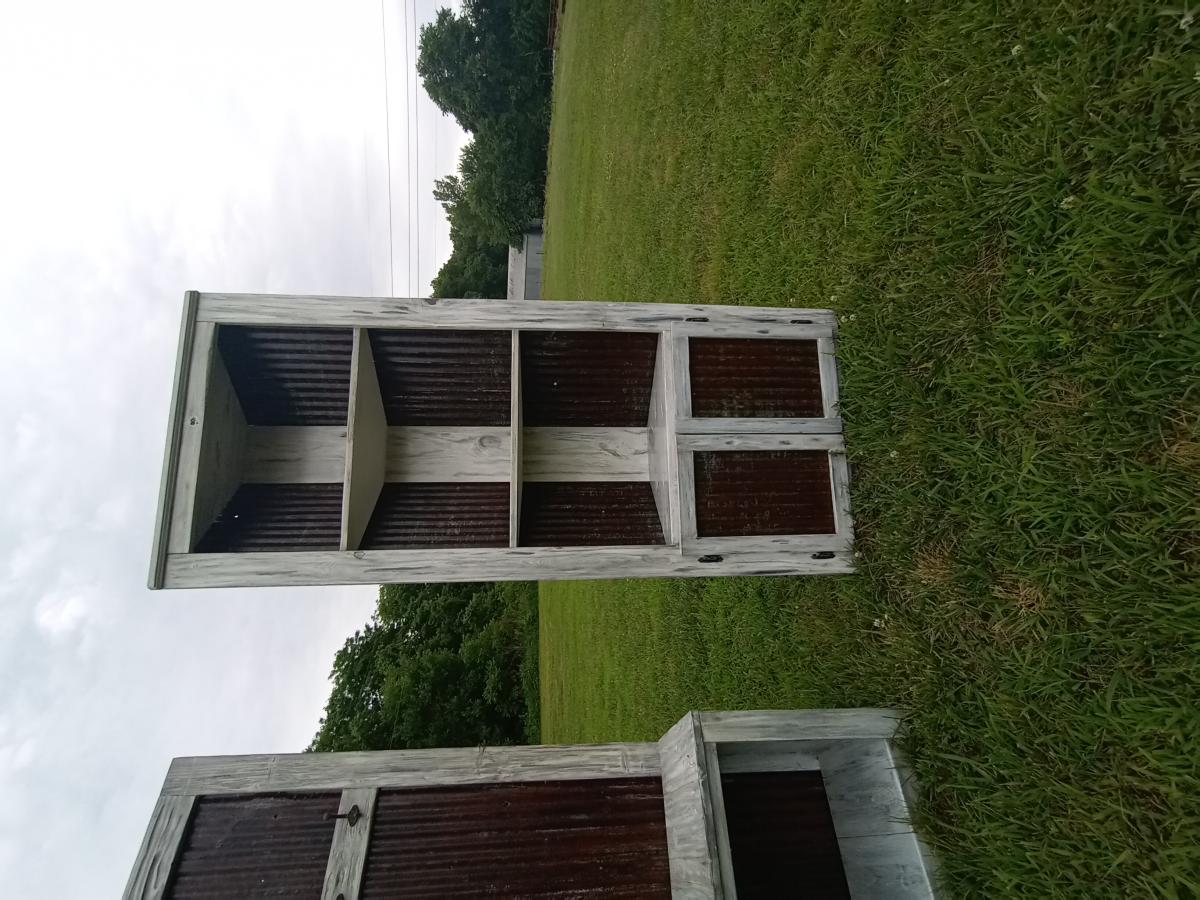
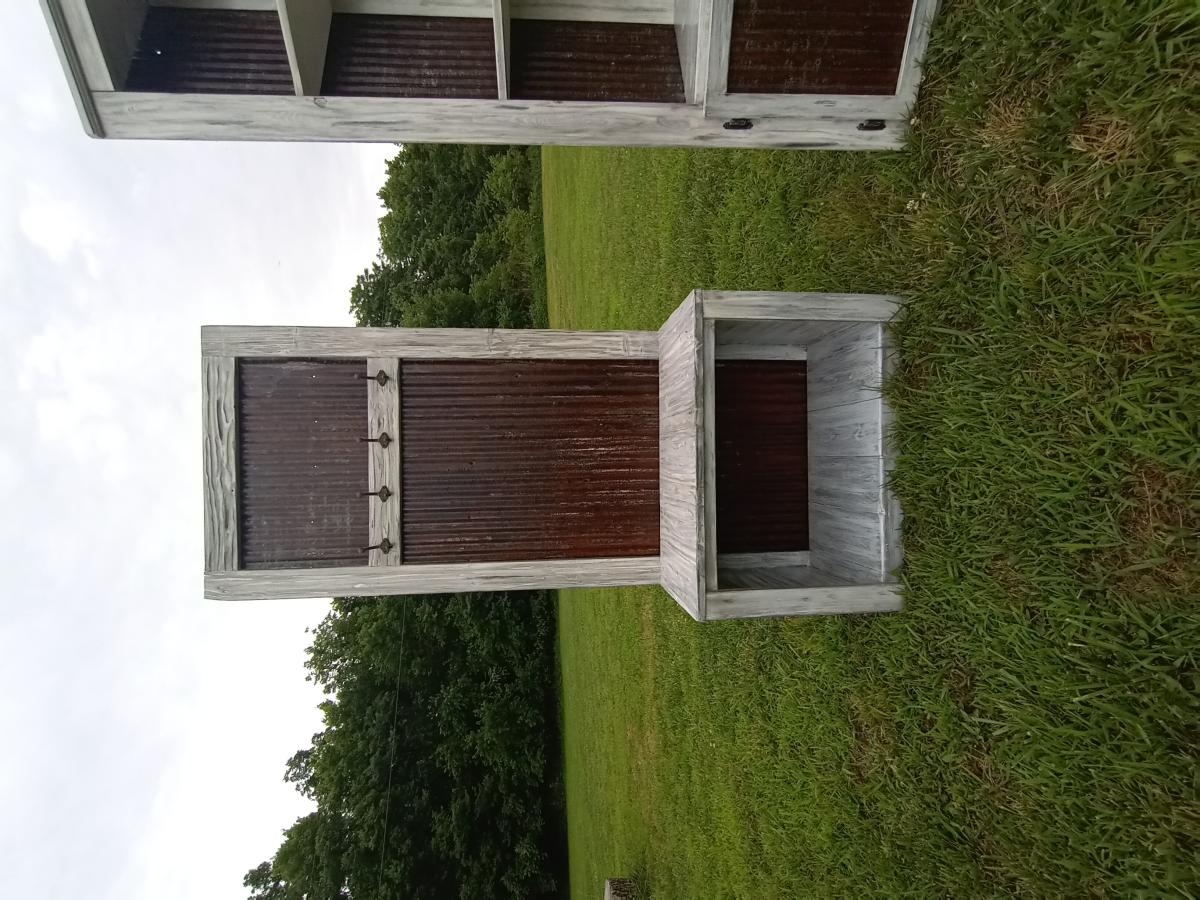
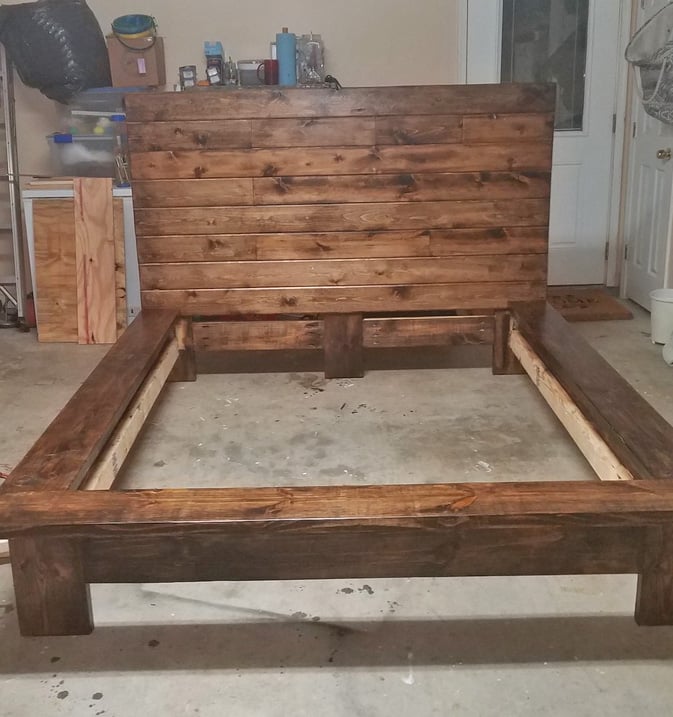
To make the Cassidy bed work for us, I extended height of the side rails and footboard to the floor so that our little dog could not hide under the bed when it was time for her to go into her kennel. That means I had to buy two sheets of plywood, one for the headboard to be cut from and one for the footboard to be cut from, and I bought 1x16s instead of 1x12s for the side rails. I also adapted the entire dimensions of the bed so that it fits around the plastic platform of our Sleep number bed, so we did not need to use the 2x4 slats. In fact, we did not use any of the 2x4s in the plan. The side rails are hung on the scrap lengths of the plywood. Finally, we did not decorate the headboard with door shims.
In the end, the bed is incredibly solid and beautiful. Afterword, I finished it to match our dressers, which I had stripped, as well.