Community Brag Posts

Hexagon Picnic Table

Submitted by JohnNH on Tue, 08/02/2016 - 06:20

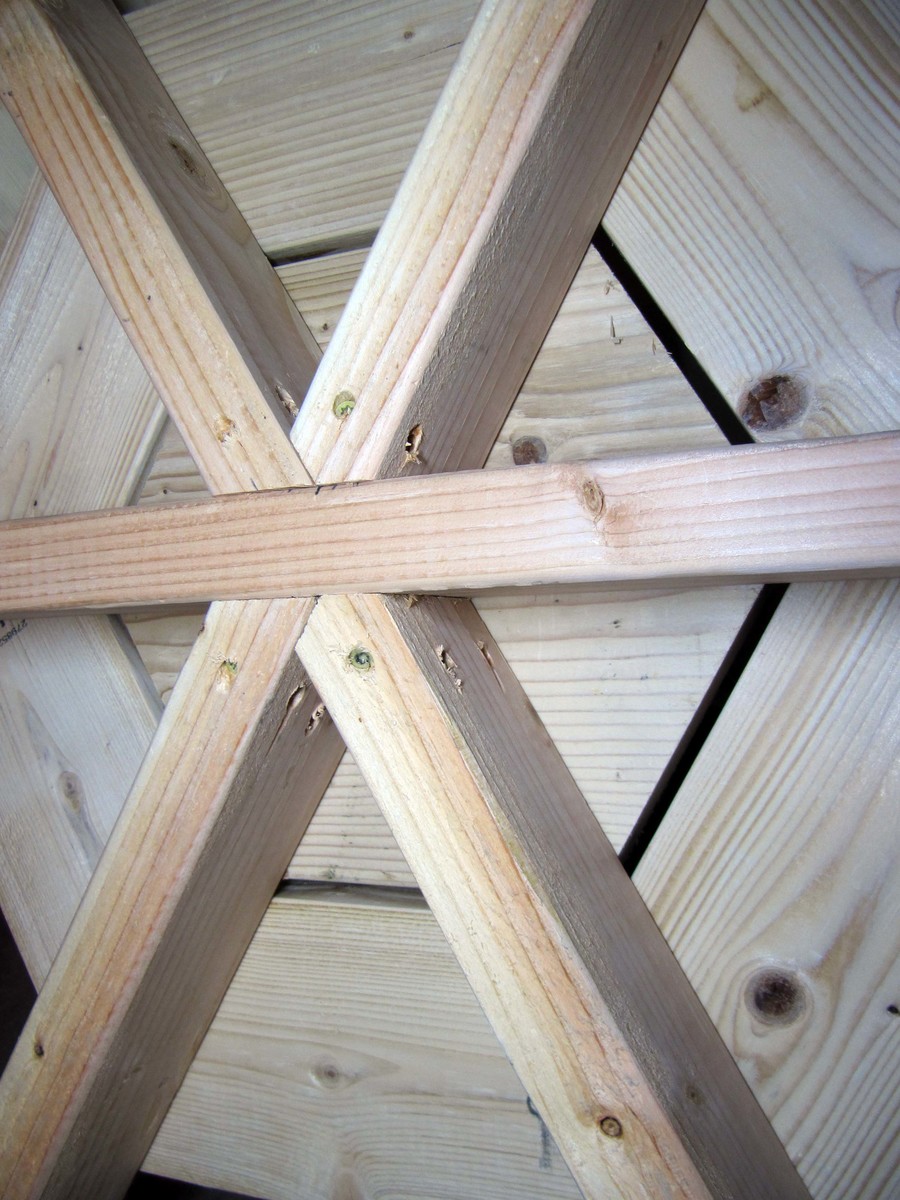
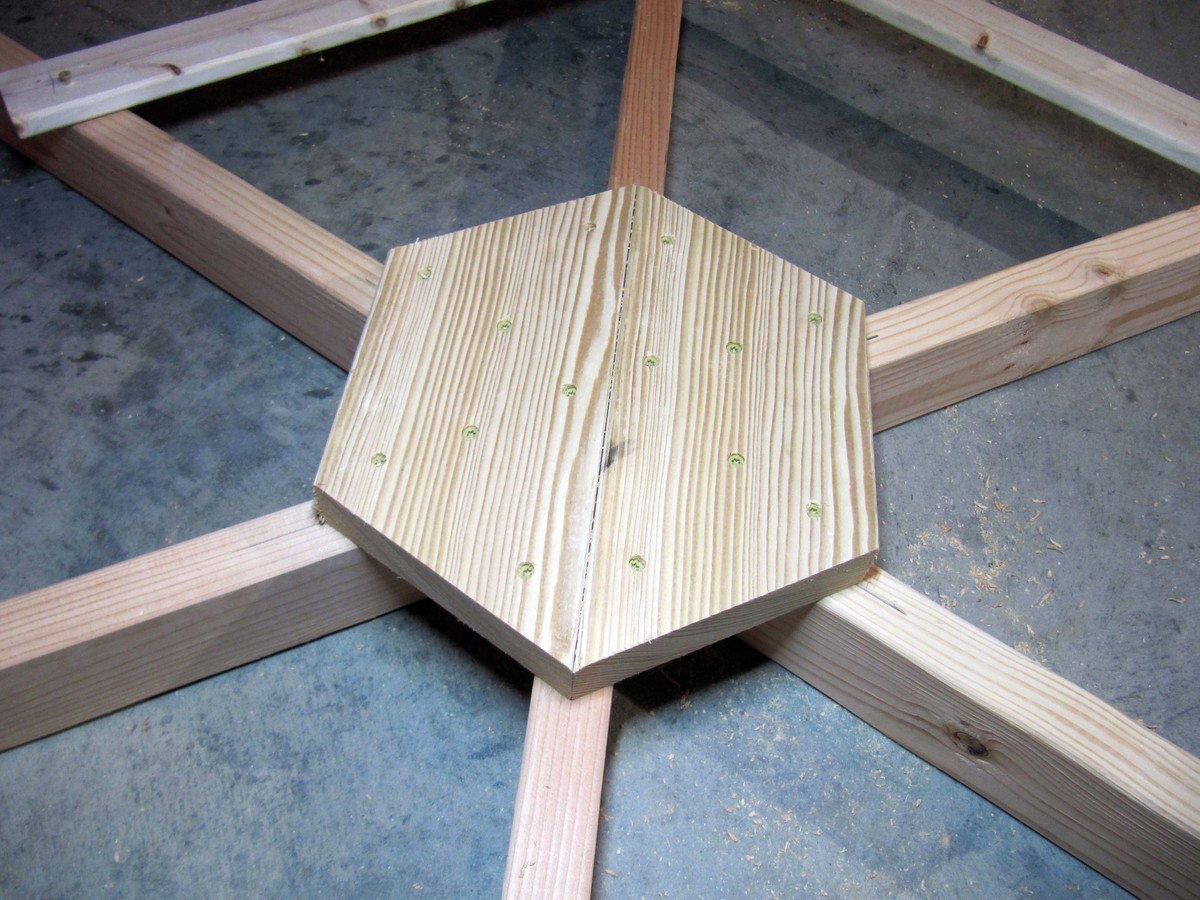
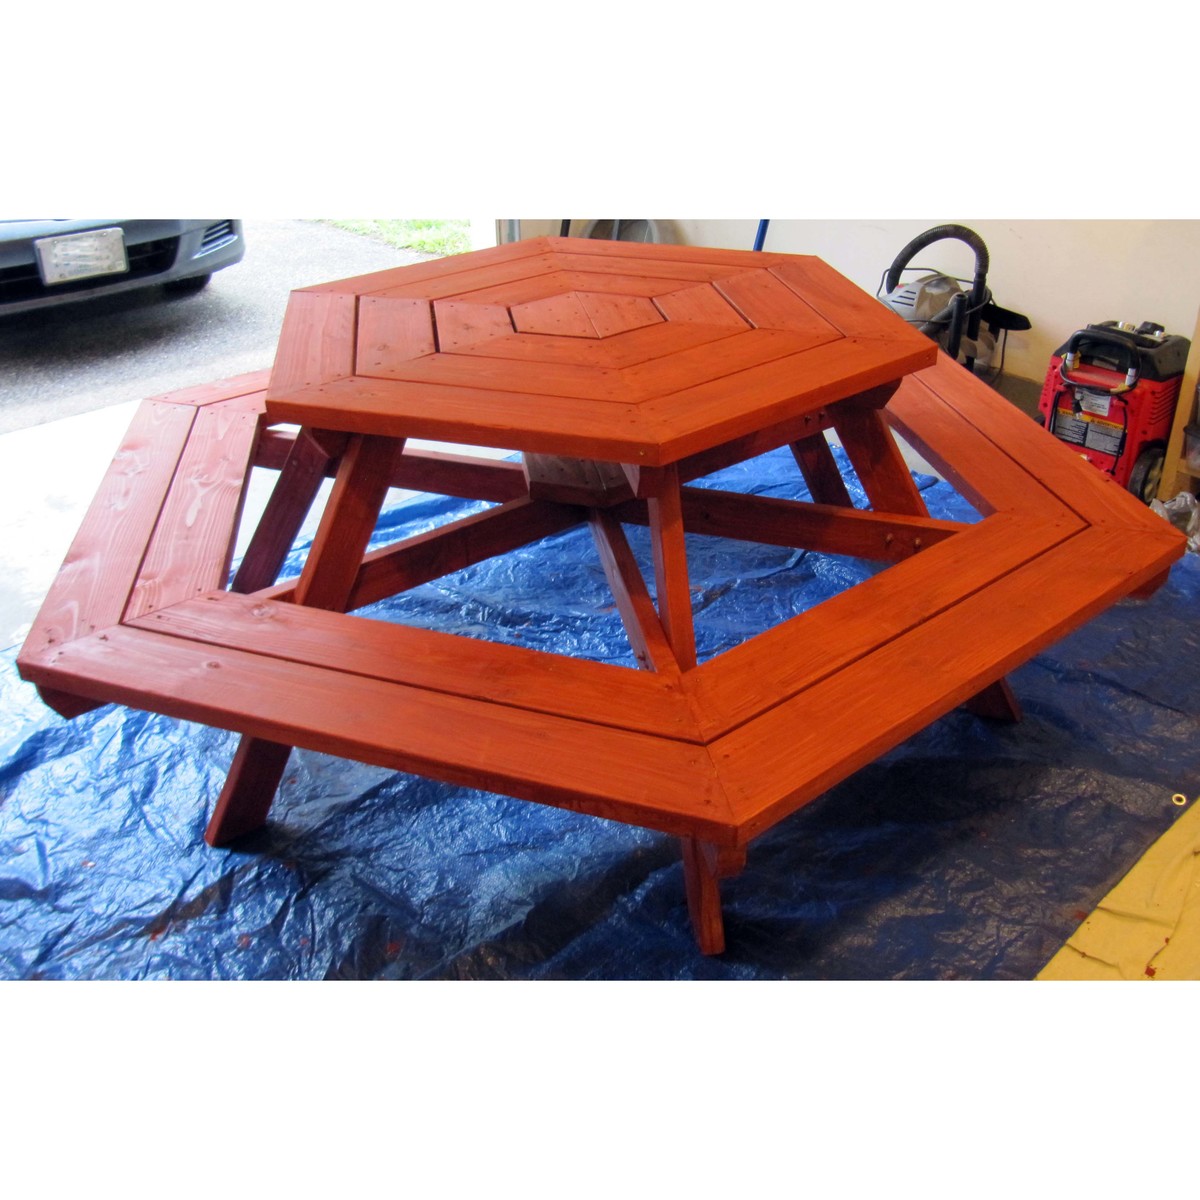
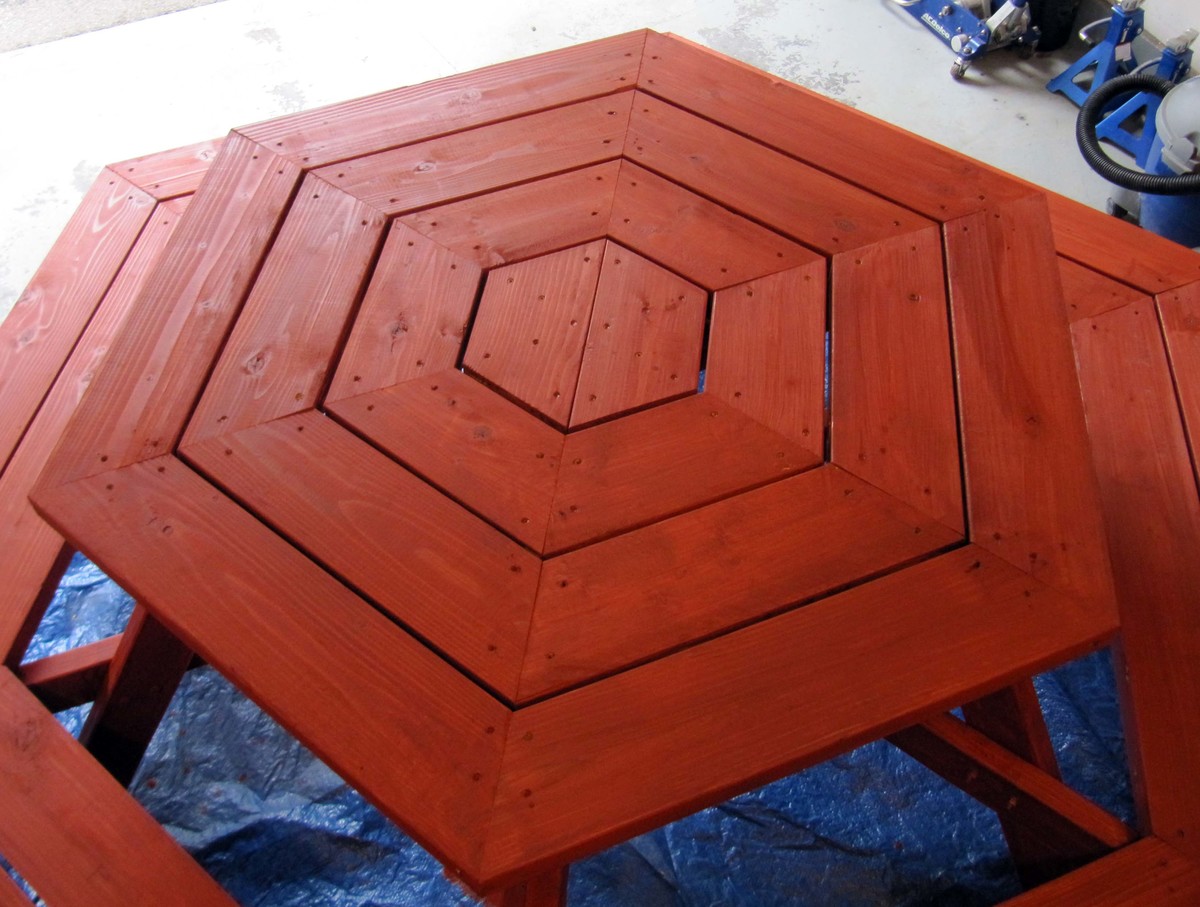
Thanks for the plans.  My little brother from Big Brothers Big Sisters and I made this table and had lots of fun doing so.  We made a few modifications which might be useful to others:

1.  We modified the center joints (at the lower and table level) so that one 2x4 could continue across the entire diameter of the table for greater strength (see pictures for details).

2.  As recommended we extended the seats out 4".  This made it very comfortable to get in and out.

3.  We started the center with 2 pieces of 2x6 rather than 6 with the thought being that this would help strengthen the center of the table.  (see pictures for details).

4.  We added a stiffener at the center 6-way joint on the lower level to help really strengthen that center joint.  This was made out of 2 pieces of 2x6 as shown in the pictures.


Thanks,

John


Built from Plan(s)
Estimated Cost
$80
Estimated Time Investment
Weekend Project (10-20 Hours)
Finish Used
Semi-transparent Redwood Stain
Recommended Skill Level
Intermediate

Farmhouse Coffee Table

Submitted by Johno1826 on Sat, 05/23/2020 - 11:34

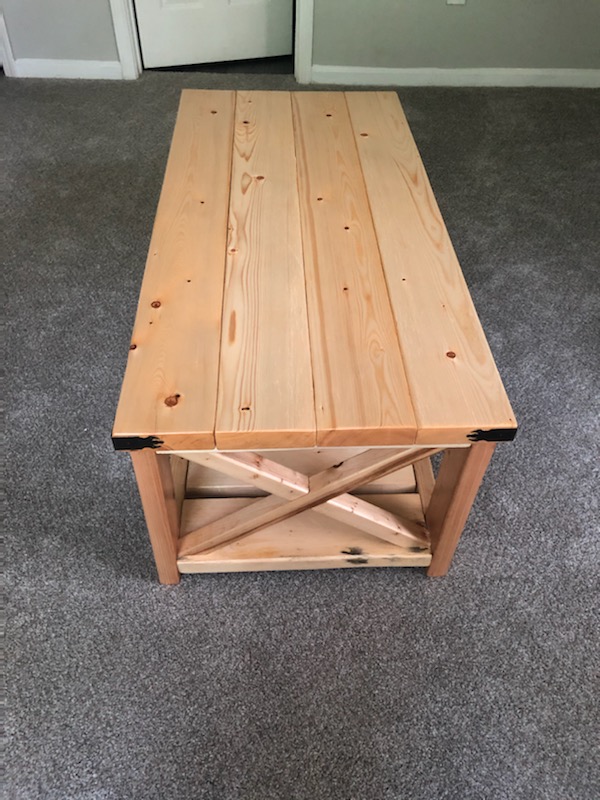
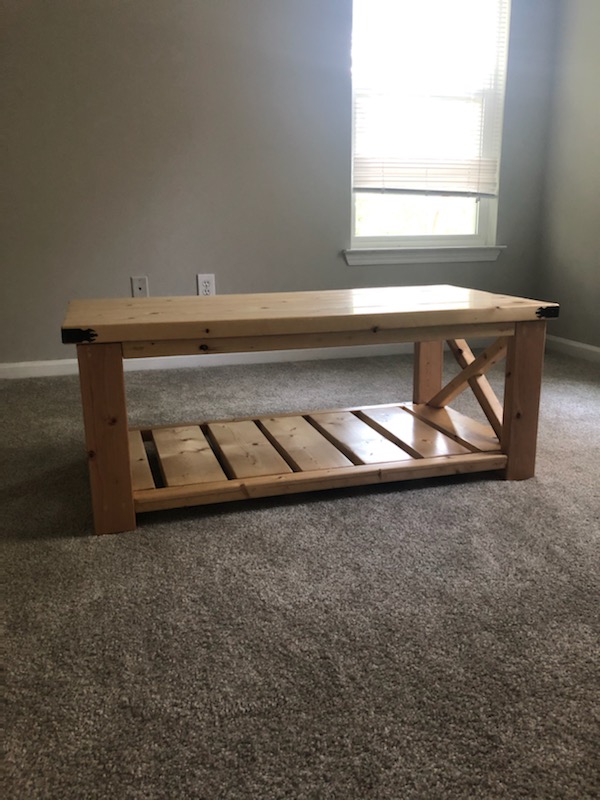
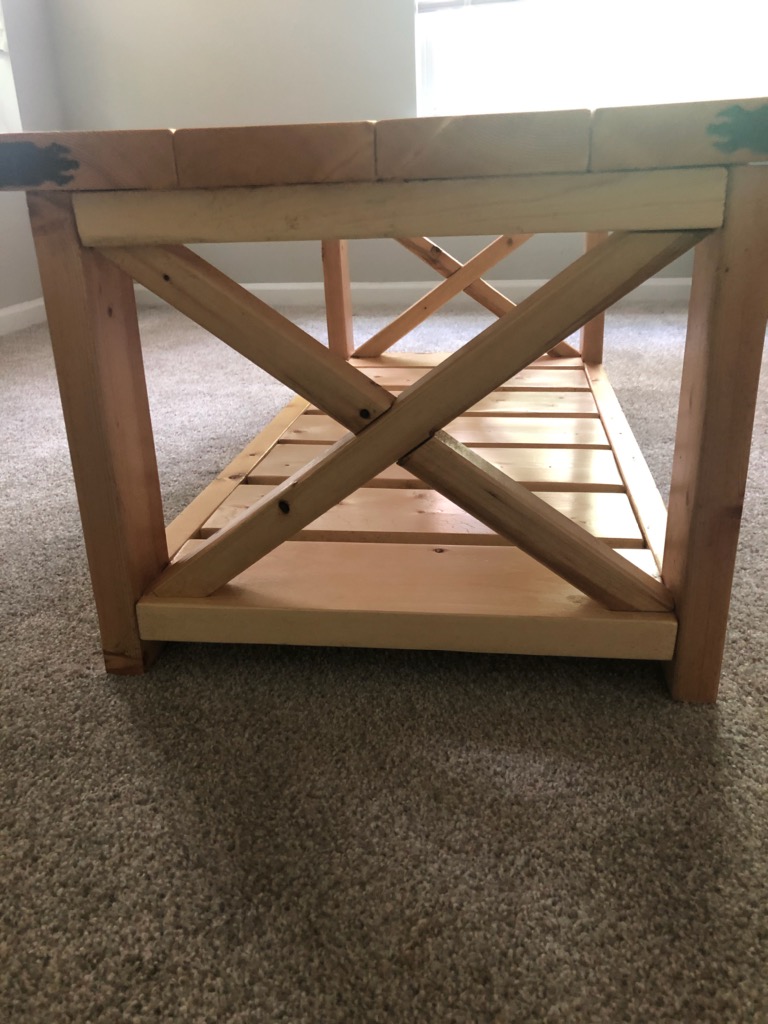
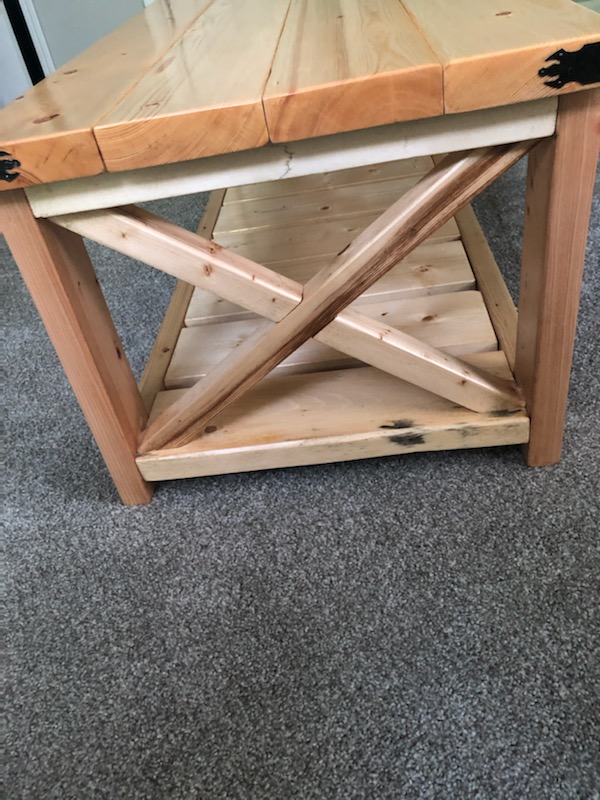
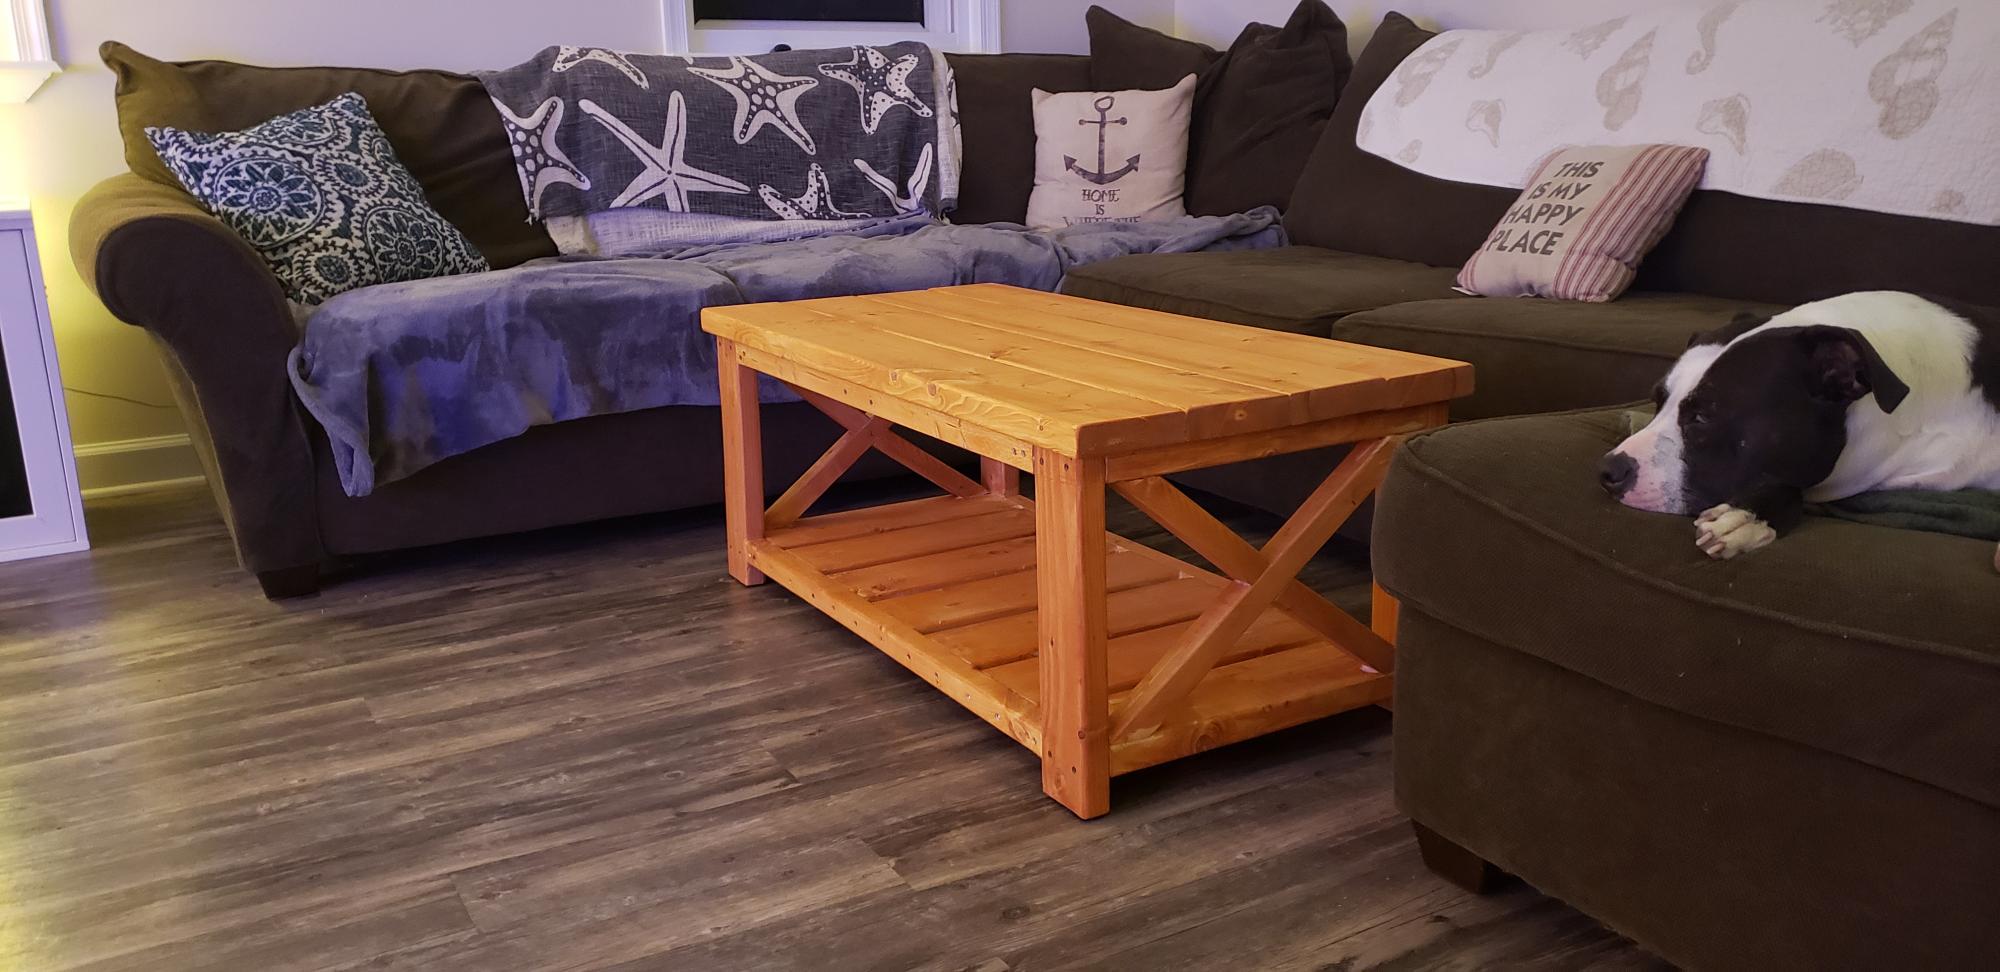
Great plan. I could not get the X right (terrible carpenter). A neighbor suggested I trim where they join for a flush fit. One turned out great, the other I cut a little too much. This was for my Daughter, she liked the natural color, I finished with Tung Oil so it took a while for the finish to dry completely.

Estimated Cost
$60
Estimated Time Investment
Day Project (6-9 Hours)
Finish Used
Tung Oil
Recommended Skill Level
Beginner

Rocking Moses Bassinet

Tools:
Miter Saw
Table Saw
Jig Saw (b/c my bandsaw is down)
Oscillating Spindle Sander
Orbital Sander
Router
1/8" roundover bit
1/4" roundover bit
Kreg Jig
Tape Measure
Tri Square

Materials:
S4S Poplar
Kreg Screws
Kreg Stain Grade wood plugs
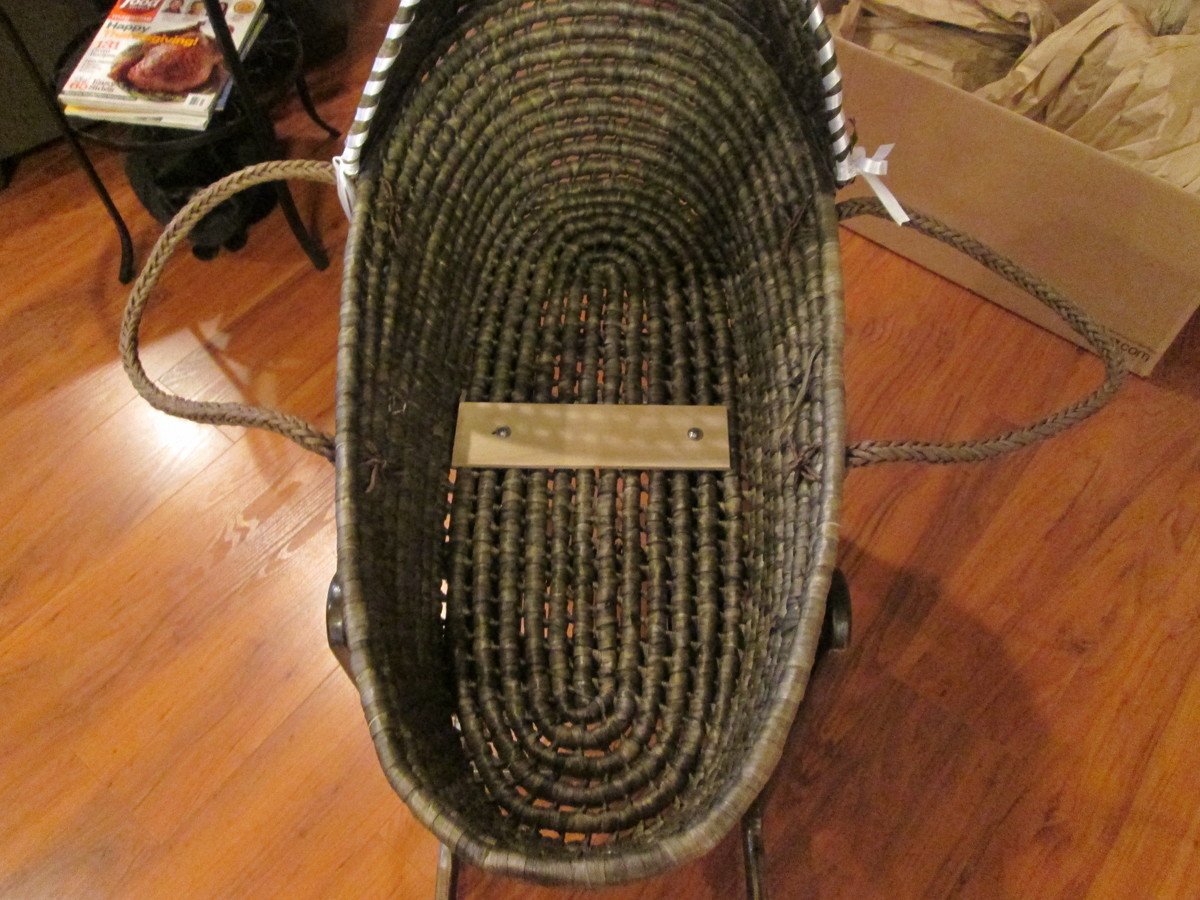
3" panhead screws with matching washers and wingnuts to attach basket to rocker.

This is my third "Ana" project. I've built her baby changing table and the child tower thing for toddlers to stand at a counter.

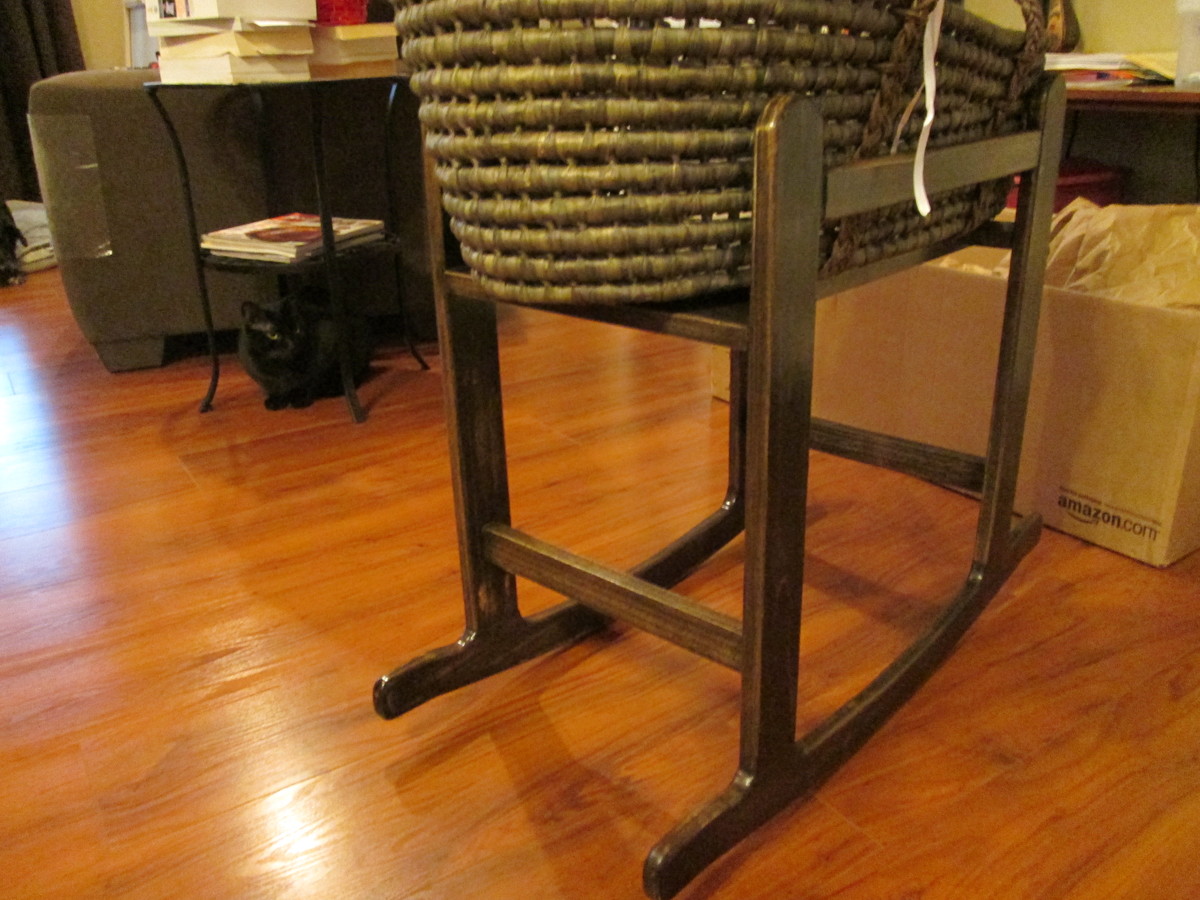
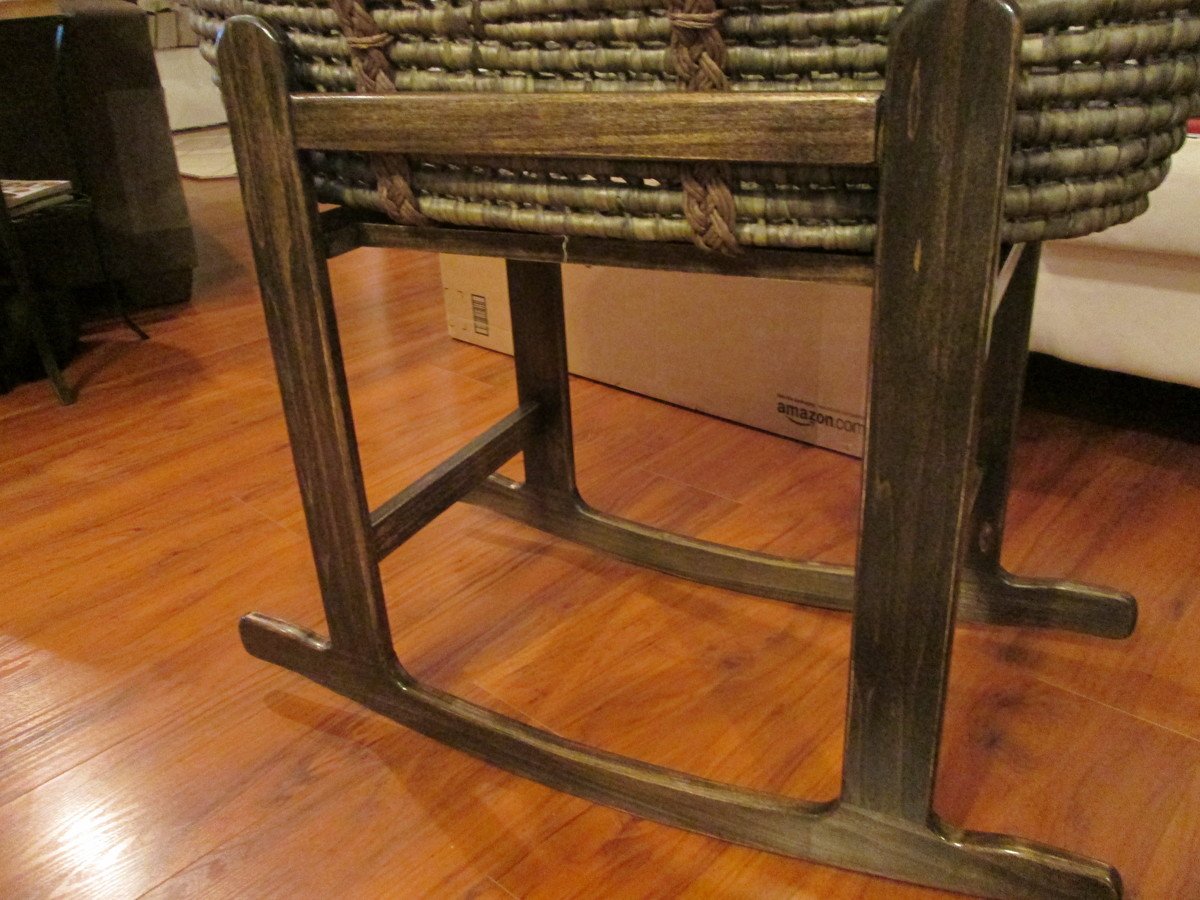
I built two of these rocking stands for the Moses Bassinet (found on Amazon). The first was a prototype and joints at the rockers were just straight pieces of wood cut at the angle of the rocker. I built it out of pine from the big box store and used my Kreg jig for the pocket holes.

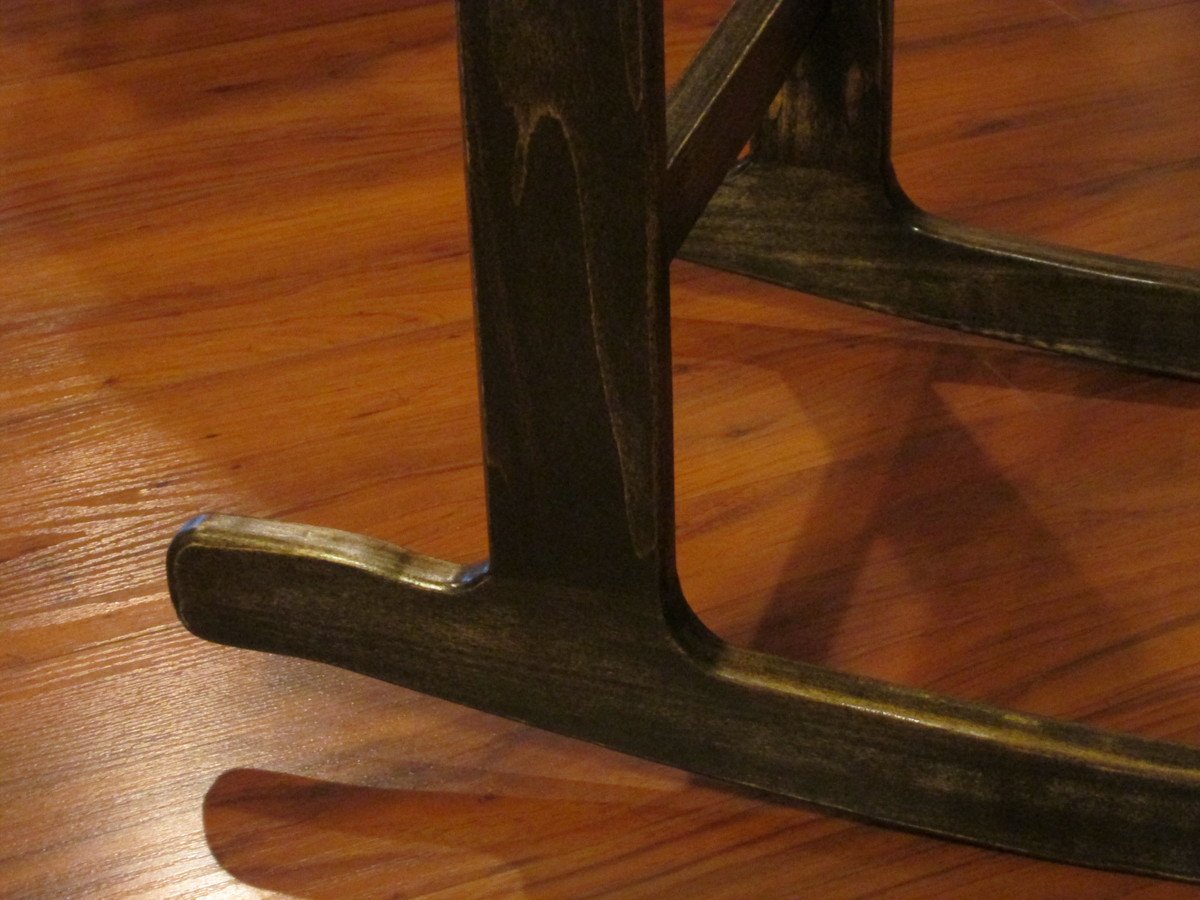
The second one (featured) I used S4S poplar which cost more but came pretty well uniform. I still had to find boards that were free of twist and bows, but that just took time and was easy to do. I use a "lay it on the floor" method and flip it to see if it rocks, twists, etc.. It works for now. I still find myself cutting around imperfections though. With this second rocker, I molded the sides into the rocker-bottoms./
I'm saving to buy a planer, which will be the last major tool for the wood shop (garage), so then I can mill my own lumber and be done with HD and L's.

Just some observations and steps I took:

To make the rockers and other parts of the project uniform that had curves which needed to be parallel to each other, etc., I used double-sided tape and put the pieces together when cutting and sanding. I recommend using the least amount of tape as possible. I learned the hard way and on the prototype rockers, I covered the entire surface of the pieces with the tape. It took an act of God to get the pieces to release after I had spent an hour or so cutting and sanding the edges. It nearly failed to come apart and I would've had to start over because it was the 3 major components that were taped together like this. On the second run with the featured rocker, I used a couple small pieces of double-sided tape. This held together through cutting and sanding without any issue.

I rounded some of the edges w/ a 1/8th or a 1/4" roundover bit on my router. On the pieces that weren't hit by the router, I just broke the edges with sandpaper, to keep hands from getting splinters, etc.

For finish I used Minwax wood conditioner, oil based stain and polyurethane. I first sanded the entire piece to 320 by hand. I applied the conditioner as instructed. It's a must on softer wood such as pine, poplar, whitewood, etc. Otherwise, you will have blotches. After that I applied one coat of stain. I applied a coat of poly with a foam brush. I didn't like the results. I sanded it down w/ 320. I then went and bought a "nice" brush for polyurethane at the big box store for like $8.00 and applied another coat. This one came out better. I sanded it with 400 grit and applied one final coat with a fine cotton cloth.

I followed the plans on here for the most part. They are complete and were easy to follow. Thanks Ana!
Built from Plan(s)
Estimated Cost
$50.00 not including basket
Estimated Time Investment
Weekend Project (10-20 Hours)
Finish Used
Minwax Wood Conditioner, Stain and Polyurethane
Recommended Skill Level
Intermediate

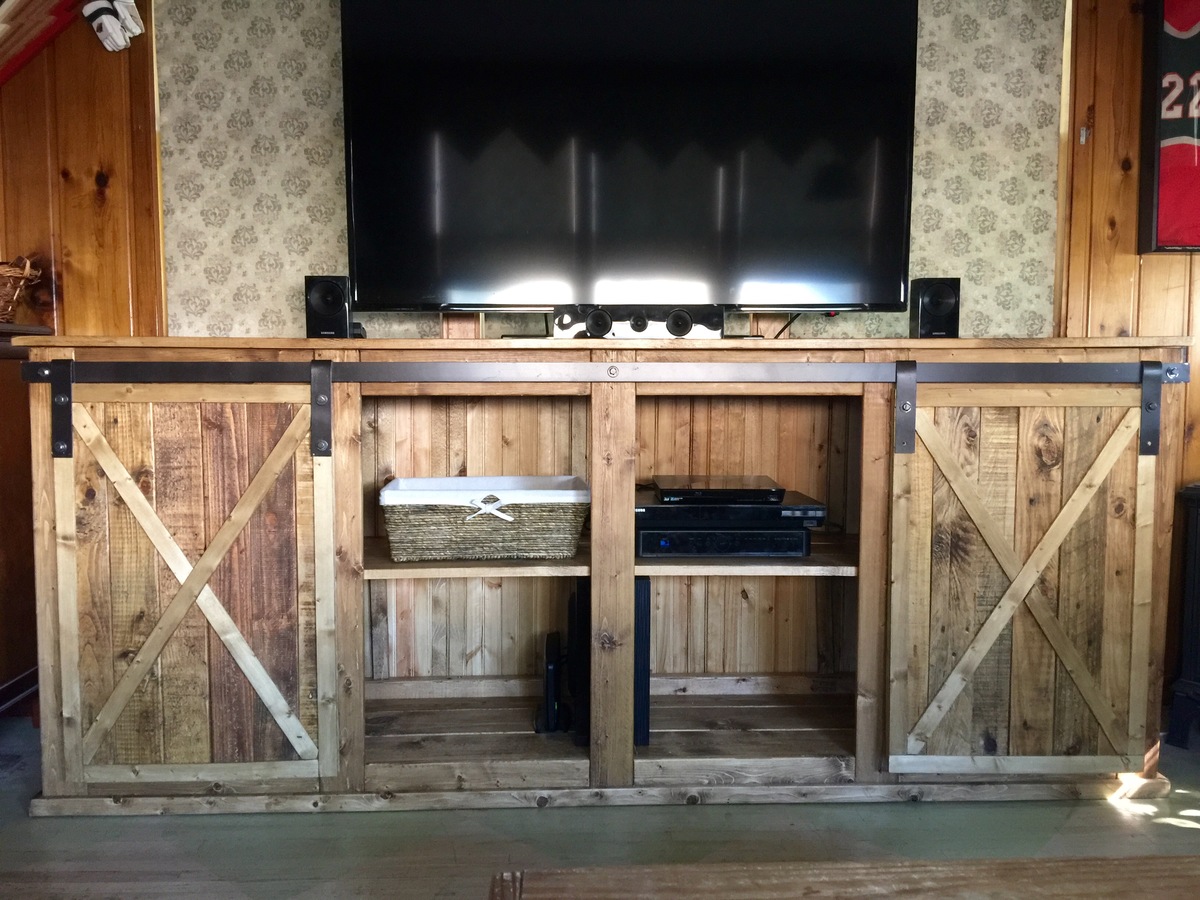
Barn Door Console Table

Submitted by Anonymous (not verified) on Thu, 08/04/2016 - 09:57

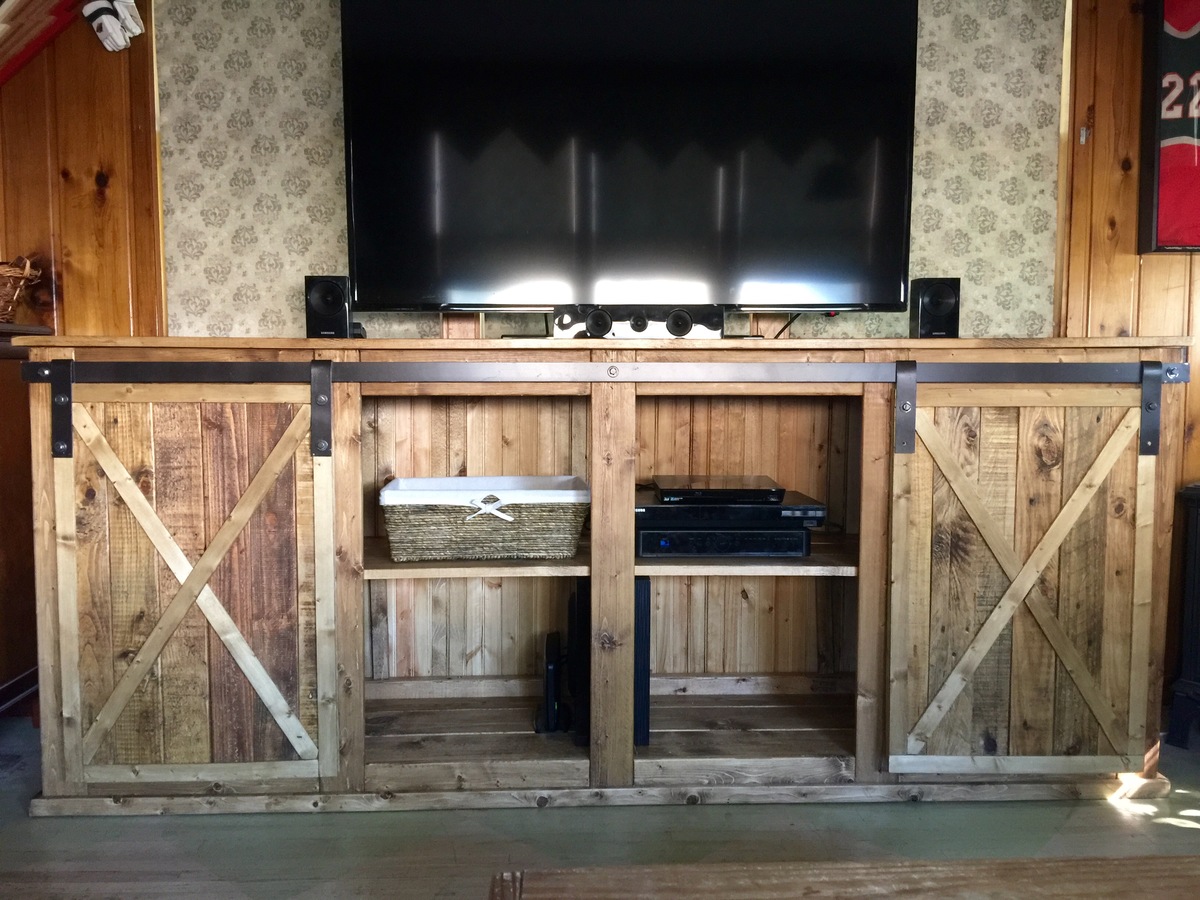
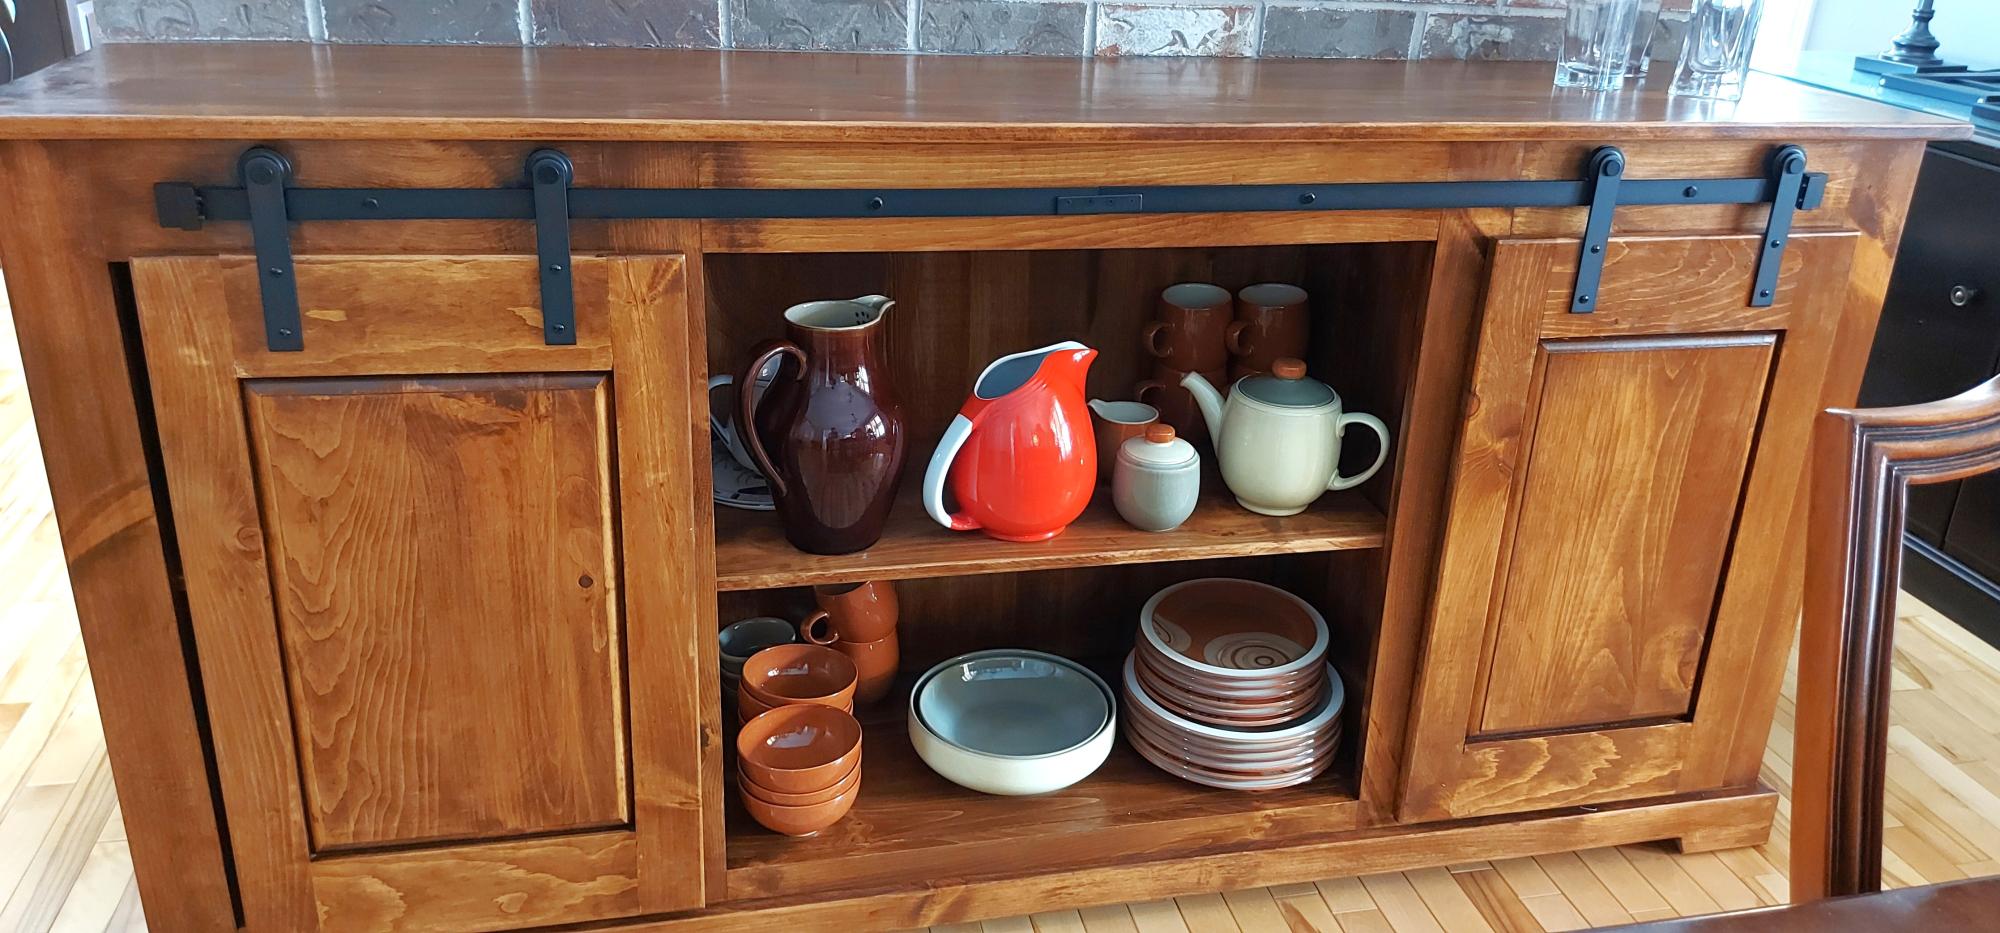
I used Ana's plans for this entertainment center. I wanted tour pride my husband so I built it while my he was out of town. When he got back into town and settled in to watch television I heard him say "oh wow.....where did you buy this, it's gorgeous"! He thought I had bought it.
 

thanks Ana for providing easy to follow plans!

Built from Plan(s)
Estimated Cost
125.00
Estimated Time Investment
Weekend Project (10-20 Hours)
Finish Used
Golden oak stain and rub on urethane
Recommended Skill Level
Beginner

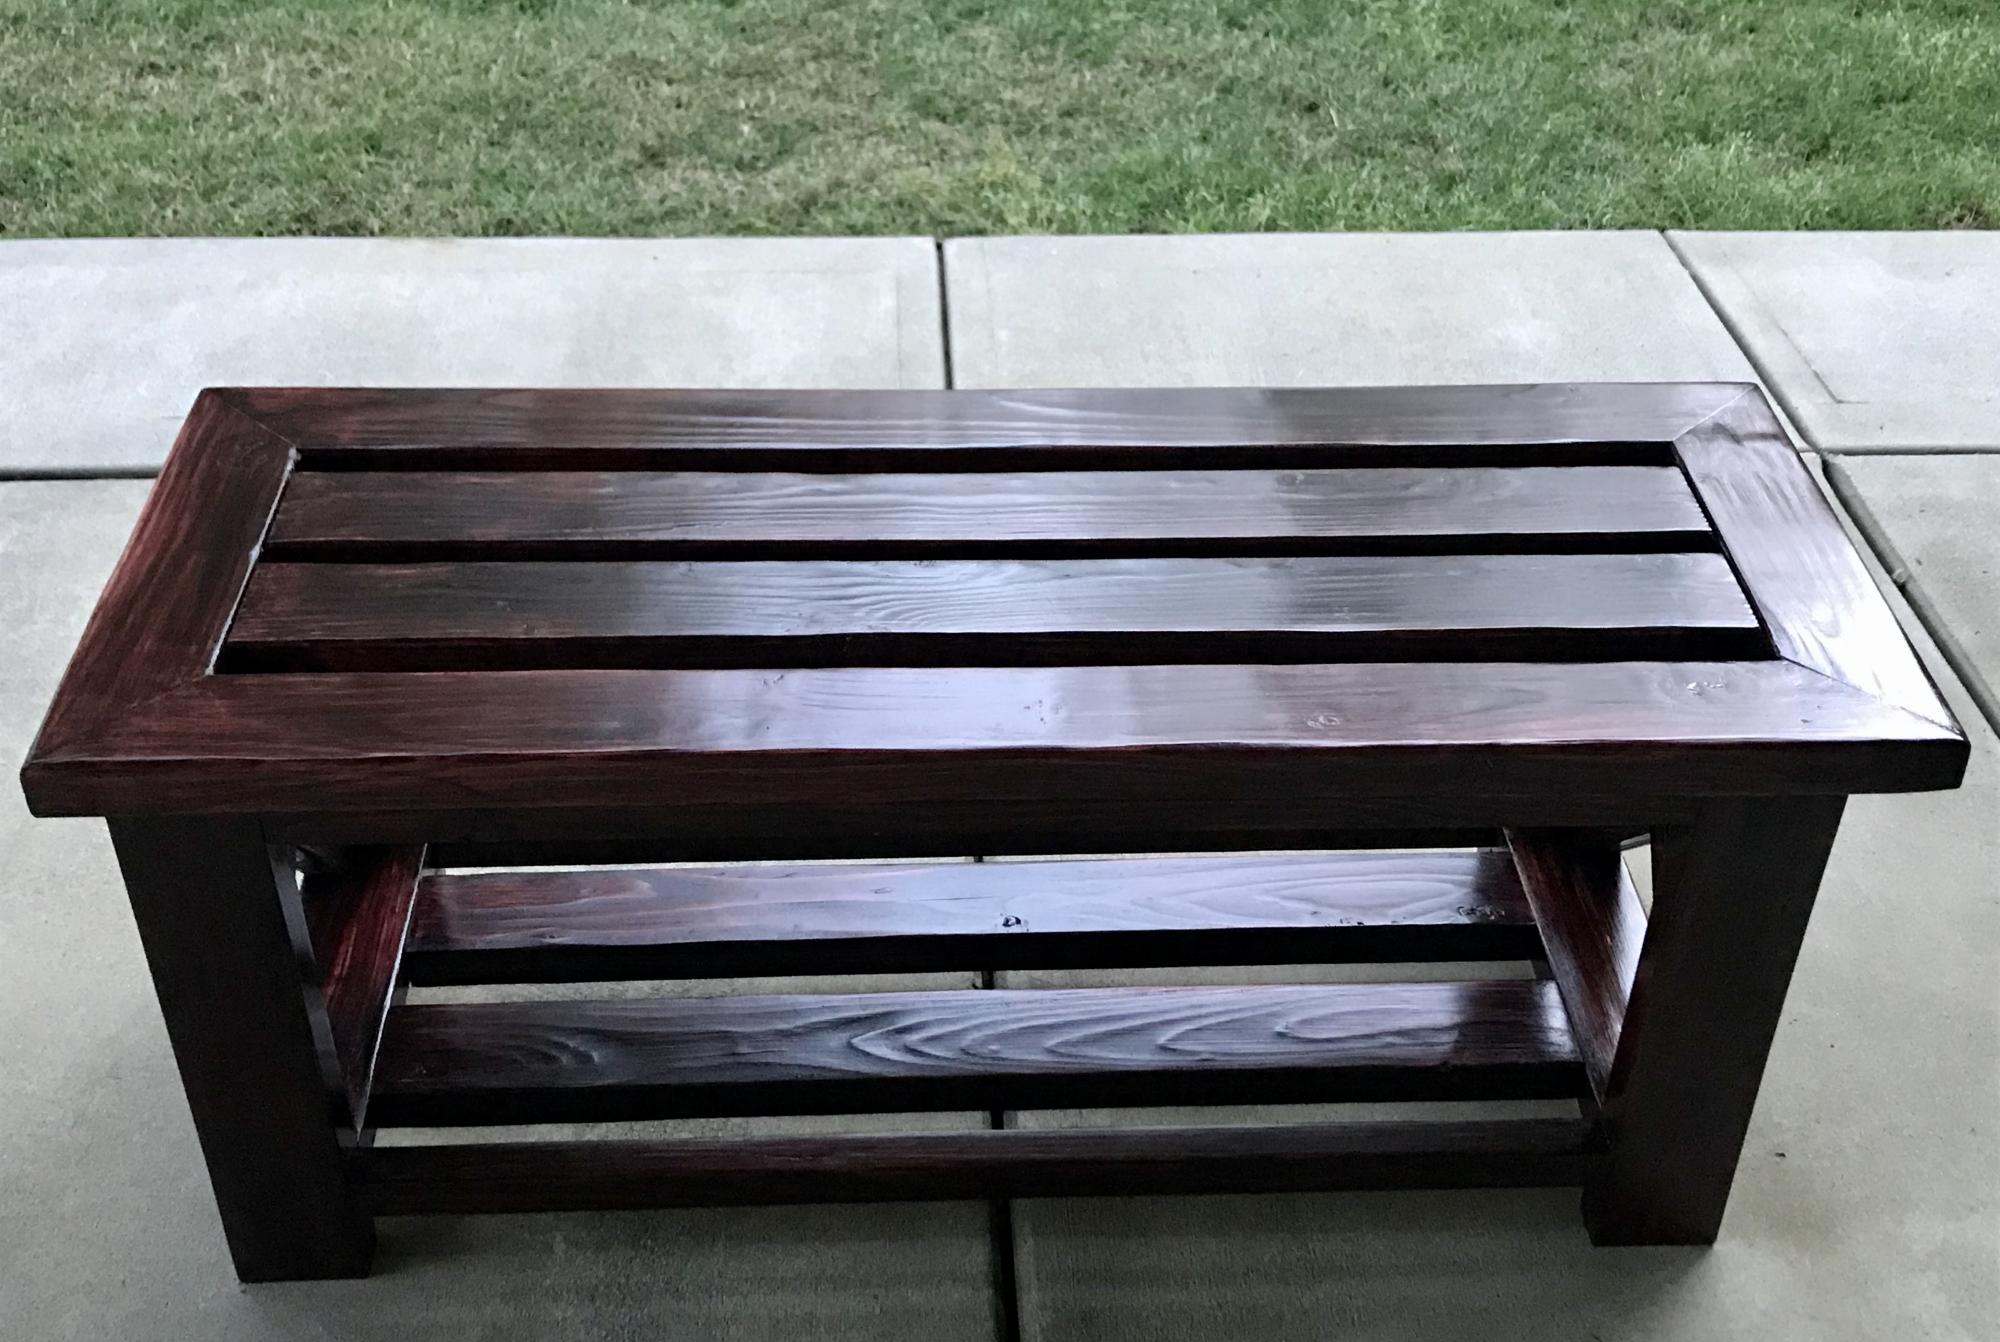
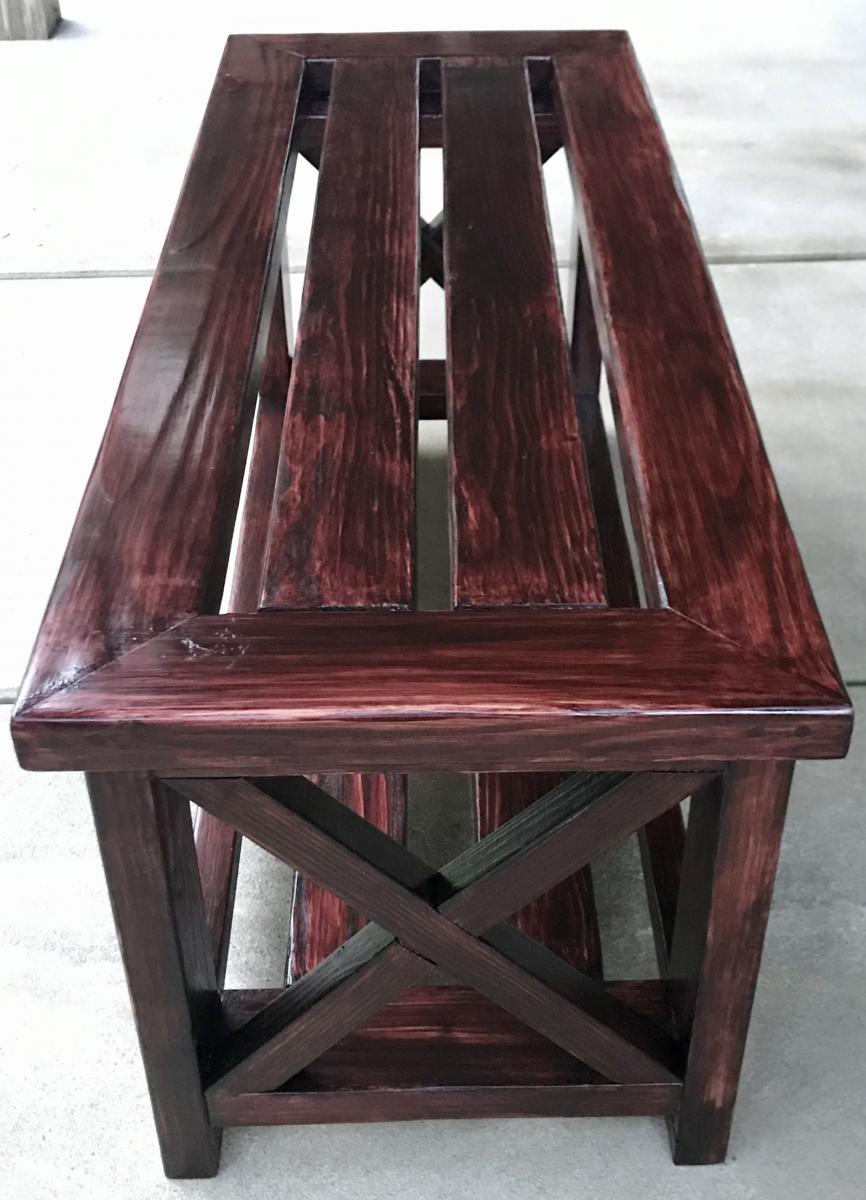
Hall entry bench

Submitted by Anonymous (not verified) on Sun, 05/24/2020 - 21:28

First piece of furniture using your plans for inspiration. Keep those plans coming I am learning as I go along.

Built from Plan(s)
Estimated Cost
40
Estimated Time Investment
Day Project (6-9 Hours)
Finish Used
Mahogany to go along with our floors. It was a stain and poly in one. Did 2 coats.
Recommended Skill Level
Beginner

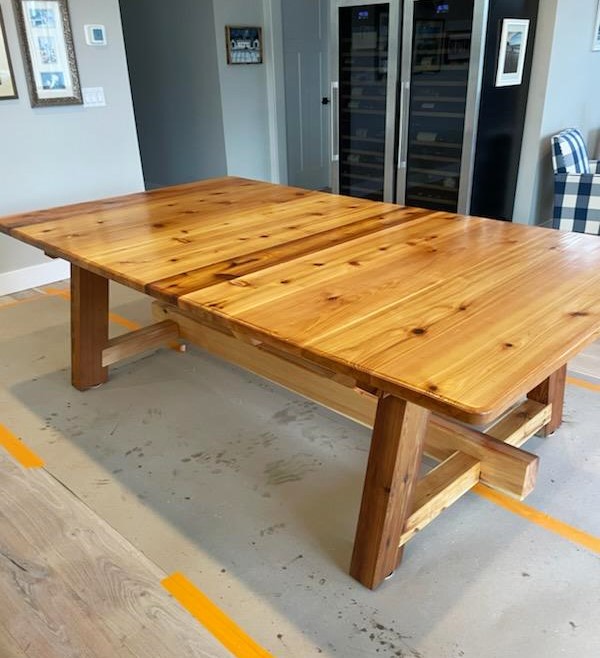
Table for 12!

Submitted by Anonymous (not verified) on Tue, 02/06/2024 - 09:07

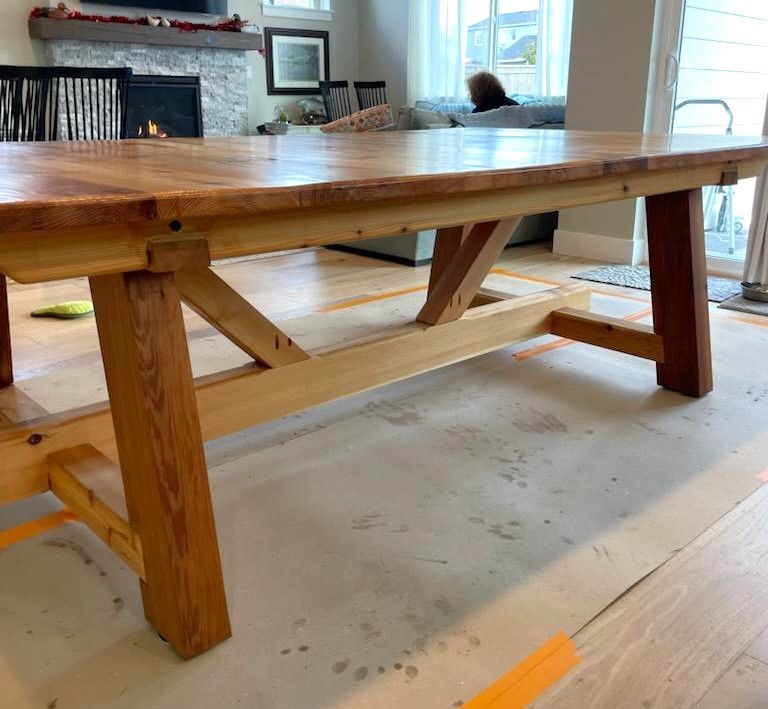
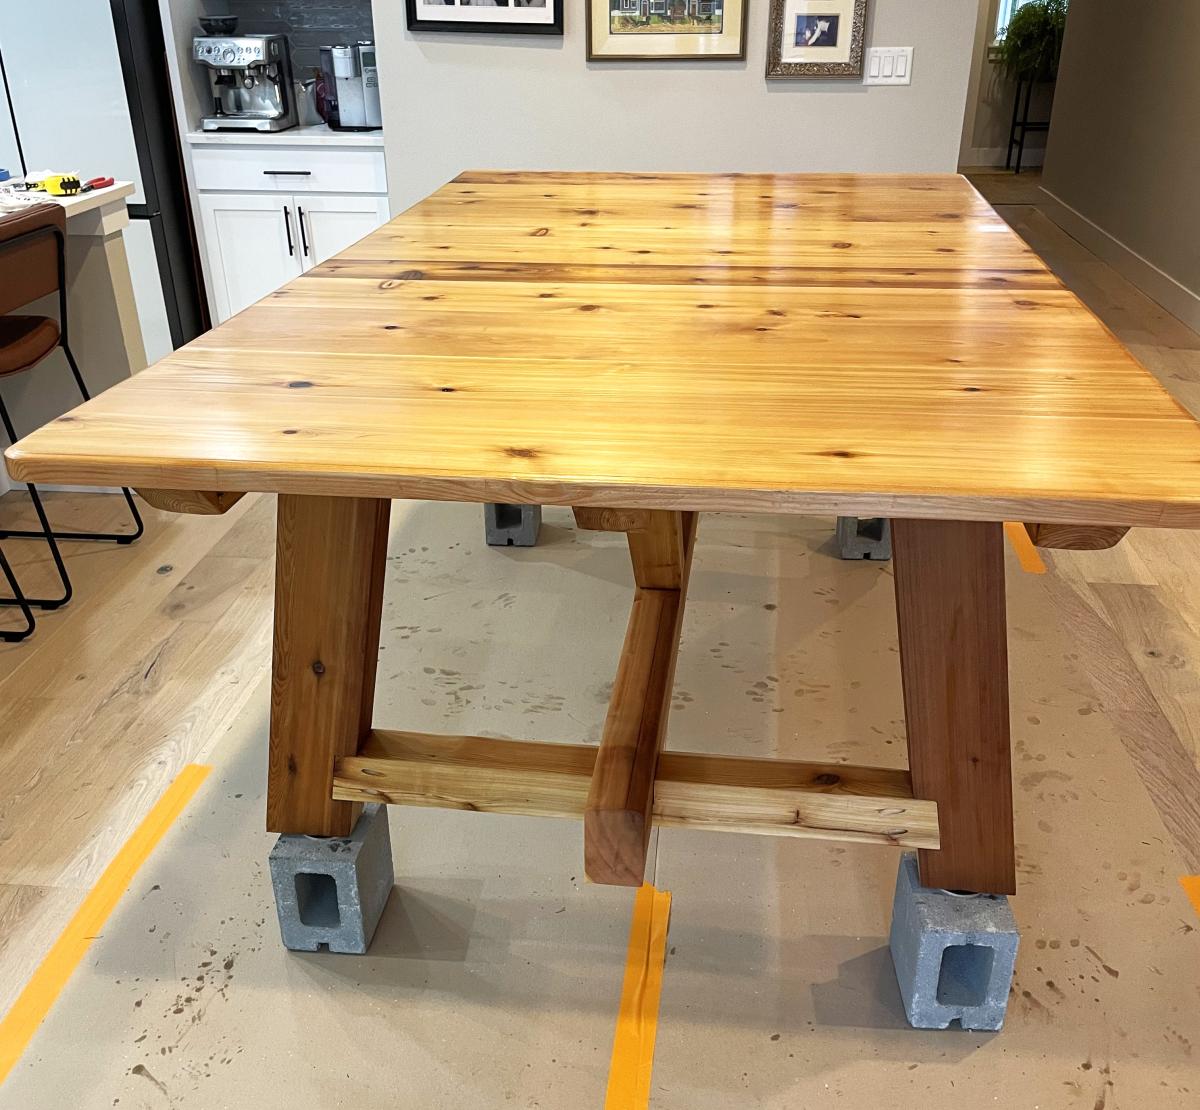
My wife wanted a table to seat 12 and she liked the looks of the 4x4 Truss Beam Table from Ana White.

So we modified the plans, our table is 54 inches wide (not 37) and 98 inches long (instead of 87). The legs are 4x6 not 4x4. The lower center beam is 4x6. The plans call for 2x4 aprons ending at the legs, we used 4x4 aprons and extended them beyond the legs to within 3 inches of the end of the table. Finally, we laid the tabletop across the table with a combination of 2x8, 2x10, and 2x12 boards.
We built this all with cedar. The cost is a little over $1,100 for materials.

Dan Clark

Built from Plan(s)

Chaise Lounges

Submitted by Pswag on Wed, 07/18/2012 - 13:04

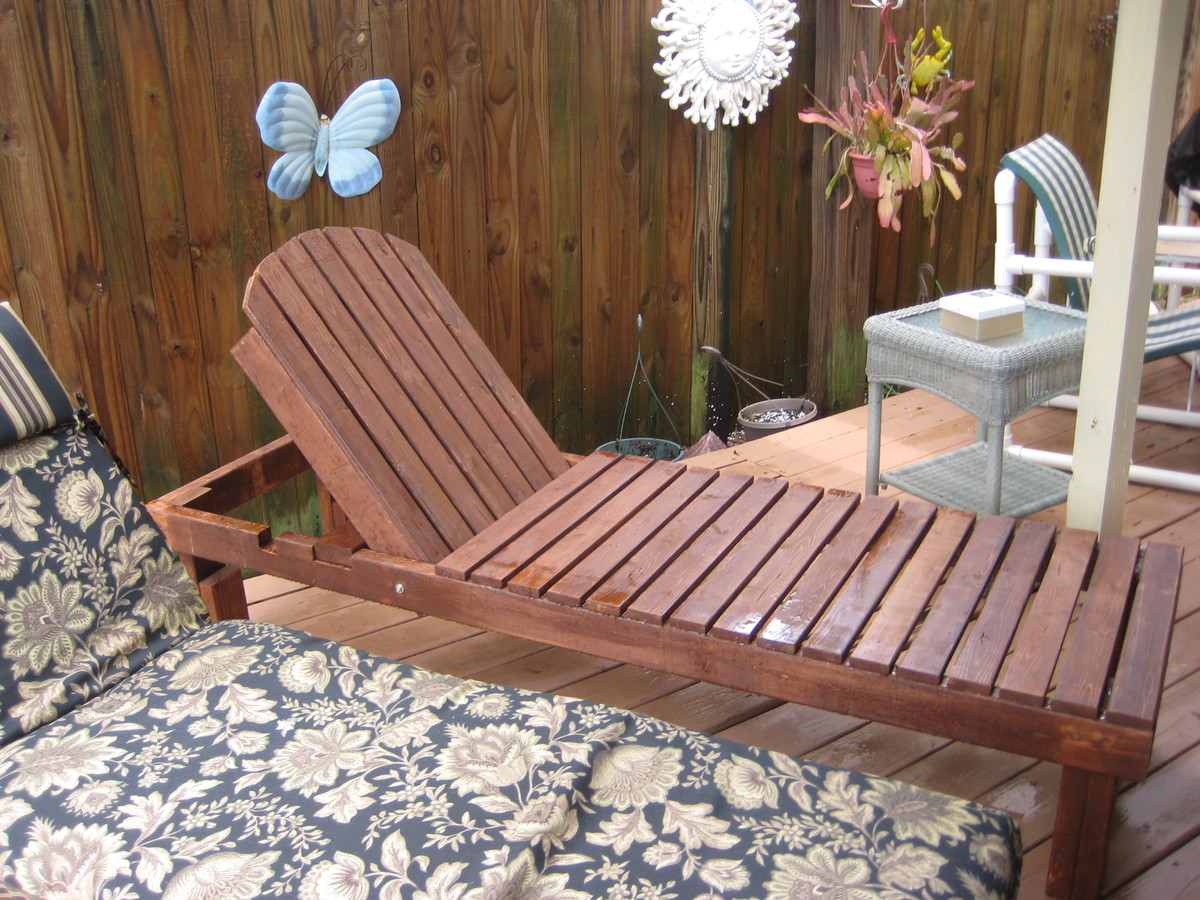
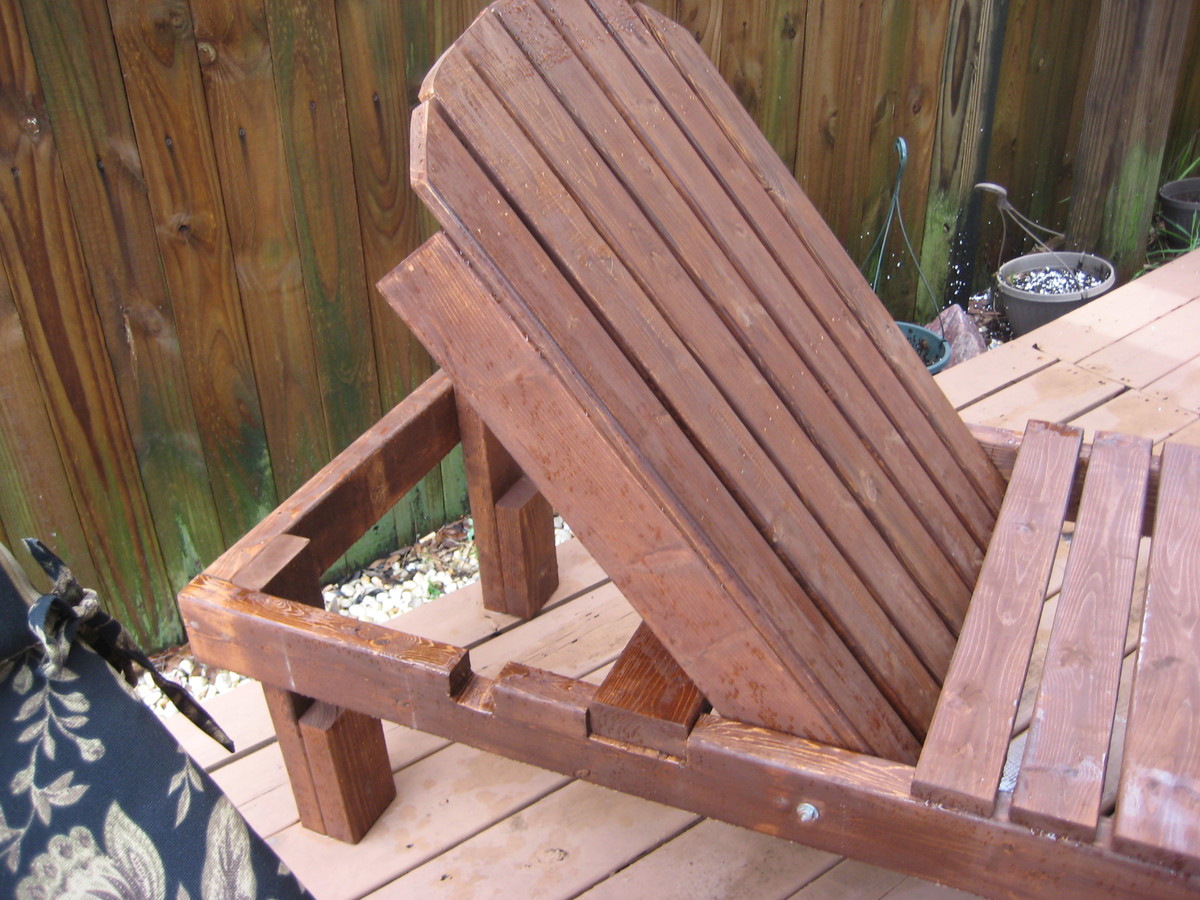
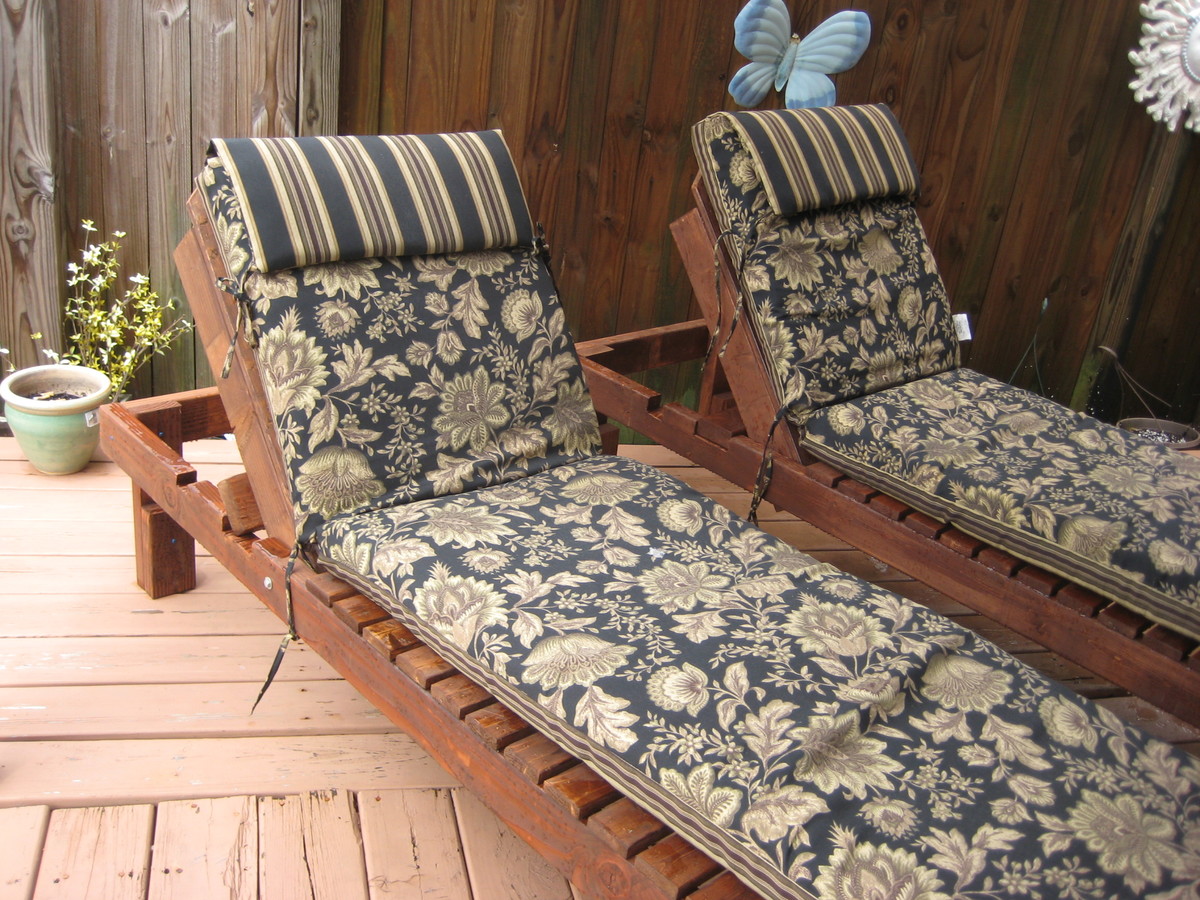
Love these outdoor Chaise Lounges. They are very sturdy and comfortable. I am hoping to make a loveseat and tables to match. Makes a perfect patio sent for my back porch and pool!

Estimated Cost
35.00 each
Estimated Time Investment
Weekend Project (10-20 Hours)
Finish Used
Stained in Miniwax English Chestnut then finished with Thompsons water sealer. Purchased the lounge cushions from Walmart on line and they fit perfectly!
Recommended Skill Level
Beginner

PVR cabinet

Submitted by Doug B on Tue, 08/09/2016 - 19:16

I built this PVR/DVD cabinet by combining my stained glass hobby with my woodworking.

The stained glass door works well as the remotes operate through the glass, I left the rear of the cabinet open for wiring but also to allow any heat to escape.

I used some brushed finish cedar that a neighbor gave to me but used dressed ply on the interior, any wood of choice would work.

Estimated Time Investment
Weekend Project (10-20 Hours)
Finish Used
Washed white paint.
Recommended Skill Level
Beginner

Rustic coffee table (simple version)

Corner accents are on order, but I'm happy with the thing as is. Went with colonial maple instead of golden oak and wow the thing pops. Put together was pretty easy for a beginner. I do recommend predrilling some of the edge/angle holes - the pressure treated wood can be unforgiving.

Great plan! Great table! Thanks!!

Lumber was $37. Screwes, glue, stain, etc cost extra, but those add up in your garage overtime - so, sunk costs. All in all, I spent about $60 and finished the project in less than 4 hours.

Estimated Cost
37
Estimated Time Investment
Afternoon Project (3-6 Hours)
Finish Used
https://www.homedepot.com/p/Varathane-1-qt-Colonial-Maple-Premium-Fast-Dry-Interior-Wood-Stain-266261/203332270
Recommended Skill Level
Beginner

Rustic Sideboard

Submitted by Anonymous (not verified) on Tue, 02/13/2024 - 12:29

This was one of your online plans, with a slight change to the front of the doors. Great project, made from pine, stained, and varathane applied.

Wade MacMillan

Built from Plan(s)

Finished the Simple Bed! (Twin)

Submitted by reyncloud on Thu, 07/19/2012 - 20:53

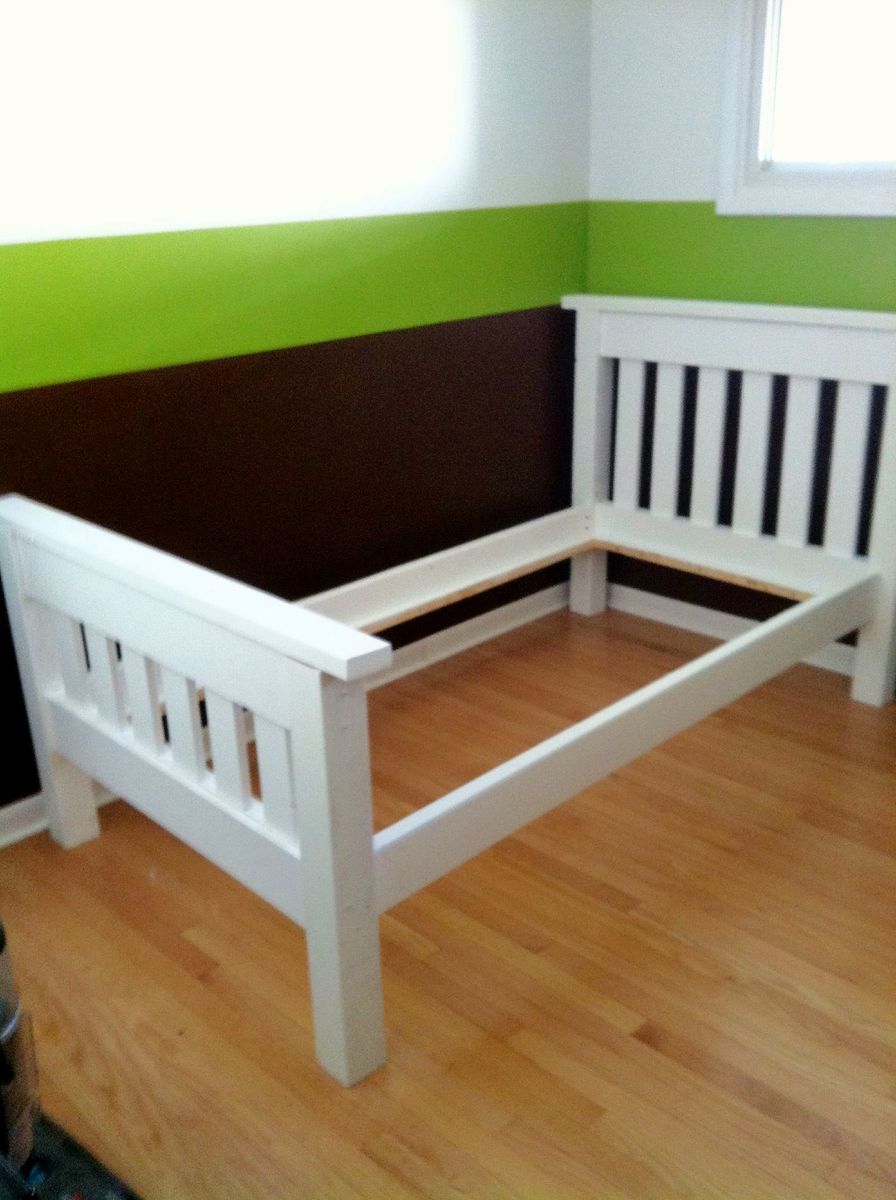
Just finished this Twin Size Simple Bed direct from the Ana White plans. This is my first project that I've completed, and it went well! The plans were great, and my only advice would be to take your time. I know that some people don't like to paint the wood, but this white just fit the room perfectly. As a side-note, this bed is SOLID and very heavy! Amazing what a difference real wood is to the stuff you get at the furniture store.

Built from Plan(s)
Estimated Cost
$50
Estimated Time Investment
Weekend Project (10-20 Hours)
Finish Used
Menards flat bright white interior paint.
Recommended Skill Level
Beginner

Comments

Amie (not verified)

Wed, 07/25/2012 - 12:49

I am looking into making this bed but into a bunkbed, but I am afraid of doing a bad paint job....any suggestions?? Should I paint prior to putting together? Thank you your detoured out GREAT!!!

reyncloud

Thu, 07/26/2012 - 05:20

Hi Amie! After putting this all together and then sanding and painting, I think this time around (I'm making a 2nd one), I'll cut the pieces according to the cut list, then sand and paint the pieces before putting them together. The painting wasn't too bad to do after putting it together, but the sanding was difficult with some of the angles on the head and footboard. I'll update this after I do it this other way..good luck with your project!! It's very satisfying to see the finished result after you finish!

Ahab (not verified)

Sun, 01/06/2013 - 13:35

I just priced this out and the lumber comes to $130 for decent pine...

reyncloud

Sun, 01/06/2013 - 16:00

Hi Ahab.. One thing I've figured out from reading posts is that the cost of lumber (and pine) varies widely across regions. Each store also has different grades of lumber available. If you take the time to go through lumber piles and choose boards that are straight you can save a fair chunk of change. Just my 2 cents.. Good luck with your project though!

Medickep

Thu, 12/18/2014 - 16:36

I have a question on how the rails connect to the head and foot board. I think the original plans have you make a box out of 2x2's, Do the 2x2's just screw to the headboard and footboard? This seems like the easiest, unless you want to take it apart and move it! Anyone have ant thoughts on this?

2x4 Chunky Console

Submitted by kmh4482 on Sun, 05/11/2014 - 01:45

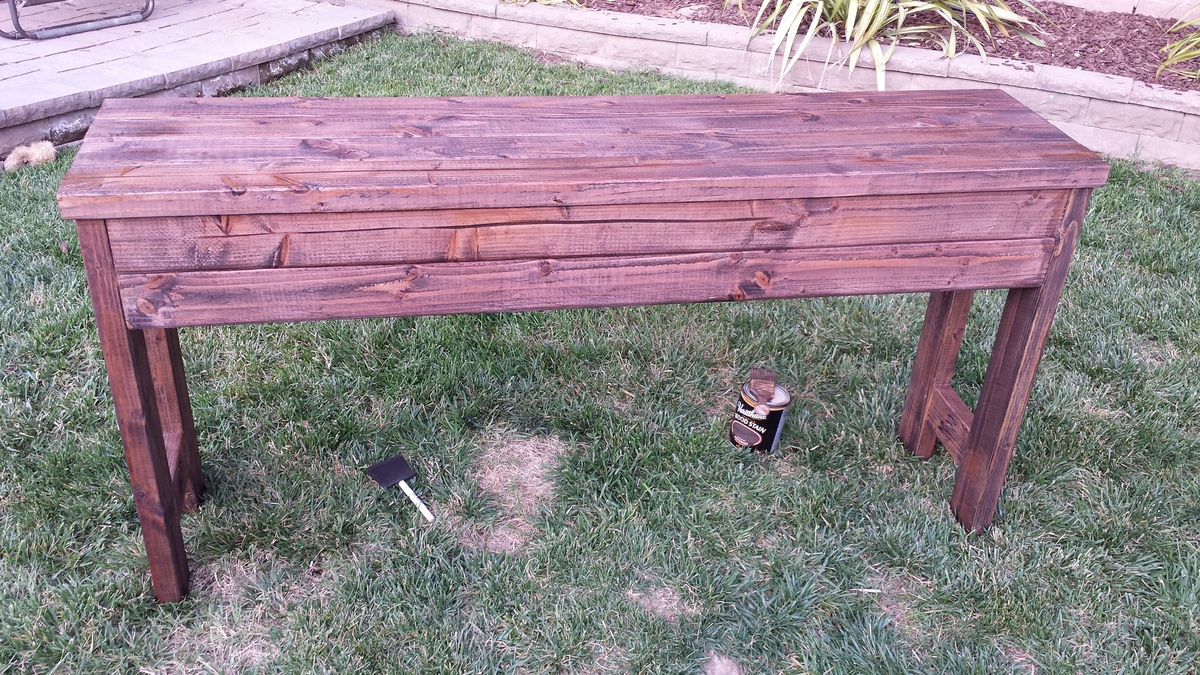
This is the first thing I have ever made. I had my wood cut at Lowe's, bought a Kreg pocket hole jig and screws. I borrowed a friend's drill, sander and stain. I was amazed at how easy this was and how well it turned out.

Built from Plan(s)
Estimated Cost
$30
Estimated Time Investment
Afternoon Project (3-6 Hours)
Finish Used
Minwax Woodfinish Ebony - One coat
Recommended Skill Level
Beginner

Kitchen island; Ana-white design

Submitted by Anonymous (not verified) on Sat, 08/13/2016 - 11:42

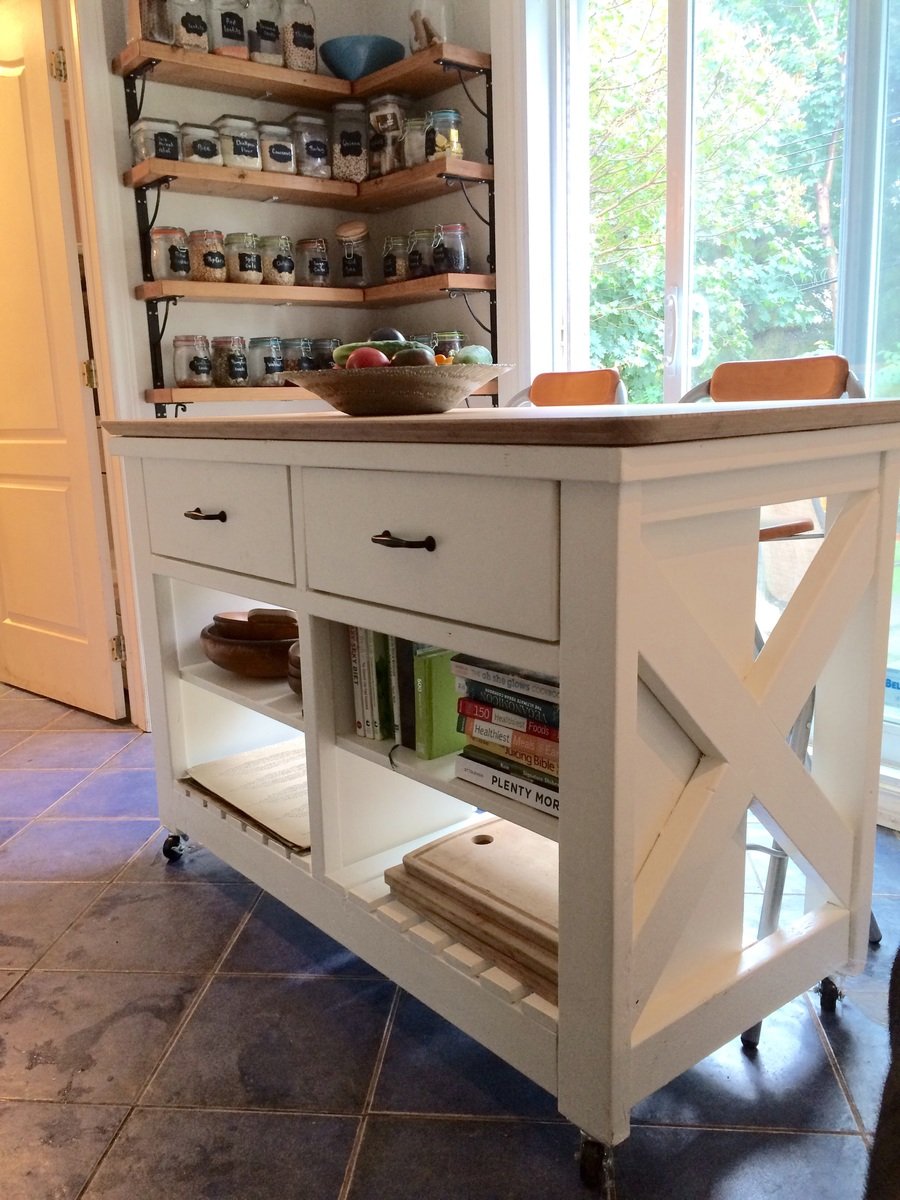
I am so happy to be able to submit a brag post. Besides shelves and flower beds this is The first piece of furniture I make besides  some mistakes and frustrations in the learning process it went relatively smooth! I am super happy to have made my first piece of furniture on my own :). Thanks for the great plans and for everyone who made helpful suggestions in the comment section. I also recommend  using another 2x2 piece above the drawer railing to

hold it in place so it doesn't tip out. Thanks again! 

Built from Plan(s)
Estimated Cost
200
Estimated Time Investment
Week Long Project (20 Hours or More)
Recommended Skill Level
Intermediate

Comments

Balustrade Coffee Table

Submitted by Anonymous (not verified) on Thu, 02/15/2024 - 10:27

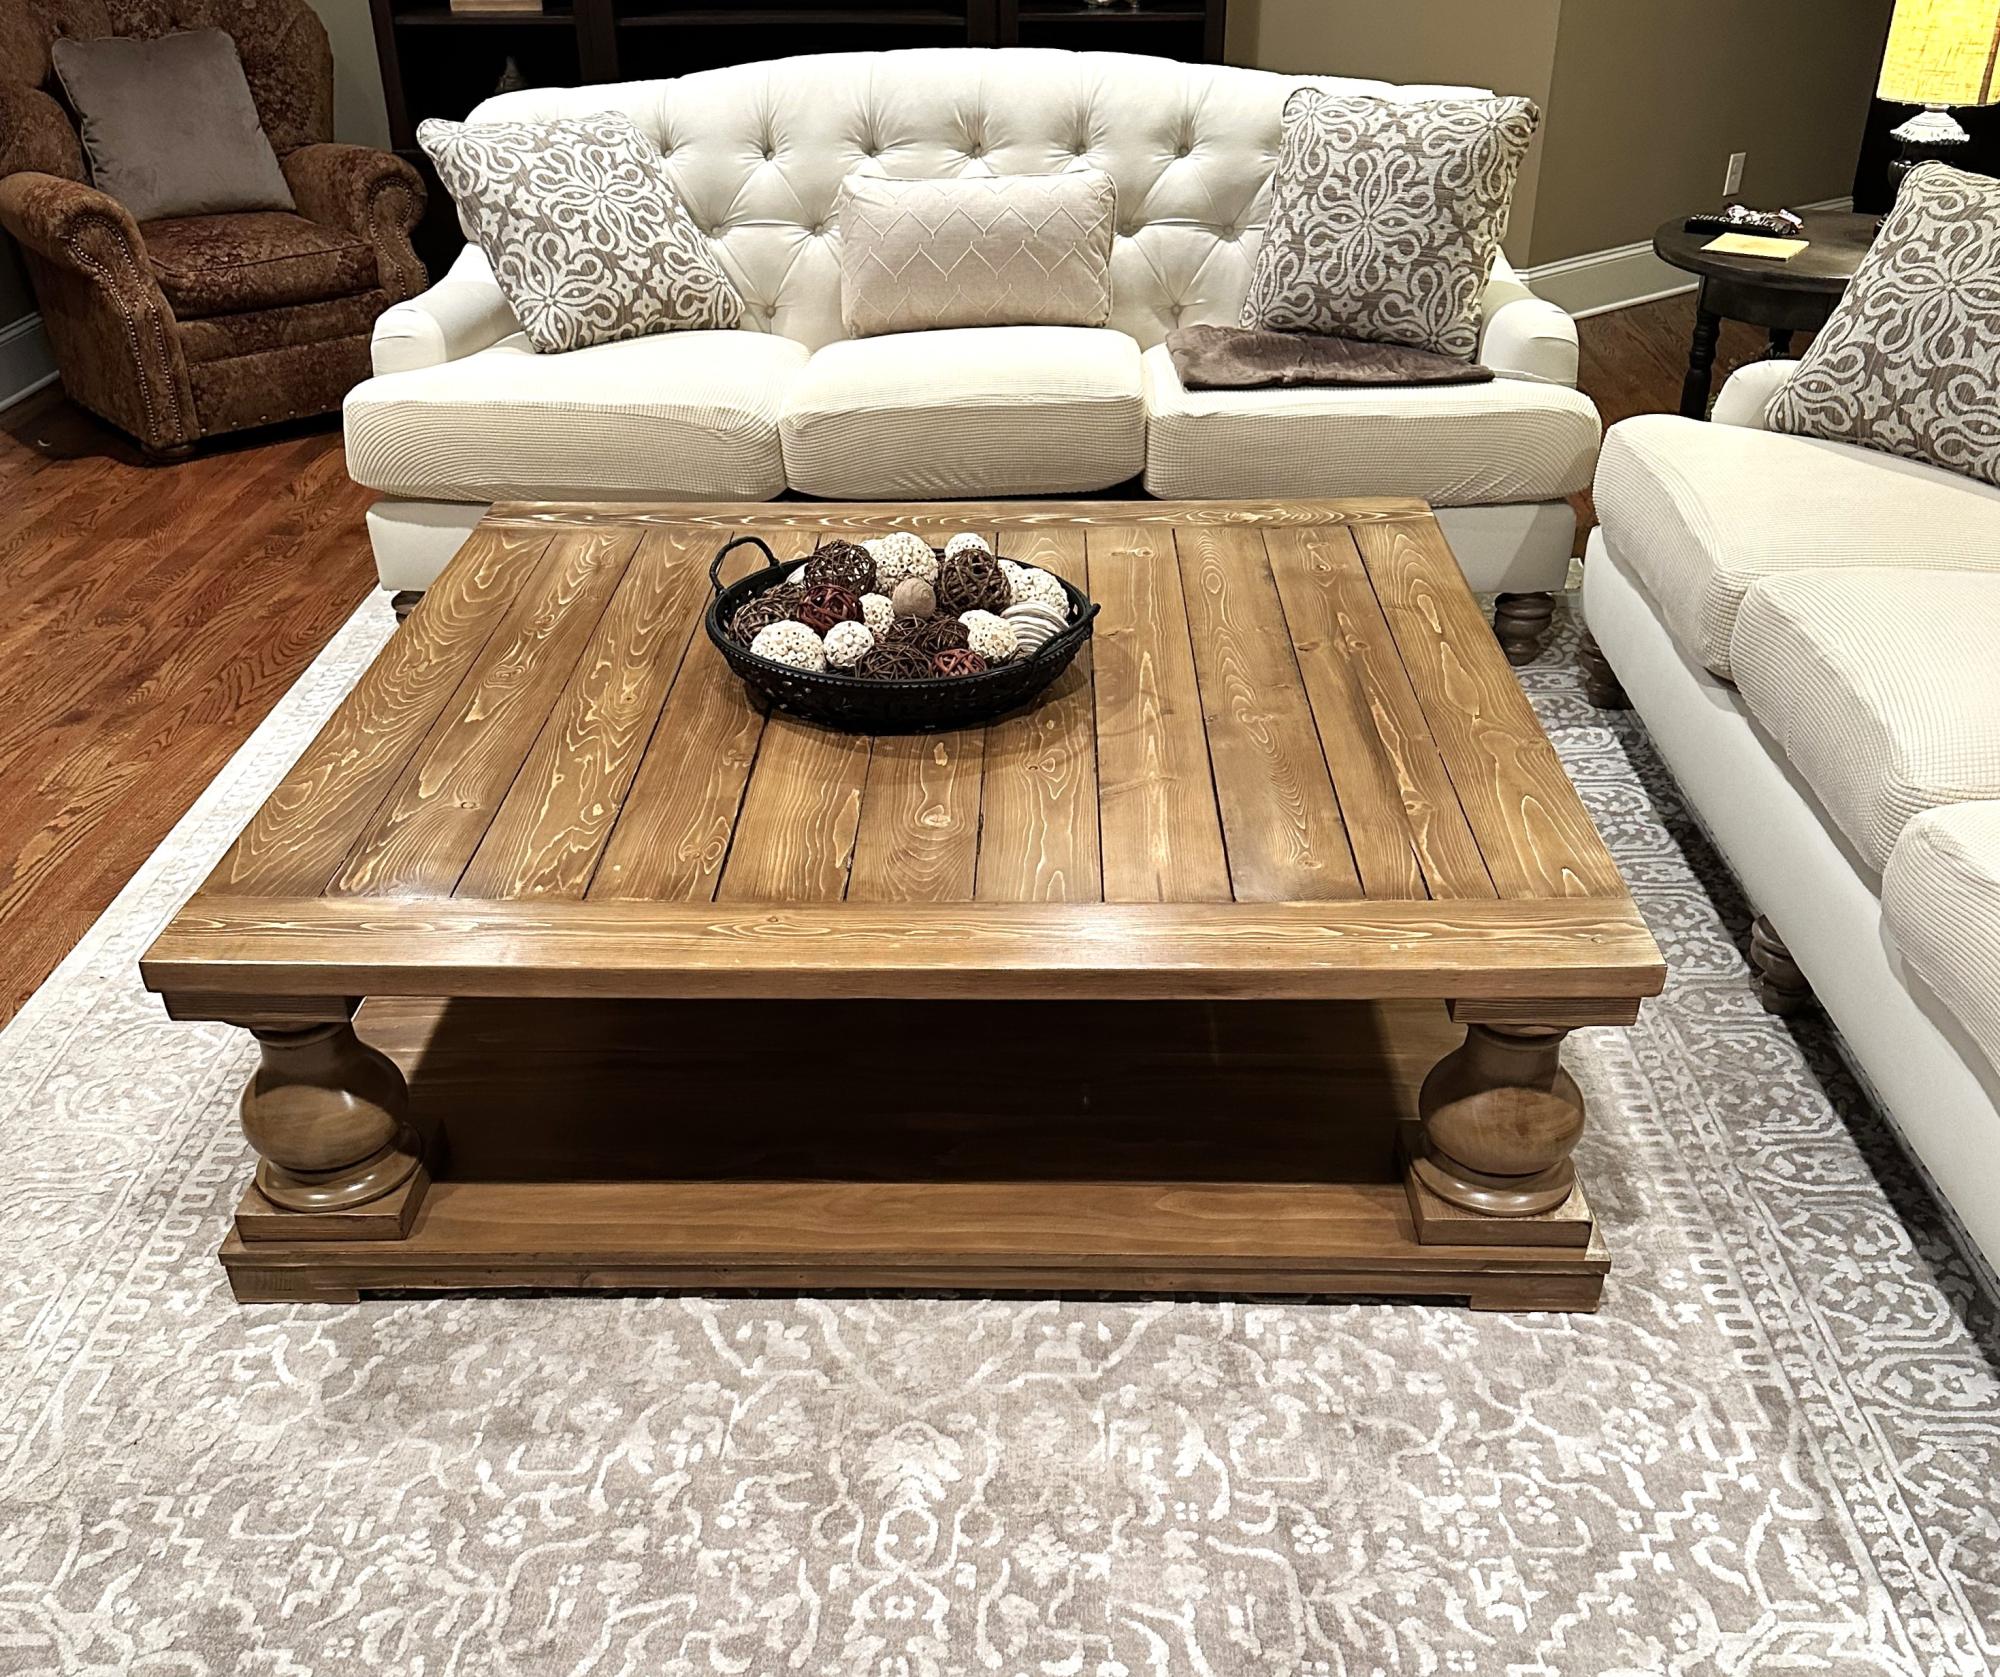
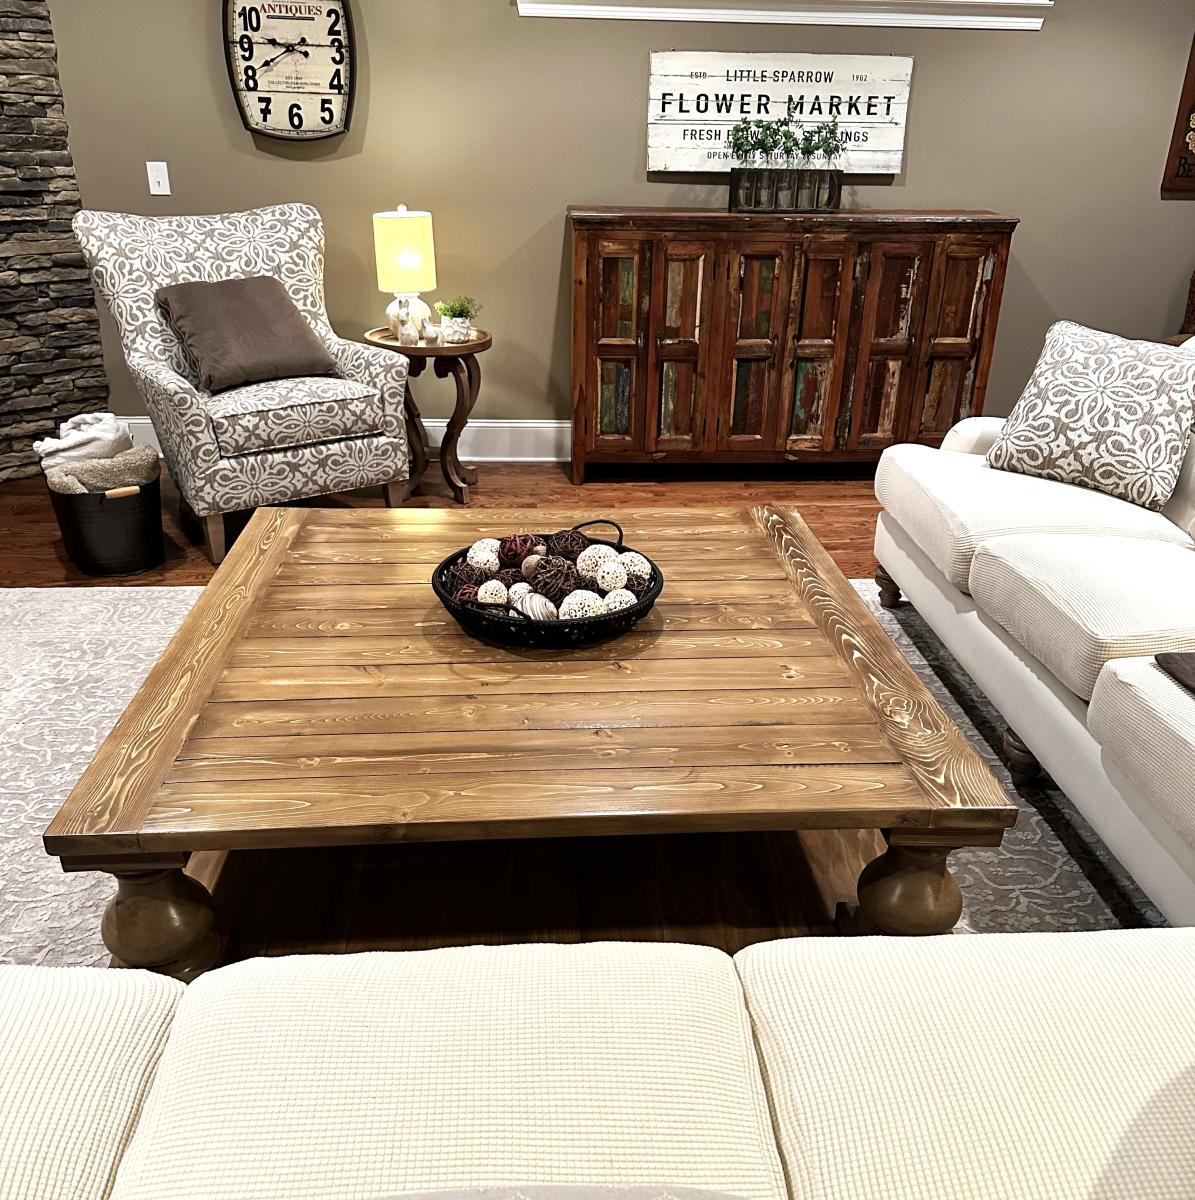
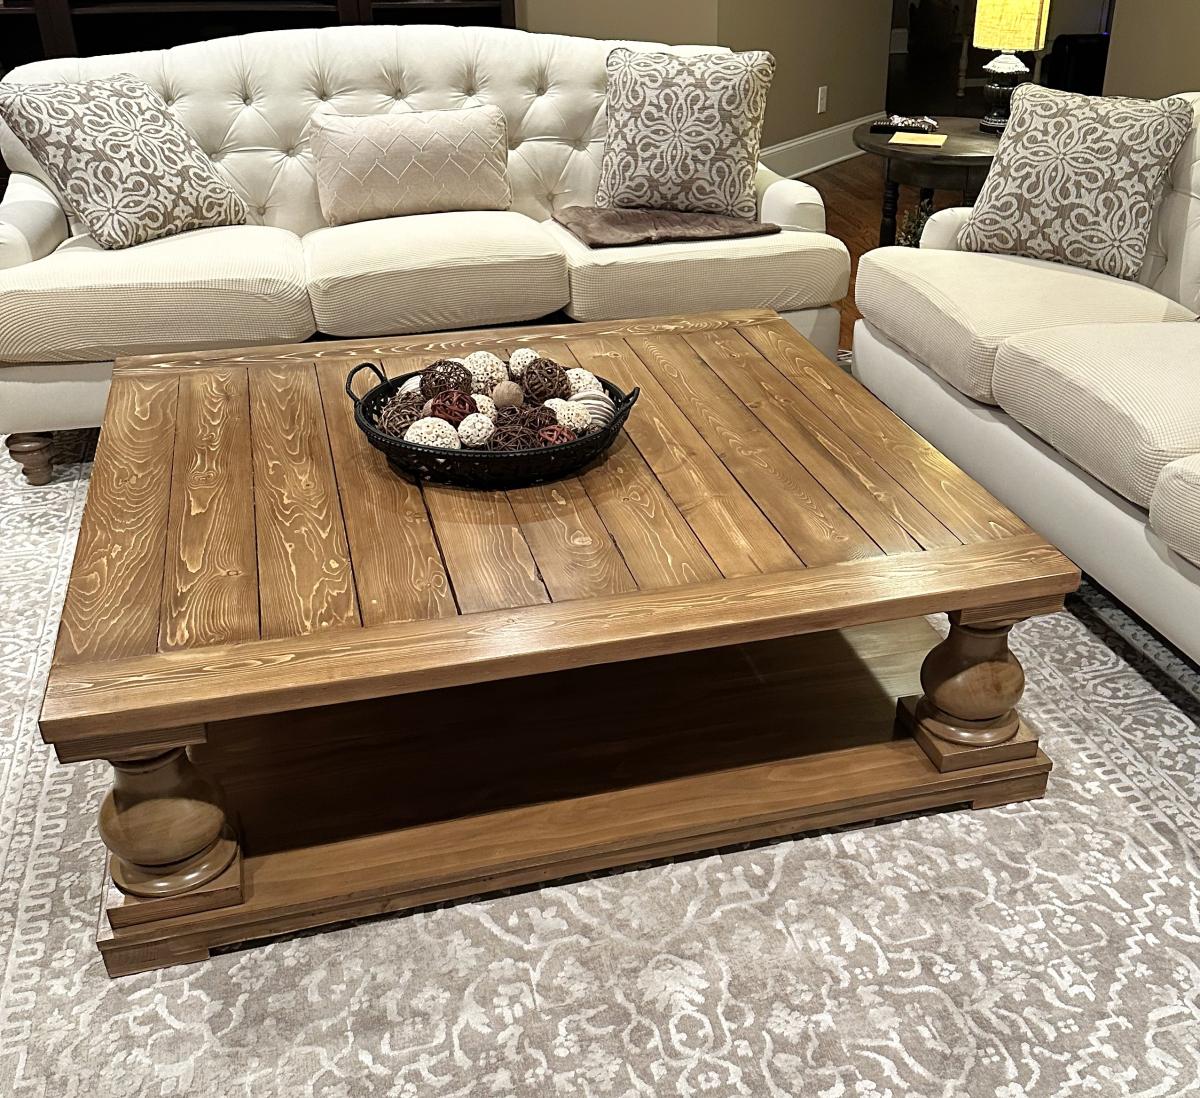
I just completed this table. It is 5’ square and very heavy. The table is a combination of paint/stain and poly. It took me almost a month to complete and the help of friends and family to flip it back in forth front and back so I could work on it. I am very happy with the finished project ♥️

Cindy Lunn

Built from Plan(s)

Outdoor Box Planters

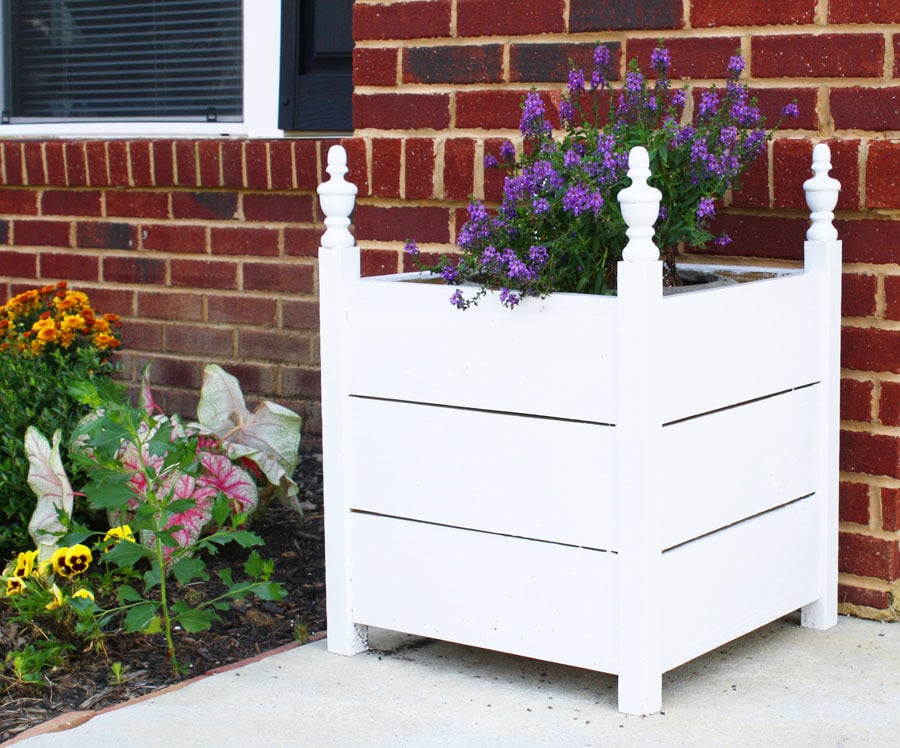
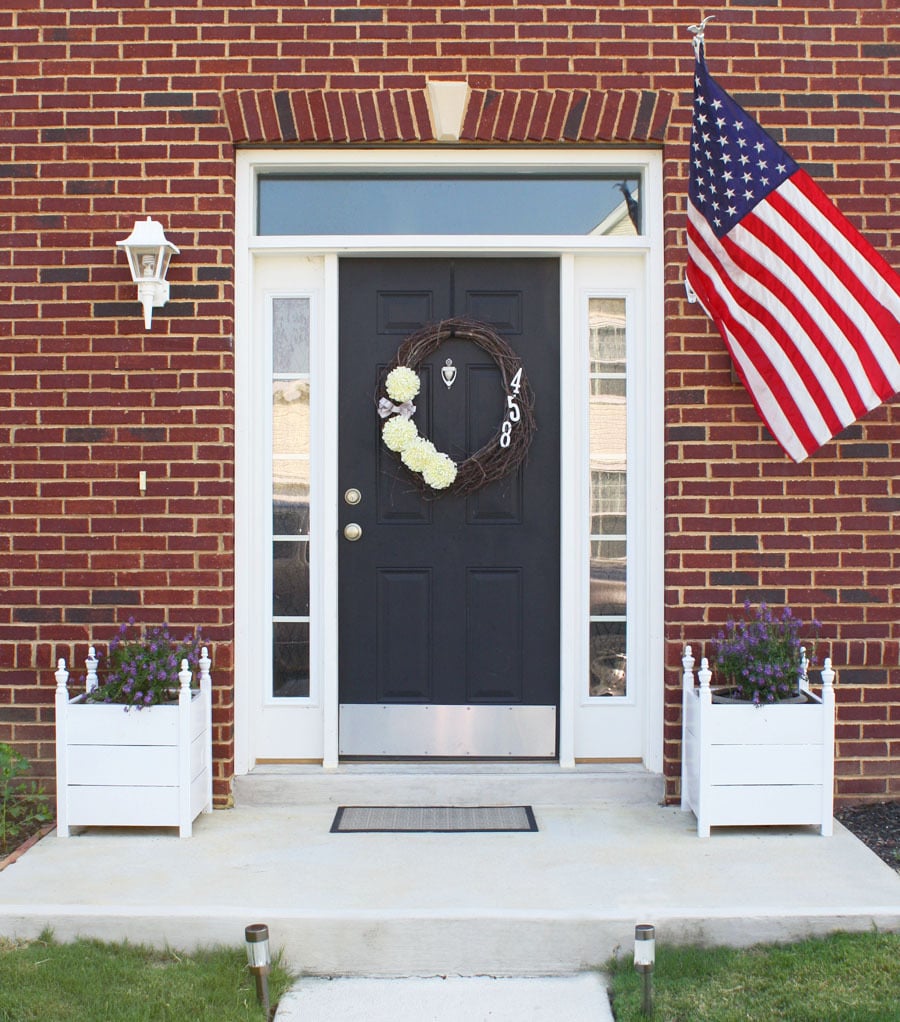
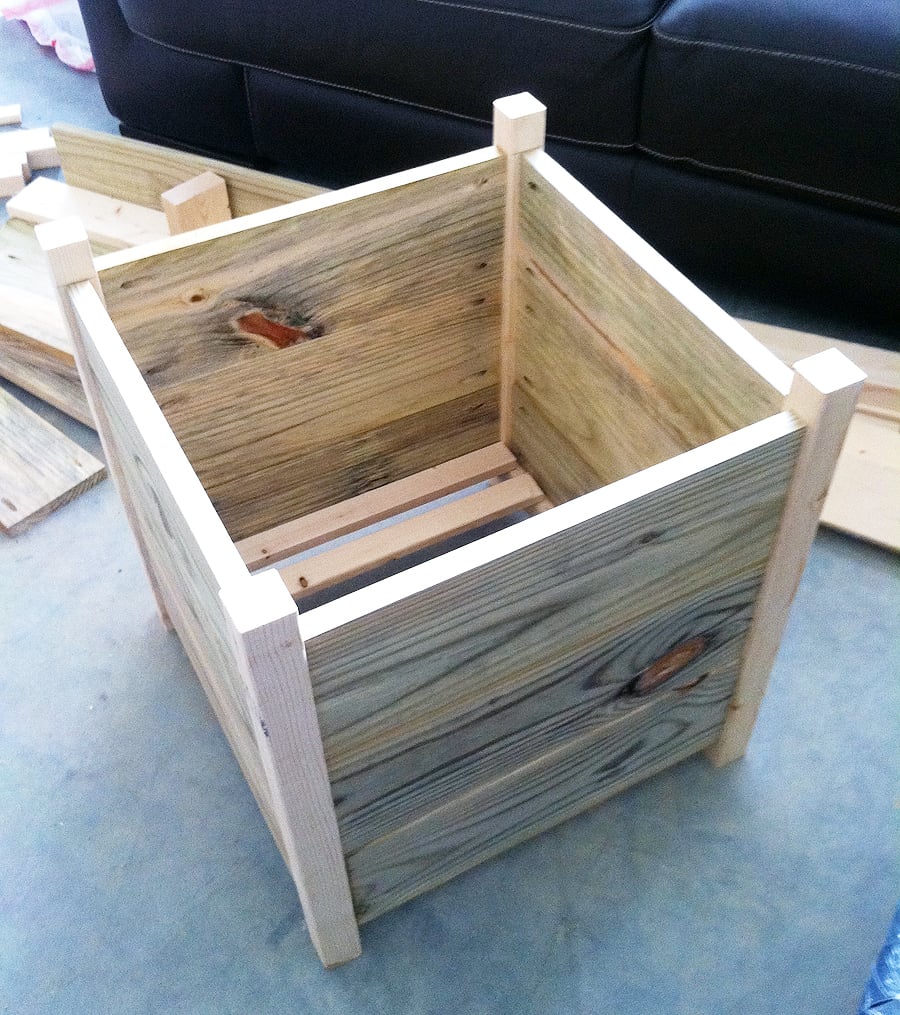
Super easy project to do with a Kreg Jig! I made two for my front stoop. The finials add that extra touch! Check out my blog link for more info!

Built from Plan(s)
Estimated Cost
$16.00 per planter
Estimated Time Investment
Afternoon Project (3-6 Hours)
Finish Used
Primed with Zinsser 3-in-1 Primer, painted 2 coats of glossy white interior/exterior paint.
Recommended Skill Level
Starter Project
Seasonal And Holiday

Underbed Lego Storage

Submitted by rosiejane on Tue, 05/13/2014 - 22:28

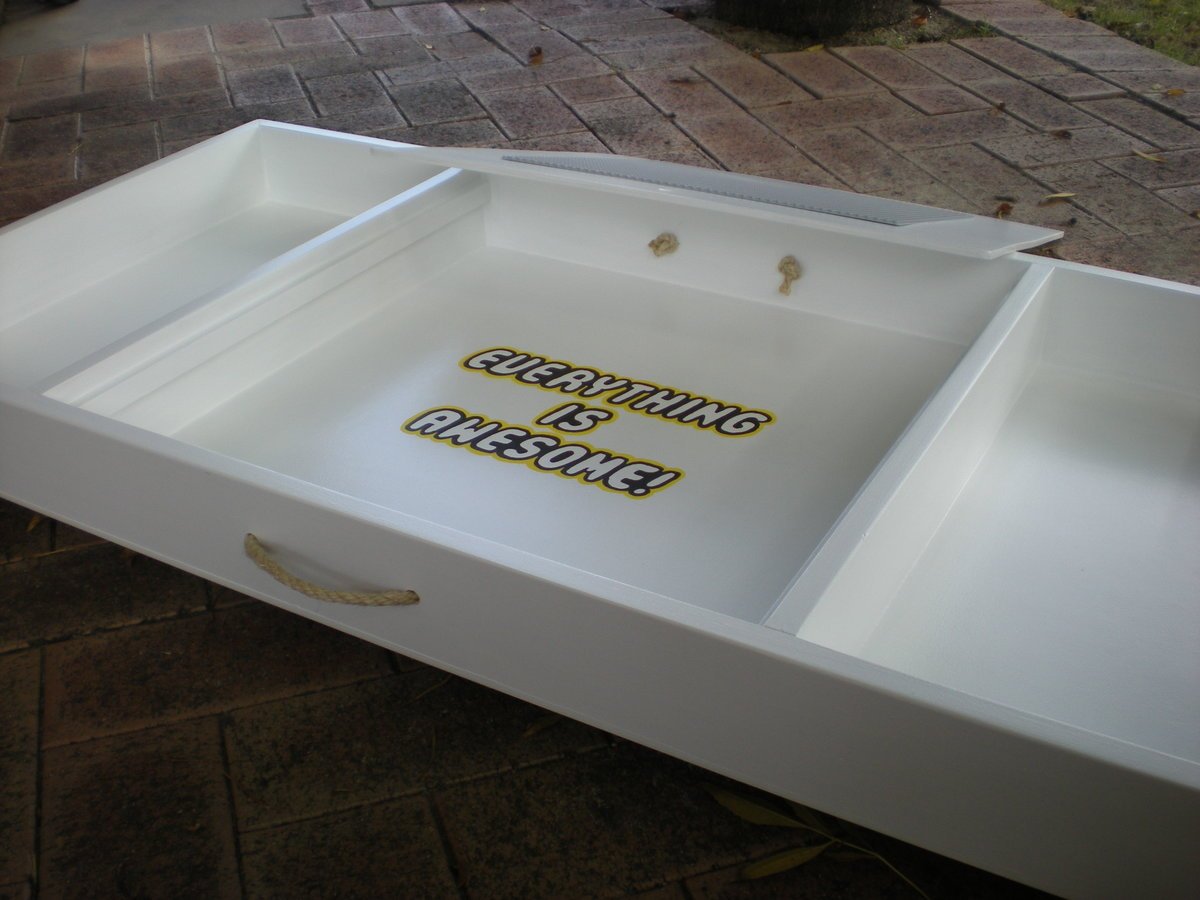
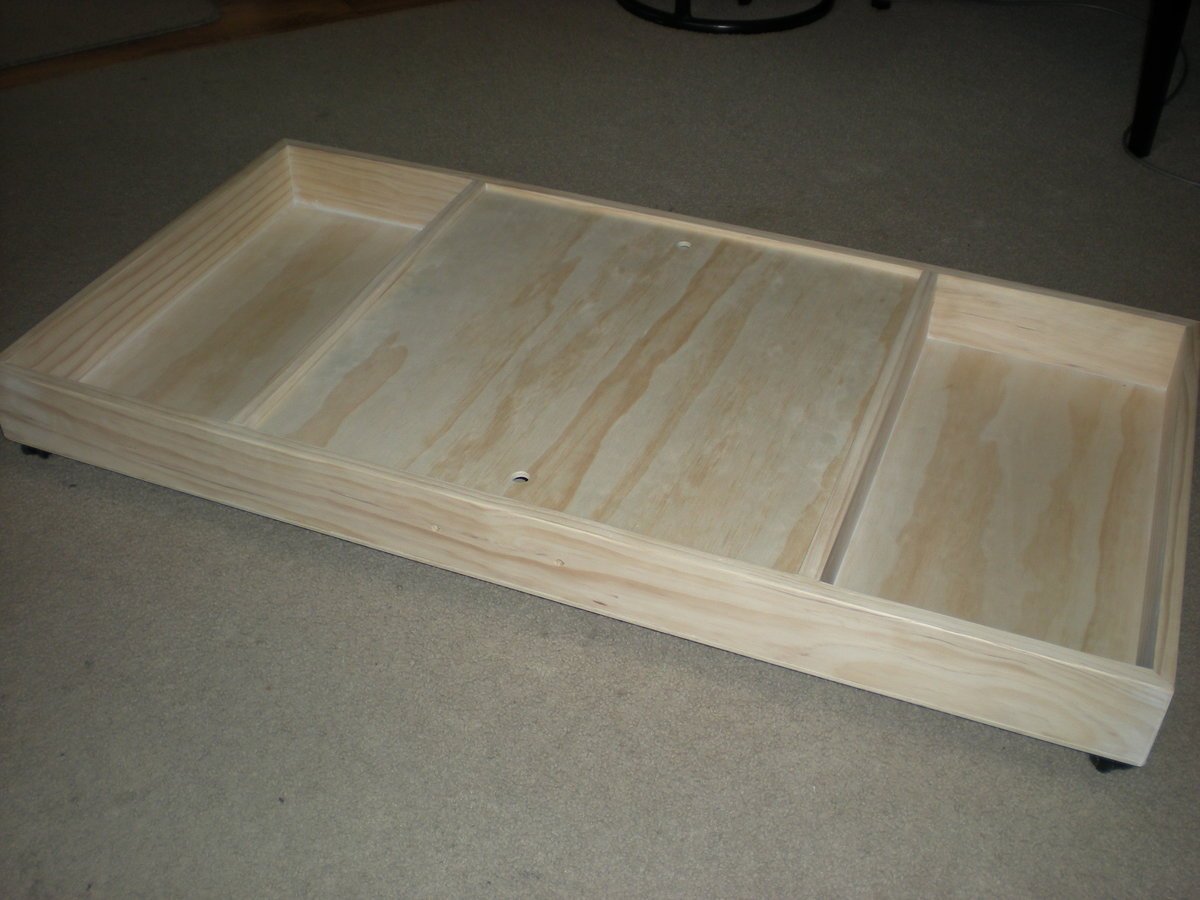
We were in desperate need of a lego storage solution for our son's small bedroom. I made this for his 7th birthday. I saw a photo of a similar one as a result of a google or pinterest search and decided to draw up some plans.
I recessed the top slightly so that pieces won't fall off. I just glued thin cleats to the inside of the box to hold the lid, (using spacers to get it at the height I wanted) Ideally the top would be reversible however I didn't quite get one of the dividers square so it only fits one way. I used Posca water-based markers to do the text. Make sure you wait until the text is really dry before you try to seal it (don't ask me how I know that...) Turns out that the markers don't react well with the brush on poly so I just left the text unsealed.
I was just going to have one handle on the front but then I made a stupid mistake and wrote the text so it would be upside down when pulled out (I know, dumb right!) So I added another handle on the other side. I used a water-based enamel for the whole box. Not sure if that was worth it of if I should have just used flat and given it a top coat of poly. I used a brush on the inside corners and found it really hard to get an even finish because I rolled the flat surfaces. Painting the pieces before assembly would probably fix this.
Added some castors so it can be pushed under the bed.

Estimated Cost
AUD$39 (plus lego baseplate and paint markers)
Estimated Time Investment
Weekend Project (10-20 Hours)
Finish Used
dulux aquanamel - vivid white, posca water-based poster markers
Recommended Skill Level
Beginner

Comments

jlharrison

Sun, 02/05/2017 - 08:48

This is so awesome. Do you think you could share a more detailed account of build. Dimensions? Supplies? I am a newbie at this! I would greatly appreciate! 

Leaning bathroom Shelf

Submitted by Anonymous (not verified) on Tue, 08/16/2016 - 14:32

I had fun building this Leaning Bathroom shelf you posted from RyobiNation! I had been looking for the right bathroom storage for awhile. I have a small bathroom and not much really did it for me until I found the link to the plans on your Facebook feed. The moment I saw it I knew I had to build it for my bathroom so thank you so much for posting it! 

Estimated Cost
$30
Estimated Time Investment
Afternoon Project (3-6 Hours)
Finish Used
Rust-Oleum Traditional Cherry: I just made sure my wood was sanded and smooth and just applied the stain. Not much to my finish.
Recommended Skill Level
Beginner

Outhouse

Submitted by kraftdan on Sun, 05/31/2020 - 10:54

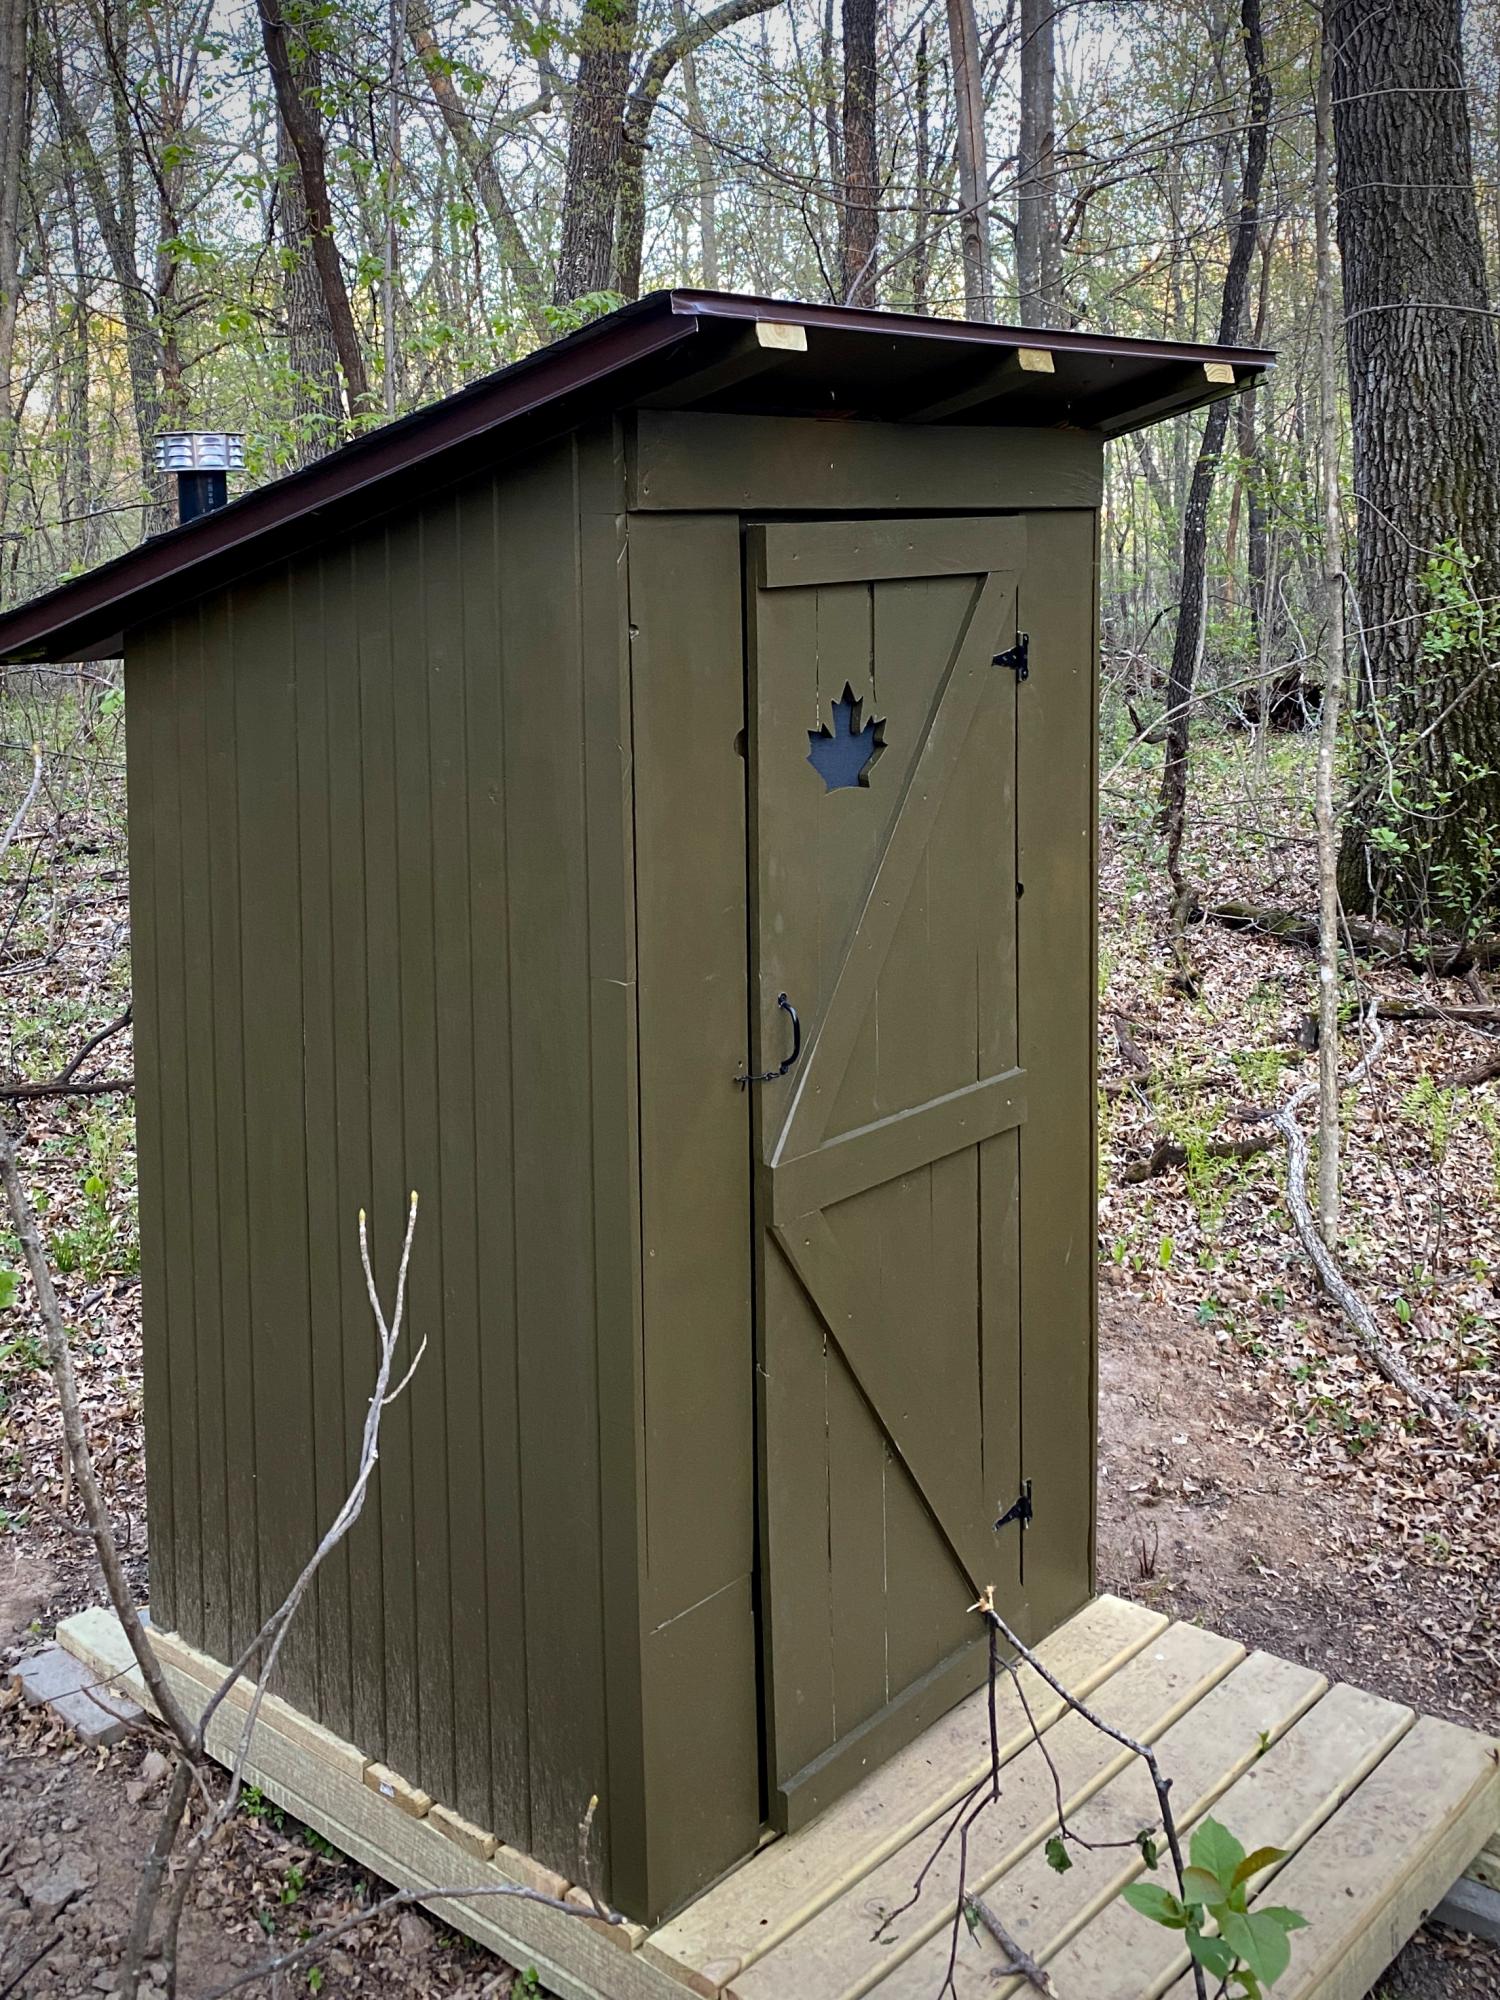
Added shingles and a 3" vent in the back. Also made it a 2-seater to prolong time between dig-outs and extended the roof overhang. Two inch T&G siding seemed like overkill. I used regular 1x8. Painted it to blend in with the woods.

Built from Plan(s)
Finish Used
Exterior paint
Recommended Skill Level
Intermediate
Back