Community Brag Posts
entryway locker
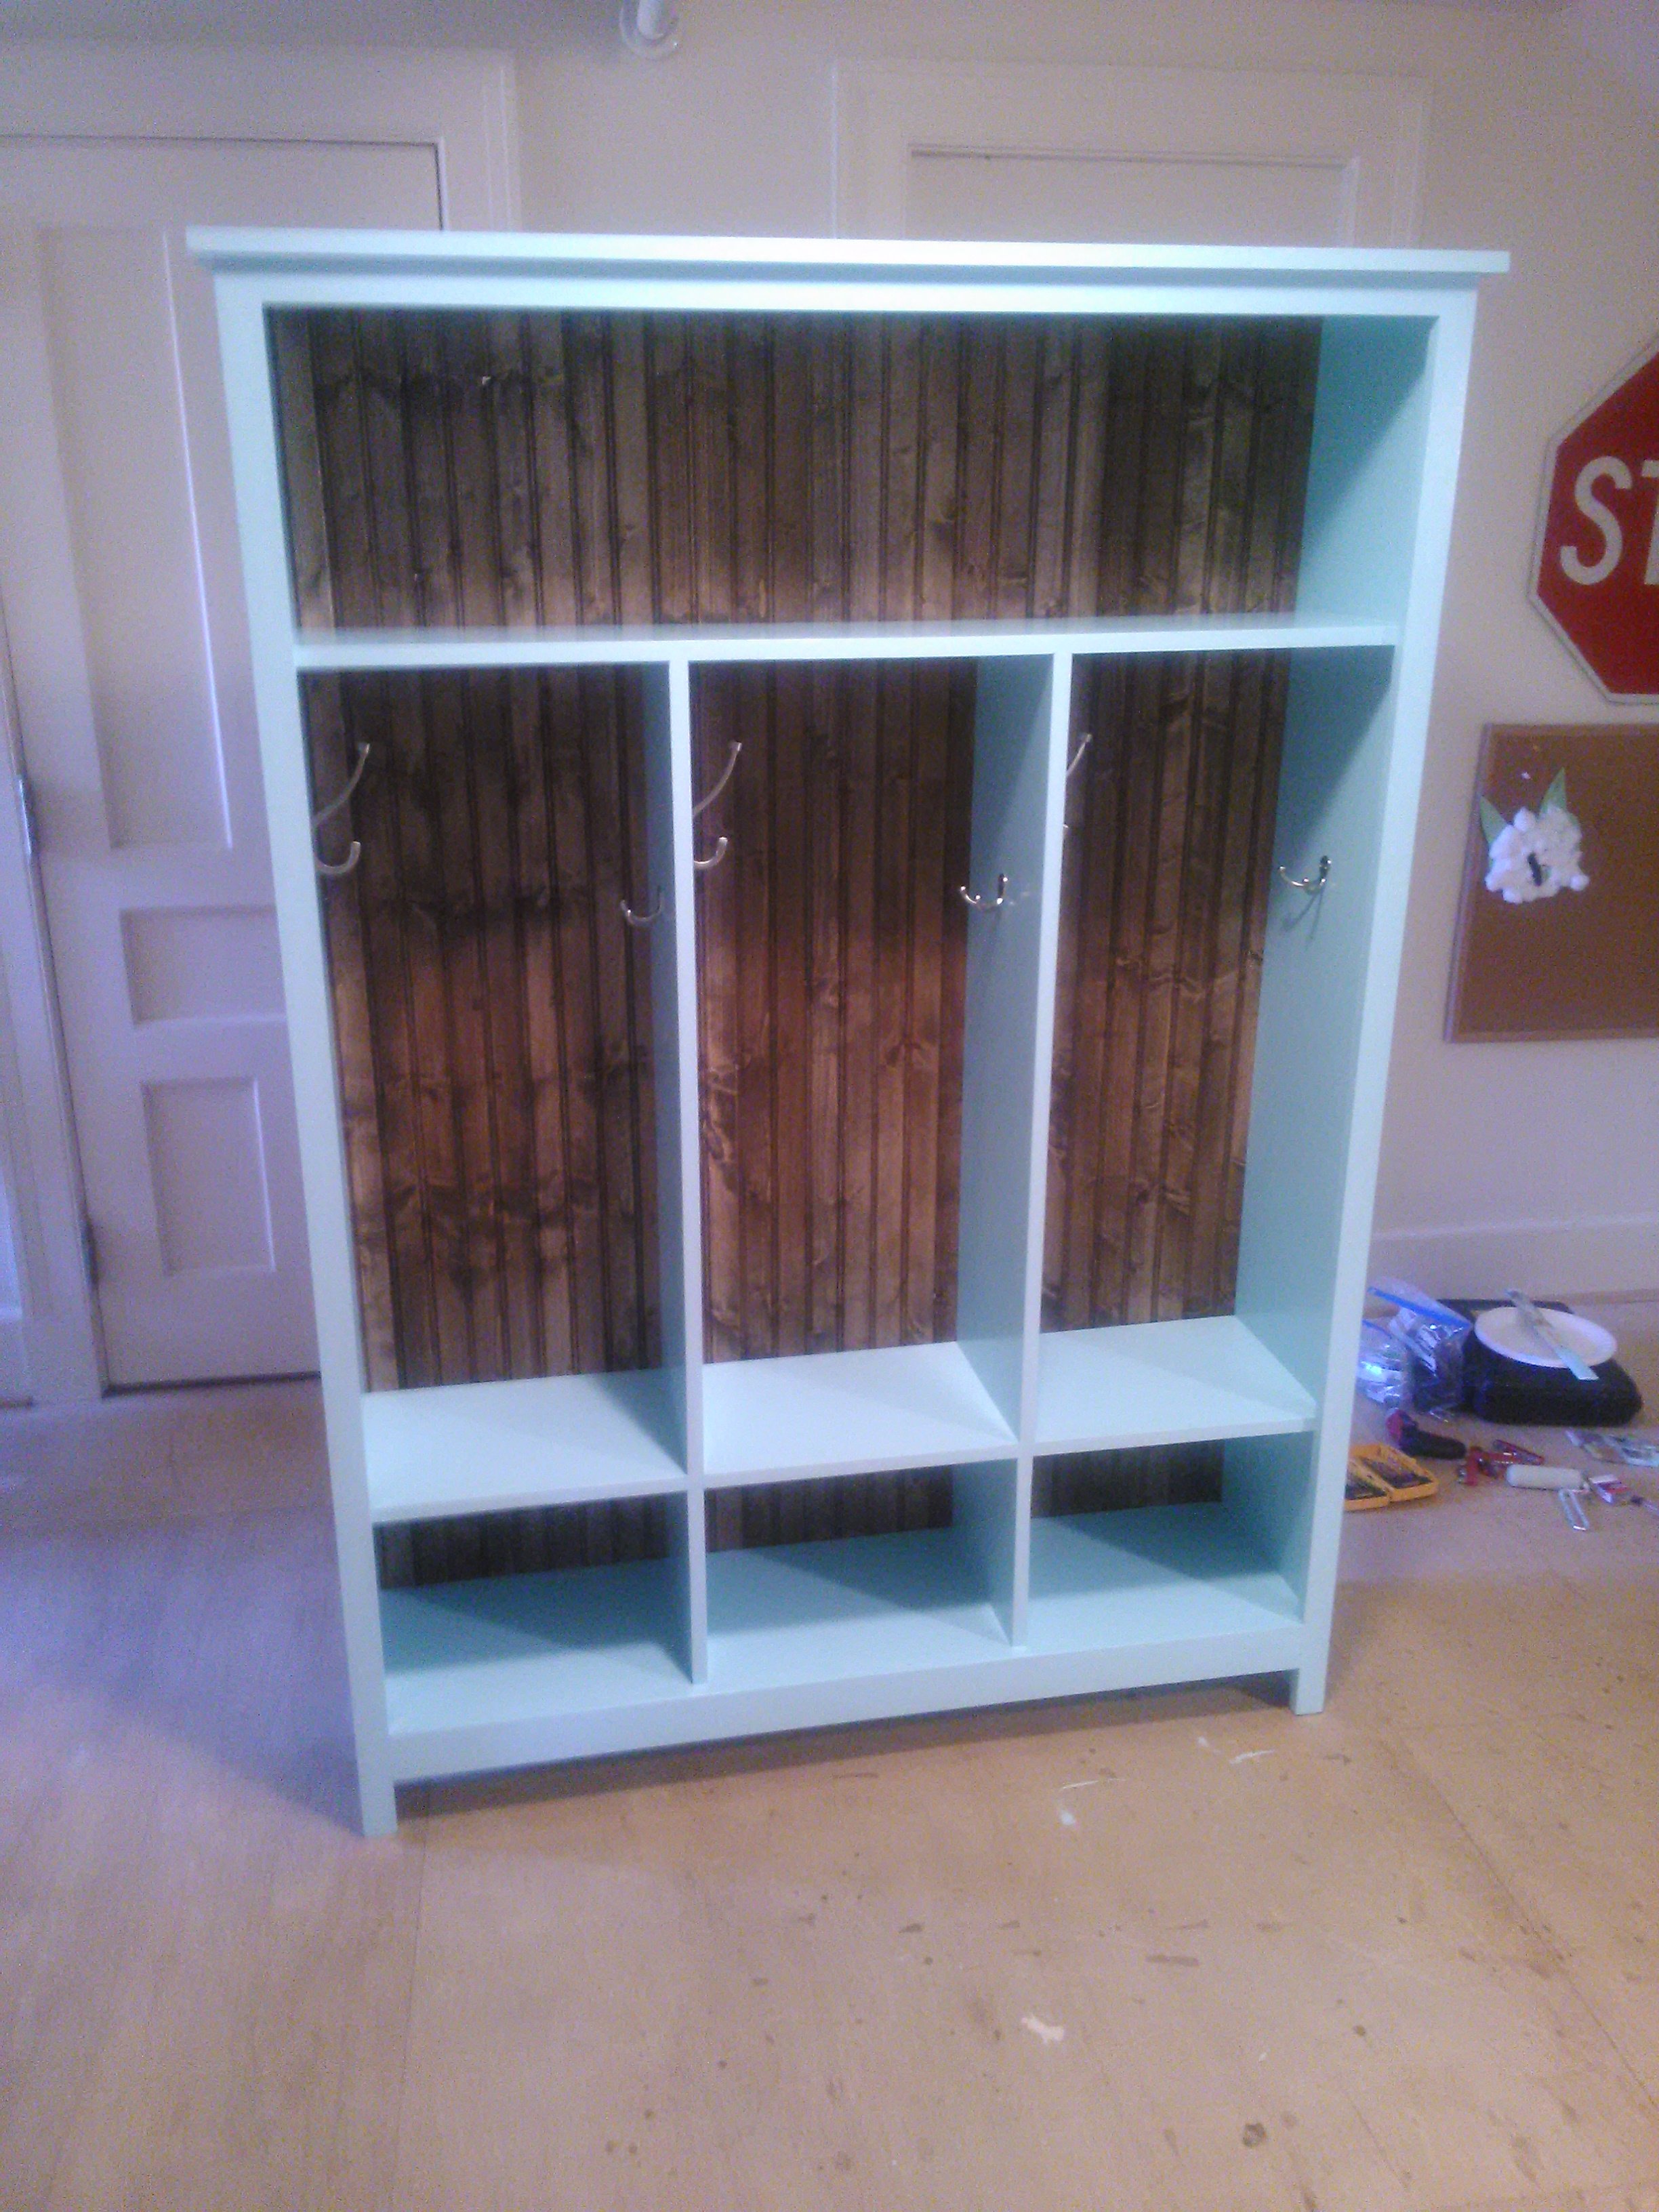
This is my first project. With some help from my husband (navigating the power tools-- the table saw in particular) it was completed in a few weeks. We live in Army housing, so I never really know what kind of space we will get. Inevitably, there is never enough storage, so this will find a home in any new home we might live in. I used beadboard for the back, stained minwax special walnut. The paint is Benjamin Moore serenity blue- and then I used acrylic polyurethane- adding another level of kid resistance;) Great plans Ana, and I am so excited to do my next project!
Built from Plan(s)
Estimated Cost
200
Estimated Time Investment
Week Long Project (20 Hours or More)
Finish Used
Benjamin Moore eggshell latex paint- about three coats- sanding in between with 220 grit sandpaper. Then added (satin)acrylic polyurethane-another three coats- and sanded in between with 400 grit. I didn't sand in between the 2nd and third coat. I don't know if that is technically "correct" , but it seems to make the smoothest surface for me.
Recommended Skill Level
Beginner
Comments

Thu, 12/04/2014 - 22:01
What a great job! I love the
What a great job! I love the blue and the brown together! Thanks for sharing!
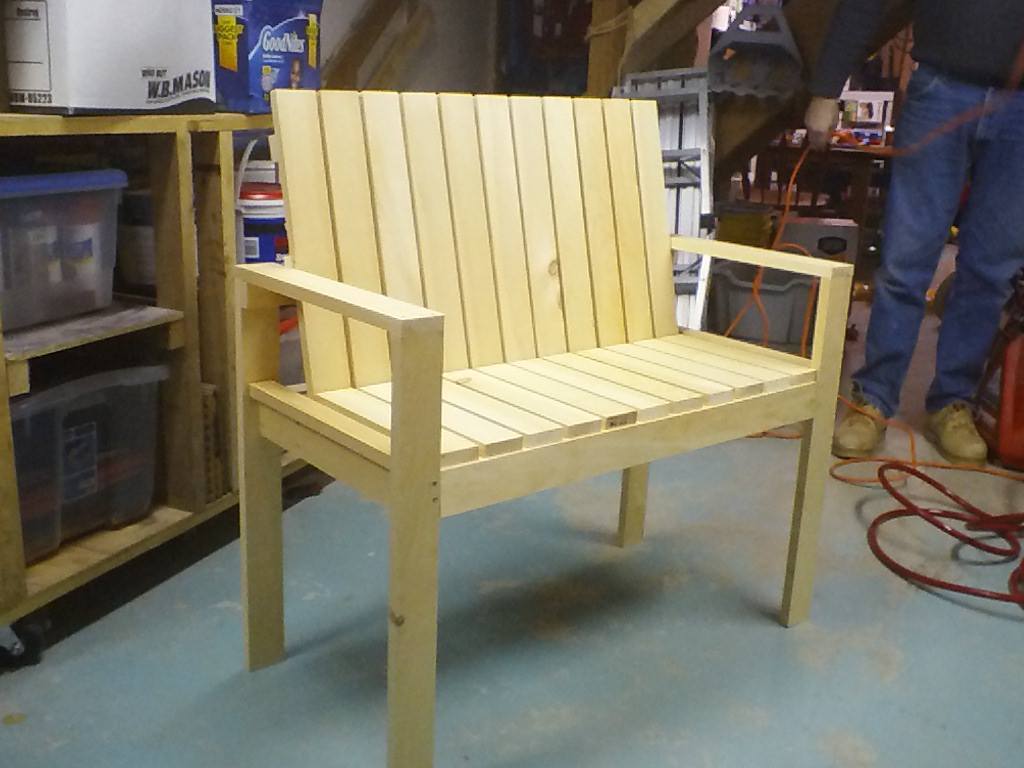
Sling Chair birthday present
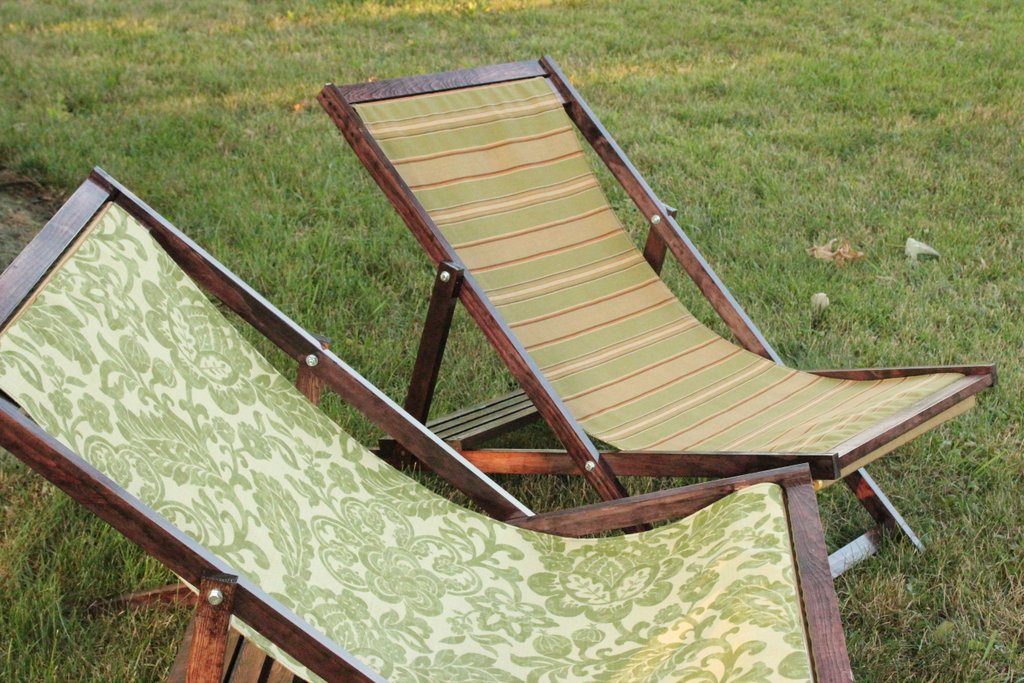
I did these as a birthday present for my husband. He is very picky about seating, but he said these were very comfortable! I used 1x4 oak for the headers and pine for the rest. After reading others' concerns about the support dowel, I decided to do the following:
1. Drill a 3/4" hole halfway through each 1x2 support with a 1/4" hole continuing the rest of the way through to the outward facing side of each
2. I glued a 1/4" dowel into one 1x2, pushing the dowel as flush as possible to the outer edge of the 1x2. I then slid a 3/4" hollow steel tube onto the wood dowel, and into the 3/4" hole in the 1x2.
3. Finally glued the other end of the wooden dowel into the other 1x2 (which forces the steel tube to nest into the 3/4" hole in the 1x2) and trimmed the excess dowel flush. The steel tube acts as the support, and the 1/4" wood dowel simply holds it all together. Did that make any sense?
If you can possibly avoid paying full price on the fabric, DO! That alone accounts for 70% of this project's total cost!
Built from Plan(s)
Estimated Cost
$25-30 each
Finish Used
Stained with Rustoleum dark cherry and sealed with a marine spar varnish. I wouldn't stain again, however...the red oak took it very differently than the pine (of course!), and I think paint would have looked better in the end. The varnish held up very well over a summer of high heat and moderate usage.
Recommended Skill Level
Beginner
Kids Lounge Bench
We made this in just over 2.5 hours with the kids "helping." We made it a bit taller, with the seat at 19 inches, so the leg pieces were 25.25 inches instead of 18.25. Because of this, we will probably add two supports across each side as it seems a bit wobbly when the kids all wiggle on it. Now we finally have a seat where all 3 kids can sit together to play on the computer. Thanks for the plans!
Built from Plan(s)
Estimated Cost
$54 for all the wood and #100 screws.
Estimated Time Investment
Afternoon Project (3-6 Hours)
Finish Used
for the kids
Recommended Skill Level
Beginner
Comments
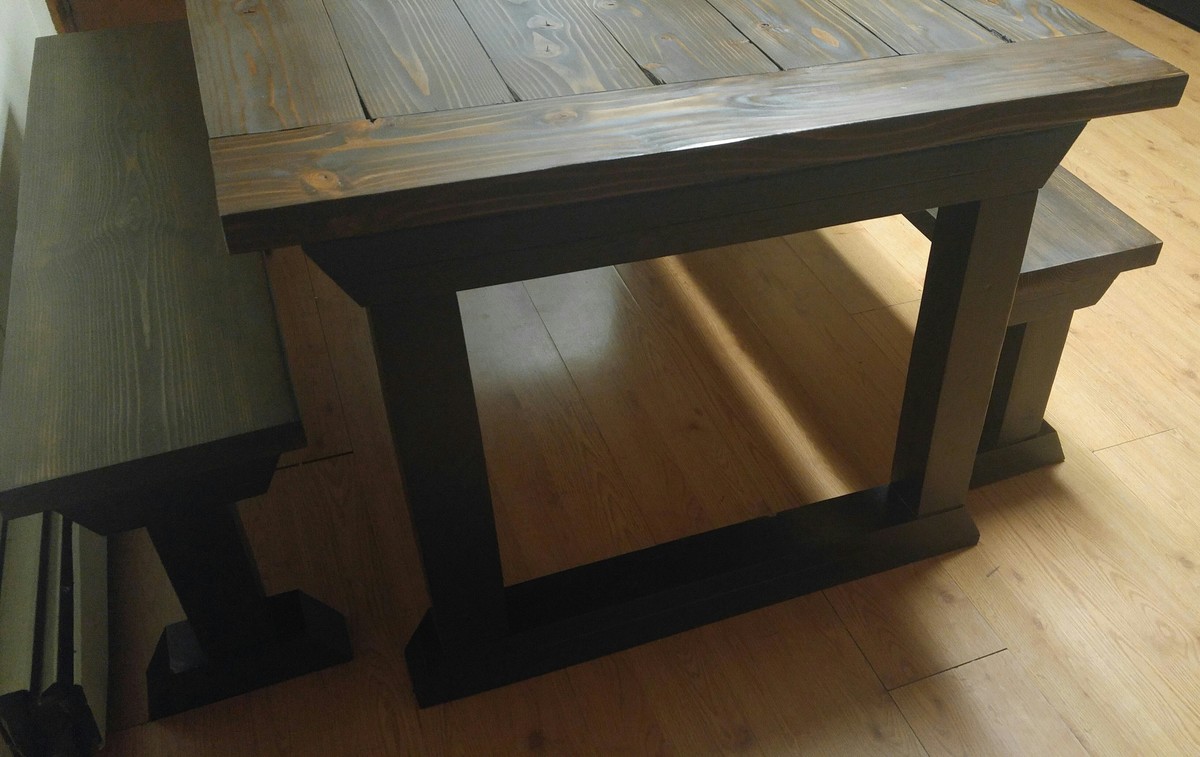
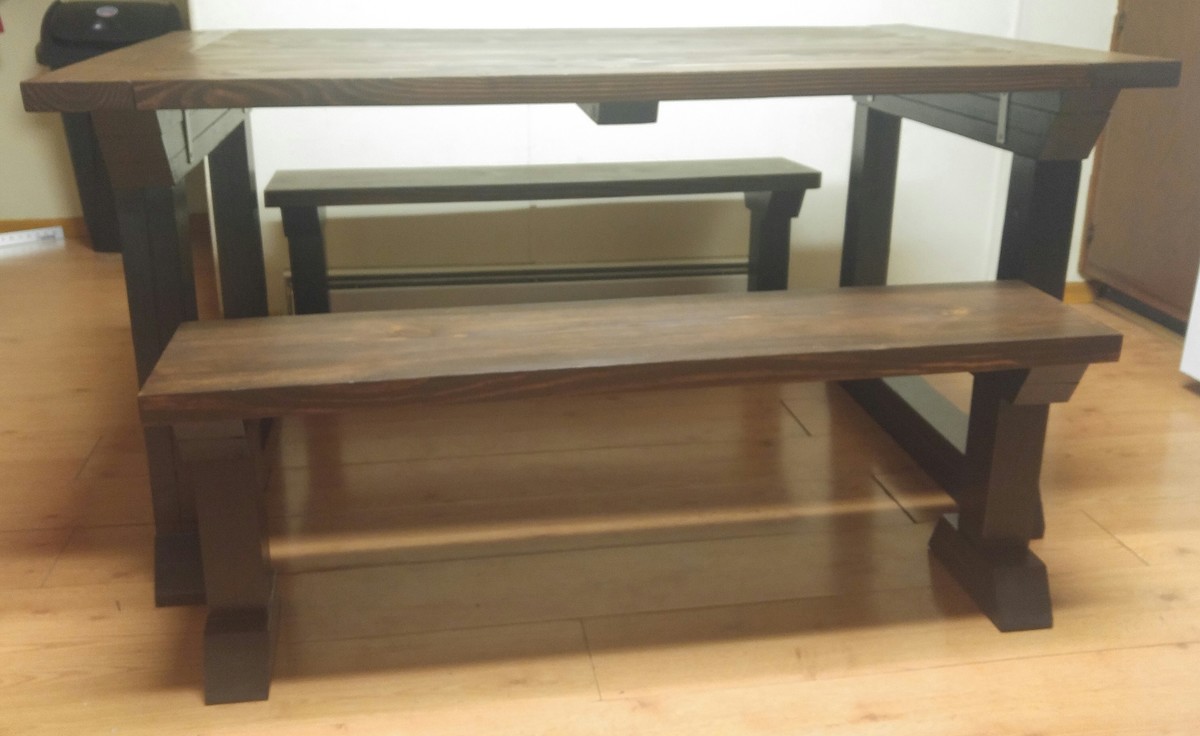
Rekourt Dining Table and Benches to Match
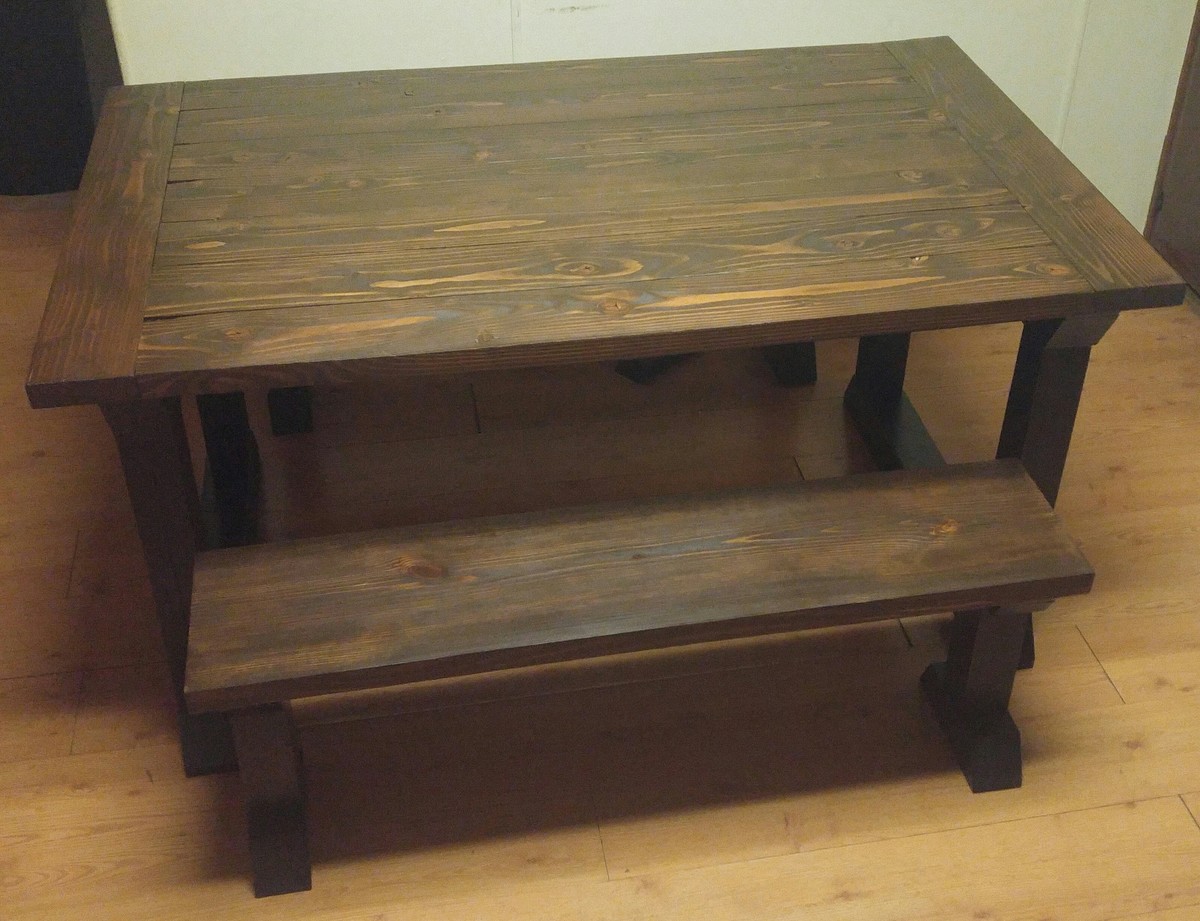
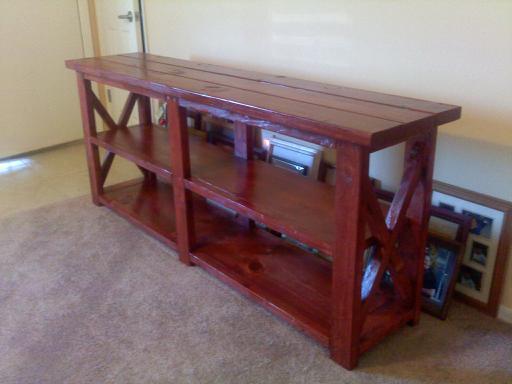
I used the Rekourt plans for the most part, but I did change it a bit. I needed a smaller table, so I adjusted the plans to accommodate this. The table is 5 feet long with matching benches that are 4 feet. I eliminated the 2nd cut on the 2x4s used to construct the table base to simplify the look. I also made custom benches to match, as I could not find any plans that were an exact match on the site. This is the first time I've built anything, and it took some trial and error and a lot of muscle. It was well worth it though!
Built from Plan(s)
Estimated Cost
$200
Estimated Time Investment
Week Long Project (20 Hours or More)
Finish Used
Glidden High Endurance in Black Onyx Eggshell
Minwax Wood Finish in Dark Walnut
Minwax Fast Drying Polyurethane
Minwax Wood Finish in Dark Walnut
Minwax Fast Drying Polyurethane
Recommended Skill Level
Intermediate
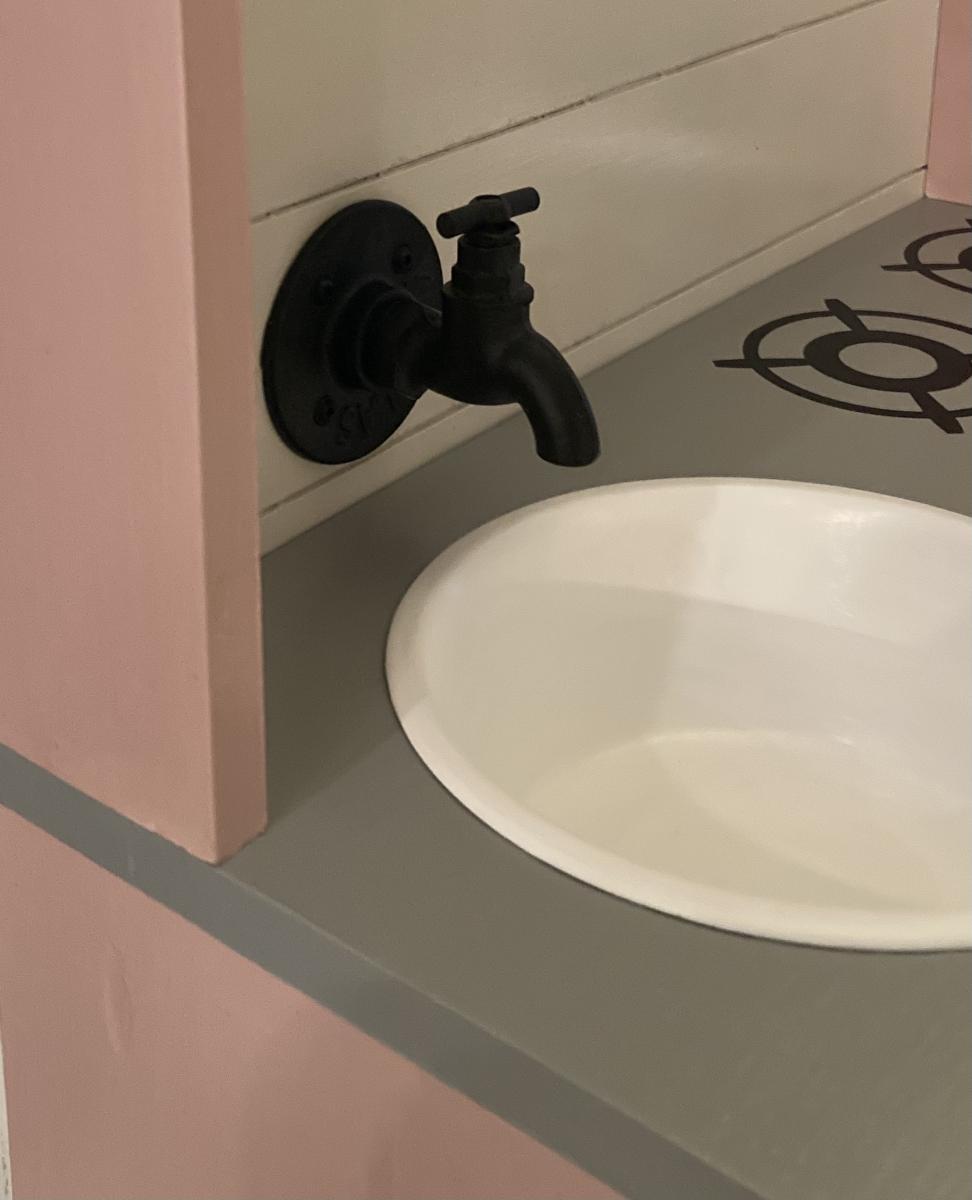
Play kitchen
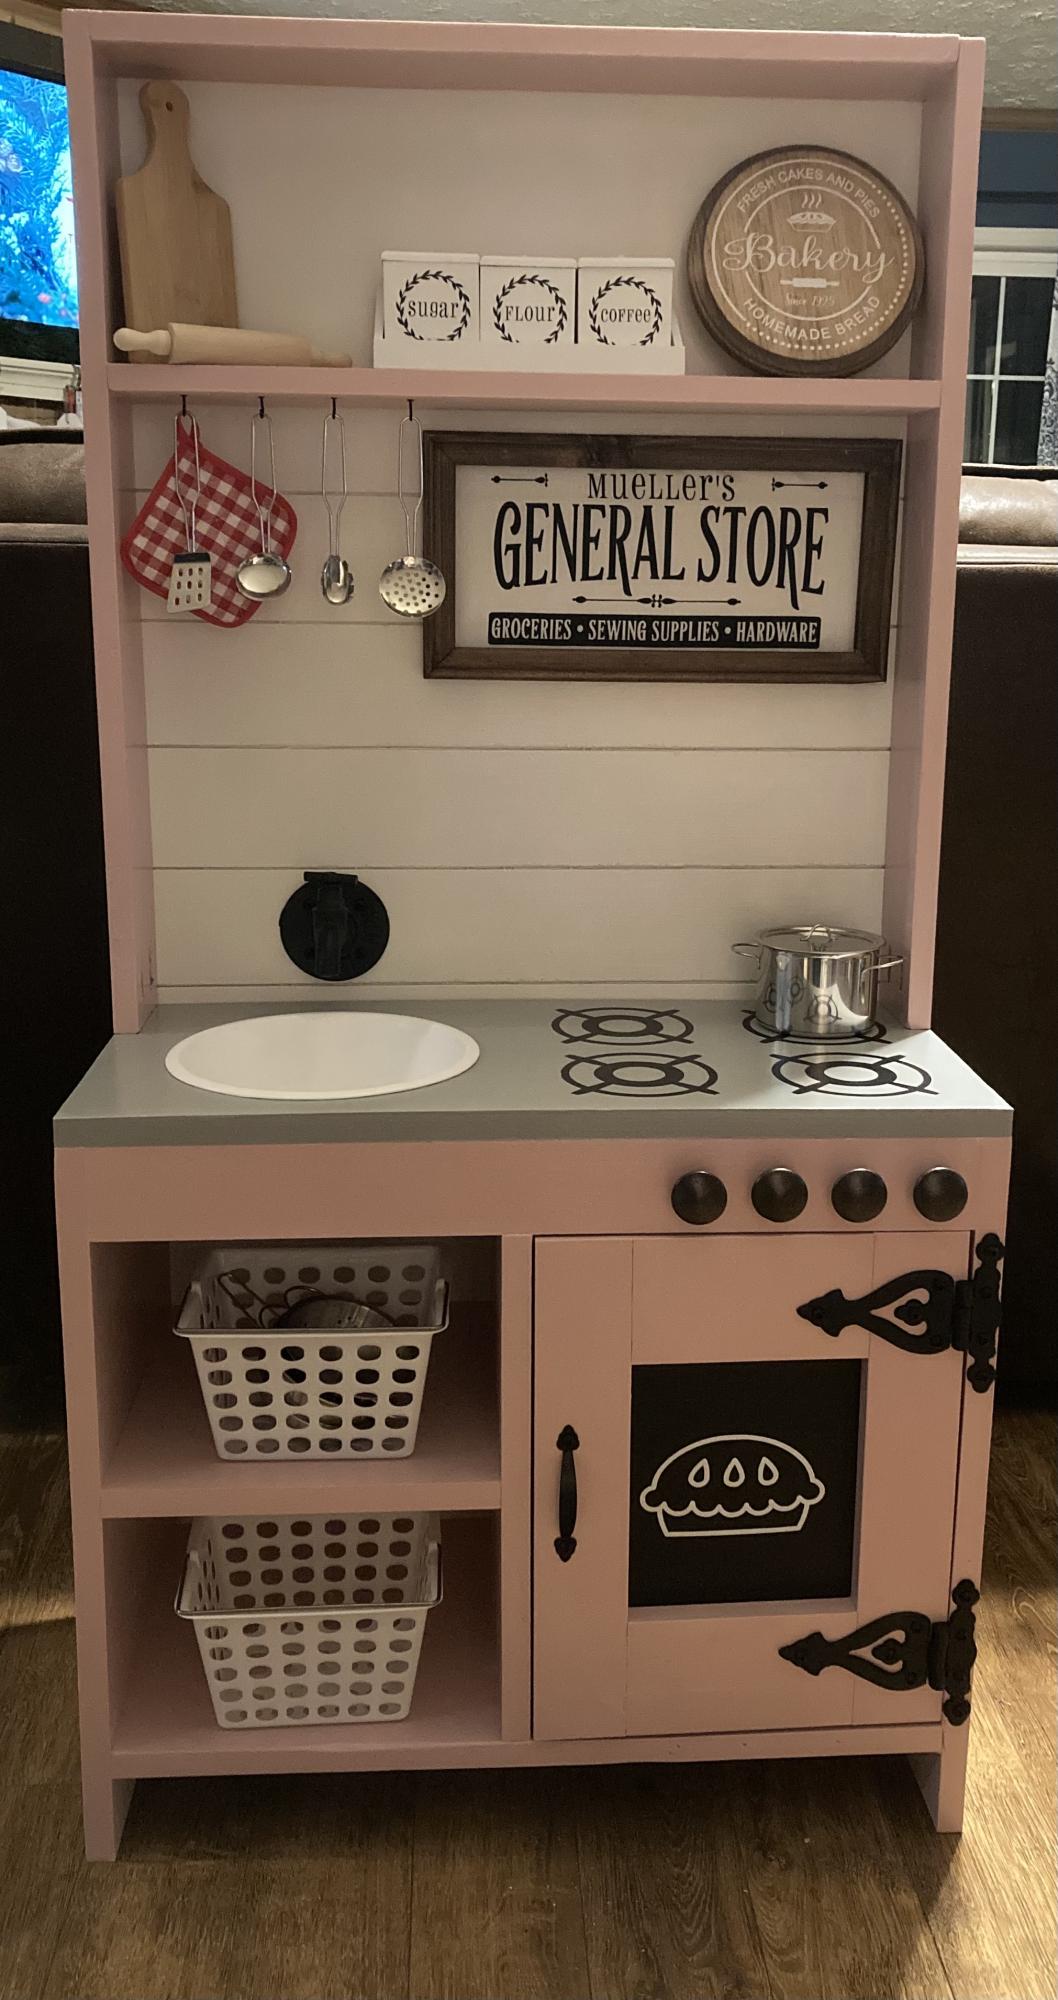
Made this for my grand-daughter’s birthday!
I used the play kitchen with back wall plans. I used my circular saw to make 1/8 grooves for the shiplap, a dog bowl for the sink painted with enamel paint, the faucet is actually a coat hook I purchased from Amazon. The hutch is made from basic 1x4’s. The burners were made from an svg from Etsy as was the pie in the oven and the sign above the stove. Super cute, fun project!
Built from Plan(s)
Finish Used
Waverly paint in Ballet Slipper pink, gray chalk paint and white paint. Sealed with polycrylic.
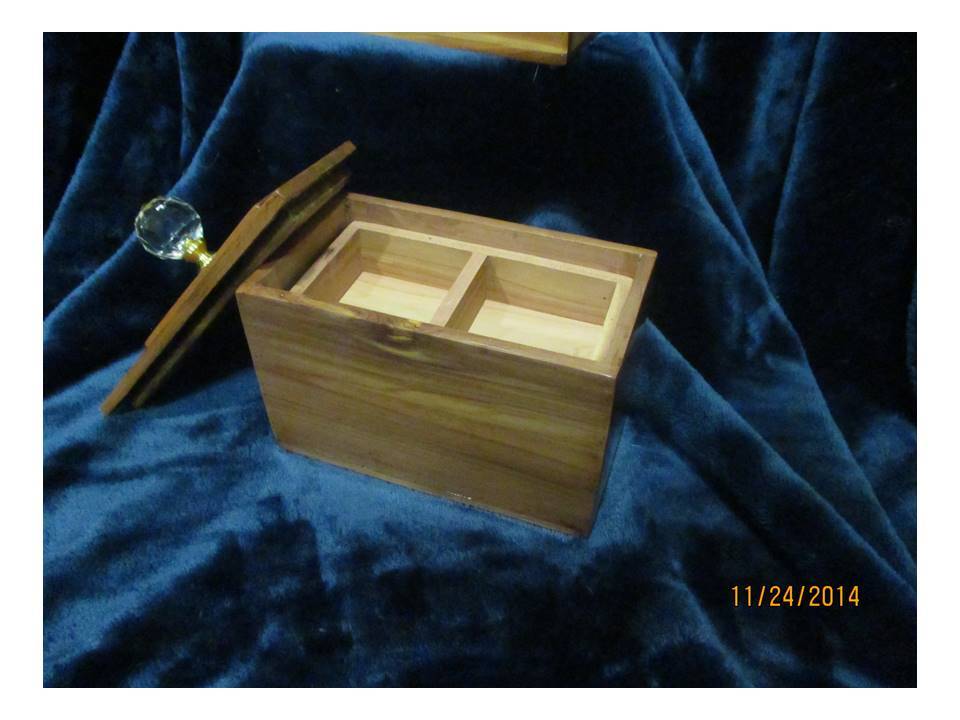
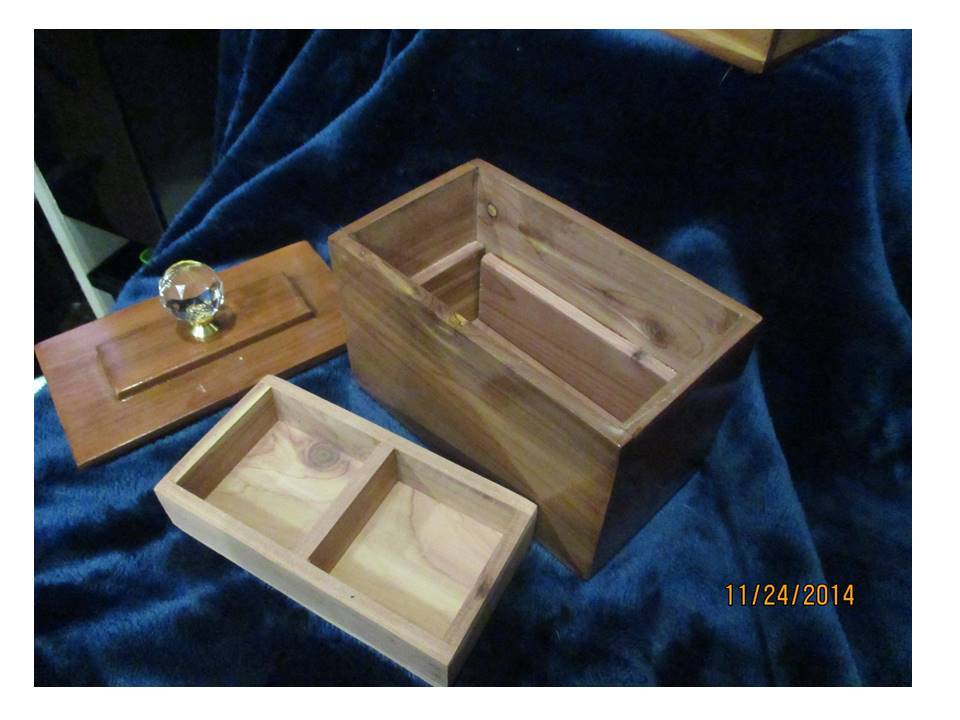
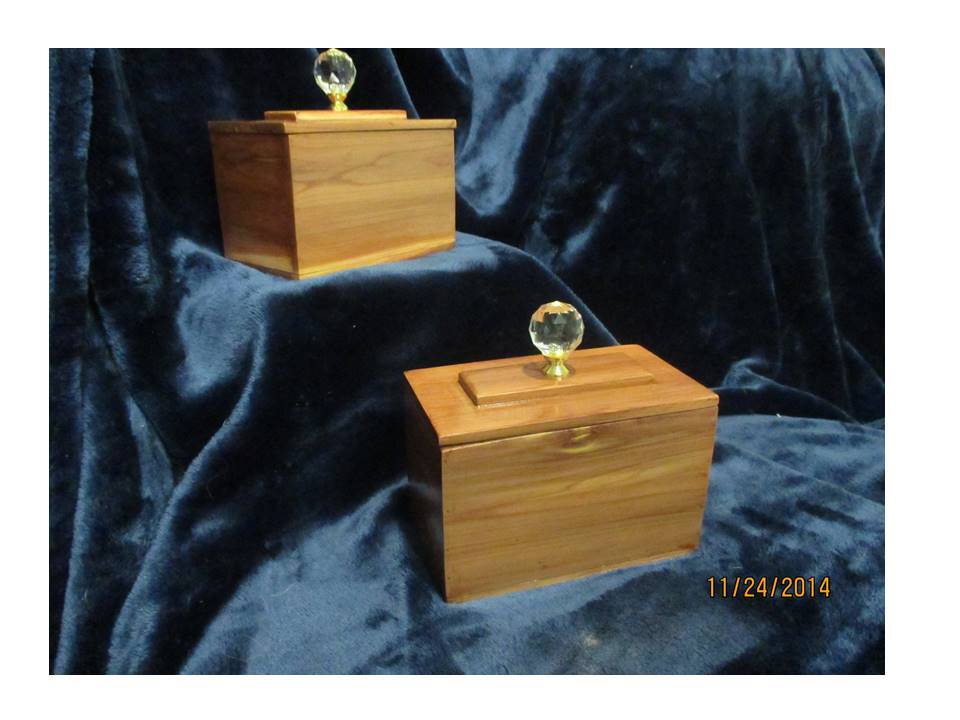
Aromatic Cedar trinket box

This was a project to use some pieces of left over ¼” thick aromatic cedar closet lining board. I cut off the tongues and grooves with the sliding miter saw, and calculated the measurements for the box to fit the size of the wood. For this build I used the micro-pin nailer with compressor, and ½” headless pin nails. The finished box measures 4 1/8” tall, 6” long, and 3 3/8” wide.
Inside, a divided lift-out tray sits on rails made from small pieces of the cedar board glued to the inside. The addition of an extra decorative board to the top made it ¾” thick, to work with a regular knob. The inside of the box stayed unfinished to preserve the cedar fragrance. This was an afternoon project.
Built from Plan(s)
Estimated Cost
The cost of this build is just for the knob, since the wood and finishing materials were already on hand.
Estimated Time Investment
Afternoon Project (3-6 Hours)
Finish Used
On this build I ended up with some discoloration from the glue. I re-sanded and touched it up with some Minwax express color in Mahogany on those areas to even up the color and make it all look natural again. Then everything received 3 coats of gloss polycrylic, topped off with an acrylic crystal knob from Lowes.
Recommended Skill Level
Beginner
Comments
Fri, 12/05/2014 - 17:56
Trinket/jewelry boxes
Joanne, you are the queen of trinket/jewelry boxes! I love all of your posts which show how something simple can be so different and special. These would make wonderful Christmas presents for loved ones, friends, or co-workers. Thanks for sharing.

Sat, 12/06/2014 - 04:58
Thank you!
Linda, thanks so much for the nice comment! I have such fun doing hand built gifts for Christmas! Thinking up how to decorate them and what to make them from is a big part of the fun! 
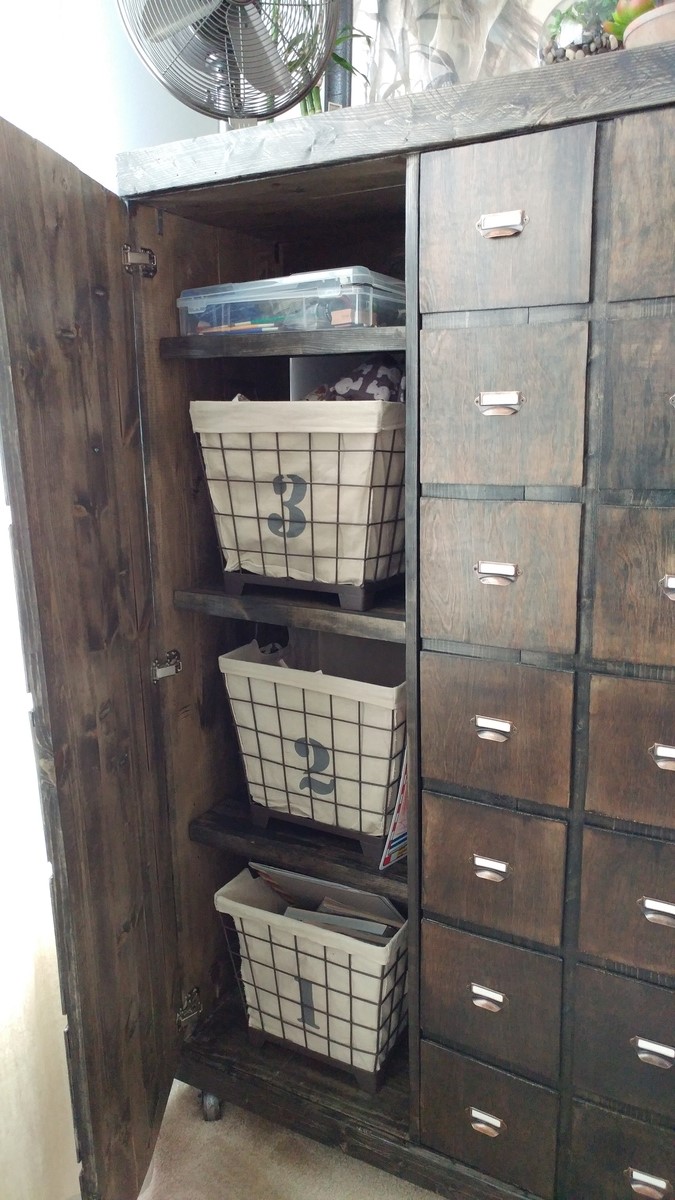
Apothecary cabinet
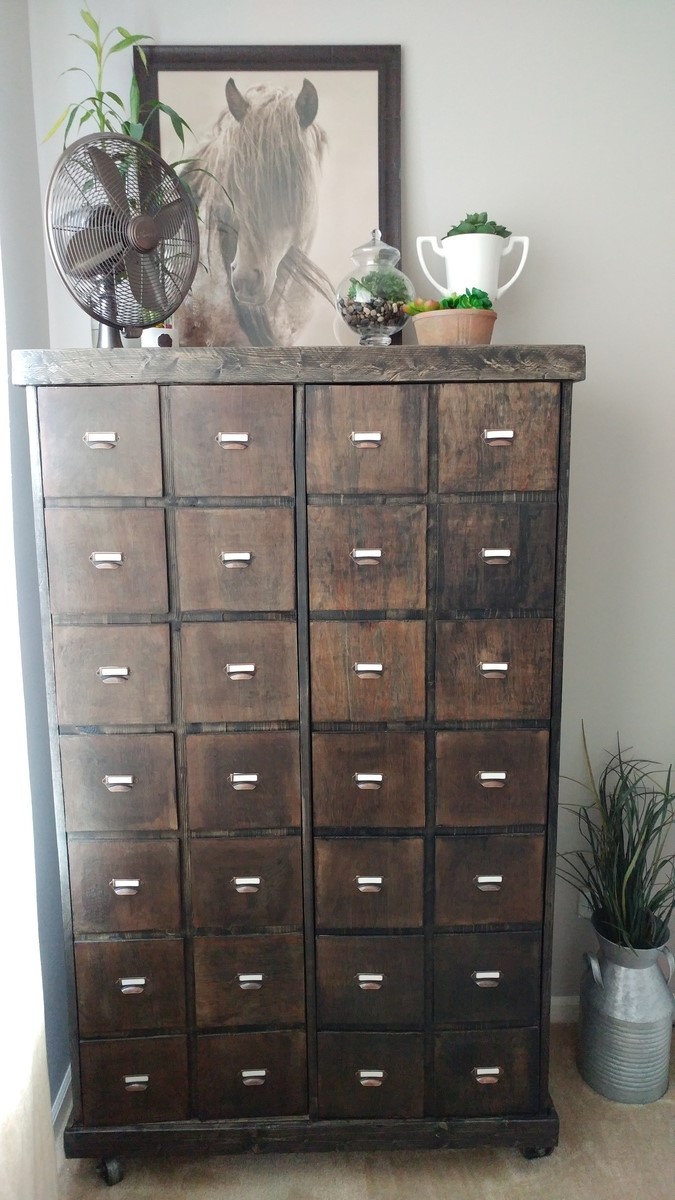
I've wanted to build one of these forever! I changed the plans a lot to accommodate my needs, but I loved the idea of faux drawers on the doors to have an authentic look. It fools most people! Took 2 weeks for me to complete, working on and off. It has great storage inside for all the kids' stuff I didn't have a place for previously. The stain is ebony by minwax and the hardware pulls I purchased for under $10 for 30.
Built from Plan(s)
Estimated Time Investment
Weekend Project (10-20 Hours)
Finish Used
Minwax ebony stain with varathane poly in satin
Recommended Skill Level
Intermediate
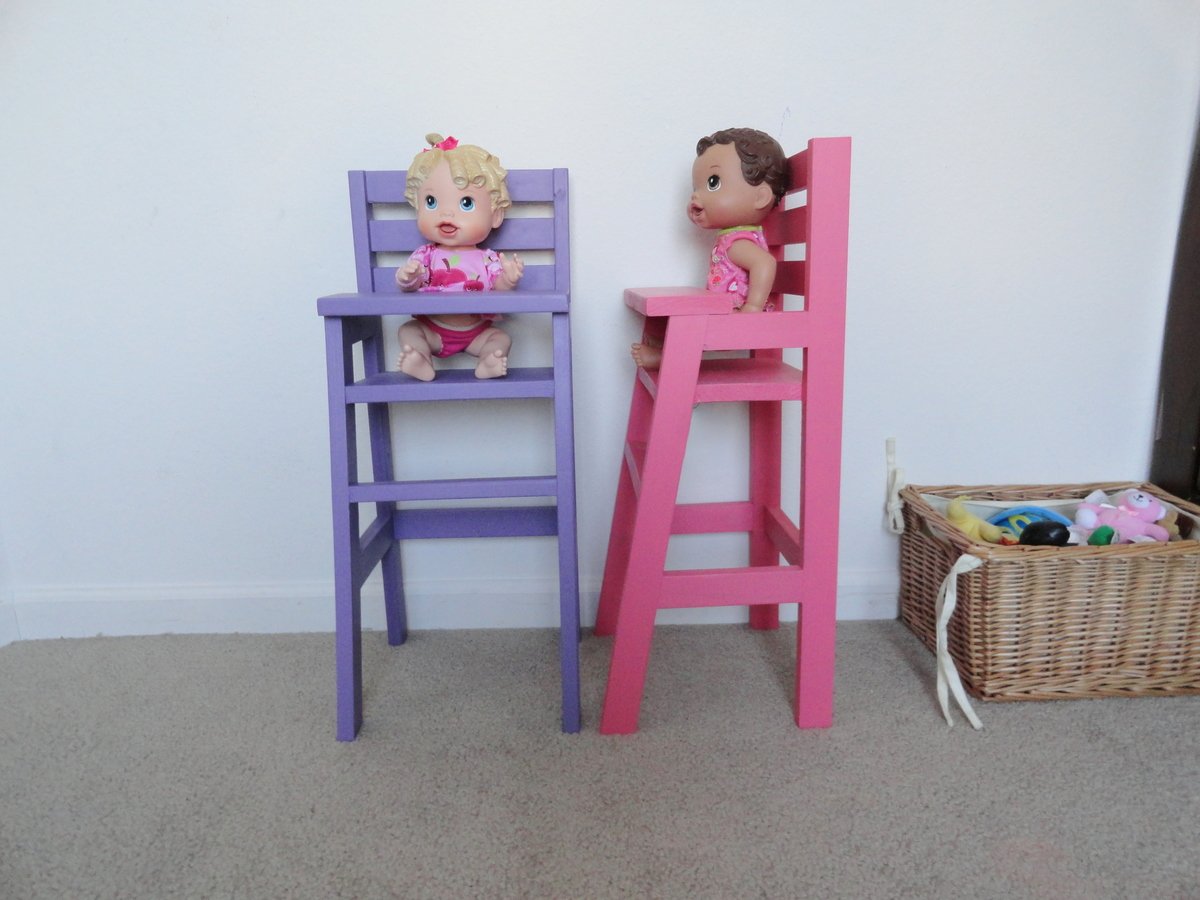
Doll High Chairs
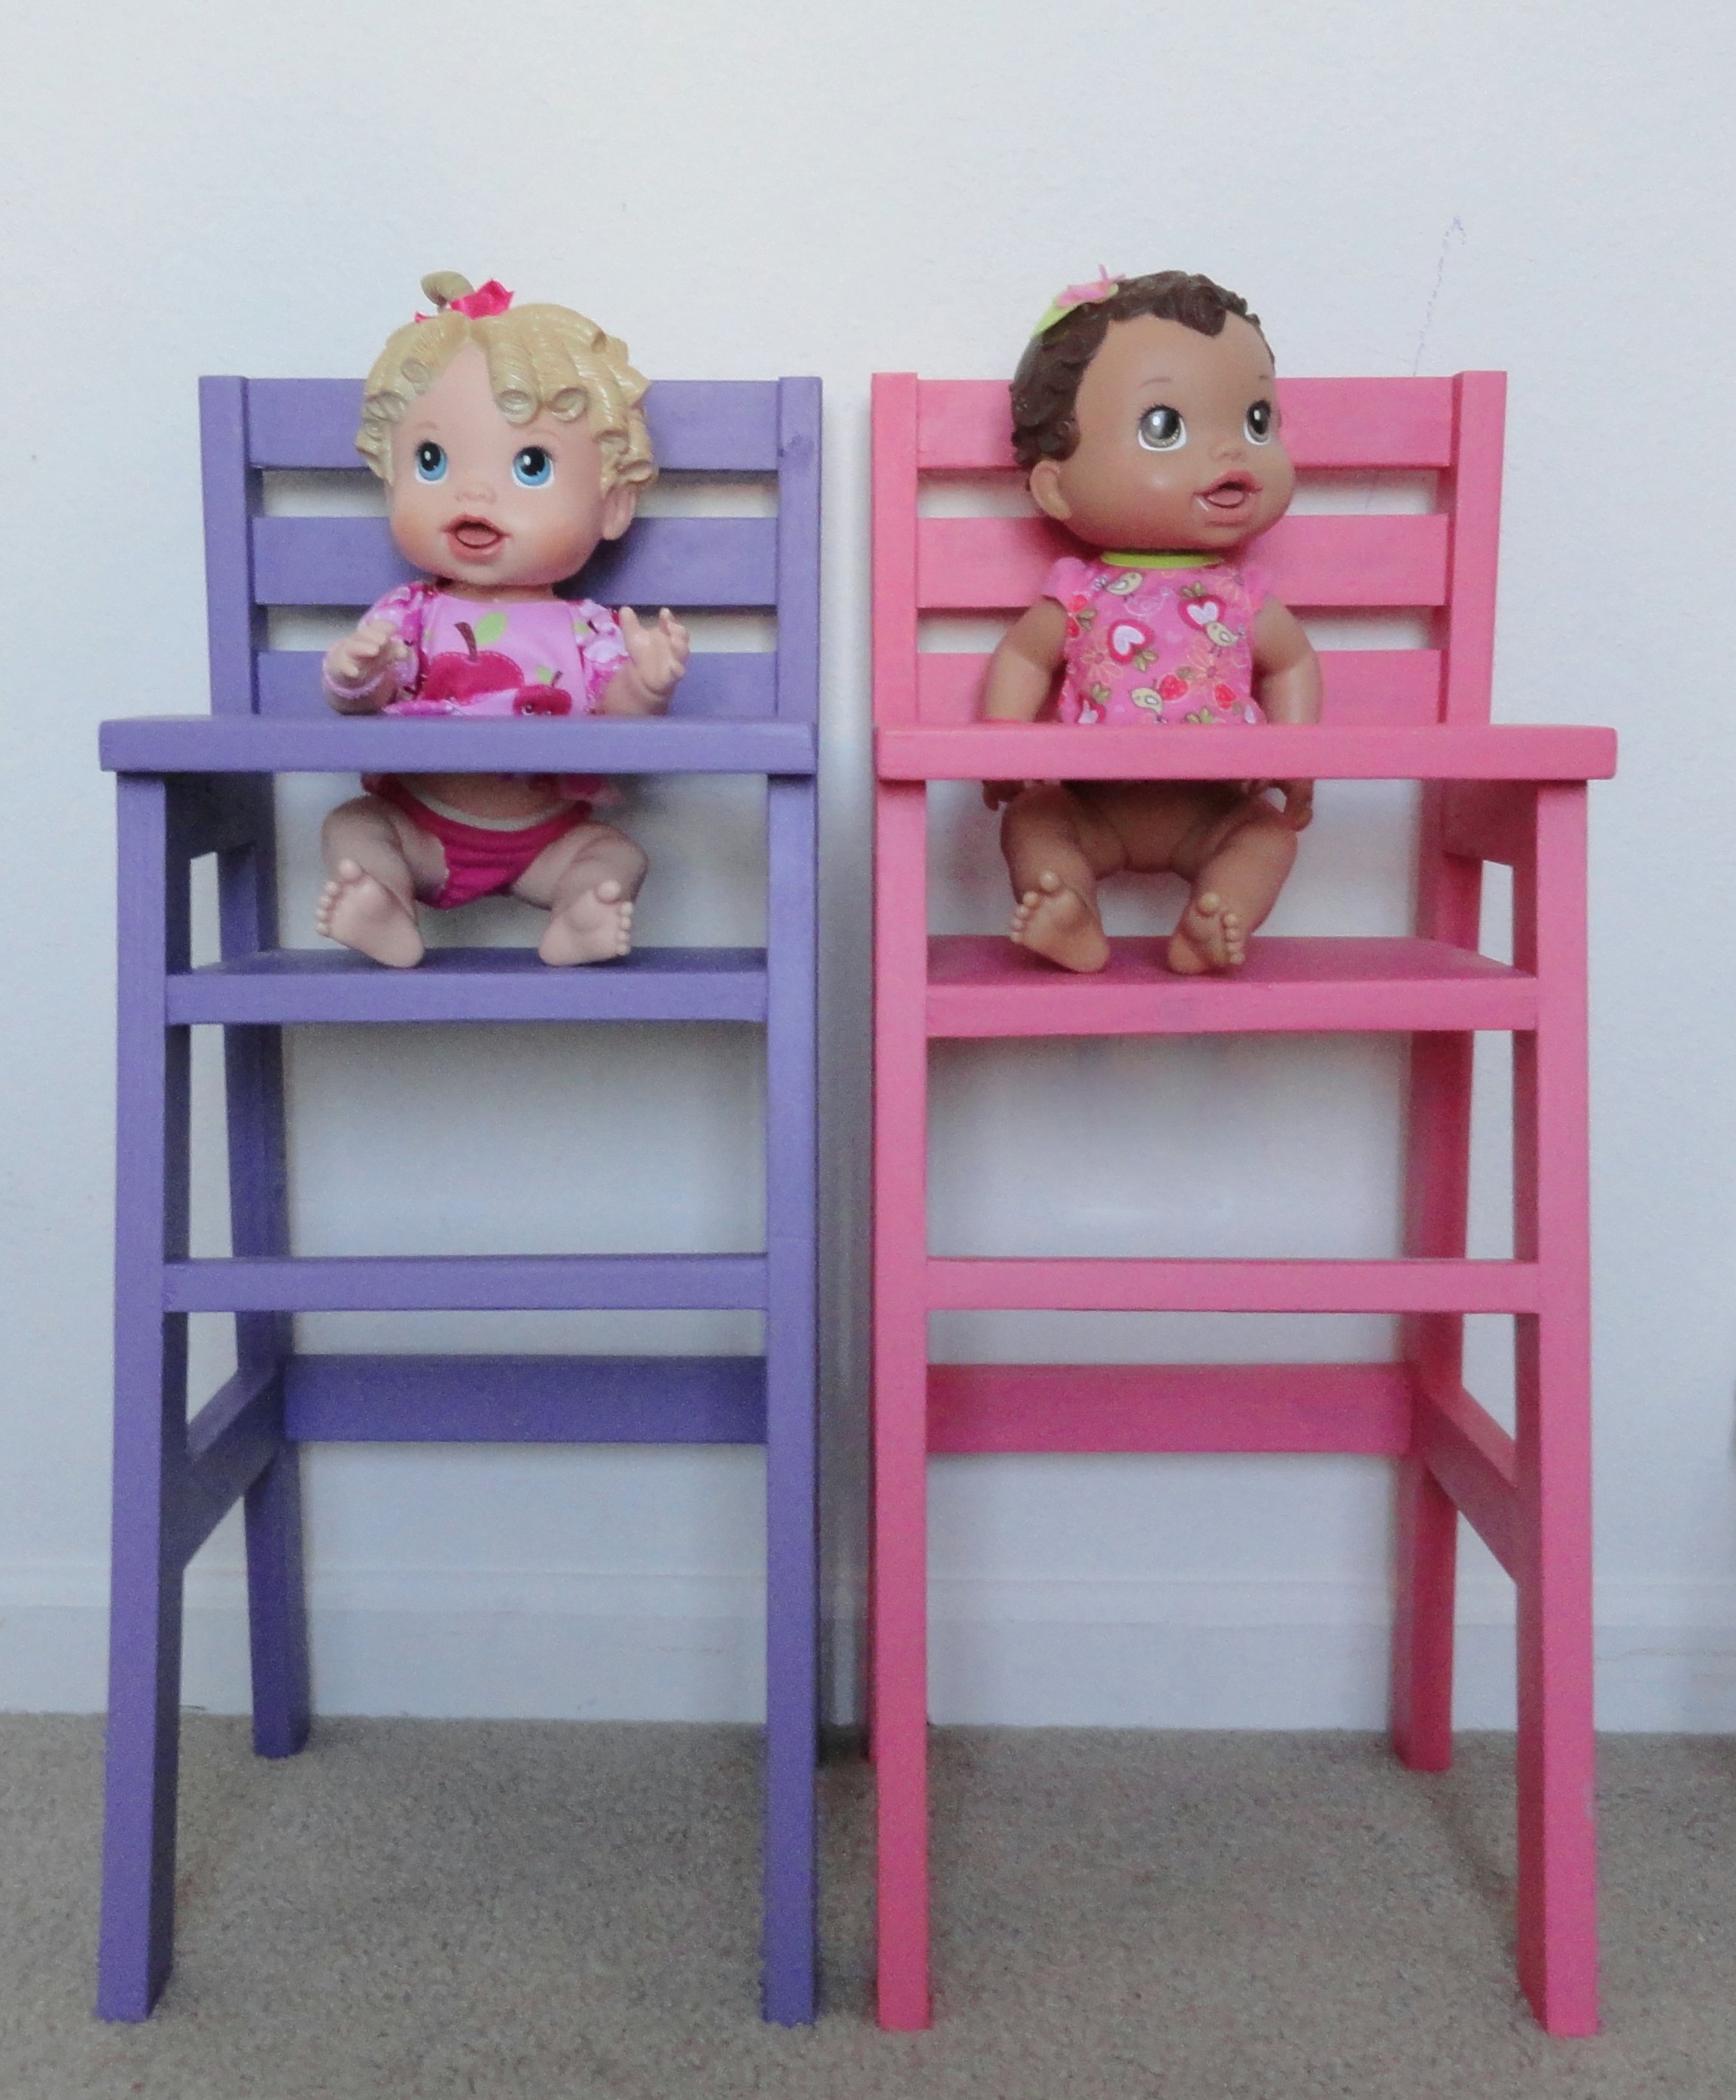
Built these for my daughters for Christmas. They are super easy and fun to make!
Built from Plan(s)
Estimated Time Investment
Afternoon Project (3-6 Hours)
Recommended Skill Level
Beginner
Hanging Wall File
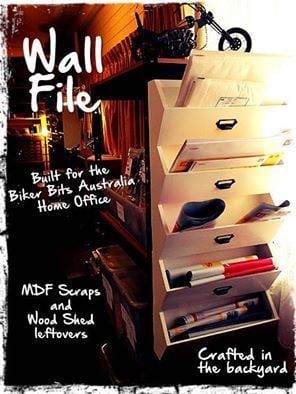
This was just a quick little project as we decided we needed a bit of organisation in the office.
I just used scrap mdf and leftover bits and pieces from other projects for this wall file. We now have somewhere to put all the postage stuff for our online sales site.
Cheers... Nay
Built from Plan(s)
Estimated Time Investment
Afternoon Project (3-6 Hours)
Finish Used
White enamel paint
Recommended Skill Level
Starter Project
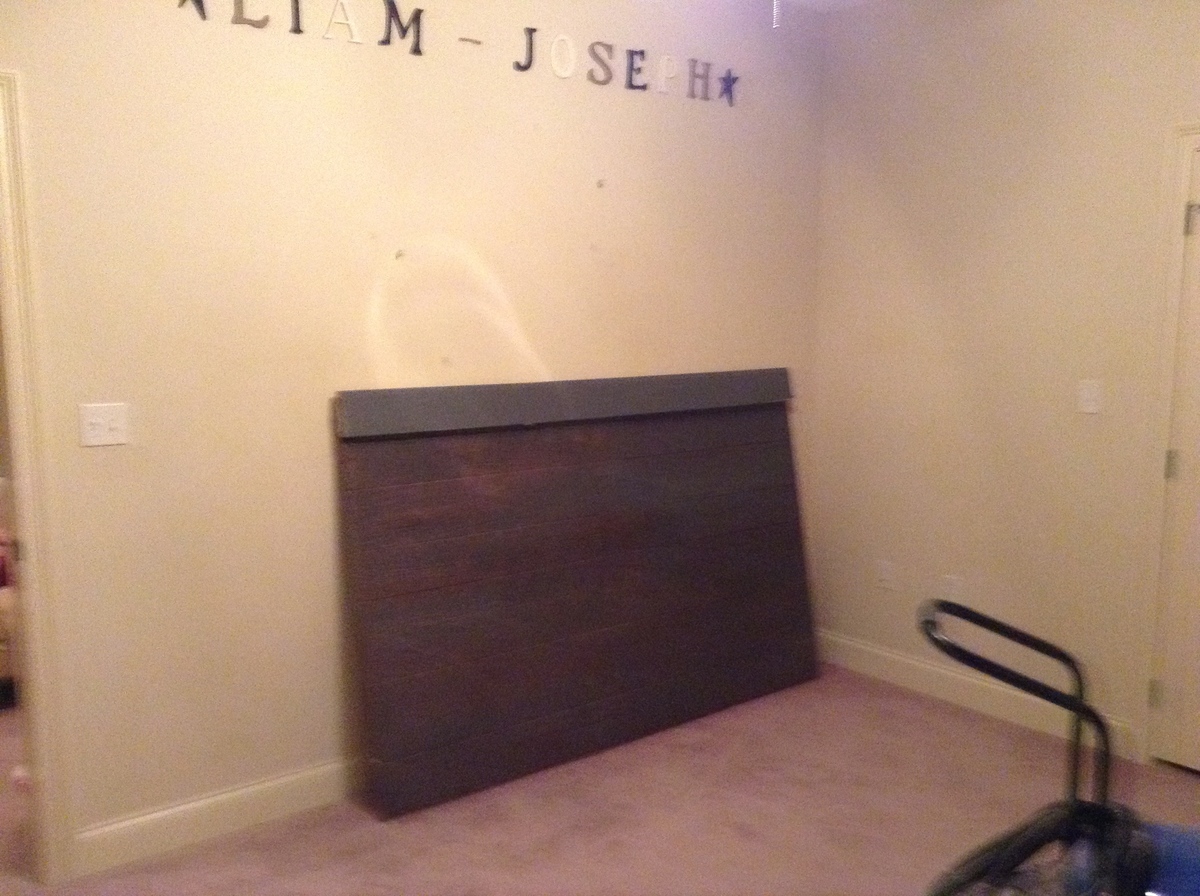
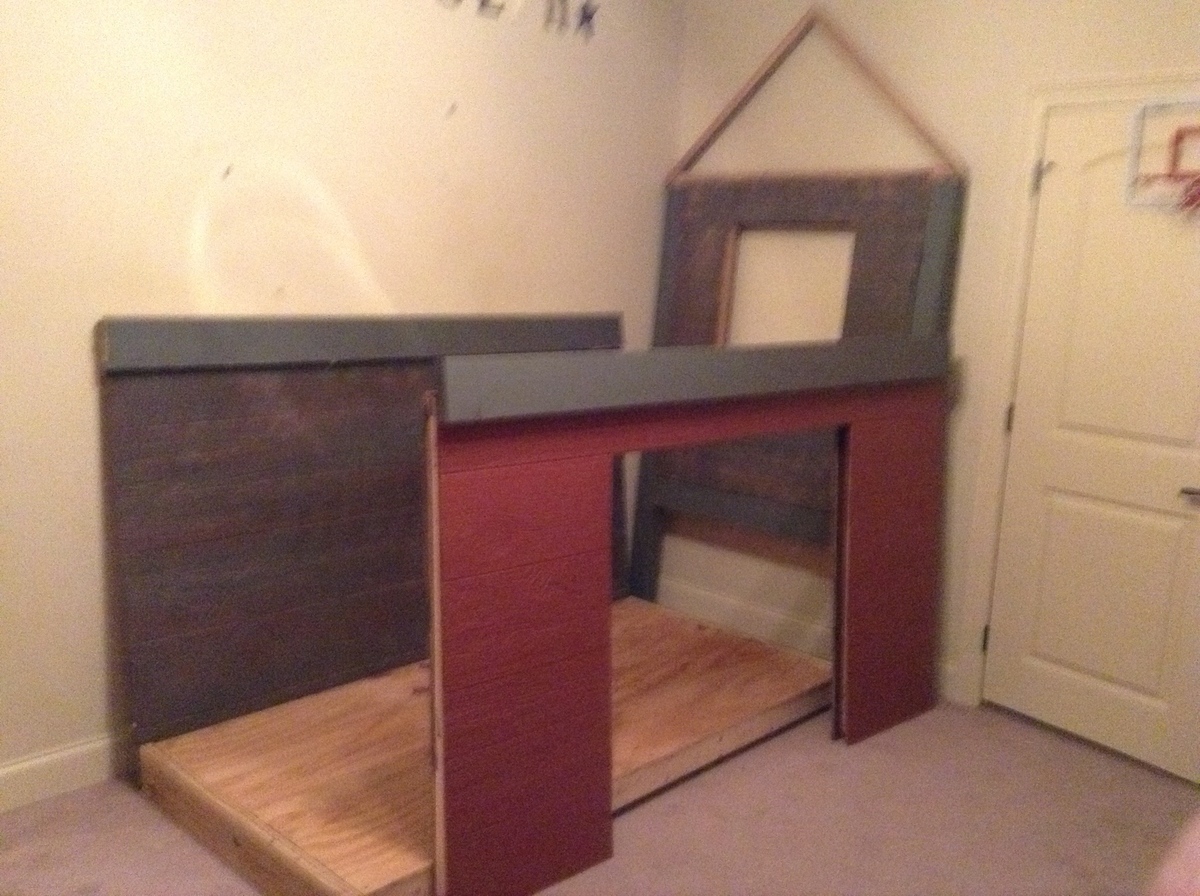
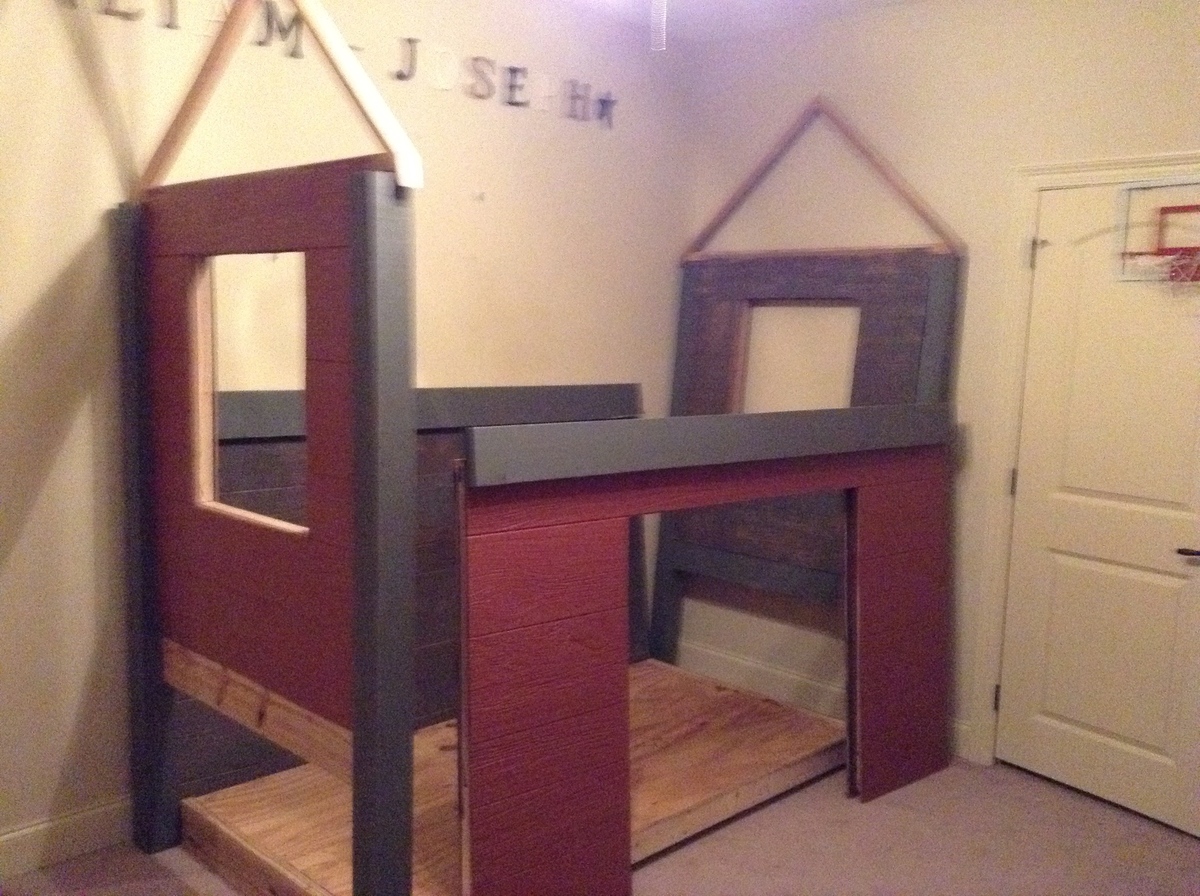
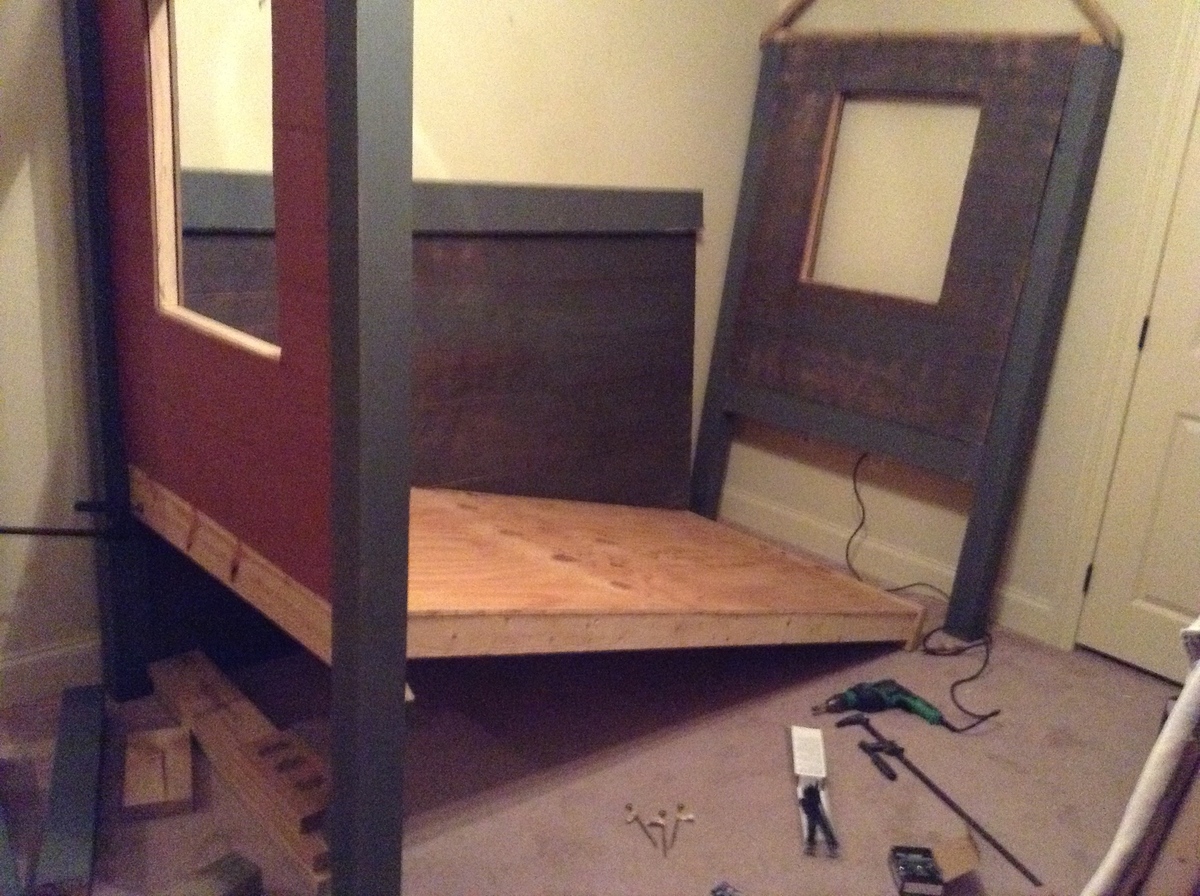
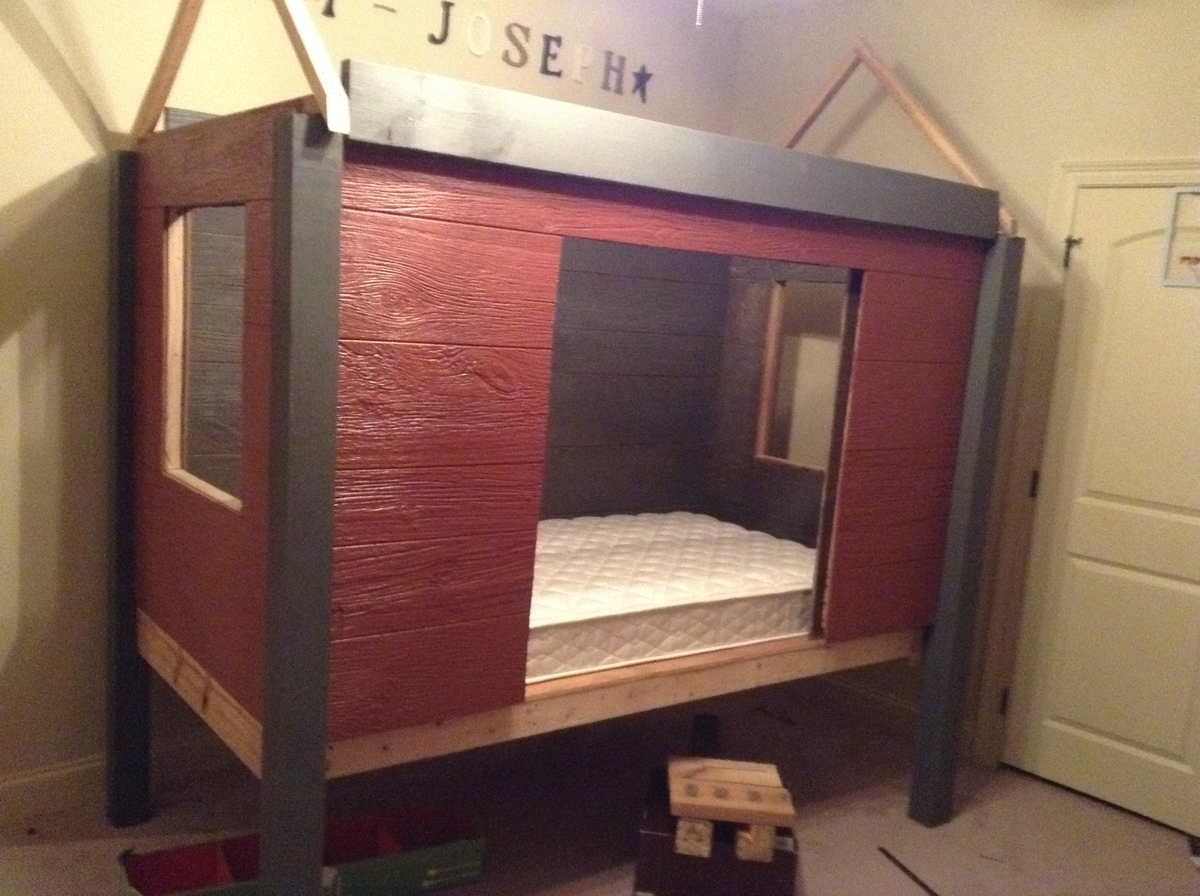
Liam's Christmas Day Barn Bed
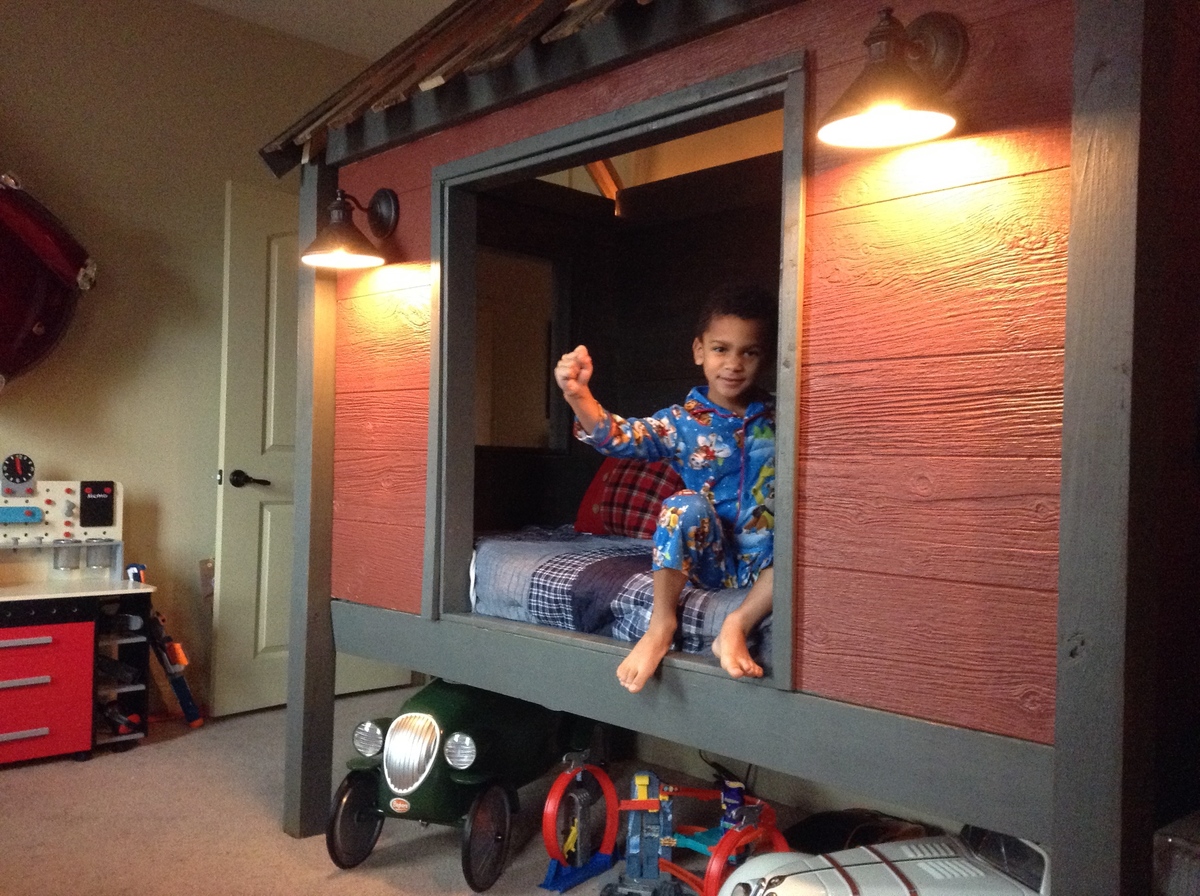
Our son Liam-Joseph wanted a "Big-Boy Bed" and then he added "I want Daddy and Santa to make it". Well "Santa" and my wife Jacques looked all over the internet and finally found your Cabin Bed via jennwoodhouse.com. Jacques altered the plans demensions and she realized the bed could be barn-like so she came up with the red and gray paint job. She actually wanted a cupola but I thankfully talked her out of that. Well somehow we keep the construction from Liam 2 weeks before Christmas. On Christmas Eve Liam's Grandparents keep him at their house while "Santa" and I put the bed together (I never did a trial run so I was relieved when everything fit right together). The next day after opening his presents he ran up to his room and saw his bed for the first time.
The project isn't completed. I recently finished the roof with wood pallets but I need to finish the trimming of the interior of the bed walls.
Estimated Time Investment
Week Long Project (20 Hours or More)
Recommended Skill Level
Intermediate
Altered apothecary console
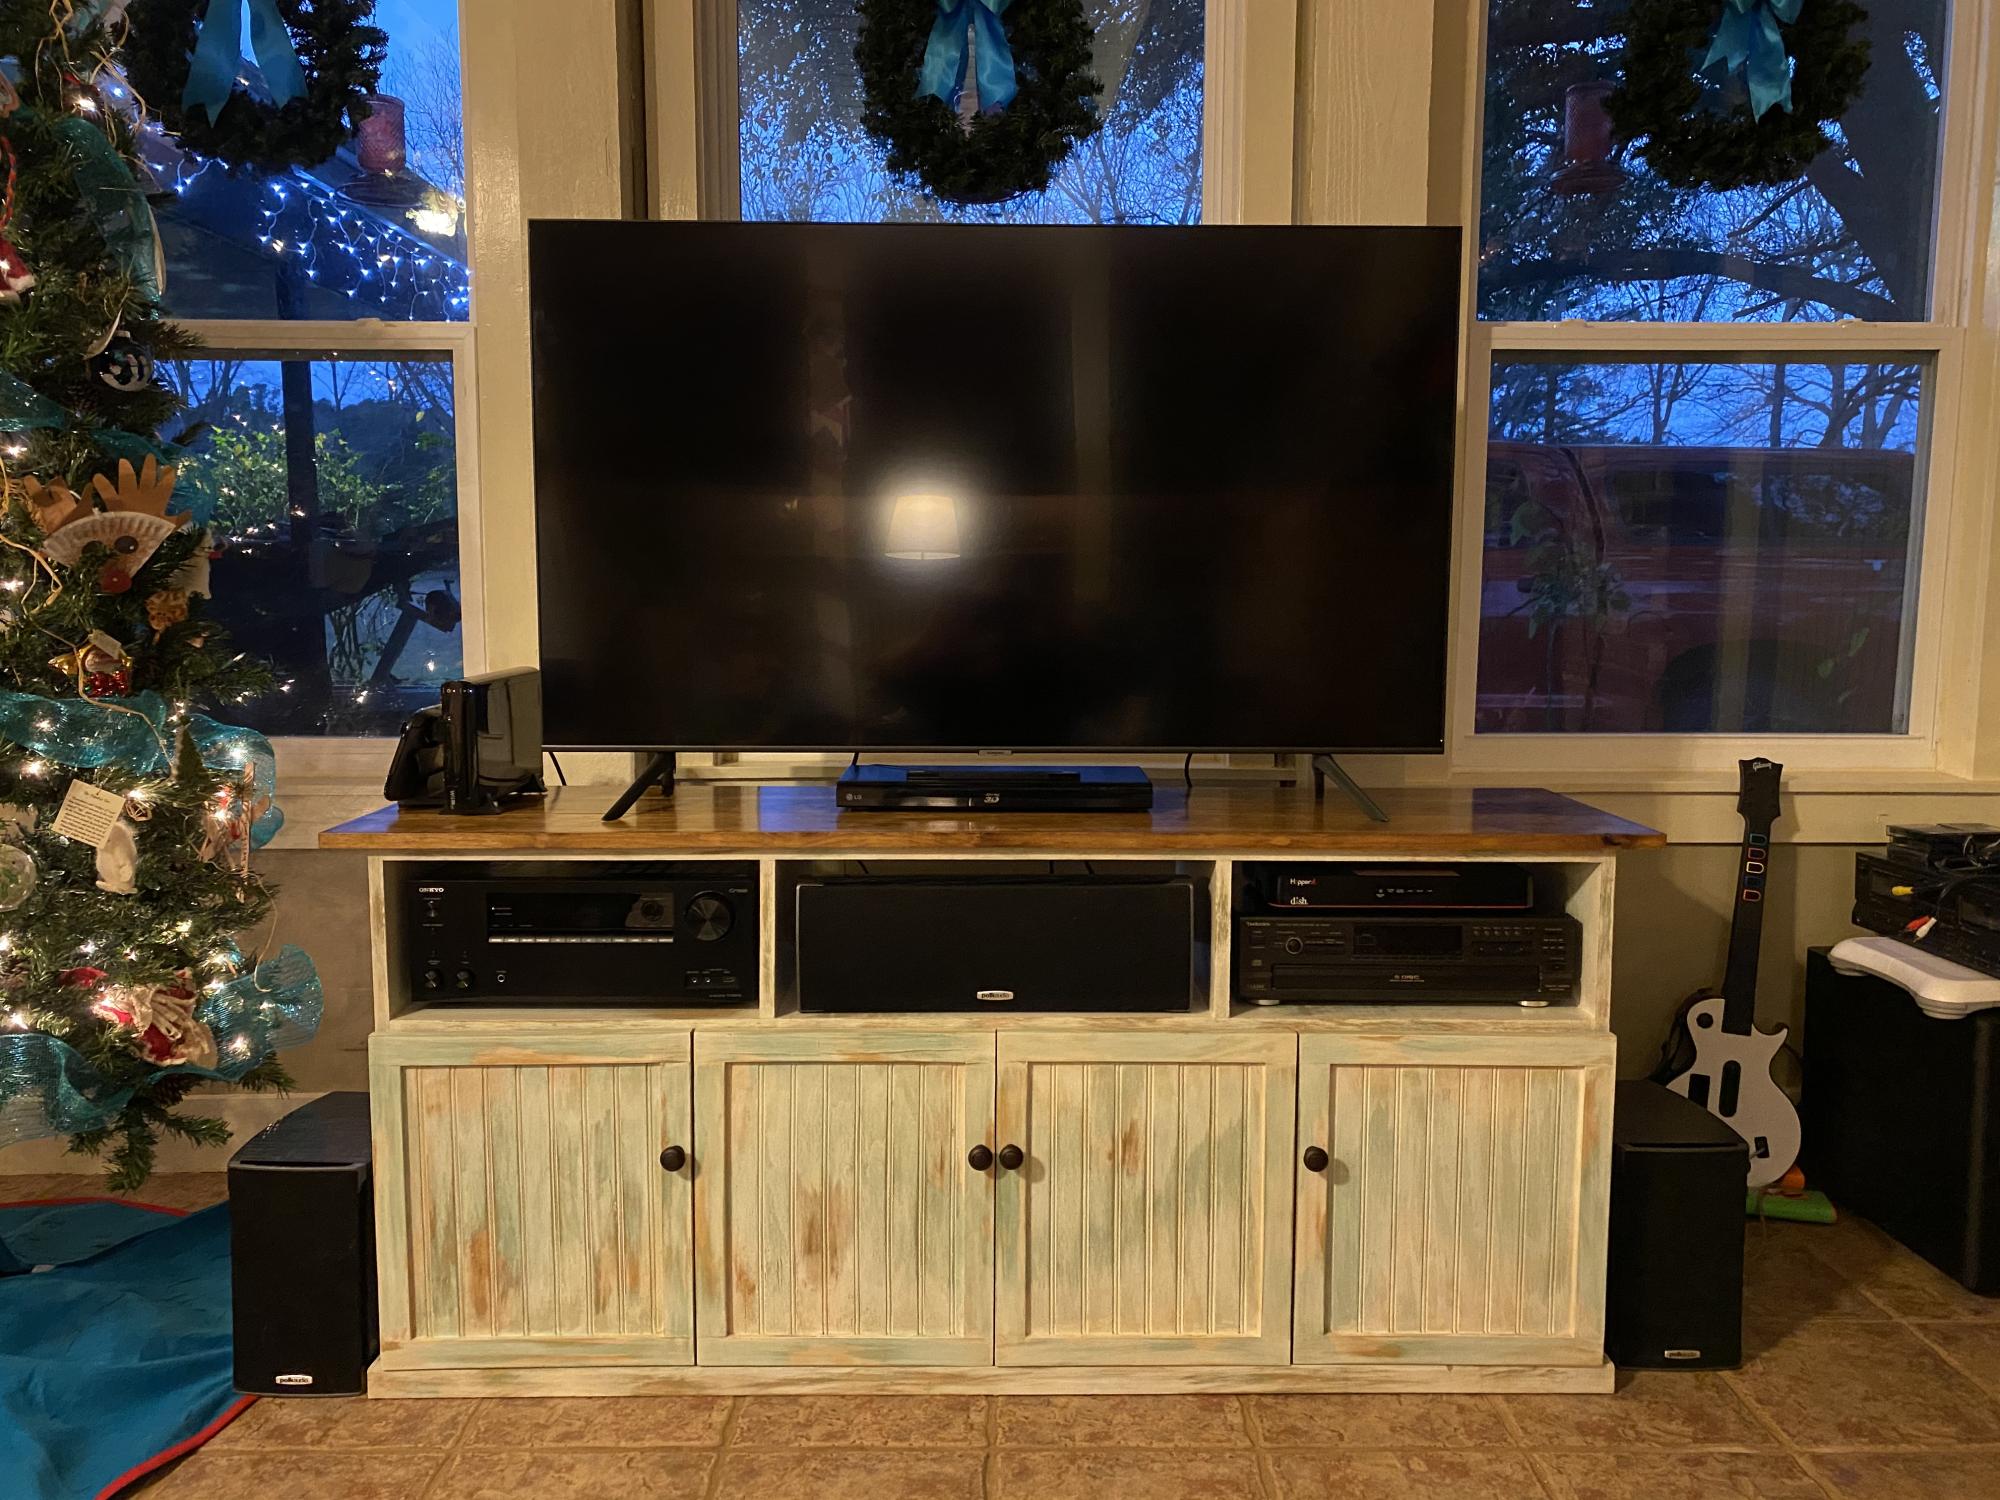
I built this based on the apothecary console plans but with the modifications that VLilly made for the Altered Apothecary Media Console. Very happy with how it turned out! Thank you Ana for sharing the plans!
Built from Plan(s)
Estimated Time Investment
Week Long Project (20 Hours or More)
Finish Used
Whitewash, stain, distress, polycrylic
Recommended Skill Level
Intermediate
Comments
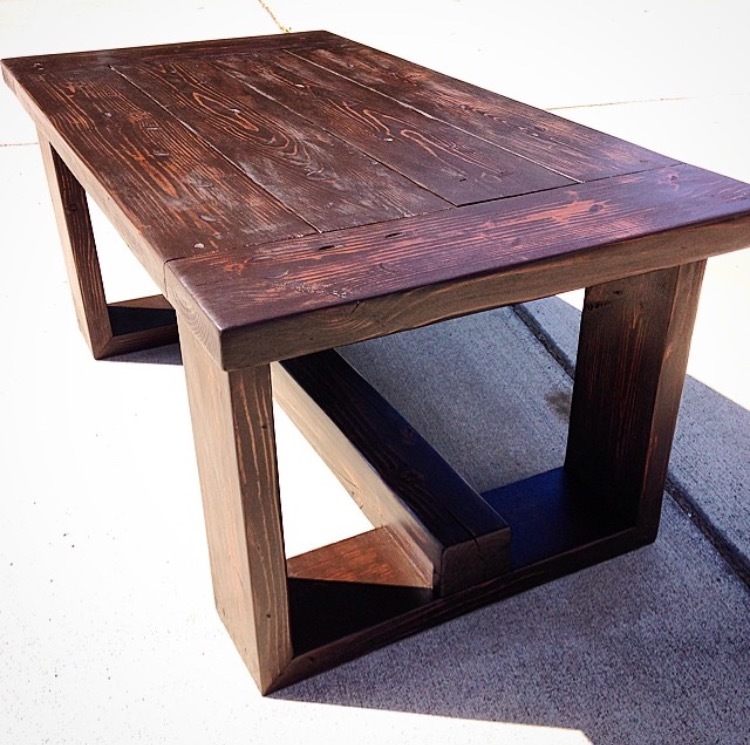
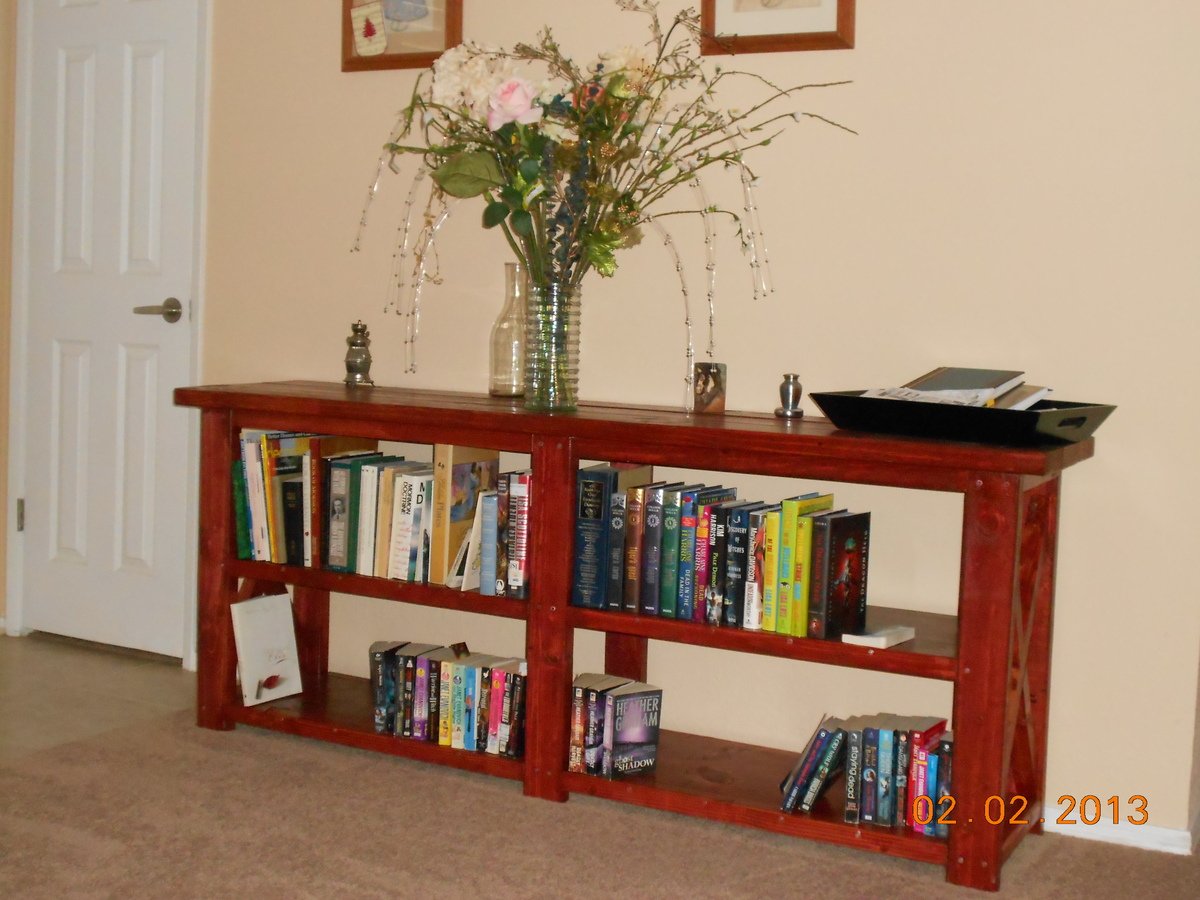
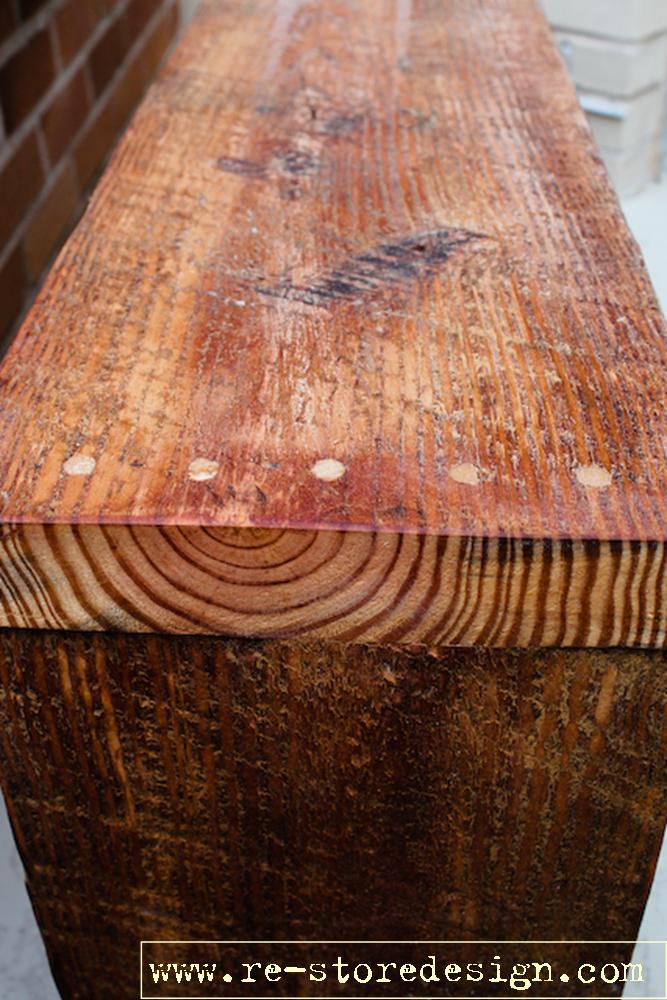
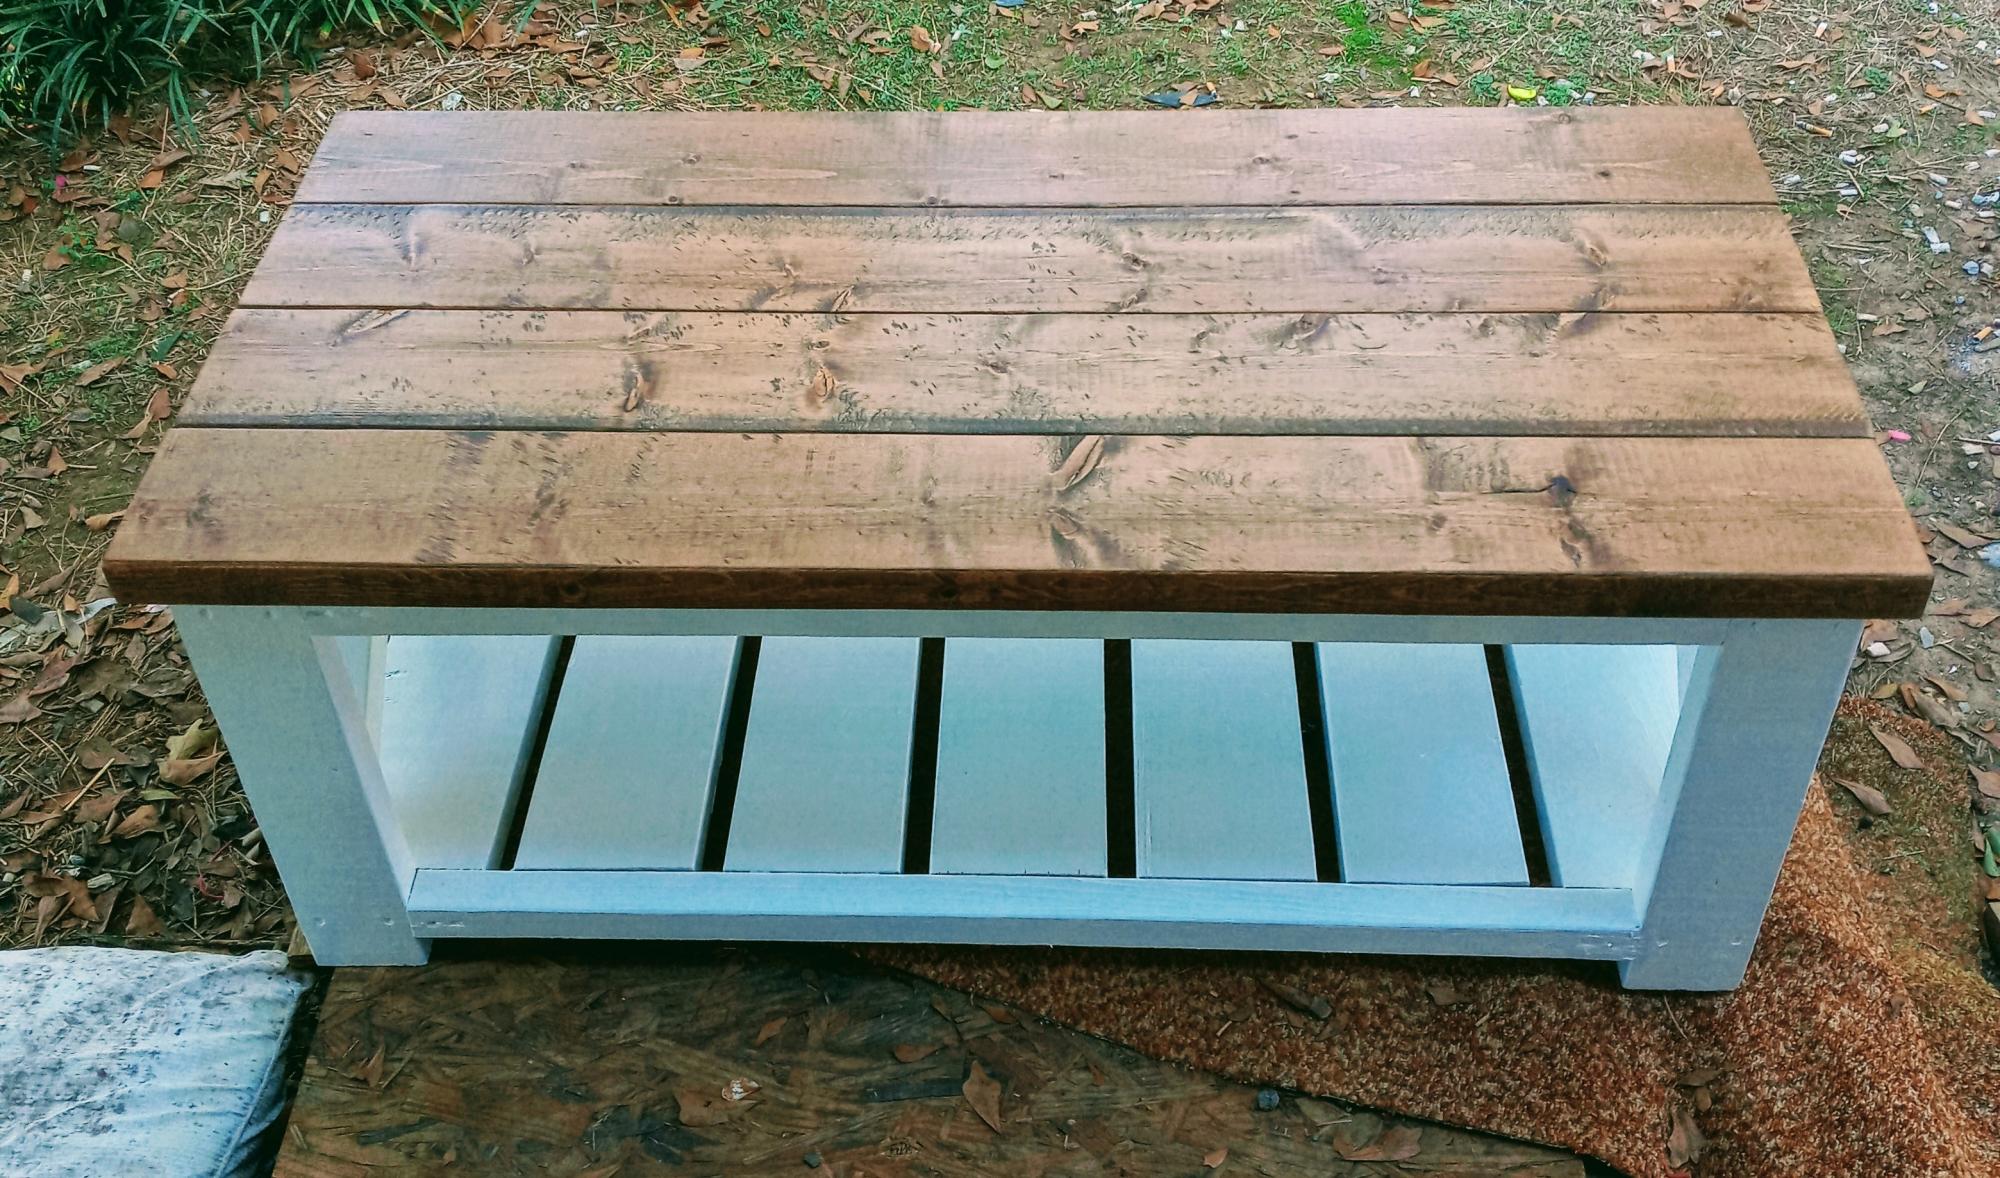
Reclaimed Wood Bench
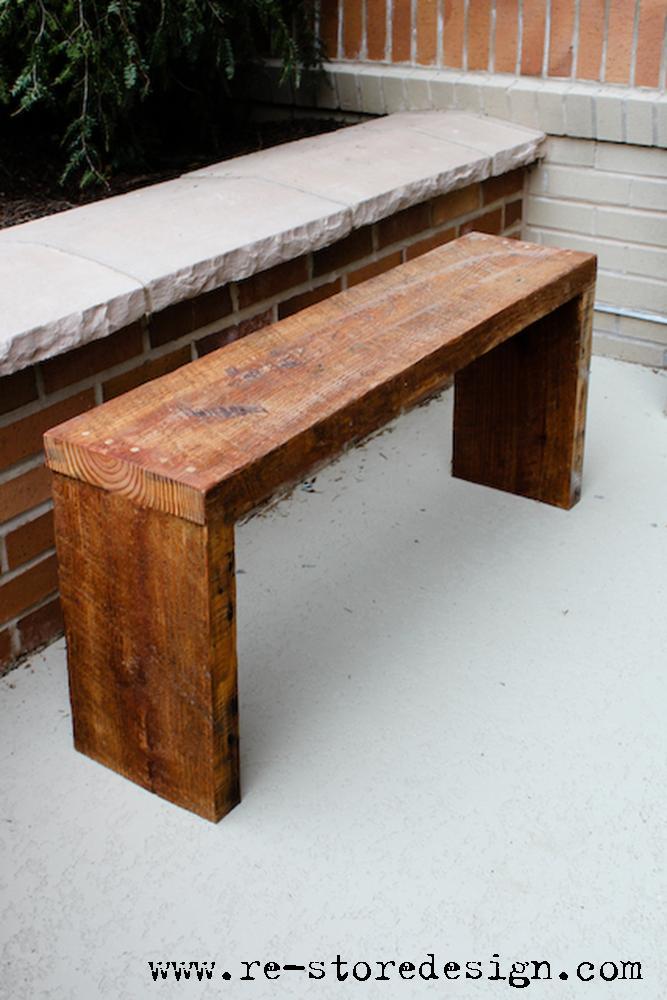
I built a couple benches to go with the reclaimed wood farm table I recently built. They are made out of hard to find 2″ reclaimed rough sawn lumber. The benches would also make a great coffee table or side table. Each bench is 36″ long and 18″ tall and 9″ deep.
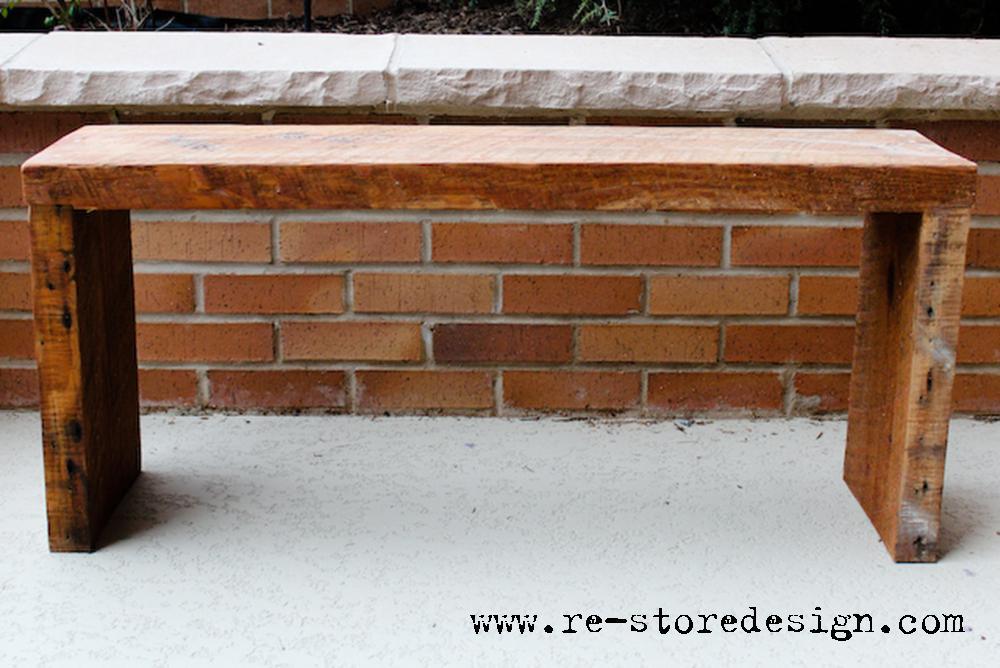
Estimated Cost
$15
Estimated Time Investment
An Hour or Two (0-2 Hours)
Finish Used
Teak Oil
Recommended Skill Level
Starter Project
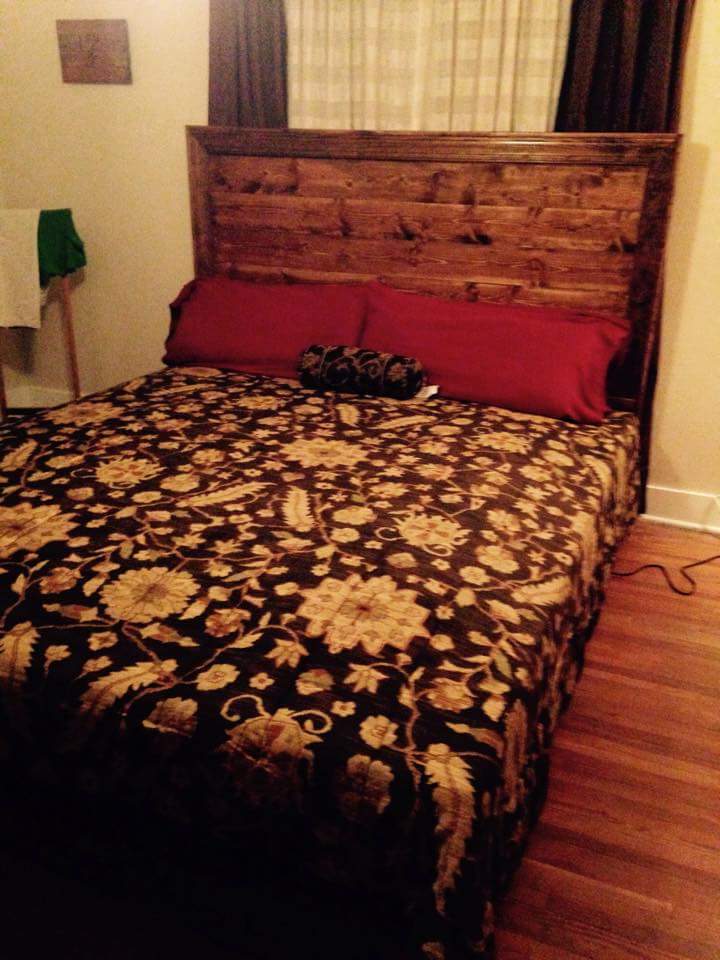
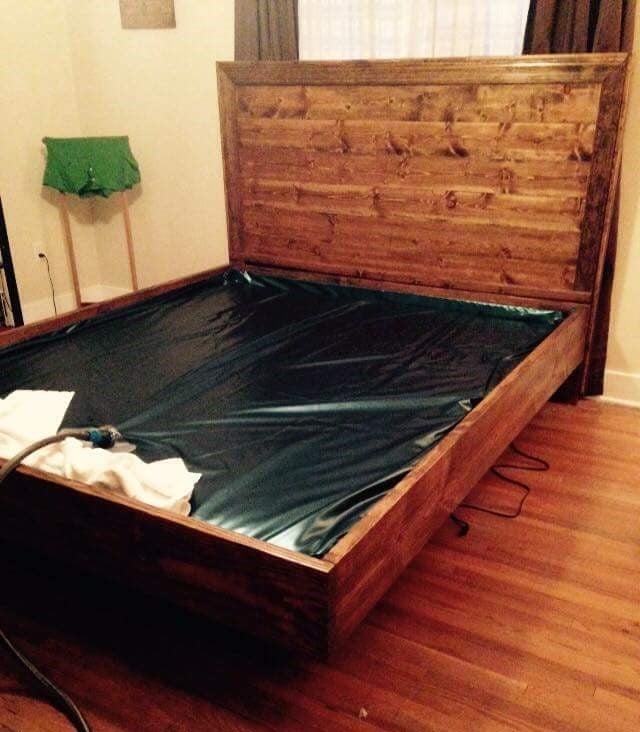
Planked Headboard / Waterbed Build
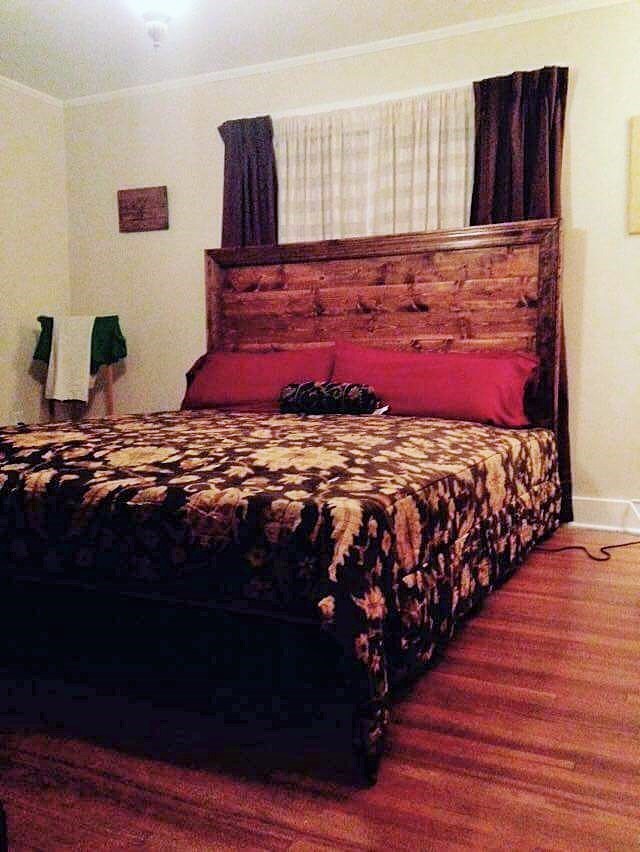
I don't have photos of the build but I did acquire some pictures of the assembly.
What we added to the shopping list for a king was 3 1x6x8's (he bought 6 total instead of 1x6x10's) and 1 1x4x8. To build it in a king or California king just take a measurement of the top or bottom of the bed frame to find the length to all of the horizontal boards. This takes care of the headboard. For the frame we simply built it to fit out of four 2x10x10's.
I also used my Kreg Jig to attach all of the center horizontal boards together with pocket holes instead of adding supports to the back.
Built from Plan(s)
Estimated Cost
$150.00 for the entire bed.
Estimated Time Investment
Weekend Project (10-20 Hours)
Finish Used
Rust-Oleum English Chestnut
Recommended Skill Level
Beginner
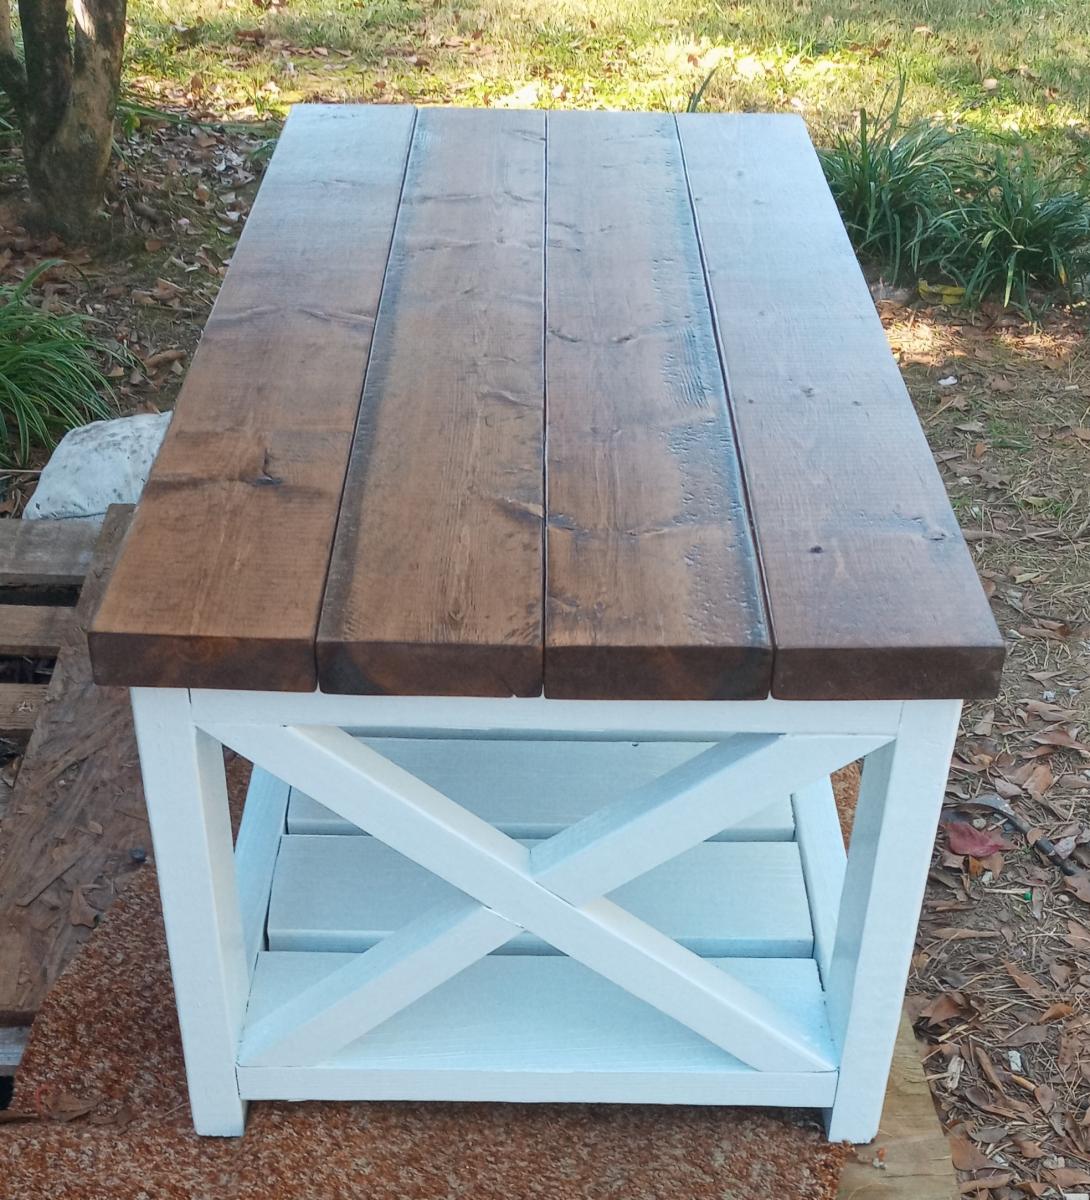
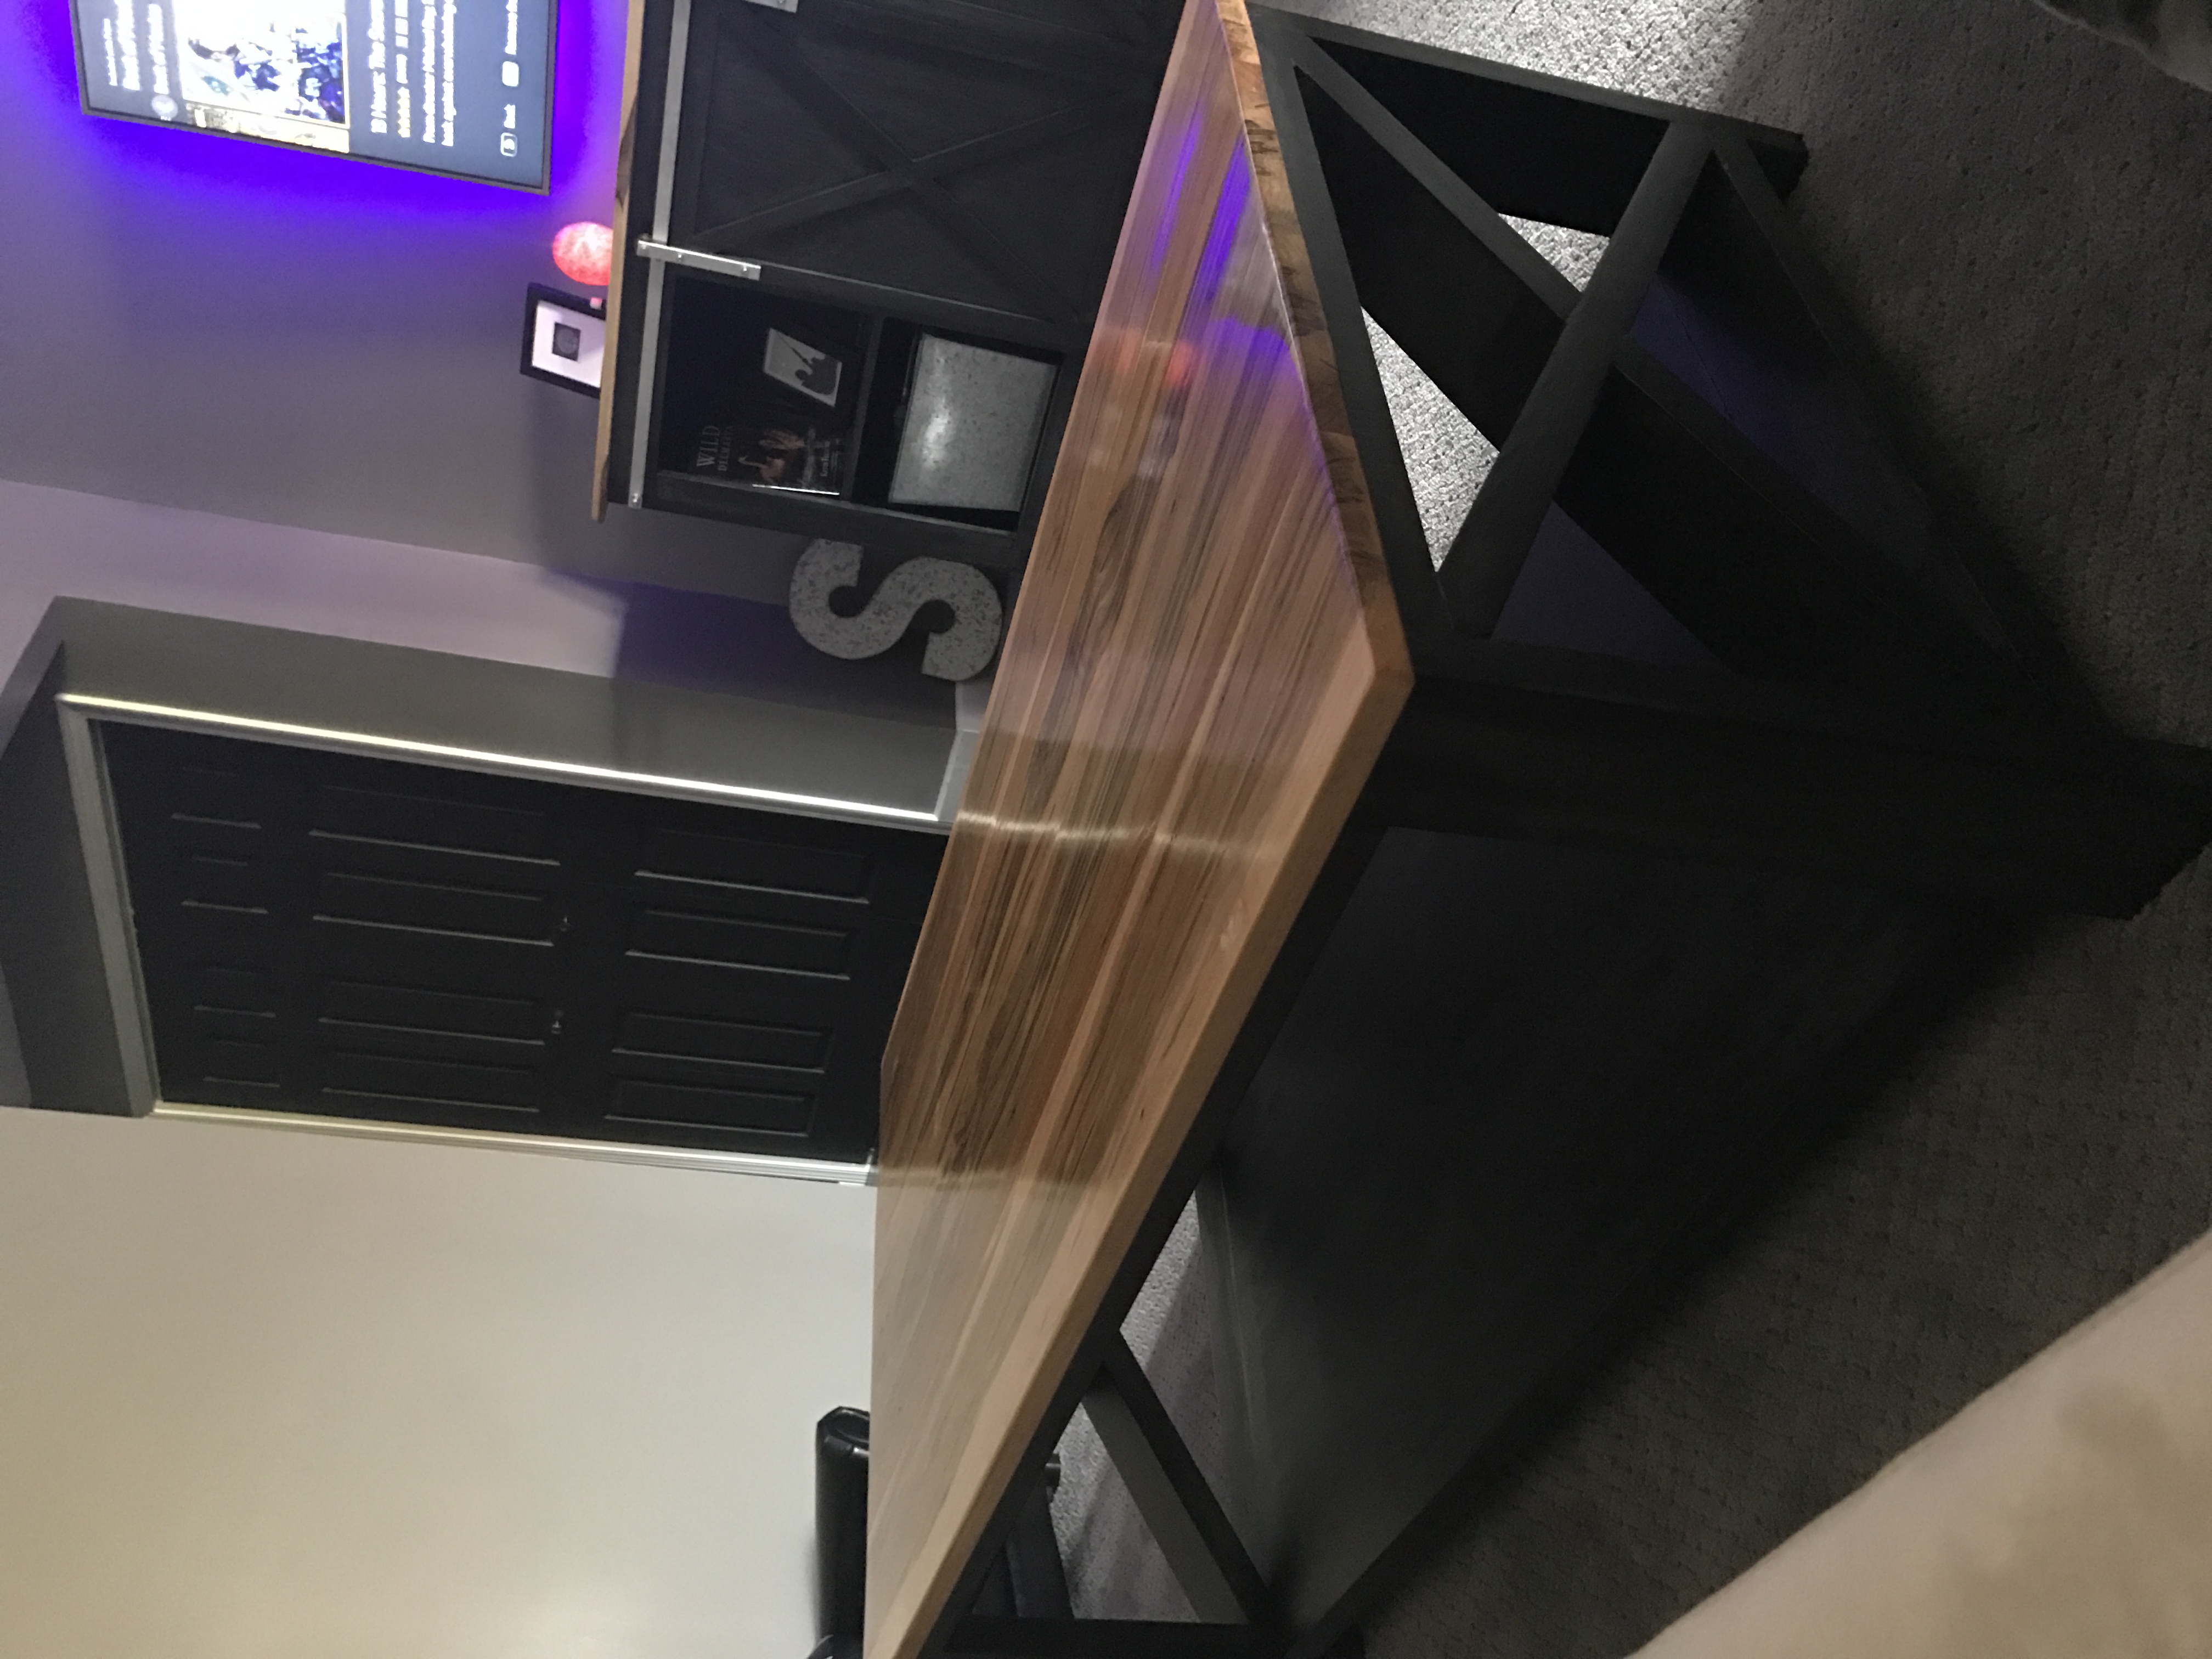
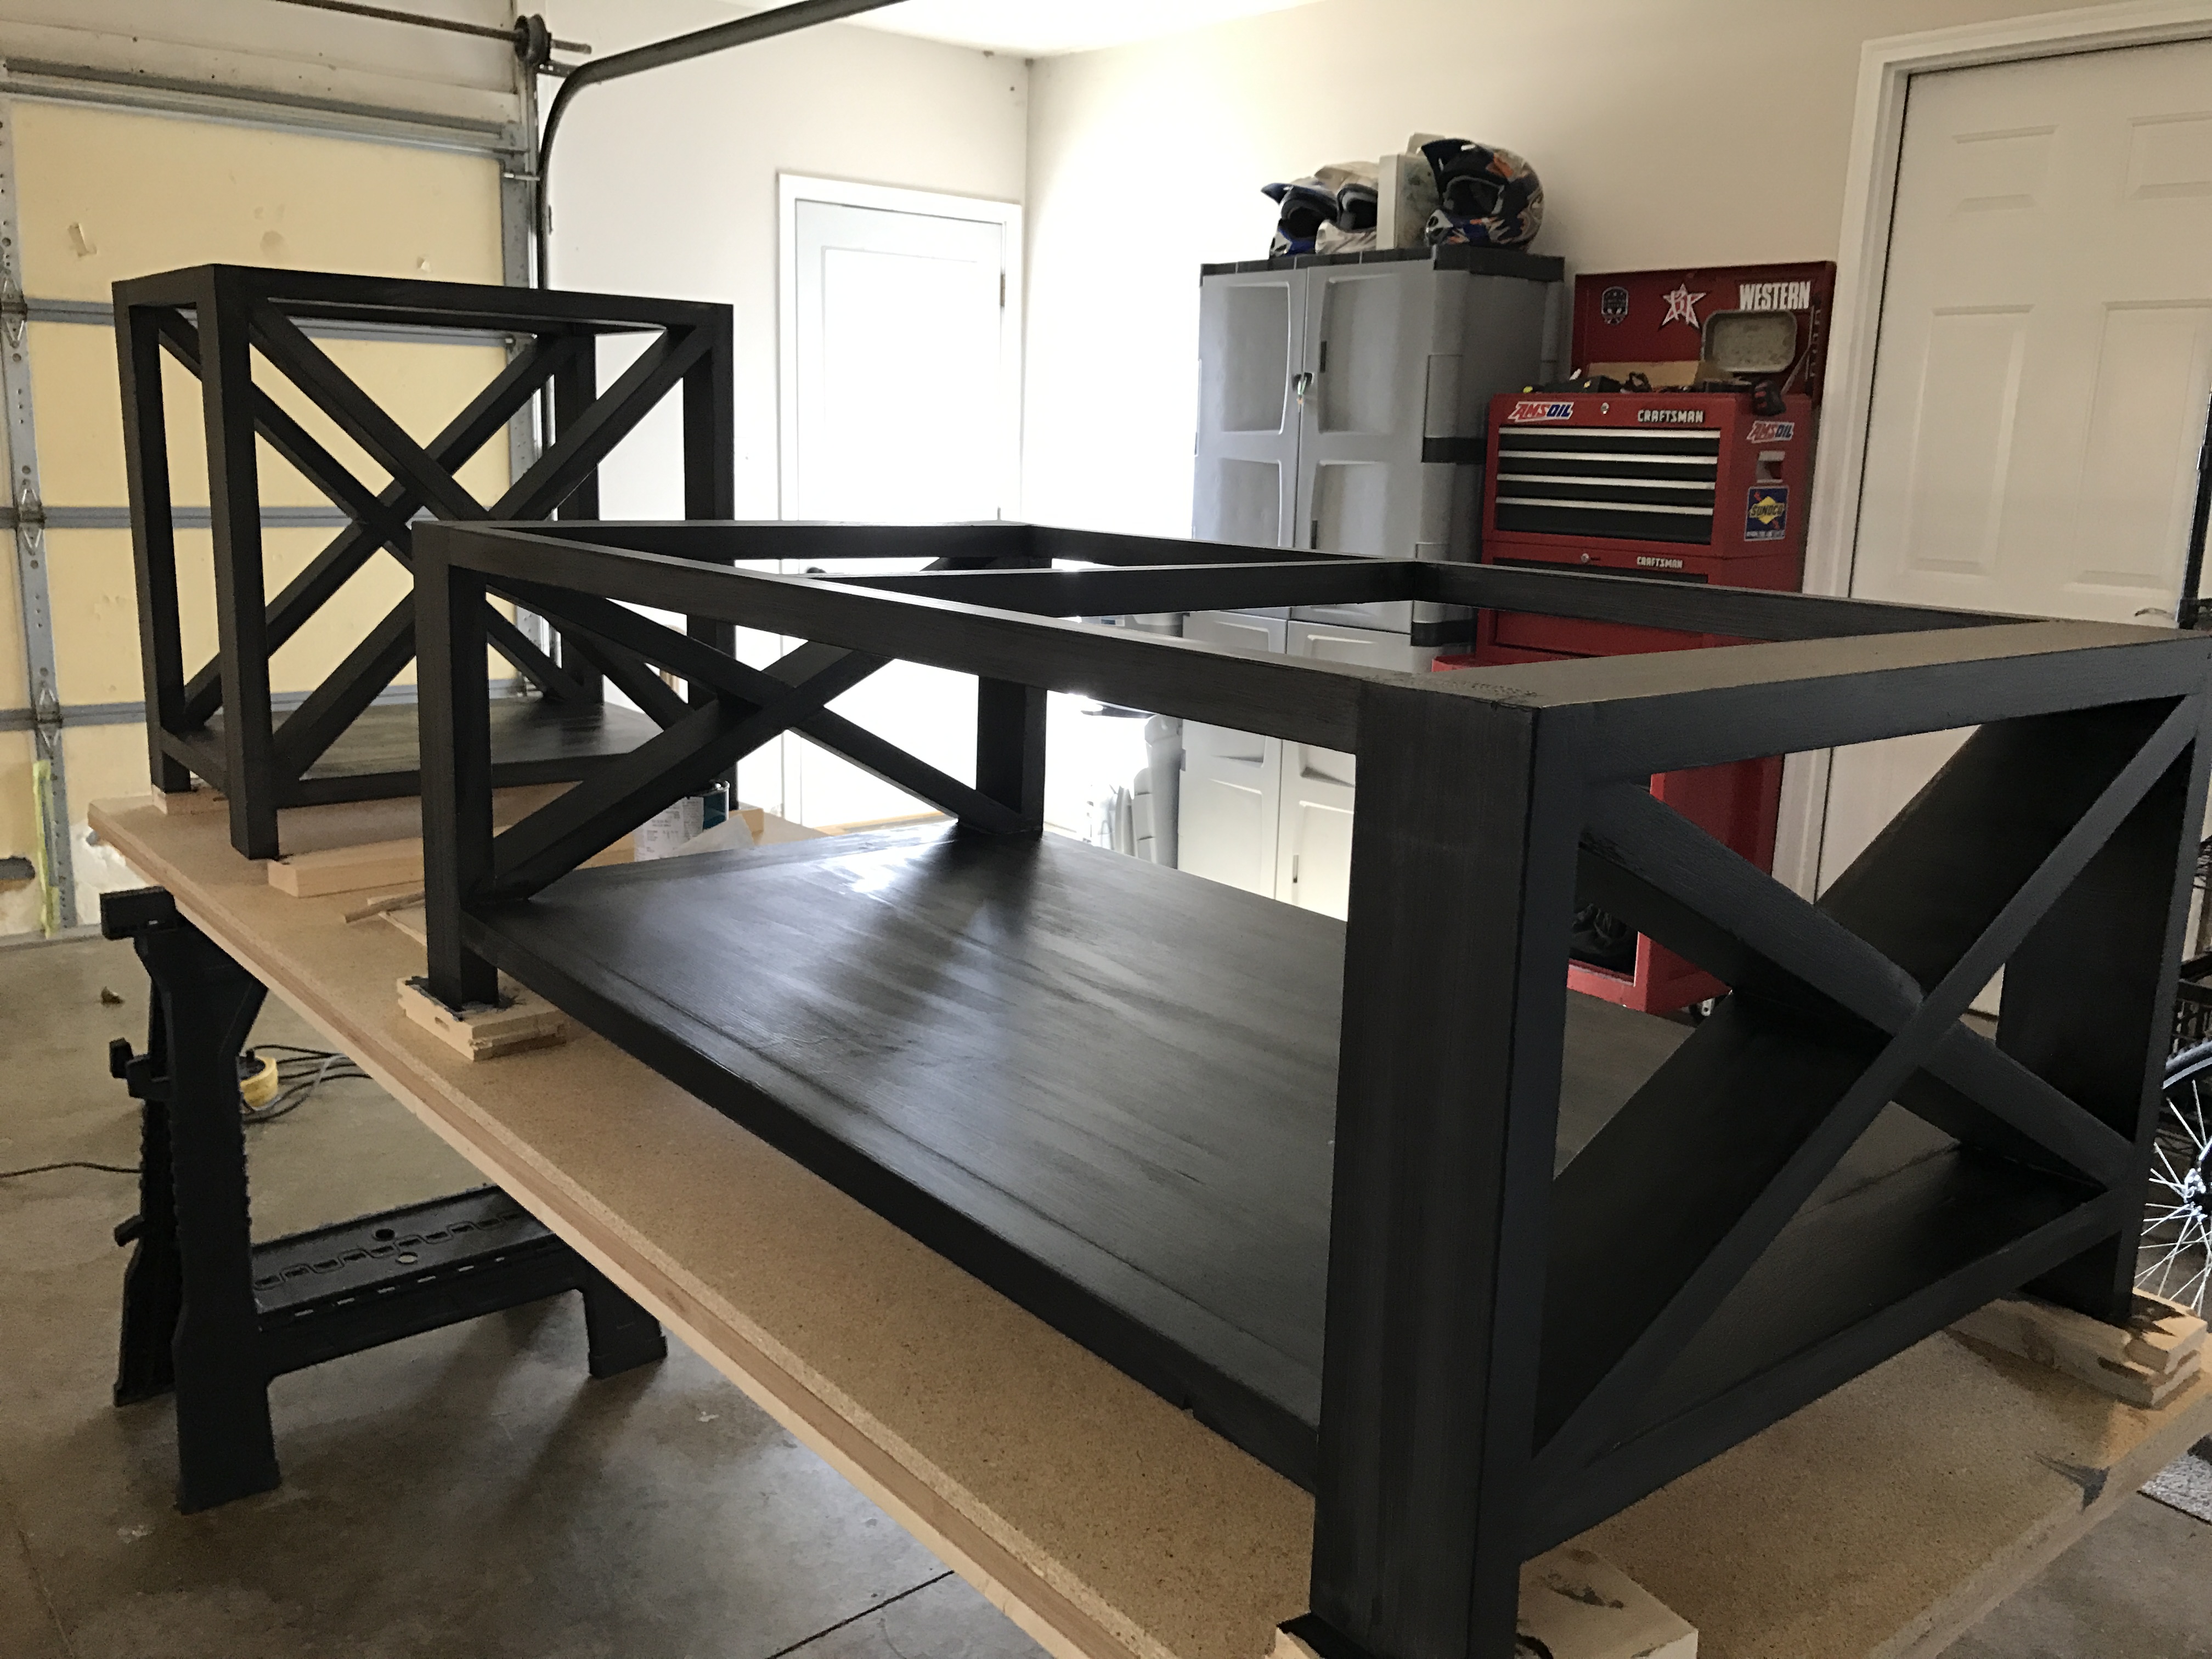
X Frame country coffee table
Wanted something sturdy because of my kids. Found the project on here and was fairly simple to build. The step by step instructions really helped.
Estimated Cost
$65
Estimated Time Investment
Weekend Project (10-20 Hours)
Finish Used
Special walnut stain with gloss white paint. 3 coats polyurethane on the top. Sanded between each coat with 320 grit.
Recommended Skill Level
Intermediate
Comments
Simple Side Table
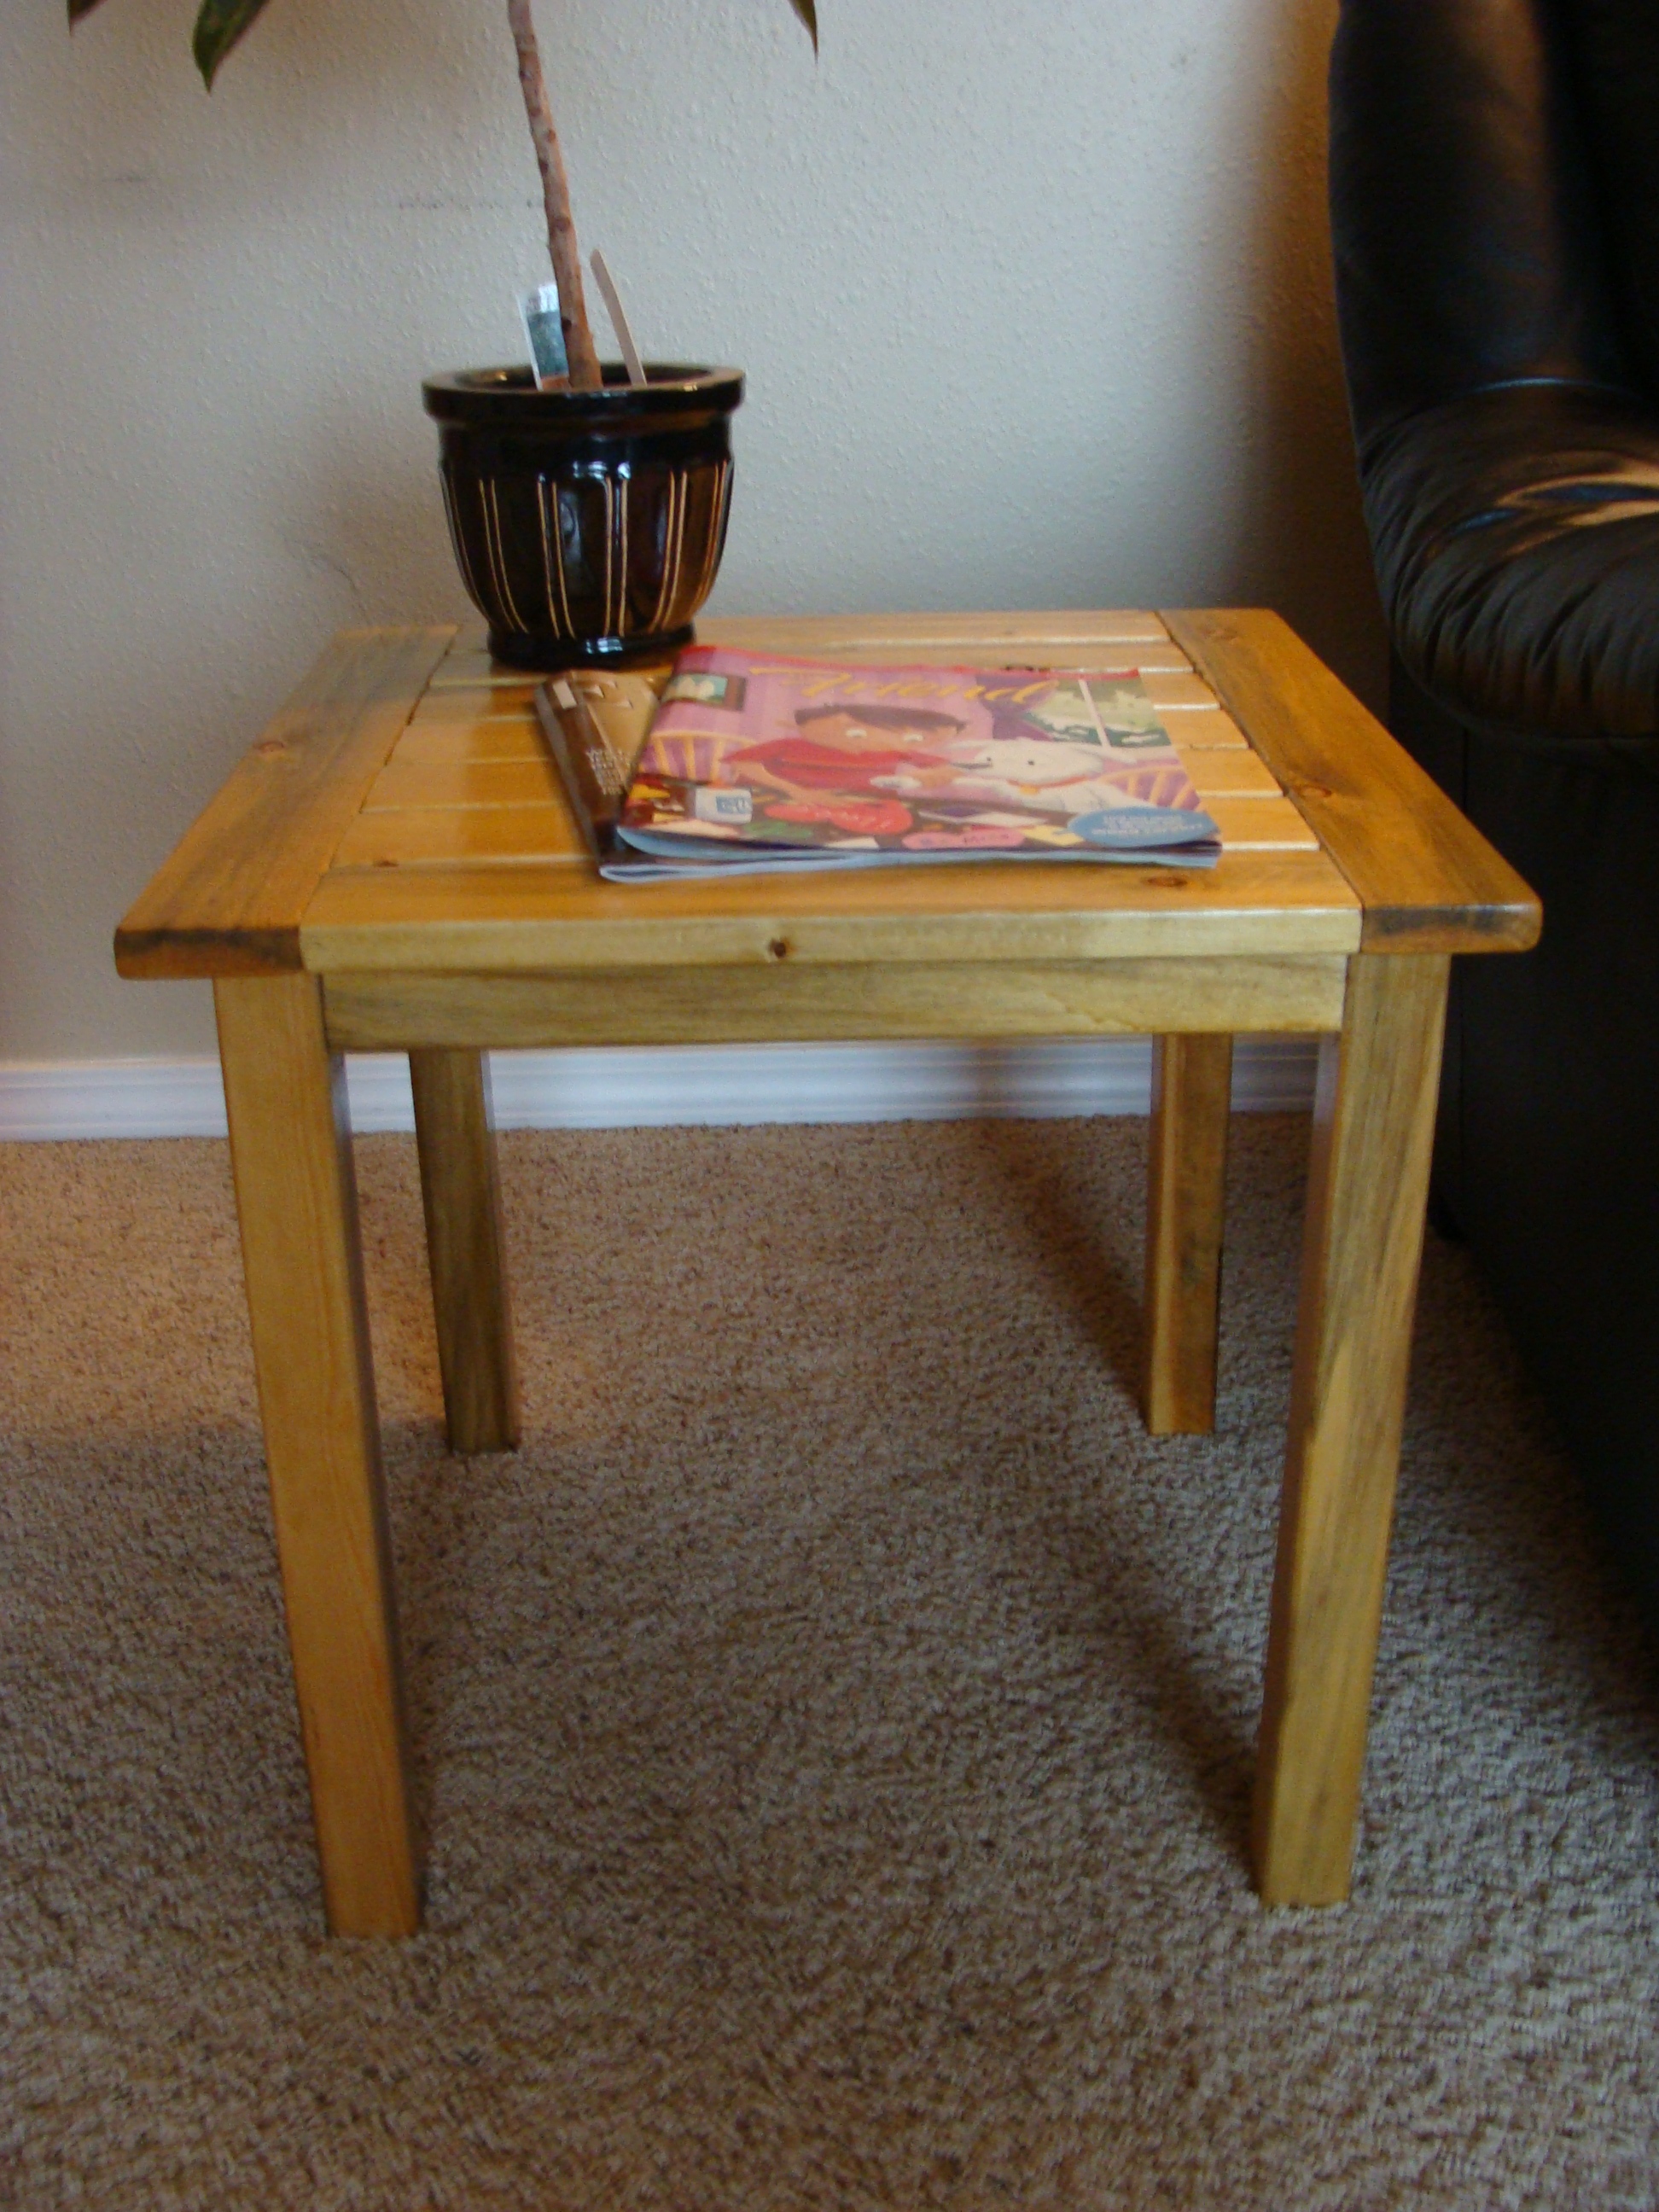
I built this for a friend who needed a small side table. All the cuts were made with a chop saw. I used 1X3 furring strips and 2X2's. It was a little tricky to get all the table slats to match up. I used the Kreg jig to conceal all the screws and get stronger joints. I love that thing!
Built from Plan(s)
Estimated Cost
$10
Estimated Time Investment
Afternoon Project (3-6 Hours)
Finish Used
I brushed on two coats of Minwax Polyshades in Honey Pine Gloss, then rubbed in a coat of Howard Feed-N-Wax.
Recommended Skill Level
Beginner
Economical Basement Shelving 2
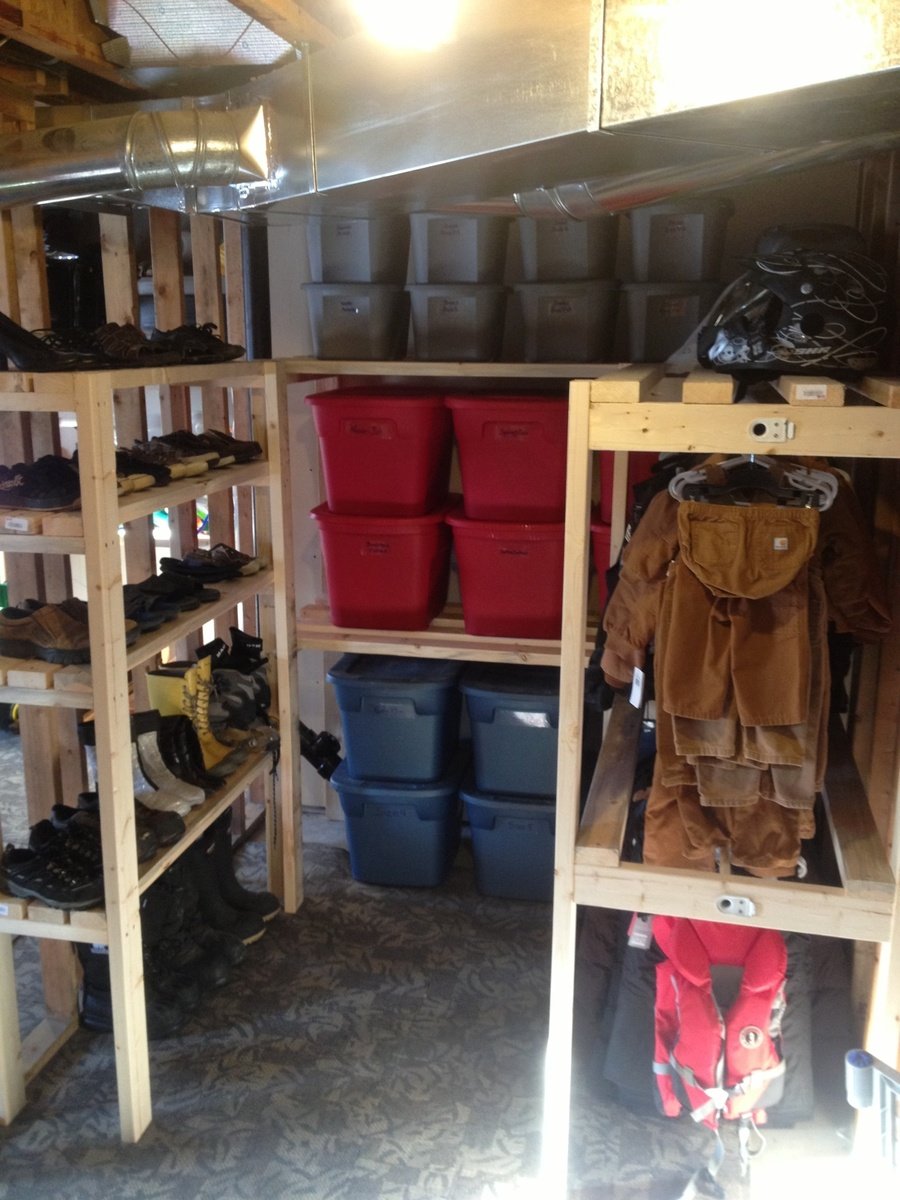
I've been organizing our unfinished basement so that my boys have more space to run and ride their bikes over the winter. I needed something to organize our off season clothes and bins of clothes that my boys are growing in/out of. This plan was perfect. It's not my prettiest build but it's soooo functional!
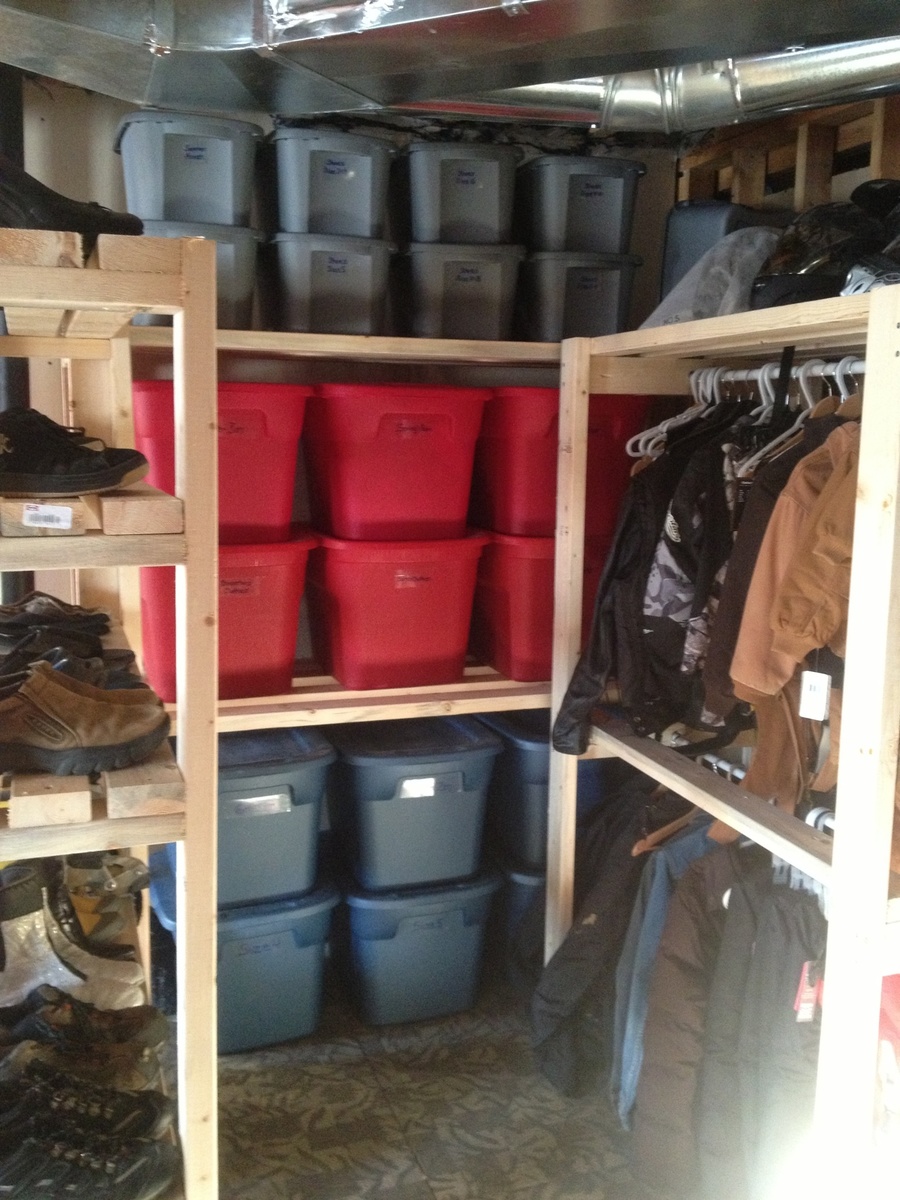
Built from Plan(s)
Estimated Cost
$100
Estimated Time Investment
Afternoon Project (3-6 Hours)
Finish Used
None
Recommended Skill Level
Starter Project
Comments
Joe Shape
Fun and easy project. I couldn't be happier with the end results. Great plan from Ana White.
Estimated Cost
$83 for coffee and end table.
Estimated Time Investment
Weekend Project (10-20 Hours)
Finish Used
Waterlox on top and Sherwin Williams furniture paint on frame.
Recommended Skill Level
Intermediate
Potting bench
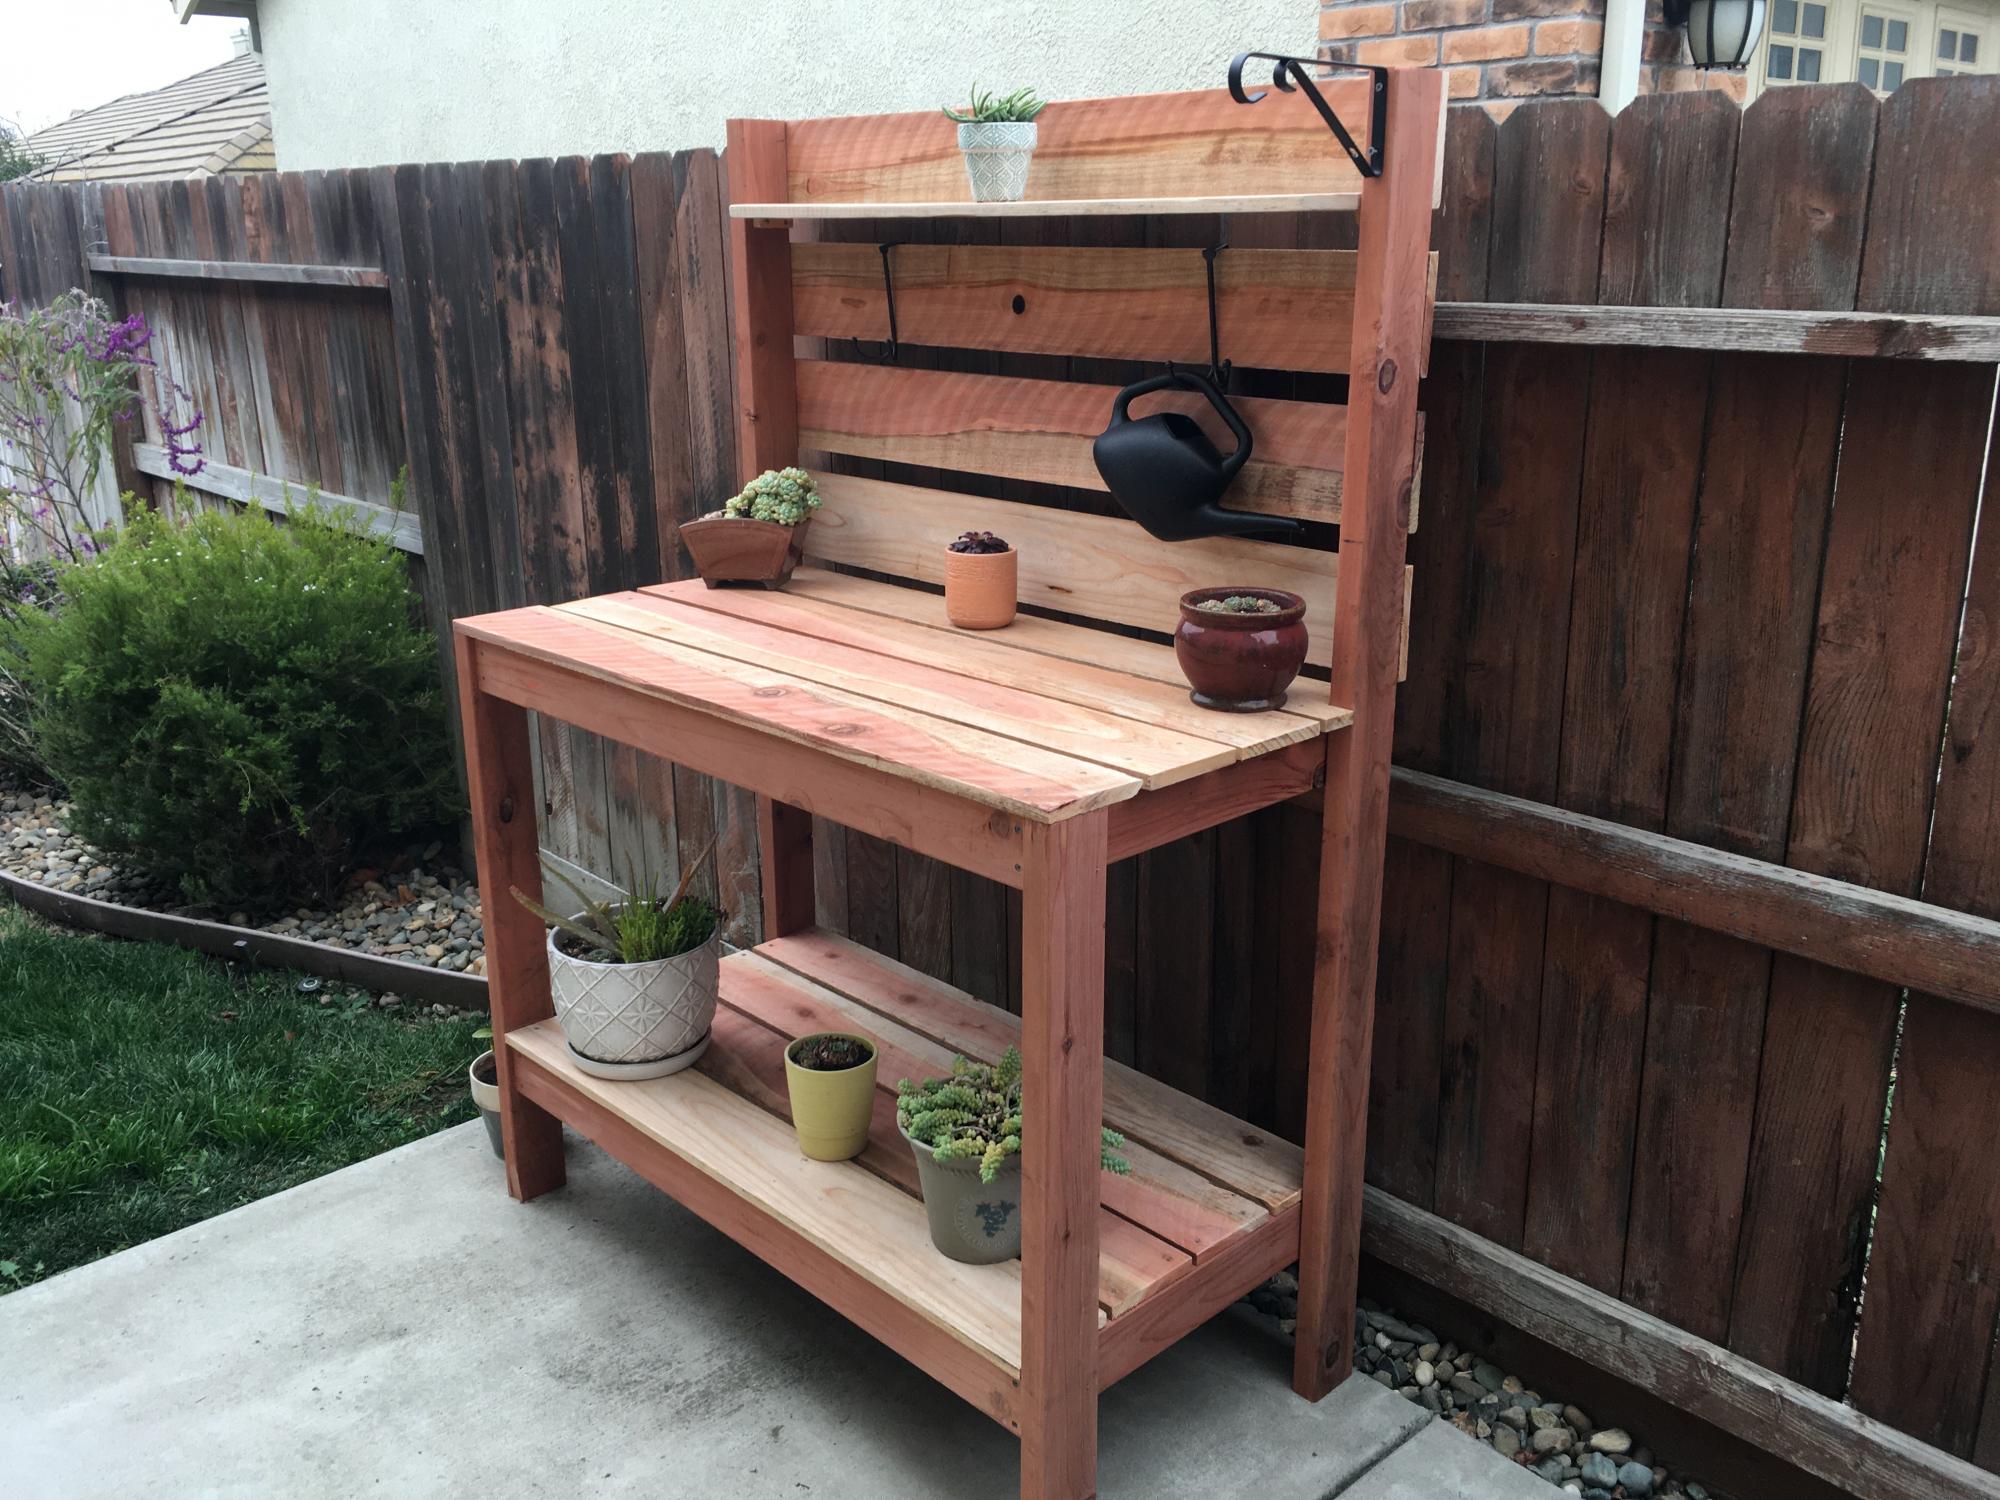
I used redwood lumber, 2x4s and 1x6s only. I wanted the bench to be a little taller so I used 2x4x10s for the legs to make work surface 38” high and total height 66”. To get the most out of the 8’ 1x6s I made the bench 48” wide. I also had to adjust the depth since I did not use 1x4s. And finally, I sanded the 1x6s because they were rough sawn.
Very fun project! Once I figured out the adjusted cut list the whole project came together in a matter of a few hours.
Built from Plan(s)
Estimated Cost
$100
Estimated Time Investment
Afternoon Project (3-6 Hours)
Finish Used
Light sanding, No finish.
Recommended Skill Level
Beginner
Comments
Pam the Goatherd
Tue, 01/29/2013 - 12:02
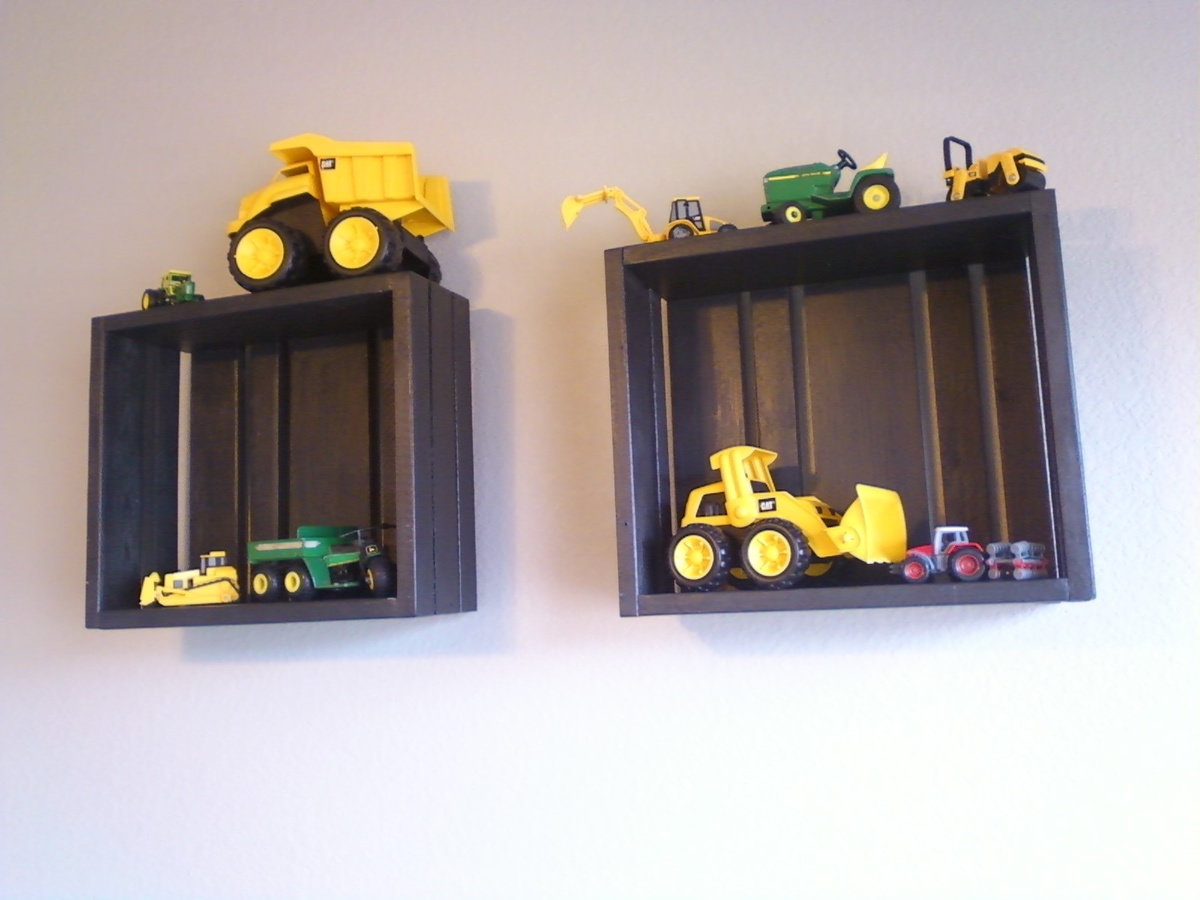
Great idea! I've been looking
Great idea! I've been looking for a way to display my John Deere collection and I've got lots of scraps.