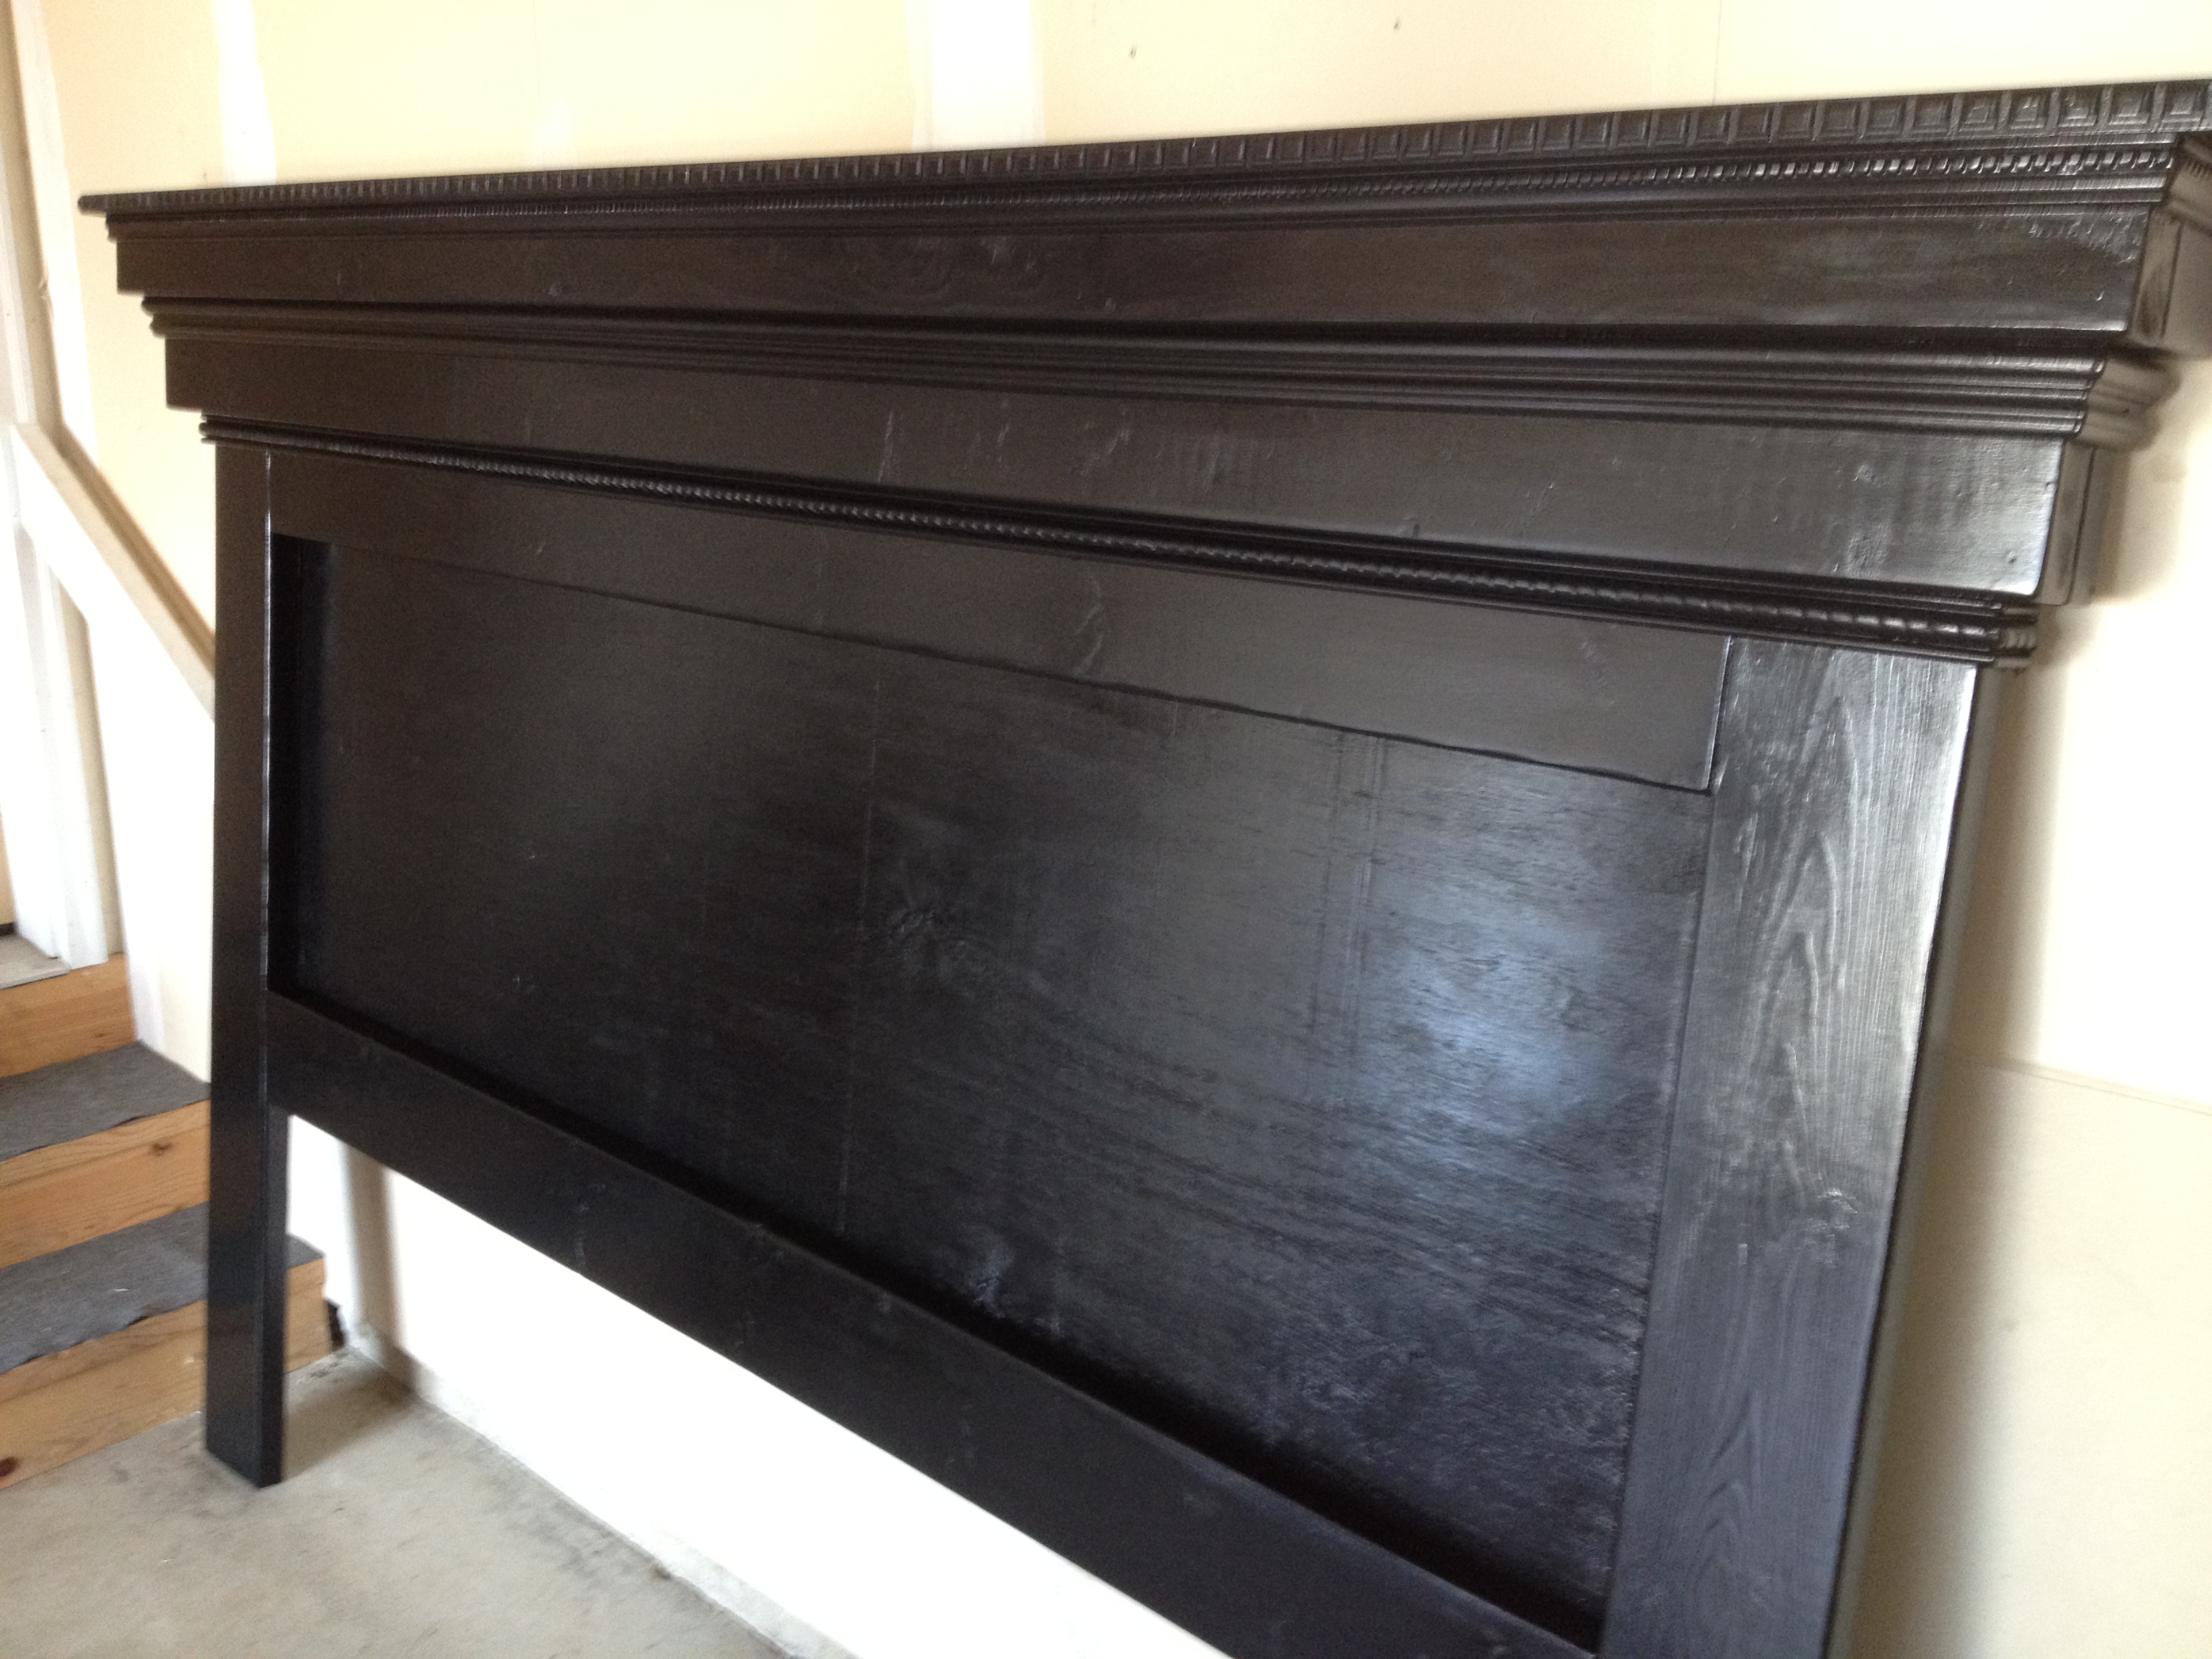
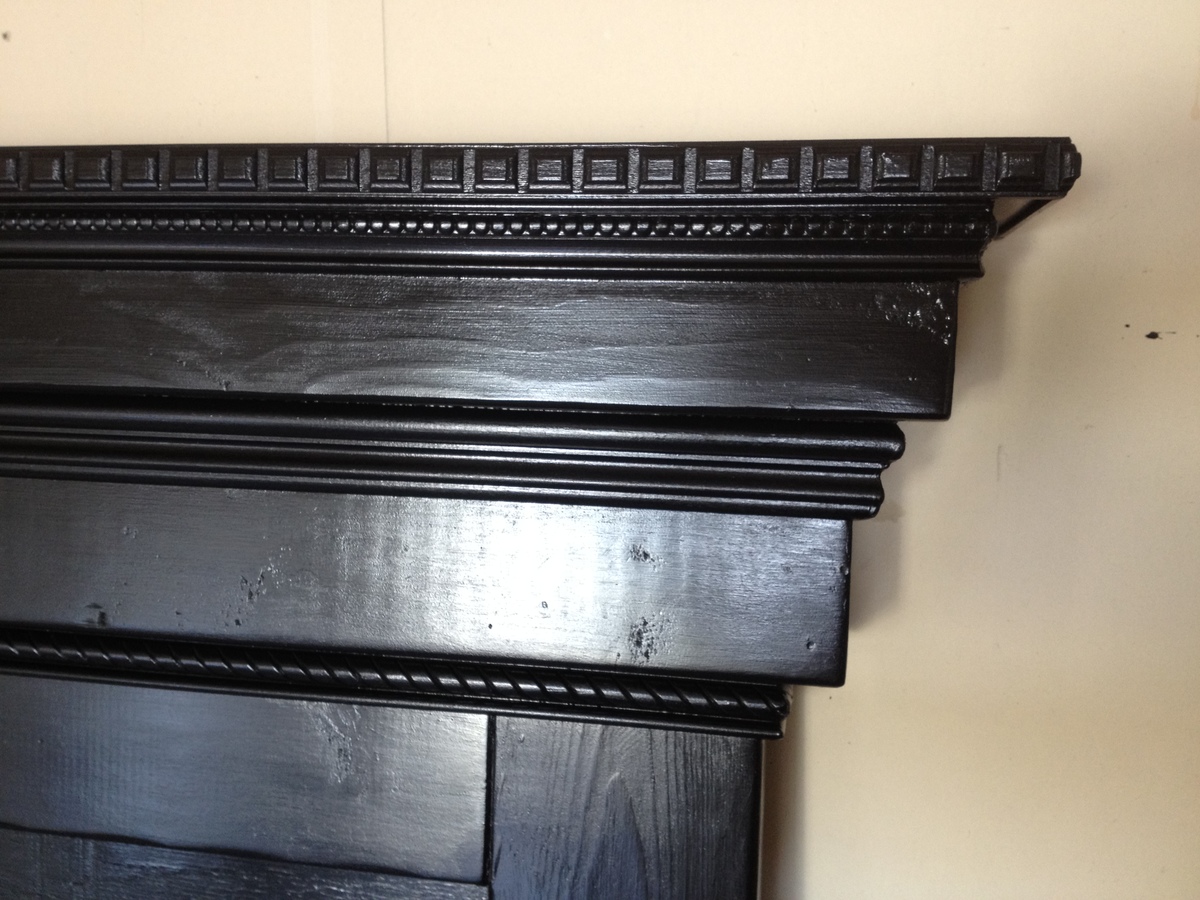
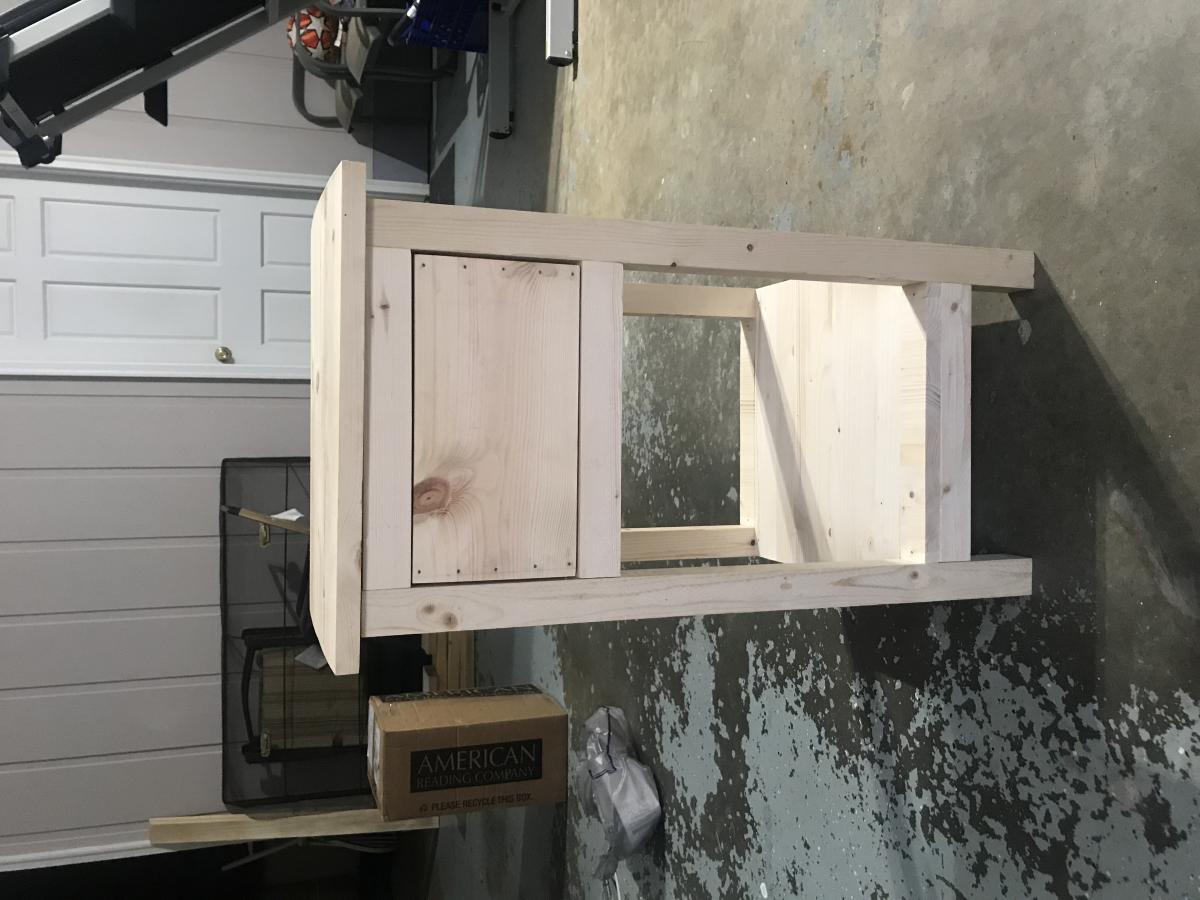
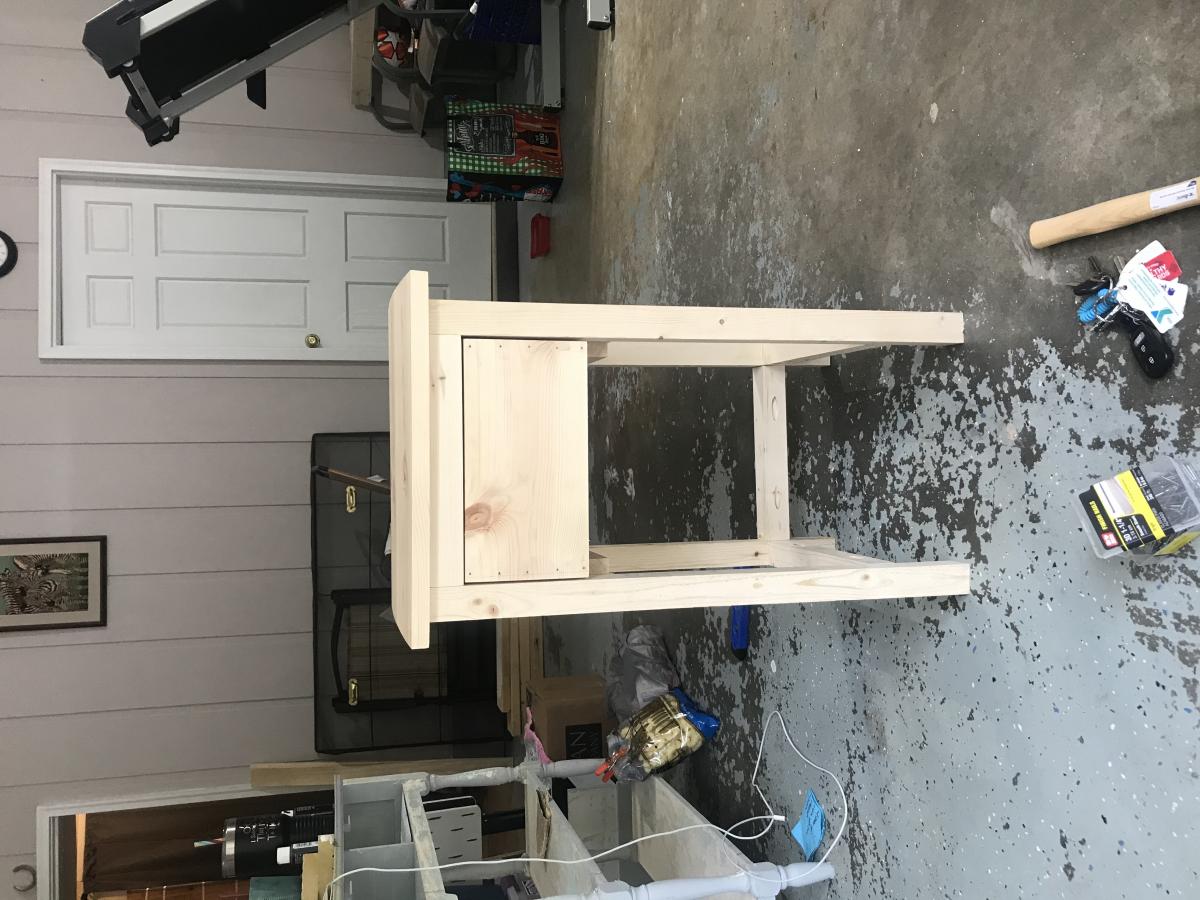
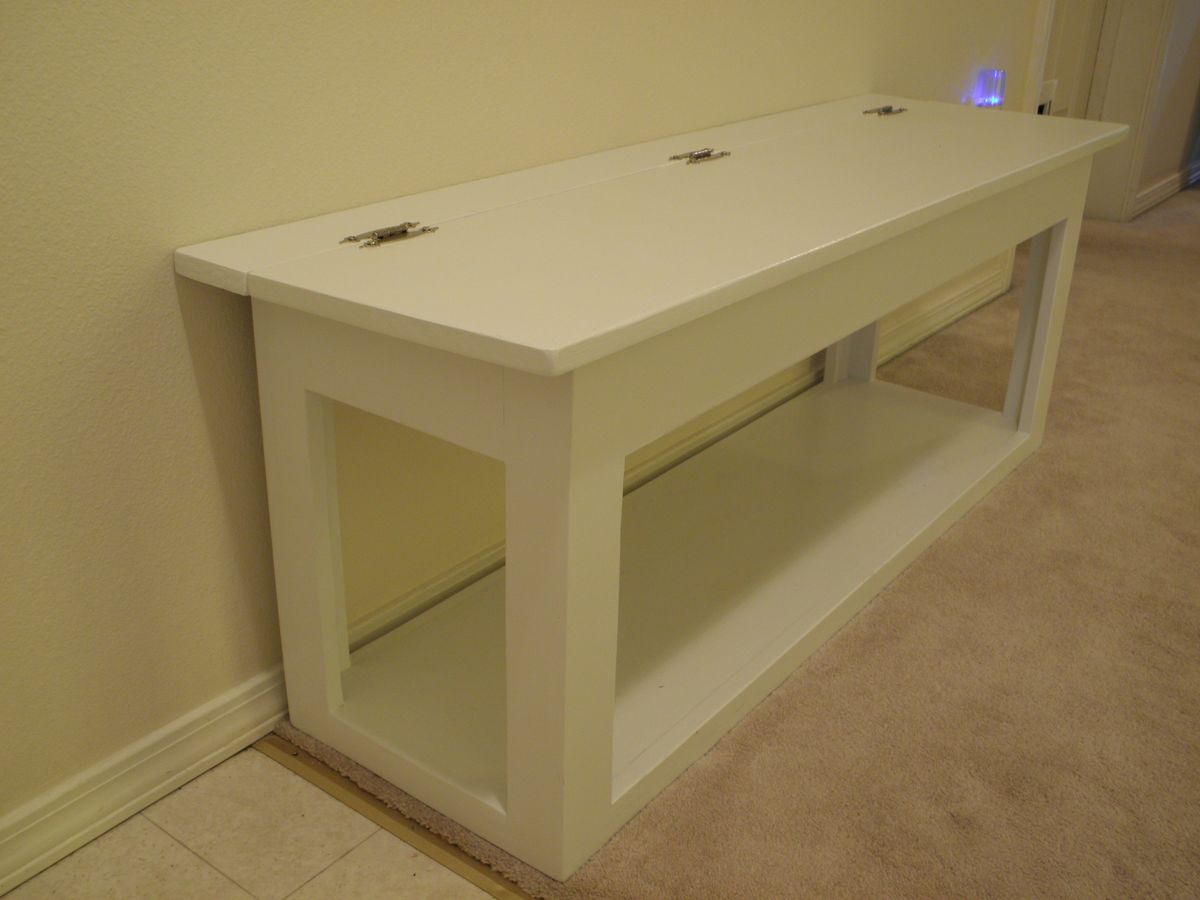
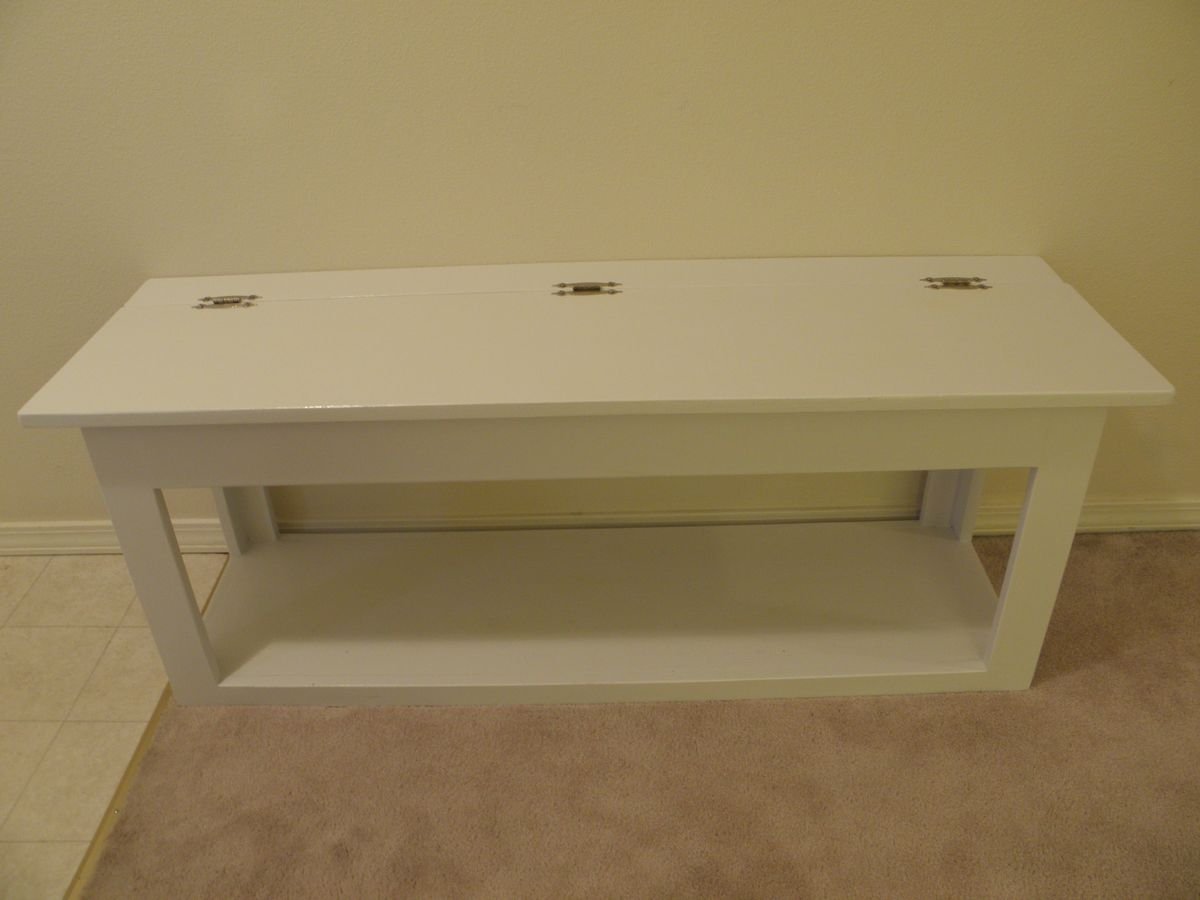
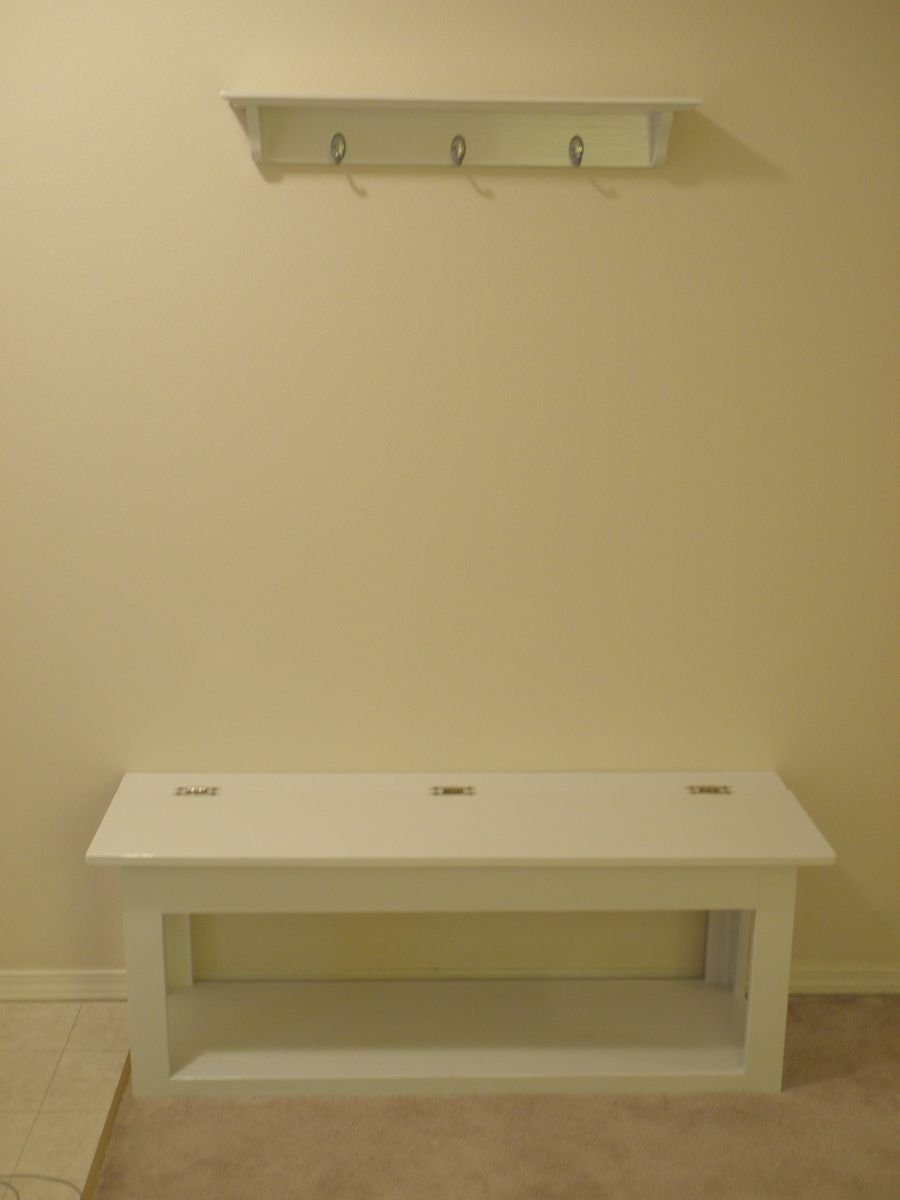
For my princess!
Well worth the time and effort!!!
Modified the woven back bench plans to make this Texas Flag Bench. 48 inches wide.
The moment I saw this plan I knew I had to build it for our adventurous, imaginative daughter, Selah. I committed to trying to finish it before her birthday (a month away at the time.) This was only my second build with wood, so I knew I would need a little time due to the learning curve. Ana's plans were great and easy to follow, and I held religiously to Jaime's blog for tips and tricks or when I was generally lost. ;) I must say, staining was a LOT more tedious and expensive than I expected. I also ignored the warnings that Minwax's water based stain was not great for large projects...my wife just couldn't get her eyes off the awesome color options. I worked it on and off little by little....and after MUCH time and an aching back we were totally STOKED with the results. The poly was just the right touch to finish it all off. Selah loves the bed and I must say all of the work was nothing compared to the hours of fun she has with this bed. Thanks Ana! Keep doing what you do....I never would have thought I could do something like this.
Thu, 05/09/2013 - 07:29
Hello, I love your version of this bed and was wondering what tools you needed and if you followed the original plans or the additional ones posted by Jaime (other then the windows)? I also noticed you did something different to the feet of the latter??
Sat, 07/13/2013 - 16:54
I used every inch of Ana's plans and Jamie's real world build. Smooth sailing for the most part. I used a sliding compound miter saw to do most of the build, as well as an electric random orbit sander. I followed all plans to a T. The ladder feet change was to fix a bad cut I made on the sides of the ladder. Too short! It was either improvise or run back to the store for more wood....haha.
Using the Junior Height Camp Loft Bed plans...
I raised the height from 65 to 67 inches to better accomodate a bottom bunk. Added bottom rails and extra 2X4s for the head board.
I shortened the width and length of the stairs to better fit in the room, and in doing so, made a small mod to the post by the stairs to prevent the boys from falling down the stairs.
Kids Love them
I saw the lounger that Ana posted https://www.ana-white.com/woodworking-projects/modern-single-outdoor-ch… and thought it would be really nice to have that near the hot tub. Combine that with the need for some kind of platform for the kids to get in and out of the hot tub and voila! The Chaise Lounge with Steps for Hot Tub.
All I did was extend the 2x4 legs to 28" to give the lounger enough height to act as a platform. Raising it required an extra set of 2x4s lower down for lateral stability. The steps used a similar approach of 2x4s for the legs and cross supports with 1x4s for the tread.
Thanks for all the plans, Ana!
I really enjoyed making this table for my sister from Ana's Farmhouse table plans. I secured everything with Kreg screws from the underside. I added a couple screws from the top in the breadboard ends for added stregth. Im thinking of building another one but making it wider!
Ana's instructions were very easy to follow. The main problem I had was the 4X4 lumber was S4S, therefore the edges were rounded, which made for awkward joints with the aprons. Other than that, I used wood conditioner before staining and sealing.
Shoe dresser with an additional row.
I built the modern farmhouse bed :)
Wow! Did we ever pick a "small" project for our first build:) We had never built so much as a birdhouse and here we were building a playhouse. It was so much fun though and I'm glad that we did it. My daughter LOVES it and we are so pleased with how it turned out. We ran across a few problems due to our inexperience but nothing we couldn't overcome.
Tue, 04/02/2013 - 05:29
Aww. Thank you so much! I promise you, you can do it!!!!
I made this taller to fit my bed.
A couple more passes of finish and this will have a new lease on life. Beginning as a mixture of reclaimed wood and some shelving that Brian Carla Baker Smith had in their garage, it will soon be sporting a television as life begins anew for our friends. The most gnarly pieces turned out to provide the most character. I think that is a wonderful observation of life. Great plan from Ana White!
In reply to Wonderful details! by Ana White Admin
Fri, 07/16/2021 - 17:02
Thank you for the great plan Ana. Your plans, the details, and equipment required for the project have gotten me into woodworking. I appreciate all the work you put into your project posts.
Made this for a friend. Followed the plans from the Clara table, chairs were made from the 4 dollar stackable chair plan.
Finish was Watco Danish Dark Walnut oil, which i just discovered and love. Goes on even and isn't blotchy on pine. For the table top i added a couple coats of polyurethane.
The table was easy to make, but the chairs took quite a bit of time with the amount of slats. Also there are about 30 screw holes per chair to drill, countersink and fill with putty. I am making another set for someone else, and will probably go with a single, wide slat for the back and seat. Also I would suggest adding braces to the legs, they seem a little flimsy
I used 2 x 6's because of the distance (just over 12') I still need to build the ladder but my daughter insisted on sleeping up there anyway as she has been waiting for a few days as I worked om=n building this. No paint or stain yet, not sure how she wants it finished> I will update the photos as I finish the project.
Sun, 04/05/2015 - 12:31
Hi there,
Do you know how much weight this bed/loft will hold?
Thanks!
New chairs for our lake house. They turned out realy comfortable. Thank you Ana!
used Ana's plans, just modified the width and depth.
Fri, 05/28/2021 - 12:35
This is officially DONE!, just waiting for the paint to dry. Turned out heavier than I thought it would. Next time would try to use thinner materials. The X's weren't too bad, but were still a PIA. ... thats why most of them live in Texas
I wanted to build my kids a sand/ water table, but wanted something that would could also serve as other purposes. My father helped me since I used his tools. We shortened the whole project by 16% so my kids would be able to reach it better. We also changed up what wood was used. My father came through and had a pile of wood that he had no use for. So we used 1x6's that we cut down for the shelves and 2x4's for everything else. We also added a brace on the back to add a little more stability to the bench since my kids were going to use it. To finish it up I bought a plastic storage tub with a lid and some sand. The bottom shelf is used for toy storage.
I used a 1 x 12 and 2 1 x 6 for the table top because thats what had on hand. I used Jacobean stain on the top and poly. I used white paint and glaze on the aprons and legs. 2 coats.
Love Ana's projects. Made a few mistakes, but all and all a fun and easy build
Comments
Ana White Admin
Thu, 02/05/2015 - 10:54
Darling!
Great job, I love the estimated cost breakdown, too funny!