Planters
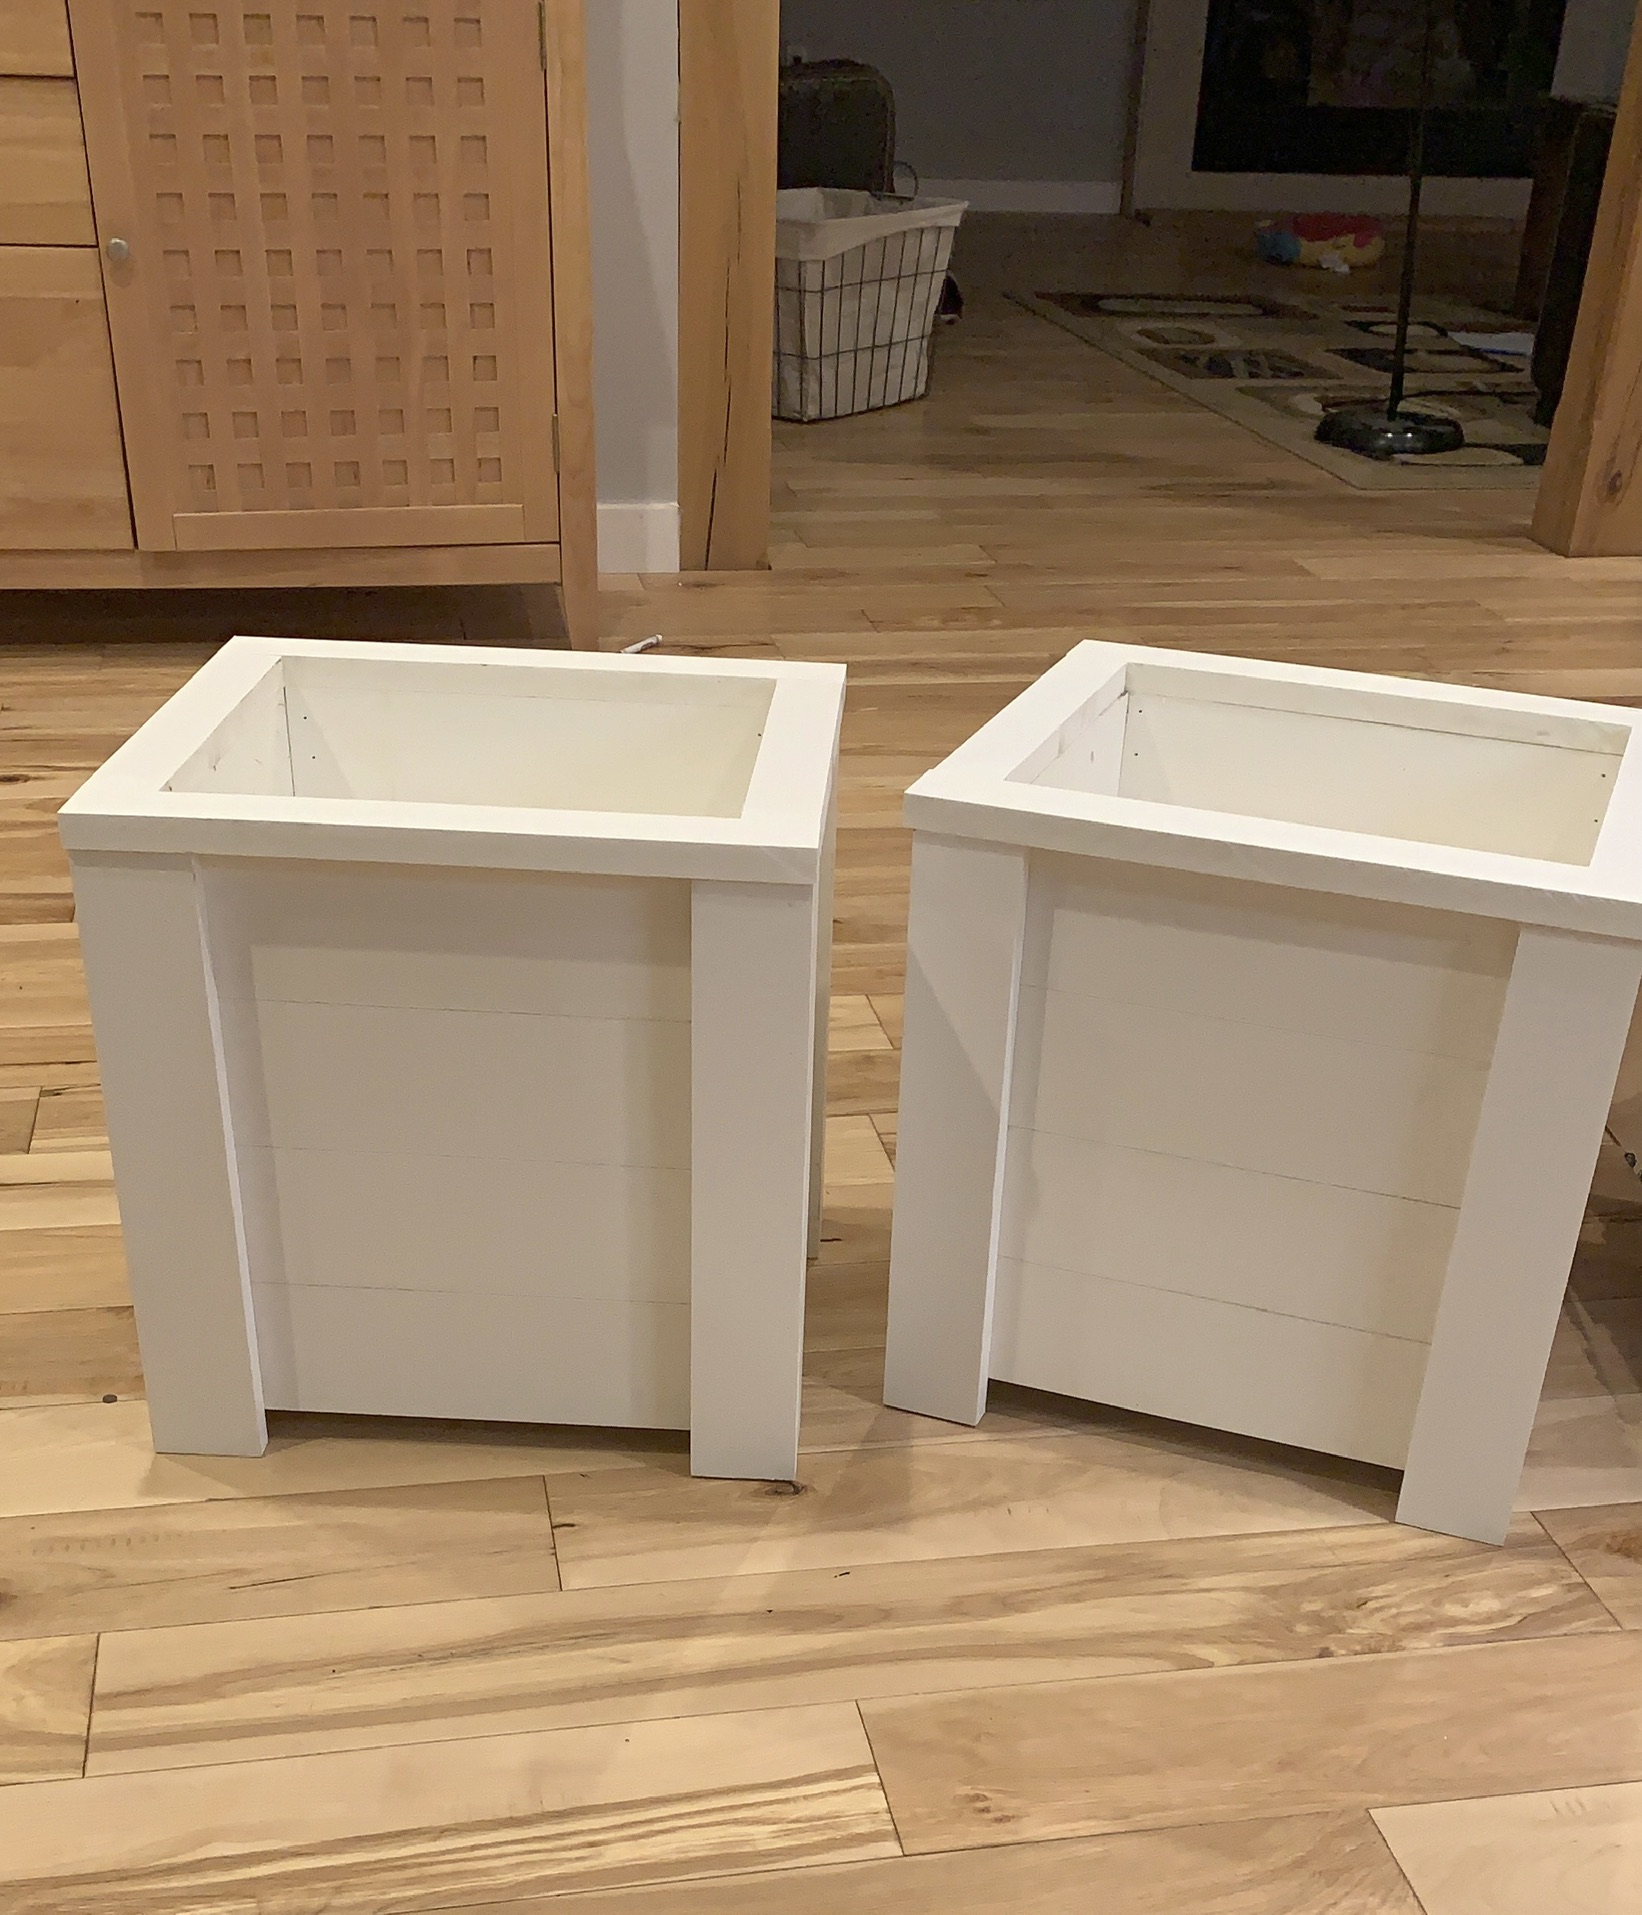
Just made these last night! So quick and easy, thank you so much! You are so inspiring!

Just made these last night! So quick and easy, thank you so much! You are so inspiring!
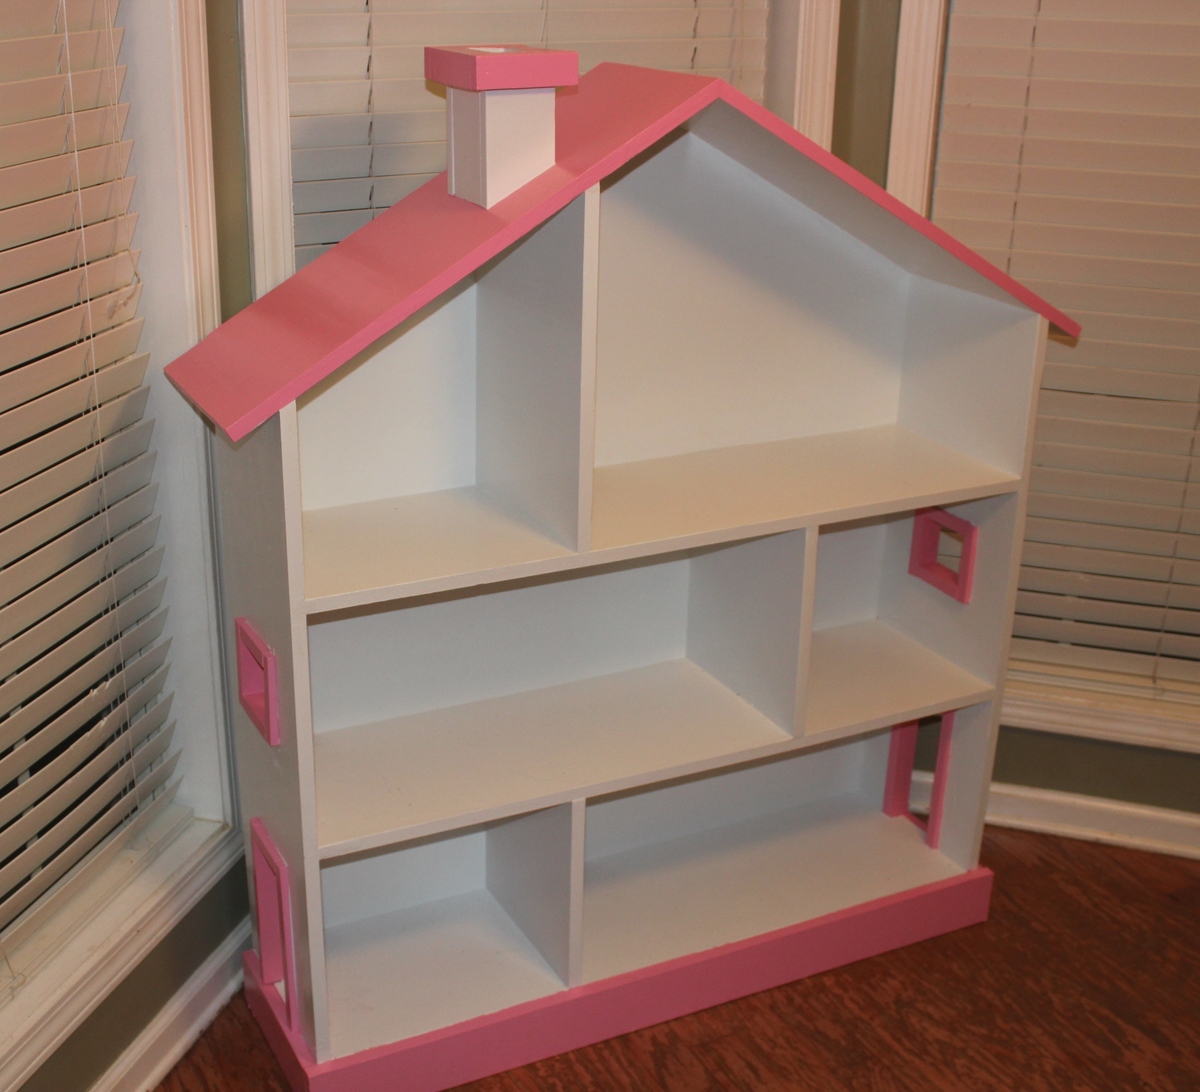
This was a great project to get back into woodworking after many years of not building anything. Used my table saw for cutting the 30 degree miters. Plans didn't call for it, but I made dado joints for the shelves using a router. This made the bookcase very solid. For the miters I cut them first and then measured and cut the piece to the finished length. I cut the vertical shelf supports after the shelves were in which insured they were the exact length. A great suggestion is to use The Hillman Group "Procrafter" #8 x 2-in Yellow Zinc Square-Drive Wood Screws. The #2 square drive never slipped out and the screws were self drilling and countersunk themselves. No need to predrill a countersink hole or anything else. Added the chimney after seeing it on another brag post. This cute little item brought a big smile to my granddaughter's face on Christmas morning. The time investment of 10 hours for me was due to rusty woodworking skills and needing time to think about things. Could probably build the next one in five hours. Painting took as long as the building.
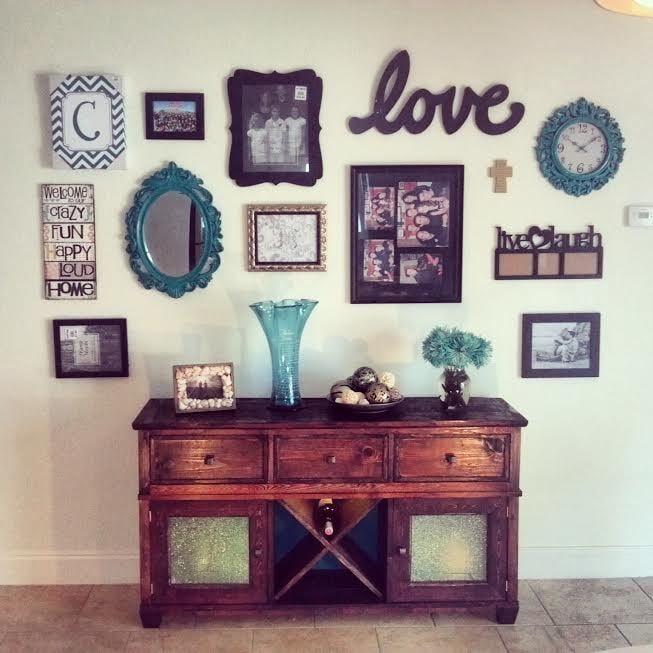
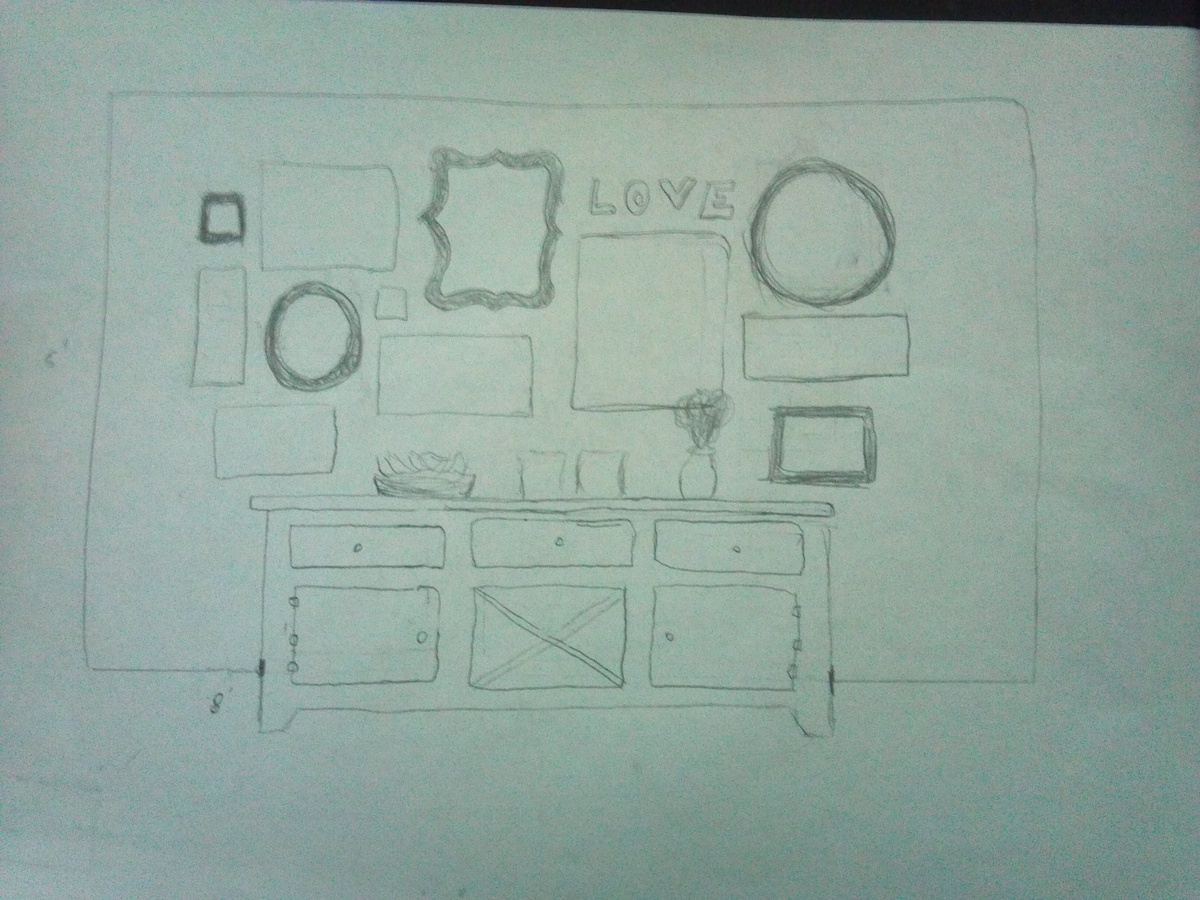
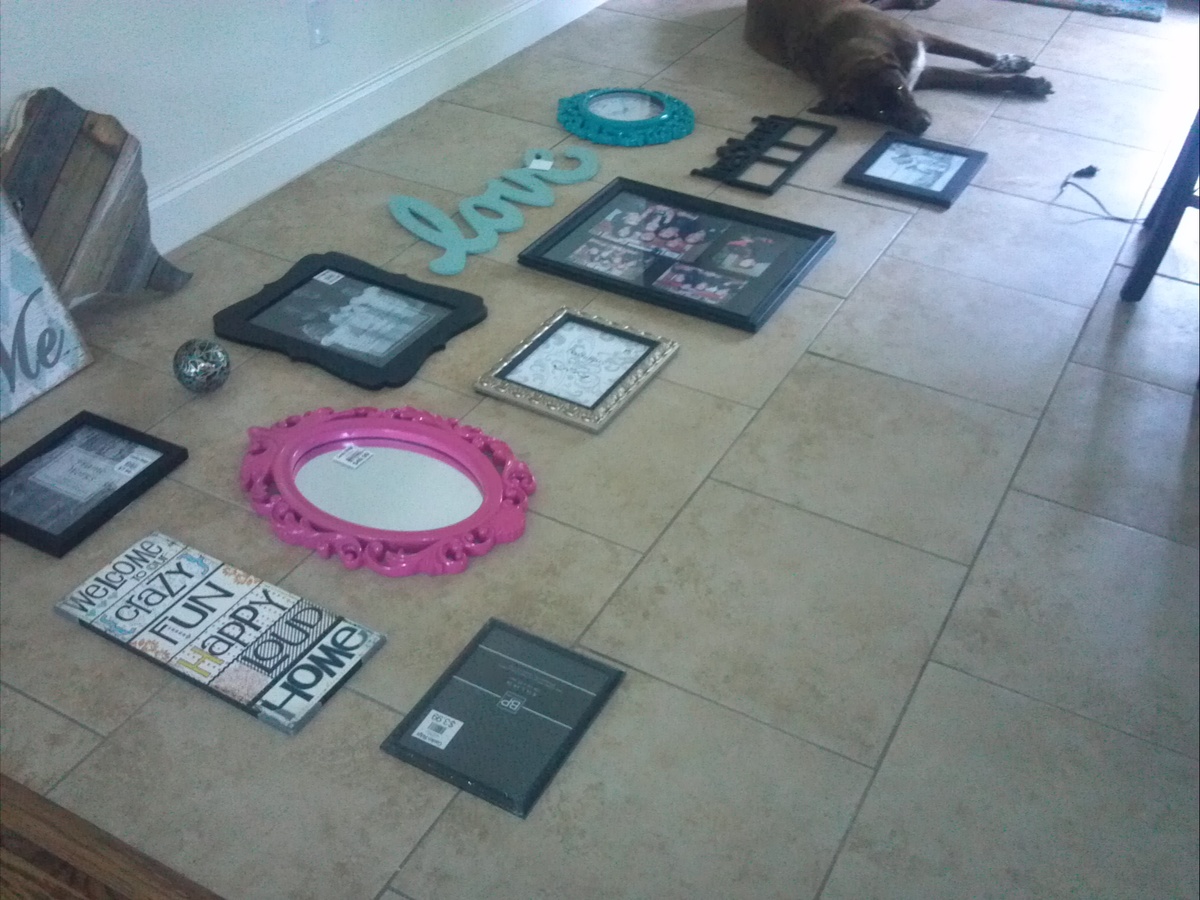
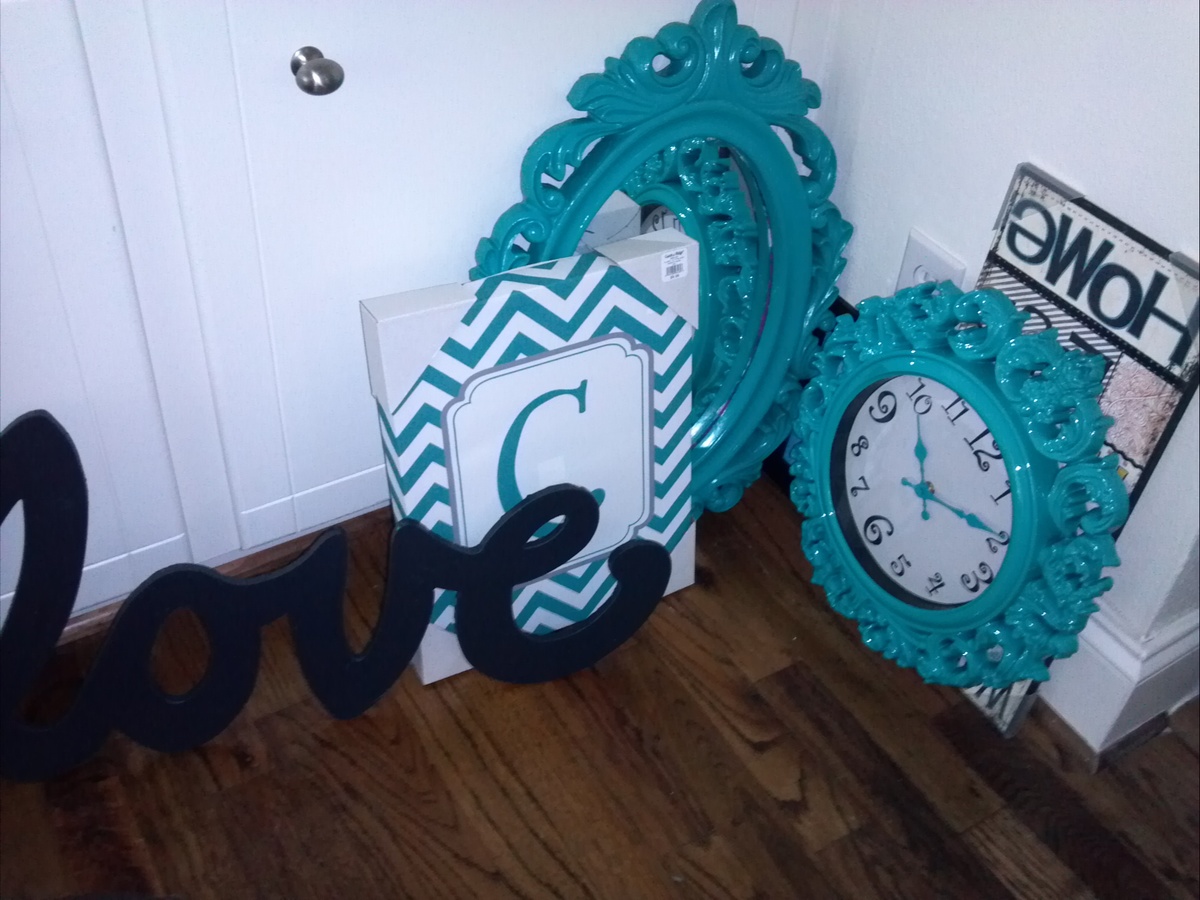
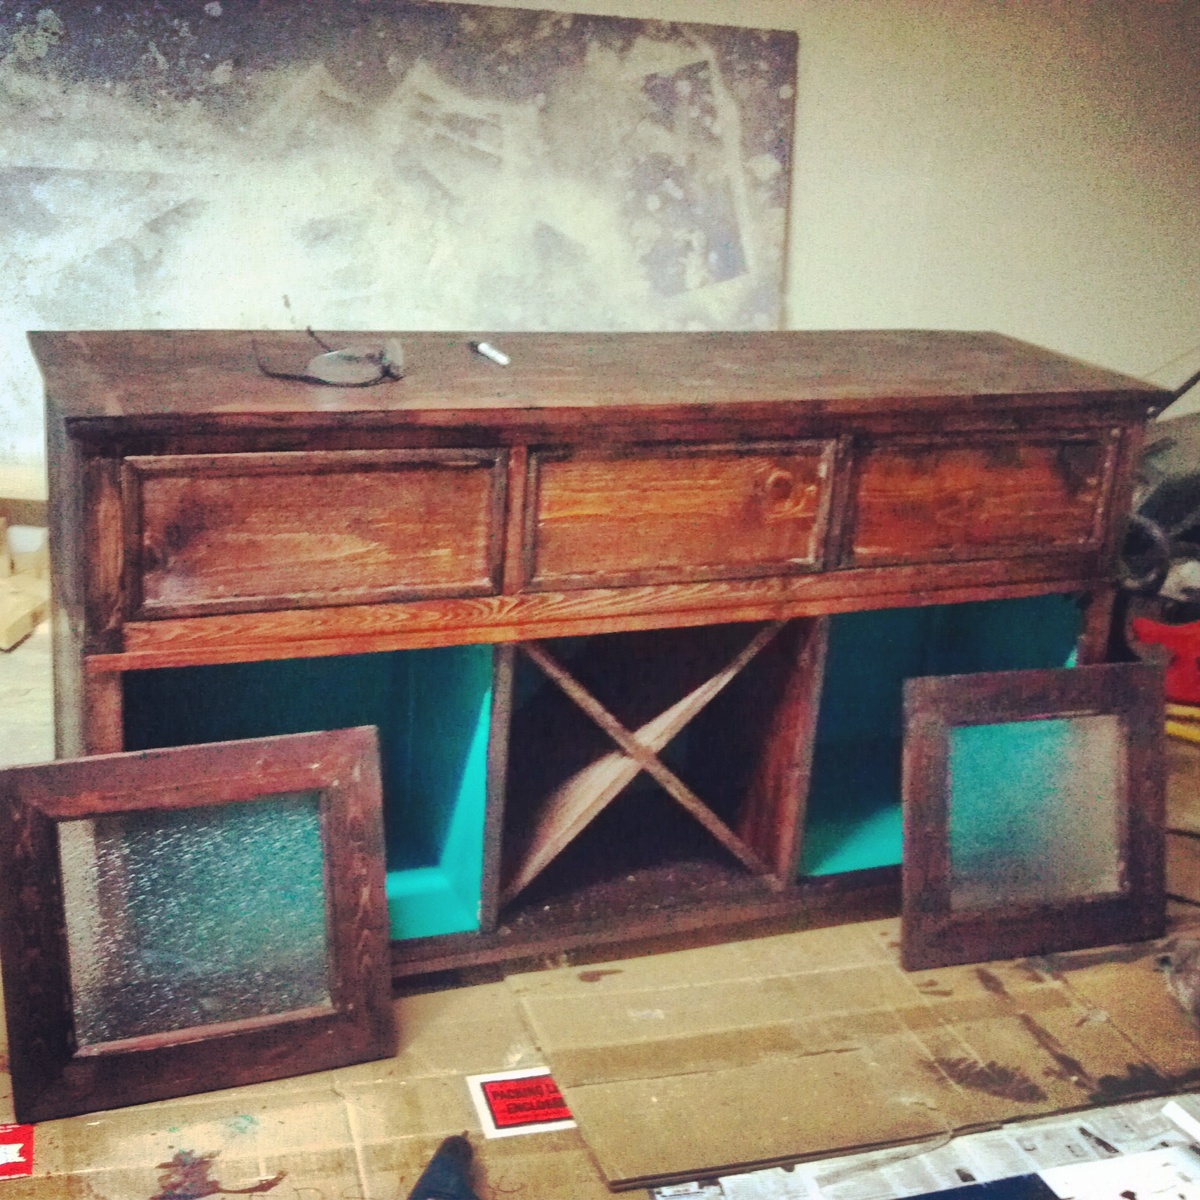
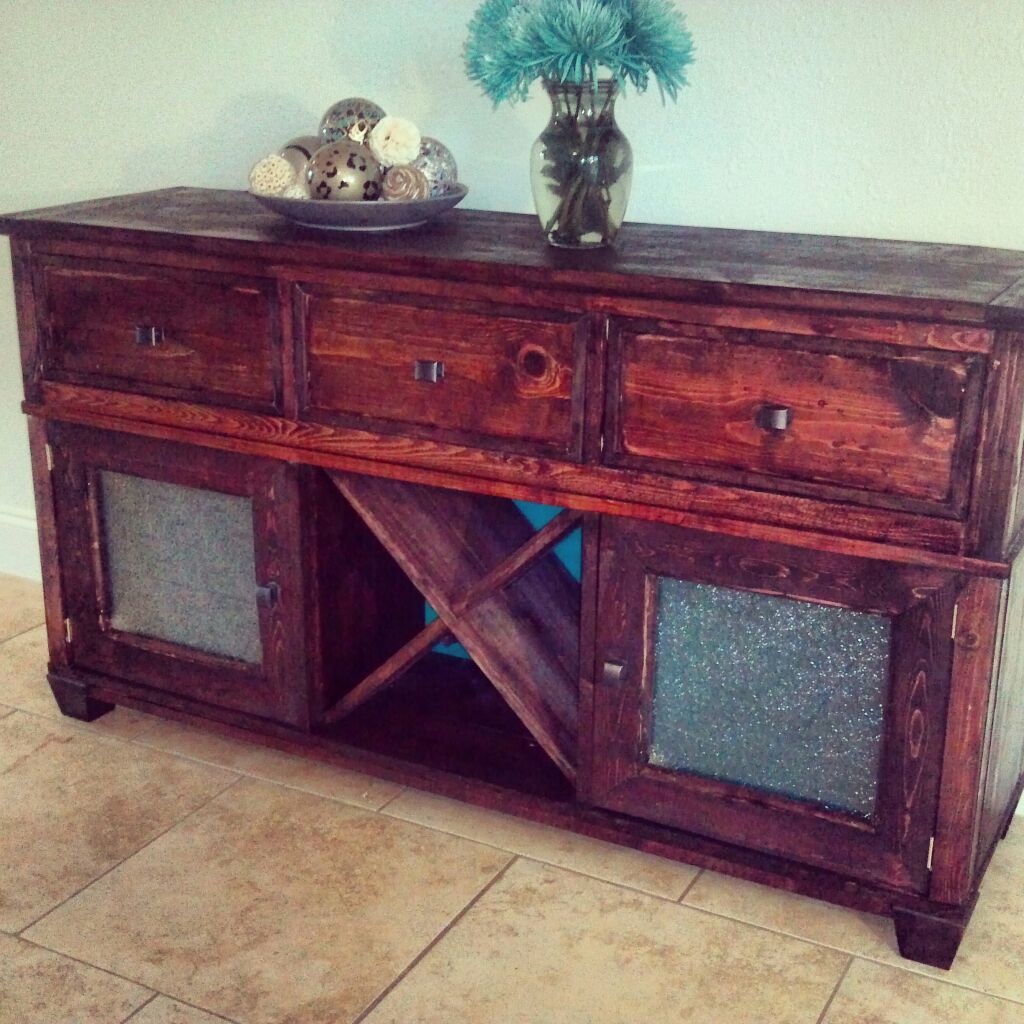
My wife wanted something to fill up a large wall in our kitchen so I designed a collage centered over a buffet table. I used the plans from the Salsa Console that I found on this website for the table. I had to modify the plans quite a bit in order for the table to fit the space that we had. After I had the design the way I wanted it, my wife and I found the frames that we needed and painted them with a black, brown, and terquoise theme. I built the hutch using pine that I bought from the hardware store. I used quarter round moulding strips to accentuate the drawer faces and the cabinet doors. I added glass to the center of the cabinet doors and then backed the glass with the material from one of those cheap ceiling light panels to give the glass a 3D frosted appearance. I then painted the interior of the cabinets with that same terquoise color and ran lights inside the cabinets so that the terquiose color would show through the forsted glass. I finished the table off by staining it with a dark red maple stain (to match our kitchen table and island) and then added a few simple drawer/cabinet knobs. Everything came together nicely when we hung it all up over the table. Now all we have left to do is add our pictures to the frames.
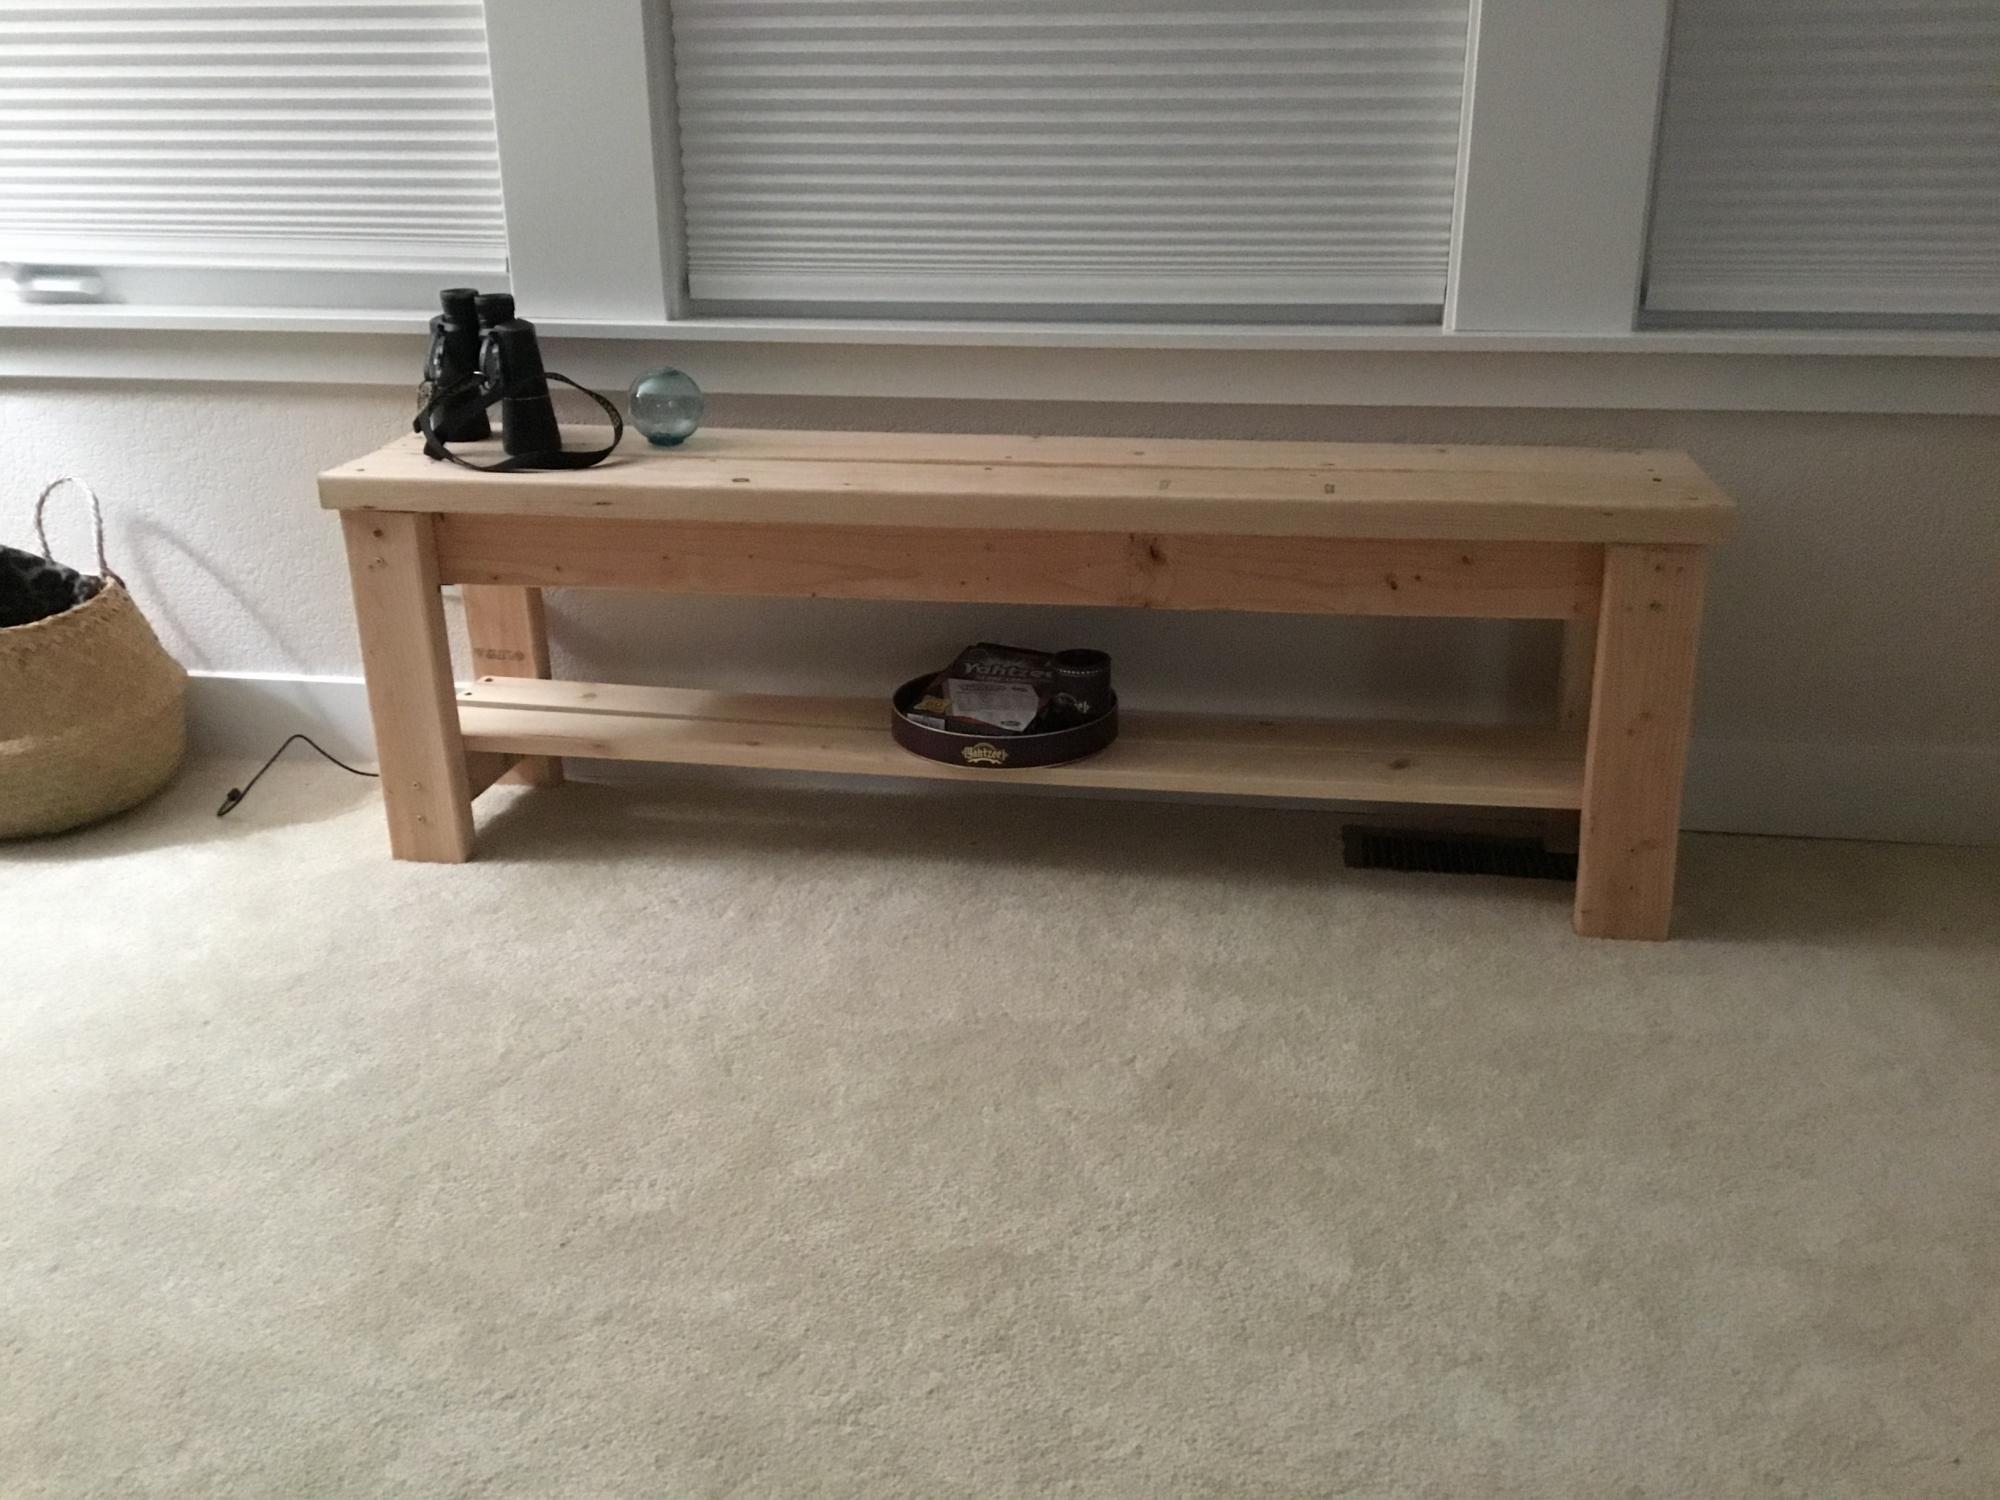
I made my bench around 53” and put the bottom leg apron about 1 1/2” from the floor and tha gave me the space to put 2 1x4 boards as a shelf
We used the basics of the plan as presented but added scroll-cut names and small clipart designs on the backs. He also routed a curved edge along the sides and fronts of the seats for a little smoother look.
For the lettering, I printed out the names on the computer, then applied them to the wood with adhesive for cutting. The font I used is called Epistolar. I had to find one that didn't look funny with the A since there would not be a way to keep the little triangle part at the top. Epistolar was the only font I had on my computer that would work for that. We simply drilled a hole midway below the peak of the A to make it look right. The font itself does not have any cross piece on the A.
For the small Jeep and Rocking Horse, I just looked online for a silhouette of a car and a horse. The rocking horse again presented a slight challenge since if we cut the rocker as it was shown, the horses legs would look funky. We solved that by cutting the rocker part slightly smaller and leaving some space between it and the horses legs.
A few things we learned: Be sure your letters aren't too close together or the wood will split when you are sanding. We had this problem with some of the A's before we drilled the hole smaller. We used a drill press, for the holes, and the board underneath was not fresh so some of the back pieces splintered. A fresh board under the holes would have kept that from happening.
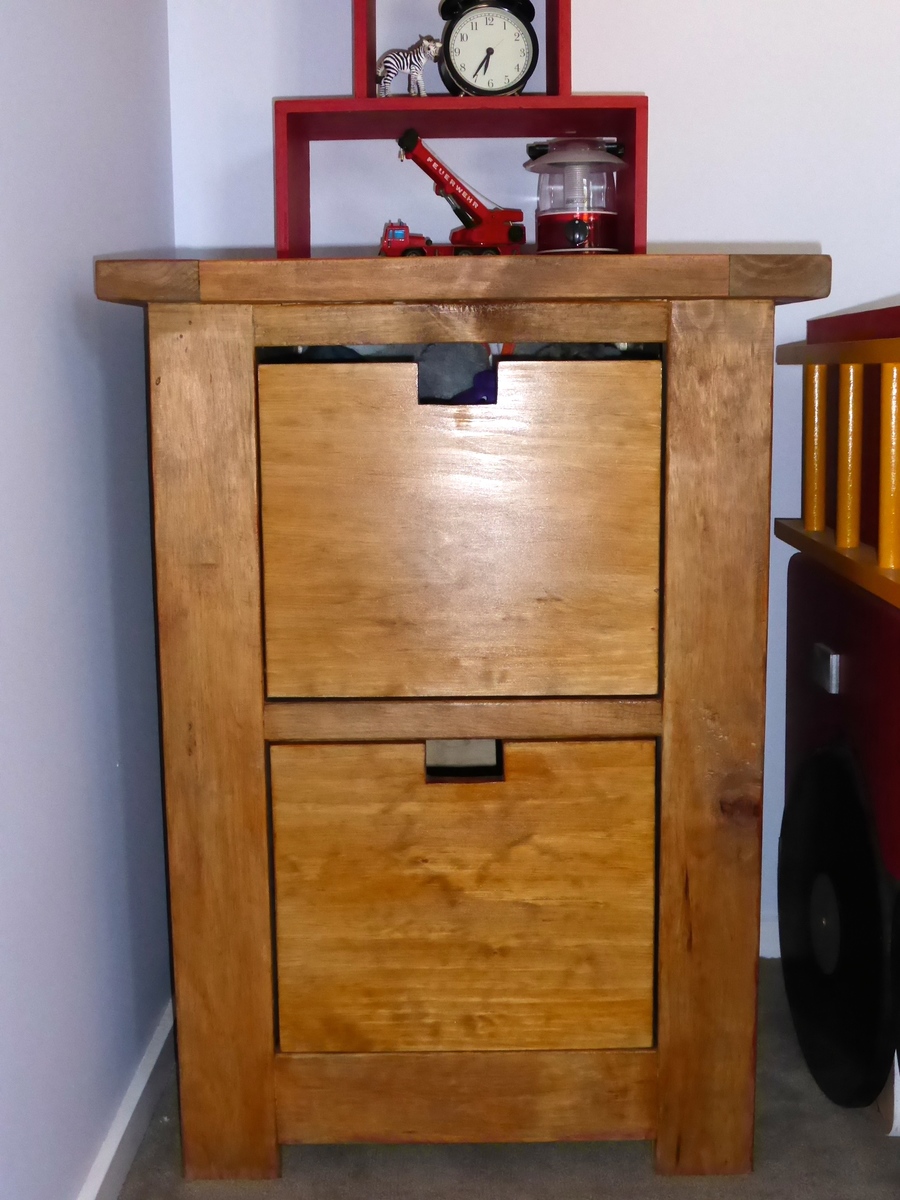
A modified smaller version of the dumpster dresser.
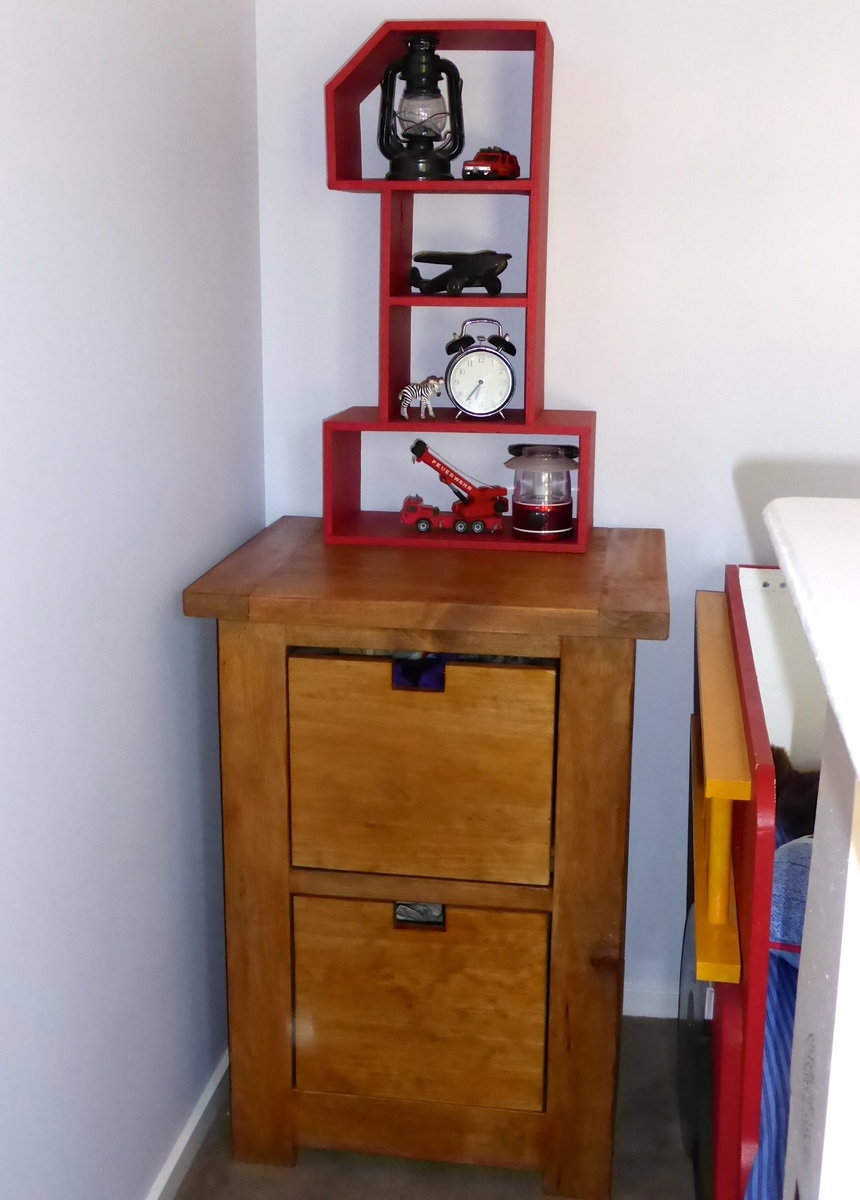
Barn door slider with all 3 shelfs stained dark walnut with a white cabinet
Mon, 02/20/2017 - 15:12
Where do I find the plans I have looked everywhere for the sliding barn door console plans
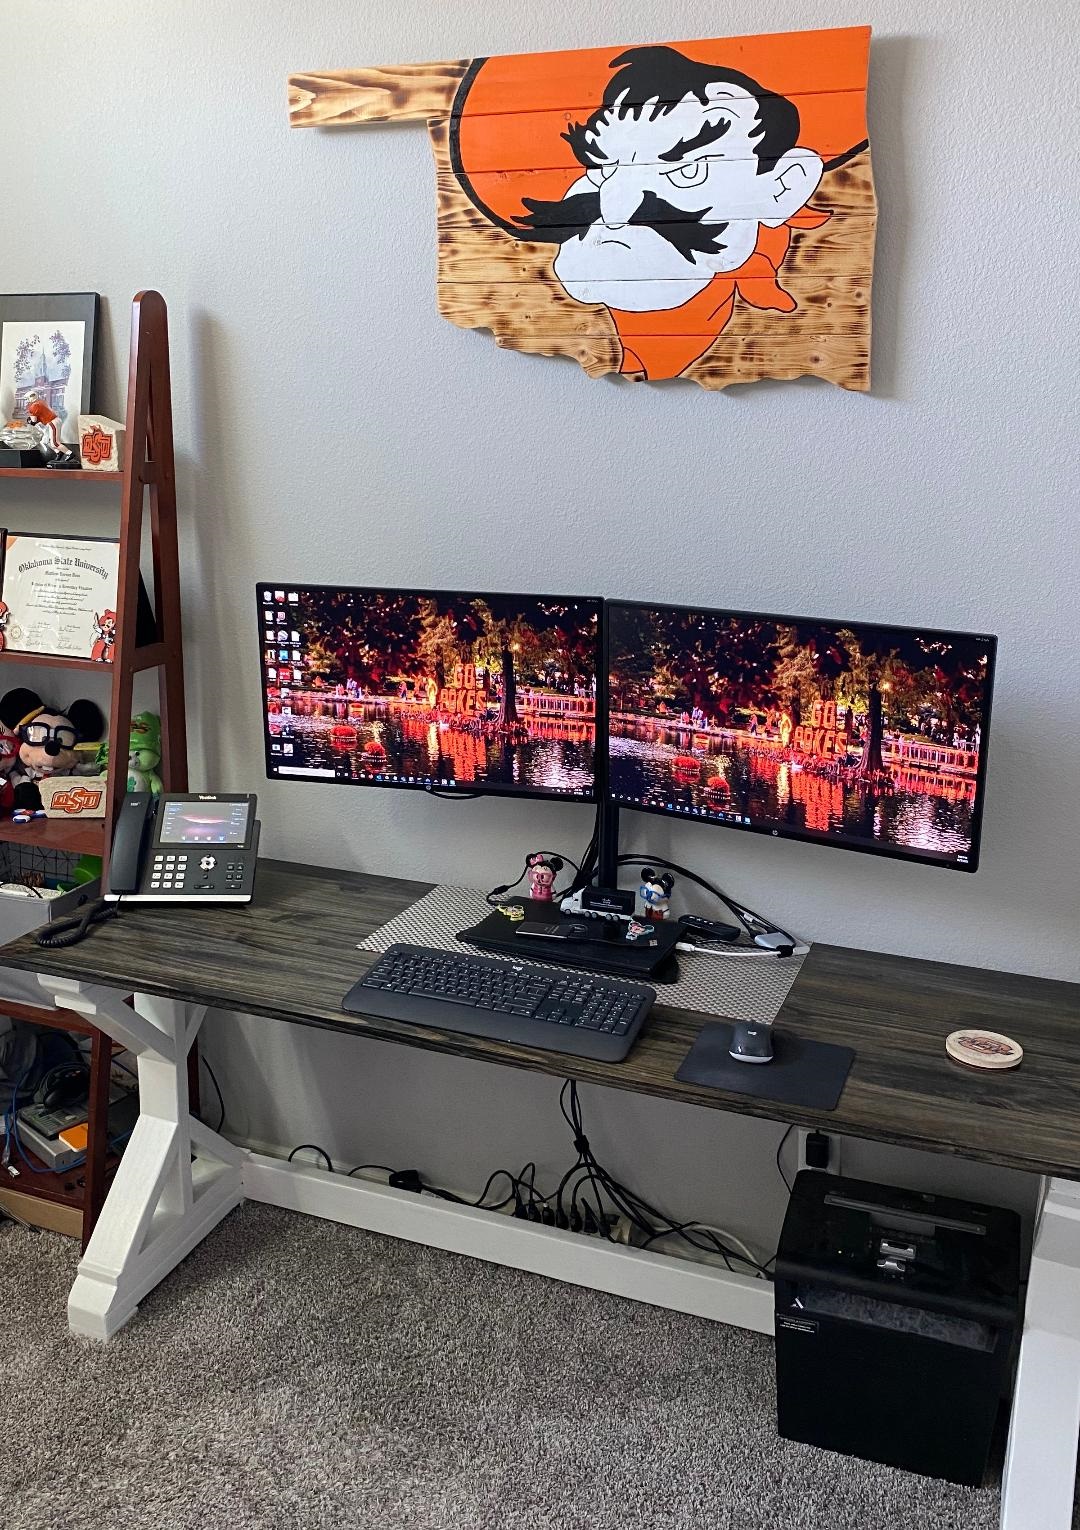
I created this desk using the Fancy X Desk plans, but I used a project panel for top.
Just need to stain it.
I'm pretty impressed with myself, thanks for the plans!
Tue, 01/08/2013 - 12:56
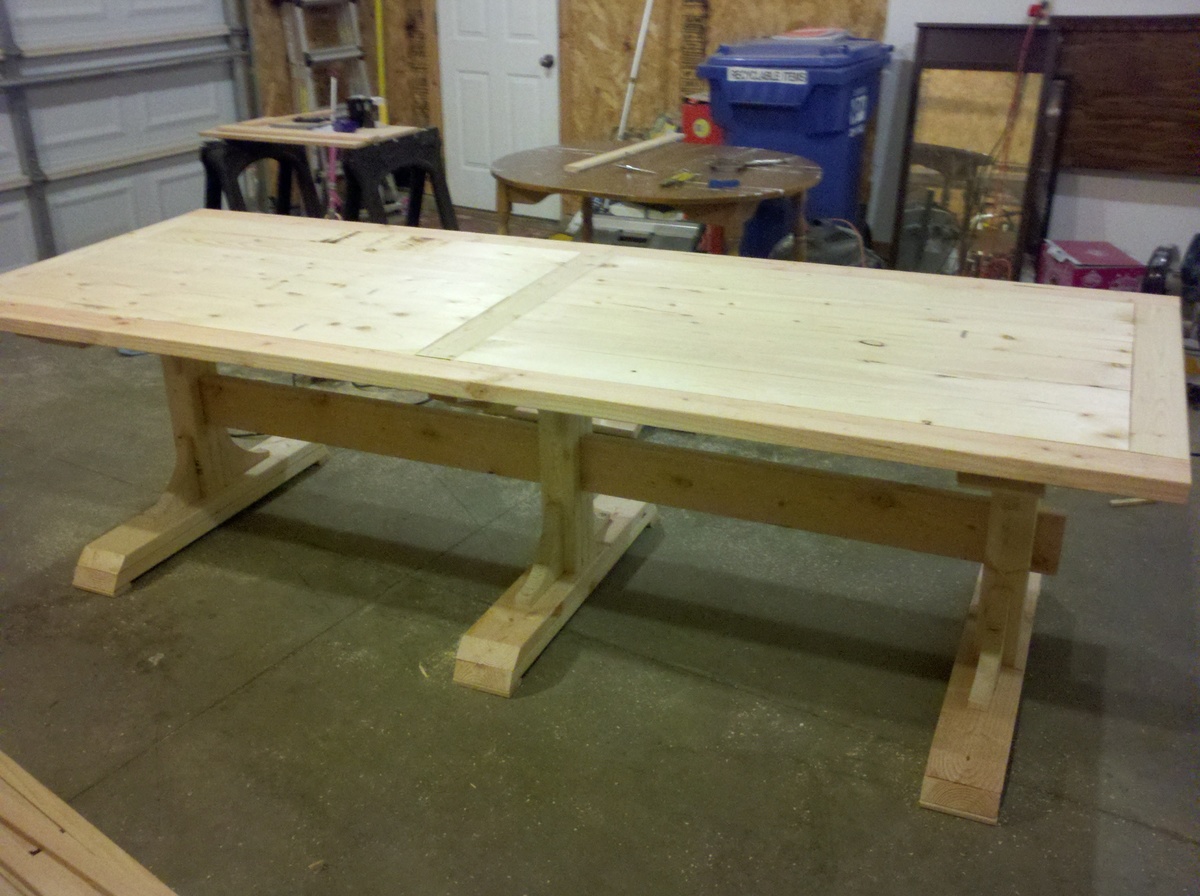
Looks great. I am planning to build the same table, but wasn't sure what wood to use. I noticed you used pine. I am curious where did you find yours because at our big box stores the Pine is really expensive.
Tue, 01/08/2013 - 13:10
It's really just construction lumber. Construction lumber is usually cut out of pine as far as I know. The 2x4 and 2x6 boards are just plain old lumber. Just go through and look for straight ones.
The 1x6 boards were the tricky ones for me. Our Menards regional hardware/lumber store carries cedar also, but that is much different. If you just find the aisle with the 1xanything boards, that's what I used. They came in a 'standard' board and a 'Select' board, I used the standard boards; but you use these 1x6x8ft boards to make the table top and it's kind of difficult to find good, straight ones in the standard pile. If they aren't really straight you get gaps in your table top. But, the Select boards are like 4 times the cost $3 something versus $12 something per board, and you need 6 of them, so that adds up.
So you could just ask for the construction lumber when you get there and see if that works.
Also, I had to go back for one more 2x6x10ft board. The amount you are told to buy vs. the cut list didn't add up.
Tue, 01/08/2013 - 13:53
http://ana-white.com/2012/11/plans/triple-pedestal-farmhouse-table
Right at the top of the page under her name and the date posted there is a little link that says "PDF Version". That's what I used.
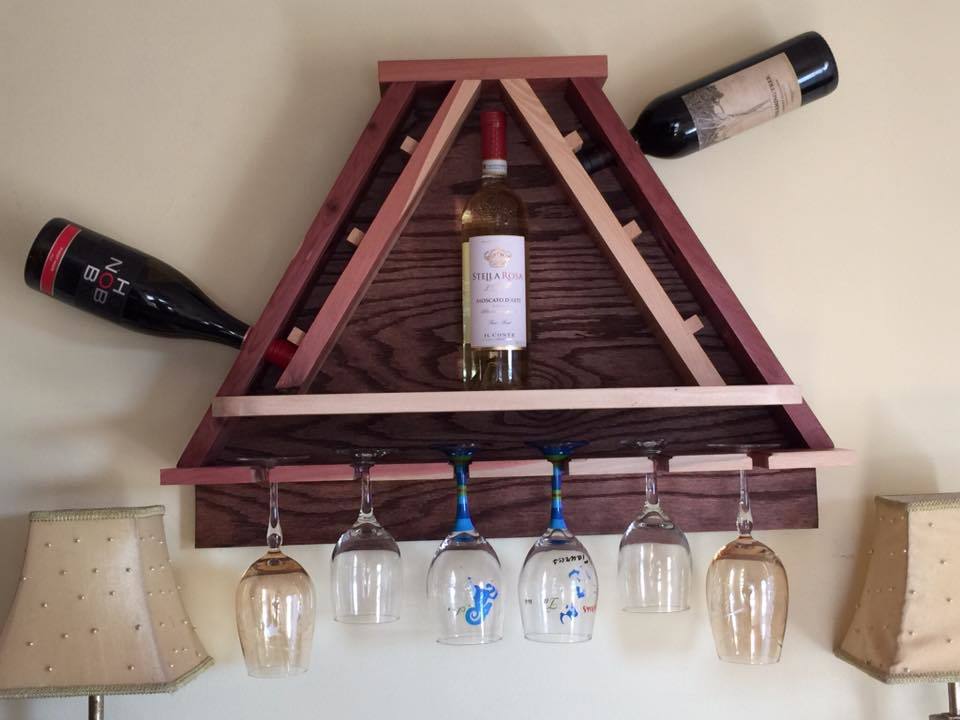
For our 5th (Wood) Anniversary I built this A-Frame Wine Rack out of Eastern Red Cedar and Birch. I found the plans on an Australian Websiite so had to convert metric to sae (hardest part of the entire project). It was easy to do and took two days with drying time. If you would like the plans let me know.
Thanks for looking!
Sun, 02/20/2022 - 03:26
I just discovered your web site and I love it.
How do I order plans. I would like the plans for the A framed wine rack .

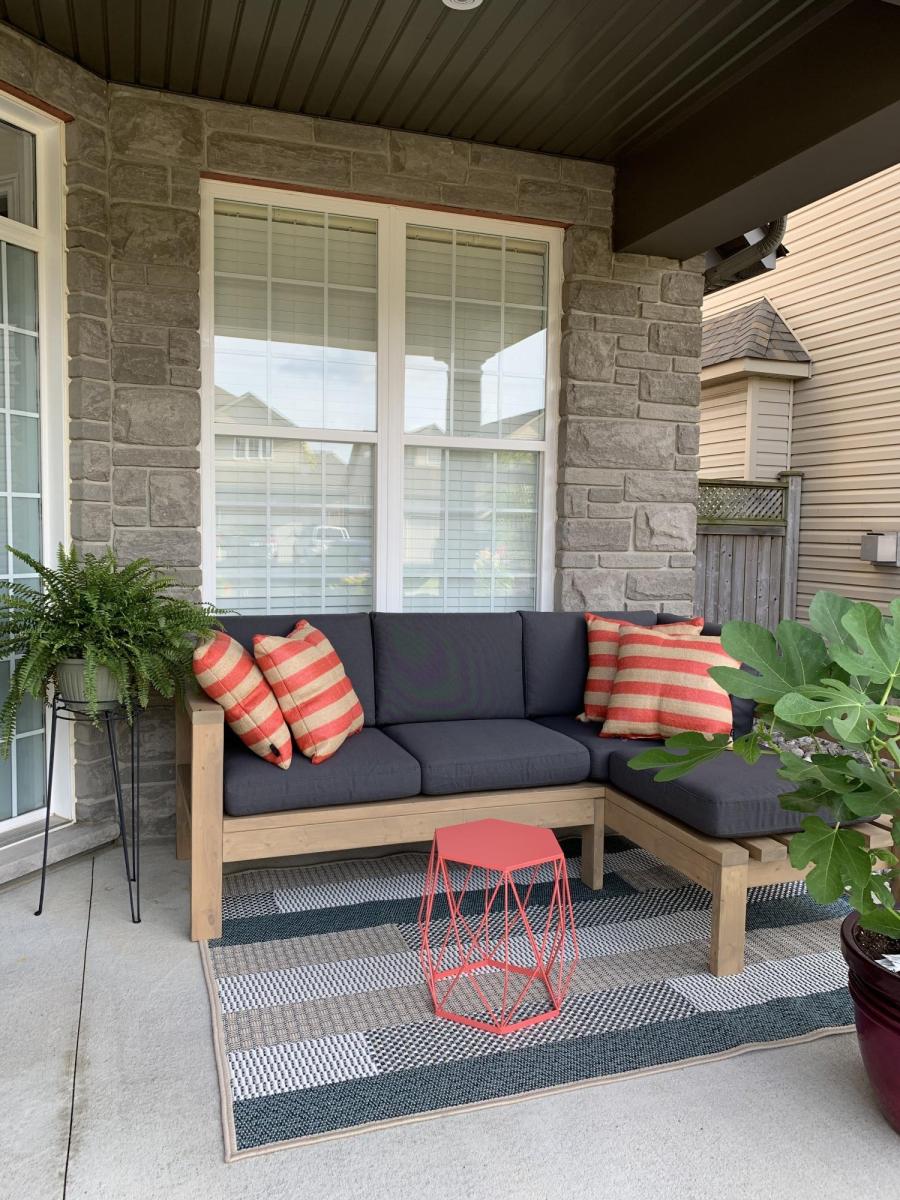
This project was quite easy and did not require many tools. The plan allowed me to adjust the measurements easily so it could fit in that space. I used regular 2x4’s and treated the wood with Mountain Ash colour in a semi-transparent stain from Sherwin Williams, I just love the colour! I build 2 - 2 seaters exactly the same. The one side has no arm, as I wanted it to look like a lounge chair. I love to sit in the corner and stretch my legs 😊. I bought the cushion covers from IKEA, and got good quality foam.
Found this plan and loved the look. Decided to go for it. I bought all the wood on a Saturday afternoon and started cutting it out on Sunday morning. I was able to get everything done with the exception of stain and poly in 1 day. The longest part was waiting for the polyurethane to dry completely before bringing it inside. Due to the size of this bed, it is best to bring it inside in multiple pieces and complete the final assembly in the room.
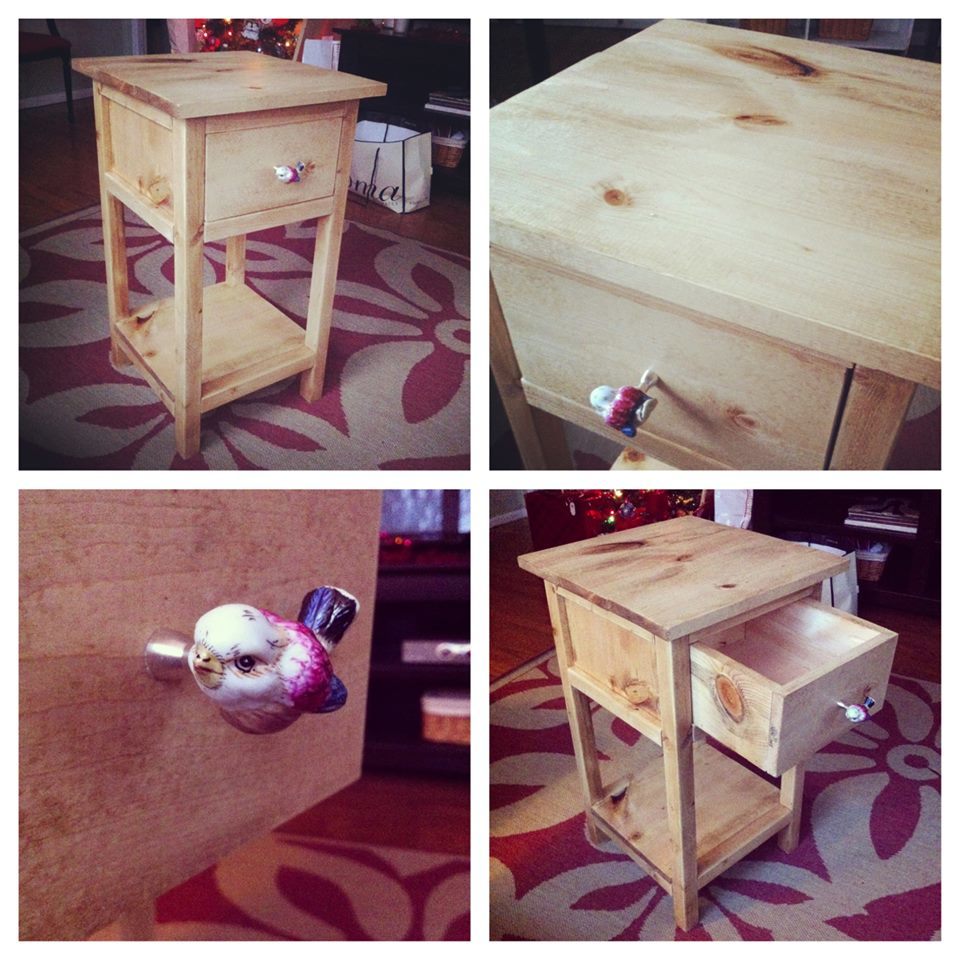
This is a fun project and made a great gift for my mom for Christmas last year. Inexpensive and didn't take long to complete. The pull is from Anthropologie (they have some of the cutest pulls!). Thanks Ana!
Wed, 11/05/2014 - 12:51
That is genious! I love the wood finish and the handle! Thanks for sharing.
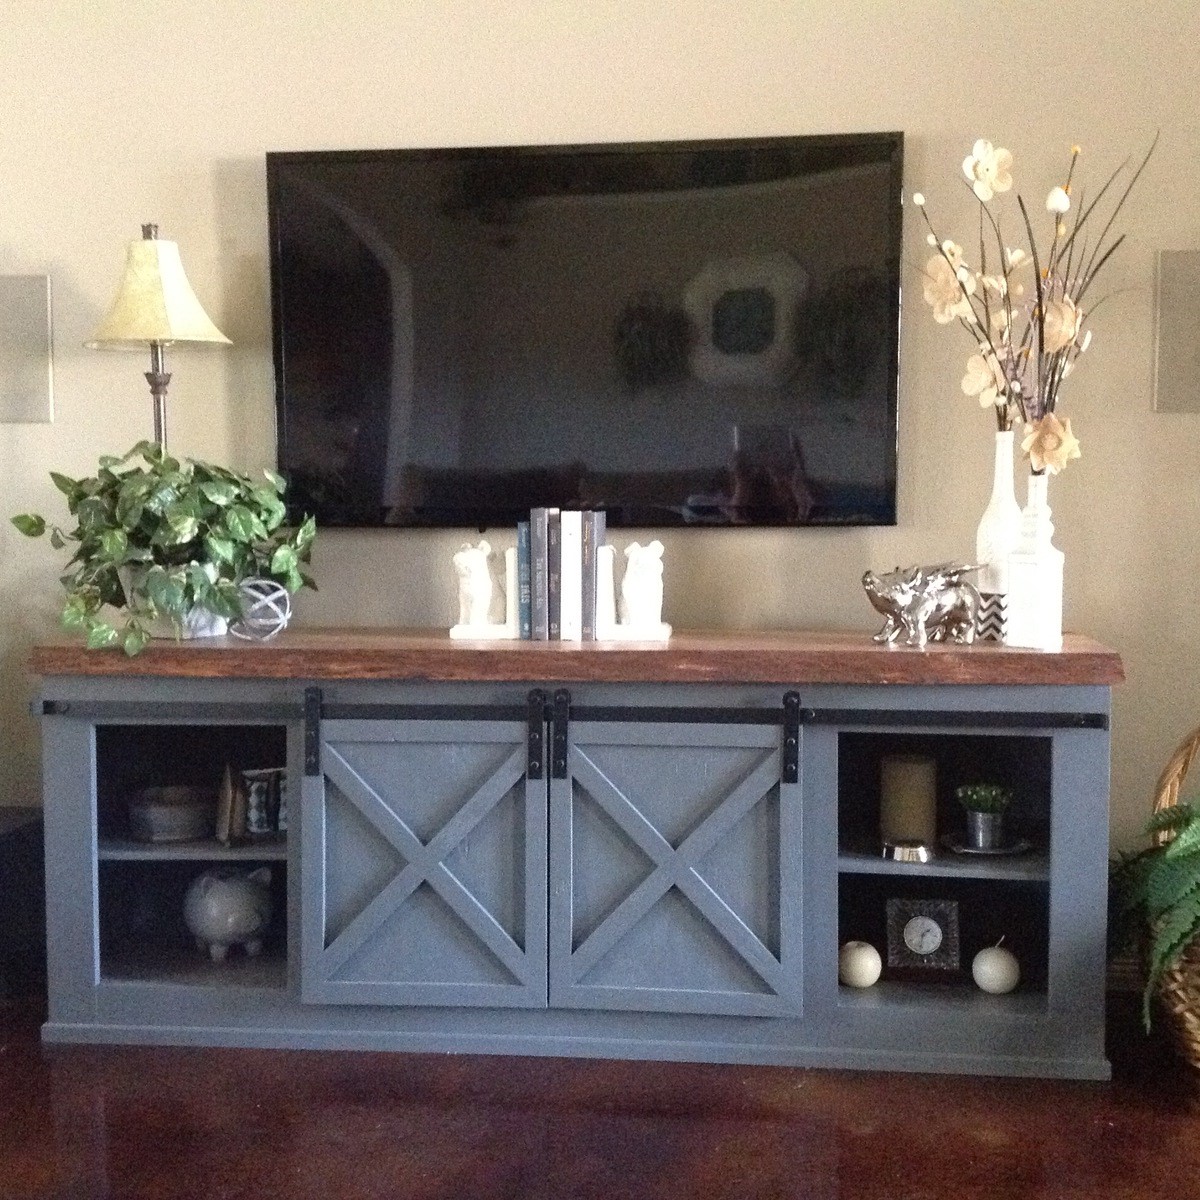
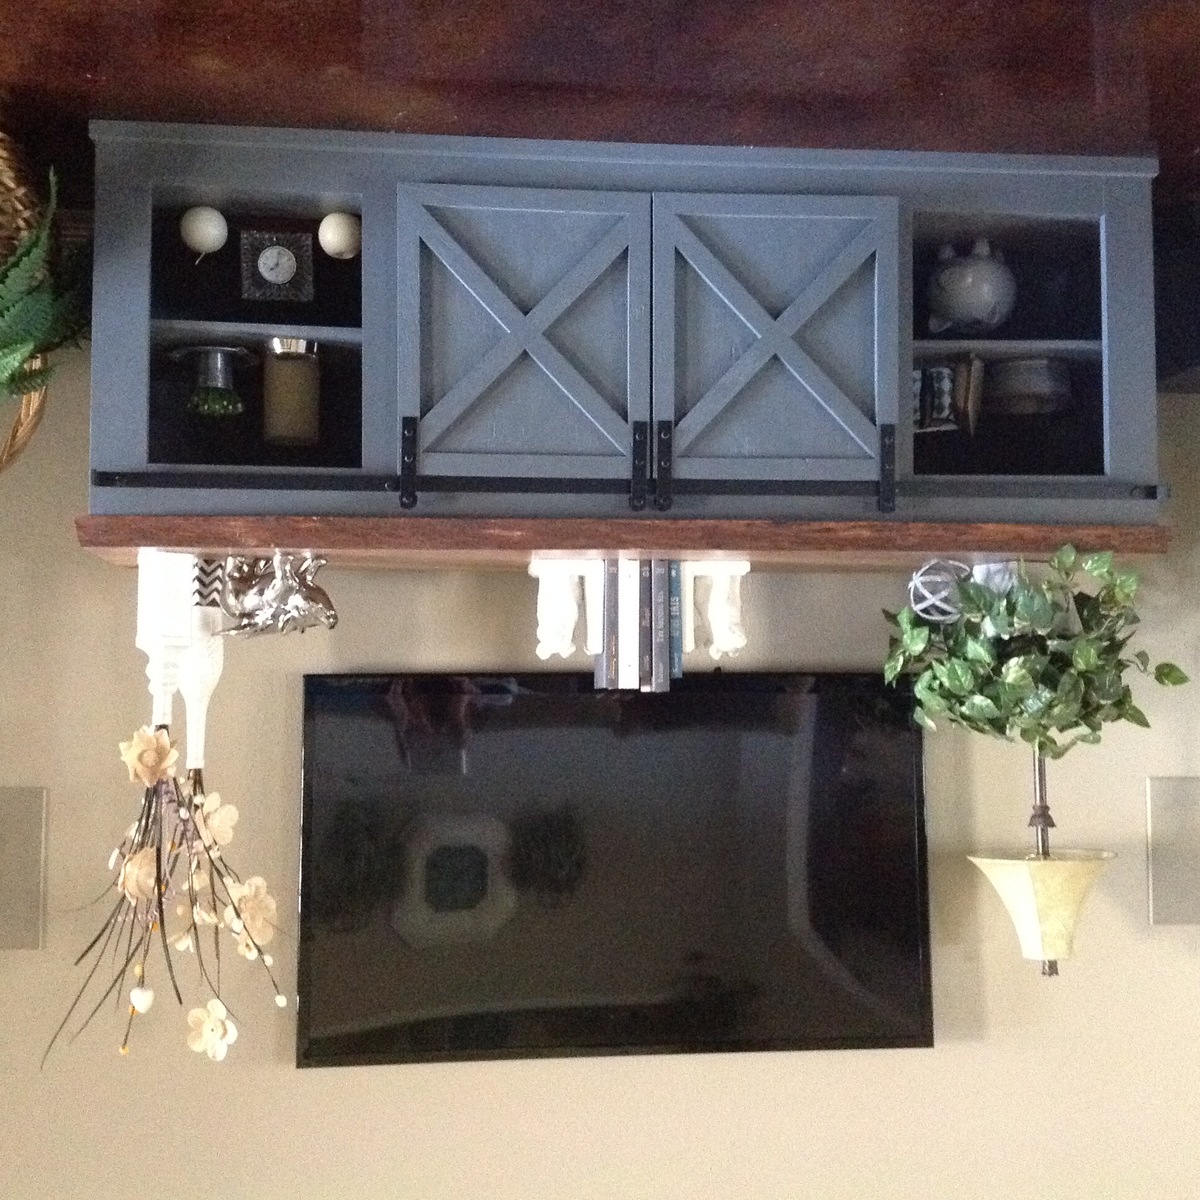
Loved this table! Didn't want to spend a ton so I asked my husband to make it for me.....I love it. He did an awesome job. We traveled about 3 and a half hours to pick up the live edge top.
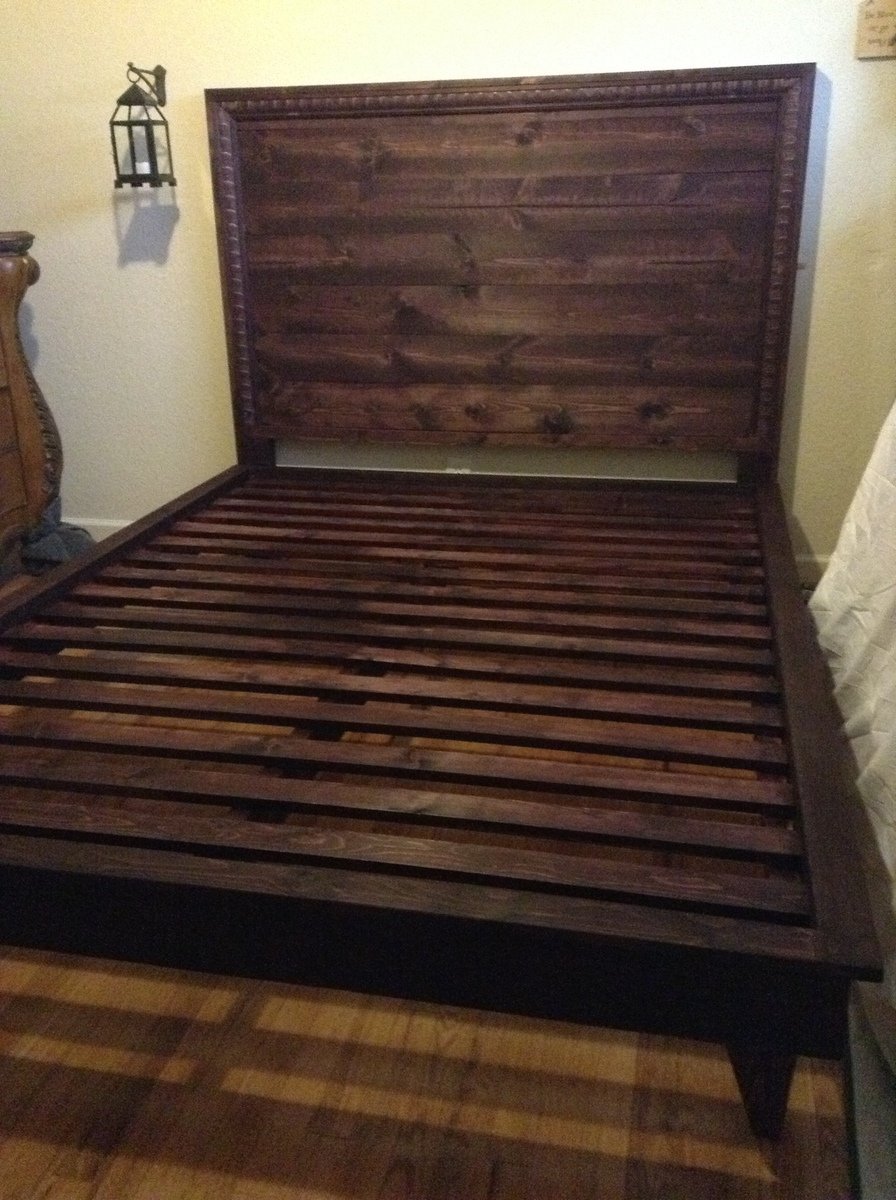
This is my first large wood project. I used pine and fastened the pieces with pocket holes and countersinking screws. I also used Elmer's stainable wood glue. I chose a dark cherry stain. I haven't coated it with polycrylic yet, but I plan to soon. Thank you Ana White for this amazing website. I'm going to buy your book for my siblings!
This was the first piece of furniture that I ever built! Plans were very helpful and easy to follow. If I had it to do overagain, I would have painted instead of staining (less sanding required).
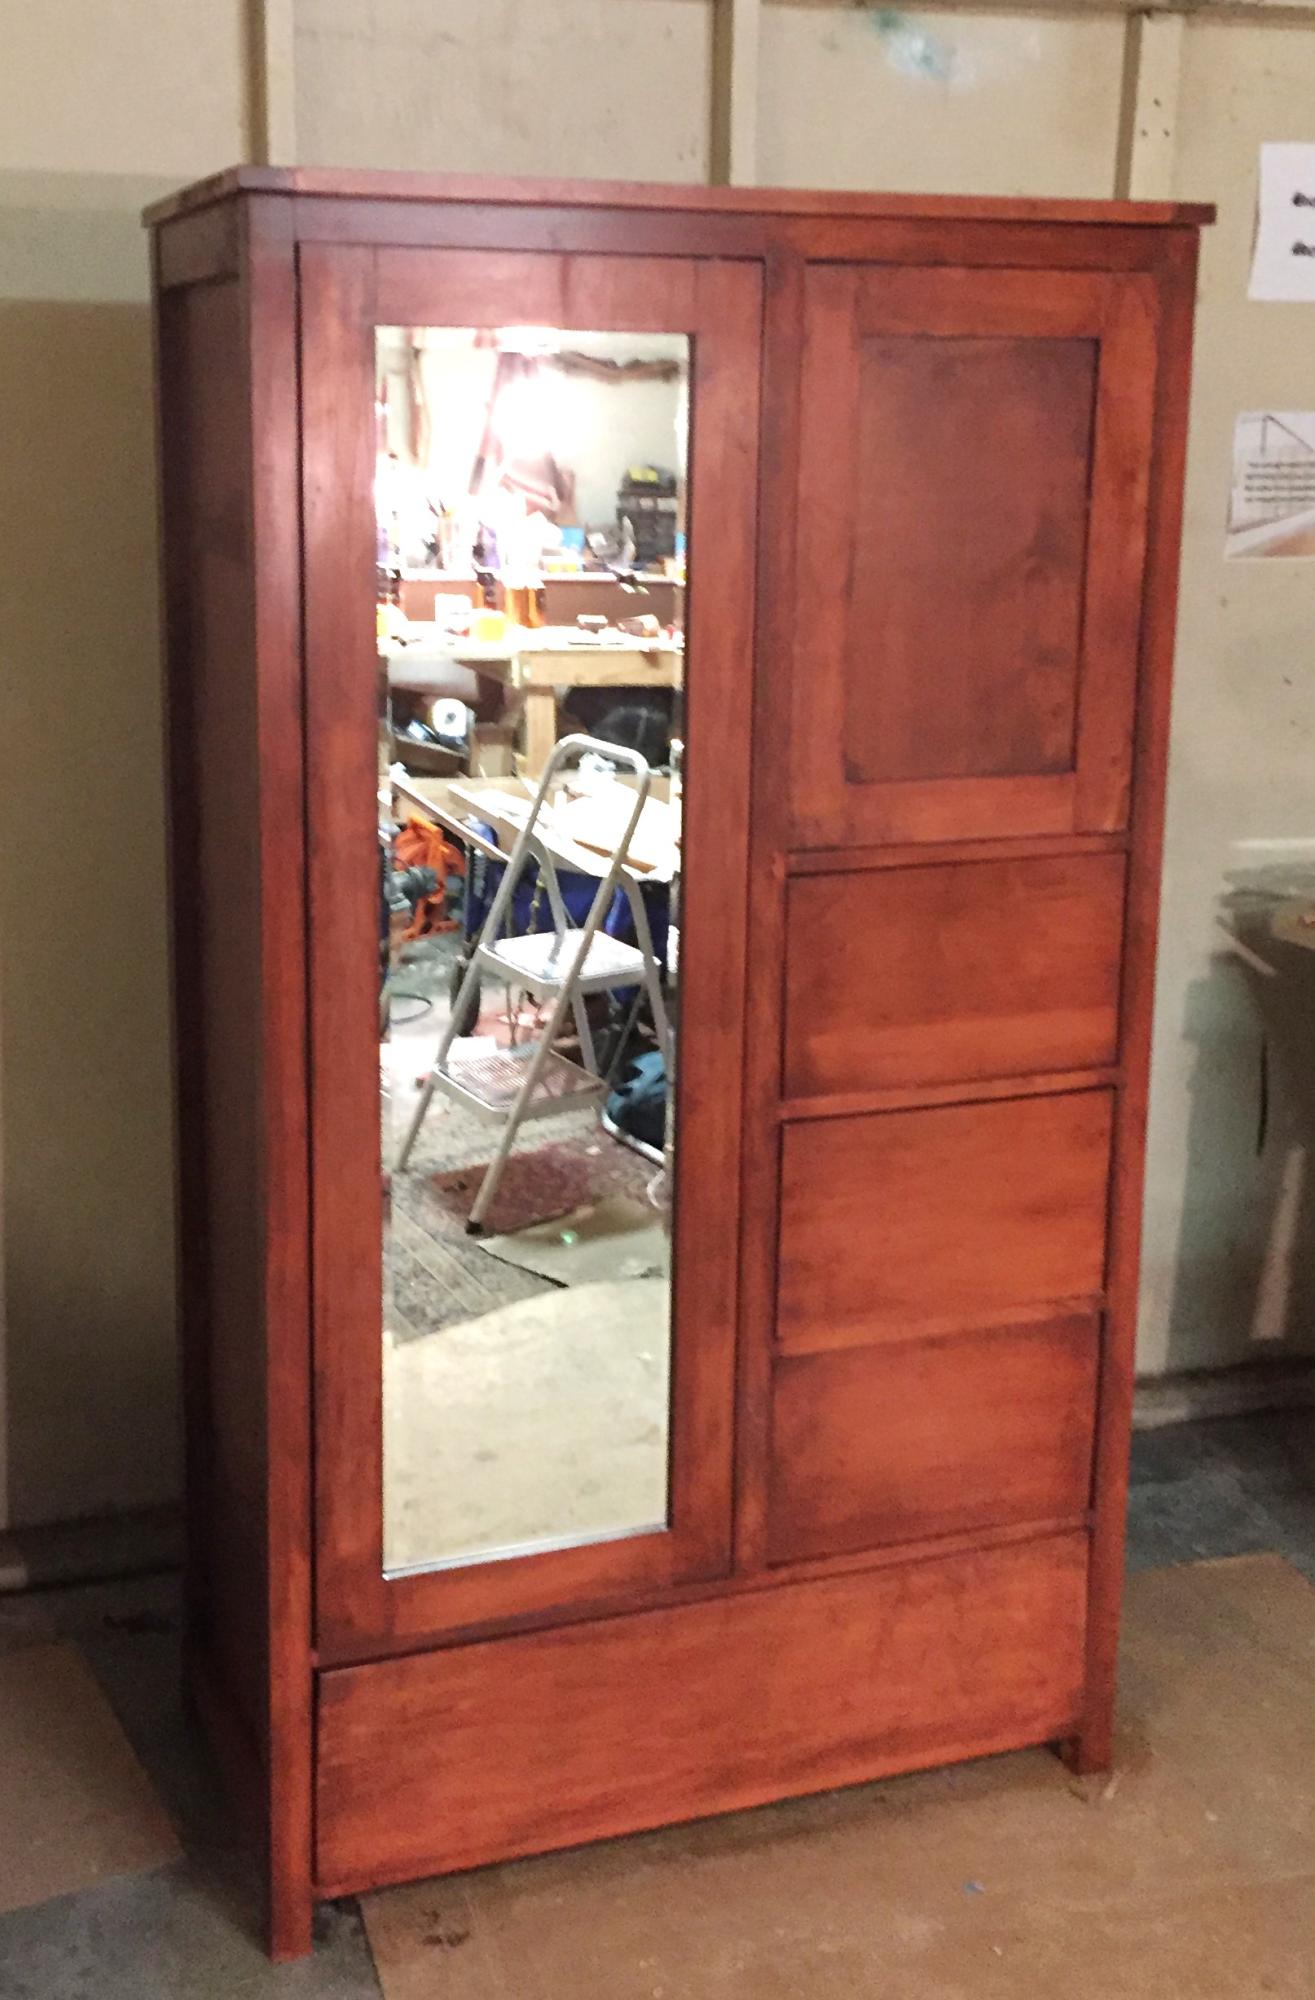
Use white maple and maple ply with cedar for the sides and back of the drawers.
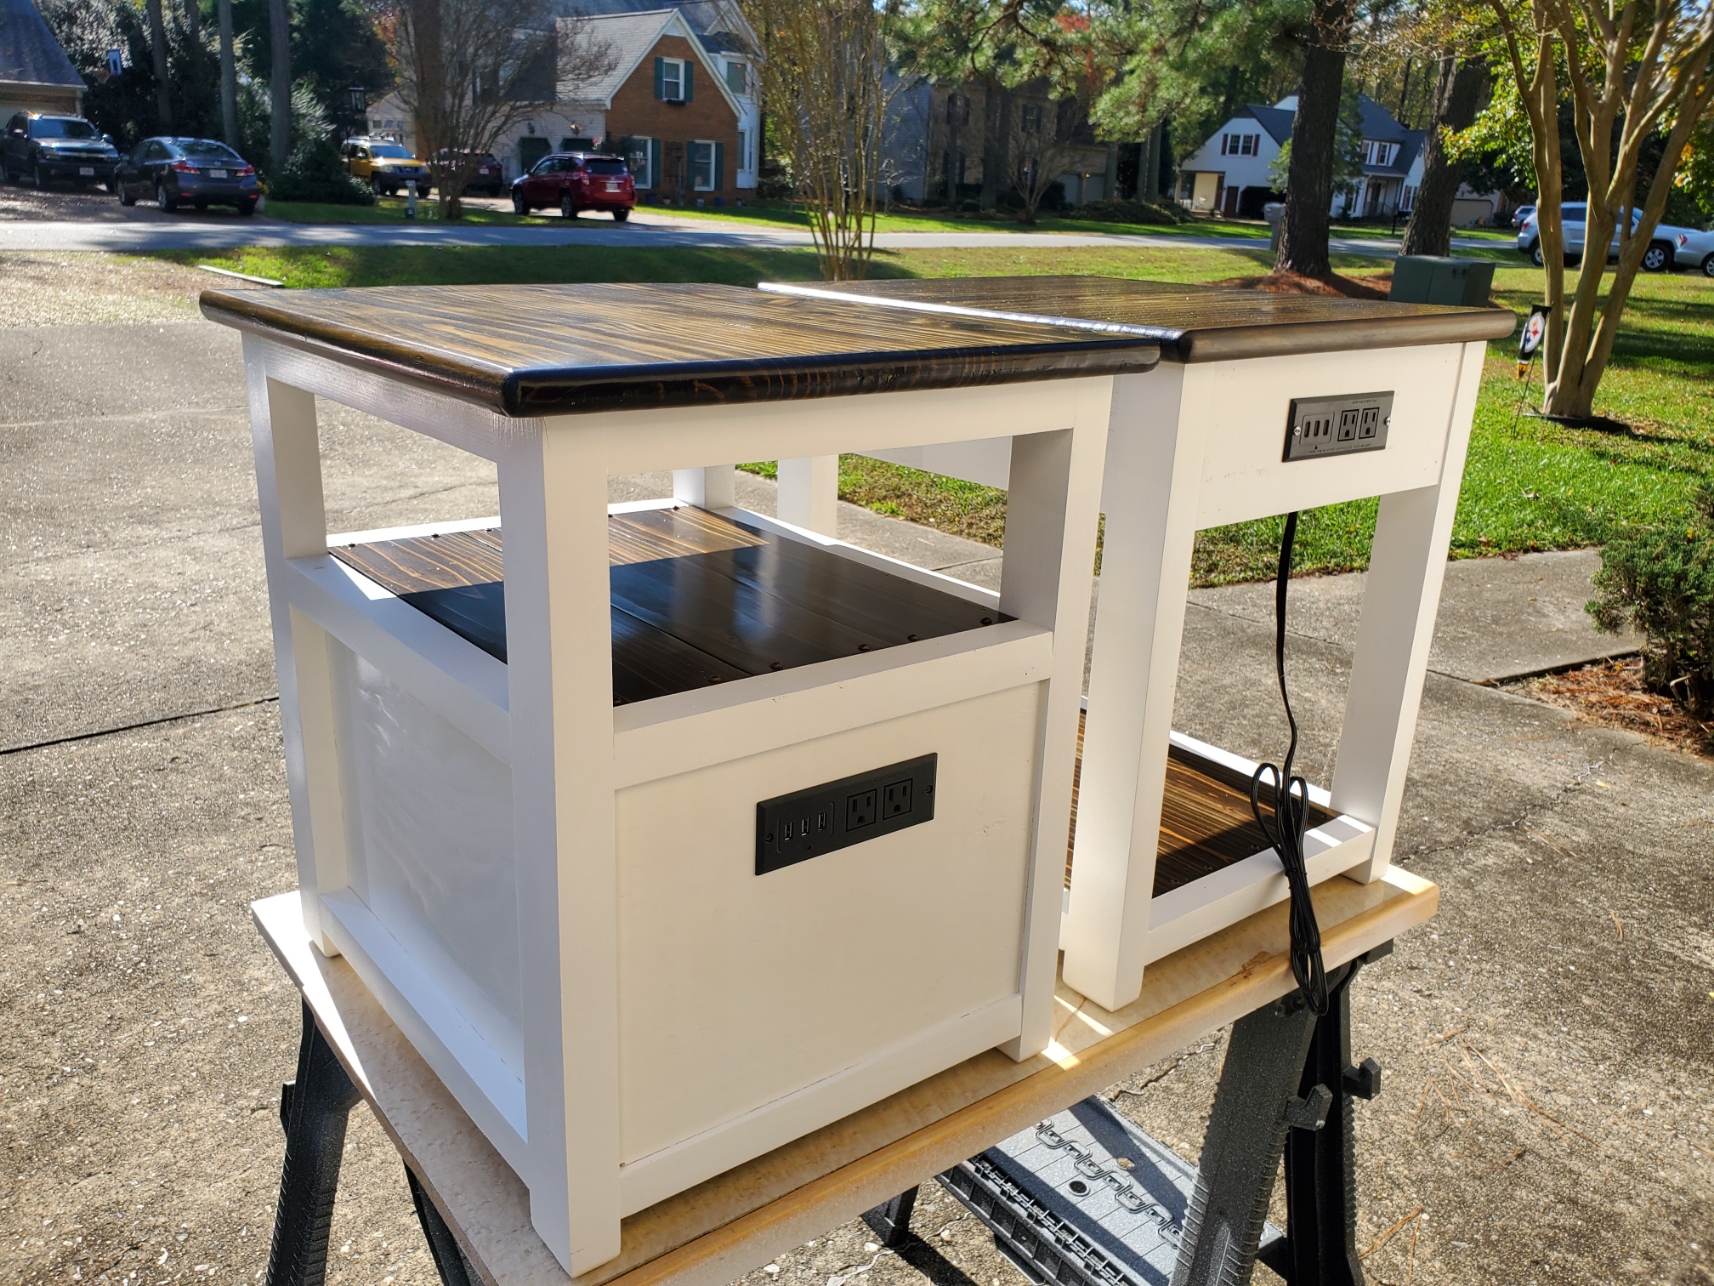
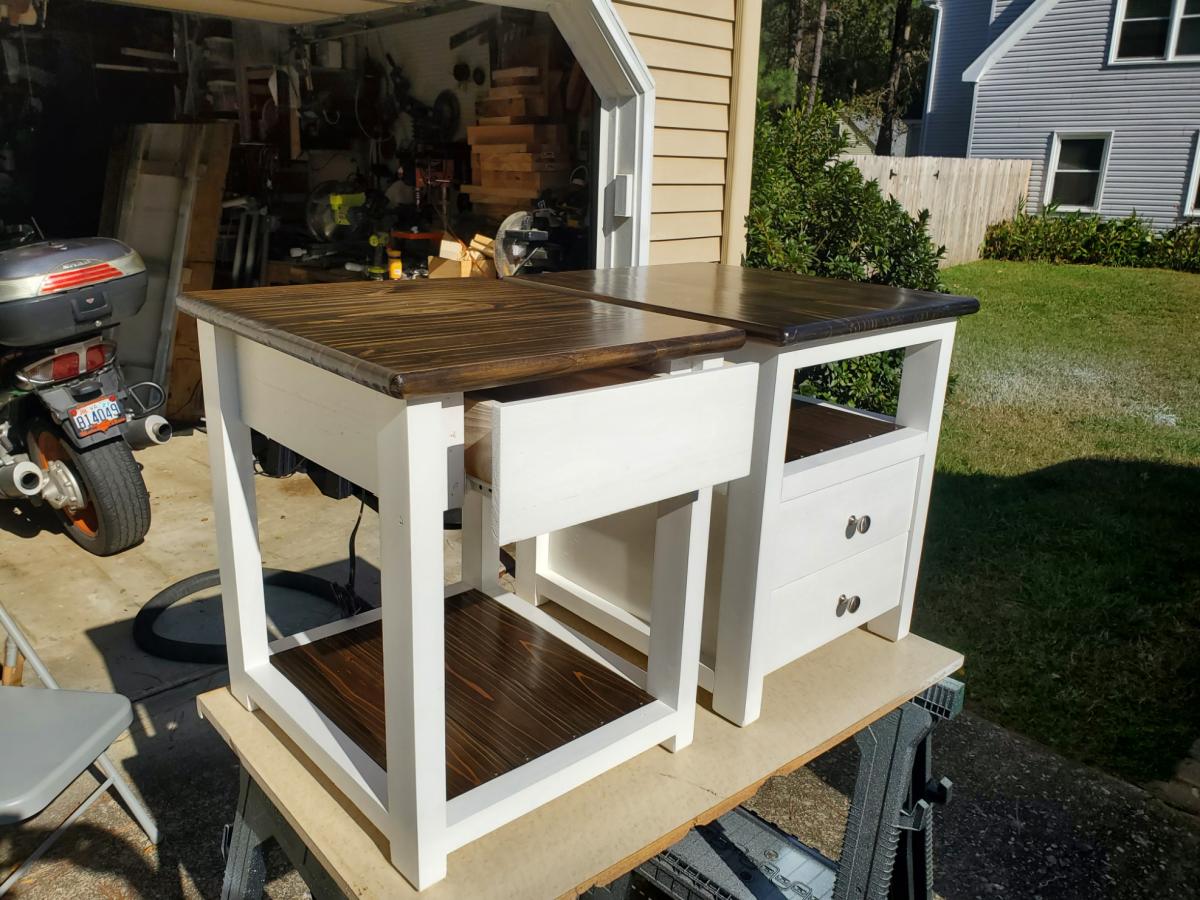
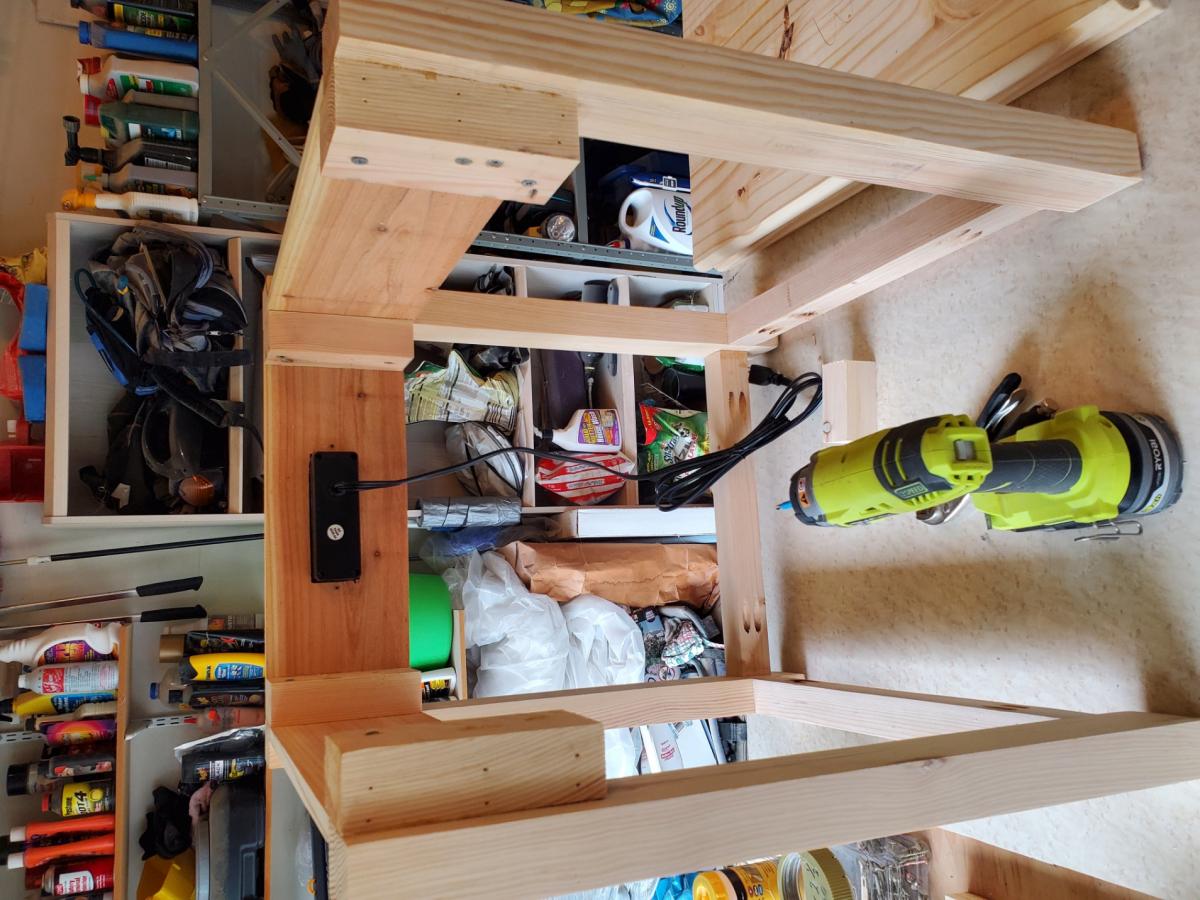
Built these two end tables from Ana's nightstand plans. Modified to add a shelf and drawers. I used stair treads to make the tops which give a nice thickness and strength. The shelves are cedar fence pickets. Shelf and tops are stained Jacobean with a semi gloss poly finish. Had to watch Ana's videos several times to get the build right, but spent much more time on the finish than the build. Added electric extension/usb outlet. Really happy with the project. THANKS Ana!

Sun, 11/15/2020 - 16:28
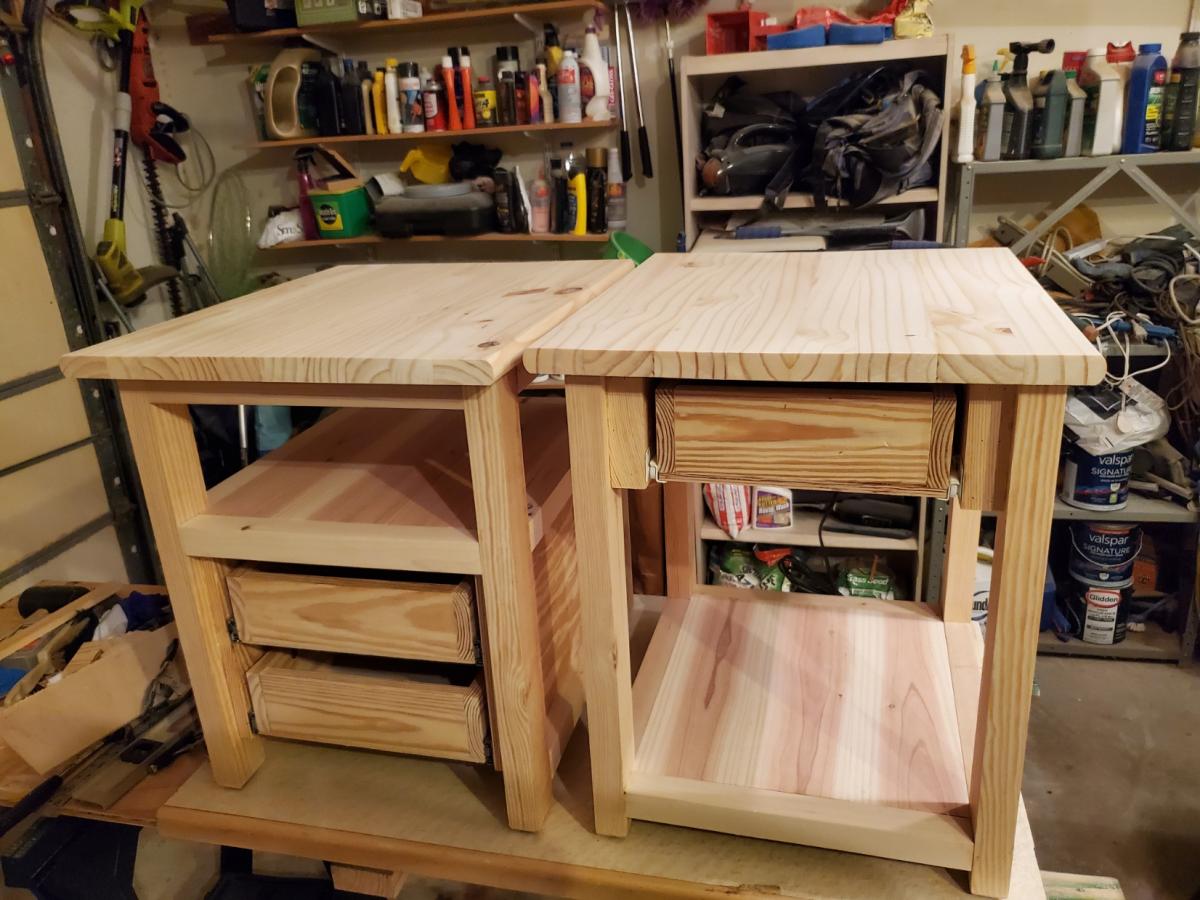
Project for my son. End tables with one and 2 drawers. Shelf and tops stained with poly, frames and drawer primed and painted. Tops made from Stair treads. they are 12" edge glued so just had to trim down and glue together. comes with one bullnose, rounded off the other sides with a 1/2inch roundover router bit.
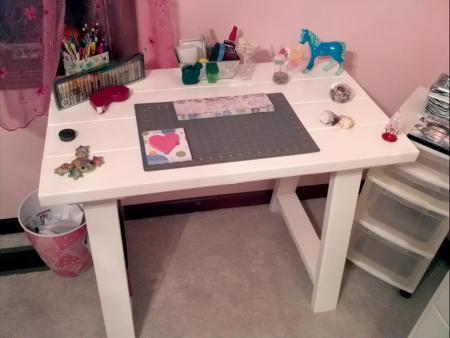
First project using a kreg jig. It went well. Sanding was the worse part. If you are going to brace the legs you will need more wood than listed in the plans.
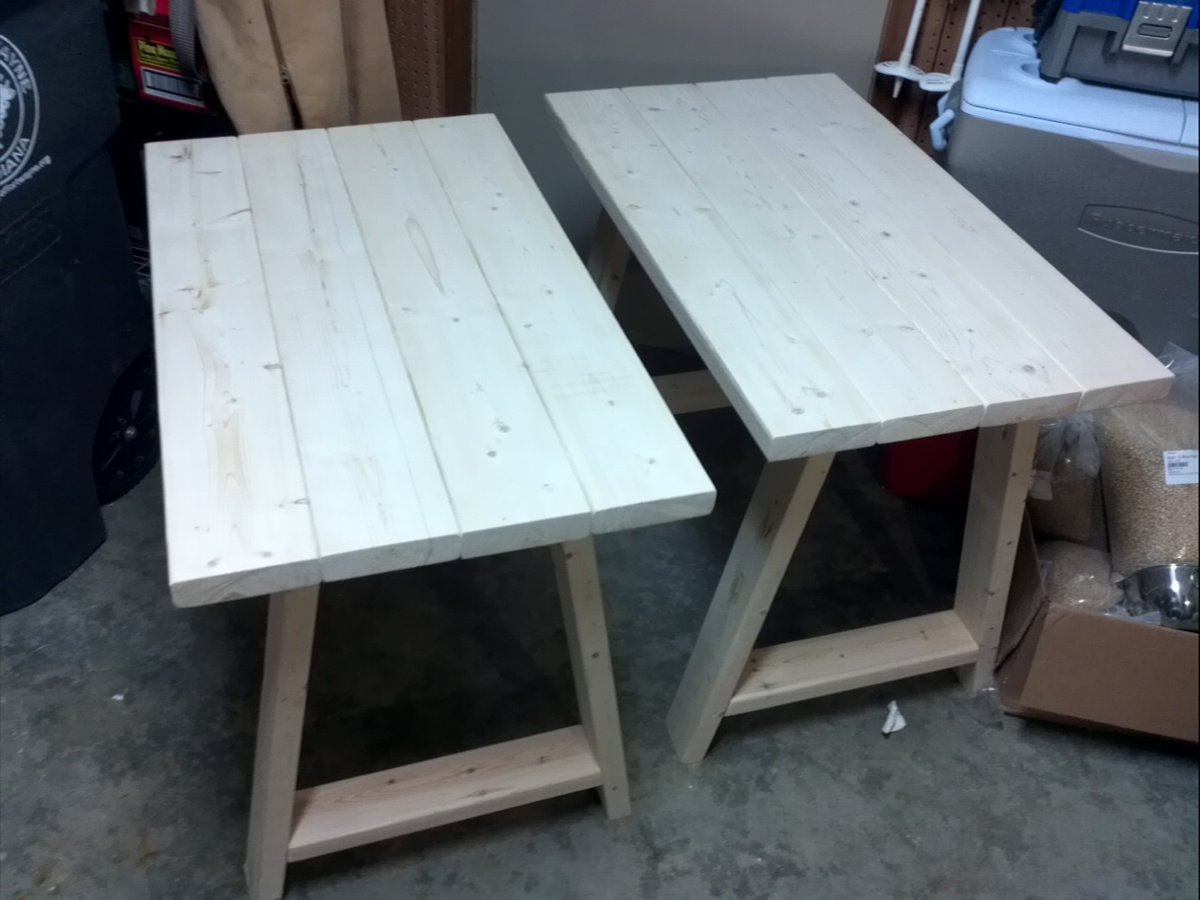
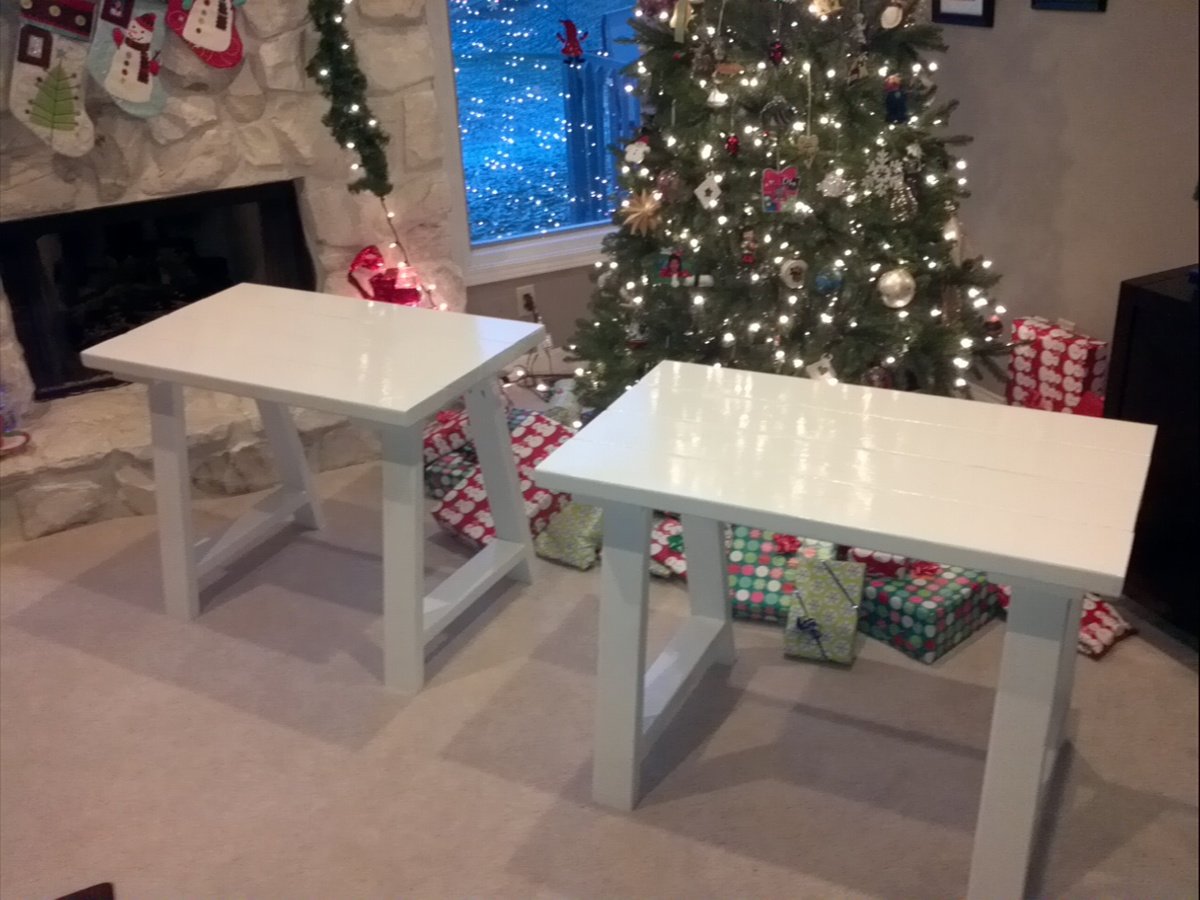
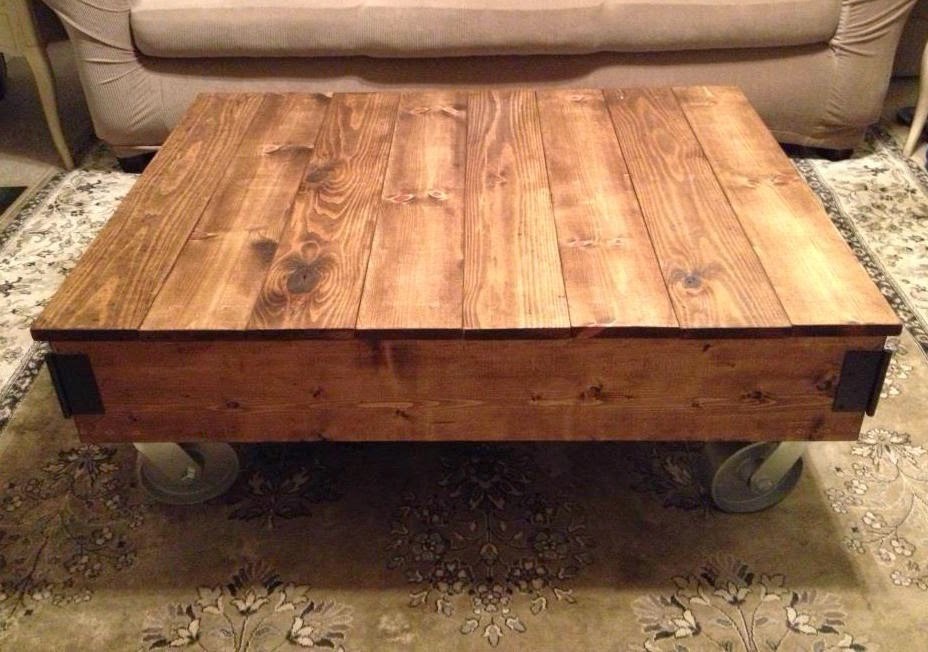
This was my first project from this site...and it will not be my last. thank you so much for all the hard work you put into these great plans.
Comments
Ana White Admin
Mon, 10/26/2020 - 11:29
Love them!
They really are easy and such a great way to add some curb appeal! Thanks for sharing!