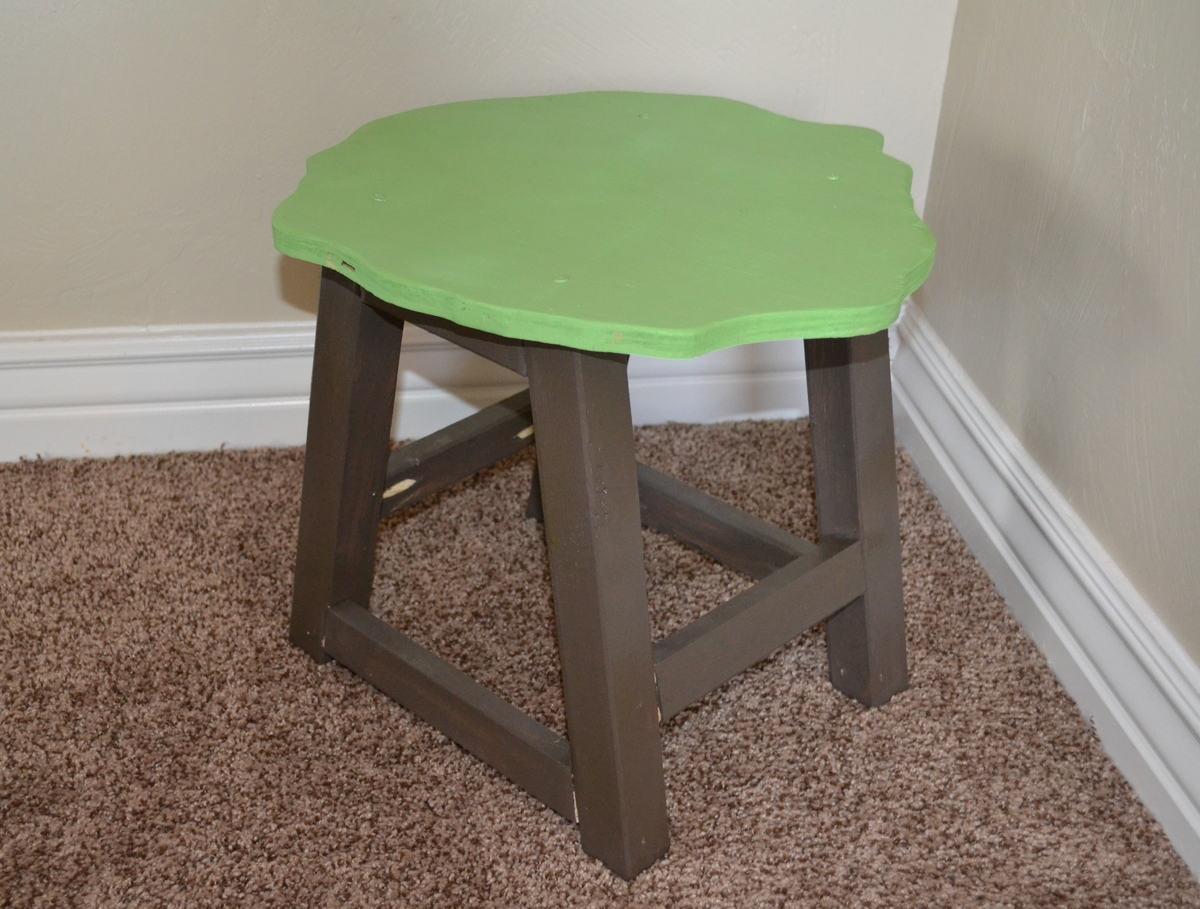
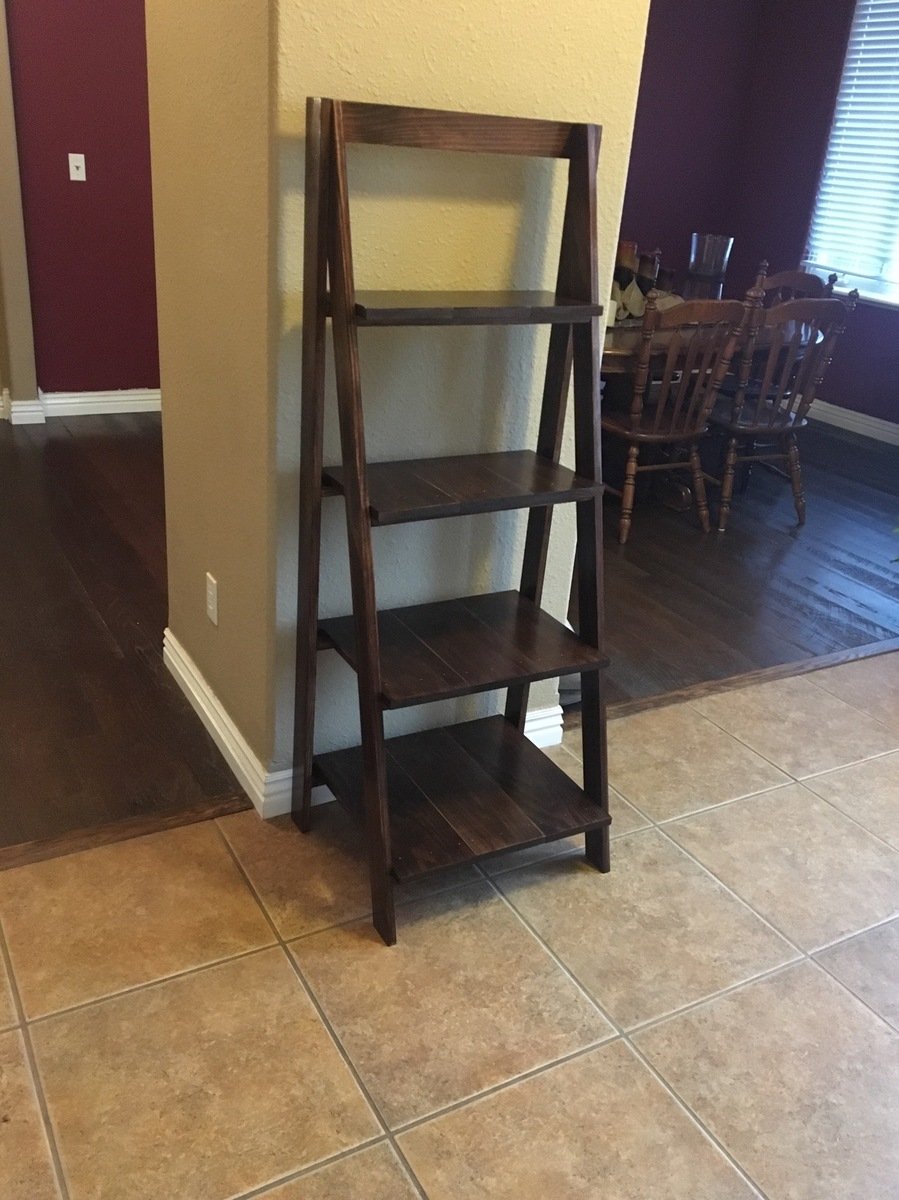
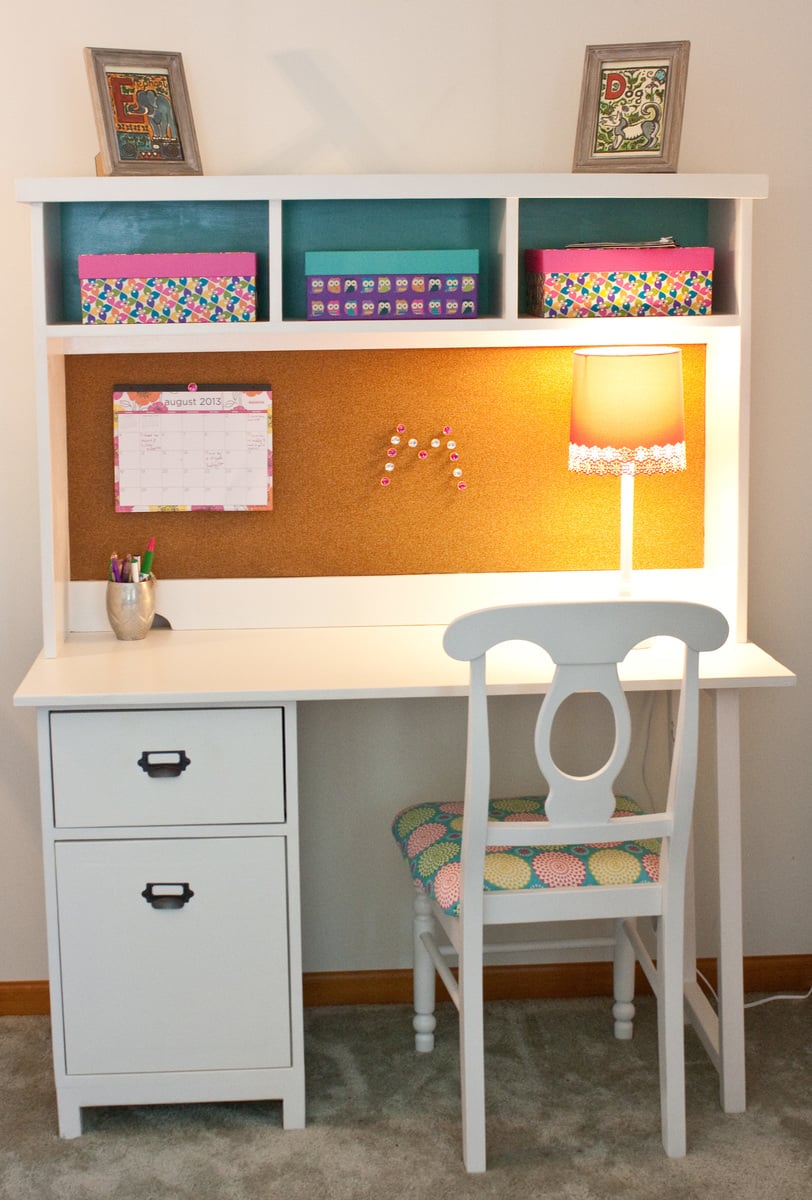
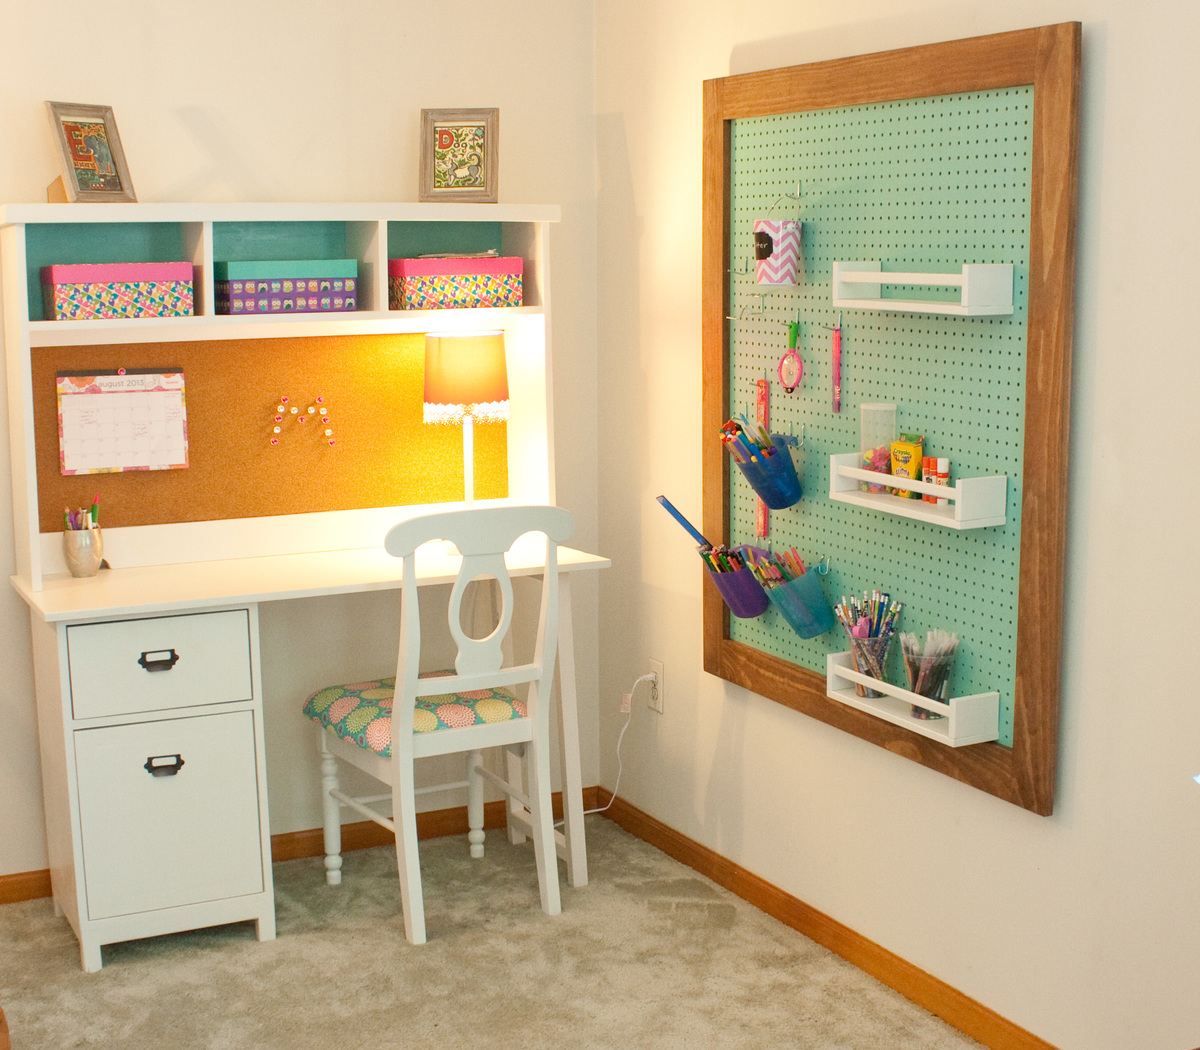
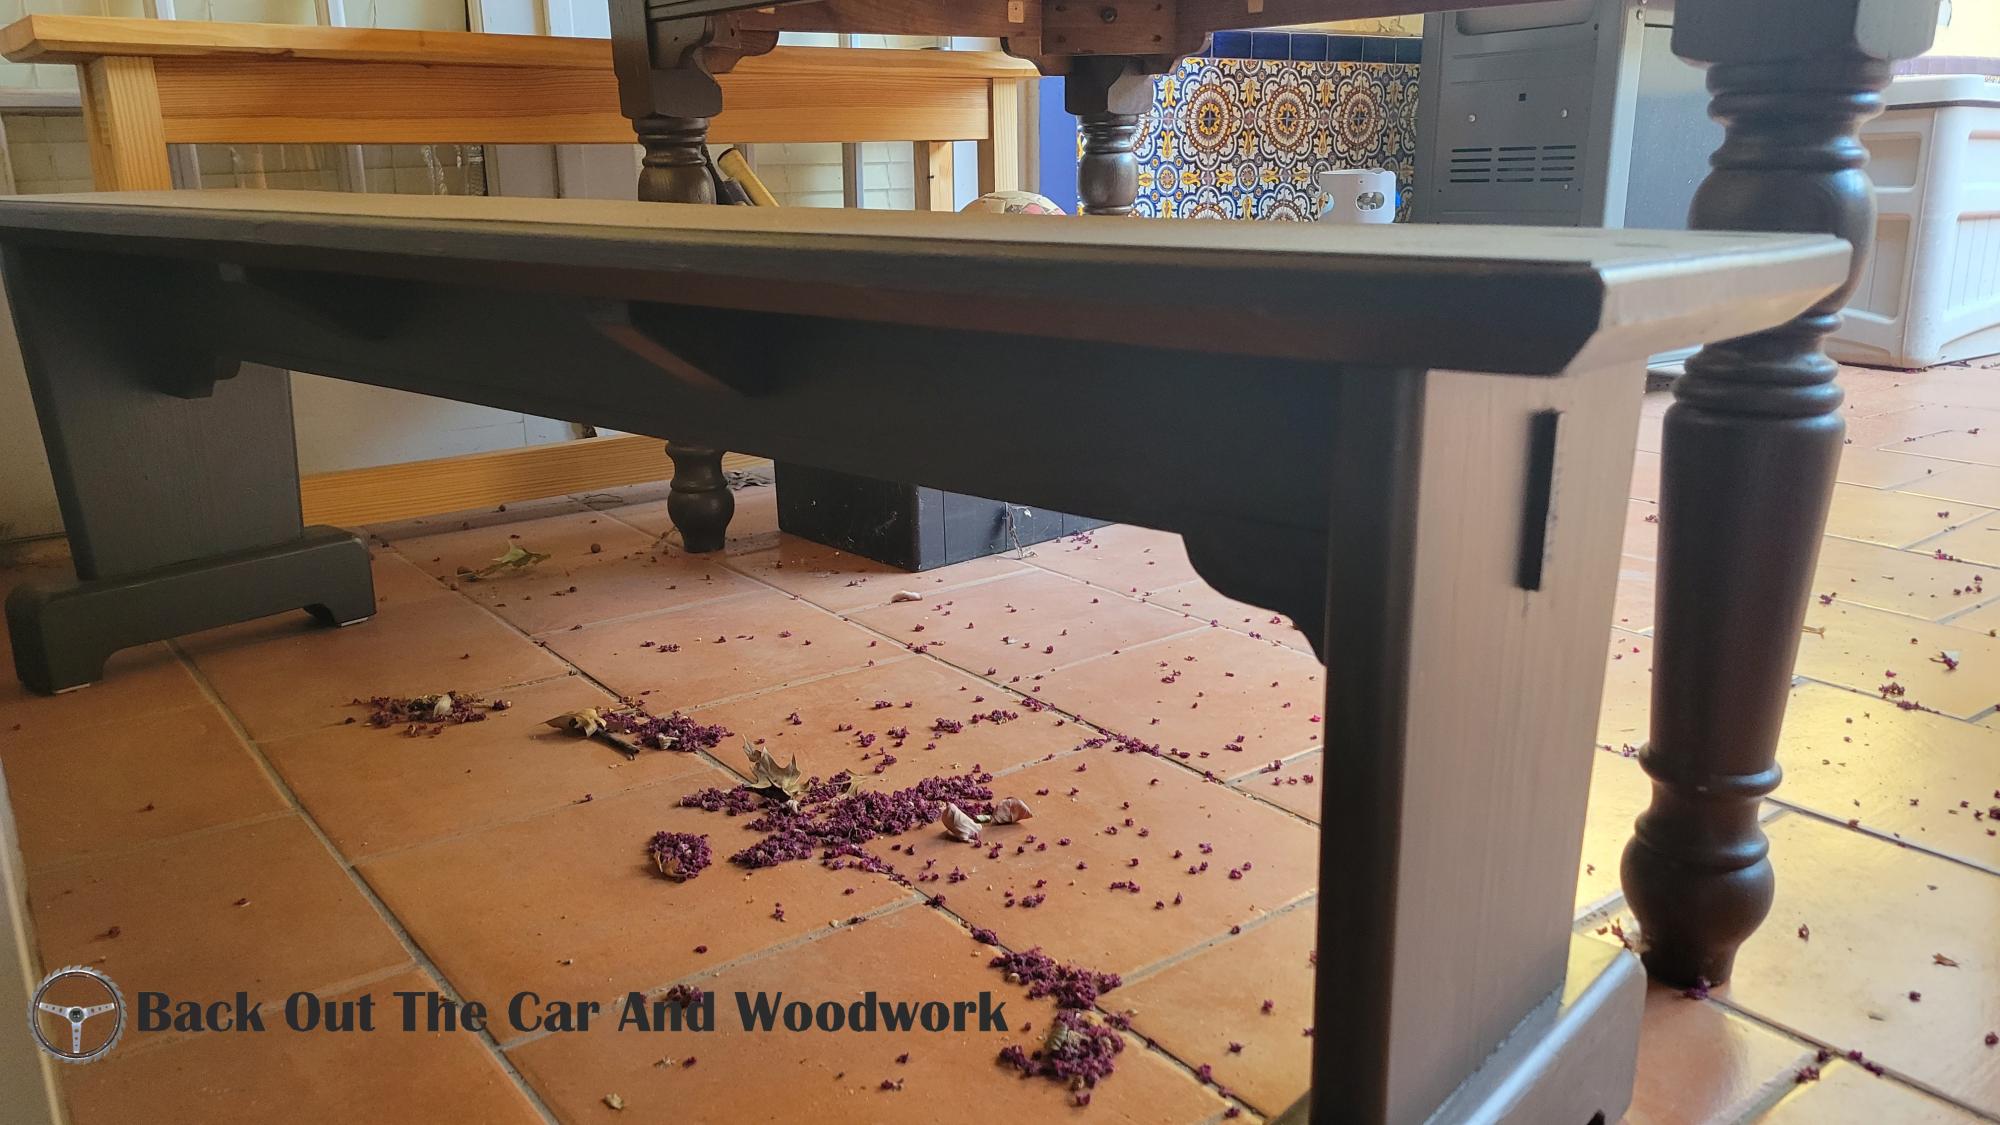
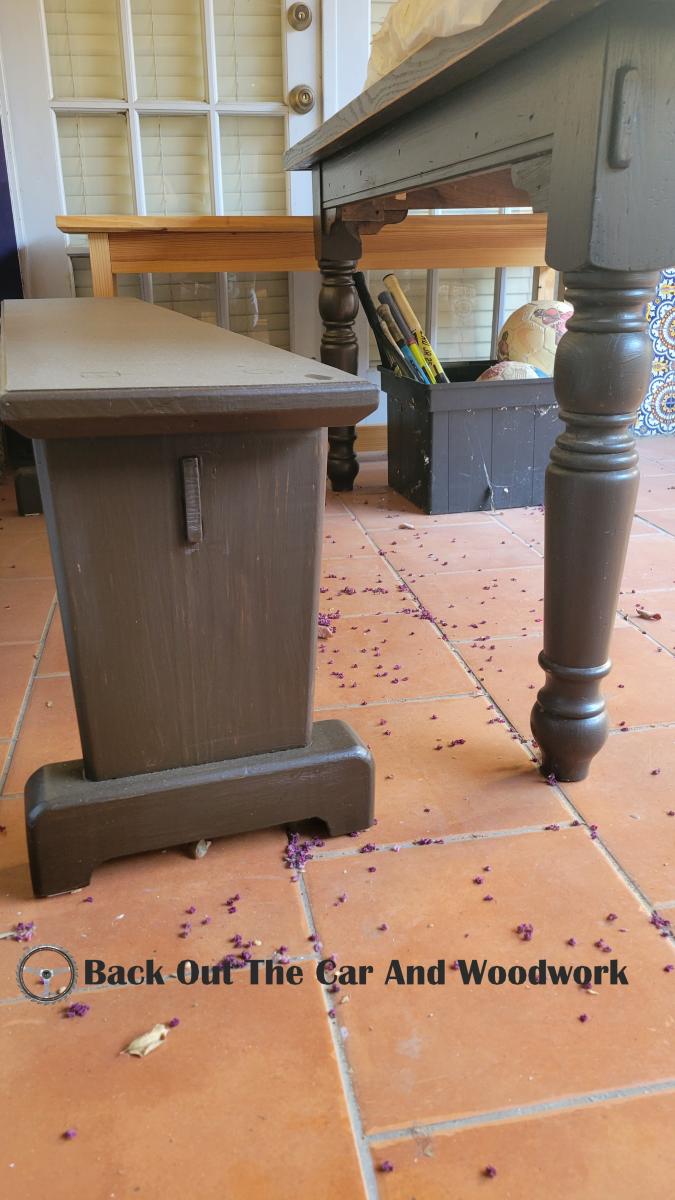
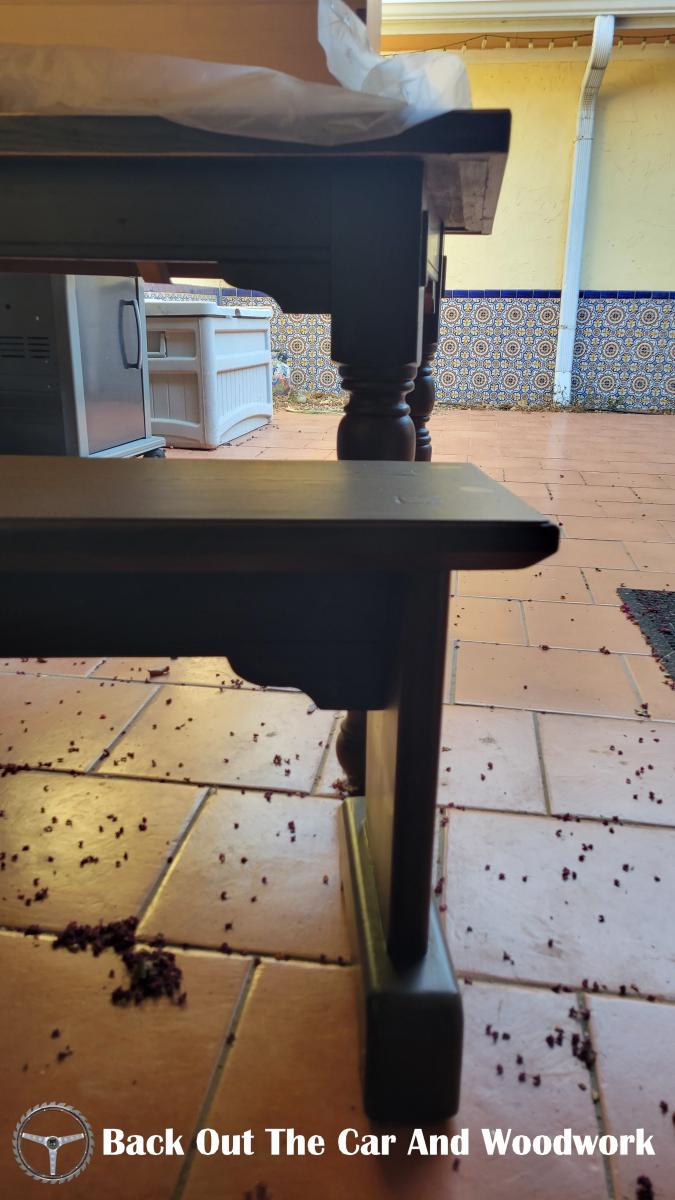
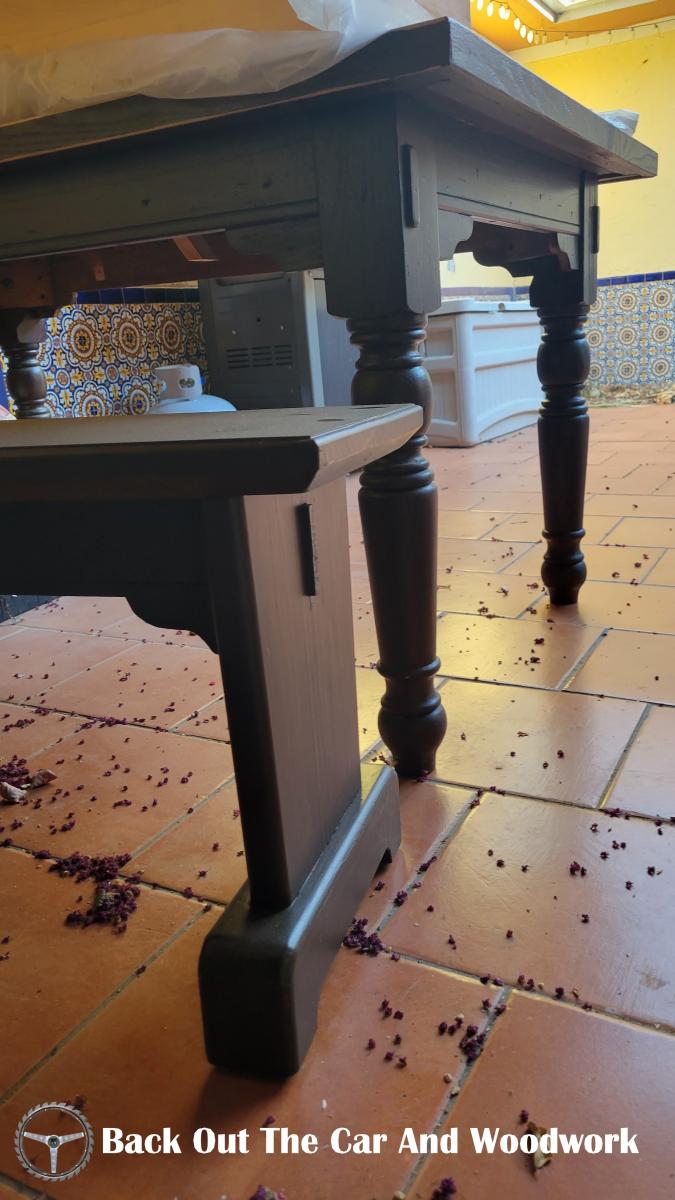
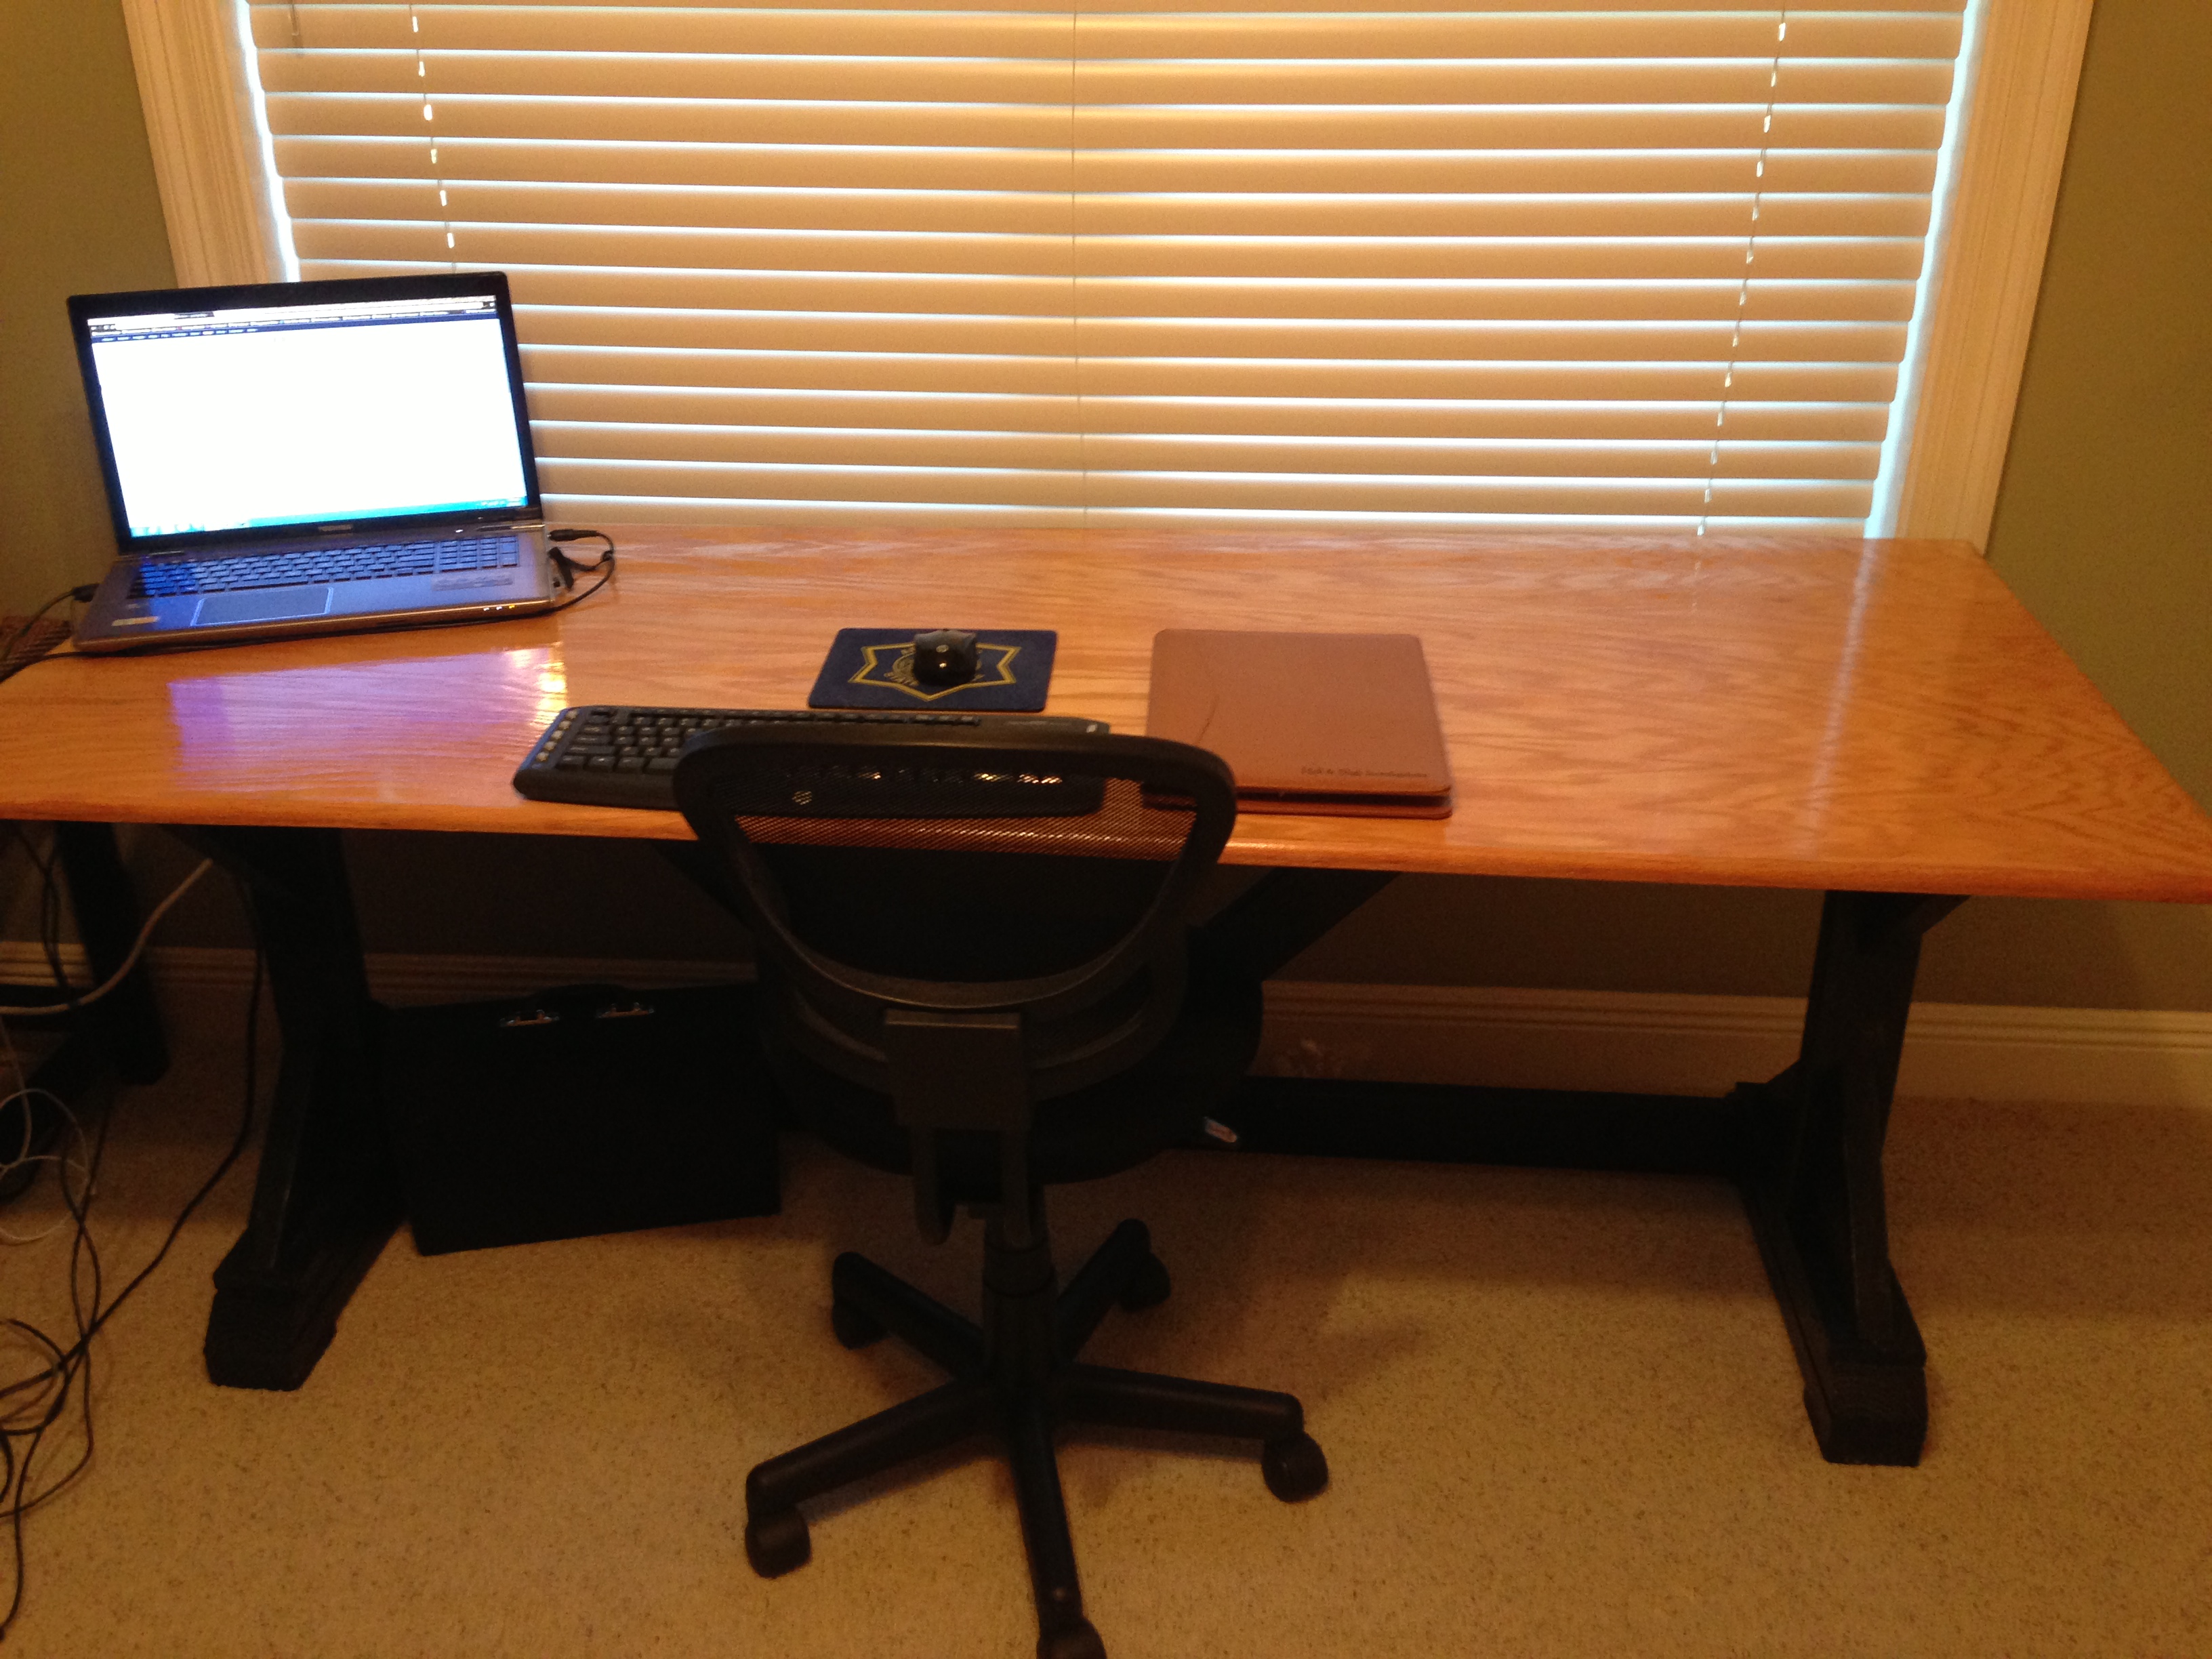
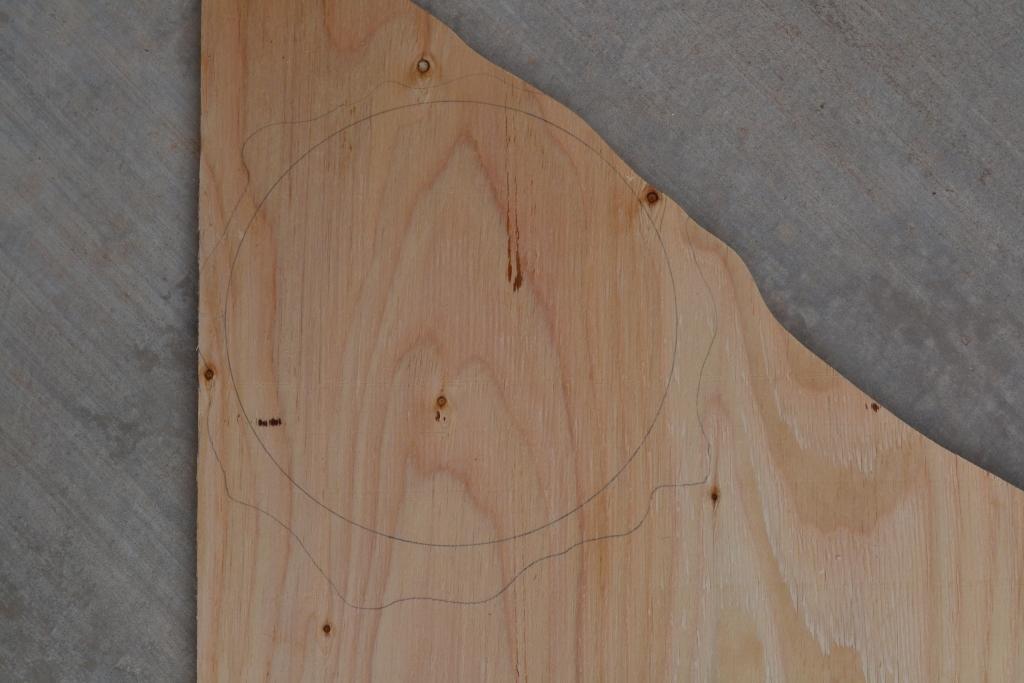
Community Brag Posts

Christmas Present

Submitted by Anonymous (not verified) on Sun, 01/08/2017 - 12:56

Thank you for the plans. It was a fun build and my girls love it!

Estimated Time Investment
Weekend Project (10-20 Hours)
Finish Used
We used min-wax stain for the floors and major league sports colors for paints from Home Depot. We used flagstaff green for outside paint and textured spray paint for roof. I also added 6 LED lights in the house.
Recommended Skill Level
Intermediate

Charlie's Scooter

Submitted by fanofana on Wed, 12/12/2012 - 18:20

I saw this adorable scooter on Ana's website and thought it would be perfect for my godchild's 1st birthday! (my kids are a little too big for it otherwise I would have made it for them as well). I didn't read the entire post before I started so I didn't read that you should use harder wood to avoid chipping and all that but it still worked out okay, certainly not perfect but a fun gift that I was proud to give.

The multiple paint colors added time as I was always retouching one color up and then going back to another color but that was more me being sloppy than anything.

Built from Plan(s)
Estimated Cost
$20
Estimated Time Investment
Weekend Project (10-20 Hours)
Finish Used
Painted finish
Recommended Skill Level
Beginner

Comments

Entertainment jelly jar cabinet

Submitted by rmckenna12 on Tue, 09/23/2014 - 12:39

This was a weekend project , lots of fun !

Built from Plan(s)
Estimated Time Investment
Day Project (6-9 Hours)
Finish Used
red spray paint and black stain
Recommended Skill Level
Starter Project

Comments

4x4 truss beam table - working breadboard ends and matching bench

Submitted by Anonymous (not verified) on Mon, 01/09/2017 - 16:17

mortise and tenon joints with dado for breadboards

Built from Plan(s)
Estimated Cost
$300
Estimated Time Investment
Week Long Project (20 Hours or More)
Finish Used
Custom stain mix
Recommended Skill Level
Advanced

Comments

Barn Door Console - 2 Door

Submitted by REDCANVAS on Tue, 09/22/2020 - 16:55

Use the plans from Grandby Barn Door Console to create this two-door cabinet for my sister. Modified plans to fit specific space. Rough Cost including mini barn door hardware, and finishing paint/clear coat is $150 Canadian dollars.

Estimated Cost
$150 CAD
Finish Used
Paint is Beautitone Worn Cedar (Home Hardware type of paint in Canada)
Stain is Minwax Dark Walnut.

Triptych Jewelry Stand

Submitted by lbrown on Tue, 12/18/2012 - 14:52

For my boyfriend's oldest niece, who is 13, I decided to make a jewelry stand for Christmas this year. I thought it would be fun to make a triptych with a place for earrings in the middle and necklaces on the sides, sketched out a basic design and got started building.

For the details on how to build it, check out my blog: http://homeandawaywithlisa.com/blog/2012/12/18/triptych-jewelry-stand.h…

Estimated Cost
$10
Estimated Time Investment
Afternoon Project (3-6 Hours)
Finish Used
White Spray Paint
Recommended Skill Level
Intermediate

RH Balustrade Coffee Table

Submitted by jhavinga on Sat, 09/27/2014 - 15:31

Loved this coffee table ever since I saw it at Restoration Hardware. Thank you Ana & Jen.

Built from Plan(s)
Estimated Cost
Legs are $30 each. Shipping is $60 (To Sumas, Washington).
Wood was from an old Church.. But my guess would be $100 for HD Wood.
Total of $300 including screws, glue, stain, etc.
Estimated Time Investment
Day Project (6-9 Hours)
Finish Used
A variety. Because it was all reclaimed, some wood I didnt even stain. just sanded and it came out the exact color I wanted. To blend it all together however, I used Minwax Weathered Oak & Special Walnut.
Recommended Skill Level
Beginner

Comments

Mrsfinefettle

Tue, 10/07/2014 - 20:59

I love how your table turned out! Fabulous job! Did you use the knotty pine legs? I also love your couch! Do you mind sharing where you purchased it?

Thanks!

In reply to by Mrsfinefettle

jhavinga

Tue, 10/14/2014 - 10:08

Sorry for the delayed reply.

For the legs I did use the Knotty Pine. Cheapest and still look great.

As for our couch set, we had them custom made from a local Furniture store called Canadian Furniture Manufacturing. If your ever in the lower mainland of BC, Canada, be sure to stop by there!

Cheers,

Justin

Singhs

Sat, 01/10/2015 - 15:08

Since this was reclaimed/barn wood how did you prep the wood for the table ? Plane or Sand etc, and when prepped what finish did you use ?

In reply to by Singhs

jhavinga

Sat, 01/24/2015 - 13:10

A BUTT load of sanding.. no planeing necessary. I used a mix of weathered oak and special walnut stains to balance out all the mixmatched wood as 1 colour. For example the cedar planks for the bottom shelf i didnt stain at all, while the legs are pine and had to make them gray/brown to match the cedar planks.

Cheers,
Justin

Rustic X Side Tables - Added Shelf

Submitted by Anonymous (not verified) on Thu, 09/24/2020 - 13:07

This was a fun project! We had already made the coffee table and someone wanted side tables. We assisted the plans for the side table to make these 16w x 25h x 25d and added a center shelf. After getting our cut list the build was easy and quick. It took about 6-9 hours to cut, build, sand, stain, apply finish, and finish sand.

Estimated Cost
$60
Estimated Time Investment
Day Project (6-9 Hours)
Finish Used
Dark Walnut Stain with rubbed matte finish
Recommended Skill Level
Beginner

Comments

Castle Loft Bed

Built this castle loft bed for my 2-year-old after seeing the plans and building the princess playhouse loft bed for my 4-year-old. Using stone textured paint worked well. Also, used an old slide a neighbor gave me. One change I made was that my wife really liked the toy chest stairs, so I made those again instead of the coves called for in the plans.

Estimated Cost
$500
Estimated Time Investment
Week Long Project (20 Hours or More)
Finish Used
Dark grey primer, stone texture spray paint, light grey semi-gloss. It would have been extremely expensive to texture the whole bed, so only painted the towers and front panel. The dark grey primer makes the light grey paint 'pop' a bit more. The pictures are untouched since I had to reformat my machine, but in real life the color is pretty rich; for grey anyway.
Recommended Skill Level
Intermediate

Coffee table

Submitted by Anonymous (not verified) on Sun, 01/15/2017 - 18:09

Thanks for the plans

Built from Plan(s)
Estimated Cost
35
Estimated Time Investment
Afternoon Project (3-6 Hours)
Finish Used
Polyurethane
Recommended Skill Level
Intermediate

Fancy Farmhouse Table

Submitted by ntrigg on Sun, 09/27/2020 - 14:13

This was our (my husband built, I applied finish) second such table. We first use these plans about 6 years ago, and revisited to make this for my mother. One modification we added to both, was we built a cleat system under the table top. This way it fit snuggly over the base, but it can be easily moved when necessary. Thanks for the plans- lots of compliments on this one!

Built from Plan(s)
Estimated Cost
$90
Estimated Time Investment
Weekend Project (10-20 Hours)
Finish Used
We primed the whole table, then applied an off white Benjamin Moore paint in Pearl finish. Then we sanded down areas to look distressed, and applied a thin wax coat which we buffed for a little luster.
Recommended Skill Level
Intermediate

Comments

Doll house book shelf

Submitted by mybartmart on Tue, 12/25/2012 - 12:34

Doll house book shelf: made this for a friend and her daughters. At first I didn't realize my chop saw could not cut the 12 inch wood, had to use my circular with clamps. I think if I build again I might try mdf as it is cheaper or pocket drill some wood together.

This was a bit harder to build than I thought it would be had help from hubby!

Built from Plan(s)
Estimated Time Investment
Week Long Project (20 Hours or More)
Finish Used
White high gloss door and trim paint the blue is a custom colour I made and had tinted at Home Depot.
Recommended Skill Level
Intermediate

Mudroom Bench & Cubbies

Submitted by MegsBK on Sun, 10/05/2014 - 08:48

I used the Smiling Mudroom as a starting point, but had to make some modifications for size and to accomodate the fact that I couldn't secure much to the wall behind the bench because there is a pocket door in that wall.

The main difference in my plans is that the sides of the cubby/bench are continuous instead of broken into Cubby, Divider, and Bench. I think it would have been easier to keep things square (which I didn't, really) and certainly could have moved it all by myself without any husband help (but he needed to feel useful, right?) if I had built it as separate pieces. But, it was worth a shot.

Up close it's a bit rough looking here and there because I got the plywood that is only sanded on one side (Home Depot guy was less than helpful when I asked to find the furniture plywood). So I had to do a lot of extra sanding and filling myself and at some point I just threw up my hands and said "RUSTIC! It's done."

Minor errors aside, I am really happy with this. It was my first big project, and first one with the Kreg jig, and I had fun.

Built from Plan(s)
Estimated Cost
$200
Estimated Time Investment
Week Long Project (20 Hours or More)
Finish Used
Kilz primer
Benjamin Moore Advance semi-gloss "Oxford White"
Hooks: black single hooks along back are from Home Depot; white locker hooks are from local hardware store that is part of the Do it Best chain.
Recommended Skill Level
Intermediate

Comments

Veronica P

Wed, 10/08/2014 - 20:40

If there are any "minor errors" on your build, they're not visible in the picture! It looks gorgeous to me! :)

Indian Rosewood Coffee Table

Submitted by Anonymous (not verified) on Wed, 01/18/2017 - 06:48

please sample my other work at the adress provided below.

Estimated Cost
£40
Estimated Time Investment
Weekend Project (10-20 Hours)
Finish Used
Water Based Varnish.
Would not recommend oil for tables that will see spills heat or mark.
Oil based varnish is too messy too.
Recommended Skill Level
Beginner

Farmhouse x desk from handmade haven

Submitted by Dbridge125 on Sun, 10/04/2020 - 18:58

I used the plans from Handmade Haven and added a pencil drawer with dovetails

Comments

Clara Table and 4 Dollar Chairs

I recently built the Clara table and the four dollar stack-able chairs for my two kids as a Christmas present. Like most plans on this site, they were easy to follow and the materials were easy to find. I own a Kreg pocket hole jig, so putting the pieces together was really easy. It took me about two hours a chair and around three to assemble the table. I used glue along with the pocket holes, so the joints are nice and strong.
I sanded and finished the table and chairs with a stain called "Early American" and I thought it turned out nicely. I also coated the table top with a polyurethane, to give it a nice, durable finish. Not only did it add some shine to the top, but also made the #2 pine I used much more kid resistant!
Thanks again for the great plans, I look forward to building more.

Built from Plan(s)
Estimated Cost
$60
Estimated Time Investment
Afternoon Project (3-6 Hours)
Finish Used
Minwax Early American stain.

Sand all parts with 60-80 grit. Fill all holes with wood filler. Resand with 120 grit. Sand table top with 220 grit prior to stain. After two stain coats, coat table top with polyurethane. Resand with 220 after two to three hours. Coat with polyurethane and let dry overnight.
Recommended Skill Level
Beginner

Rustic X with a beachy twist

Submitted by KSmith123 on Thu, 10/09/2014 - 13:21

I was really looking forward to building this coffee table for a while.  I followed the base plans for the Rustic X Coffee table and added my own twist.  I planked 1x3's for the bottom instead of using a solid bottom shelf to give it a "beachy" feel.  I also used 1x6's for the top instead of 2x's to give it a lighter feel.  I framed out the top so there were no exposed edges.  Instead of the X's, I took 2x2's and angled them in the front and back. I know it's very different than the original plans but I had this design in my head and I absolutely love it!  Thanks for the plans!

Built from Plan(s)
Estimated Cost
Probably around $100 but only because I had a few wrong measurements!
Estimated Time Investment
Weekend Project (10-20 Hours)
Finish Used
The bottom was painted a flat white. For the top, I used steel wool and vinegar, sanded and then wiped on weathered gray stain that was thinned out with mineral spirits, and wiped off. Poly for the topcoat.
Recommended Skill Level
Intermediate

Comments

longshot

Sun, 10/19/2014 - 15:08

thanks for the pictures, can you give me the cuts you made to make the top?


KSmith123

Sun, 10/26/2014 - 14:08

Hi!  Sorry it took so long to respond!  I did the dimensions the same, so I kept the top 52" x 27.5".  I did a 45 degree cut for the outside boards, making the longest sides 52" and 27.5".  Then I calculated the distance for the middle boards.  Since I used 1x6's, which are actually 5.5" wide, I did 52" minus 5.5" minus 5.5", since there are two end pieces to the frame, which gave me 41" for the inside boards.  But measuring the inside boards when the outside frame is attached is a better way because then you know exactly what to cut them at.  Just make sure the top's frame angle's are cut precise and you should have no problem!  Hope that makes sense and if you have any other questions let me know!

Stacy Herringbone Daybed

Submitted by Anonymous (not verified) on Sat, 01/21/2017 - 08:06

My wife wanted a daybed for our guest room and this one was perfect. Thank you Ana and Stacy for the plans. My wife loves it!

Built from Plan(s)
Estimated Time Investment
Weekend Project (10-20 Hours)
Finish Used
we painted it using the color "Moss Print" by Behr
Recommended Skill Level
Intermediate

Comments