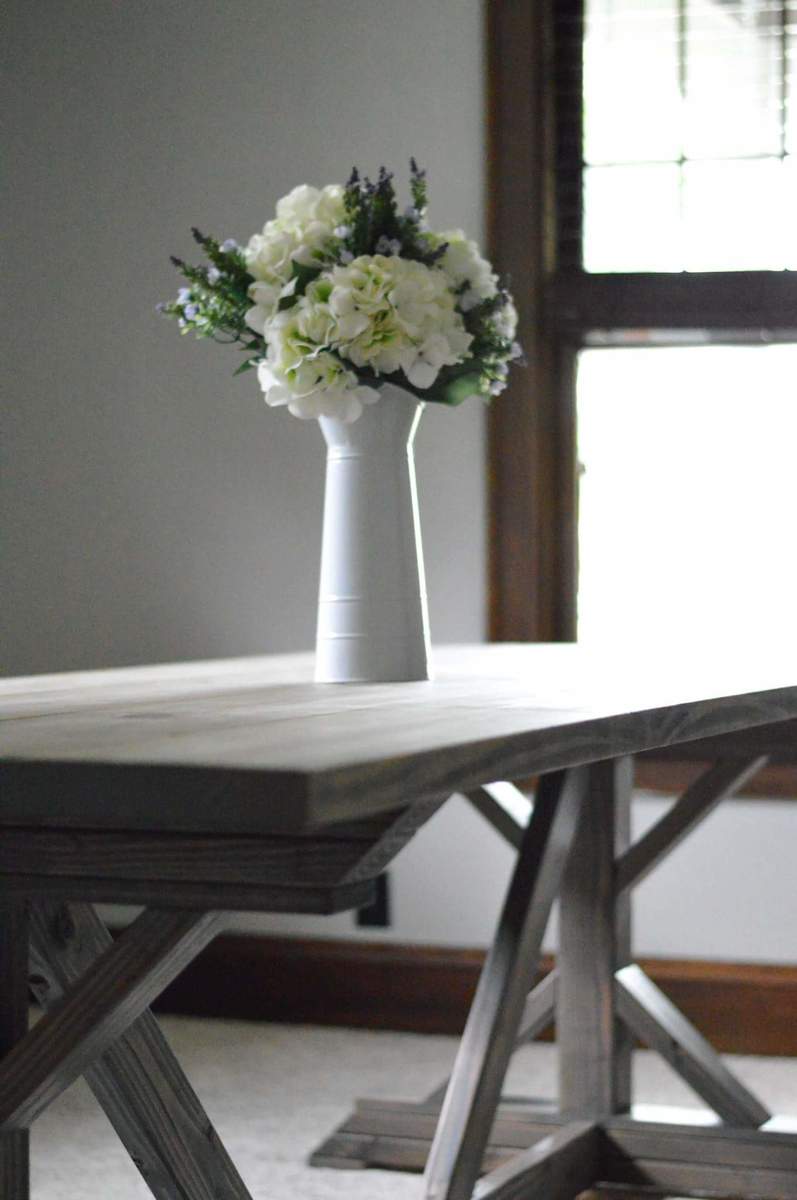
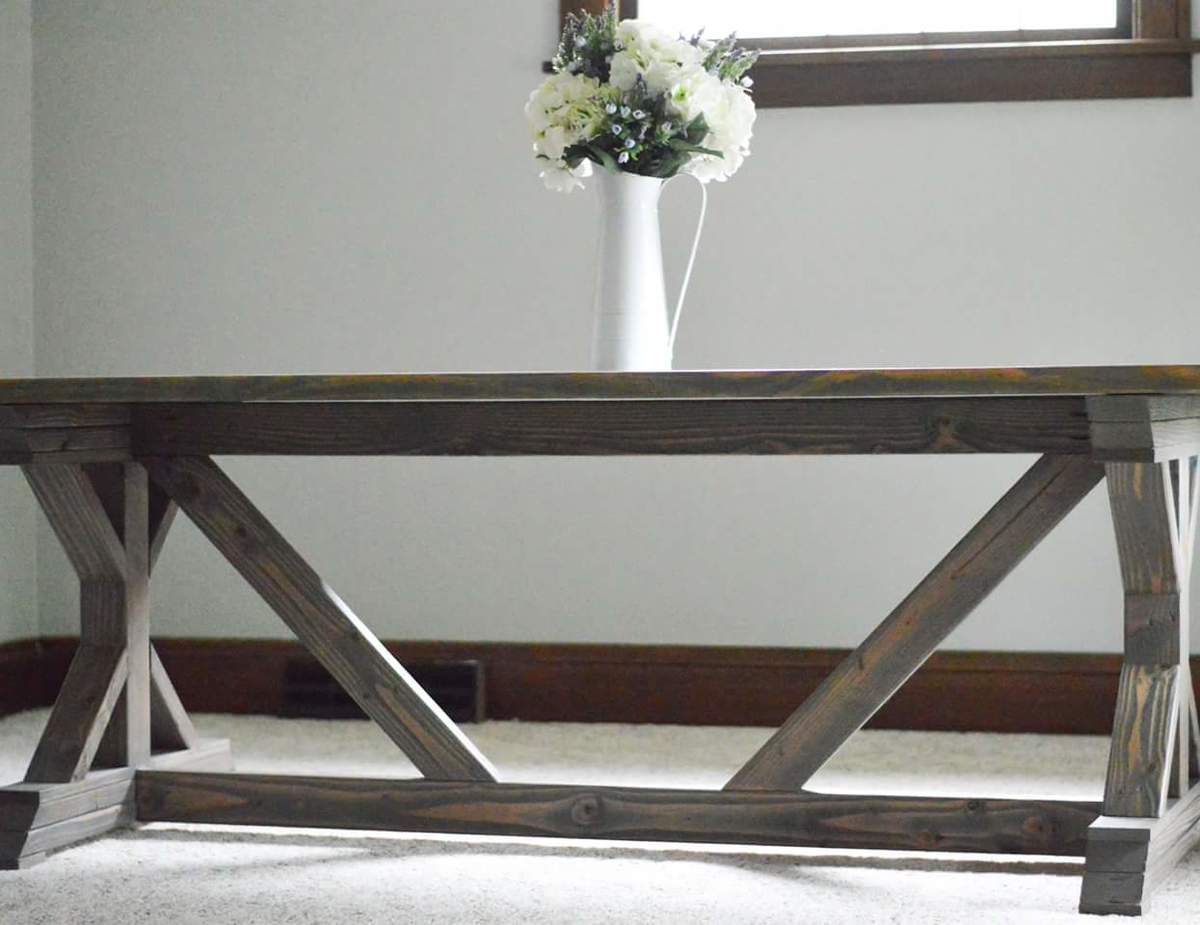
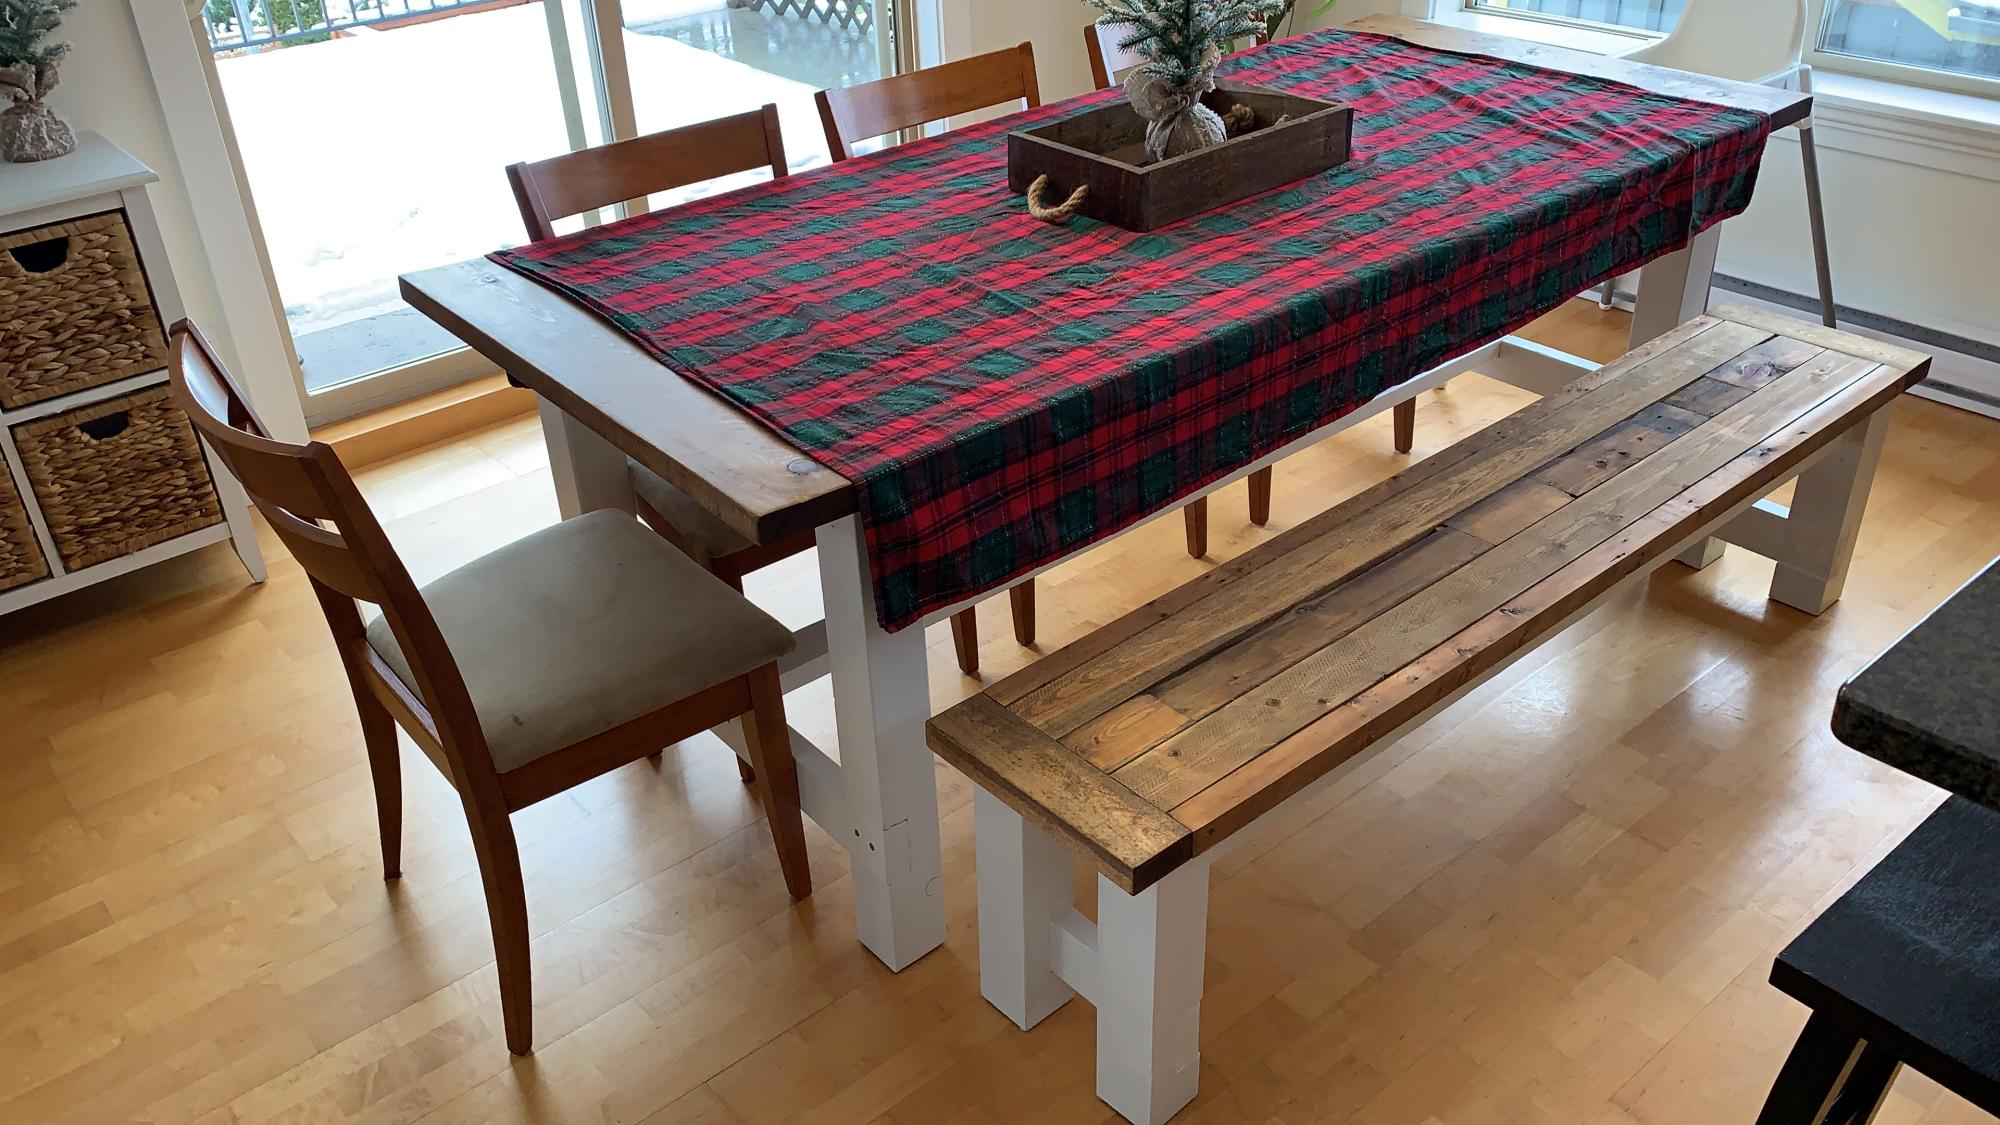
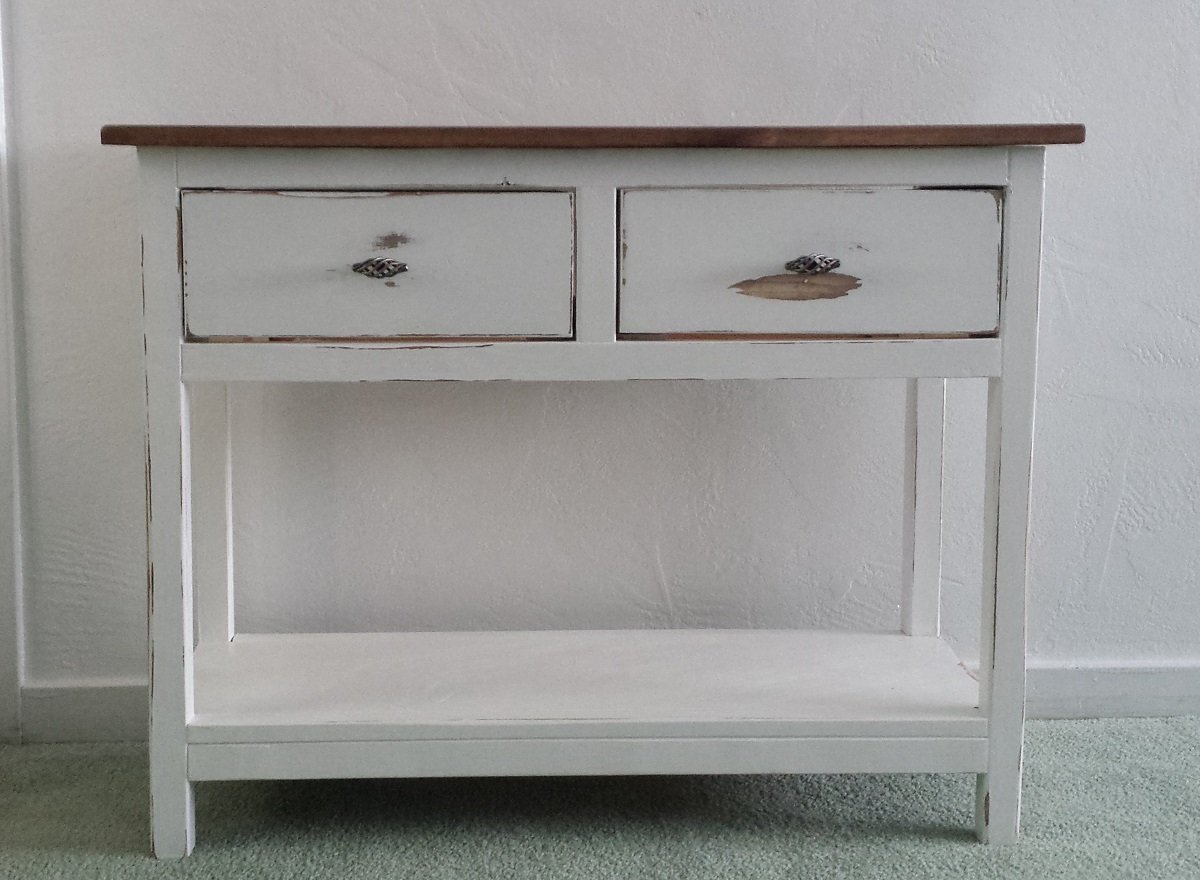
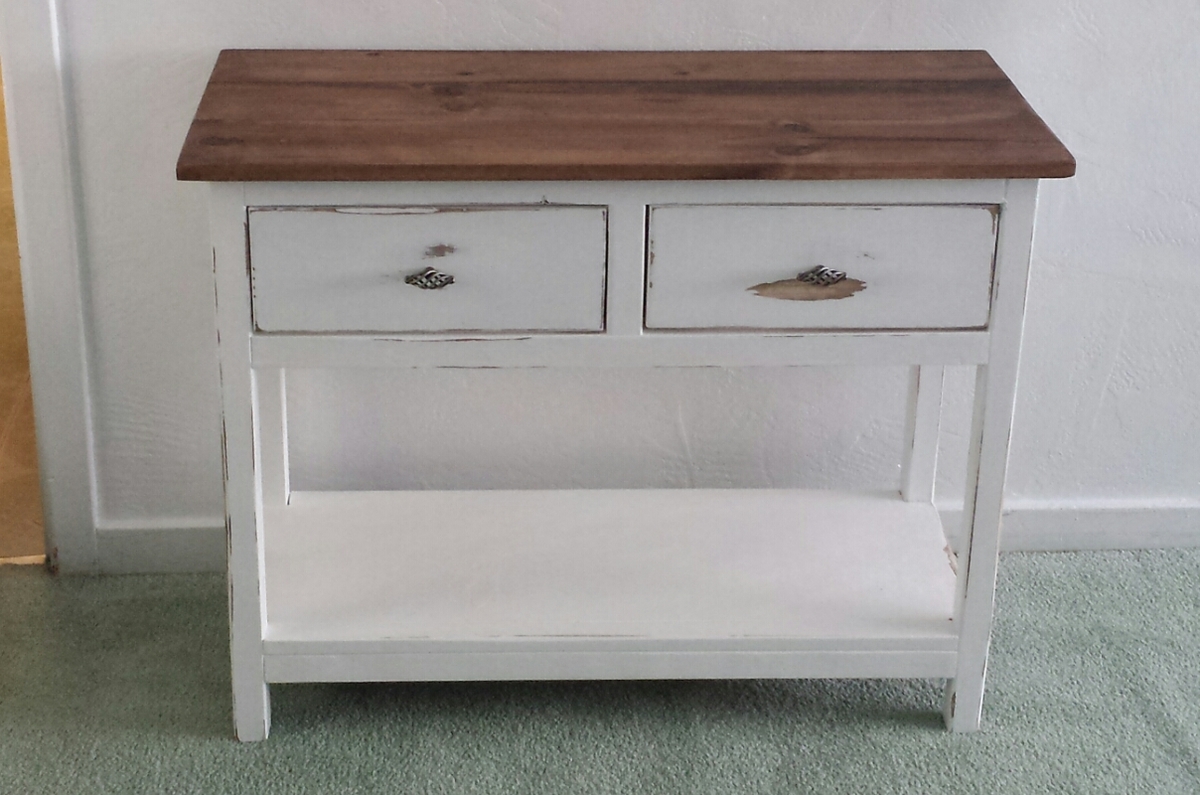
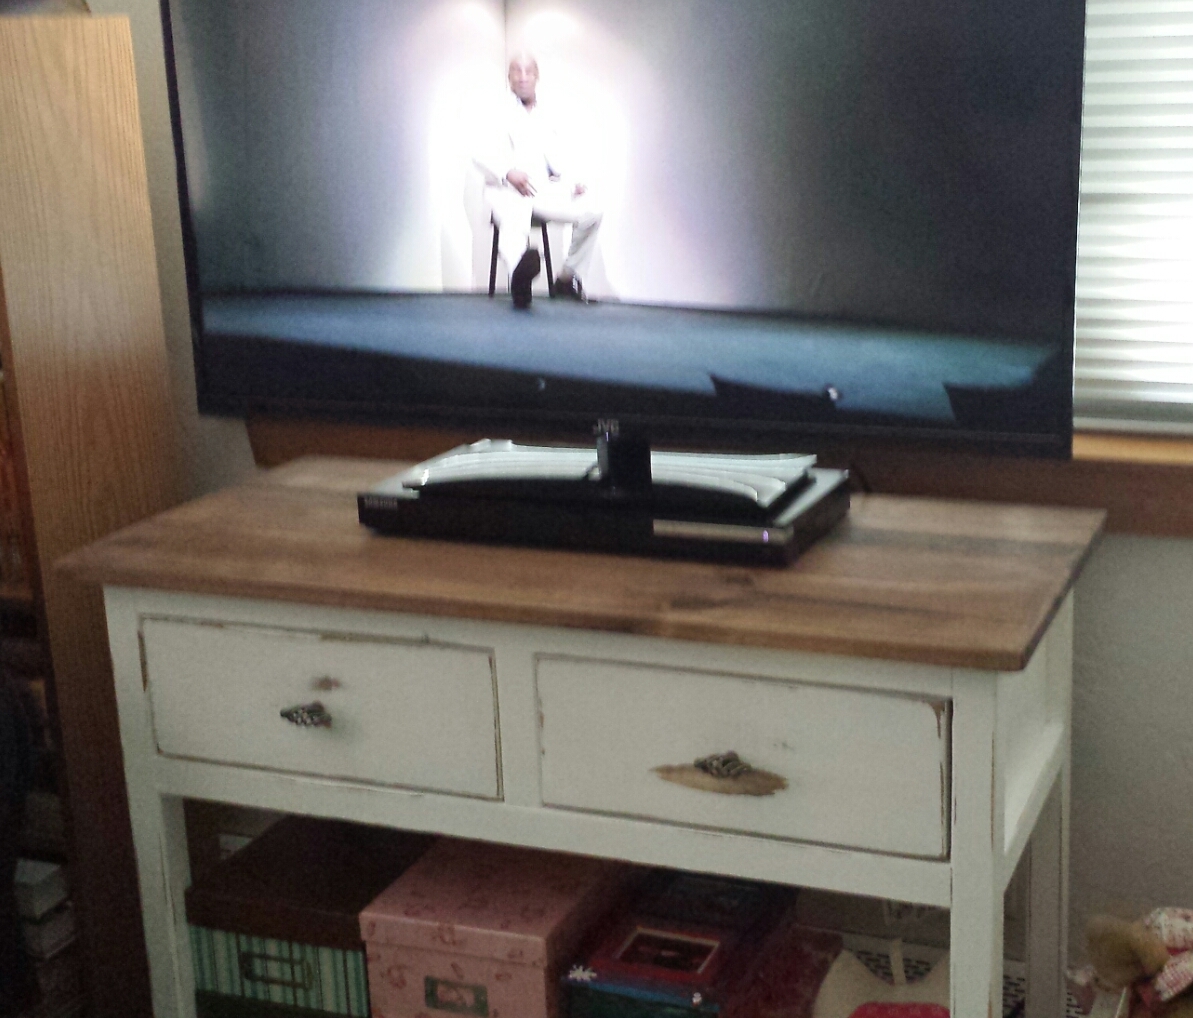
Farmhouse TV Console
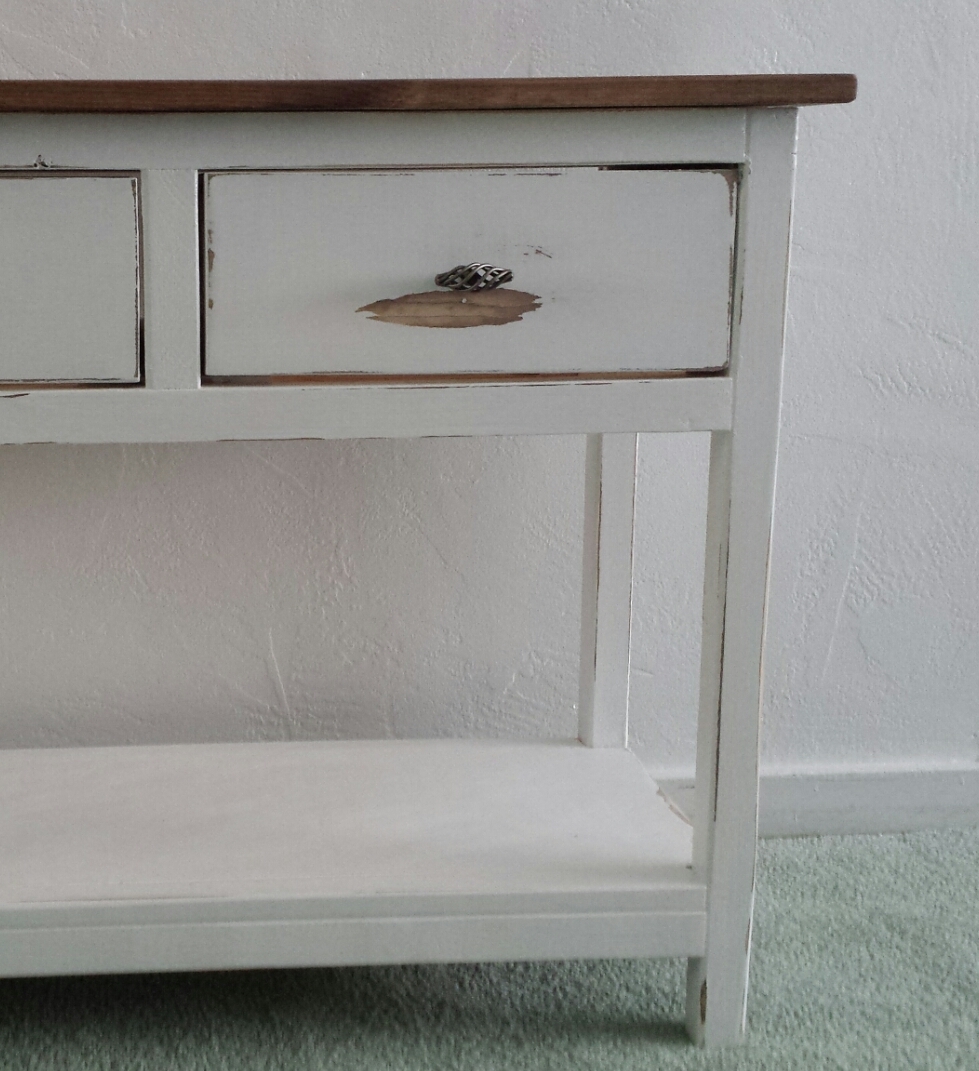
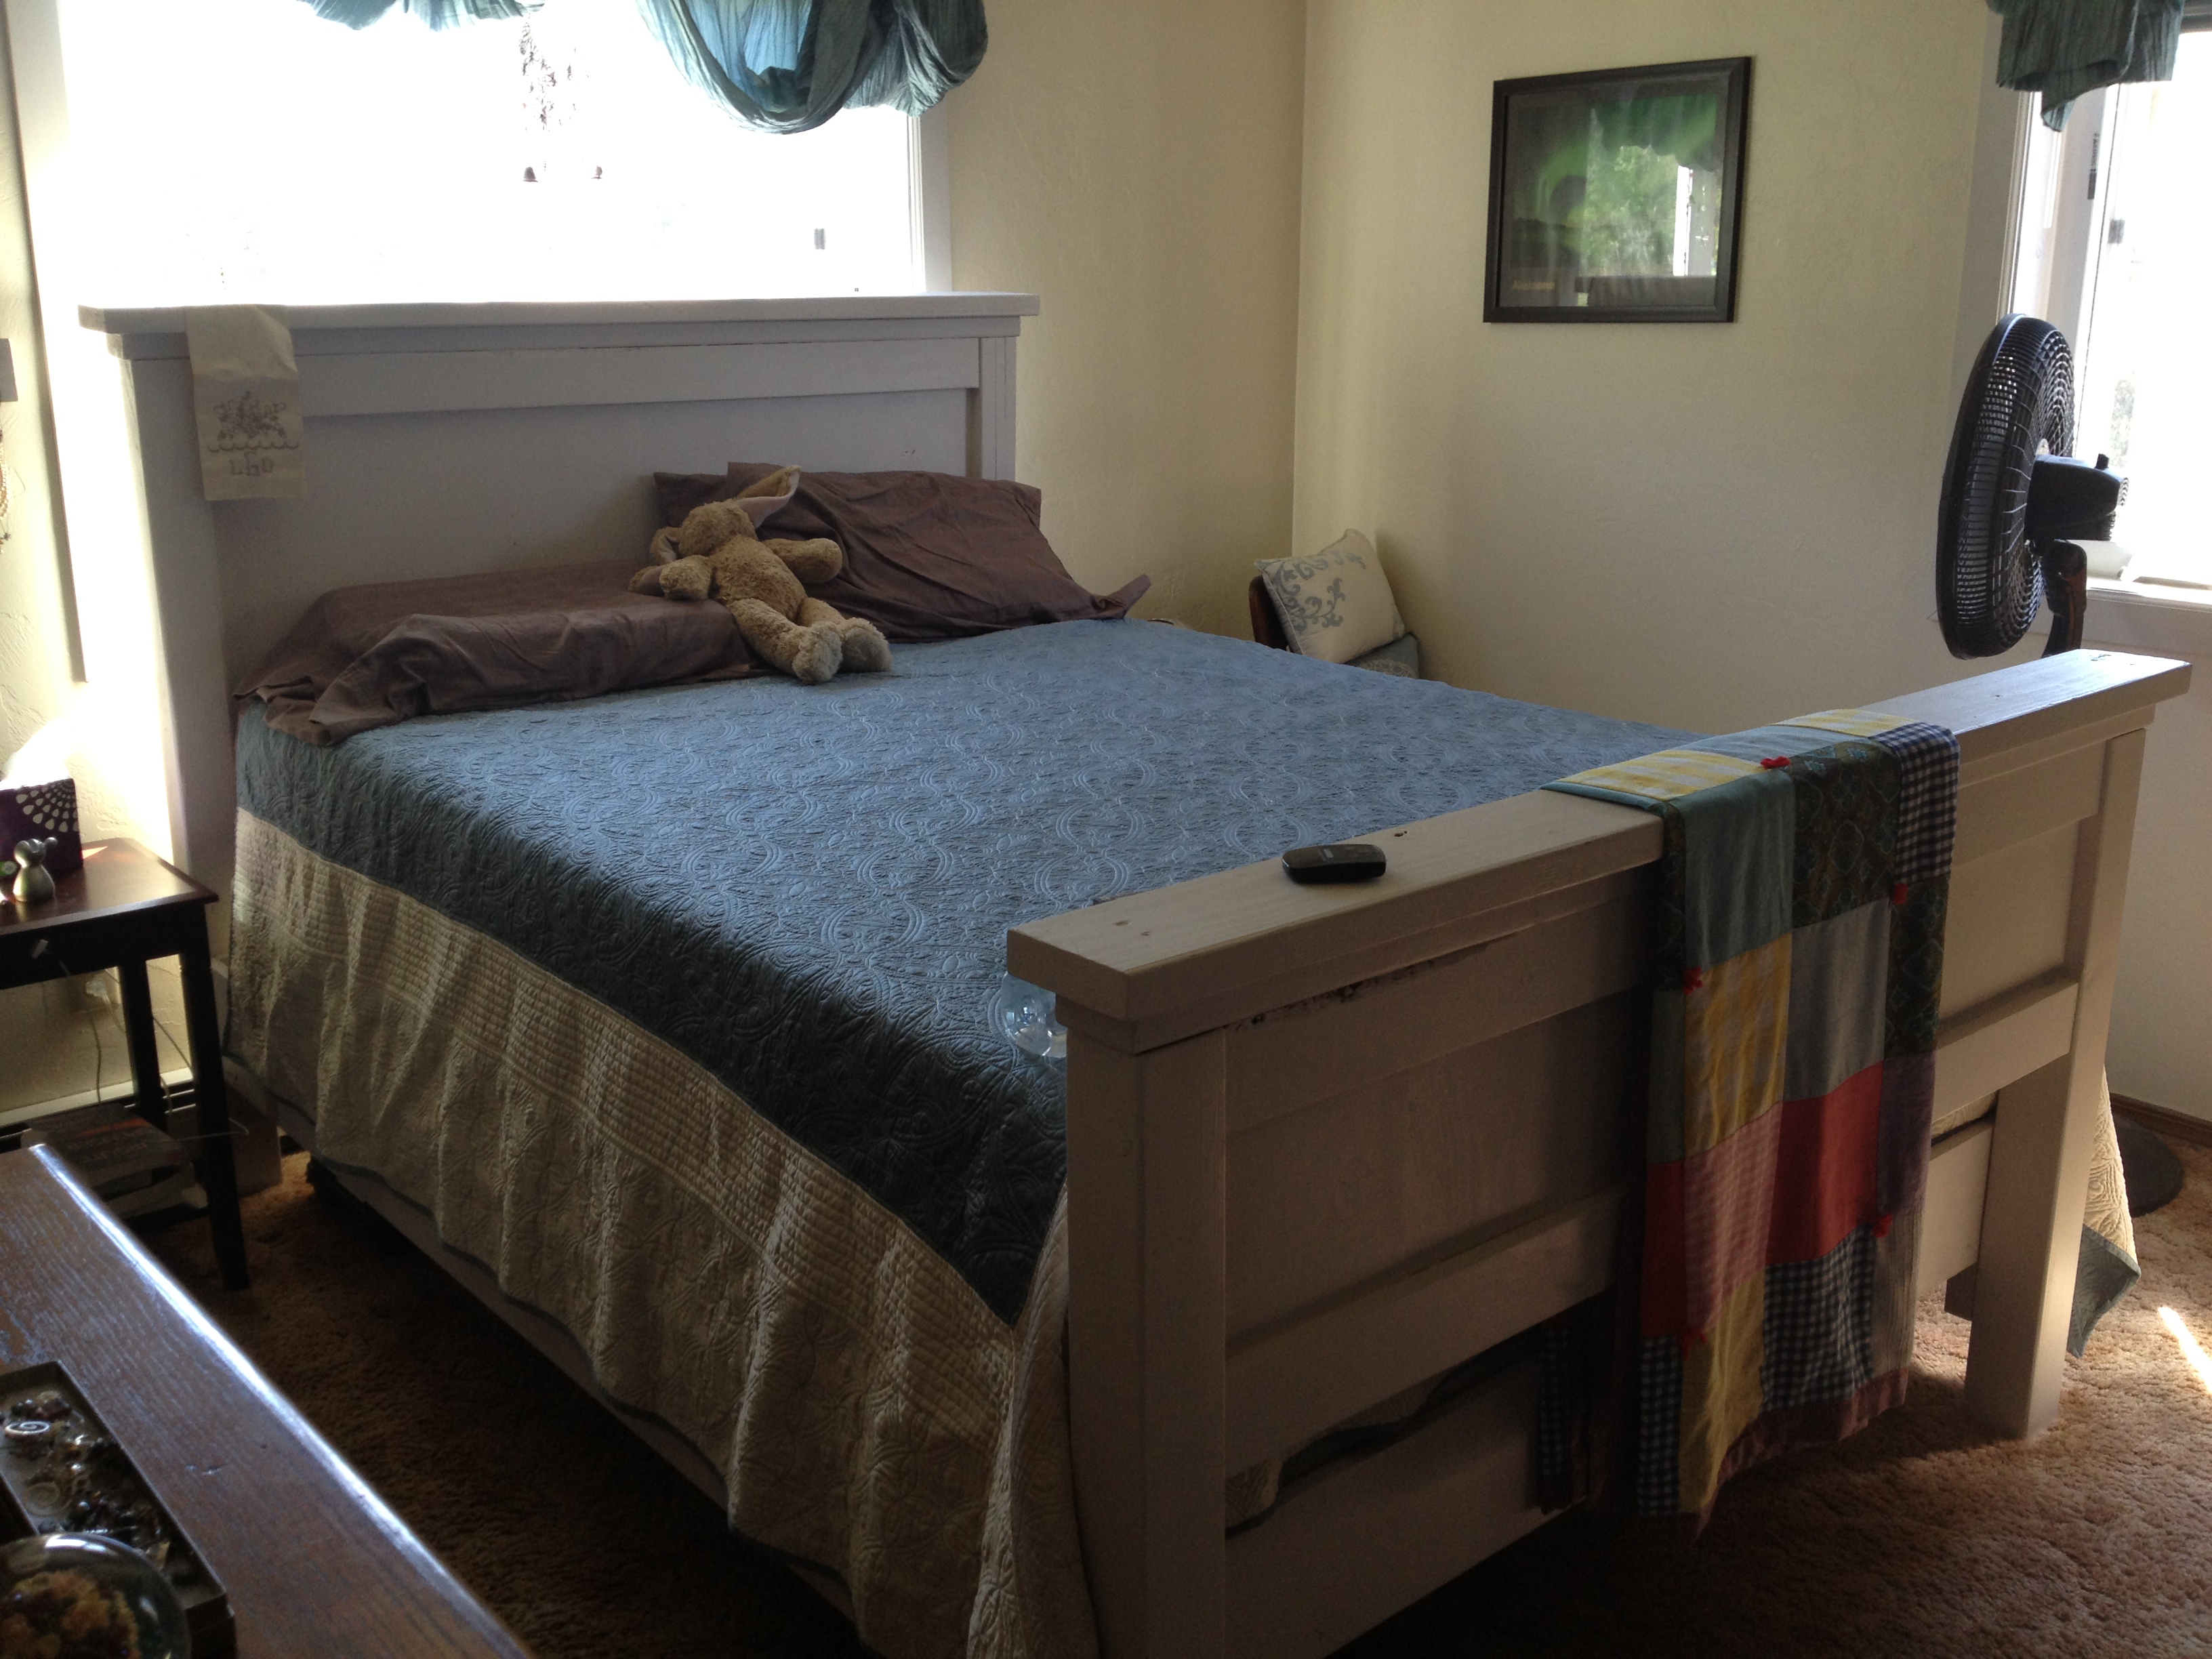
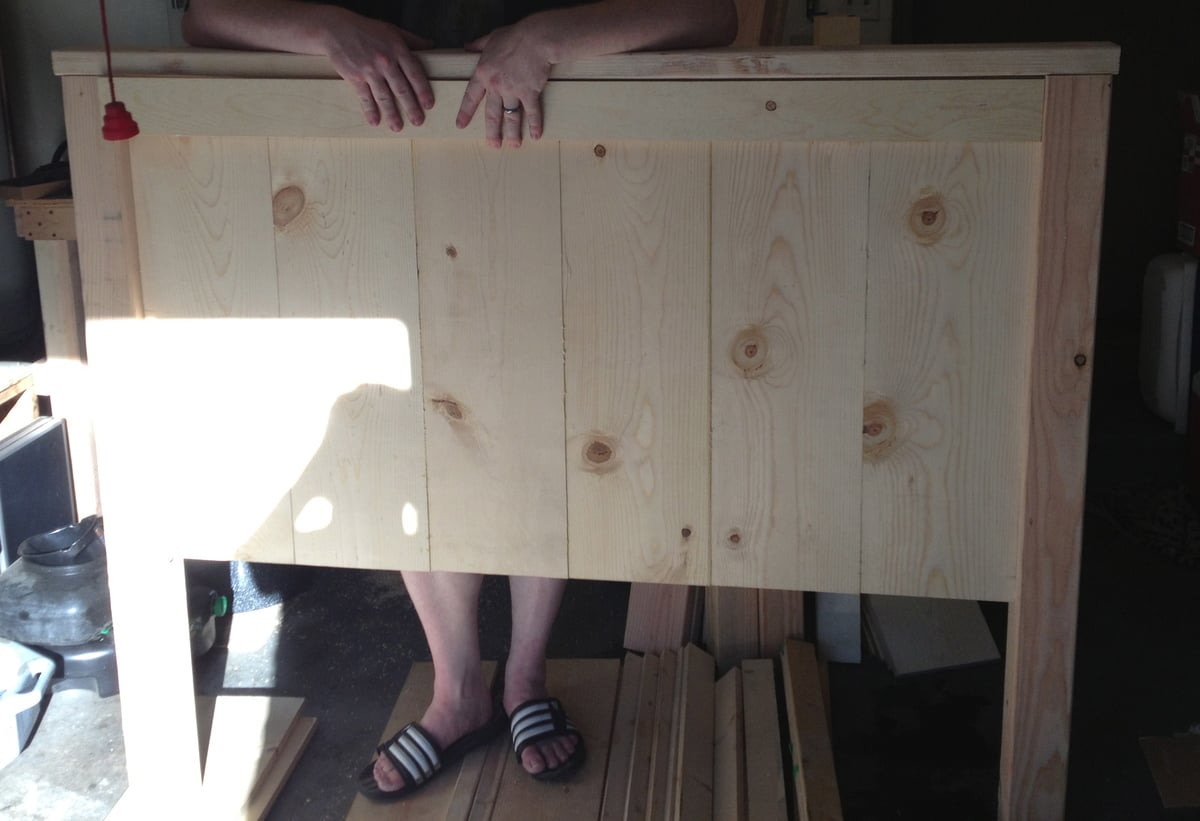
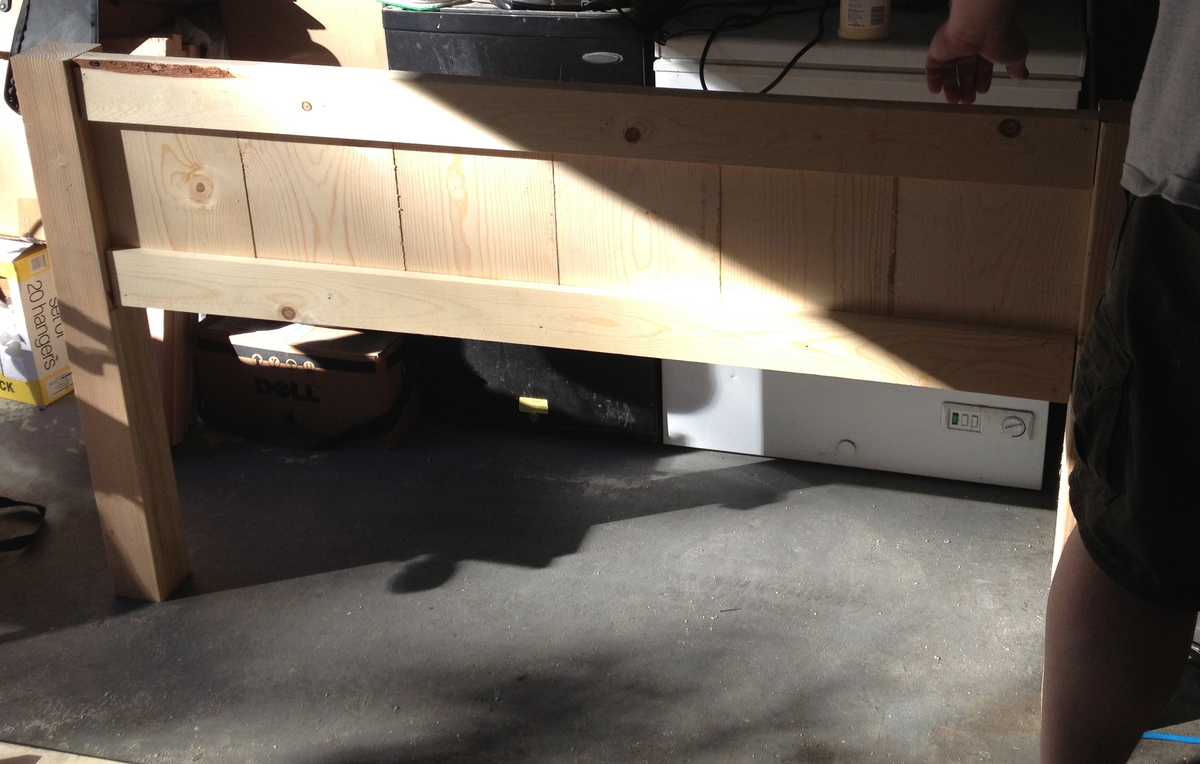
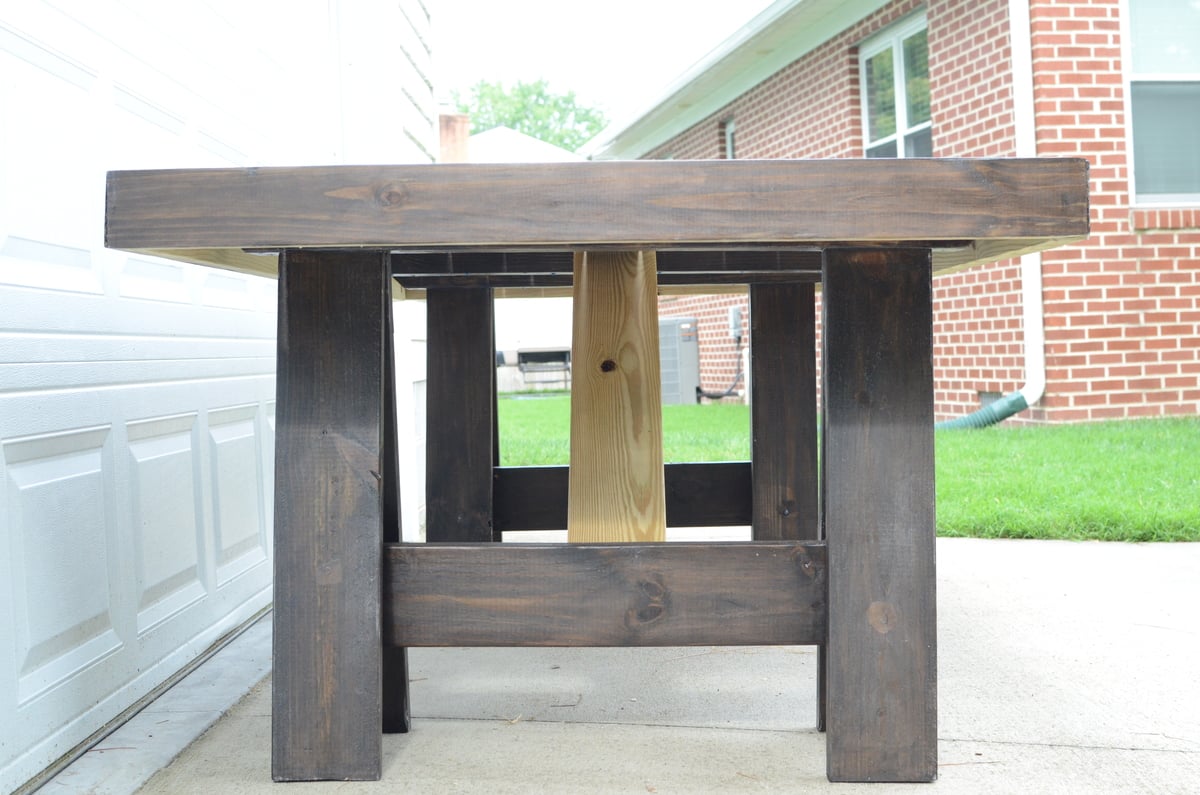
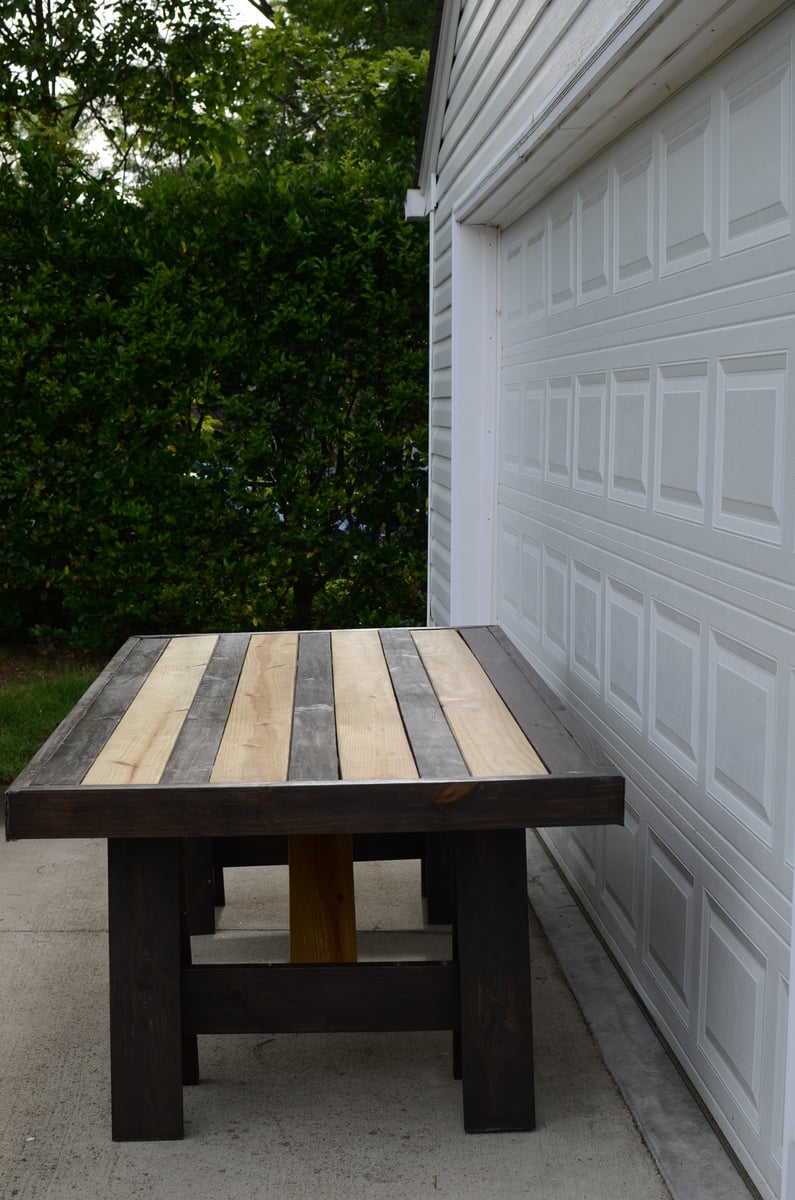
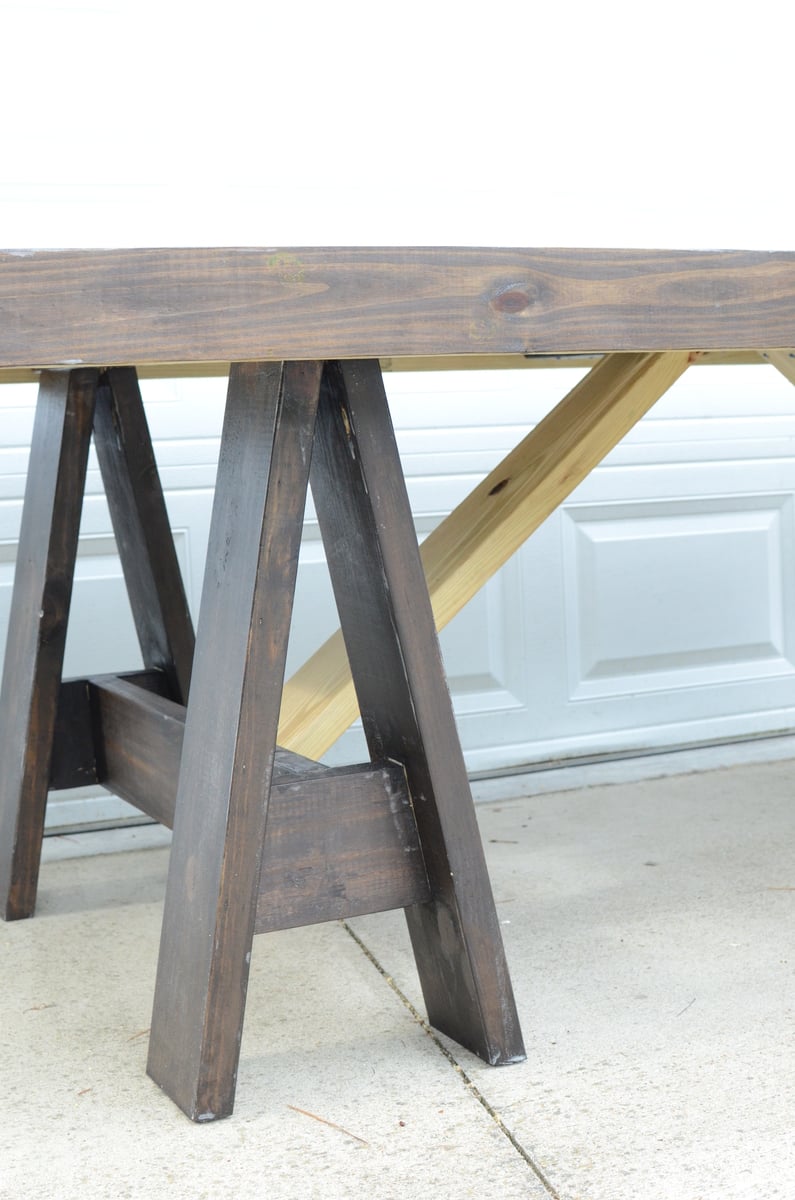
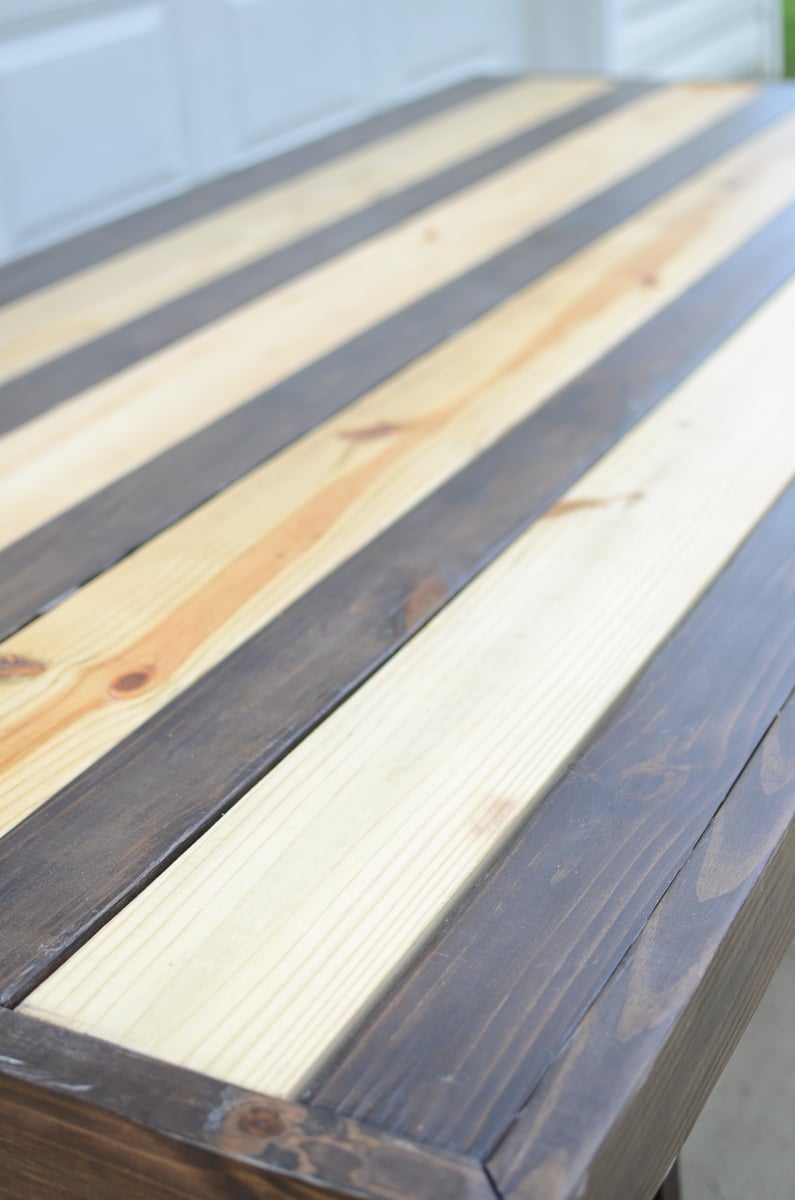
So I bought a tv for our bedroom rather spur of the moment last year and when I decided I didn't to wall mount it I needed a console for the tv to sit. This was going to be my 3rd build and I had recently made the Mini Farmhouse Bedside table. I modified the Mini bedside plans to make the console a larger two drawer style. I also increased the height by about 2" to put the tv at a better viewing angle. I didn't know that there was a similar plan in Ana's book at the time, as it probably would have been easier to just follow that. Oh well.
Built from Plan(s)
Estimated Cost
$60
Estimated Time Investment
Weekend Project (10-20 Hours)
Finish Used
I built this with pine 2x2 and 1x6 boards. Stained with Minwax Special Walnut (I used conditioner first) and painted with Behr premium white paint (off the shelf- no mixing). I sanded it down to distress and did not use any poly as I felt that natural wear would add to the look. It's held up very well over the last year.
Recommended Skill Level
Beginner