Modern Adirondack and 2x4 Sofas
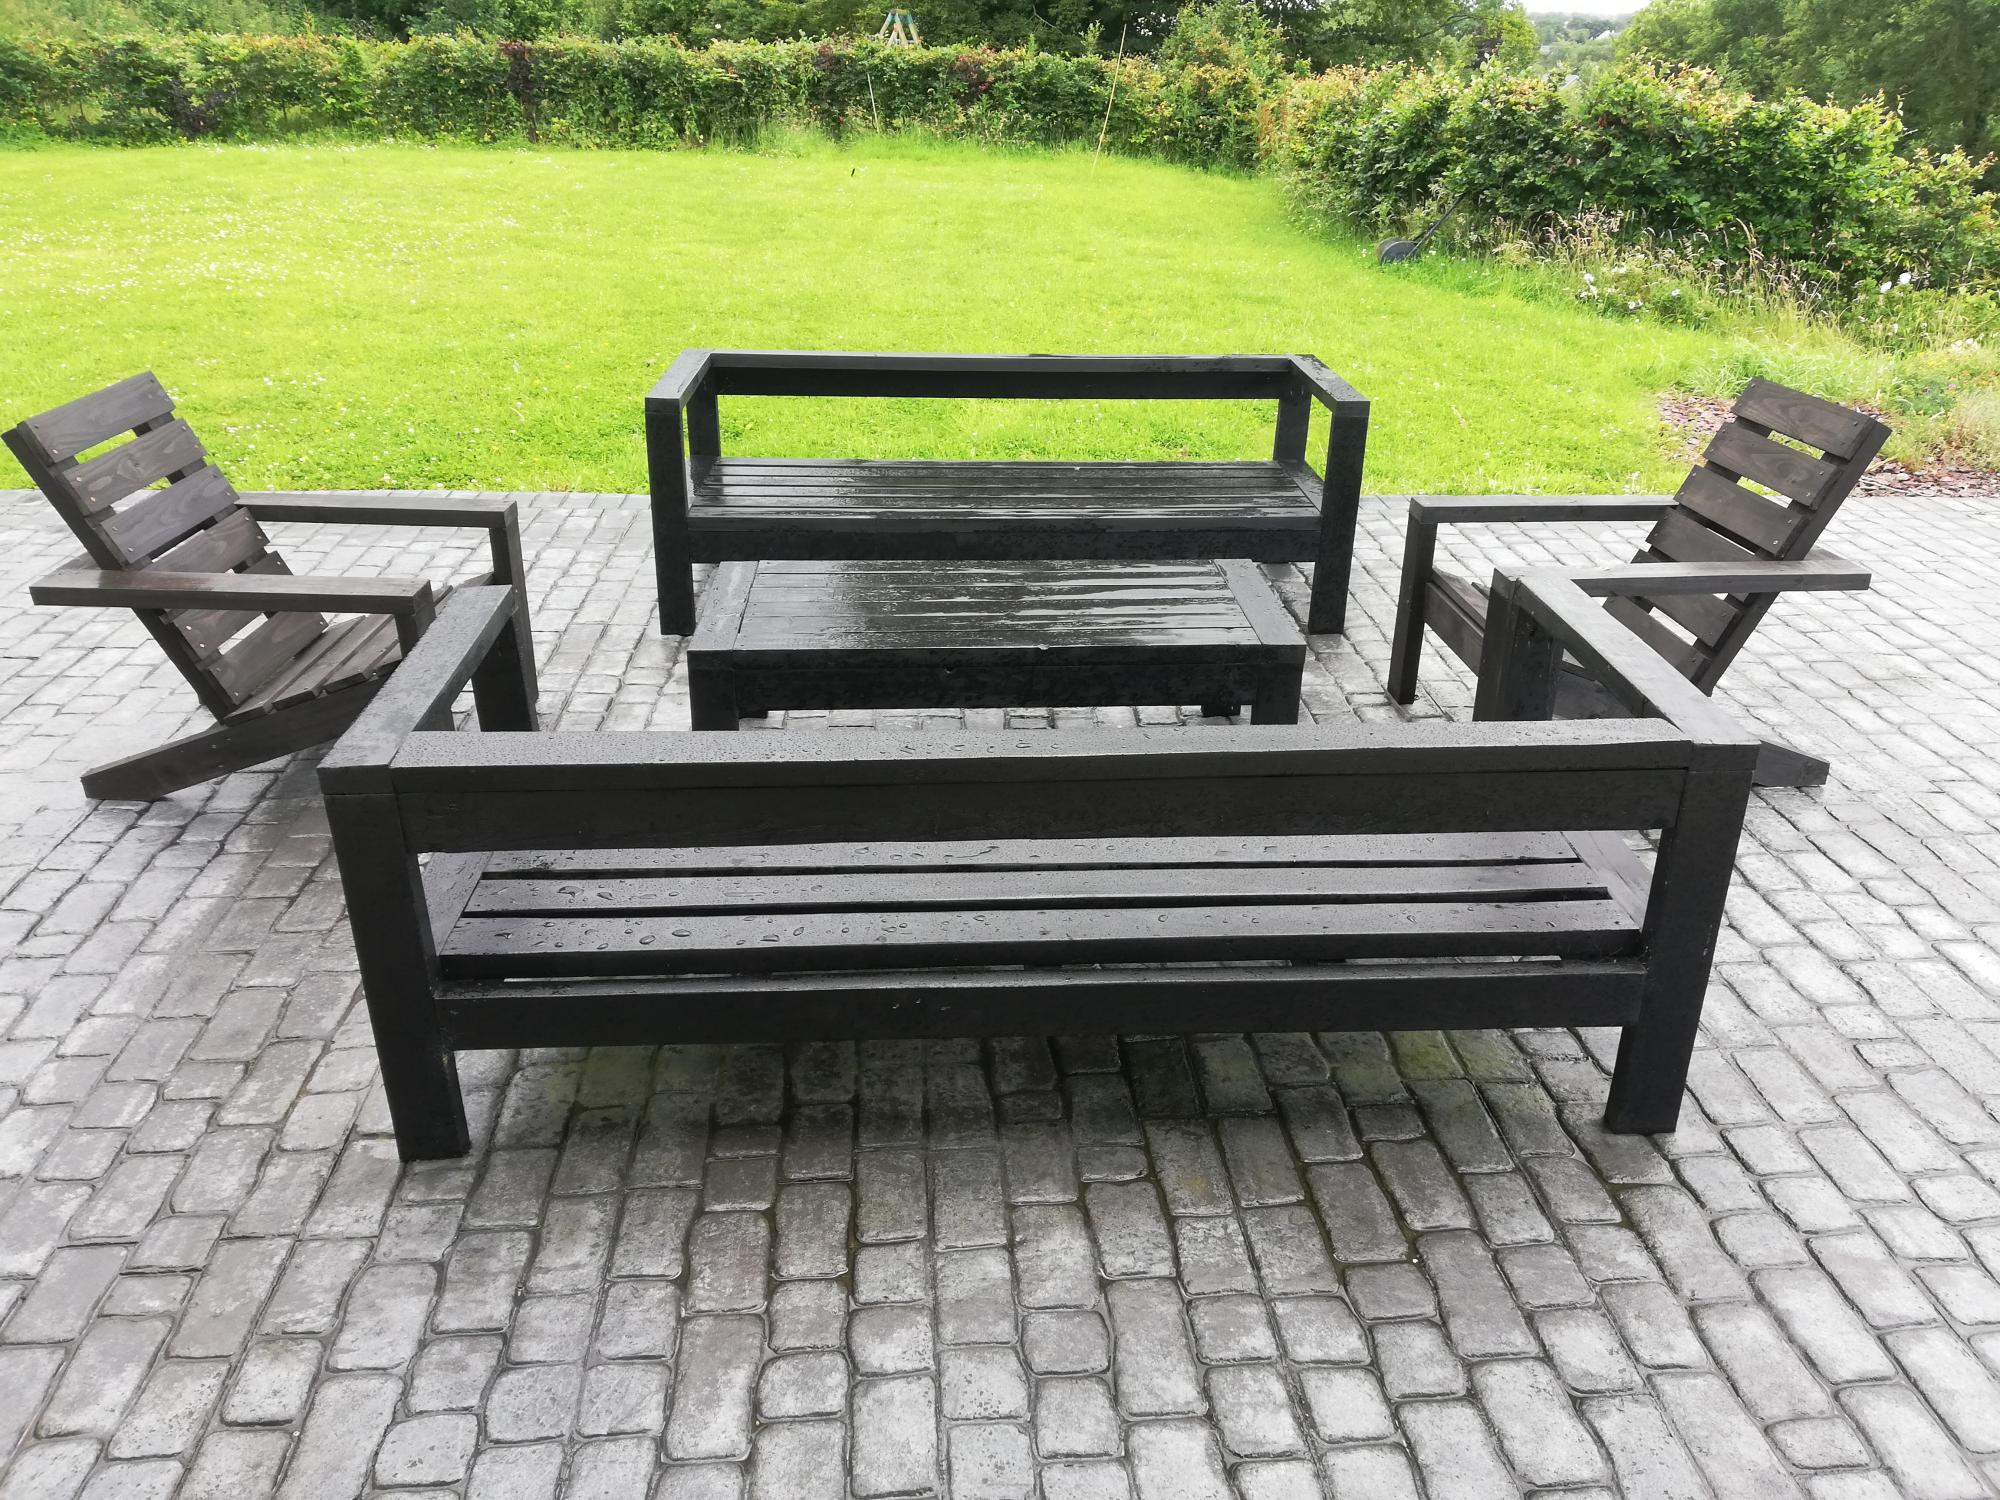
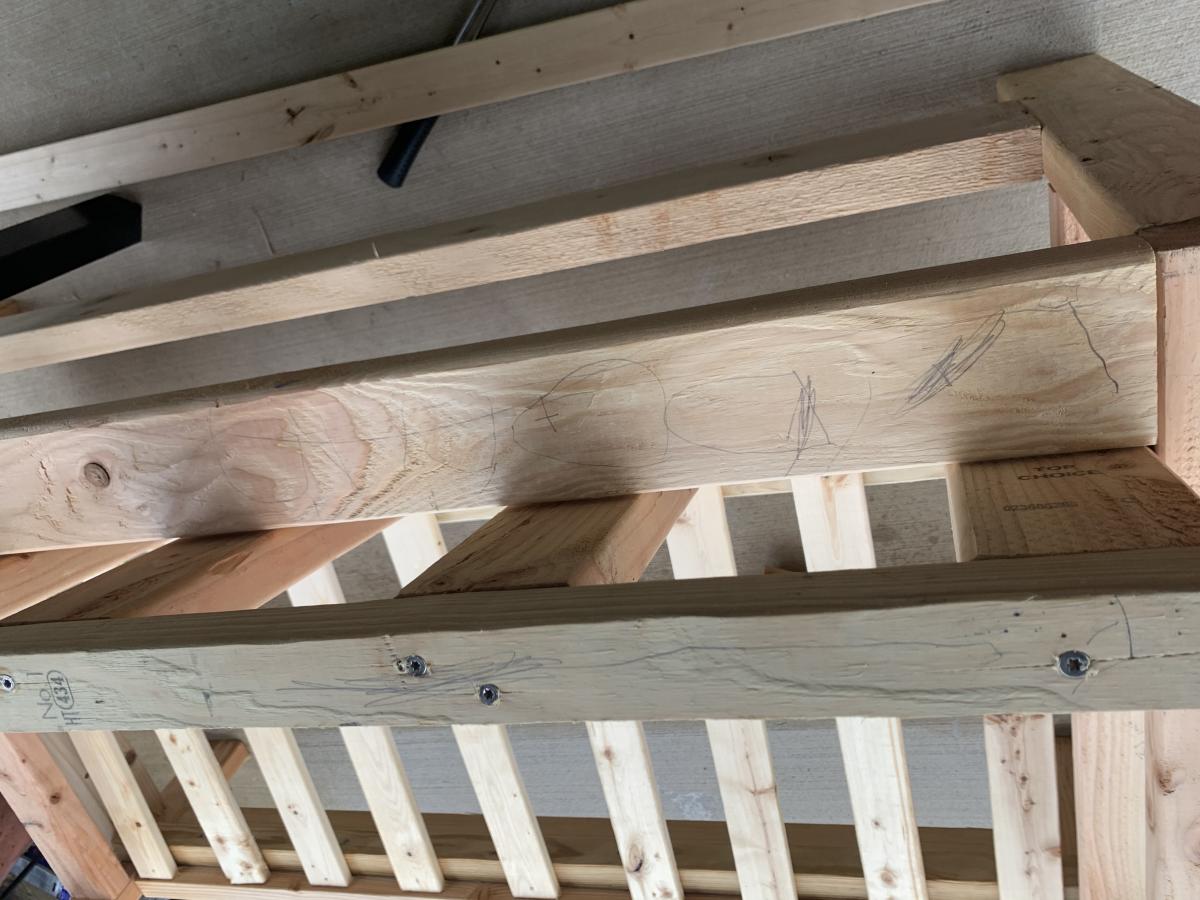
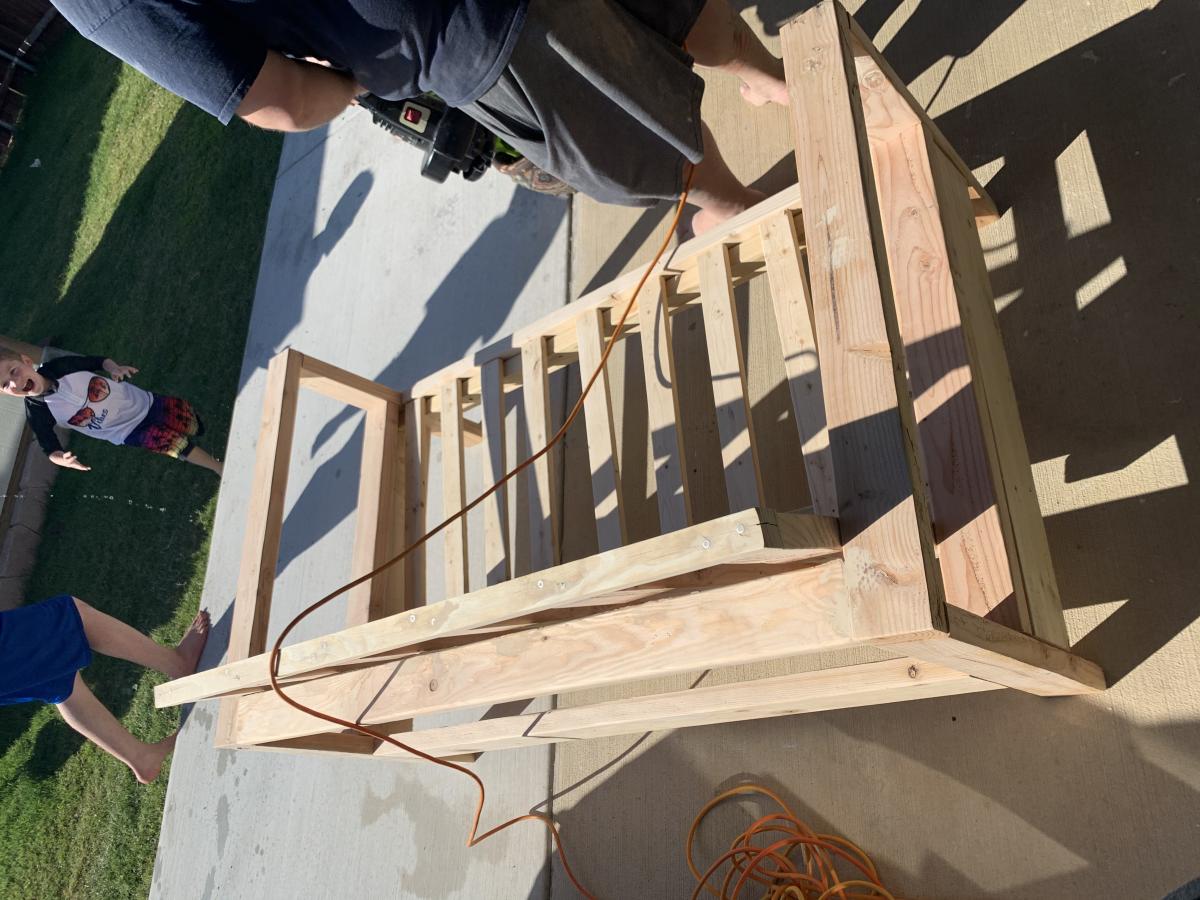
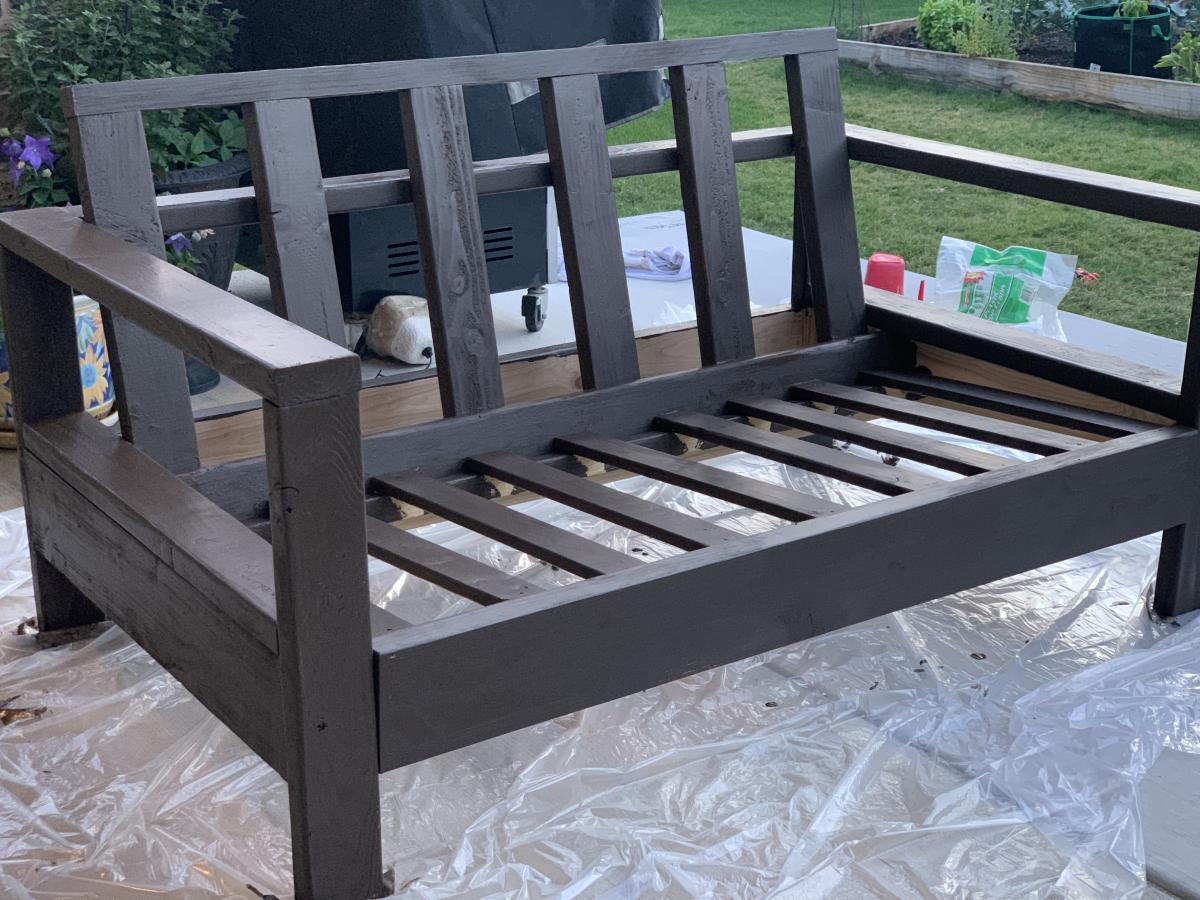
Thanks Ana for your great plans... Unfortunately it hasn't stopped raining since we finished the armchairs! All we need now is the sun :)
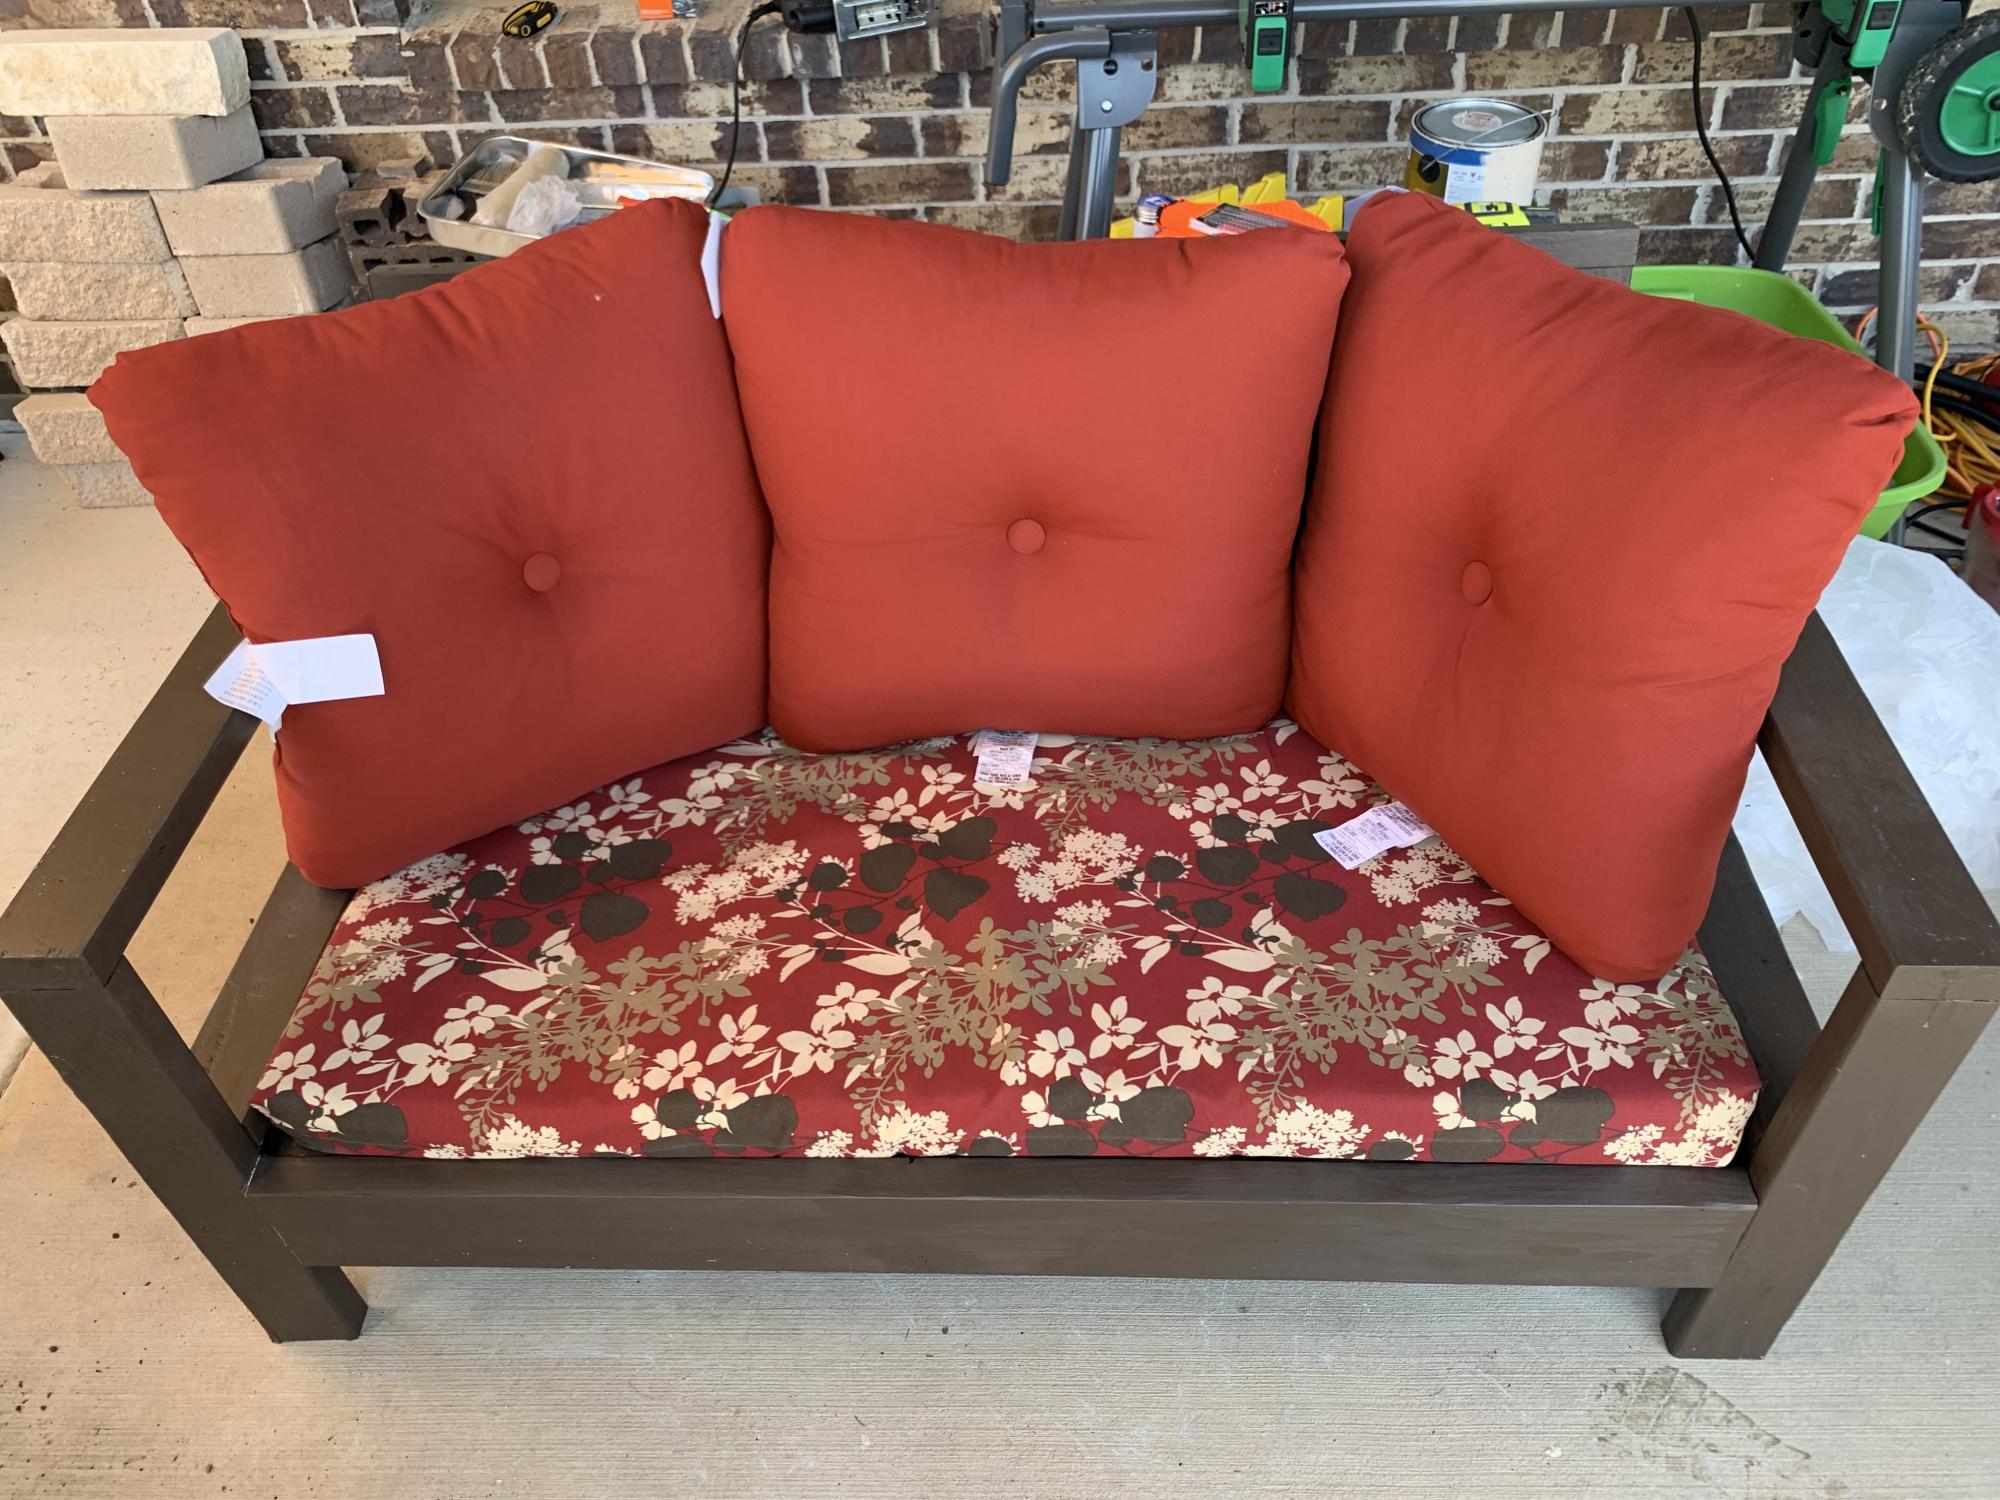
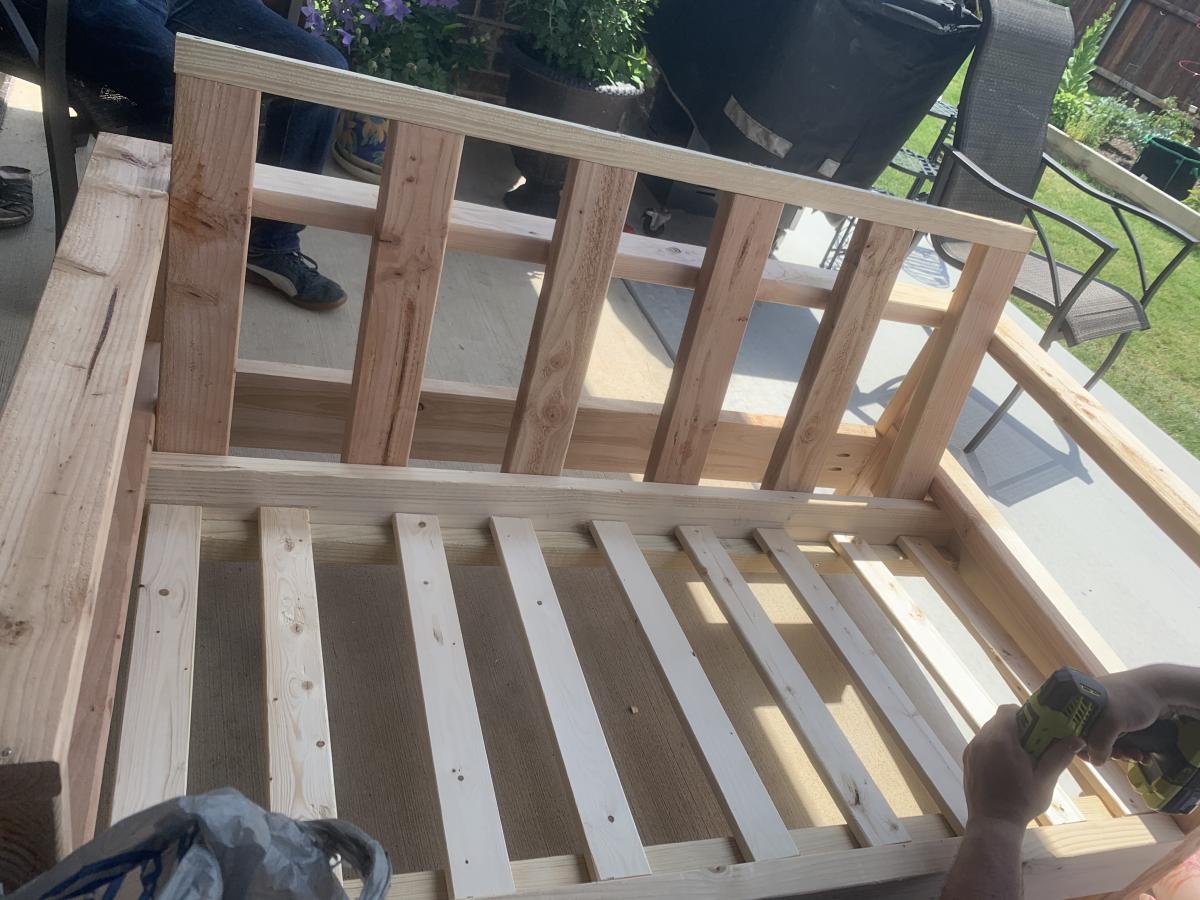
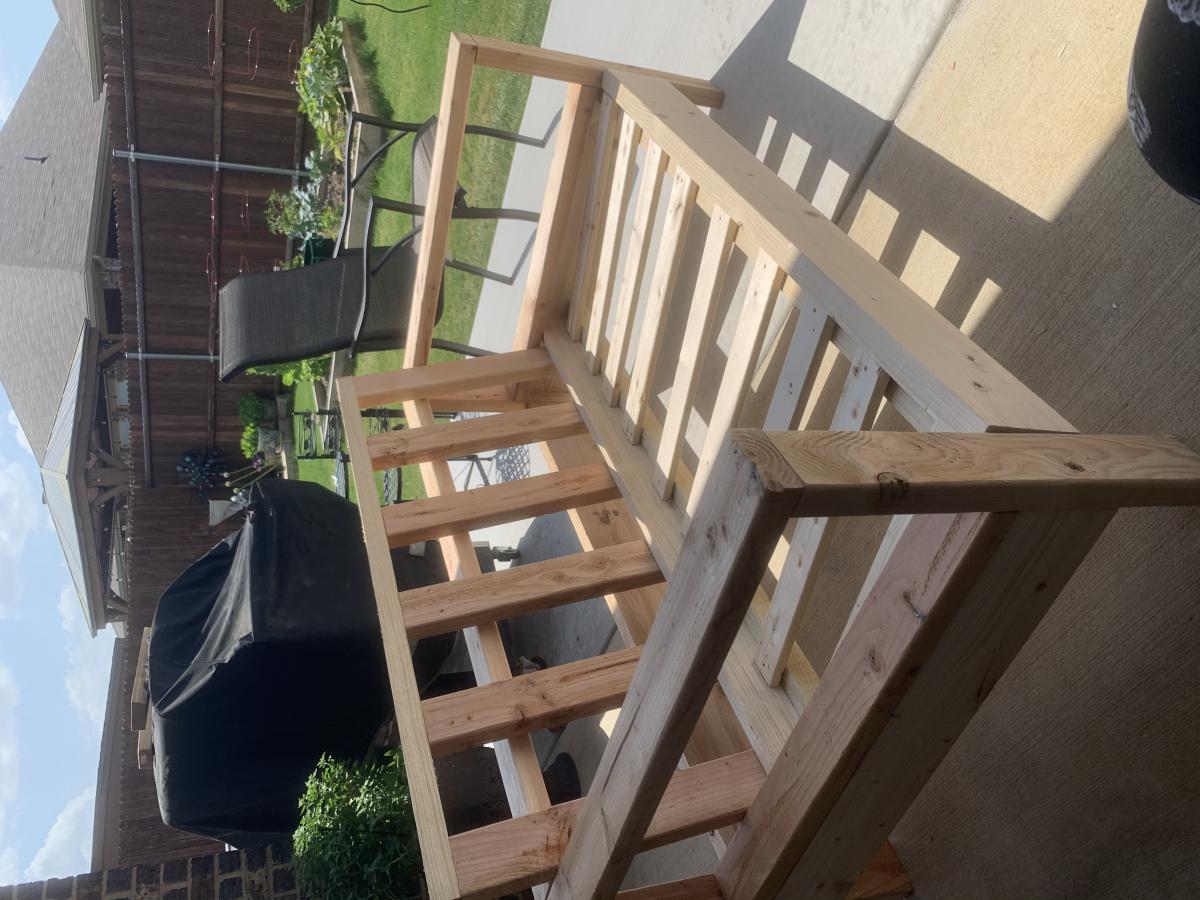
We used 4x1 for the seats to match the outdoor sofas.

Thanks Ana for your great plans... Unfortunately it hasn't stopped raining since we finished the armchairs! All we need now is the sun :)
We used 4x1 for the seats to match the outdoor sofas.
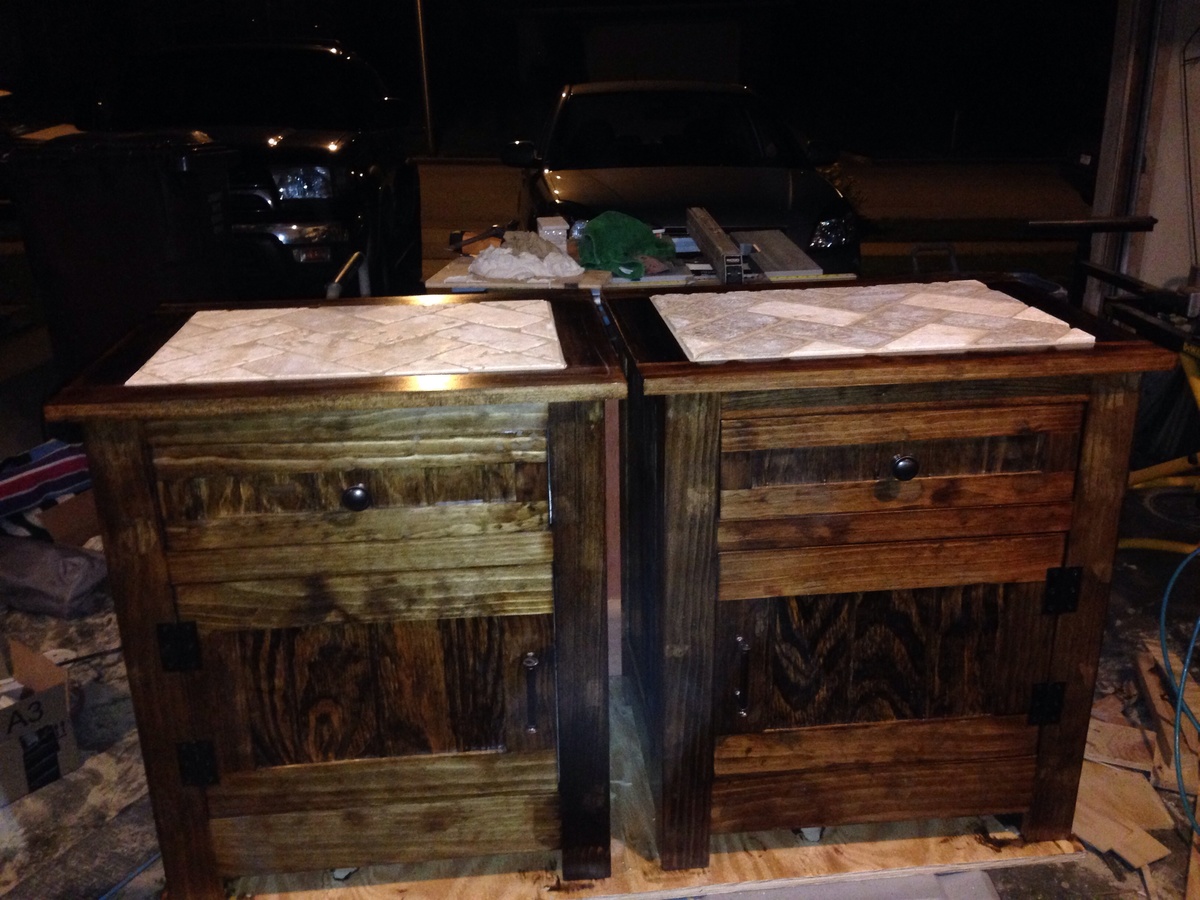
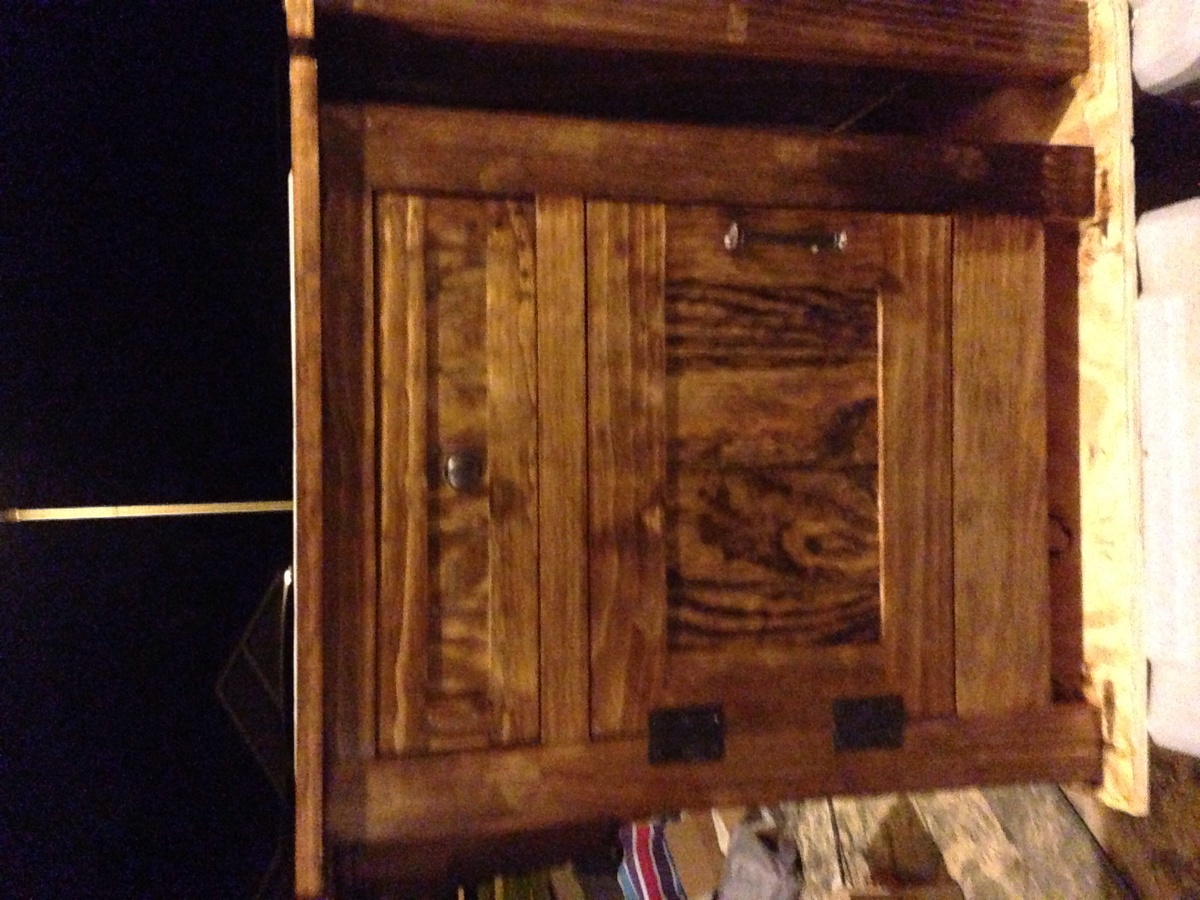
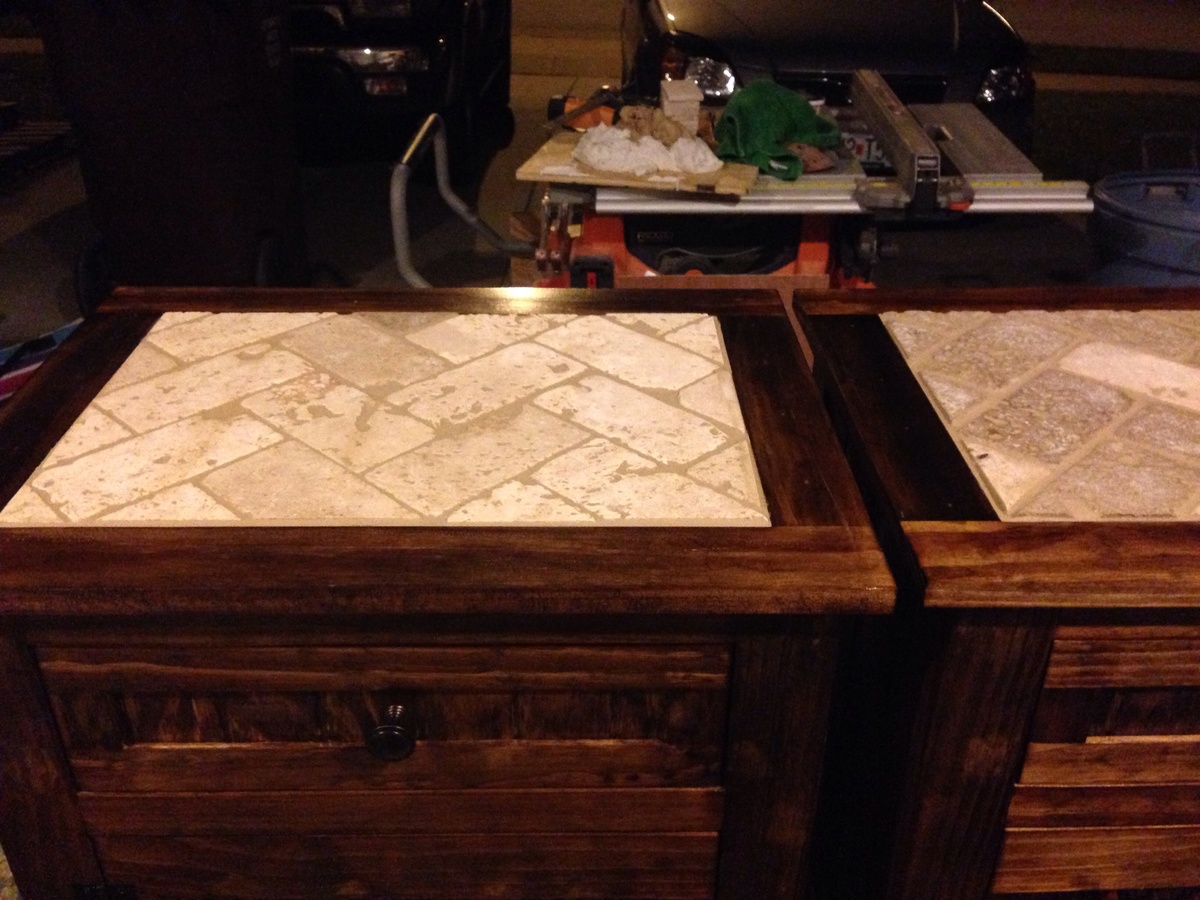
I followed the basic plans for the kent wood nightstand but made a few changes. I made paneling out of 3/4" plywood for the sides and door/drawer and routed a 1/2" by 1/2" channel into the face frames to slide the panels in. I added a drawer and made the door smaller. Instead of using the strips of wood for the top I framed it with 1x3's and inset a piece of Wedi tile underlayment. Wedi is a closed cell foam that is coated with a cement membrane. It is pretty durable and completely waterproof. I then used white thinset mortar and set 3x6 tumbled travertine in a herring bone pattern using a 3/16" v notch trowel. Grouted the top of the tile and caulked with color matching latex caulk where the tile meets the wood frame.
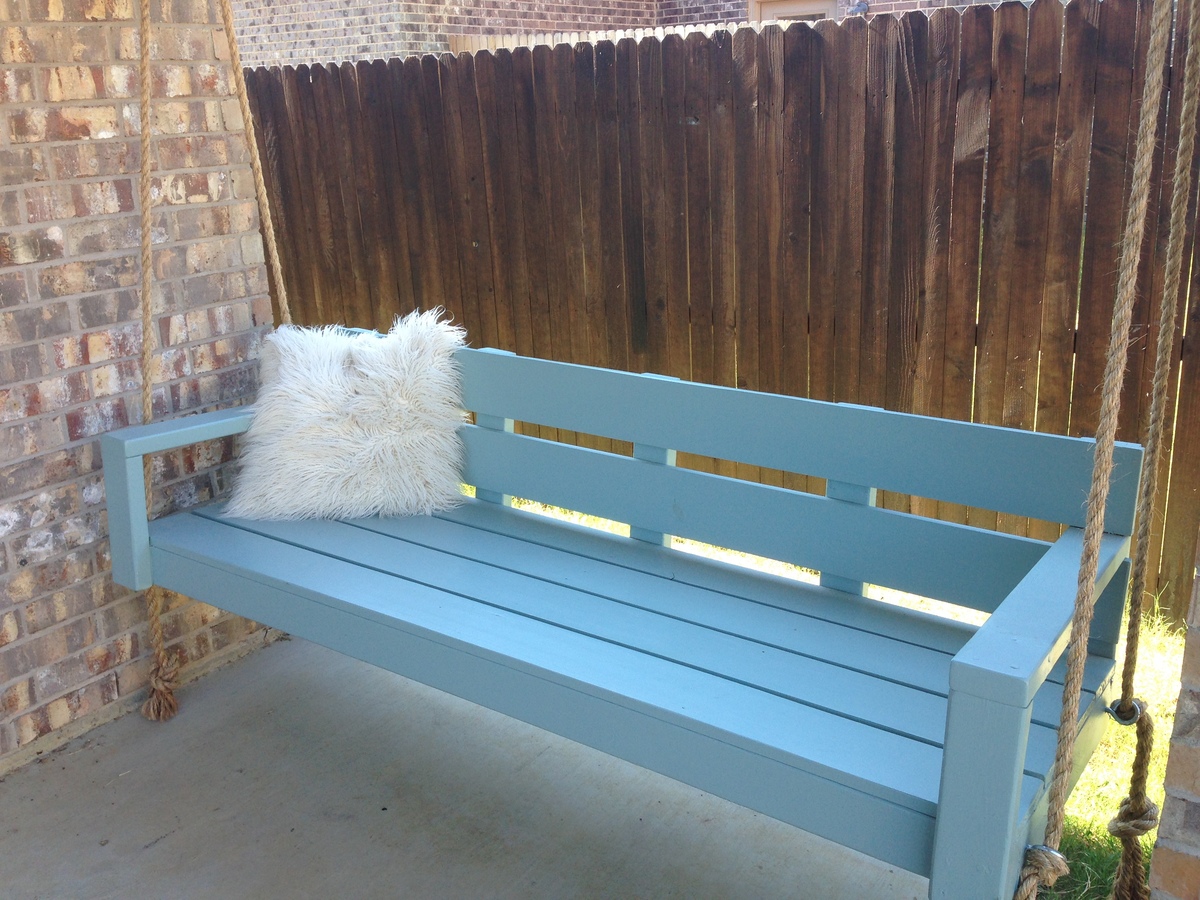
This is a super easy build, but it cost us WAY more than the estimate. By the time we painted and hung it the total was closer to $150.
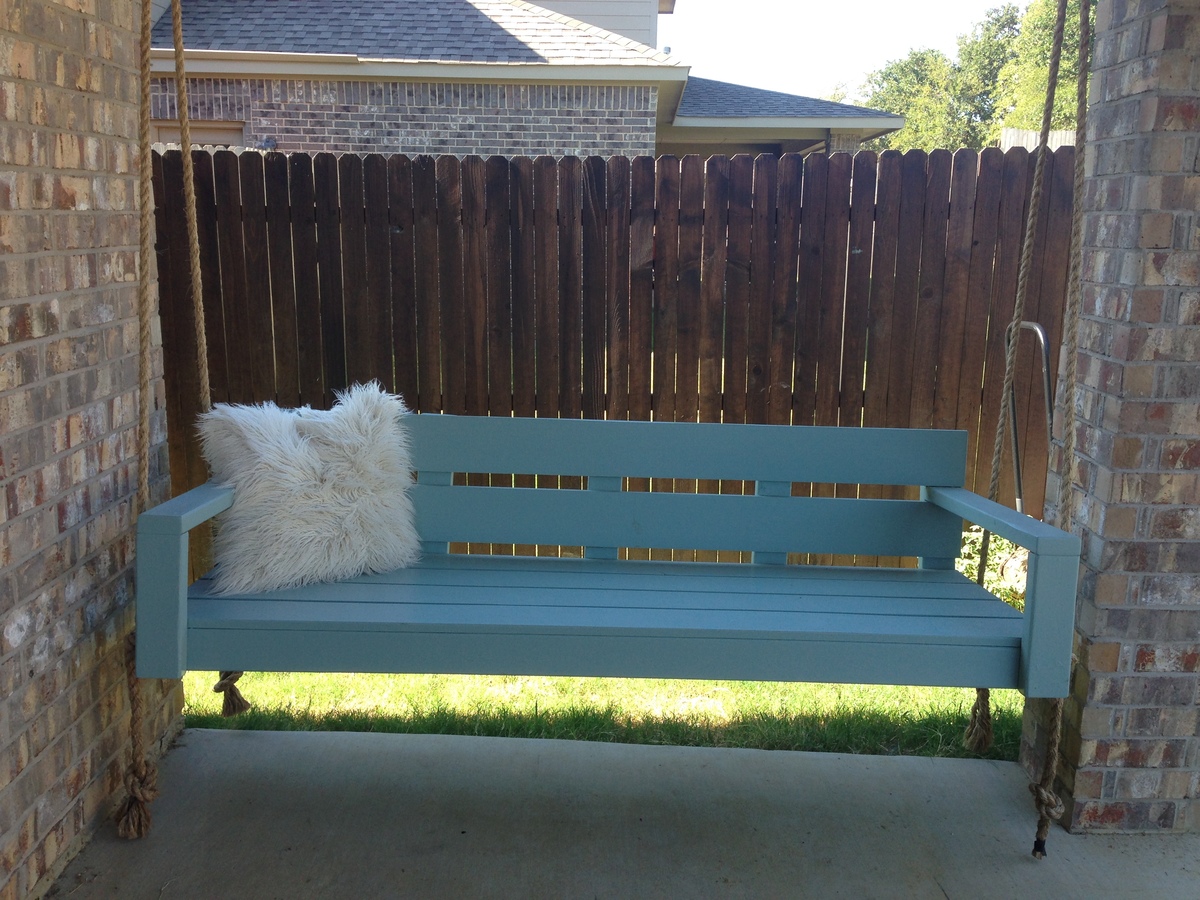
We we squeezed the swing into the crack between the pillar and wall of my back porch. It barely fit, but we are a family of six so I wanted it to be as big as possible.
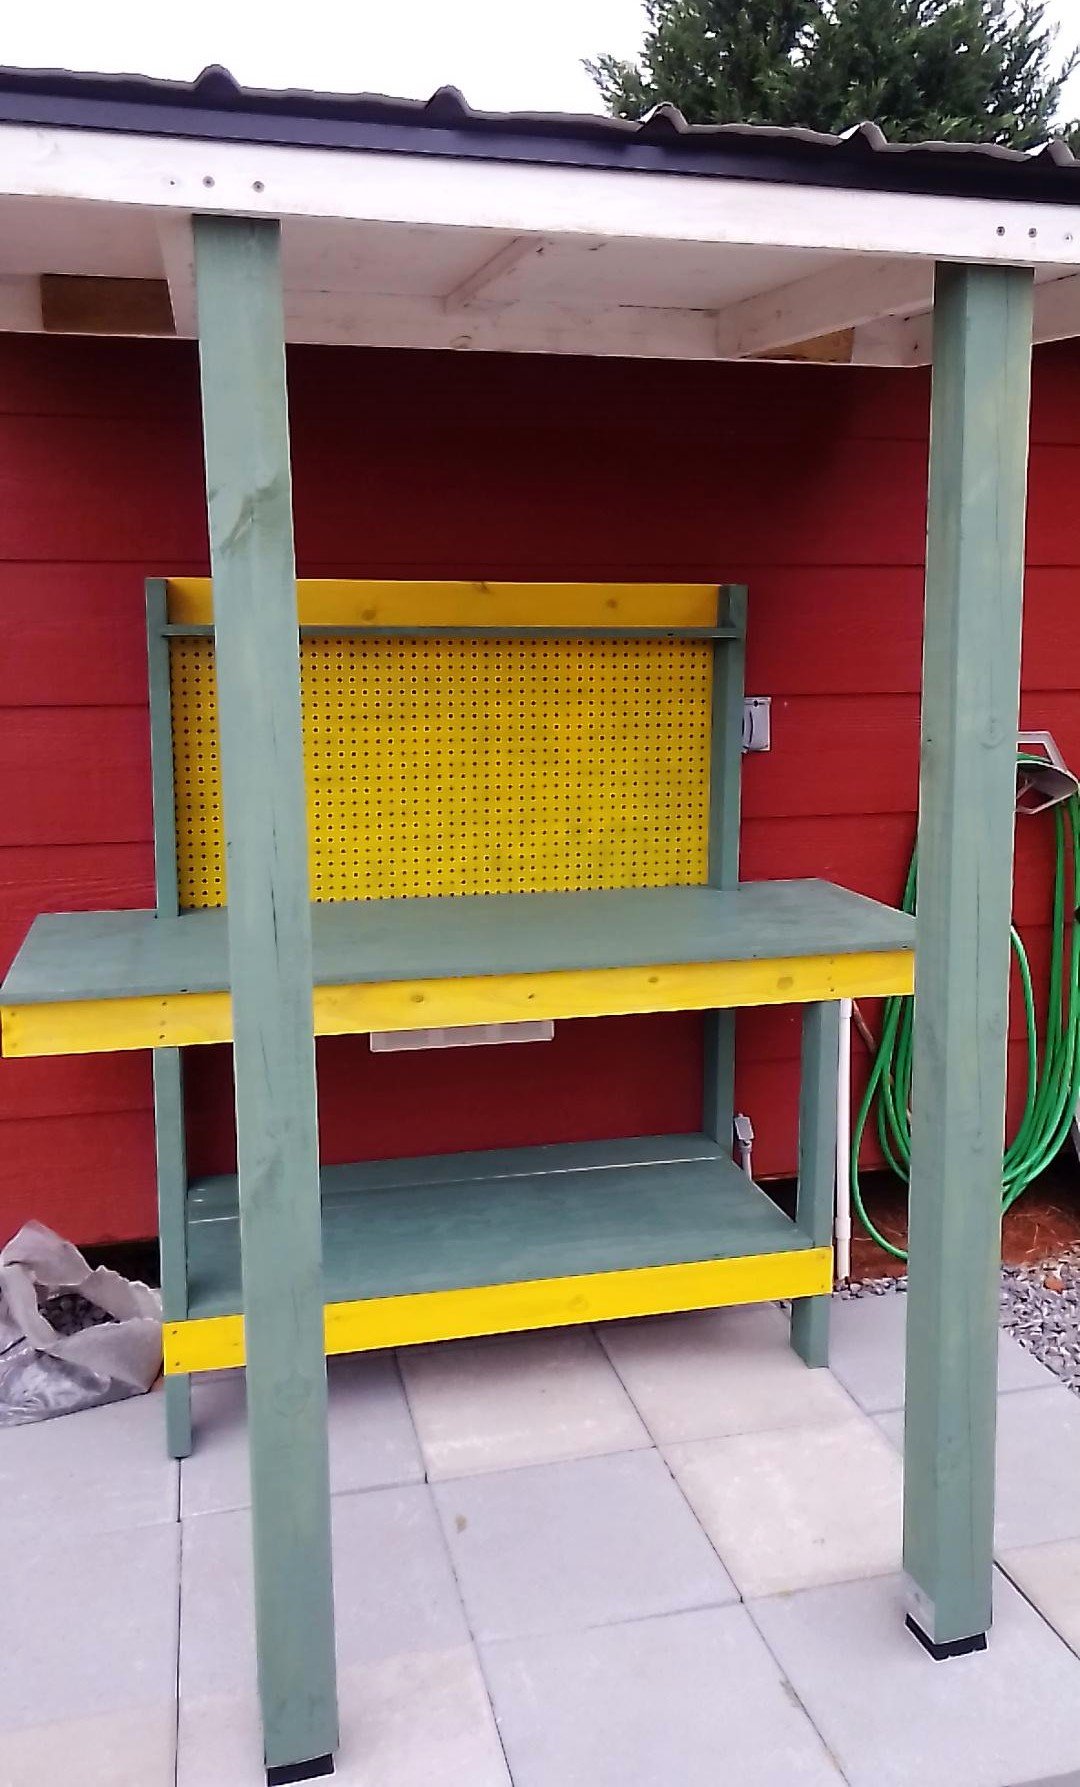
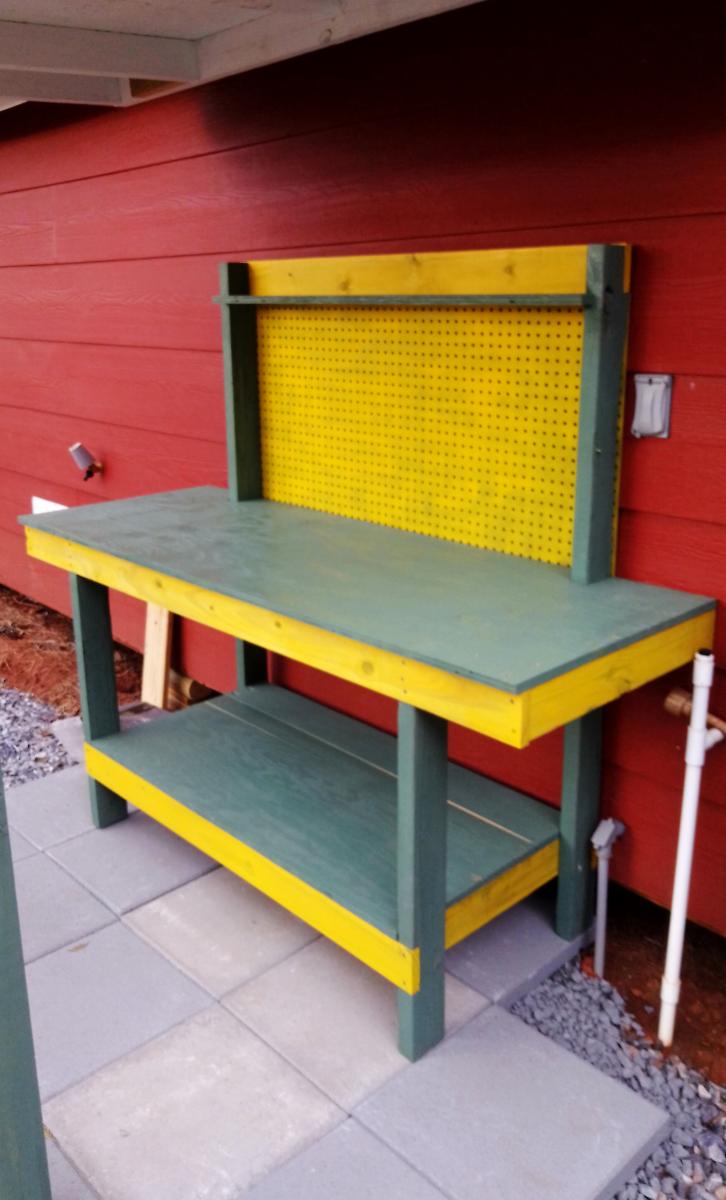
An expansion of the 2x4 potting bench.
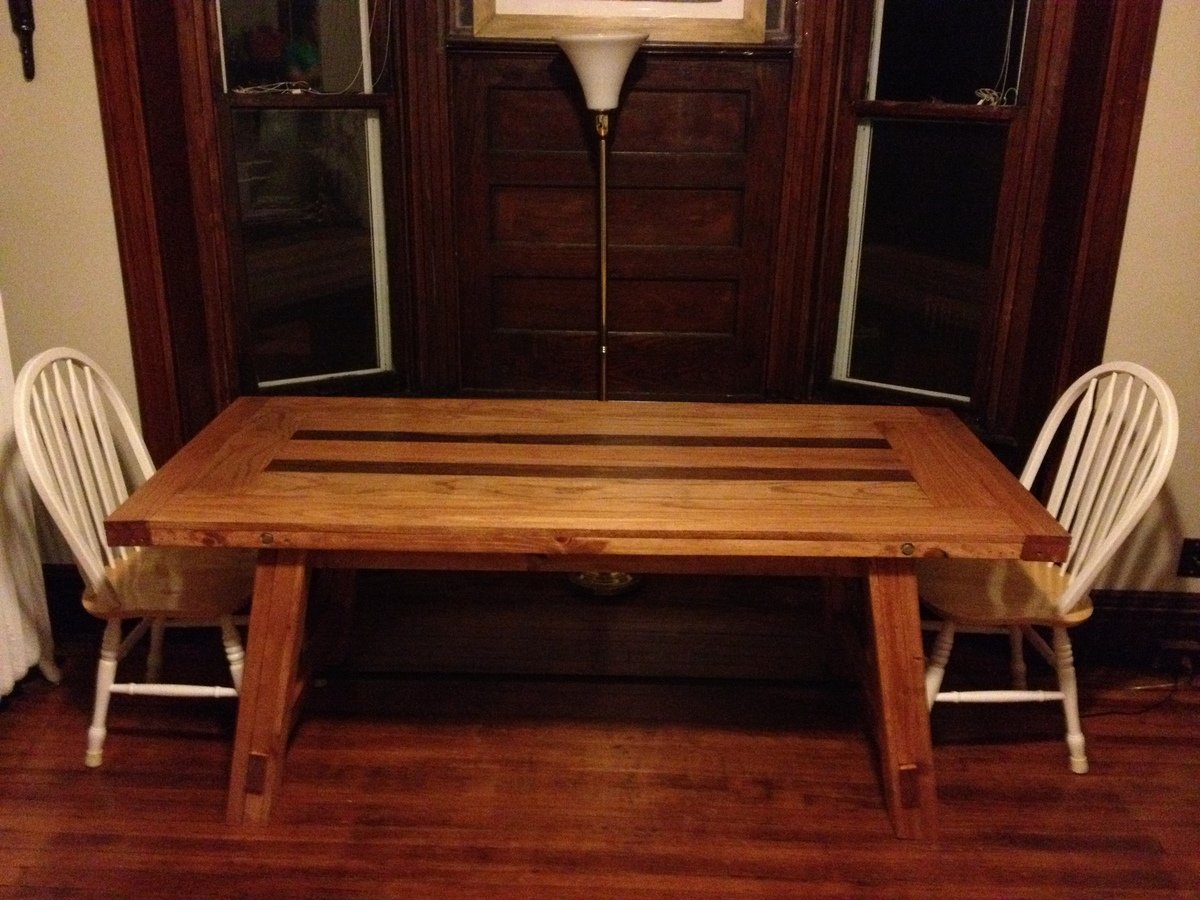
So I built this table in the last few weeks. I am looking to make furniture for a living at some point down the road, being sort of tired of my current profession. Starting a new hobby takes some initial investment, but my wife was enthusiatic. The whole table took about 4 days of work. I ran into a few problems with sizing of some of the pieces but they are all covered in the commments sections.
Materials: Fir for the legs, red oak and walnut on top. You may notice the top is pieced together a little differently than Ana's plan. This is due to some creative problem solving. Namely, the 1X6s for the top weren't quite the right width.
Finish: Satin Polyurethane (4 coats) and Minwax Cherry Oil based Stain (1 coat). Note, the spray cans of polyurethane are a waste of money.
Entire project was 350 dollars. I Probably could have done it for 300 or less had I more experience. Now I need some chairs. Saw some cool ones here. http://wudfurniture.com/furniture/wud-chair/
Whaddya say Ana? Plans Please! :)
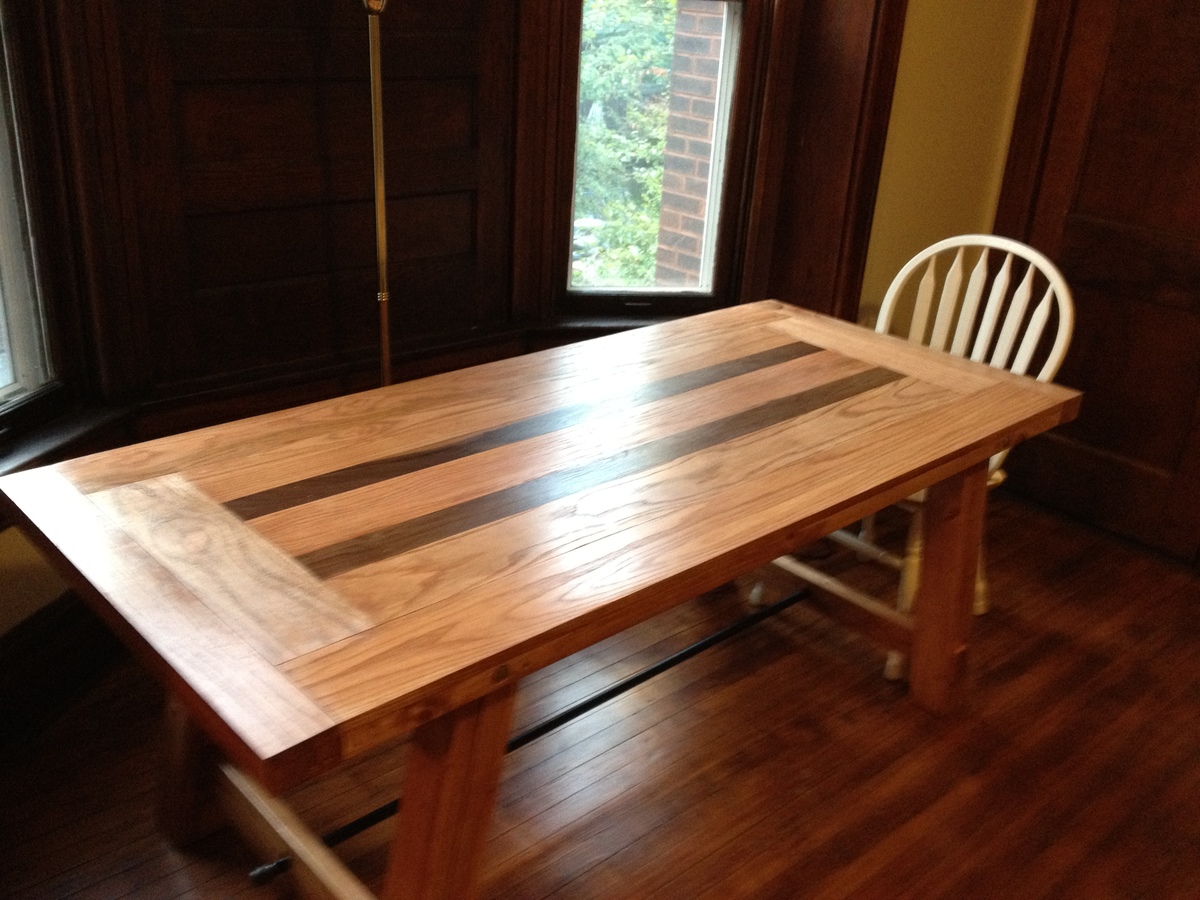
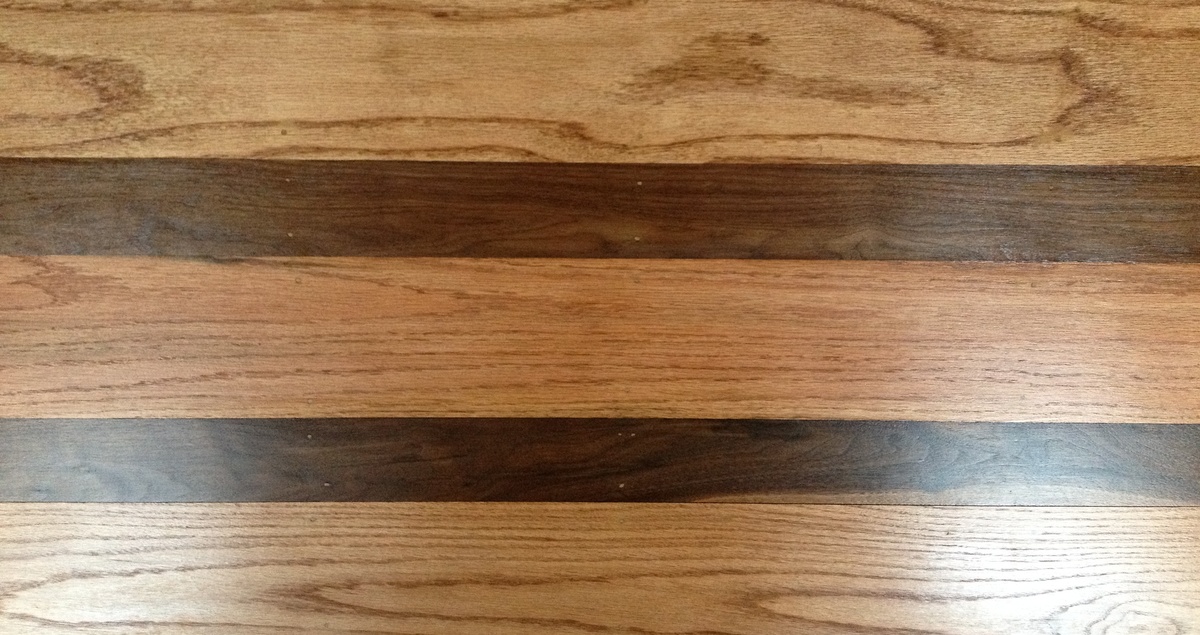
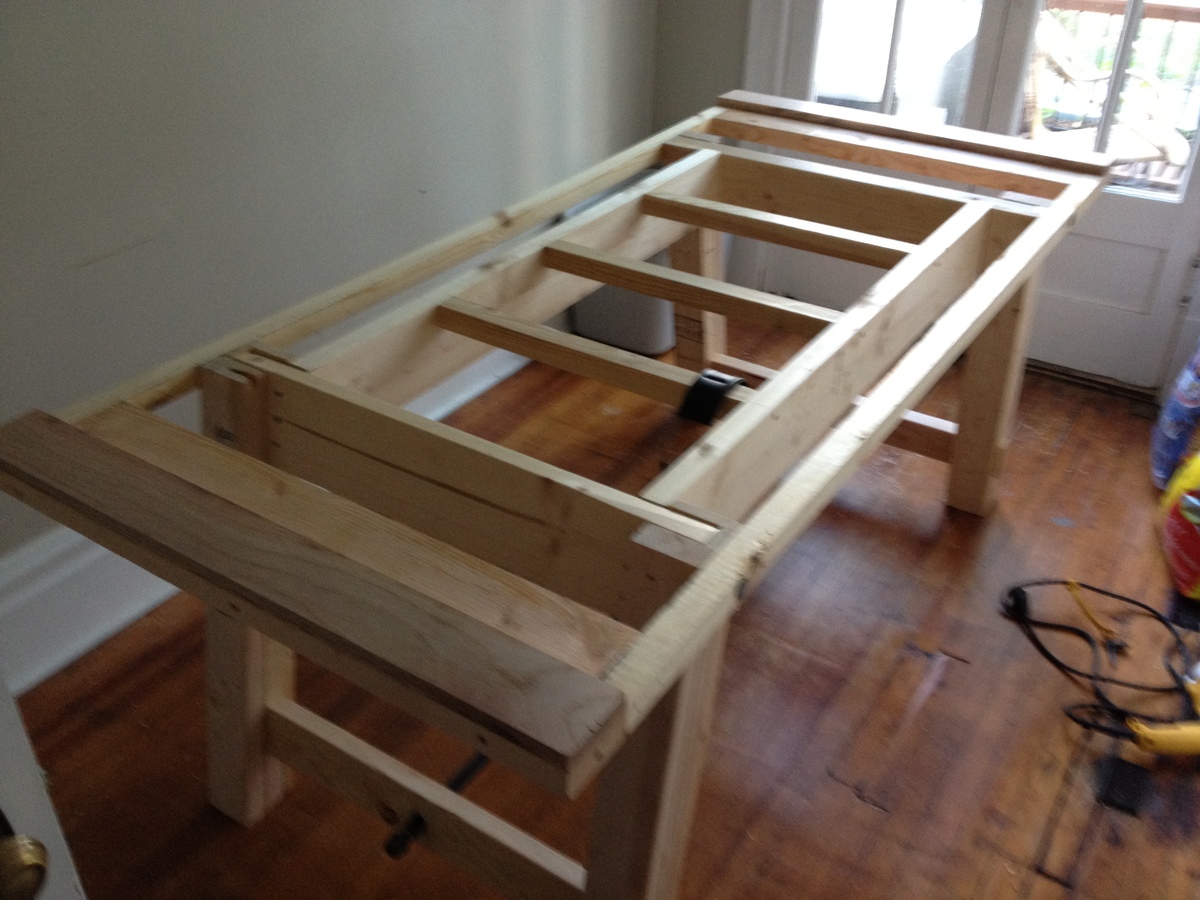
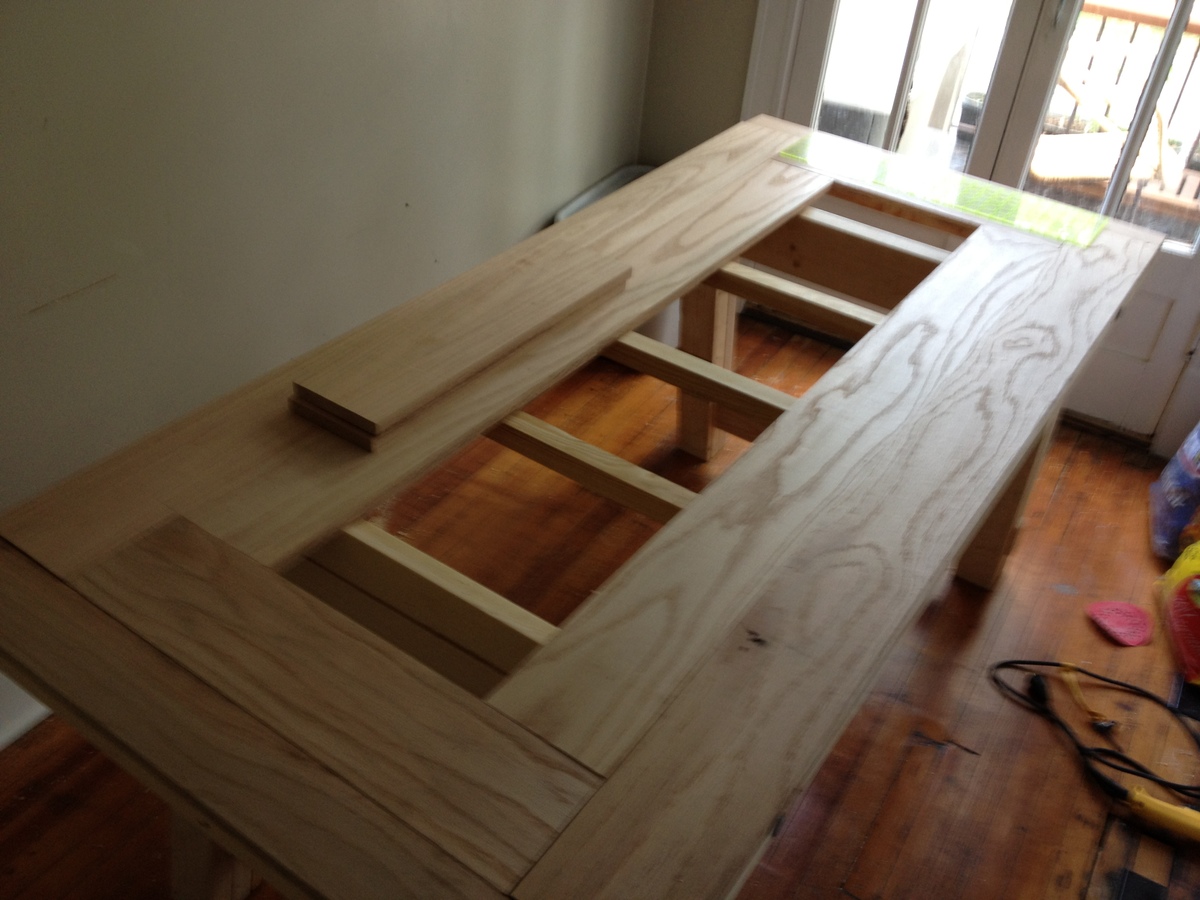
I saw this table on Anna's website from rogueengineer.com. The plans were simple to follow. I made it out of pine, 2×4s, and baltic birch ply.
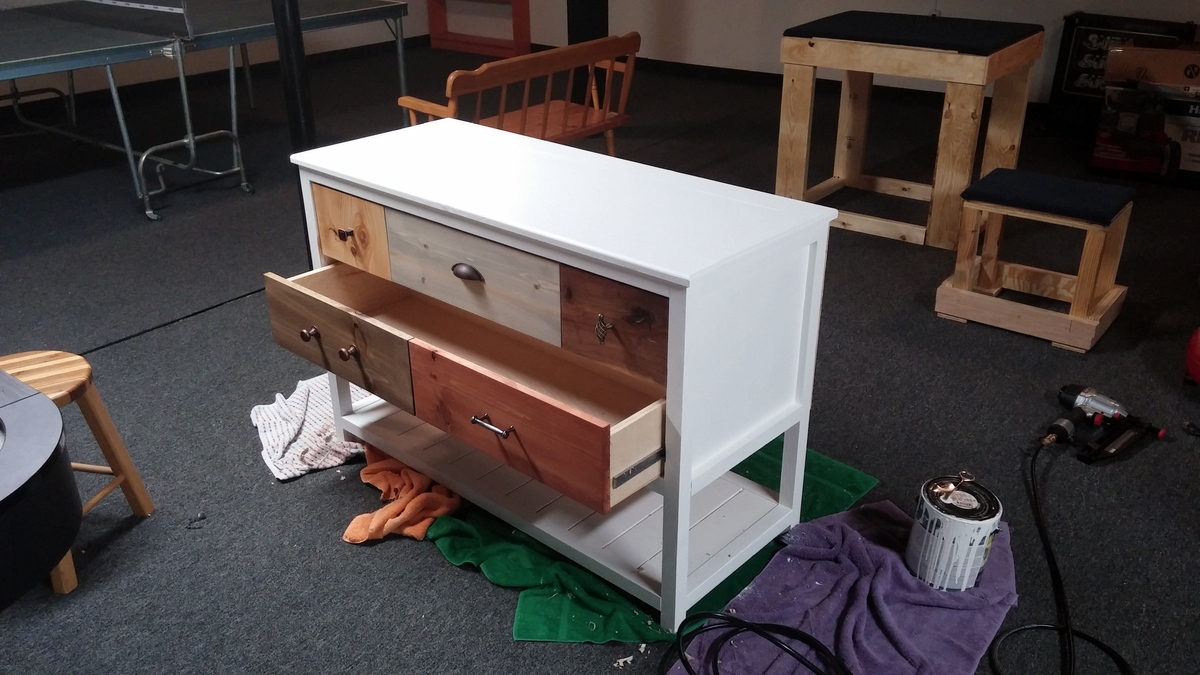
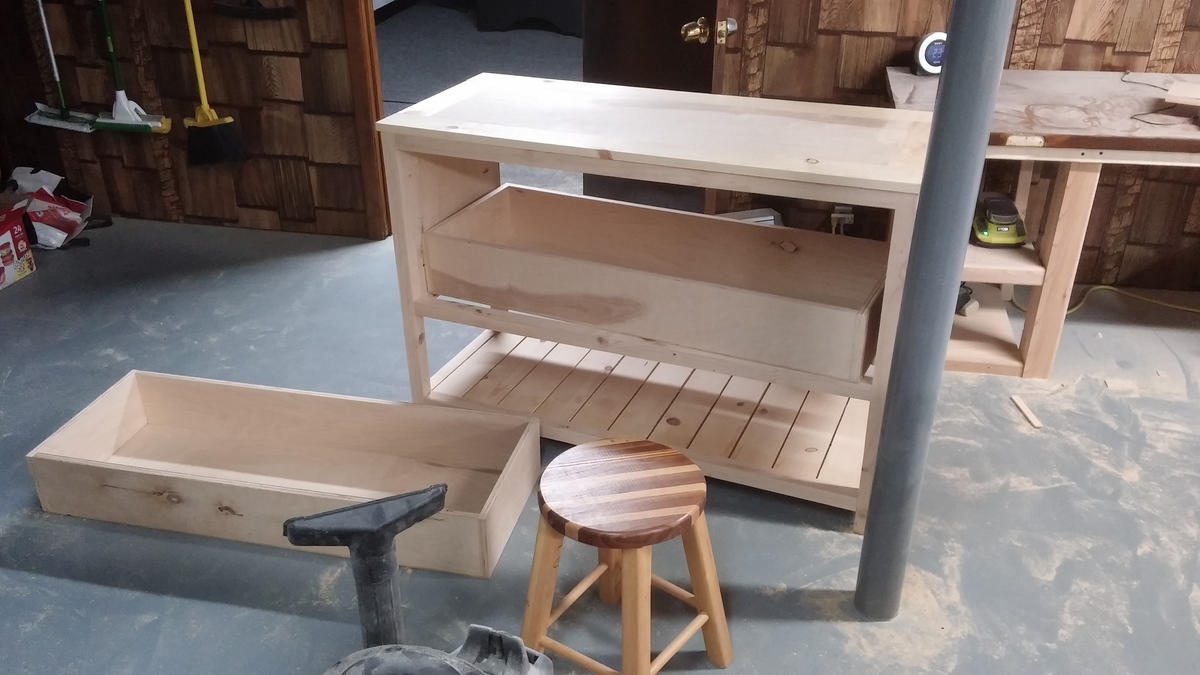
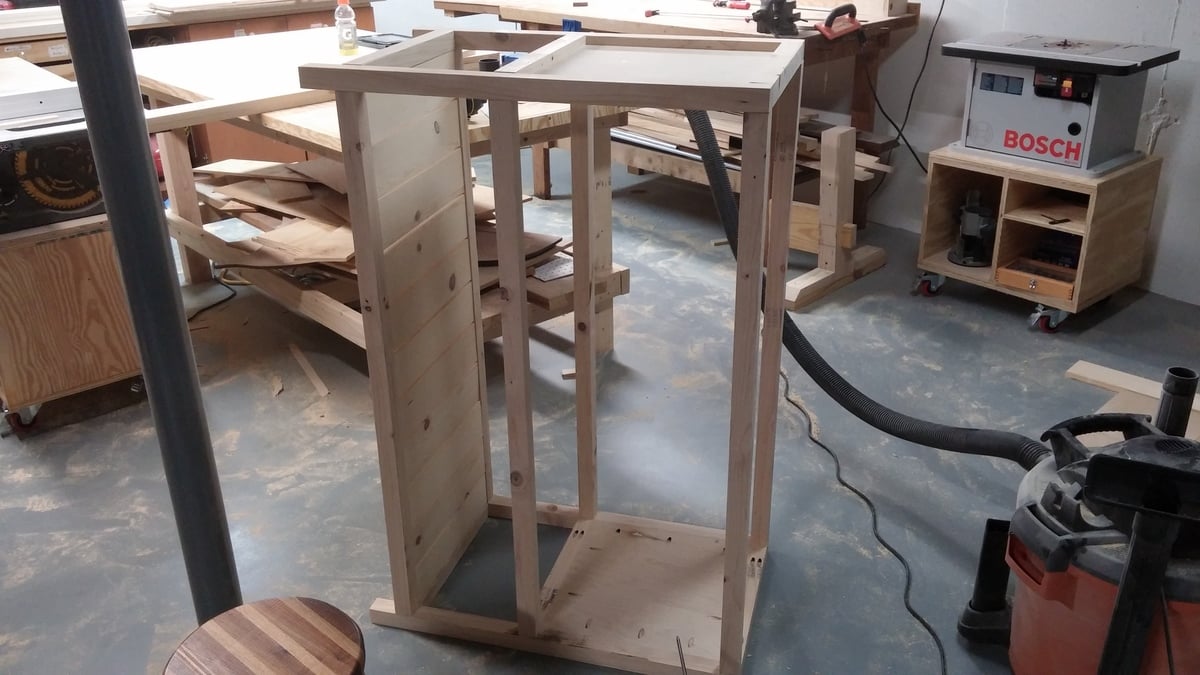
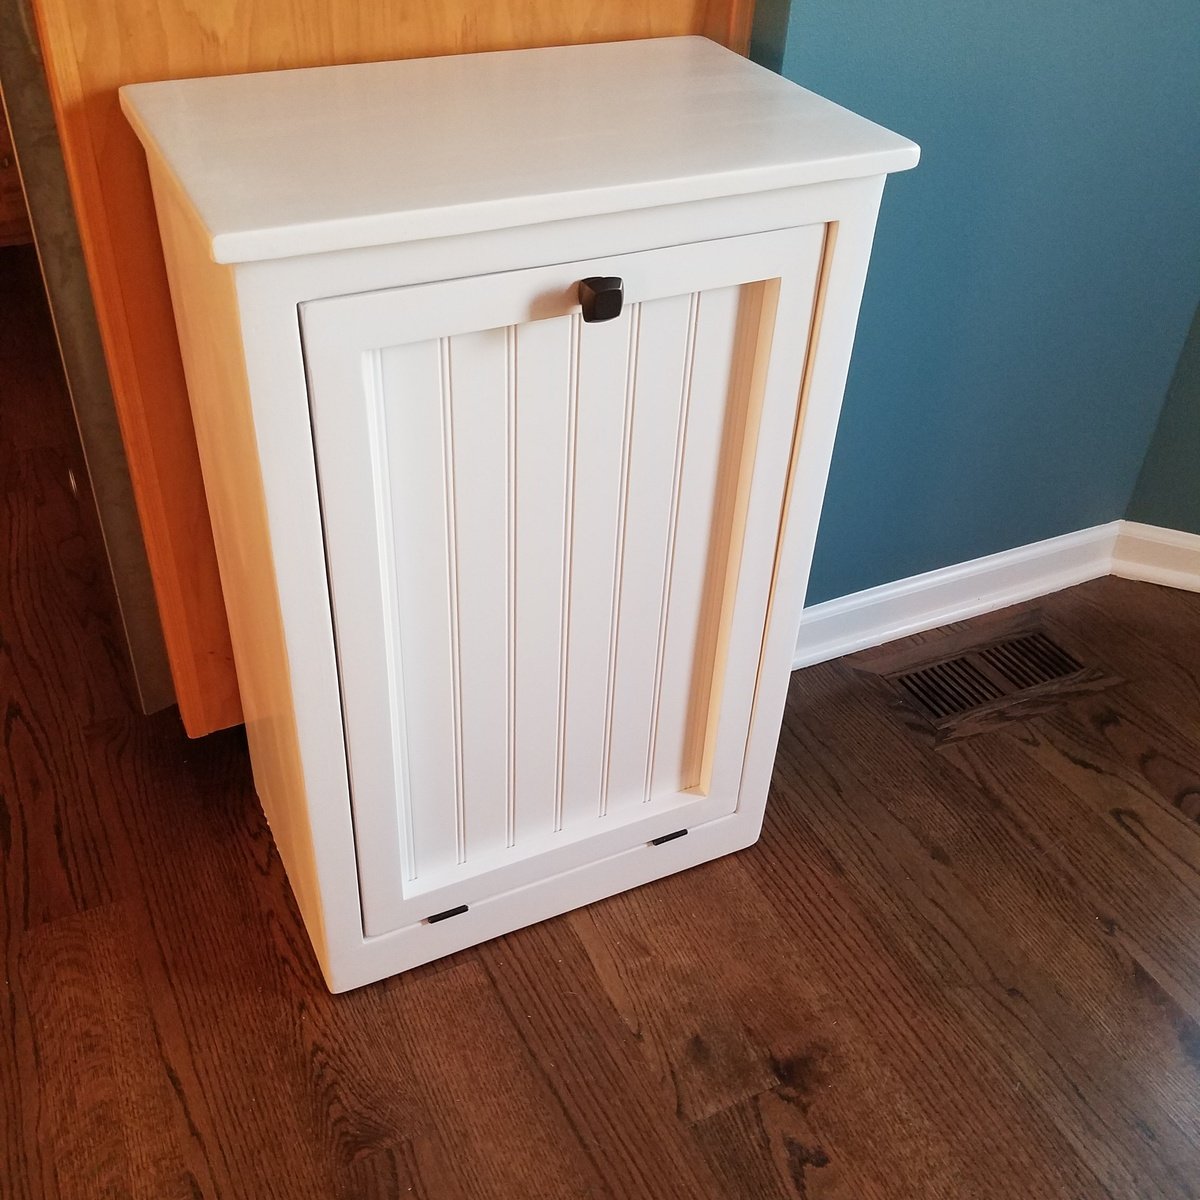
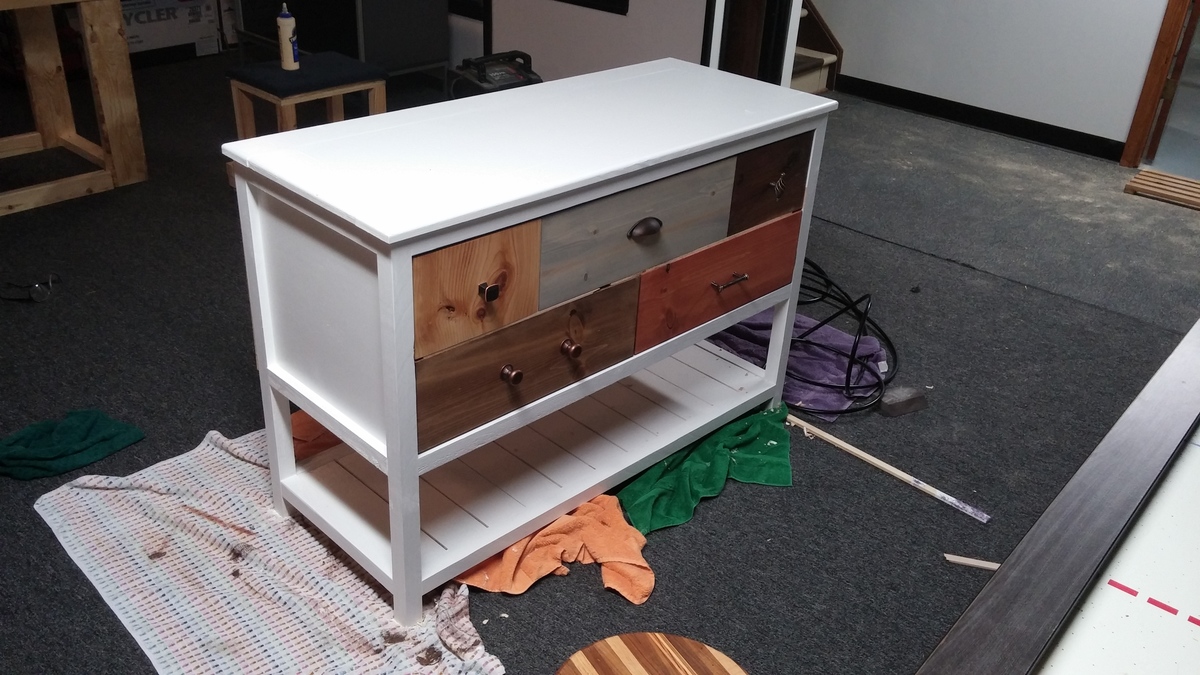
Our Australian Shepard will no longer be digging the trash out all over the floor! I did change the plans up a bit because I wanted a hangover off the sides as well as the front. And we used bead board instead of the solid panel. Thanks for the great plans Ana!
Wed, 09/21/2016 - 14:57
This turned out beautiful!!! I love the beadboard and the added overhang. Can't wait to see your next project!
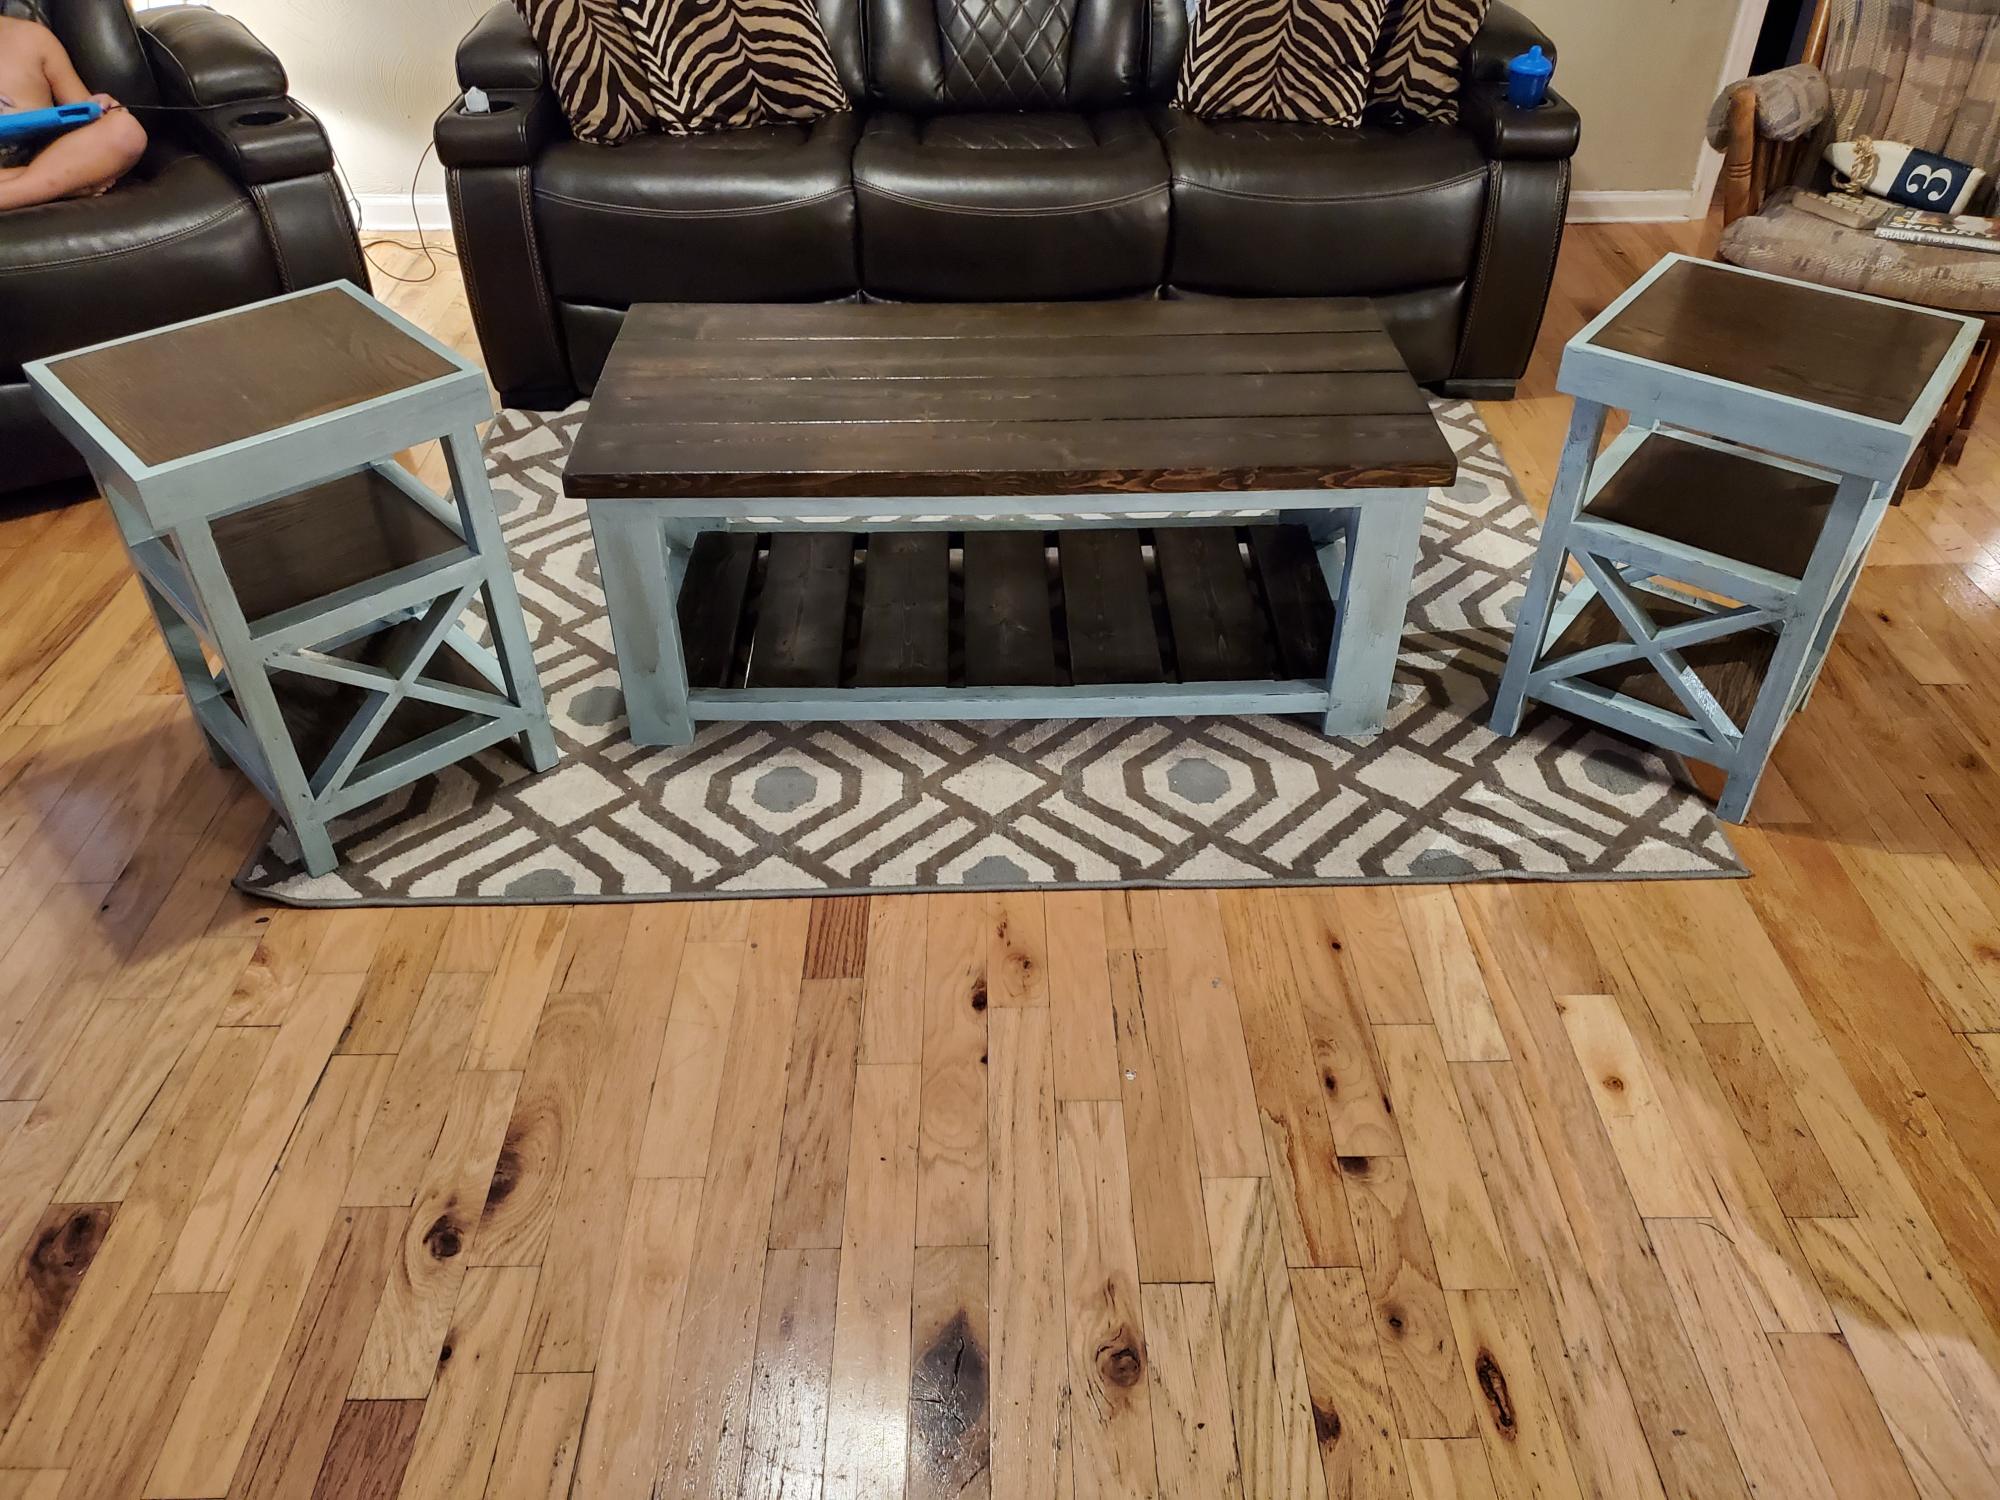
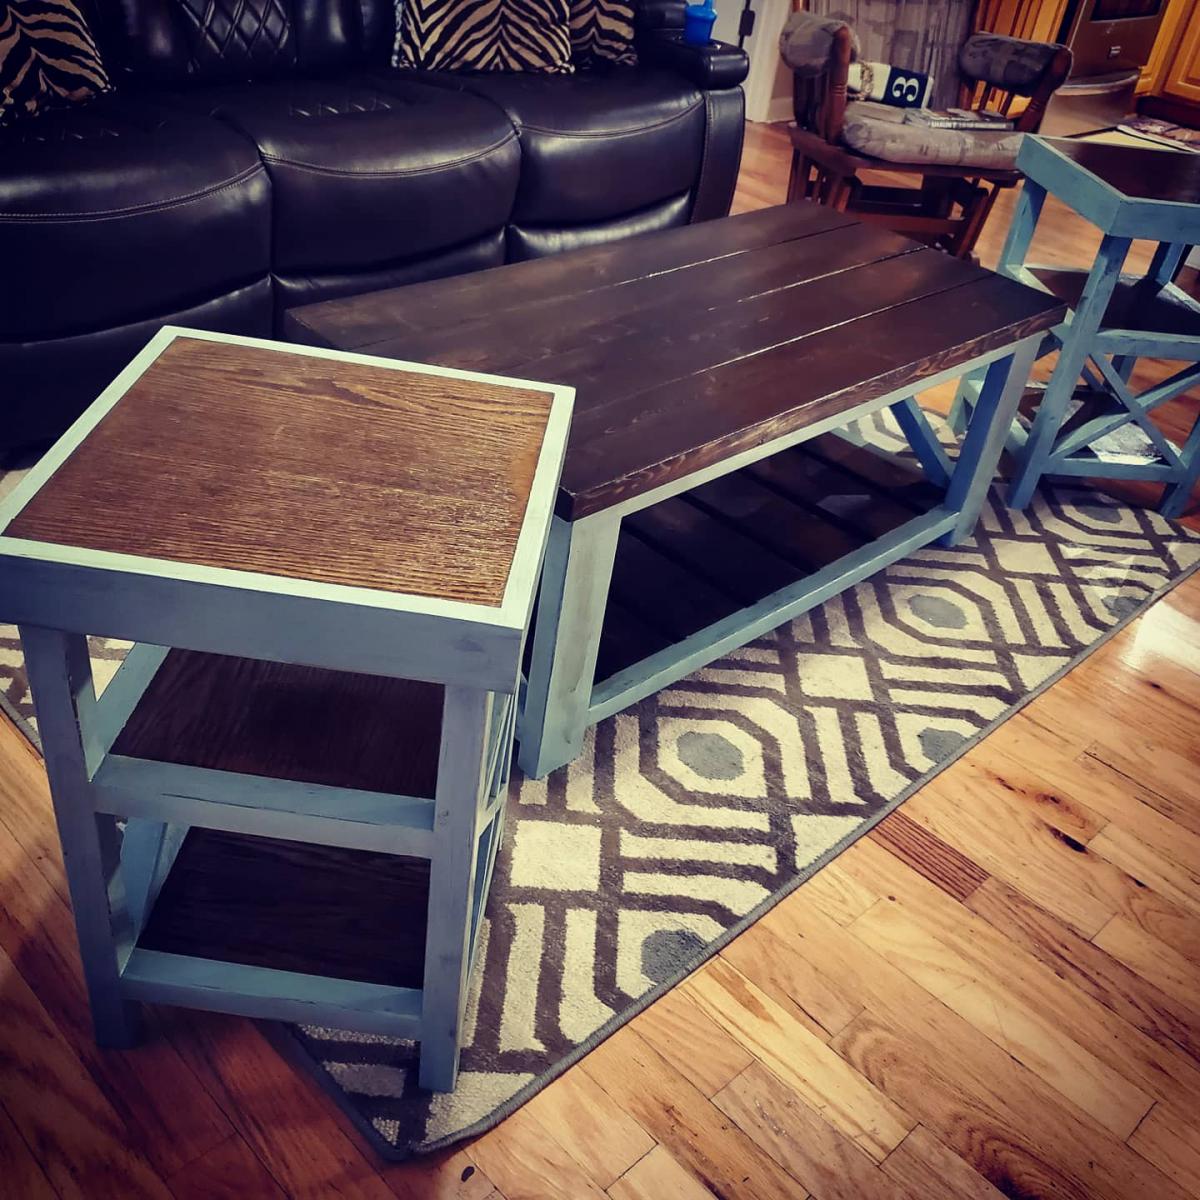
Built this awsome 40 dollar farmhouse table and matching set of side tables. Original plane was 20 per table but I went with oak plywood so more luke 40. All in all nice little table once thwy were all finished.
I am new to this. I used your plan but reduced the lenght by 24 to make a 2 seat Garden Bench. I used softwood and painted with this outdoor paint. Thanks for inspiration and plans. I am located in Victoria, British Columbia, Canada.
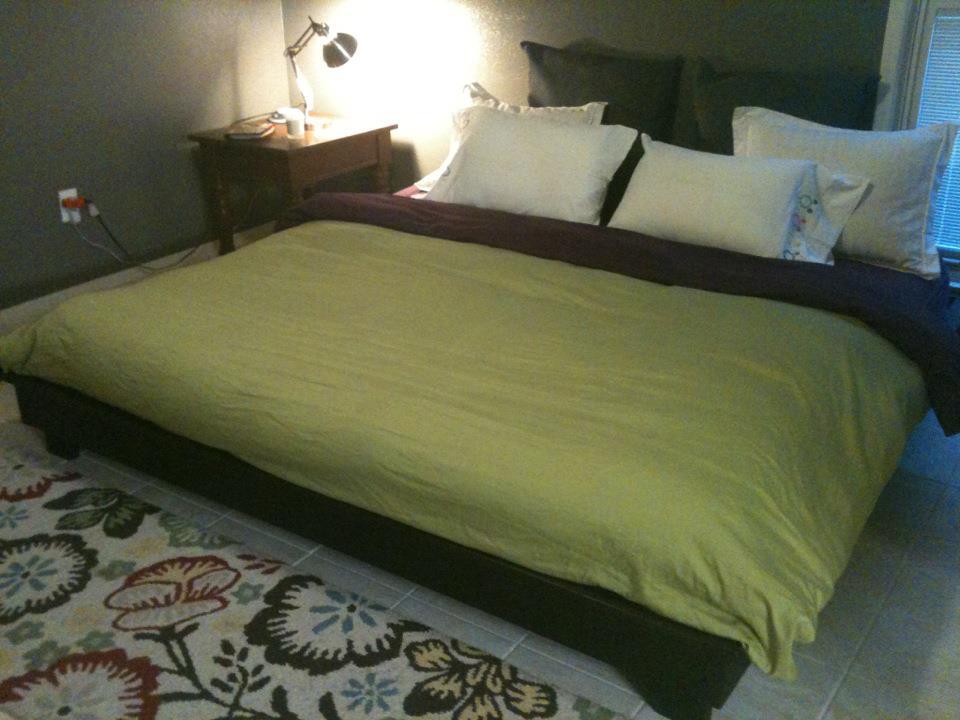
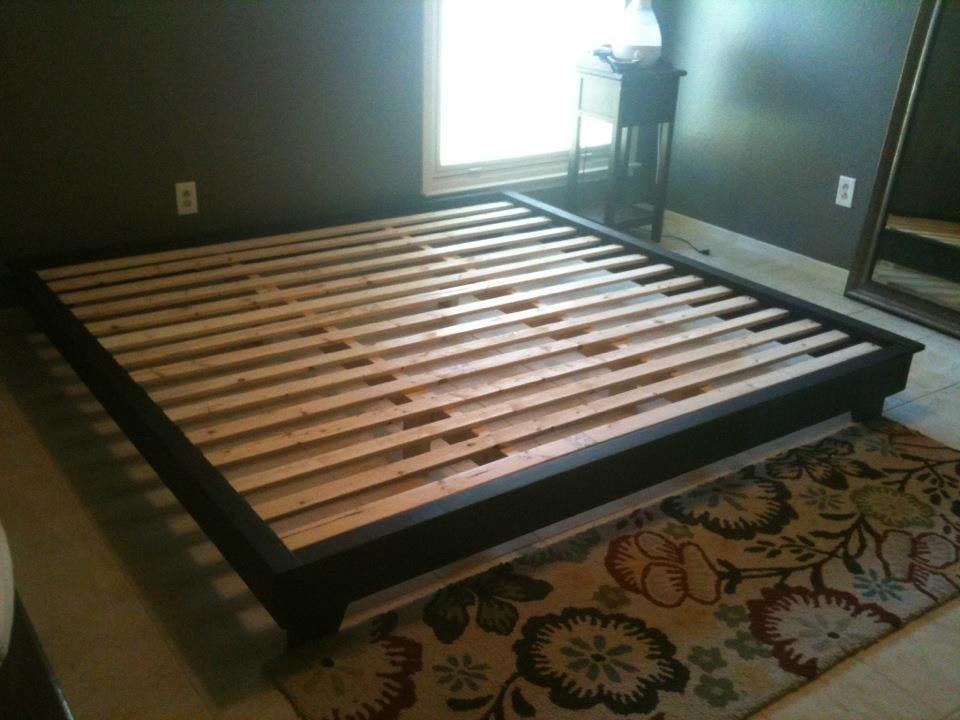
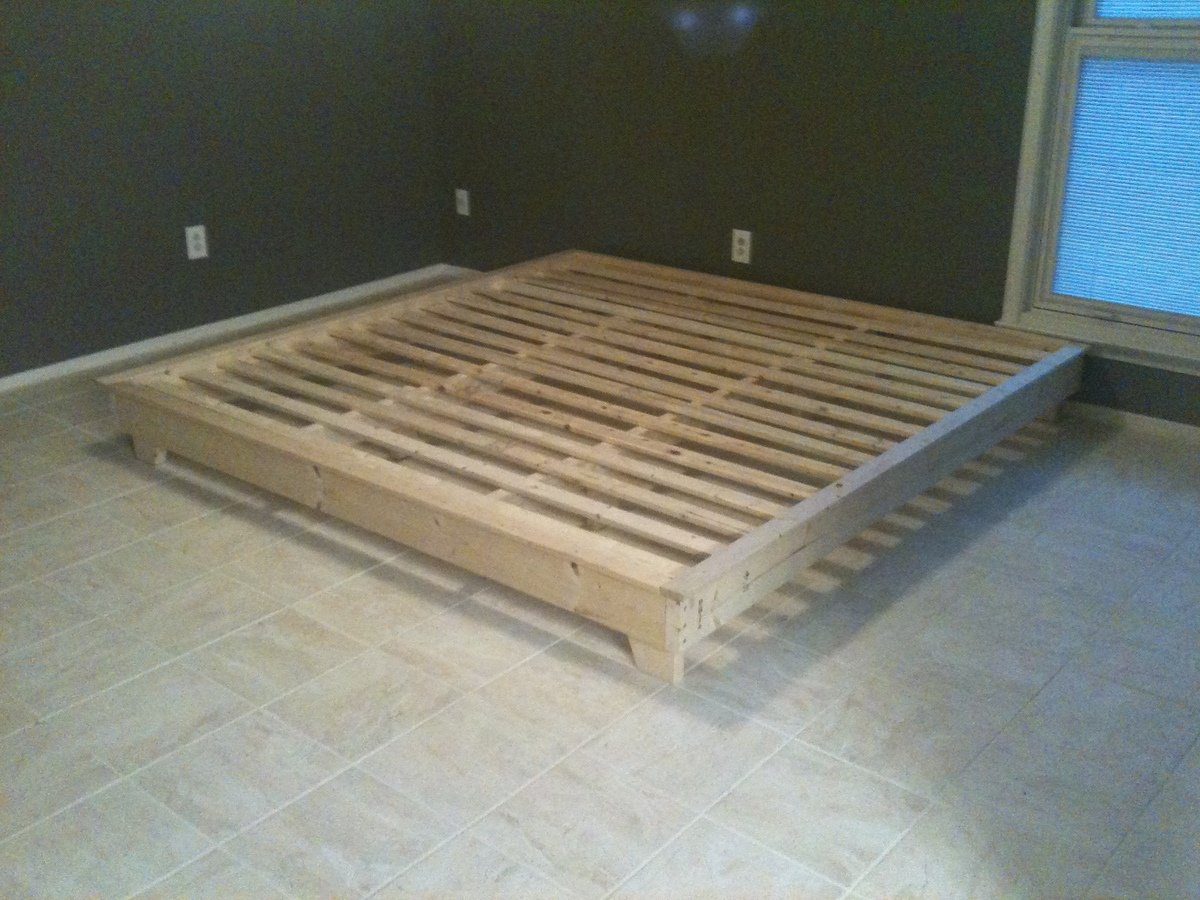
My husband's grandfather helped us build this bed in his shop. We built it in about 5 hours and I stained and sealed it over the next few evenings. This was one of the most affordable and simple plans I came across to customize for my new chemical-free mattress. It is extremely sturdy and supportive. I really like the blog post Crab and Fish did on the brag for the Hailey Platform they built. You will find it helpful if you are interested in building this bed.
Wed, 01/16/2013 - 09:03
Did you use Kreg Jig and screws from inside? If yes, How many for each corner ?
or used screws from outside ( to join the main frame). f yes, then what size?
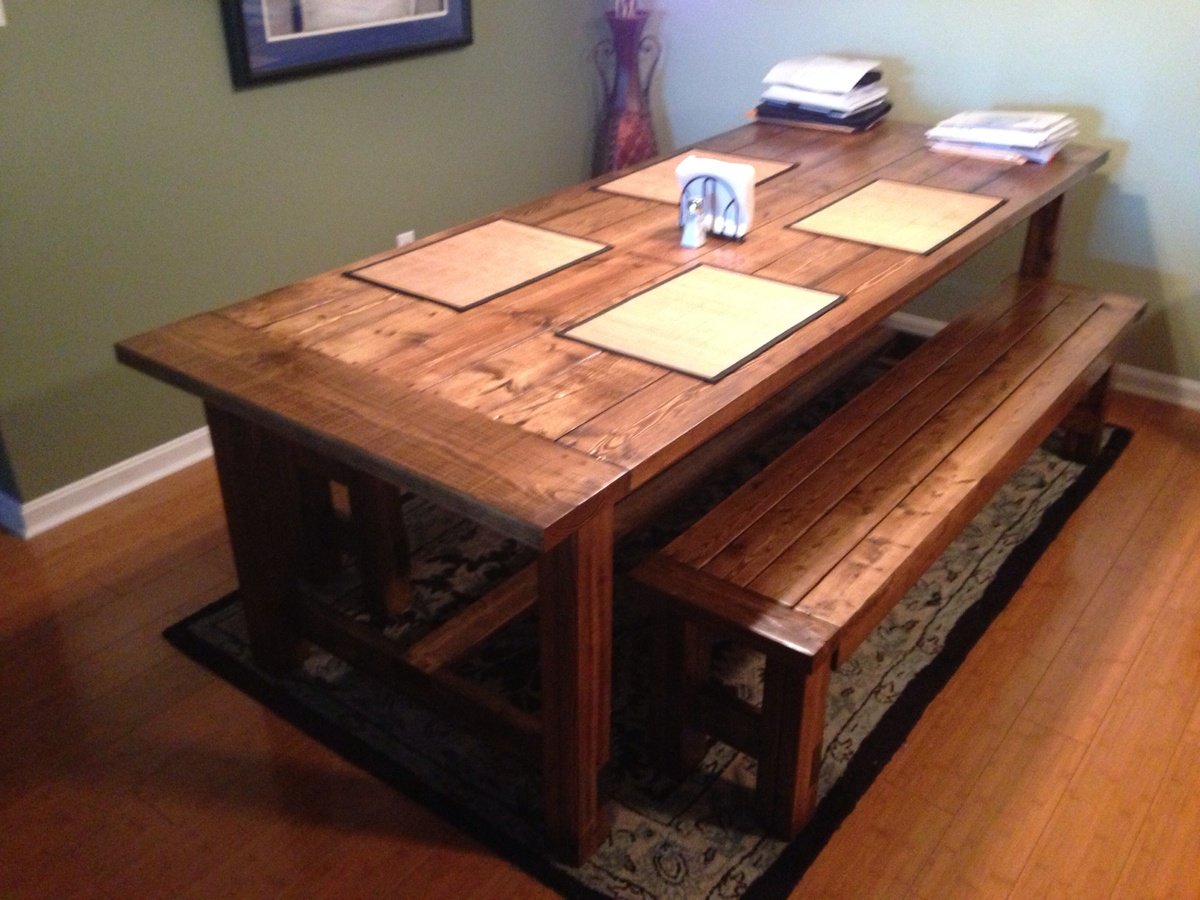
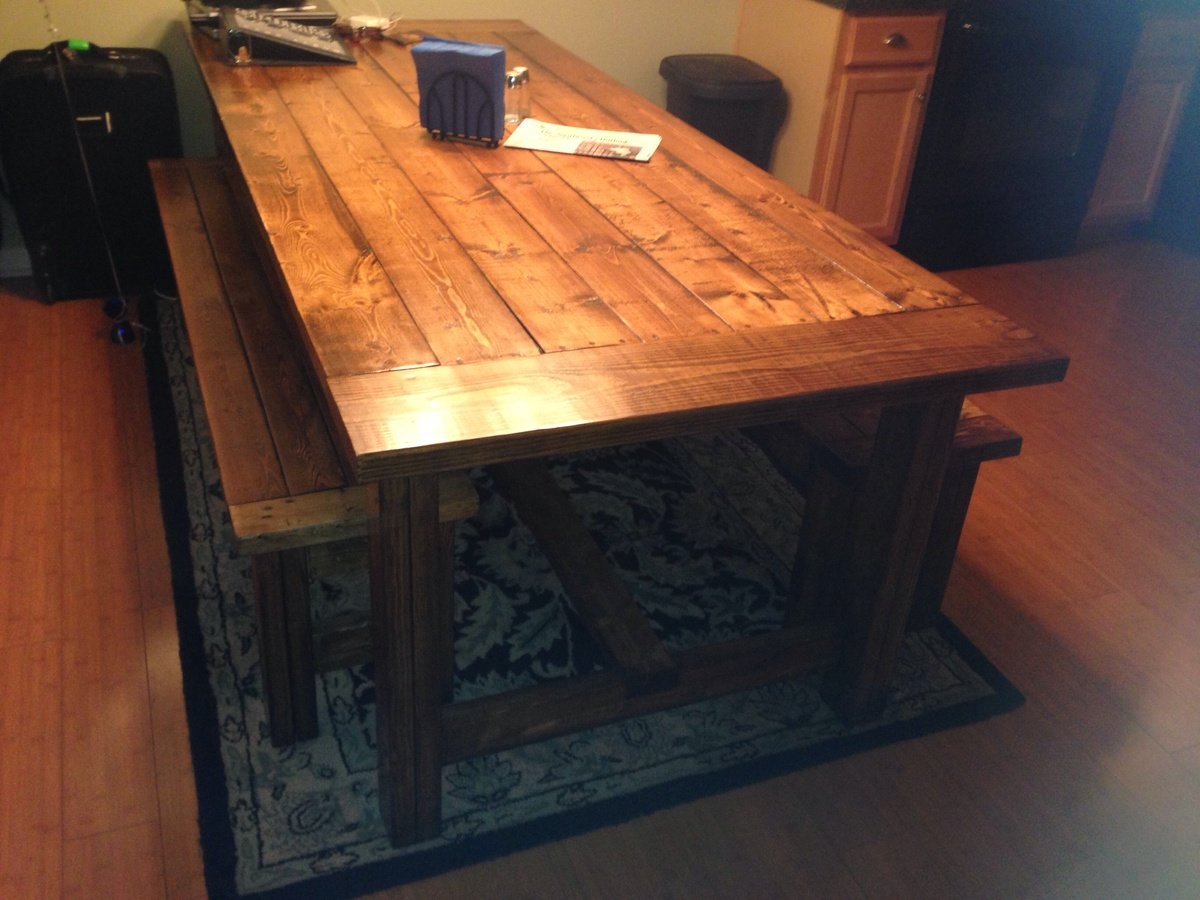
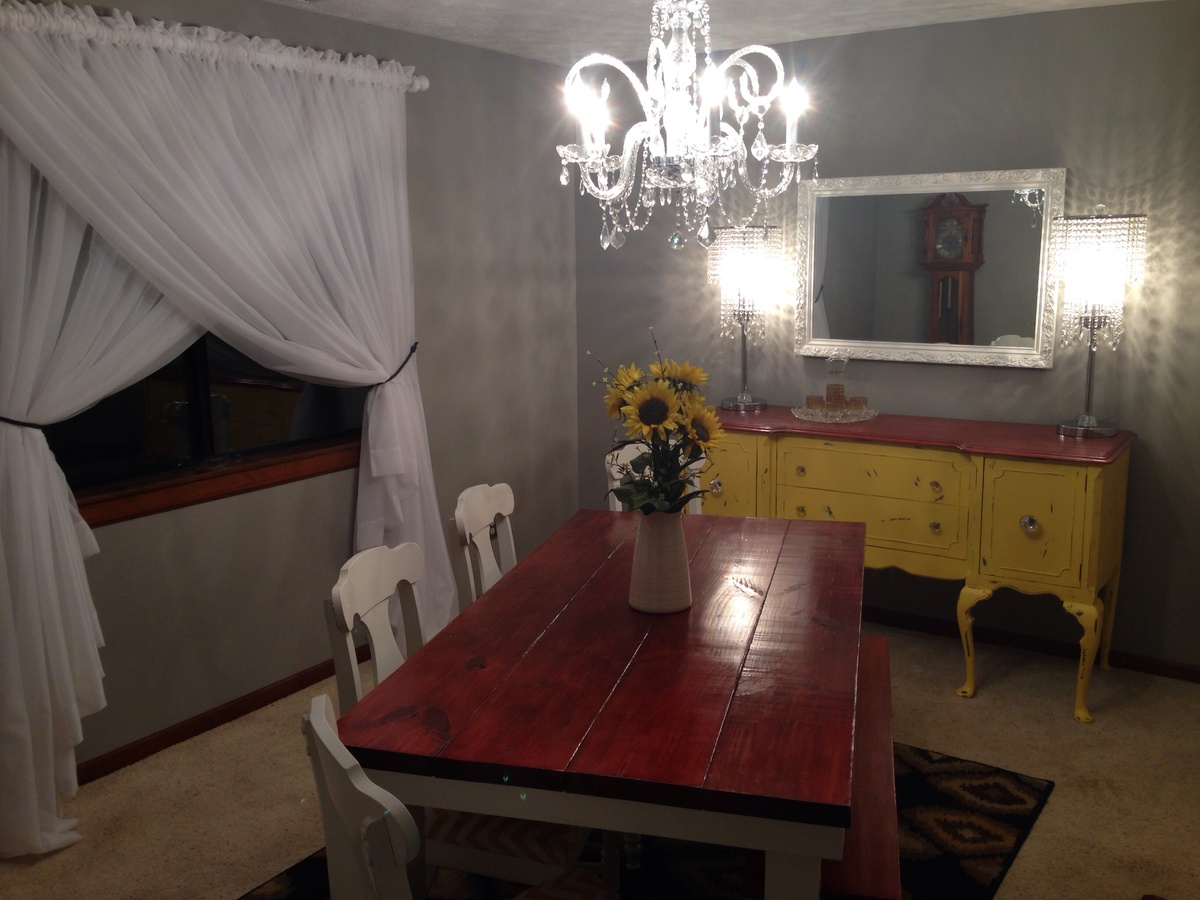
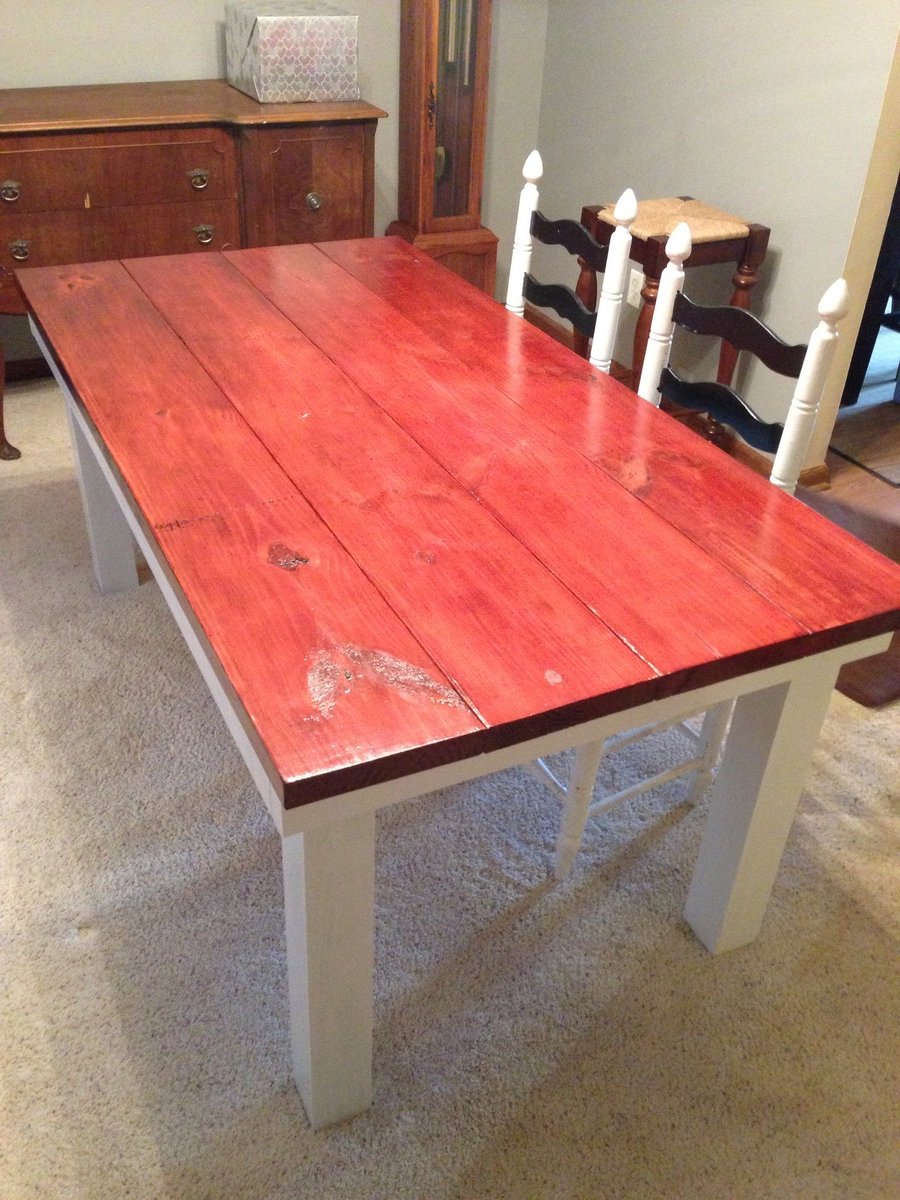
This was my first ever project. The table that has a white base is another table I built after the stained one.
The project took several weeks because I only was able to work on it on Saturday mornings. I'm happy with how it turned out and learned a lot from it! I have a new love for woodworking and enjoy the whole process, from design, to completion.
Thanks for checkling it out!
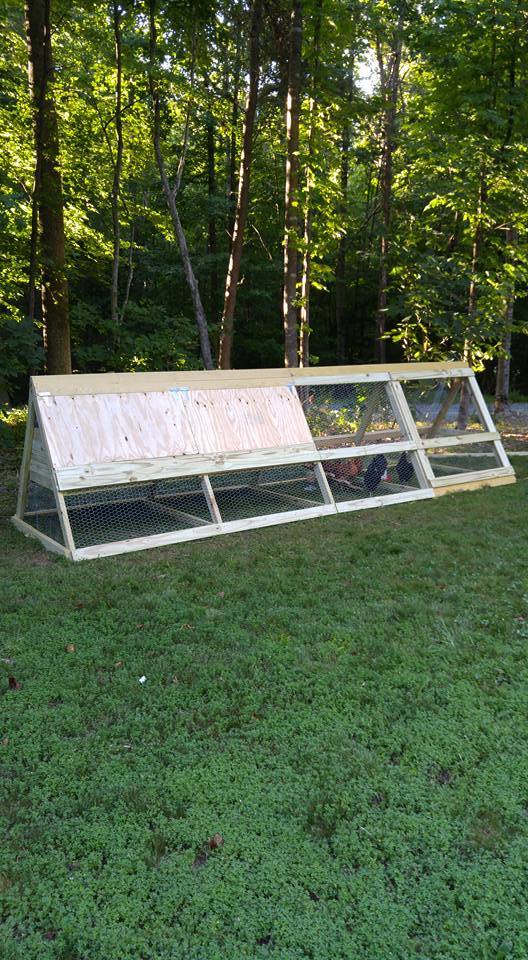
We wanted our chickens to have plenty of room for when we ere not home and could not let them free range in the yard. One of the six was a rooster-- and long story-- but we don't have him any more-- so 5 chickens now enjoy this coop/run. It cost about $300 in supplies. It is 16 feet long.
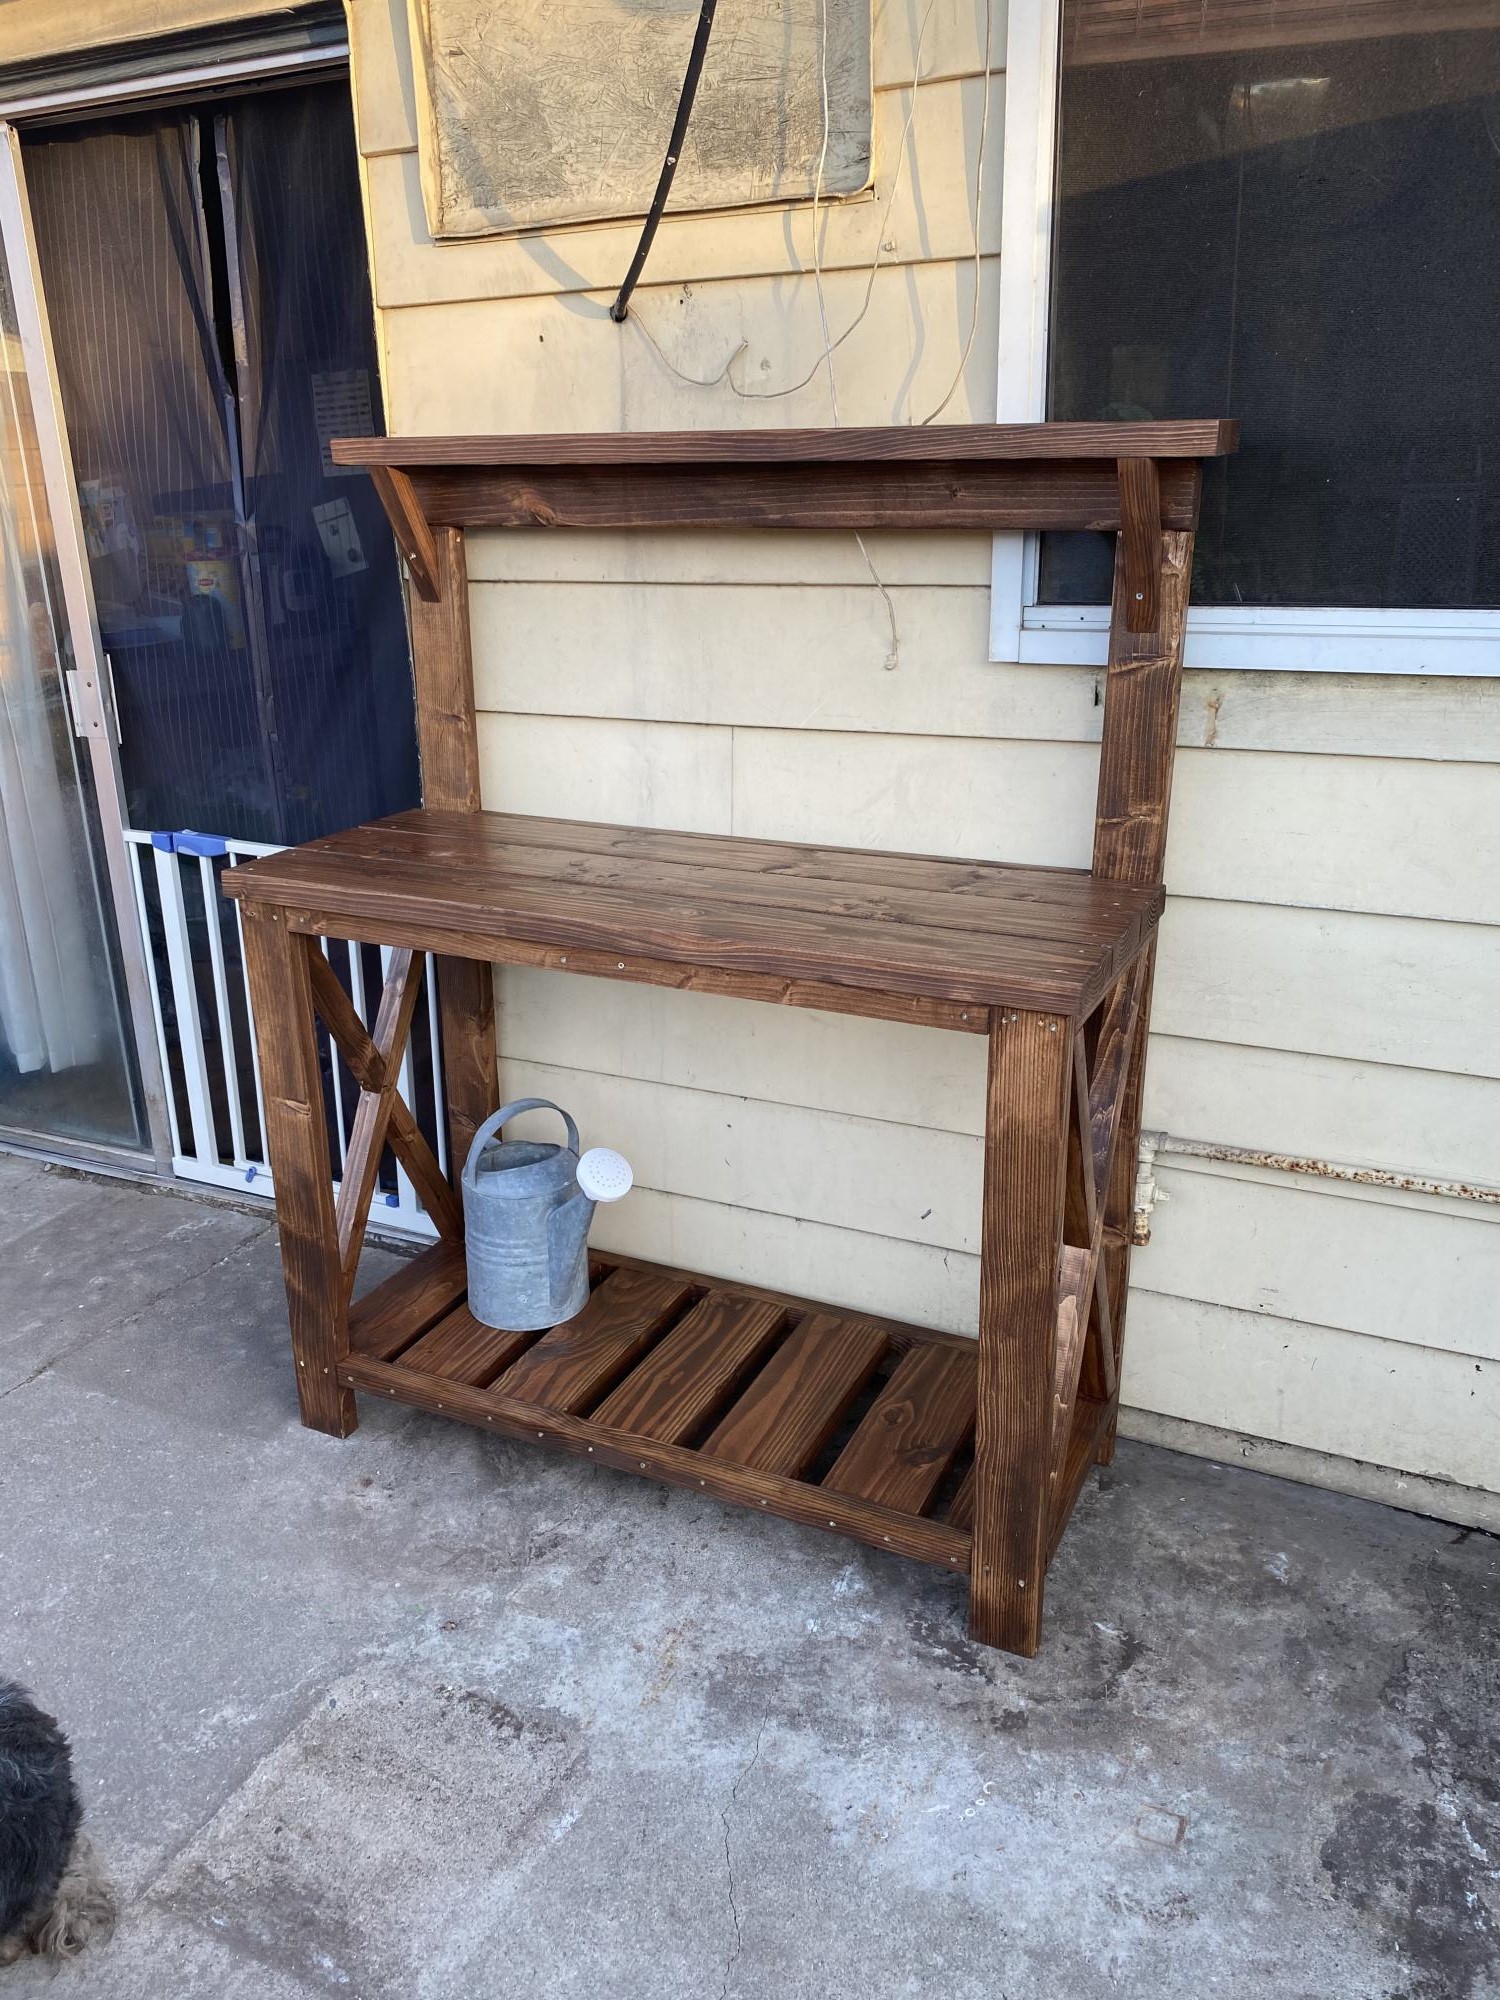
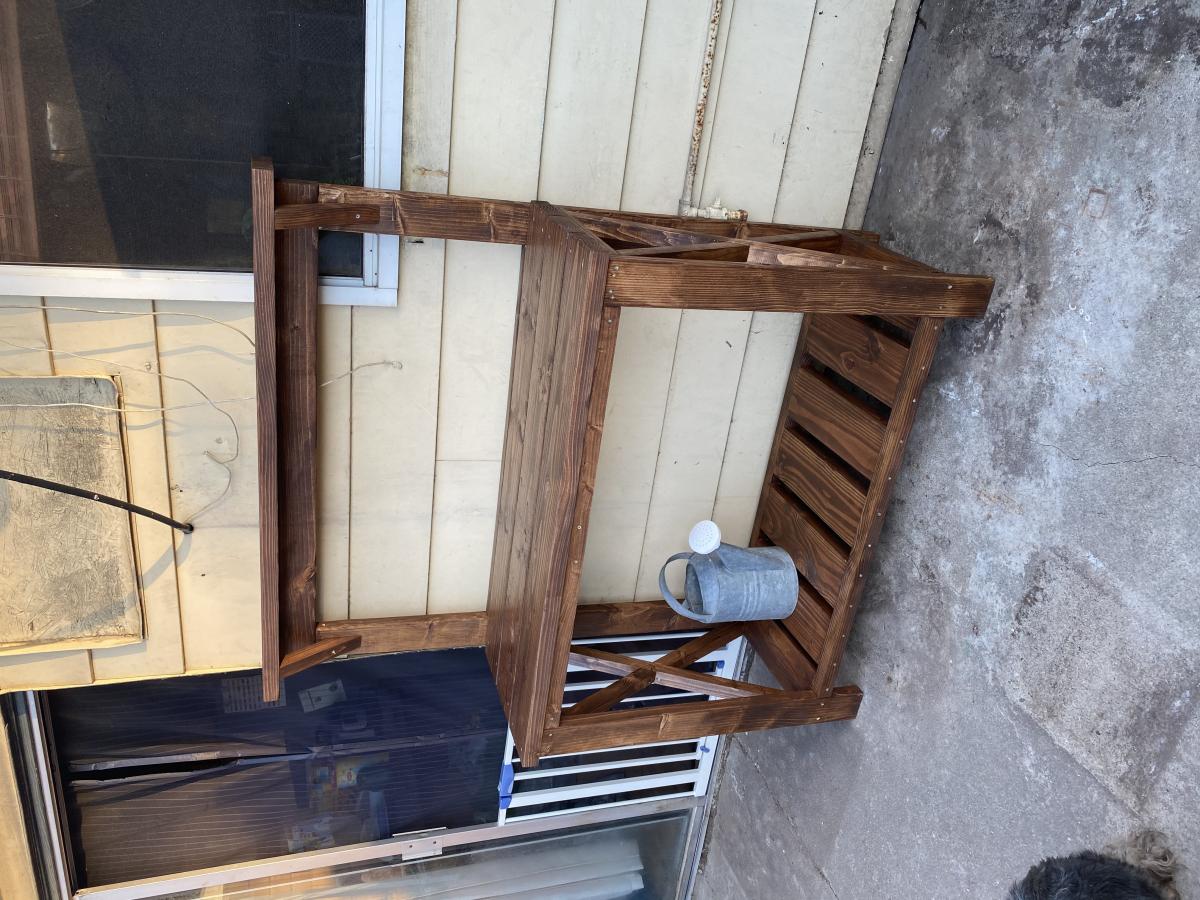
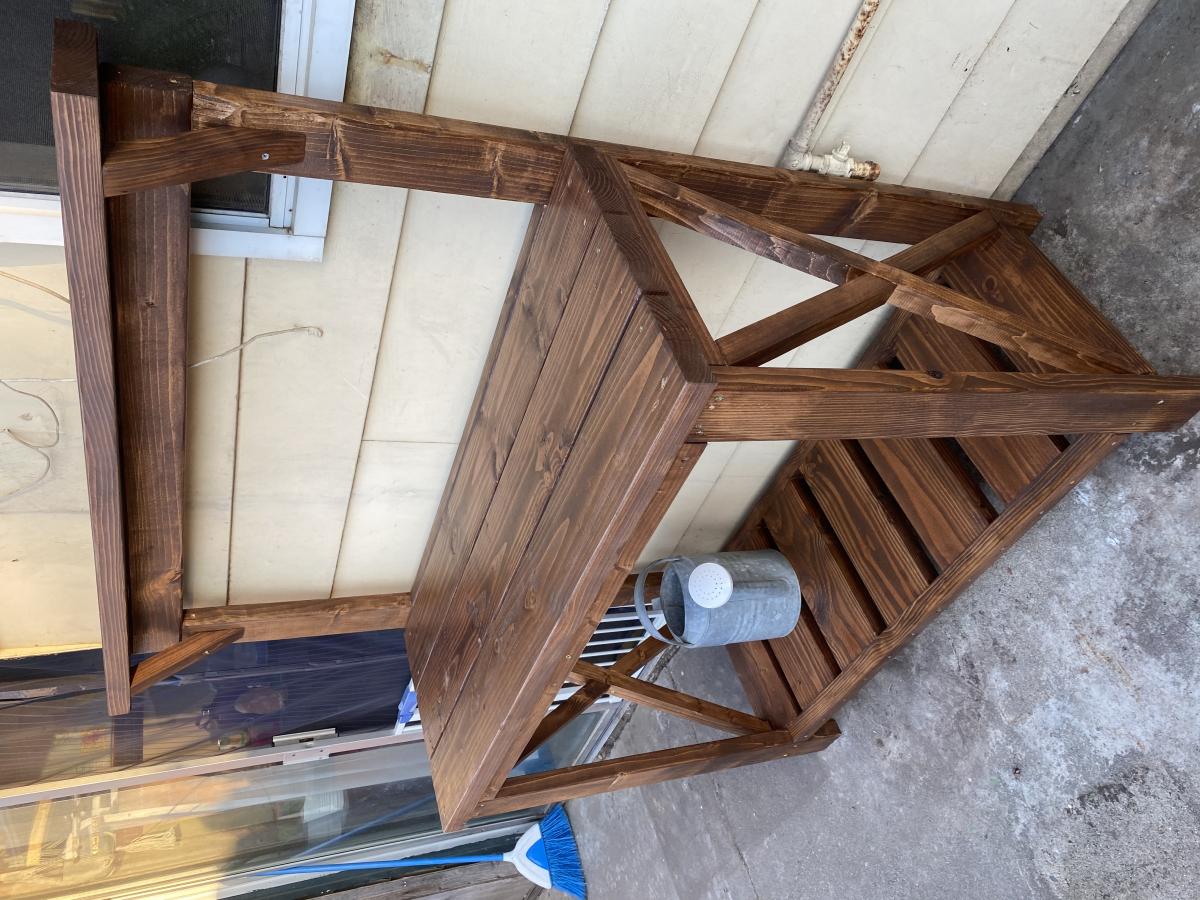
Saw this video and shared it with my fiancé. She loves plants and really wanted something like this. It took me a couple of hour to build. I stained it and sealed it over two days to be nice and weather resistant. She loved it. I added some suppor on the top because she wanted the shelve a bit higher on the top. I made a little change to it. This is my first Ana white project and i look forward to doing some more.
DIY Adirondack Chair
I thought I'd start building again with some decor that didn't need to be perfect. I needed something to spruce up my garage, something my son couldn't break while shooting baskets - this seemed perfect! I didn't have all of the scraps I needed so I did have to buy a few boards, but my friend wants me to make her one now and she'll supply the pallet. Since I planned to use it outside and wanted it to look weathered, I used semi-transparent deck stain, watered-down flat white paint and hit it with a sanding block, hammer, rasp, bottle caps - anything to scratch it up a bit. Then covered it with satin polycrylic (because that's what I had around the house).
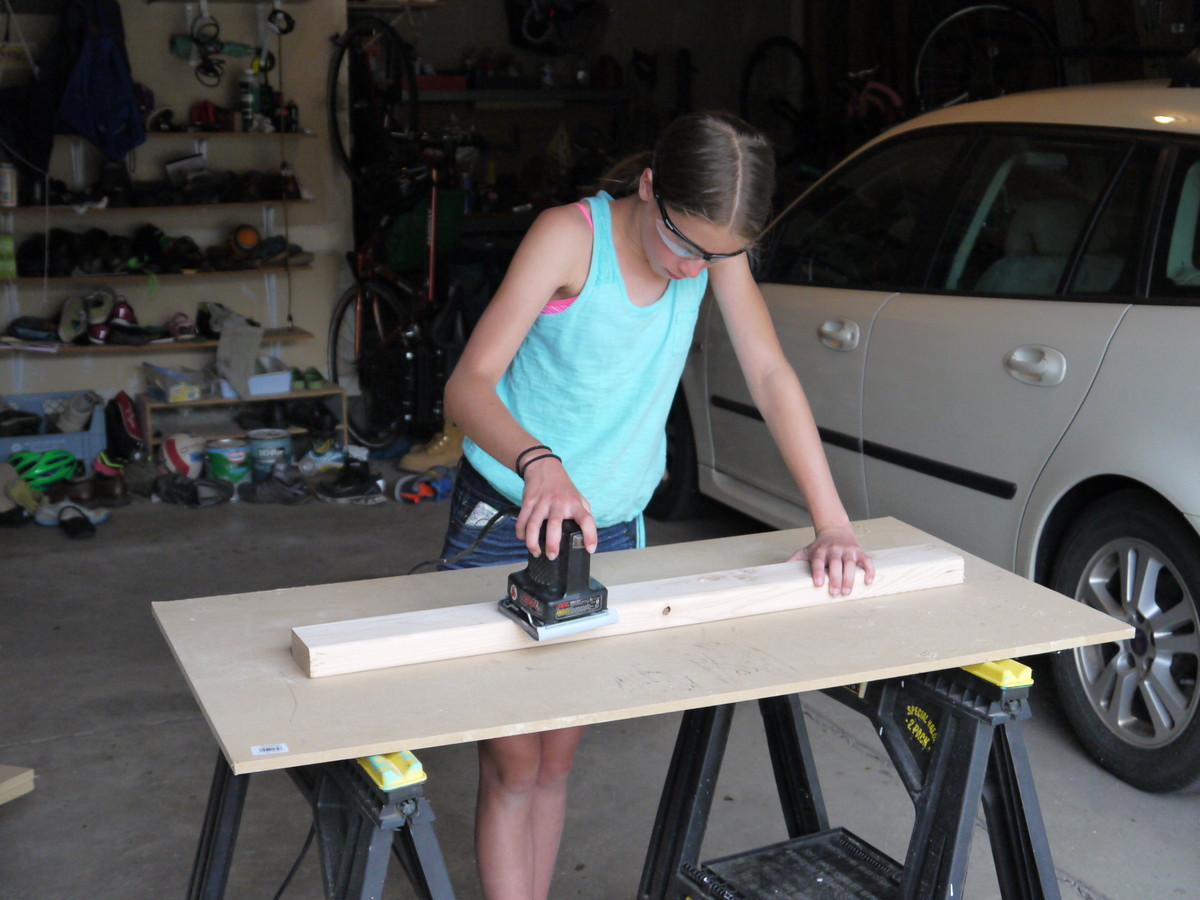
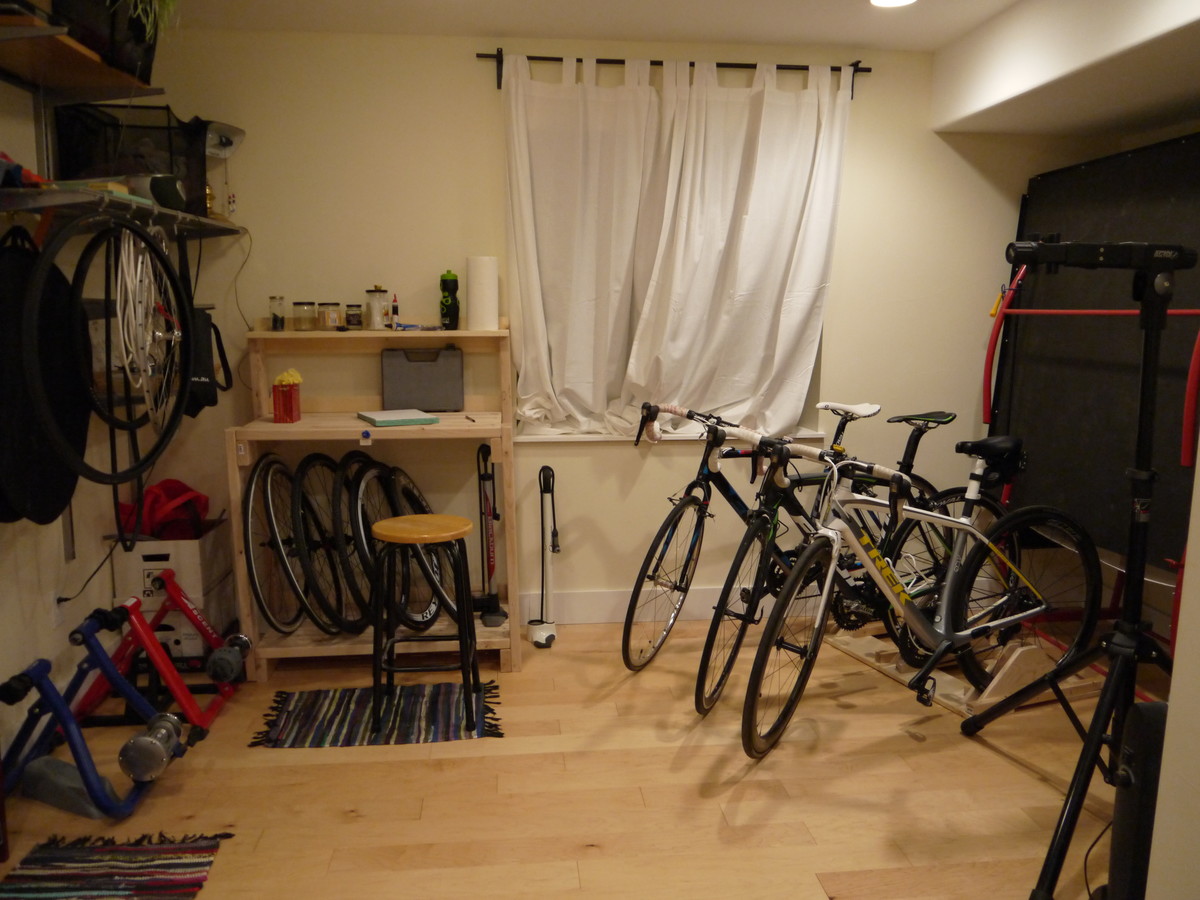
My daughter and I made this for a Father's Day gift, along with a bike rack, to get my husband's bike "shop" in better order.
Made this storage bed but altered it some. Still a queen size bed, changed the depth of the side boxes to accomate a suitcase so we could get luggage out of the way. Built this for our cabin in Maine.
This is the second thing I’ve built made based off of an Ana White plan! We followed as best we could? It got a bit dodgy around step 5 but we made it!
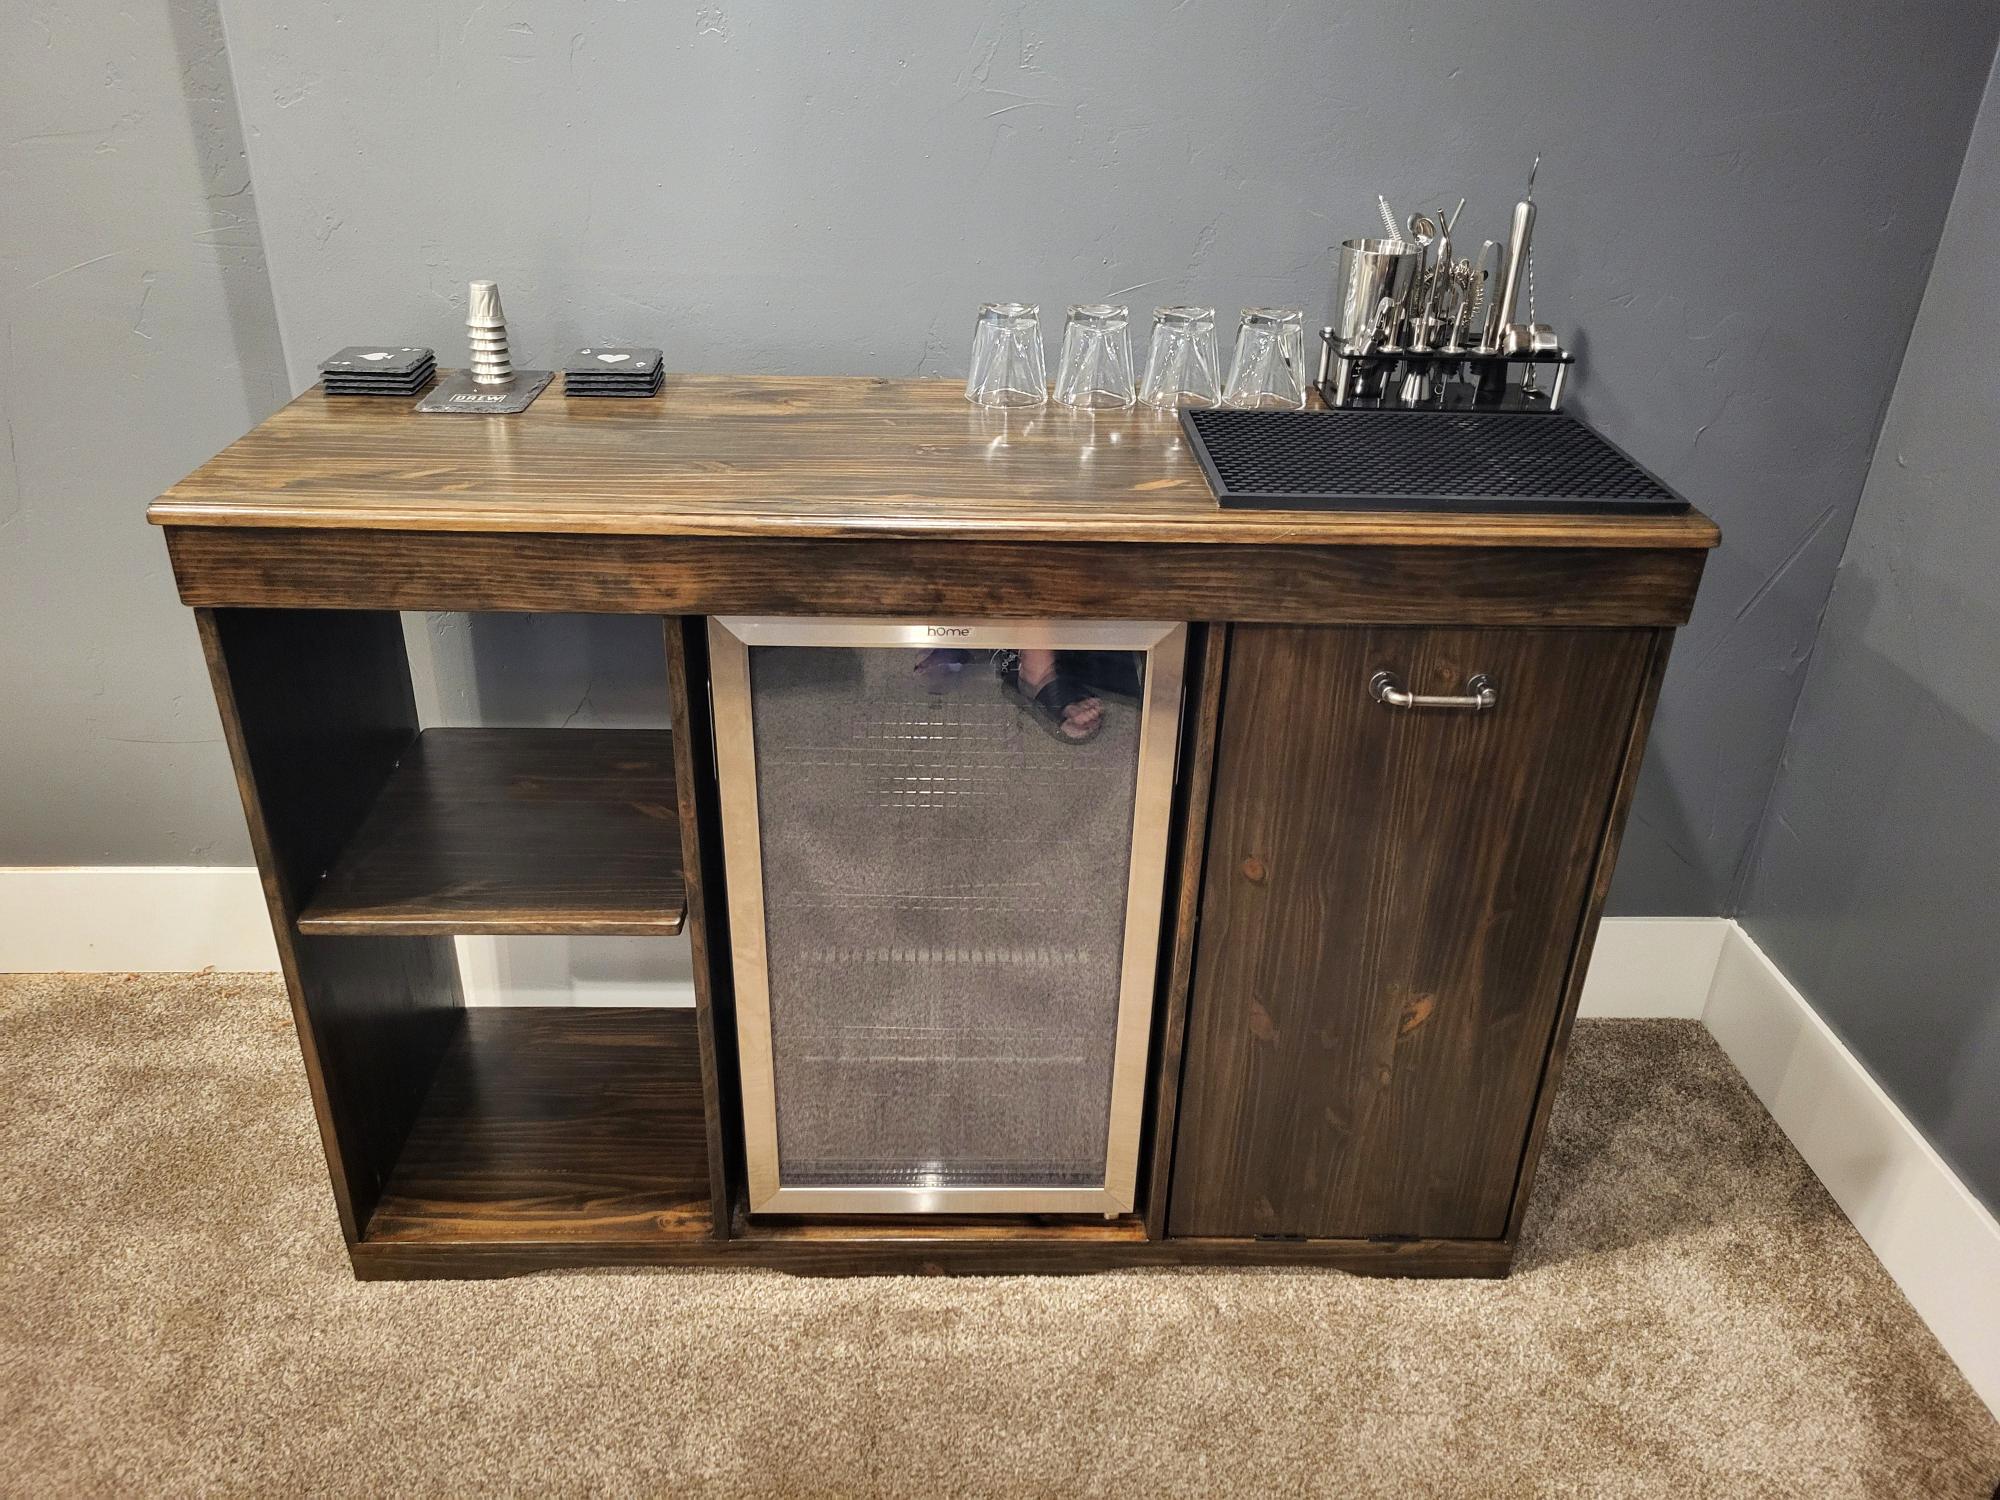
Waste tilt out, wine fridge, and storage shelf.
Drewsmith1549
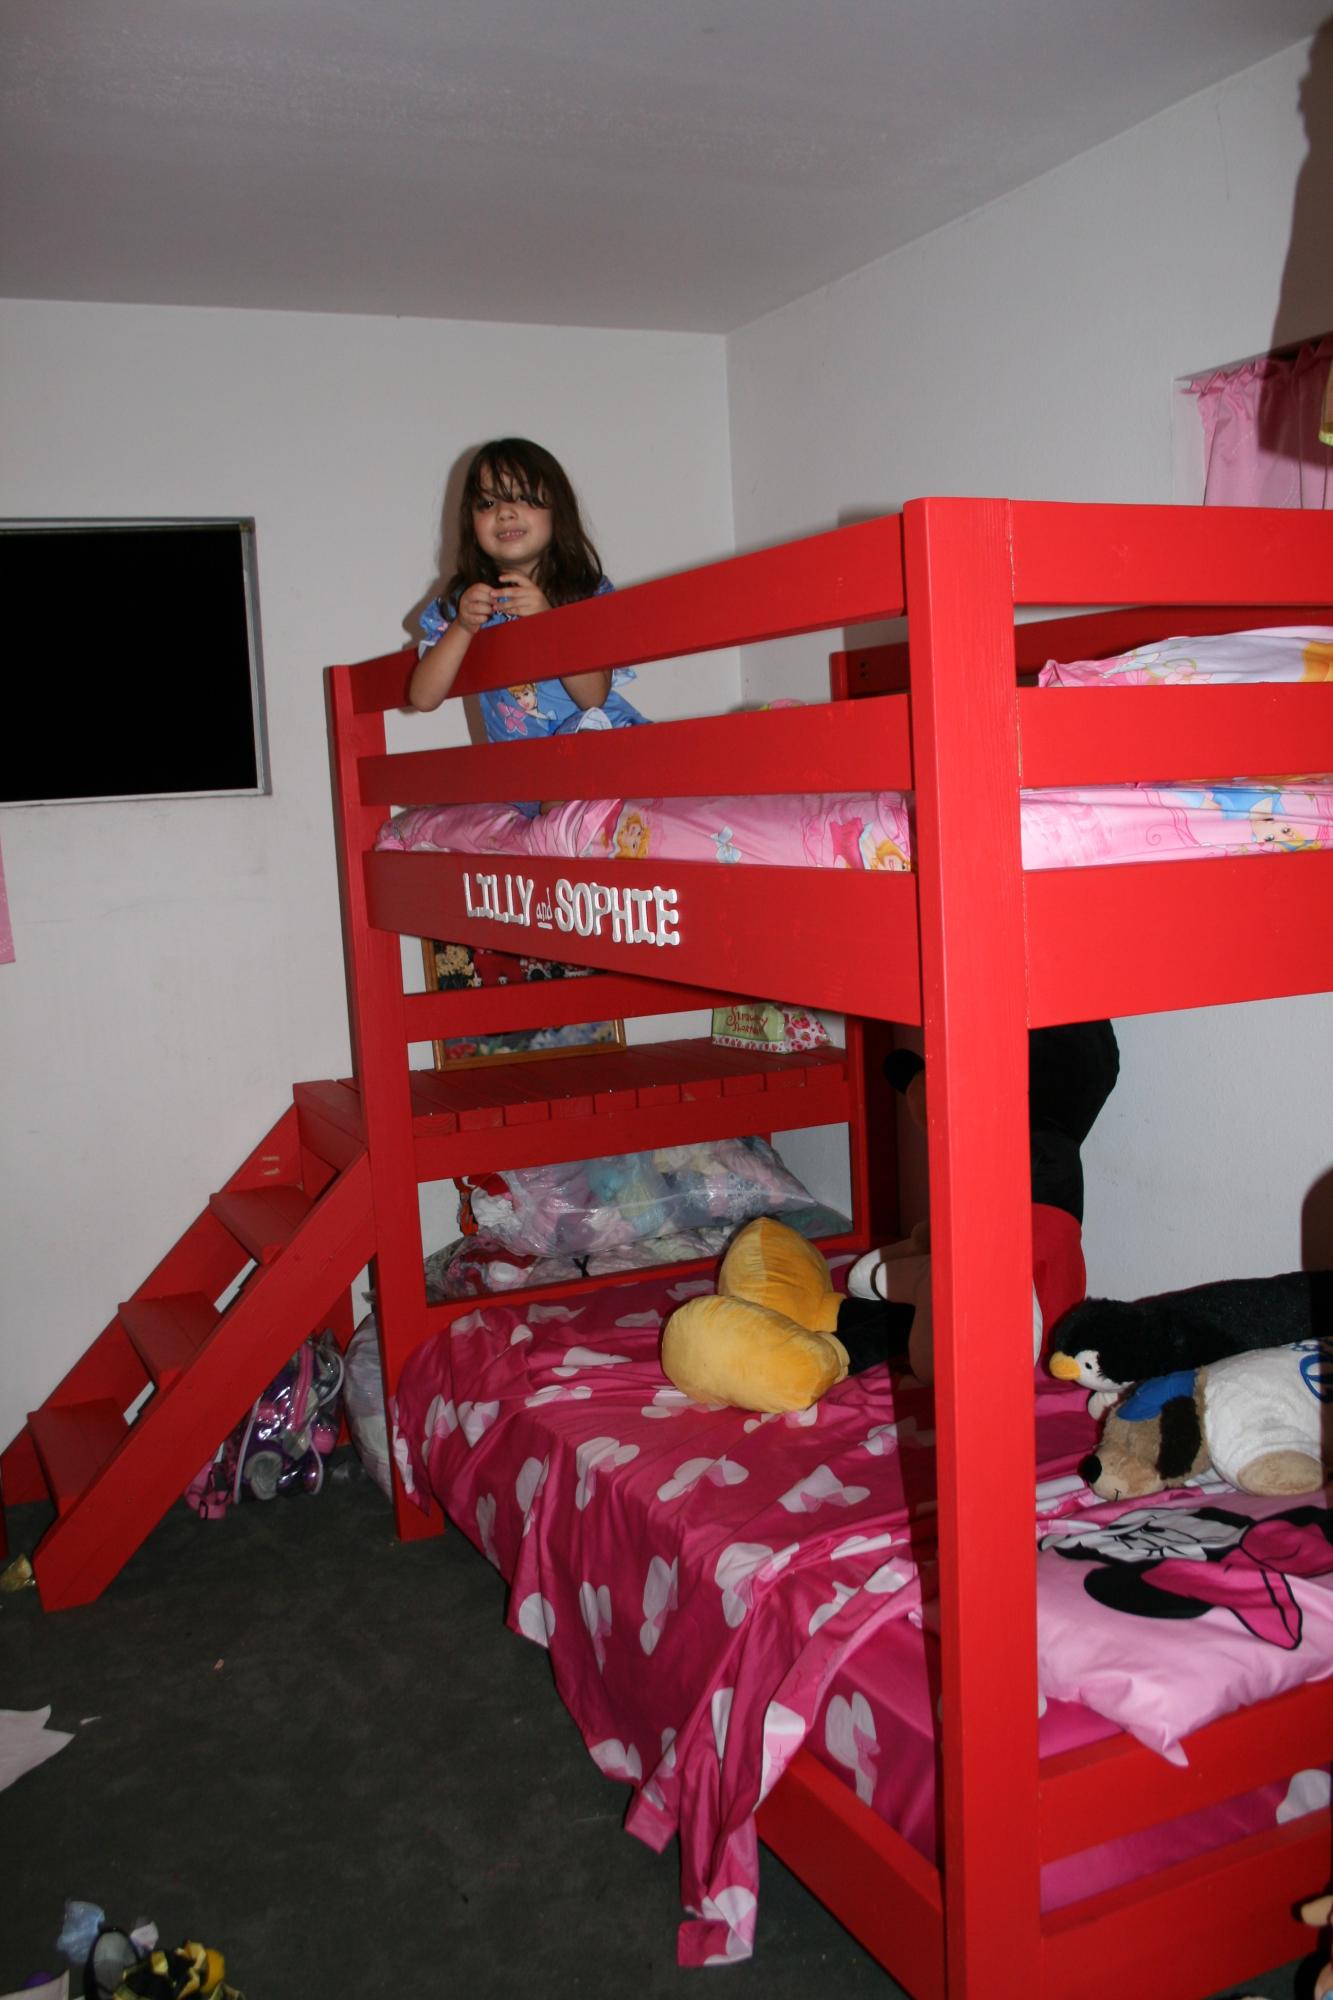
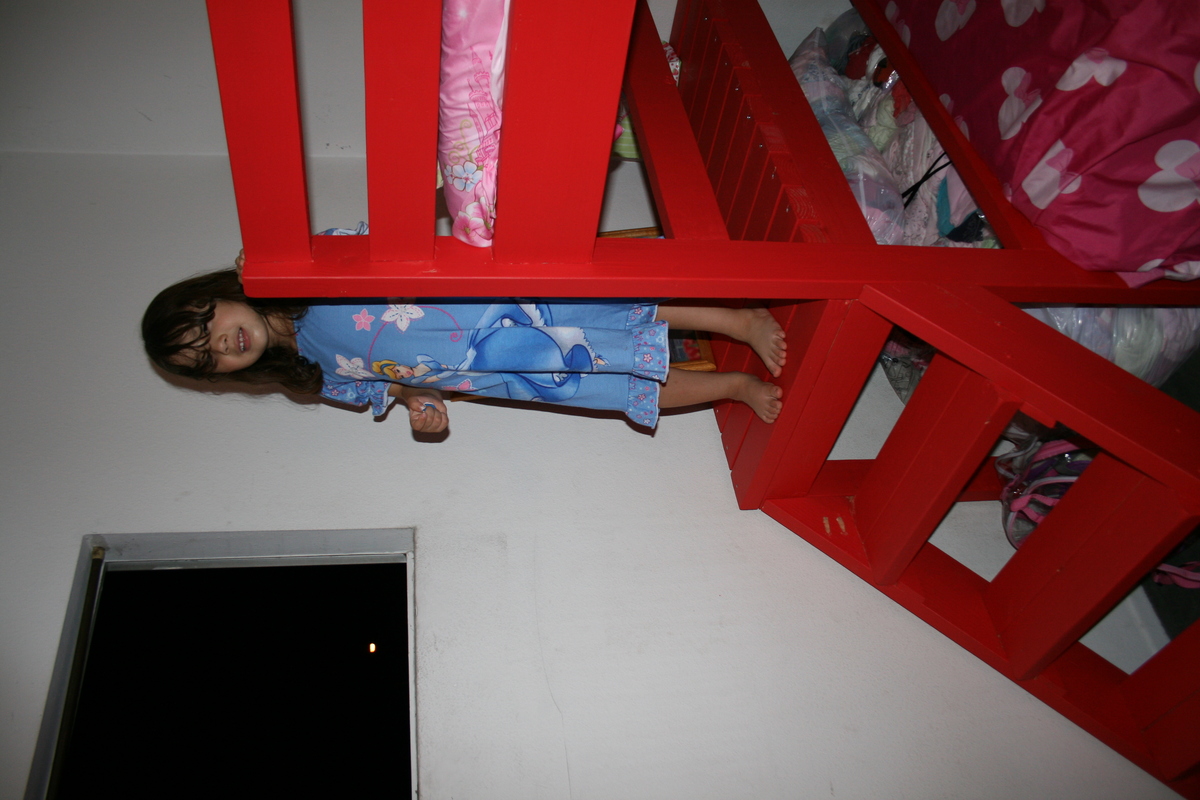
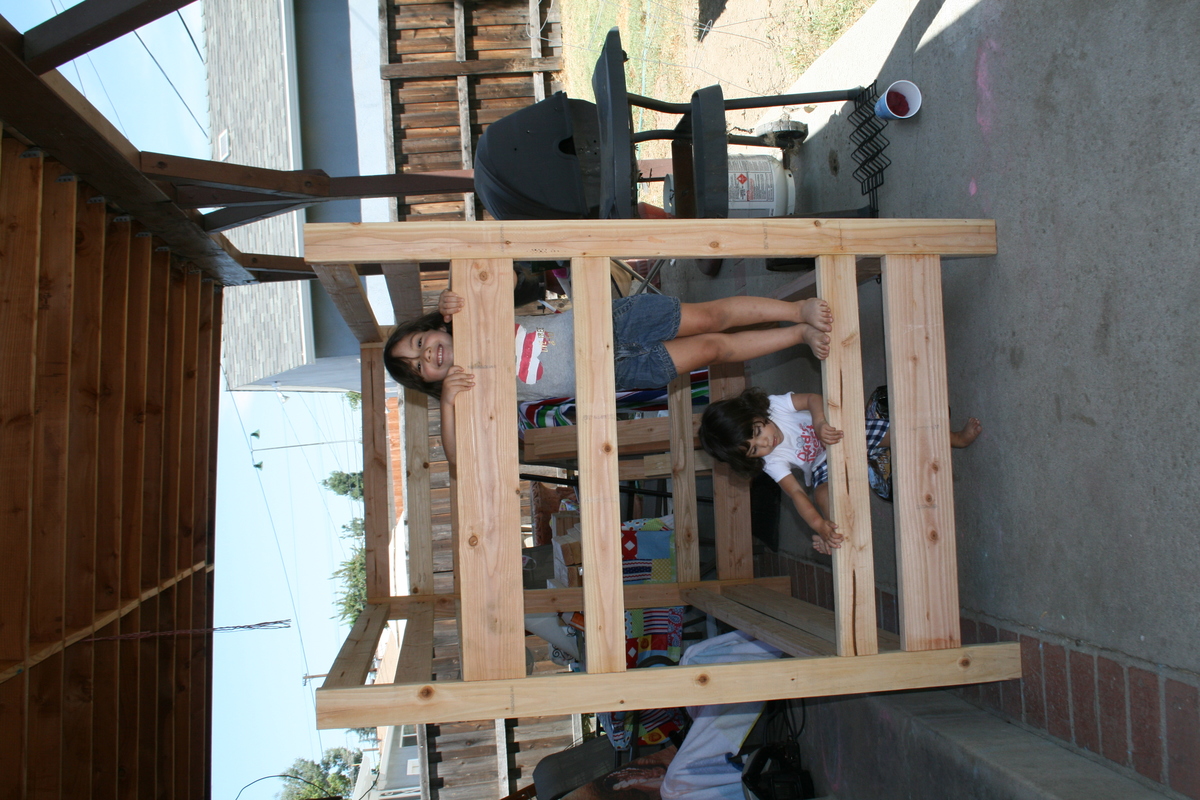
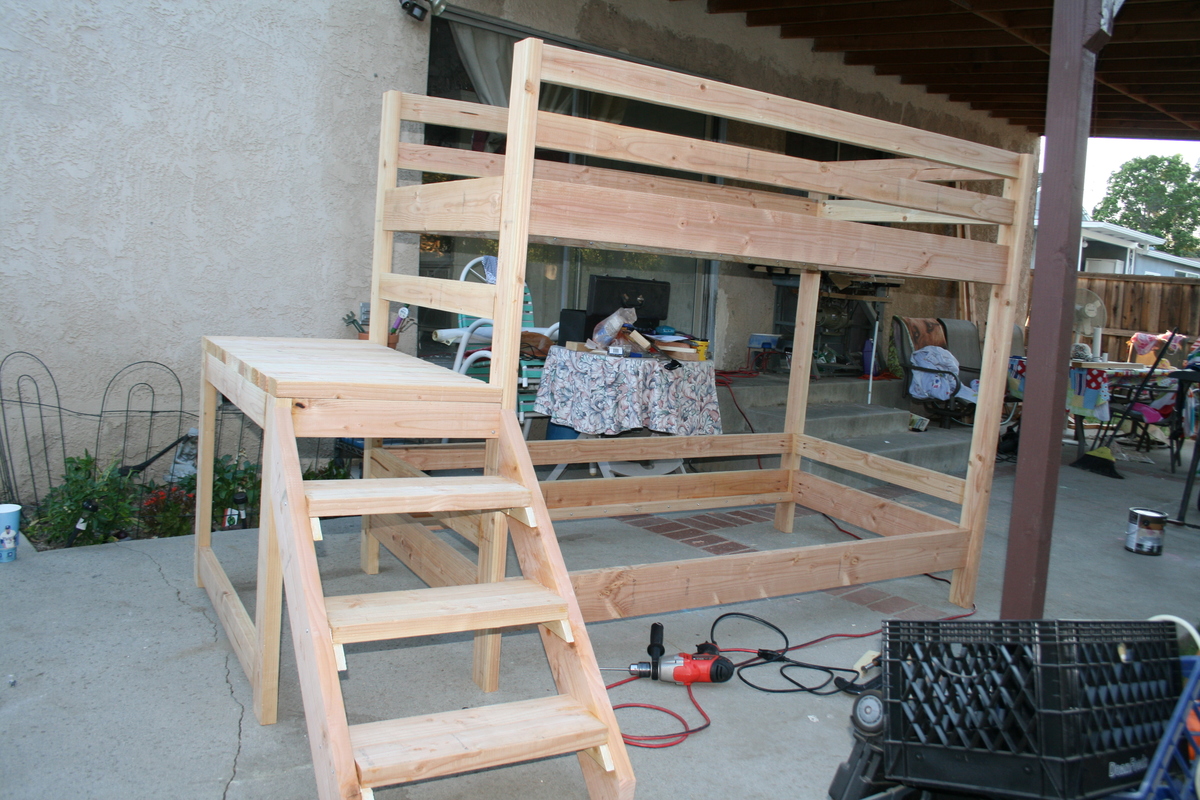
We were looking for a bunk bed system with stairs instead of a ladder. We had previously used a bunk bed on our vacation and our daughter was having trouble going down, she kept missing the ladder rungs. We searched online for beds with stairs but they were all too expensive. Then my husband found this site and we both looked through all the different plans. There are so many great plans for little girls beds, but in the end we decided with this one. It was the easiest for us to alter by adding the bottom bunk. We also liked this bed because we thought it the safest for our youngest who would be trying to climb. This is our first ever project built. We had tons of fun building this together and then letting our 4 yr old help us with the painting. We basically started with nothing in building this bed. We bought all the stuff except for the saw, sander and drill, which we borrowed. To add the bottom bunk, we made the distance at the bottom 6 inches, and then followed the pattern of separation for the railings that was used for the top. But it was only the bottom 2x6 and one round of the 2x4s for the railing. Since it was the bottom it didn't need to go as high as the top, just enough so our youngest won't roll in between the mattress and wall.
Mon, 09/03/2012 - 08:29
I love your bed! I'm in the process of doing exactly the same thing with mine! I also found it was the easiest plan to alter in terms of adding a bottom bunk. Good work!
Fri, 06/21/2013 - 18:20
I love it and would like to know if you changed the overall height of the bed to add the second bed underneth? I hope to make this a bunkbed for my kiddos.
Thanks