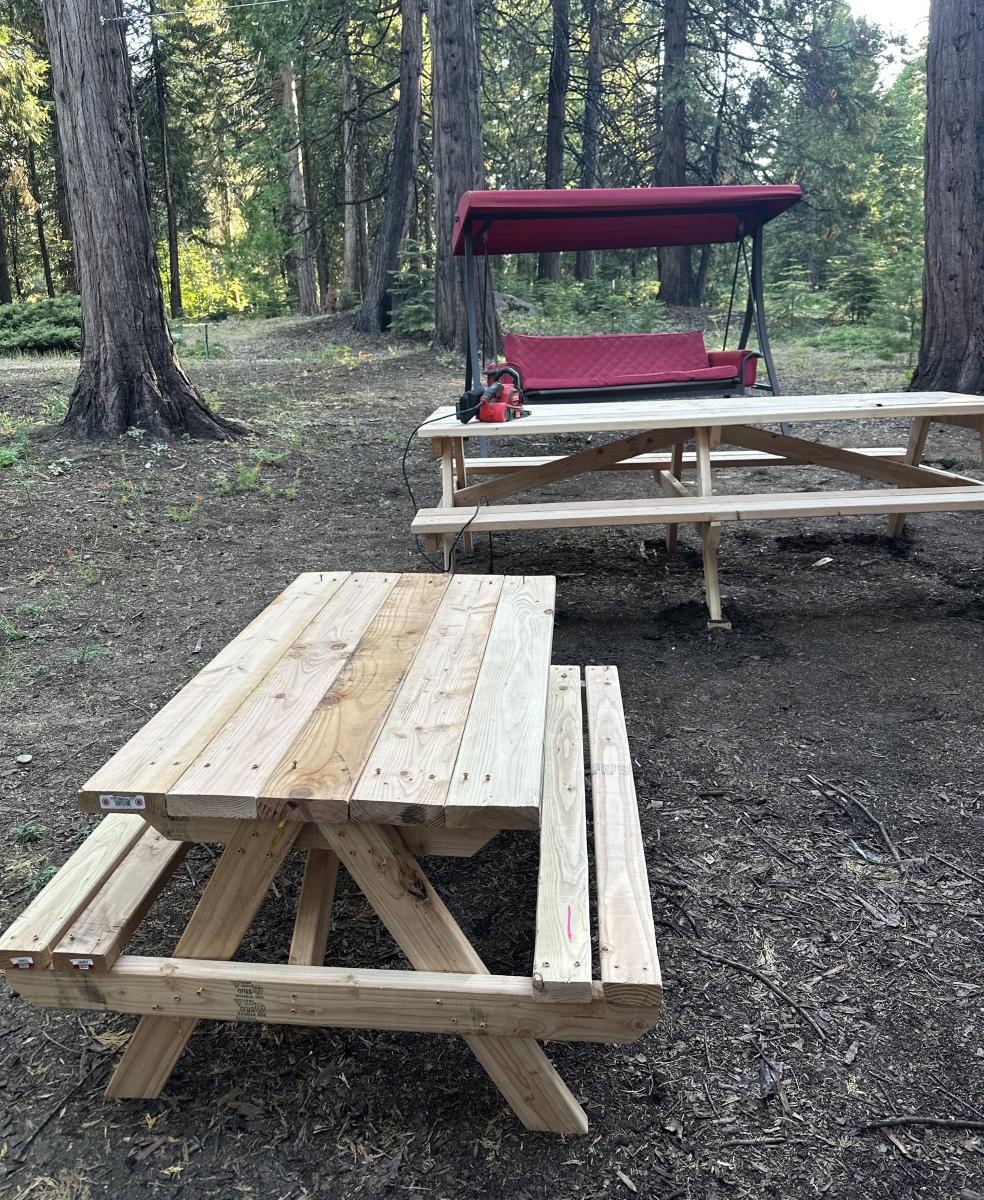
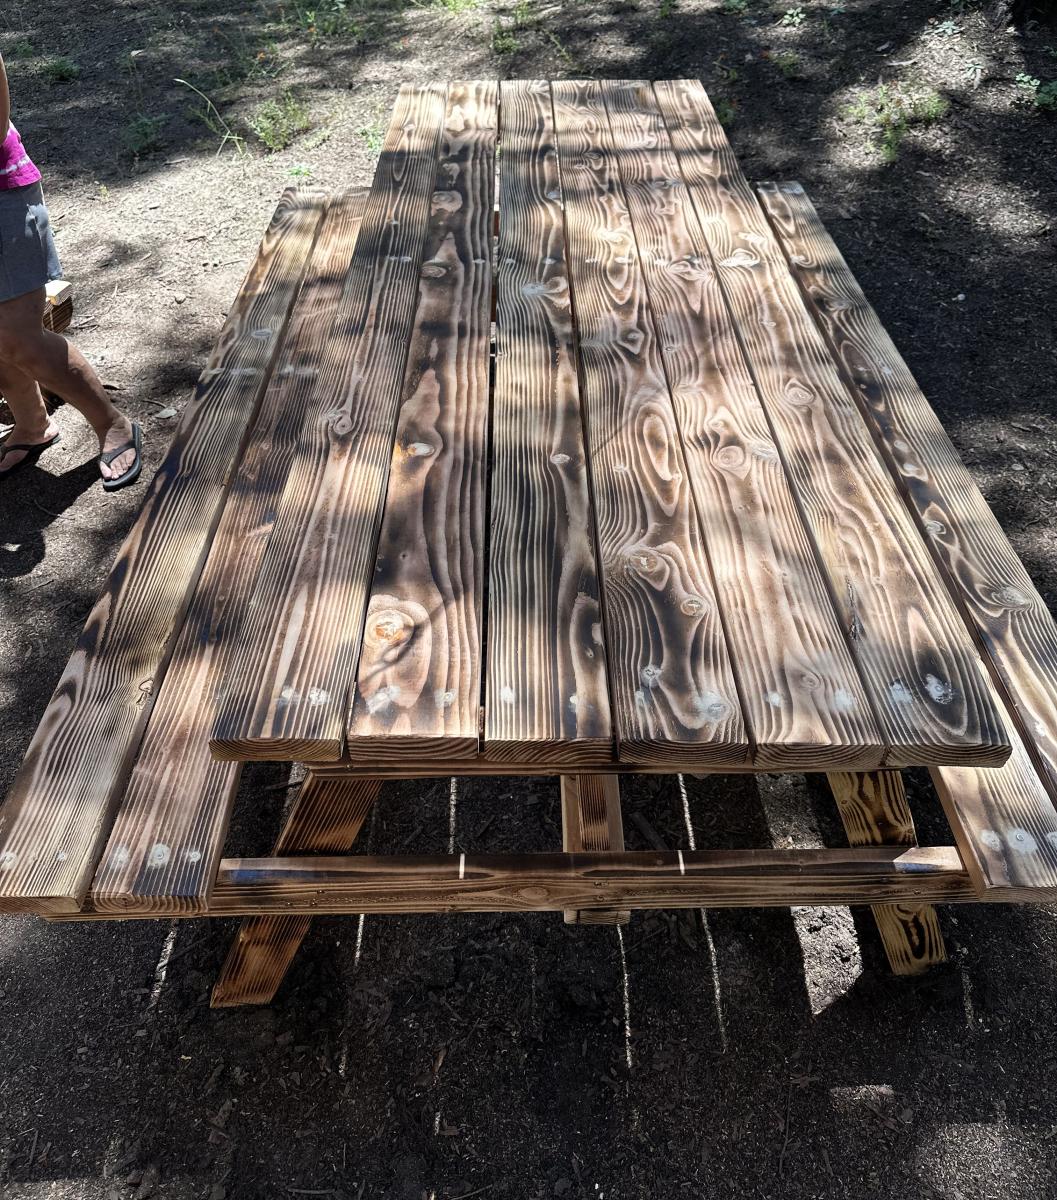
Airbnb Picnic Tables by the Lake
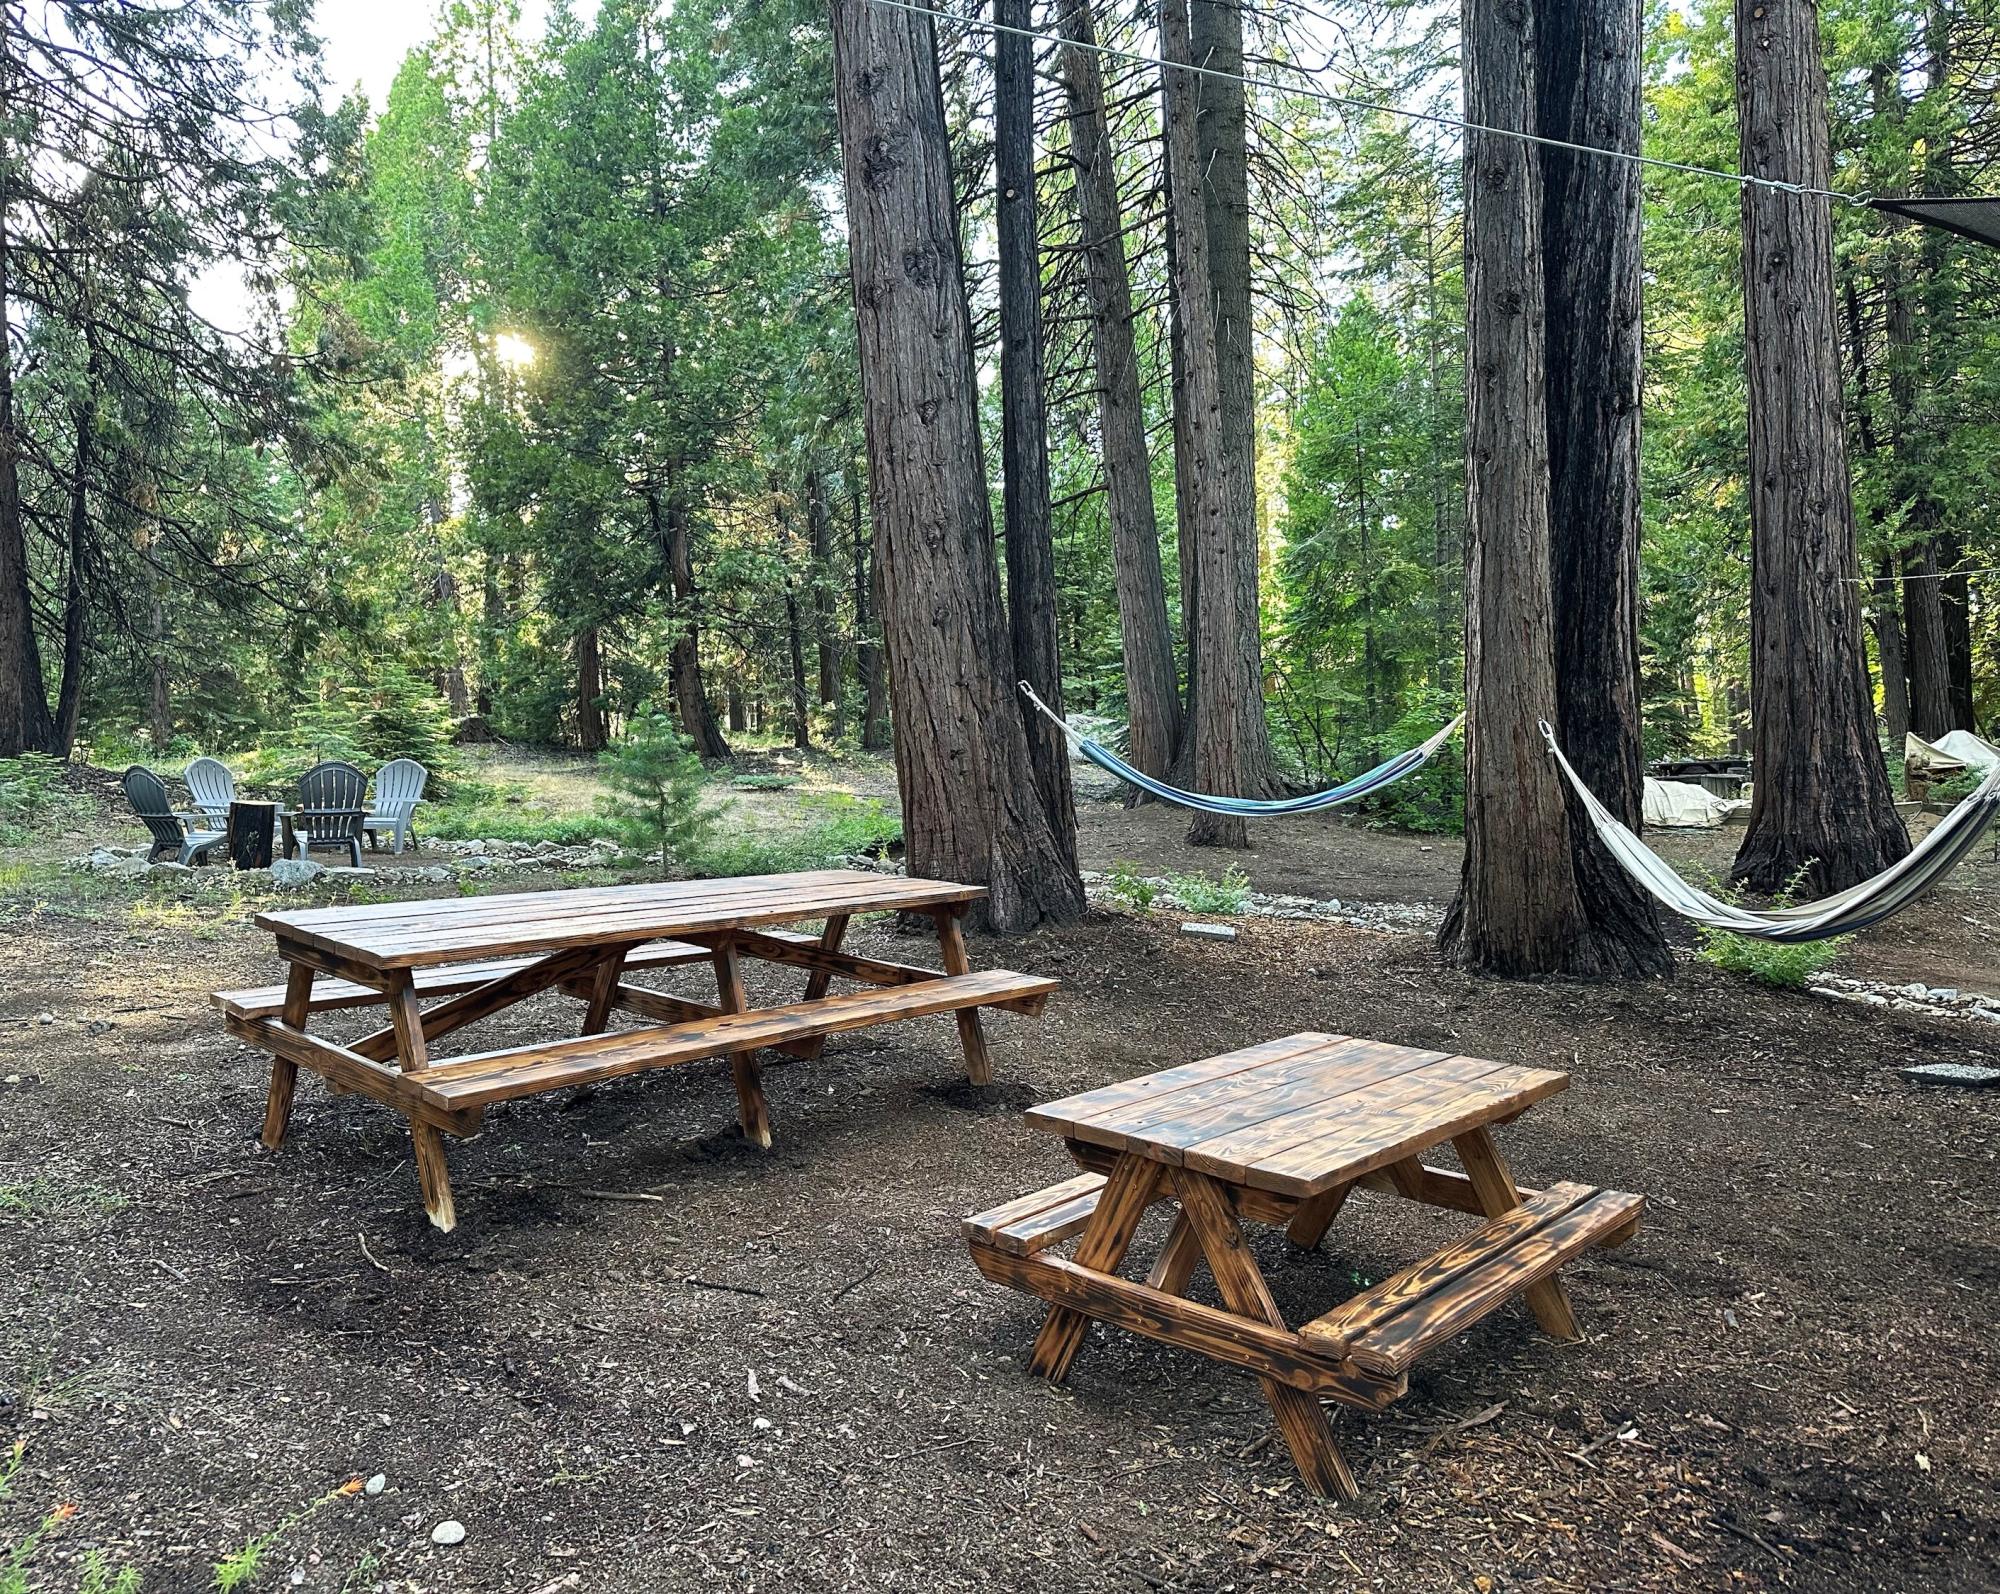
We have an Airbnb at a nearby lake. We built the large and kids picnic tables so our guests can enjoy the outdoors!!
Elaine Freitas
Built from Plan(s)
We have an Airbnb at a nearby lake. We built the large and kids picnic tables so our guests can enjoy the outdoors!!
Elaine Freitas
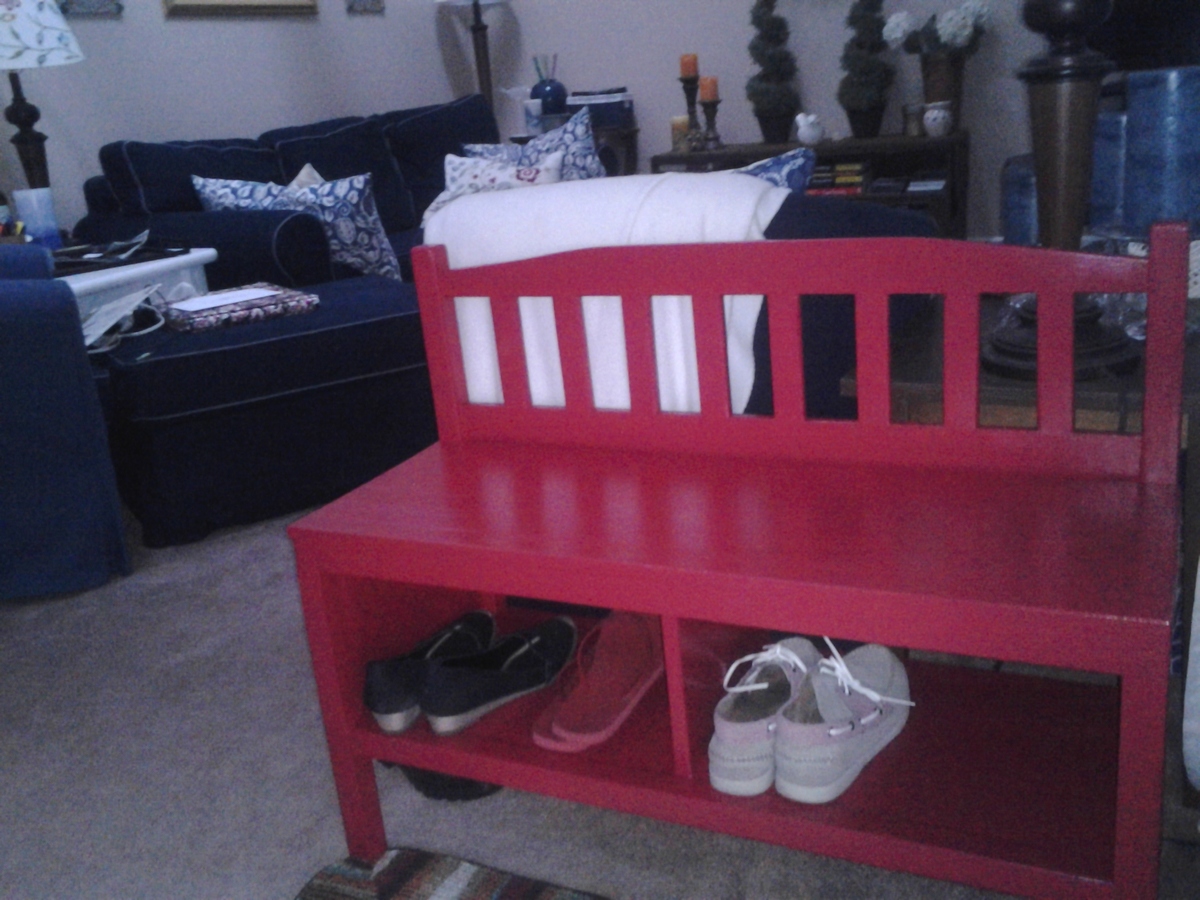
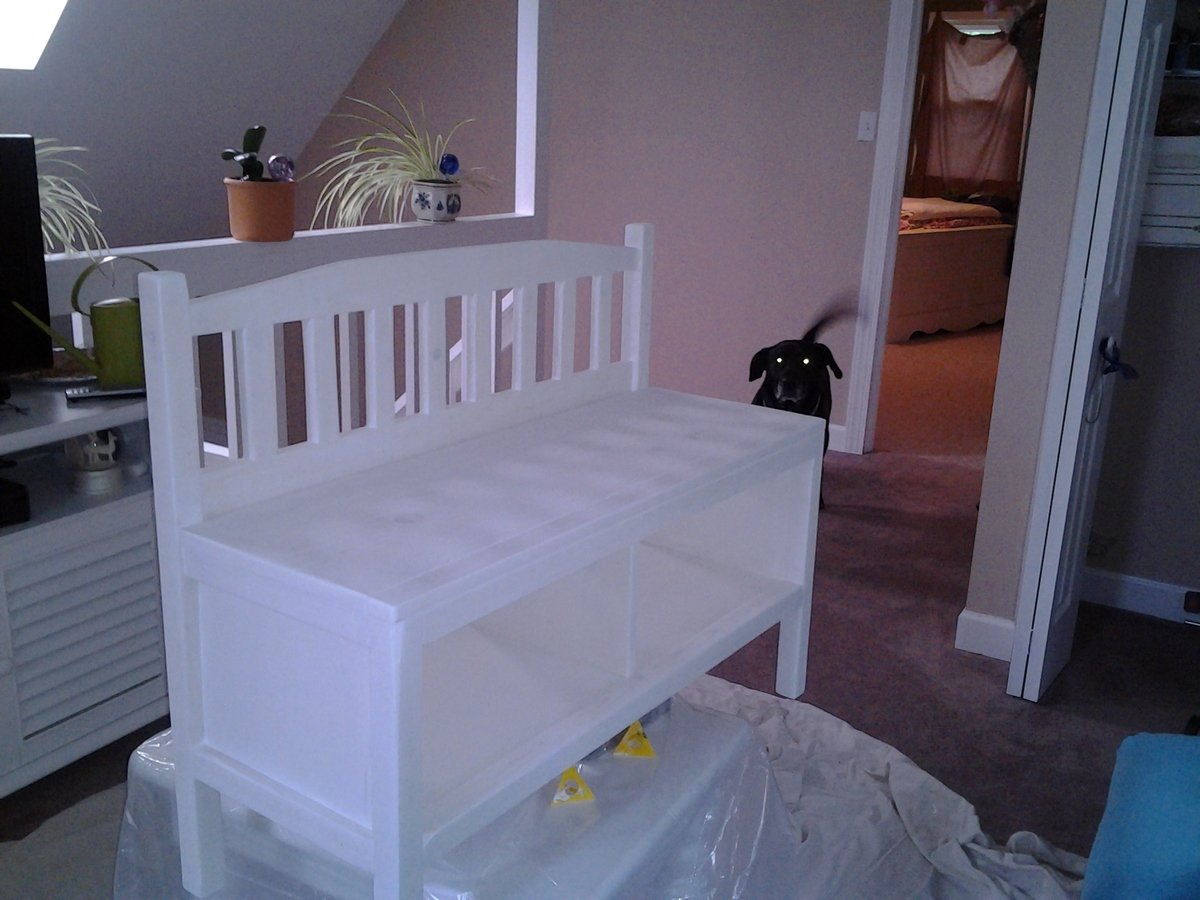
I really wanted a place to sit down and take my shoes off when I got home. I don't have a large entryway, so the space was tight. I looked online for a bench that would fit the measurements, and found a few that looked good-- except for the price! Luckily I already knew about Ana White, so I came here in search of some plans and lo and behold she already had plans posted for the exact same bench I liked most from the catalogs!
I've used power tools before, but never actually *built* anything from scratch. I thought my boyfriend would help me with this (he's got woodworking experience), but I got tired of waiting for him to get around to it, so I just did it all by myself!
I first attempted to make this without a Kregg Jig, cause I didn't want to spend the money on it if I didn't need it. But it didn't take long to figure out that I needed it. So back to the store I went (found out the hard way that Lowes sells Kreggs but Home Depot does not, at least the ones near me). And holy cow it was SO WORTH IT!
I also got to buy a new sander for the project, cause the hand-me-down from my dad had a missing bit of the clamp that holds the sandpaper to the sander (kind of essential)
So all in all I spent more than the catalog price of the bench, but I will get to use the tools to build all sorts of fun stuff!!!
Thank you Anna! You empowered me to build exactly what I wanted and I LOVE IT!!!!
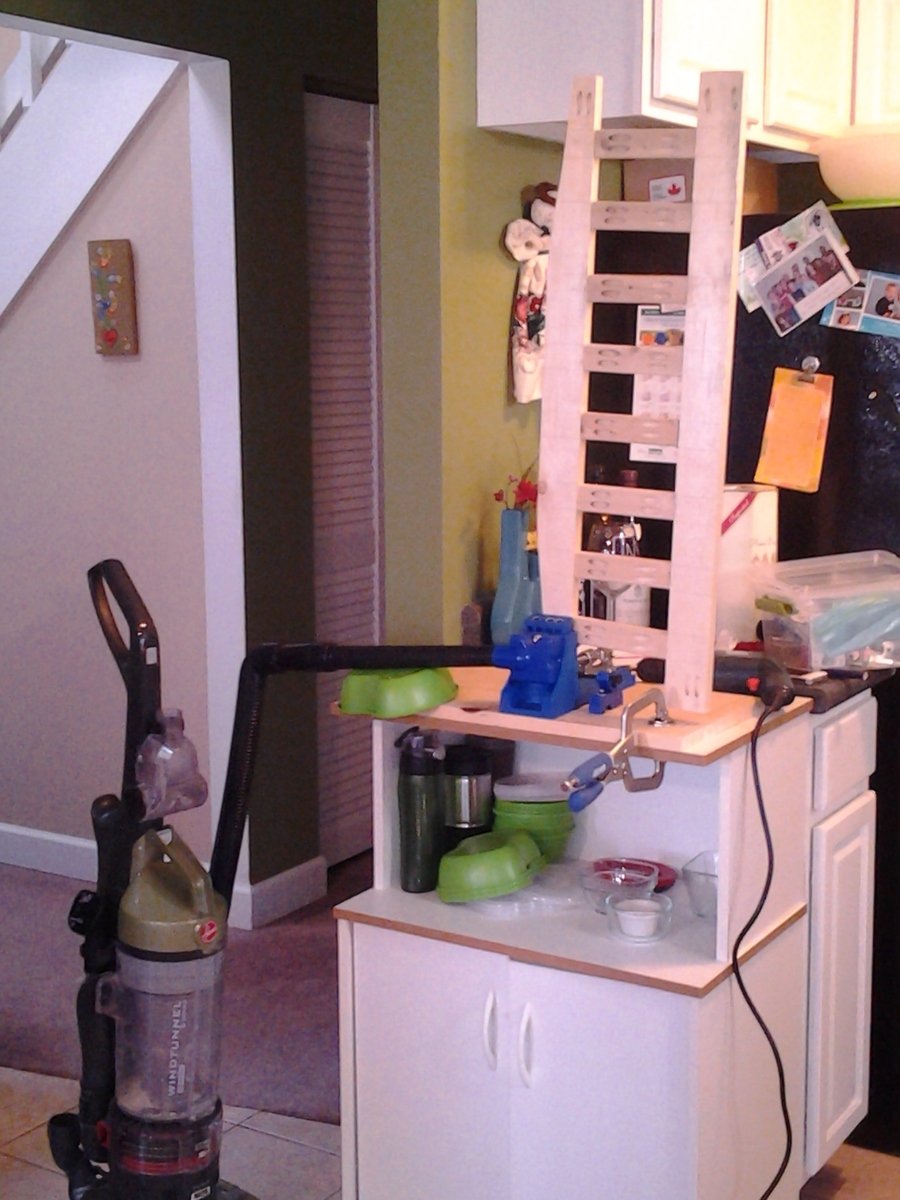

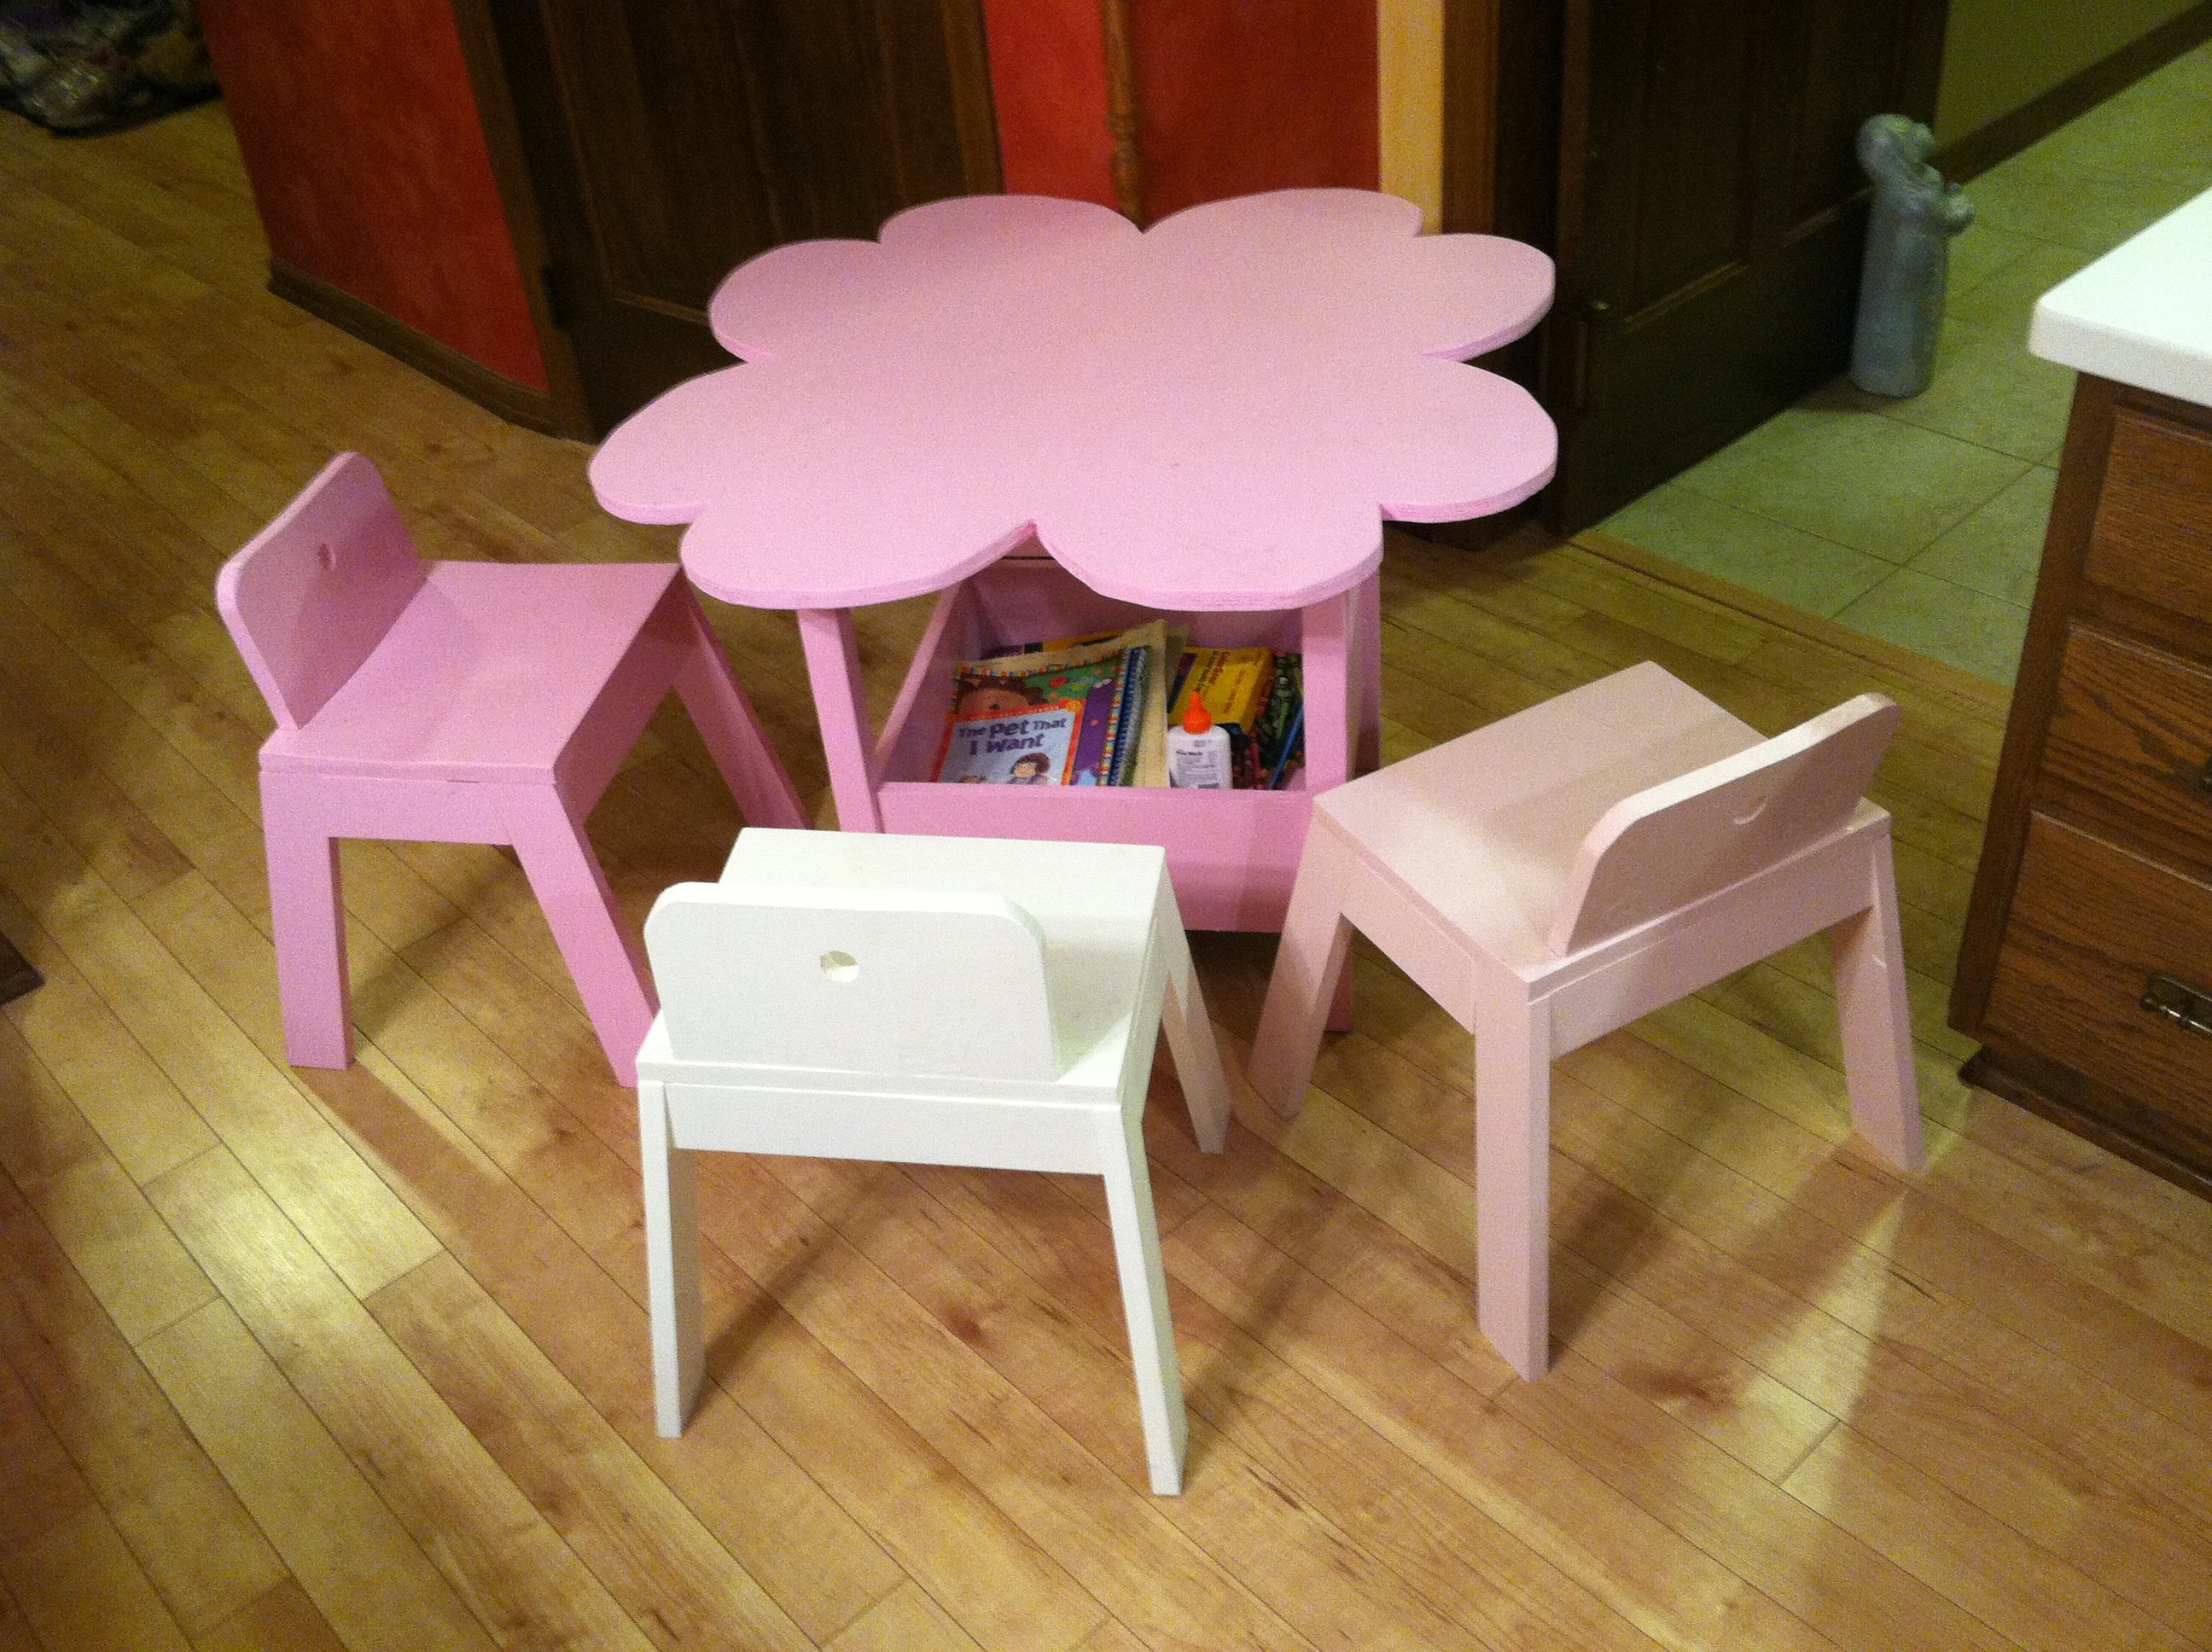
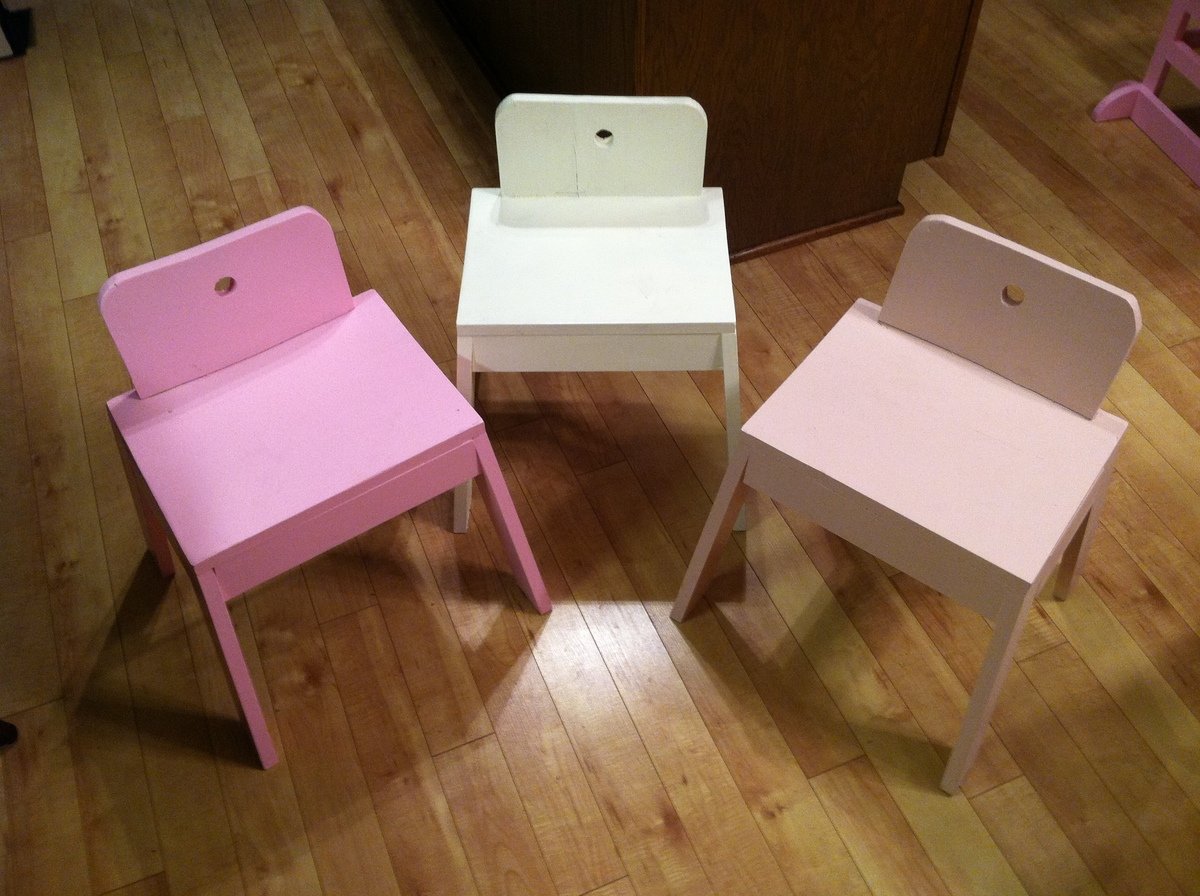
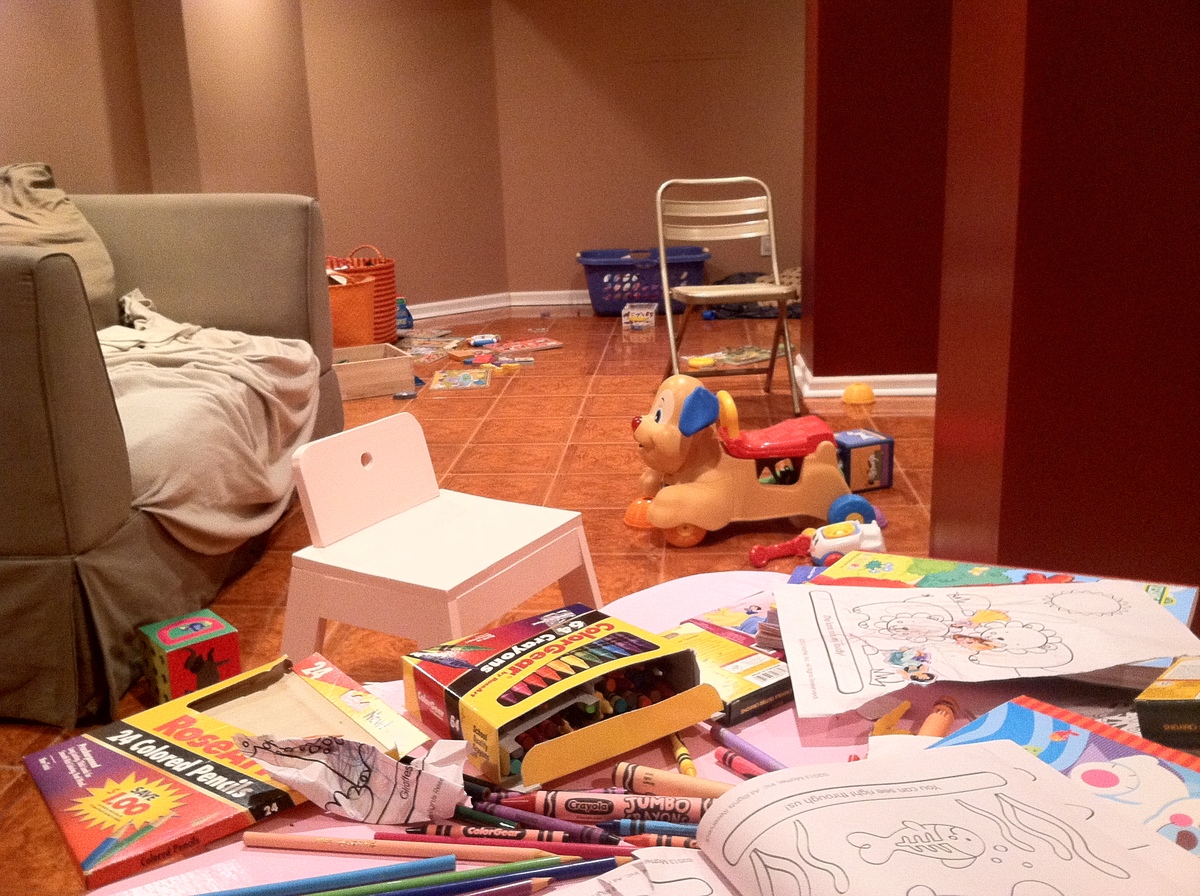
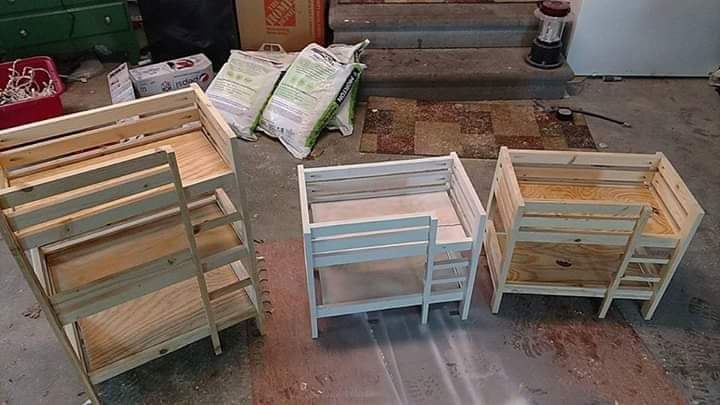
I put together the flower storage table and the thumb chairs during the week leading up to our daughter's first birthday party. With a lot of older toddlers/kids at the party, the table served as a perfect coloring station in our basement (as you can see from the mahem/aftermath photo below). In any event, as my daughter is about to turn two, she has really grown into using the table and chairs for completing her own arts and crafts projects.

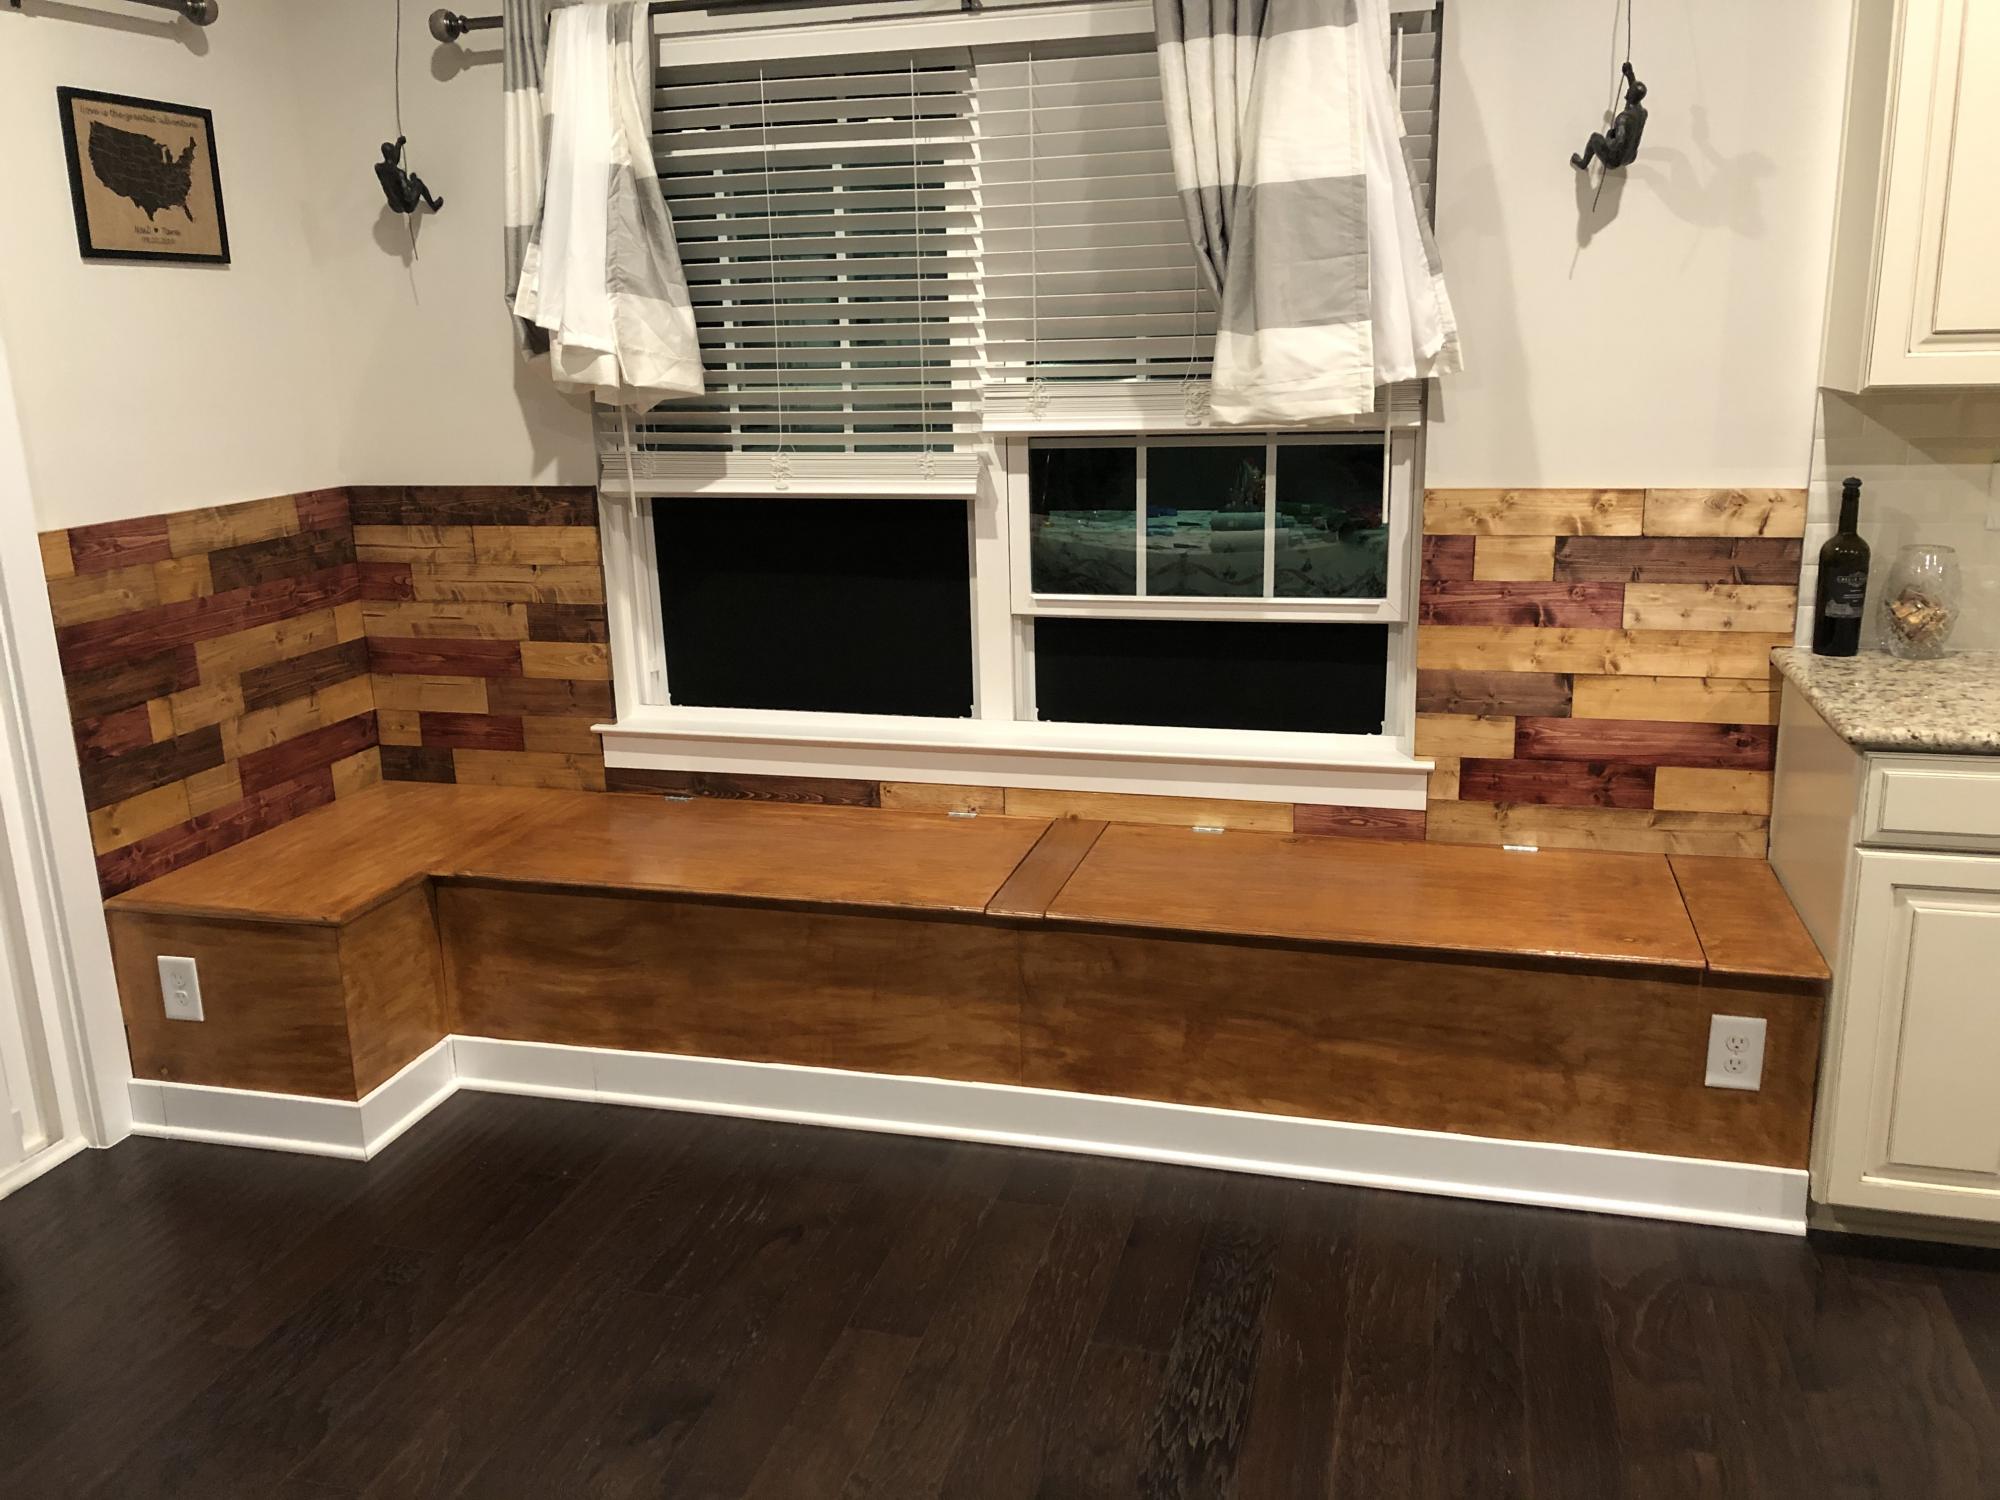
Modified the benches a little to be opened without removing a cushion. Cushions to come. We made our own paneling for the back and reused the original trim. Table to come.
Idea and plans from another brag Breakfast nook.

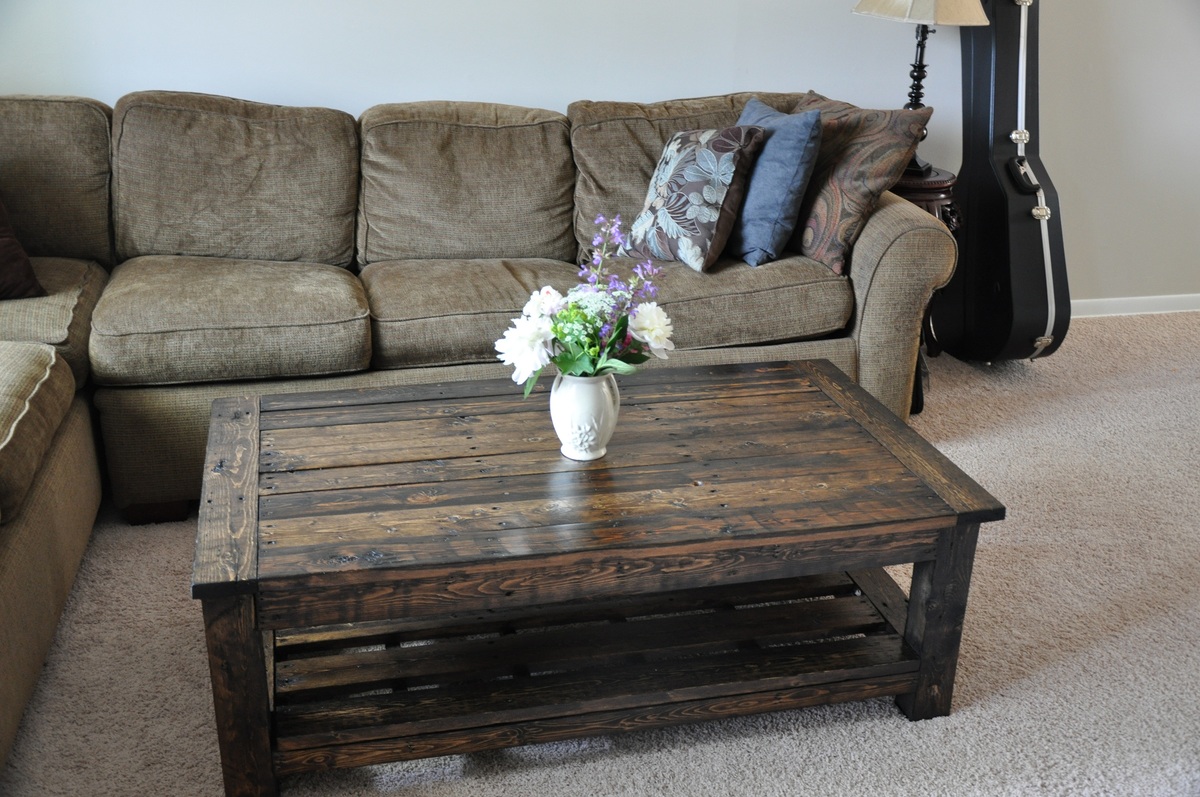
Easy, fun great project that my husband and I did together. This project cost about $202, and I will take that price over the price that you would have to pay in the furniture store any day. We found some great wood at Lowe's that worked perfectly and gave it the "rustic" look that we like. Thanks Ana for the plans and sharing them with us.
Wed, 05/16/2012 - 19:01
That's a fine quality piece of furniture!
Why can't I get dark walnut stain to look like that?

Wed, 05/16/2012 - 19:45
Debi_G, I've had lots of trouble getting stains to look the way I want too. What I've taken to doing is either mixing my own (see http://claydowling.com), as well as trying out various commercial stains until I find one that satisfies my desires. Good use for your scrap.
So far the best commercial stains I've found are from General Finishes. They're designed to sit partially on top of the wood, which prevents some of the splotchy and washed out look that make some stains unpleasant to work with.
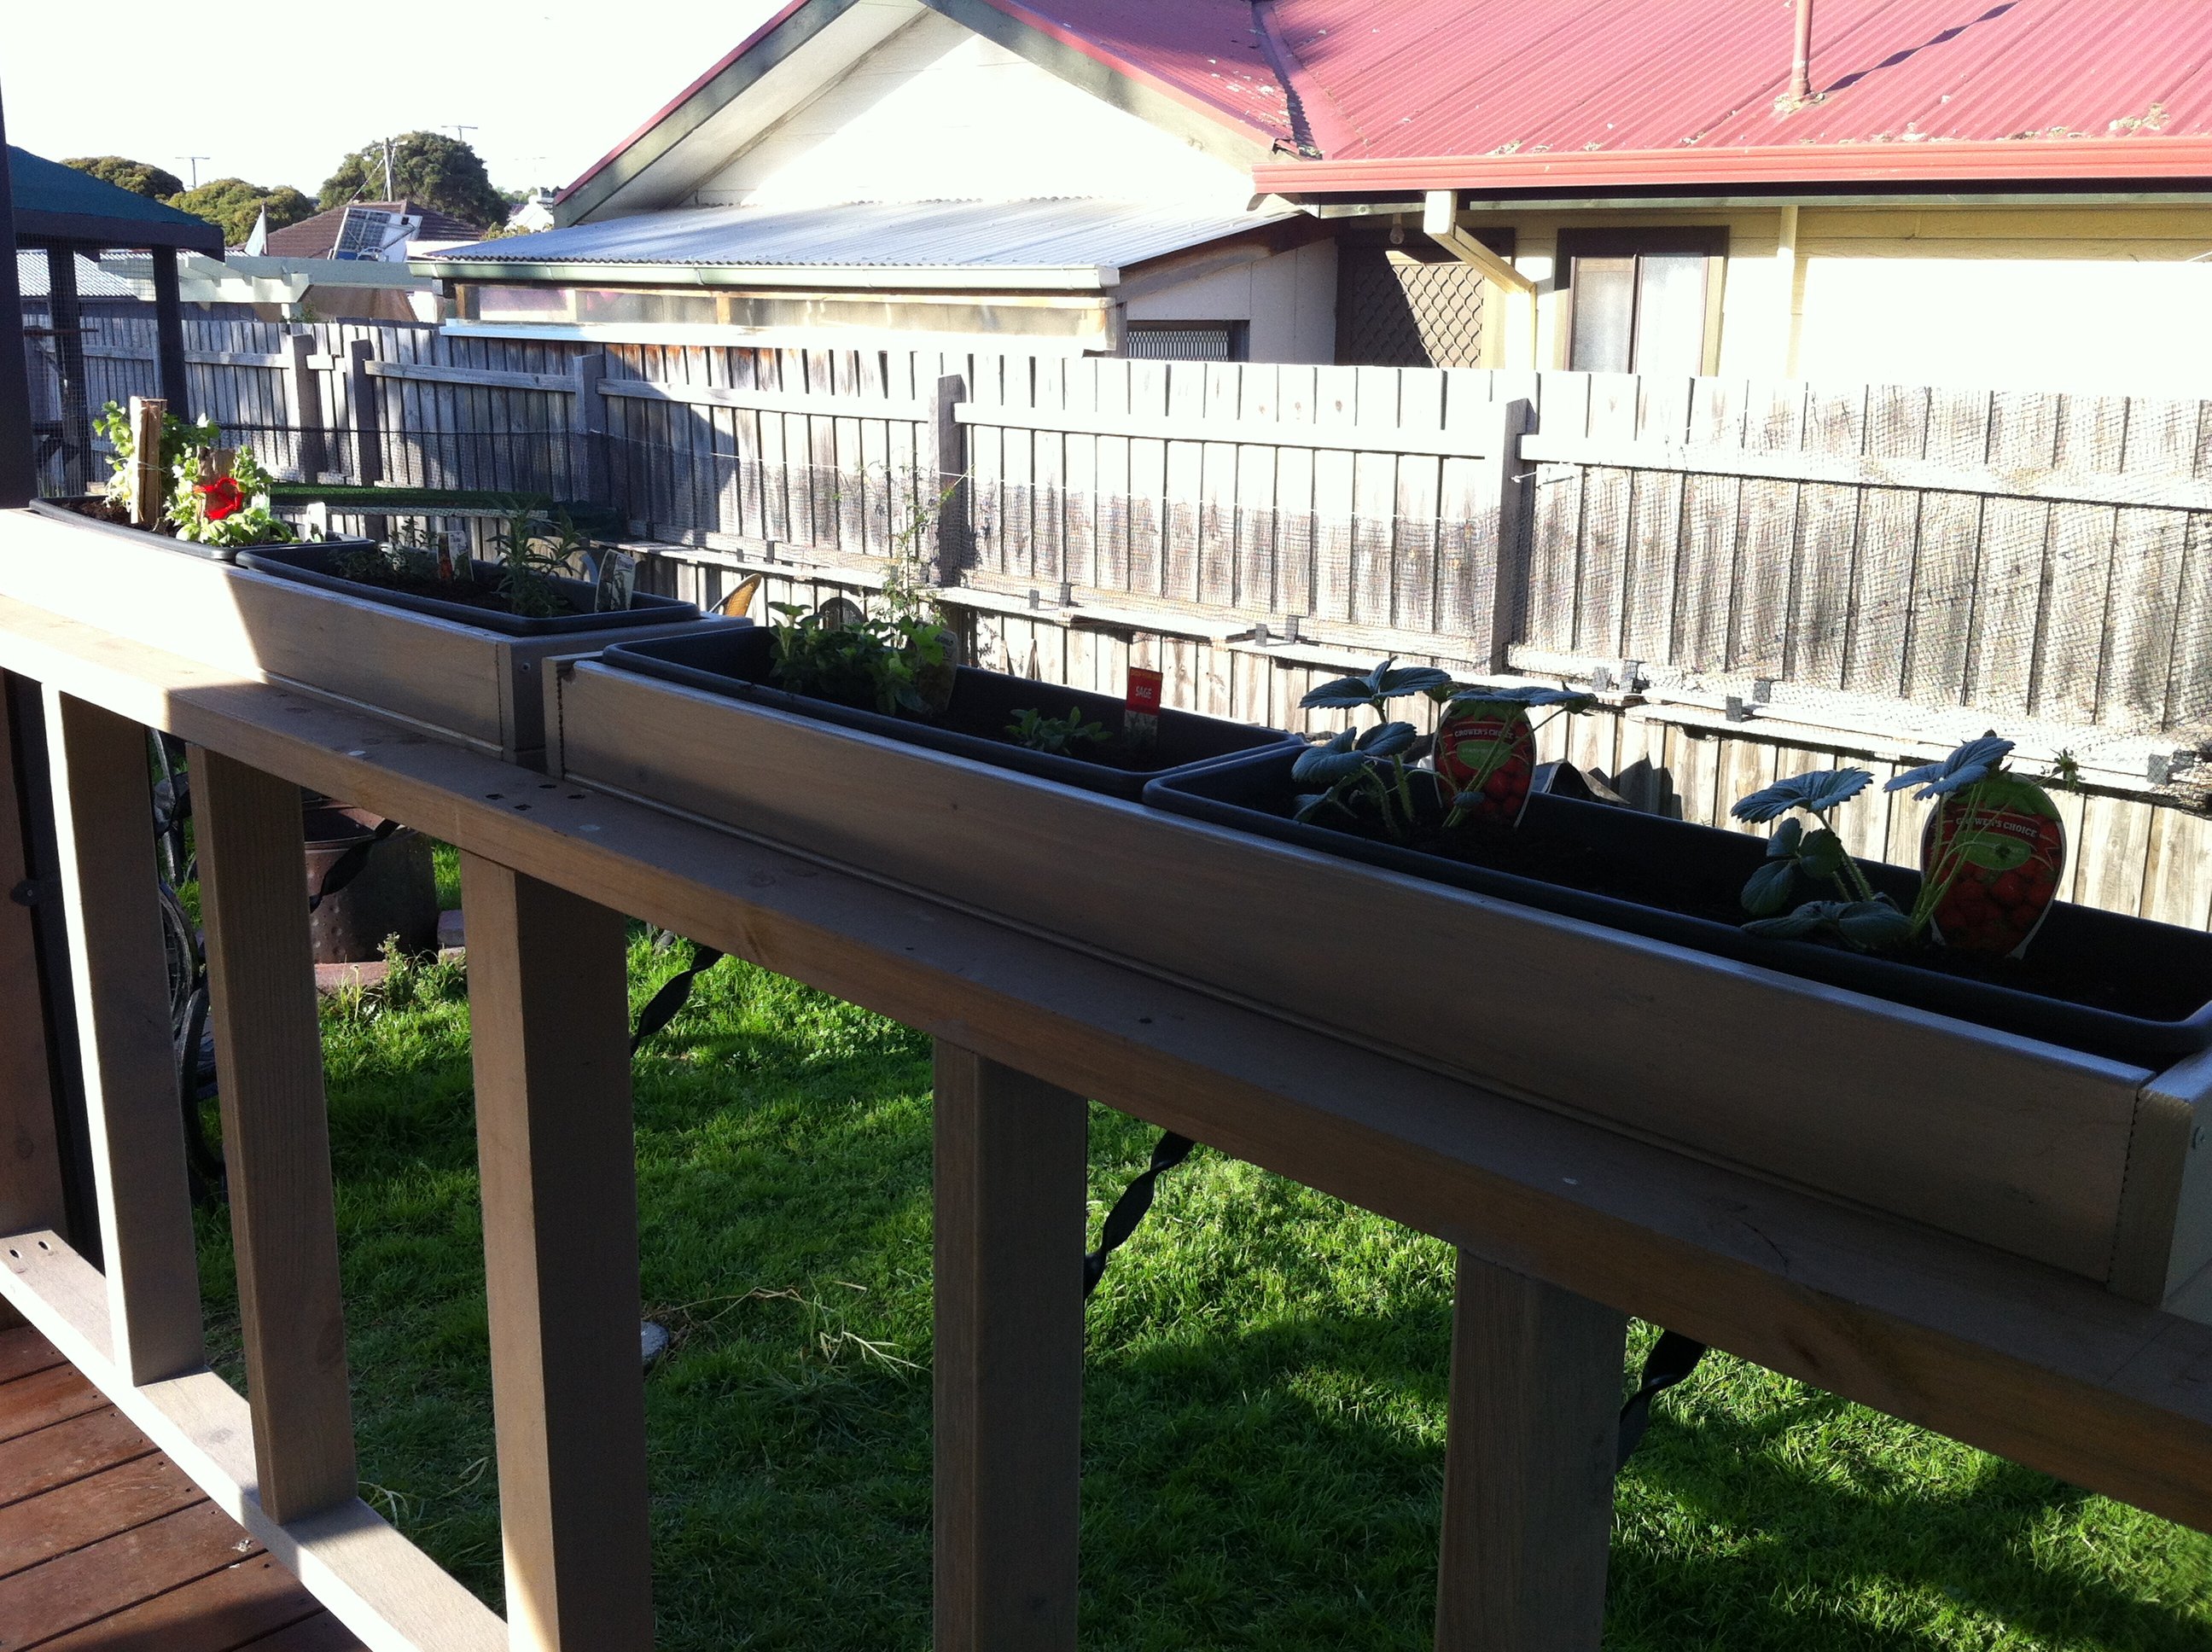
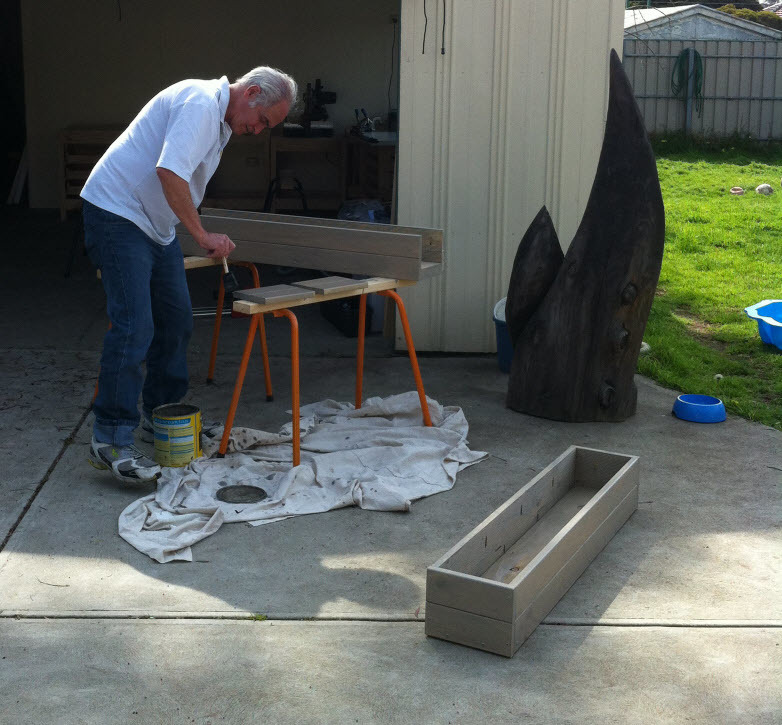
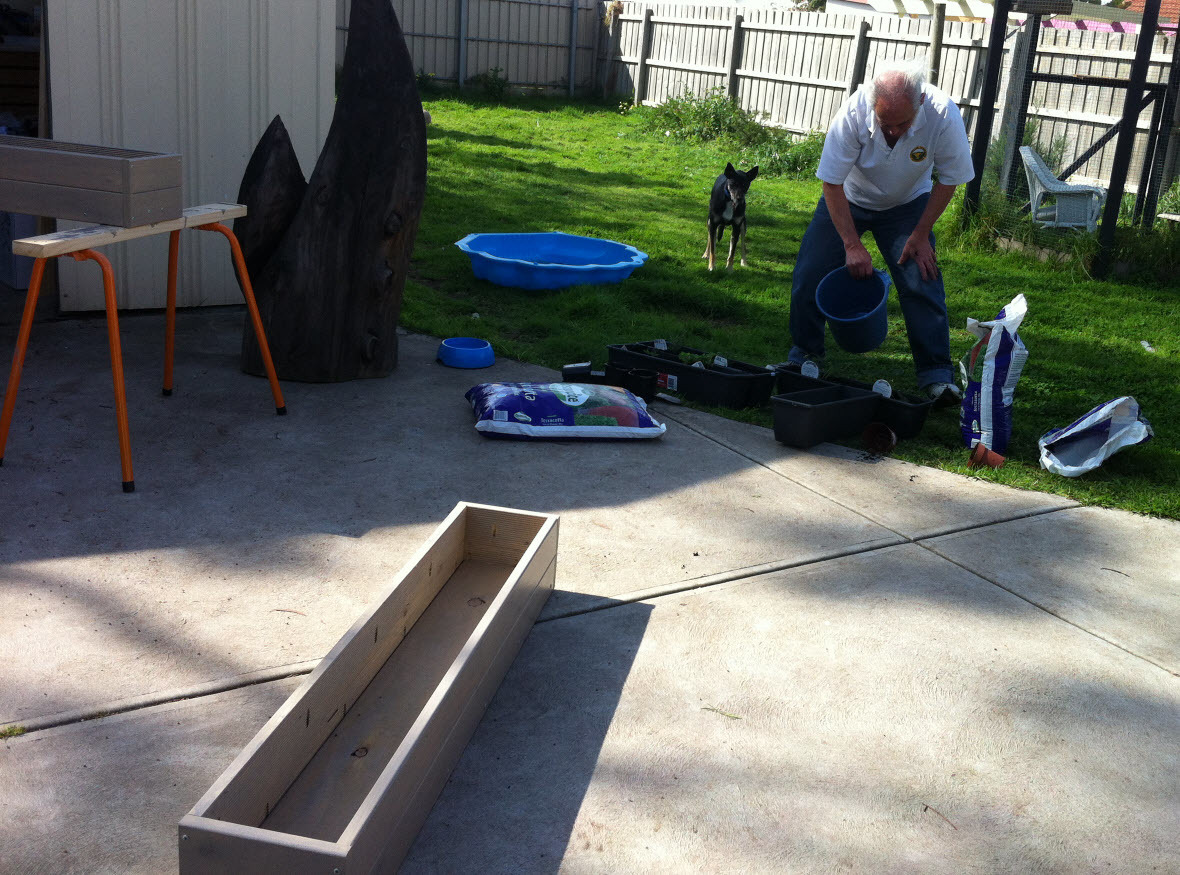
I made these boxes with my dad one afternoon. We had a great time! We wanted our herbs to be close to the kitchen and still get plenty of sun, so attaching them to the deck railing was ideal. I made them out of timber decking with pocket holes, and attached them to the railing with metal brackets underneath.
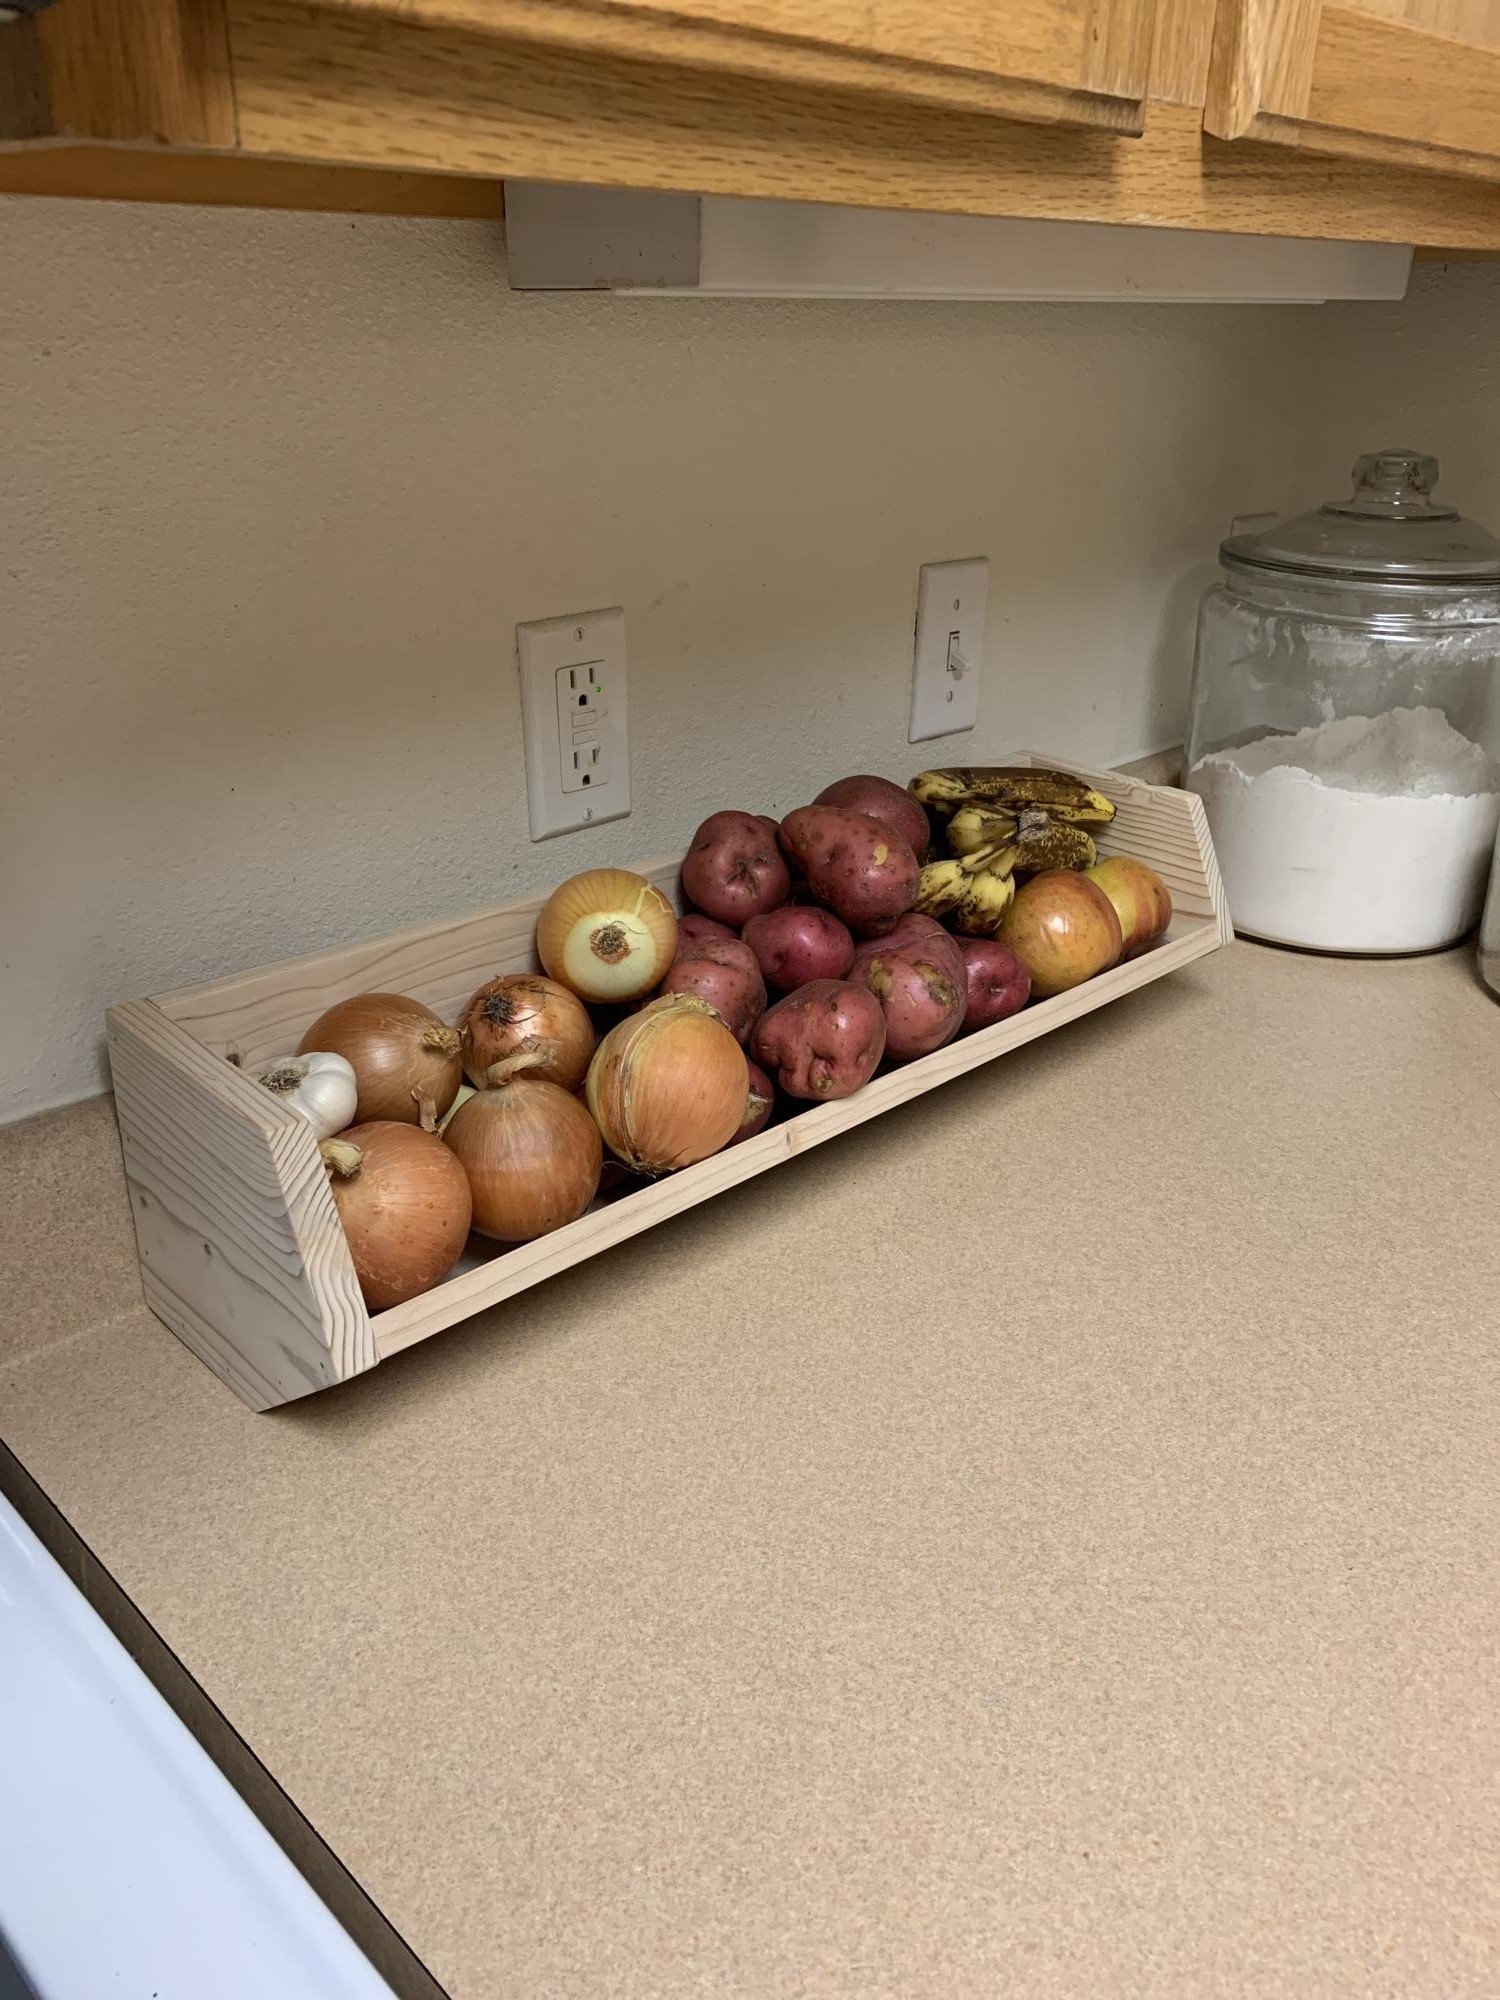
I had some scraps leftover from a previous project and decided to see what I could make. My wife wanted this vegetable bin, so I figured I’d give it a shot. I used my table saw to create my own 1x boards for this build. The back board is two 2x4’s with trimmed edges, glued together. The rest was a 2x10 I cut to size for the different pieces I needed. All in all, it turned out great!
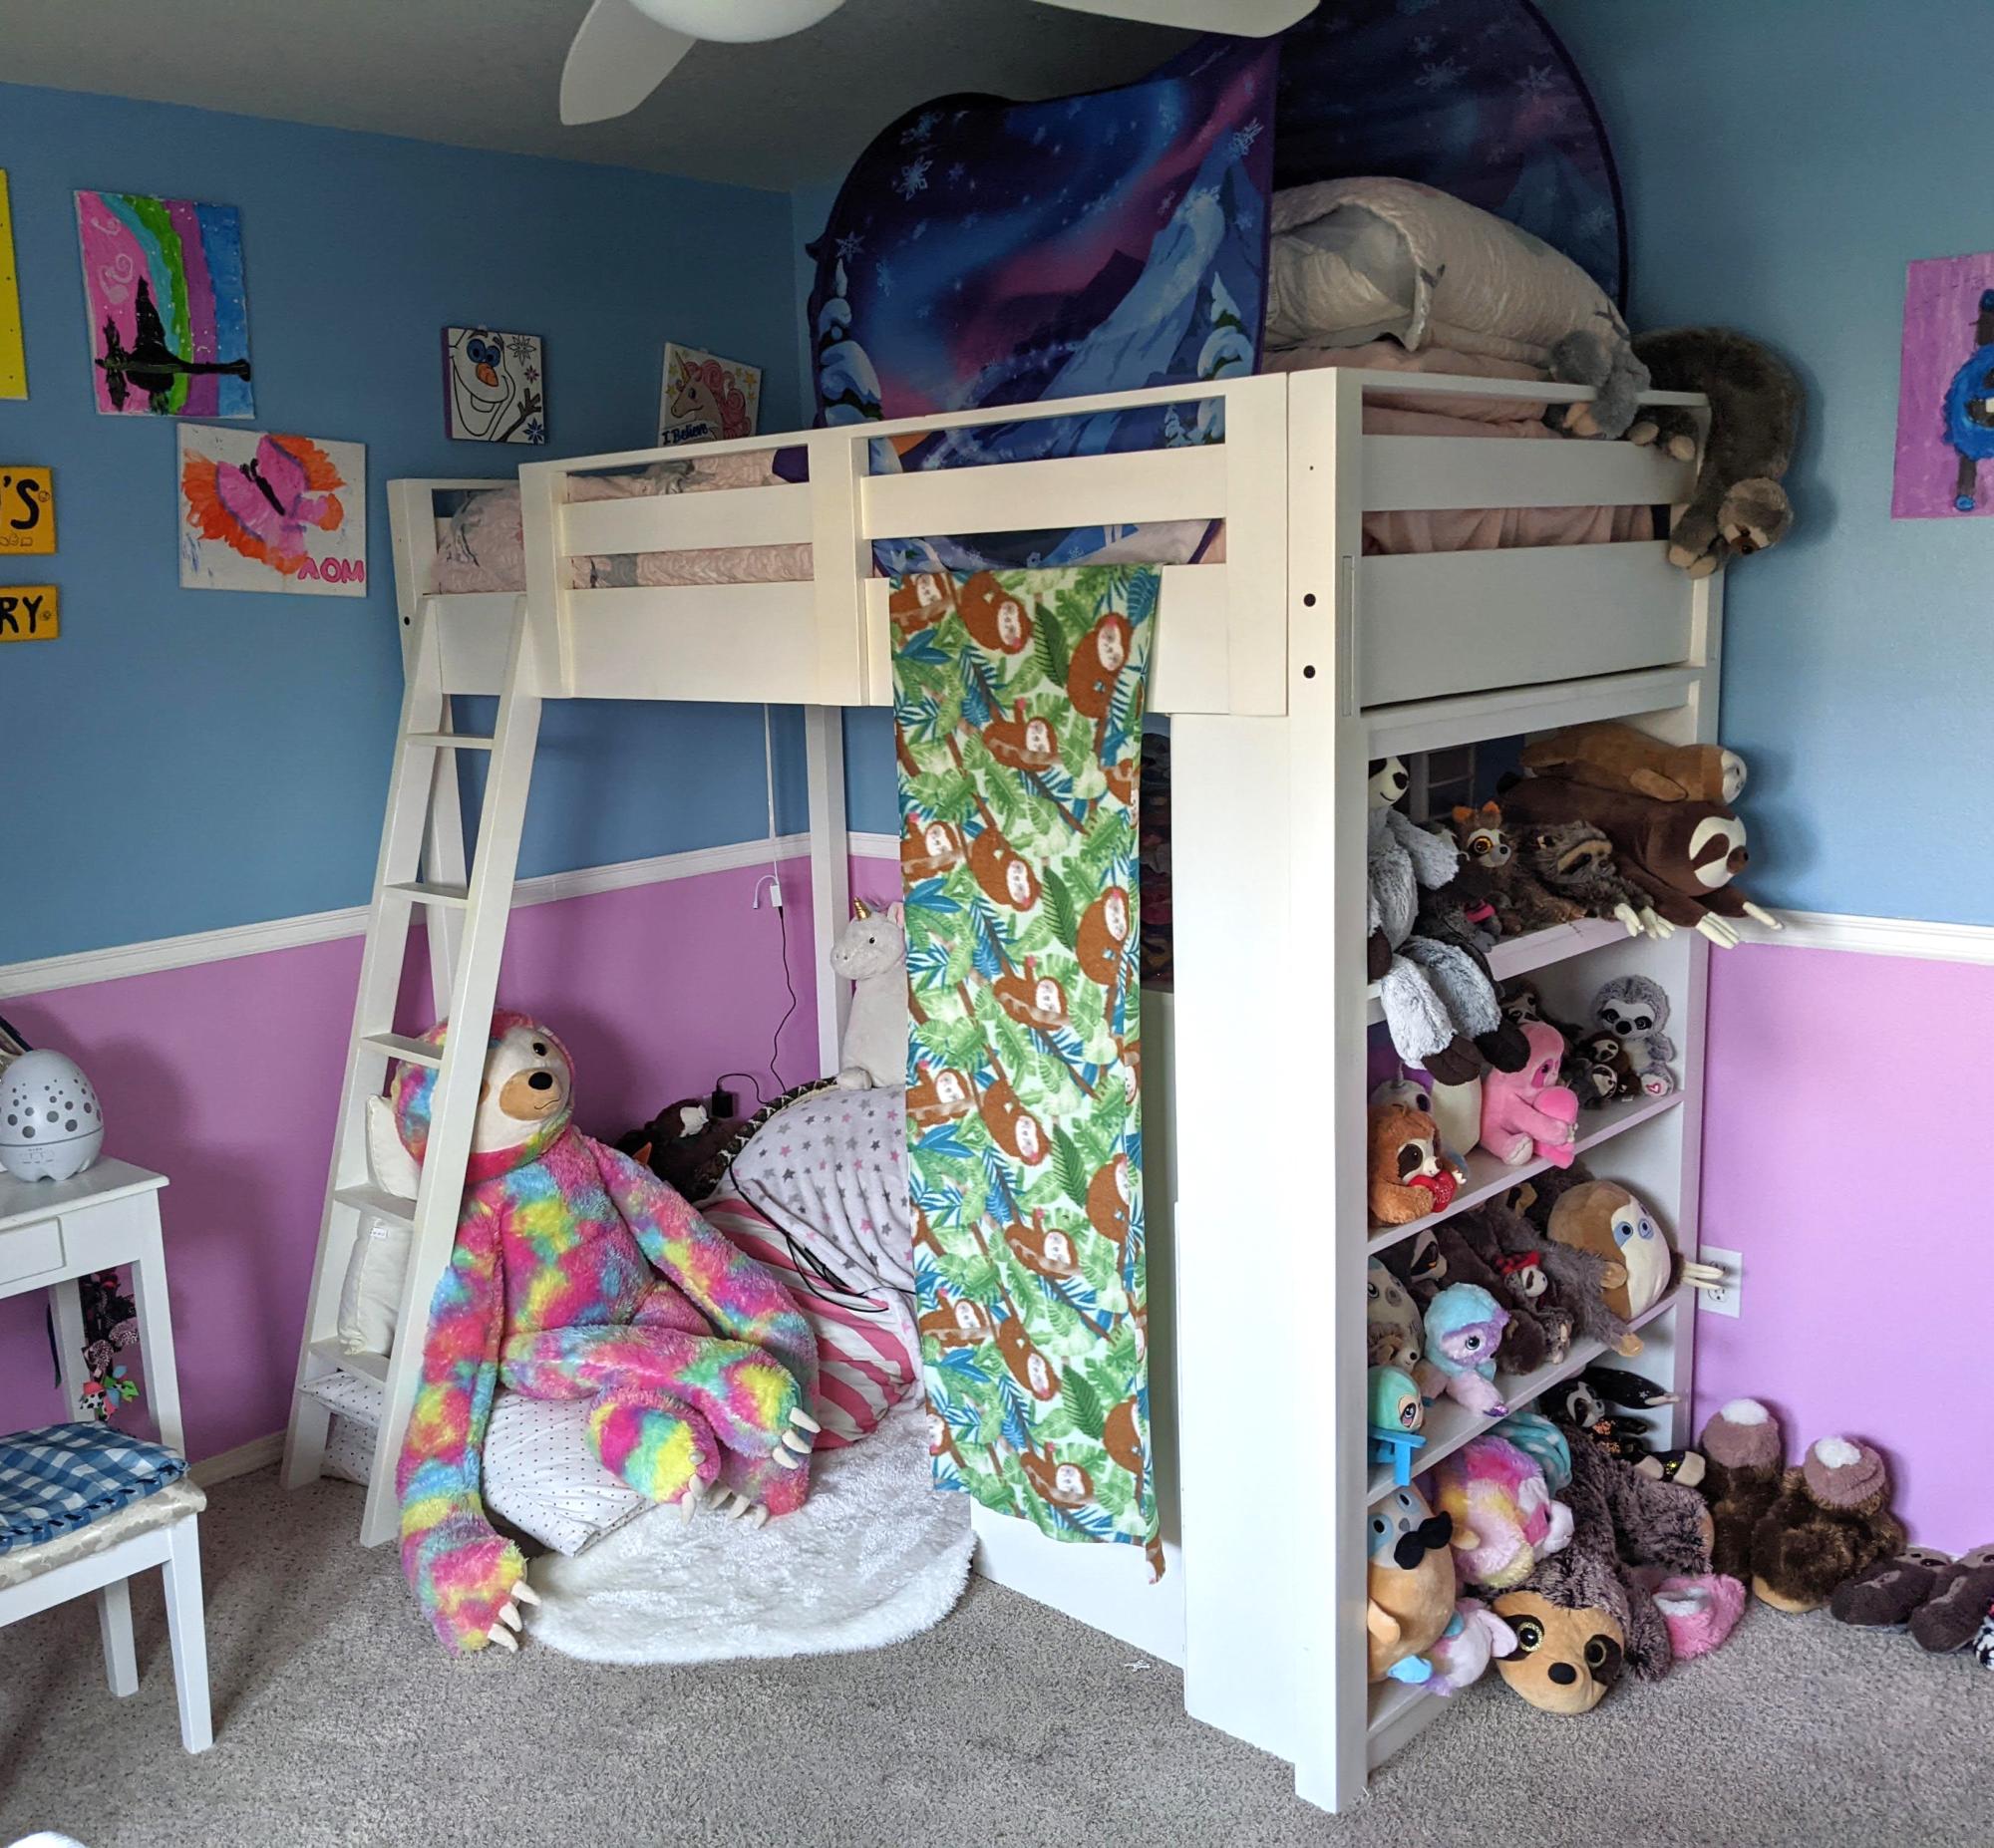
I finished this a while back for my granddaughter. I modified the side rails so it could be disassembled and reassembled in her bedroom.
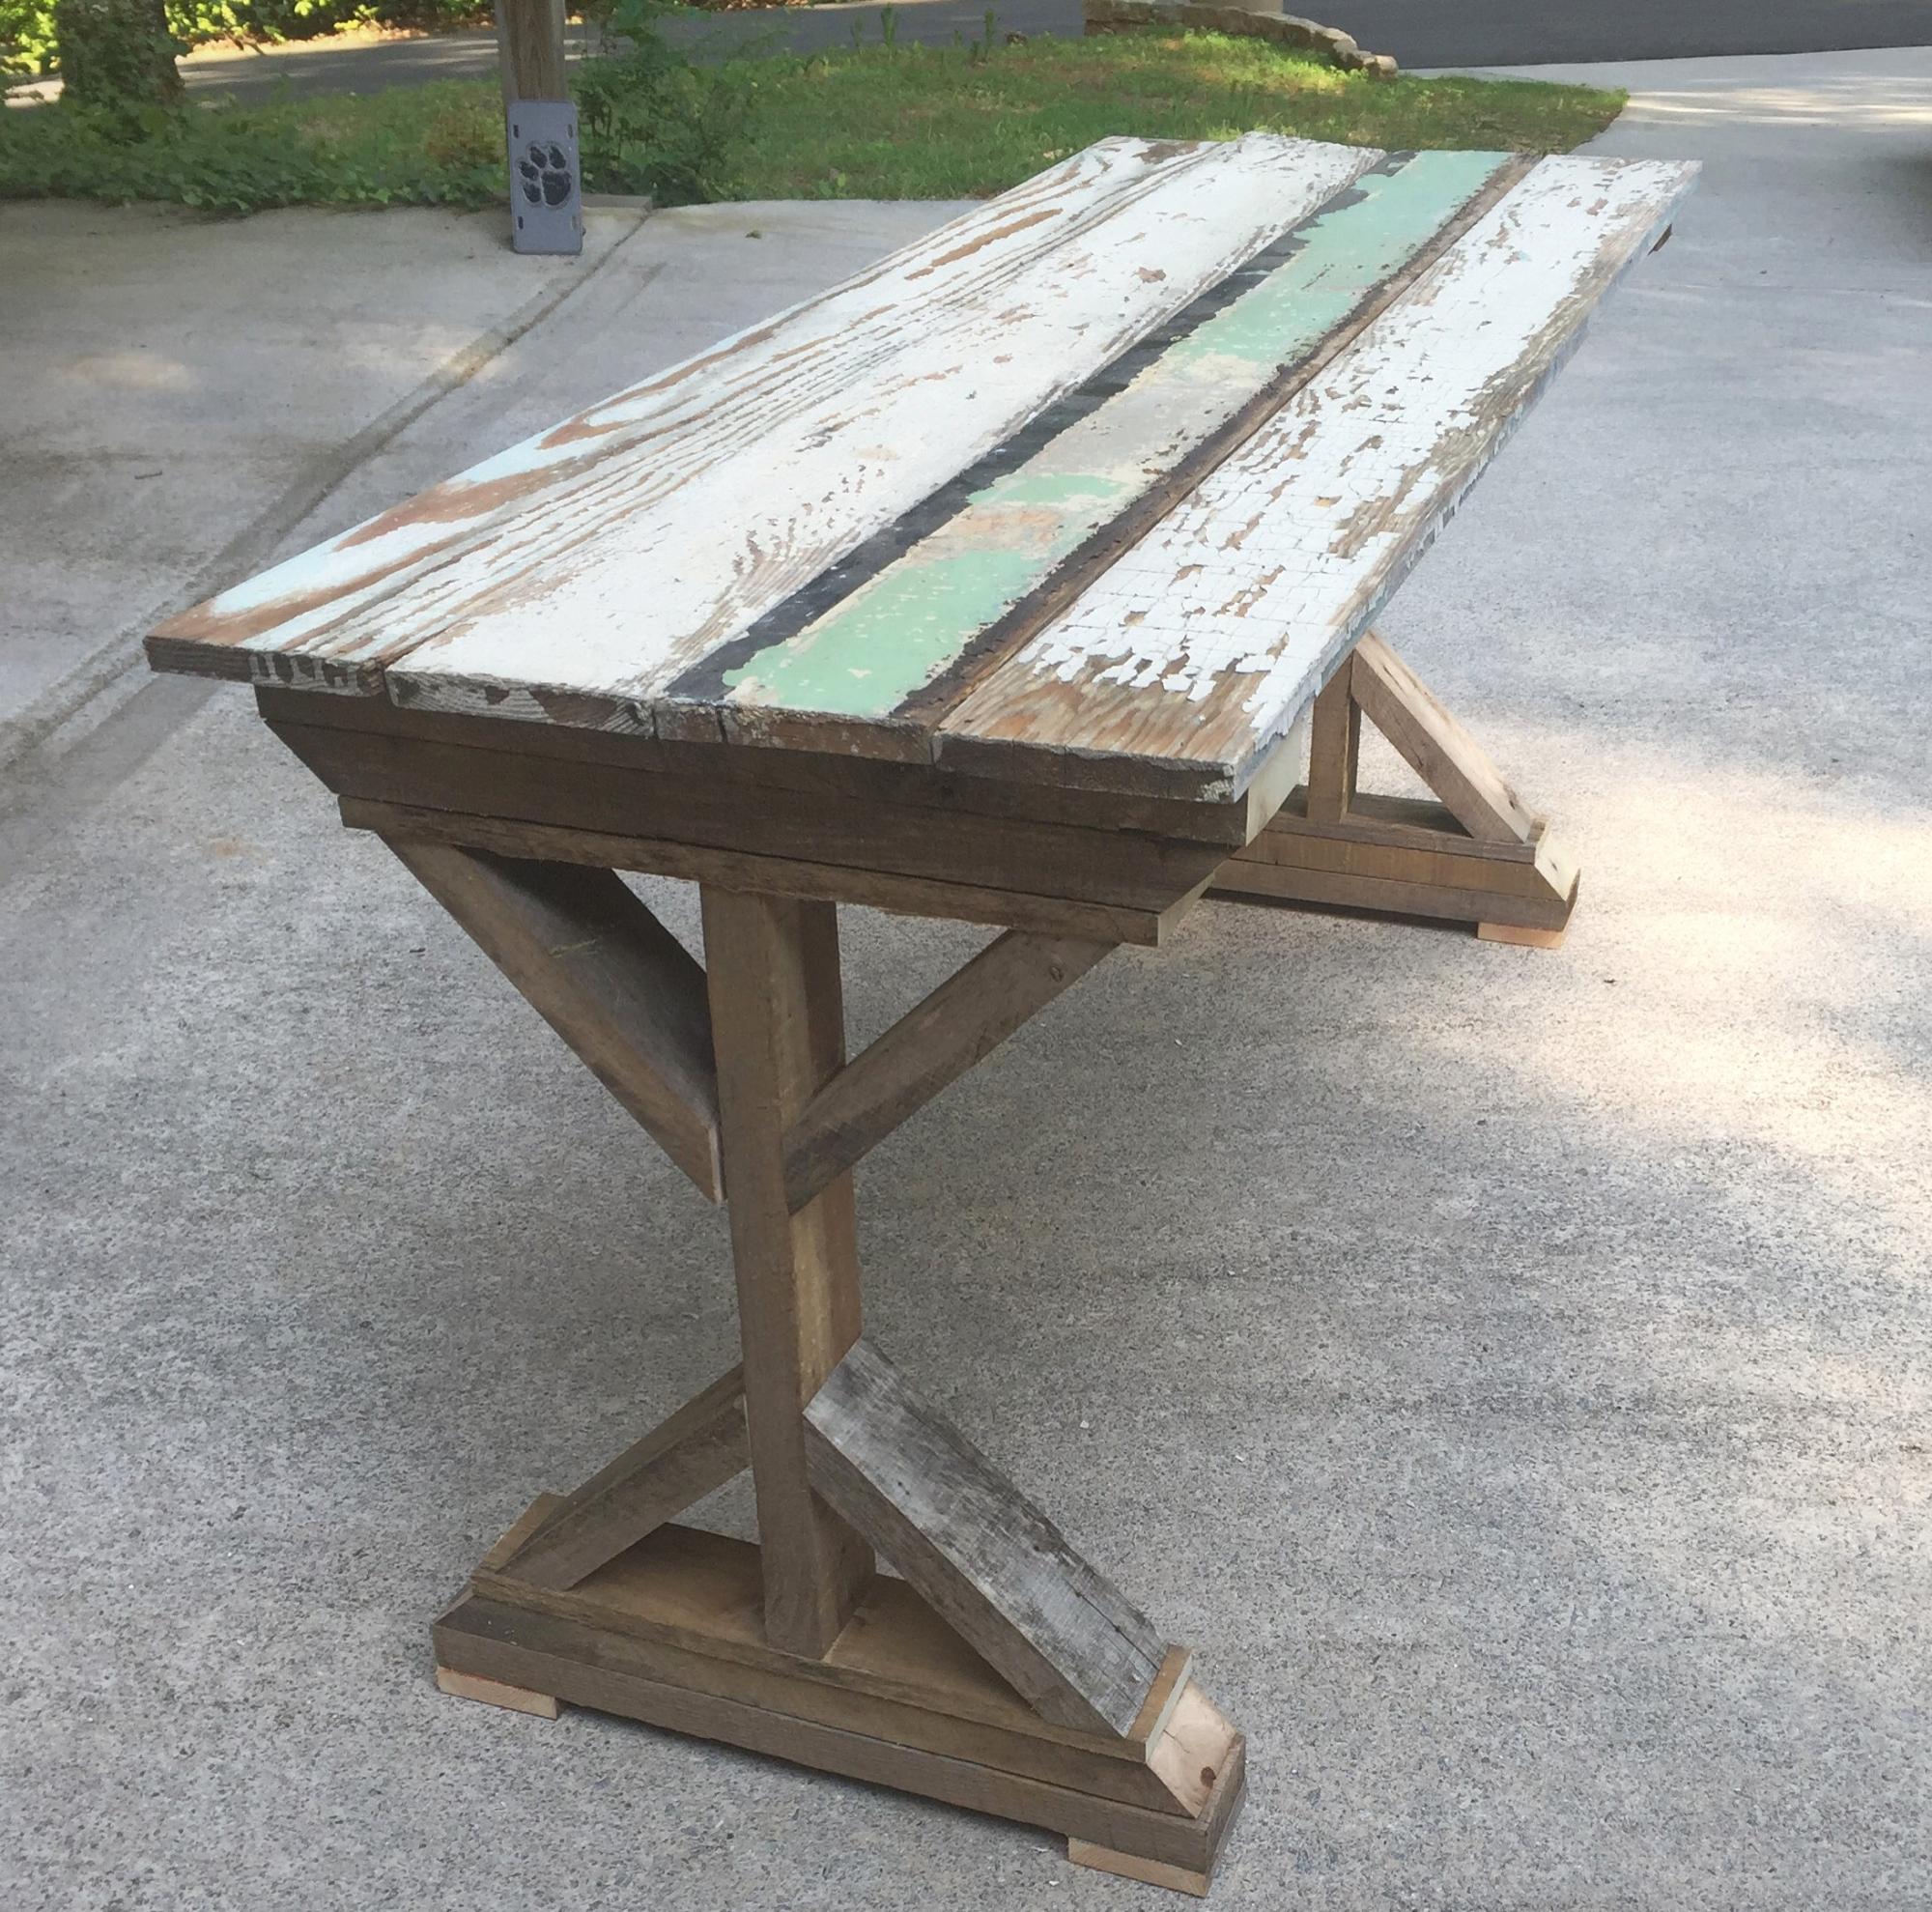
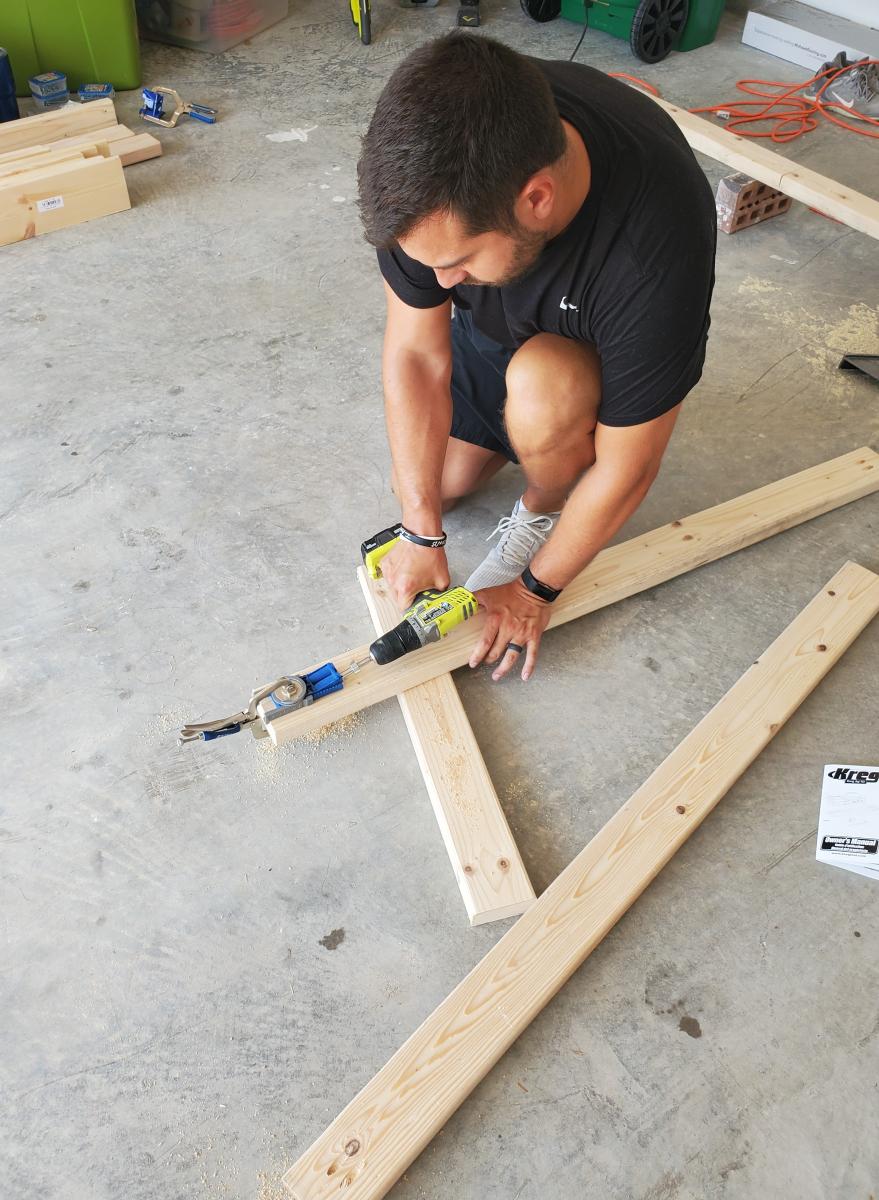
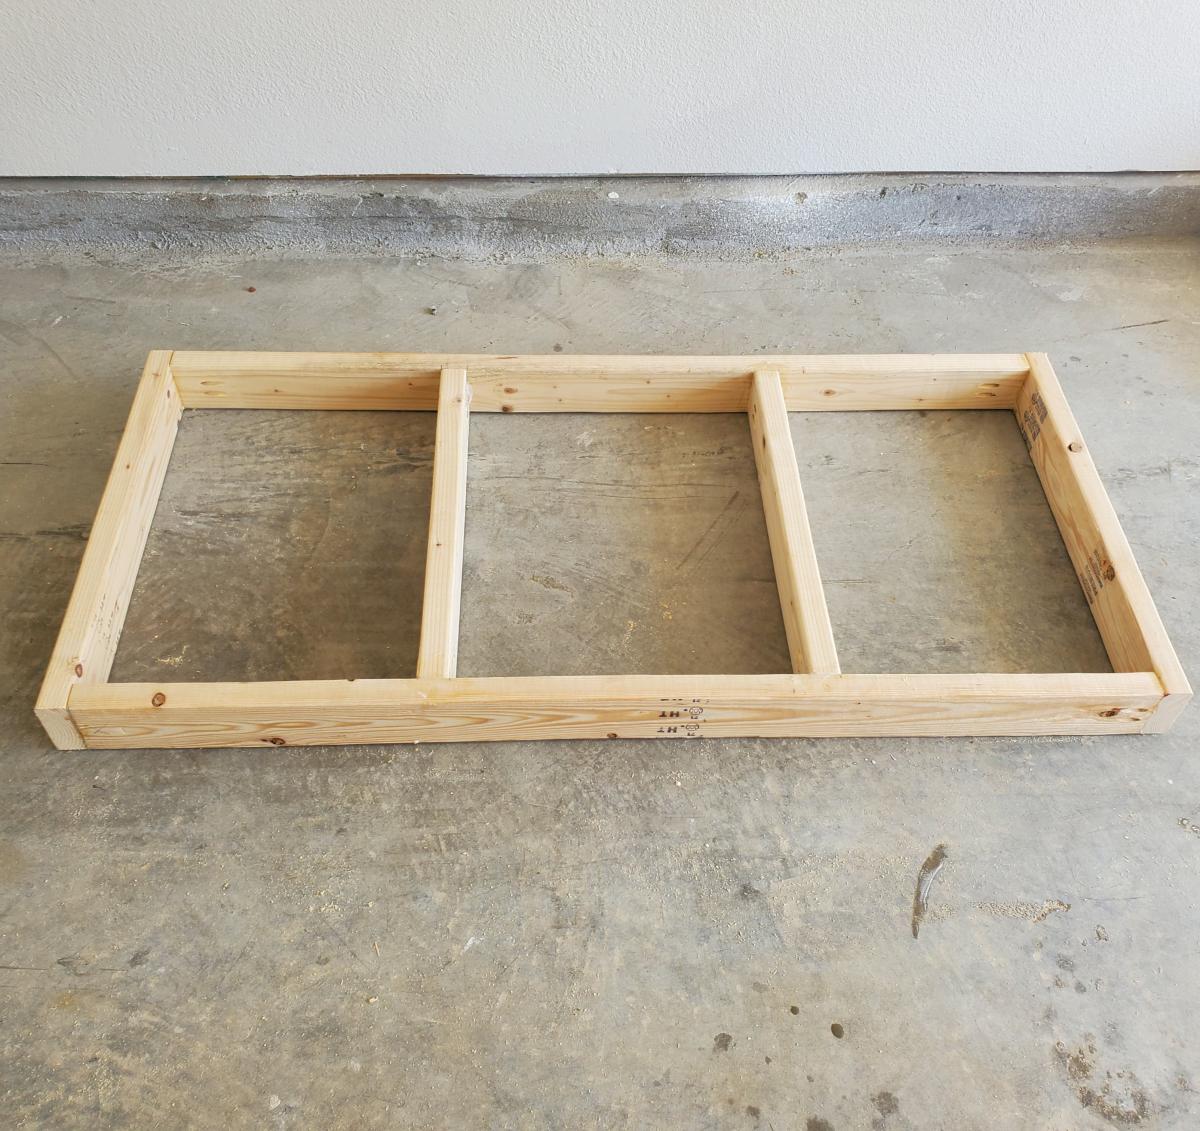
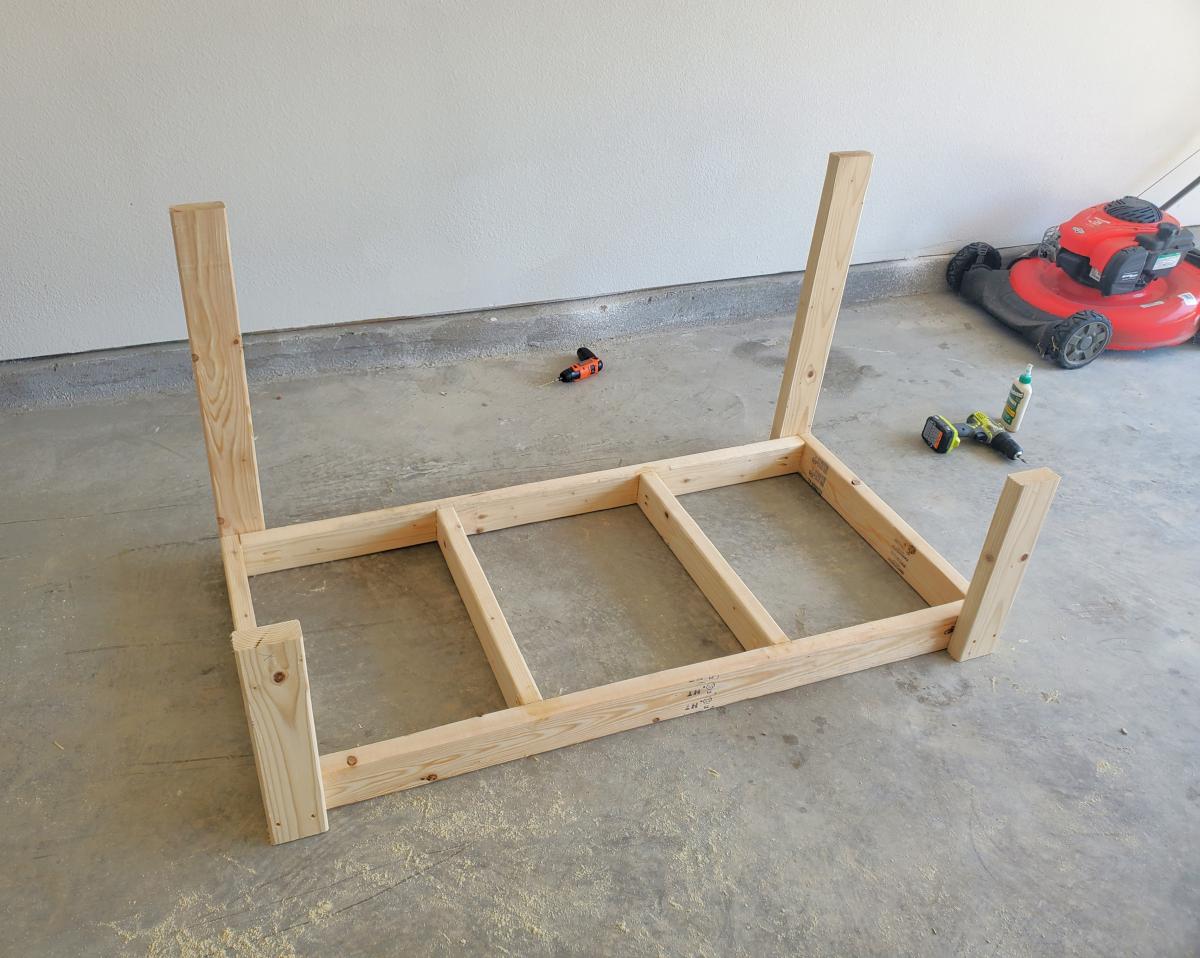
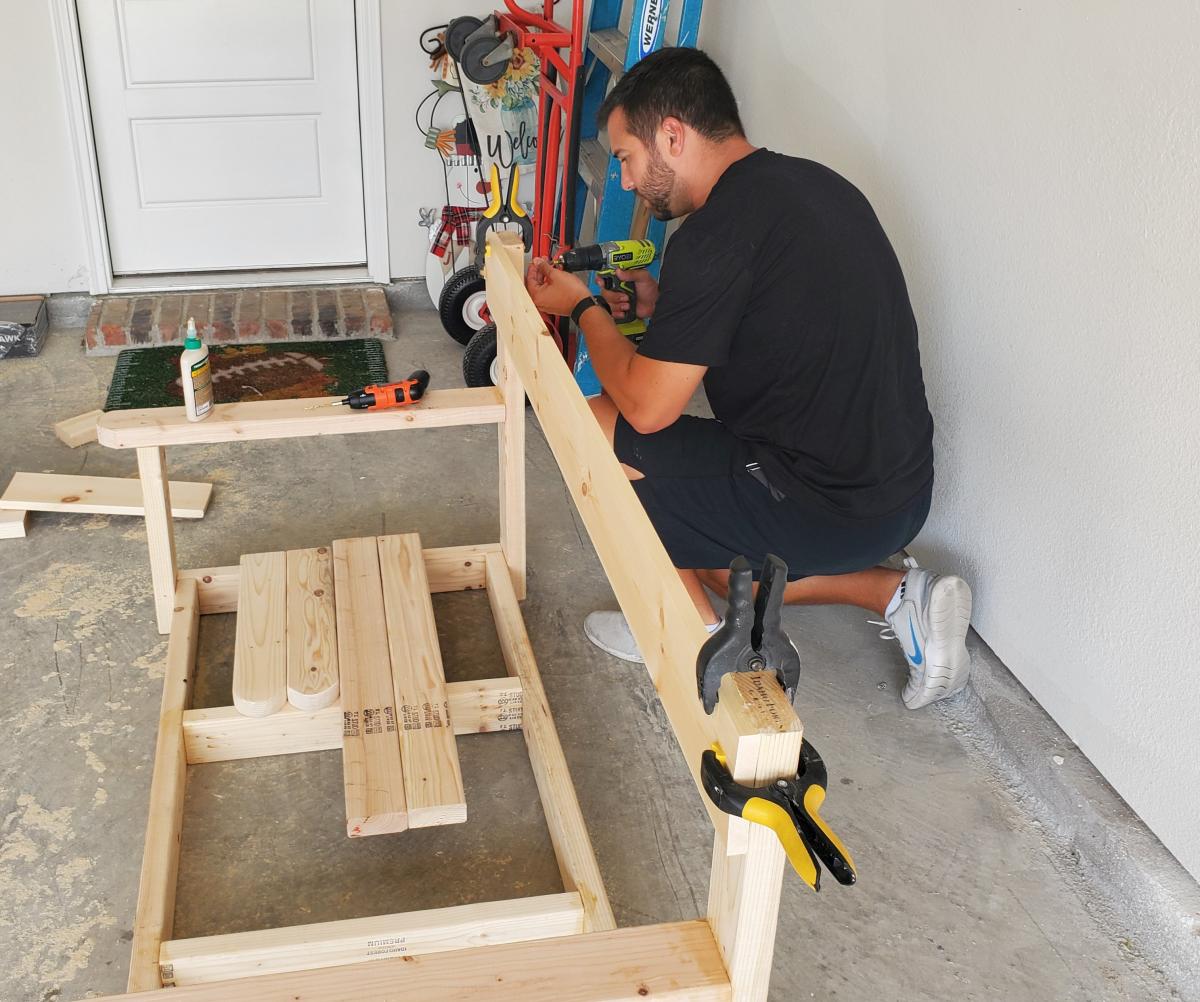
Started this project out of boredom. I had some time and some extra wood laying around. Some was from pallets I took apart, some from a salvage house, and some from an old barn. I built the table in a few hours and worked through any misshaped boards as best as possible. It was a relativley easy project and fun to see the legs turn out with each step. I plan to use cables and turnbuckles for the cross braces on the back and will update the pic when I do. I just need to find a home for it now.
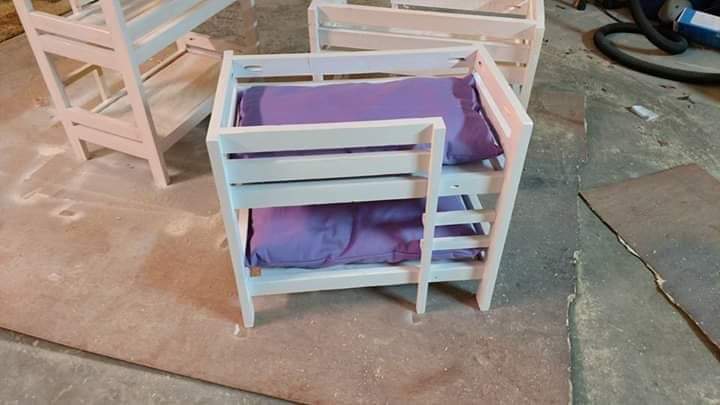
Doll beds I made for my daughter's and nieces.
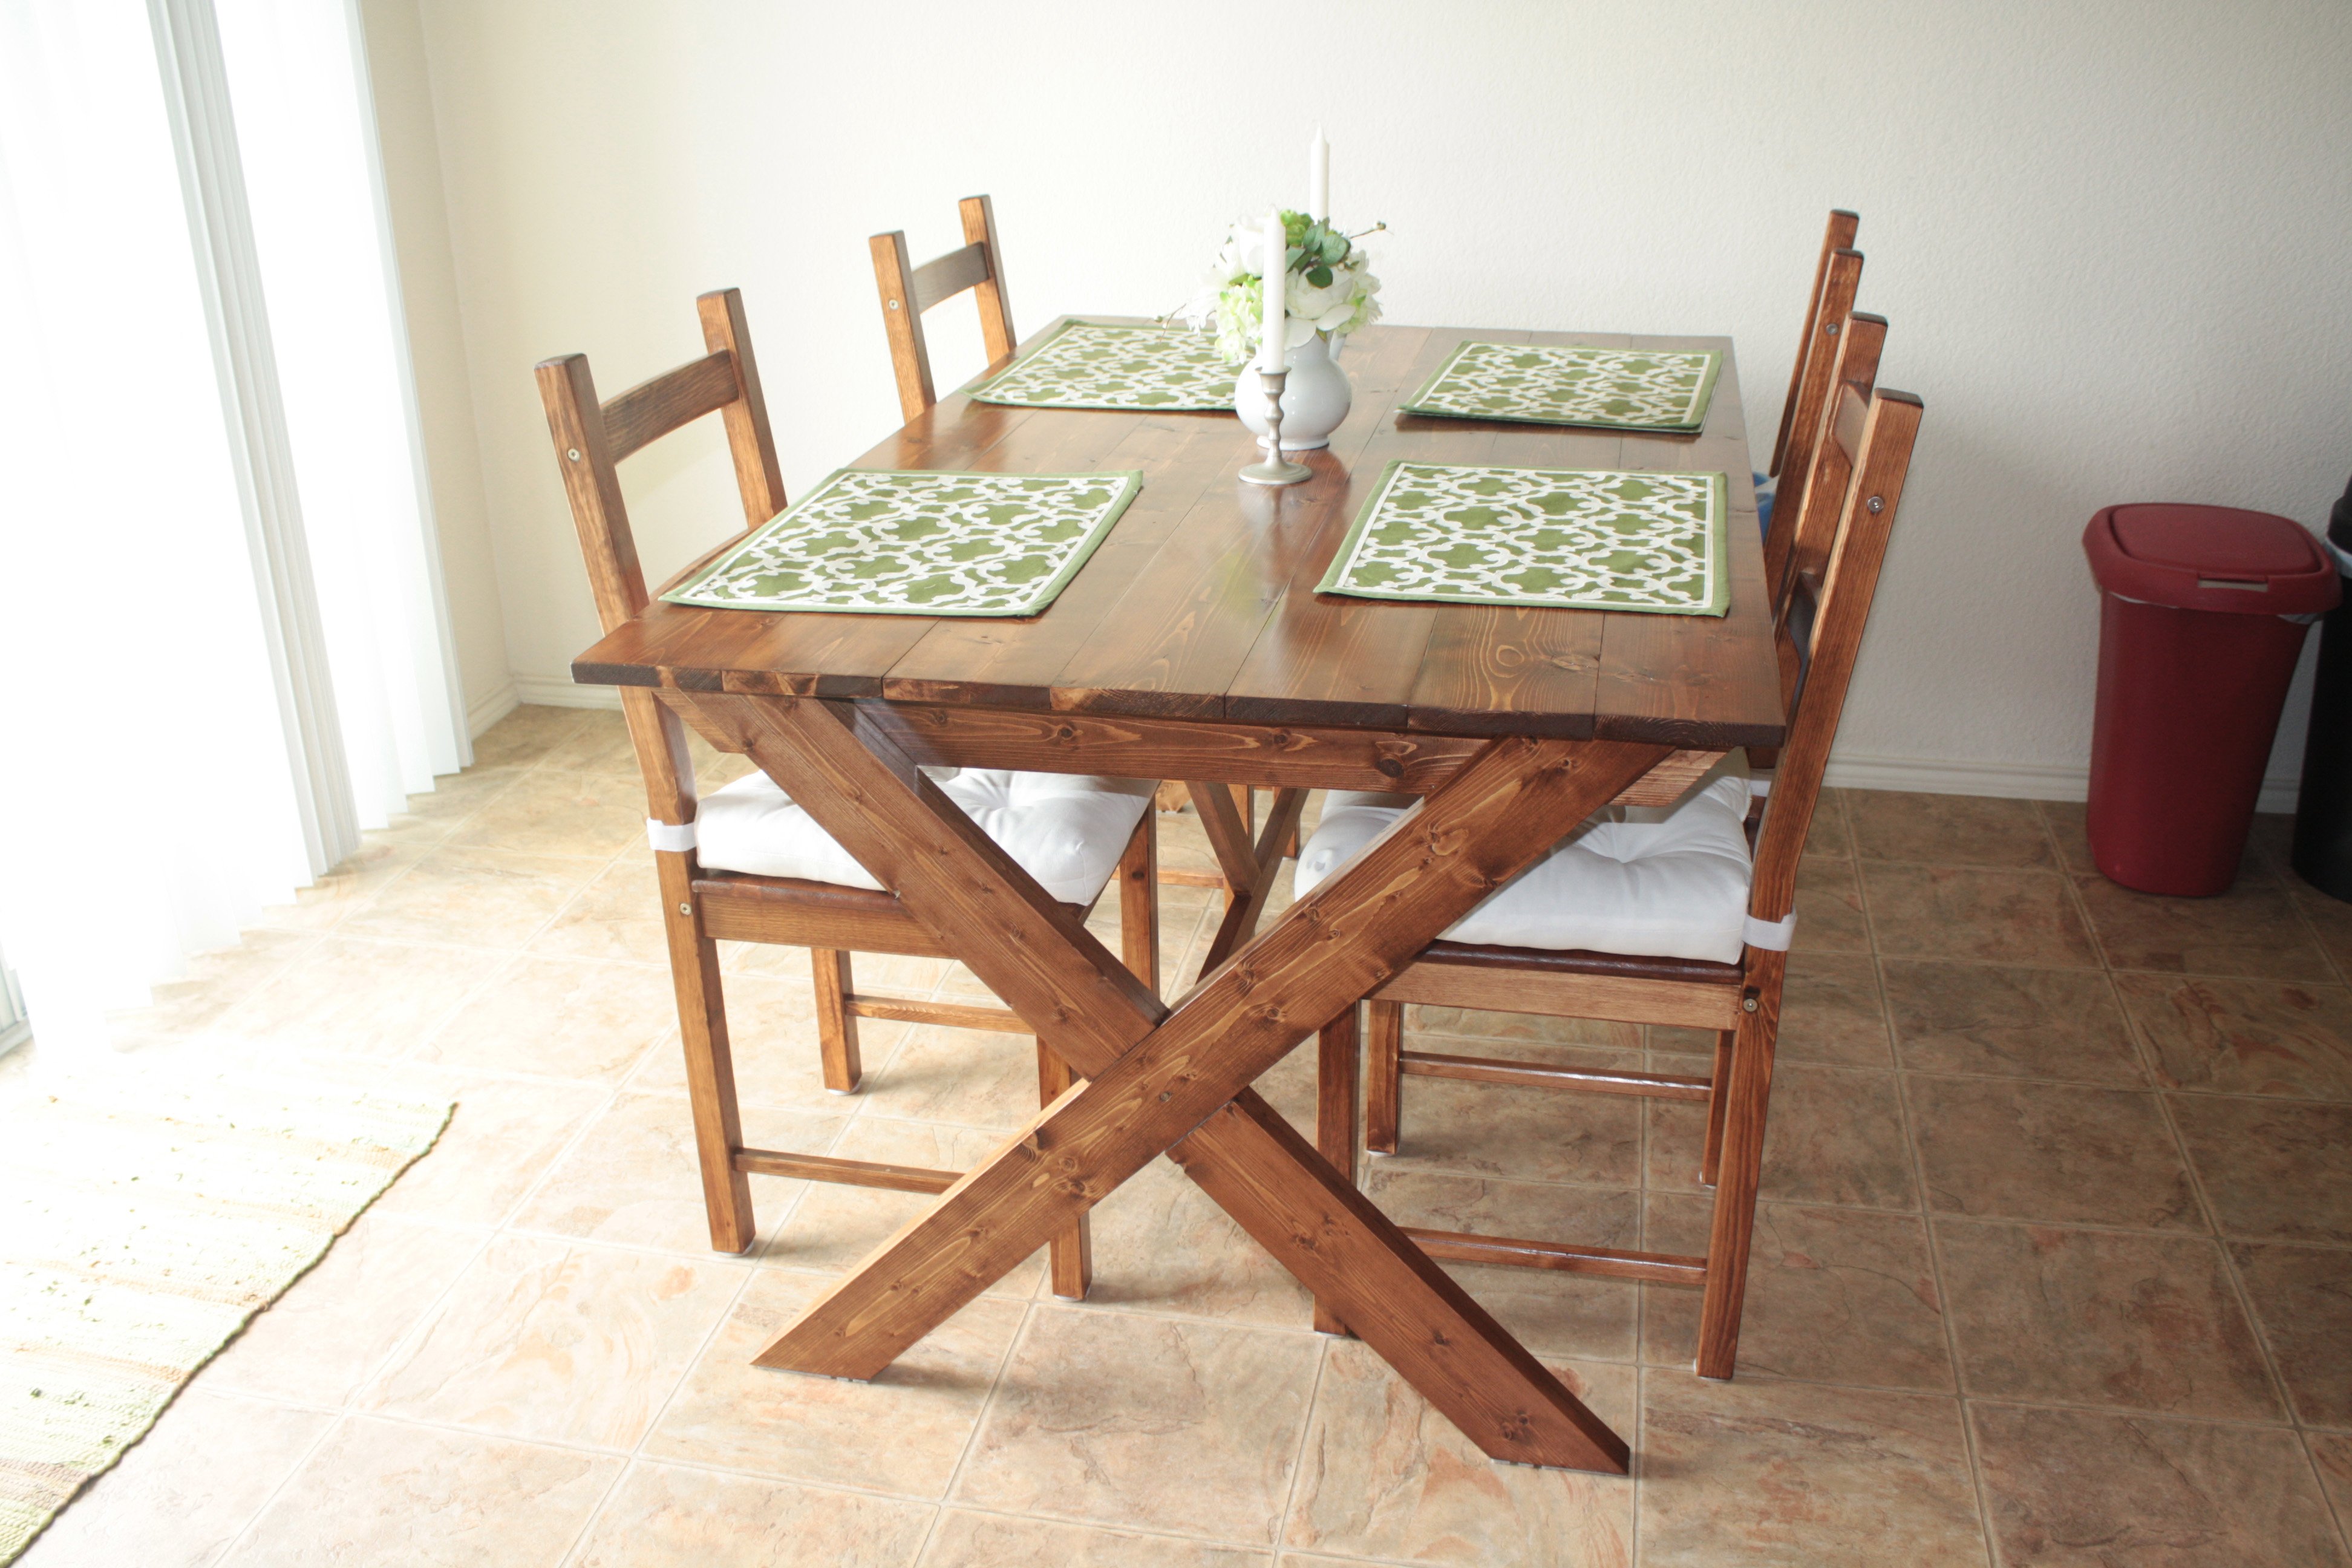
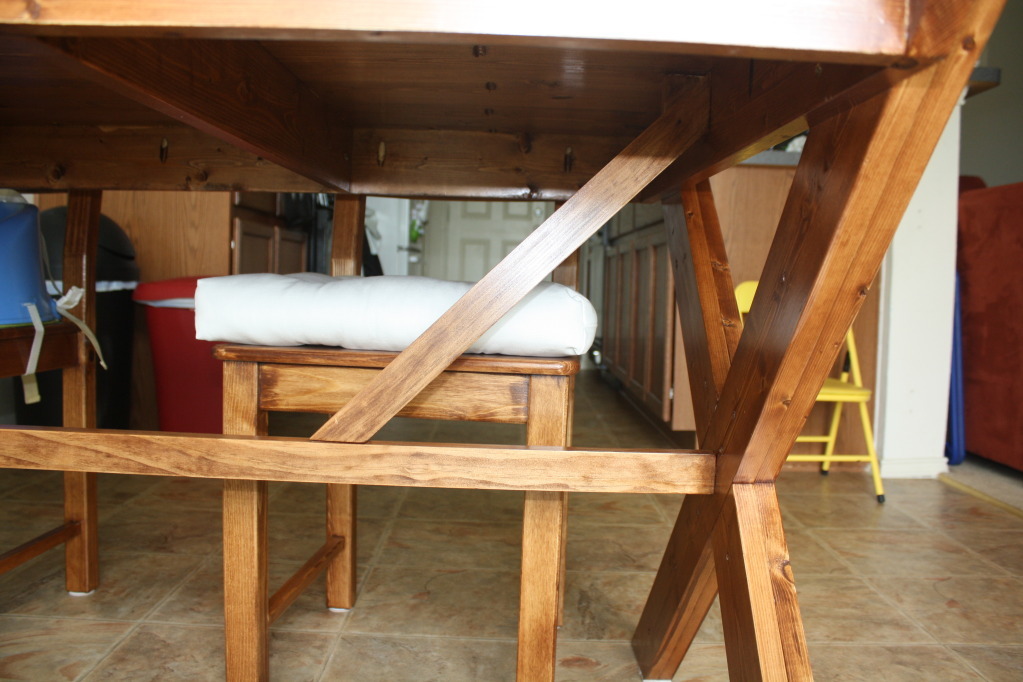
This table was built using the Vanessa's X Picnic Table plans but made plenty of modifications to it. We used 3/4 thick boards and made the table 60 inches long instead of 71 3/4". We have a small dining room and wanted a table big enough for four people so this size worked for us. Since we made adjustments to the length we used less supports under the table top. We made the table top using pocket holes and only two joists were needed. We added extra support between the table top and the stretcher because the table wiggled more than I wanted it to. This nipped the problem in the butt! I knew I wanted to build this table but my concern was finding chairs to suit the table. I ended up getting unfinished chairs from Ikea for $19 a piece and finished them myself. I feel like this project took forever, but that table itself was assembled in a weekend. The finishing process took an additional weekend since we had to do the chairs as well.


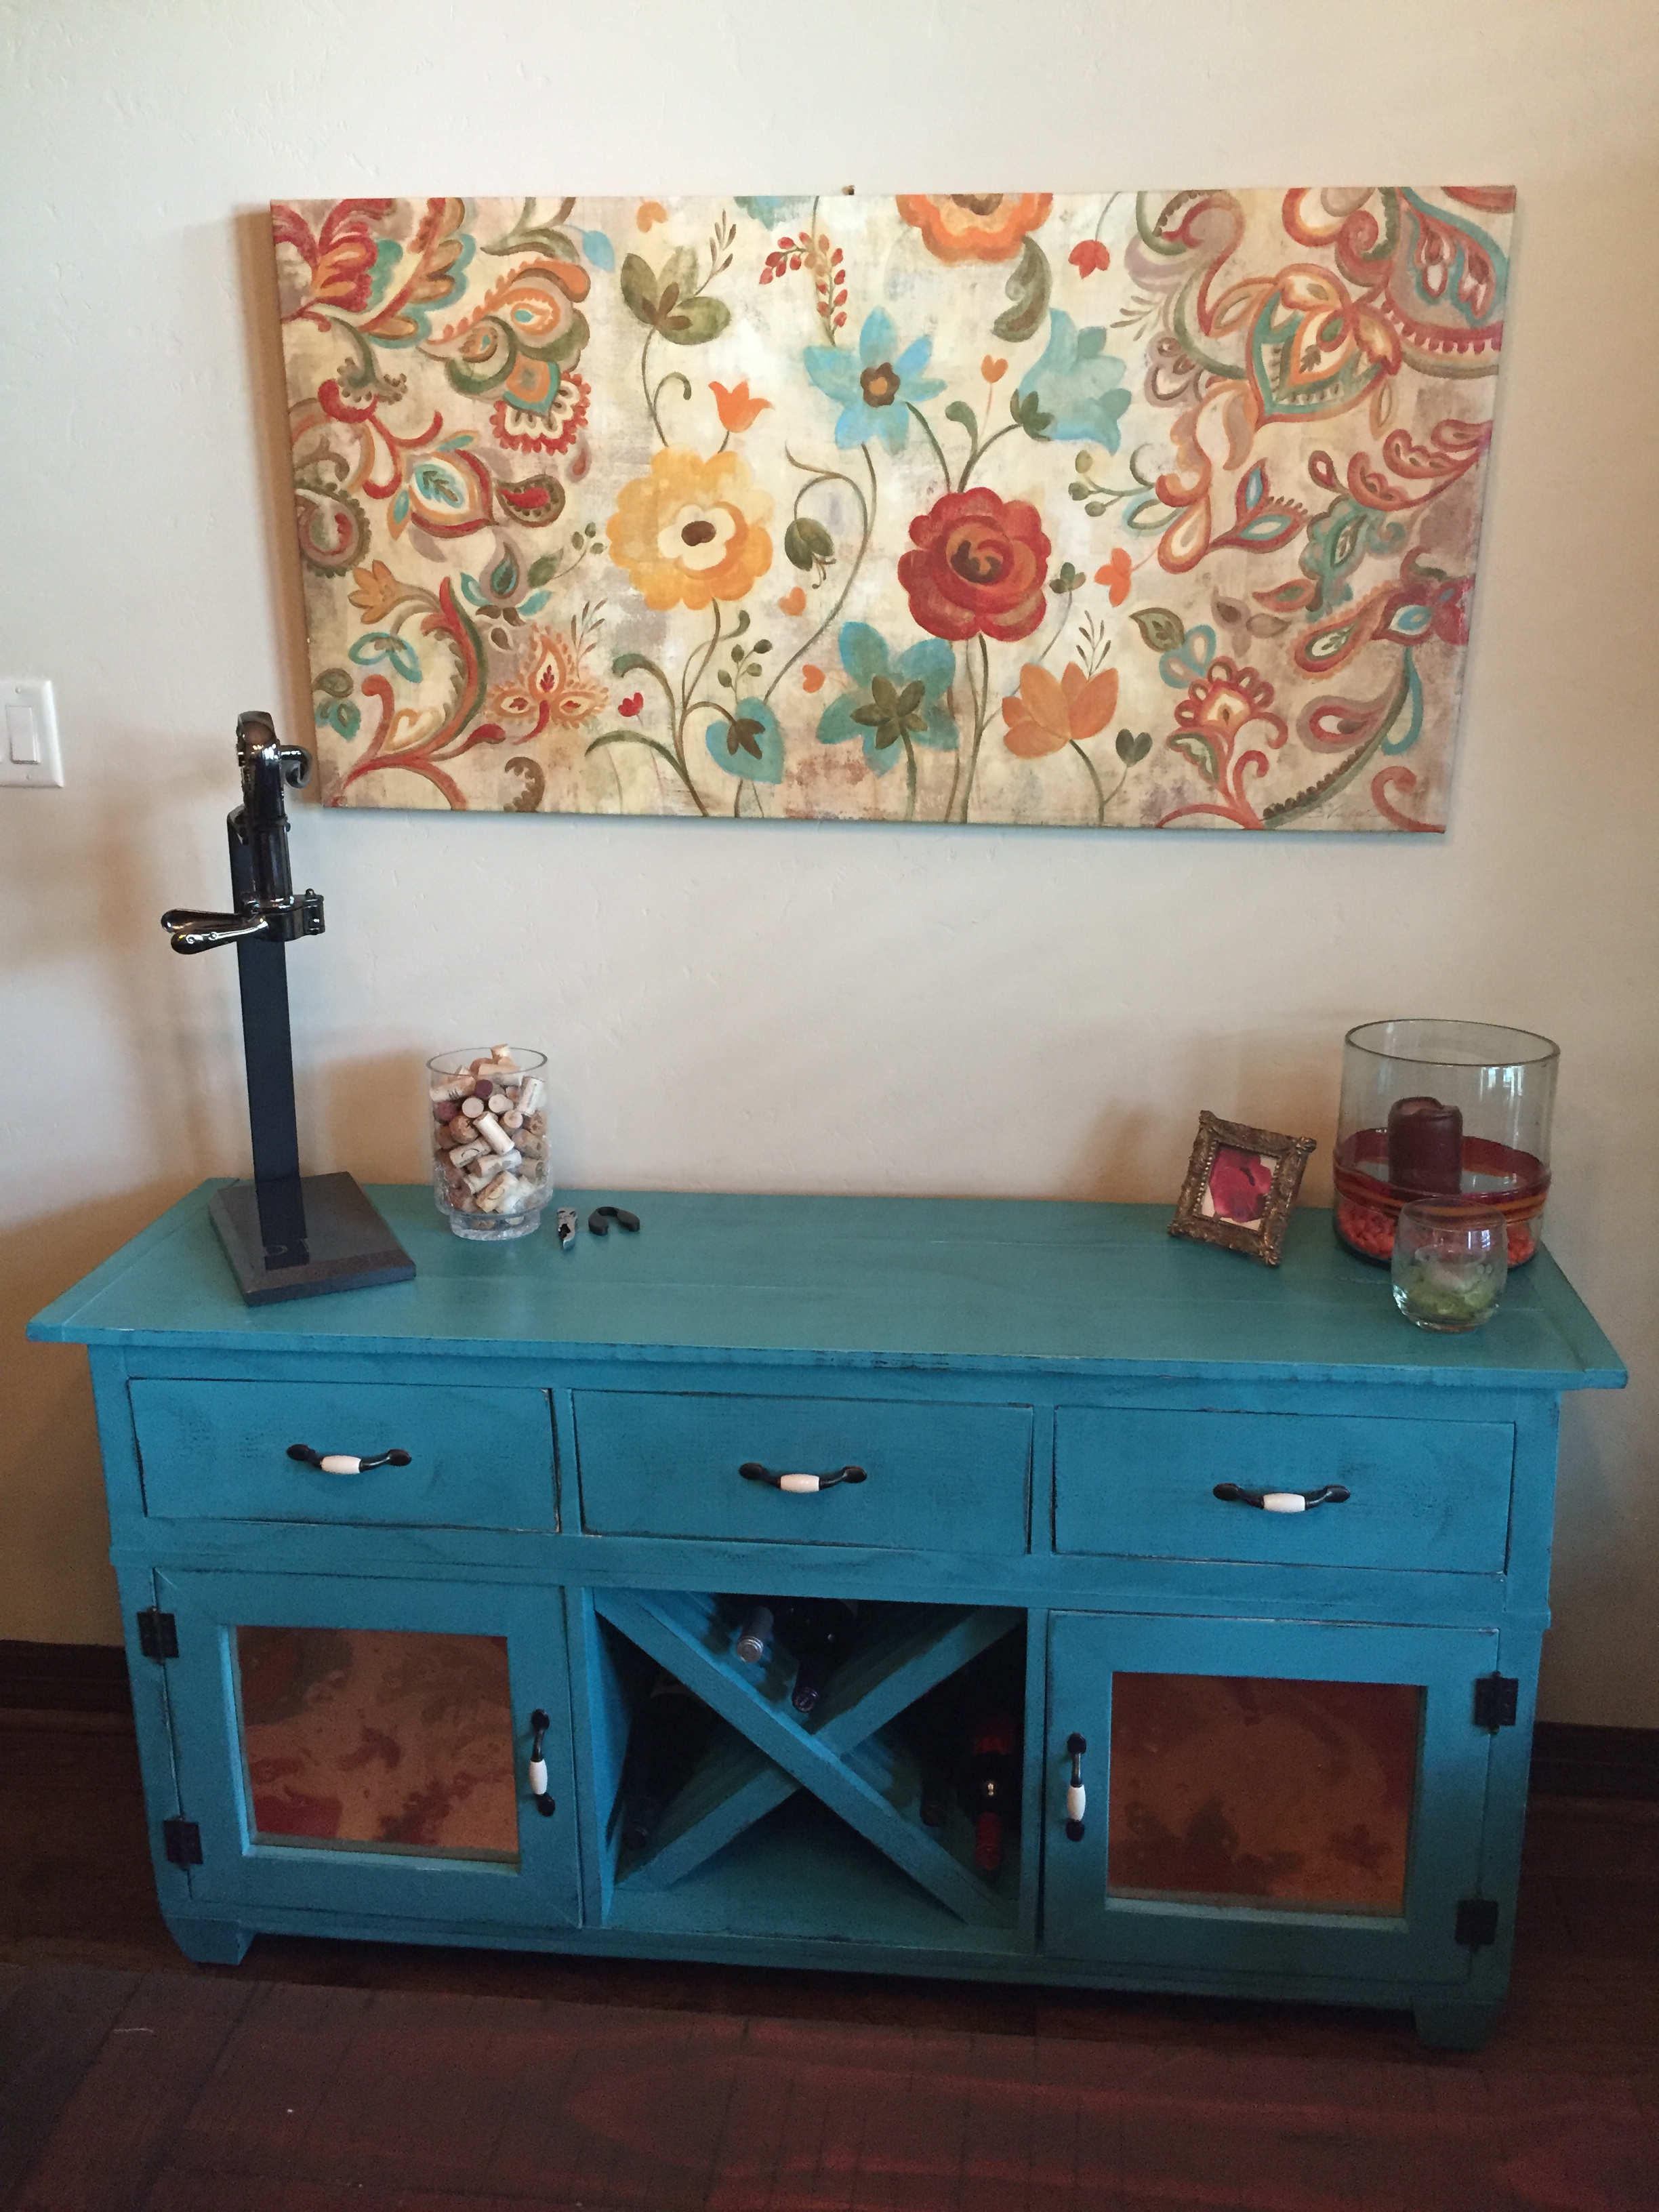
My husband built this Rustic X Console table to plan. We love it so much he is now building the coffee table and end tables to match (and I may convince him to build the bookcase too!)
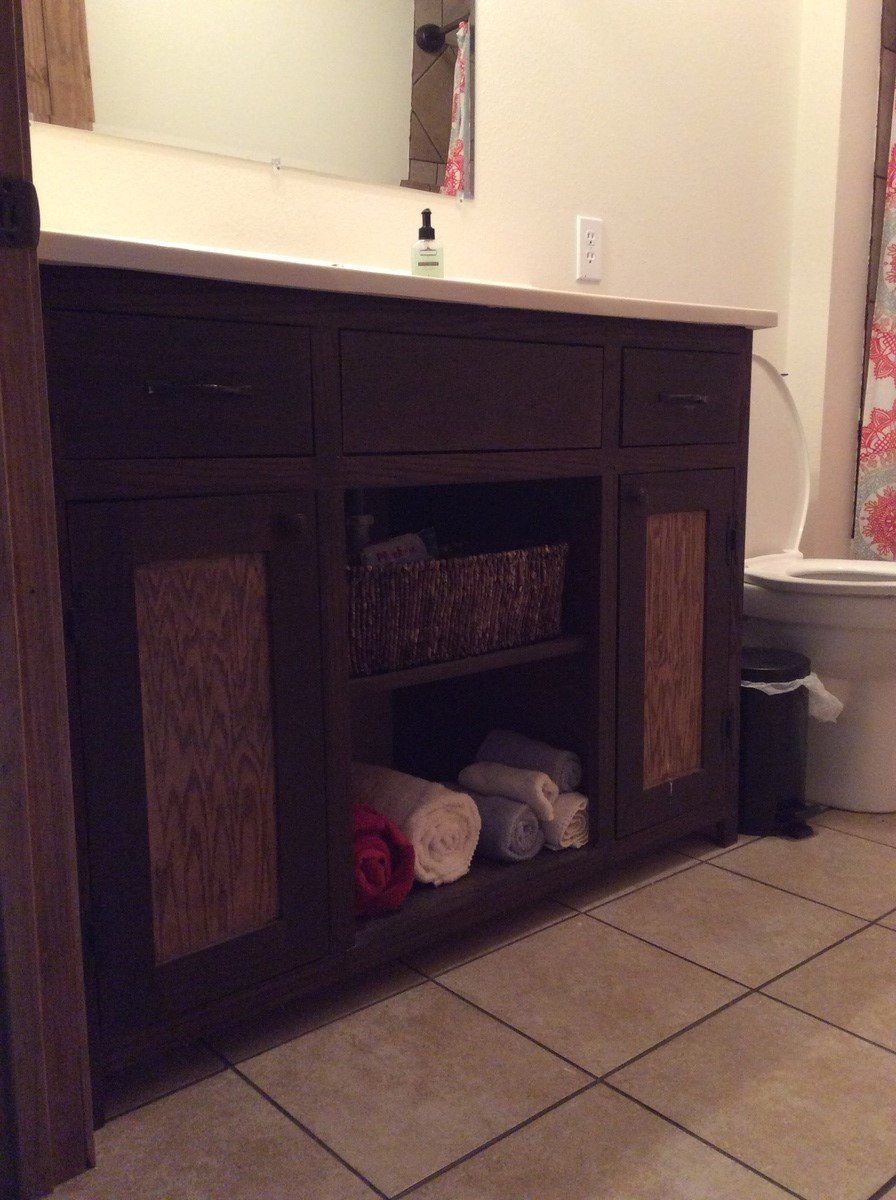
My husband and I built a house doing all the work that we could. When we started the project, I told the men in my life they were going to build the kitchen cabinets. They were pretty adamant they weren't. I started visiting with experienced cabinet makers. One kept repeating, "It's just a box. It's not that hard to build a box." With that encouragement, I found Ana's website and set about learning woodworking. First I built a step stool for my grandson, next I built some shelves for the shop, then I built this vanity. After I finally got it finished, I called an experienced woodworker to build my kitchen cabinets. Ha! I will say though, when the appraiser came out, he commented on what a nice vanity it was! Thank you, Ana, for opening up a new world to me!!
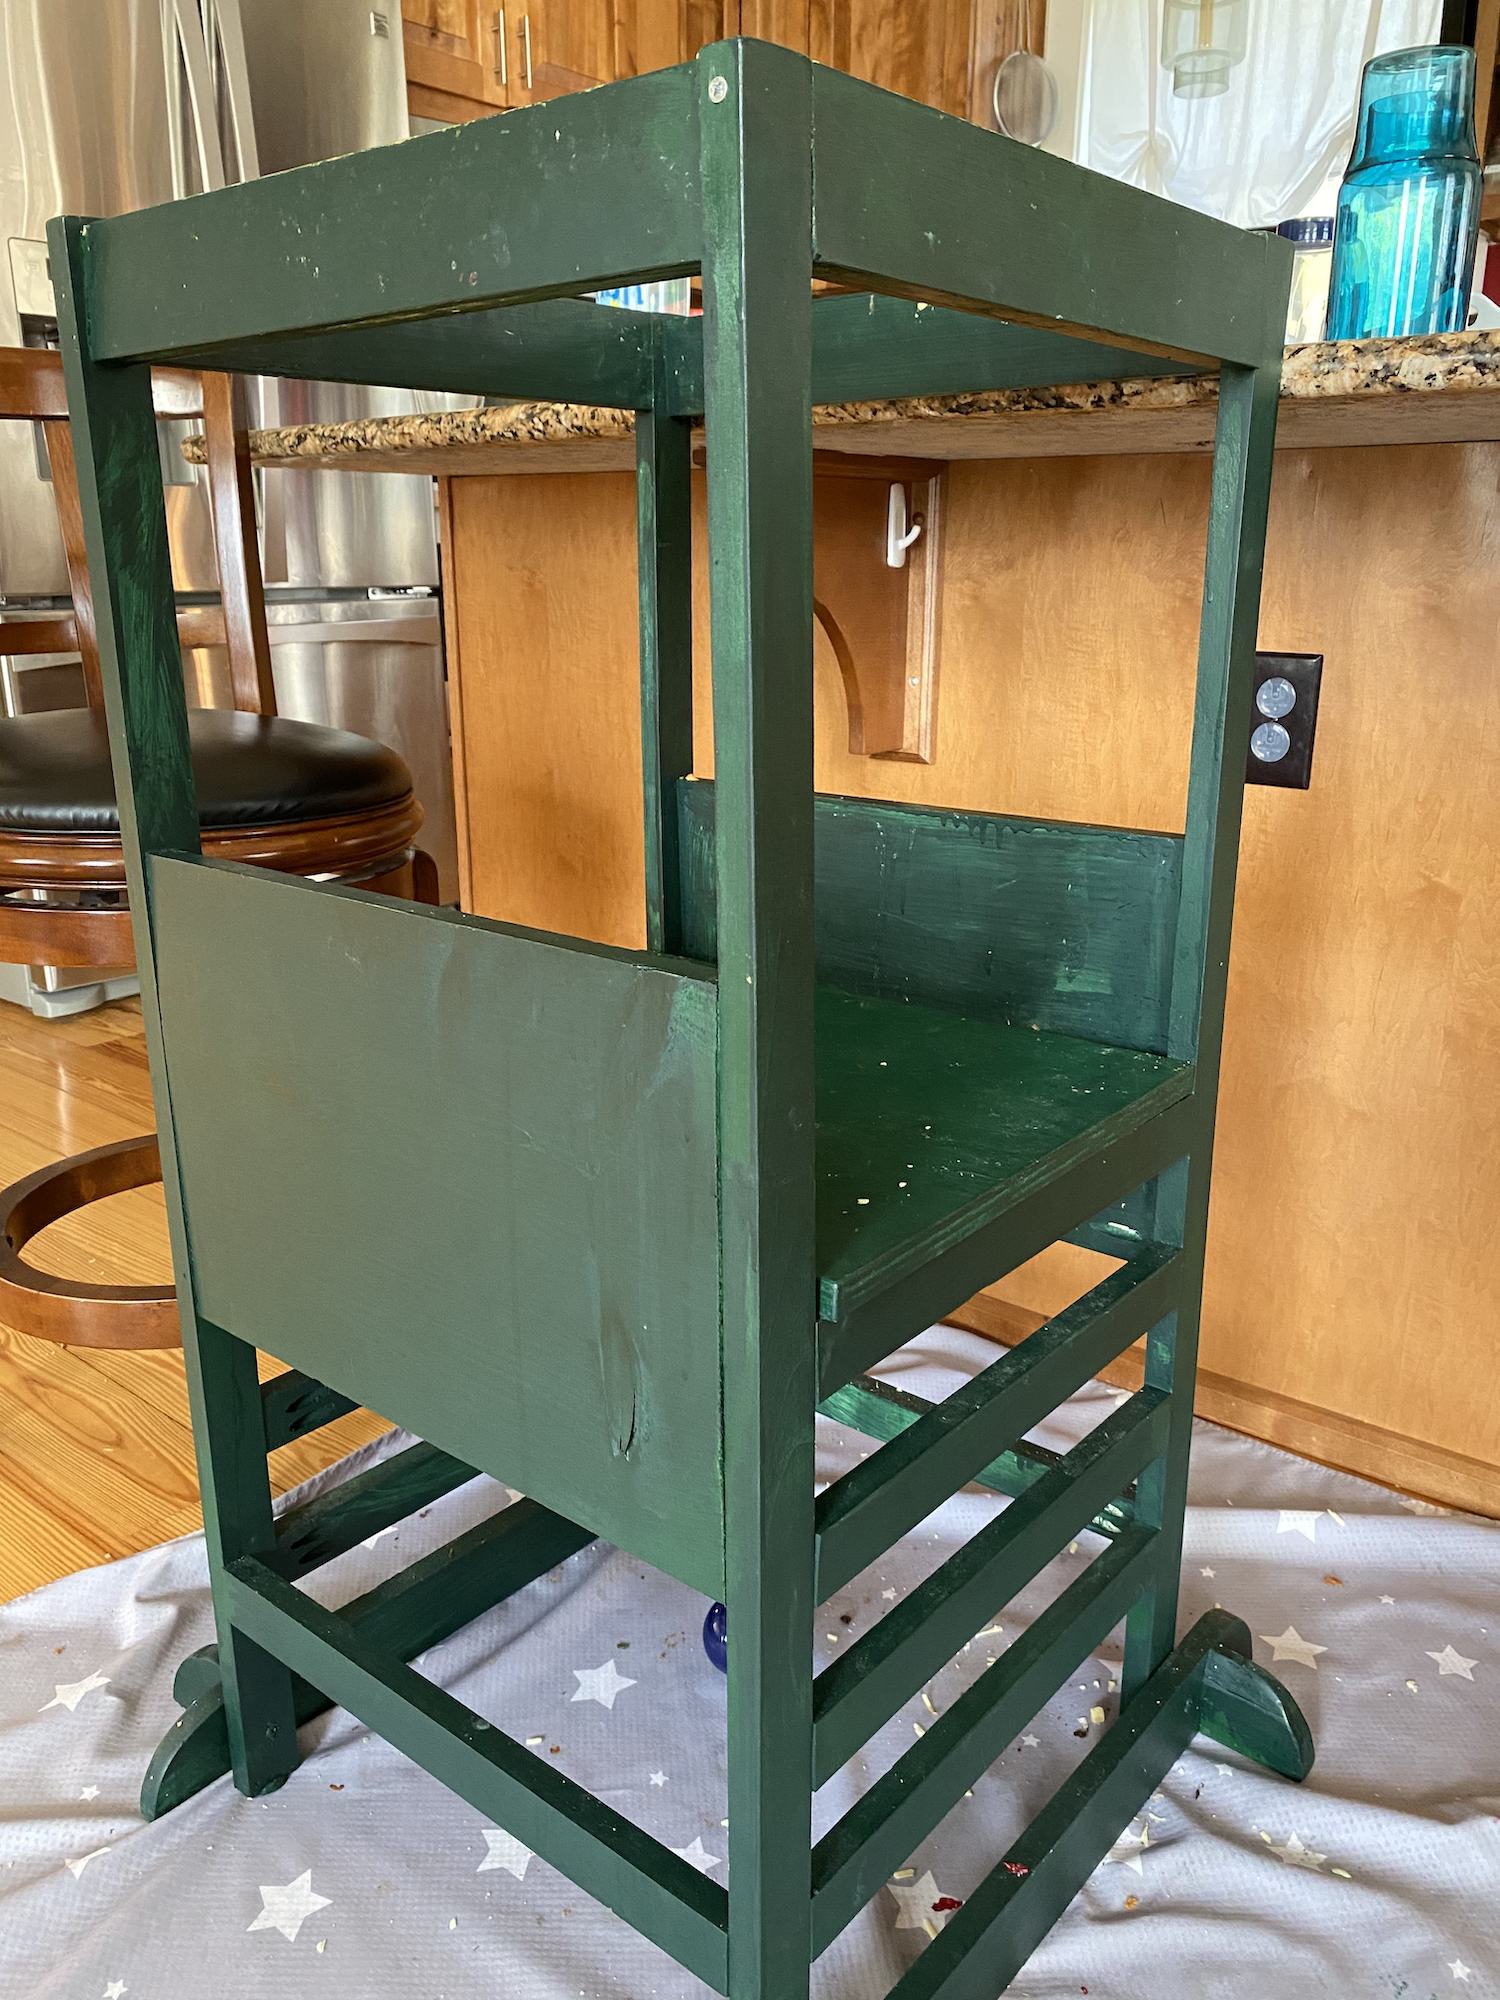
This was our first wood working project - boy, we were super excited to build this because our little one is Curious George and wants to see everything going on in the kitchen.
The plans were modified very slightly to save some time and avoid major learning curves. We were very happy with the end result. We've since learnt that finishing a product is a whole new project - we ended up painting this helper. After the noticeable wear and tear, we realized we should have sealed it with poly.
PS: Pocket holes are everything.
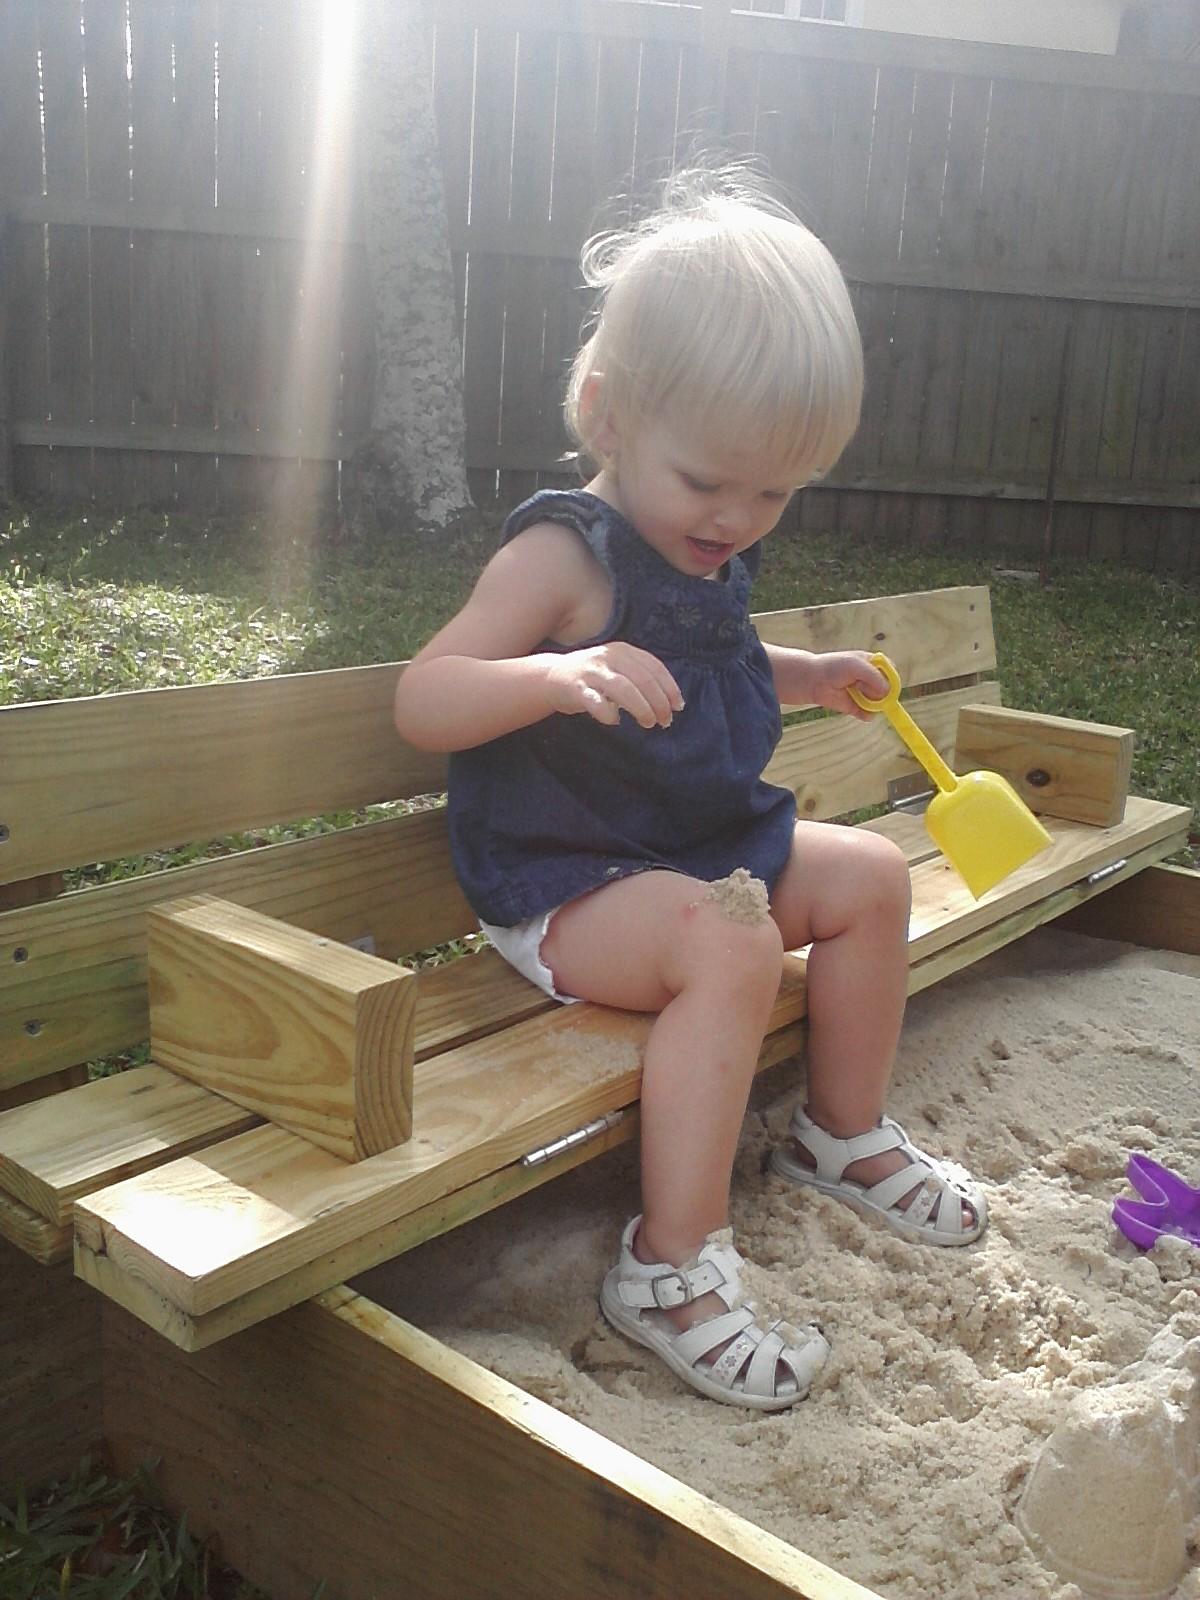
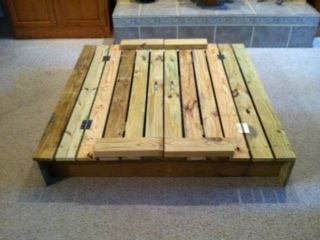
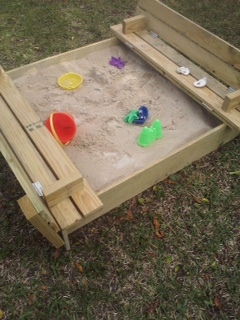
This is the first thing I have ever made out of wood in my life! I'm a quilter, I have never even used a screwdriver, but I followed your plans exactly and made this for my grandchild! I am so proud of this sandbox. (I did talk the guy at Lowe's into making the woodcuts for me).
Thank you so much for this plan and thank you for making it so easy to follow. Sherry
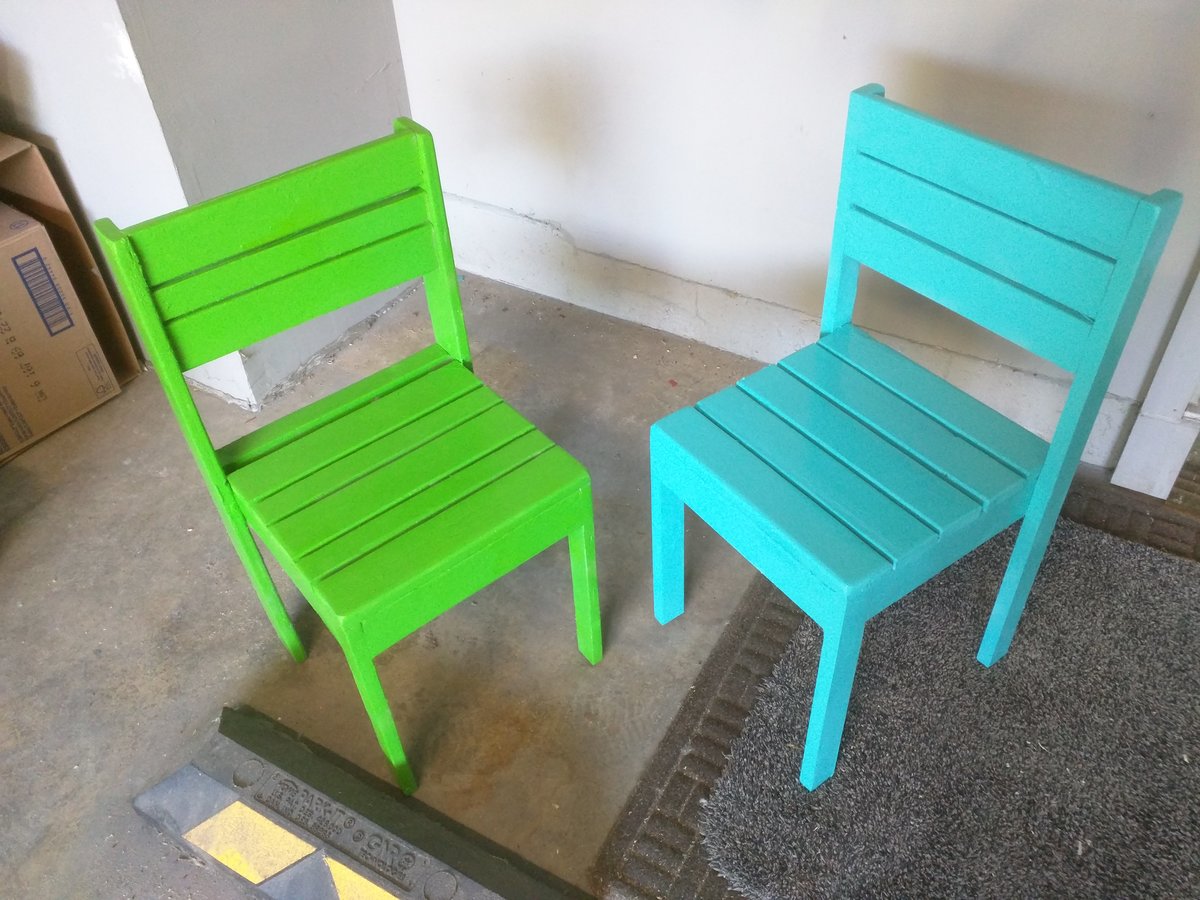
Chairs for grandkids. They picked it their colors.
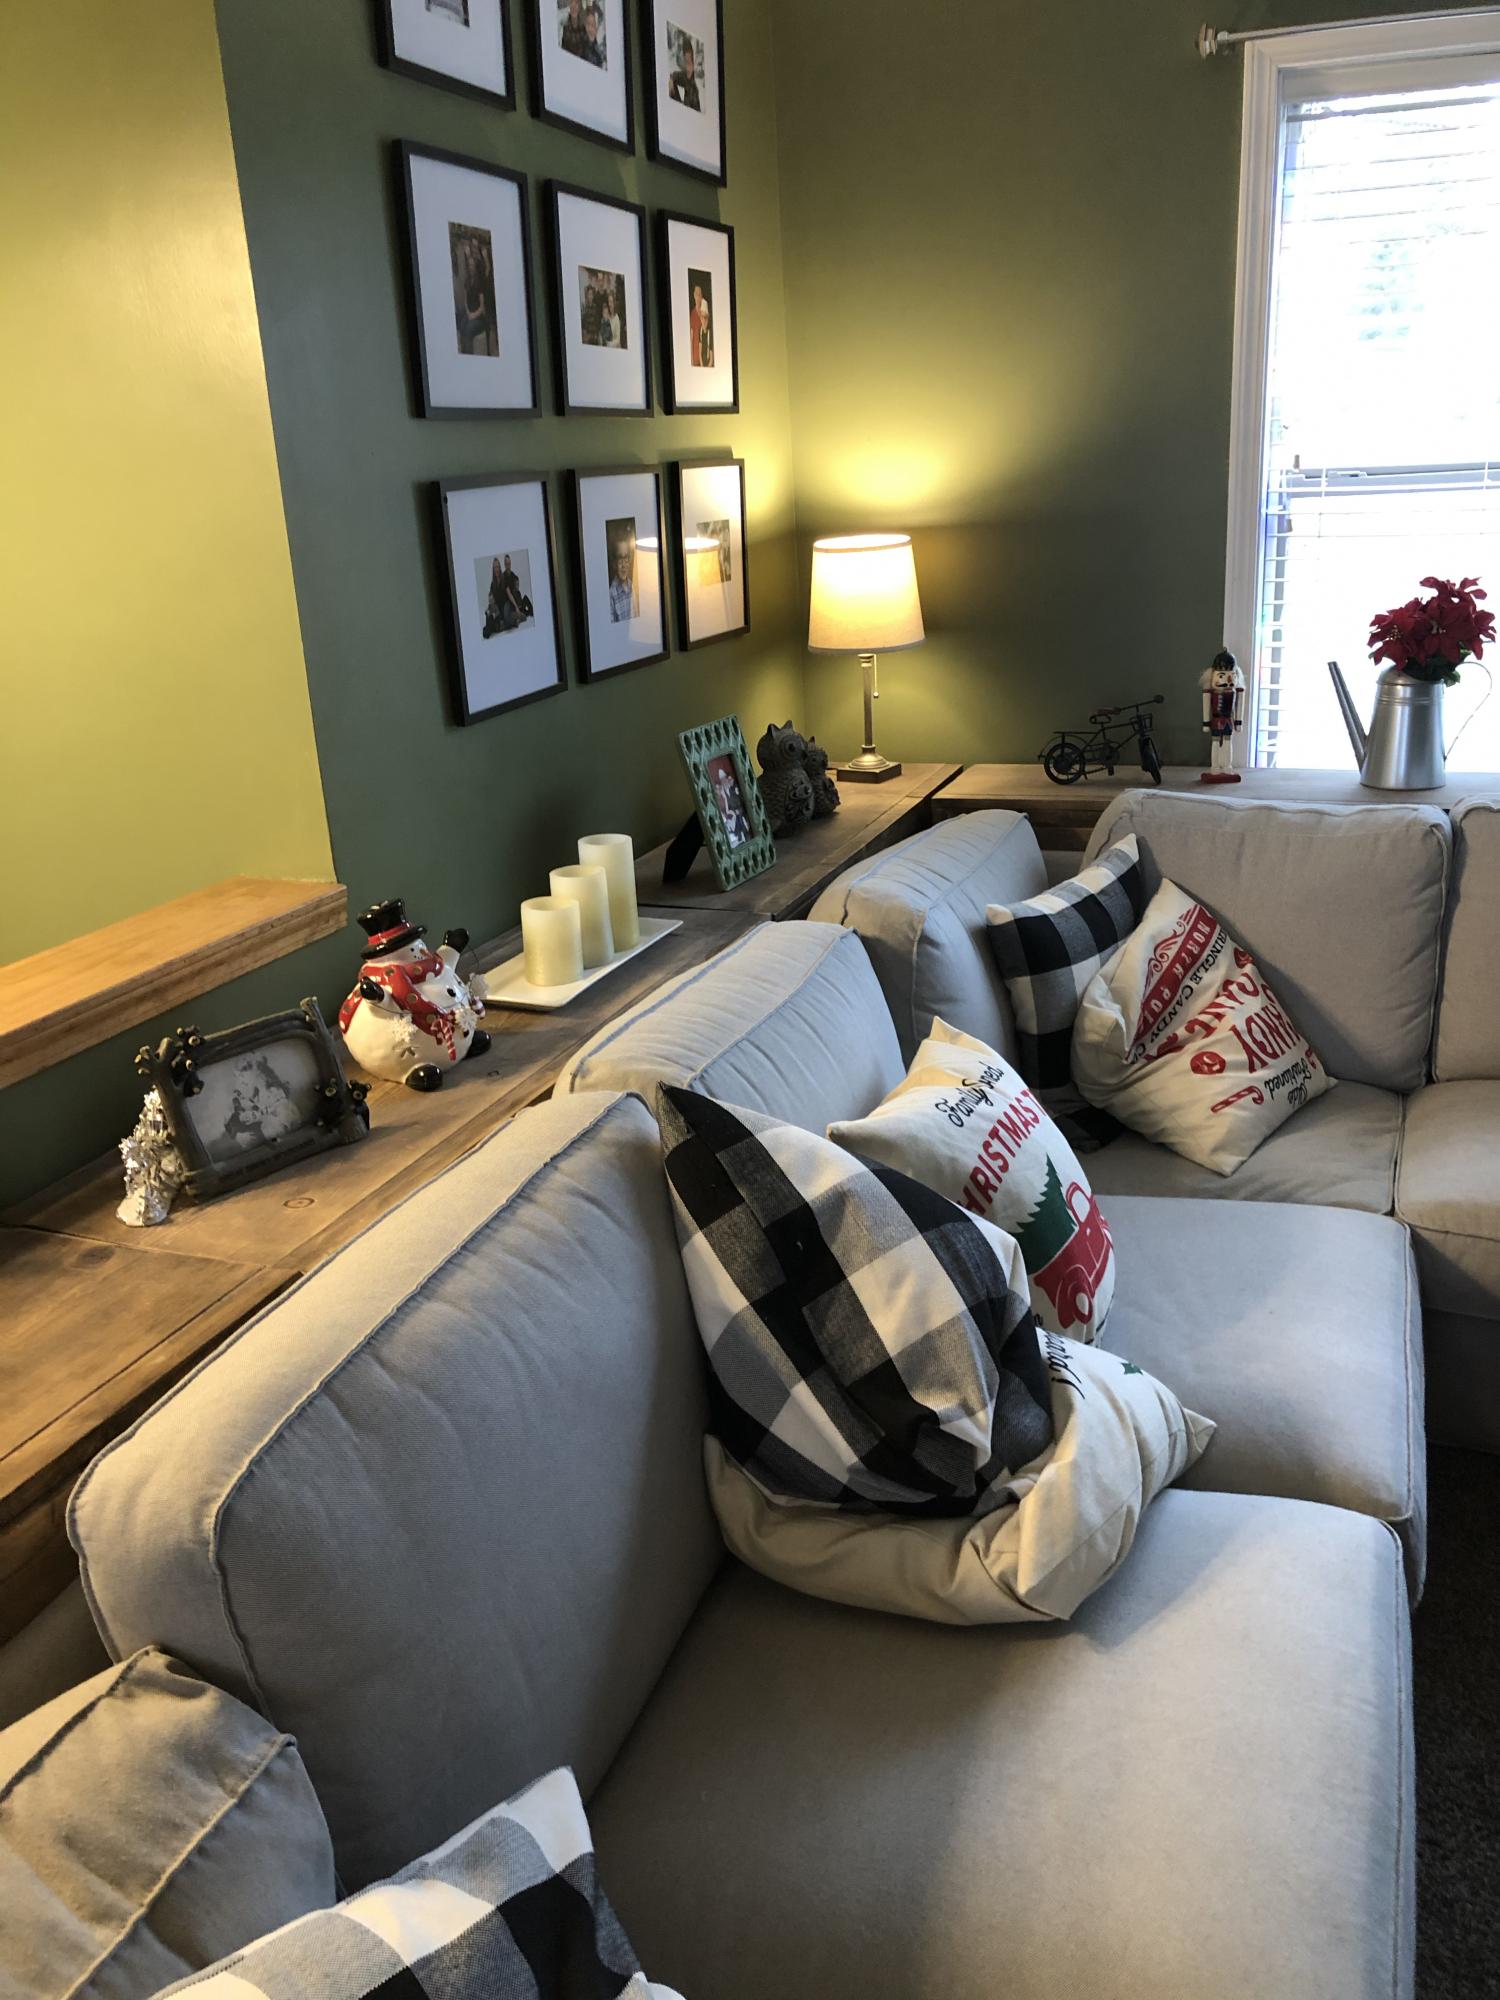
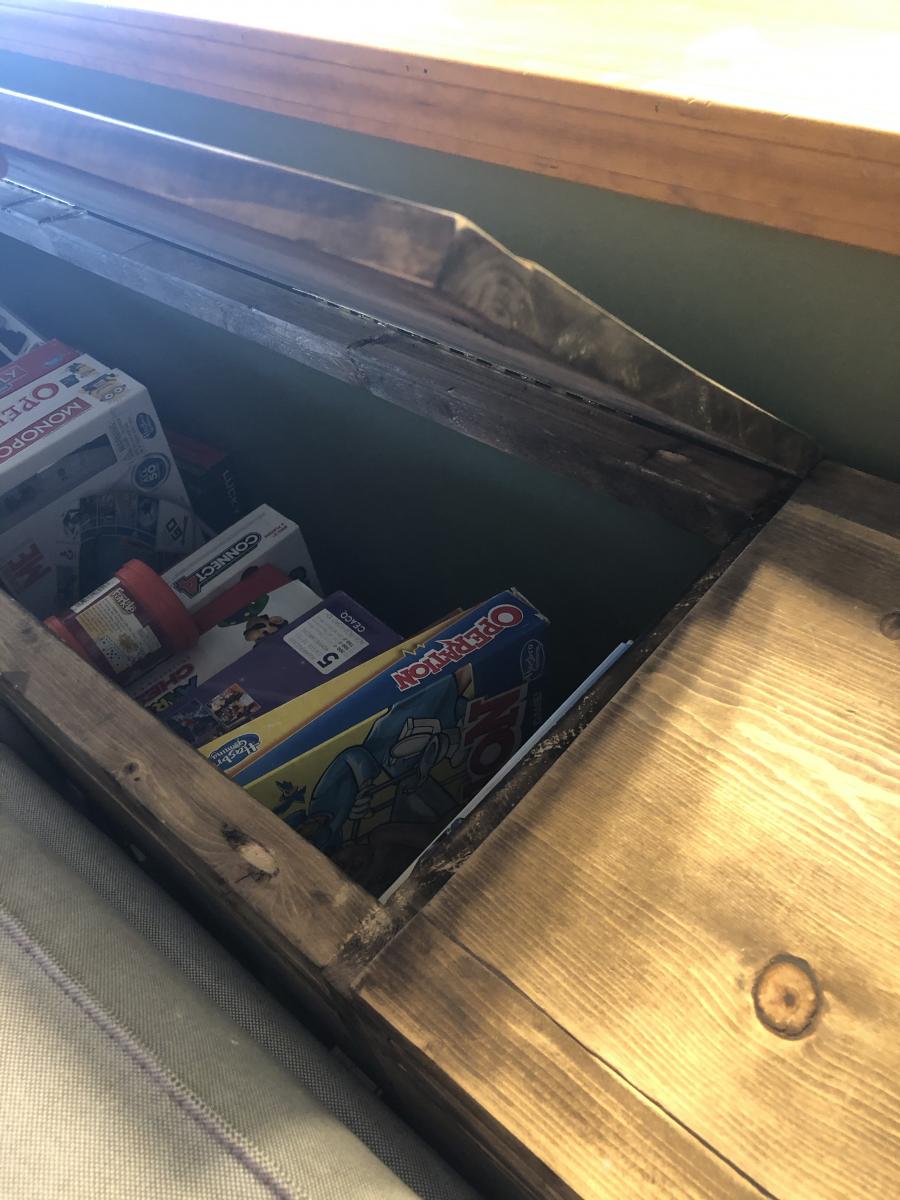
Our living room has no closets or storage. As a family we love to play board games and we love to cuddle on the couch with blankets. So, I was trying to come up with a sofa table for our large couch that also had a ton of storage. I looked all over the internet and could not come up with a solution. So, I decided to try here on Ana White and I found plans for a bookshelf. I adjusted the height to be just below the back cushions and went for it. I am not going to lie, it was not easy for me to adjust these plans and I DID make several small mistakes, but I am so glad I made this. We use it daily and it makes life so much easier. The only add I will do in the future is to add stoppers so when you raise the lid, it doesn't fall on your head. It makes life interesting though at the Van Lente household lol

Tue, 02/09/2021 - 22:53
I love this idea! Just curious - did you keep the bottom shelf of the bookshelves, or did you leave that off since it's not accessible behind your sectional?
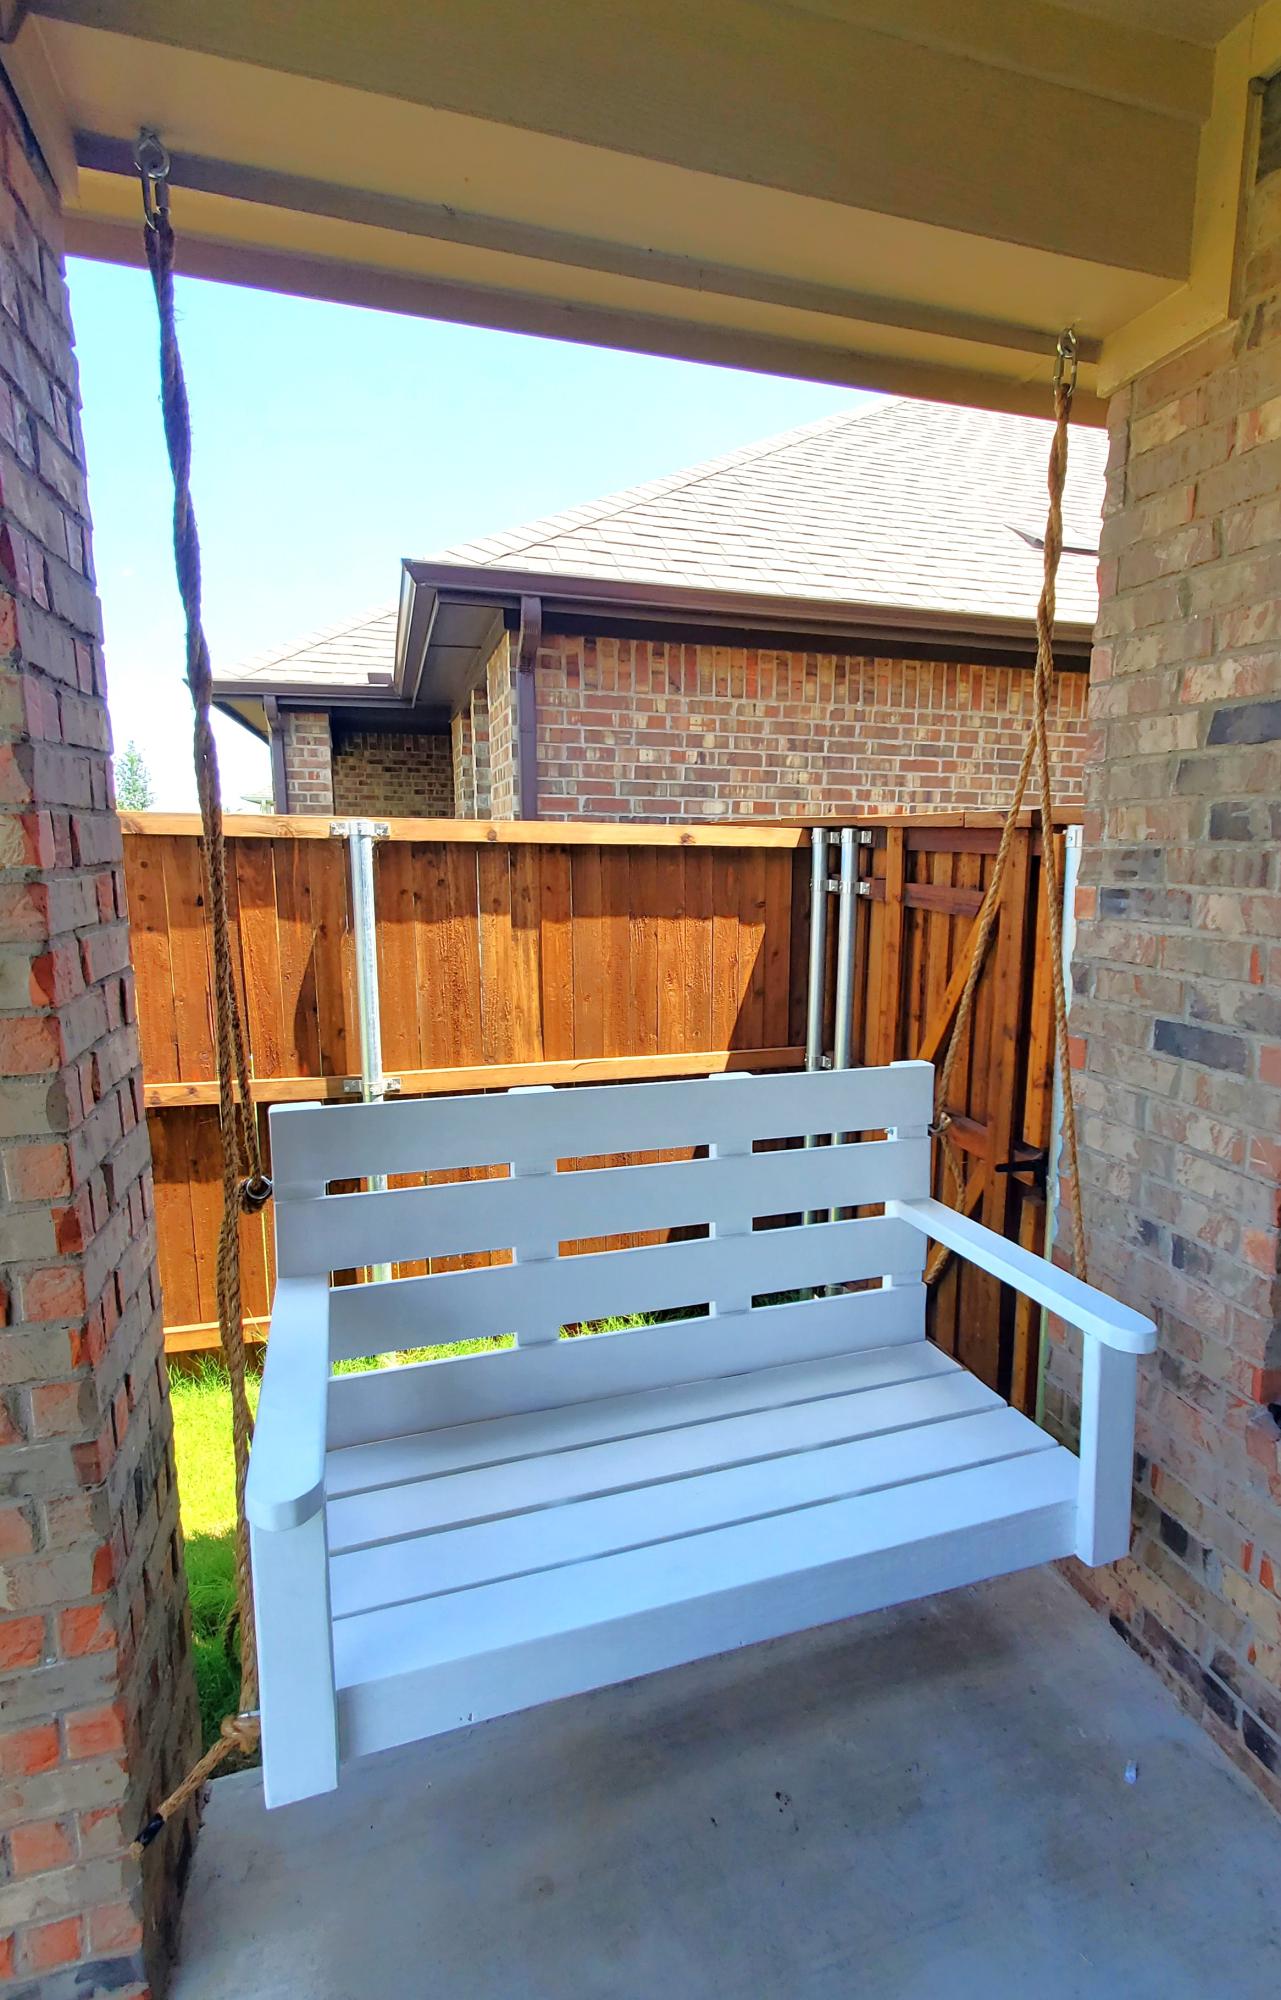
Made the large porch swing and changed length to fit into porch space. Used rope to hang for more rustic look.
Note - next time will possibly used 2x6 for arm rest to allow for drink holder hole and possibly on framing instead of 2x4s. DIL and new grandson love it.

Tryde coffee table pattern with added magazine rack. We used pallet wood which was sanded but still retained it's rustic appearance. Dark walnut stain was used to finish!
Thu, 01/16/2014 - 21:19
I love this coffee table! Do you have the new plan with the added magazine rack with the pallet wood? Thanks so much!
Wed, 03/12/2014 - 07:29
How can I get the plans for the TRYDE COFFEE TABLE with the magazine rack. Thx
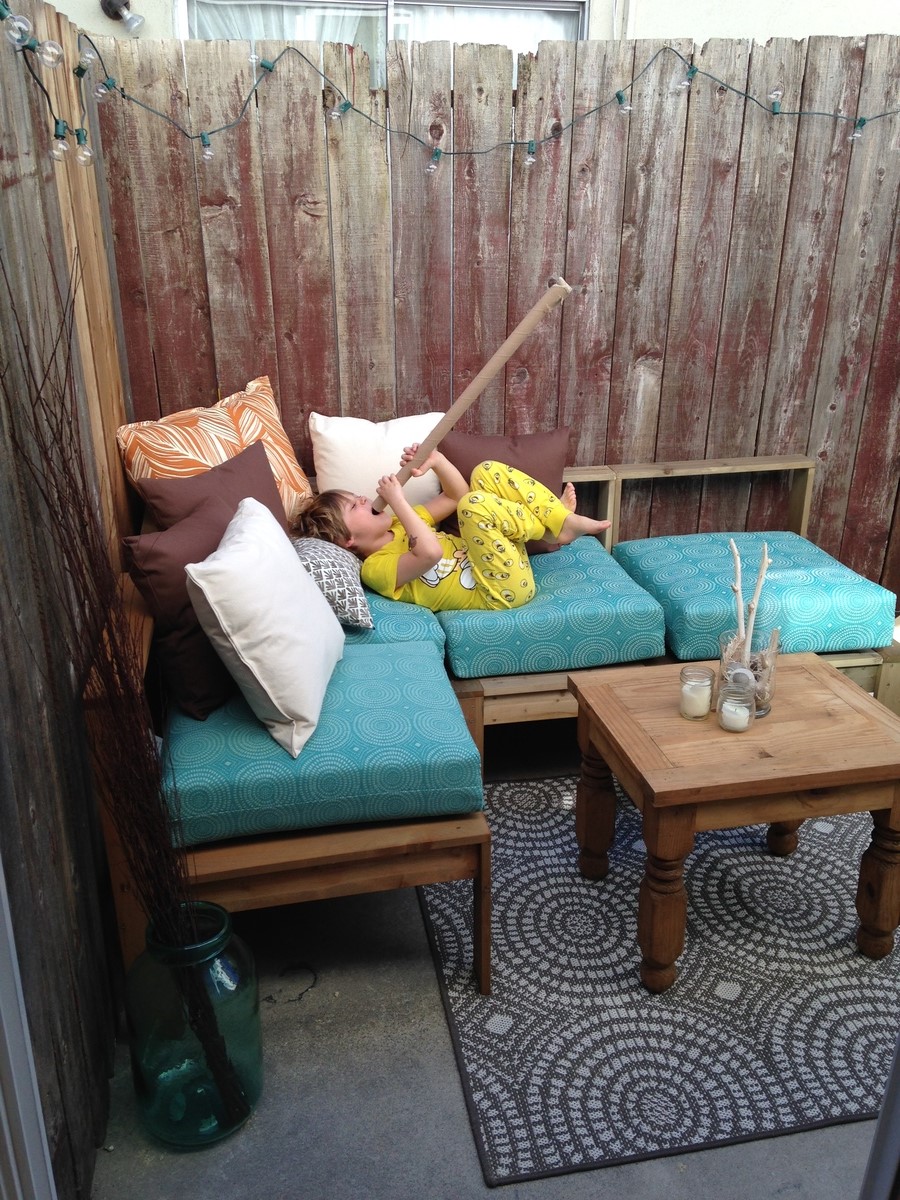
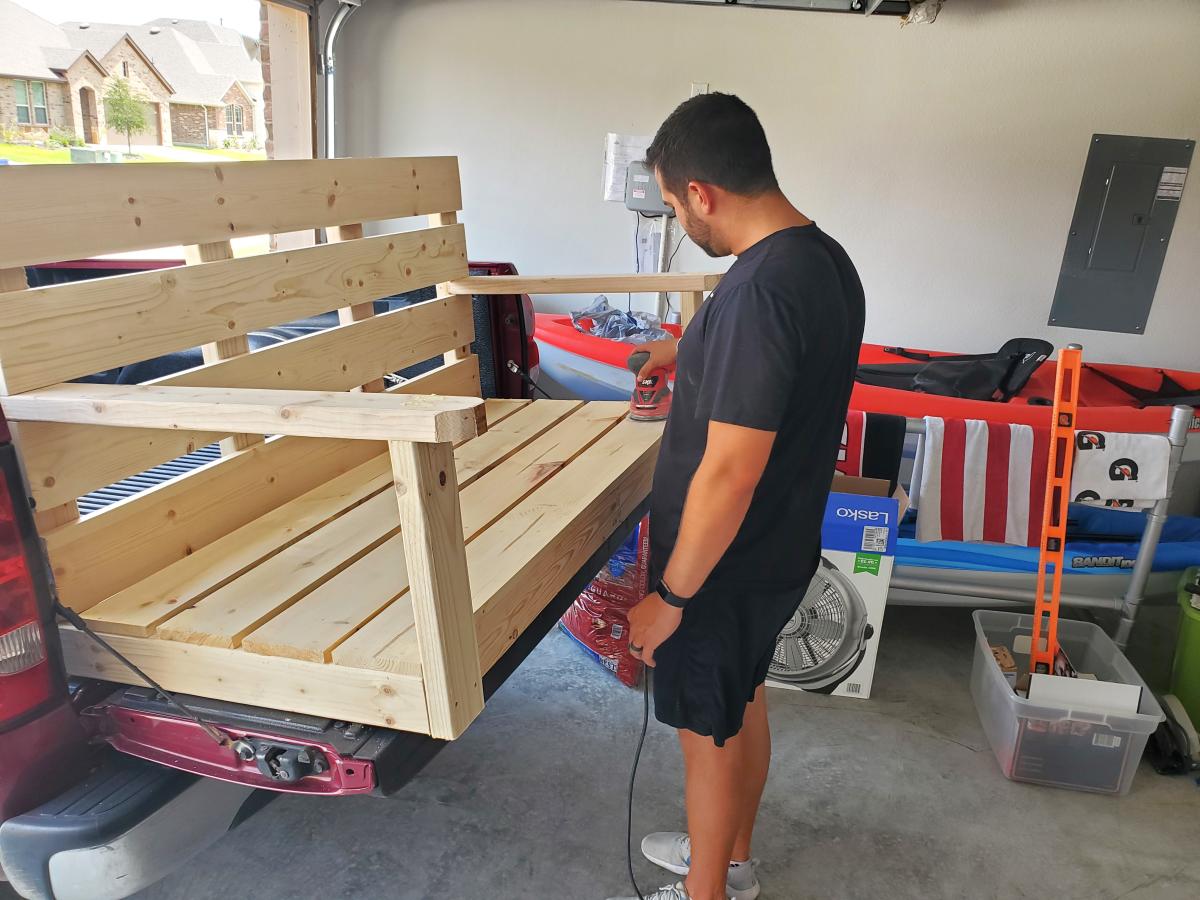
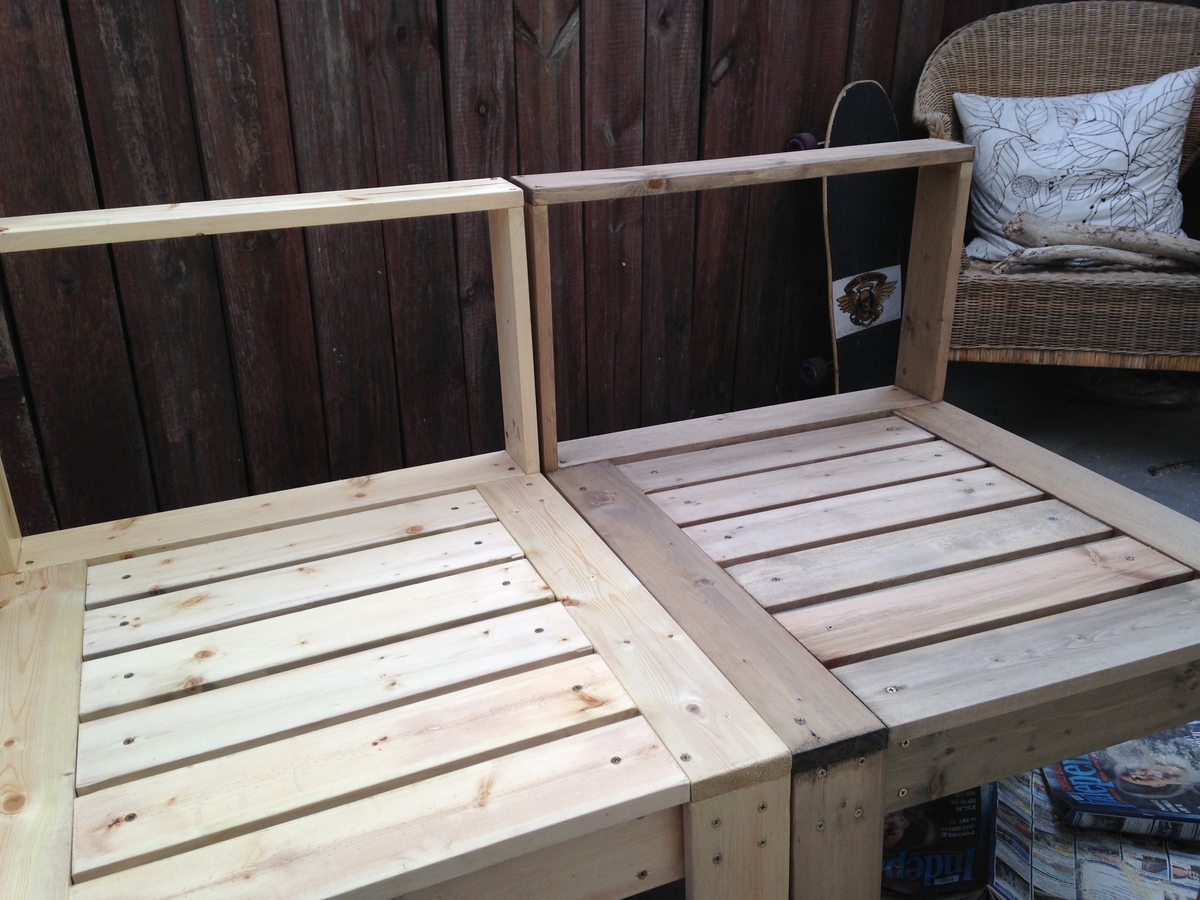
I built four pieces of the sectional (1 corner, 3 reg) It took me a long weekend, I would come and go so actual hours are hard to estimate. For the stain I used steel wool and vinegar, followed up by strong black tea. Teak oil was used for the sealer. The second photo is a picture of one stained chair approx 30 mins after stain applied, the other one has no stain yet. The pillows I sewed myself, outdoor fabric is from Jo-anns (use the coupons!) and inserts are from ikea. The only large investment were the cushions! Pine Wood - FREE. My dad works for a lumber company. Outdoor fabric - Between $6 and $10 a yard Pillows - $3 for small, $6 for large Cushions - $29 each **my picture wont display correctly even though uploaded correctly!!!
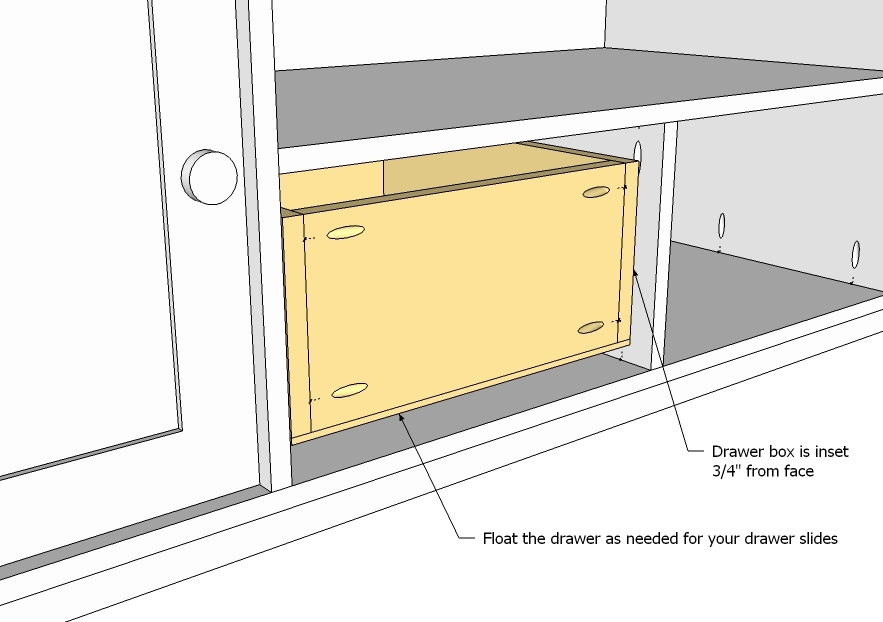
There is 1x10 on the shopping list! This was the first cut to make and I realized no where does it say to grab a 1x10 board. Other than that, the plans were great. Definitely made some mistakes along the way but overall I am very pleased. Thanks for the plans!